Tom's Hardware Verdict
The Elegoo Mars 3 Pro produces stunning quality prints and is well worth the price.
Pros
- +
Super high resolution
- +
Included air purification module
- +
Hardened scratch-resistant LCD
- +
Even light distribution
Cons
- -
Air Purifier doesn’t fully eliminate odor
- -
Same resolution as the Mars 3
Why you can trust Tom's Hardware
Resin-based 3D printers are available in a range of sizes, from units small enough to fit on your desktop to large printers that have a build volume that rivals some popular FDM printers. As manufacturers continue to develop these printers, they are adding new features to make them easier to use and more accessible to the average person. The latest iteration of the Elegoo Mars series of printers shows how this company keeps striving for the perfect desktop resin printer.
Elegoo has just released the Pro version of the Mars 3 printer. Just as they have previously done with the pro versions of their earlier Mars printers, this one adds an air purification module. While the Elegoo Mars 2 Pro had an air filter built into the body making it impractical to change, the Elegoo Mars 3 Pro adds a replaceable air purification module that plugs into a port inside of the printing chamber. This makes changing out the filter very easy.
Some of the other sizes of printers that Elegoo has produced include medium-sized printers like the Elegoo Saturn 2, which has an 8K resolution, and the Elegoo Jupiter, with a 6K resolution. The Elegoo Mars 3 Pro, which is designed to compete with the best resin 3D printers normally has a retail price of $350, but is currently available for pre-order with an early price of only $300.
For the prints in this review, I used a combination of some of Elegoo’s water washable resin as well as some thicker, low-odor resin that I had on hand. I chose the water washable resin because it is on the thinner side, which helps bring out the details better, and I chose the low odor resin because I wanted to see how this printer would handle a couple of different types of resin. The Mars 3 Pro is able to produce prints that are small enough to clean in either of the wash and cure stations that I have, making testing with multiple resins much easier. I was very impressed with how the printer handled both types of resin, but I ended up liking the water washable resin a bit better, because cleanup was easier.
Elegoo Mars 3 Pro Specifications
| Machine Footprint | 8.93" x 8.93" x 17.28" (22.7cm x 22.7cm x 43.85cm) |
| Build Volume | 5.64" x 3.52" x 6.89" (143mm x 89.6mm x 175mm) |
| Resin | DLP Photopolymer Resin |
| UV Light | 405nm UV LED |
| Masking LCD Resolution | 4098 x 2560 px |
| Masking LCD Size | 6.6-inch |
| Interface | 3.5-inch Capacitive LCD Touchscreen |
| XY Axis Resolution | 35 microns |
Included in the Box with Elegoo Mars 3 Pro
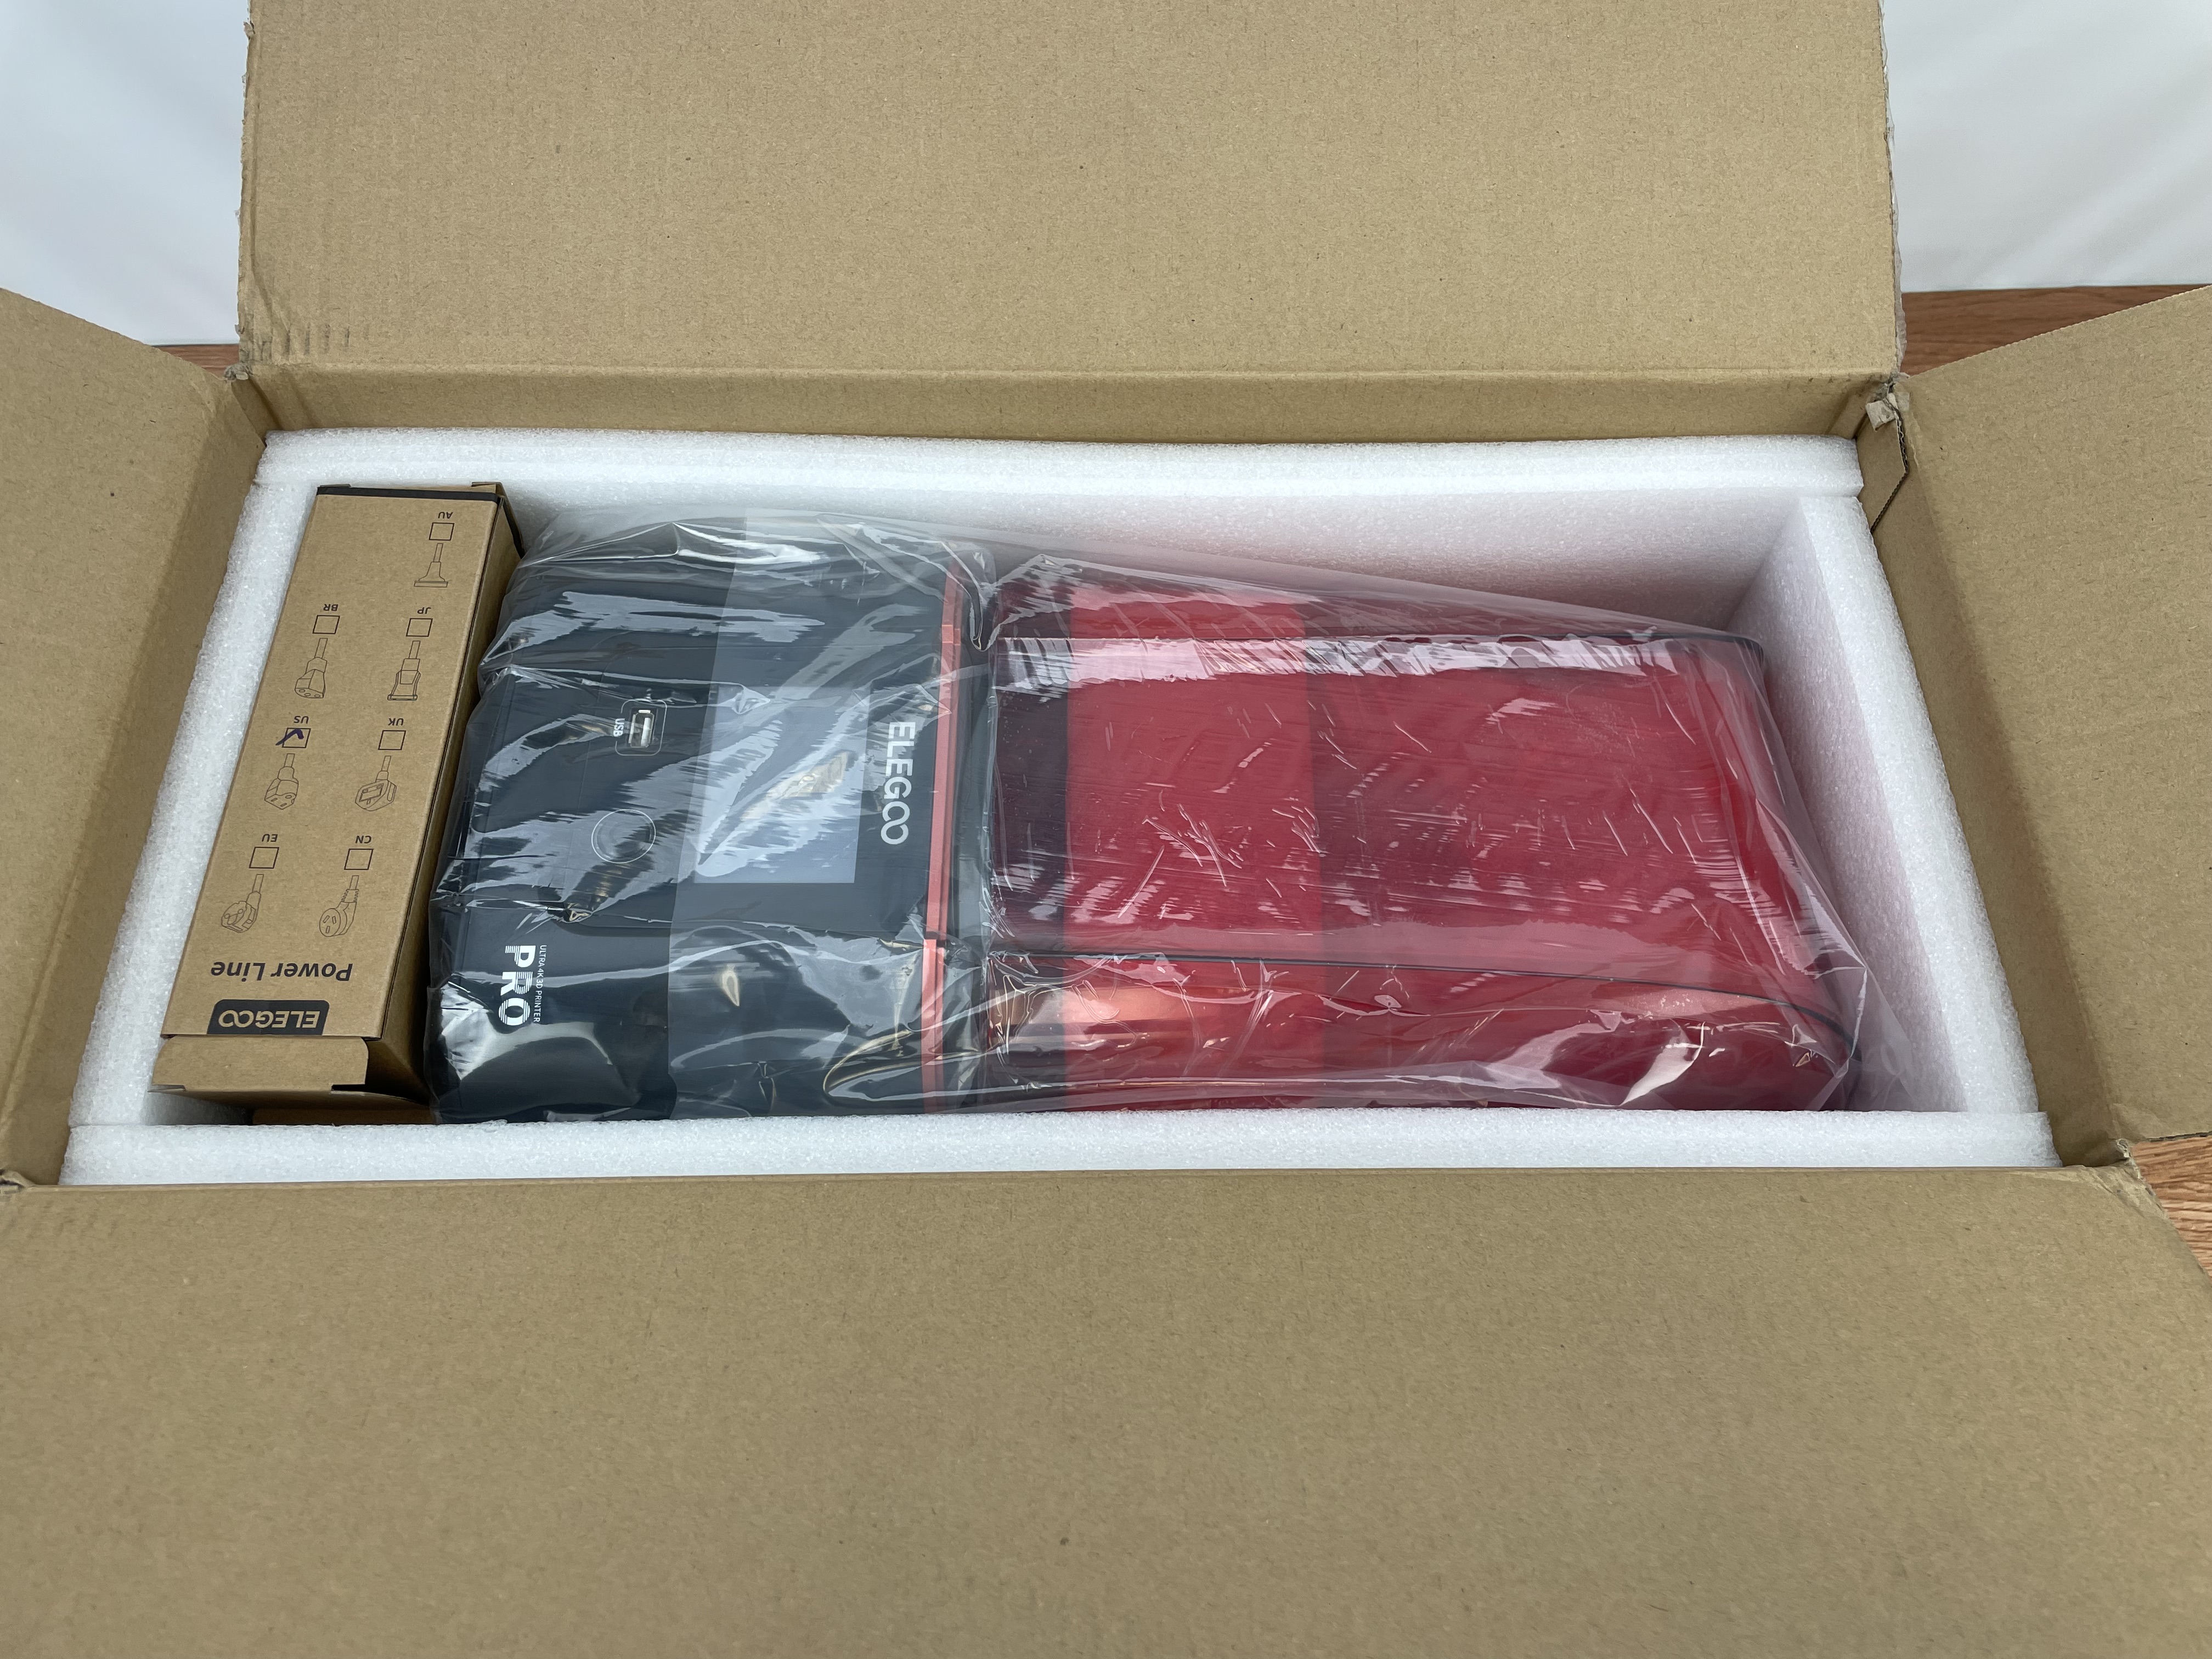
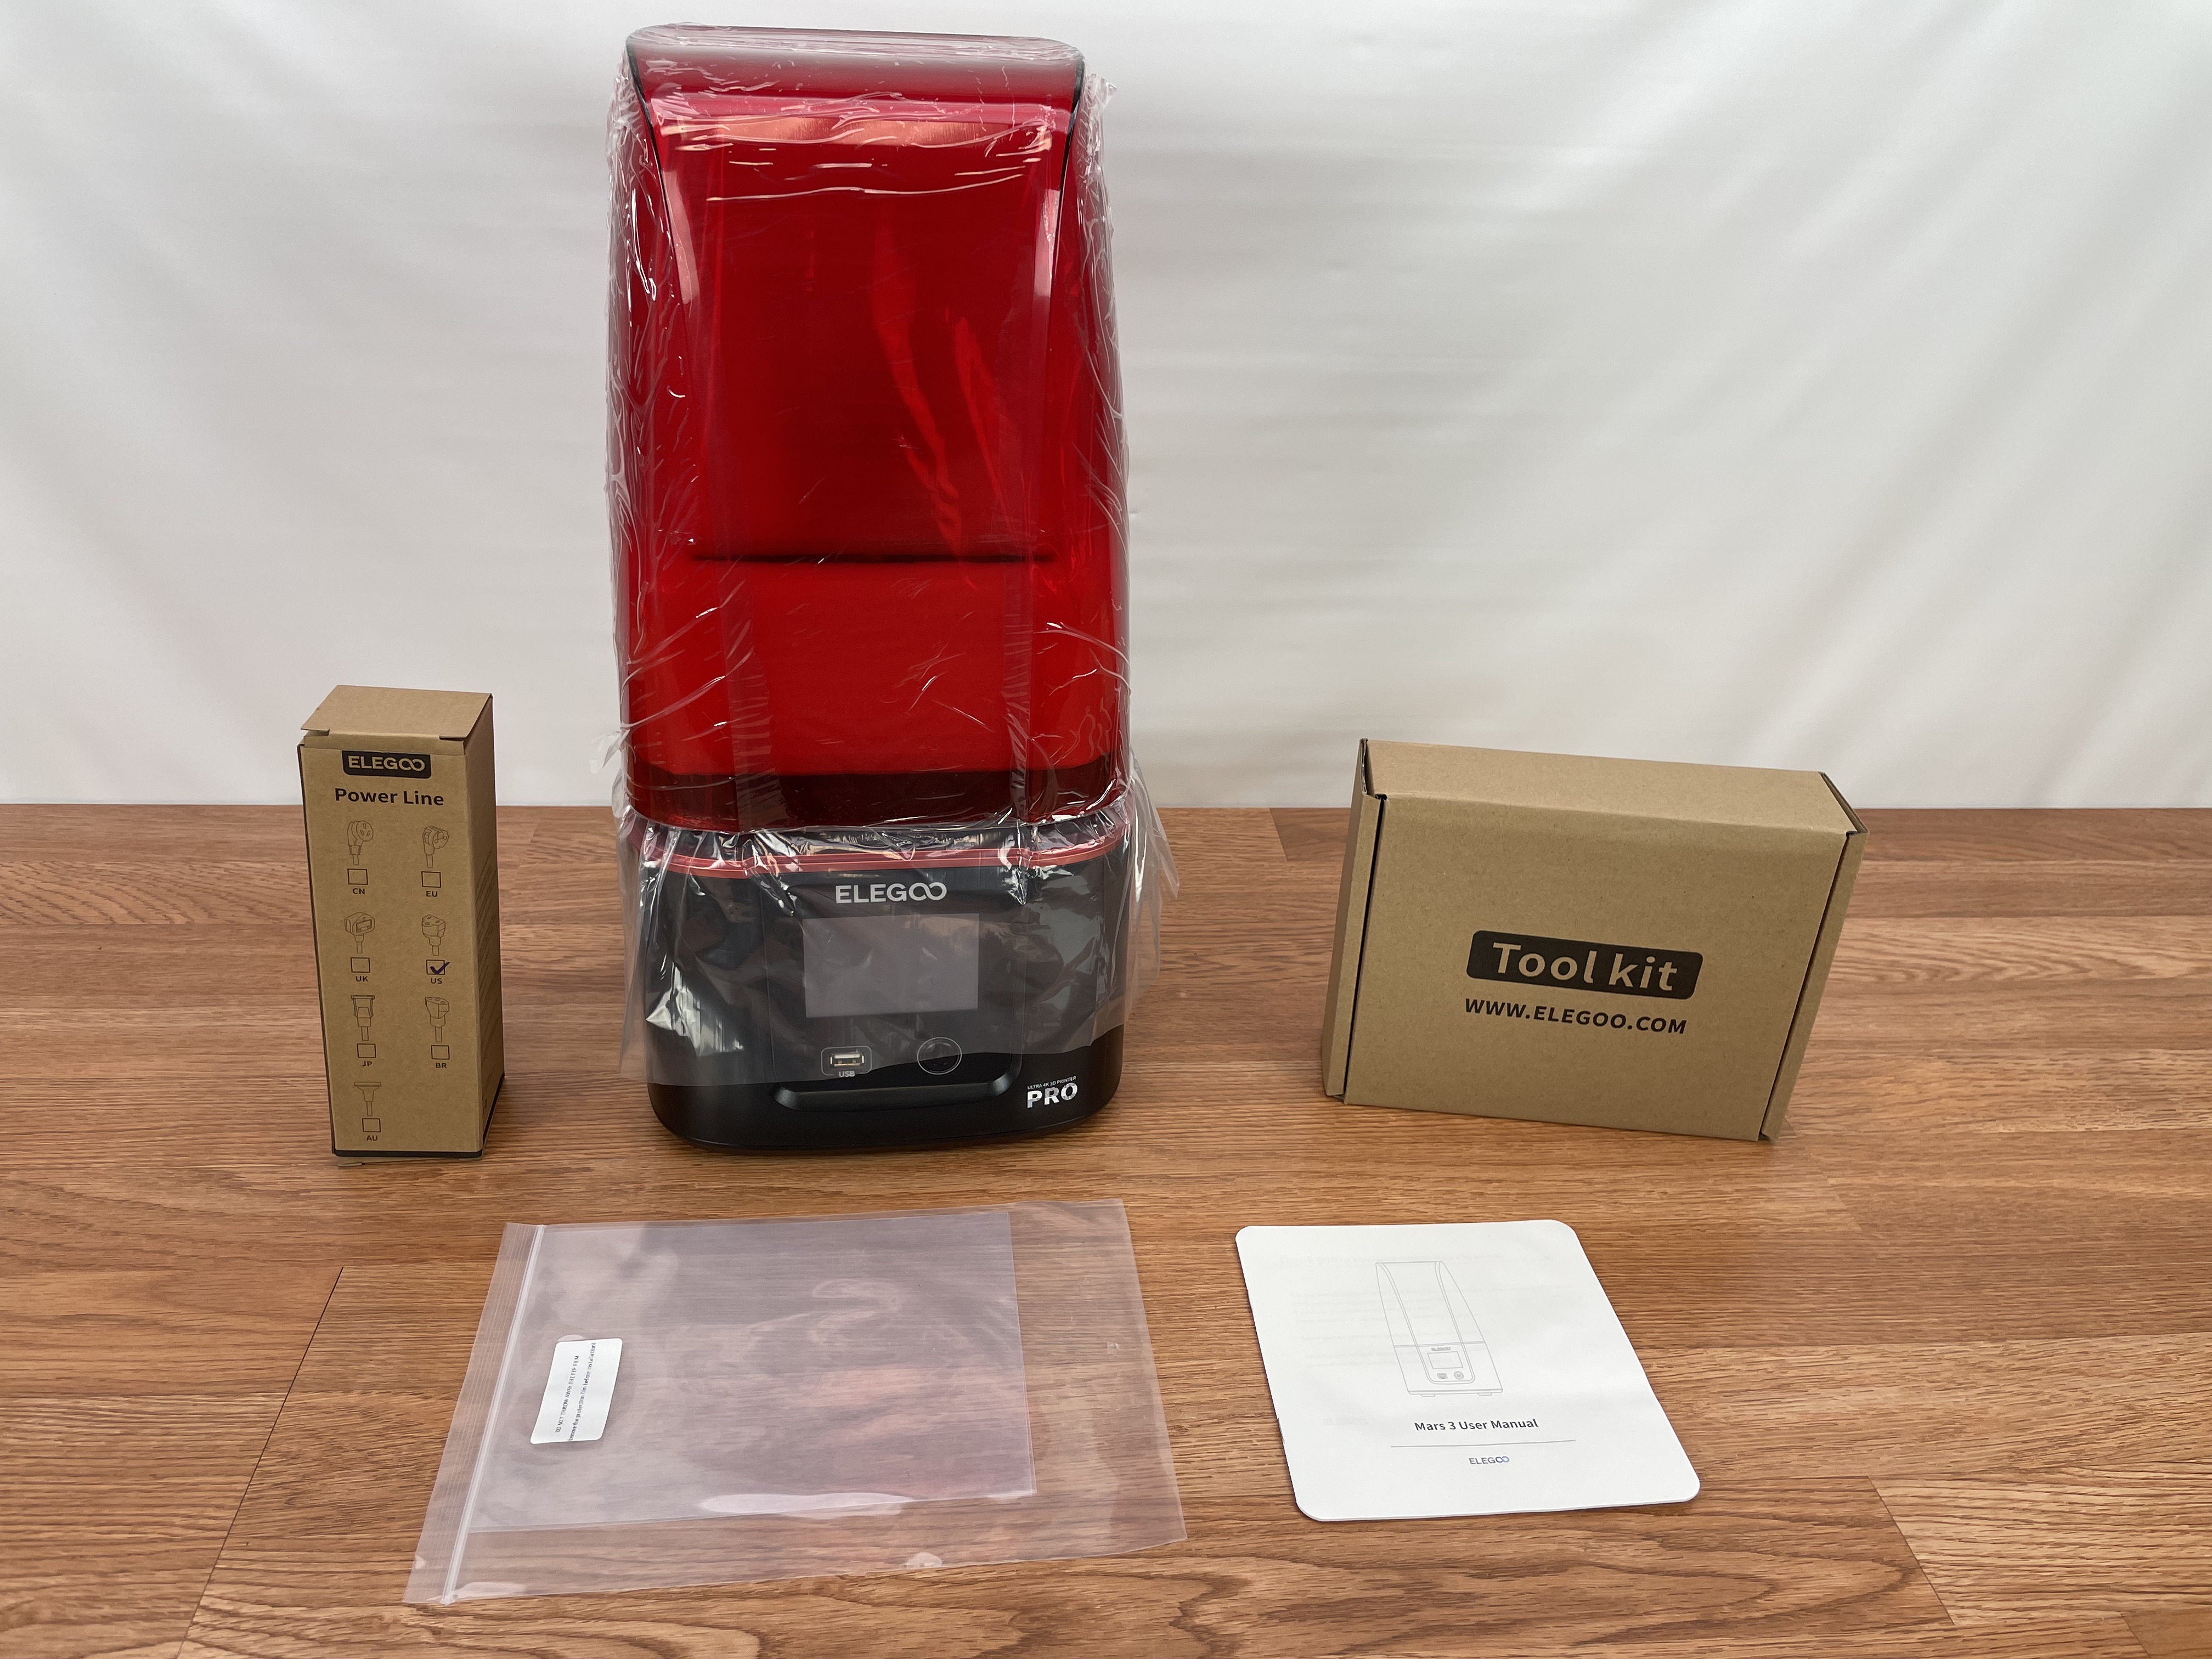
The Elegoo Mars 3 Pro comes well-packaged with plenty of foam around all sides to help prevent any damage from occurring during shipping, along with a fairly standard toolkit that we’ll go over in more detail.
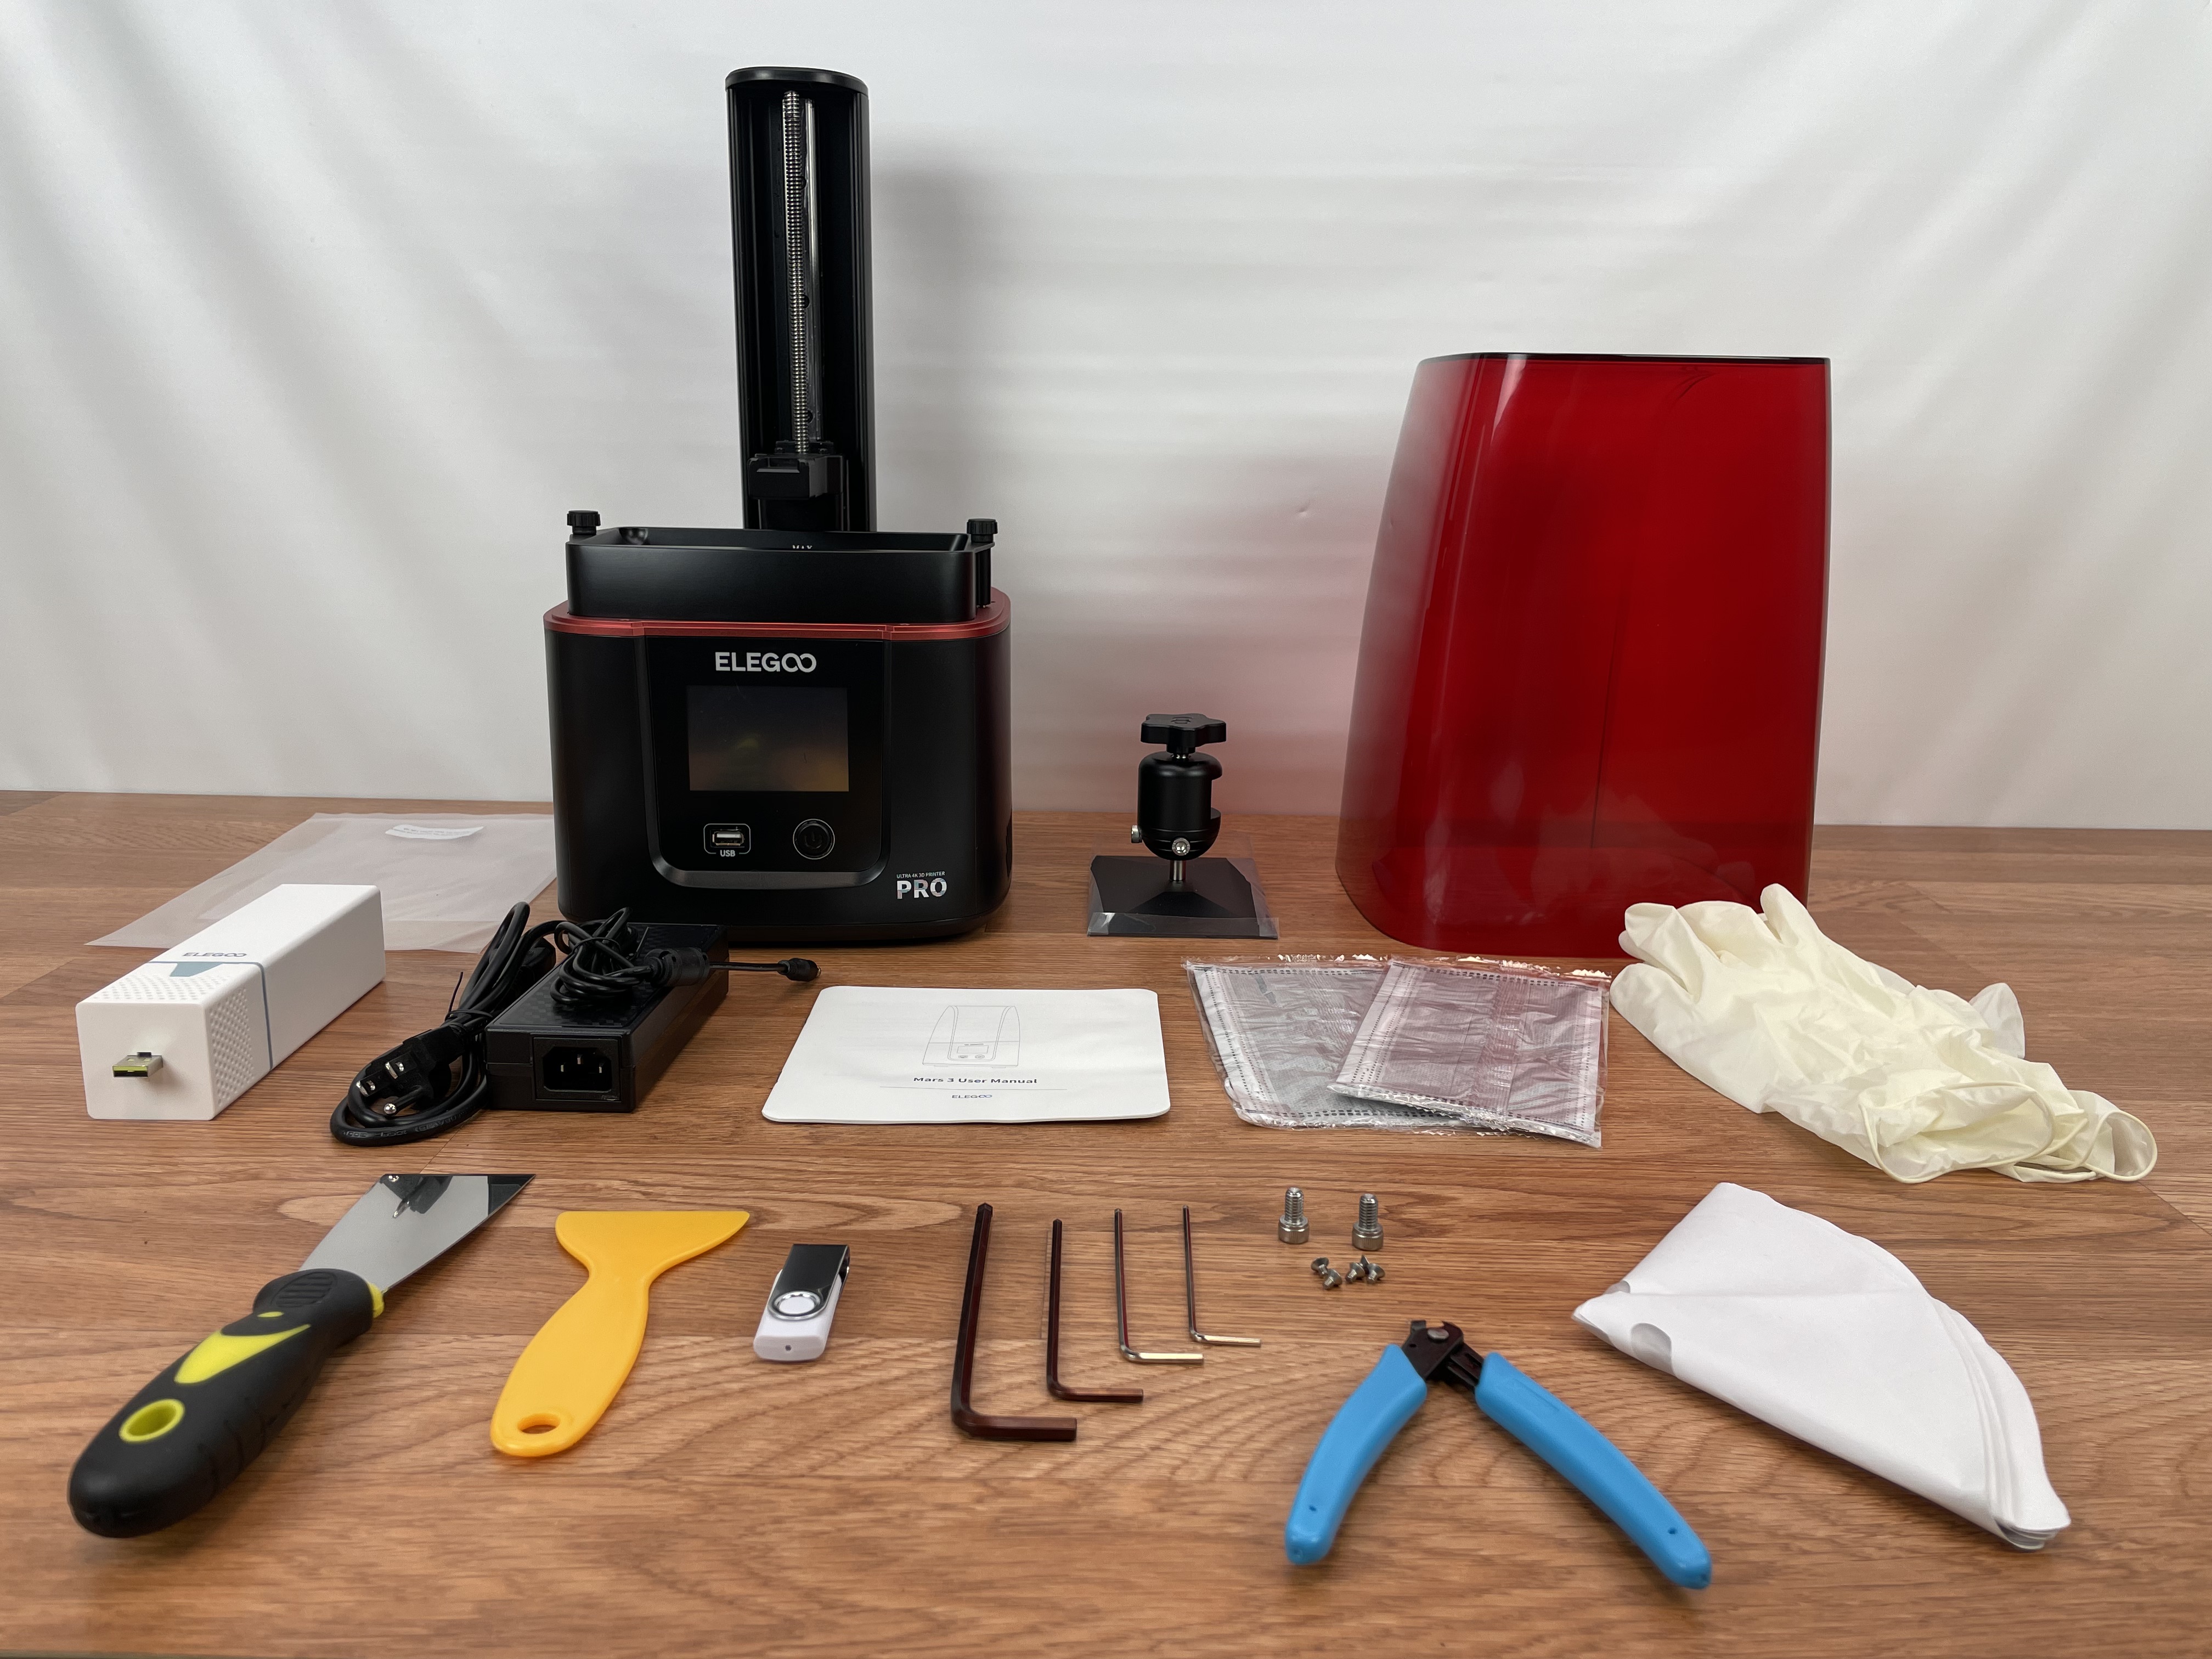
Along with the toolkit is a manual, a power cord that works in my country, a paper manual, and some extra PFA Release Liner film sheets. Packaged inside of the printer itself, was plenty of foam, along with the resin tray, and removable built platform.
The Elegoo Mars 3 Pro toolkit includes a pretty standard array of accessories that many other Elegoo resin printers ship with, including tools such as the diagonal cutters for support removal, as well as the metal and plastic spatulas.
Get Tom's Hardware's best news and in-depth reviews, straight to your inbox.
The metal spatula is for helping to remove your prints from the build plate, and you will want to be somewhat careful while doing so, as it can potentially gouge or scuff the metal surface. However, in my experience, this has never really been anything other than a cosmetic issue. The soft spatula is used more as a tool for cleanup, such as assisting with removal of any residual resin out of the resin tank when it is emptied.
It also comes with a set of hex key wrenches and some spare screws in case any servicing or repairs needs to be performed during the printer’s lifetime. There are two pairs of latex gloves and two surgical style masks for personal protection, but you will likely want to get some higher quality masks and additional gloves for working with resin as these are usually used up fairly quickly.
Additionally, it comes with a set of paper filtering funnels, the power brick, and an air purifier module. It also has a USB memory stick with a copy of the manual, Chitubox Basic (the recommended slicer for the Elegoo Mars 3 Pro), and some test prints.
Design of Elegoo Mars 3 Pro
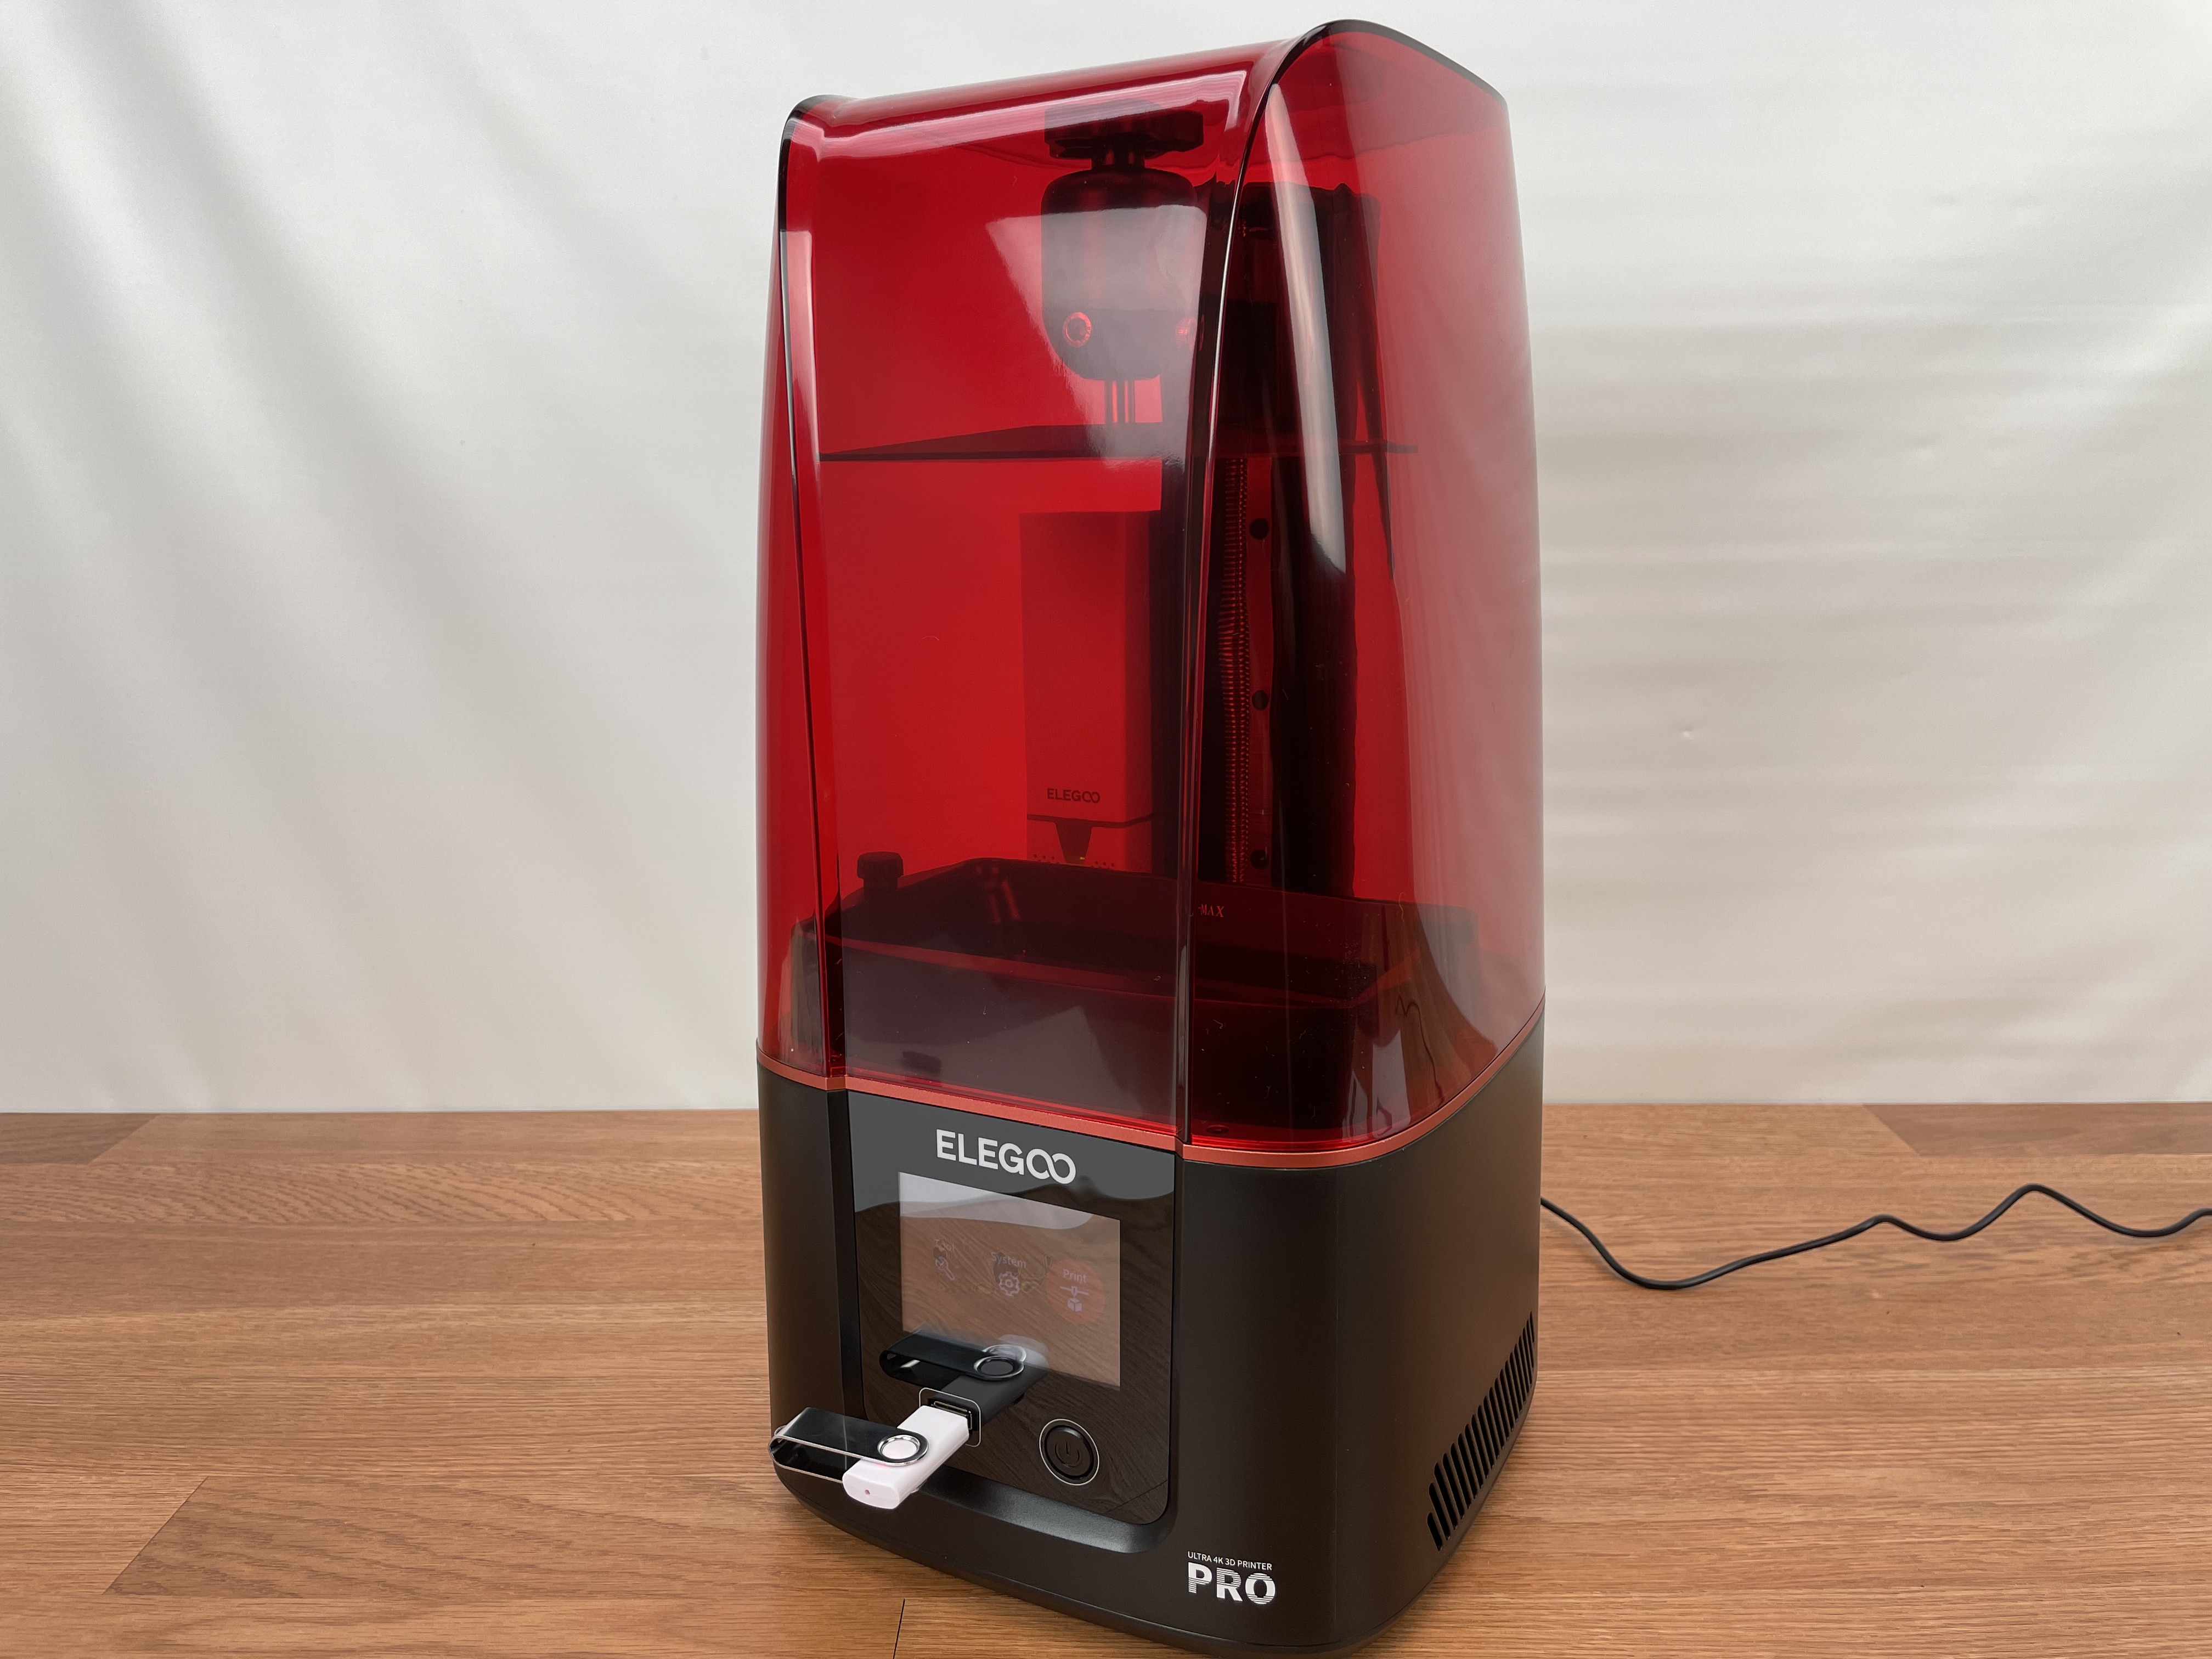
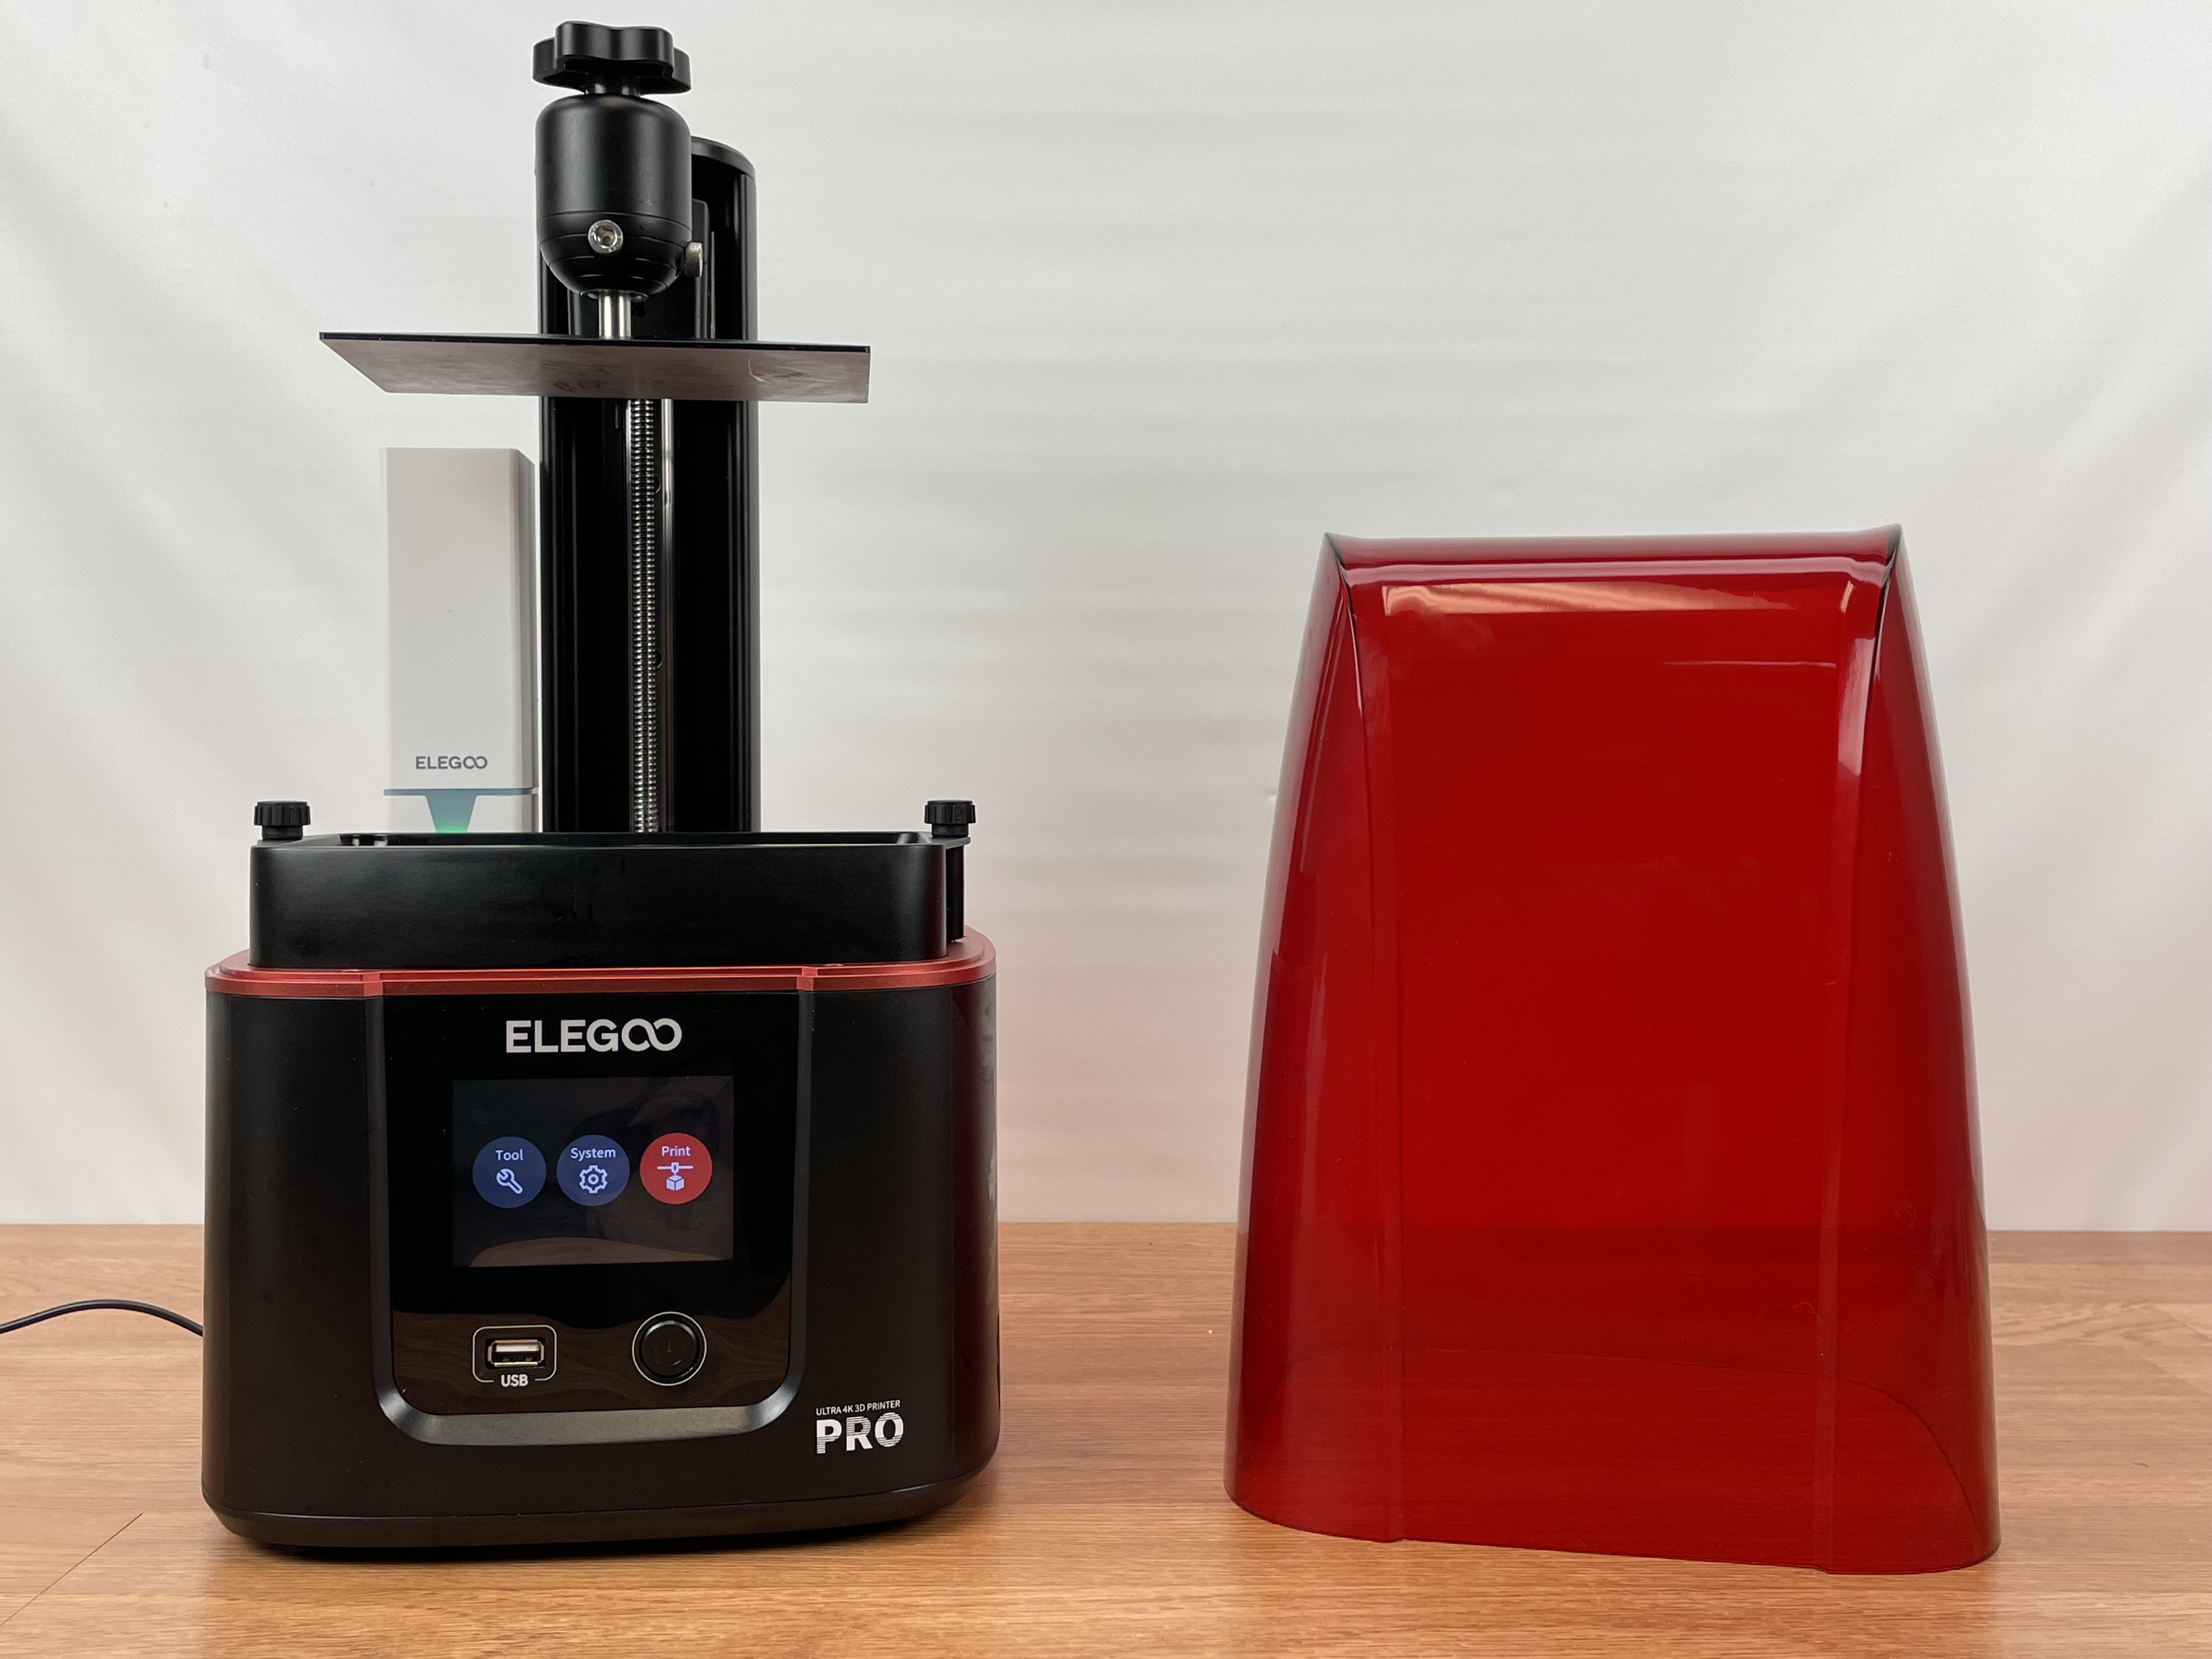
The overall design of the Mars 3 Pro is extremely similar to the previous Mars 3, and shares the same curviness, which makes sense because they are both variations of the Mars 3. With regard to the features, the Elegoo Mars 3 Pro is close to the Mars 3, but with some notable upgrades that are not obvious at first glance.
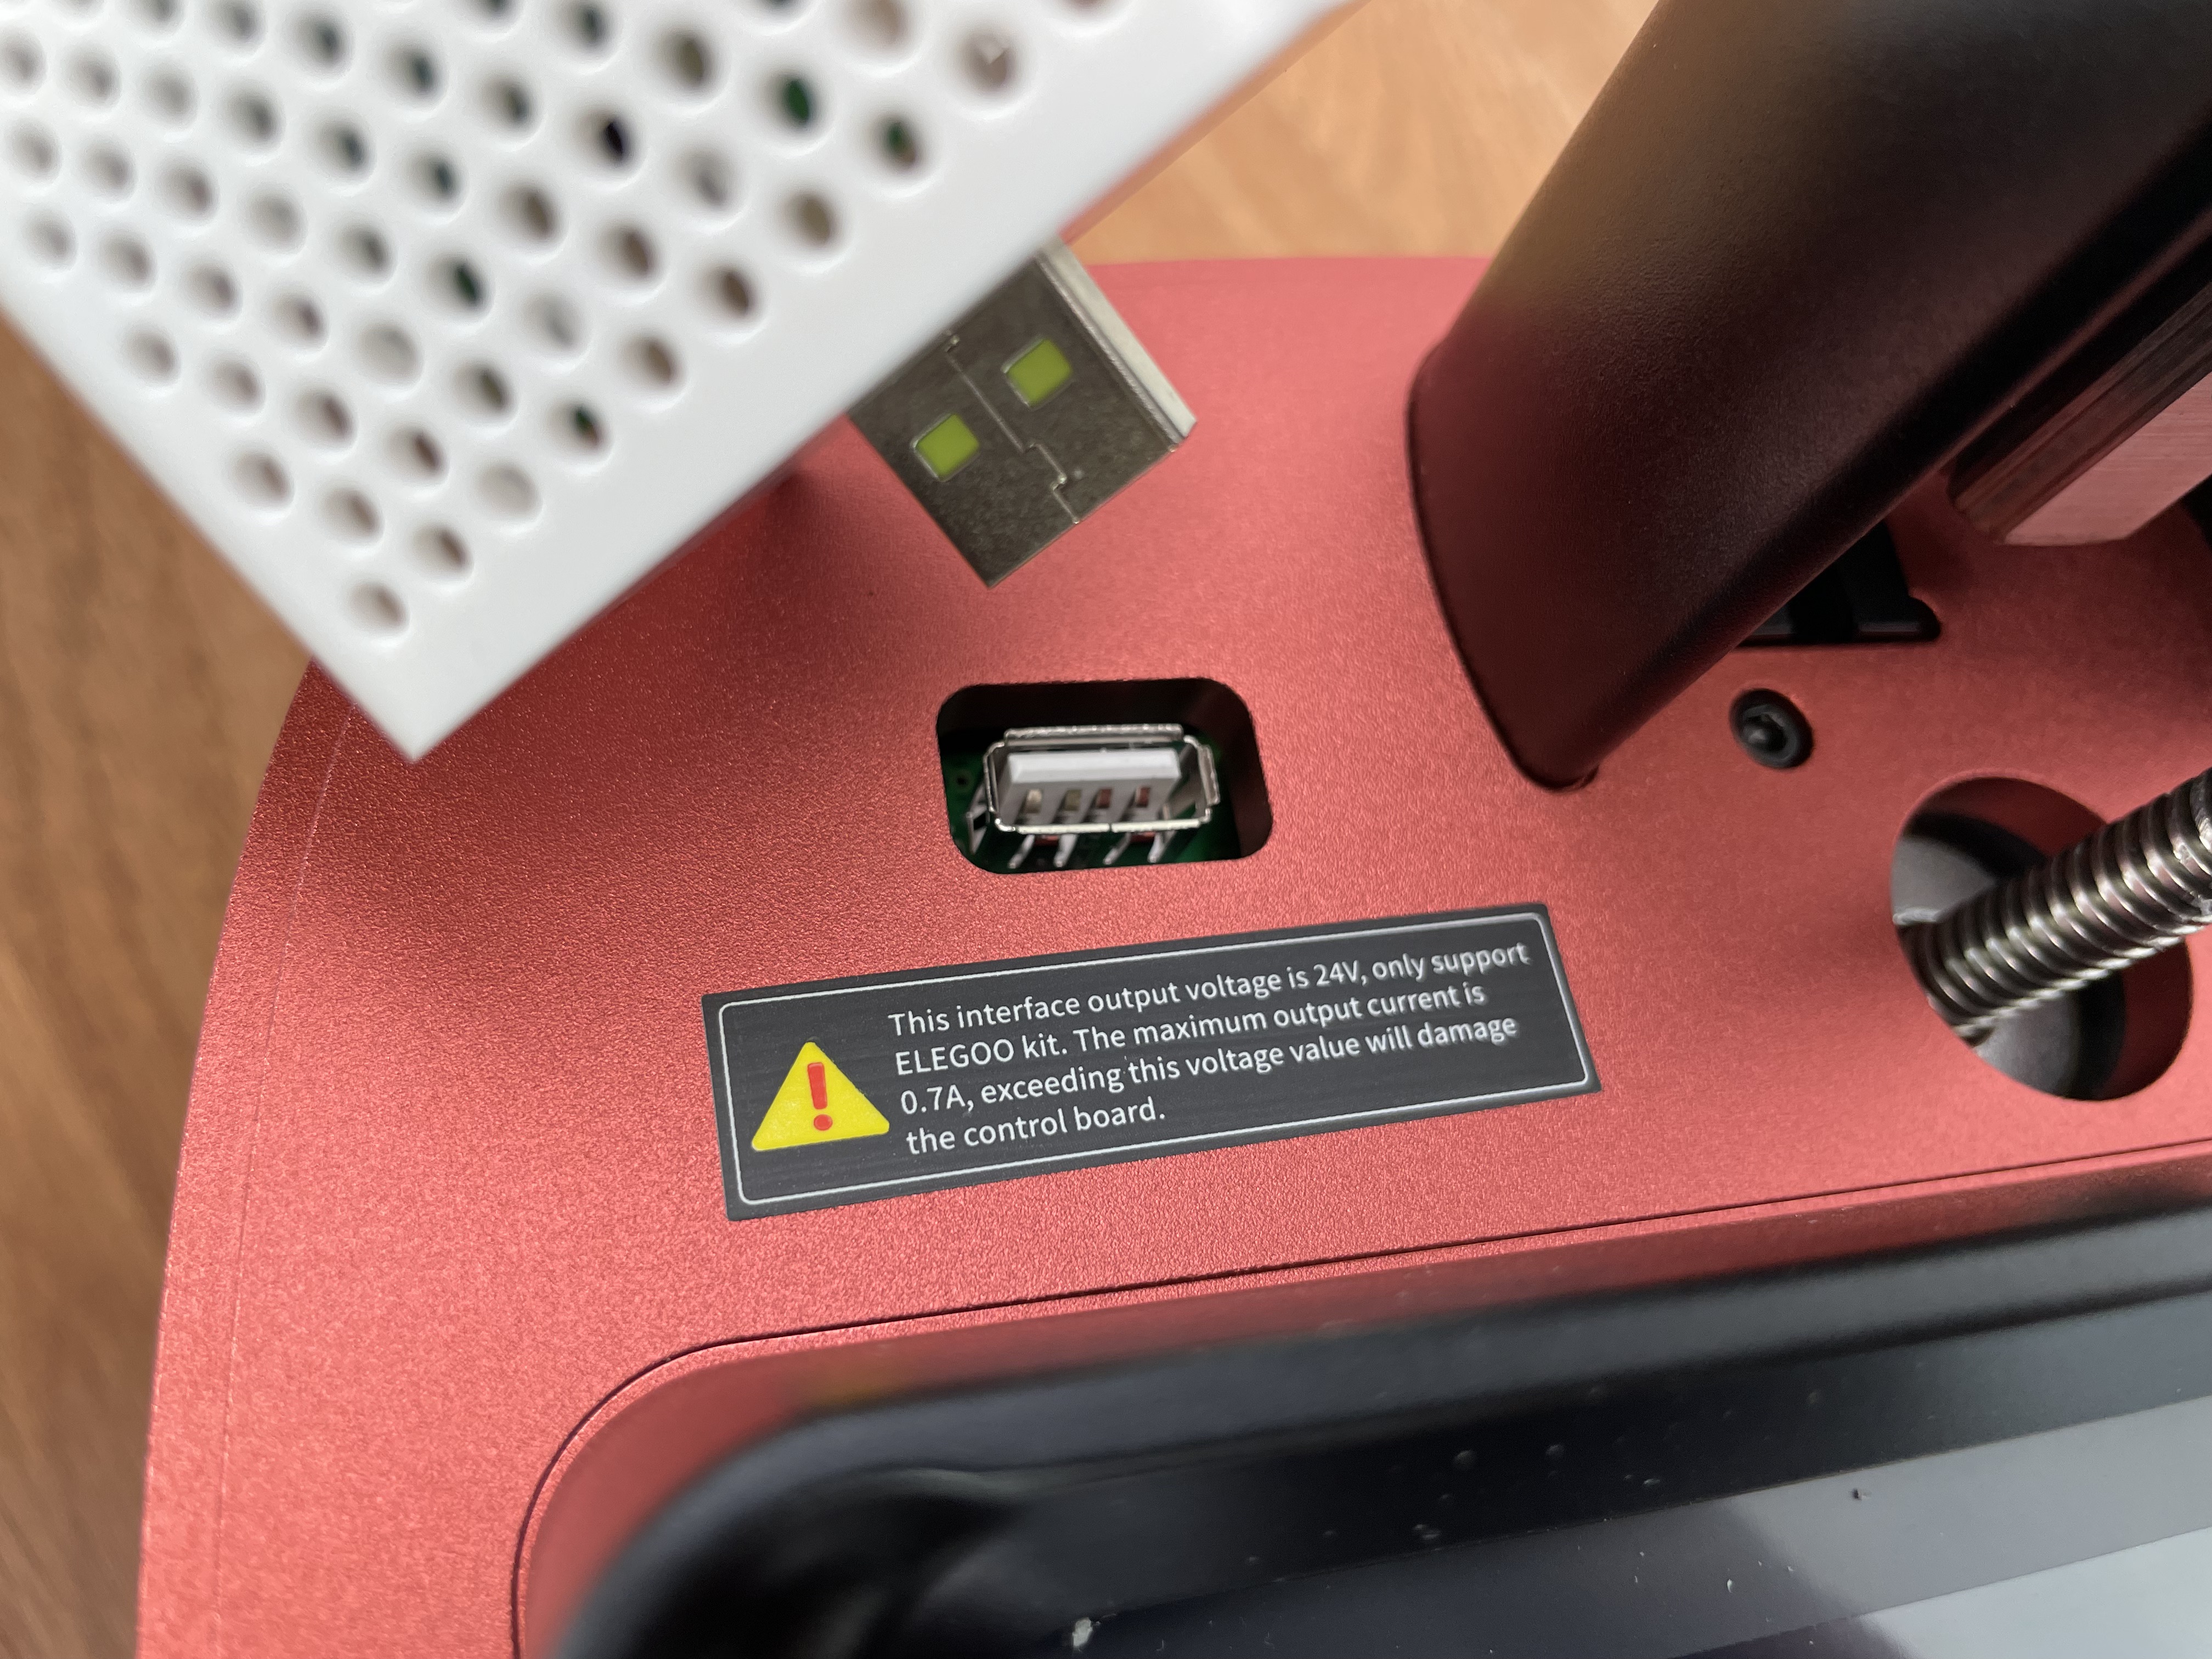
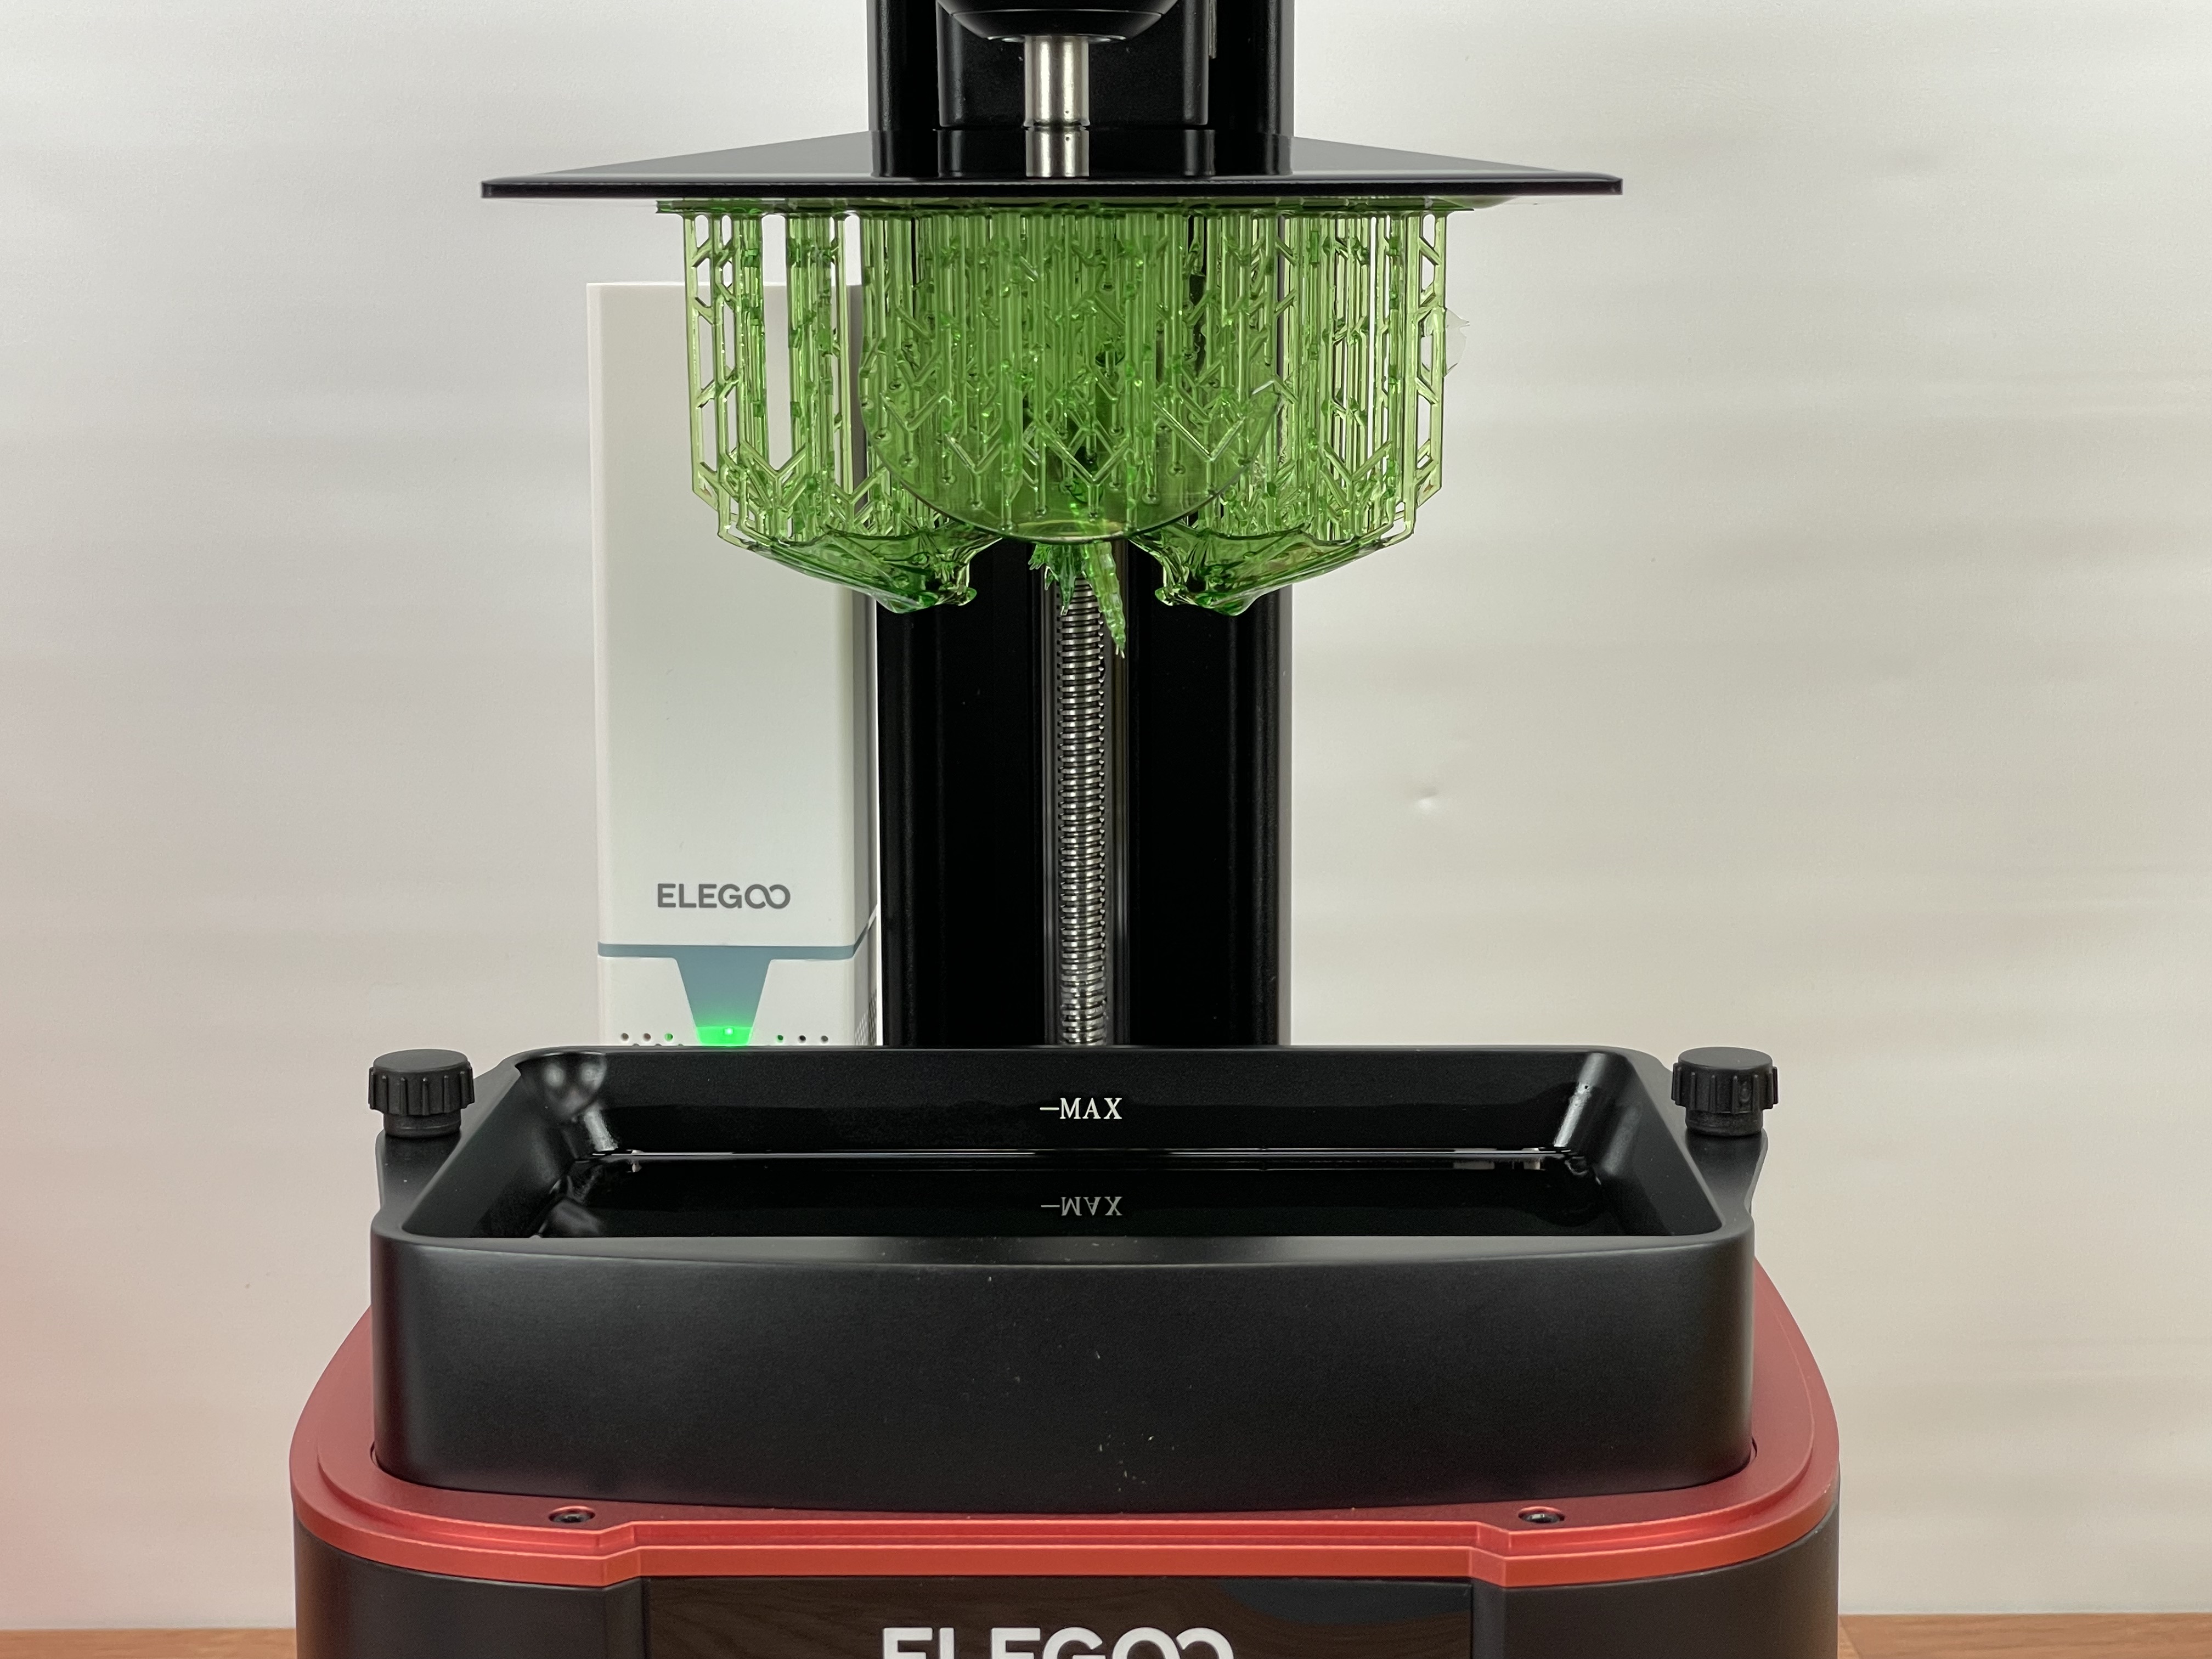
The most obvious improvement of the Elegoo Mars 3 Pro is the replaceable air purifier module that plugs into a port underneath the UV cover. Although the port is shaped like a standard USB port, it has a warning next to it that the output voltage is 24 volts instead of the usual 5 volts produced by USB ports, so you wouldn’t want to plug your USB memory stick into it. During testing, while the air purifier likely helped to mitigate the smell, I noticed that the resin odor wasn’t completely eliminated.
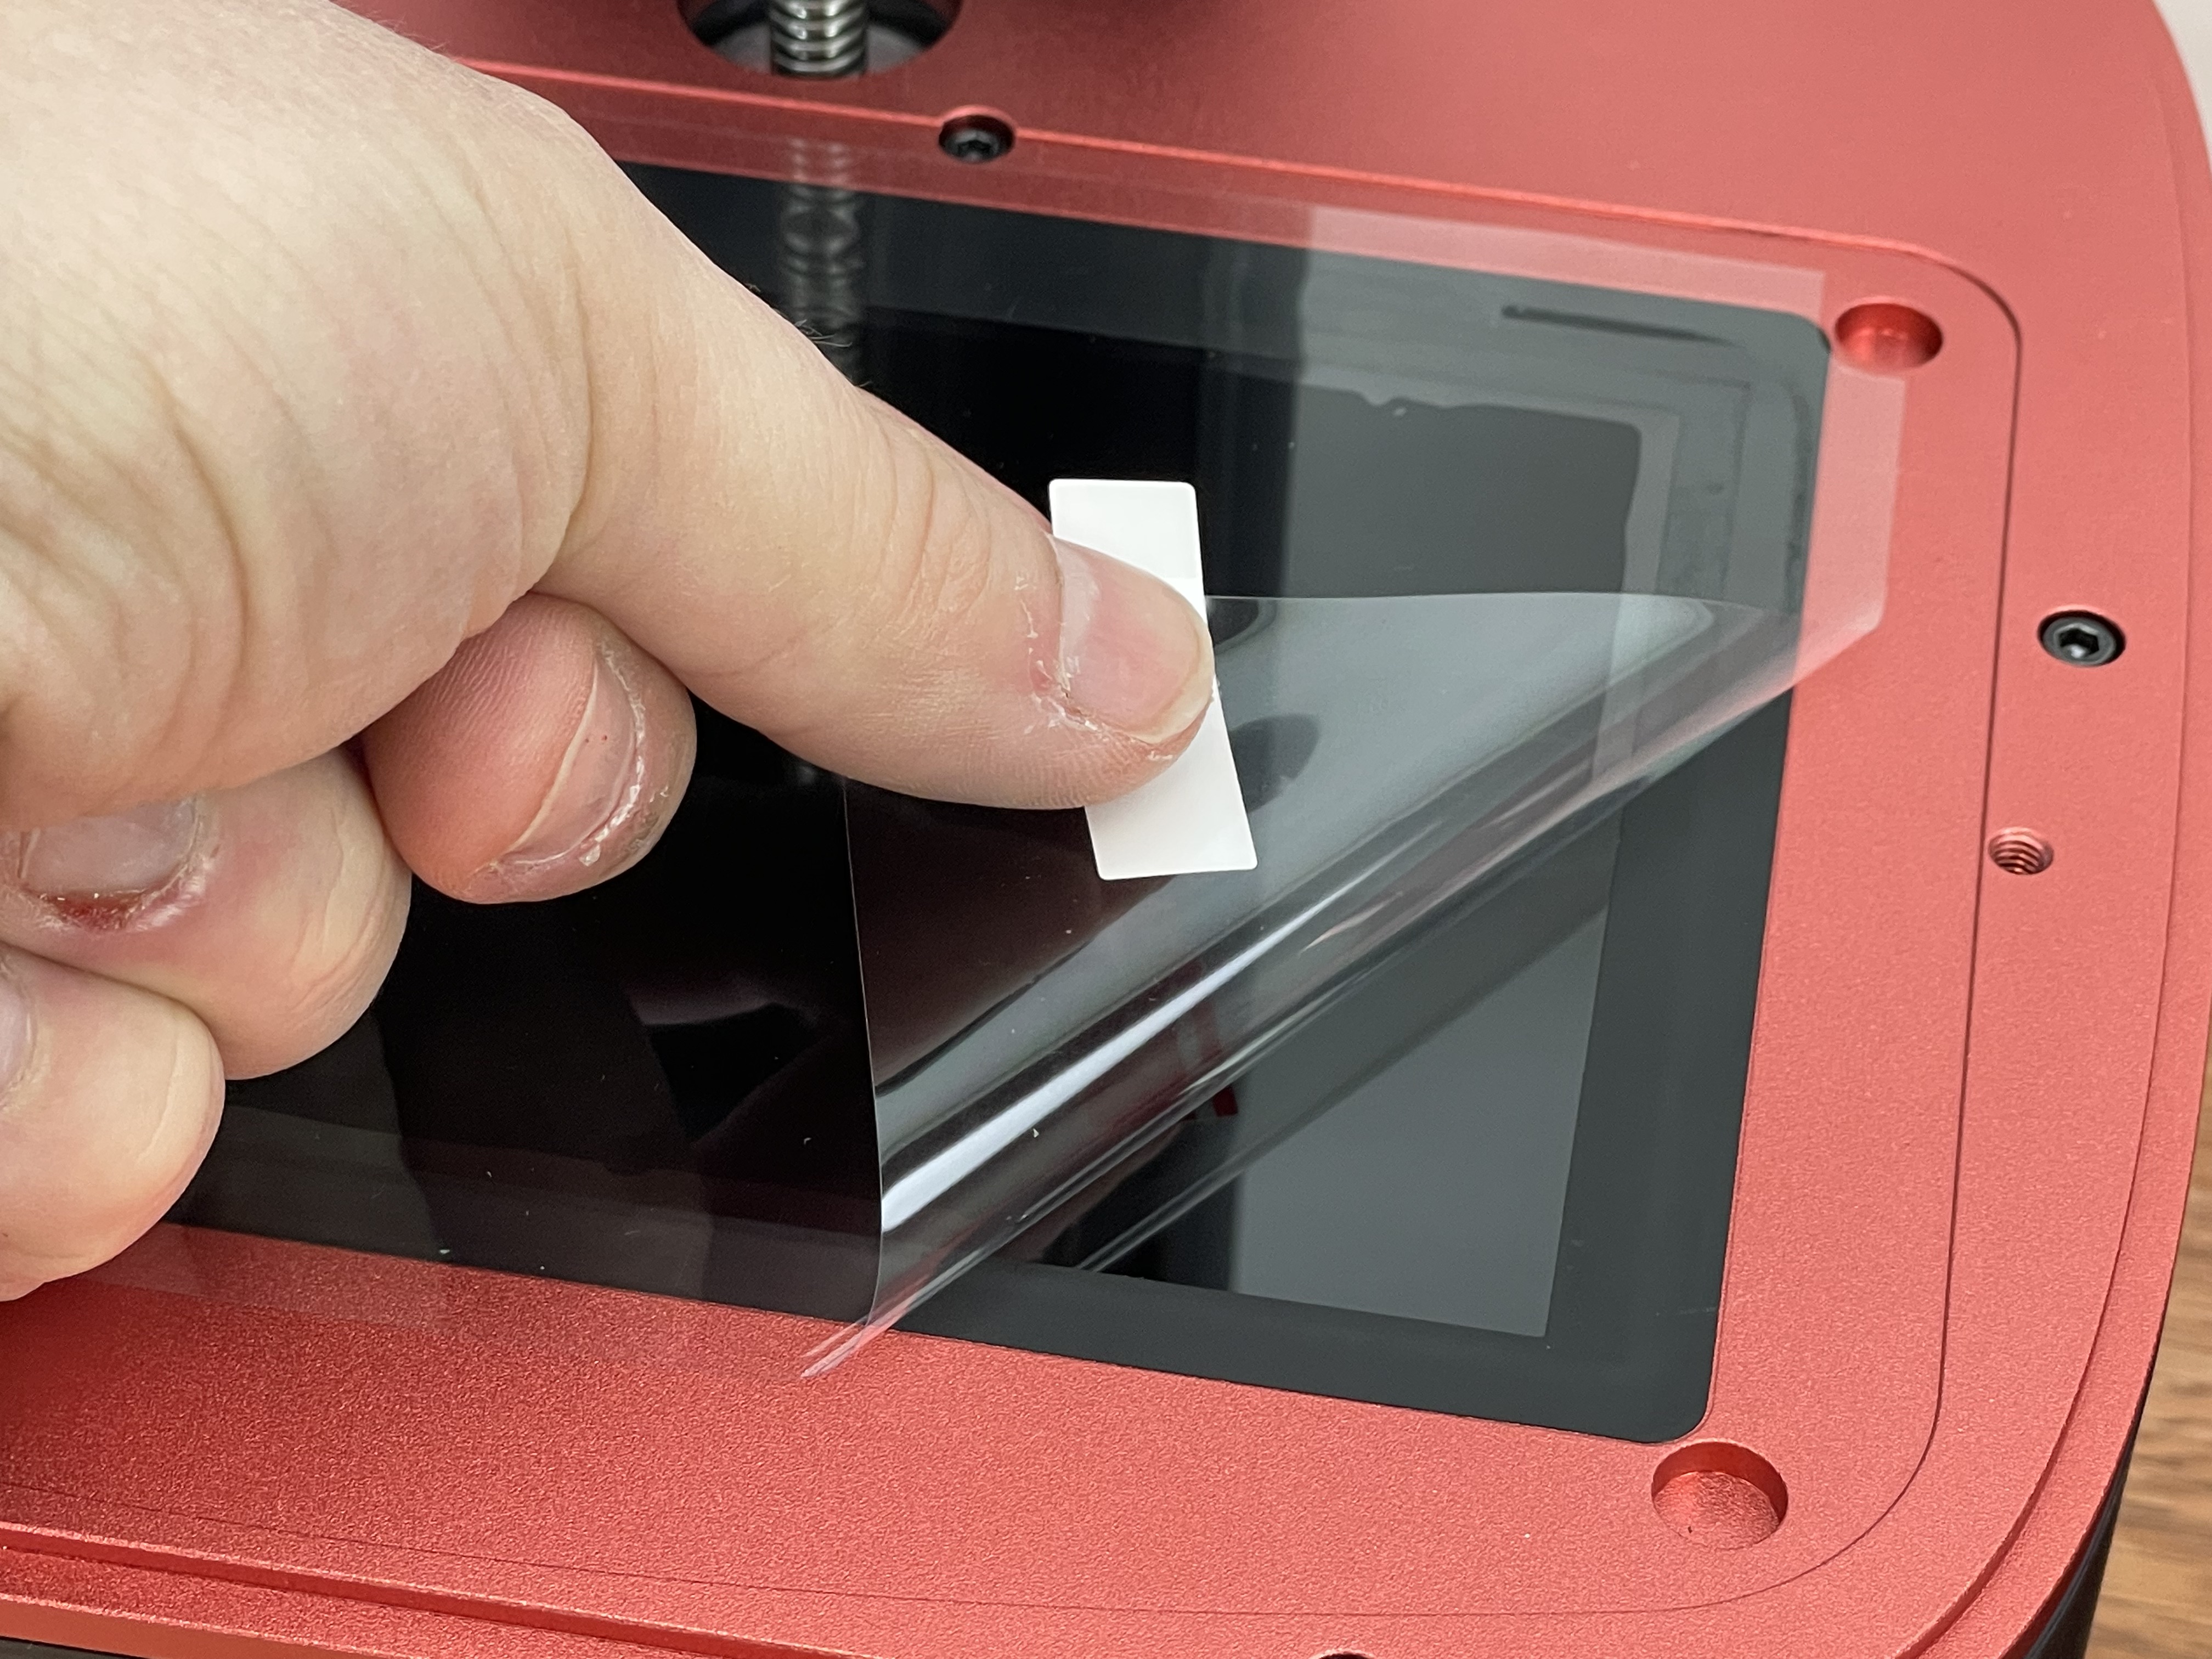
The 4K LCD is the same size and resolution as the one on the Mars 3. However, the newer LCD is now scratch resistant. This means that if you do happen to spill and harden some resin on the display, you at least are more likely to be successful in removing it without scratching the LCD.
Underneath the 4K LCD is a Fresnel Lens which helps to distribute the UV light more evenly. This is the type of lens that is typically used in the backlights of large LCD TVs so that it doesn’t look brighter on one side than the other. This helps prints cure more evenly than they likely would have with earlier models.
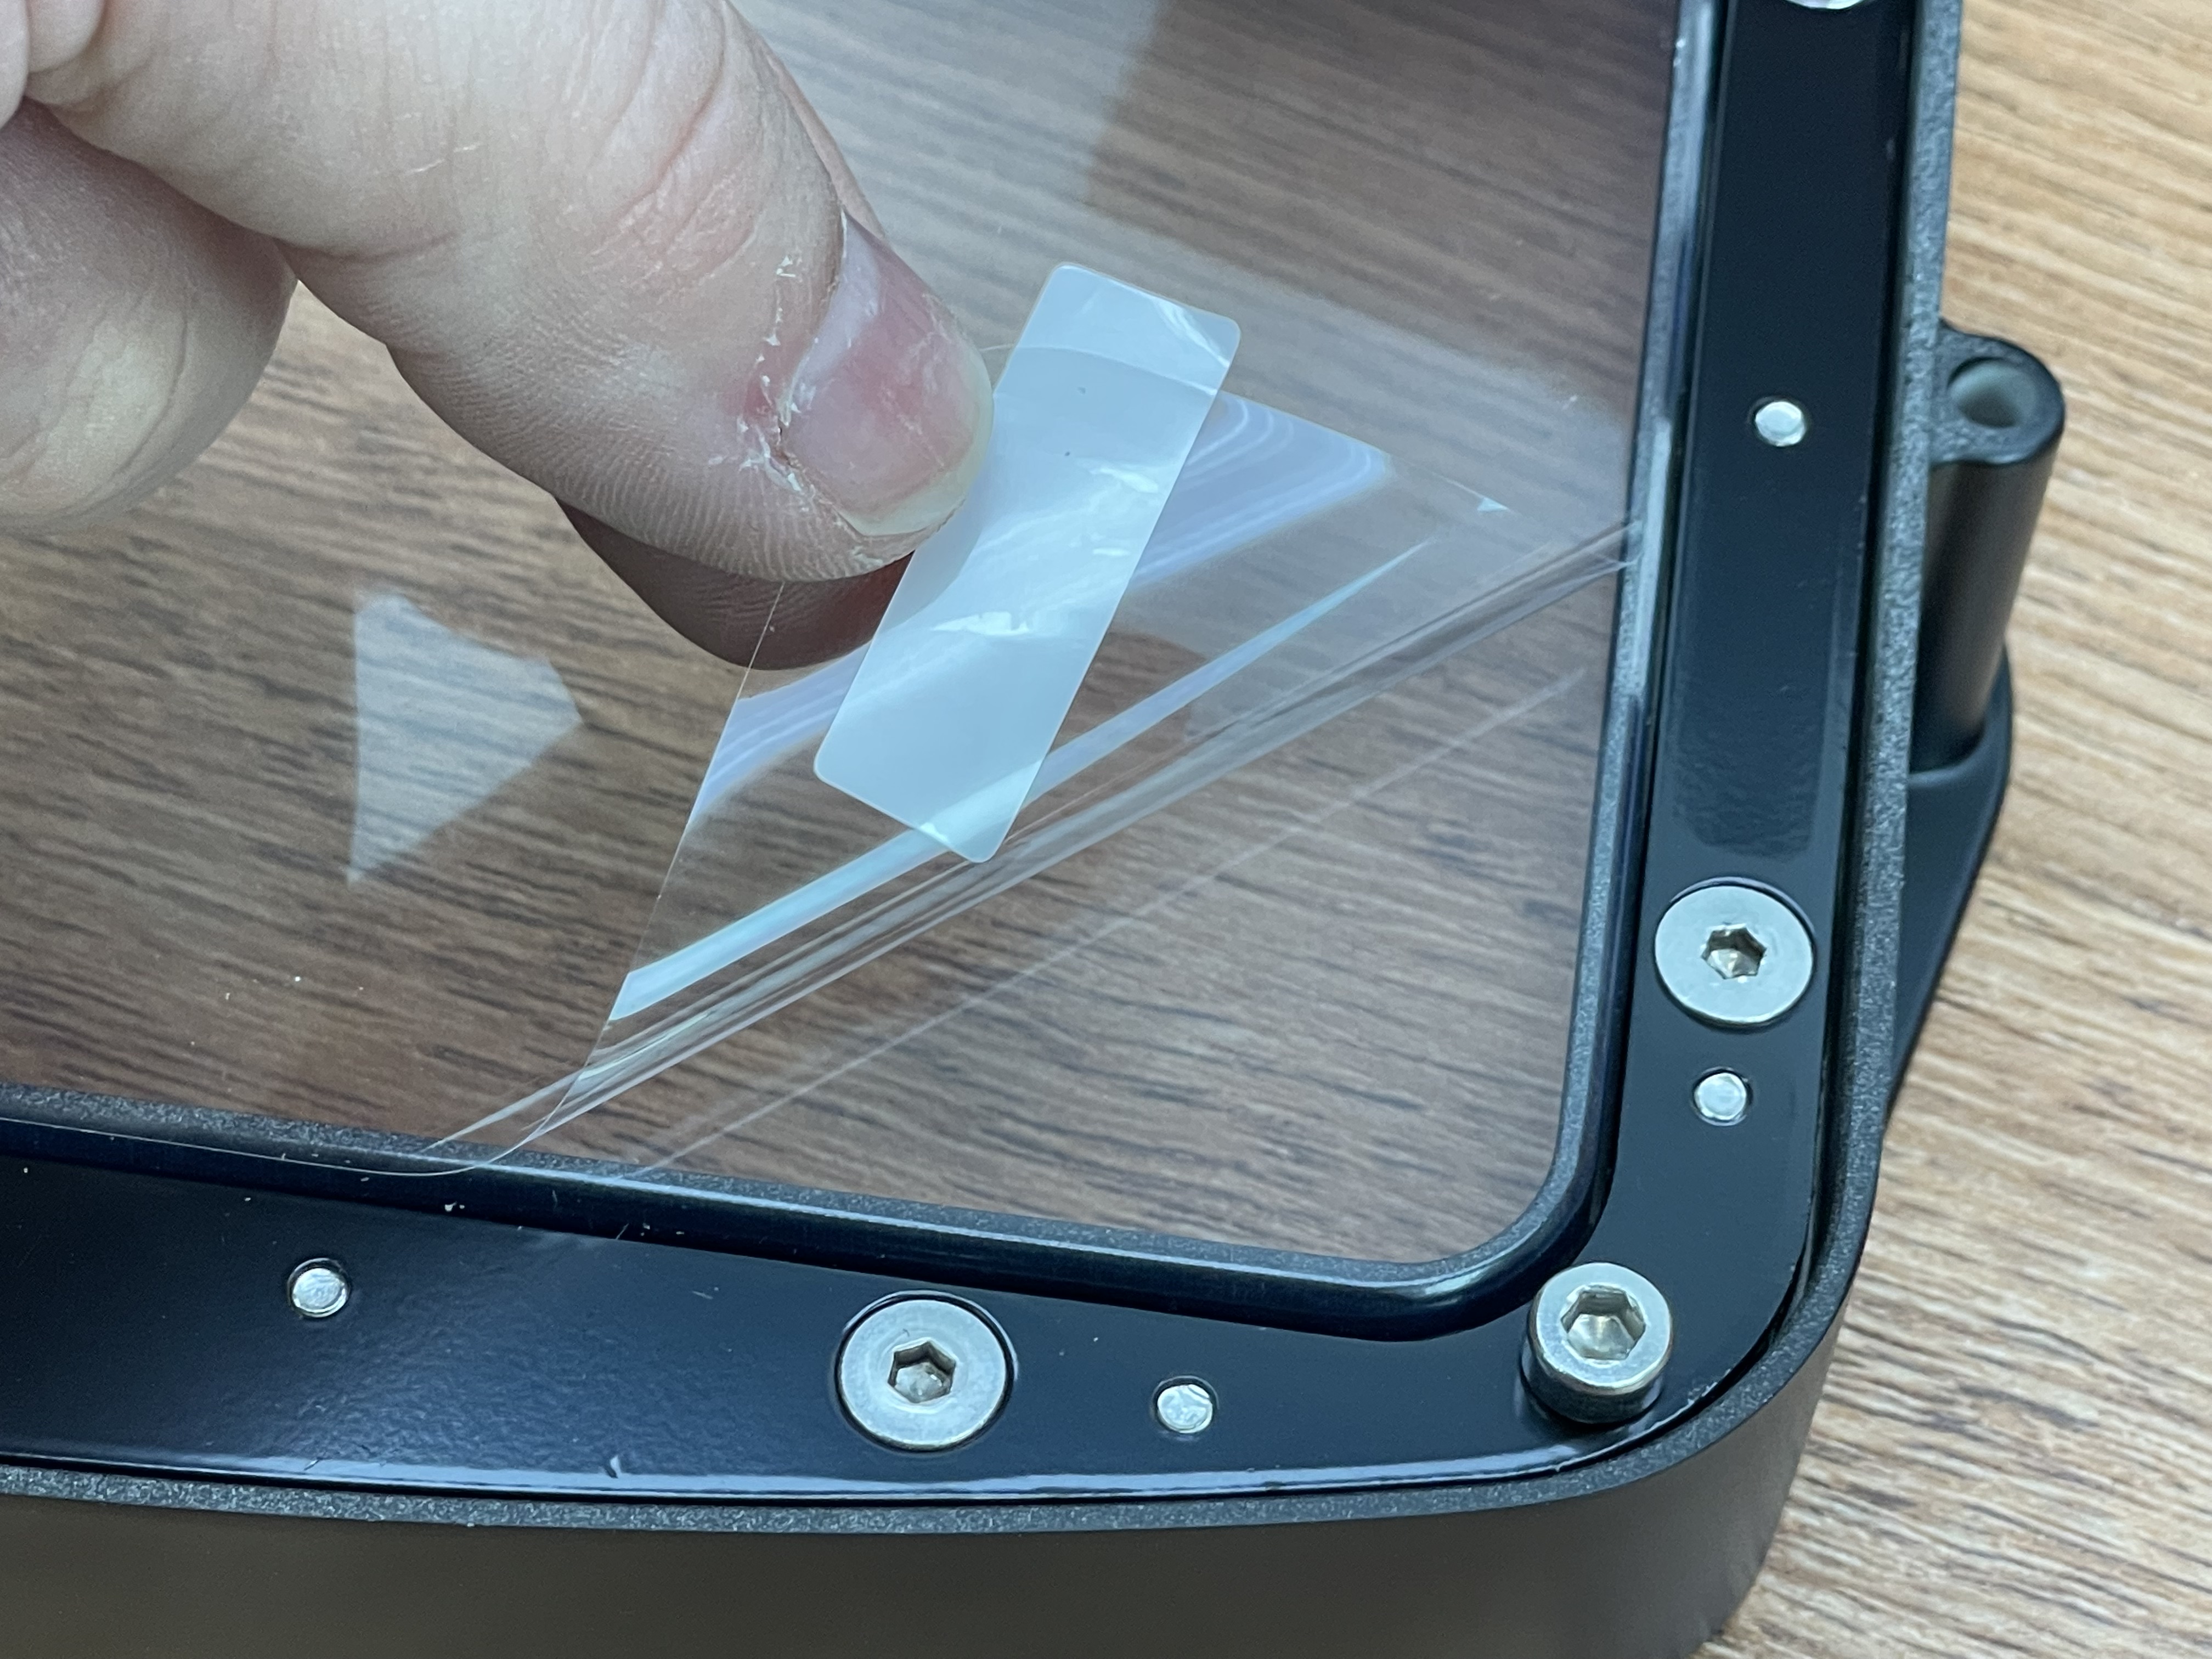
The film sheets are now called PFA Release Liners, which upon doing a bit of research, is the same thing as the FEP 2.0 film included with the Elegoo Mars 3.
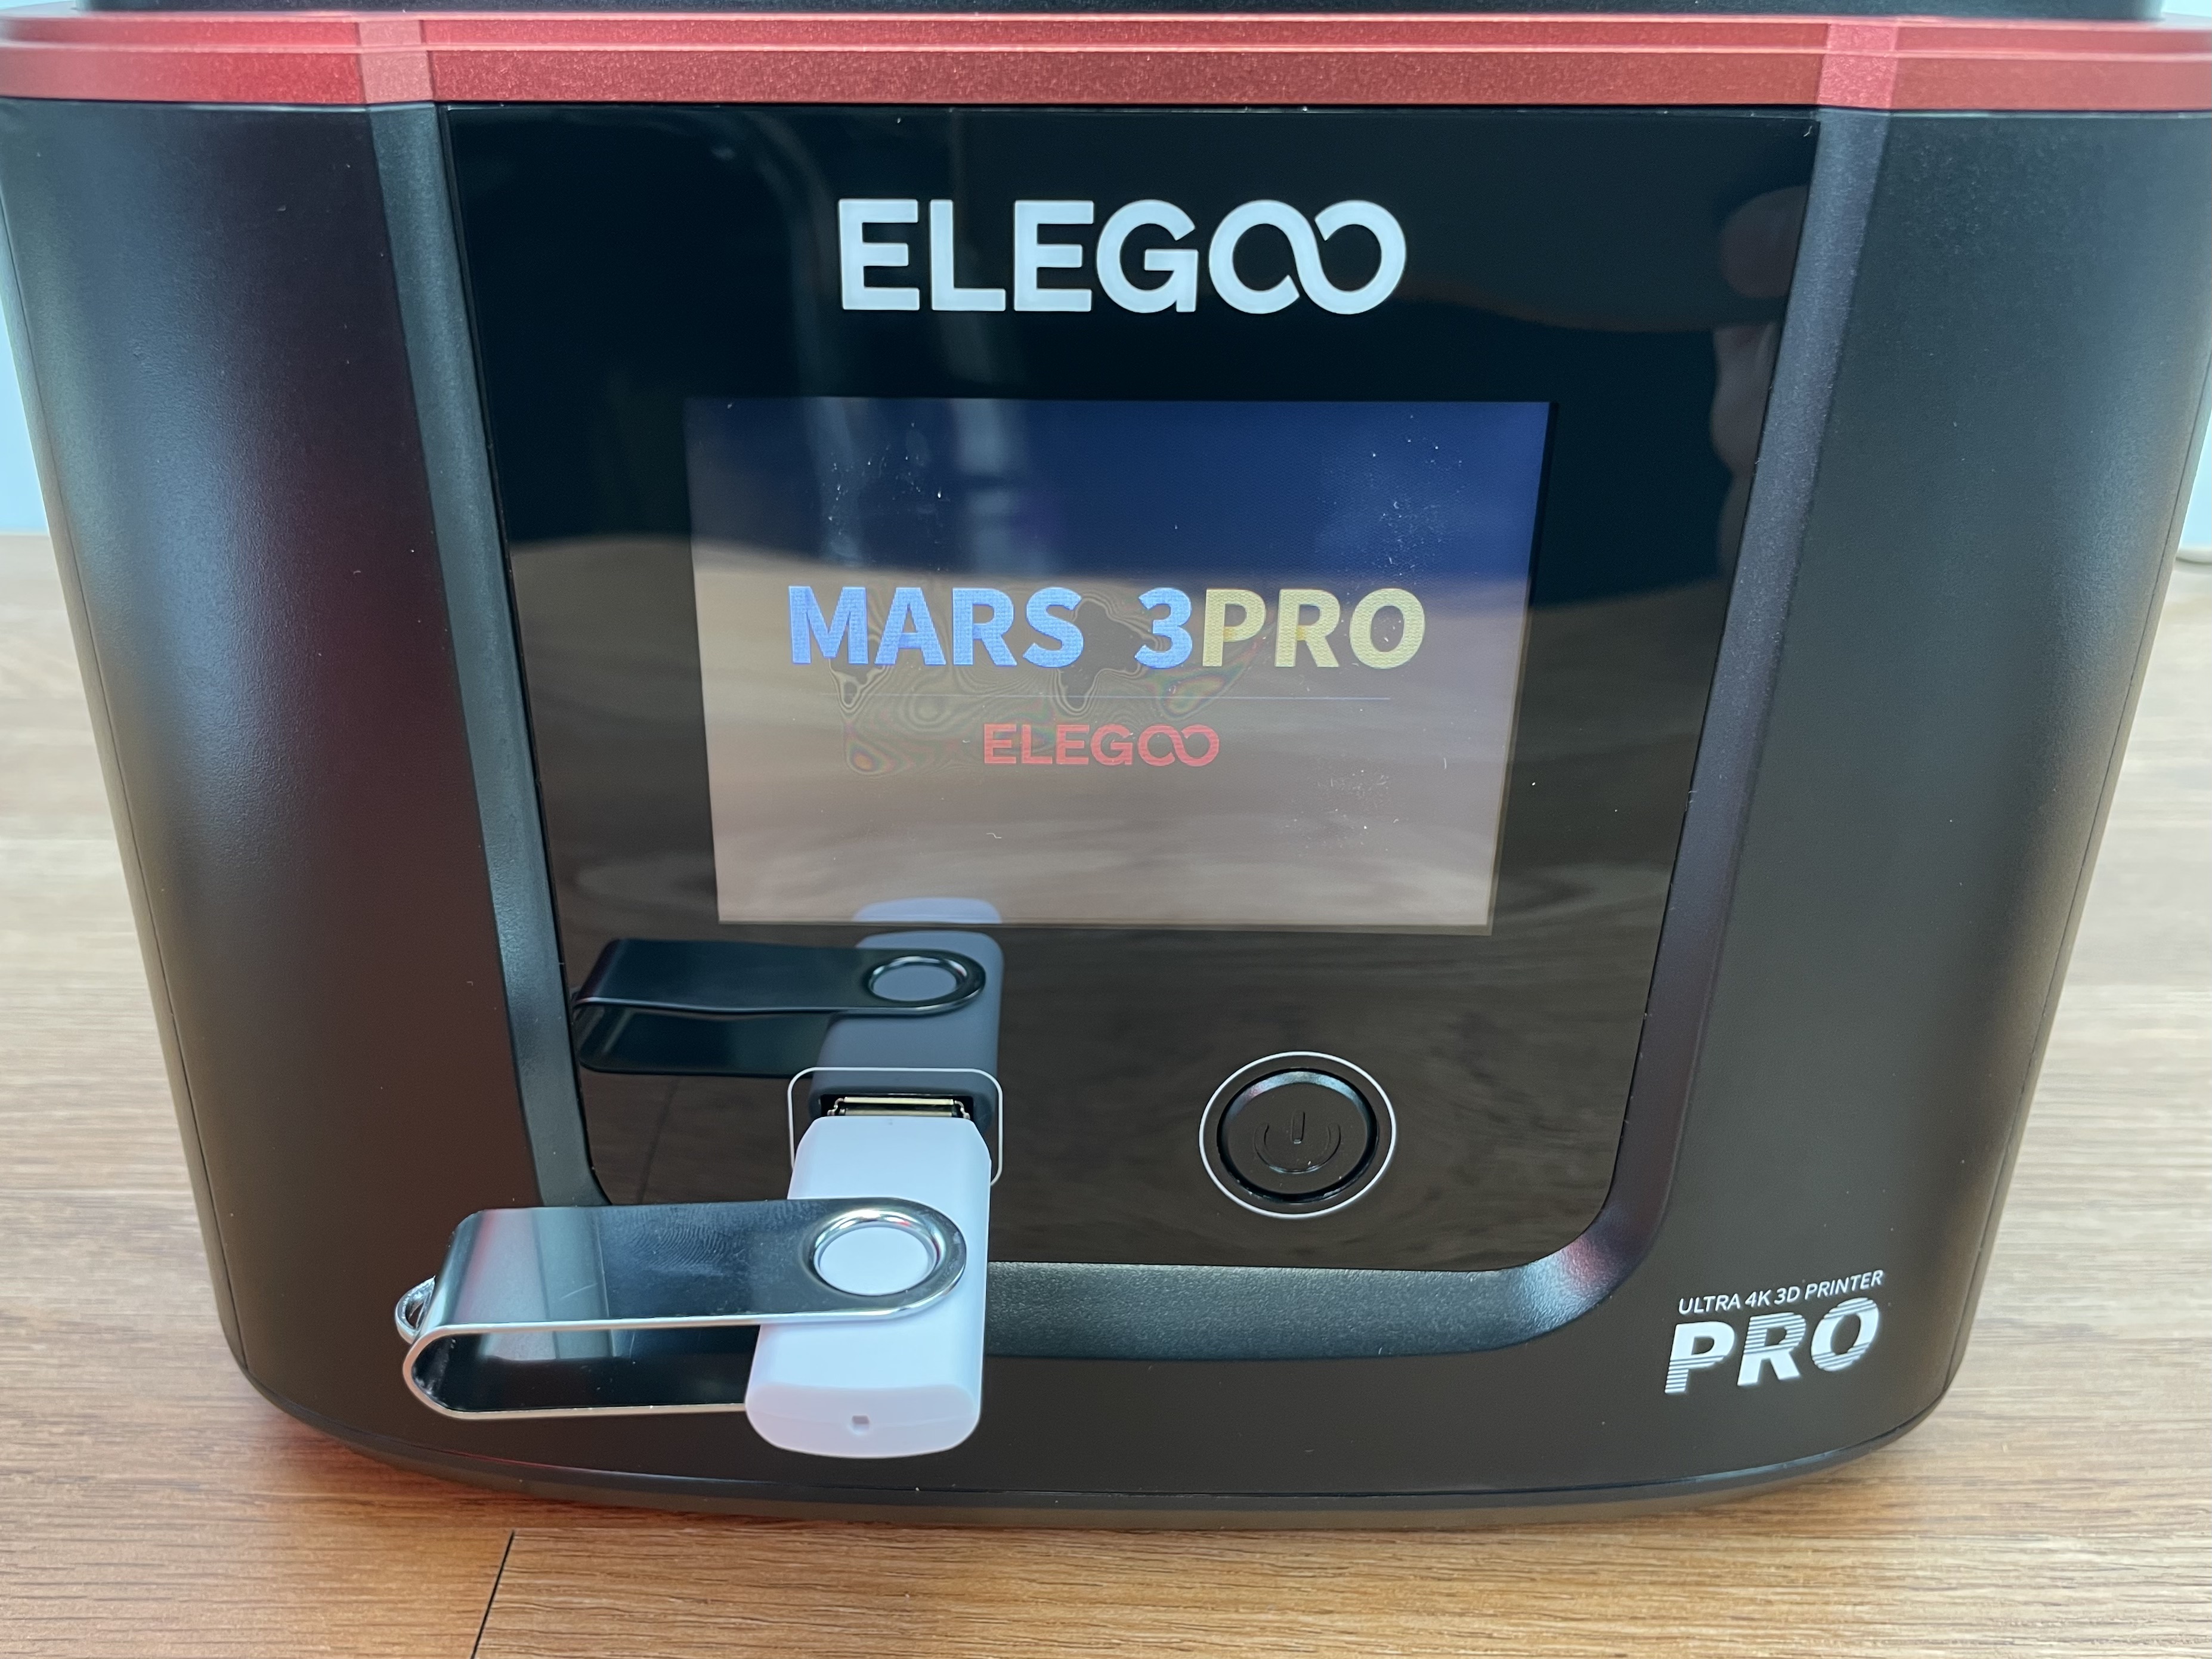
As with the previous Mars 3, both the power button and USB port are in the front, making it very convenient to operate.
Leveling the Build Platform on the Elegoo Mars 3 Pro
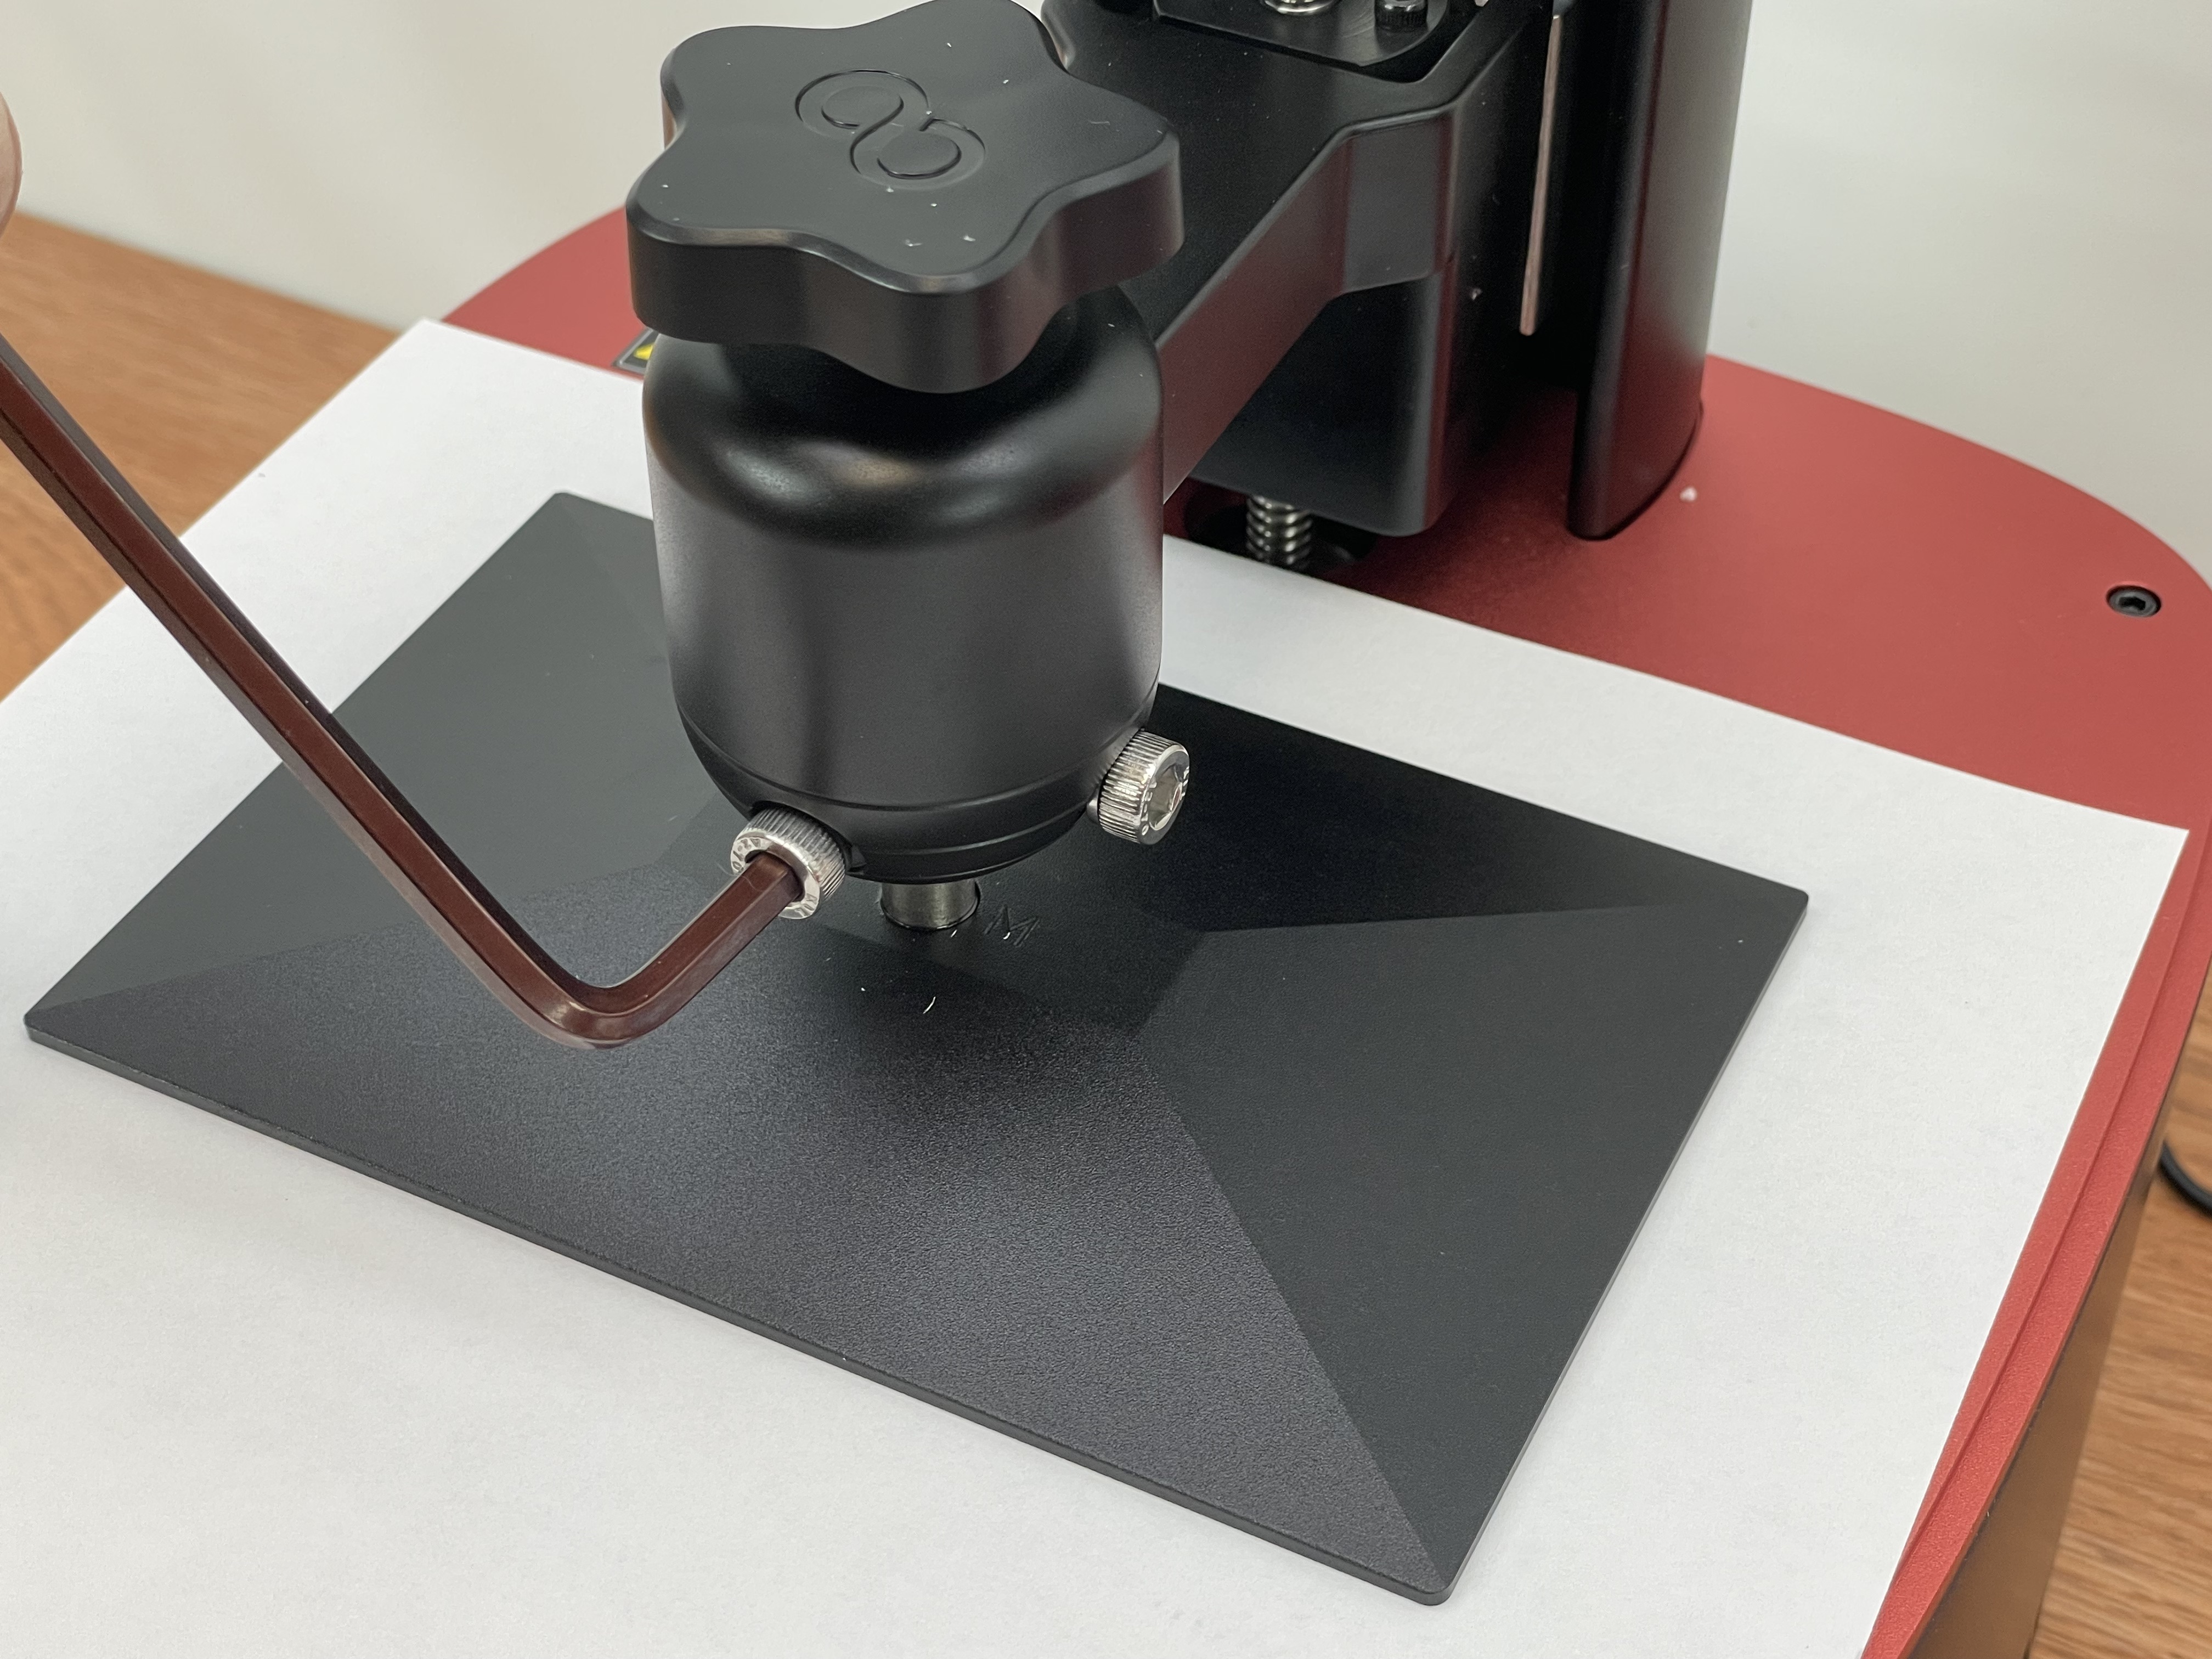
Leveling the printer is pretty straightforward. The first step is to loosen the two thumbscrews on the sides of the resin tank. Then, using the control panel on the front of the printer, make sure the build platform is raised to a sufficient height so that the resin tank can be removed.
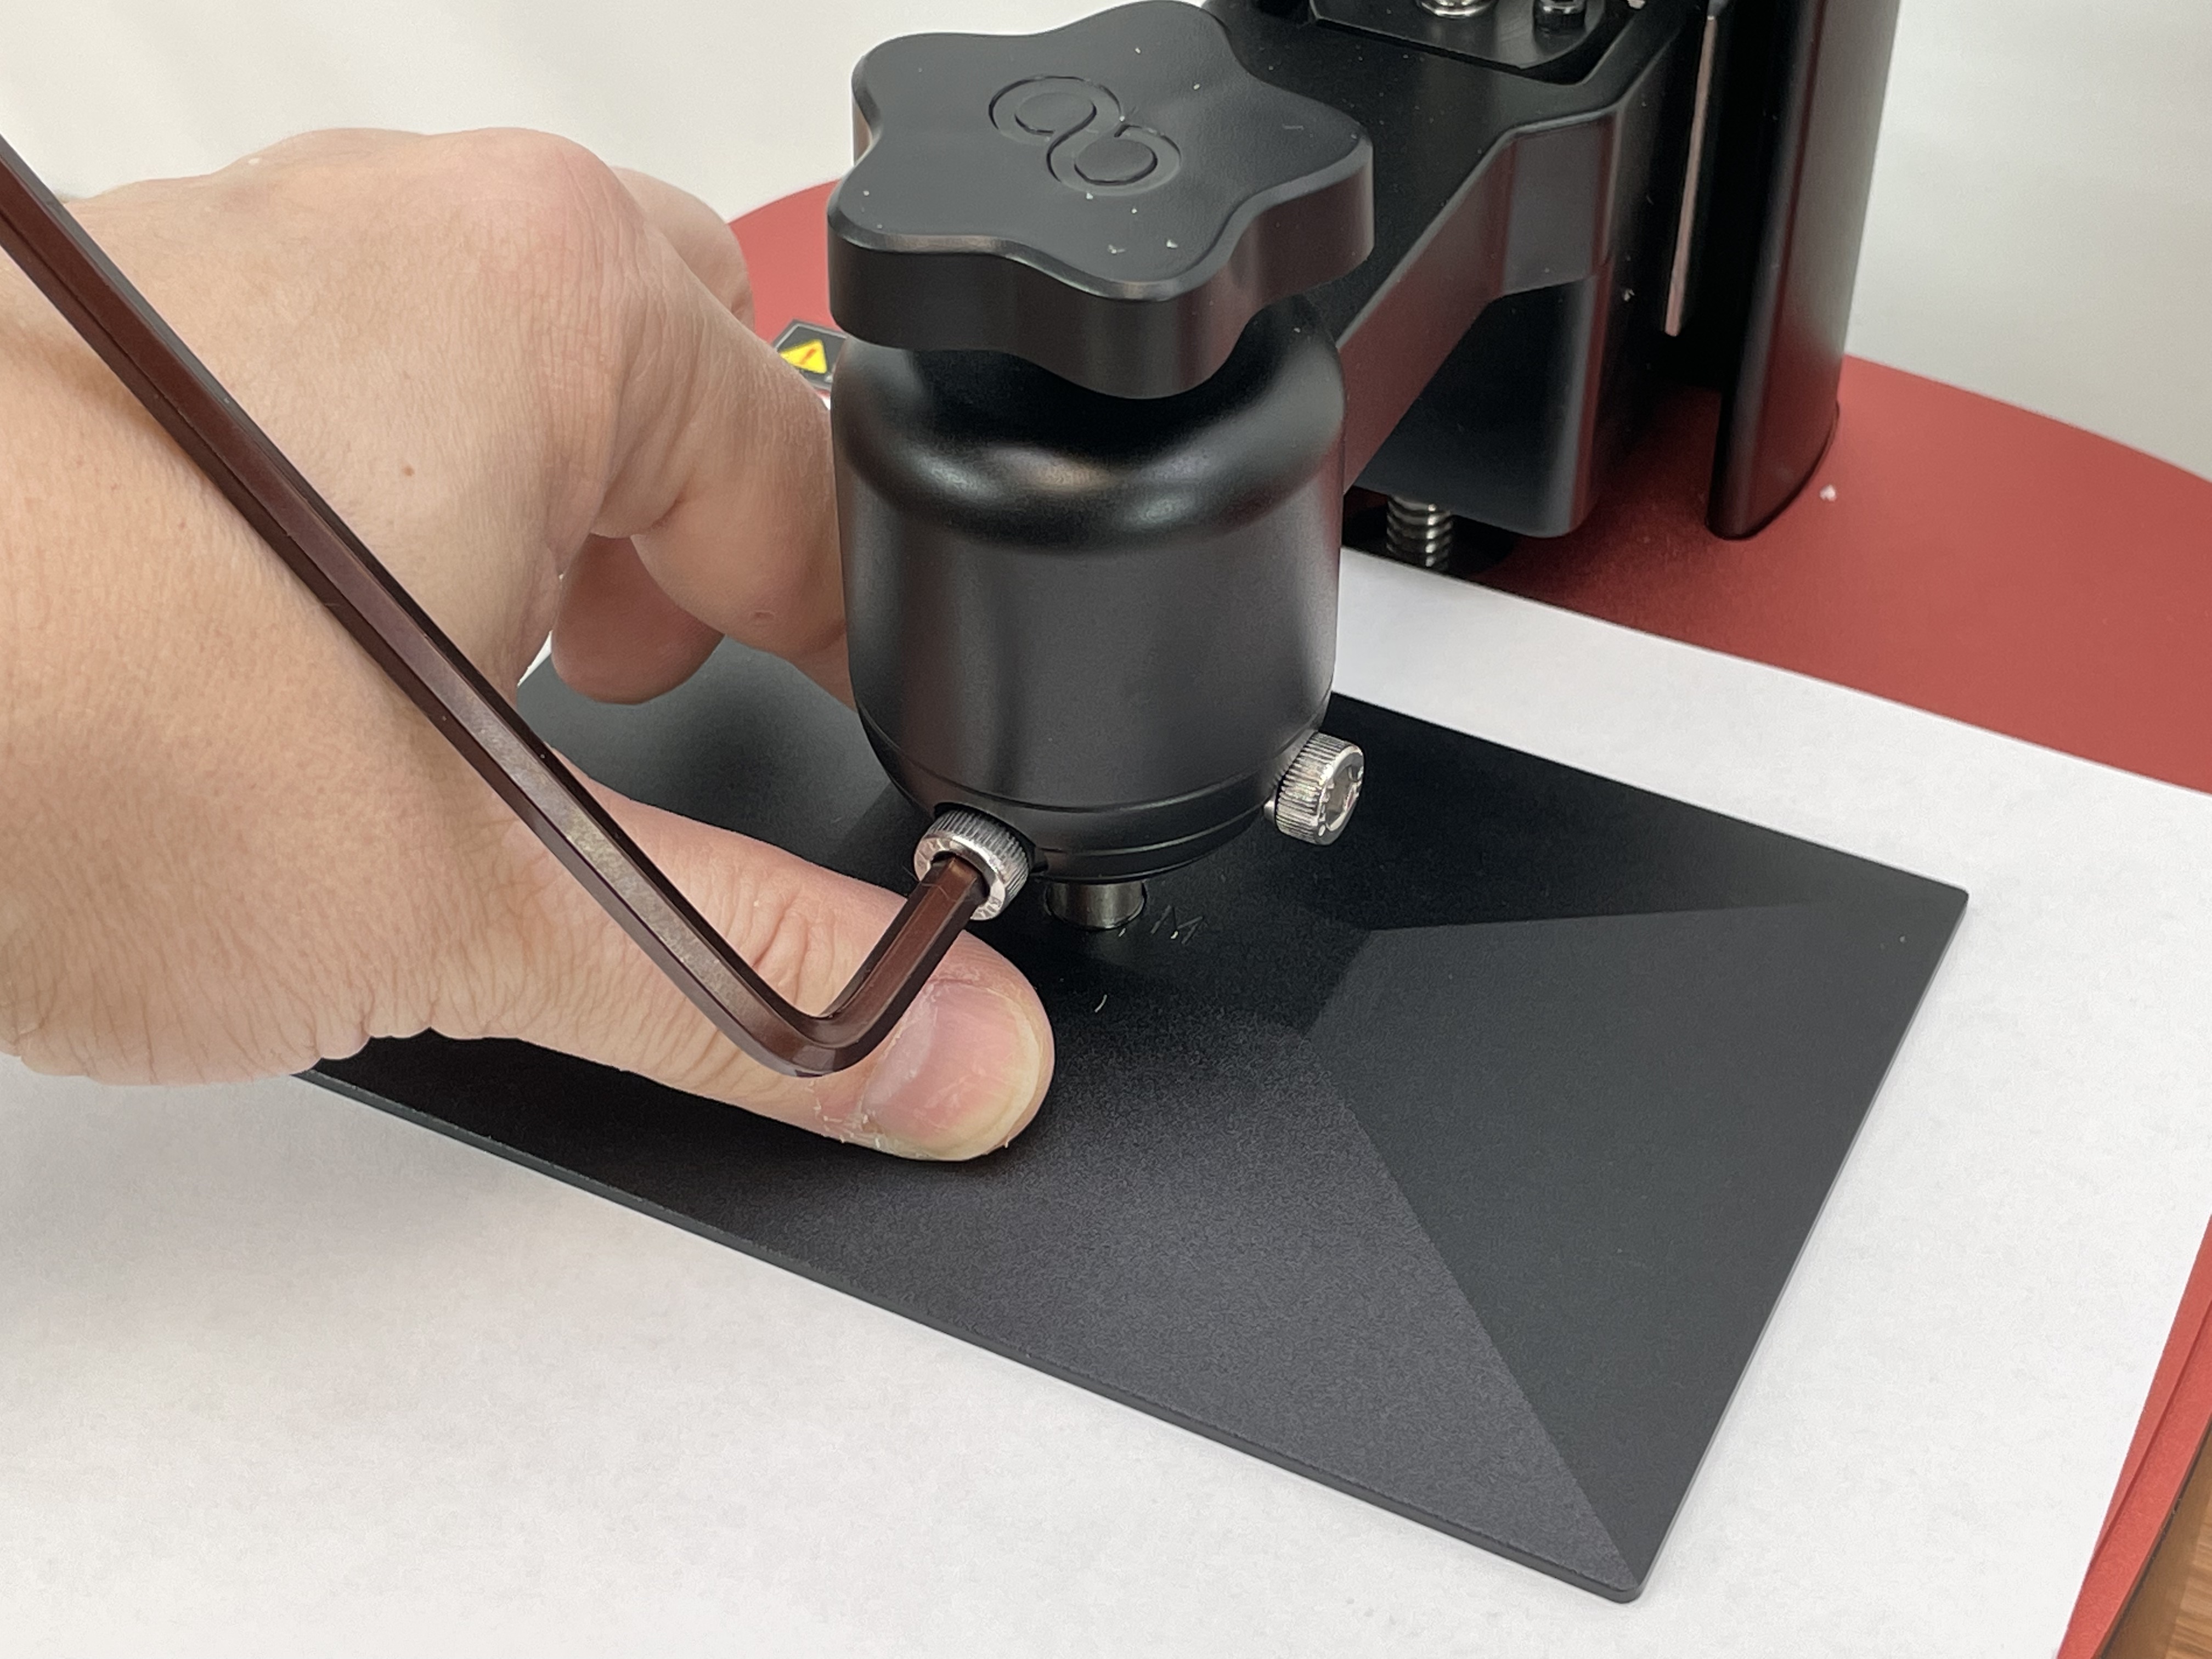
After verifying that the large knob that holds the build platform onto the printer is tightened, use the largest hex key to loosen the two bolts on the front and side just below the knob. Make sure to remove the screen protector from the LCD before continuing, if you haven’t already.
You will need a sheet of standard A4 copy paper. You will want to place that directly on top of the LCD screen. The paper is used to compensate for the thickness of the film on the Mars 3 Pro, which is a bit thinner than the film on its larger siblings.
Next, you will want to press the home button to lower the build platform until it rests squarely above the screen. You can press the home button to readjust the paper if necessary. Once you are happy with the position, hold the build platform with some light pressure against the LCD while you first tighten the front bolt, and then the side bolt.
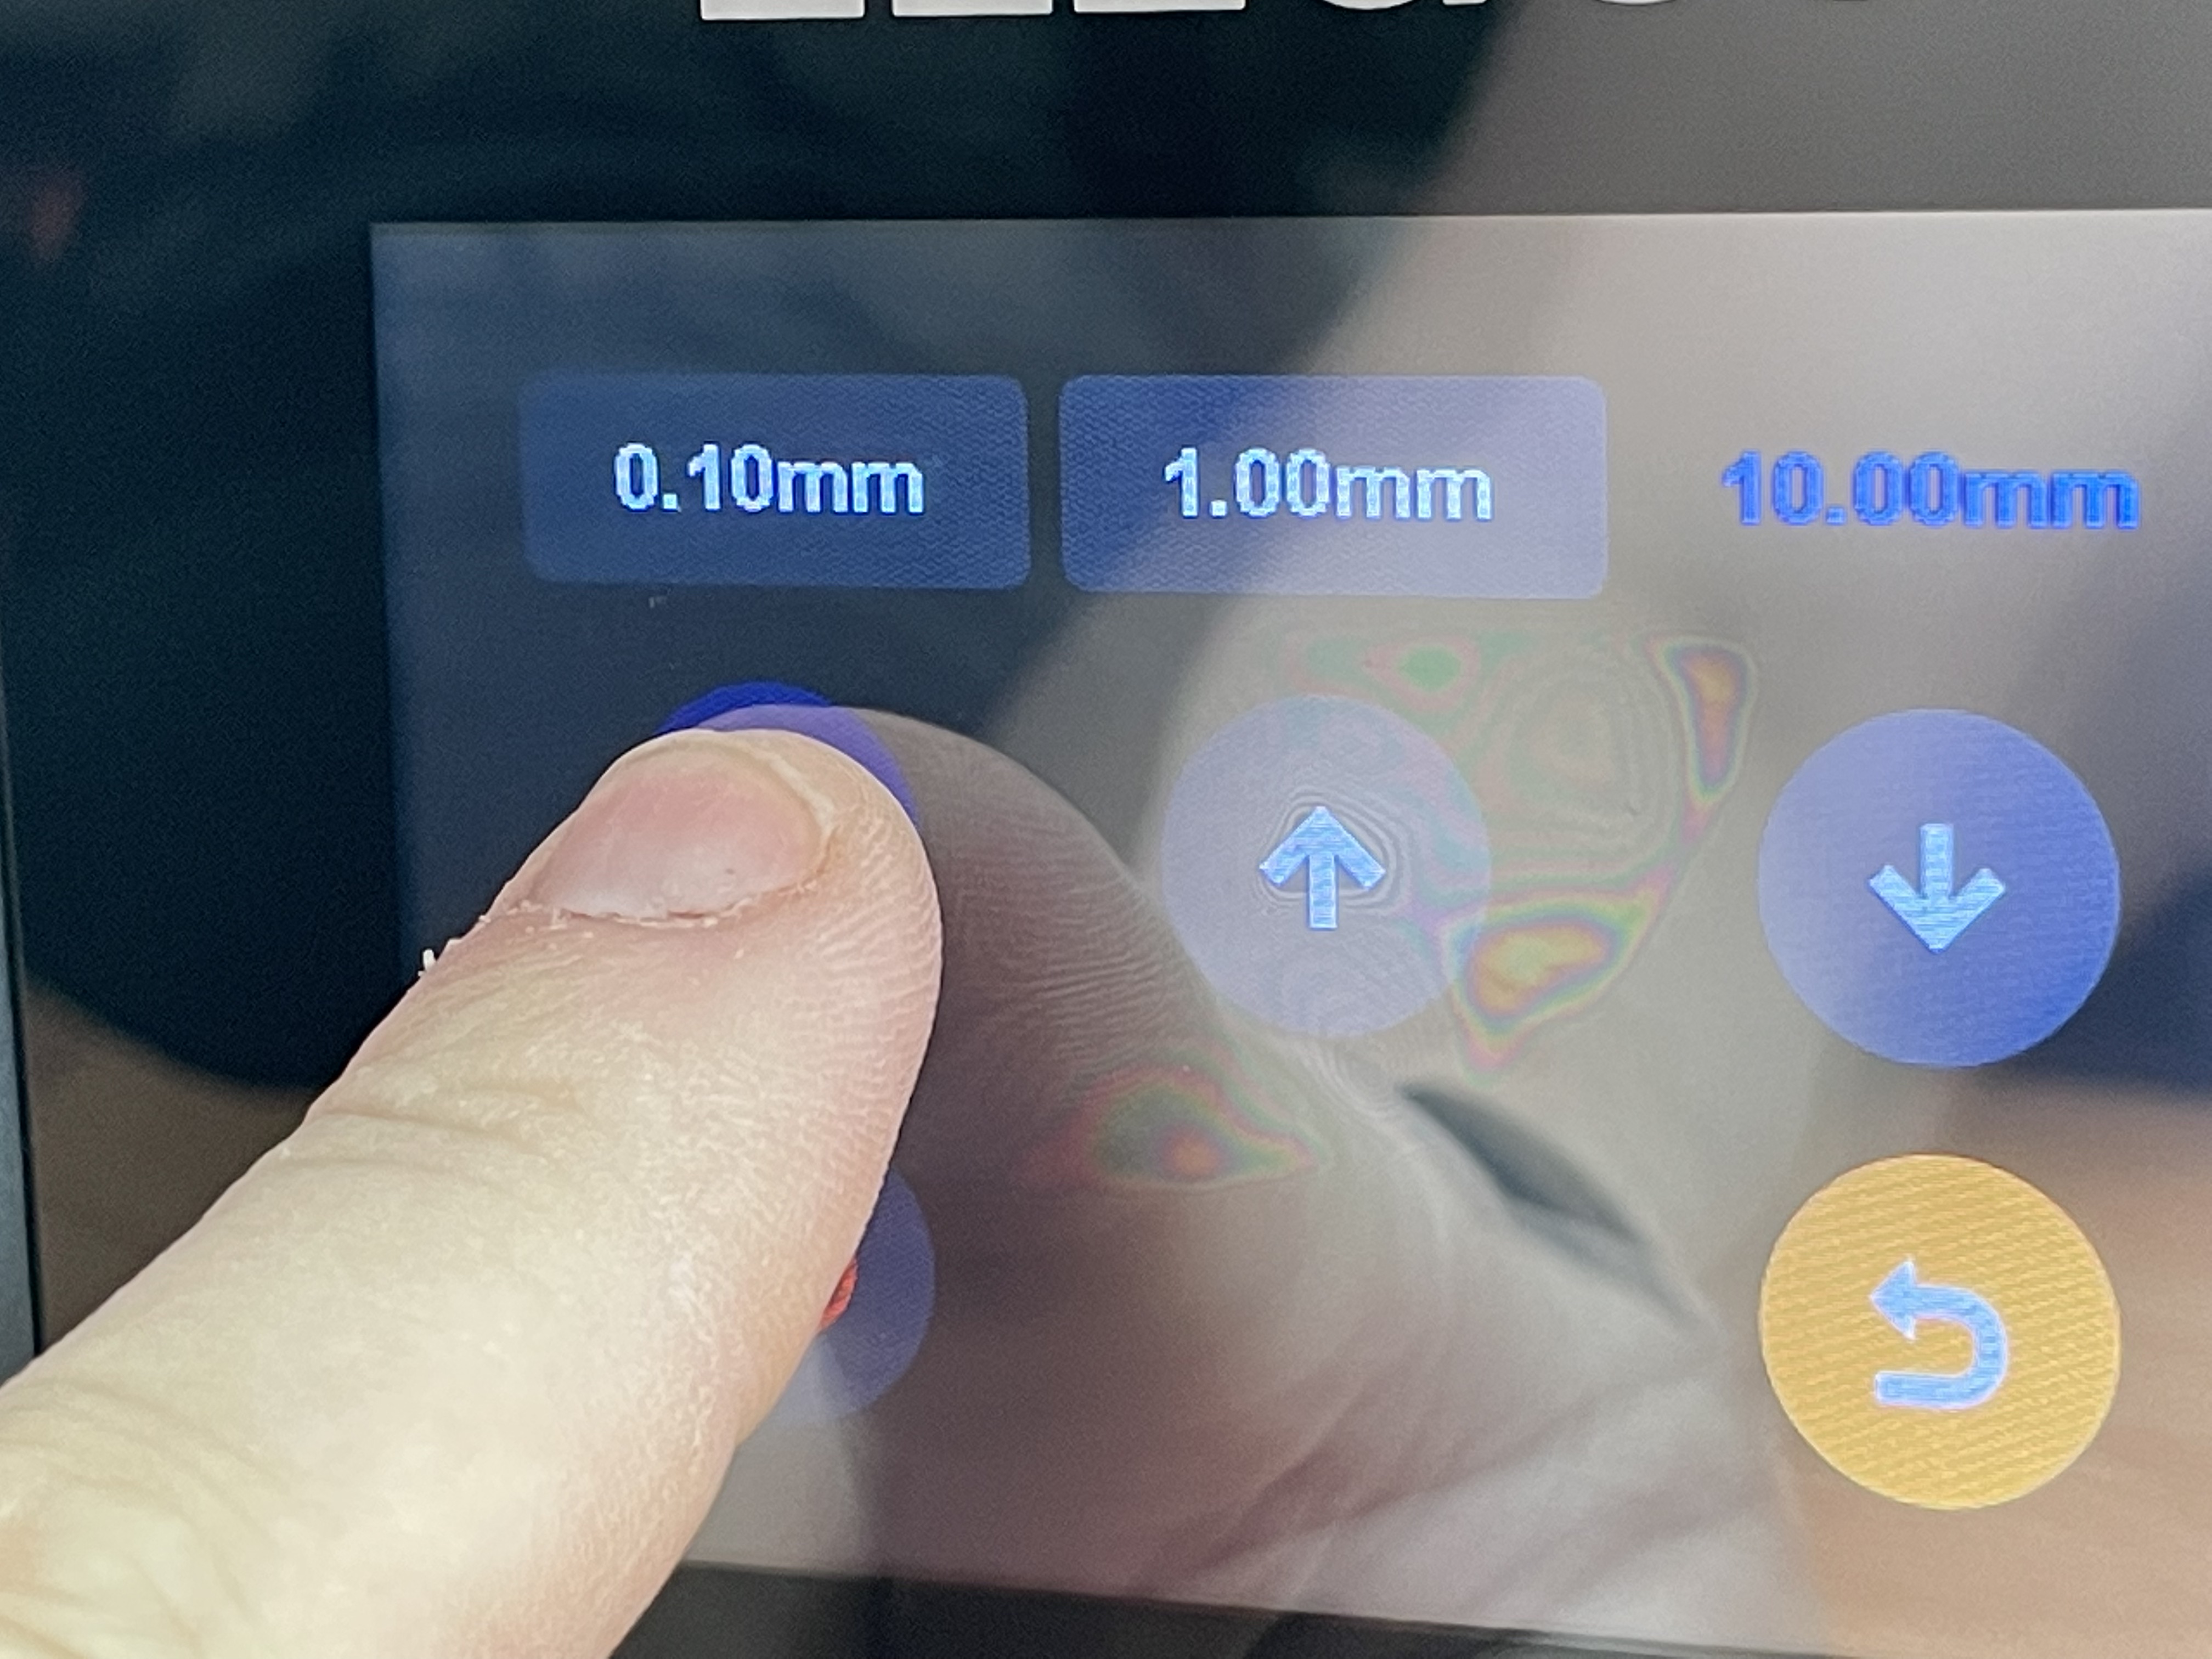
You should now attempt to remove the paper and adjust the height of the build platform in 0.1mm increments if necessary, until you feel a medium to light amount of resistance. If you did adjust the height,
you will want to programmatically lock that in by using the “Set Z=0” option in the menu.
Now you can press the up button until the build platform is high enough to reinstall the resin tank. The platform should now be properly leveled at this point. If you are having trouble with prints sticking to the platform or you notice a flat spot on your printed model after removing it, you may want to try re-leveling the platform.
Printing Safety with Elegoo Mars 3 Pro
With resin printing, you will want to print in a well ventilated area that’s still out of the way of any UV radiation such as direct or indirect sunlight. Even with the low odor resins, the fumes can still be toxic. You will also want to make sure you are wearing gloves to avoid directly contacting your skin with the resin.
One thing that is discussed a bit less often is exposure to UV light. With the Elegoo Mars 3 Pro, I tested whether removing the cover would automatically turn off the UV light source and unfortunately found it continues to emit UV light. Although it’s likely not that it’s not any stronger than sunlight, it is best to avoid looking directly at a UV light source or exposing your skin to it. Most of the time the resin will be covering up the UV light source anyhow, so this isn’t really much of an issue, but it is something to be aware of.
Printing Included Test Prints on the Elegoo Mars 3 Pro
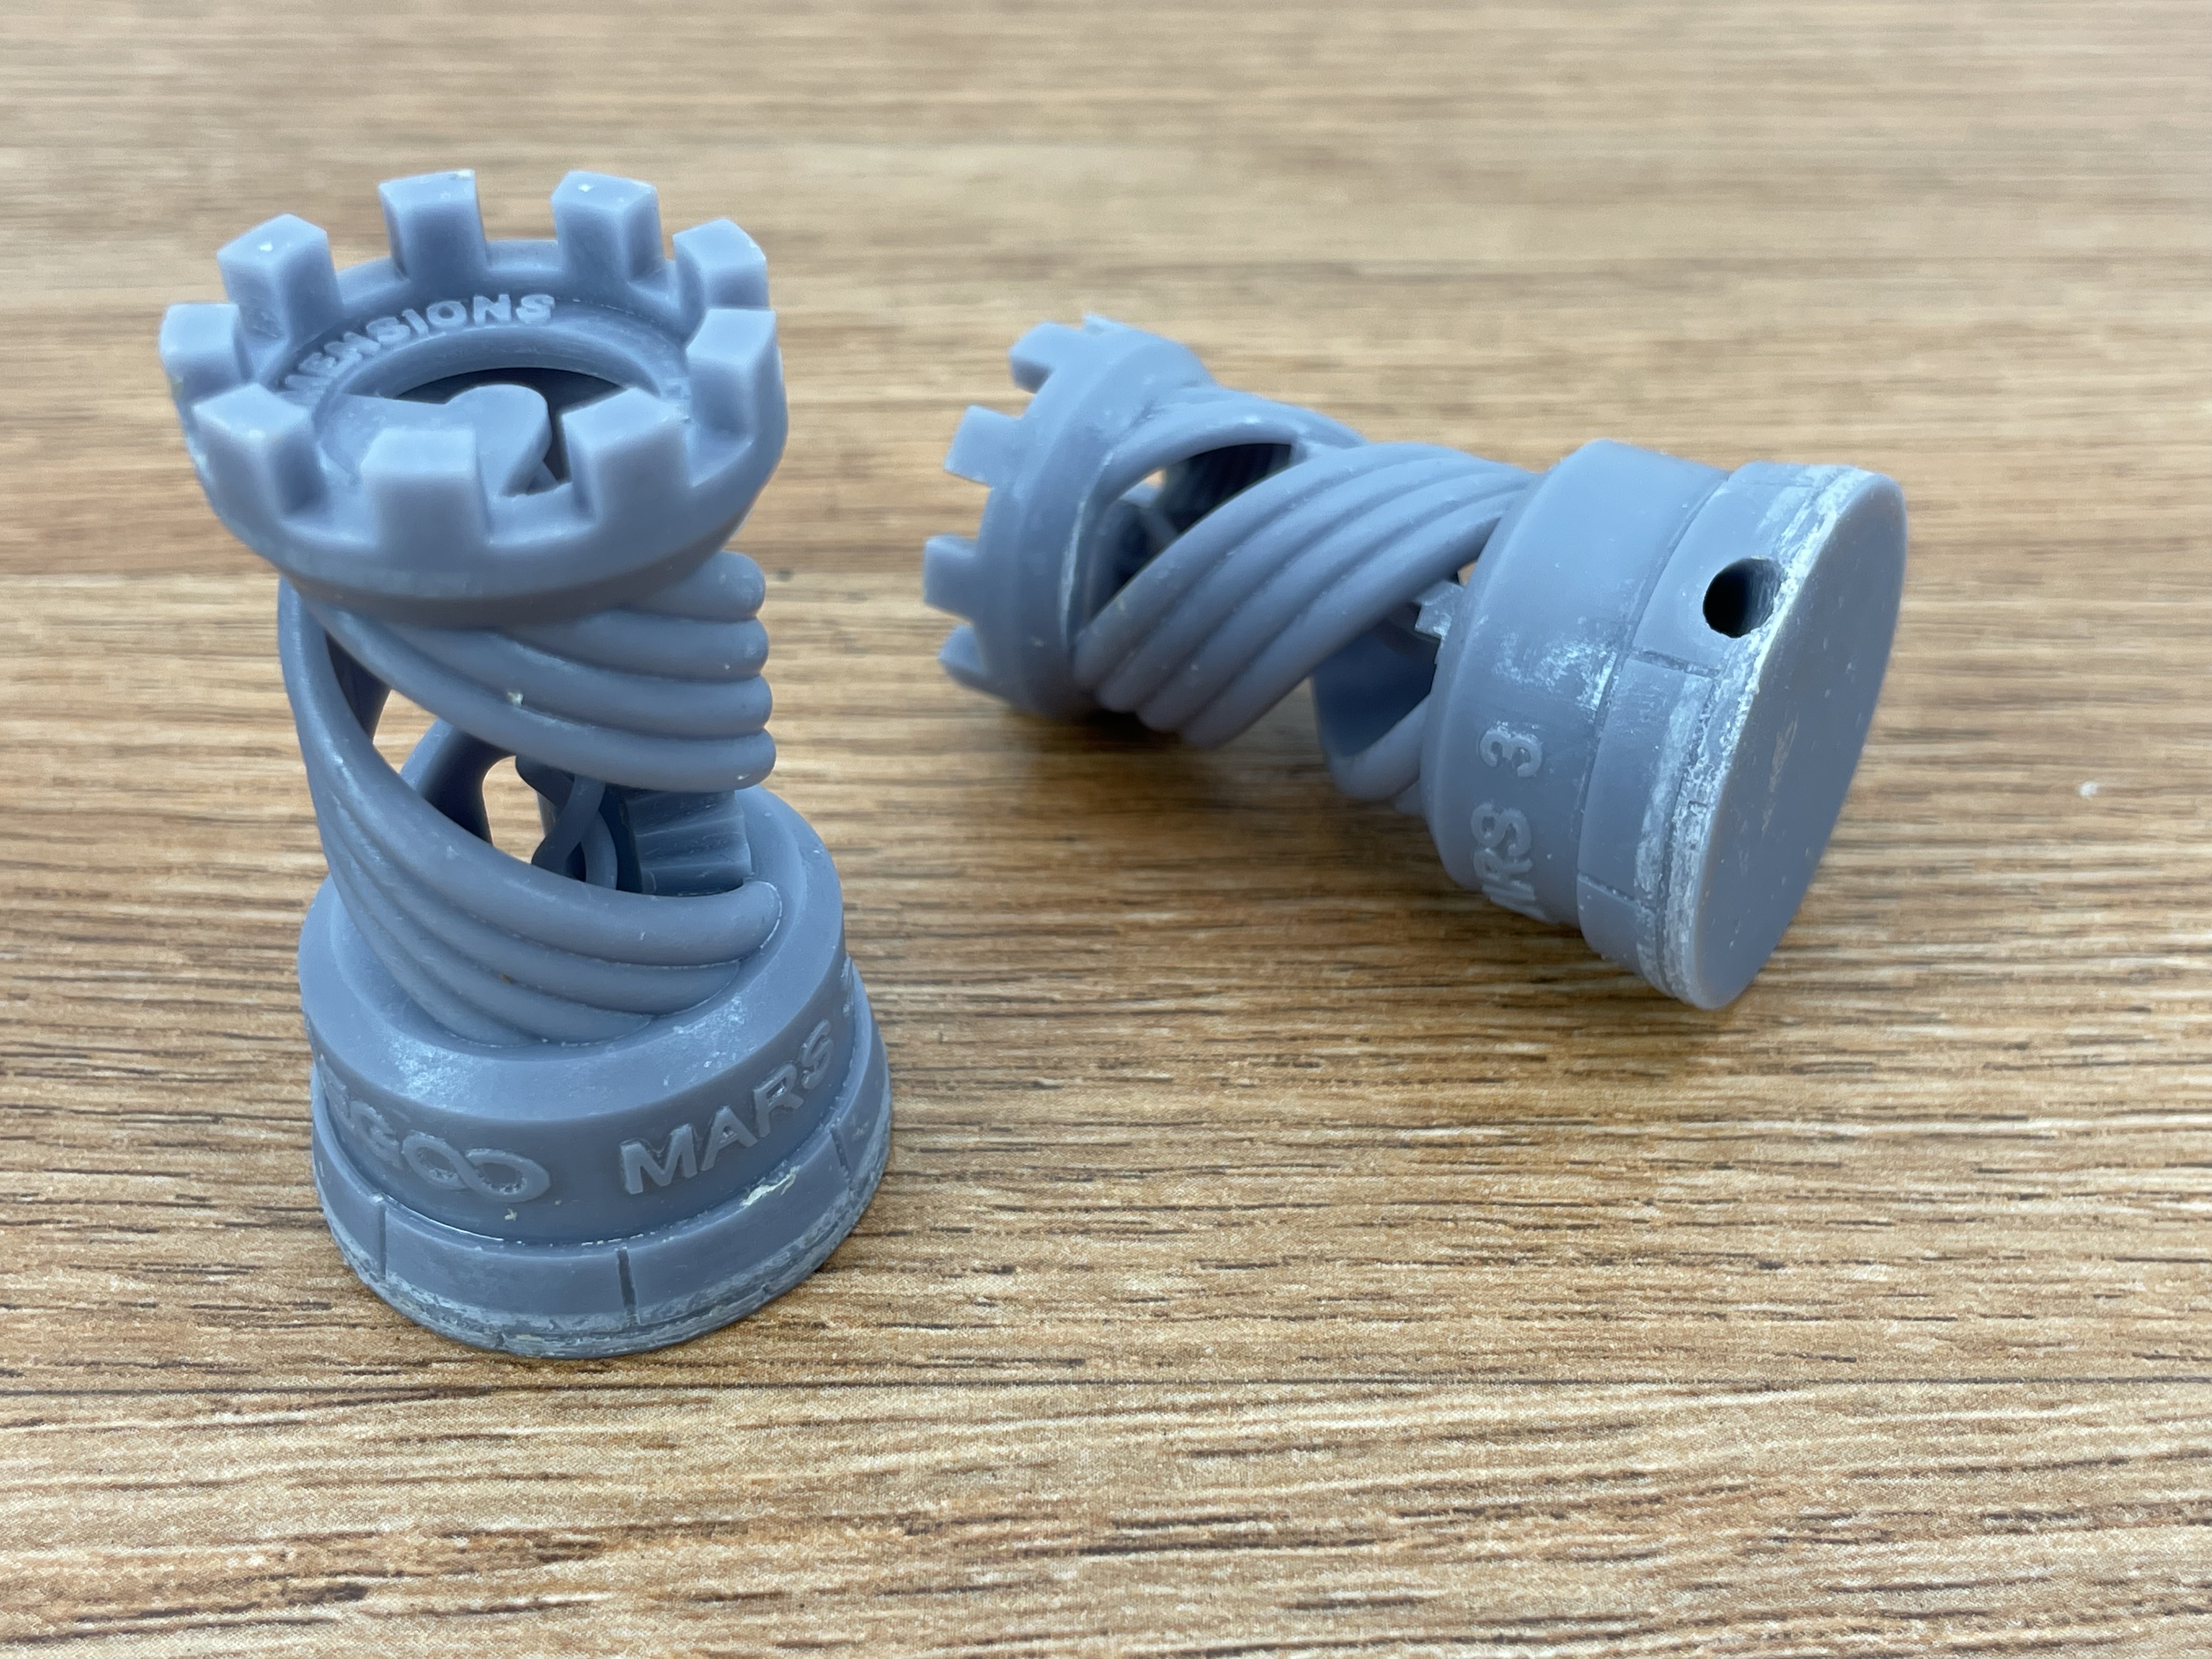
Test prints allow 3D printer manufacturers to demonstrate the printer’s strengths. Having the prints pre-sliced is a bit of a double-edged sword. On one hand, the manufacturer can choose the best settings for the printer, but on the other hand, the manufacturer is making a guess about the specific resin that new users will be using to produce the test prints. In typical Elegoo fashion, the test print that comes with the Mars 3 Pro is a pair of rooks.
With some of Elegoo’s earlier printers, this guessing has yielded softer prints that were often easily gouged with the spatula upon removal. It appears that the company has increased the exposure time recently, so while it takes a bit longer, the model is less likely to be damaged.
Printing the test prints is pretty simple. Just insert the USB memory stick into the USB port on the right side of the printer, select the Print option from the main menu, open the “ELEGOO MARS 3 Rook Model for Printing” folder, and select the Rook Test Print Model. There is also an STL version of the model if you would like to try slicing it yourself with Chitubox.
Preparing Files for Printing with Chitubox
If you are familiar with Elegoo’s previous offerings, you may recall that the Elegoo Mars 3 included a one year subscription of Chitubox Pro. Ironically, the Pro version of the printer doesn’t include this, so we’ll be covering Chitubox Basic.
After you have Chitubox Basic installed, whether from the included USB memory stick or by downloading it from the internet, the first thing you’ll want to do is to add a new printer in the software. The Elegoo Mars 3 Pro is already a preset, which makes setup a breeze. One thing you will want to check is the exposure times on the resin you will be using. I ended up needing to increase the exposure time quite a bit for the water washable resin because the default values left the resin a little too soft, while I only had to increase it slightly for the low odor resin. You also will have an opportunity to adjust these values when you go to slice your model. Anytime you change the brand or type of resin, you will want to make sure these numbers fall into the recommended range on the bottle.
After you have your printer all set up, you can load a model for slicing. Slicing with a resin printer is quite a bit different than slicing with a traditional FDM printer. Since the model is printed upside down and is using liquid resin, there are additional things you need to take into account such as resin drainage, the weight of the item you are printing so it doesn’t fall off the build plate, and even where the supports attach so that when they are removed, you don’t remove any delicate details.
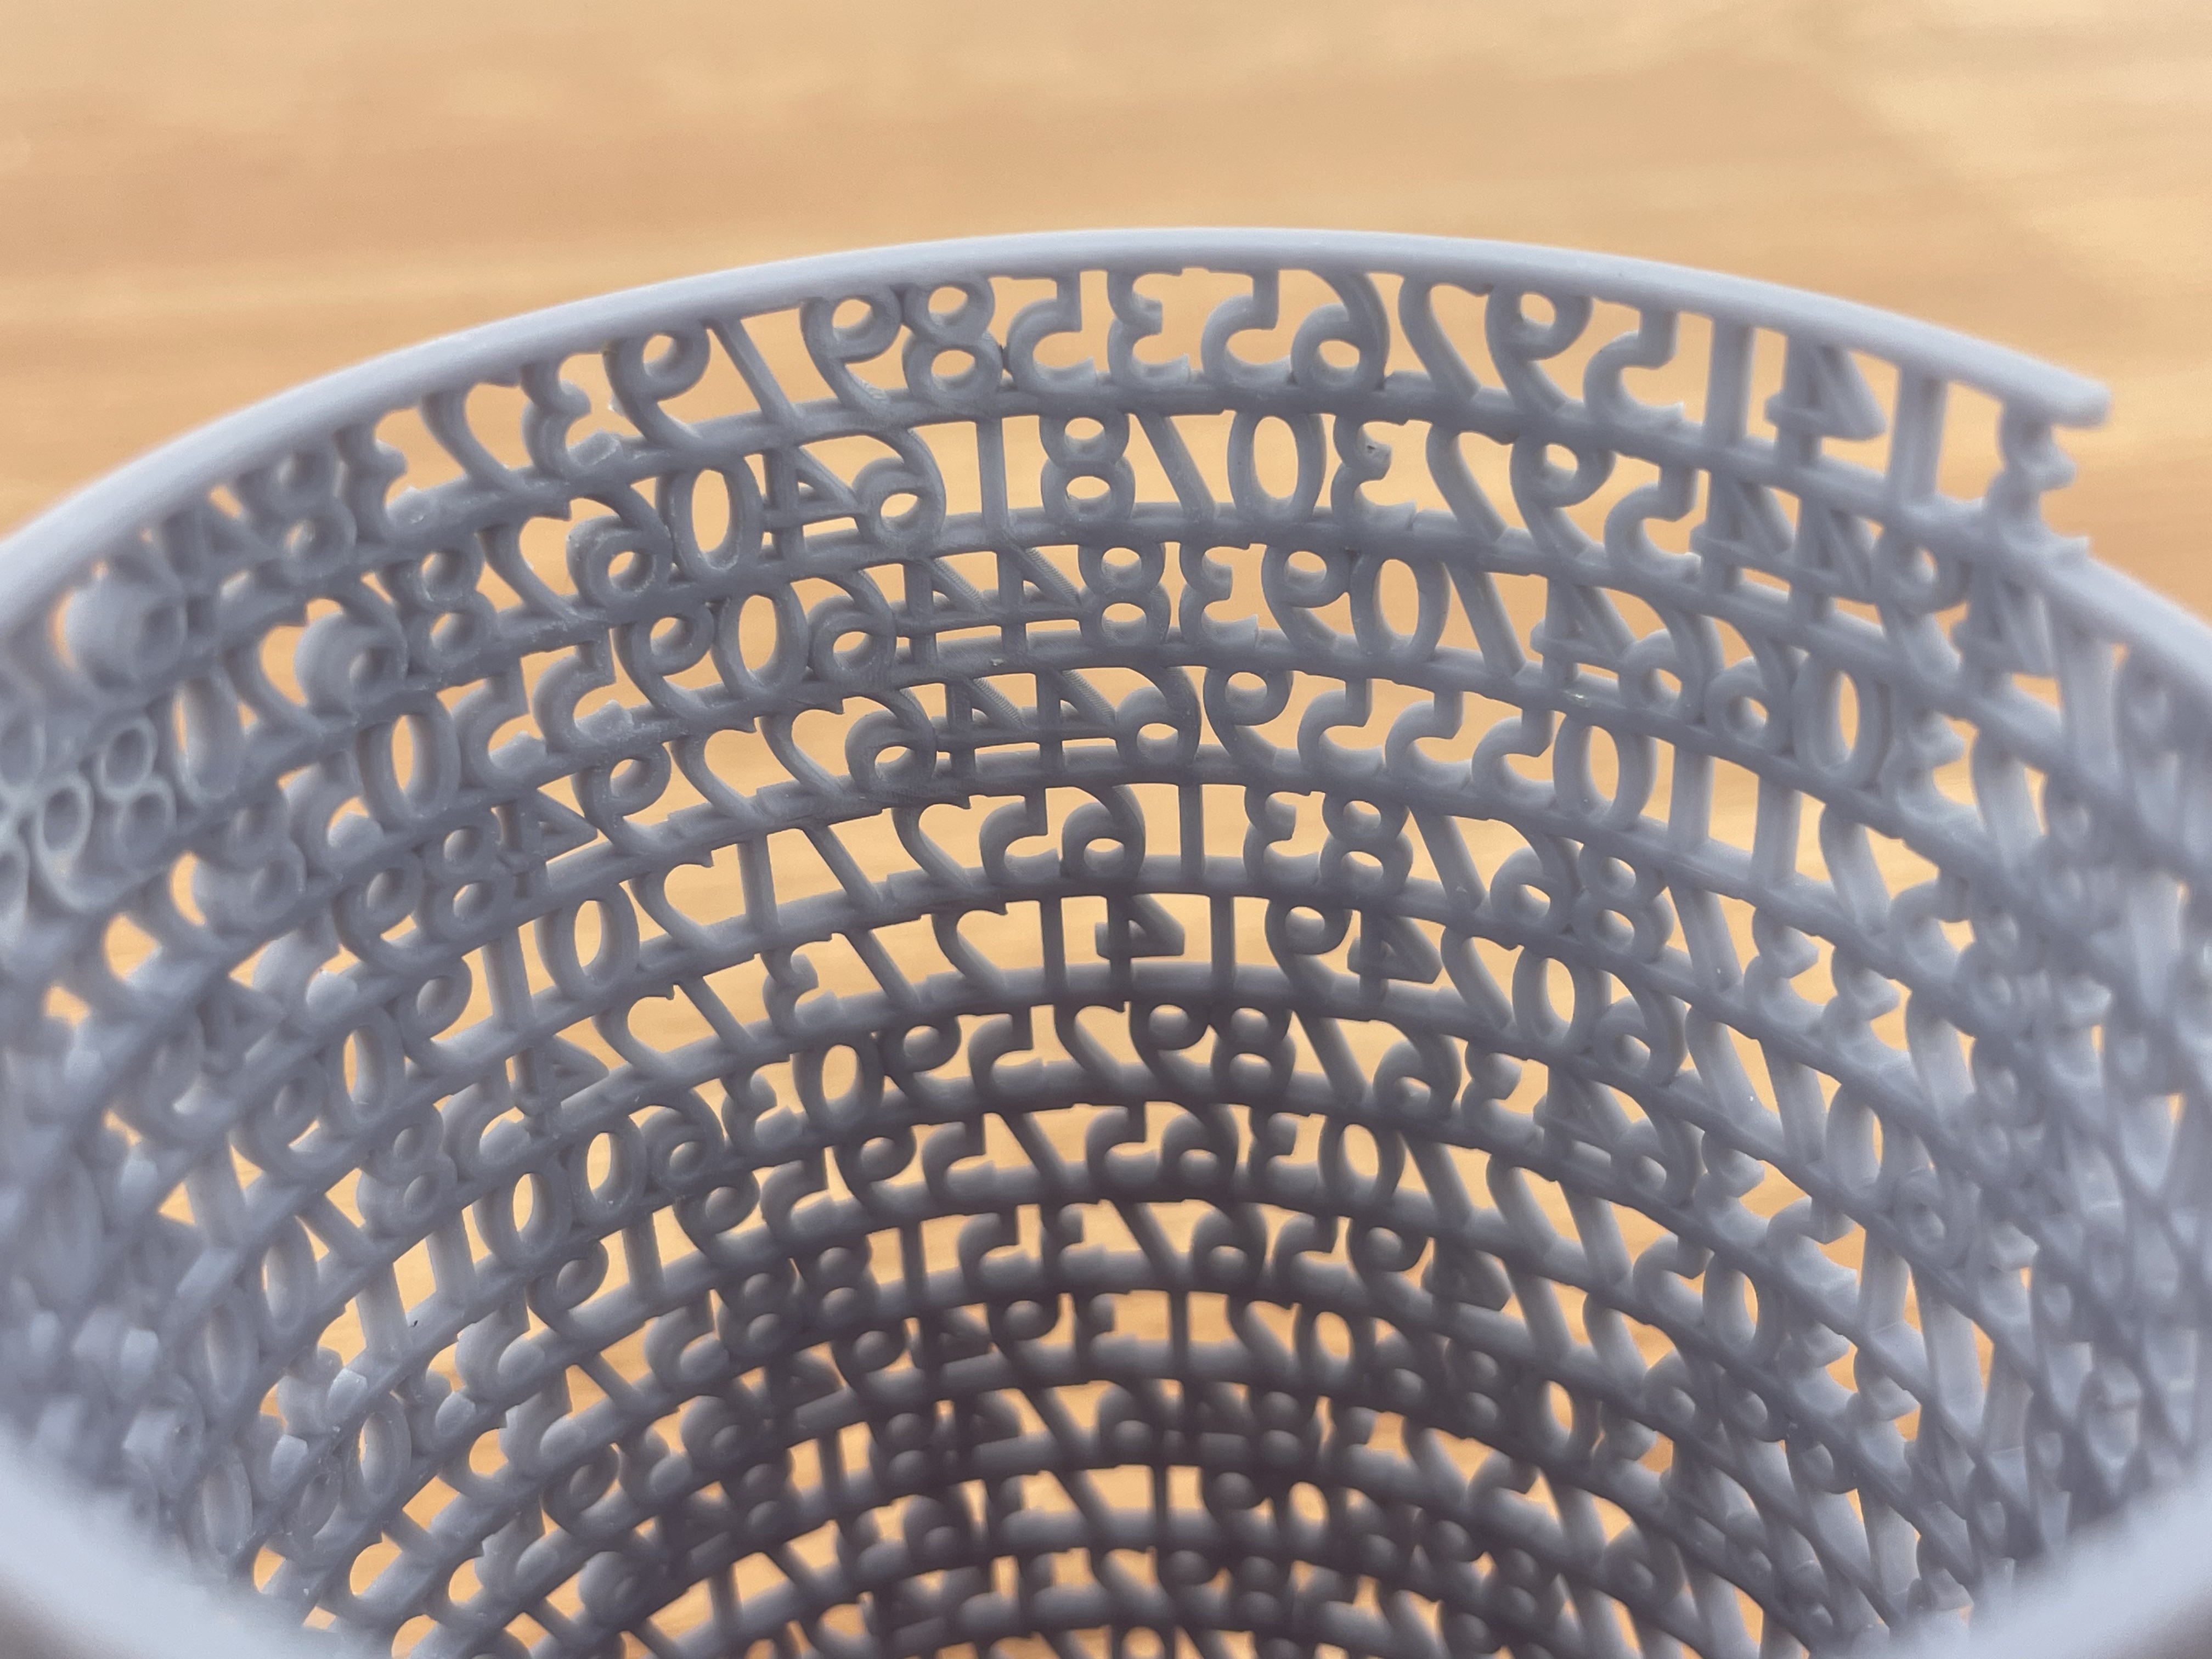
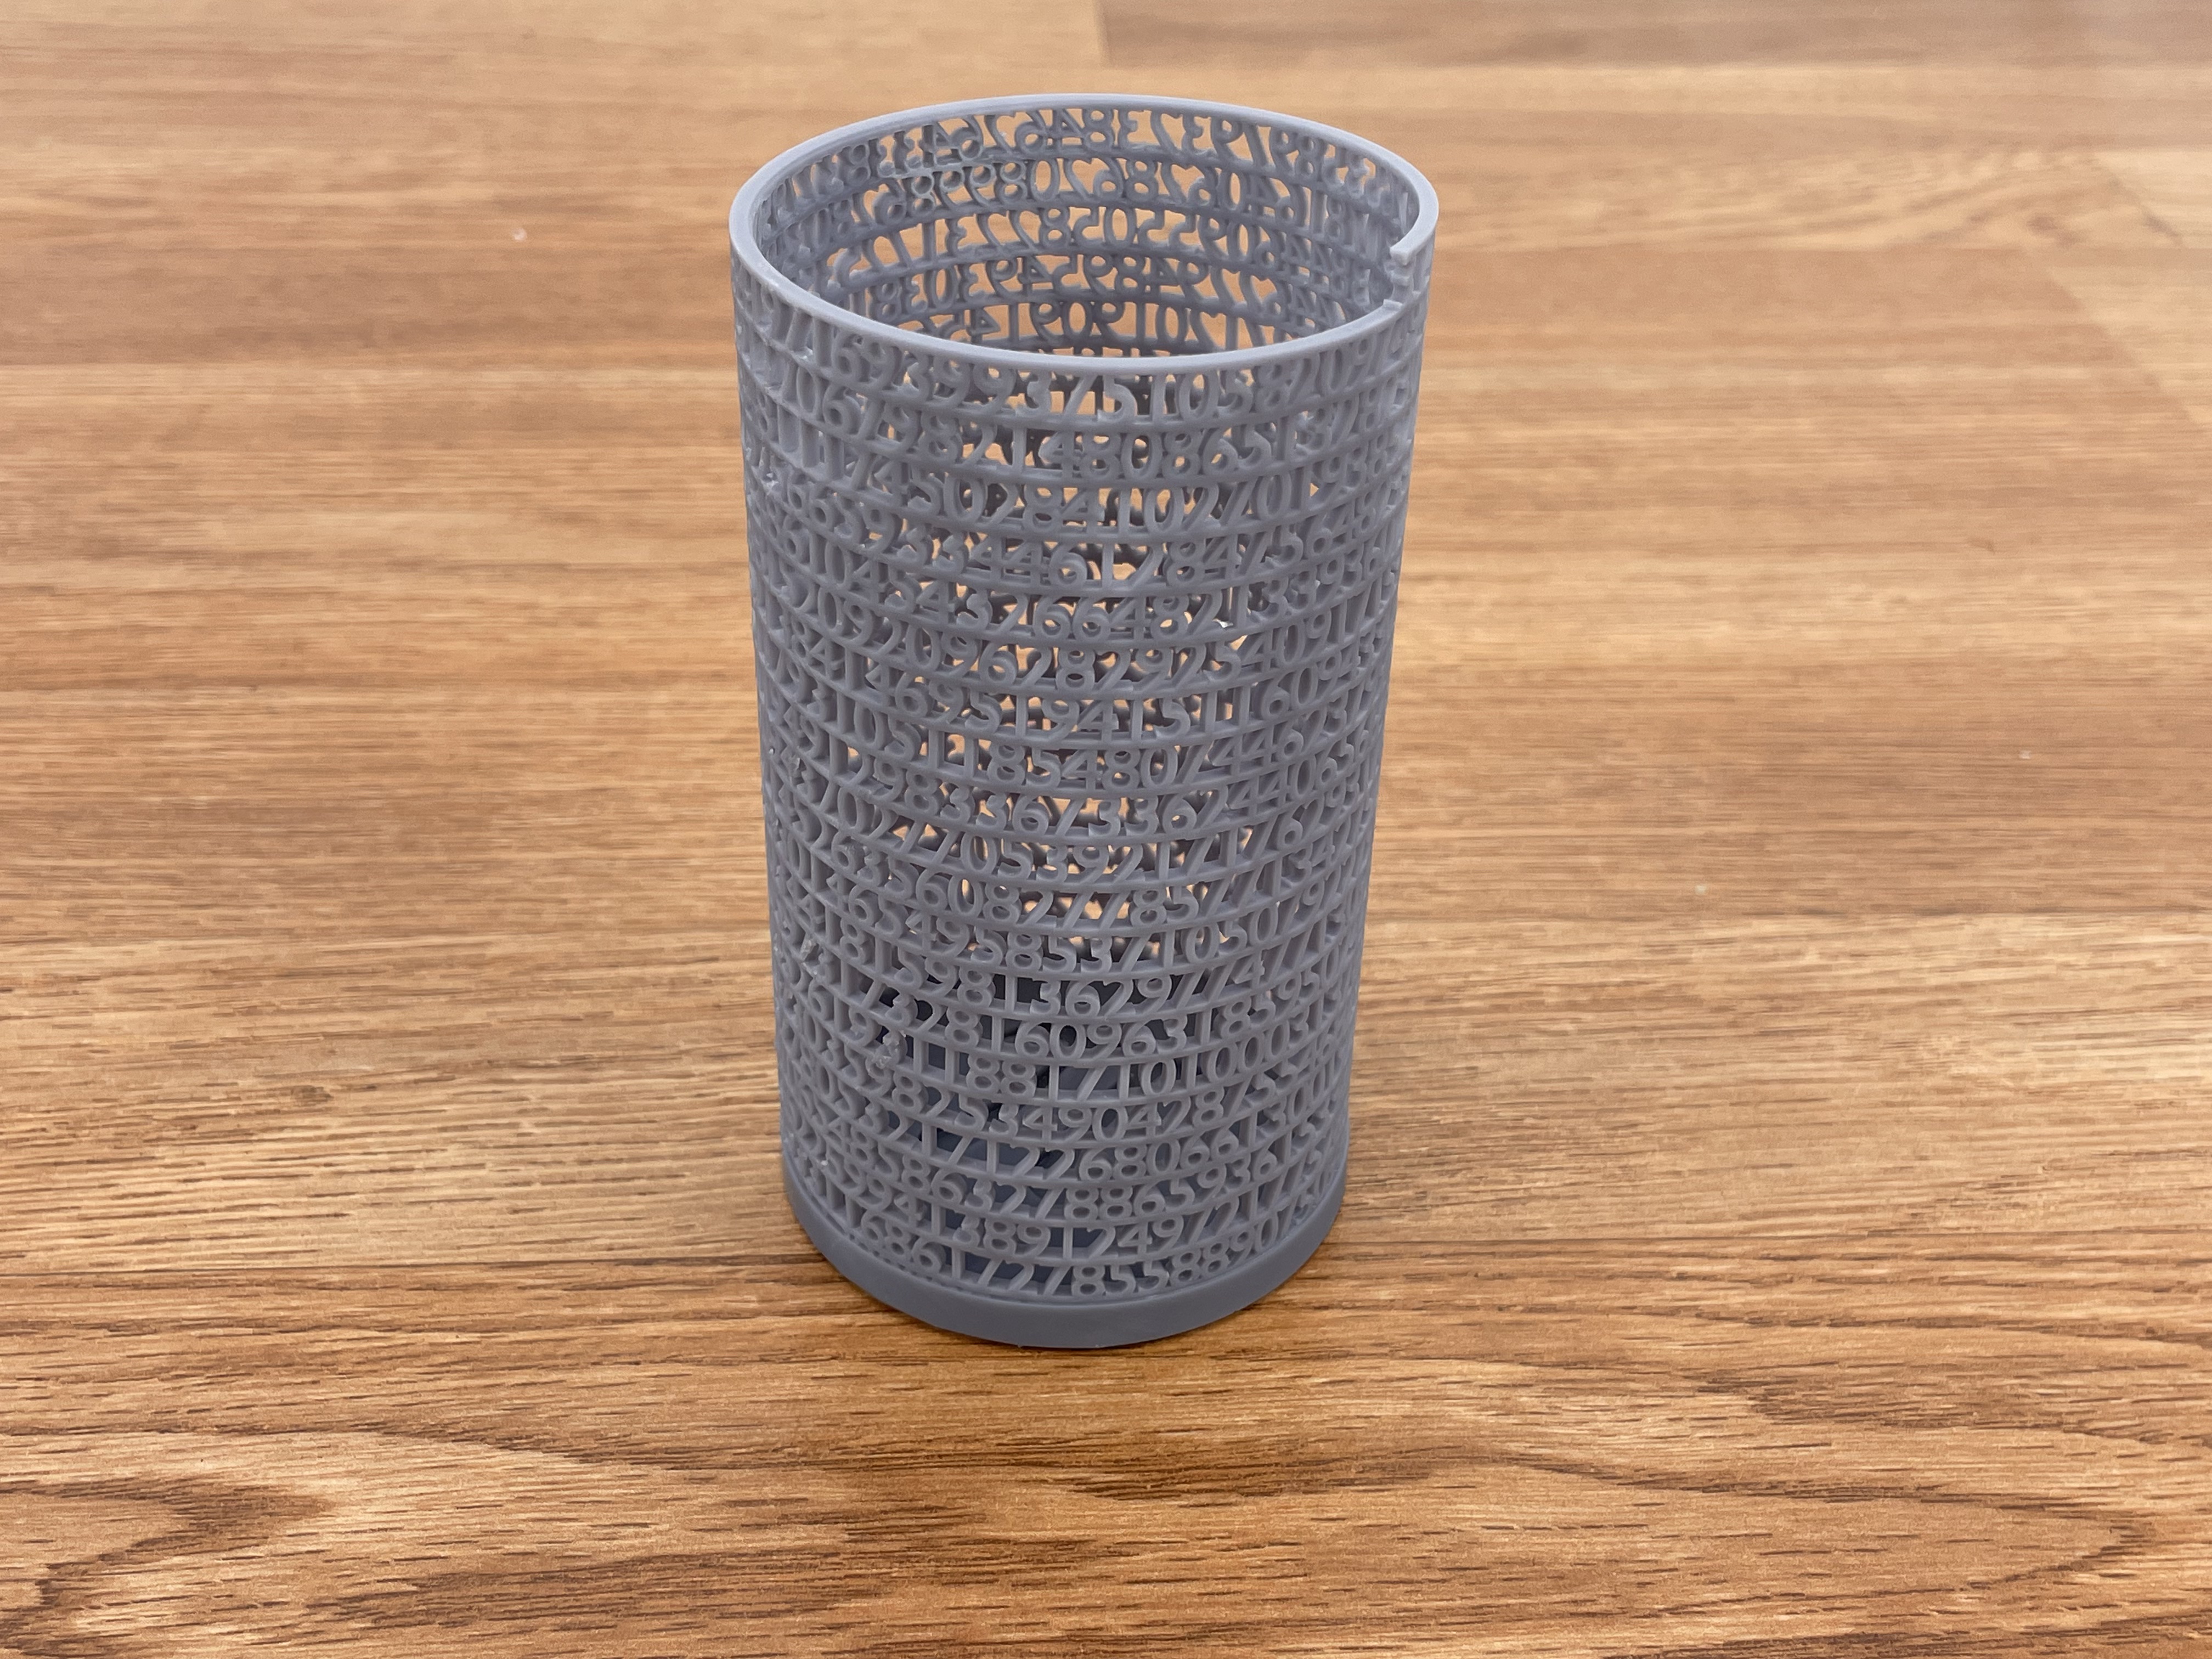
For the first model, I went with the Tower of Pi as I have done in previous reviews to show basic slicing. This one is fairly straightforward since it doesn’t have any large solid sections, but it also has a lot of detail making it a great demonstration of the high resolution that the printer is capable of.
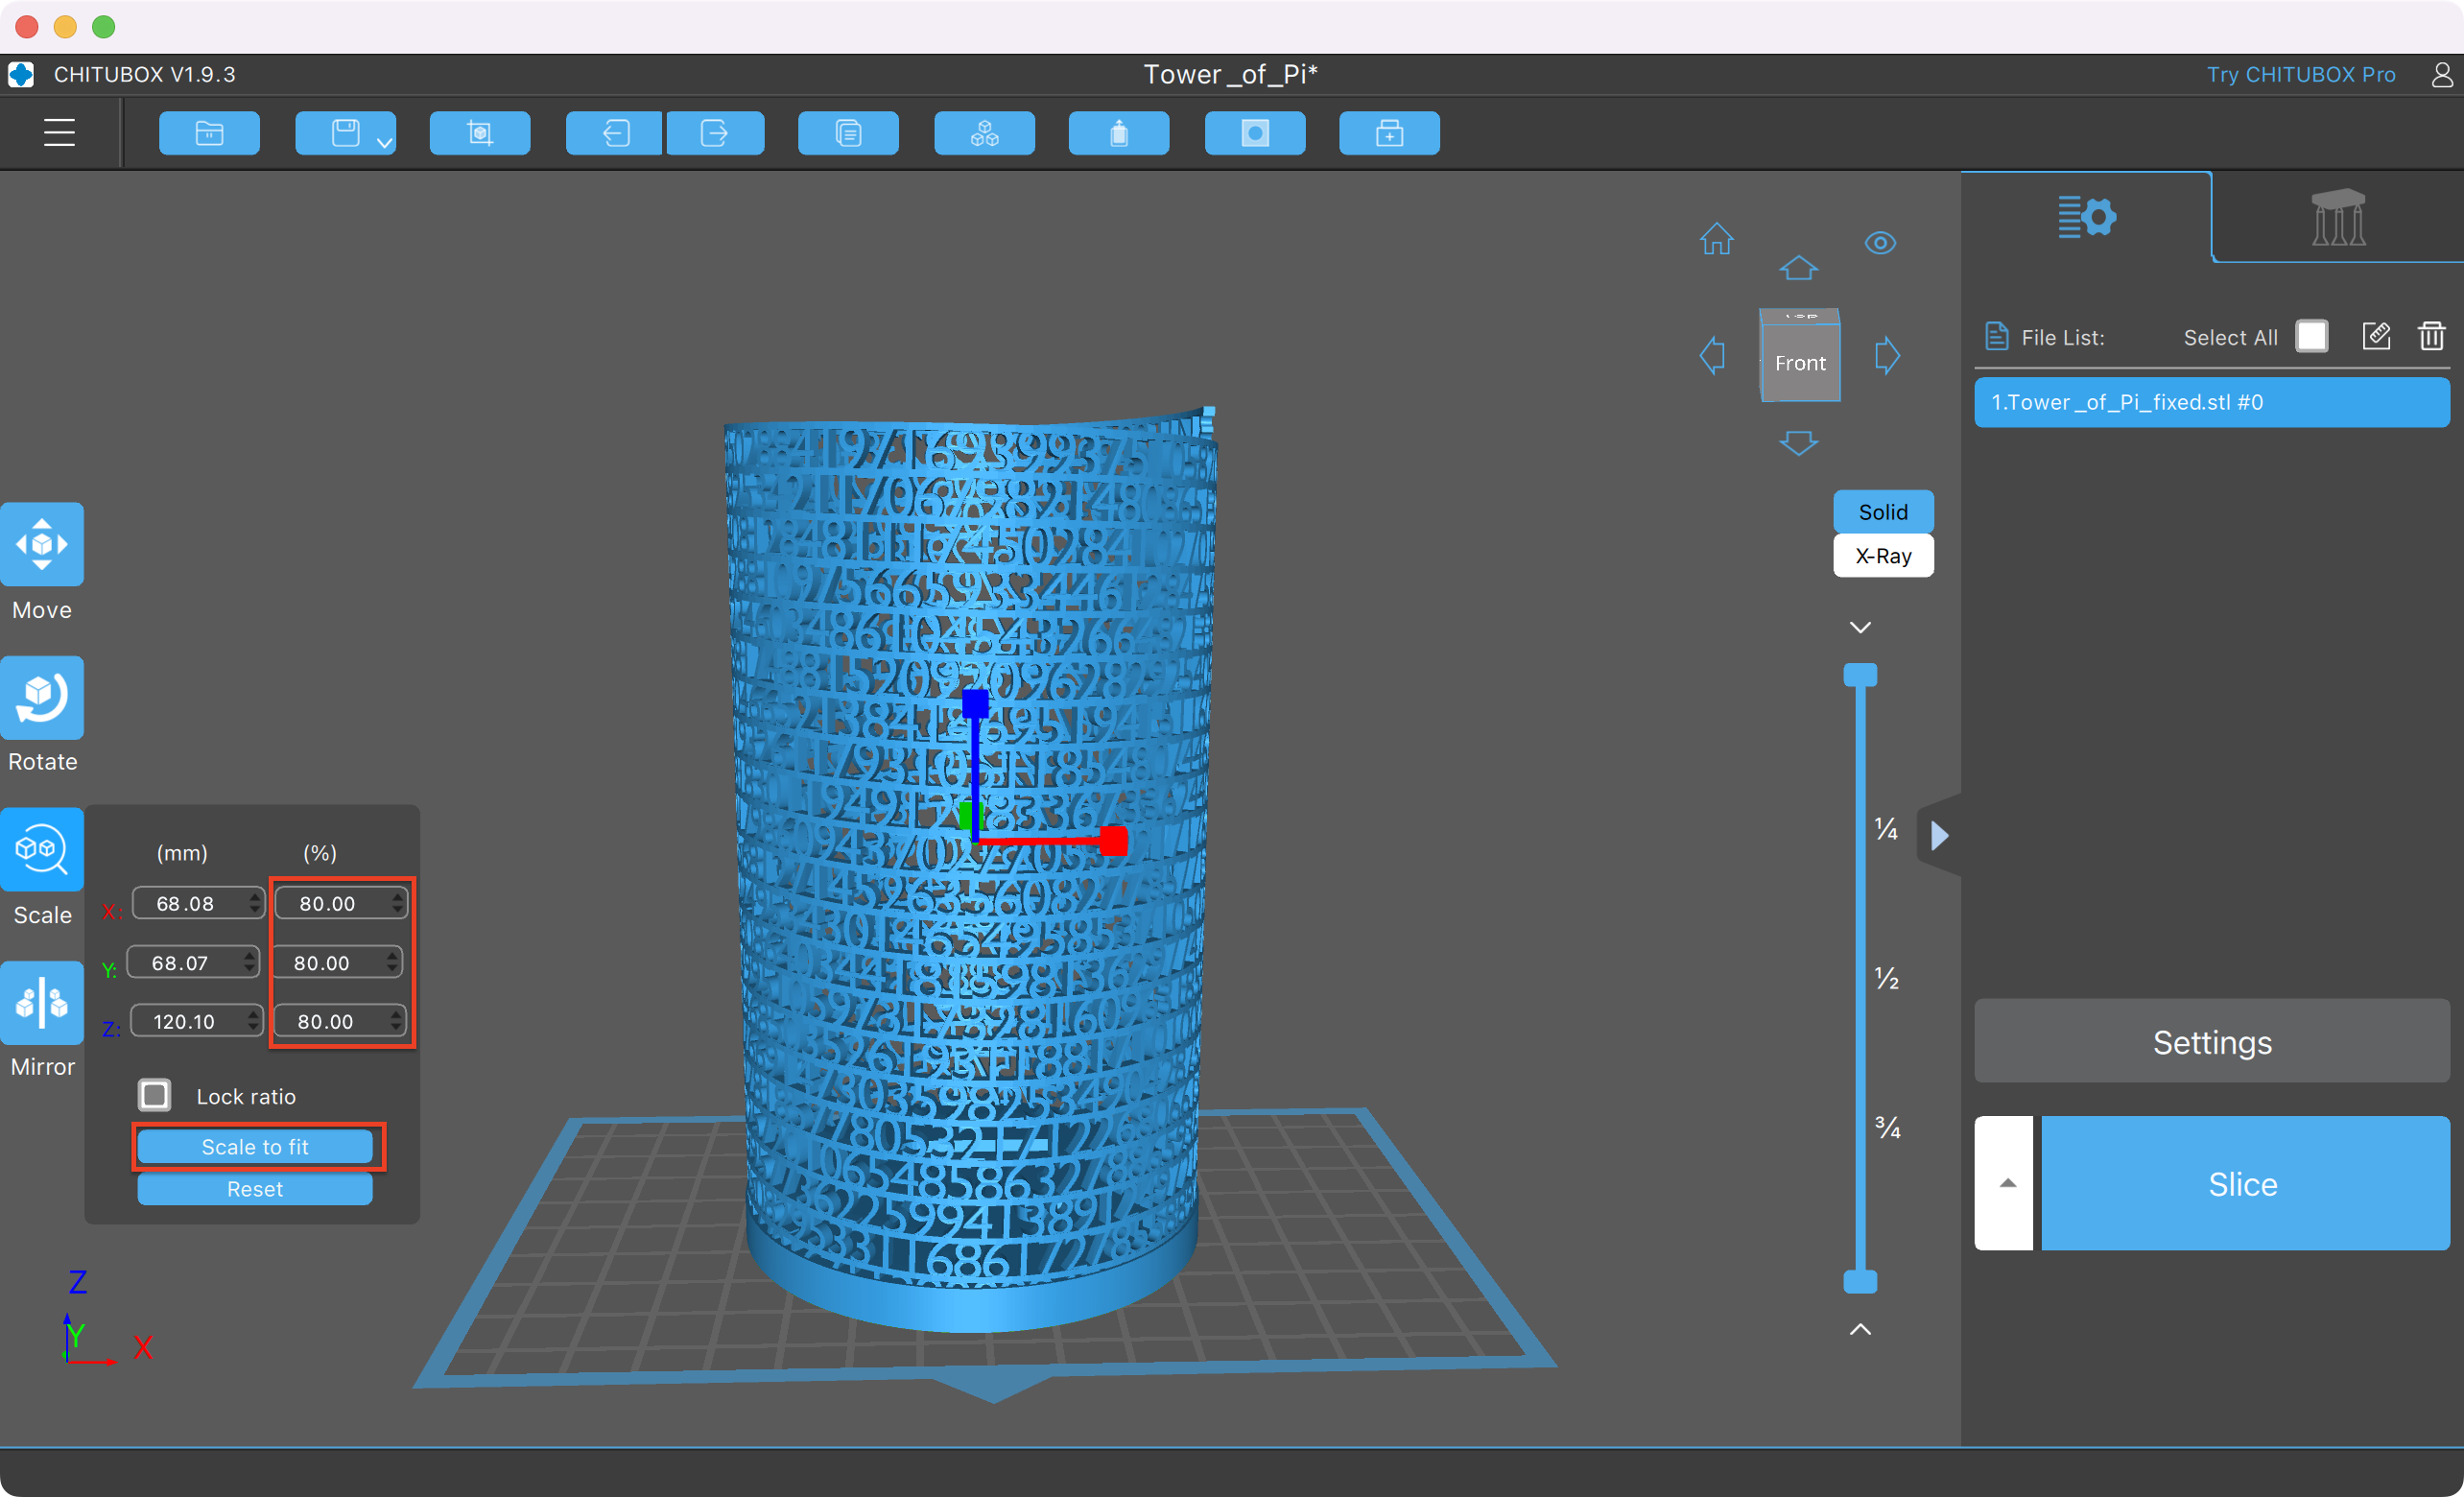
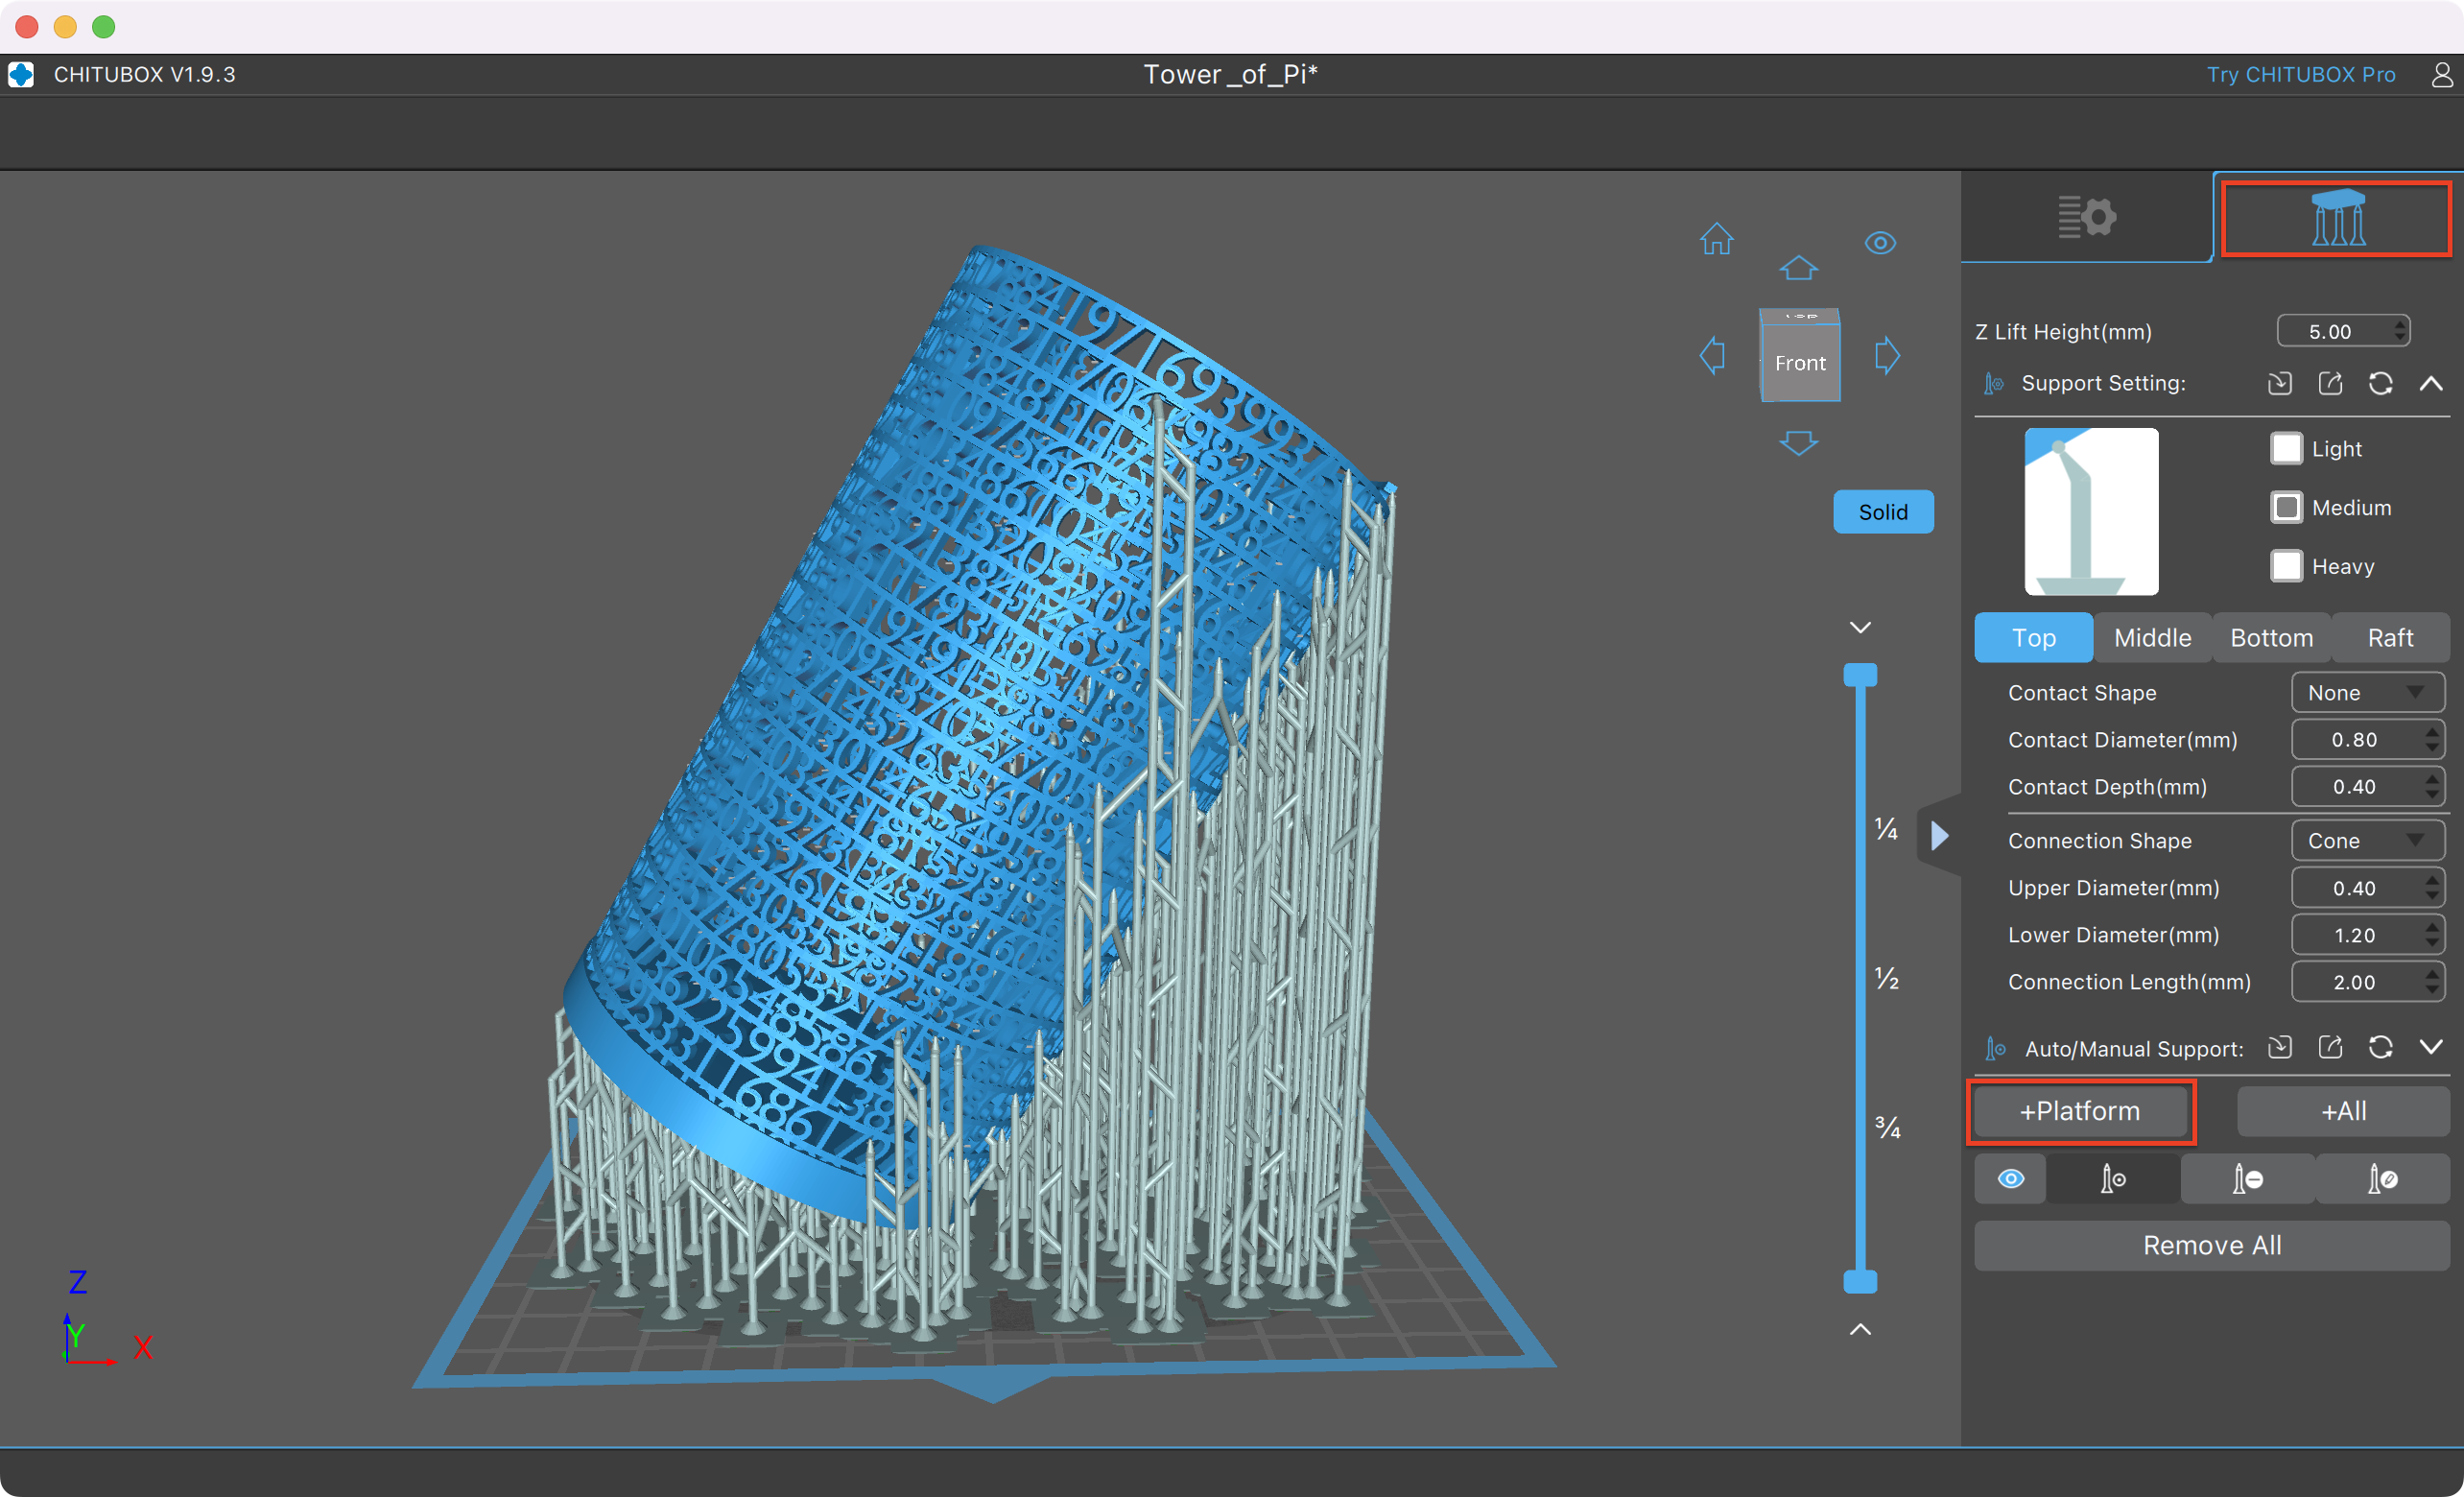
To get your model prepared, you will usually want to place the model at an angle. Placing models at an angle makes it easier to remove them from the build platform without damaging them in the process. It also gives more surface area for supports to hold on so the model is less likely to fall during printing. For the Mars 3 Pro, I knew I would need to scale the model down somewhat and I wanted to get the largest size that would print comfortably, so I ended printing this at a 30 degree angle scaled to 80%.
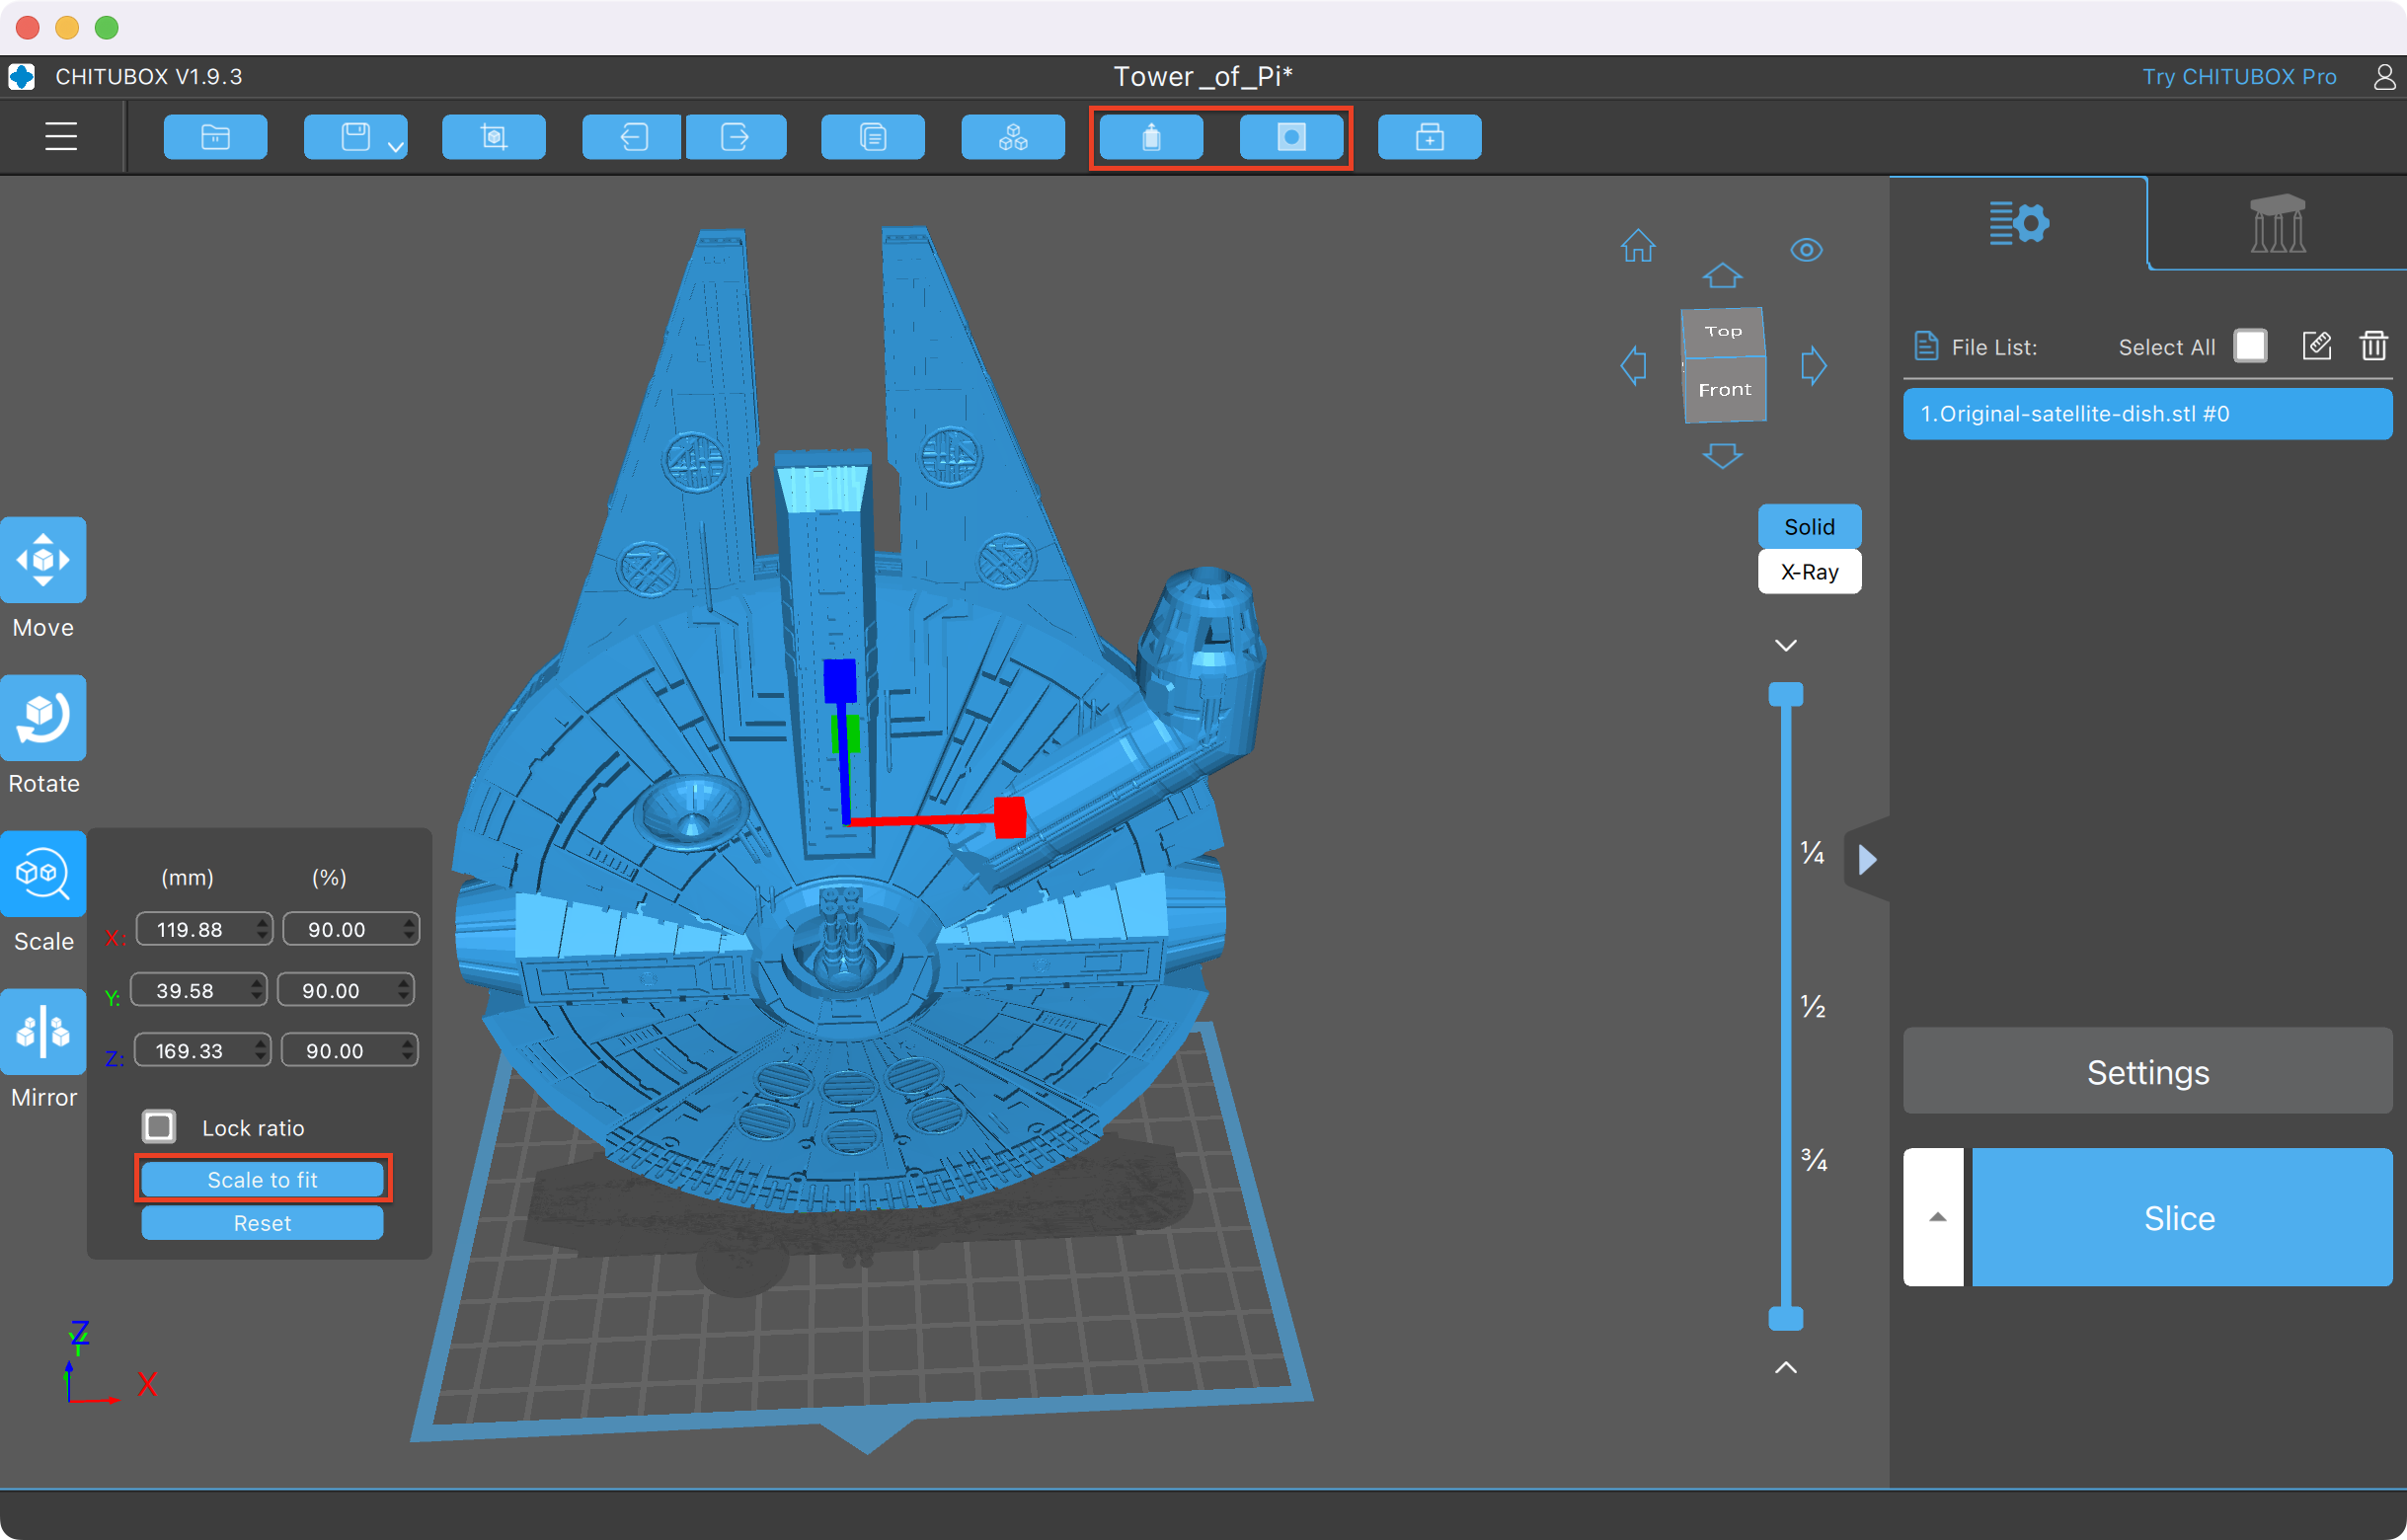
To do this, you’ll want to start by opening up the file that you would like to print. First you will want to scale the model down. You can open the Scale panel on the left side by clicking the Scale button. You can start by clicking the Scale to Fit button to get a better idea of the maximum size. You can also type a number into any of the axes to set it to an exact scale. Make sure the Lock Ratio checkbox is checked so you don’t end up changing only one dimension and distorting the model.
Next, to rotate the model, just click the Rotate button, which is in the same area as the Scale button. If your model is not upright, you can first get it oriented correctly using the controls. Once it is upright, there are a few ways to rotate it so that you can add supports. You will want to find the axis that corresponds to the longer side of the build platform. You can either click +45° or -45° to place it at a 45 degree tilt, arbitrarily rotate it by grabbing the circle that corresponds to that axis, or just type a number into the box.
Under the Supports tab on the right side of the screen, you can have Chitubox automatically generate supports. For this model, I found the default settings to be sufficient and added supports only for items above the build platform by clicking on the +Platform button. After pressing the button, it will take about 10 seconds or so for the supports to be generated.
Once the build supports are in place, you can go back to the Settings tab and click on the Slice button. This will slice the model. Once it is sliced, a Save button will appear, which will allow you to save the sliced file onto the USB stick that came with the printer.
Once it is saved, you can eject the memory stick from your computer and plug it into the printer. On the printer, just go to the Print option from the menu and choose the model. It should show up just as it looked in Chitubox.
Printing Larger Prints on the Elegoo Mars 3 Pro
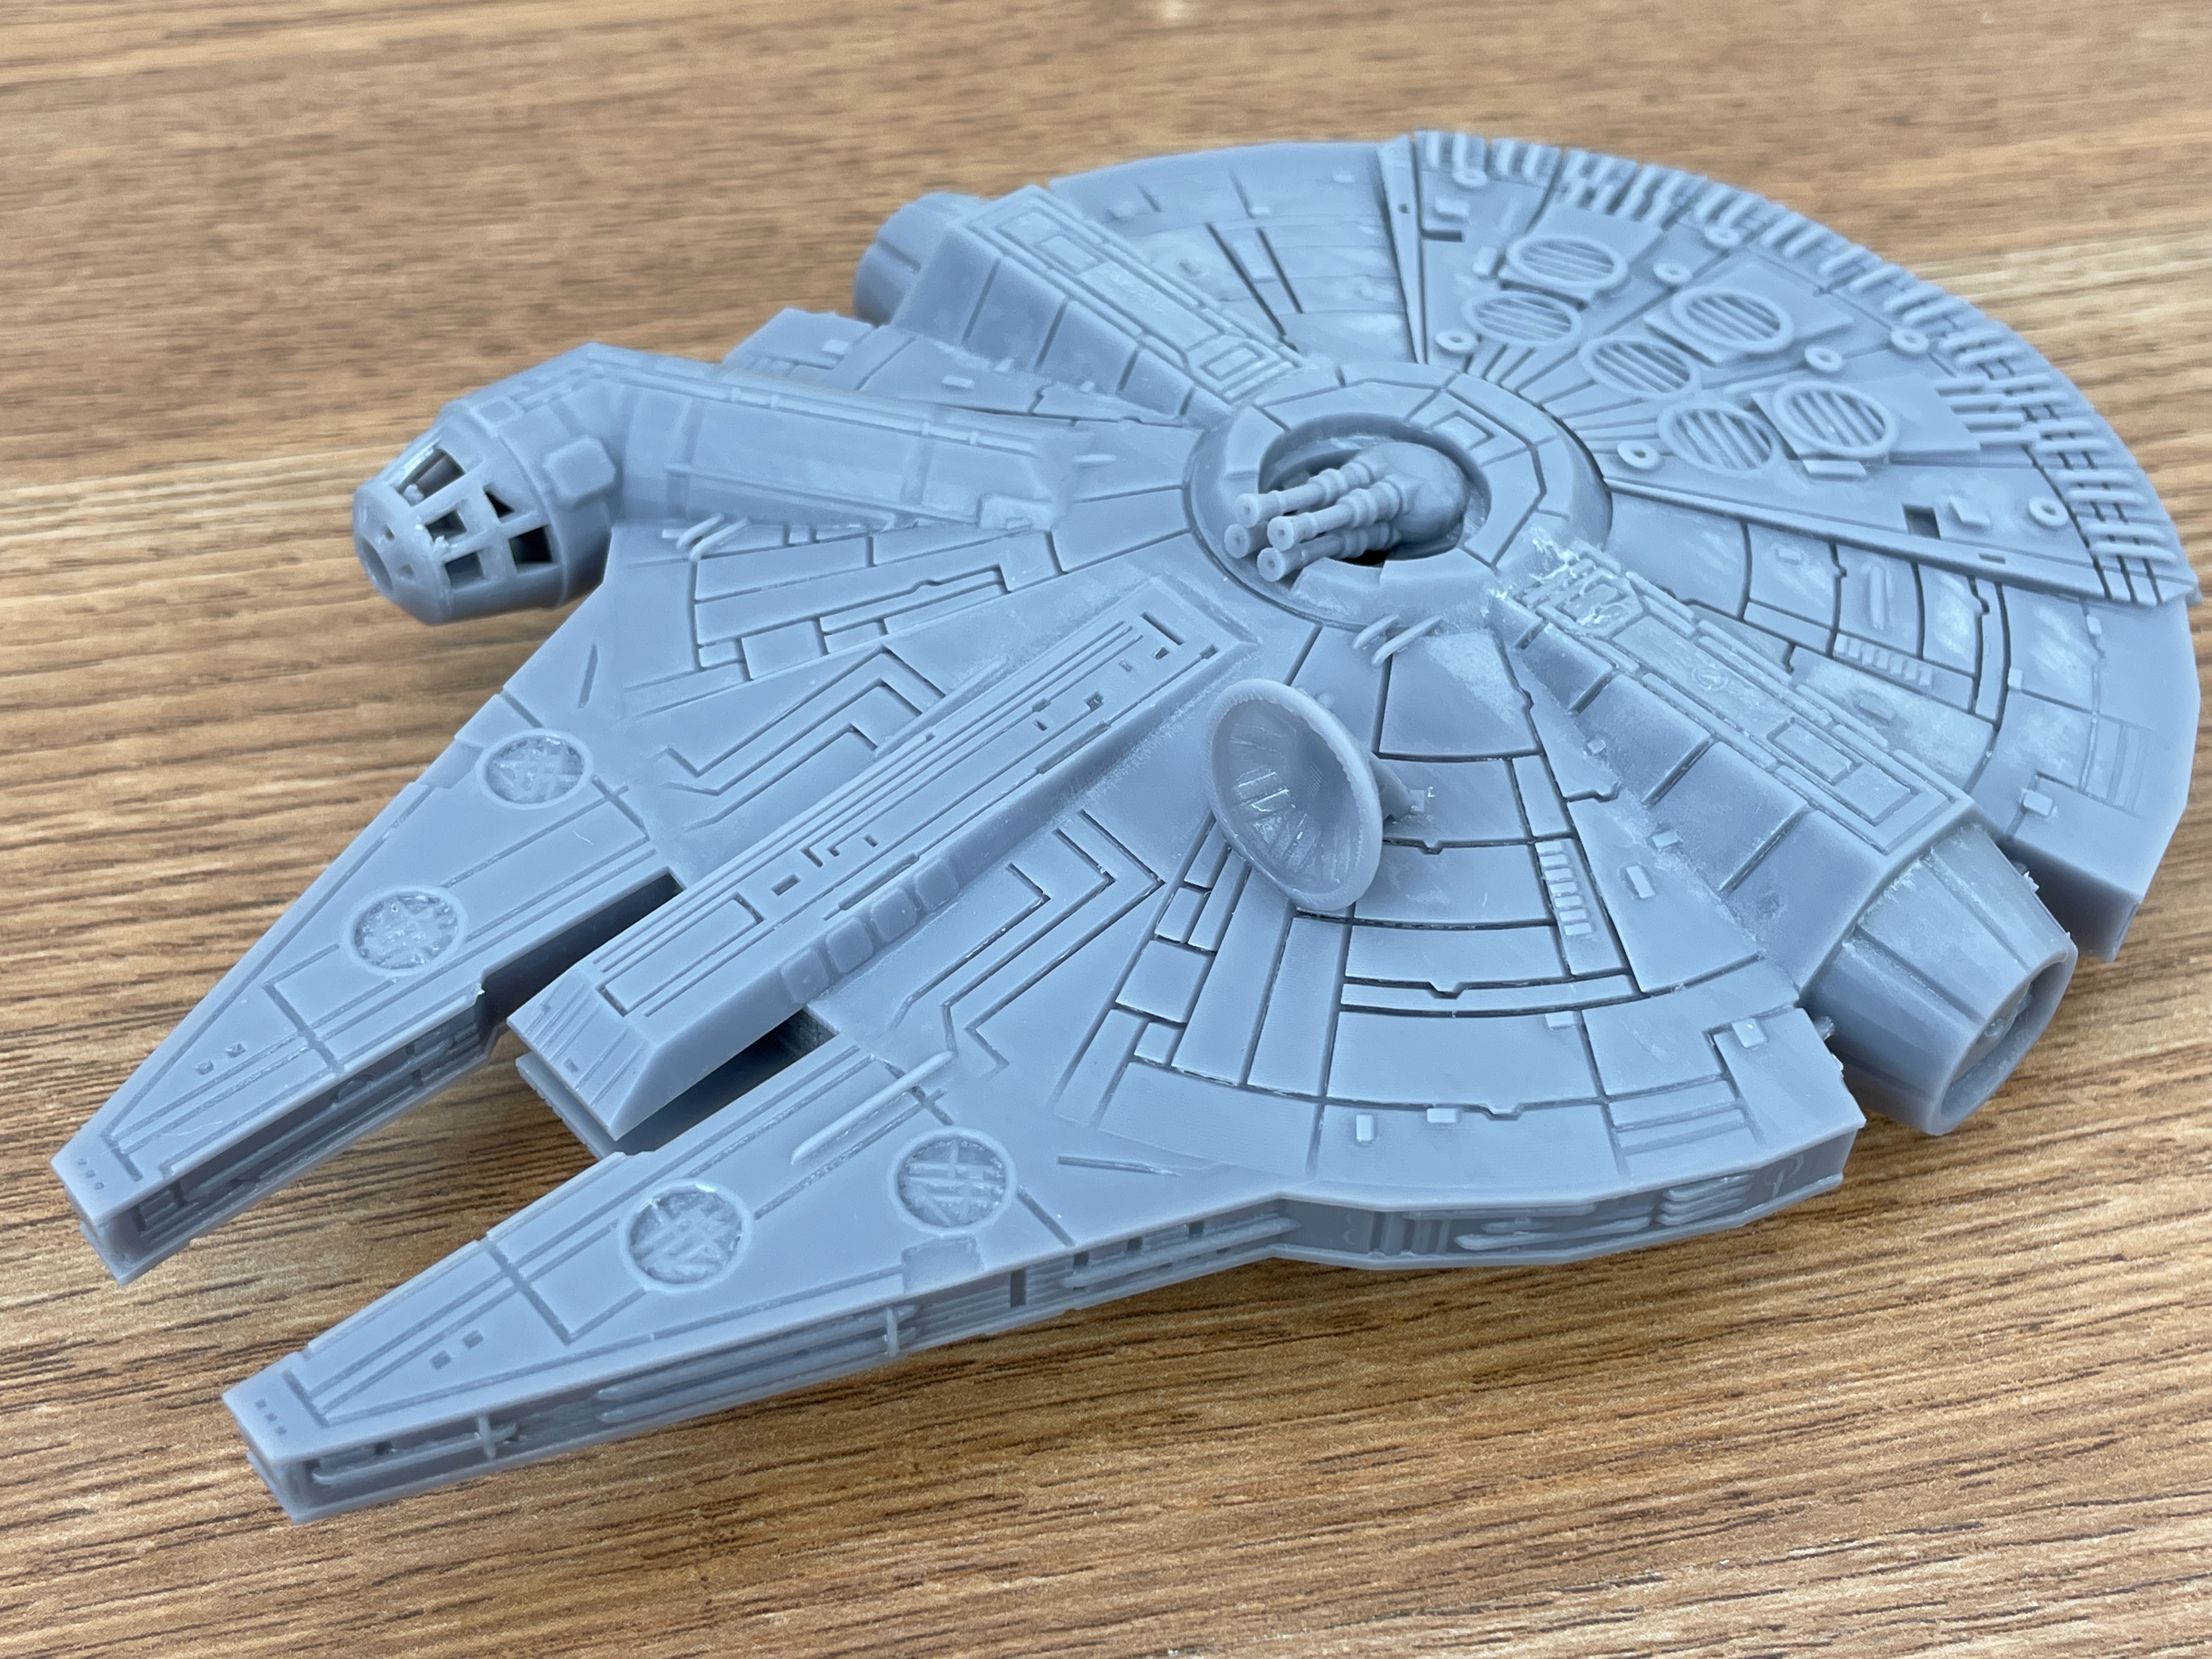
To test printing a larger model, I decided to go with a model of the Filleneum Malcon, which is not to be confused with the Millennium Falcon, because the dimensions fit well in this printer and I wanted to see how the details came out. Chitubox has a nice feature that allows you to hollow out the model. It also has a feature to allow you to add drain holes to assist with rinsing out any excess resin from inside. However, for this model I decided to forego the drain holes, so there is likely some uncured resin hiding inside of my print.
To start with, I loaded my model into Chitubox just as described above. However because this has a curved rear, I decided to just have it sit vertically. I oriented it with the front pointing away from the build platform because of the cockpit orientation. I clicked on the Scale button and started by decreasing the scale using the Scale to Fit button. Then I backed it off to 90% just to round it neatly.
I clicked on the Hollow button at the top, which allows you to set the thickness of the outer shell. I increased the value to 3mm because the defaults are a bit on the thin side.
After this, it was just a matter of generating supports like with the first model and printing it out.
Once it had finished printing, I cleaned it up. A sprayer hose helped get any excess resin off. I was very happy with how the quality of the print turned out.
Printing Detailed Models on the Elegoo Mars 3 Pro
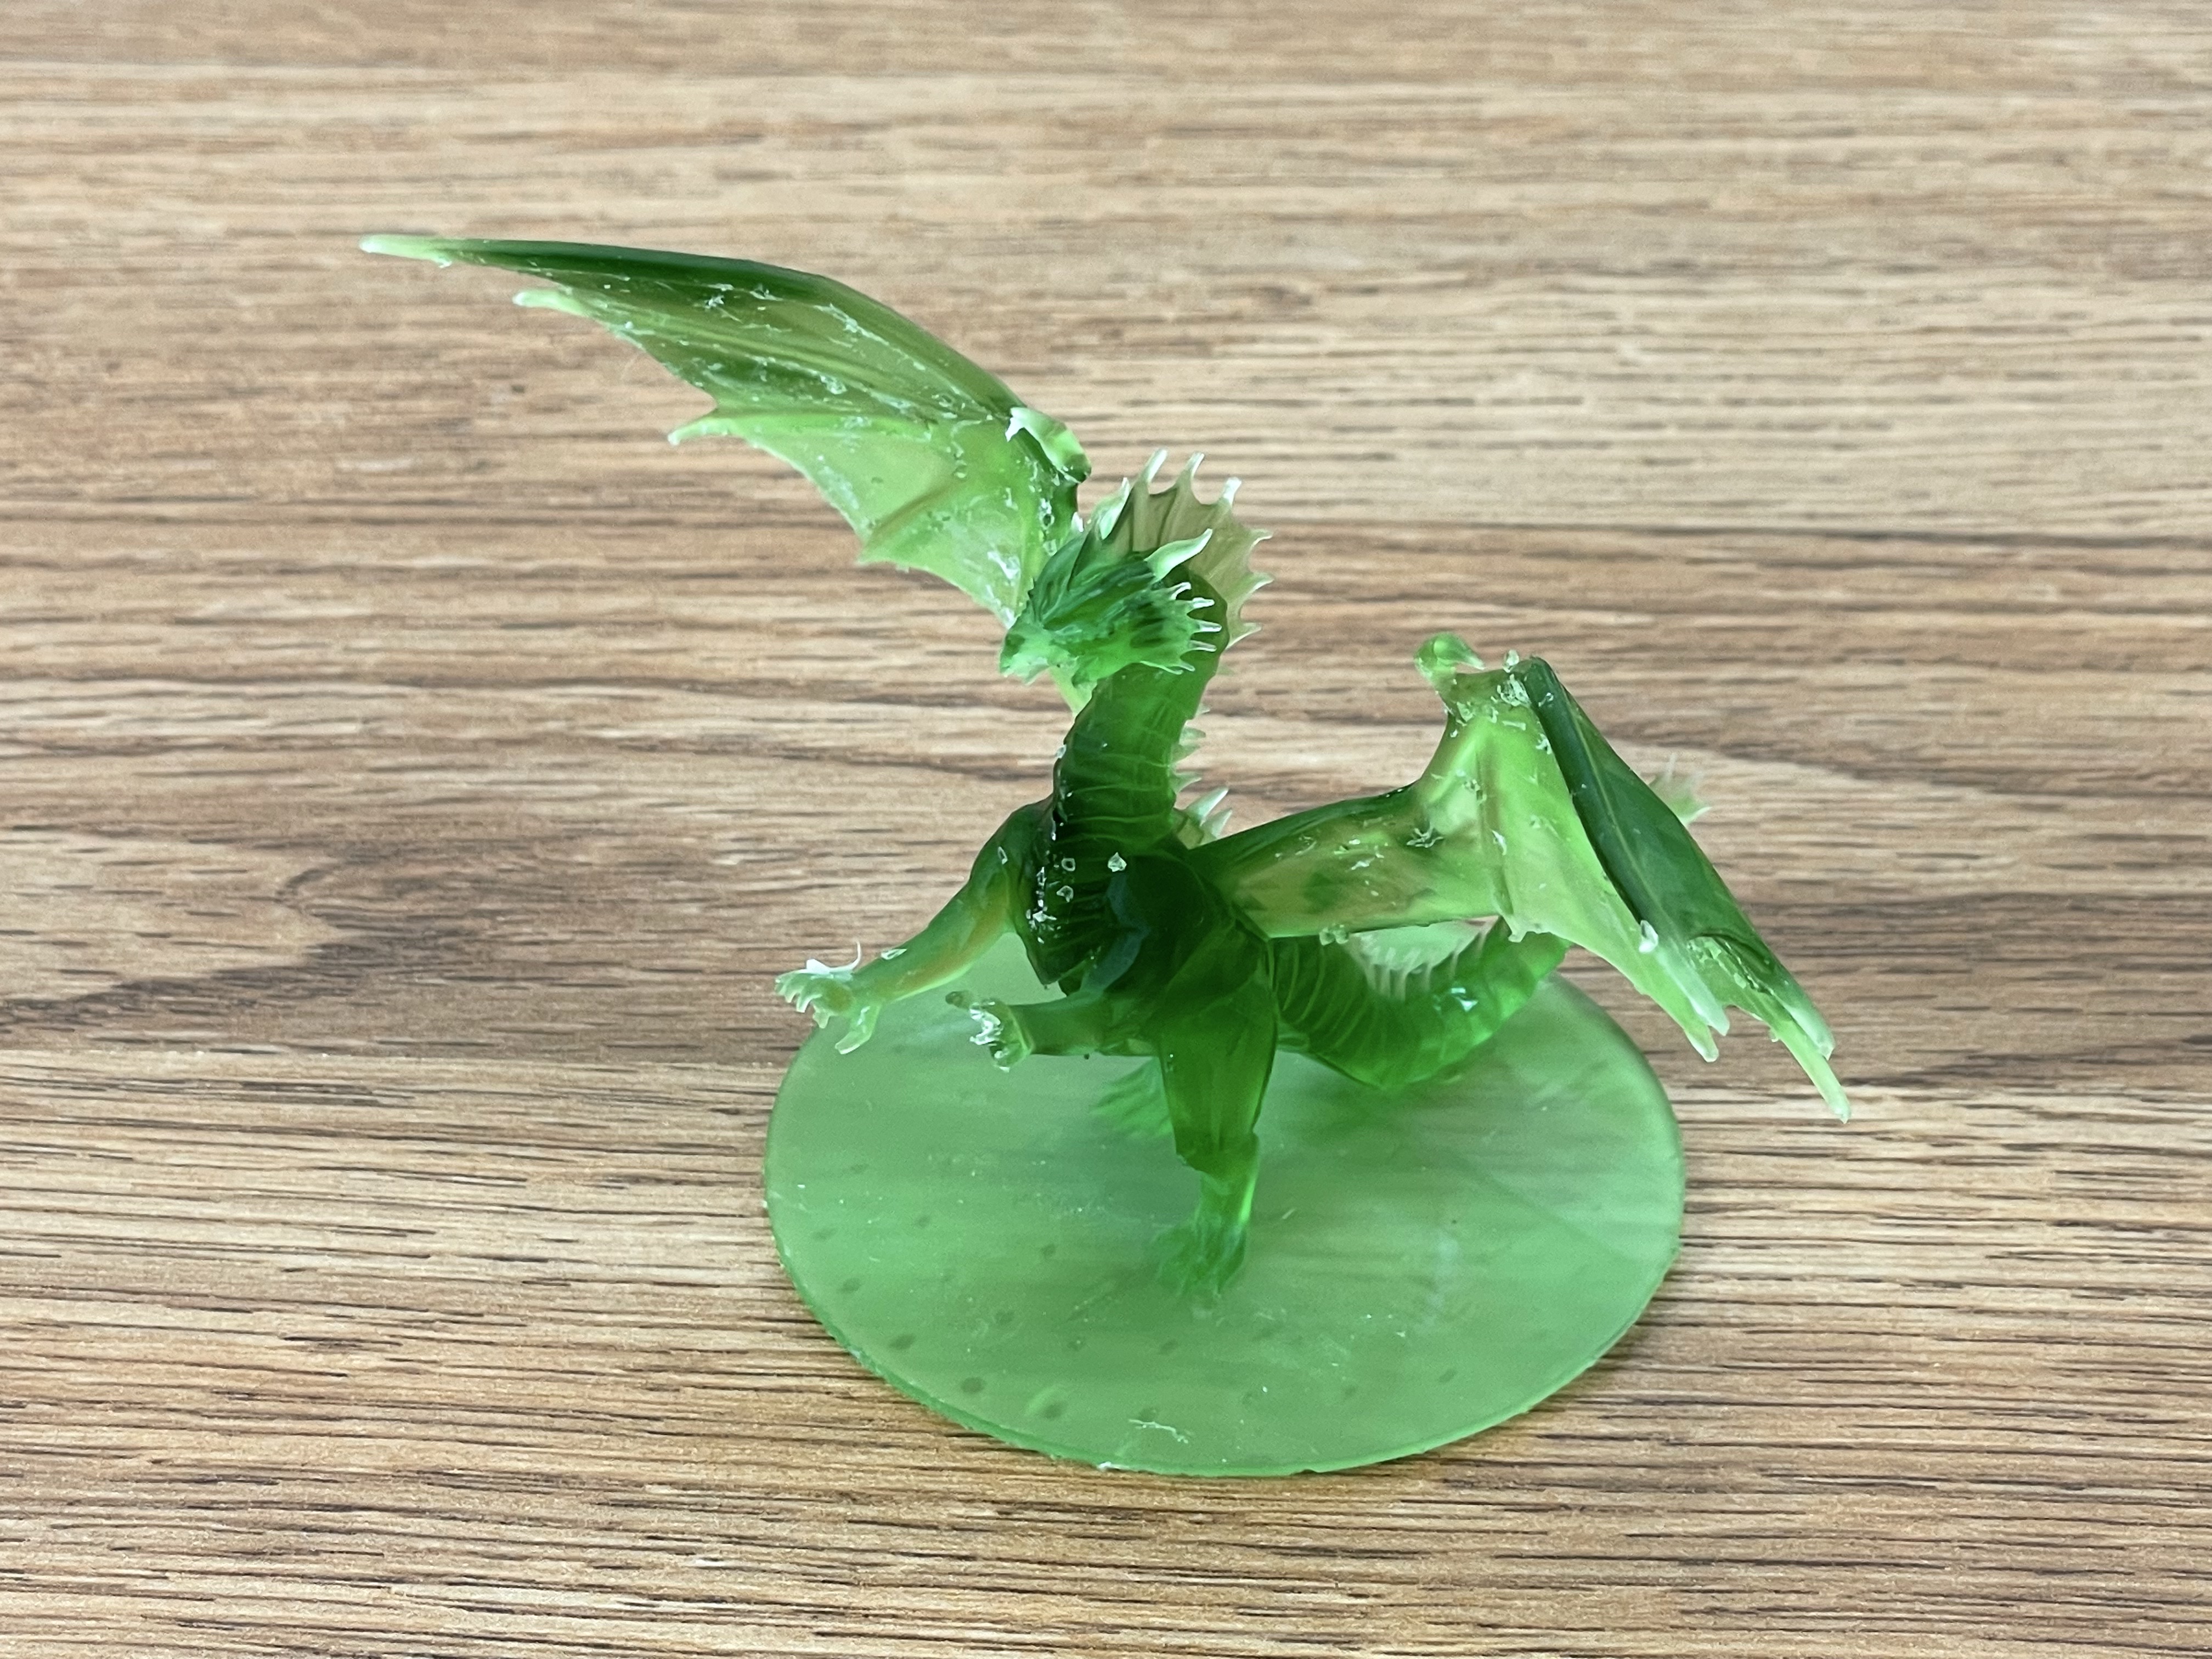
For a detailed test print, I went with a model called Red Dragon featuring a winged dragon. This model was too large for this printer at the full size, so I chose Scale to fit, which shrank the model to around 46% of the original size. I also tilted it forward so that the supports made contact with the wings and not the spines on the back of the neck.
If I had tilted it sideways, I may have been able to get it to print a little larger, but the supports would have been more difficult to remove. I didn’t bother to hollow out the inside as the dragon was fairly small and no drainage holes were necessary either. The main thing to watch out for on a detailed model like this is ensuring the supports are in places where removing them wouldn’t cause you to accidentally damage the print.
Washing and Curing on the Elegoo Mars 3 Pro
After printing, the model will still likely have some leftover resin on it, and to get a resin print to look its best, you will want to clean it.
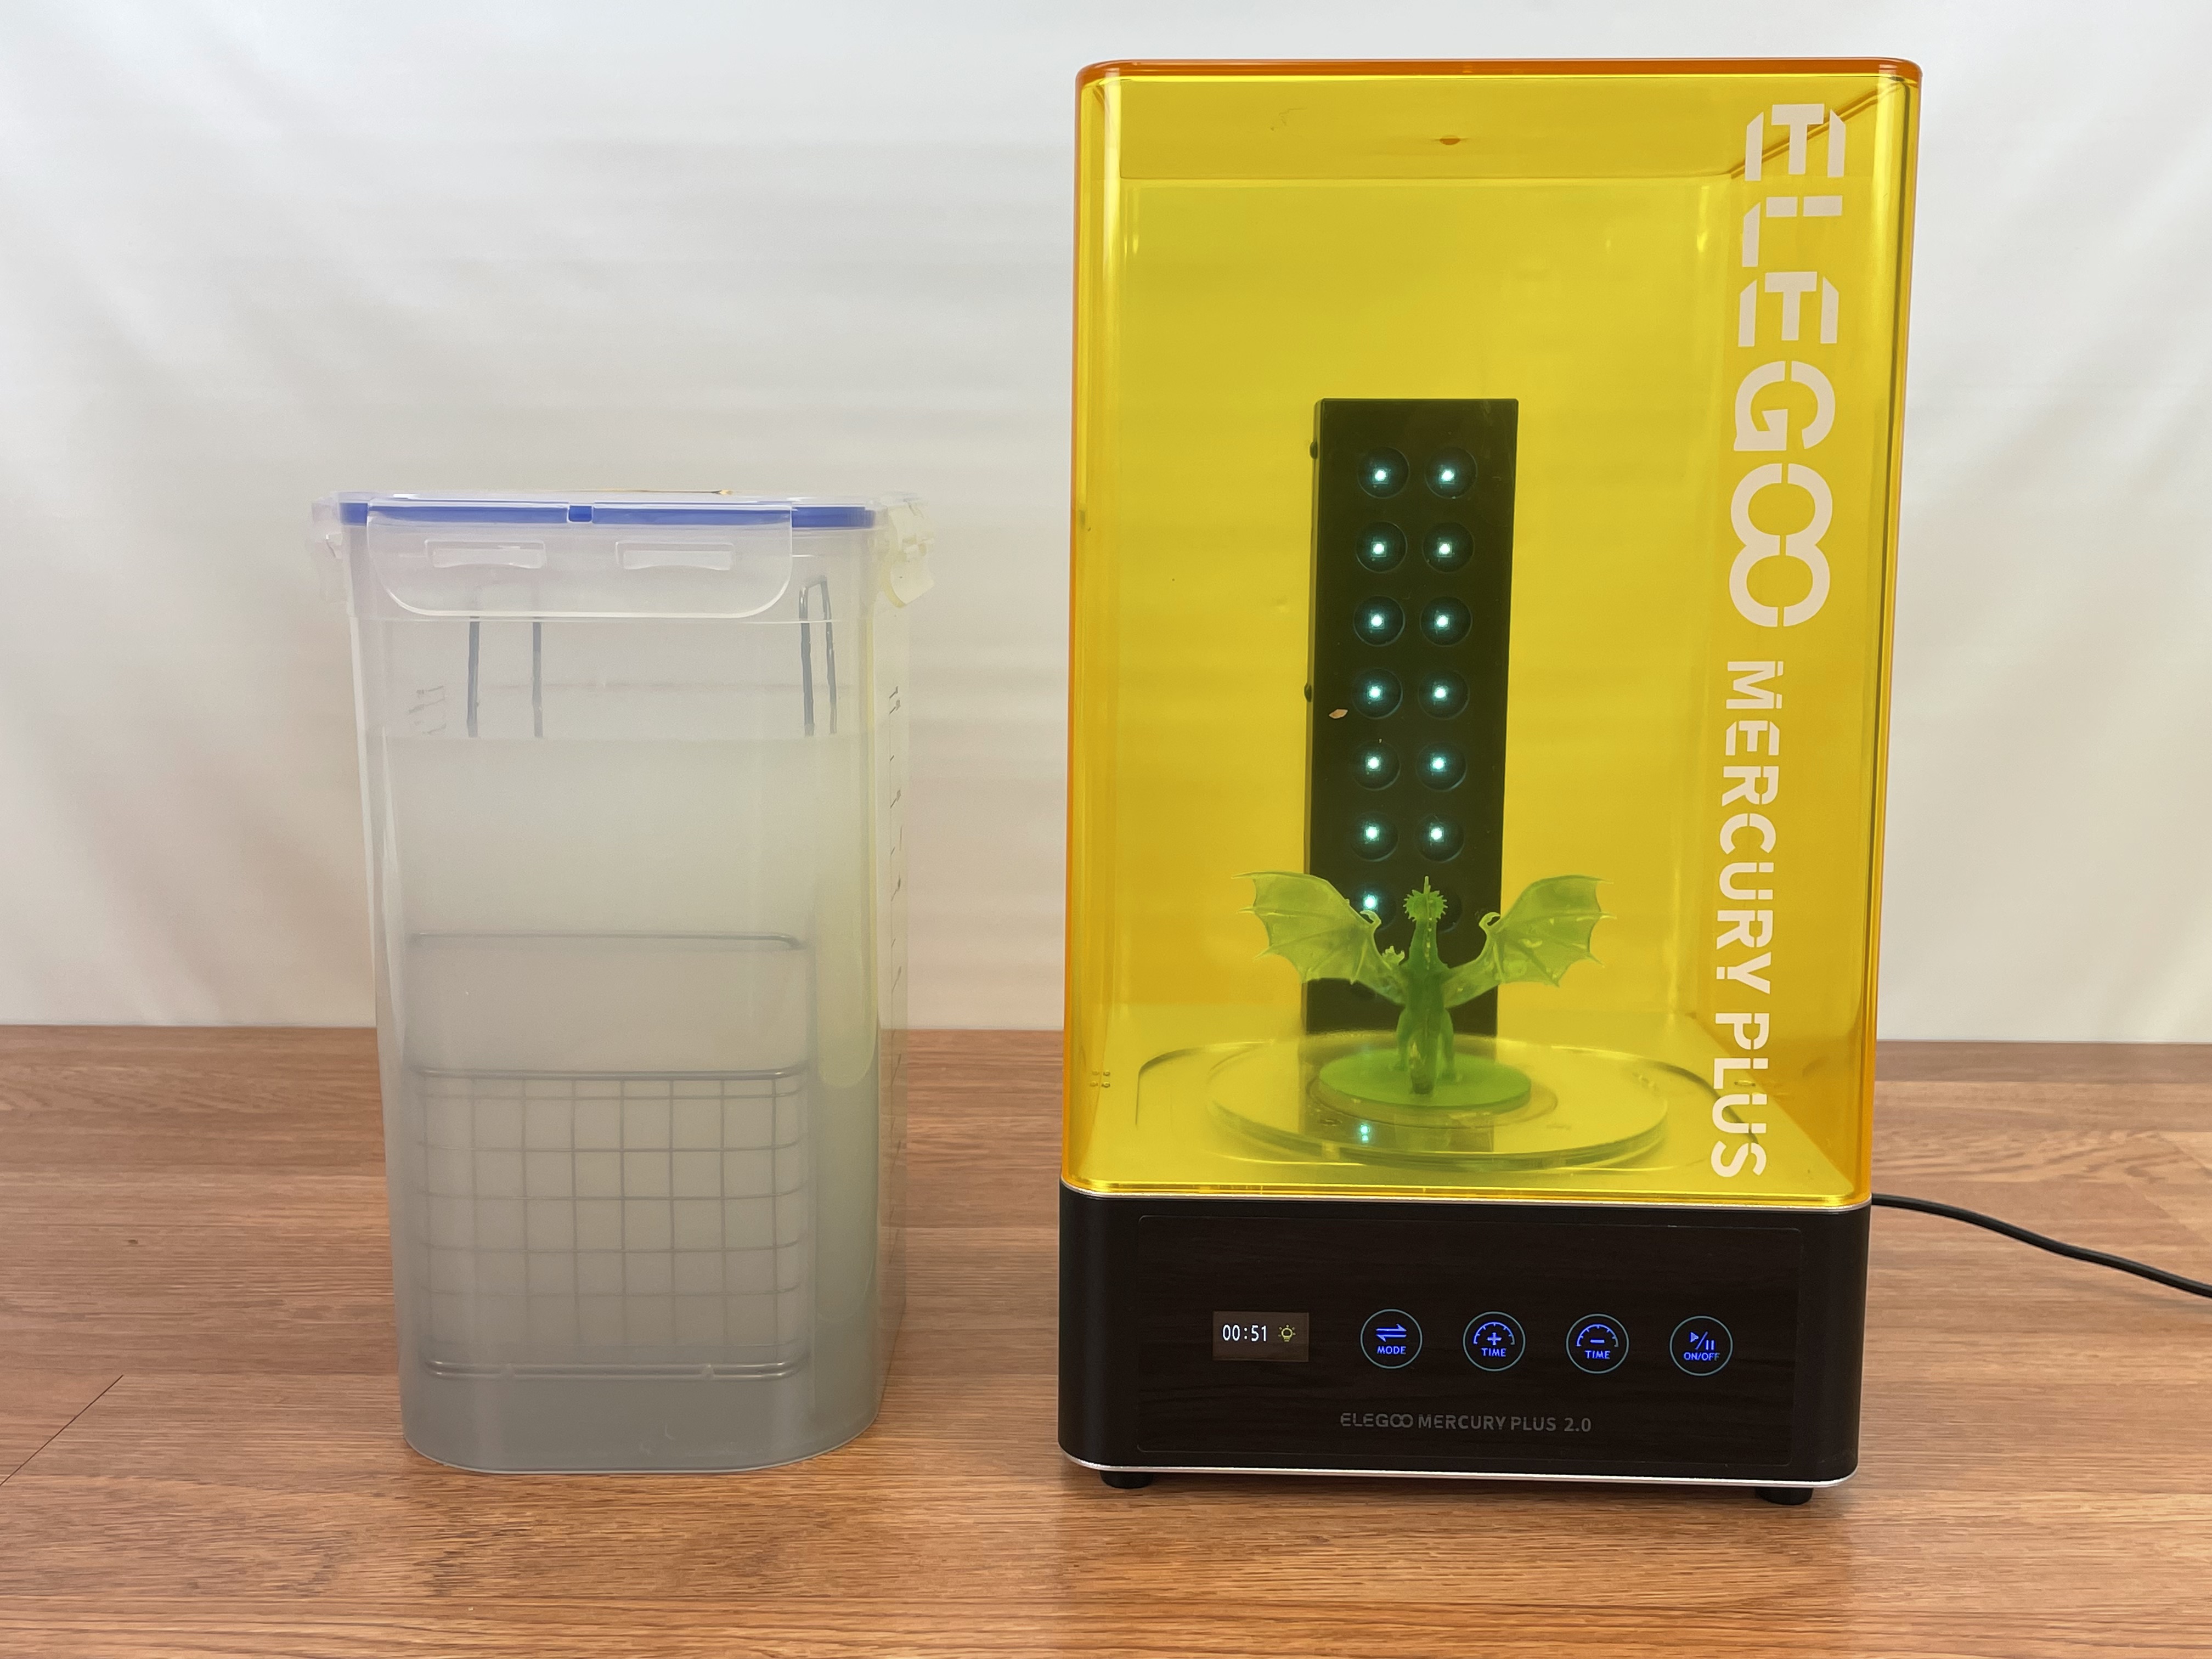
When I washed the models, I used Elegoo’s Mercury Plus Wash and Cure station for the low odor resin. Although this was designed with the Mars 2 Pro in mind, which has a slightly smaller build volume, I found the build platform still fit into the tank.
What worked well for me was to start off by washing the item in the tank full of isopropyl alcohol after printing, then removing the supports while they were still soft. After that, I ran some water over it briefly before giving it a final rinse in the tank. After letting the item completely dry, I cured it and this helped prevent most white residue from forming on the print.
I noticed on the product page for the Wash and Cure stations that it recommends avoiding using the rinse tank for the water washable resins because they do not provide adequate flow to rinse that type of resin off. I ended up putting the print under running water and using a sprayer hose both before and after removing supports and that worked really well.
Bottom Line
I’ve been using Elegoo printers since the very first Mars printer came out and these machines have come a long way. This is a very well-made printer that produces prints of excellent quality. During the entire time I was testing it, I had no failed prints. If you are in the market for a desktop-sized 3D resin printer, you really can’t go wrong with this printer. If you already have the Elegoo Mars 3, the new features may not be compelling enough to make you want to upgrade.
This printer is a much better value than some of the other printers in a similar budget range, such as the Phrozen Sonic Mini 4K with a slightly smaller build volume and no air purifier. However, the AnyCubic Photon Mono 4K appears to be very similar to this printer and it is currently on sale for only $189, though it appears to also lack an air purifier. If you are open to something a little larger with an even more impressive resolution, you may want to look at the Elegoo Saturn 2 8K which retails for $599. However, if you want a desktop sized 3D printer with this level of detail, a slightly above average build volume, and an air purification system, the Mars 3 Pro is hard to beat.
MORE: Best 3D Printers
MORE: Best Resin 3D Printers
MORE: Best Filaments for 3D Printing

Melissa is a Freelance Reviewer for Tom’s Hardware US covering 3D printers.
