Gigabyte X299 Aorus Gaming 3 Motherboard Review
Why you can trust Tom's Hardware
Software & Firmware
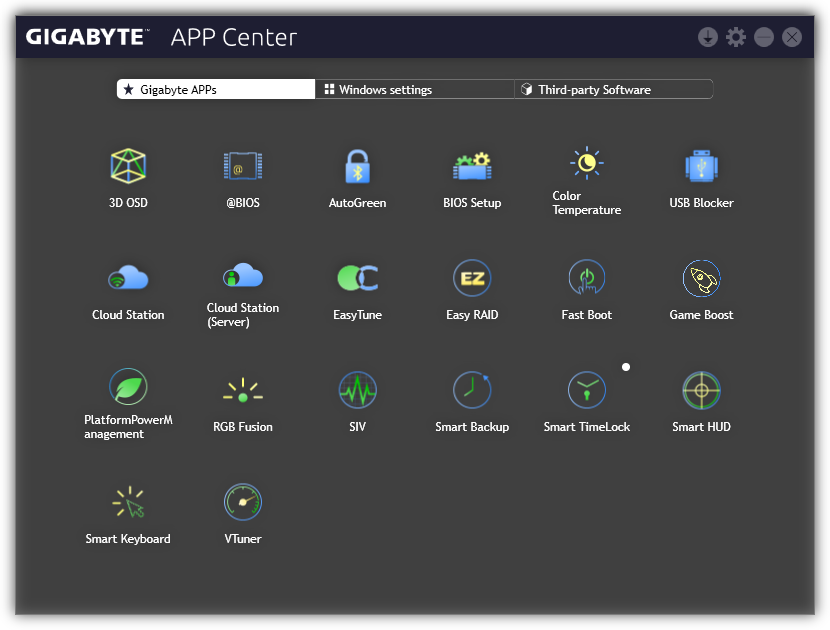
Gigabyte APP Center remains the launch point for its other applications, and while it’s set to boot automatically from the system, it does close when clicking the “close” button. Unchanged from our X299 Aorus Gaming 7 review, APP Center only shows installed apps. Gigabyte’s USB DAC-Up 2 and HW OC App aren’t supported by the X299 Aorus Gaming 3.
All the applications shown above, from Gigabyte 3D OSD to EasyTune and RGB Fusion, are unchanged from the X299 Aorus Gaming 7 suite. The Gaming 3 does not include the Creative SoundBlasterX 720° package, nor does its Intel network controller support the Killer Networking application, but those are the only deviations from the description in our previous review.
Firmware
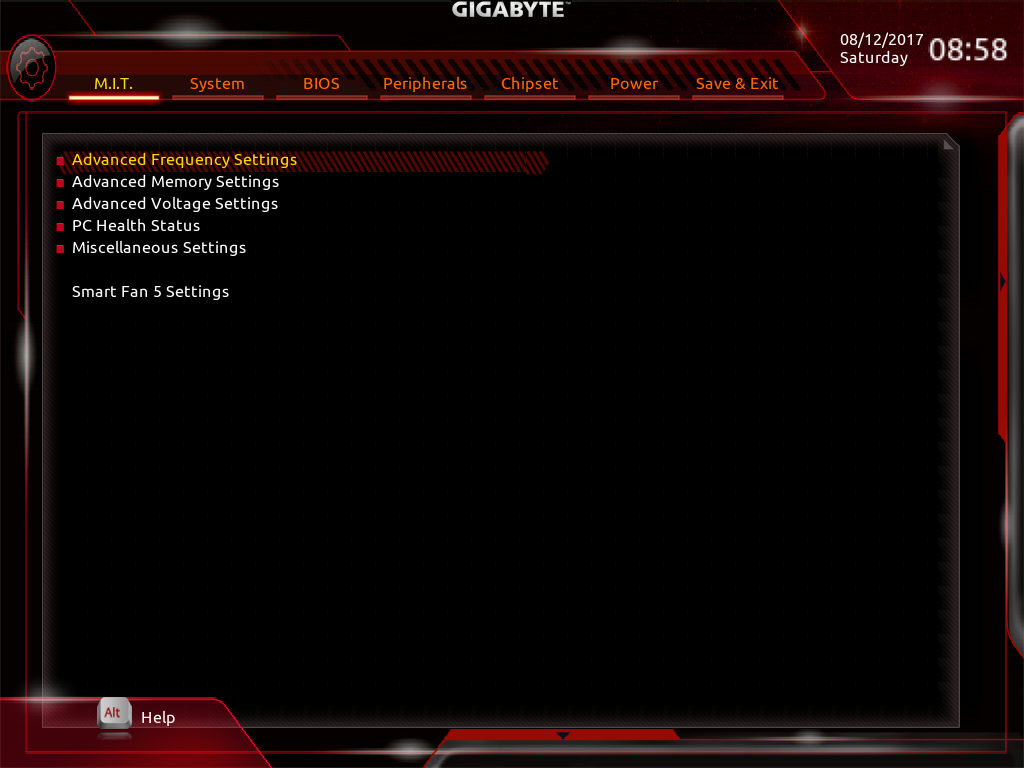
The X299 Aorus Gaming 3’s UEFI defaults to Classic mode, where the M.I.T. menu provides submenus to reach various overclocking controls.
The Gaming 3 reached the same 4.40 GHz O/C as the Gaming 7, though I did have a few weird quirks pop up in its F6l firmware revision: When I entered all shown overclock settings at once, the CPU would only clock the first eight cores to 4.40 GHz and left the last two running at 1.20 GHz. After several attempts to find the offending value and a few at repeating the procedure, I eventually decided to enter these one at a time between reboots, and everything initially worked perfectly.
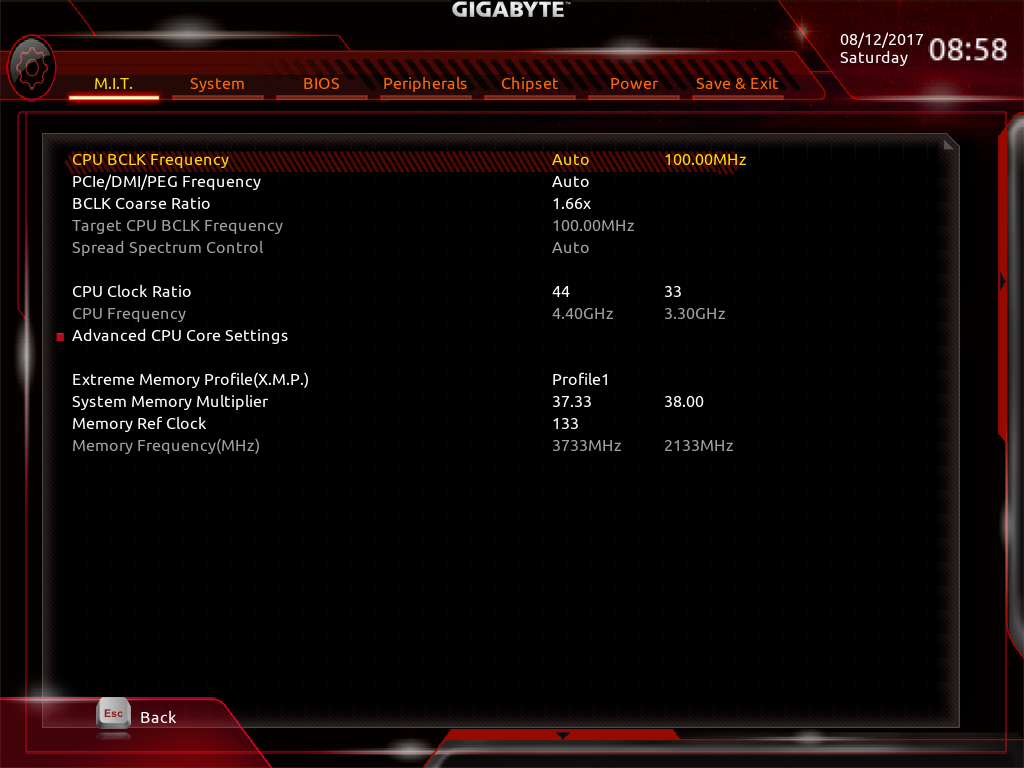
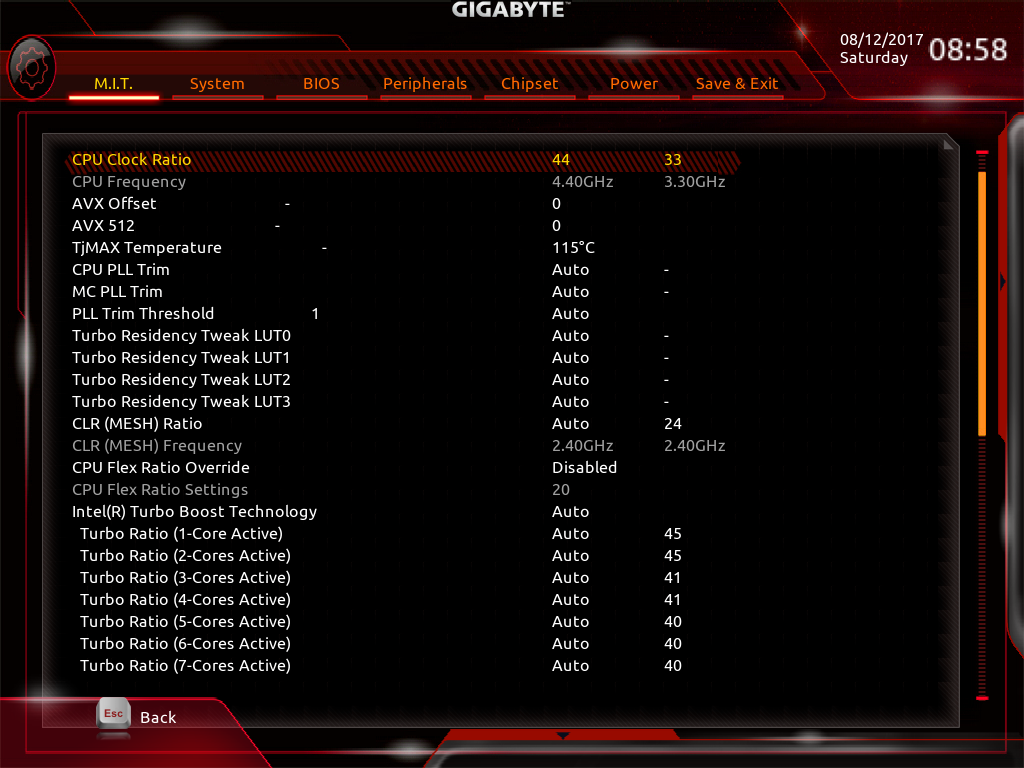
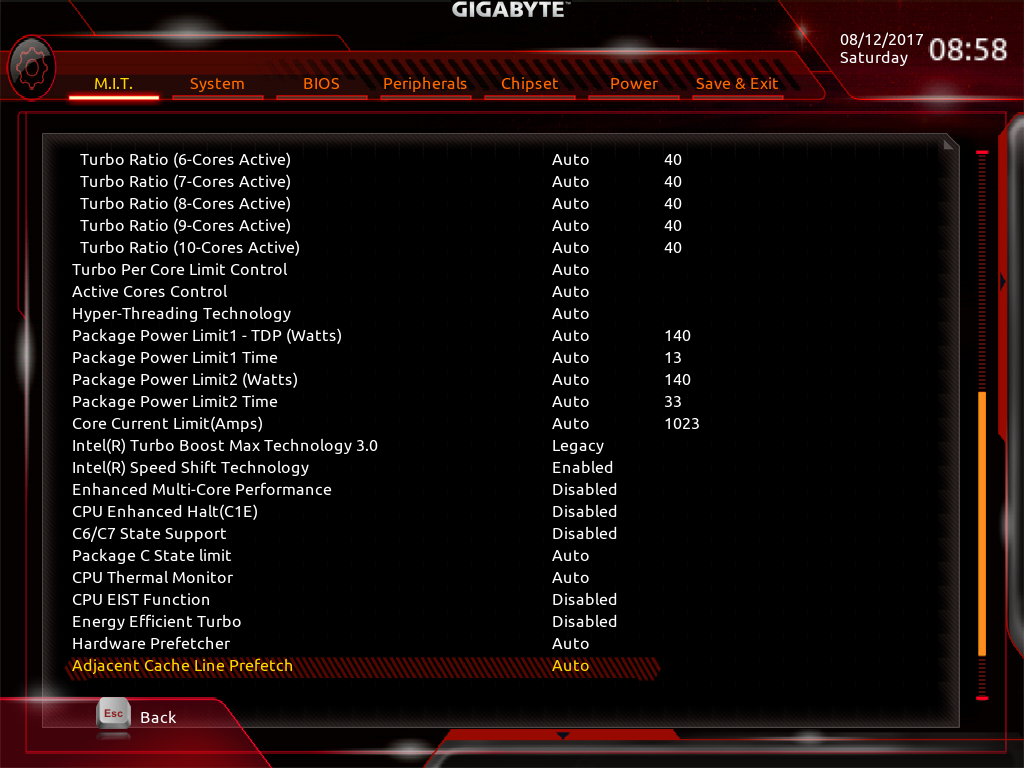
Notice that Gigabyte has also enabled the 0x AVX offset in this firmware revision, which was missing from the earlier Gaming 7 firmware. Our CPU may run at 4.7 GHz under lighter non-AVX loads, but when we say a specific frequency is 100% stable, we mean at all tested loads.
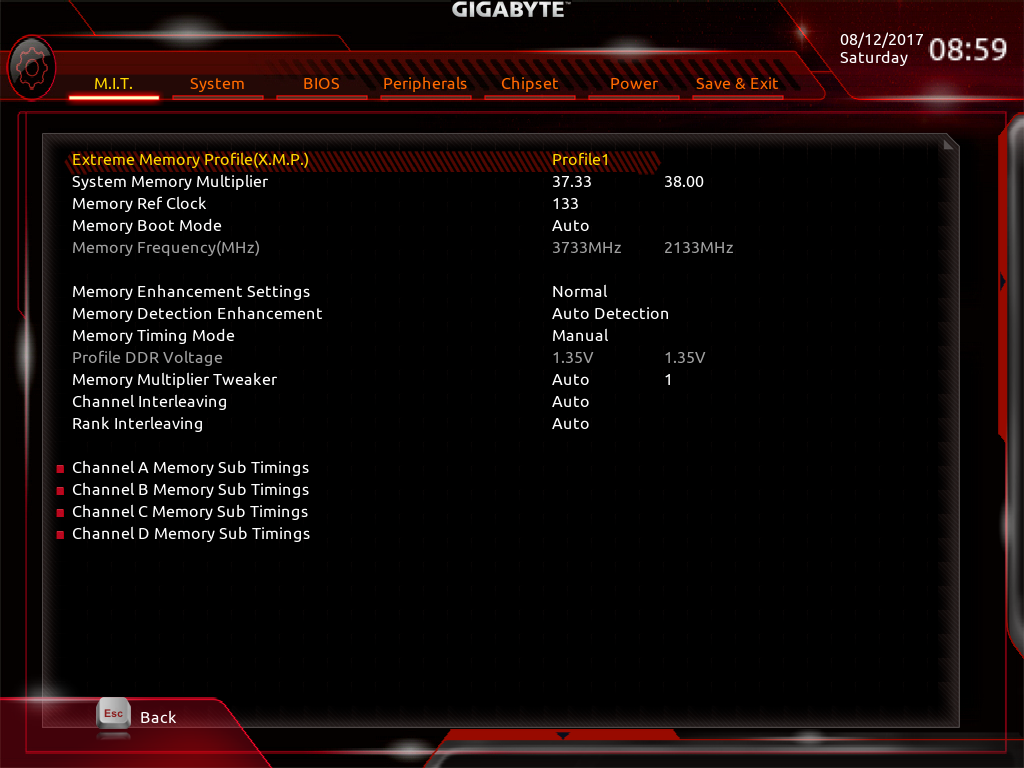
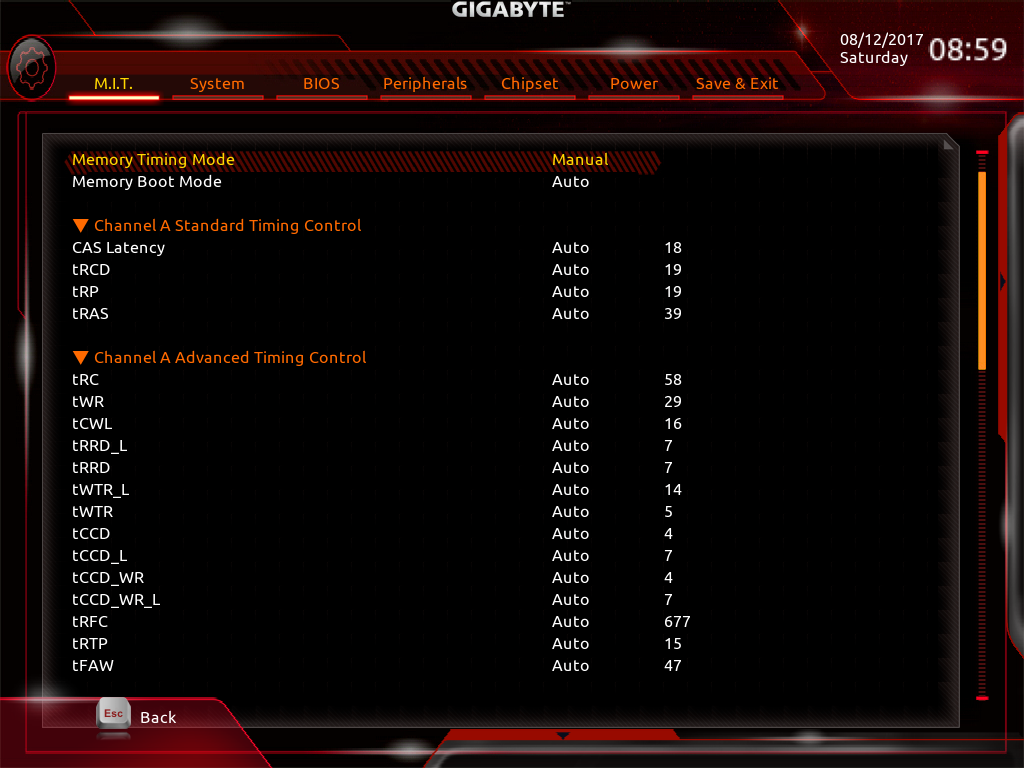
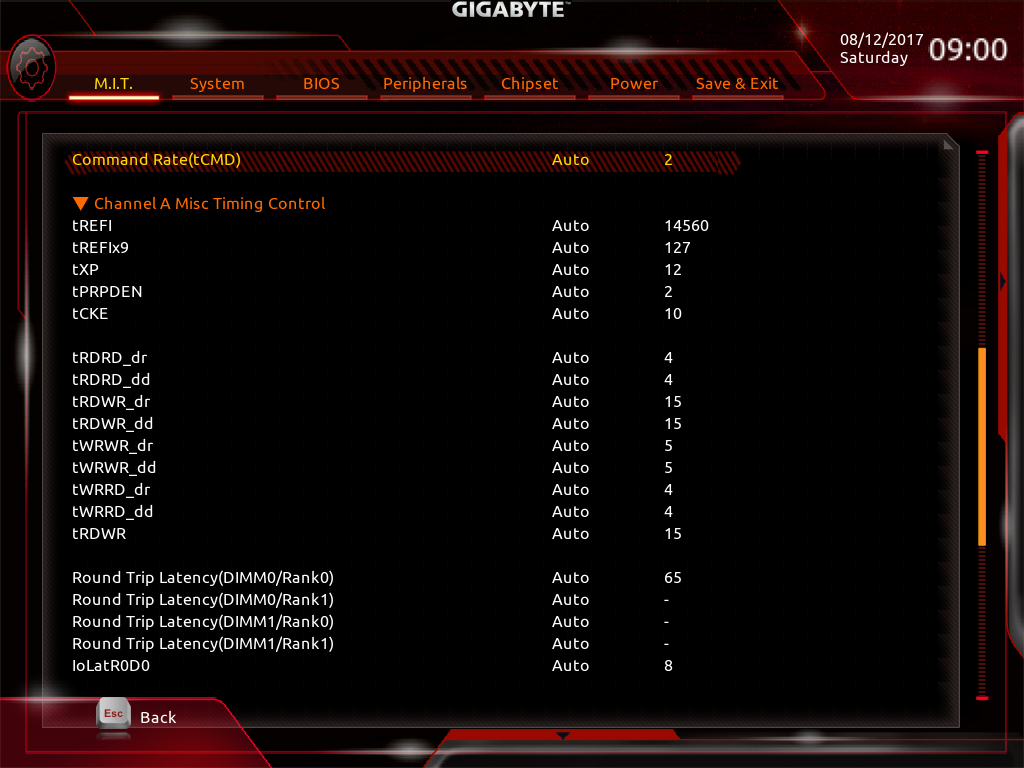
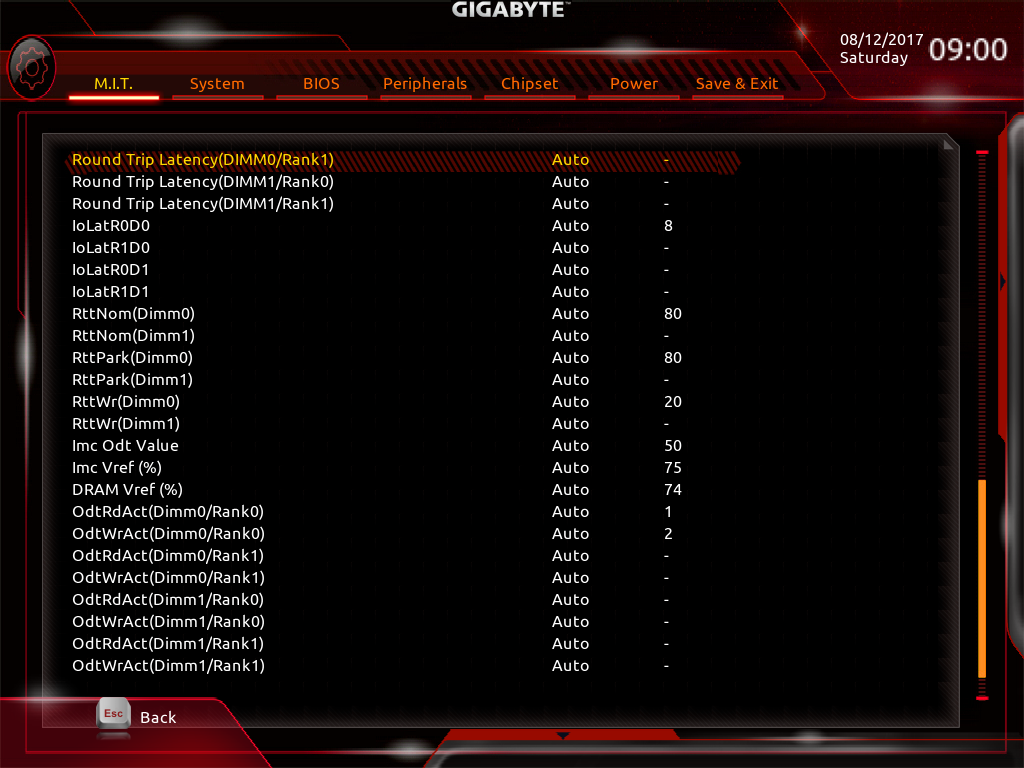
Our XMP-3866 memory ran well at data rates up to 3771 MHz, slightly up from the X299 Aorus Gaming 7’s DDR4-3734. The firmware of both boards allows users to choose either manual or advanced manual configuration to set all-channel or per-channel timings, respectively, and the board includes a complete set of primary, secondary, and tertiary adjustments.
One oddity was that when I enabled XMP, the second through tenth CPU cores dropped to 1.20 GHz. This second problem went away after resetting and re-entering the shown overclock, and the first problem (the last two cores downclocking) didn’t return either.
Get Tom's Hardware's best news and in-depth reviews, straight to your inbox.
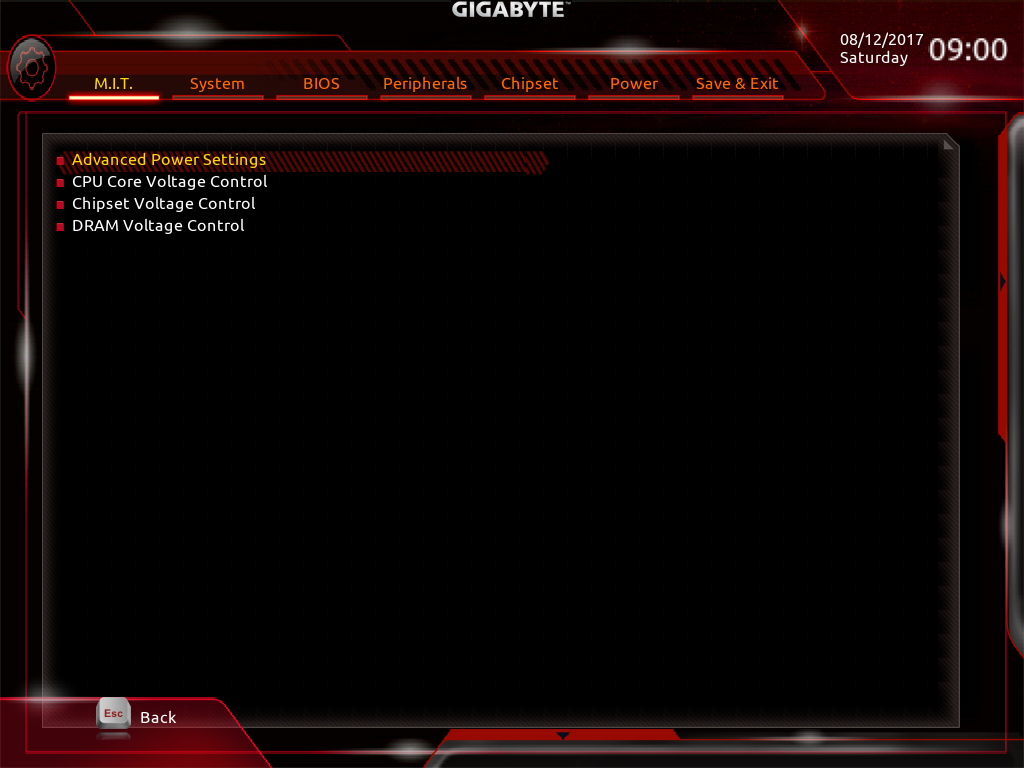
The Advanced Power Settings submenu is yet another launching point for deeper submenus. Our CPU was most stable using the “Turbo” Vcore Loadline Calibration setting of the Advanced Power Settings menu, and we continue to use 1.150V for the CPU core to assure a good AVX-capable overclock without overheating.
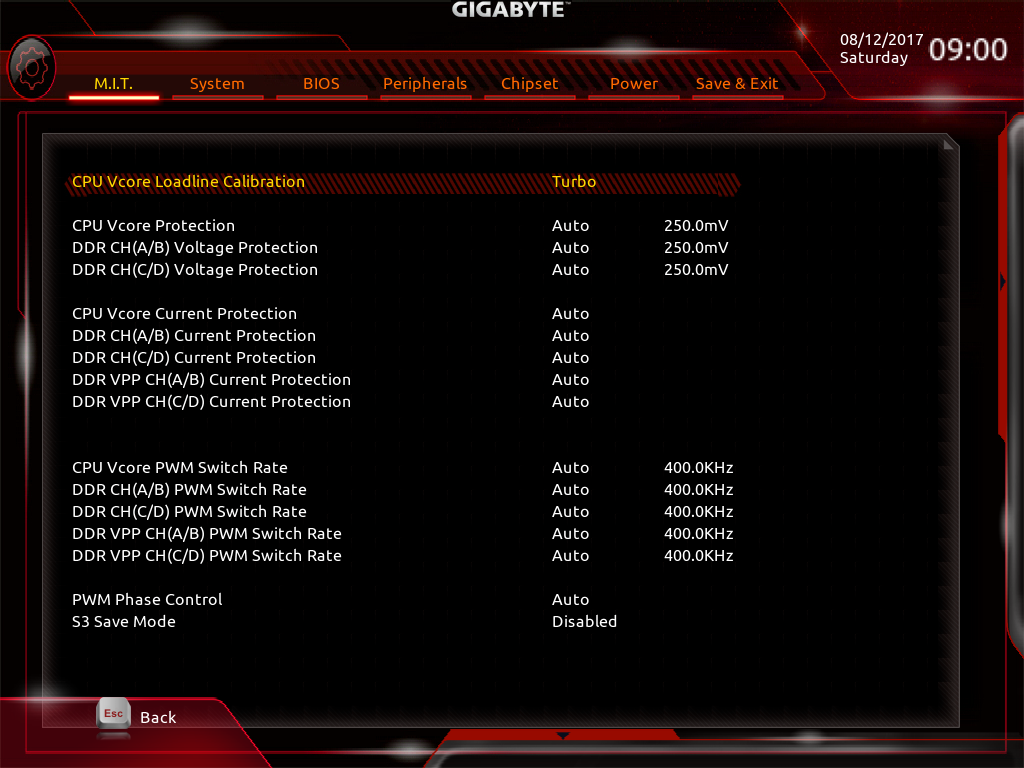
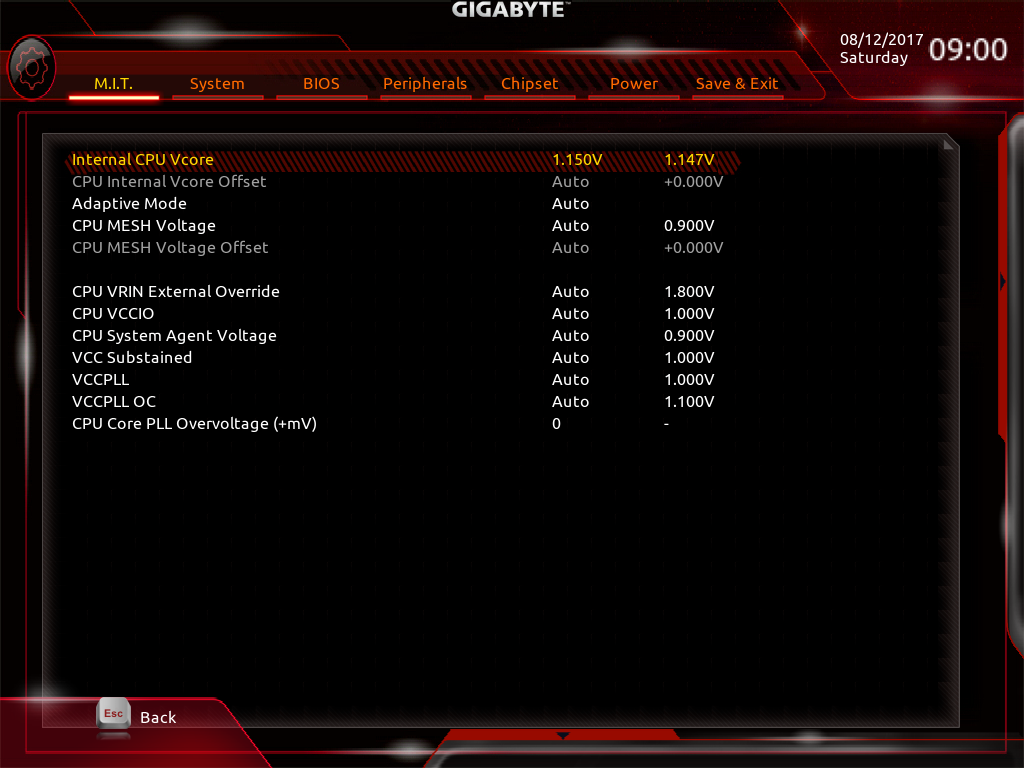
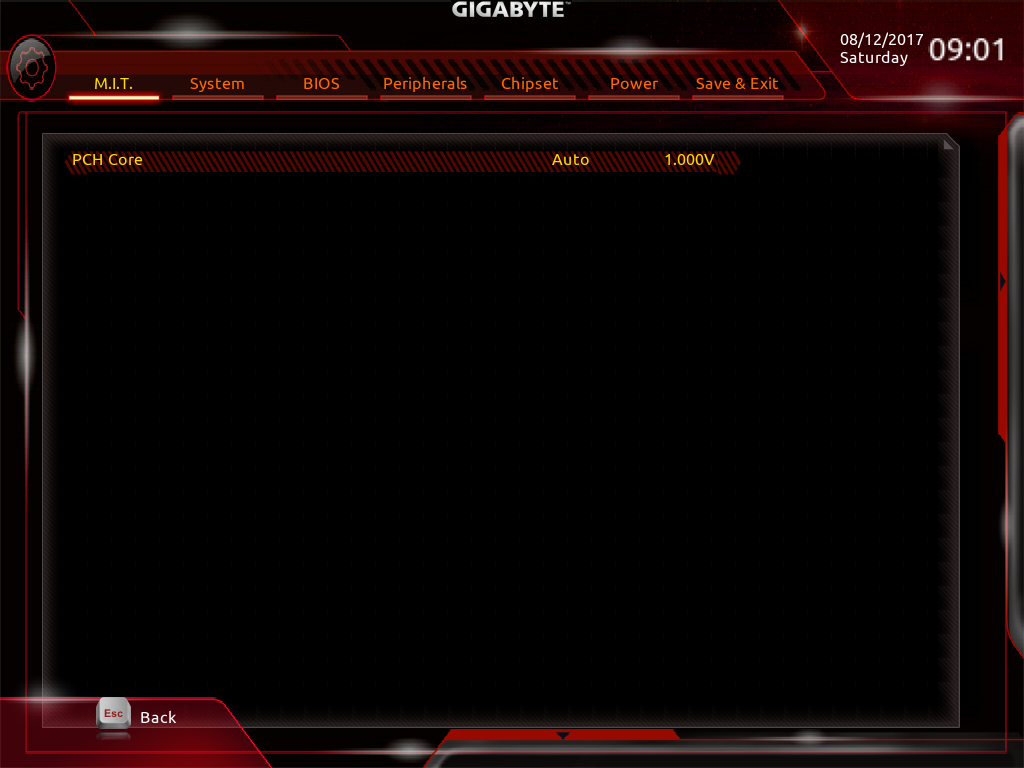
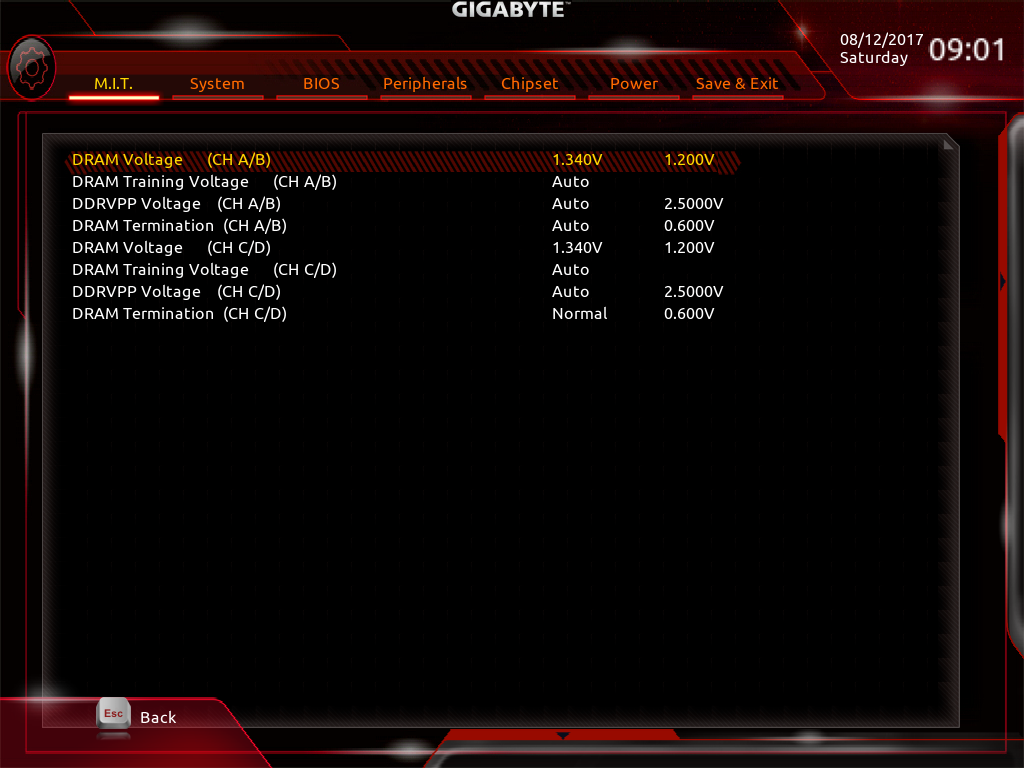
The DRAM Voltage setting of 1.340V produced 1.35 to 1.354V at the X299 Aorus Gaming 3’s DIMM slots.
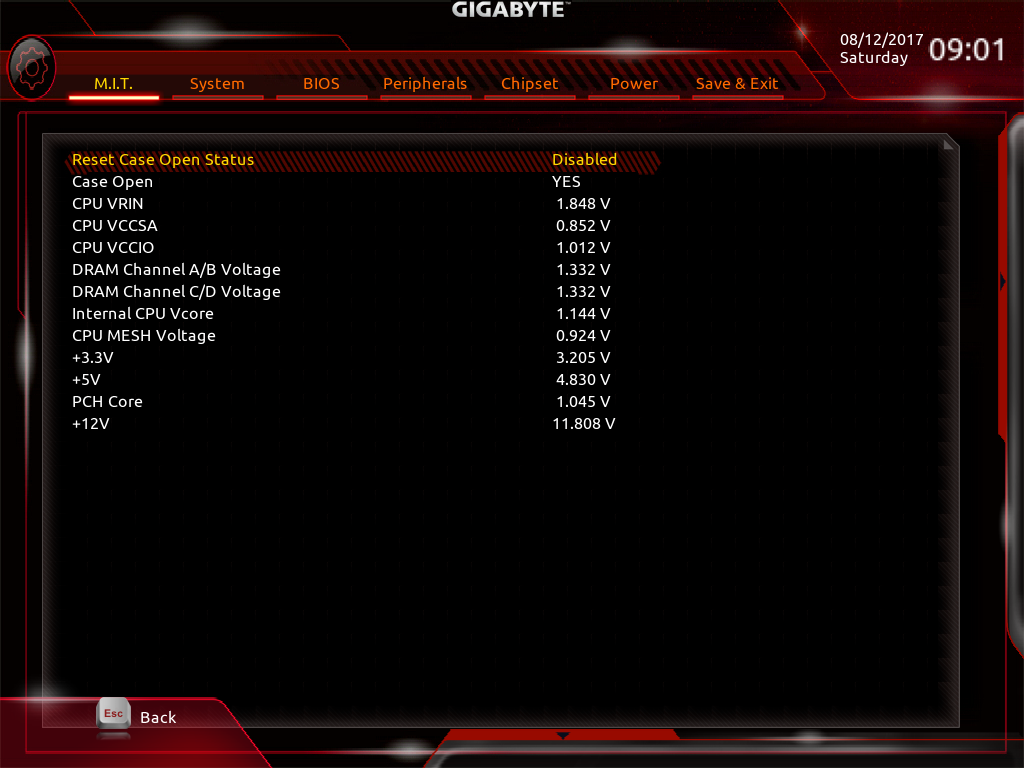
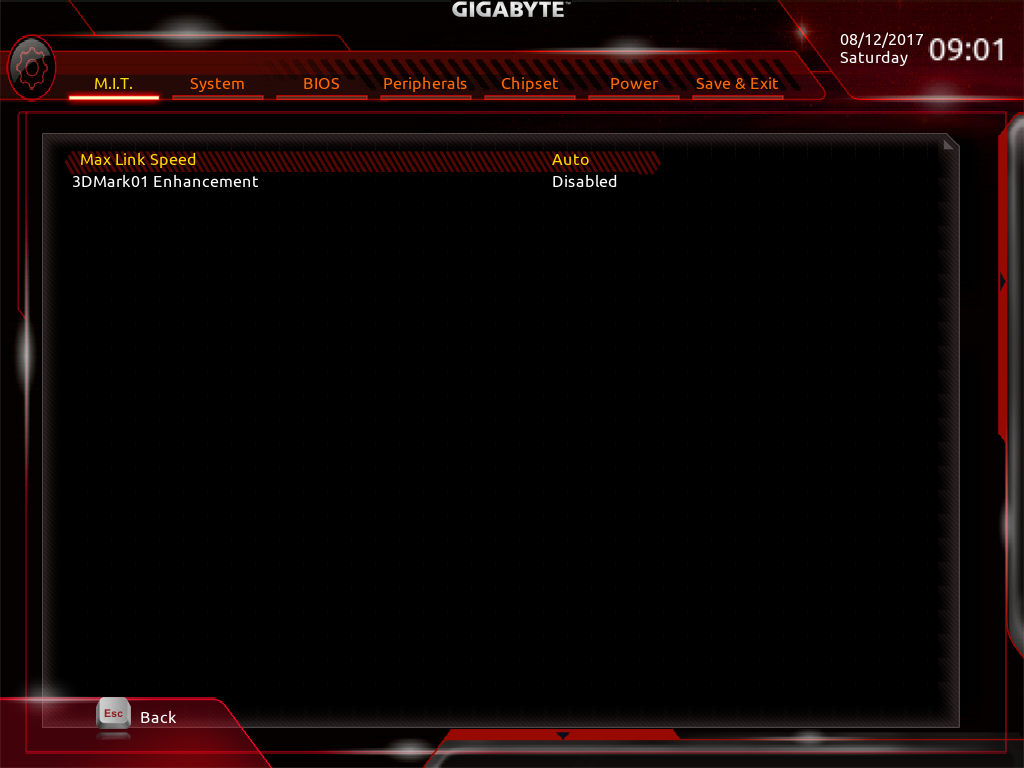
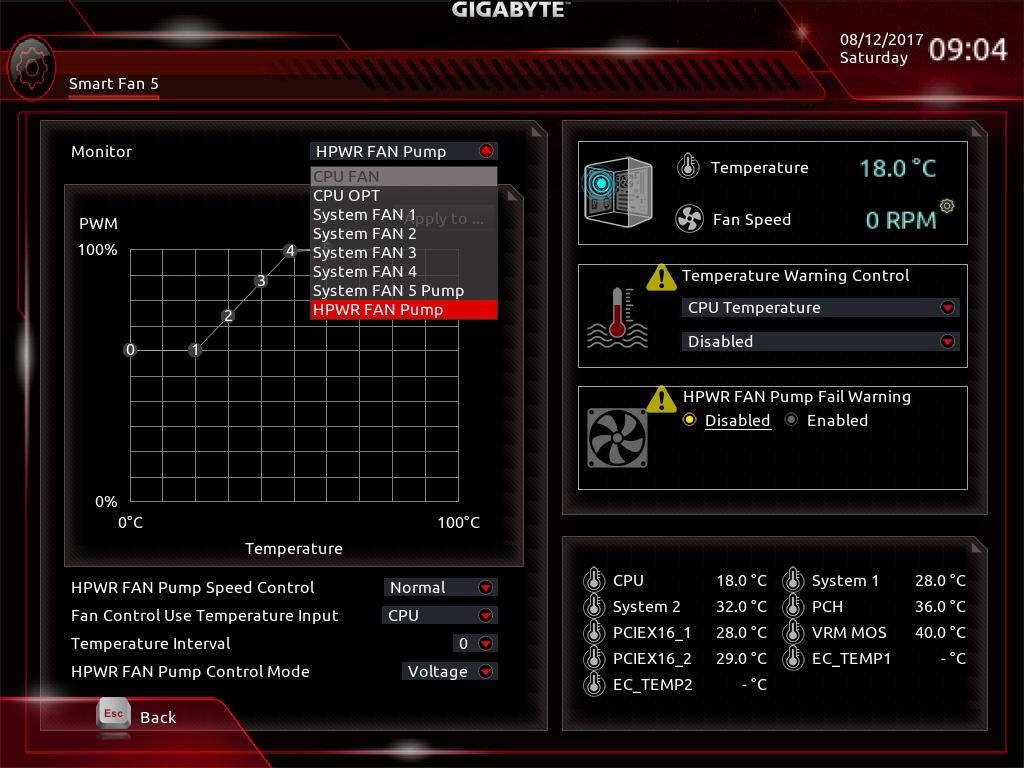
Other M.I.T. submenus address voltage monitoring, a legacy 3DMark setting, and fan control.
All eight of the fan headers can be manually switched between voltage and PWM-based speed control, and the one labeled HPWR FAN Pump has a boosted 3A capacity for, as the name implies, high-power, liquid-cooling pumps.
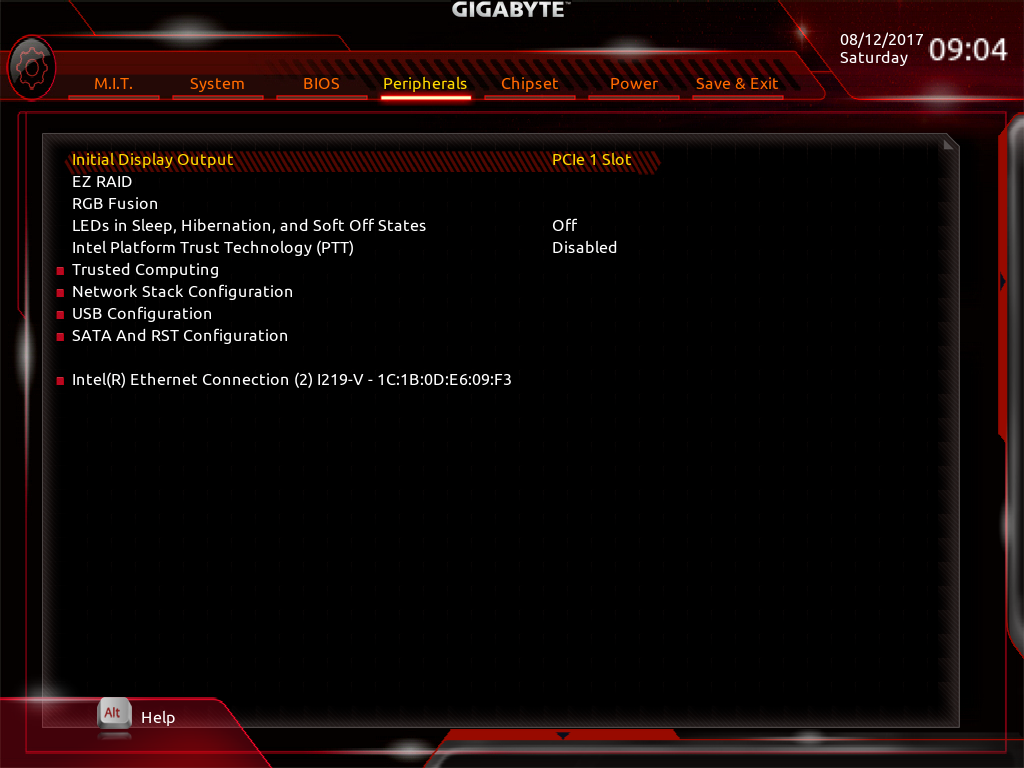
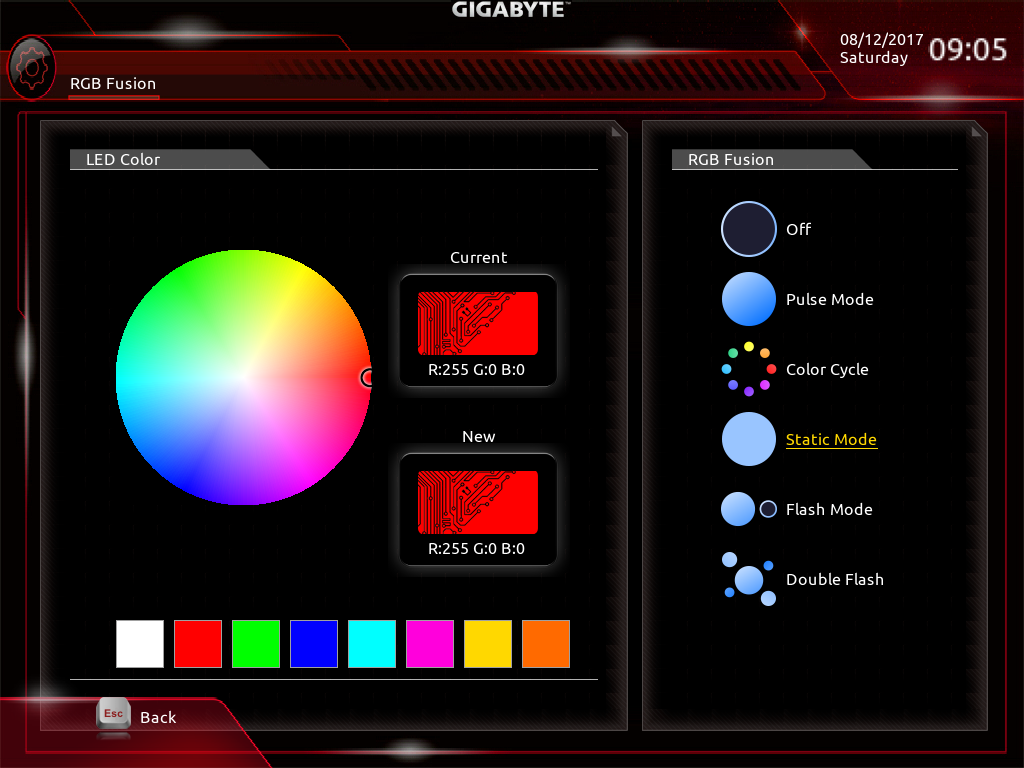
Located within the Peripherals menu, the RGB Fusion submenu allows users to set lighting modes without software. There are no sequential lighting effects such as chase-mode on this board, but the all-at-once color cycle modes work.
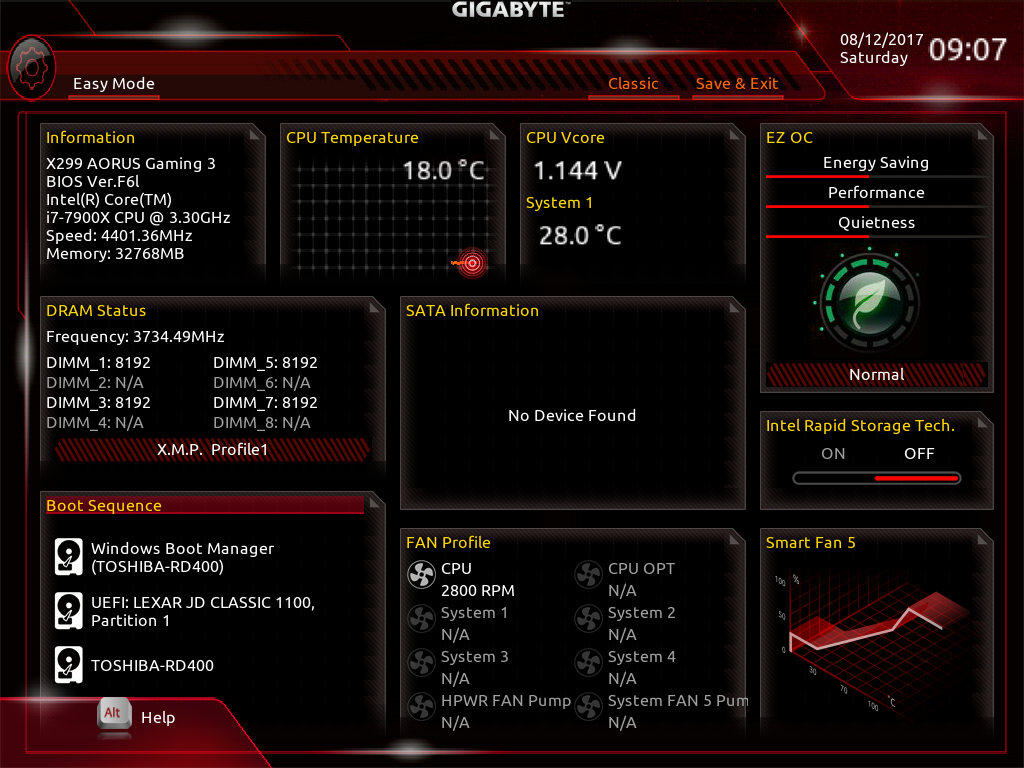
Users who don’t want to see all the options available in Classic mode can get to the UEFI’s “Easy” GUI by pressing the keyboard’s F2 function.
MORE: Best Motherboards
MORE: How To Choose A Motherboard
MORE: All Motherboard Content
-
Crashman The amazing thing is that readers who panned the Gaming 7's extensive LEDs and high price have failed to respond to this cheaper version. It's almost as if they only read reviews of products they don't like.Reply
