Why you can trust Tom's Hardware
Specifications: Gigabyte H610M S2H DDR4
Socket | LGA1700 |
Chipset | H610 |
Form Factor | mATX |
Voltage Regulator | 8 Phase (6x MOSFETs for Vcore) |
Video Ports | (1) HDMI (v2.1) |
| Row 5 - Cell 0 | (1) DisplayPort (v1.4) |
| Row 6 - Cell 0 | (1) D-Sub |
| Row 7 - Cell 0 | (1) DVI-D |
USB Ports | (2) USB 3.2 Gen 1 Type-C (5 Gbps) |
| Row 9 - Cell 0 | (4) USB 2.0 (480 Mbps) |
Network Jacks | (1) GbE |
Audio Jacks | (3) Analog |
Legacy Ports/Jacks | (2) PS/2 |
Other Ports/Jack | ✗ |
PCIe x16 | (1) v4.0 (x16) |
PCIe x8 | ✗ |
PCIe x4 | ✗ |
PCIe x1 | (1) v3.0 (x1) |
CrossFire/SLI | ✗ |
DIMM slots | (2) DDR4 3200, 64GB Capacity |
M.2 slots | (1) PCIe 3.0 x4 (32 Gbps), PCIe (up to 110mm) |
U.2 Ports | ✗ |
SATA Ports | (4) SATA3 6 Gbps |
USB Headers | (1) USB v3.2 Gen 1 (5 Gbps) |
| Row 24 - Cell 0 | (2) USB v2.0 (480 Mbps) |
Fan/Pump Headers | (3) 4-Pin (CPU, System) |
RGB Headers | (3) aRGB Gen 2 (3-pin) |
| Row 27 - Cell 0 | (1) AURA RGB (4-pin) |
Diagnostics Panel | ✗ |
Internal Button/Switch | ✗ |
SATA Controllers | ✗ |
Ethernet Controller(s) | Realtek (1 Gbps) |
Wi-Fi / Bluetooth | ✗ |
USB Controllers | ✗ |
HD Audio Codec | Realtek ALC897 |
DDL/DTS | ✗ / ✗ |
Warranty | 3 Years |
Inside the Box of the Gigabyte H610M S2H DDR4
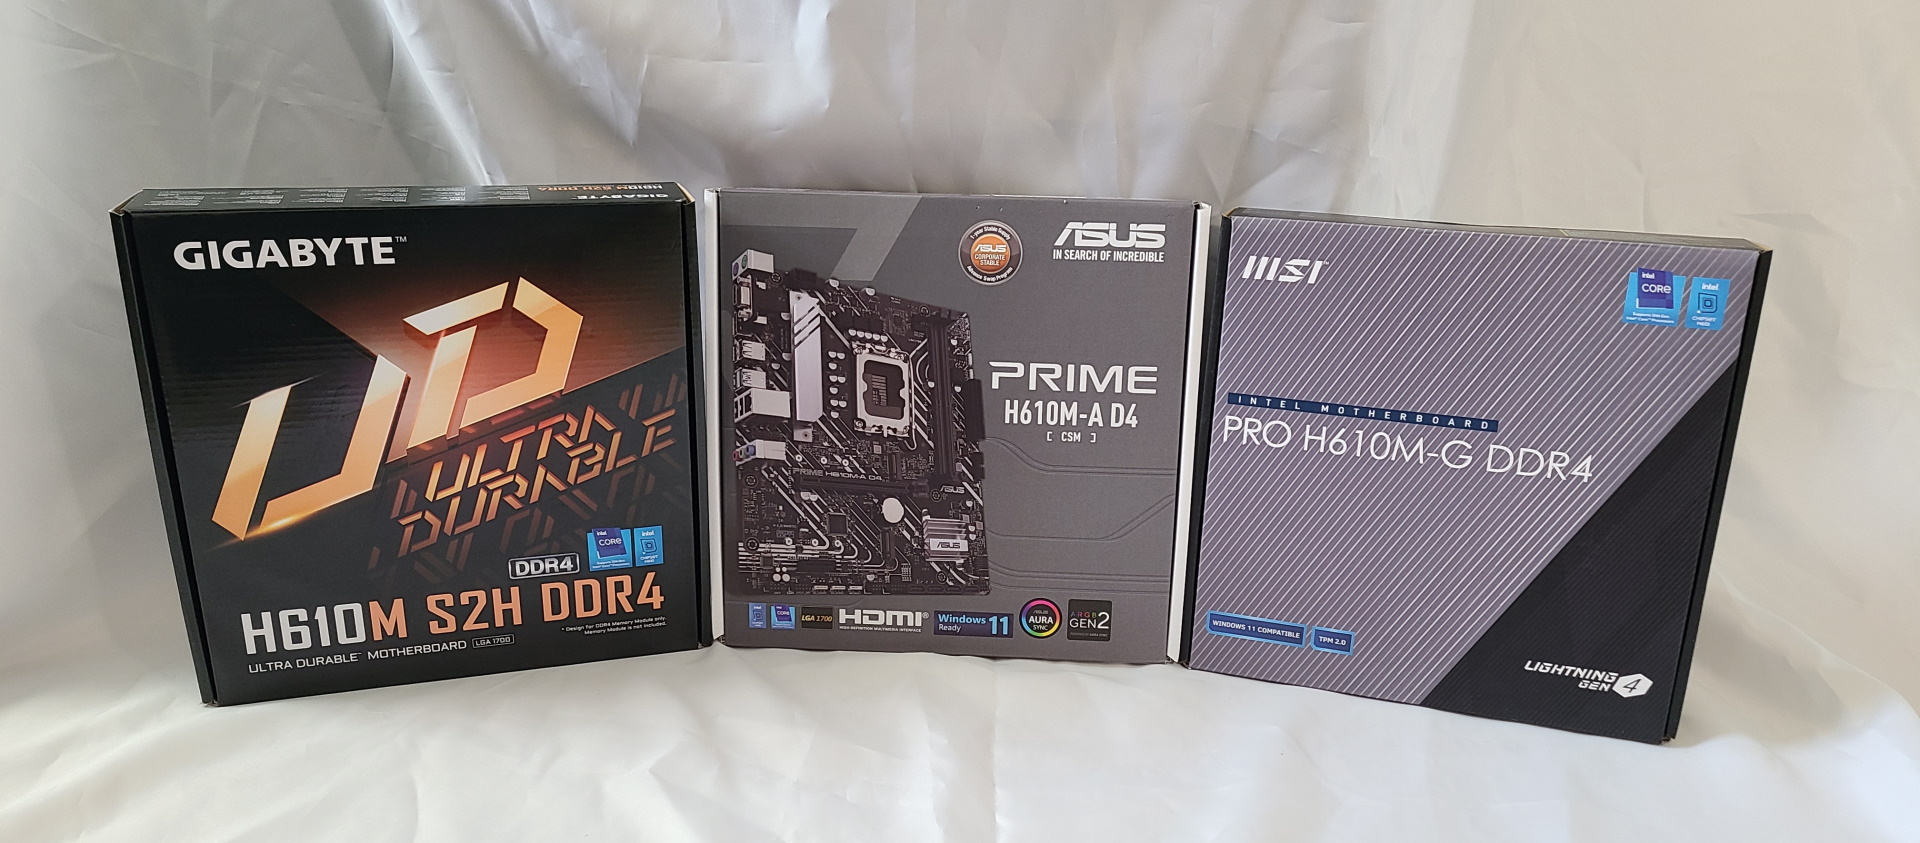
Like the Asus previously and the MSI below, the included accessories in this tier of motherboard are bare bones. The Gigabyte H610M S2H DDR4 packs in a couple of SATA cables, a driver disk and that’s about it. Here’s the compete(ly short) list.
- (2) SATA cables
- I/O plate
- Support DVD
- User’s manual
Design of the H610M S2H DDR4
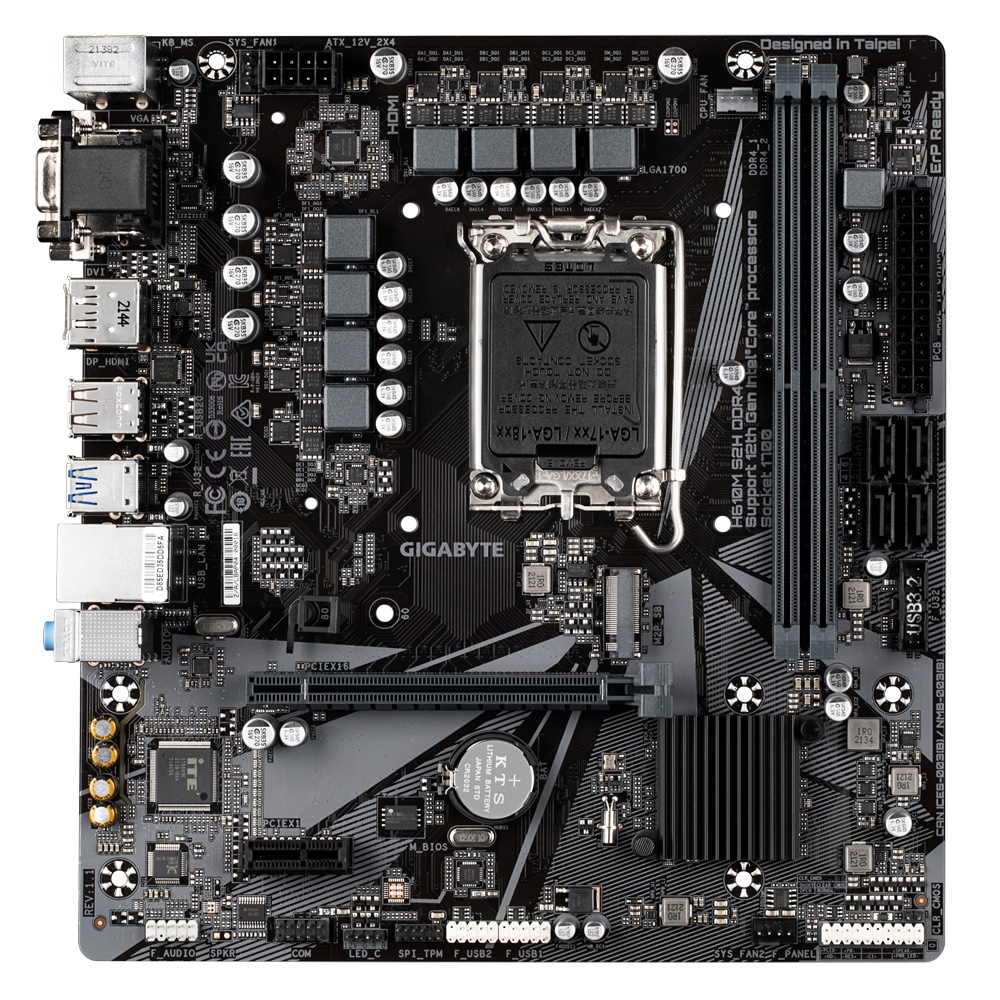
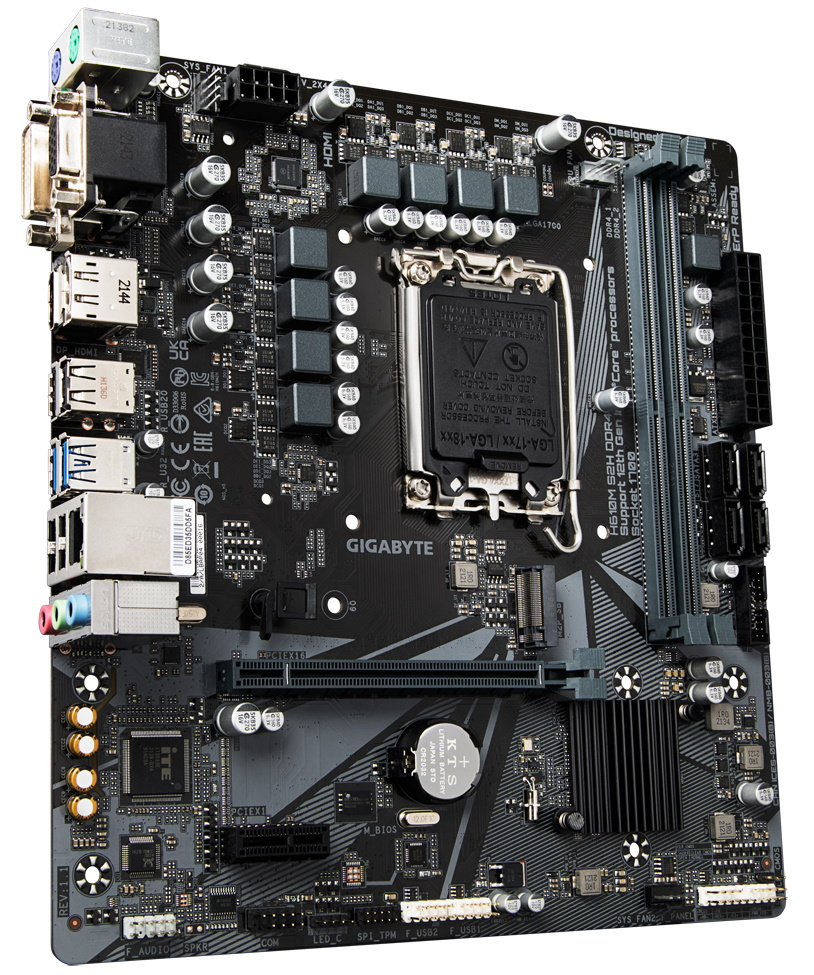
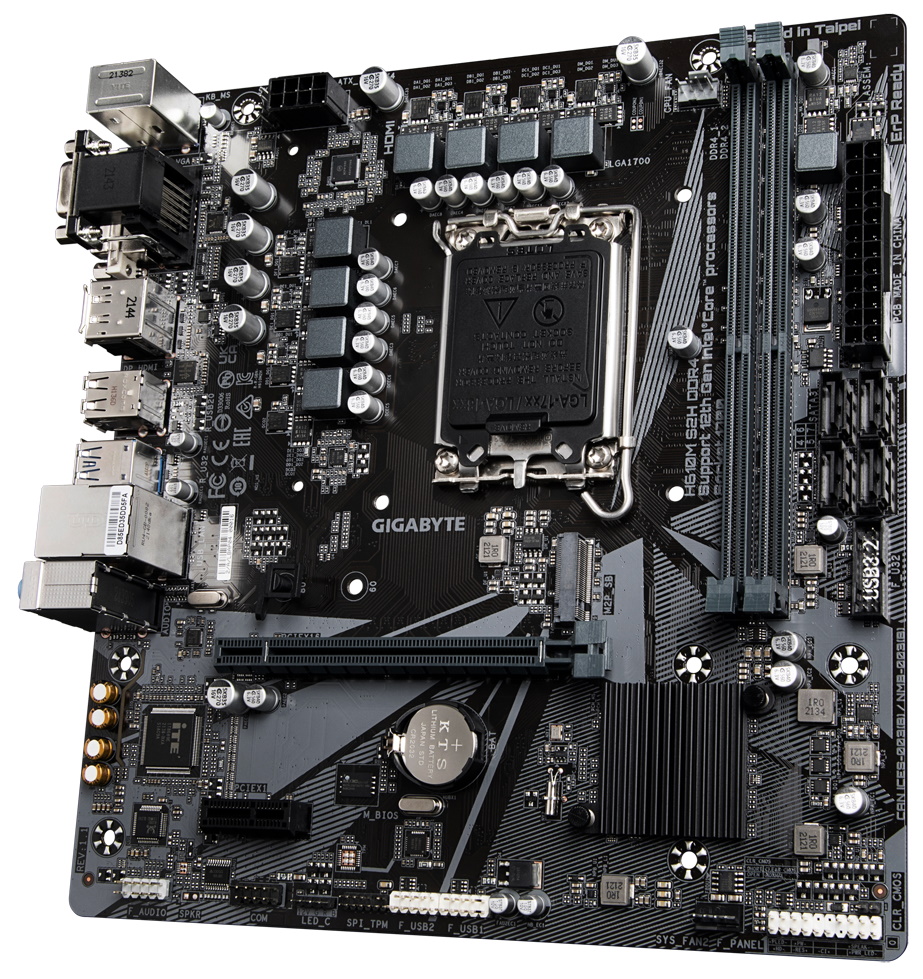
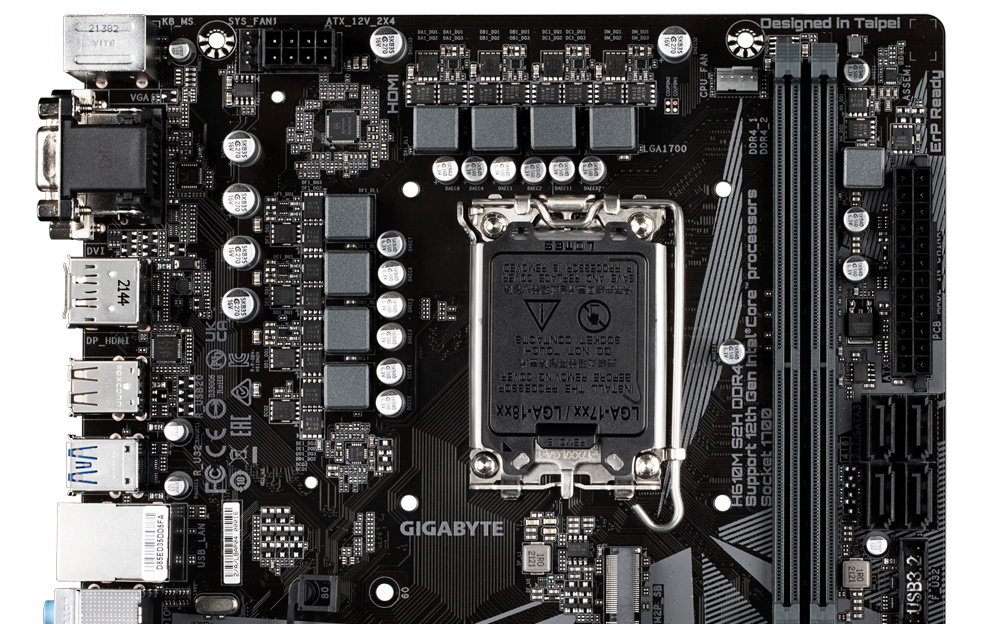
The H610M S2H DDR4 sports a jet-black PCB, along with solid and lined gray patterns that break up the monotony of an all-black motherboard. There are no heatsinks on the board outside of a small square with ribbing for extra surface area/cooling capability for the chipset. If you’re looking for integrated RGB lighting, you’ll need to look elsewhere or use the single 4-pin RGB header. In the end, it’s a budget board that doesn’t ask to be the center of attention.
The top half of the board is fully exposed, just like the Asus before it, and the MSI after. Above the VRMs is the required solid-pin 8-pin EPS connector to power the CPU. The first (of three) 4-pin fan headers sit immediately next to it. Surprisingly, each header outputs up to 2A/24W, so you shouldn’t have any issues putting in a pump or piggybacking fans on a single header if needed. As always, be careful not to overload the headers though.
Sliding past the socket area, we run into two unreinforced DRAM slots that secure the RAM with latches on both sides. Memory support is, of course, listed as DDR4 3200, which is the maximum stock speed for the platform. The system didn’t have any issues running our sticks with XMP at the 3200 MHz speed (these are DDR4 3600 sticks).
Along the right edge, we hit the 24-pin ATX connector for board power, four SATA ports, and a front-panel USB 3.2 Gen 2 (10 Gbps) connector. Gigabyte does not mention RAID support in the manual. Since there’s no lane sharing on this board, you can run all four SATA ports and the M.2 socket concurrently, just like on the Asus we looked at up top.
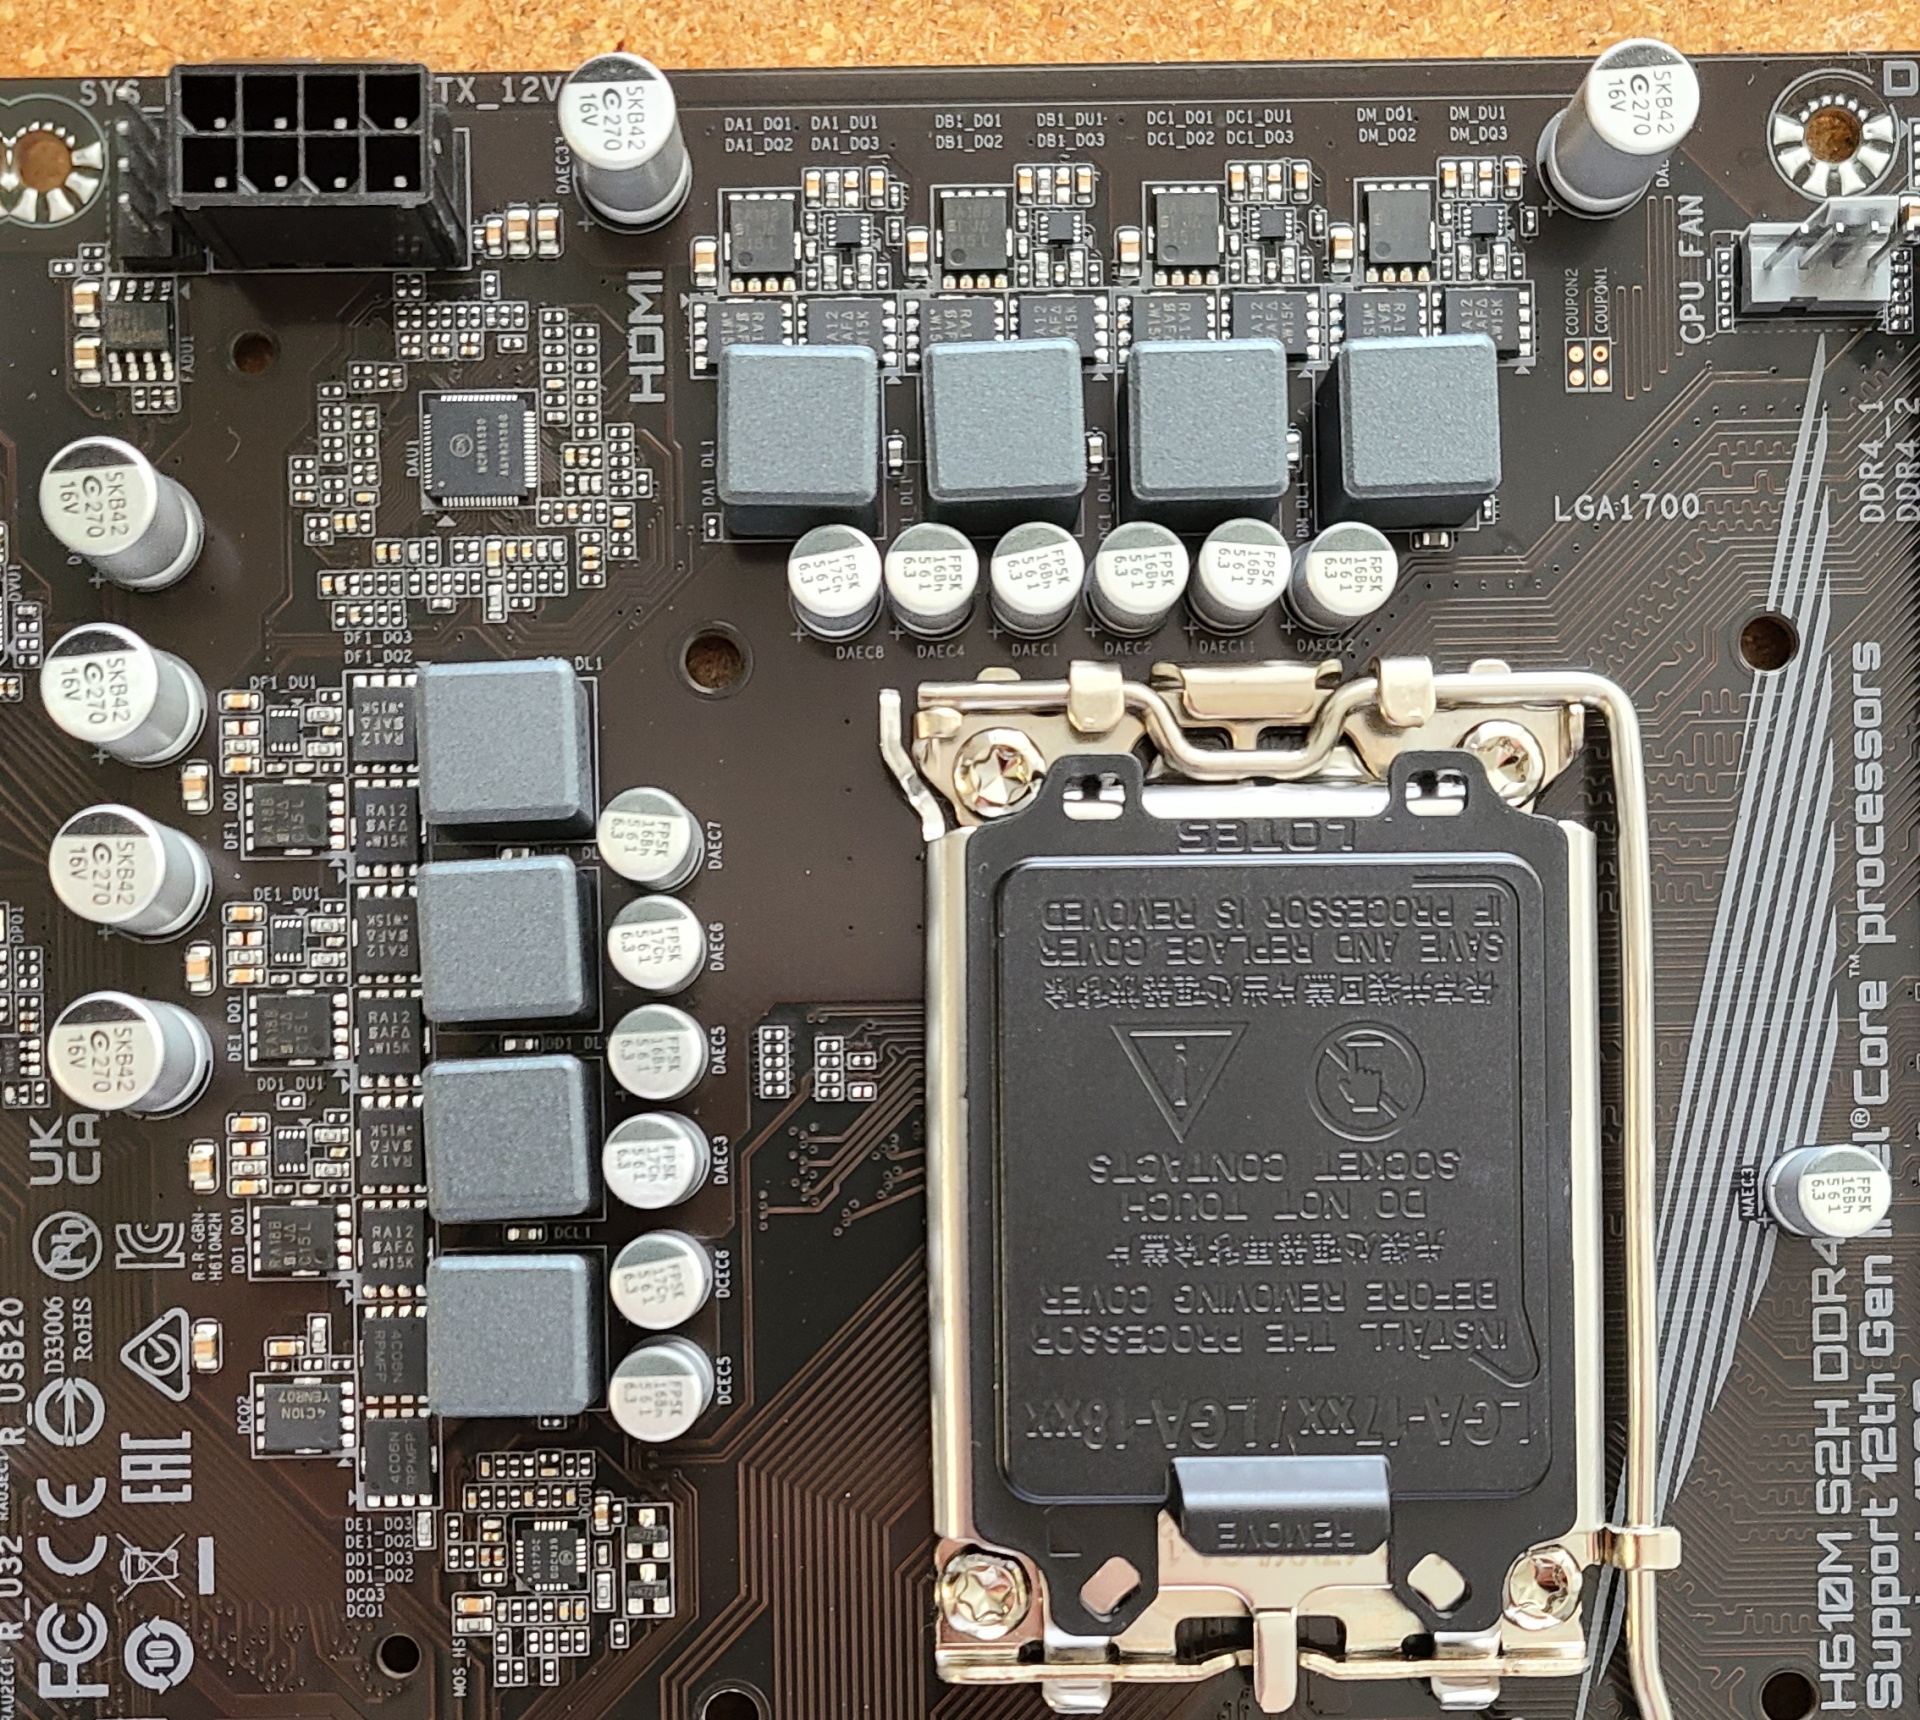
Gigabyte says the power delivery is set up in a 6+1+1 hybrid configuration. Power flows from the EPS connector to an ON Semiconductor MCP81530 controller and then Vishay RA18B and RA12 MOSFETs (50A) for the low and high sides. Again, this is far from the most powerful VRM setup we’ve come across, but it only needs to support the CPUs at stock speeds.
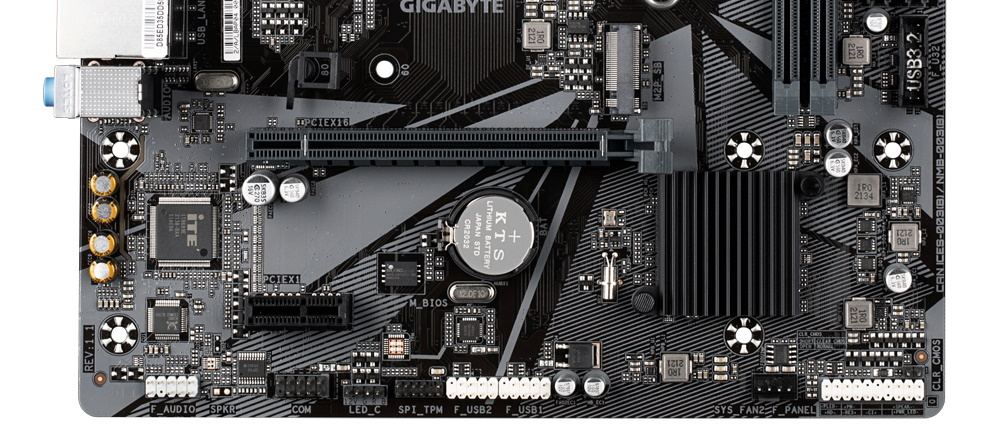
On the bottom half of the board, starting on the left side, we see the exposed audio section with the Realtek ALC897 codec on display and four yellow caps dedicated to audio. This is an older codec, but should still be OK for many users.
Get Tom's Hardware's best news and in-depth reviews, straight to your inbox.
In the middle, we spy two PCIe slots and one M.2 socket. The top full-length PCIe slot runs at PCIe 4.0 x16 speeds and connects through the CPU. Meanwhile, the bottom x1 slot runs at PCIe 3.0 x1 speeds and sources bandwidth through the chipset.
The M.2 socket above the full-length PCIe slot supports PCIe drives up to 80mm. The bandwidth for the slot is similar to the other H610 boards, sporting a PCIe 3.0 x4 (32 Gbps) interface. SATA-based M.2 modules are not supported on this board either.
There are several headers across the bottom, including USB and RGB, etc. Below is a complete list of all the headers in this area.
- Front panel audio
- COM header
- 4-pin RGB header
- TPM header
- (2) USB 2.0 headers
- 4-pin System fan header
- Clear CMOS jumper
- Front panel header
One of the first things we notice about the rear IO area, outside of how sparse it is compared to B660/Z690, is the IO plate does not come preinstalled. Like the Asus, the IO plate is a simple piece of aluminum with holes cut out for the ports and stamped labels.
Working left to right, we hit two PS/2 ports (mouse and keyboard) first. Next is every video output from the last decade. This includes D-SUB, DVI-D, HDMI (v2.1), and DisplayPorts (v1.2) to use with integrated graphics. There are six USB ports, four USB 2.0 (480 Mbps) in black and two USB 3.2 Gen 2 (10 Gbps) ports in blue. Six USB ports on the rear IO isn’t a lot, so be sure you don’t need more or that you can use the front panel ports. Above a set of USB 2.0 ports is the Intel GbE port, and to the right is a 3-plug (analog) audio stack. You won’t find the optical SPDIF on any of these motherboards.
Firmware
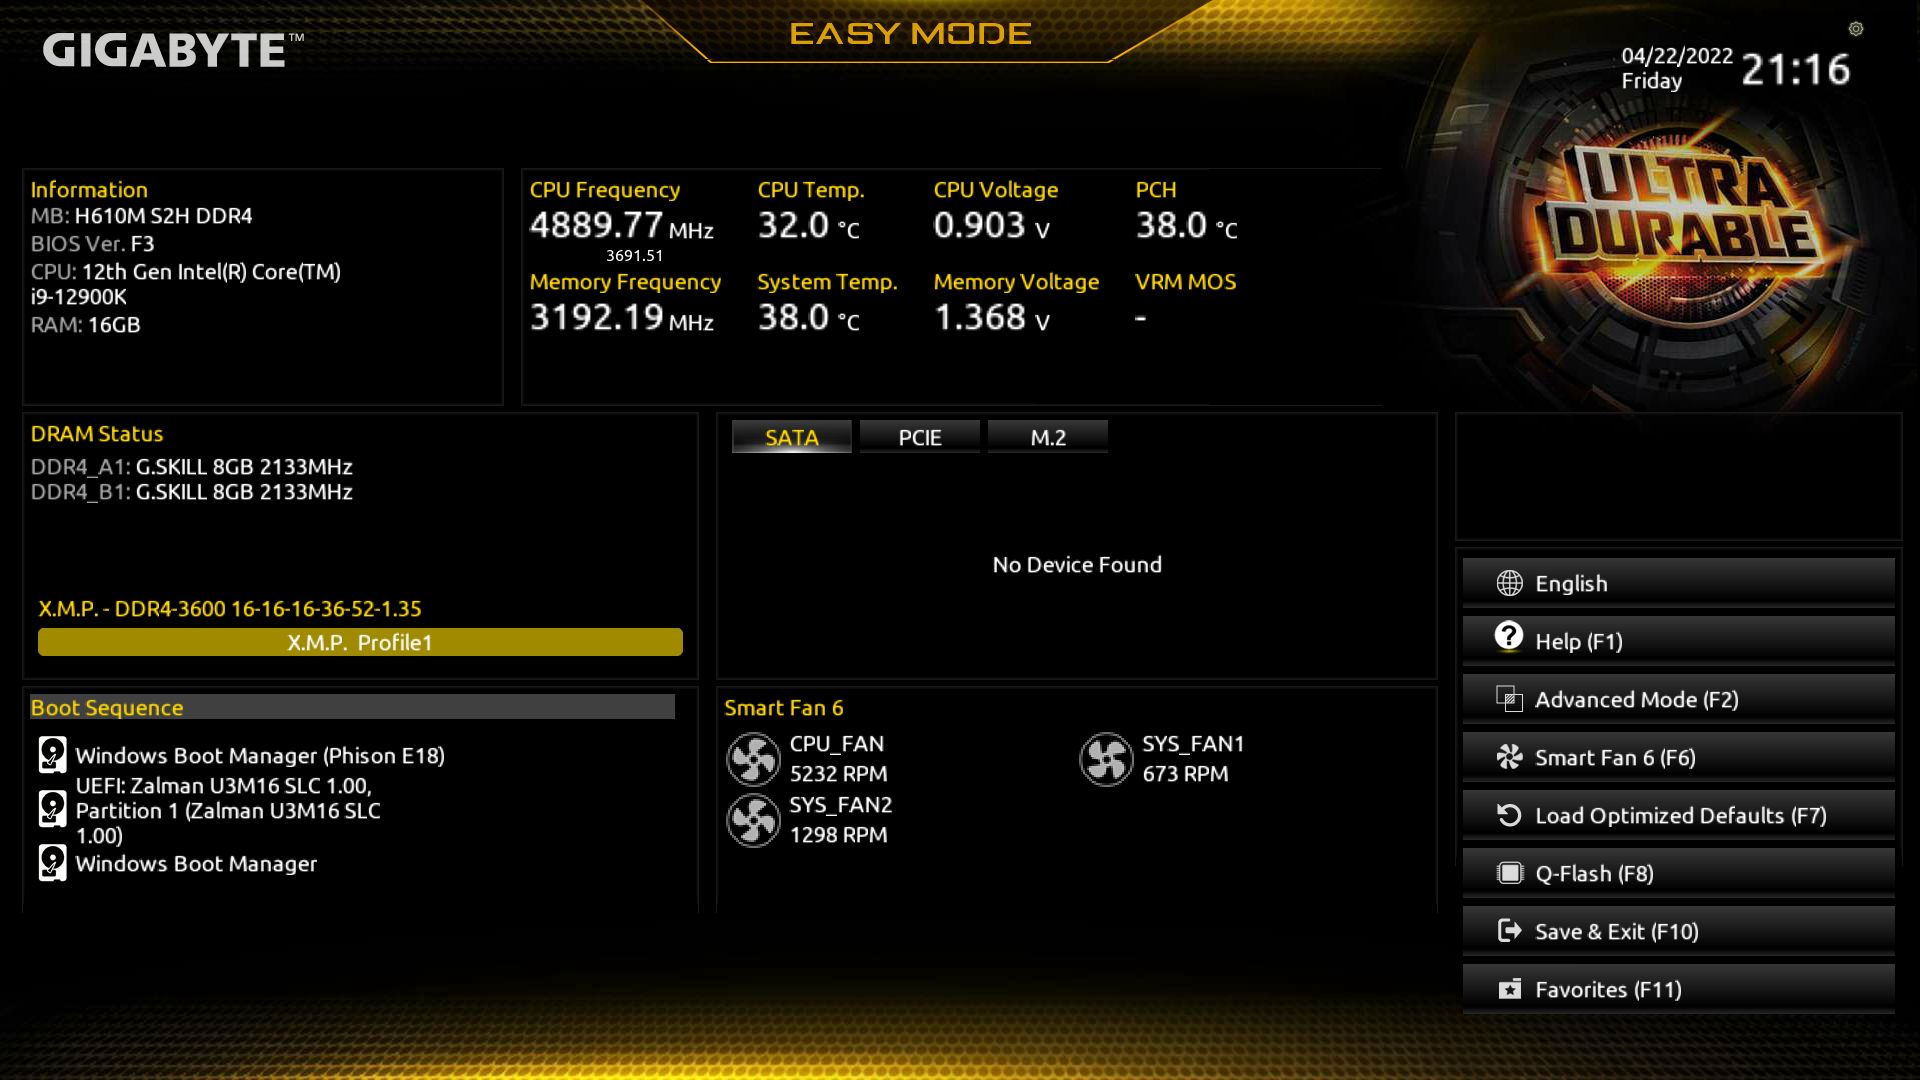
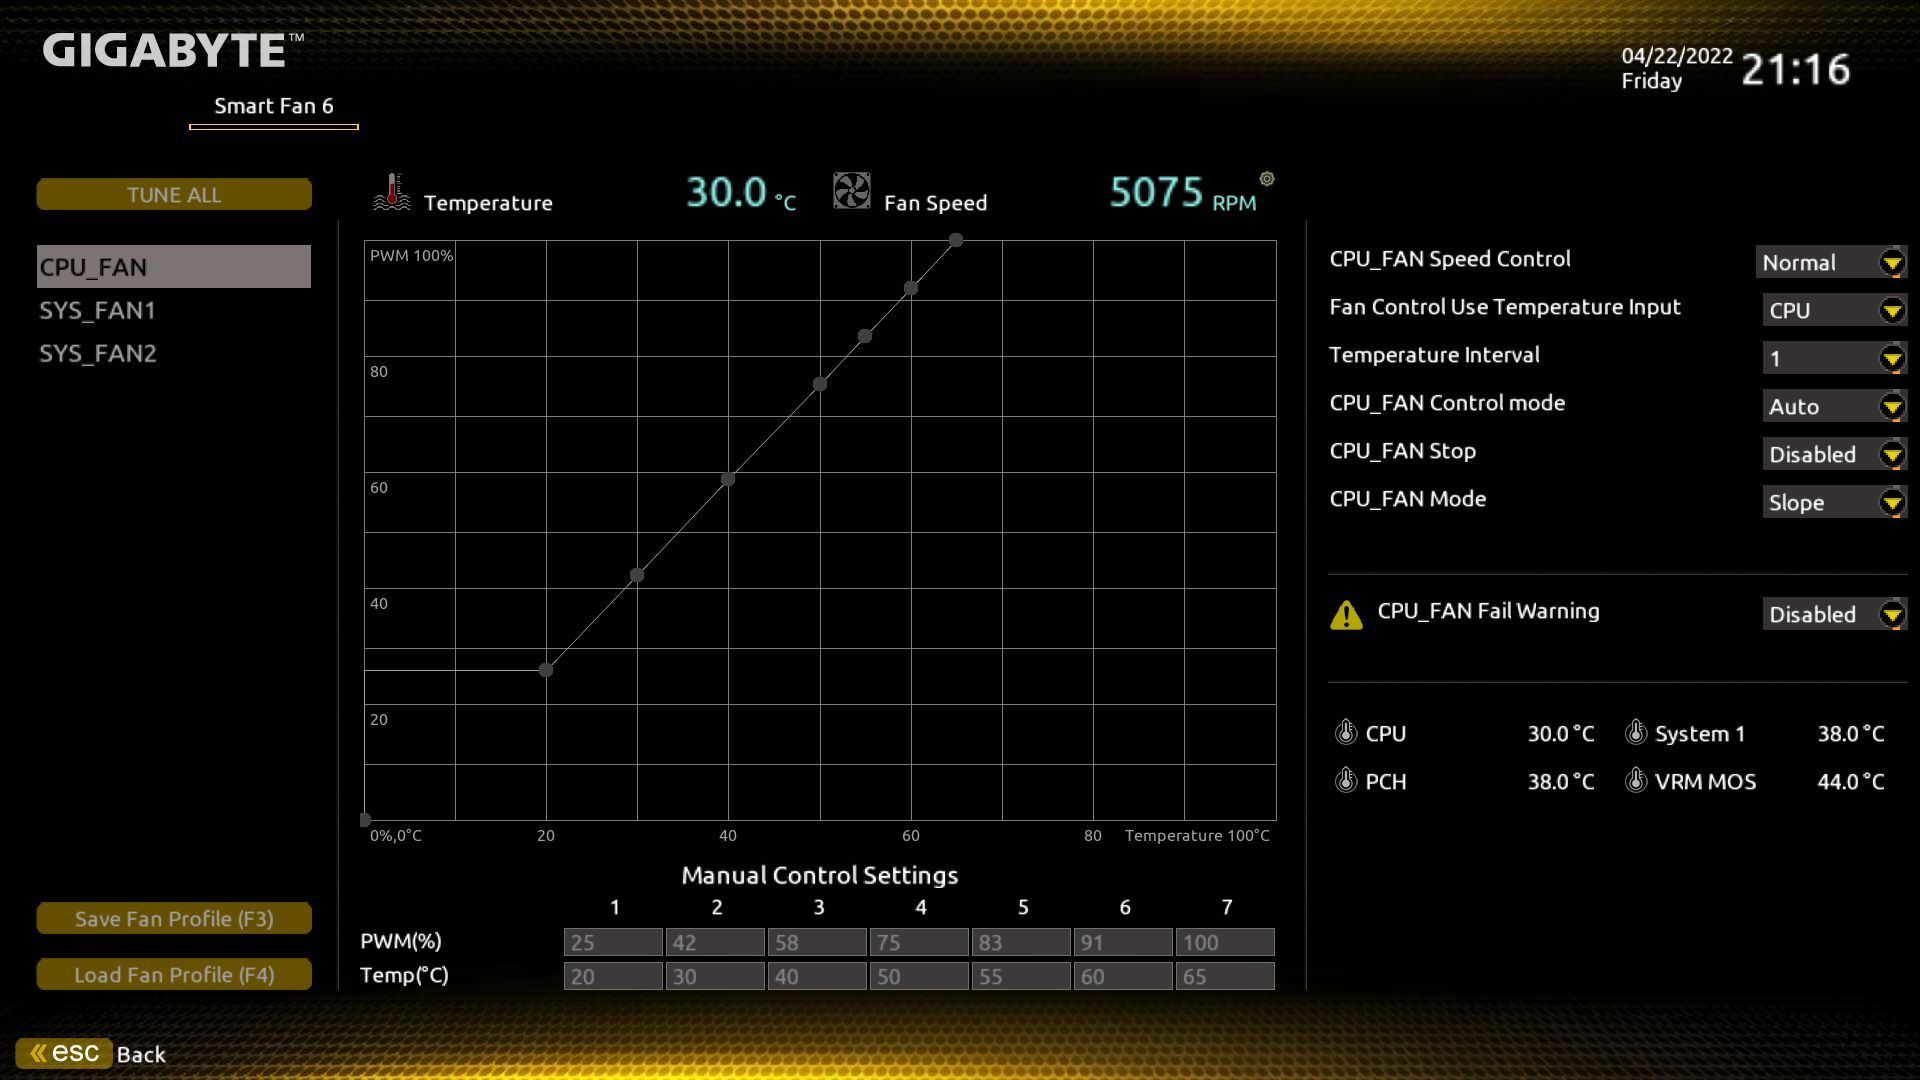
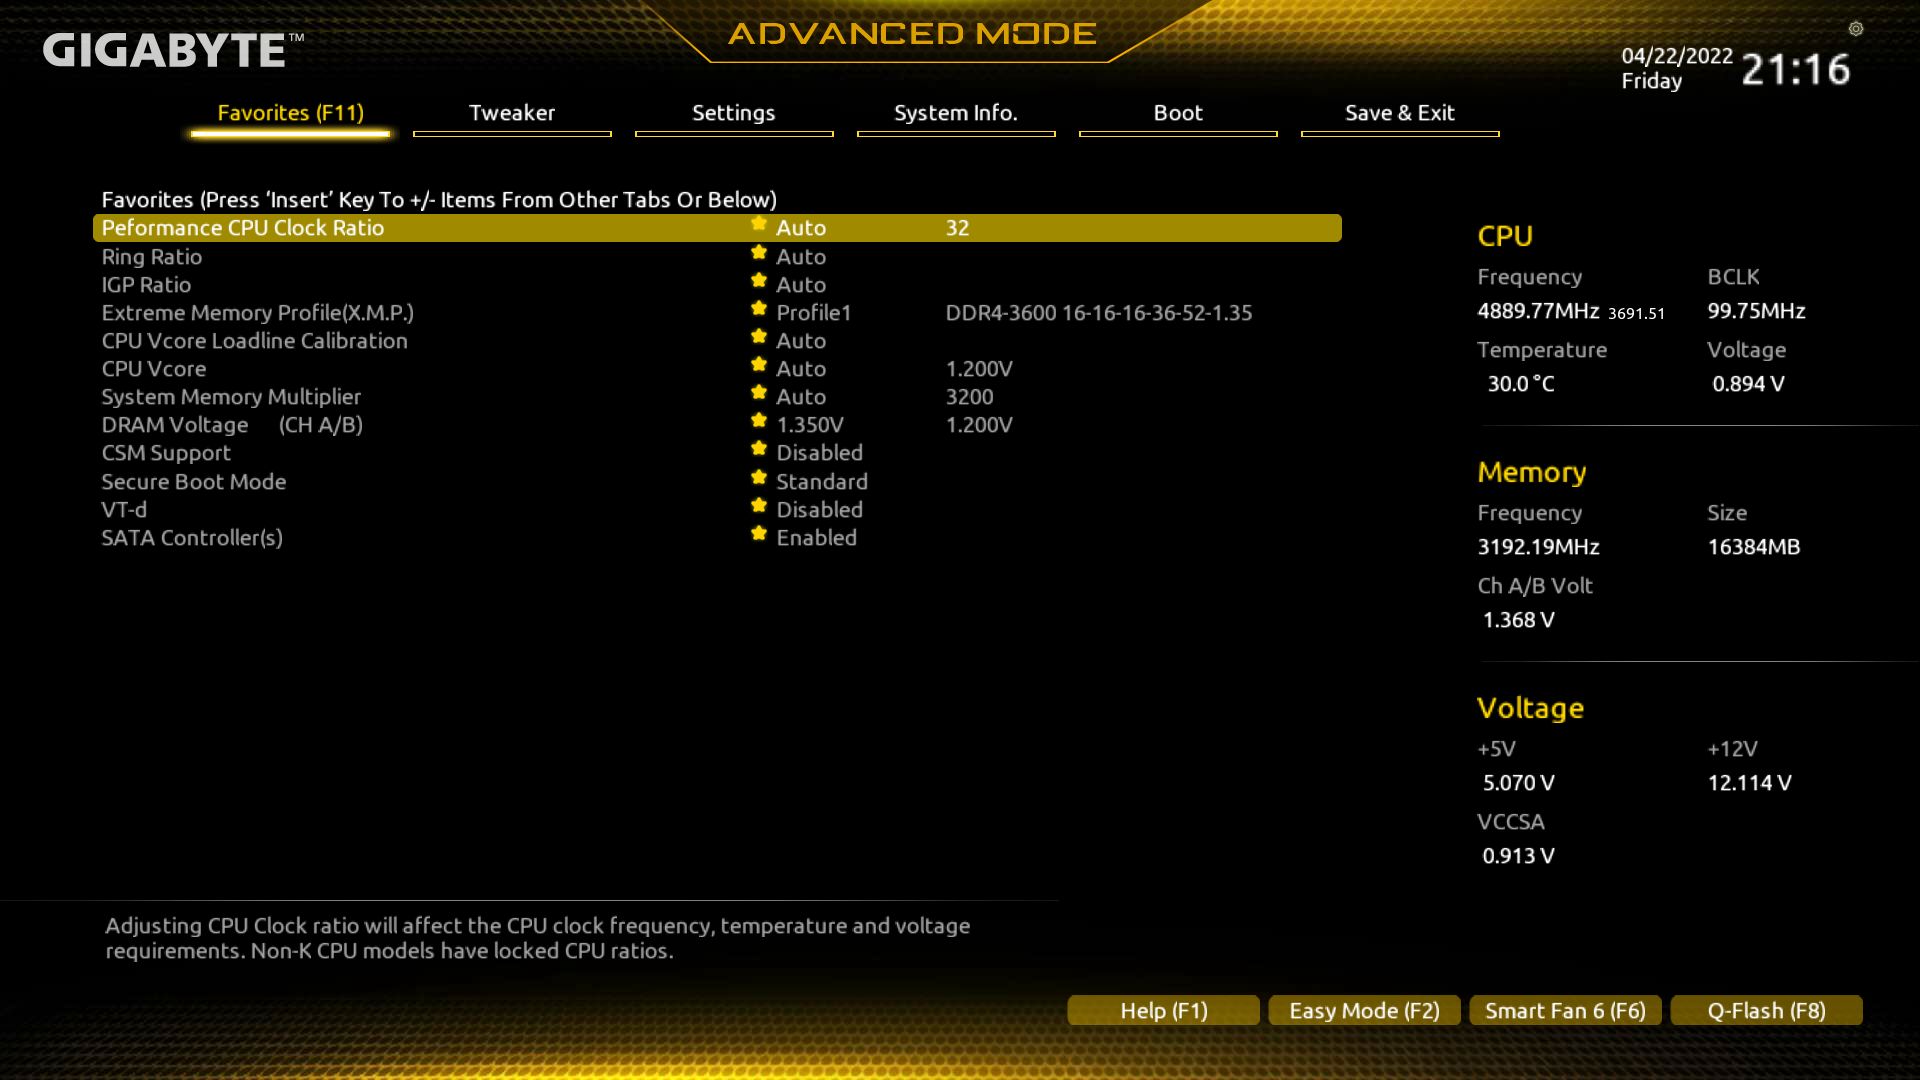
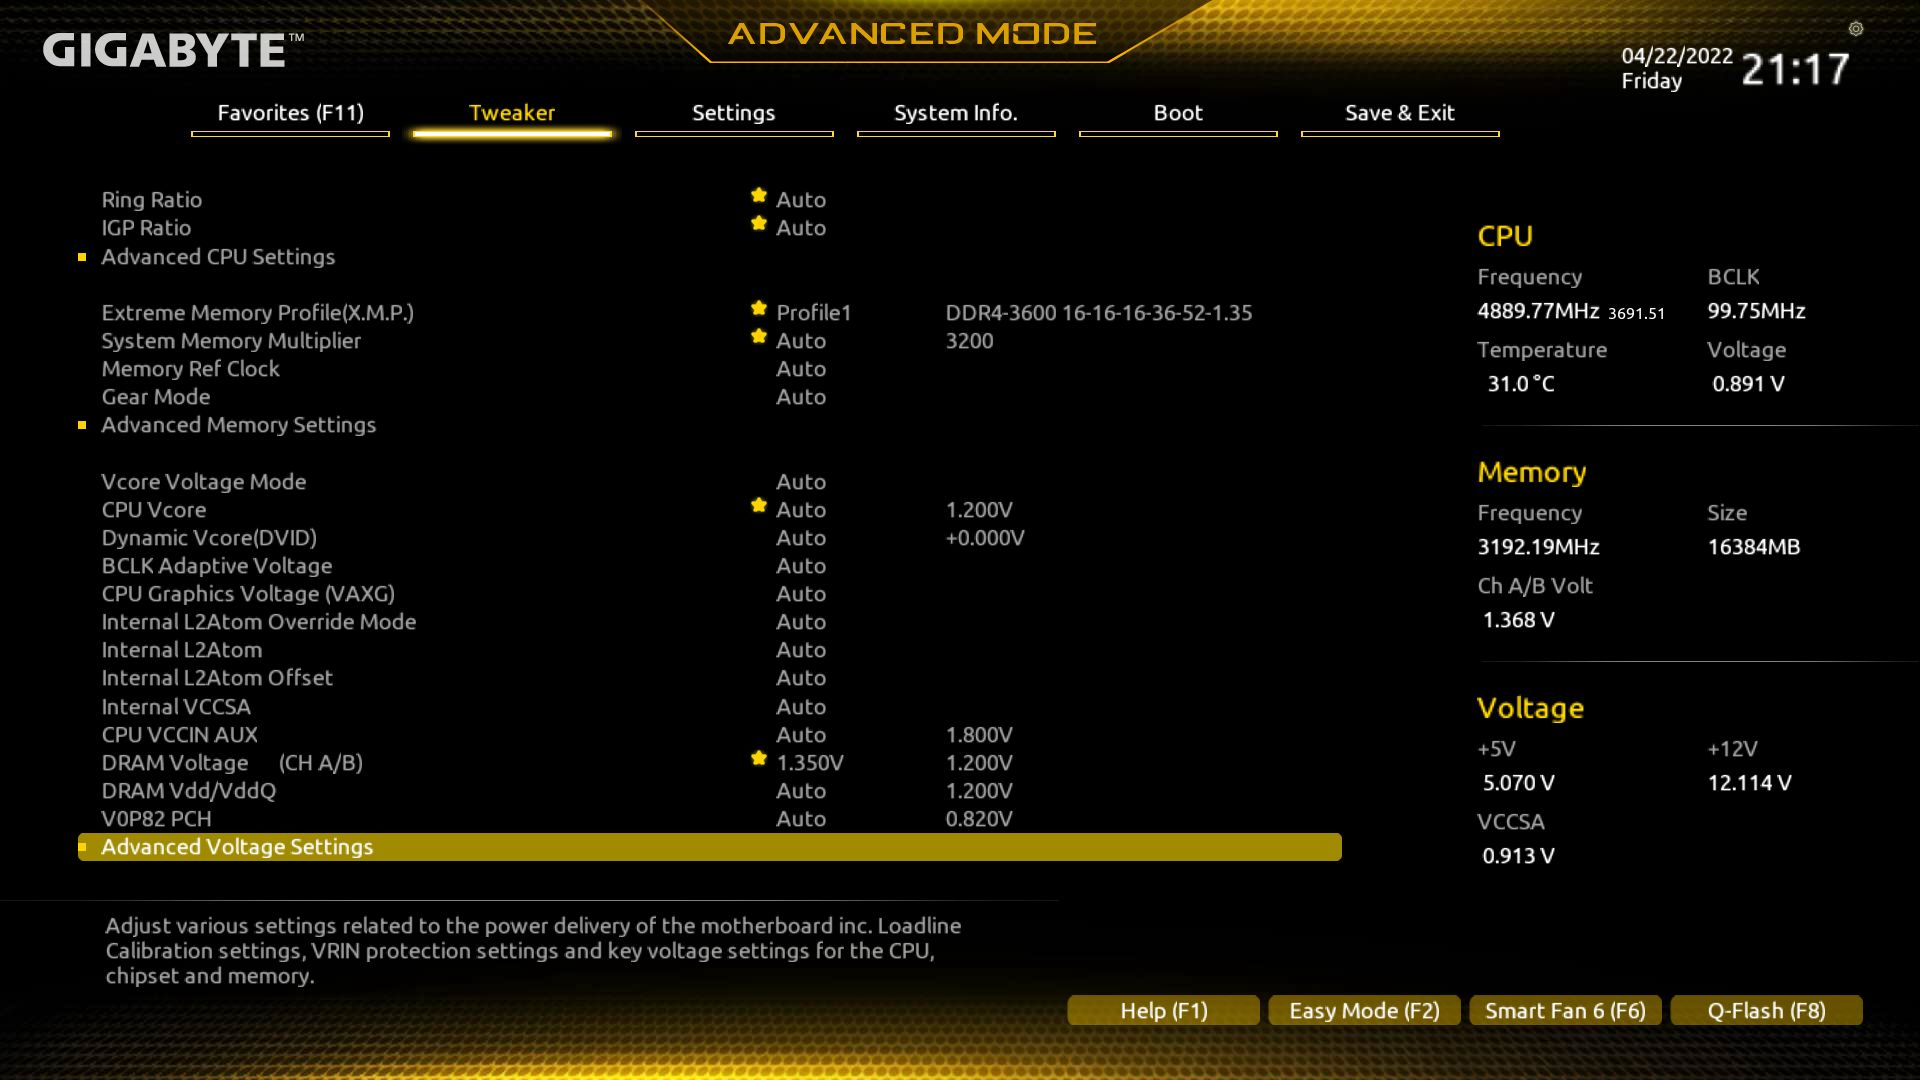
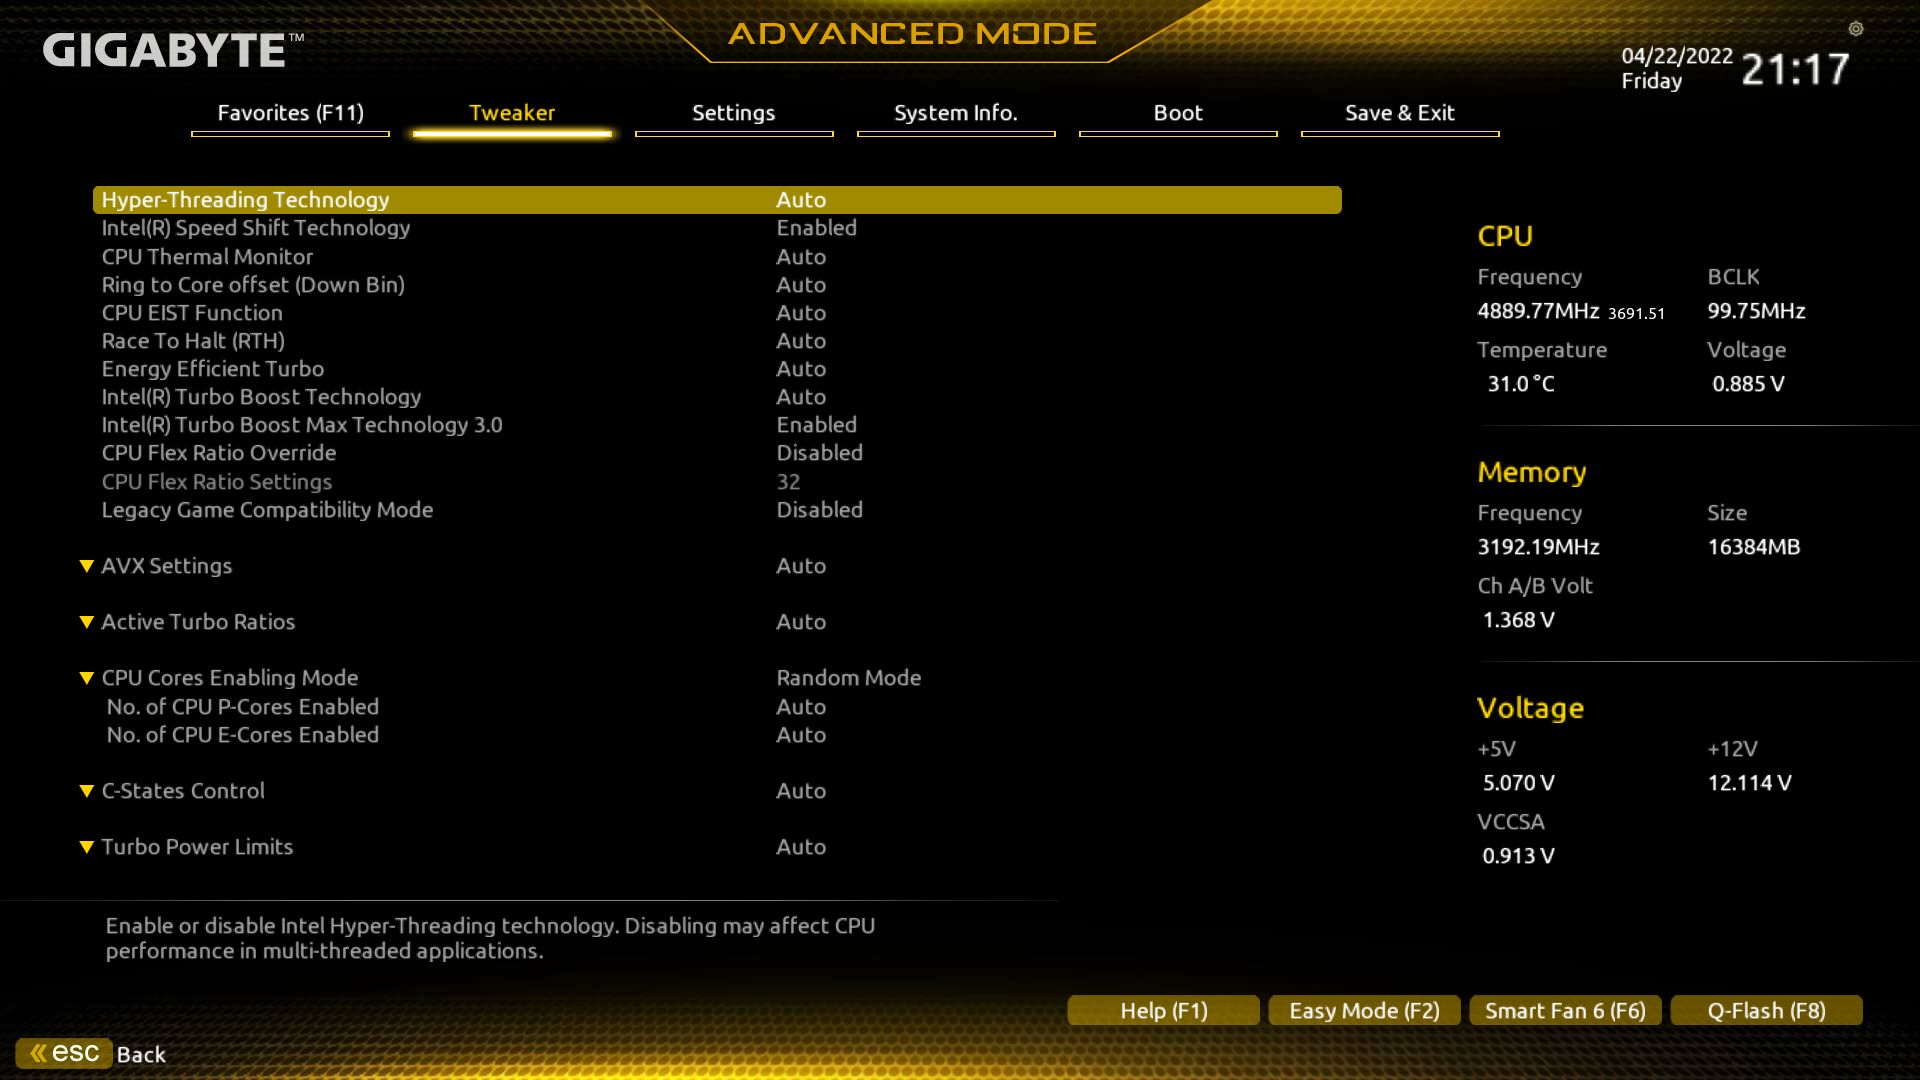
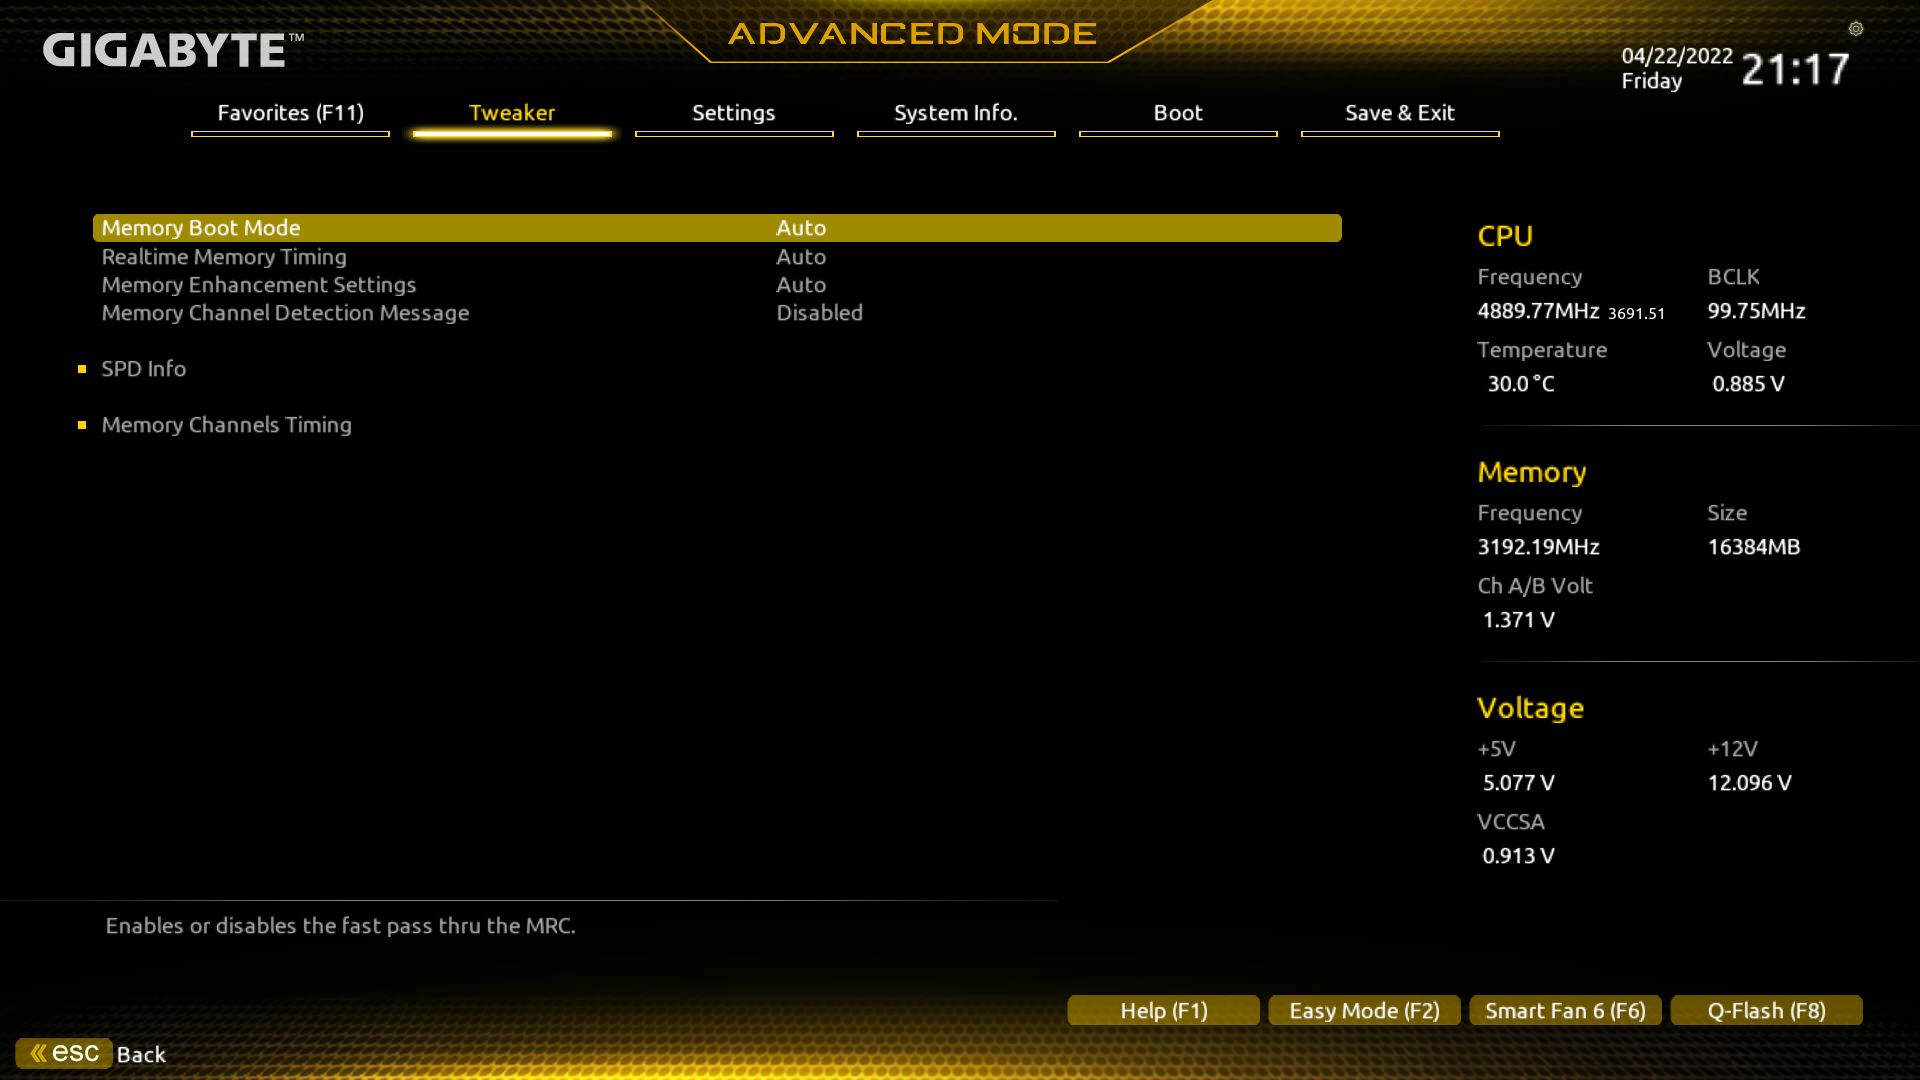
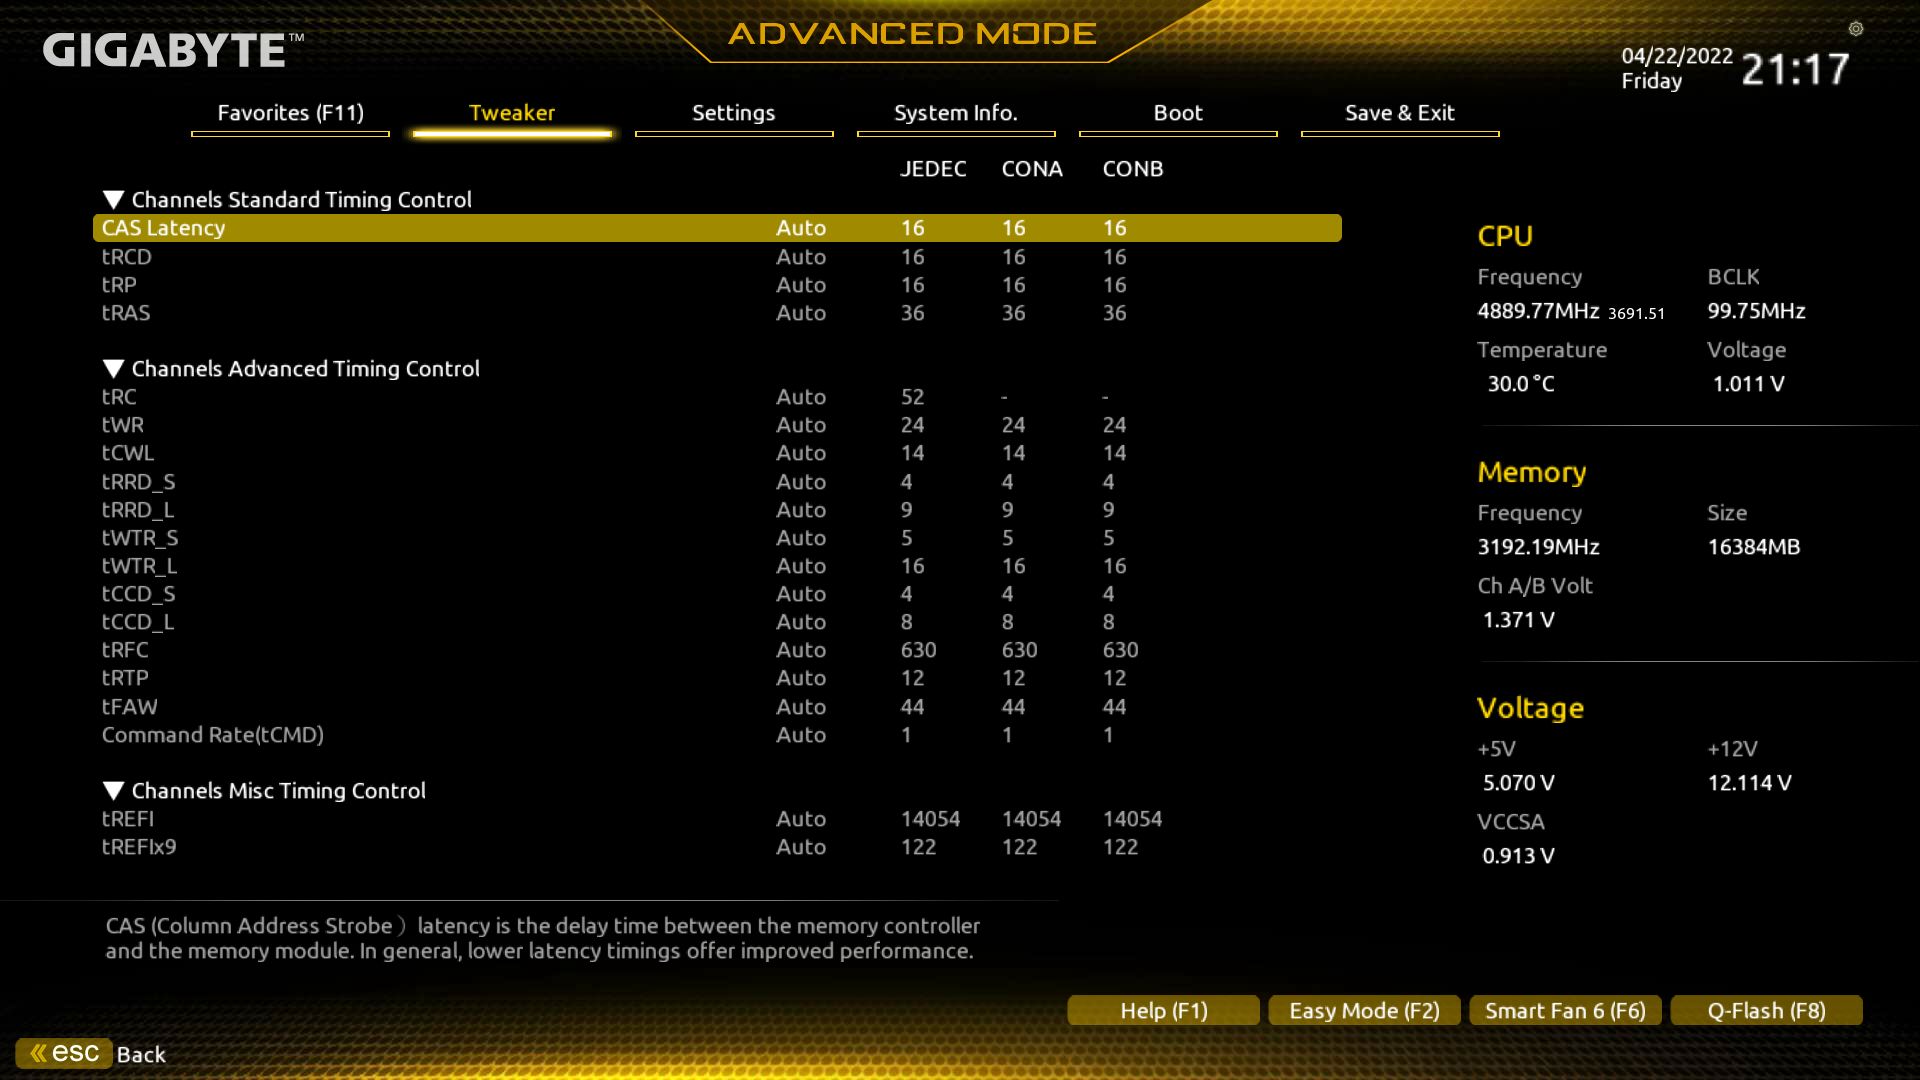
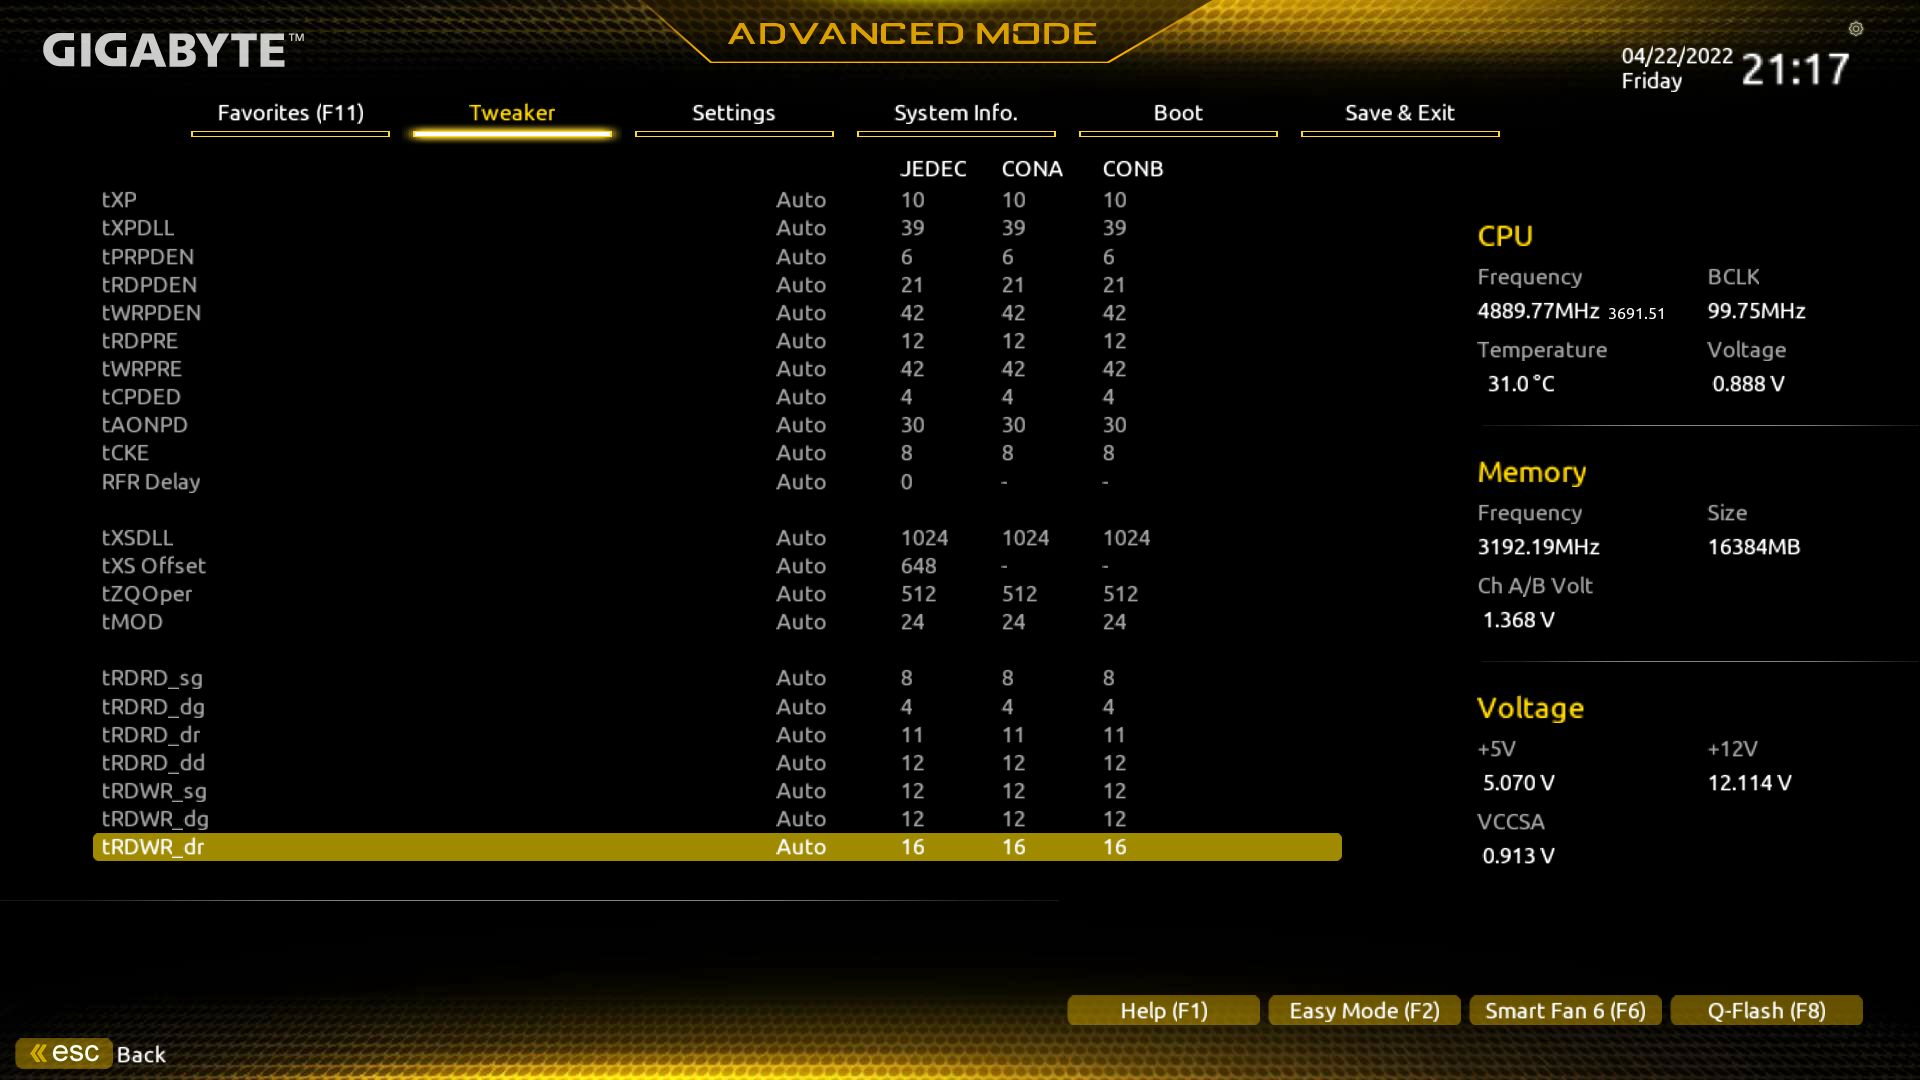
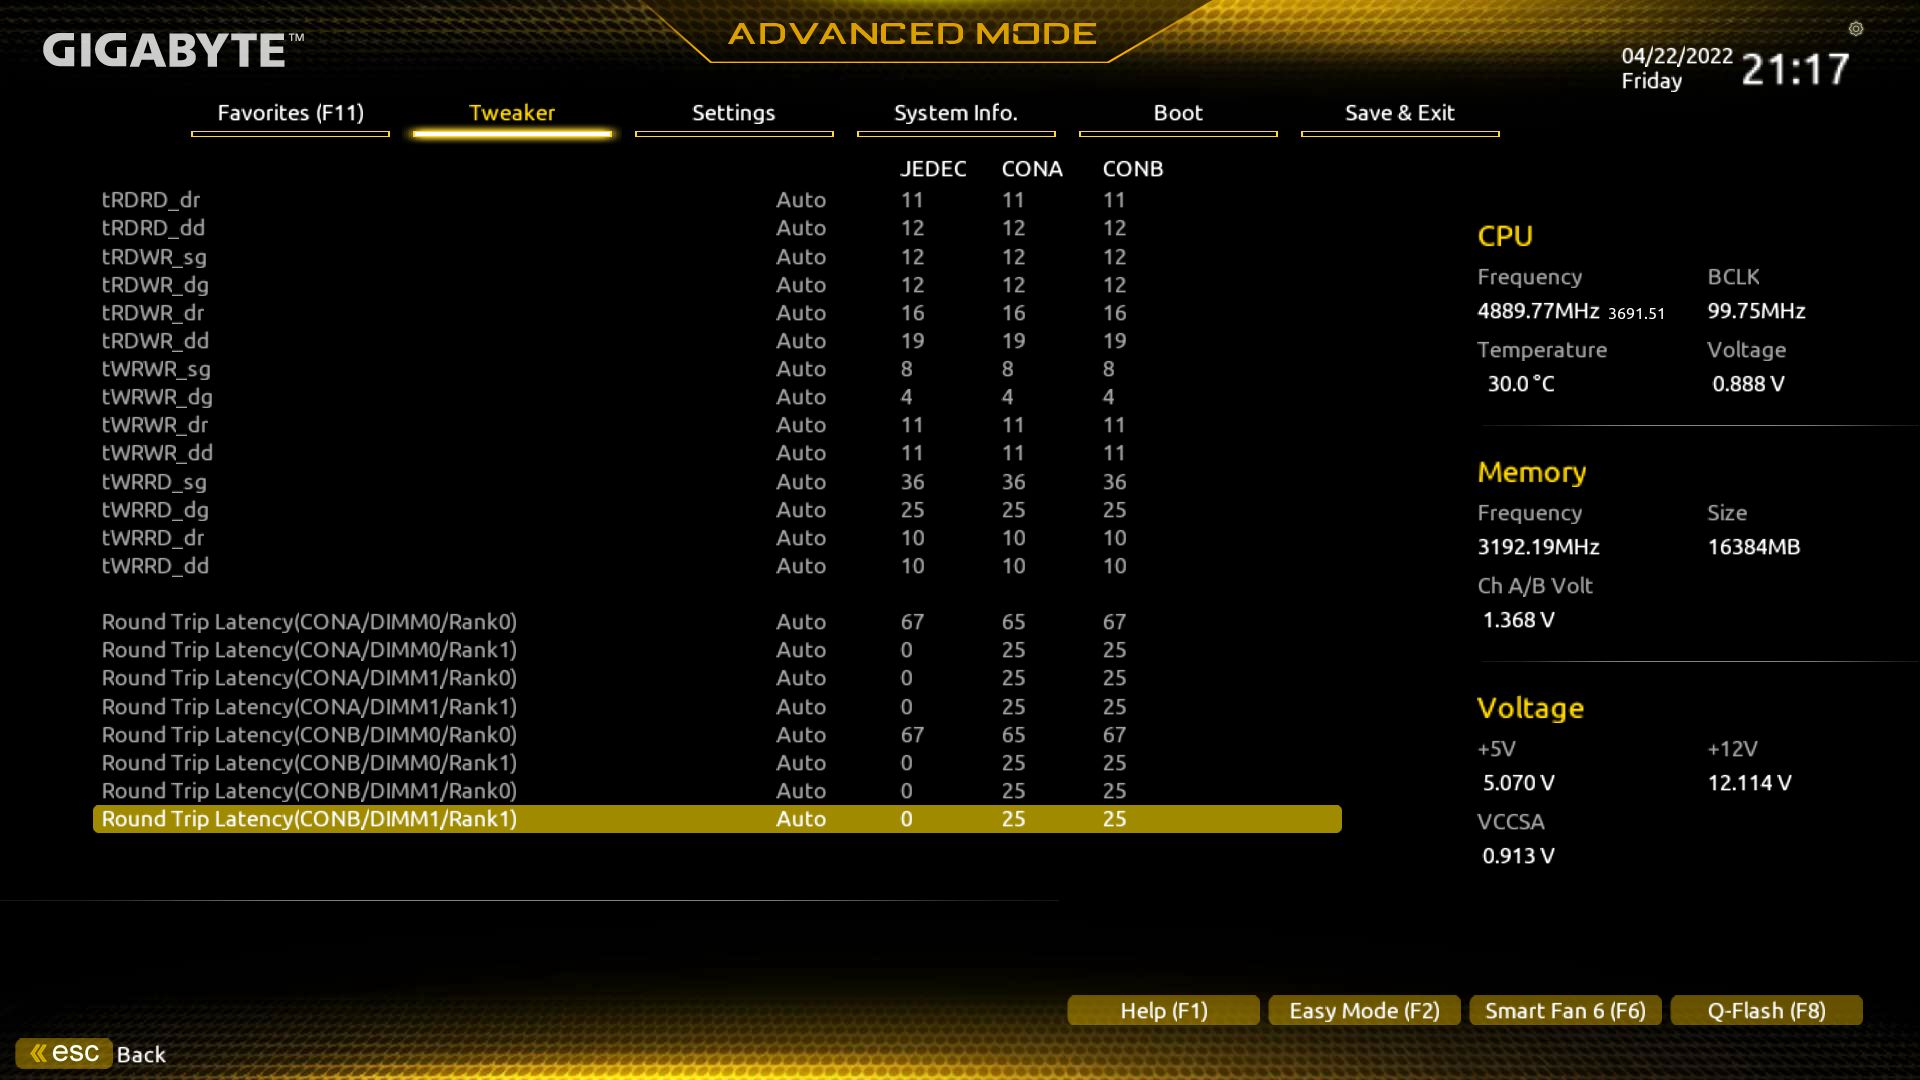
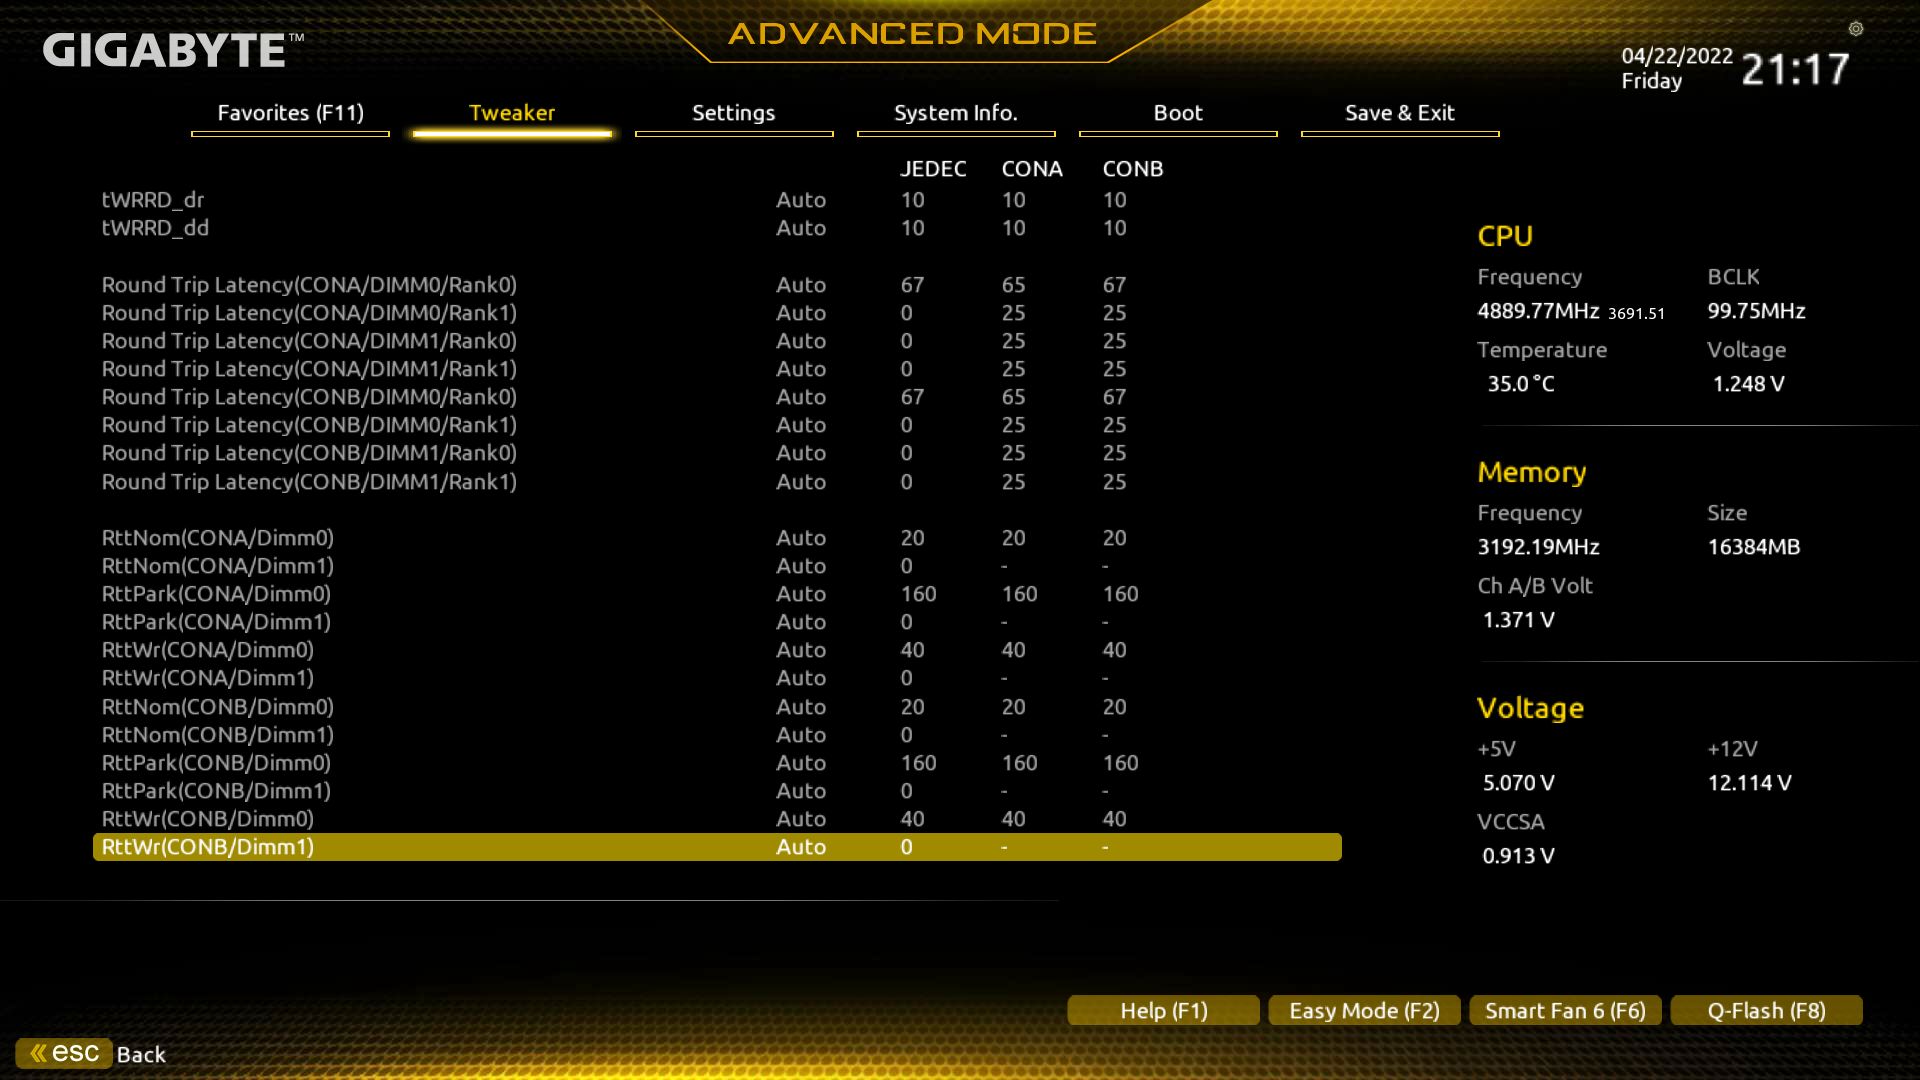
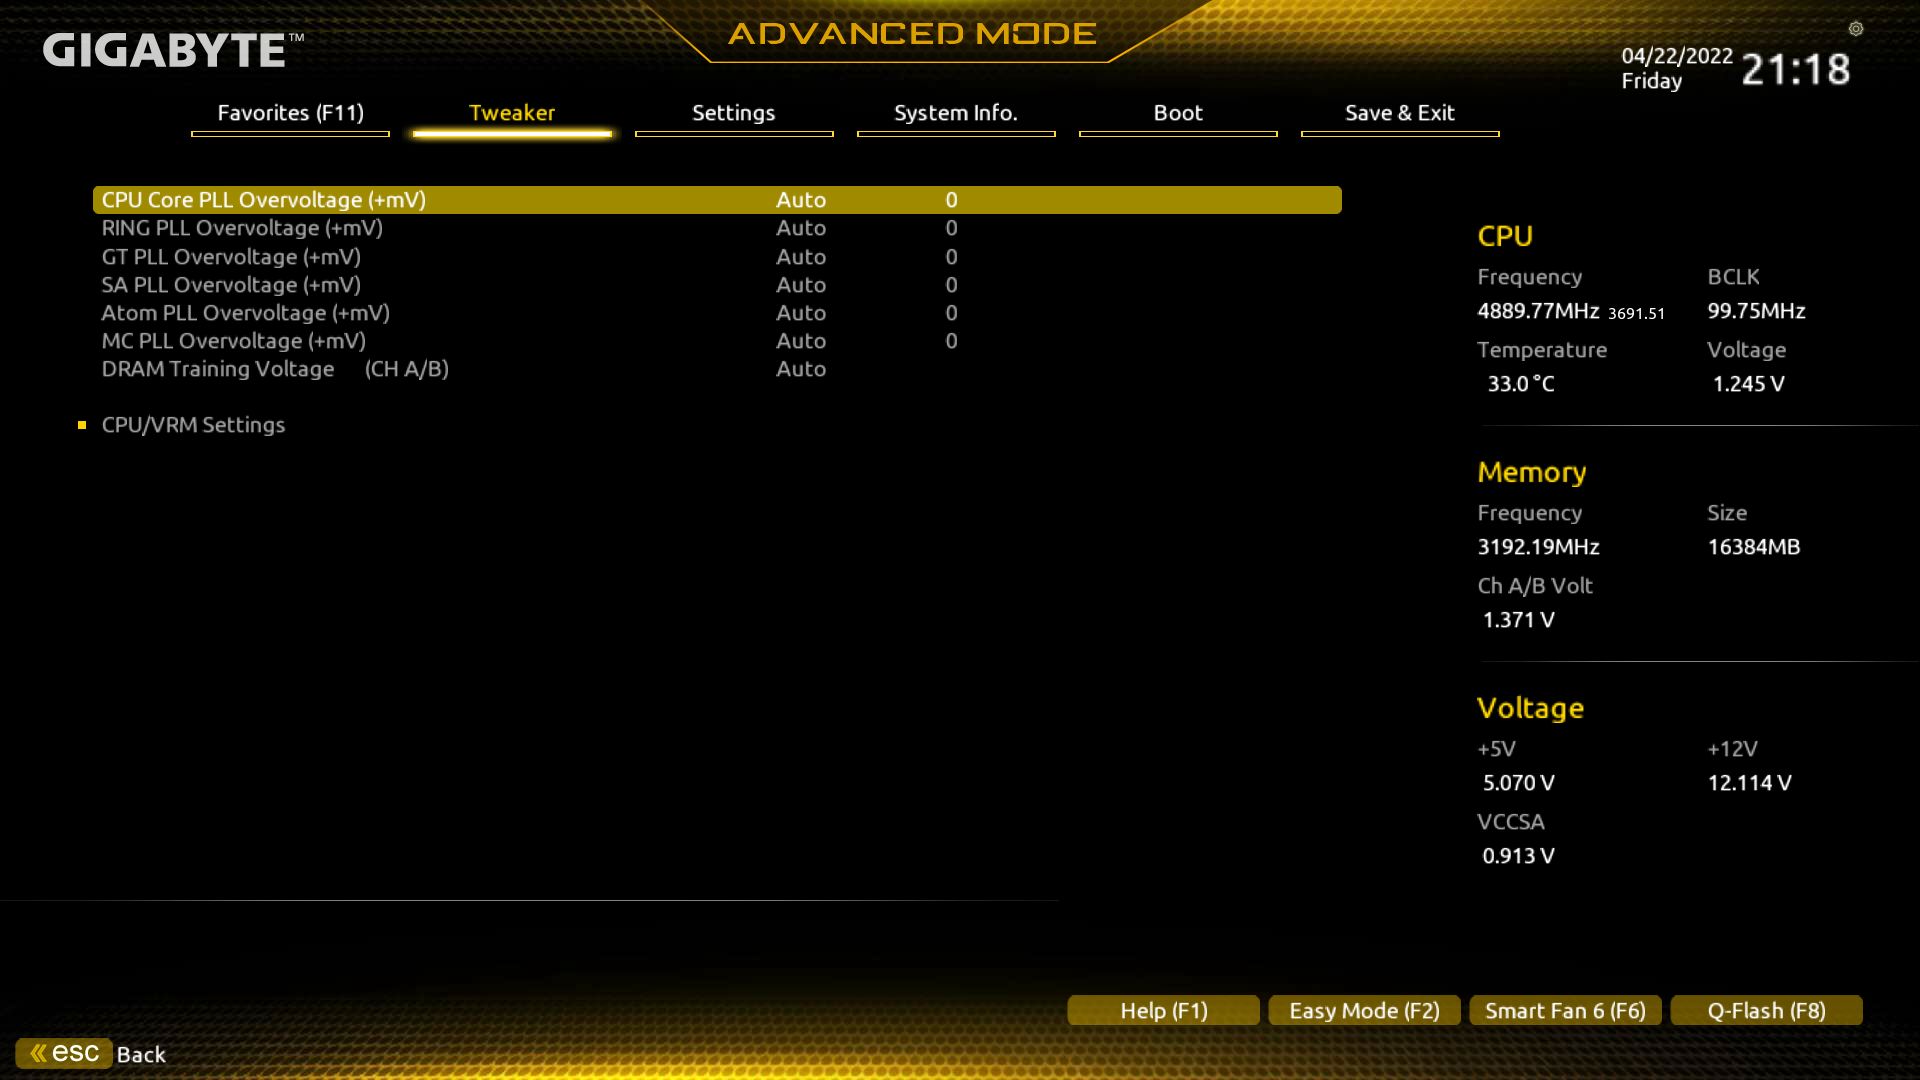
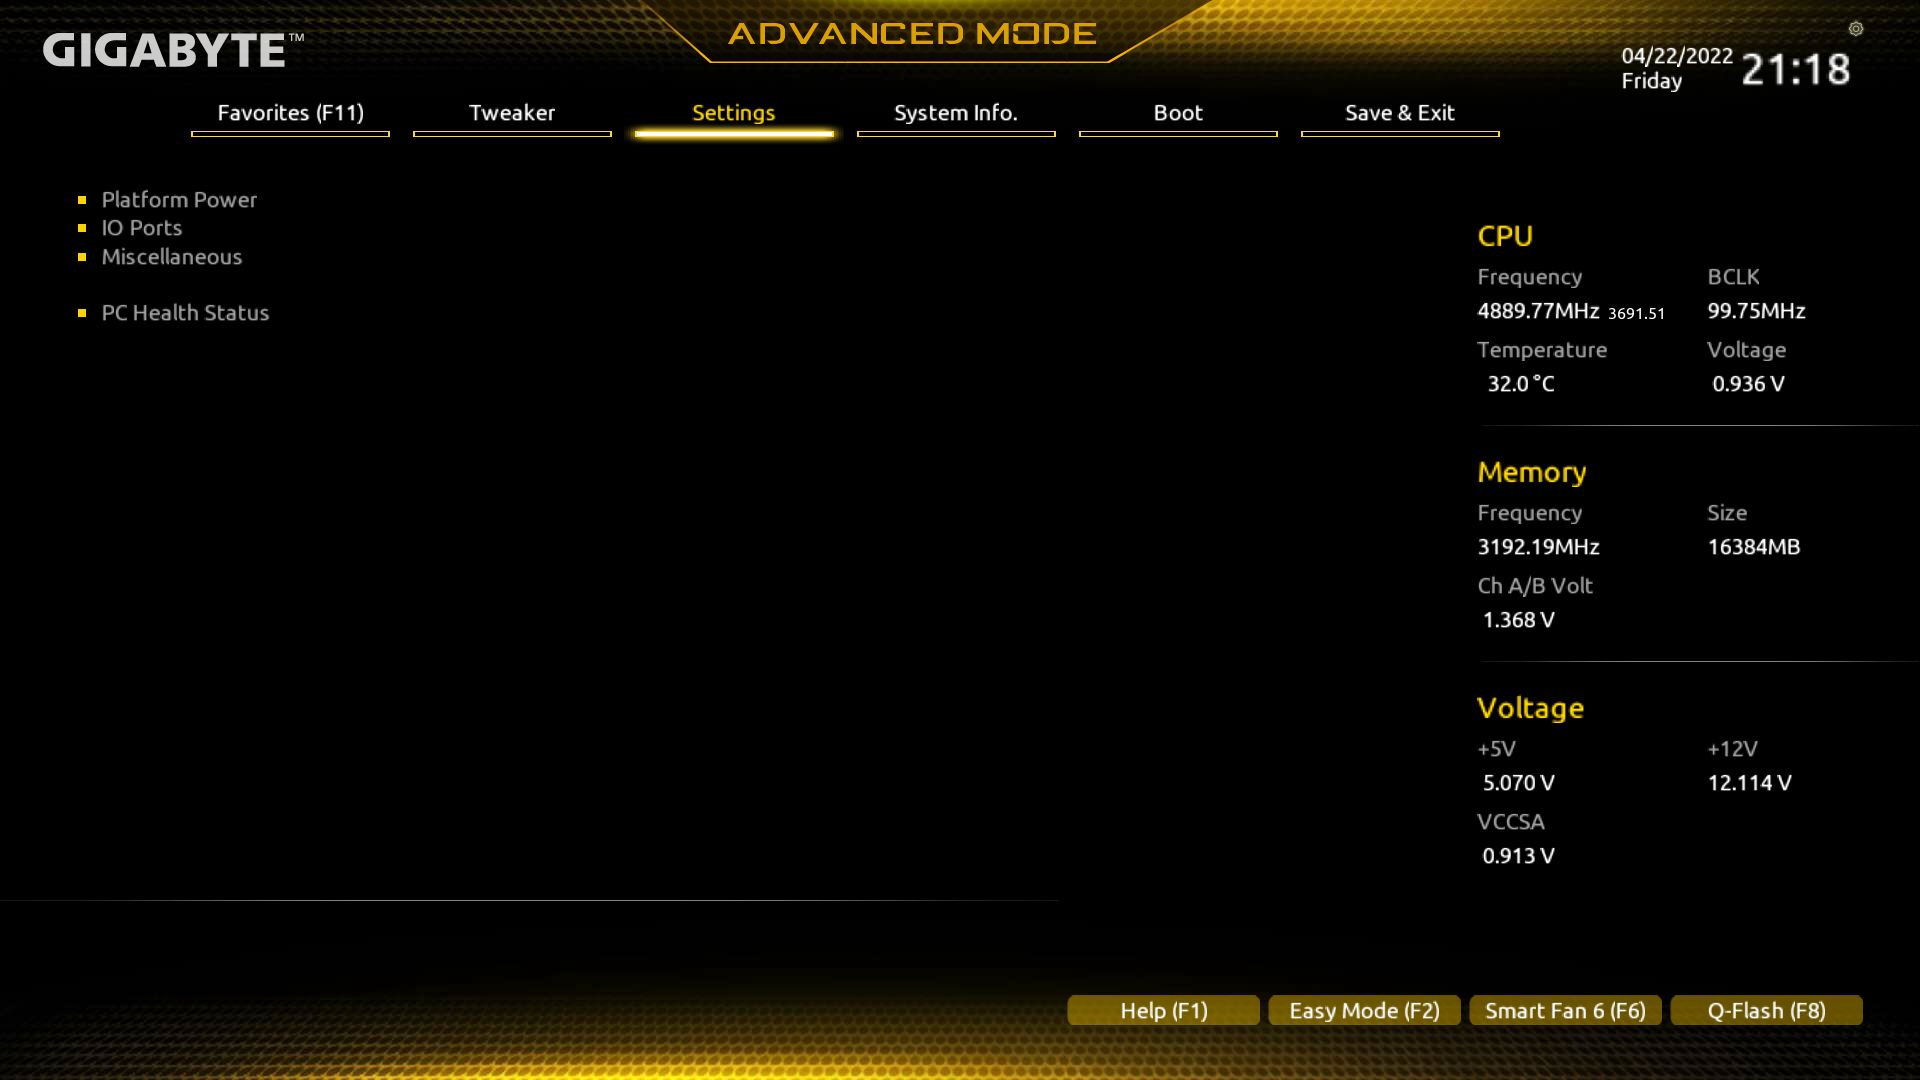
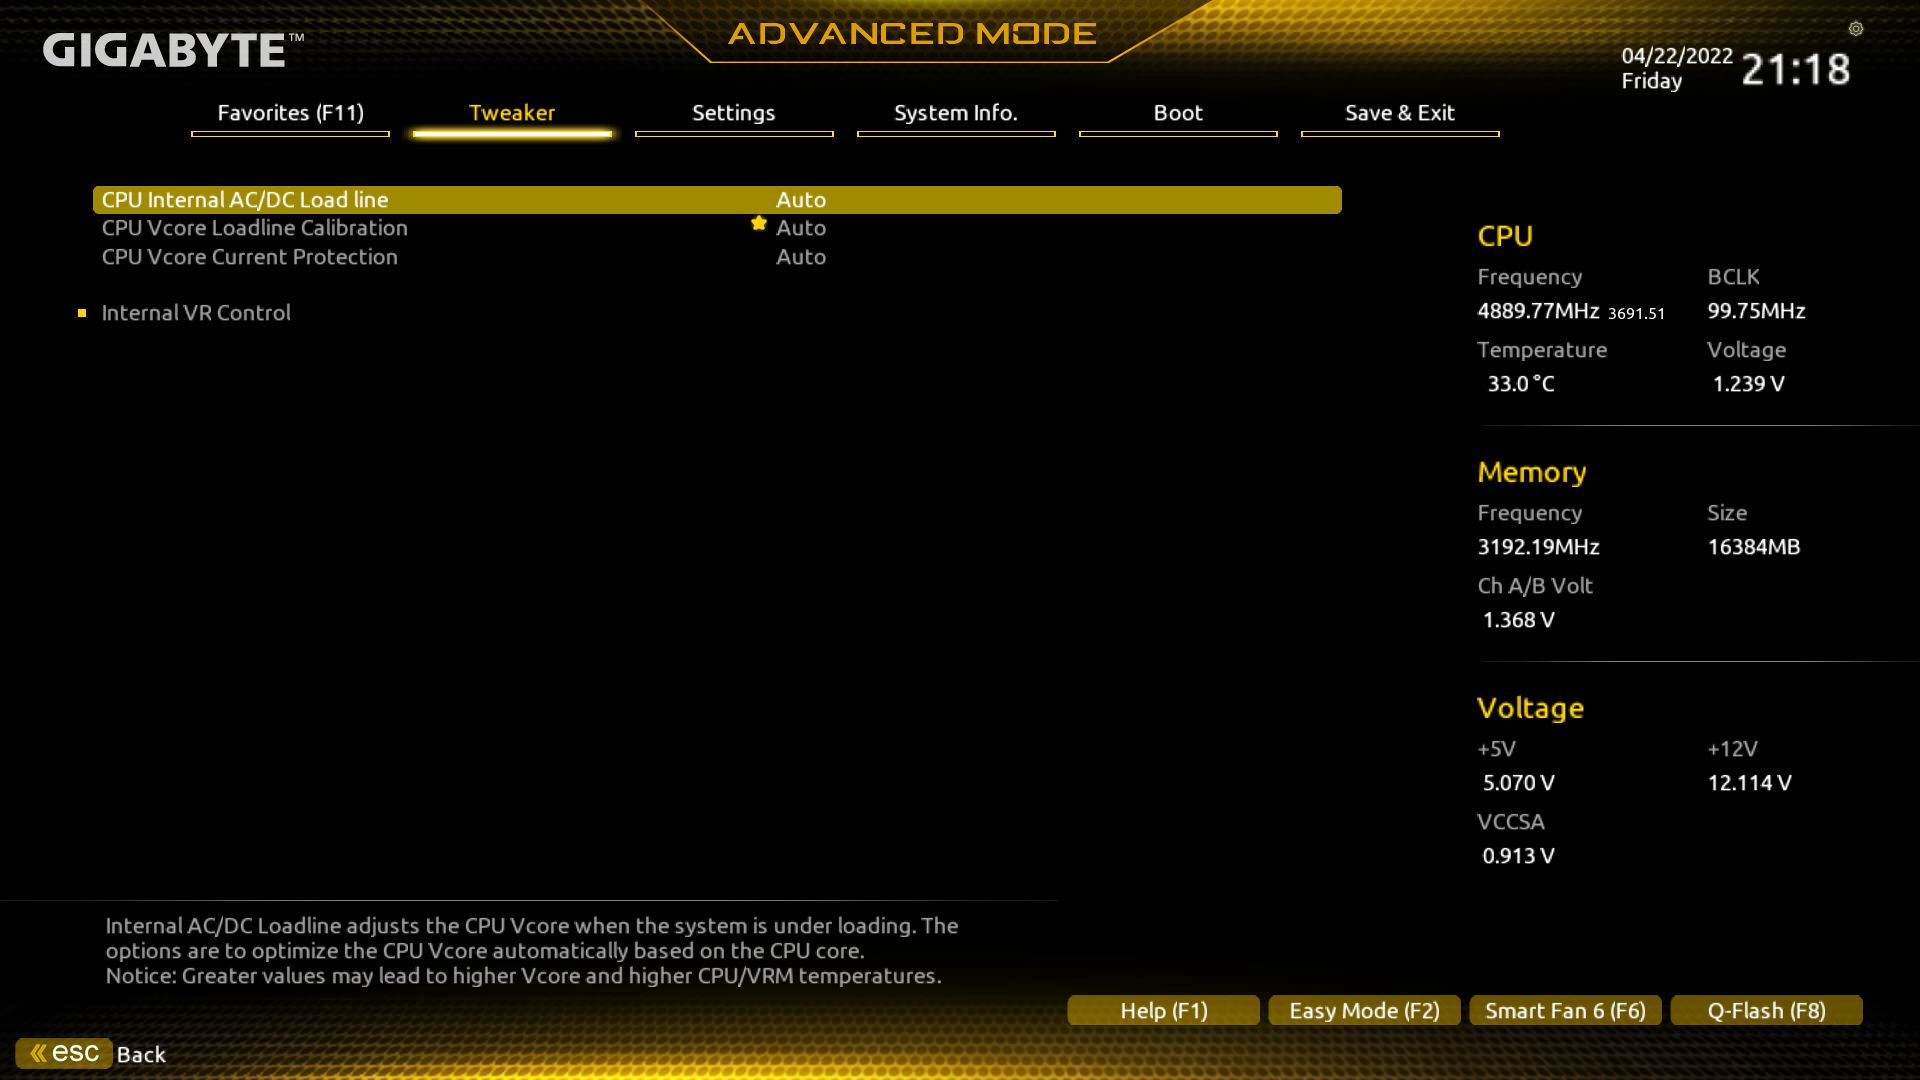
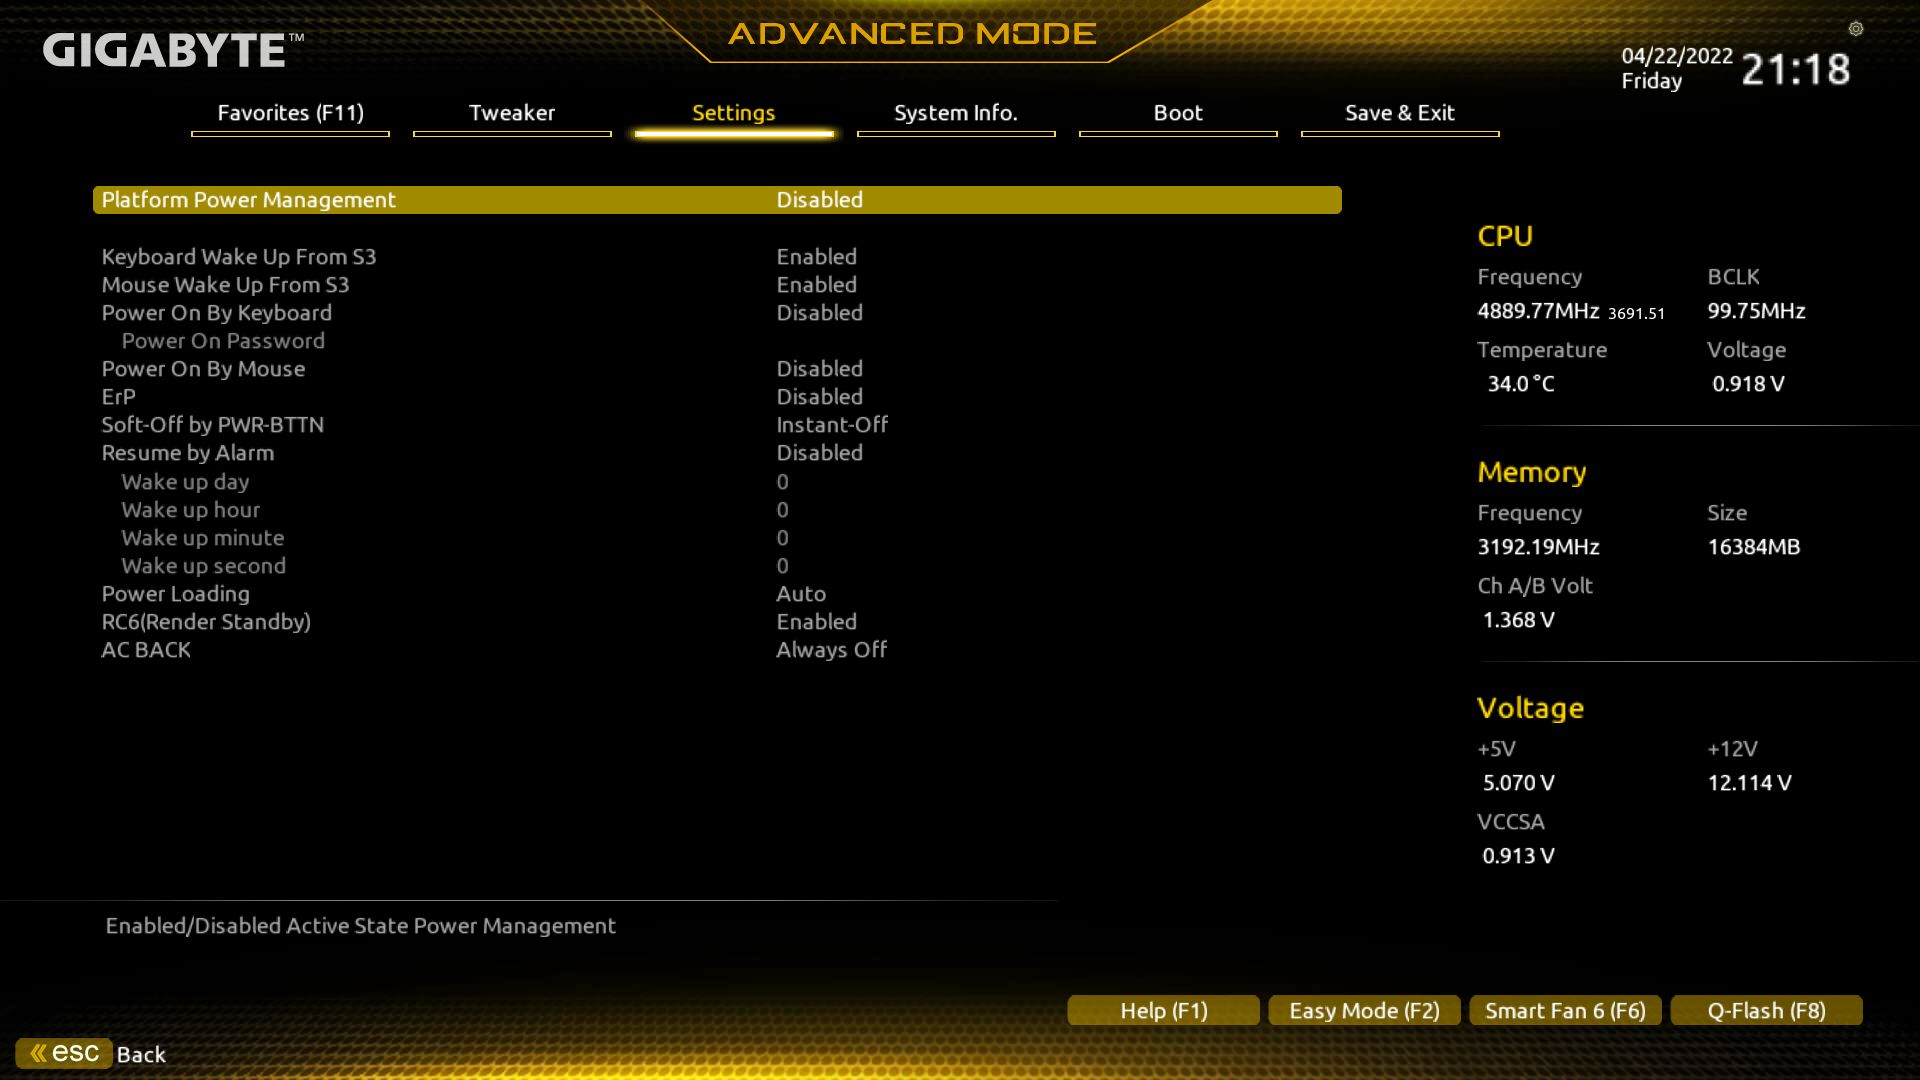
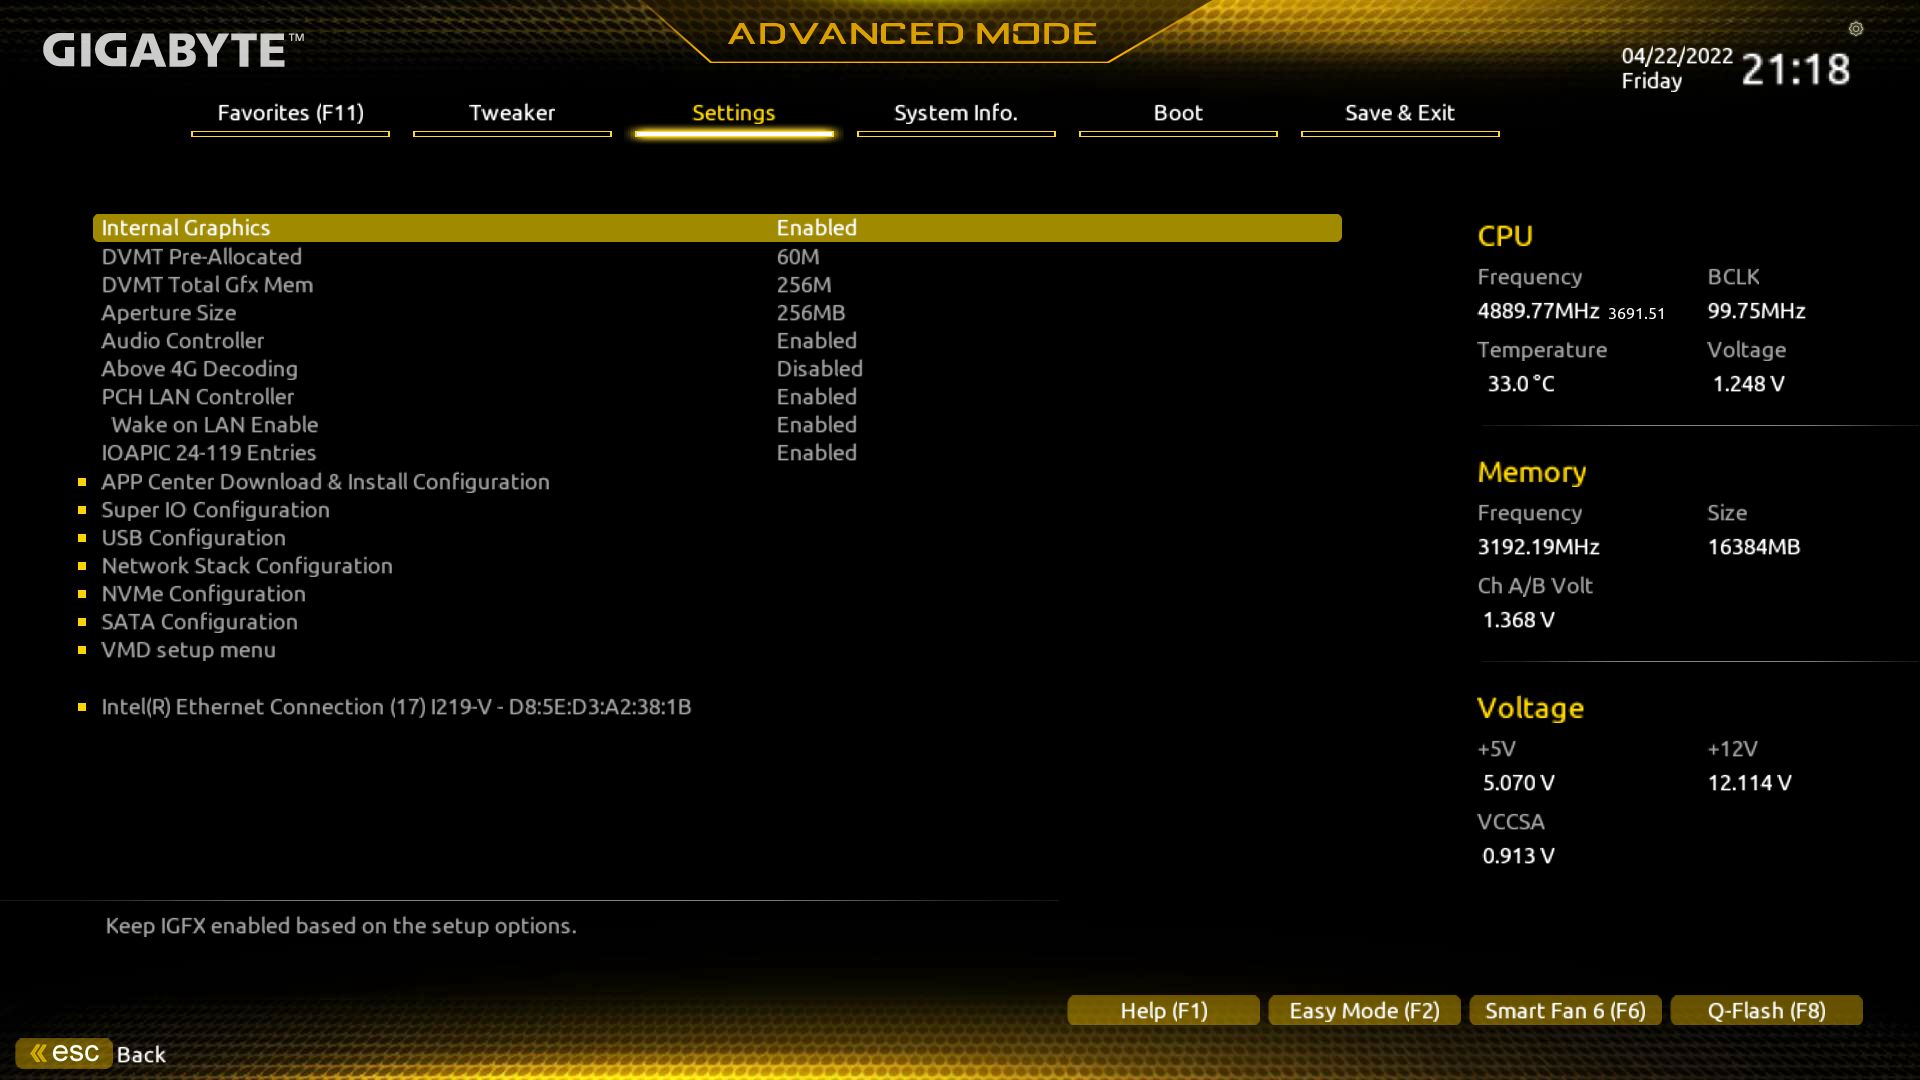
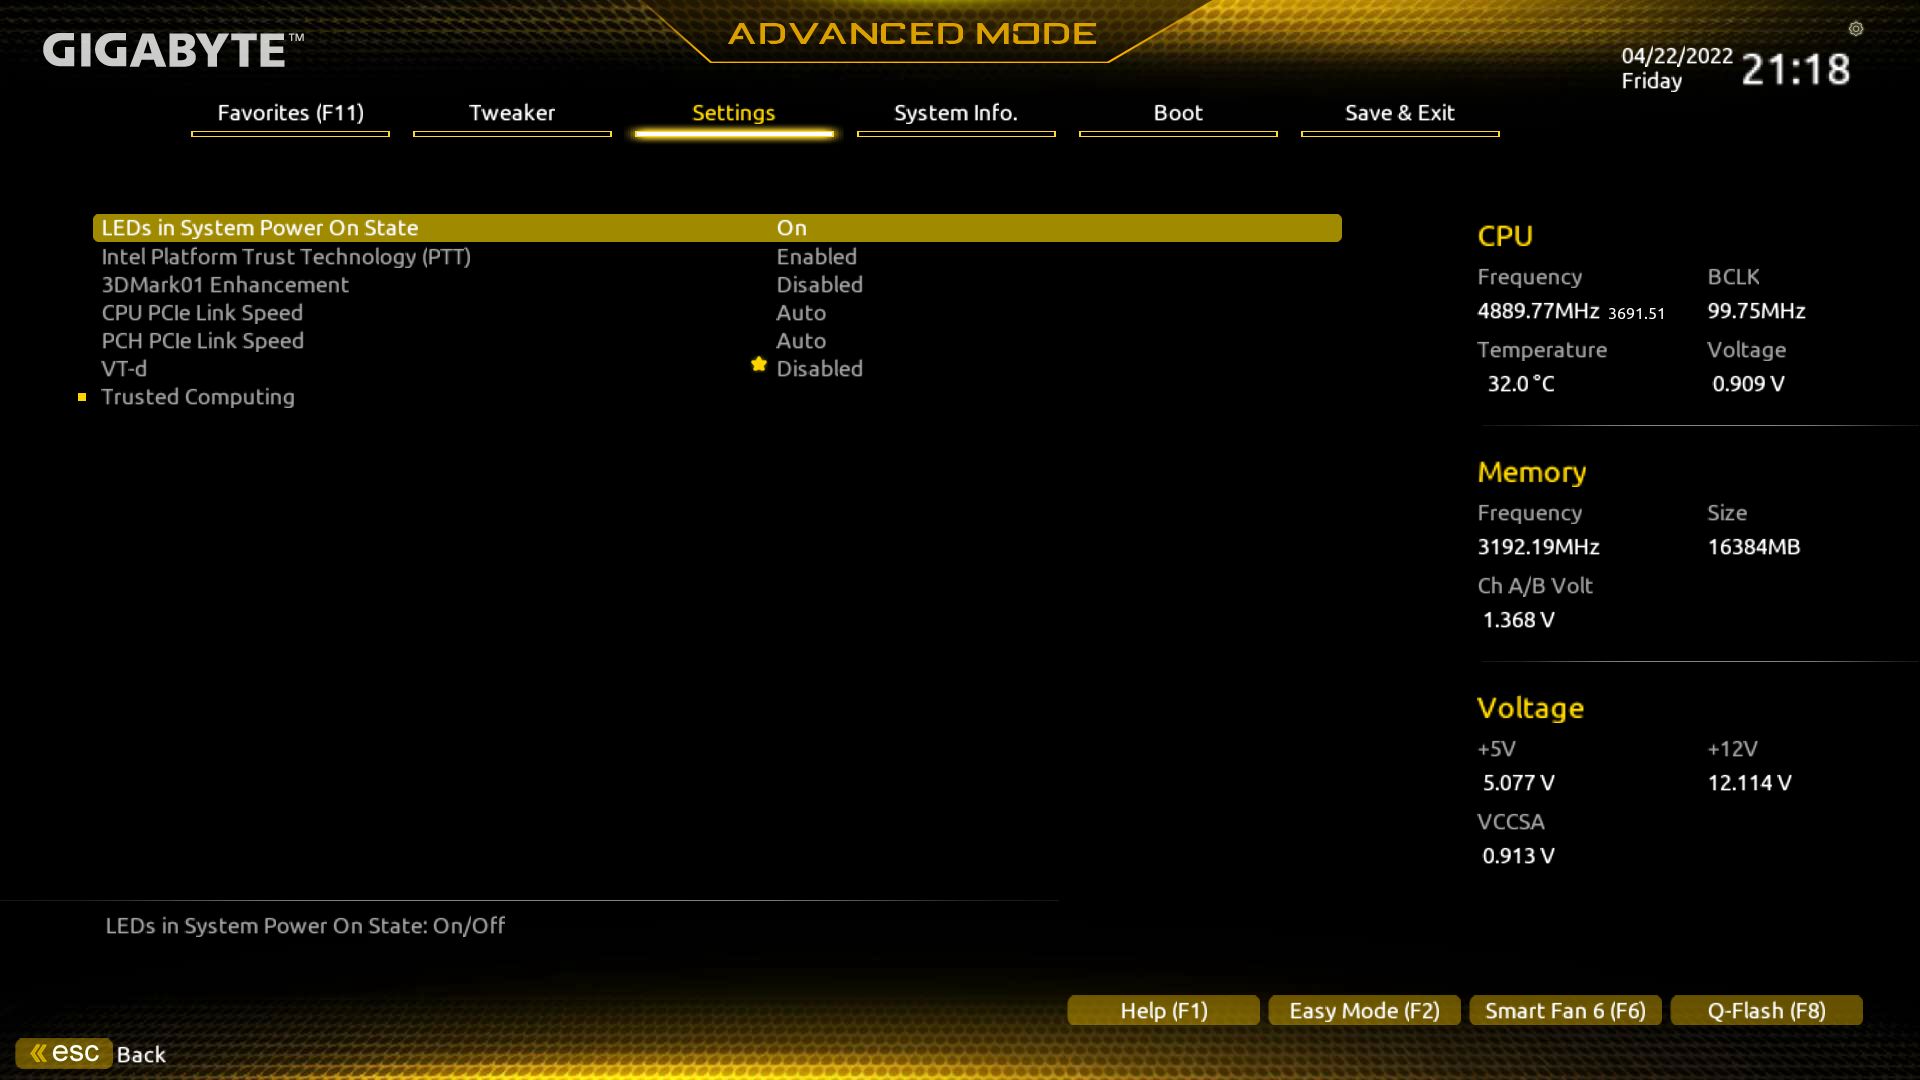
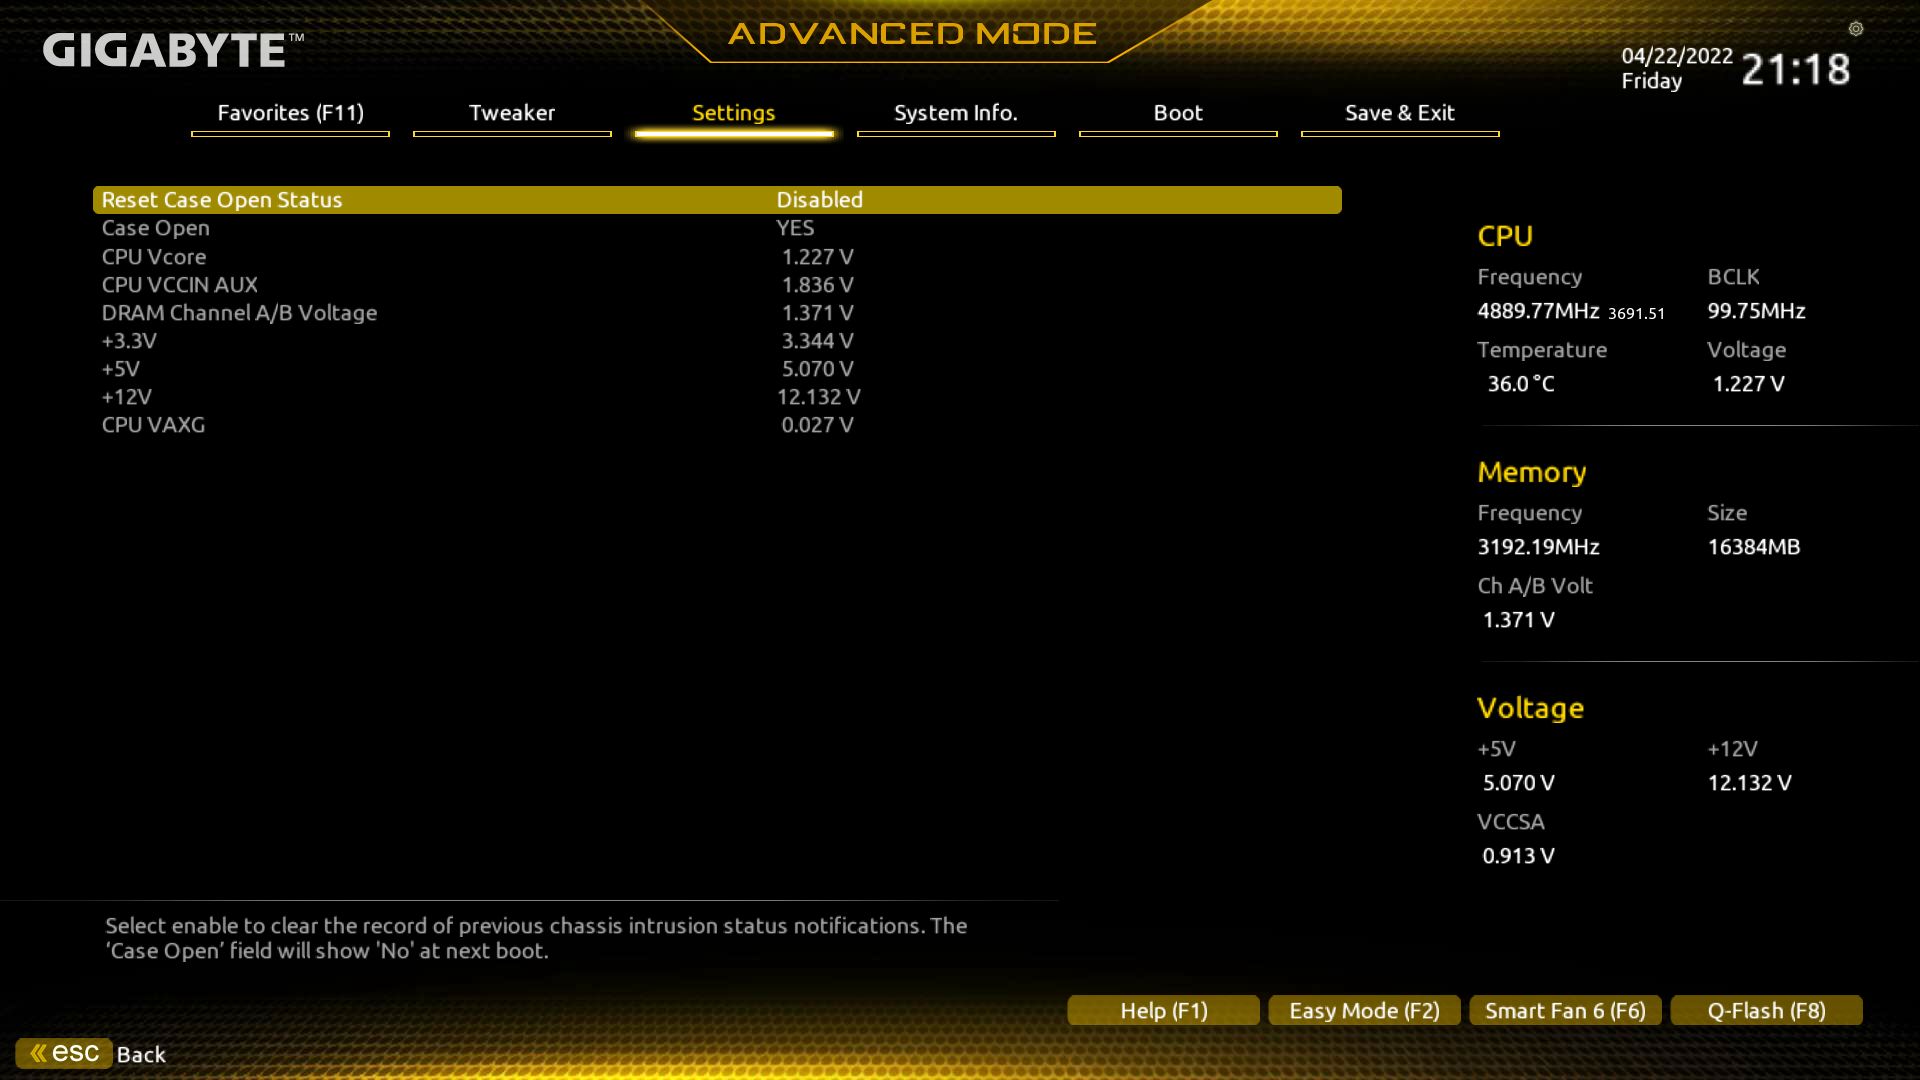
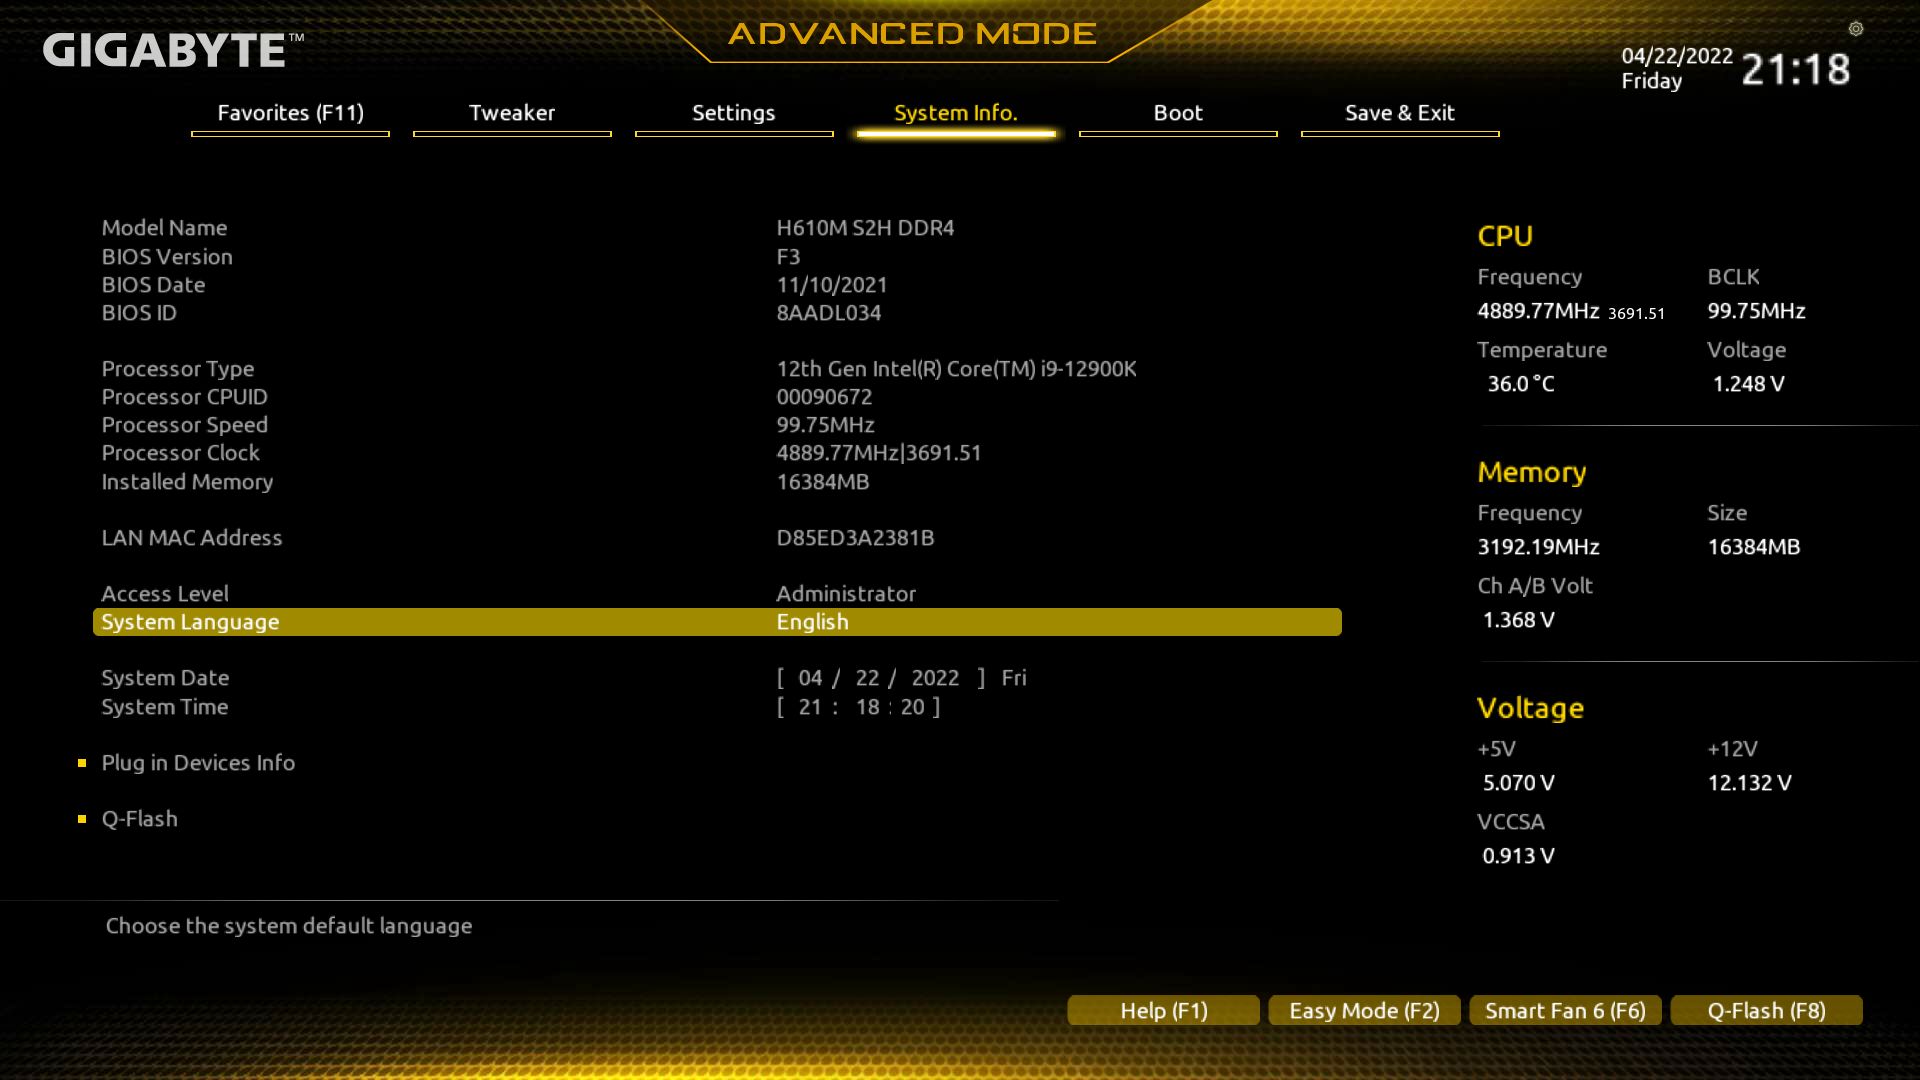
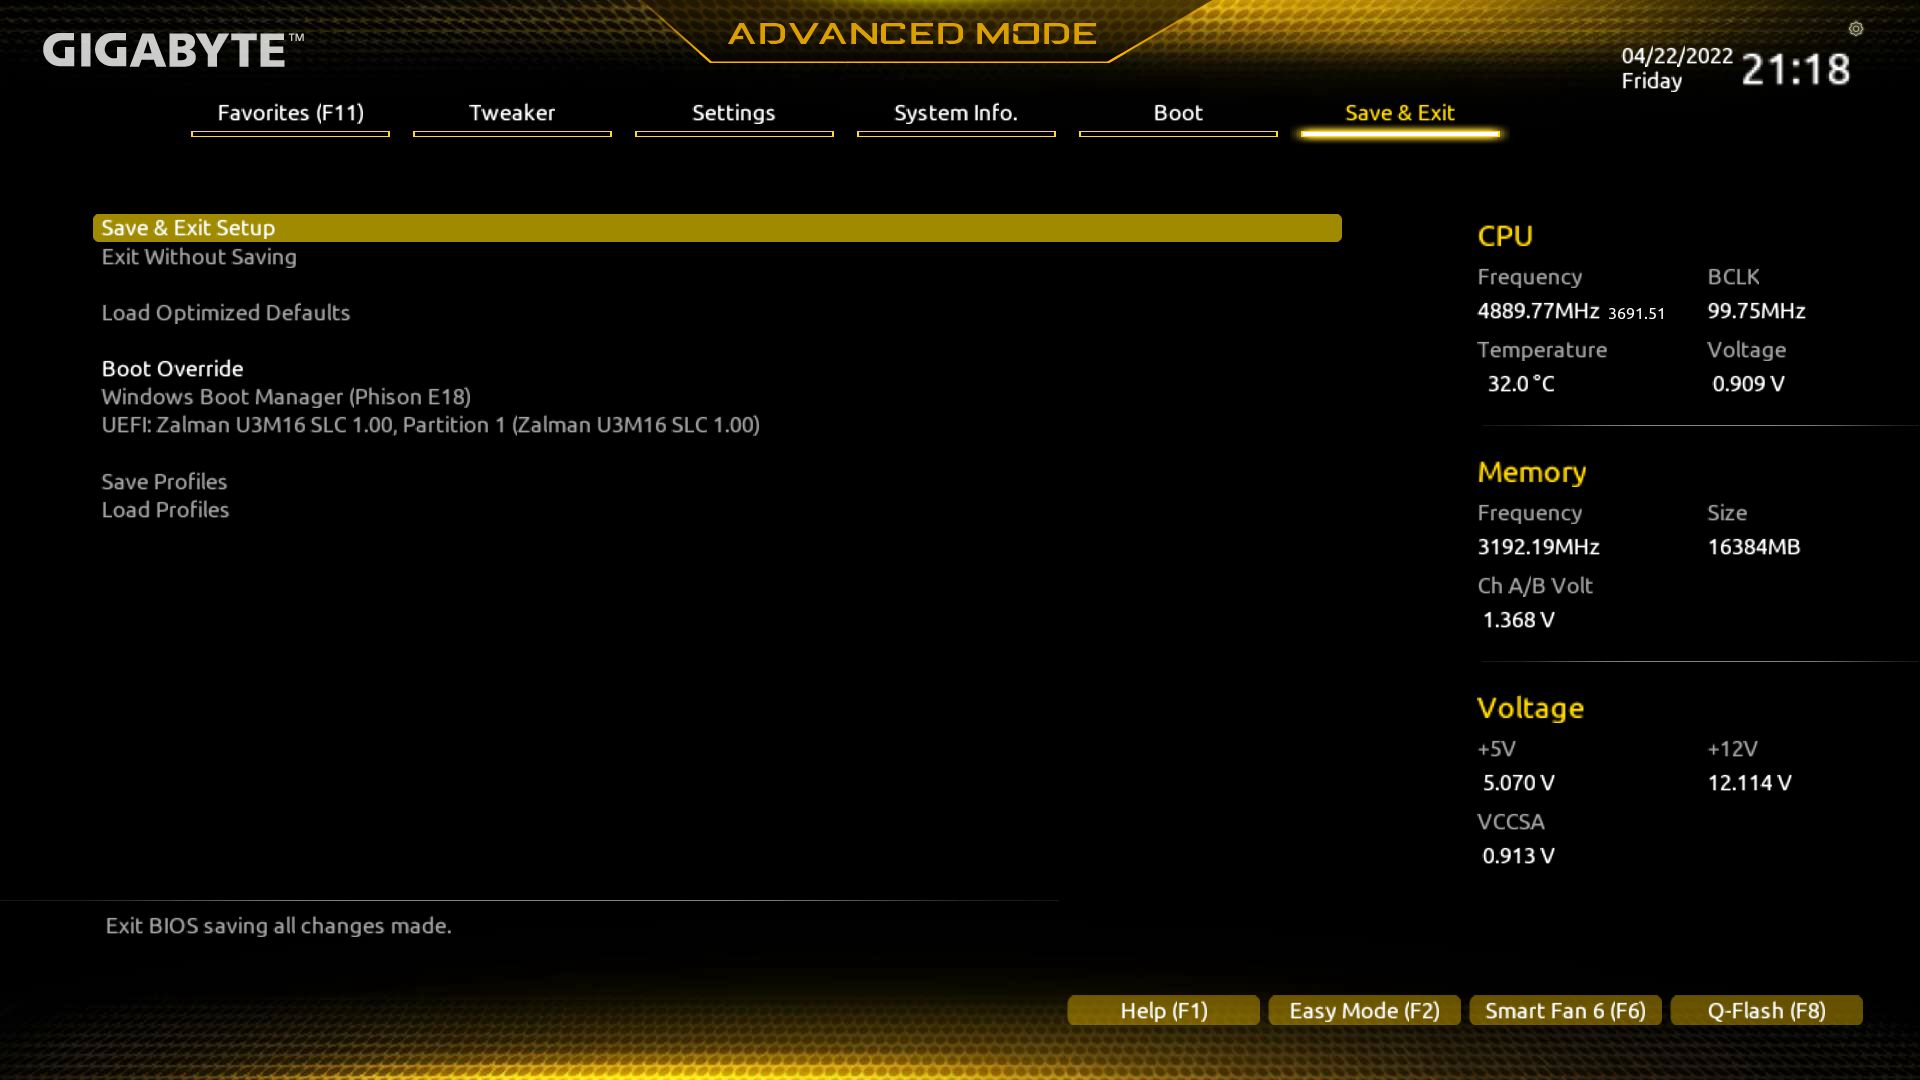
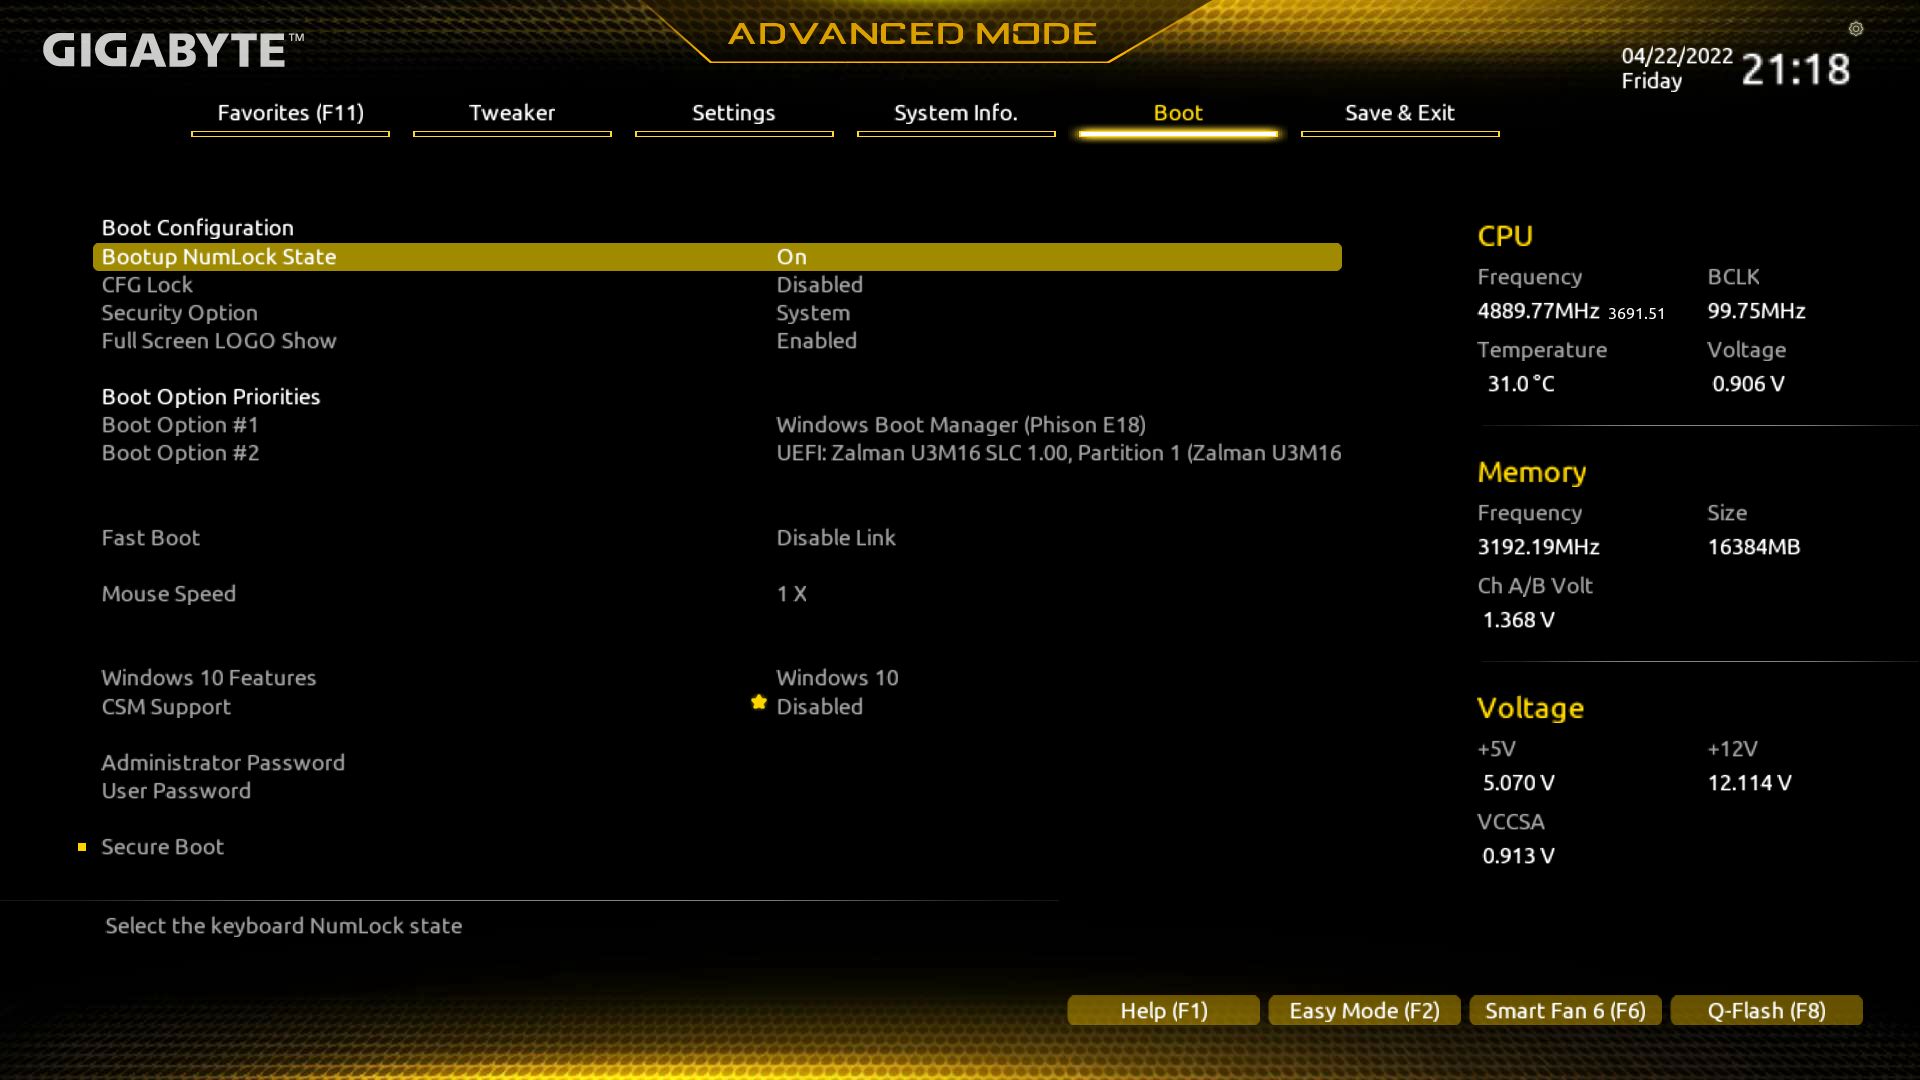
Gigabyte’s H610 BIOS’ are much like Z690/B660 and matches the Aorus models we’ve looked at previously. The difference is that Aorus uses a black and orange theme while these budget boards are black and yellow (along with lacking overclocking options/capability). They all start in an informational EZ Mode that displays system information with limited functionality. You can enable XMP profiles from here, access Smart Fan 6 for fan control, Q-Flash, or the Advanced Mode.
When working in the Advanced portion of the BIOS, major headers are listed across the top, with sub-headings below. Everything is easy to find (especially since you can’t overclock). So you don’t have to bounce around as much. I still wish the company would enable page up/down functionality, but the BIOS is easy to read, and it’s not too hard to find what you’re looking for outside of that. And if you want to know how to access your BIOS (from any system), we can help!
Software
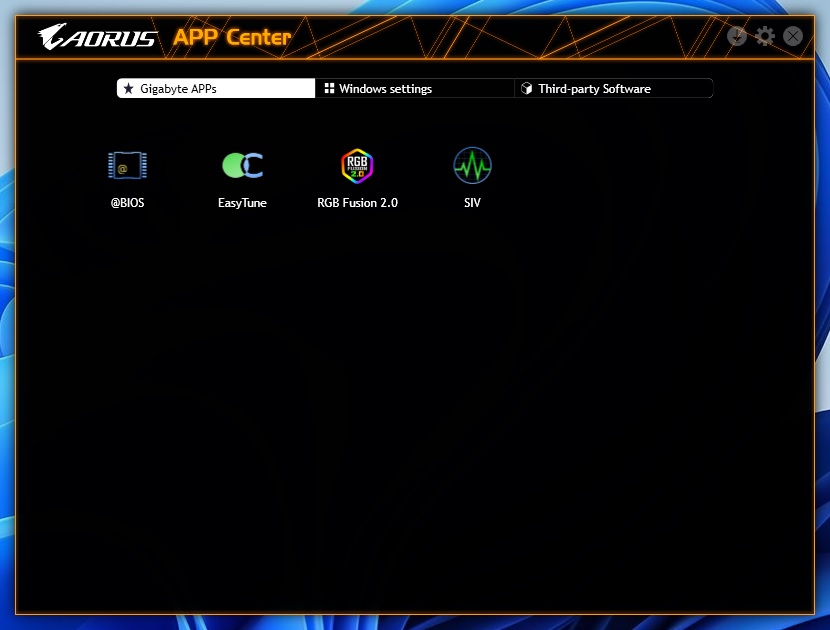
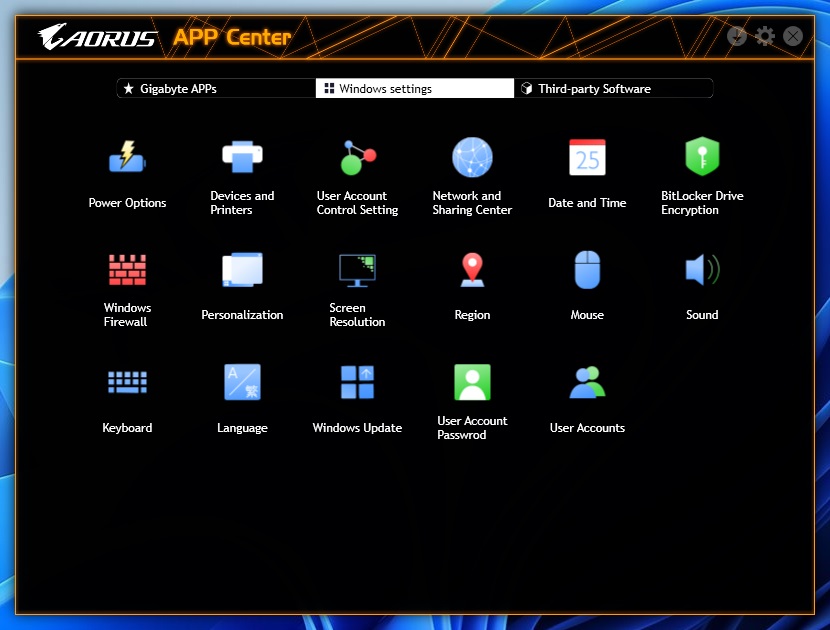
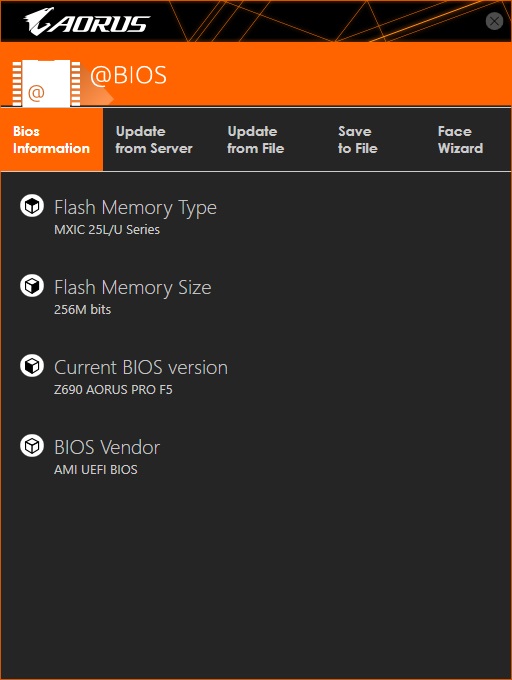
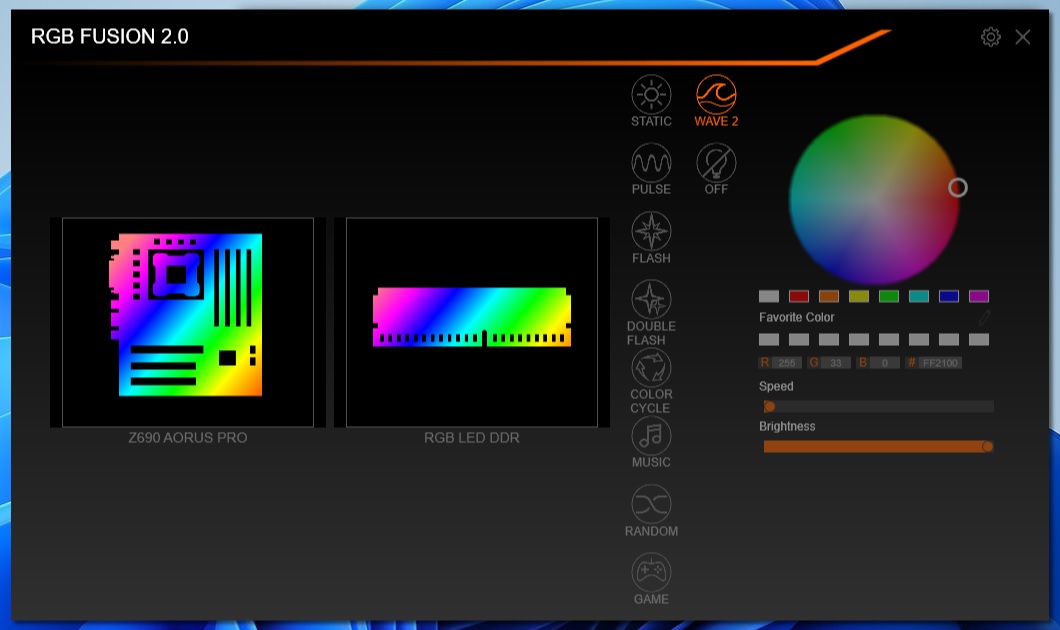
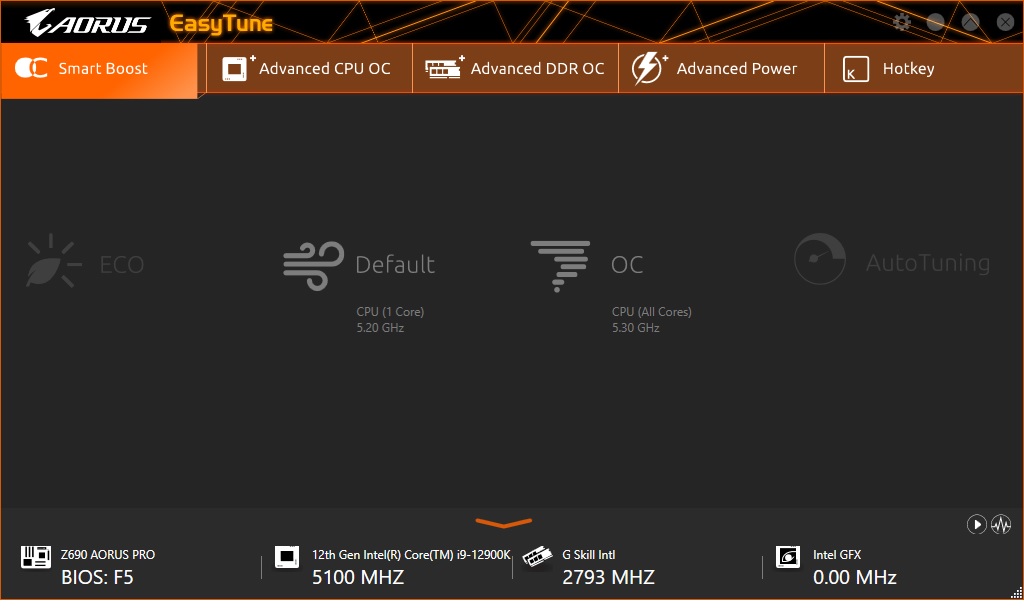
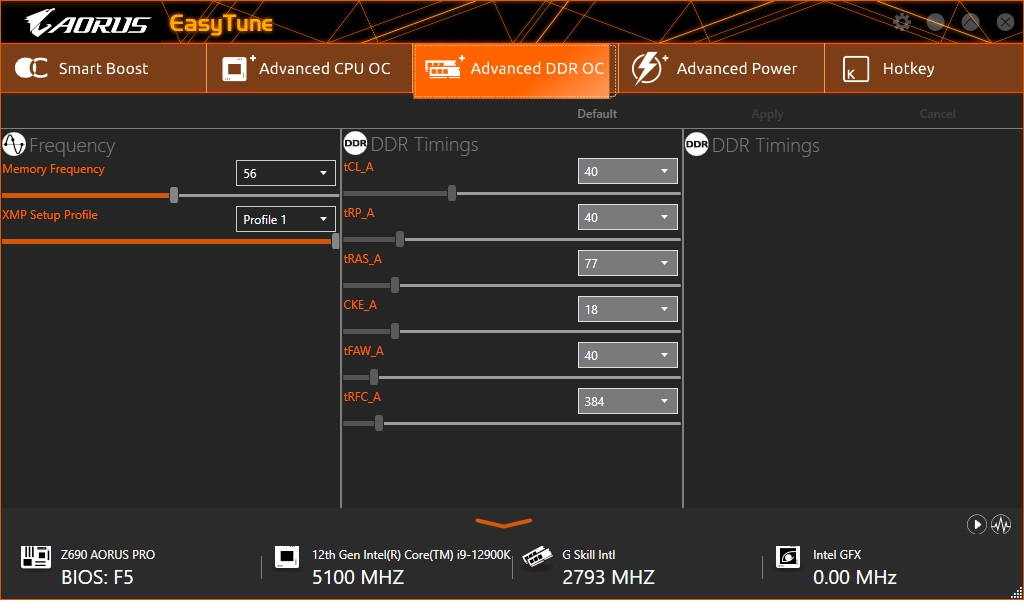
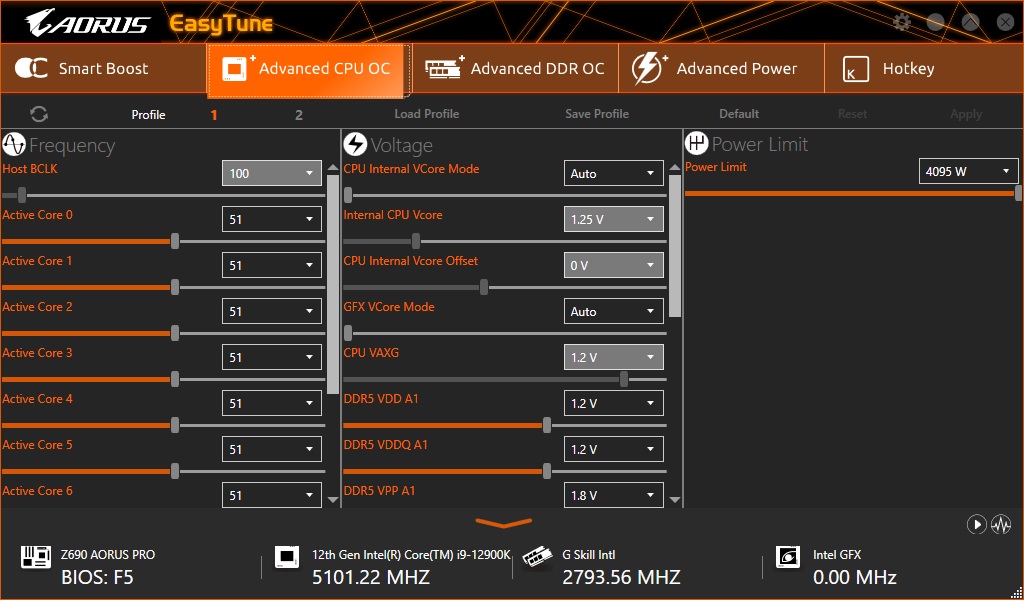
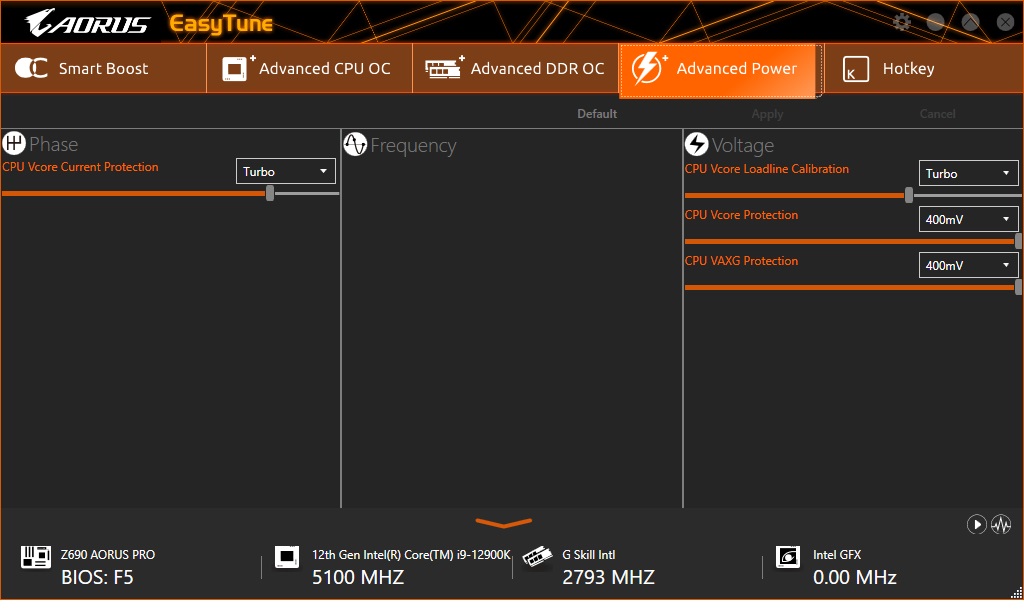
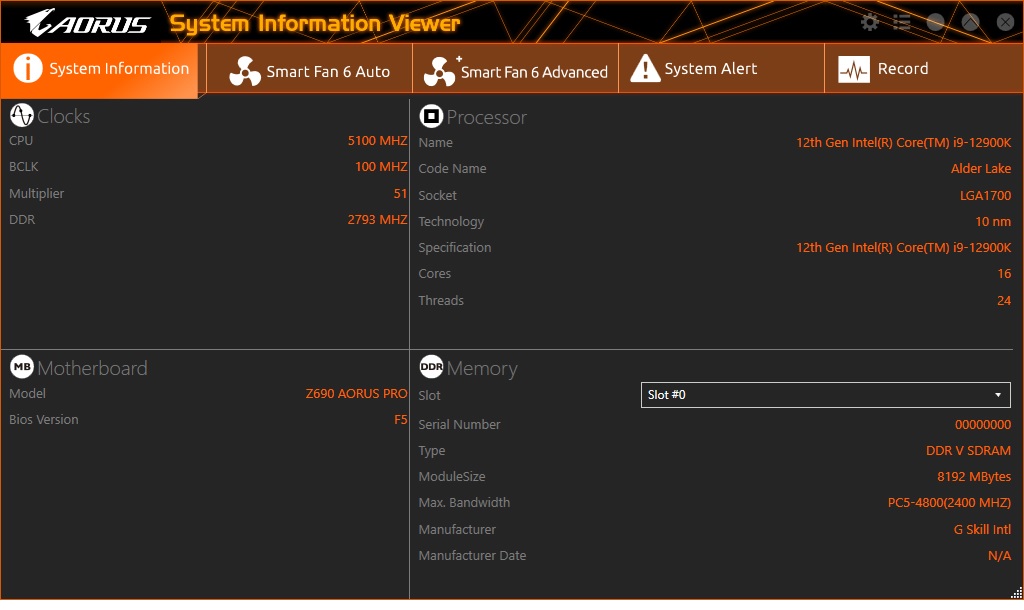
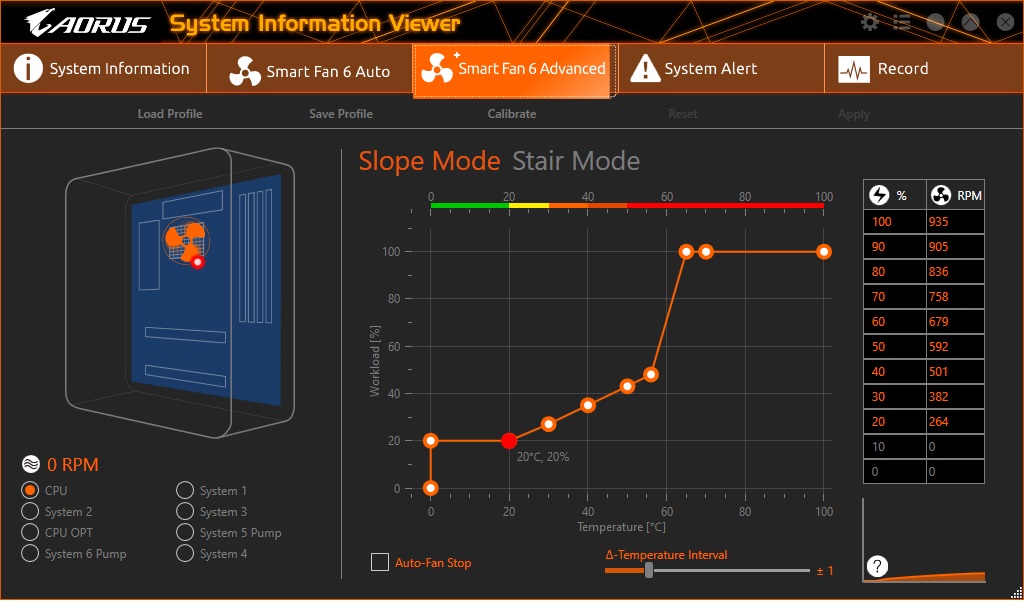
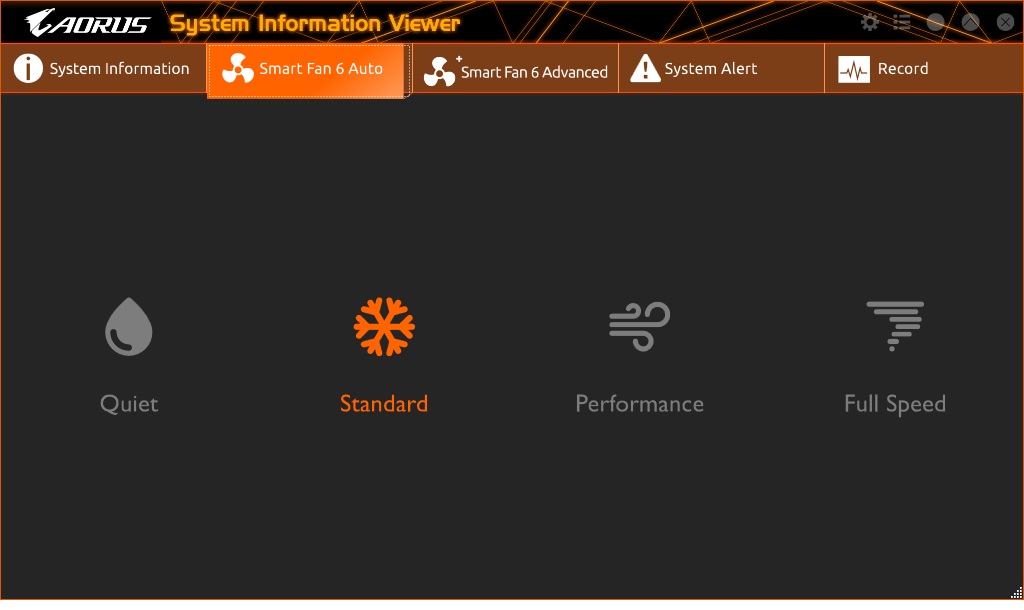
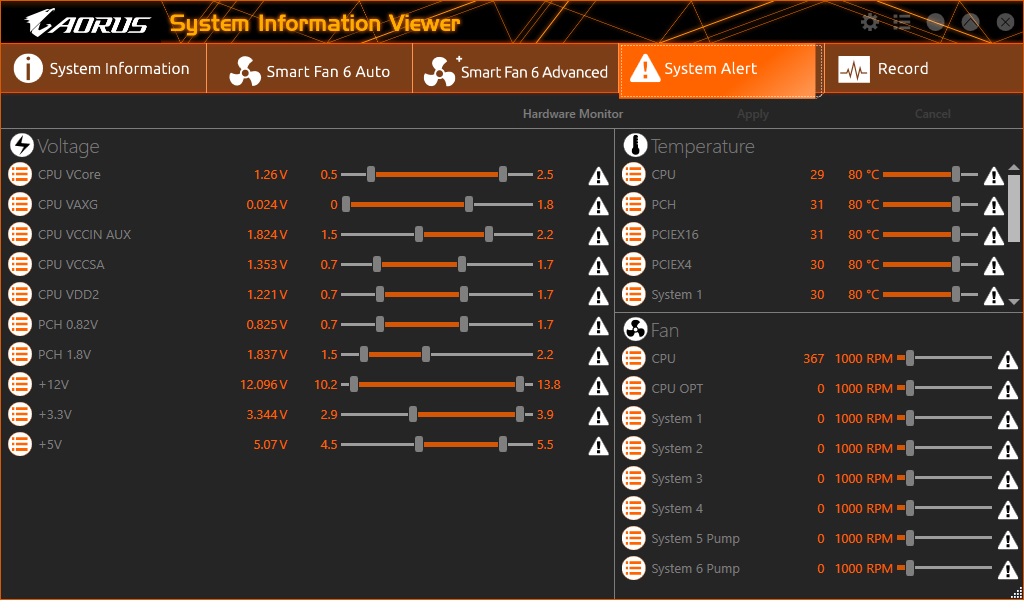
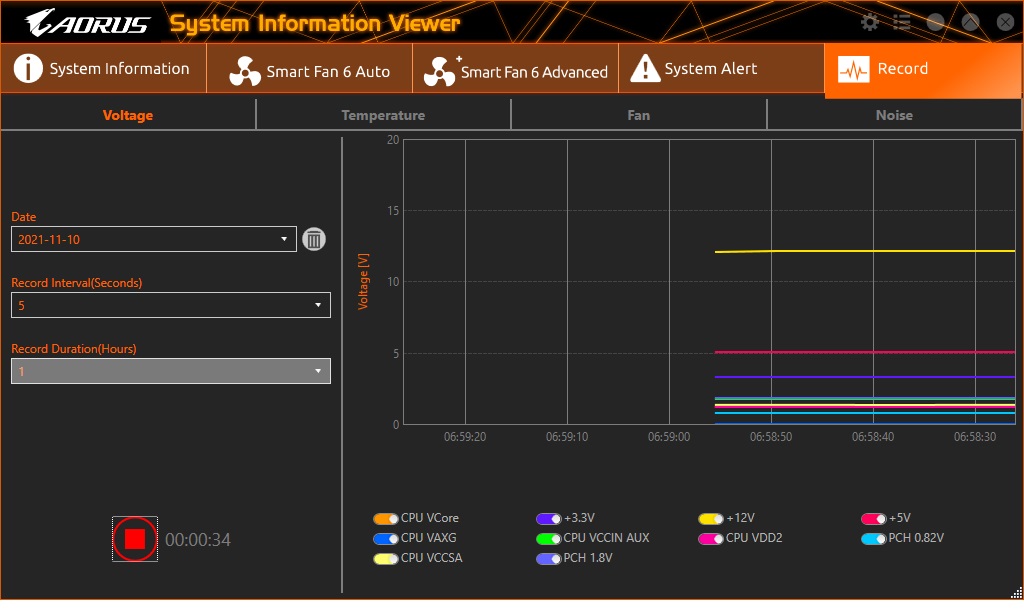
On the software side of things, Gigabyte’s primary tool is the App Center. This application is a central repository for all its applications, some Windows settings, and other third-party software. Simply download the applications you want, install them, and an icon shows up on the screen. We installed @BIOS (BIOS flashing utility), Easy Tune (overclocking/system tweaking), RGB Fusion 2.0 (to control RGB lighting) and last but not least, SIV (for monitoring). The Gigabyte website has many other helpful applications, including USB charging, LAN, and more that aren’t covered here. Overall, I like App Center’s small footprint and found its tools helpful.
MORE: Best Motherboards
MORE: How To Choose A Motherboard
MORE: All Motherboard Content
Current page: Gigabyte H610M S2H DDR4
Prev Page Introduction and Asus Prime H610M-A D4 Next Page MSI Pro H610M-G DDR4
Joe Shields is a staff writer at Tom’s Hardware. He reviews motherboards and PC components.
-
javiindo Not to be able to do overclock on the RAM it means that it's not possible to use the XMP profiles in the RAM?Reply
What was the speed of the RAM tested? Do these motherboards support DDR5? :-o -
hotaru.hino Reply
It just means it doesn't have support for beyond DDR4-3200, per the maximum speed of the JEDEC standard. And they don't support DDR5 (Alder Lake boards can only support one or the other)javiindo said:Not to be able to do overclock on the RAM it means that it's not possible to use the XMP profiles in the RAM?
What was the speed of the RAM tested? Do these motherboards support DDR5? :-o -
Co BIY Would have been nice to run a i5-12600K and 12400 to see if these boards can max out these chips.Reply
Is there a way to shut down some cores and throttle back the i9 to emulate the i5s ? -
TerryLaze Reply
The 12600k scores about 17.000 in cb23, 18 when overclocked, the 12900k hits 22 and above on these 610 boards.Co BIY said:Would have been nice to run a i5-12600K and 12400 to see if these boards can max out these chips.
Is there a way to shut down some cores and throttle back the i9 to emulate the i5s ?
They barely slow down the 12900k by around 10% compared to full hog no power limits on the 12900k so anything else should be more than fine on thee boards.
https://www.tomshardware.com/reviews/intel-core-i9-12900k-and-core-i5-12600k-review-retaking-the-gaming-crown/6 -
ceomrman2 This is a great article! I feel like the best values are sometimes hidden because people sometimes fixate on the wrong things. You can spend tons on RAM and cool-looking MB features that don't really yield much in the real world, for example.Reply
Everyone's goals are different. I'm using pre-tax Canadian prices (very similar to US after conversion). I'm biased towards spreadsheets/BI, photos, and video encoding. Gaming is relevant, but not top of mind. I'll play with OC'ing but won't pay extra for it. I figured CAD$1400 for ssd/GPU/case/etc, and separately figured prices for these MB/CPU/RAM/opt. WiFi combos. I applied my own weights to the benchies - higher for productivity and efficiency, less for synthetics. I compared i9-11900k, 5950x, and DDR5 z690 boards (as one set). For prices on those I used the average of a couple recent "best medium price" recommendations for the various categories. I added the Asus H610 and each of the three B660s in the article.
The 11900k system would cost -11% vs average, but deliver -23% performance I care about, I'll call that "net -12." The typical DDR5 z690 costs +12% and delivers +11% performance, net =1. The Ryzen was net -1, and Asus H610 was net 0. So all those look perfectly reasonable - you just get just what you pay for. The Asus B660 was net +4, though, and ASRock and MSI B660 boards were both net +5. I puttered with the weighting but the general "bunching" of results was pretty reliable, with 11th gen Intel always losing by a lot, 5960x/DDR5 z690/H610 all basically tied for overall value, and the B660 boards all slightly better overall. -
RedBear87 Reply
Technically Alder Lake can support both DDR4 and DDR5, there's at least one motherboard from Onda (a Chinese OEM) that supports both. And answering javiindo's question, there are more mainstream motherboards that support DDR5 only. Of course at the moment it doesn't make a lot of sense to pair expensive DDR5 with a cheap mobo, but the option does exist (somehow).hotaru.hino said:It just means it doesn't have support for beyond DDR4-3200, per the maximum speed of the JEDEC standard. And they don't support DDR5 (Alder Lake boards can only support one or the other)
