Why you can trust Tom's Hardware
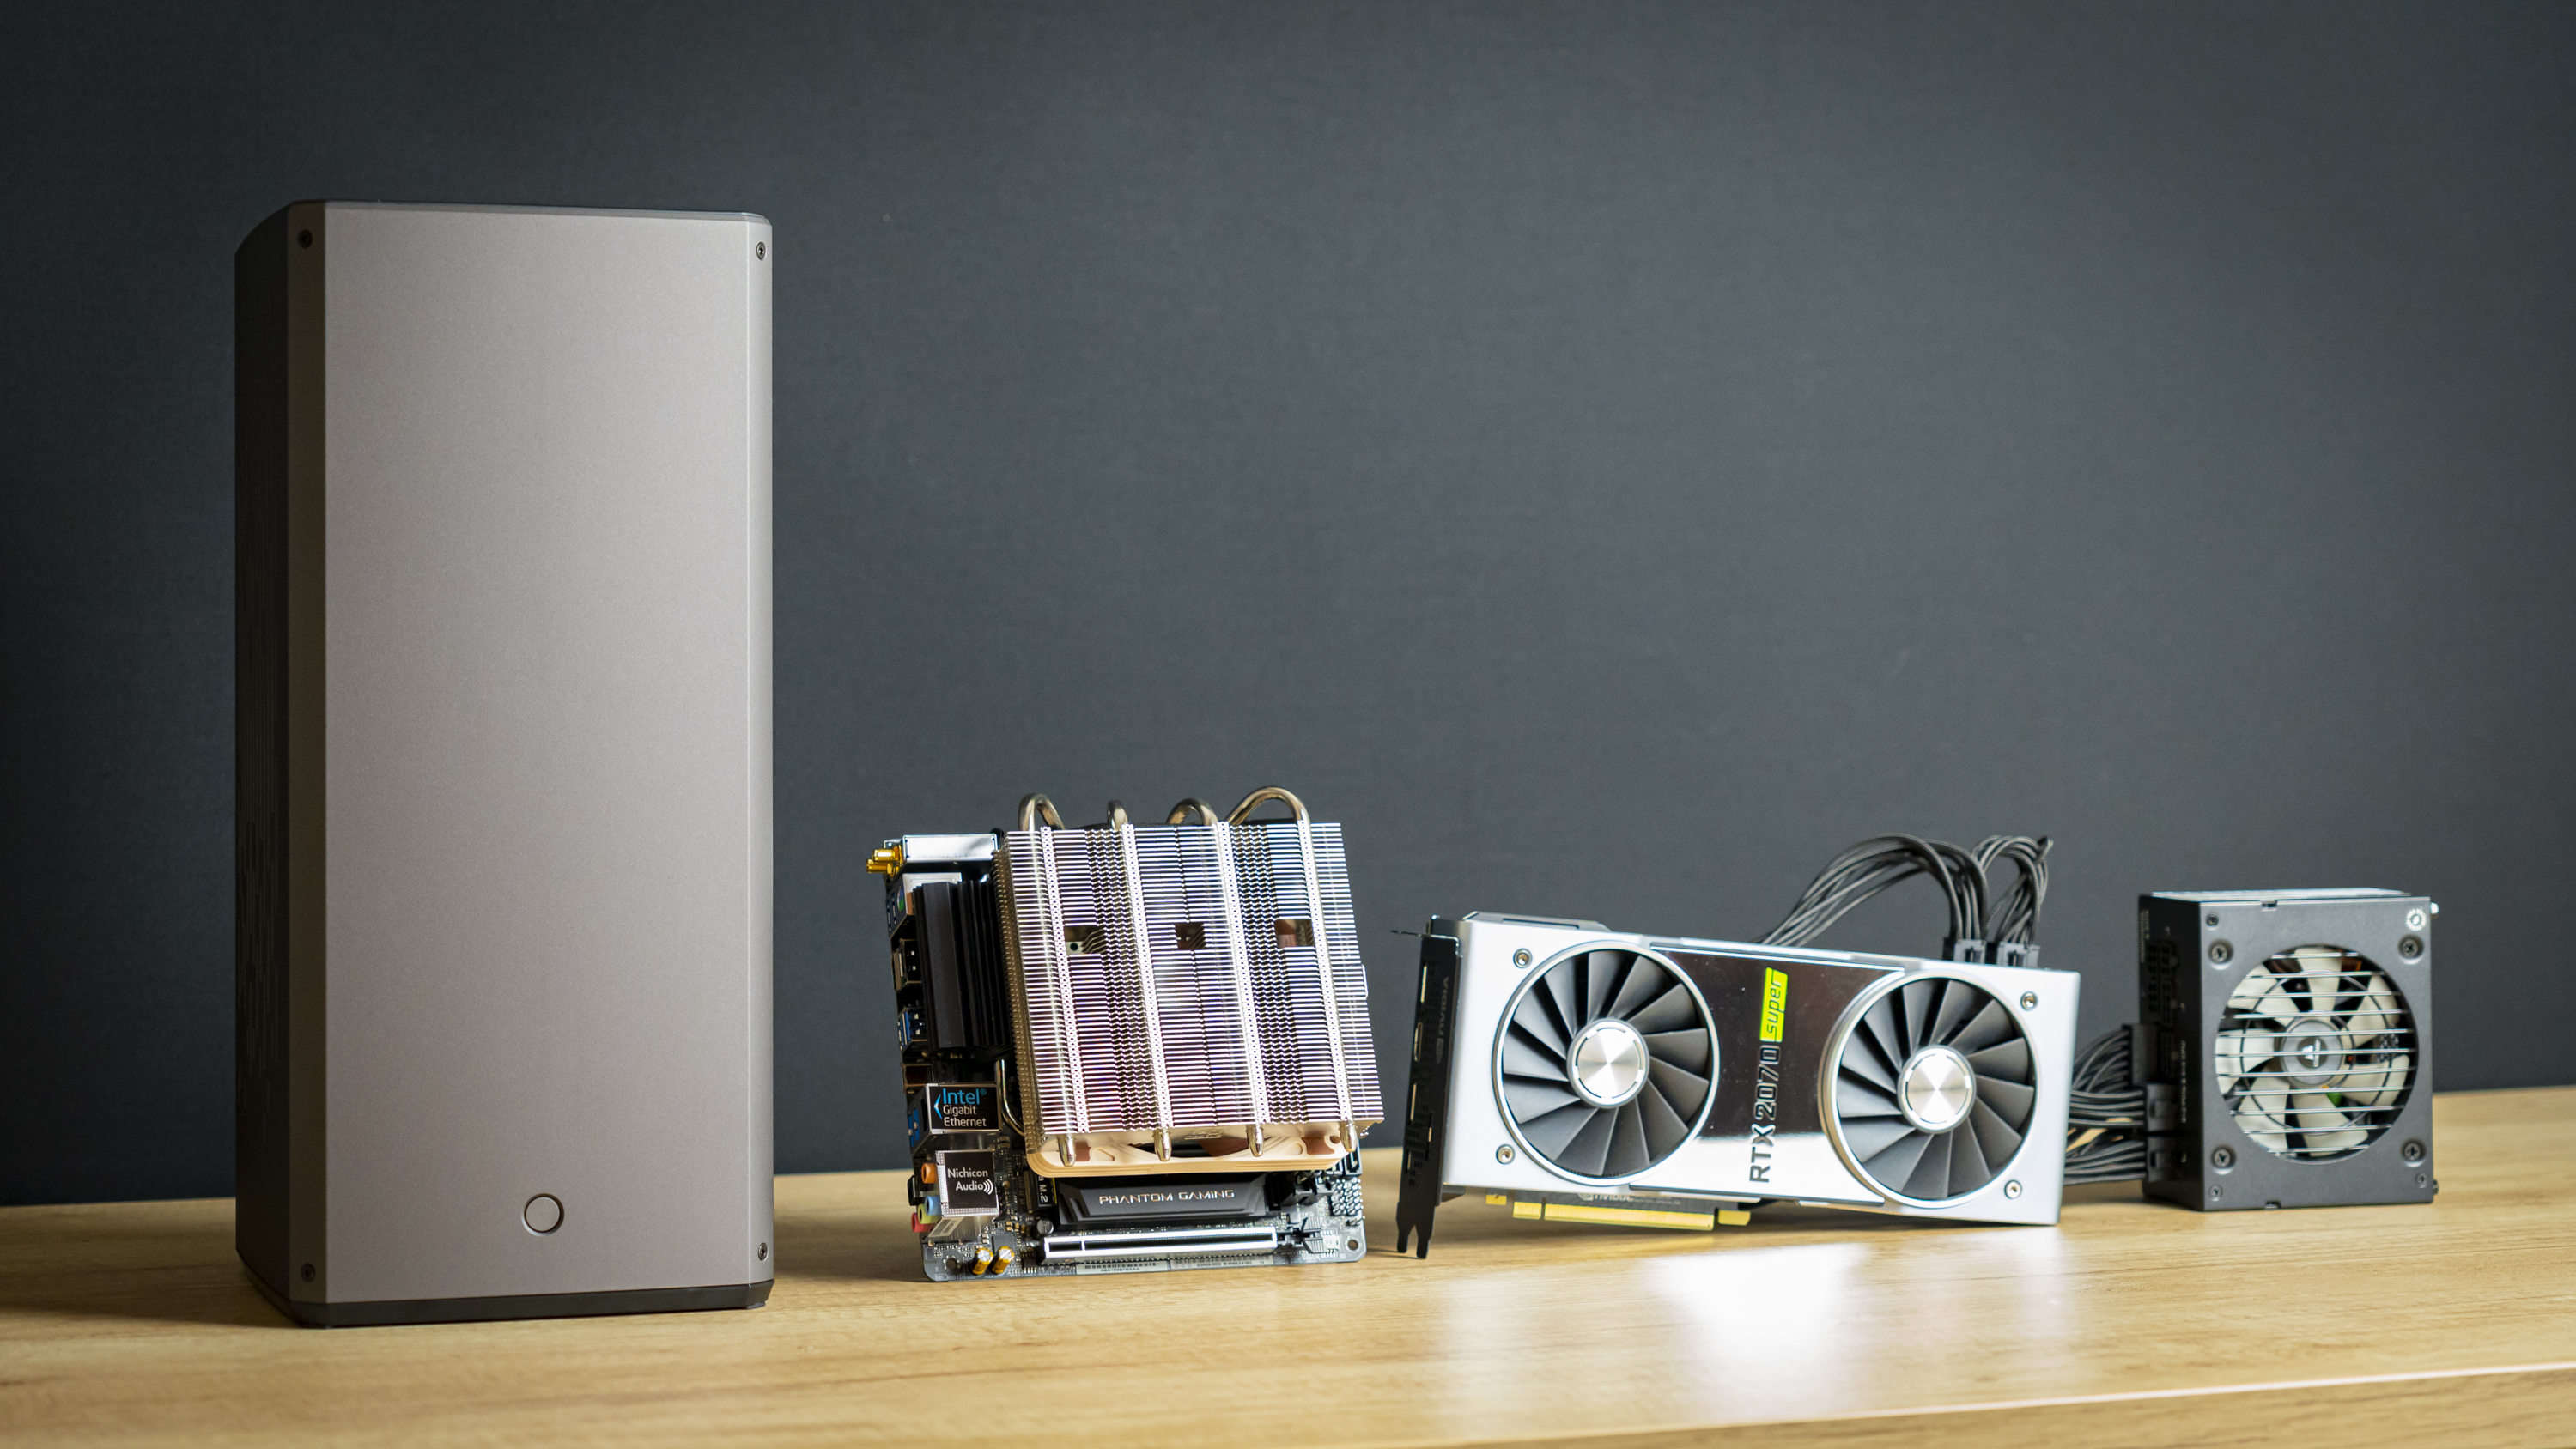
We are using the following system for today’s build:
| CPU | Intel Core i5-9600K |
| Motherboard | ASRock Z390 Phantom Gaming-ITX/ac |
| Memory | Corsair Vengeance LPX 3000 MHz, 16 GB (2x 8GB) |
| Graphics | Nvidia GeForce RTX 2070 Super Founder's Edition |
| CPU Cooling | Noctua NH-L12S |
| Noctua NT-H2 Thermal Paste | |
| Storage | Corsair Force Series MP600 NVMe SSD, 480GB |
| Power Supply | Corsair SF750 |
For this build, we’re leaning mostly on our usual set of Mini-ITX parts, comprised of an ASRock Z390 Phantom Gaming-ITX/ac motherboard, an Intel Core i5-9600K processor, 16 GB of Corsair Vengeance LPX memory, a Corsair SF750 PSU, and an Nvidia Founders Edition RTX 2070 Super graphics card.
I was told by the designers of the Raw S1 that at the time of writing, the best CPU cooler to get for this chassis is Noctua’s NH-L12S (though, a little birdy told me a Raw S1 edition from Noctua is coming, much like the L12S Ghost Edition for one of Louqe’s earlier cases). So naturally I saw to it that we had a unit for use with this review. Anyone building in niche Mini-ITX cases like these generally buys the cooling that works best in said case, and as the NH-L12S priced at only $55, it wouldn’t be fair on the Raw S1 to use any other cooler for this review.
A Word On Hardware Compatibility
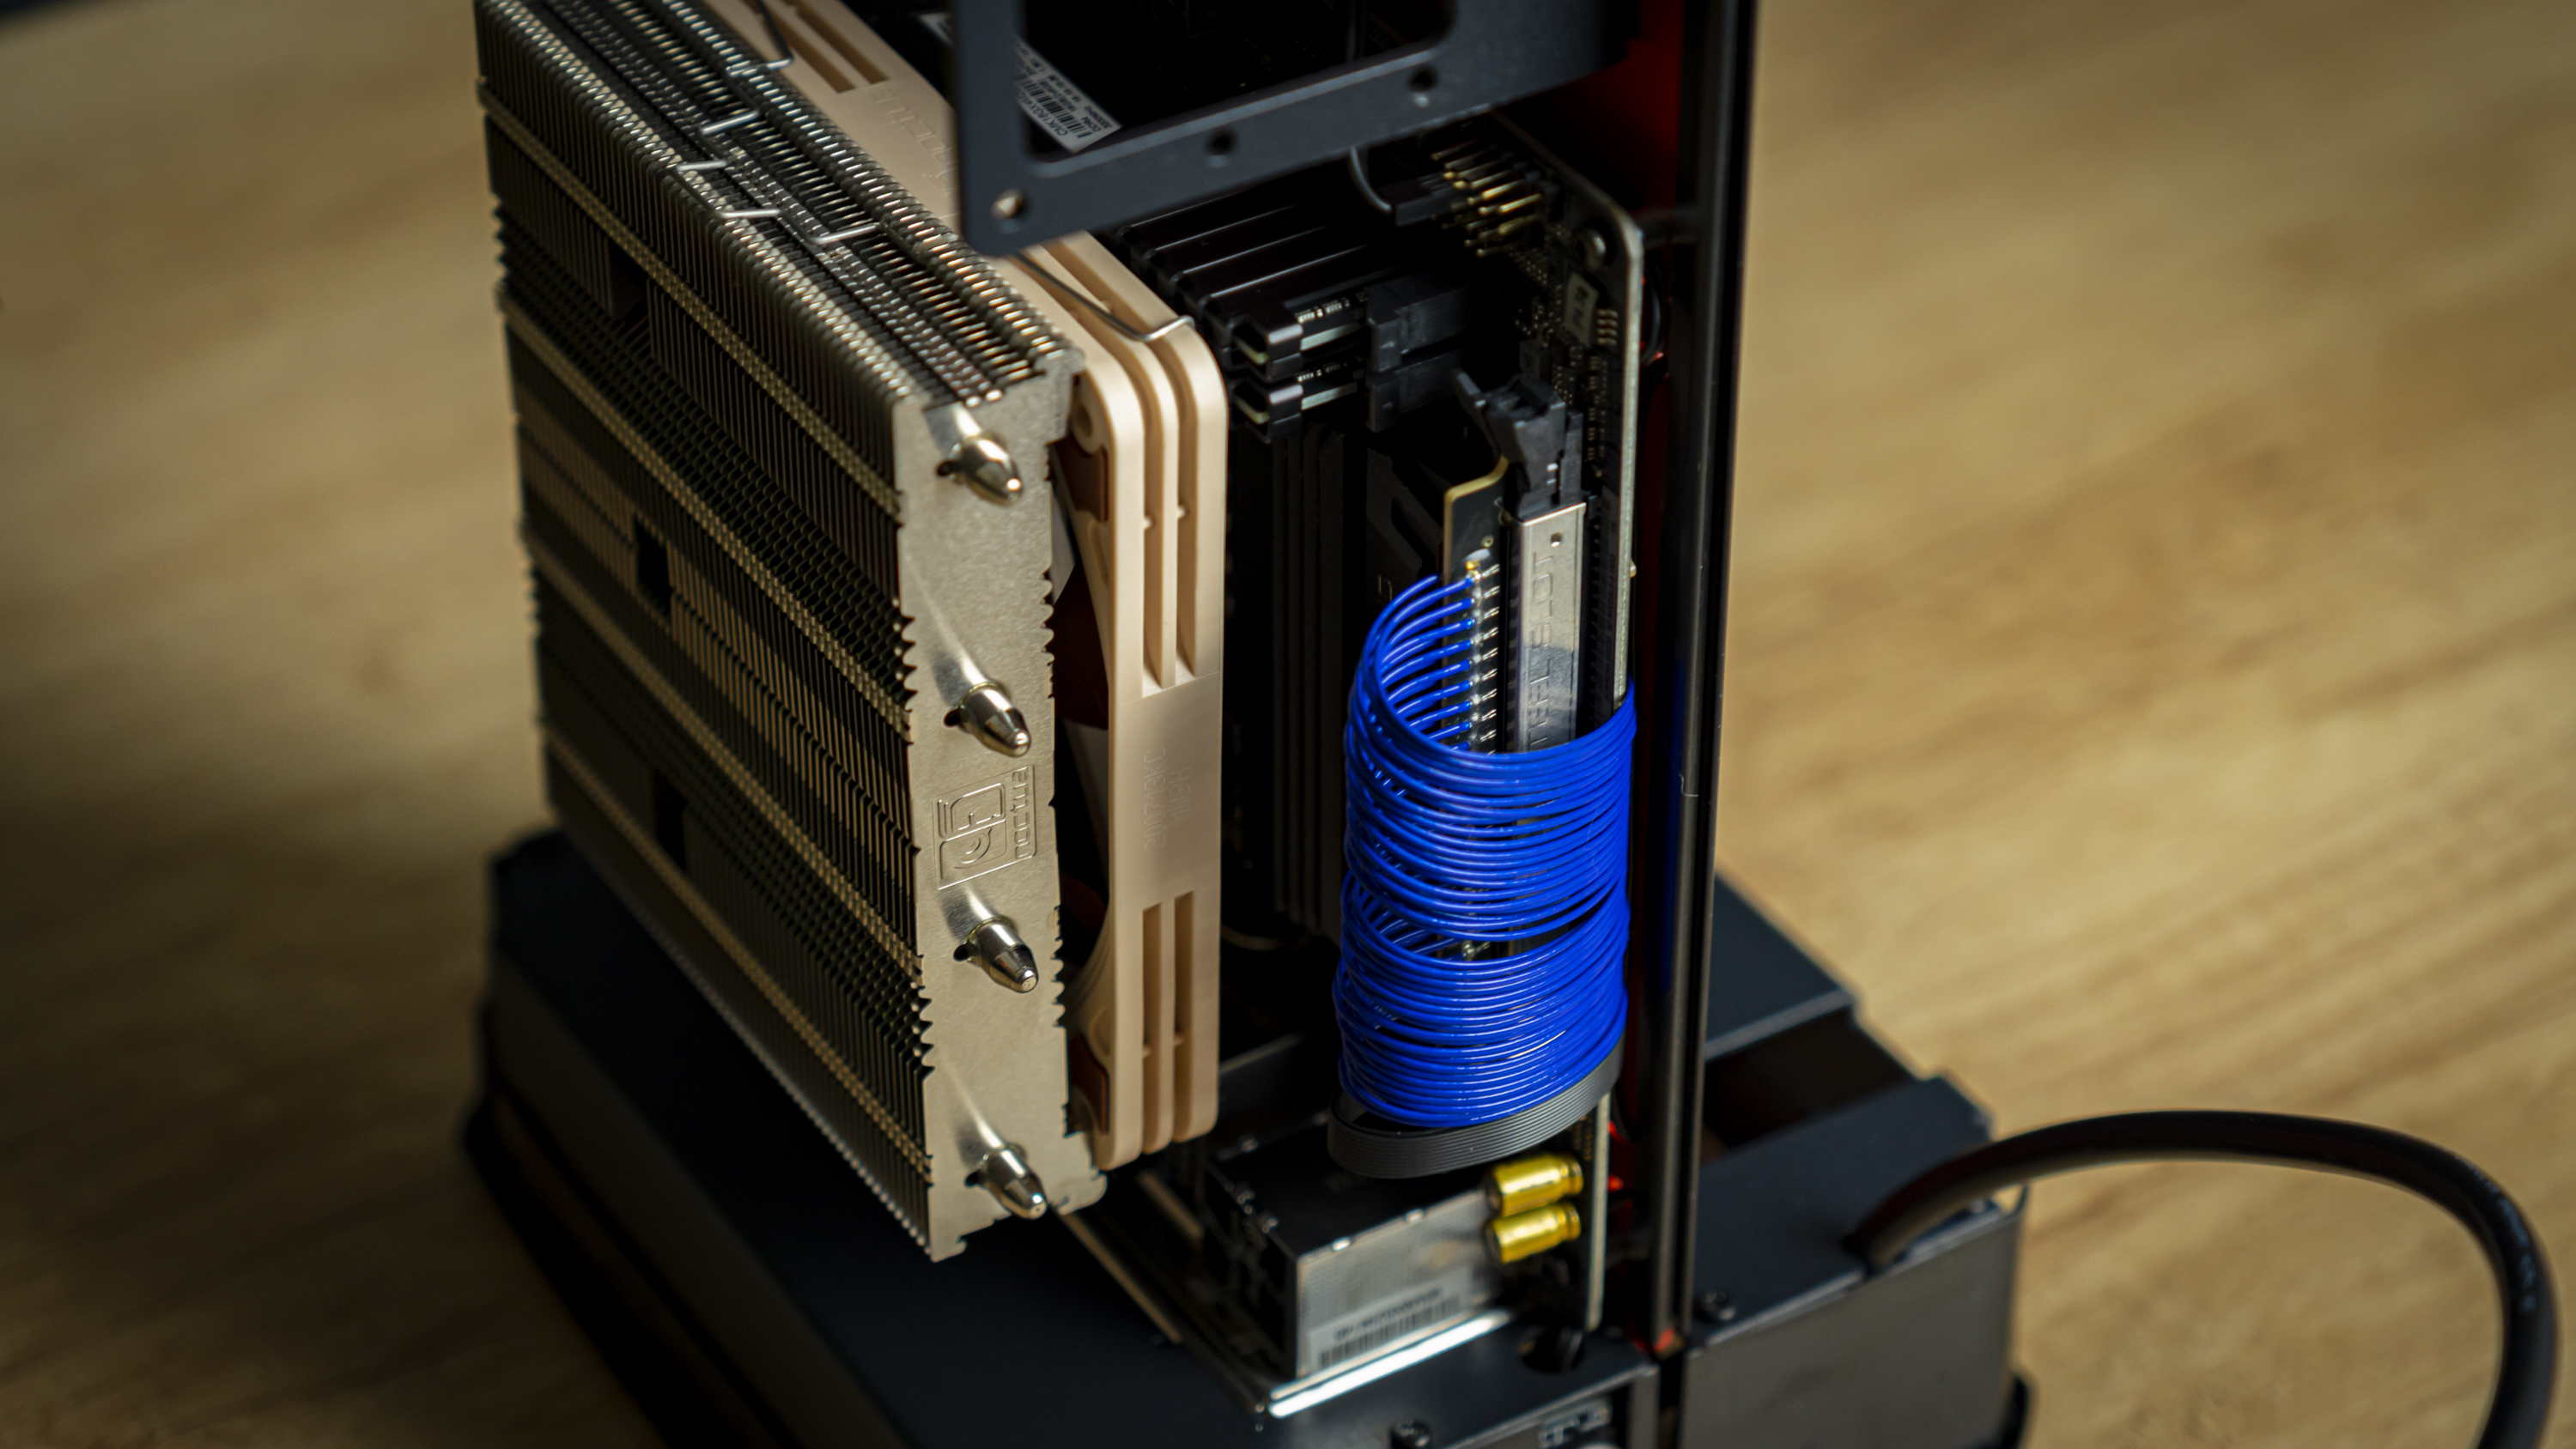
But there are a couple things to note here about hardware compatibility here. First, make sure your motherboard supports this cooler, and make sure you use low-ish profile memory – the Vengeance LPX modules that we used were at the very limit of what was supported by this cooler. Moreover, SFX-L power supplies won’t fit without a lot of effort, nor is there room for any 3.5-inch drives or liquid cooling. You can fit a motherboard, GPU, PSU, a 2.5-inch drive, and one case fan – that’s it. And even then, a 2.5-inch drive may fit behind the power supply, but as you’ll see later, it’d be a tight fit and I’d count my storage needs onto M.2 drives that sit directly on the motherboard.
So without further ado, lets get into assembly.
Step 1: Motherboard Installation
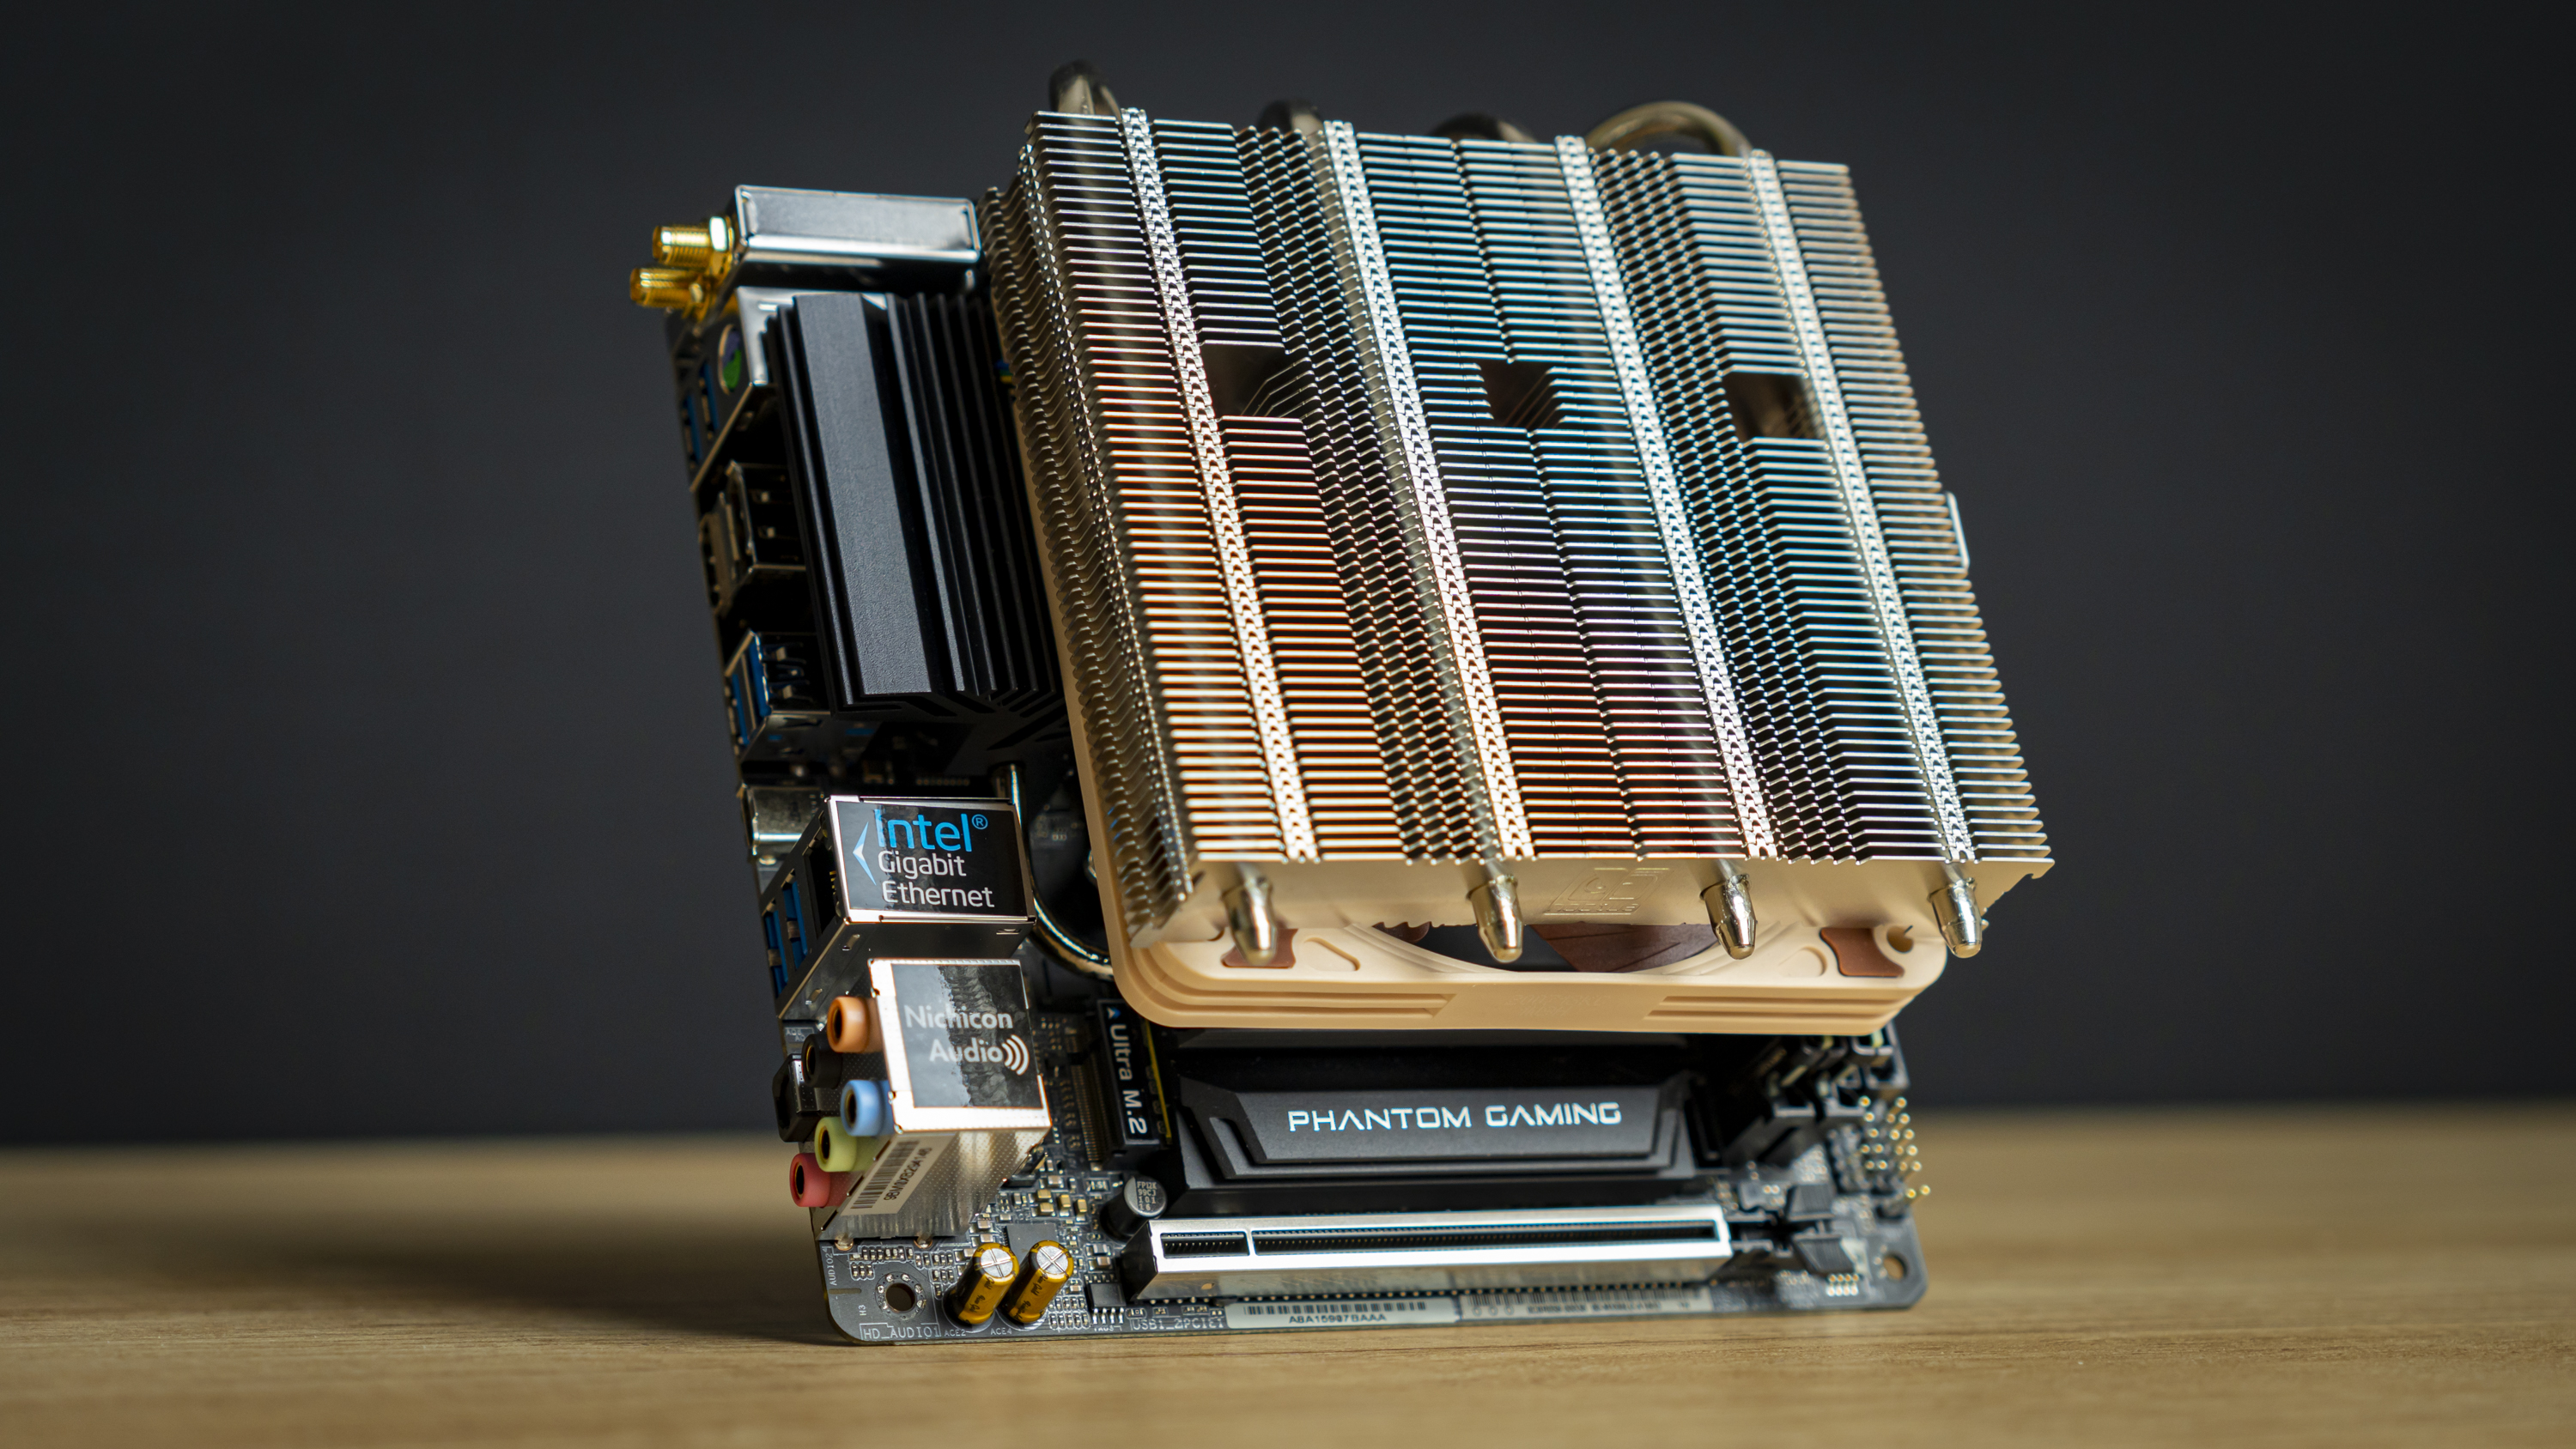
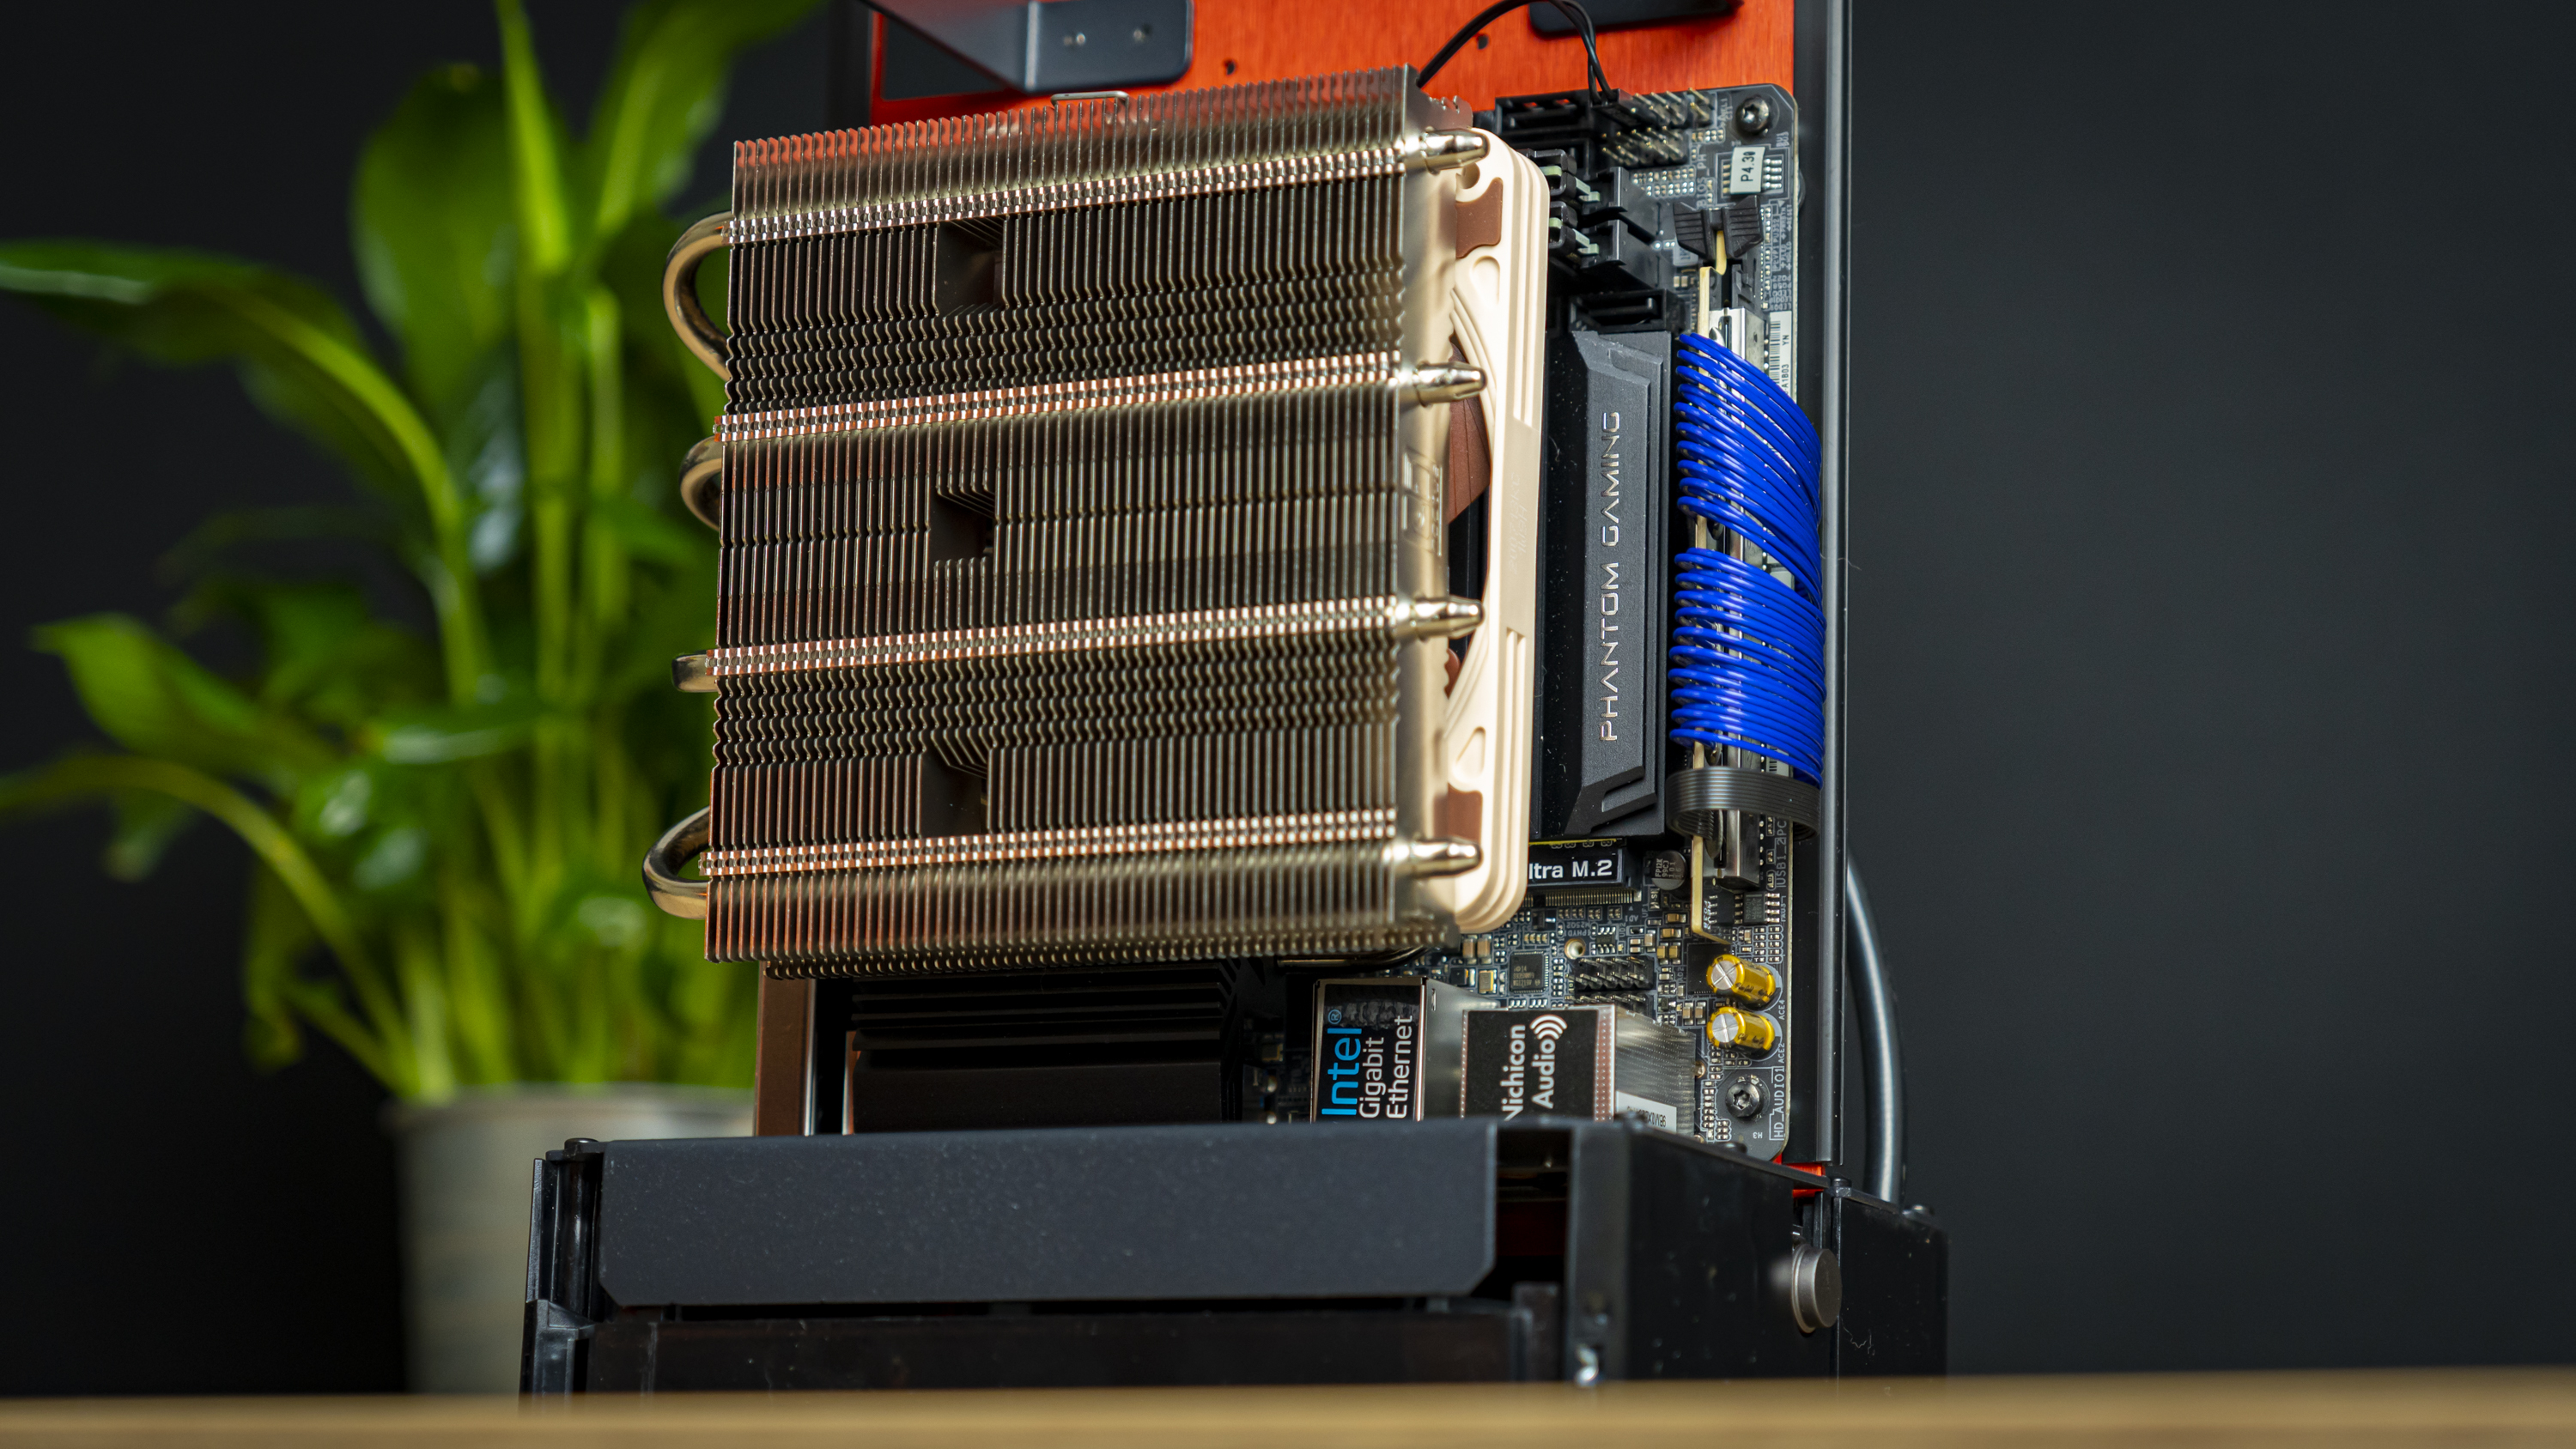
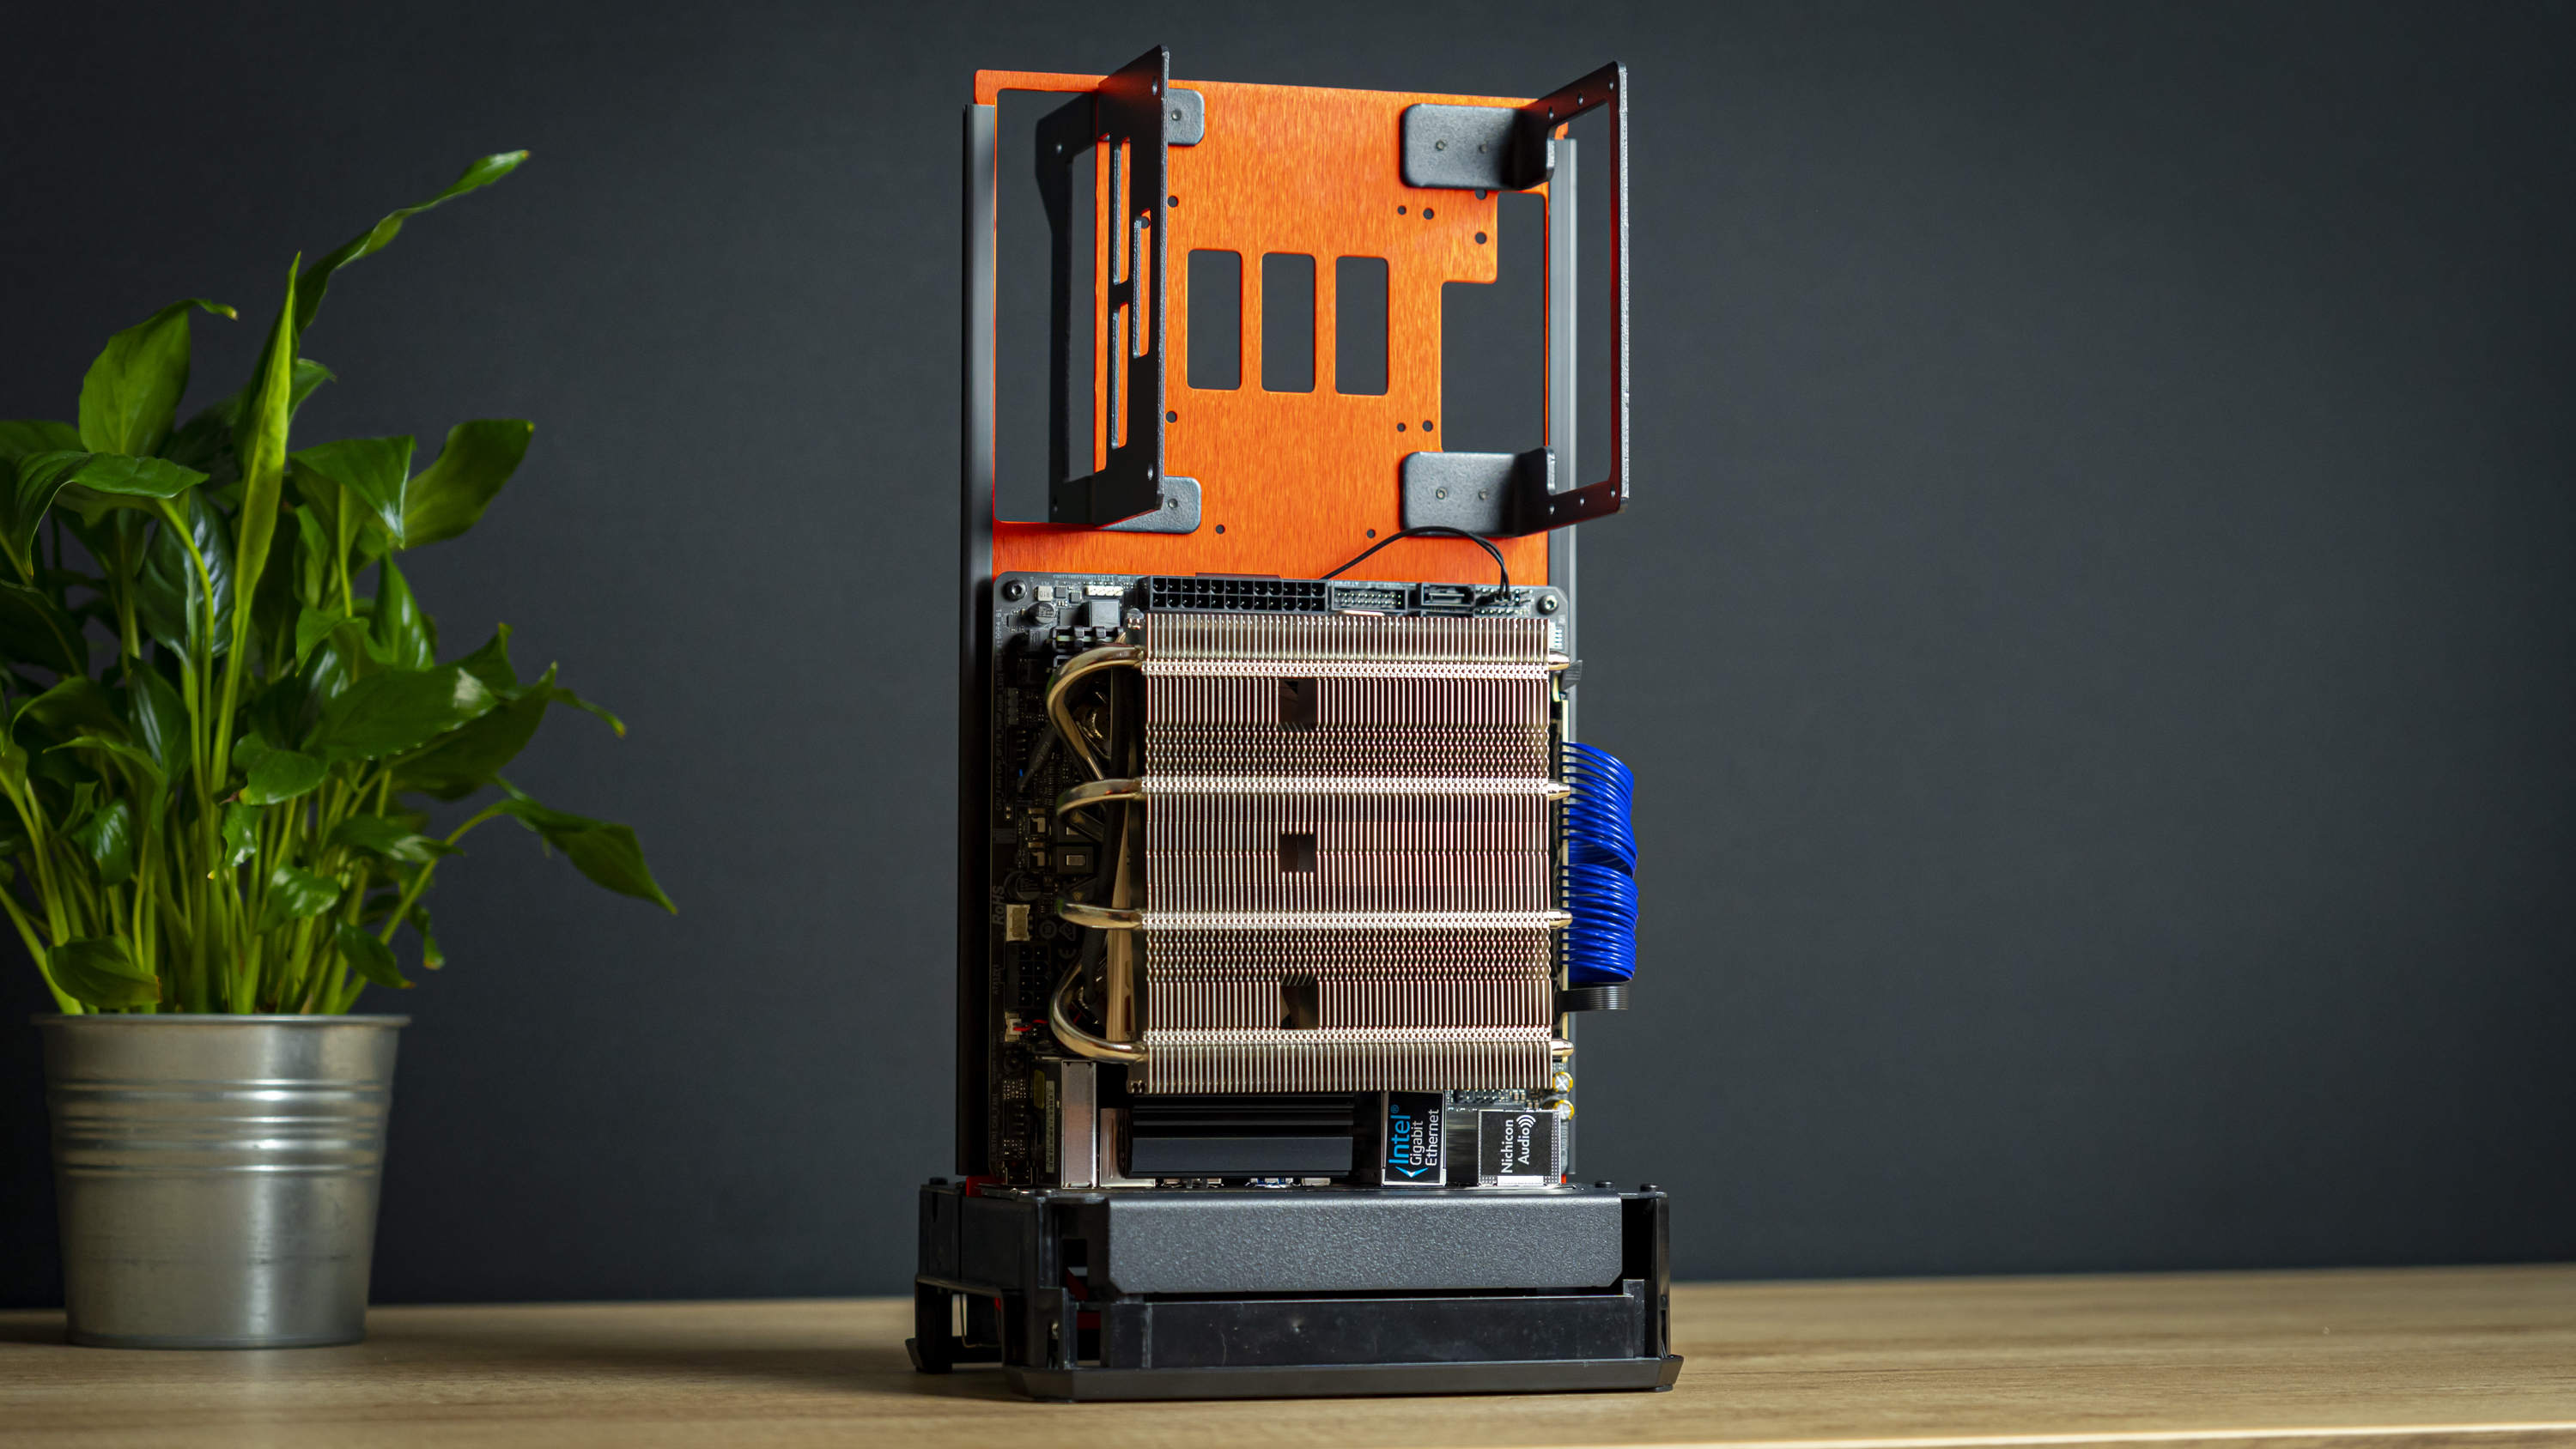
Of course, we’re skipping a few basic steps – we had already installed the CPU, memory, M.2 SSD, and CPU cooler onto the motherboard before this step. We first placed the IO shield at the bottom of the chassis and then laid the motherboard in place. As it lays on the IO shield, it was very easy to secure the motherboard with the chassis upright.
I then installed the PCI-Express riser cable into the motherboard, gently caressing it into place – it might support fast PCIe 4.0, but it feels delicate, so treat it as such.
Get Tom's Hardware's best news and in-depth reviews, straight to your inbox.
Step 2: NF-A12x25 Rear Fan Install
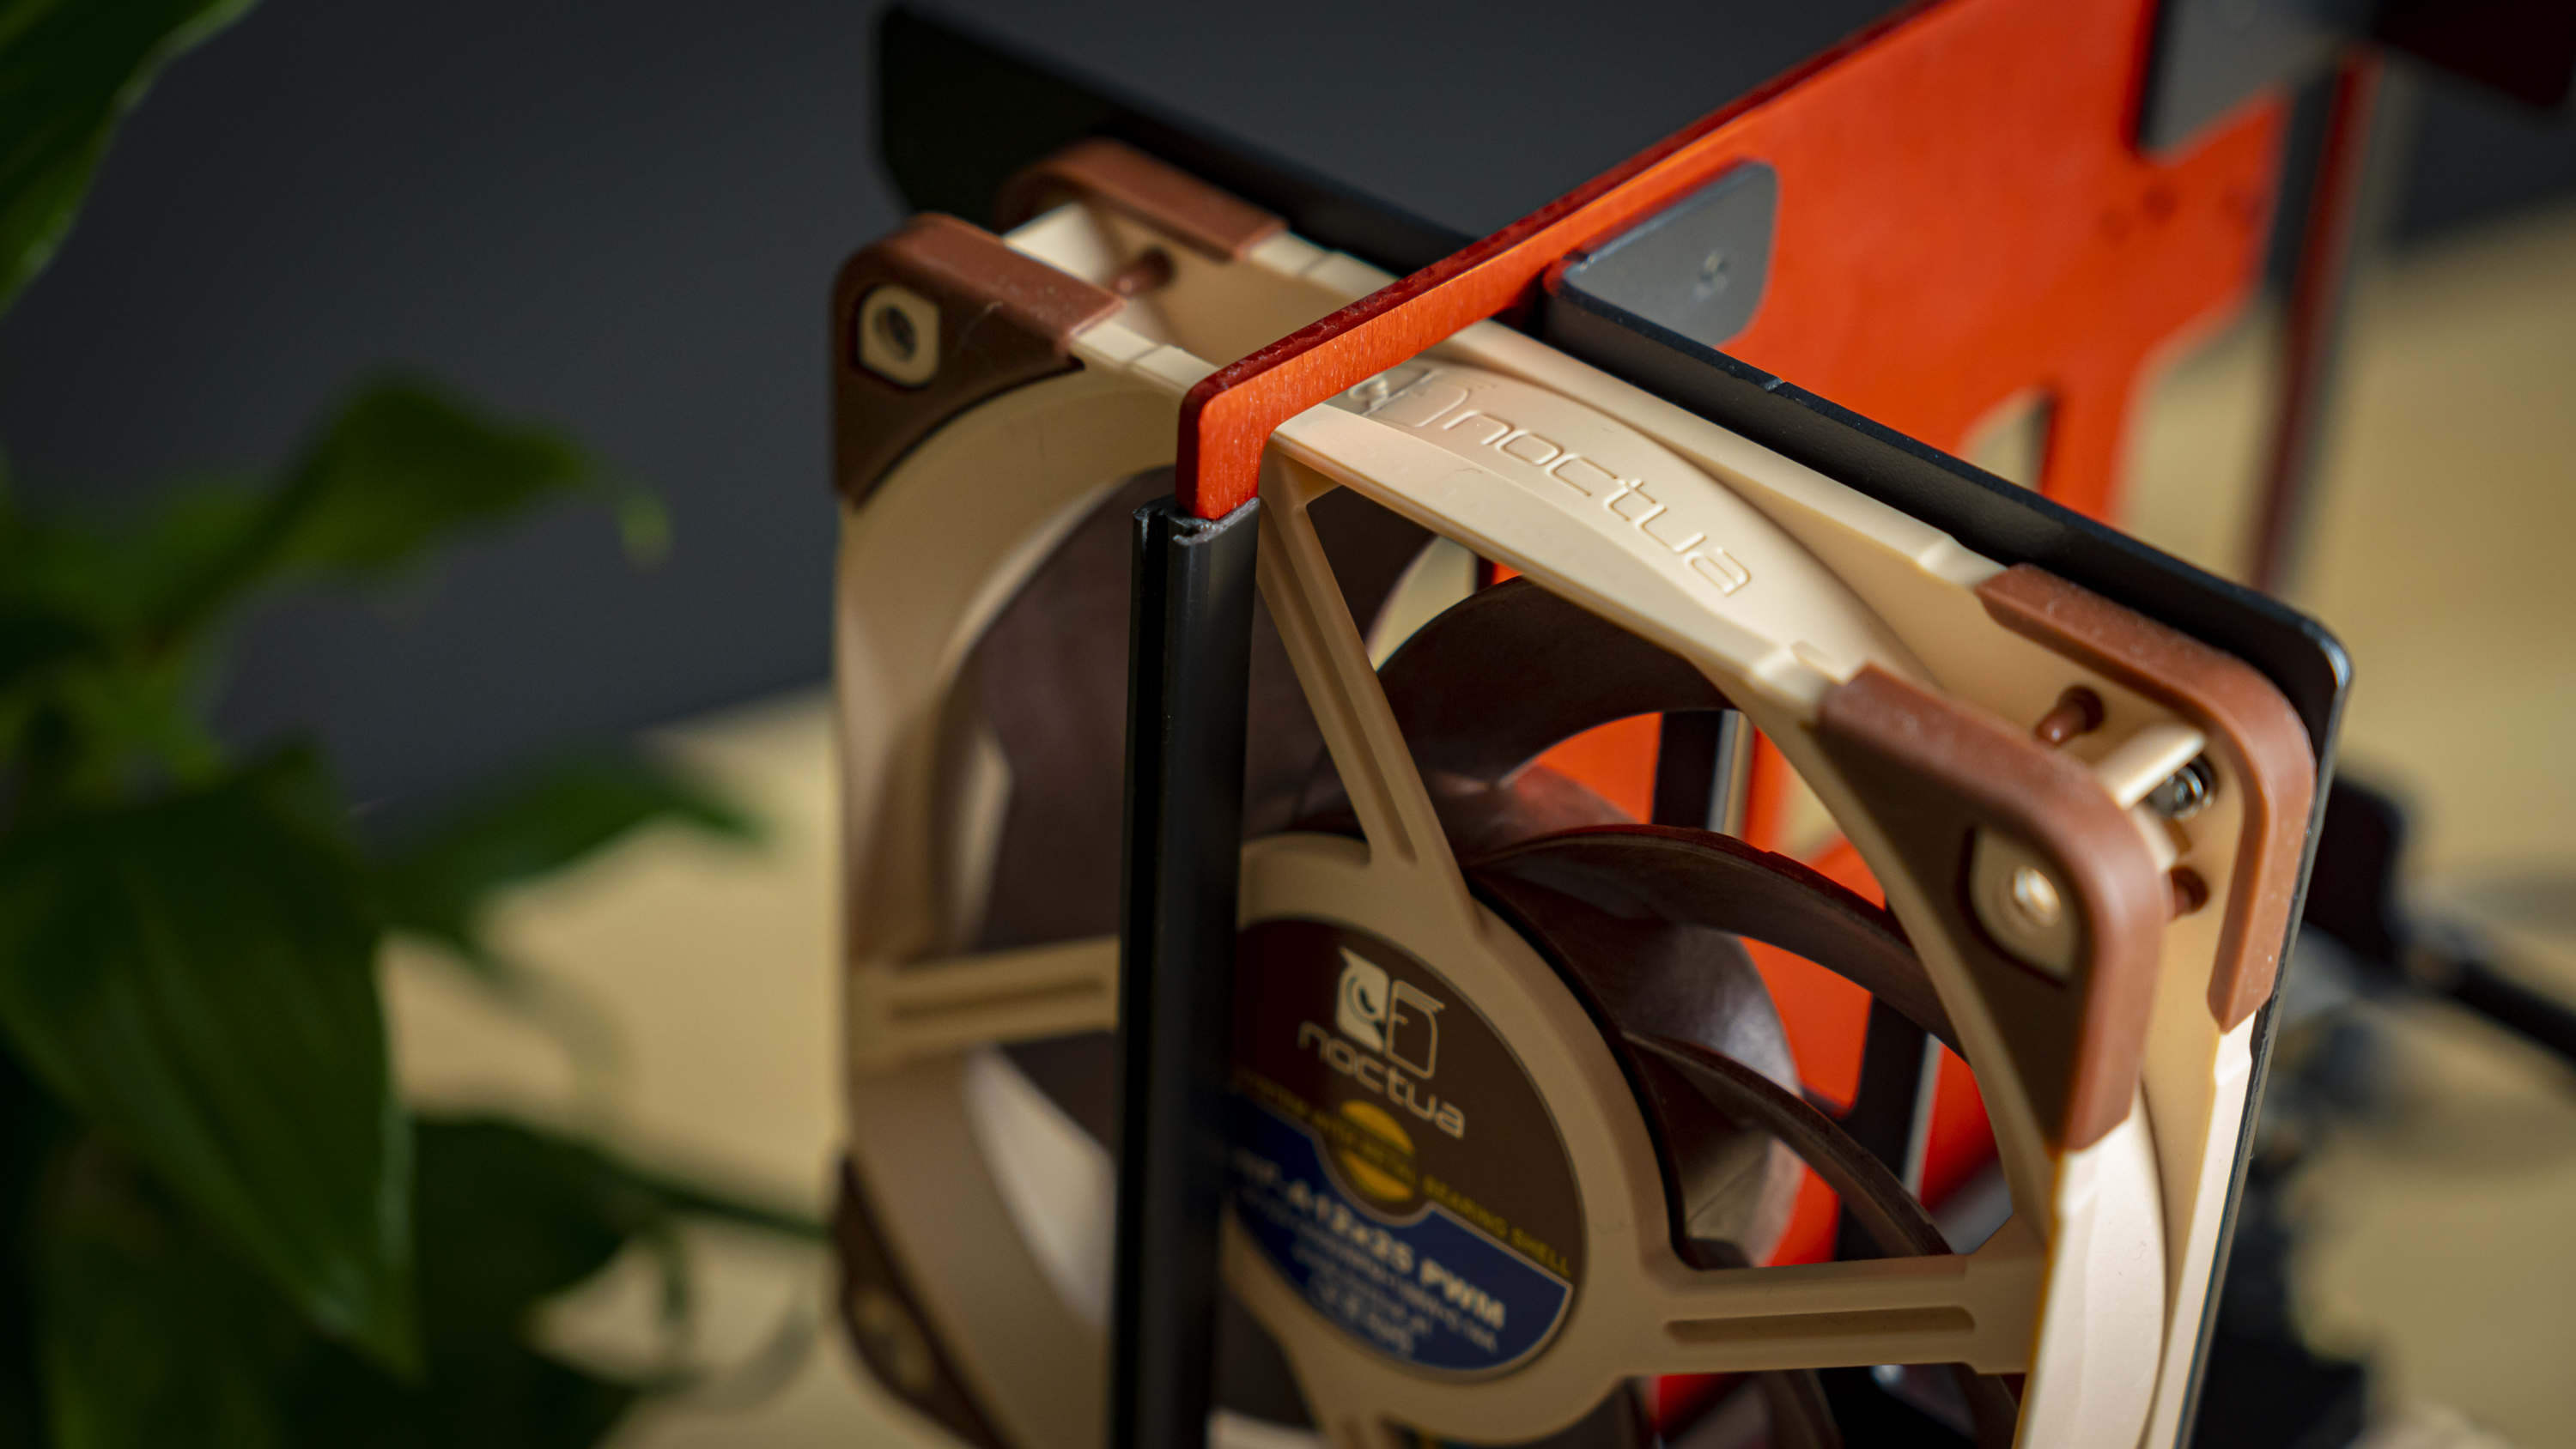
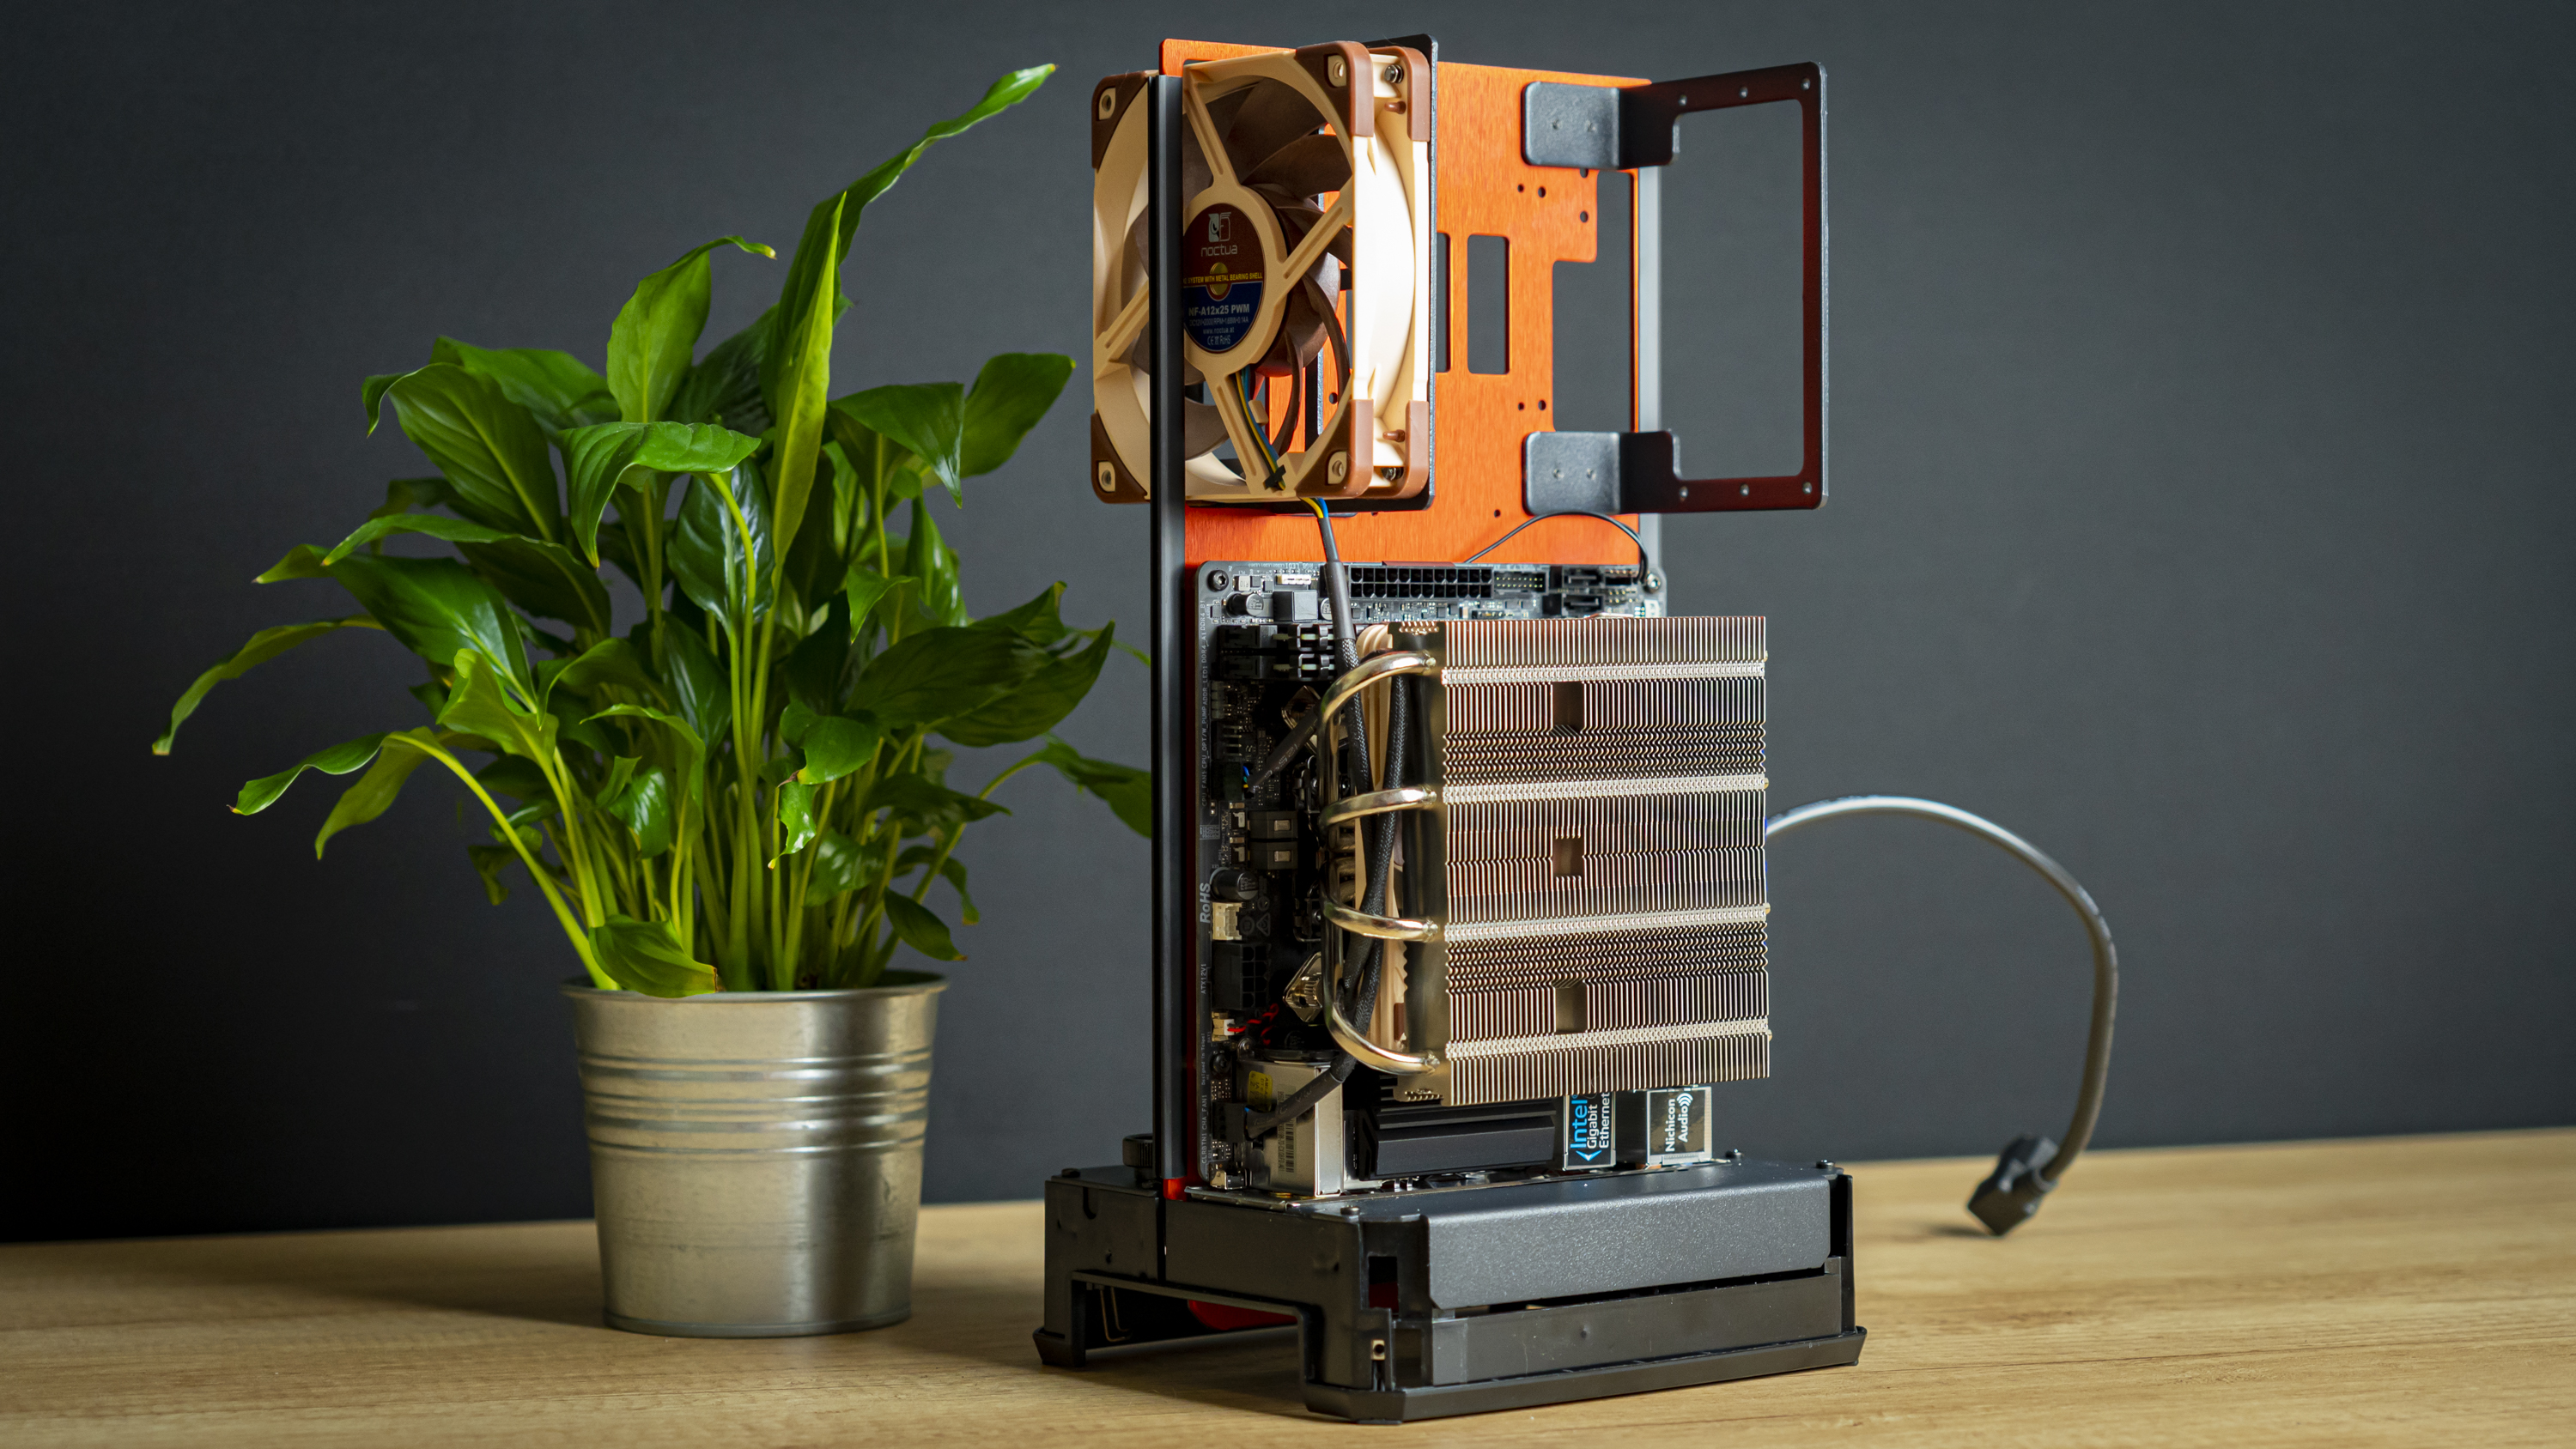
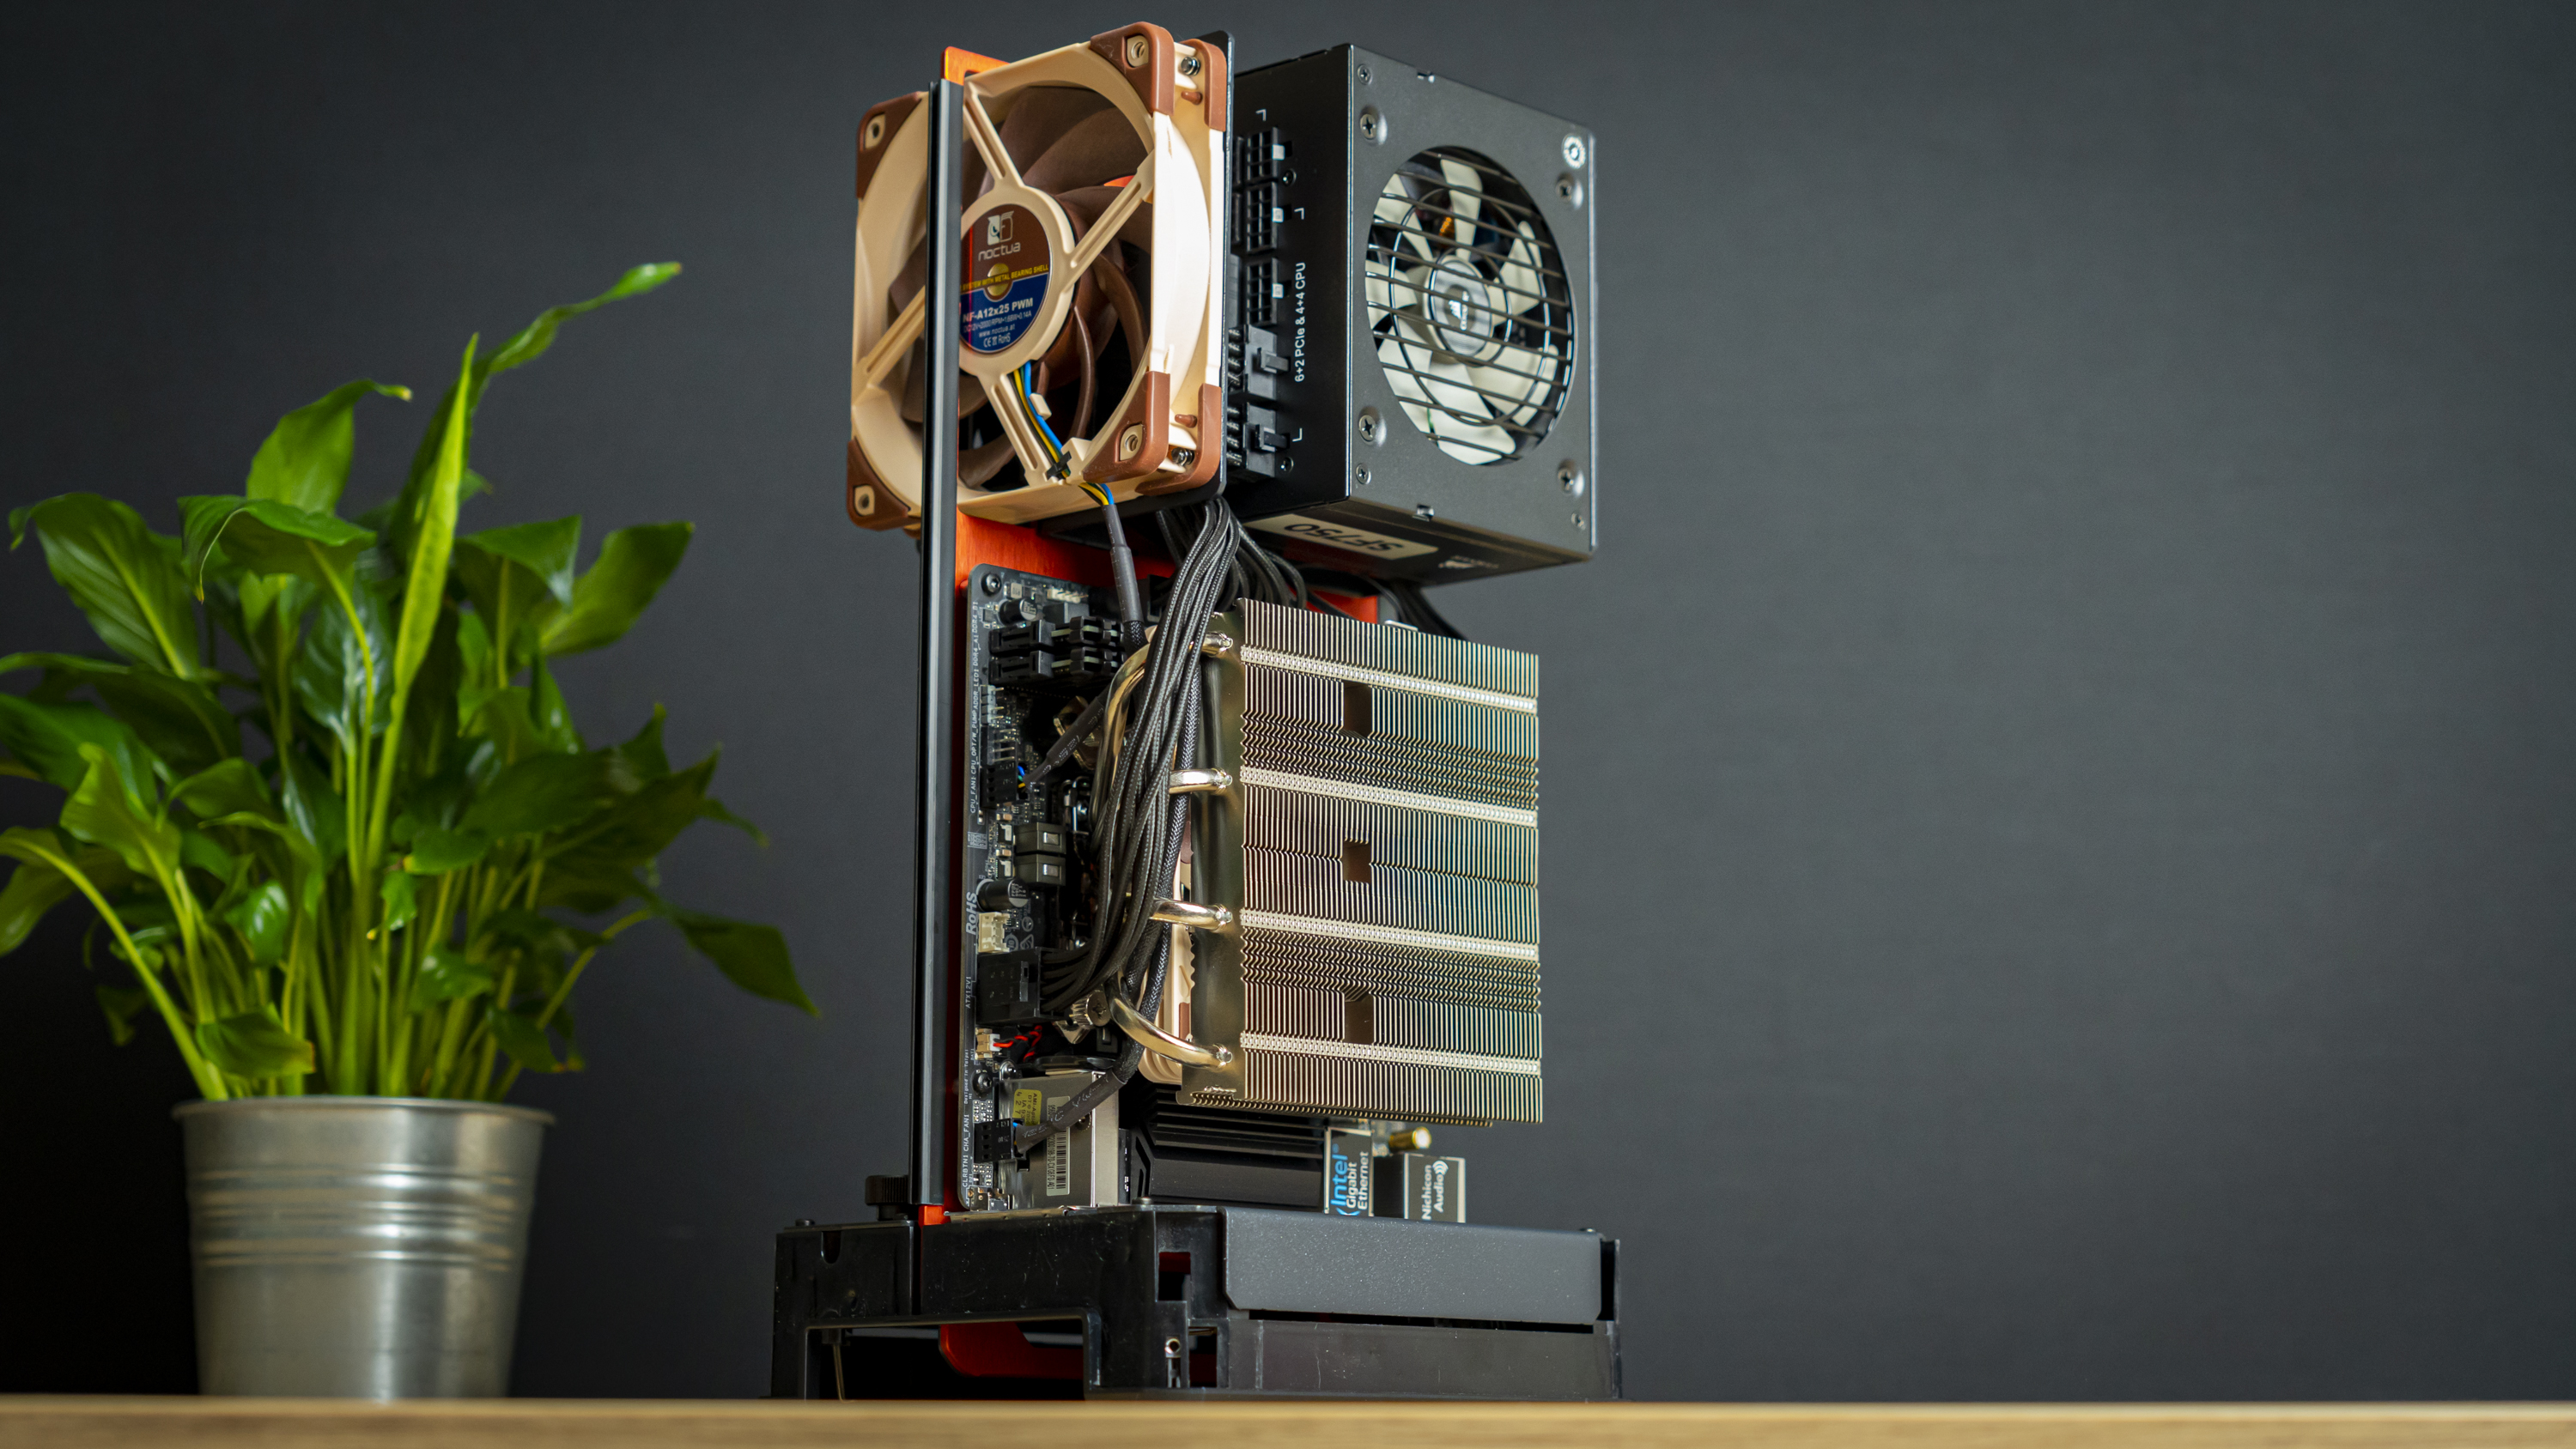
As we were using a Noctua cooler for the CPU, it seemed only equally fitting to use one of the best case fans on the market to handle exhaust. So, I grabbed a Noctua NF-A12x25 and installed it at the rear exhaust location. Don’t do this later, as the PSU will block screwdriver access.
Step 3: PSU Installation
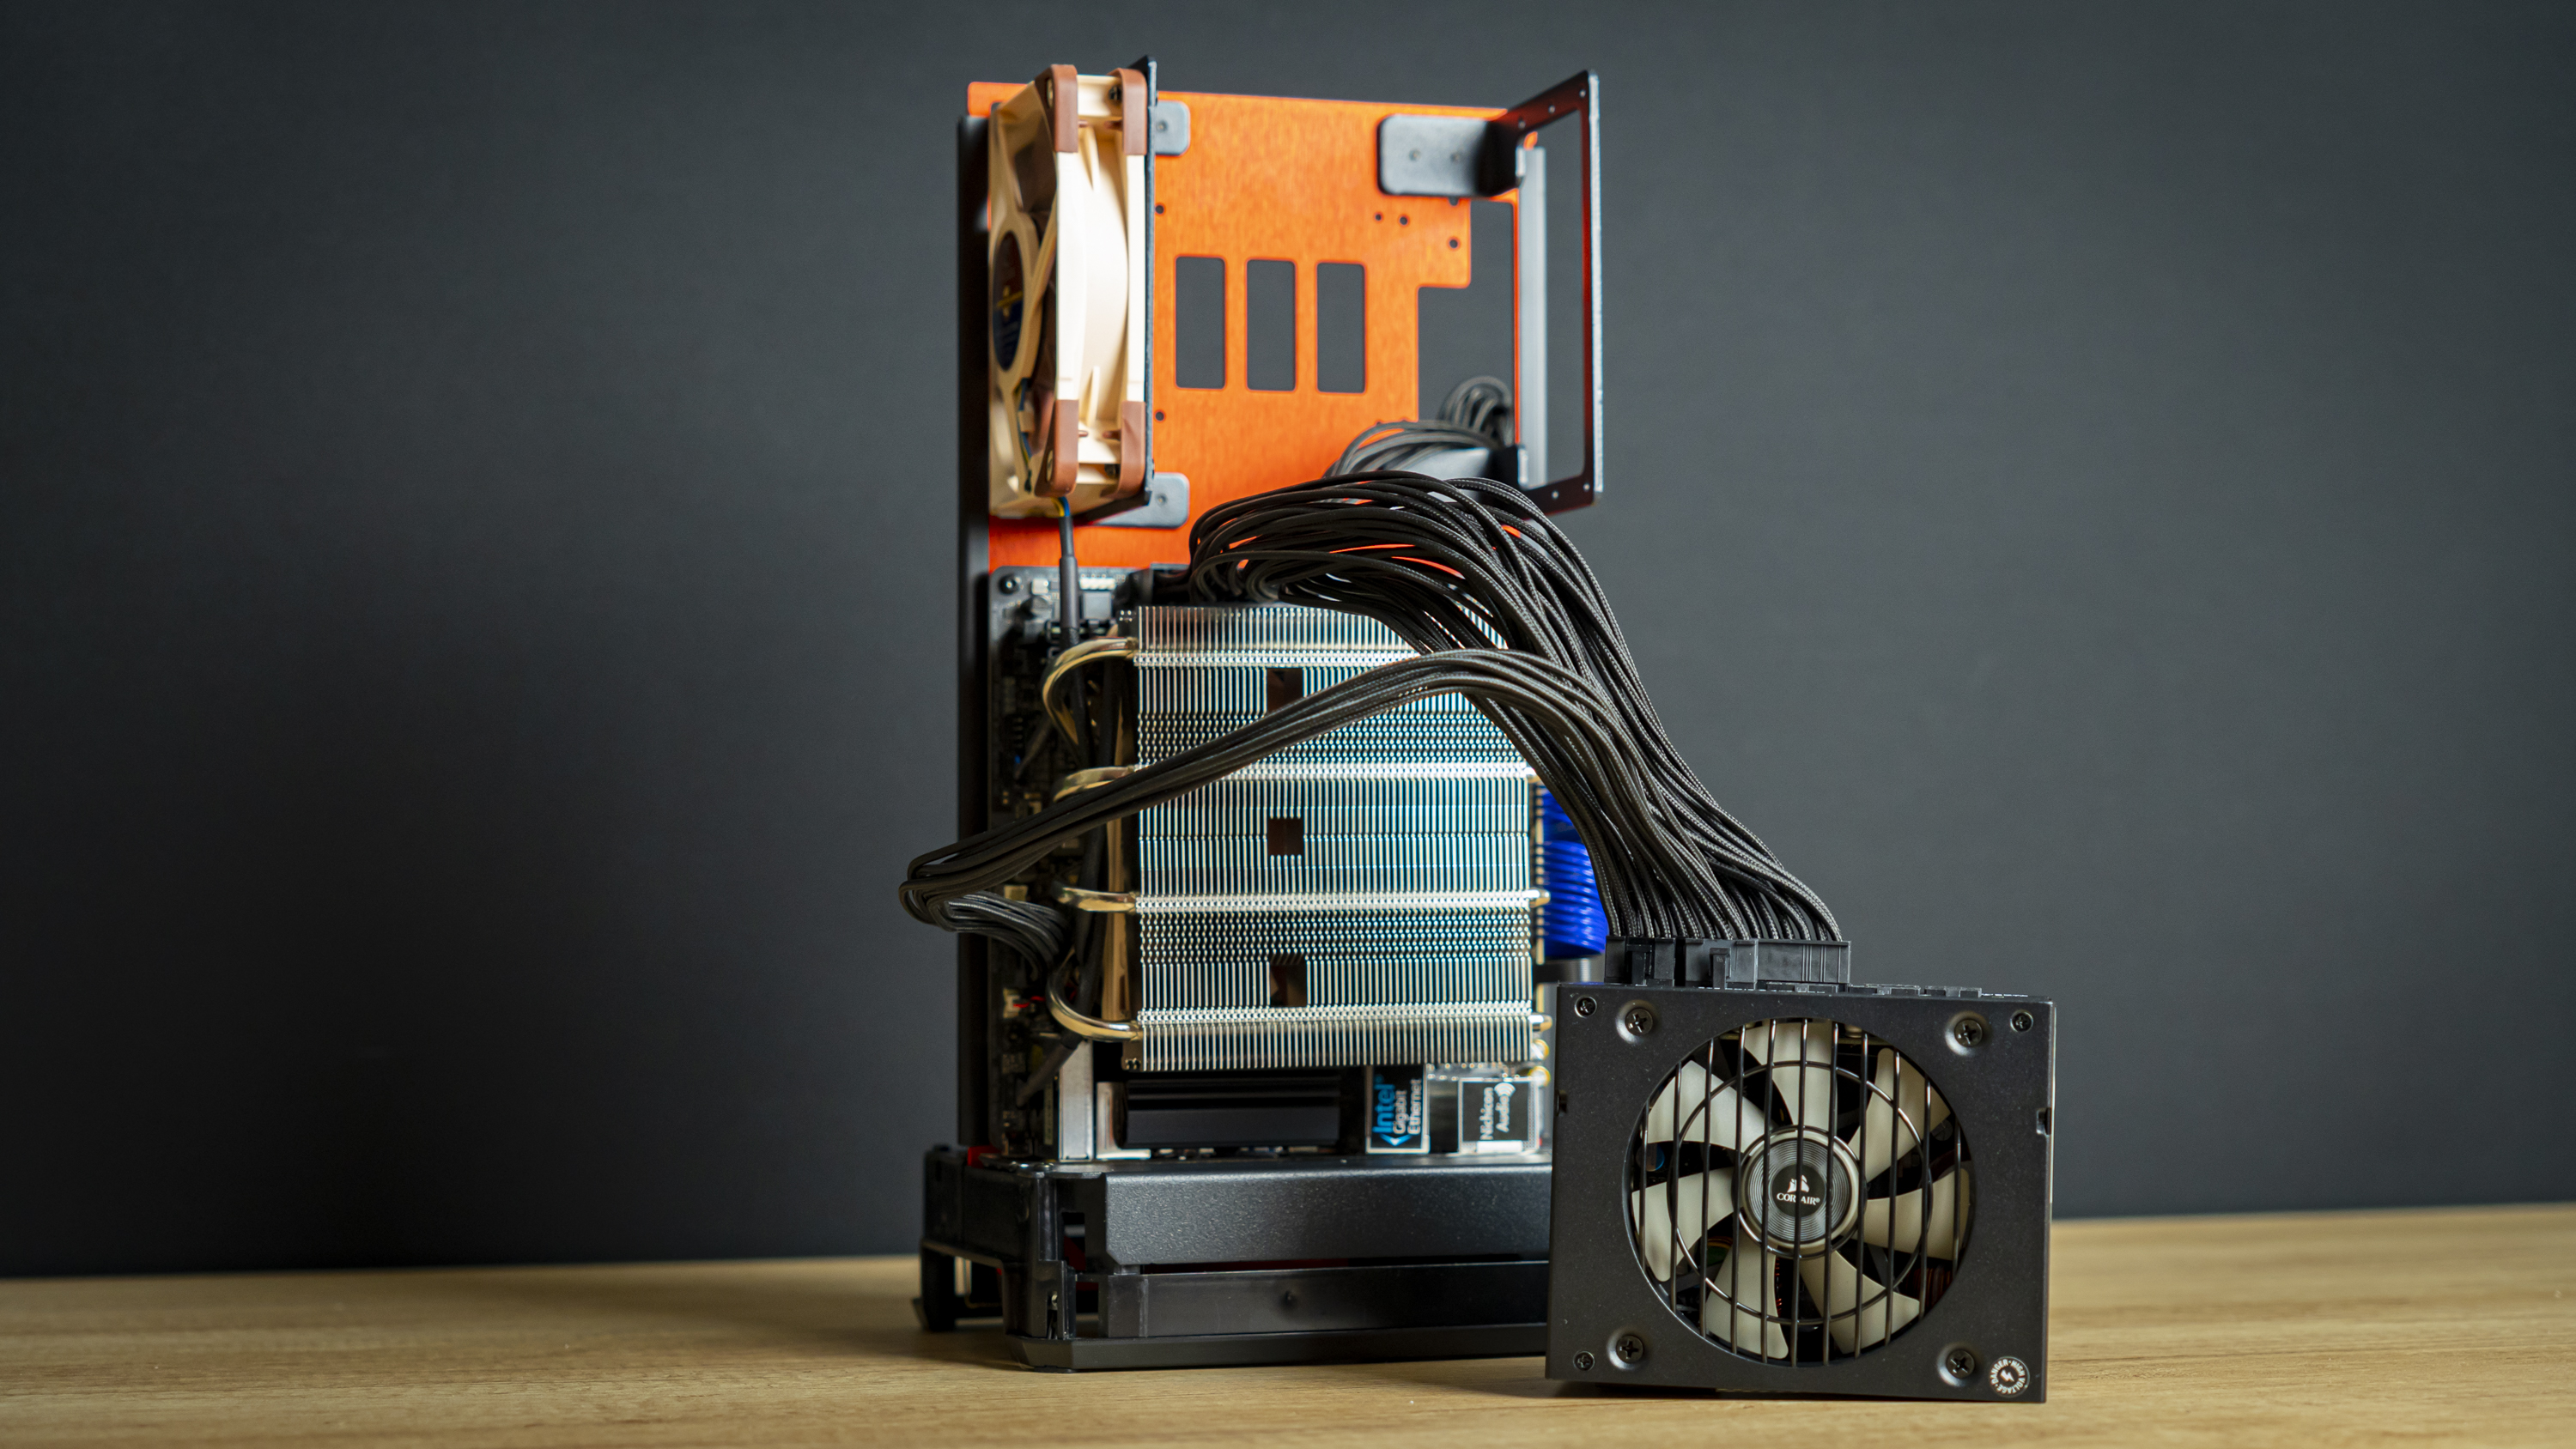
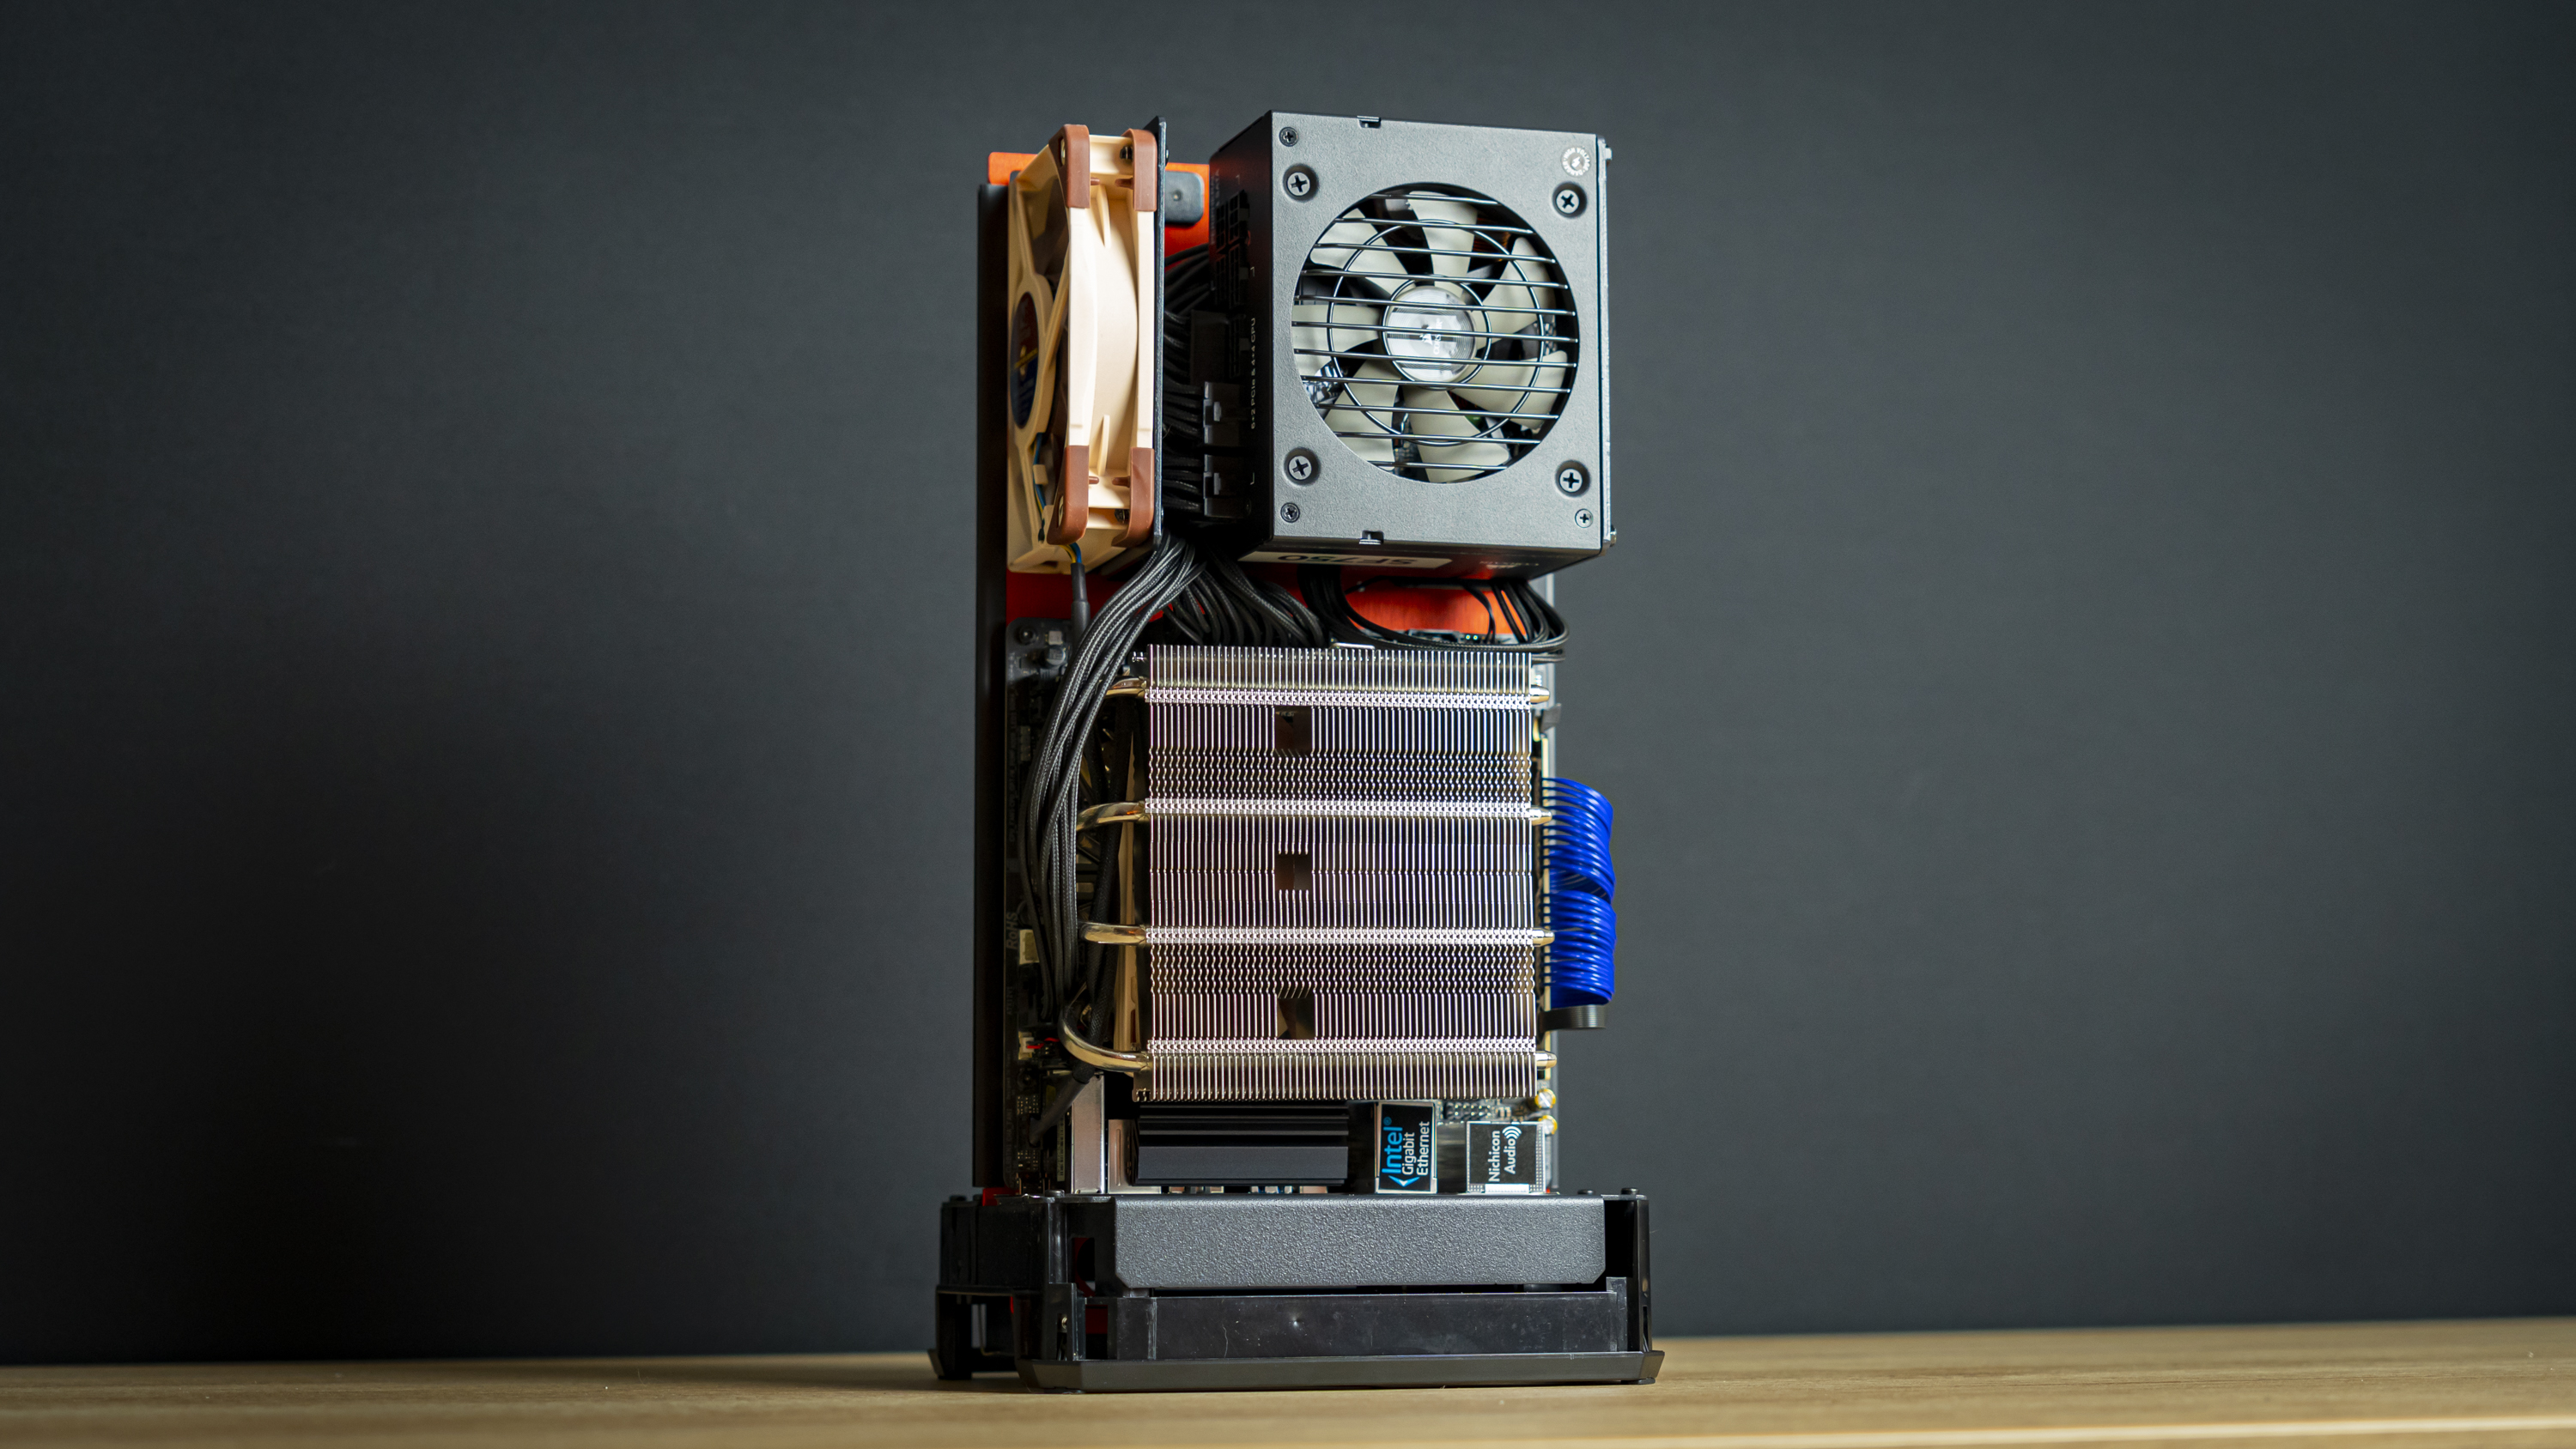
After messing around a little, I decided the easiest course of action was to first connect up the PSU cables to the motherboard and route the GPU’s power cables to the right place – and then install the power supply in its intended location. As I didn’t have a 2.5-inch drive for this build, there was a bit of space between the PSU and the spine of the chassis; I pushed the cables back there, folded them over once, then pushed the PSU into place and secured it with four screws.
If you’re having trouble, you can remove the PSU bracket, install the PSU onto it, and then install the PSU with the bracket in place. Supposedly SFX-L PSUs fit, but I wouldn’t bet my money on it – this was already very tight with the modular connectors, and I wouldn’t want to sacrifice the rear exhaust fan for it.
For this setup, working with the standard included cables of the SF750 worked fine, though getting rid of the slack did require all the space behind the PSU. If you want to install a drive back there or use an SFX-L PSU, expect to need a custom cable kit with cables that are exactly as long as you require to minimize slack.
Step 4: GPU Installation
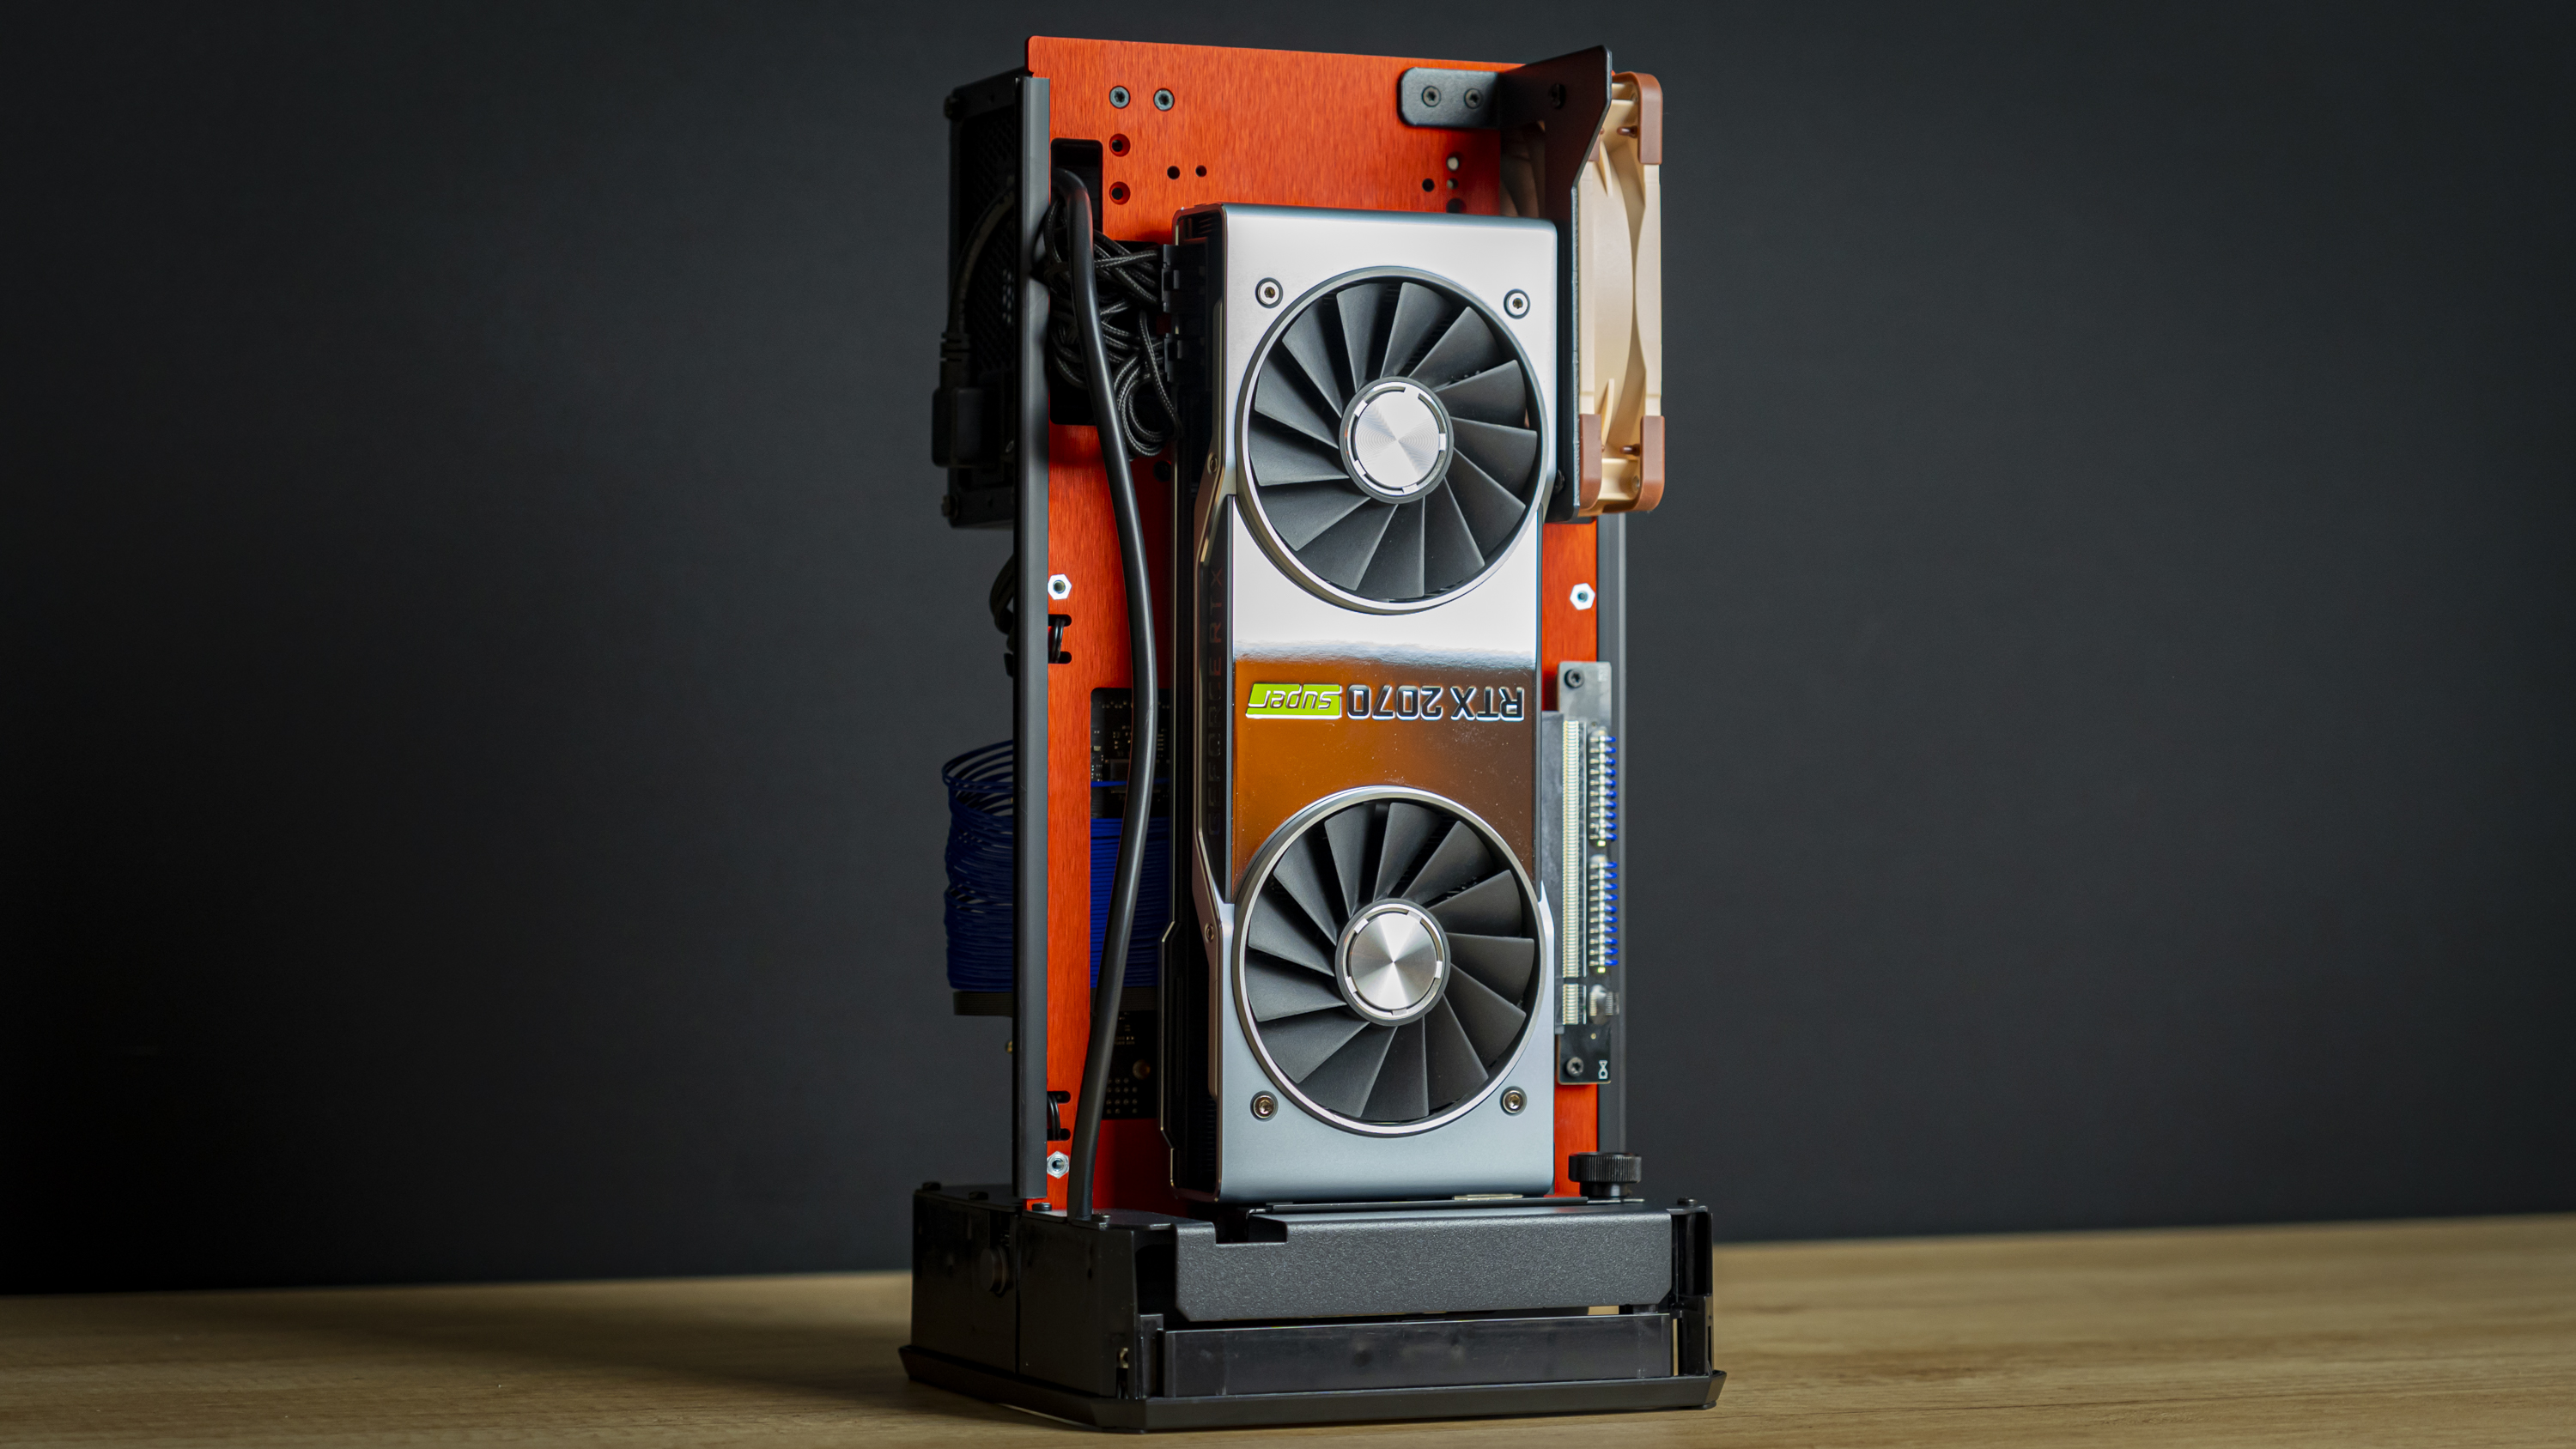
Installing the GPU was possibly the easiest step of this build – not that any of it was difficult thus far. I undid the knob at the IO shield area, dropped the GPU in, and spun the knob back into place. It sits at the ‘wrong’ end of the GPU’s IO, but secures it well in place. Because of course, nothing about this case is conventional, why would this be, right?
As you can see, there’s plenty of space left after installing the Founder’s Edition RTX 2070 Super GPU. In fact, there’s so much GPU space here, you can fit up to a Founder’s Edition RTX 3090 in here – a 3090 in a 12 liter ITX chassis – wouldn’t that be something to behold?
That said, if you want to install a high-TDP Nvidia 3000-series GPU in here, Louqe recommends not using a 2.5-inch drive, as it will block the flow-through cooler design, leading to worse thermals and possibly slow-cooking your precious SSD.
Step 5: Final Bits and Pieces
At this point, the build was already nearing completion. I was barely 30 minutes in – including photographing my steps along the way, which is possibly the quickest time I’ve ever made building a PC – let alone a Mini-ITX PC.

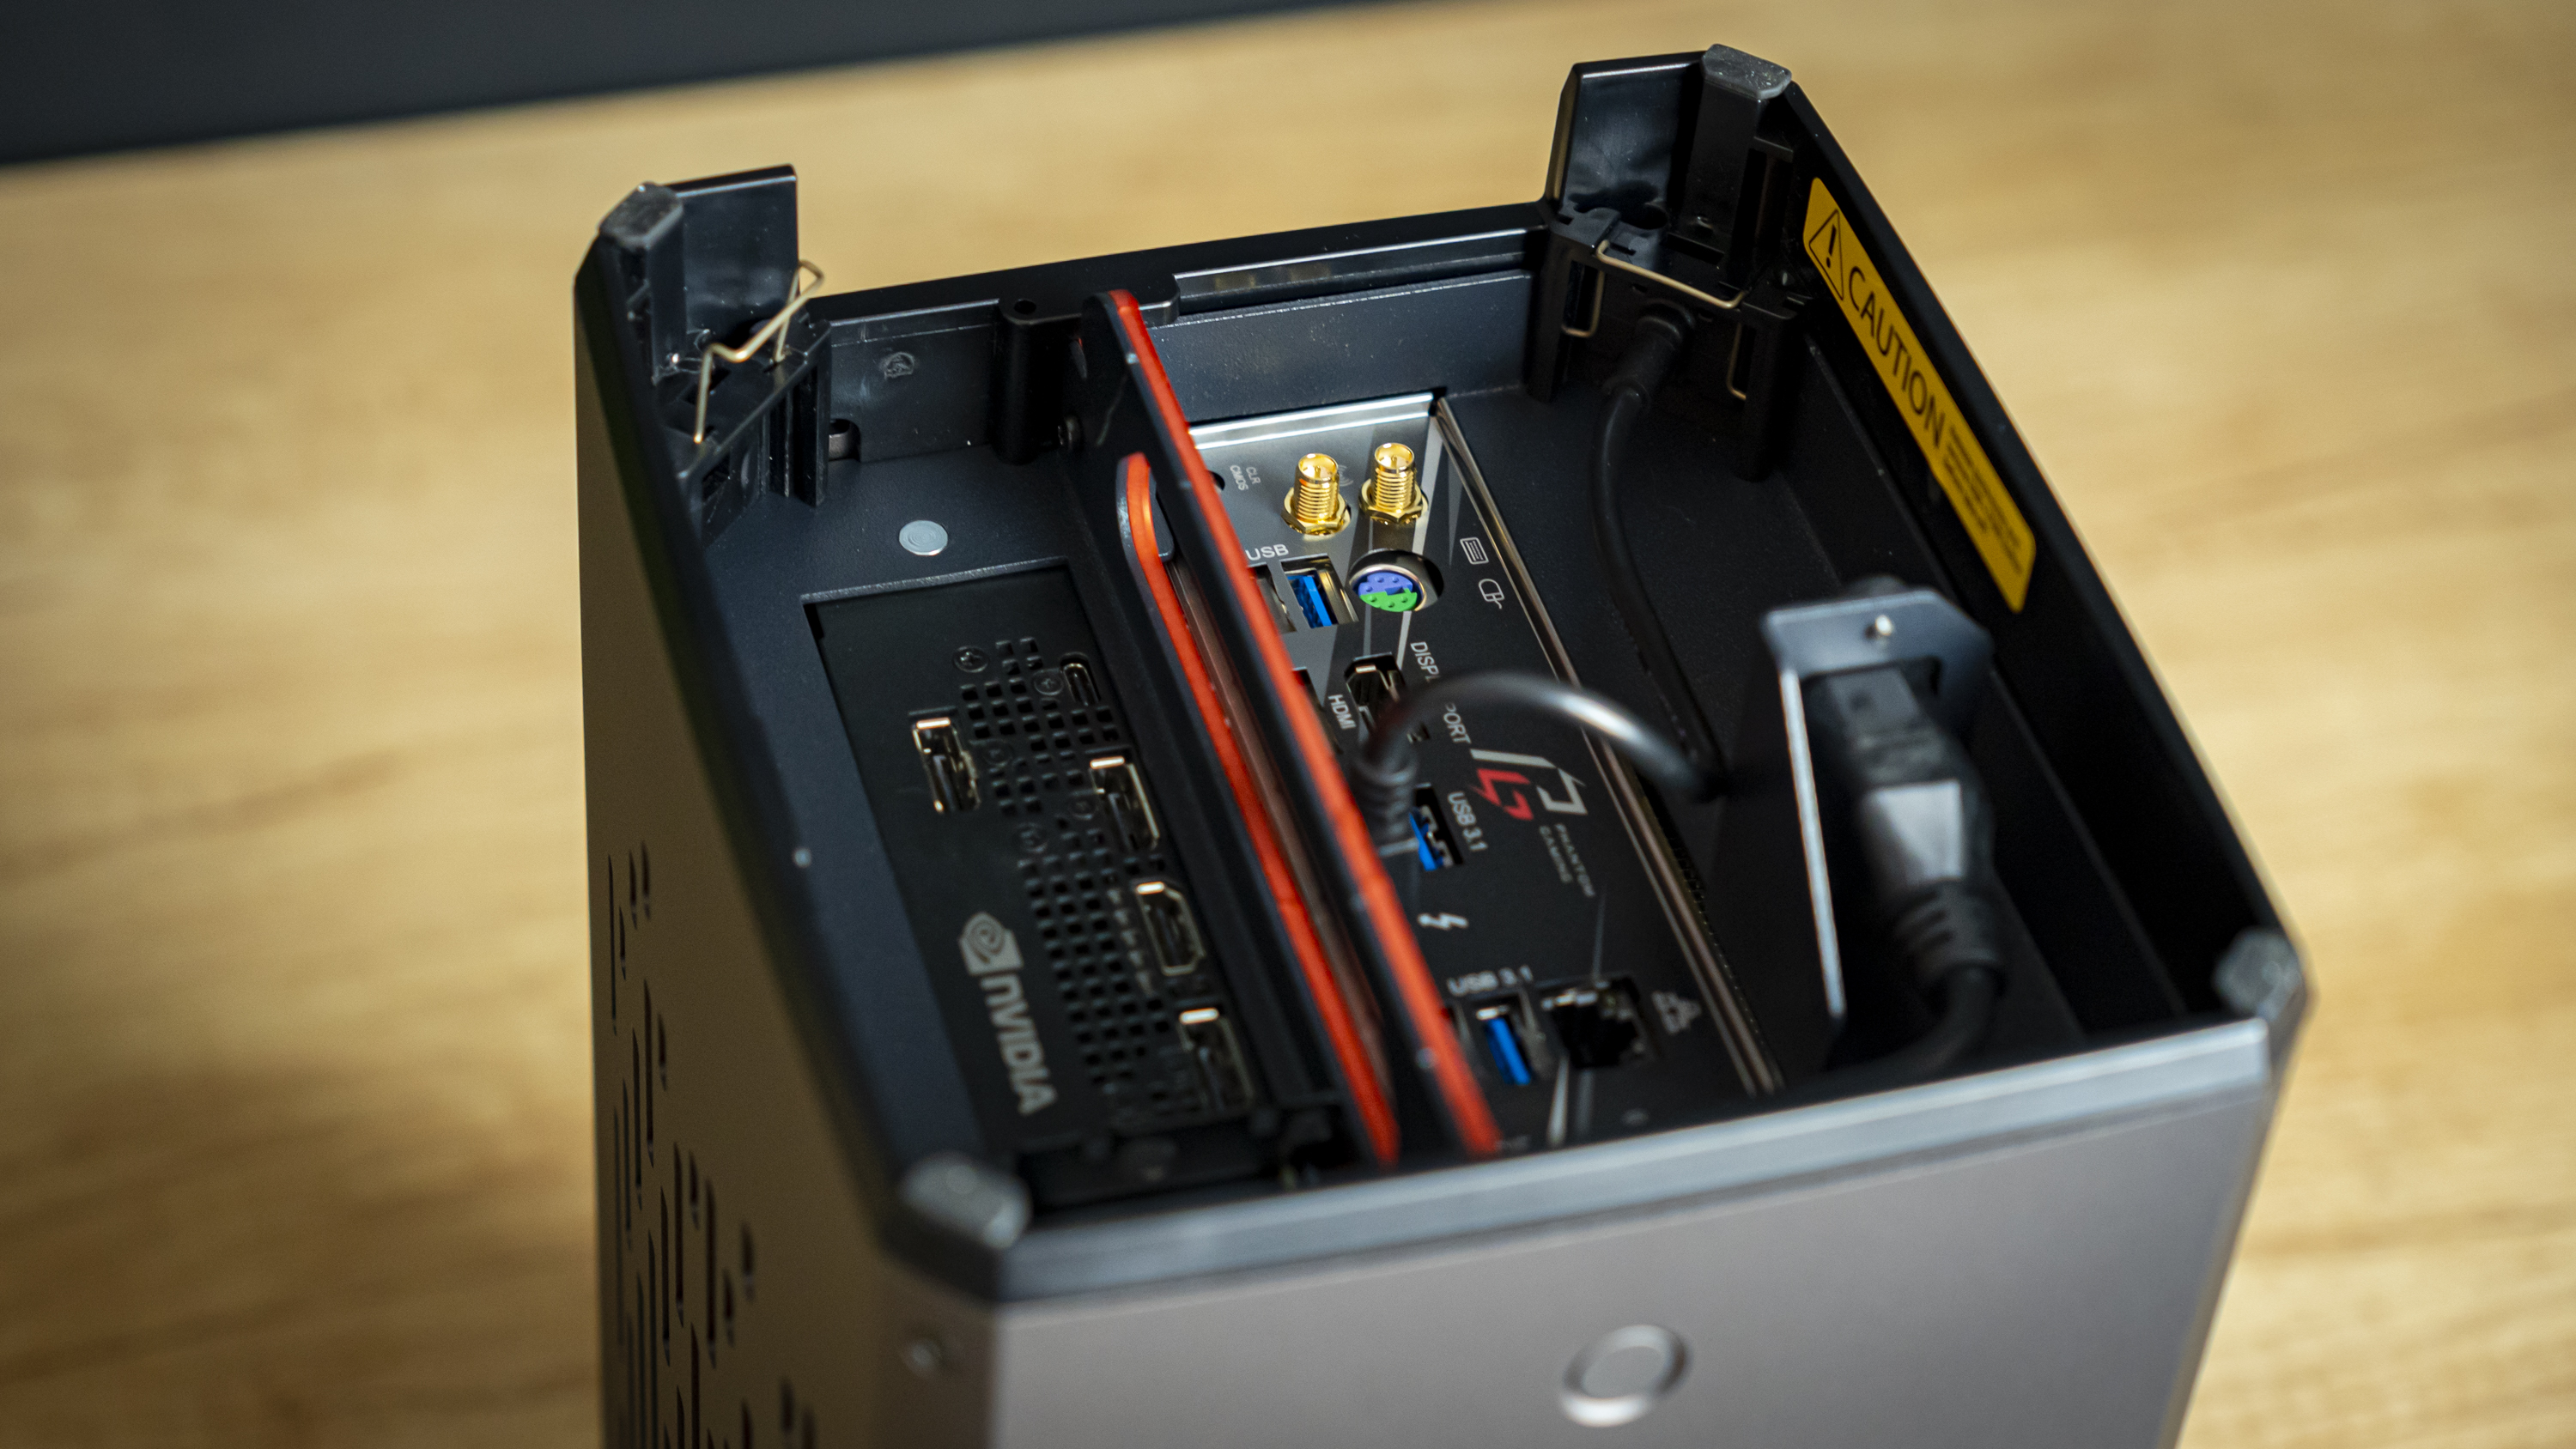
To finish the build, you simply take the entire core with the system you assembled and lower it into the outer shell, with the carrying handle handily coming into place here. You then install the four securing screws, pop the power button back in place and lock it there, install the USB-C extension piece on the side of your choice and lock it – and that’s it.
Build Complete
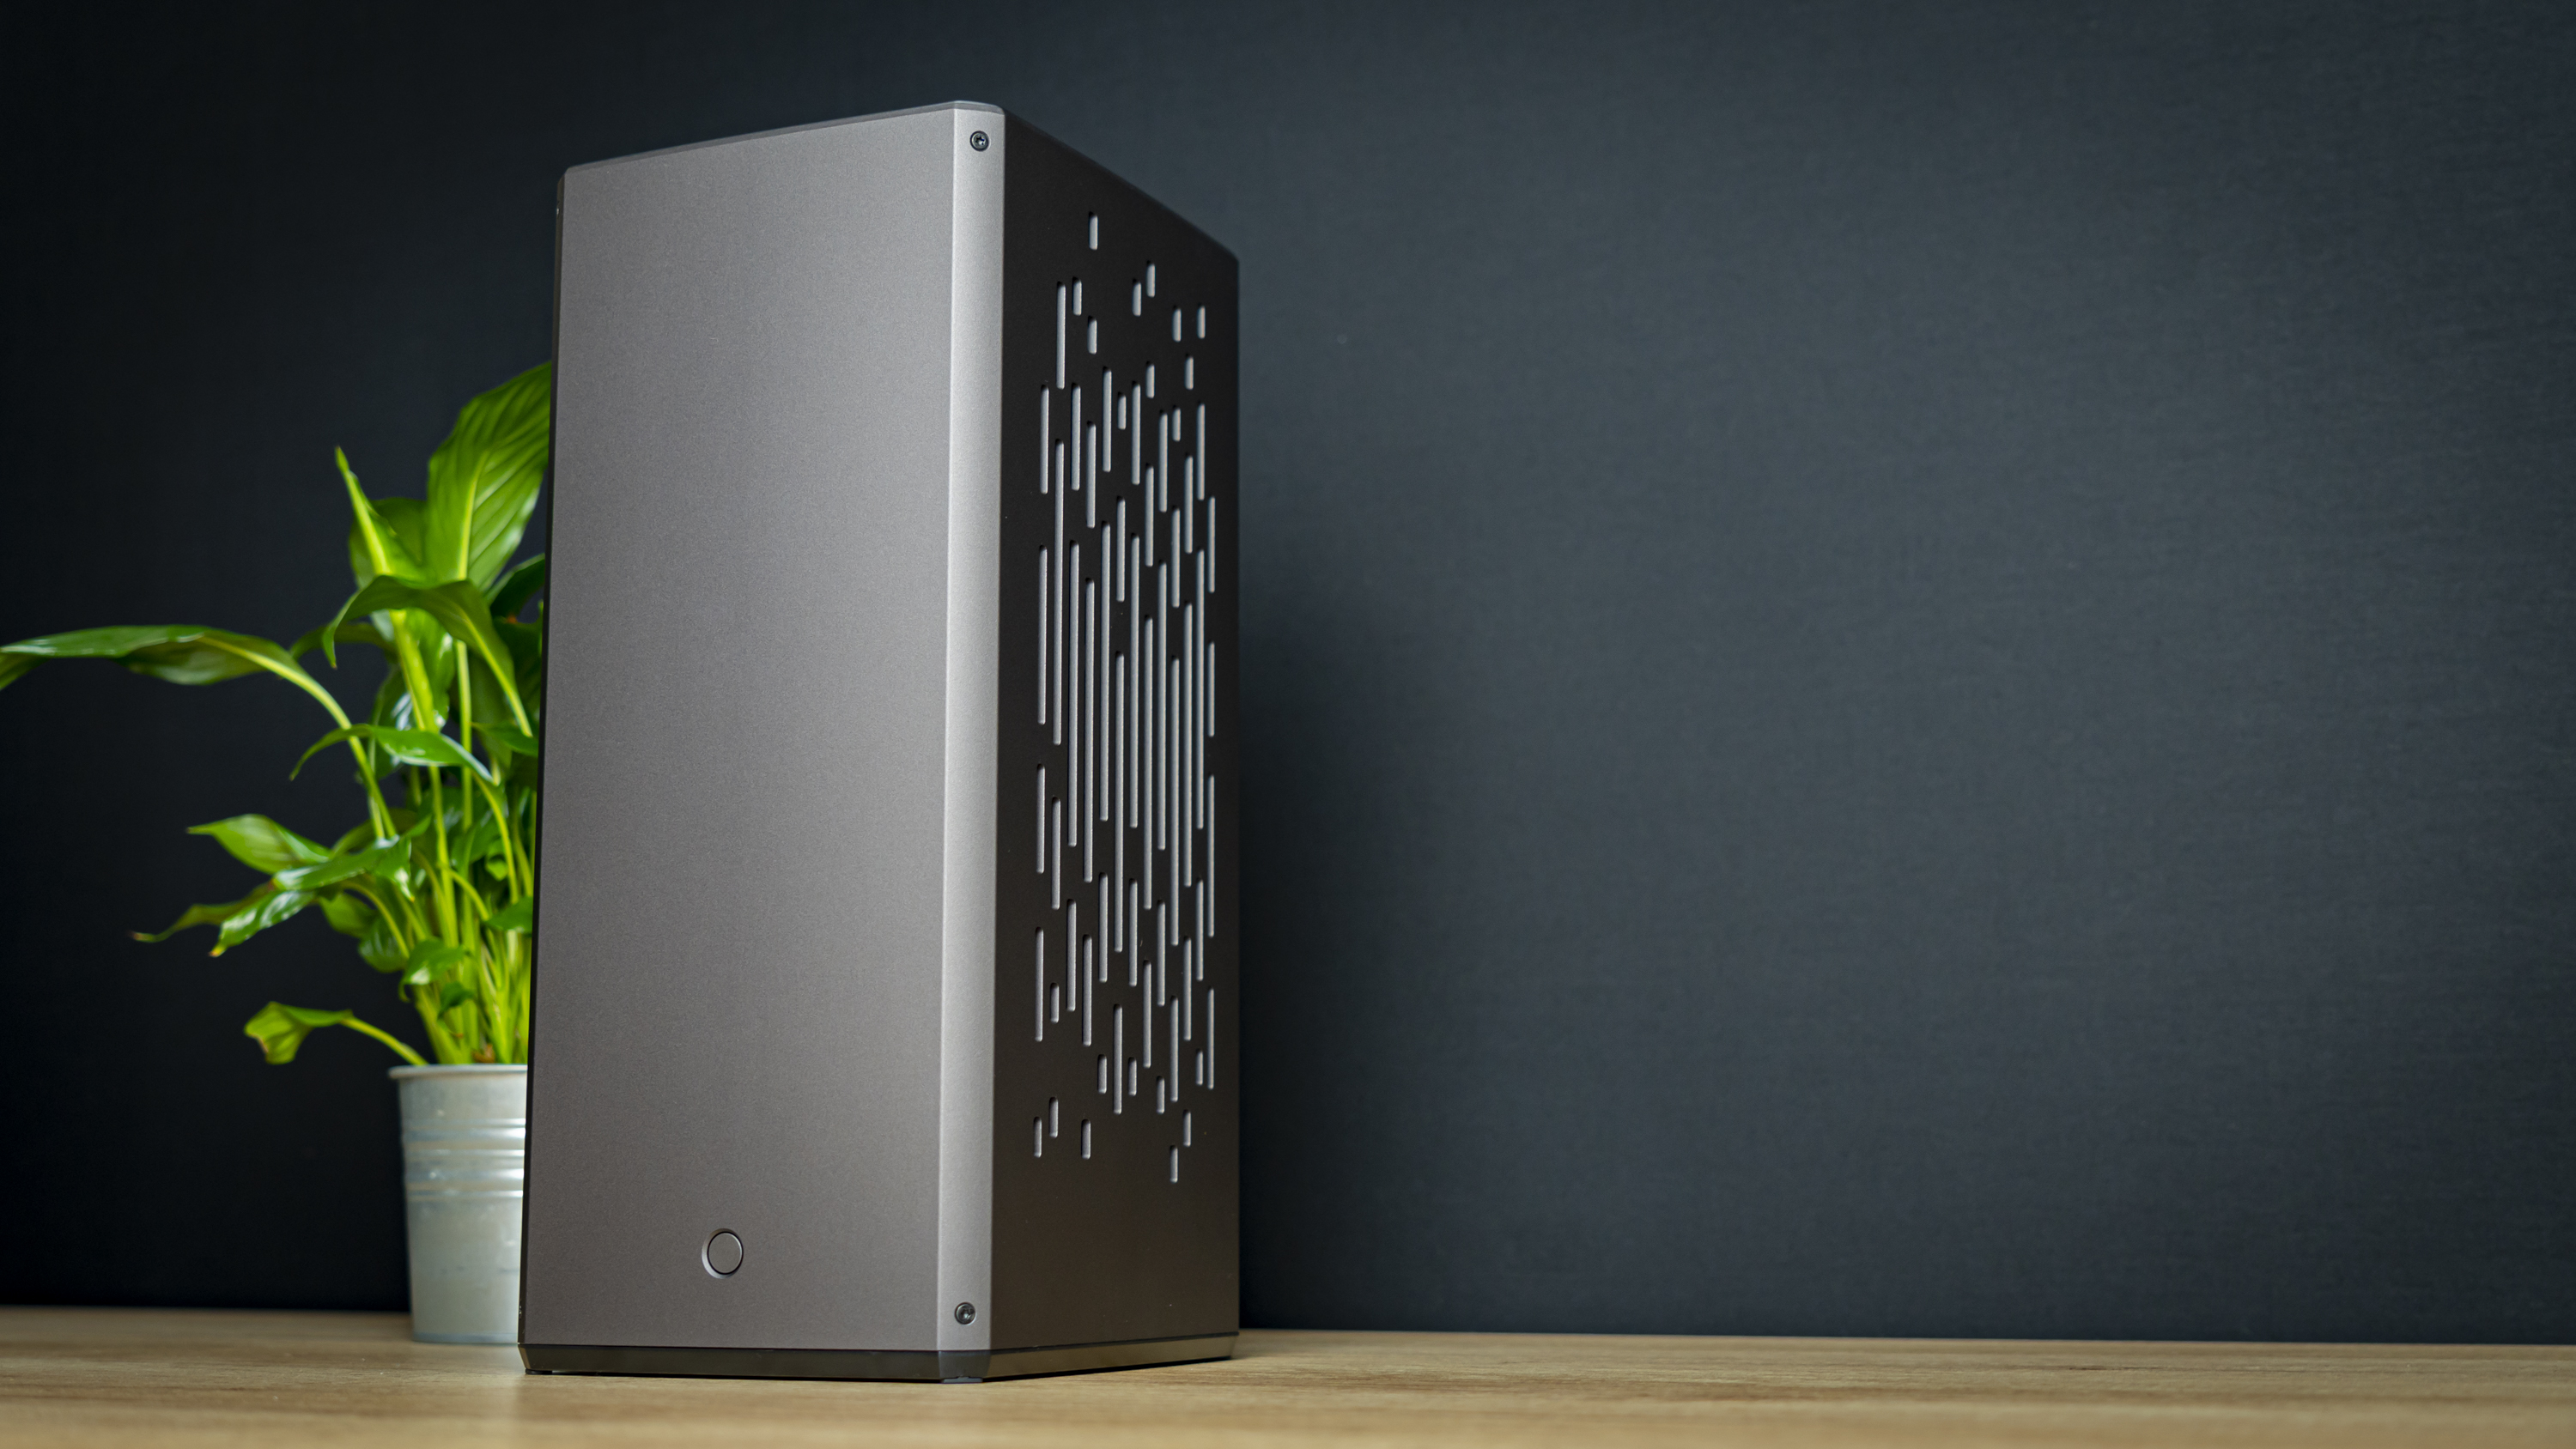
So far, the Louqe Raw S1 has left me nothing but impressed. It’s an incredibly simple design, and you’ll have to be willing to make some – okay a lot of sacrifices to your system to use it, but this is the easiest chassis I’ve ever worked with. And isn’t it beautiful?
Current page: Hardware Installation
Prev Page Features and Specifications Next Page Testing and ConclusionNiels Broekhuijsen is a Contributing Writer for Tom's Hardware US. He reviews cases, water cooling and pc builds.
-
junglist724 Those are some seriously disappointing temperatures and acoustics. Wtf is up with those stylized vents. I hate it when SFF case manufacturers sacrifice ventilation for aesthetics. Cooling is already at a premium in SFF, why make it worse by giving it a weird ventilation pattern that doesn't let any air in?Reply -
SonoraTechnical $329, before taxes, before shipping. sub par cooling and sound dampening.Reply
I have had my two black SilverStone Sugo SG05BB-450 mini-ITX cases since 2012 and have never found a reason to switch to anything else. Sure I had to mod it for multiple 2.5 SSDs and dusting off the front filter could be faster, but no big deal. I do like the Sugo SG14, but I appreciate being able to keep the Slim Internal BluRay optical drives for older software installations too (beneficial in my industry) with my existing SG05BB models..
I do not see the appeal to a case like this at that price... -
Pollopesca Nice to see something that can come close to the size & simplicity of my old modified SilverStone FT03 mini. But the lack of filtered intake and room for a 120mm radiator makes it a pass for me. Definitely a step in the right direction though. I hope more cases like this will start to popup in the future.Reply -
PapaCrazy ReplyPollopesca said:Nice to see something that can come close to the size & simplicity of my old modified SilverStone FT03 mini. But the lack of filtered intake and room for a 120mm radiator makes it a pass for me. Definitely a step in the right direction though. I hope more cases like this will start to popup in the future.
The ingenious design of the FT03/FT03mini that created a channel of air flow through the chassis, and allowed for taller coolers (or radiator) is lacking here. Many have been copying the vertical FT03 design (even arguably Apple) but almost everyone ignores the engineering part. Kind of important! -
W. Harper So it's a slightly worse than the NZXT H1 with better Aesthetics and crap thermals... And no included power supply or custom 140 mil AIO..... I'm good... Try again.Reply -
Blood Sausage I have one key question. If the cables have to run through the bottom is there an expectation to have 90 degree bends to leave unless you have a hole in your desk/platform?Reply
If they're going to show a 3XXX Founders edition installed (per their web site exploded view video) you can assume 4k output and a quality cable has zero change to make that exit. A GOOD display cable needs way more space before it can complete a 90 degree turn.
USB Stick? Wireless antenna connectors? Any USB extender to accommodate the lack of topside connectivity?
I would really like to see the running config with cables installed. -
cptwhite_uk Obvious example of form over function, unfortunately. SSUPD Meshlicious is still the case to bestReply
https://ssupd.com/products/meshlicious -
Swedenevguru ReplyPollopesca said:Nice to see something that can come close to the size & simplicity of my old modified SilverStone FT03 mini. But the lack of filtered intake and room for a 120mm radiator makes it a pass for me. Definitely a step in the right direction though. I hope more cases like this will start to popup in the future.
Check pitchure in the top with the 120*25 mm fan under the powersupply you maybe can get in a radiator but you need to messure space -
rh4h "Excellent Thermal Performance"Reply
75 cpu temp with an aftermarket cooler and fans at 100 is excellent now? what a joke

