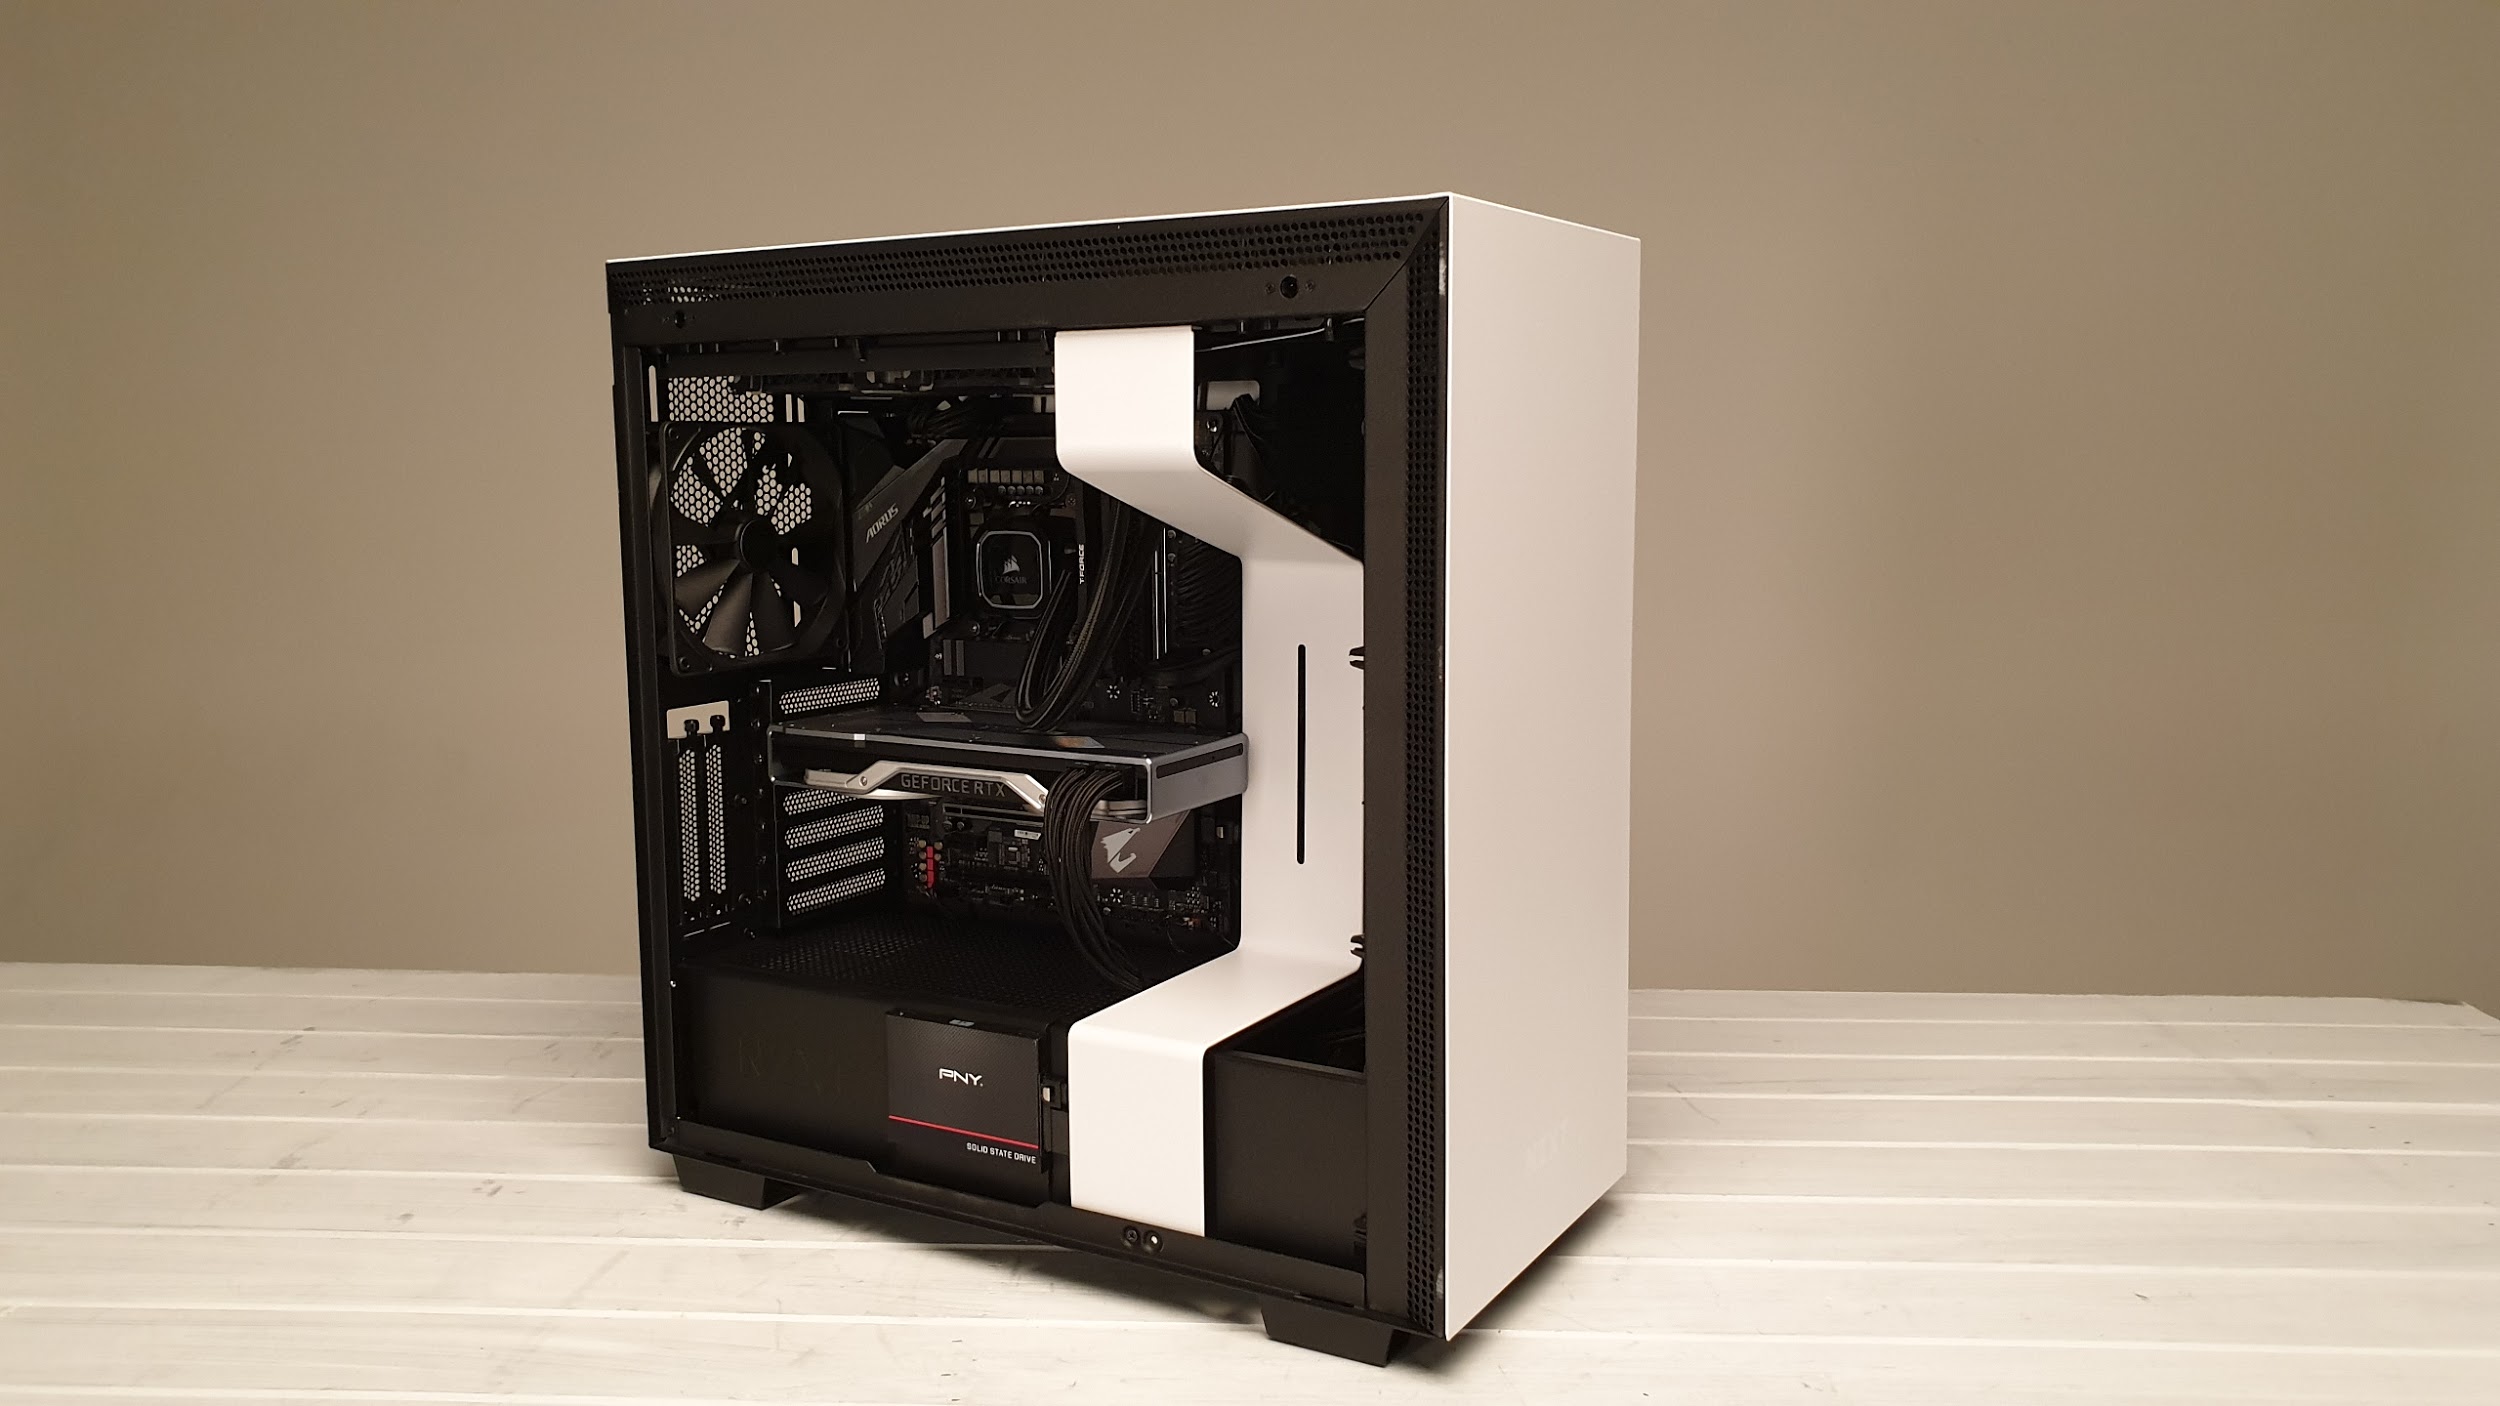
NZXT H710i Case Teardown: Evolutionary Advancements
Why you can trust Tom's Hardware
To find out how easy the NZXT H710i is to use and how well it performs, we used it to house an actual computer. Our ATX “build” test bench consists of the following:
| CPU | Core i9-9900K |
| Motherboard | Gigabyte Z390 Aorus Pro |
| Cooler | Corsair H100X 240mm AIO + 2x Corsair ML120 Pro Fans |
| Graphics | GeForce RTX 2070 Super |
| Storage | 240GB PNY CS1311 2.5-inch SSD |
| Memory | 16GB (2x8GB) T-Force Pro Dark @ 3600 MT/s |
| Power Supply | Corsair HX750 80+ Platinum Power Supply |
| Cables | Corsair Sleeved PSU Cables Pro Kit Type 4 |
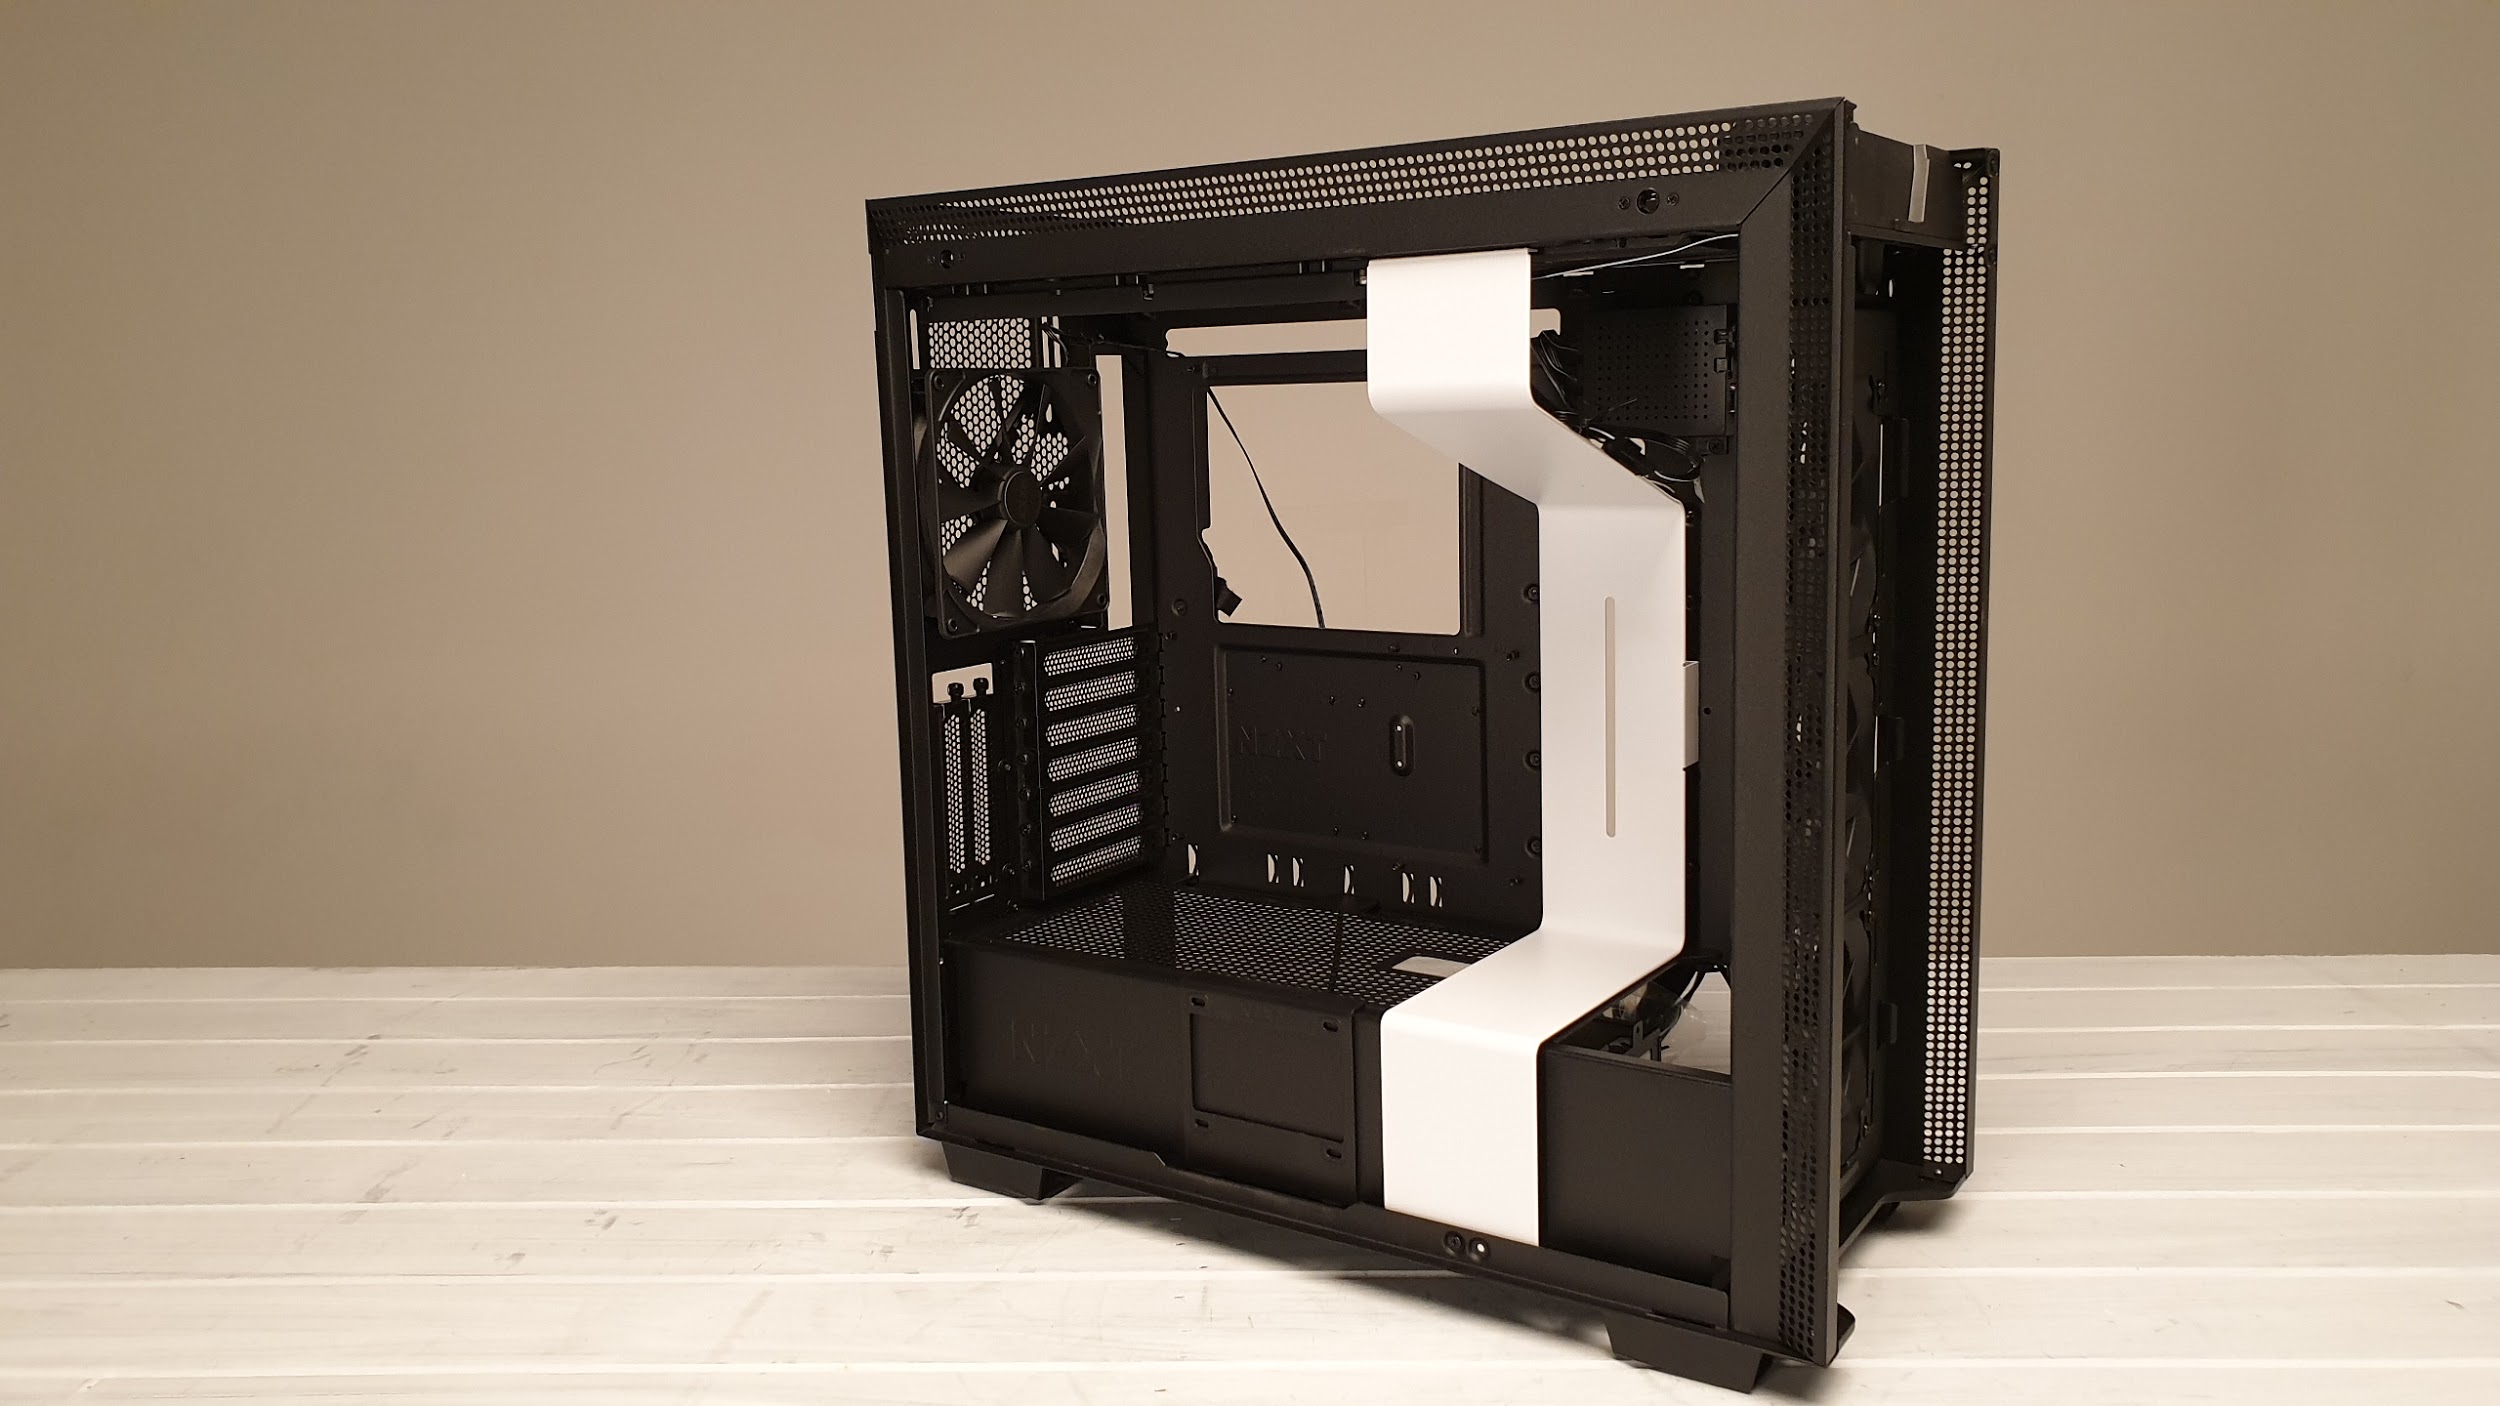
Strip Down and Motherboard Install
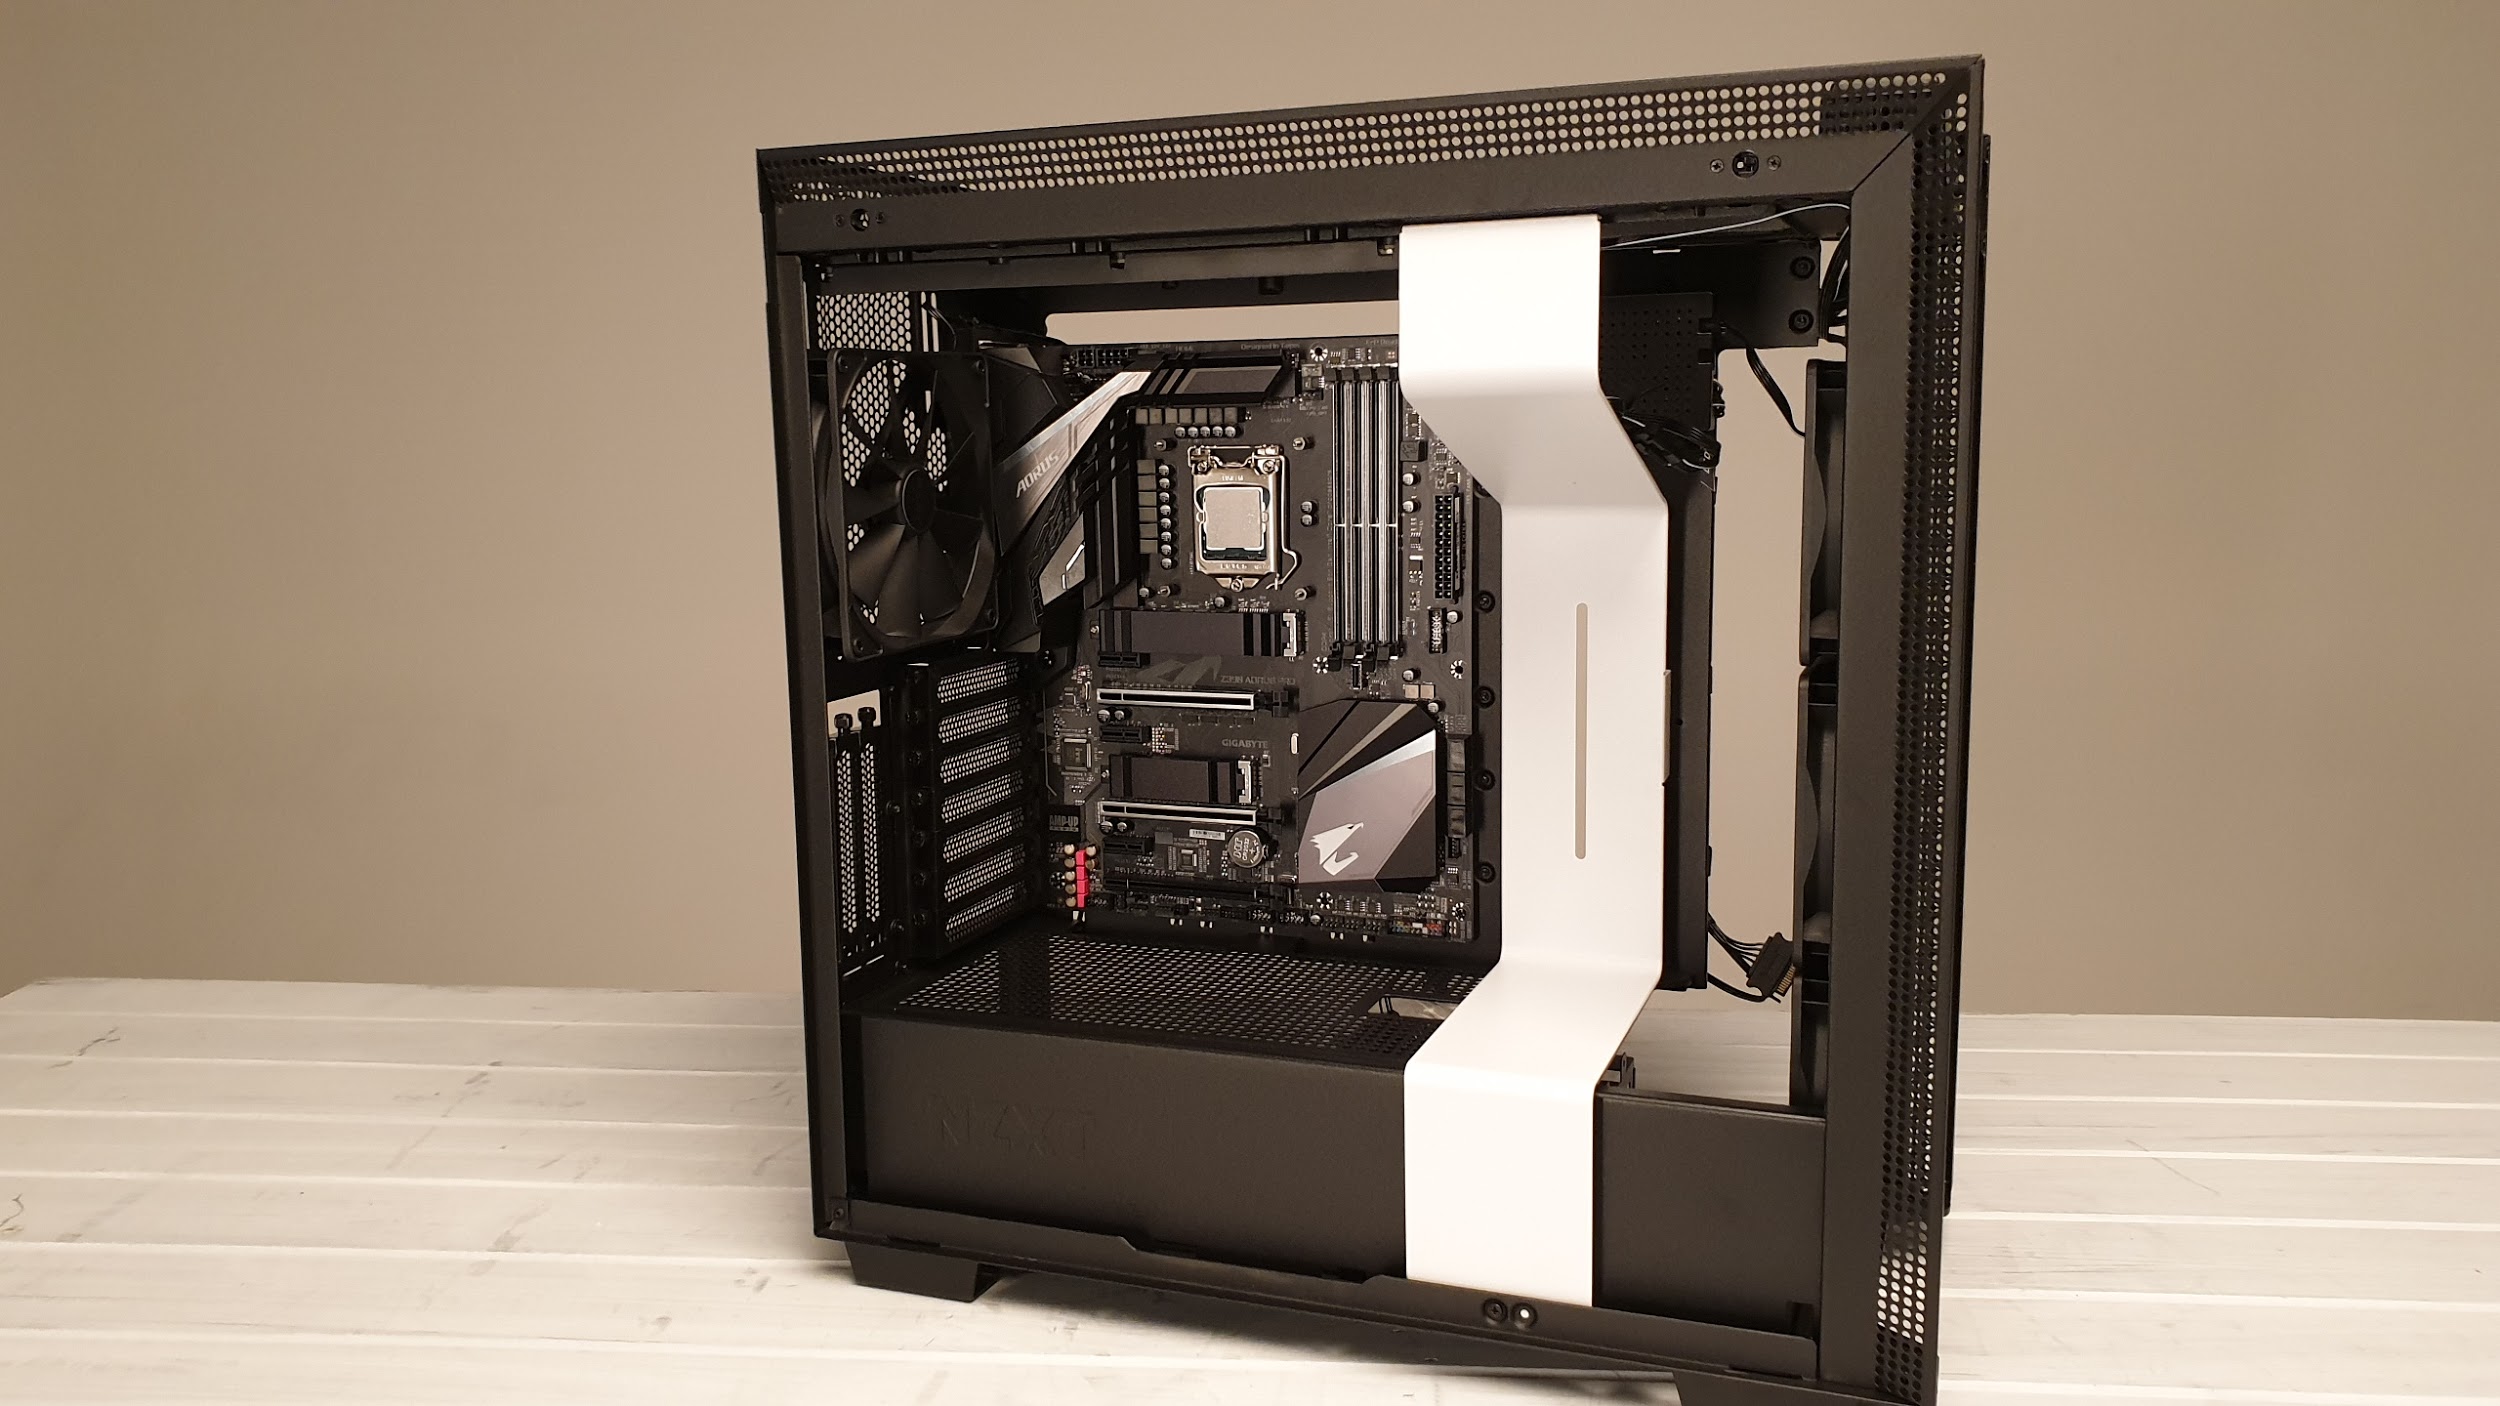
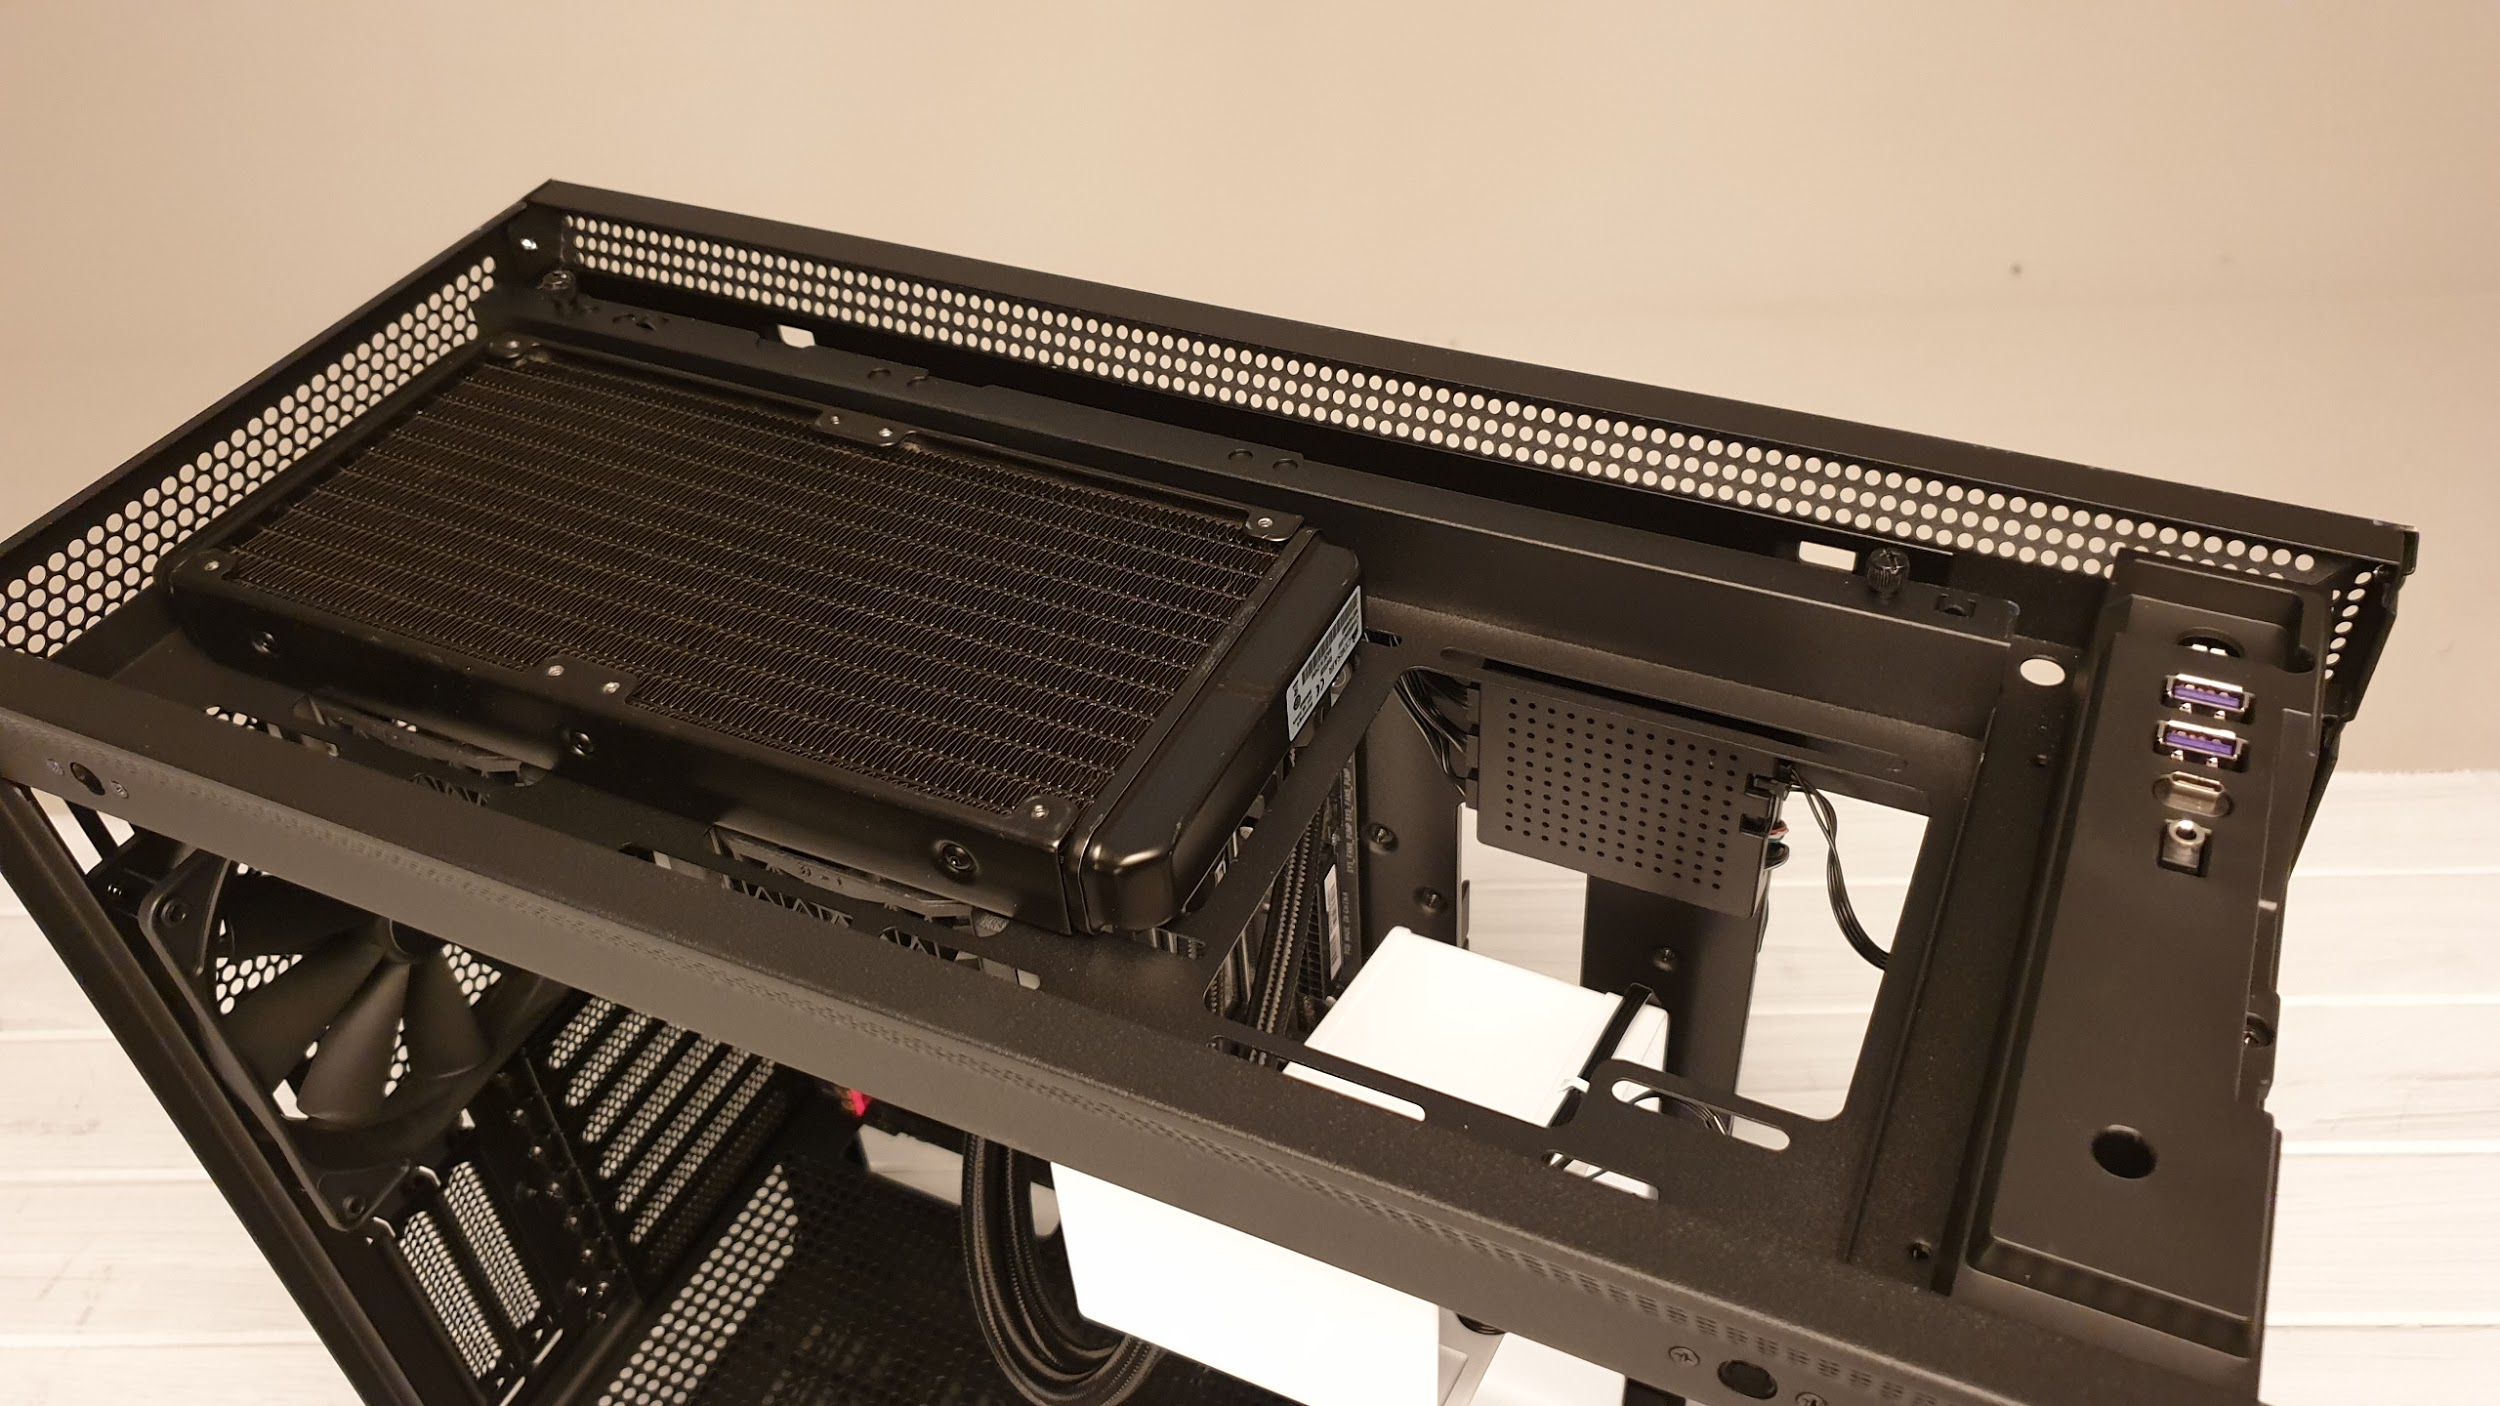
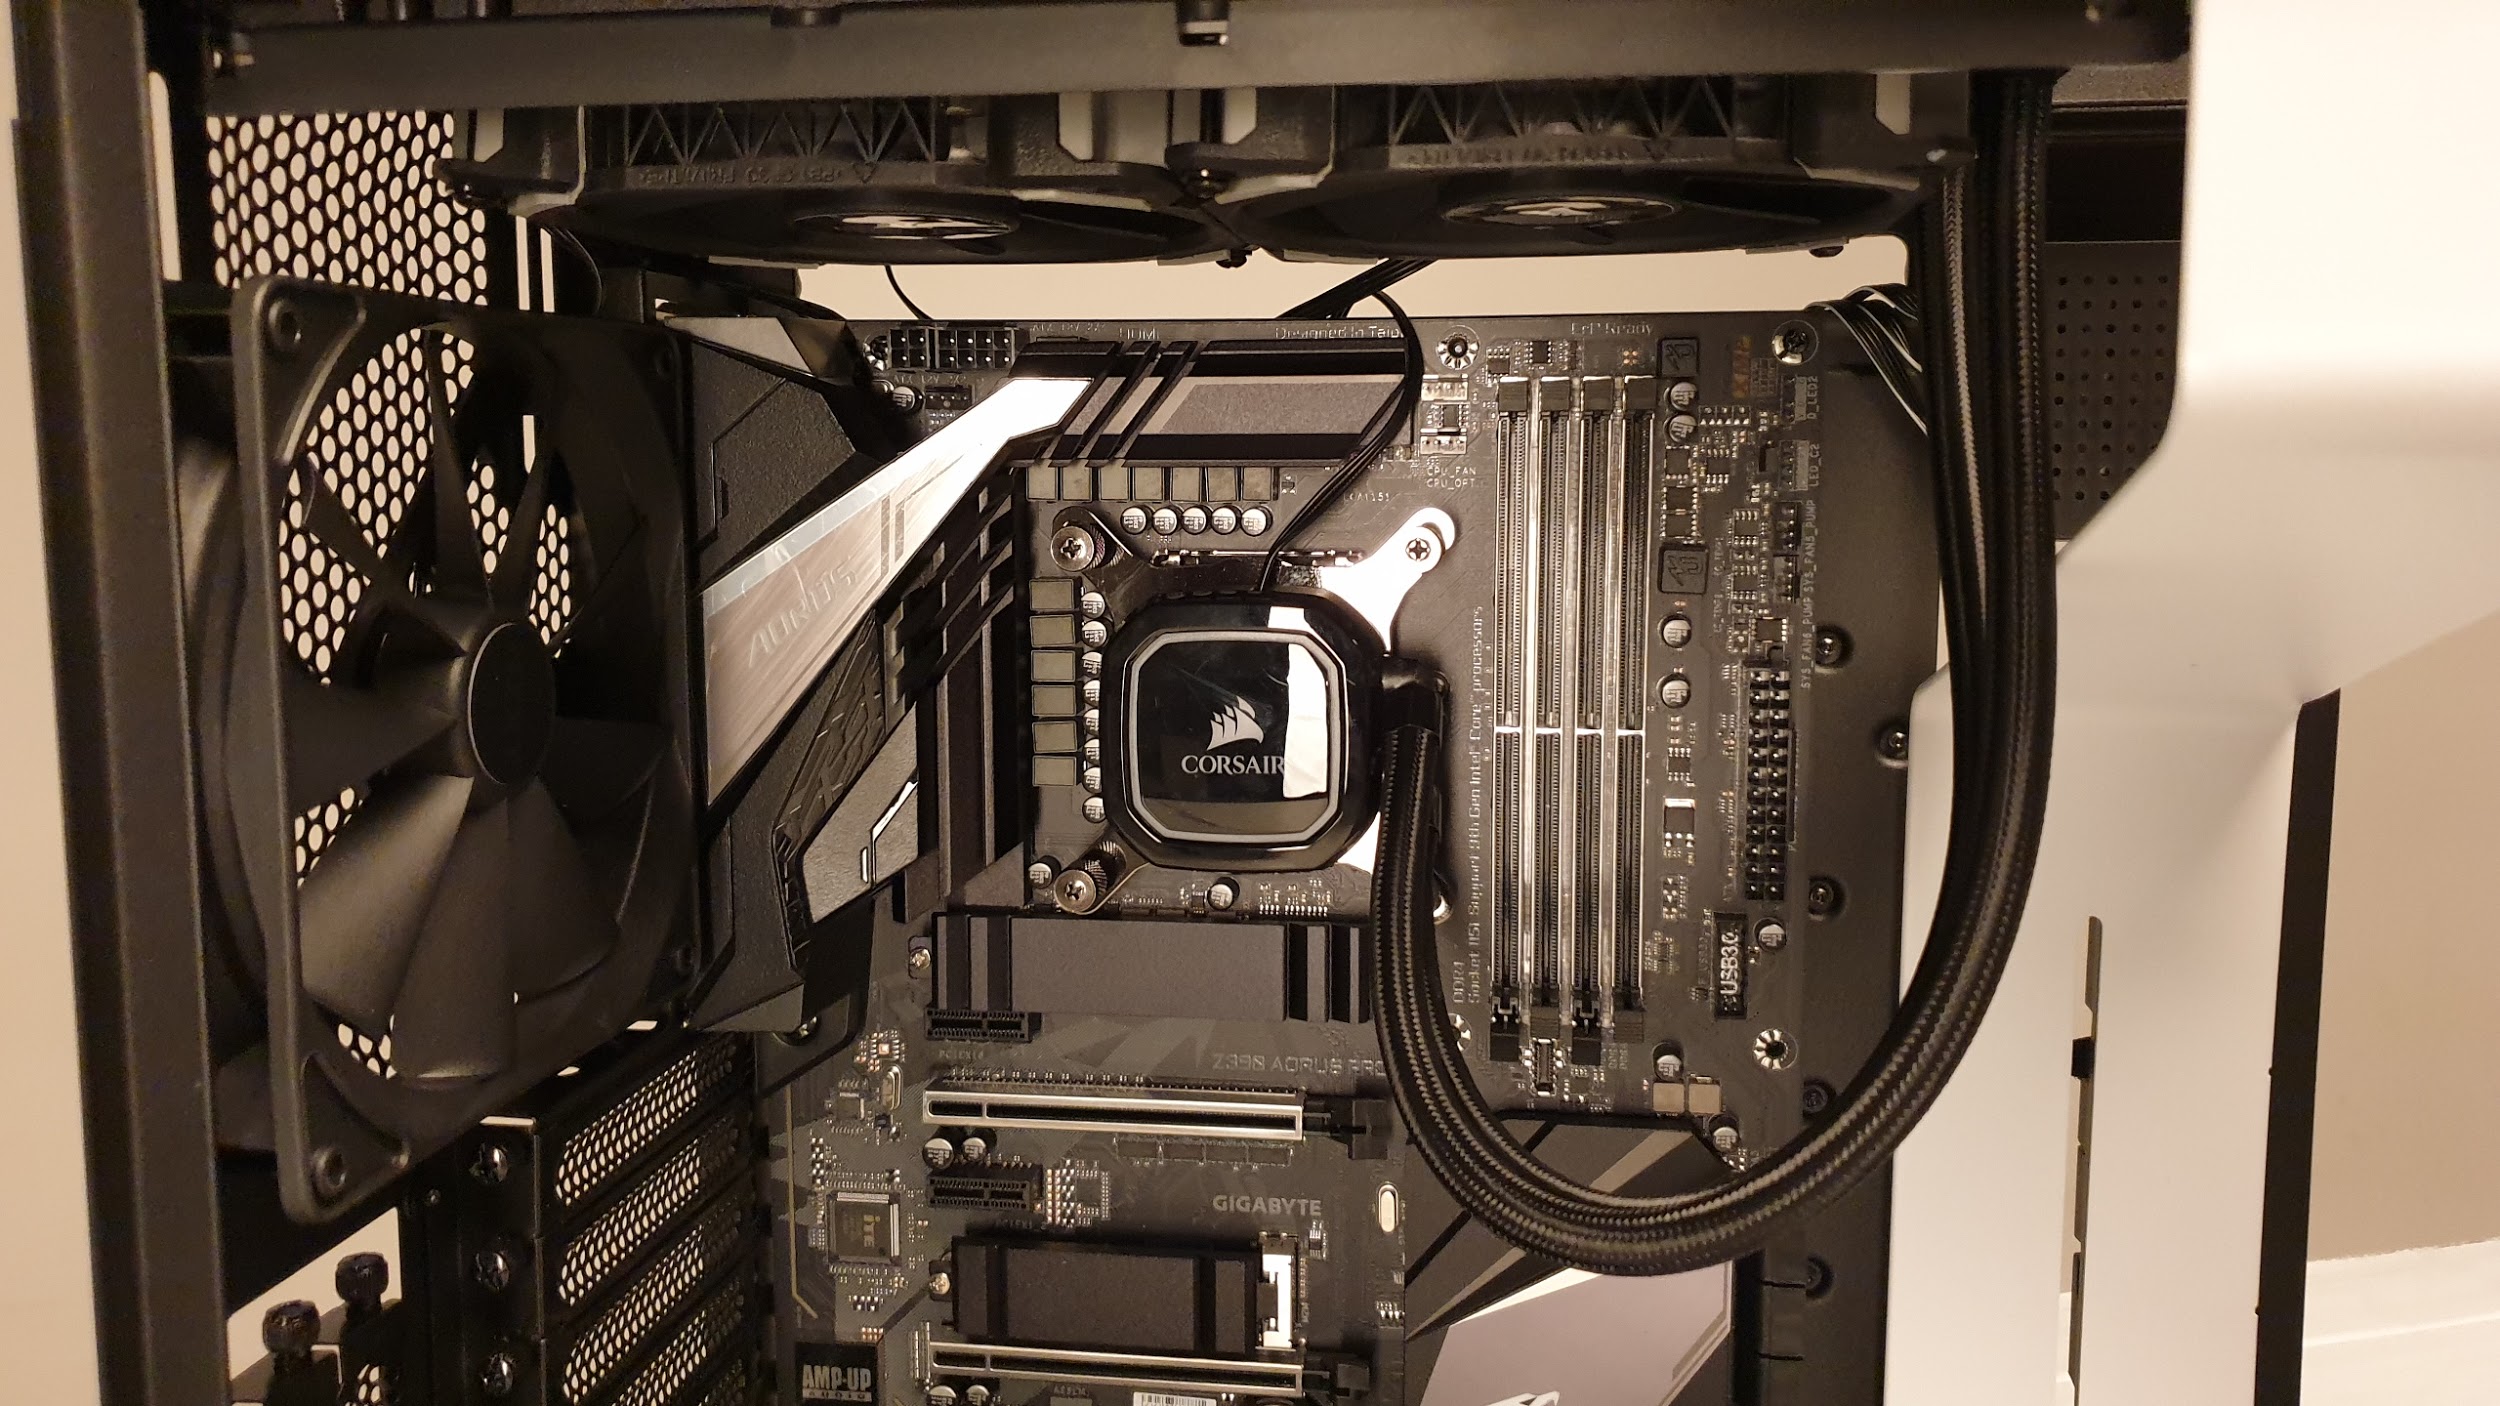
As we’ve already covered a lot of the features we’ll use this area to highlight a few key points. As you can see in the photos, we’ve installed the motherboard and removed all the panels that we could. It’s all gone rather smoothly. There are stand-offs included for an E-ATX motherboard, but the max size is 272mm or 10.7-inches.
Radiator Brackets
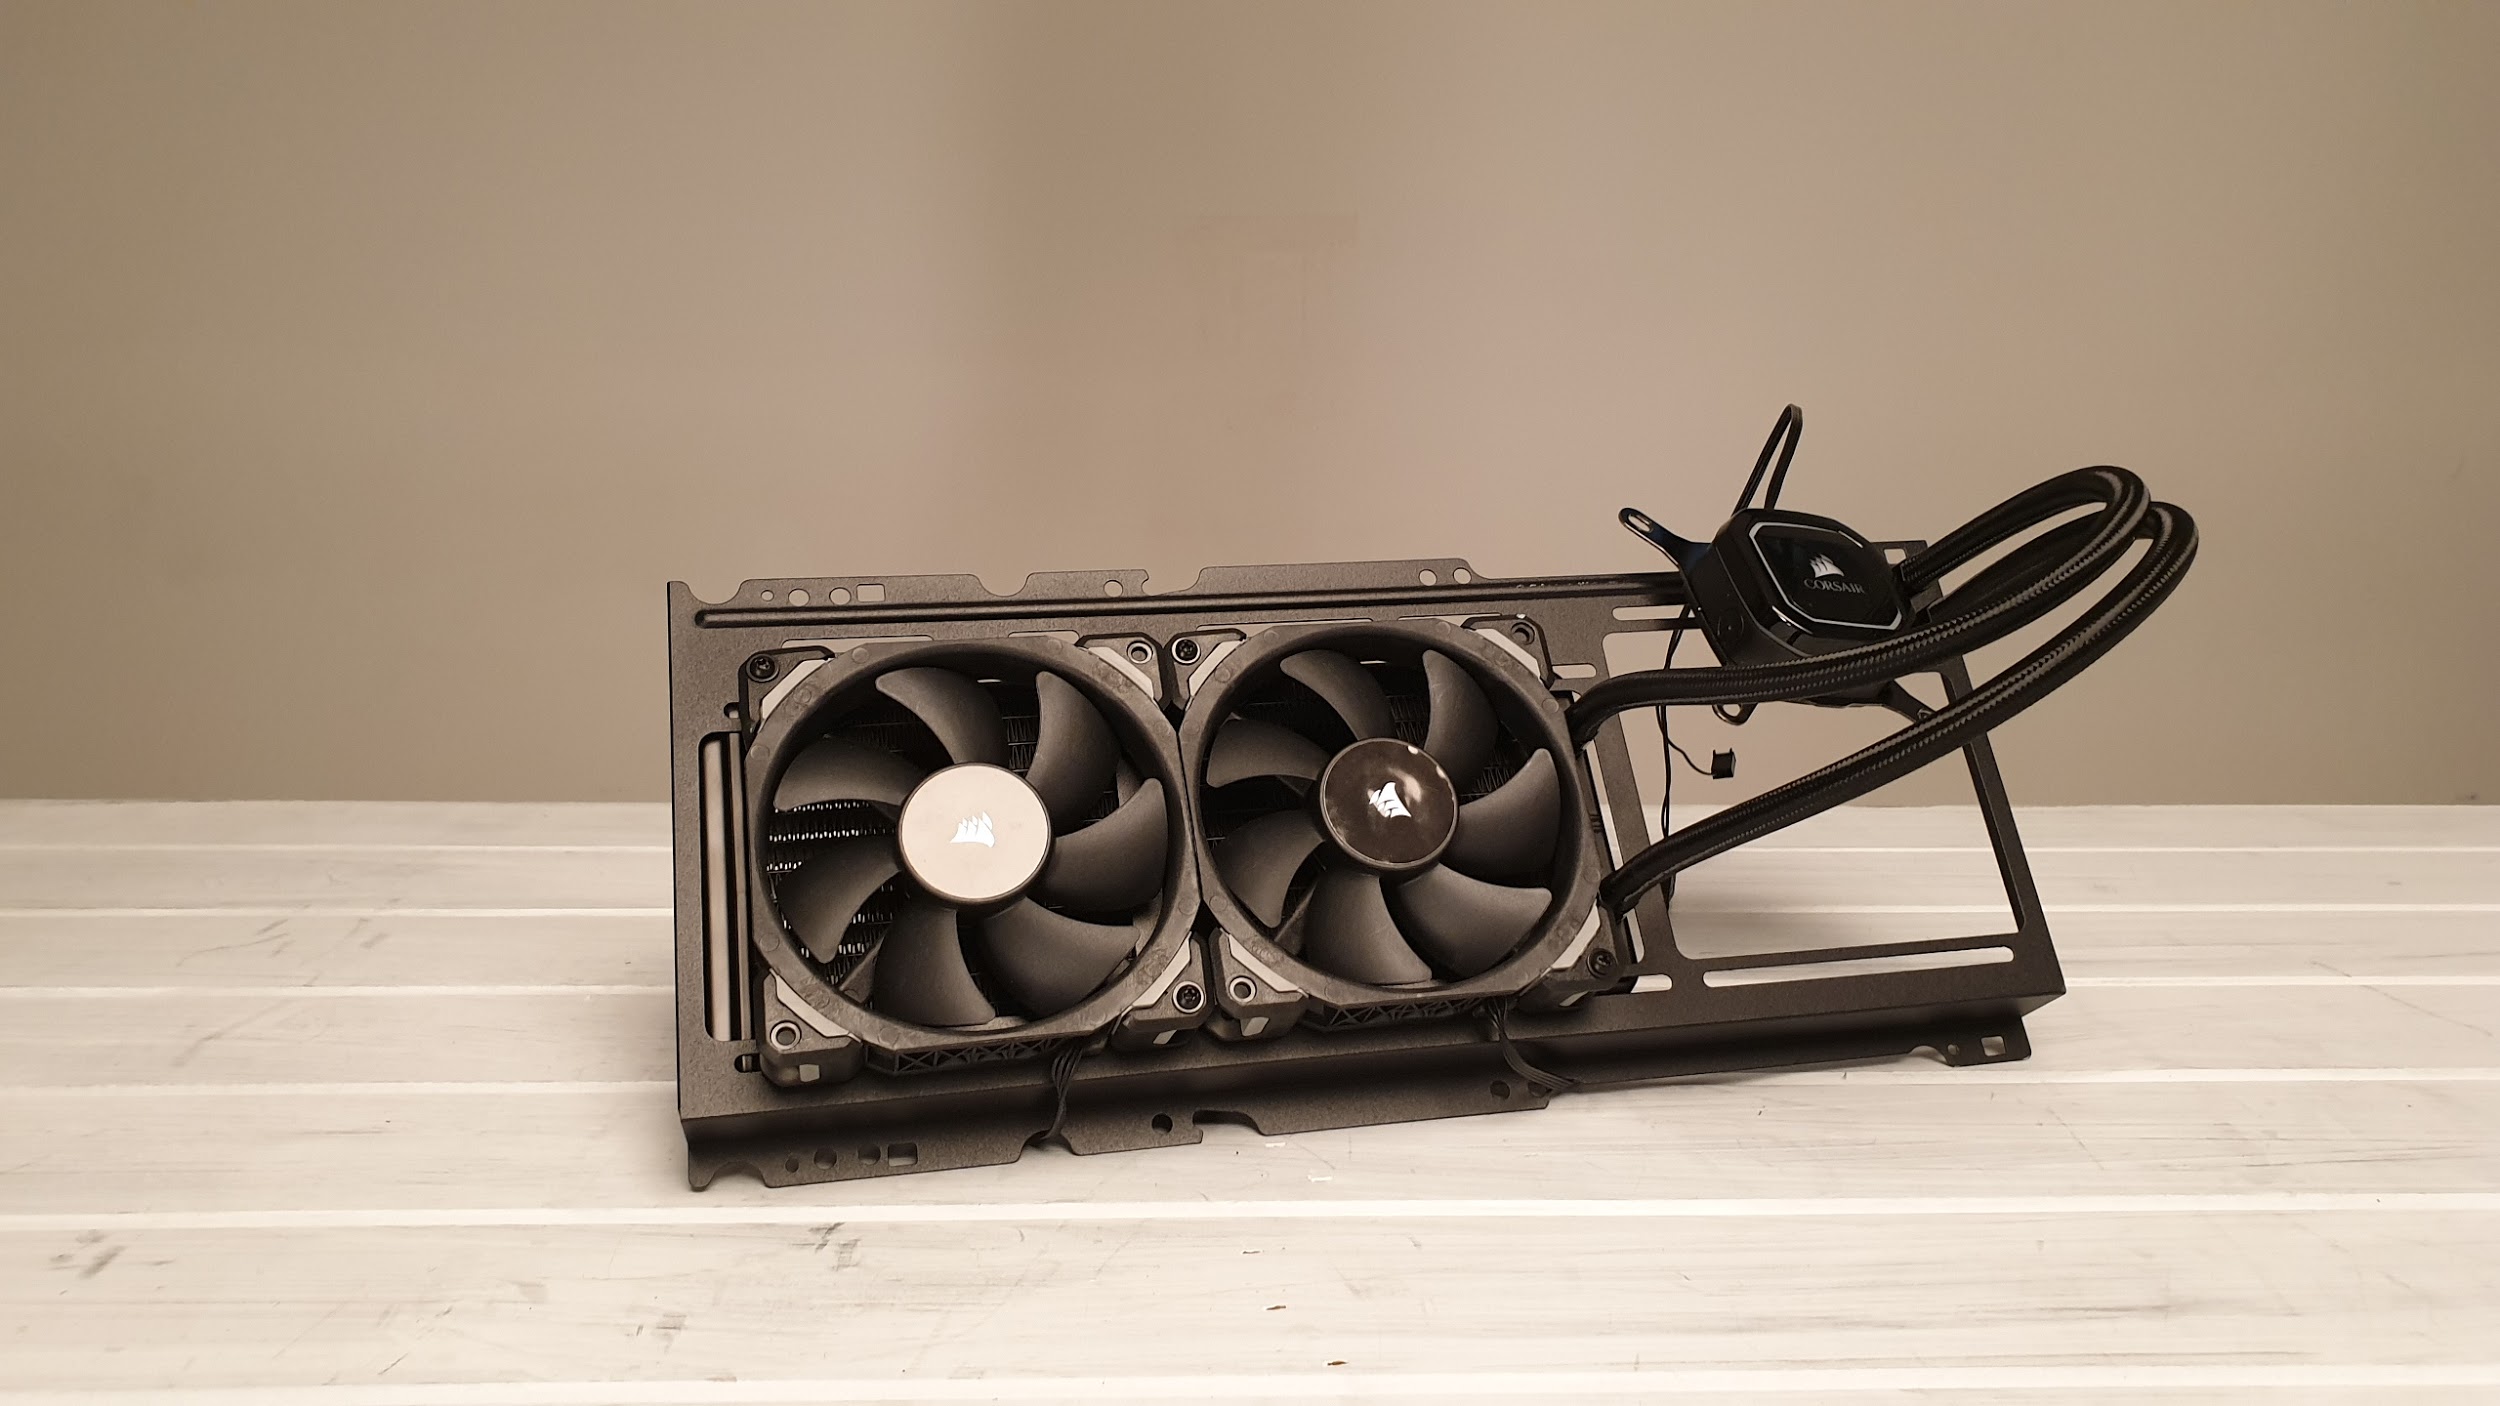
Using a radiator bracket makes it far easier to install fans and your AIO ahead of time. There’s no messing around inside the chassis trying to get everything to fit and secure. Just take the bracket out by removing the four thumbscrews, secure your AIO and fans into place and then carefully slot it back into place from above.
Keep the orientation of the bracket in mind. It goes in specifically in one way, so you need to be careful when it comes to mounting your fans that you don’t get the cables facing the wrong way (they should be facing towards the motherboard tray).
Once it’s installed, you can see that there’s still a lot of access to those 8-pin and 4-pin EPS headers, so you don’t even need to install those ahead of time. The gigantic cable cutout at the top also helps a lot.
GPU and SSD In
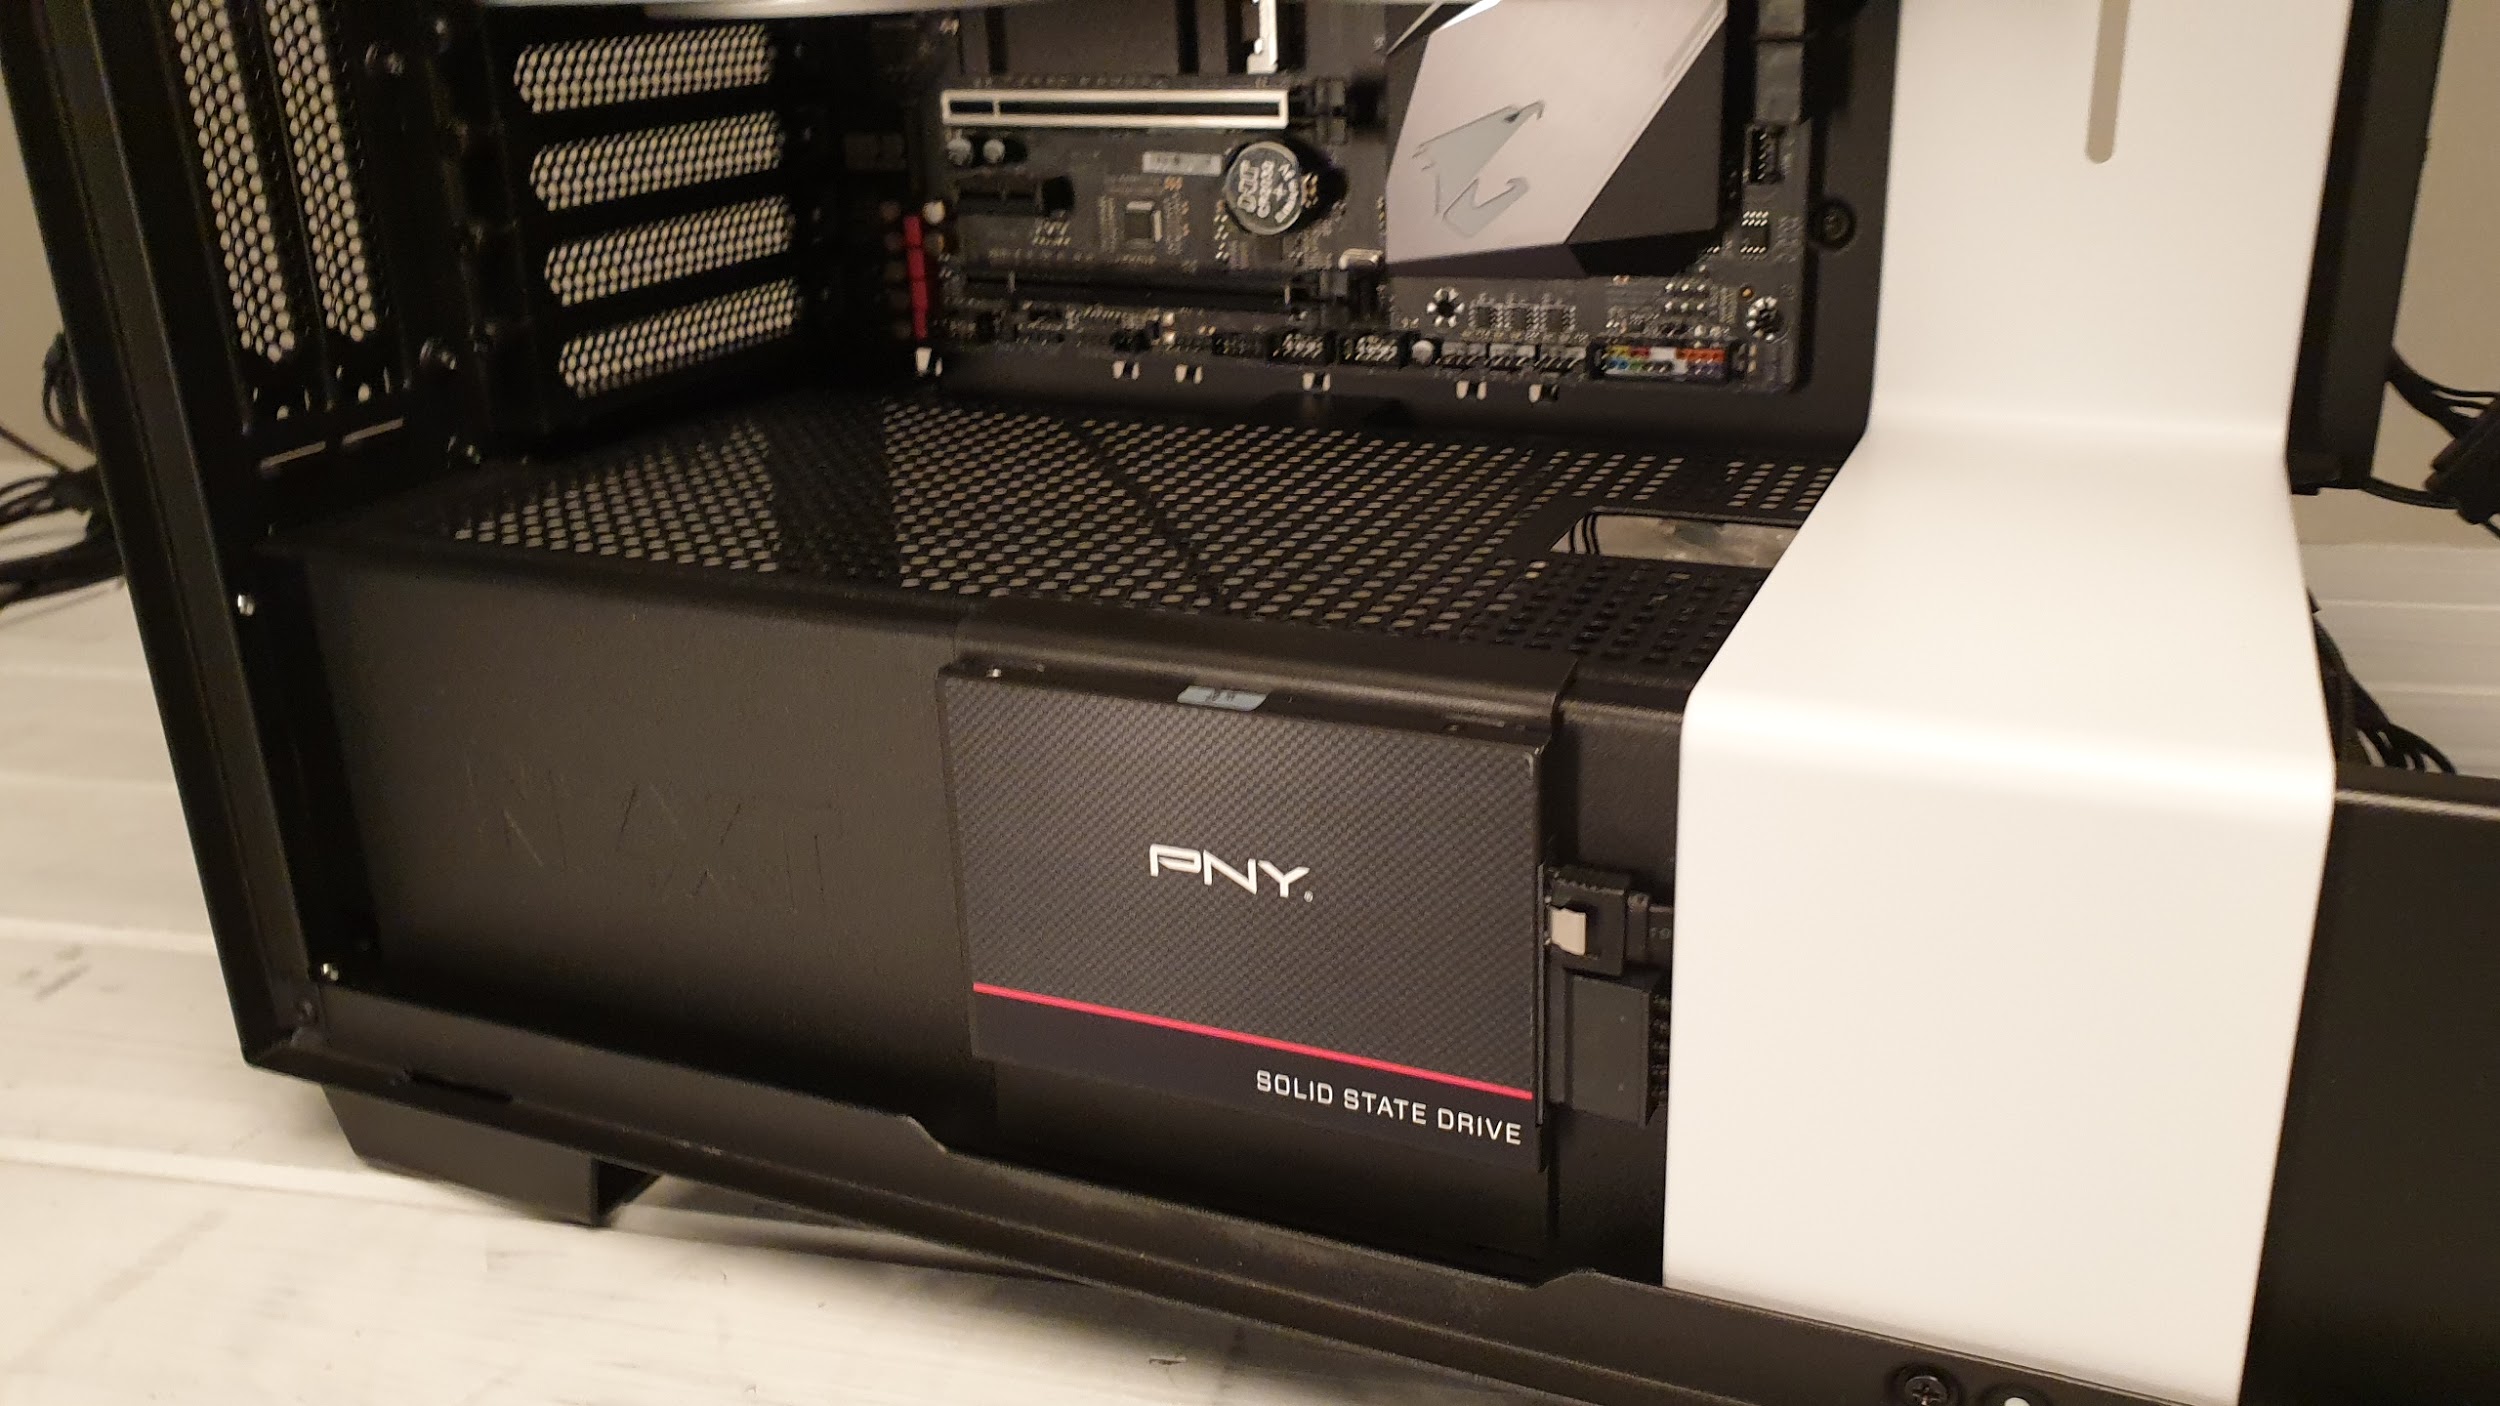
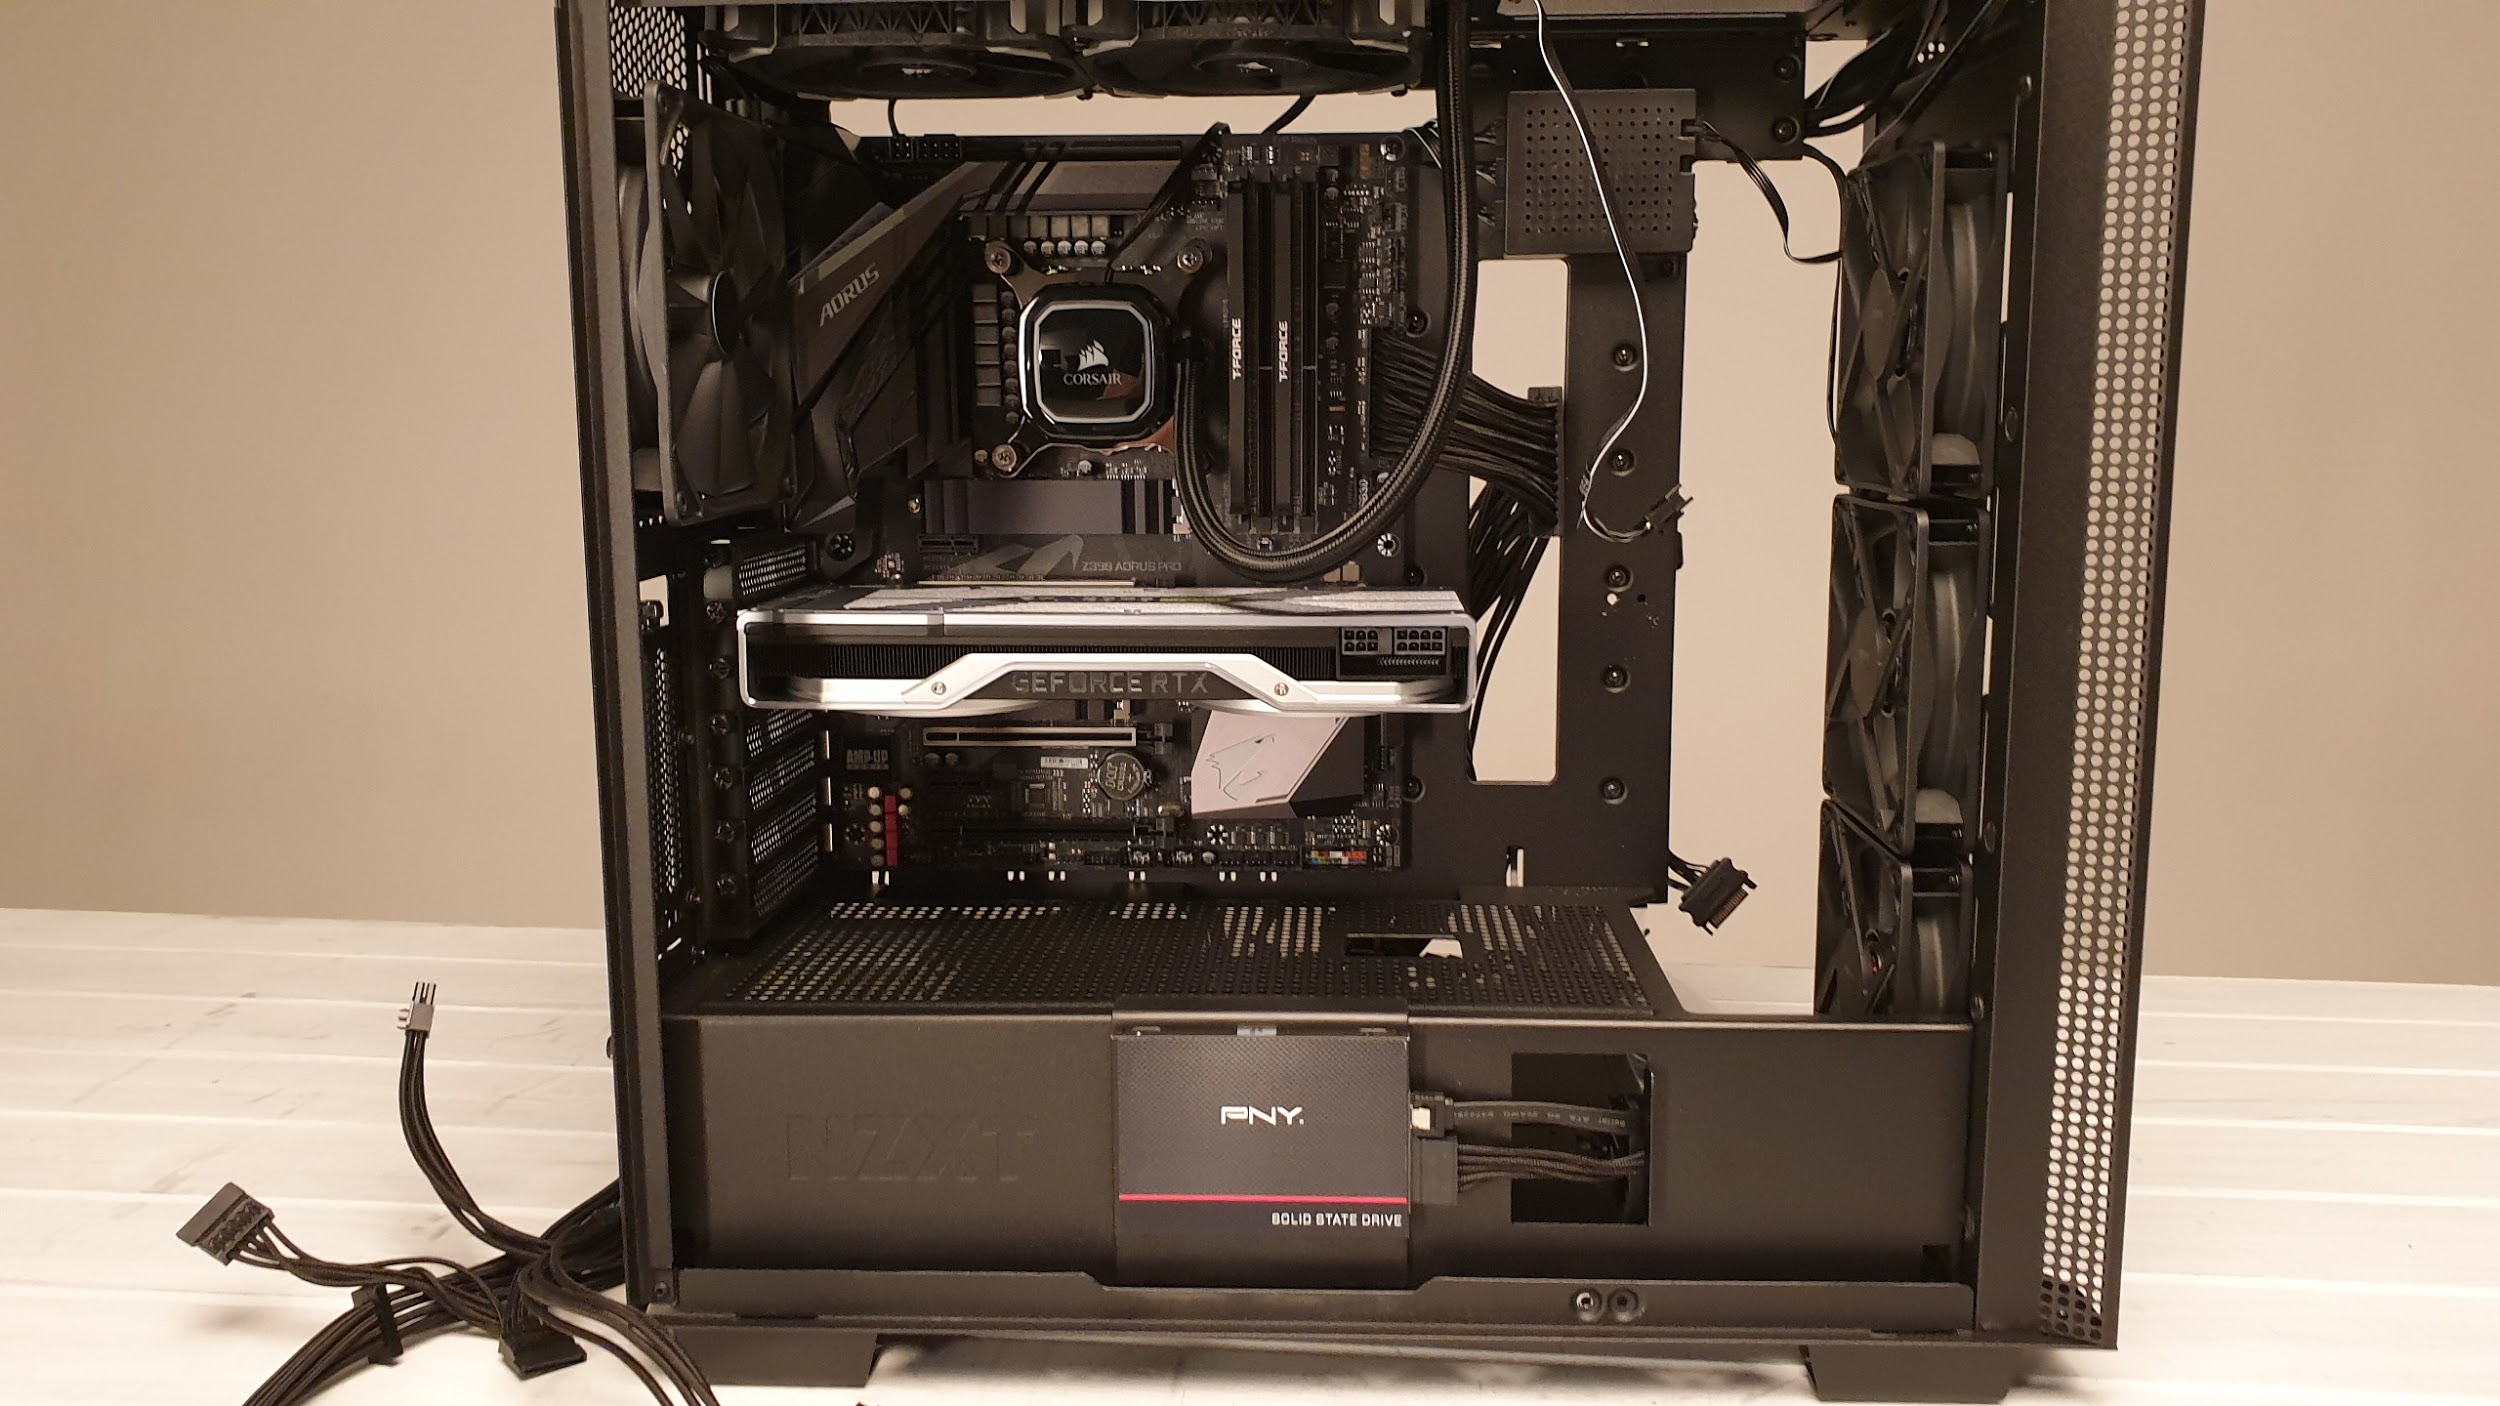
The SSD fits nicely in the bracket, and looks good from a showcase point of view. We’d recommend removing the cable bar, then threading the SATA power and data cables through, plugging them in the SSD, then securing that, before reinstalling the cable bar at a later point, just to make life easier.
It is possible to thread the cables through from behind the cable-bar with it in place, but it’s a bit more frustrating.
Get Tom's Hardware's best news and in-depth reviews, straight to your inbox.
PSU Bracket and Cable Bar Removal
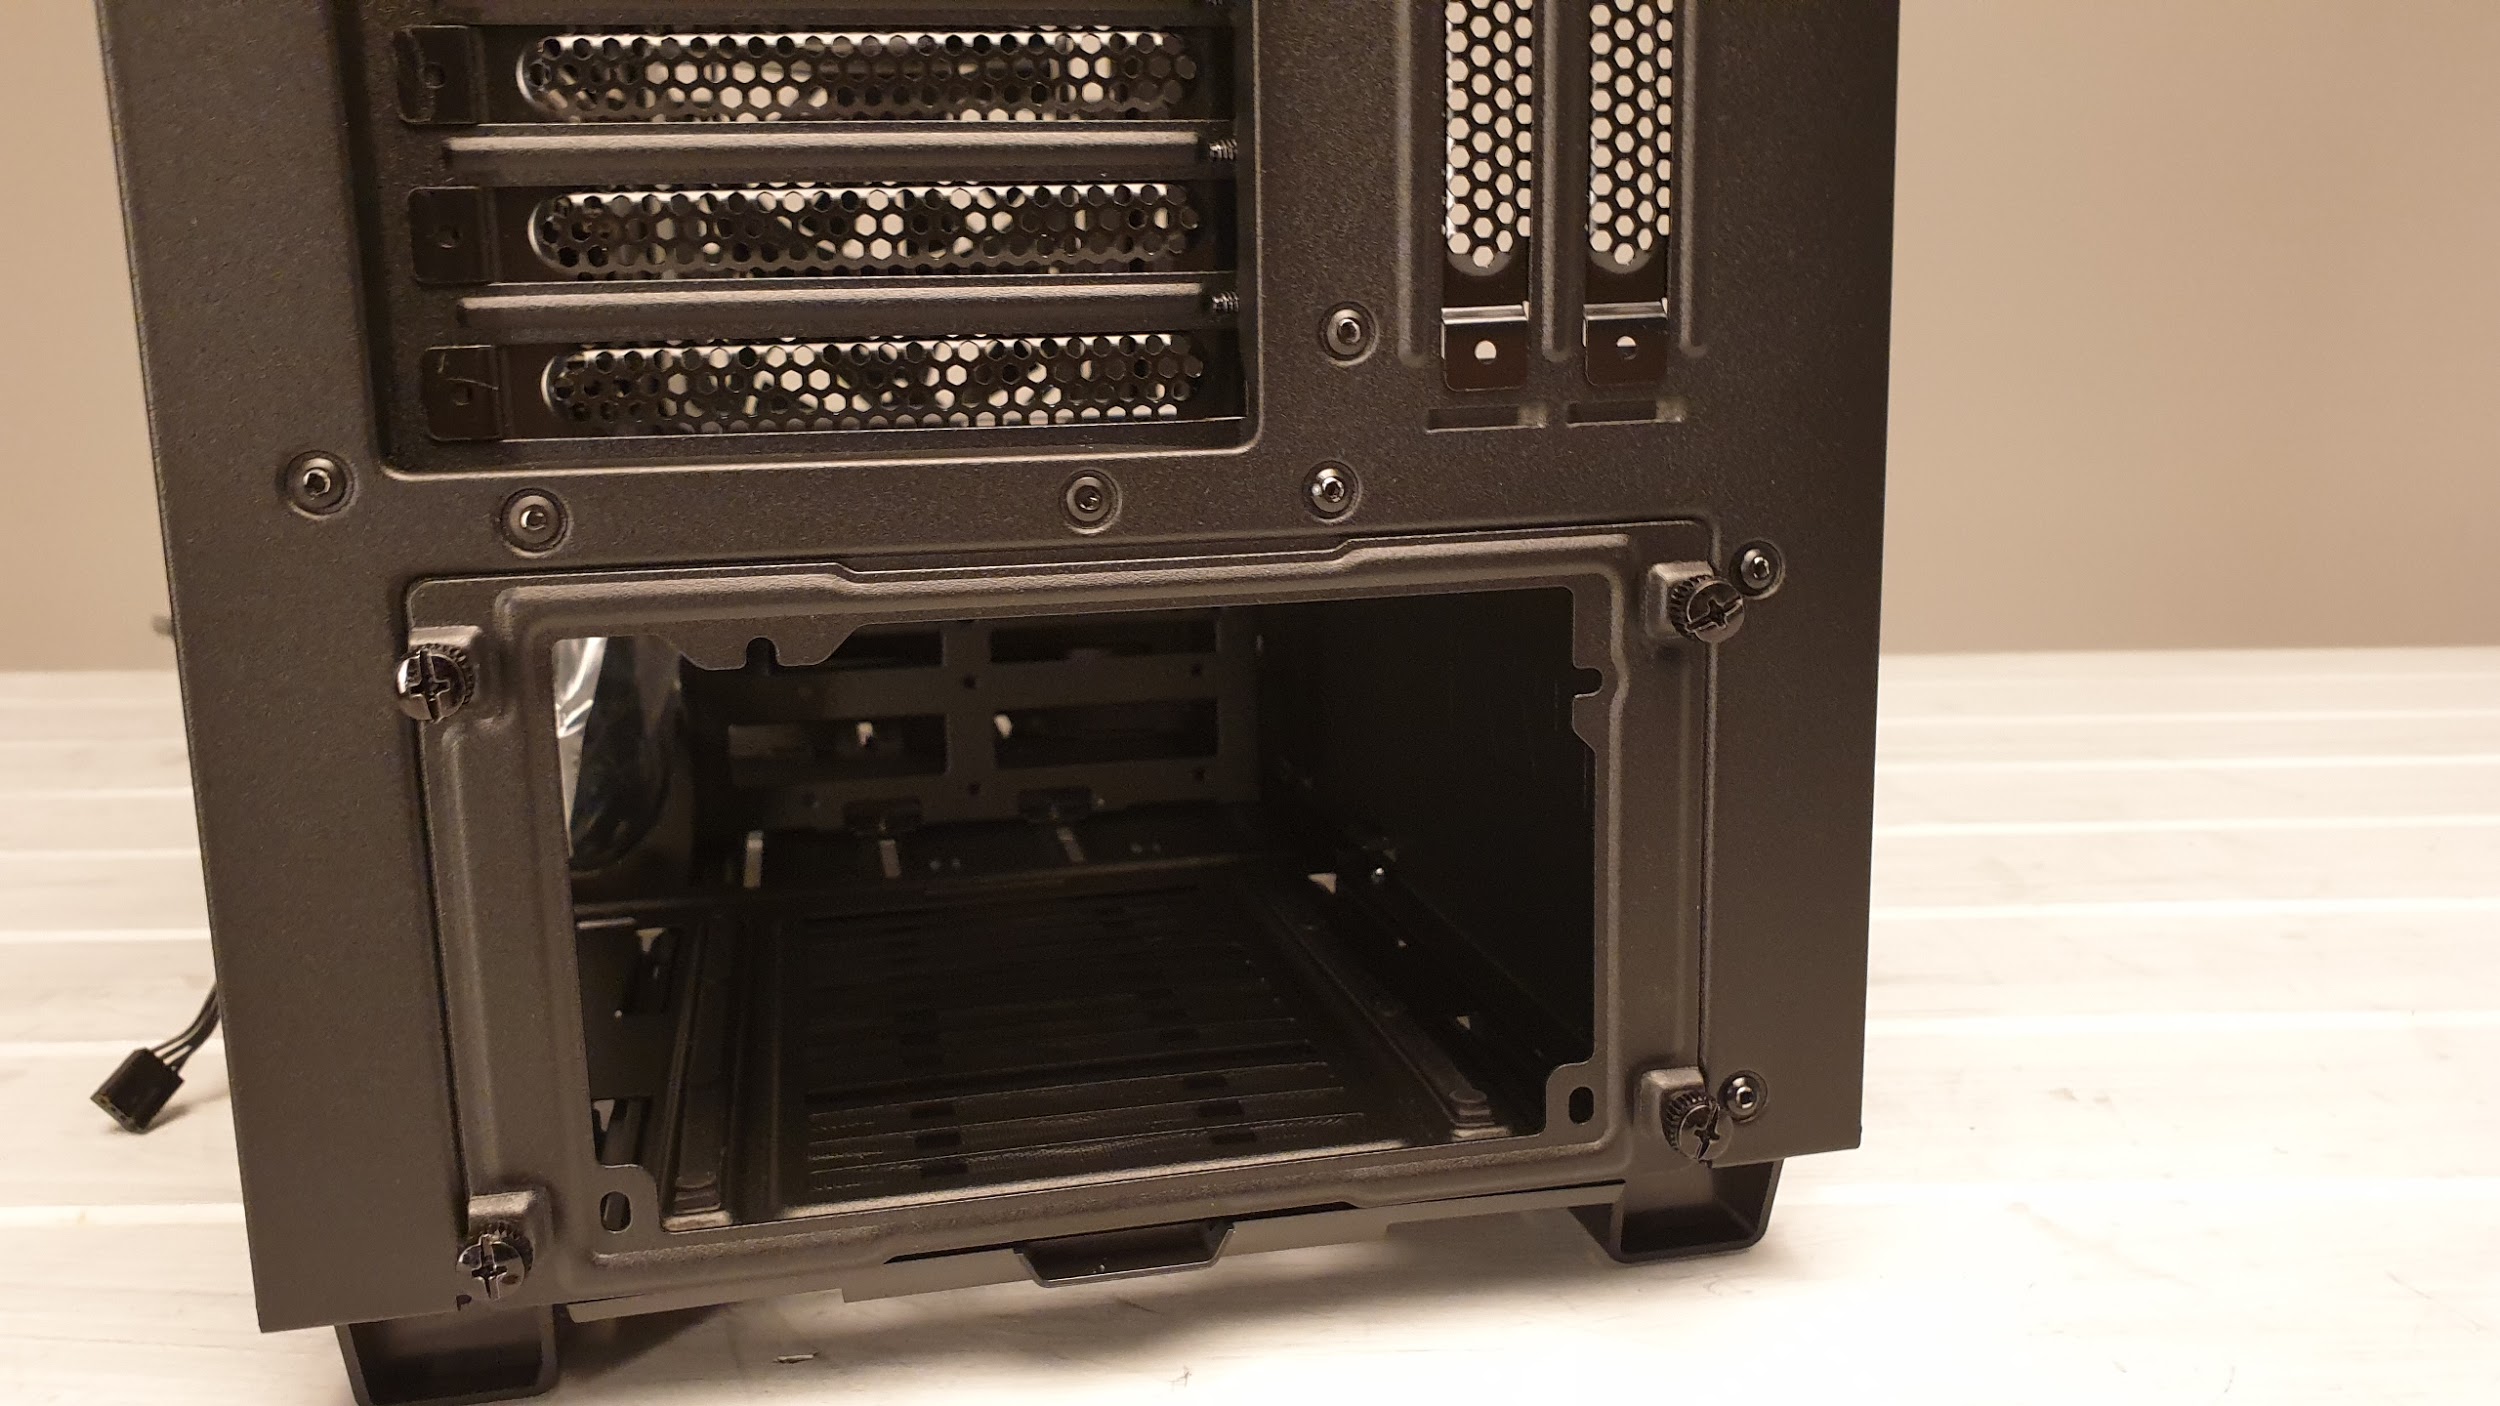
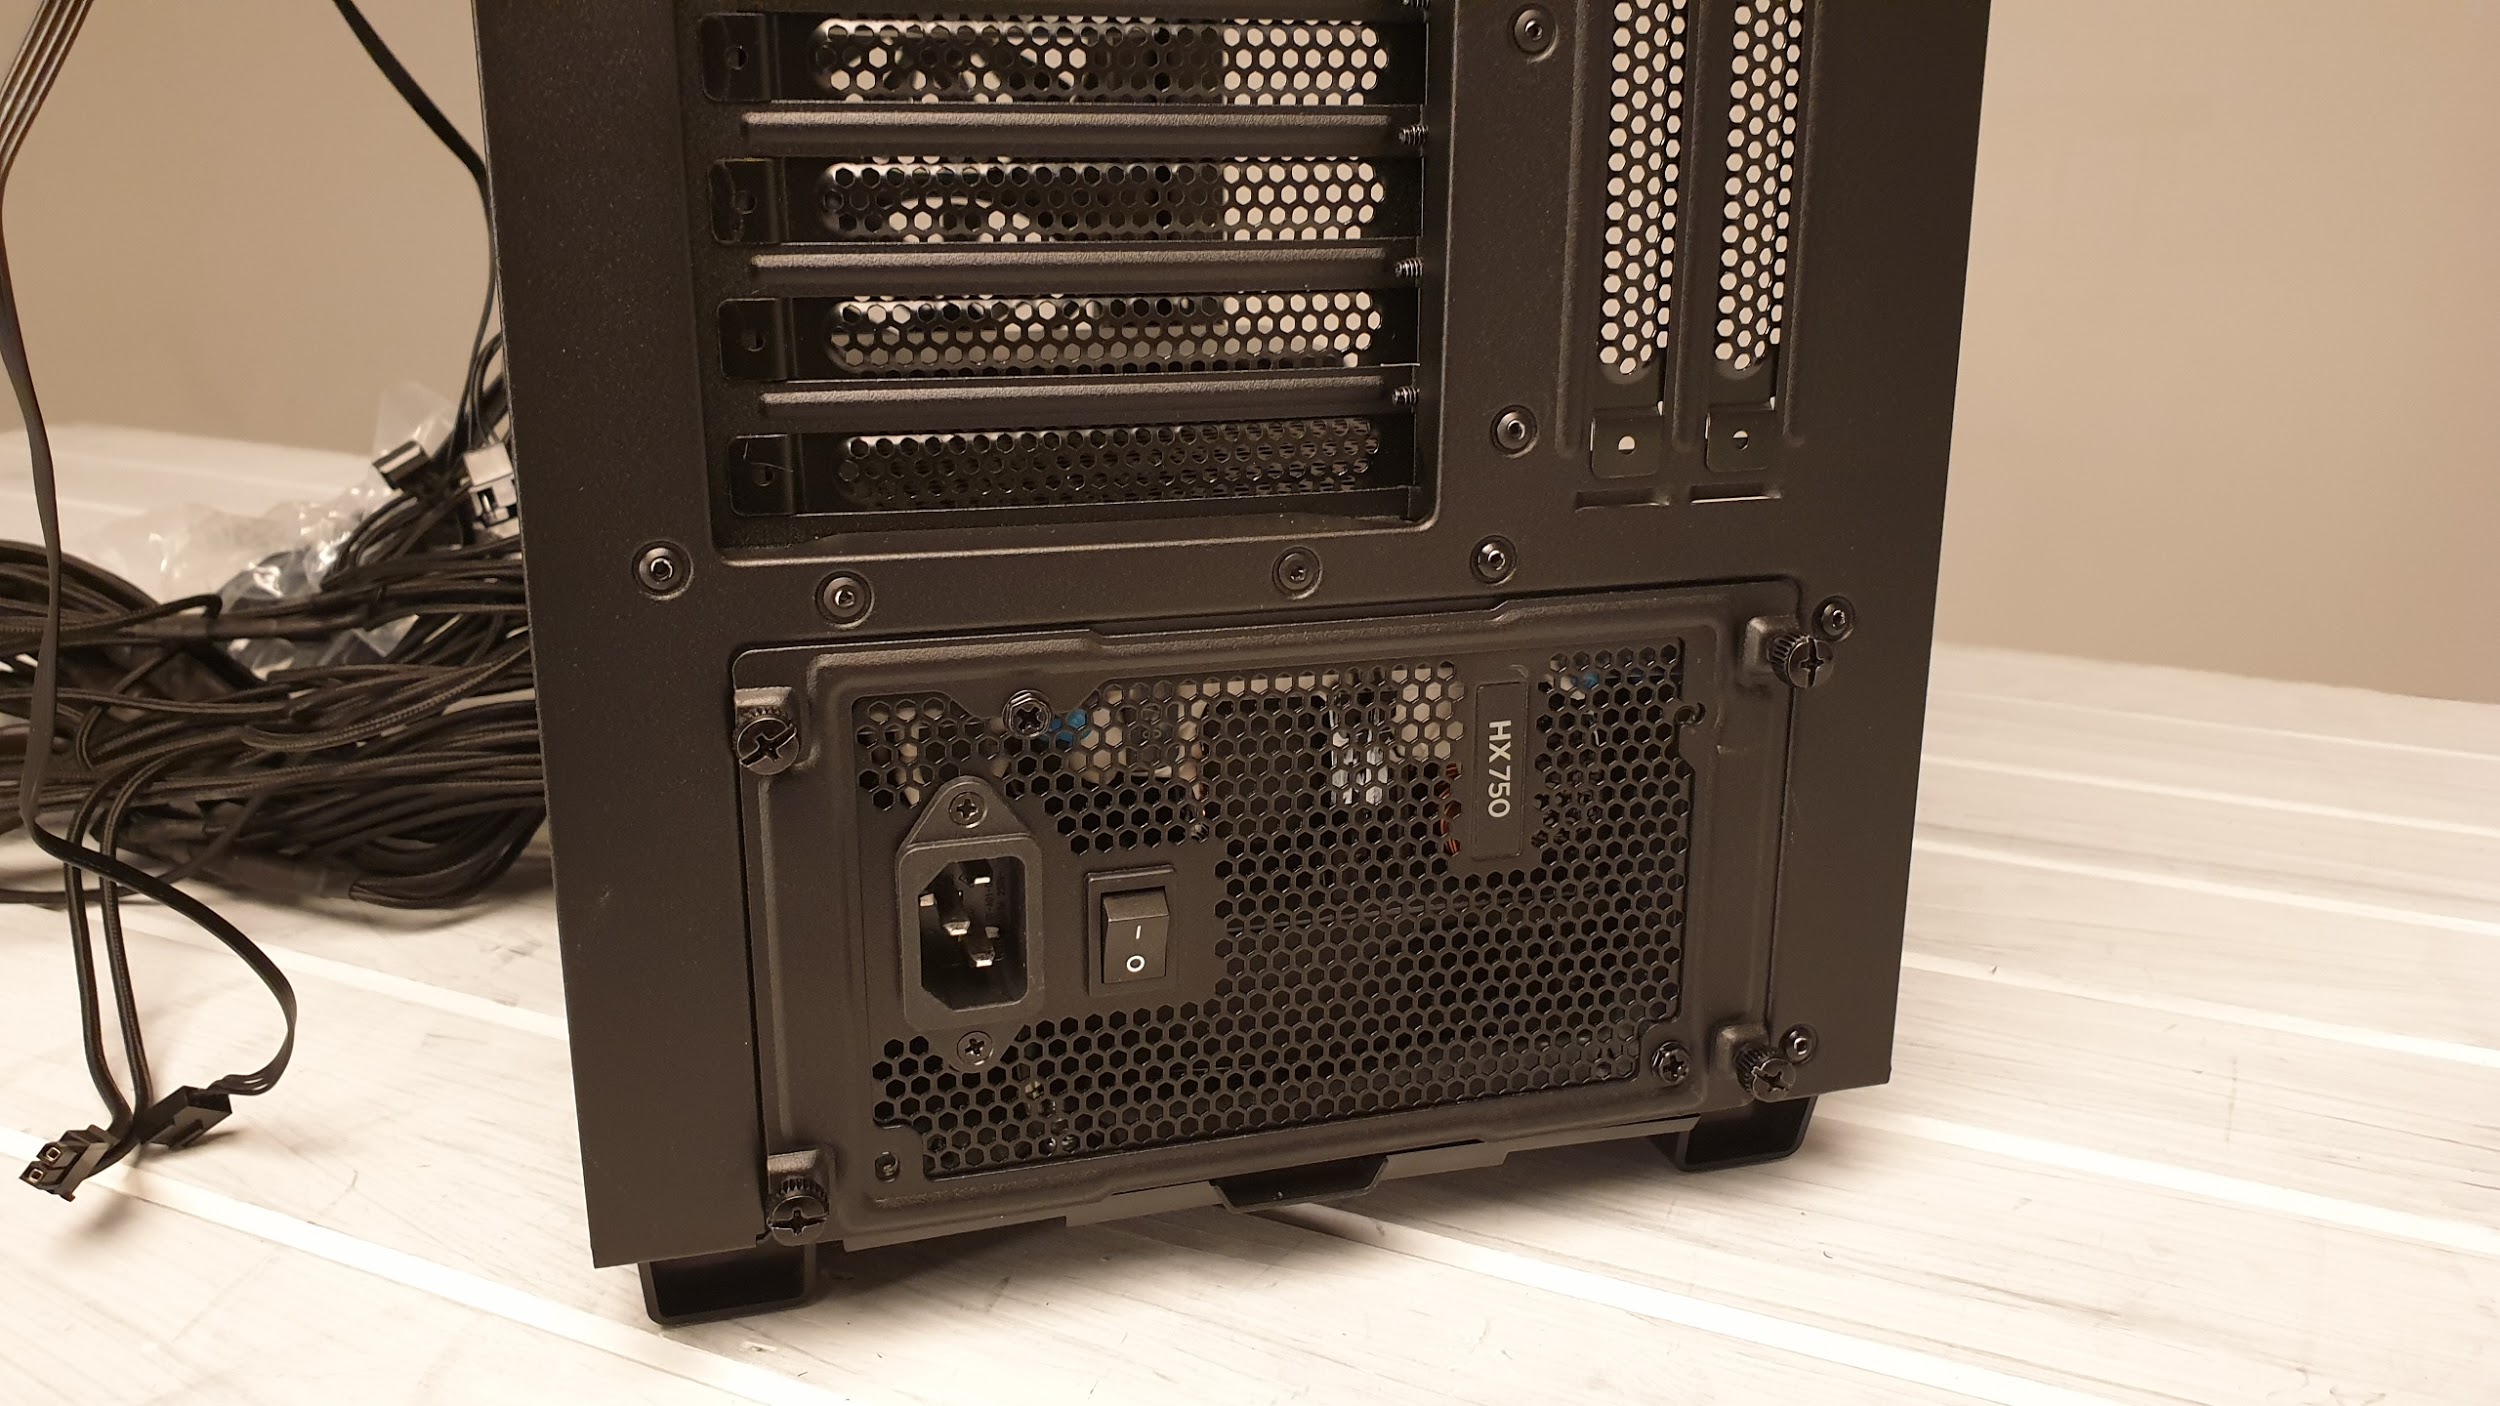
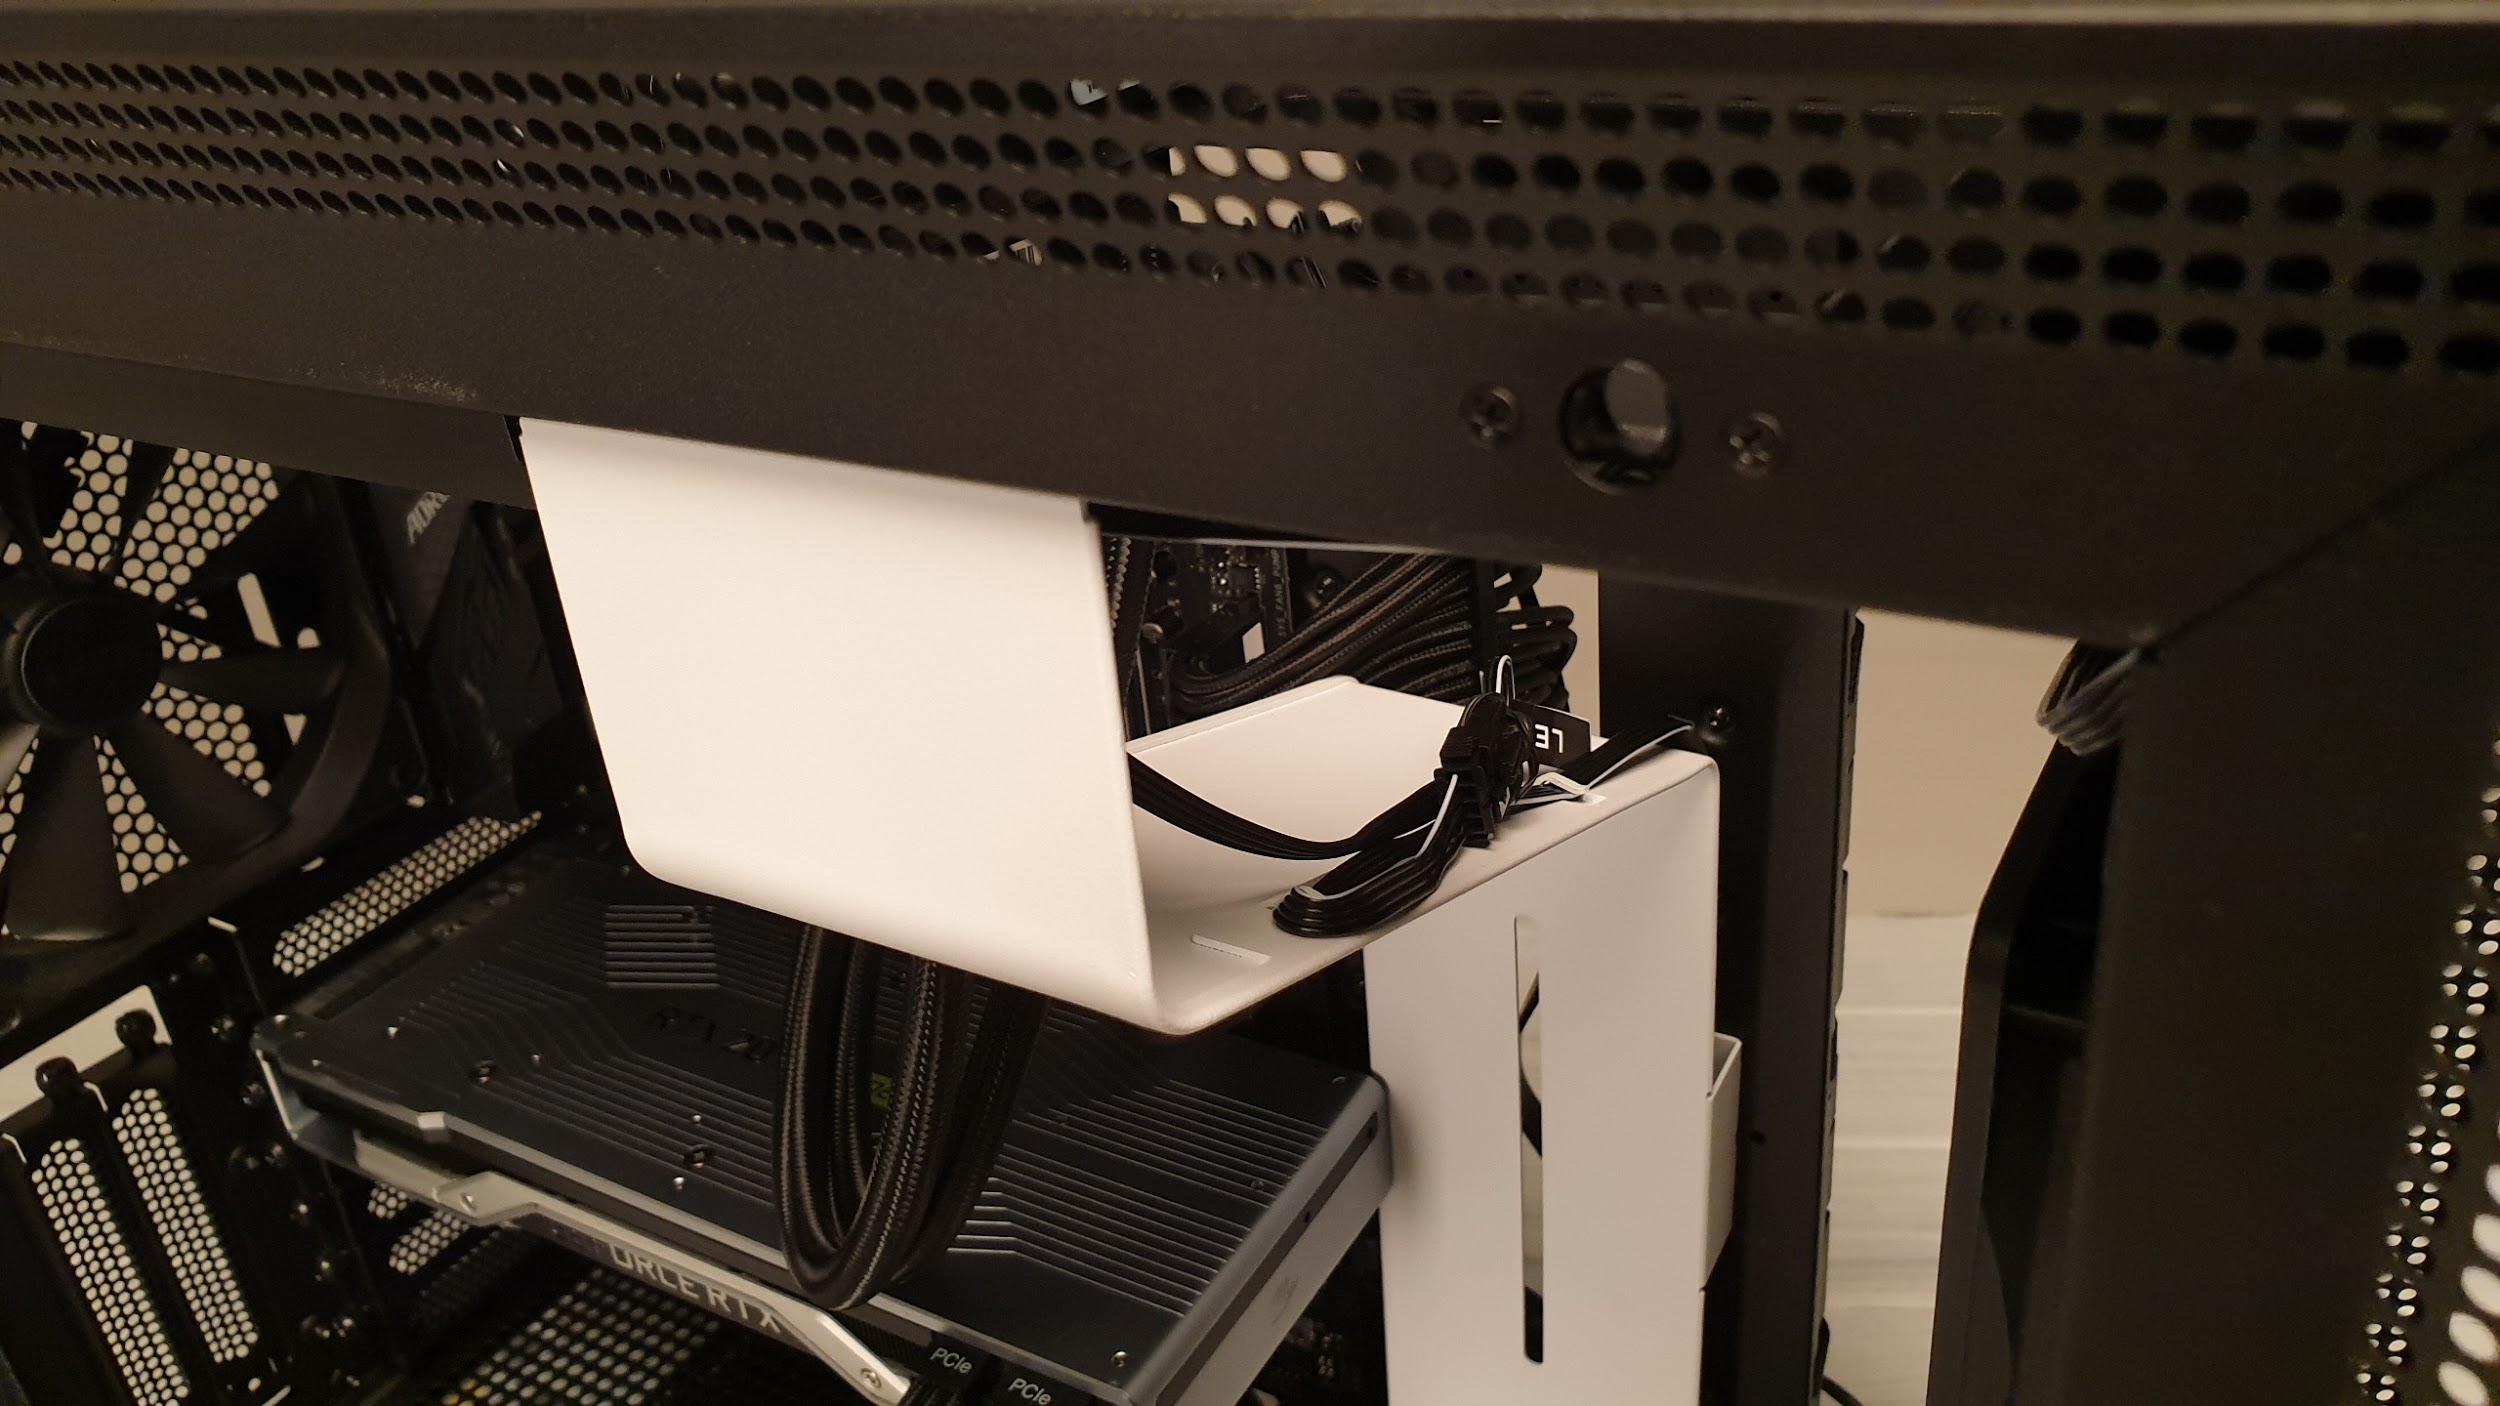
We’re not sold on the PSU bracket. It’s attached via four thumb screws to the back of the chassis. To install your PSU, you remove the bracket, and attach it to the back of your power supply, then slot it back into the case, and secure the thumb screws in place. This is fine, but it doesn’t really do anything or add anything to the process, in comparison to just sliding the PSU in from the side of the rear panel and securing it in place with screws.
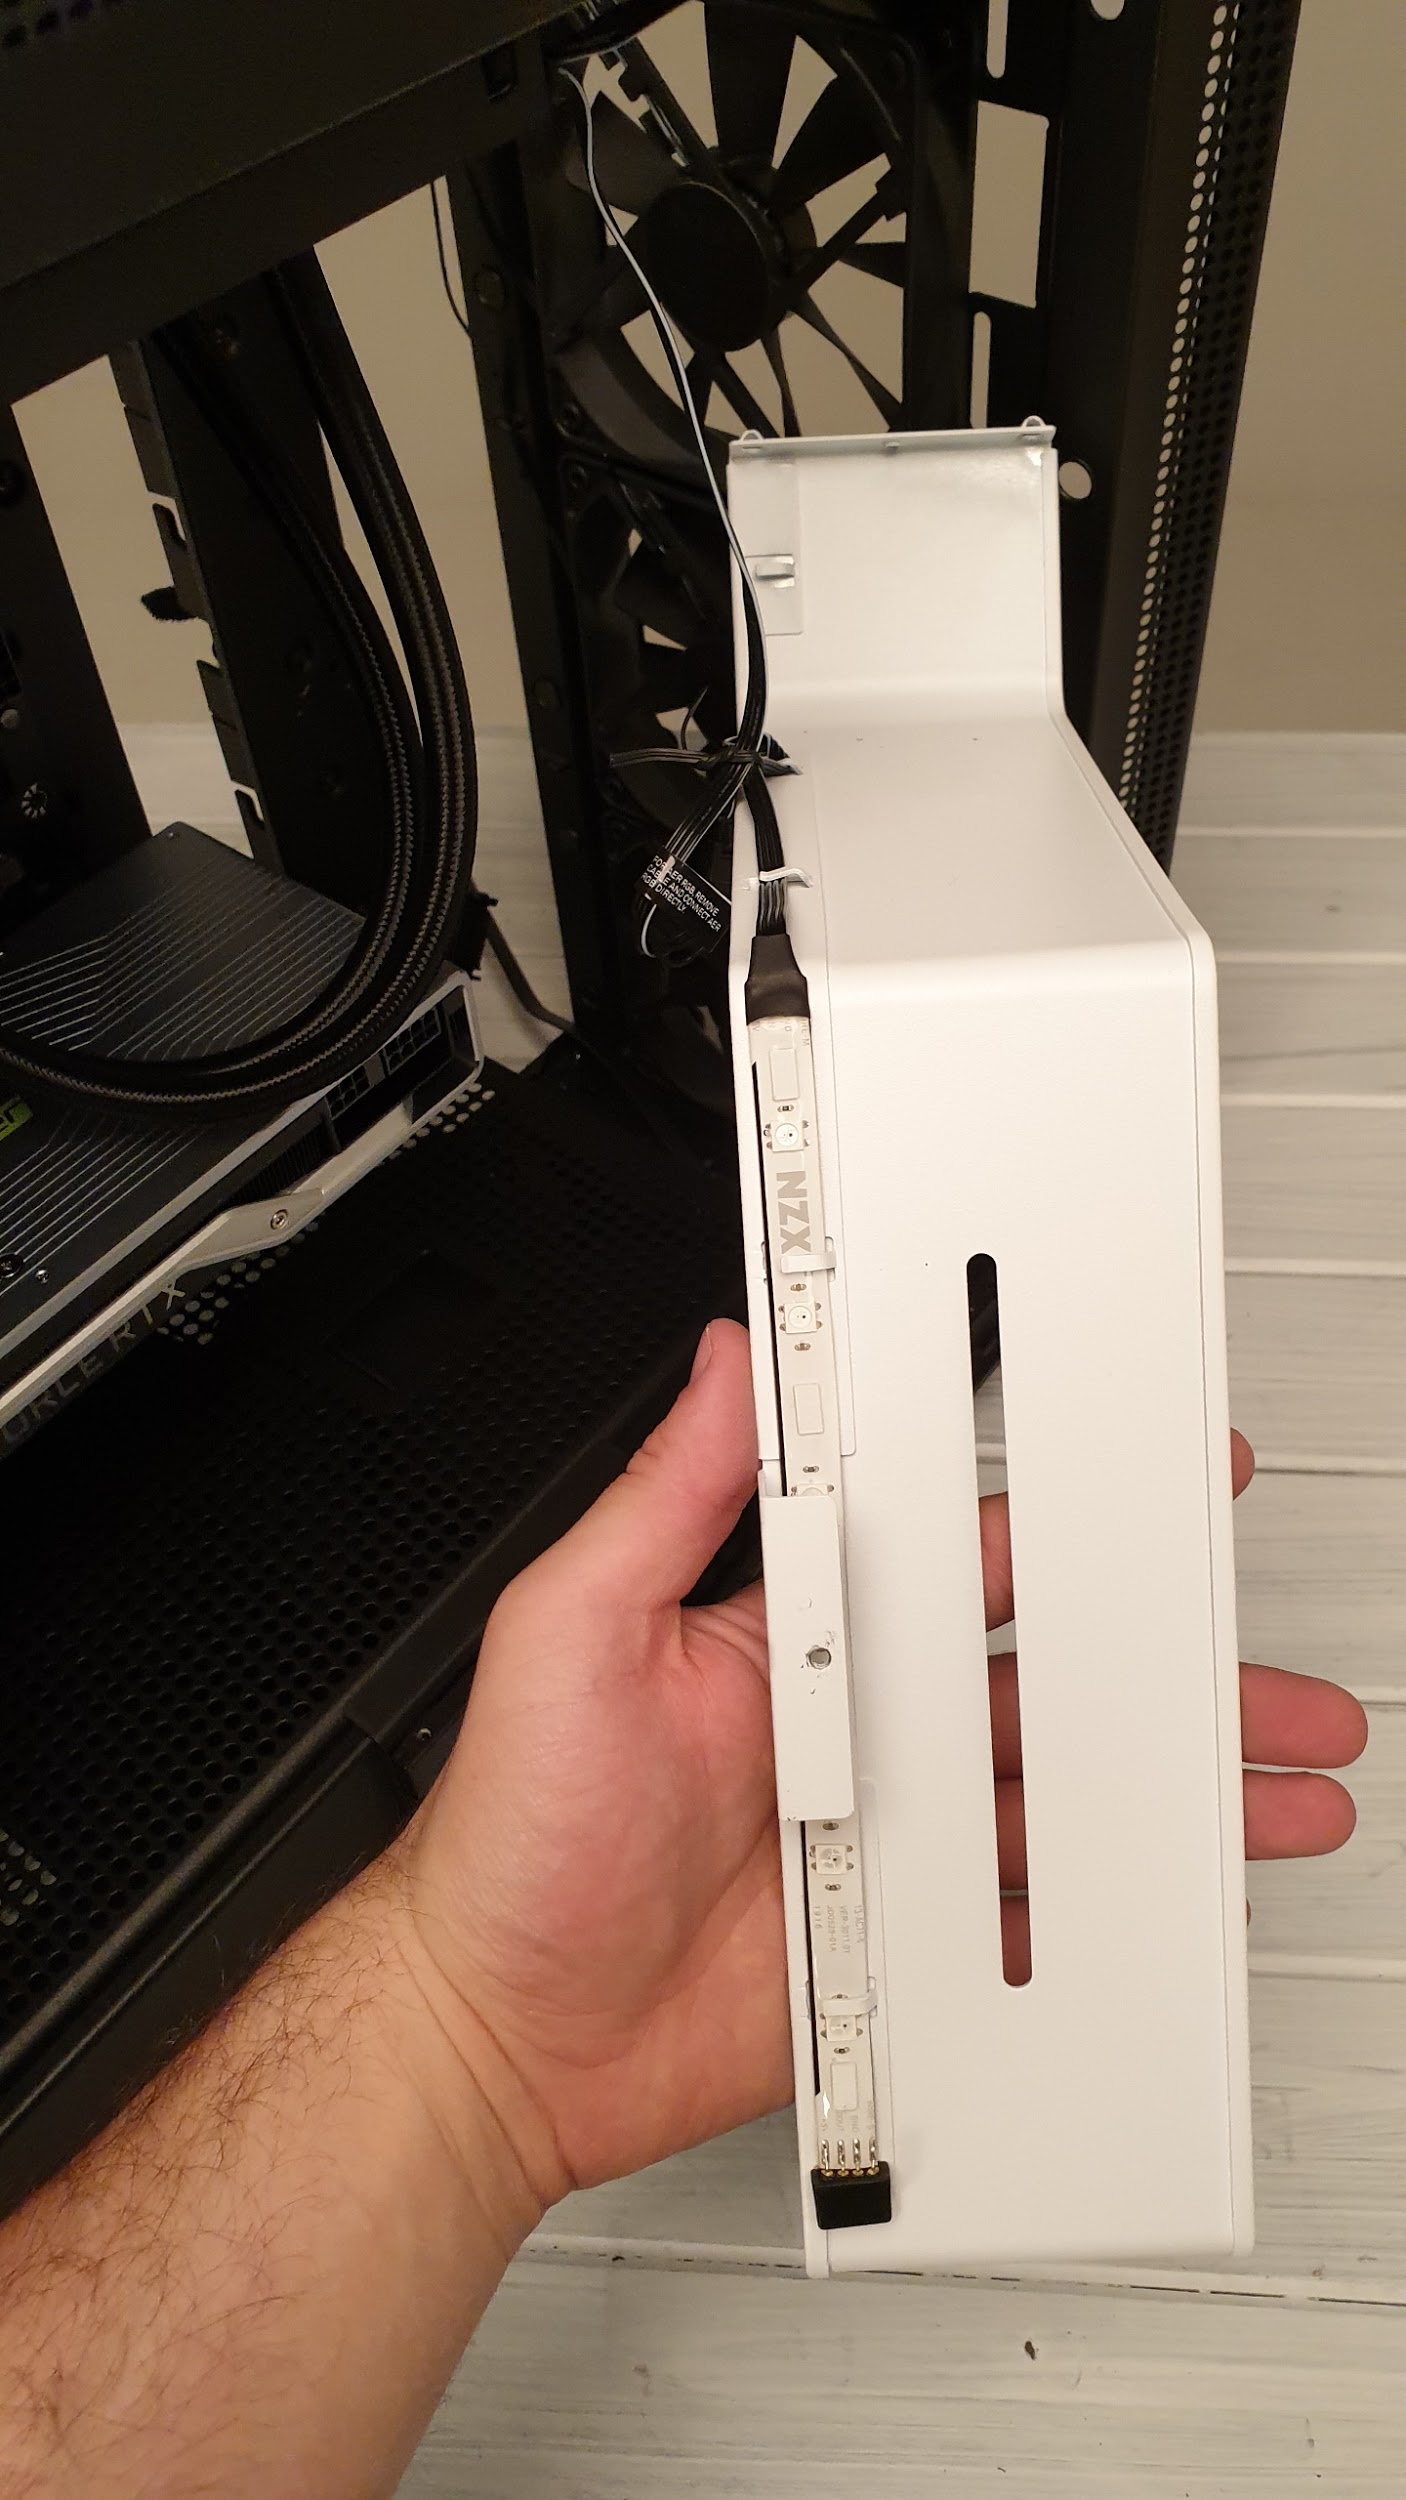
At this point in our build process, we also took the opportunity to remove the cable-bar from the front of the case as well, just to help install our 24-pin and front I/O cables. You can see the massive cable cutout for the front 2.5-inch drive cables, along with the cable bar behind that, and the NZXT Cam device up top.
It’s also worth noting that there’s an LED strip on the back of the cable bar, that needs unplugging, and that it daisy chains with the LED strip pre-installed in the roof as well.
Fan Controller and Front I/O
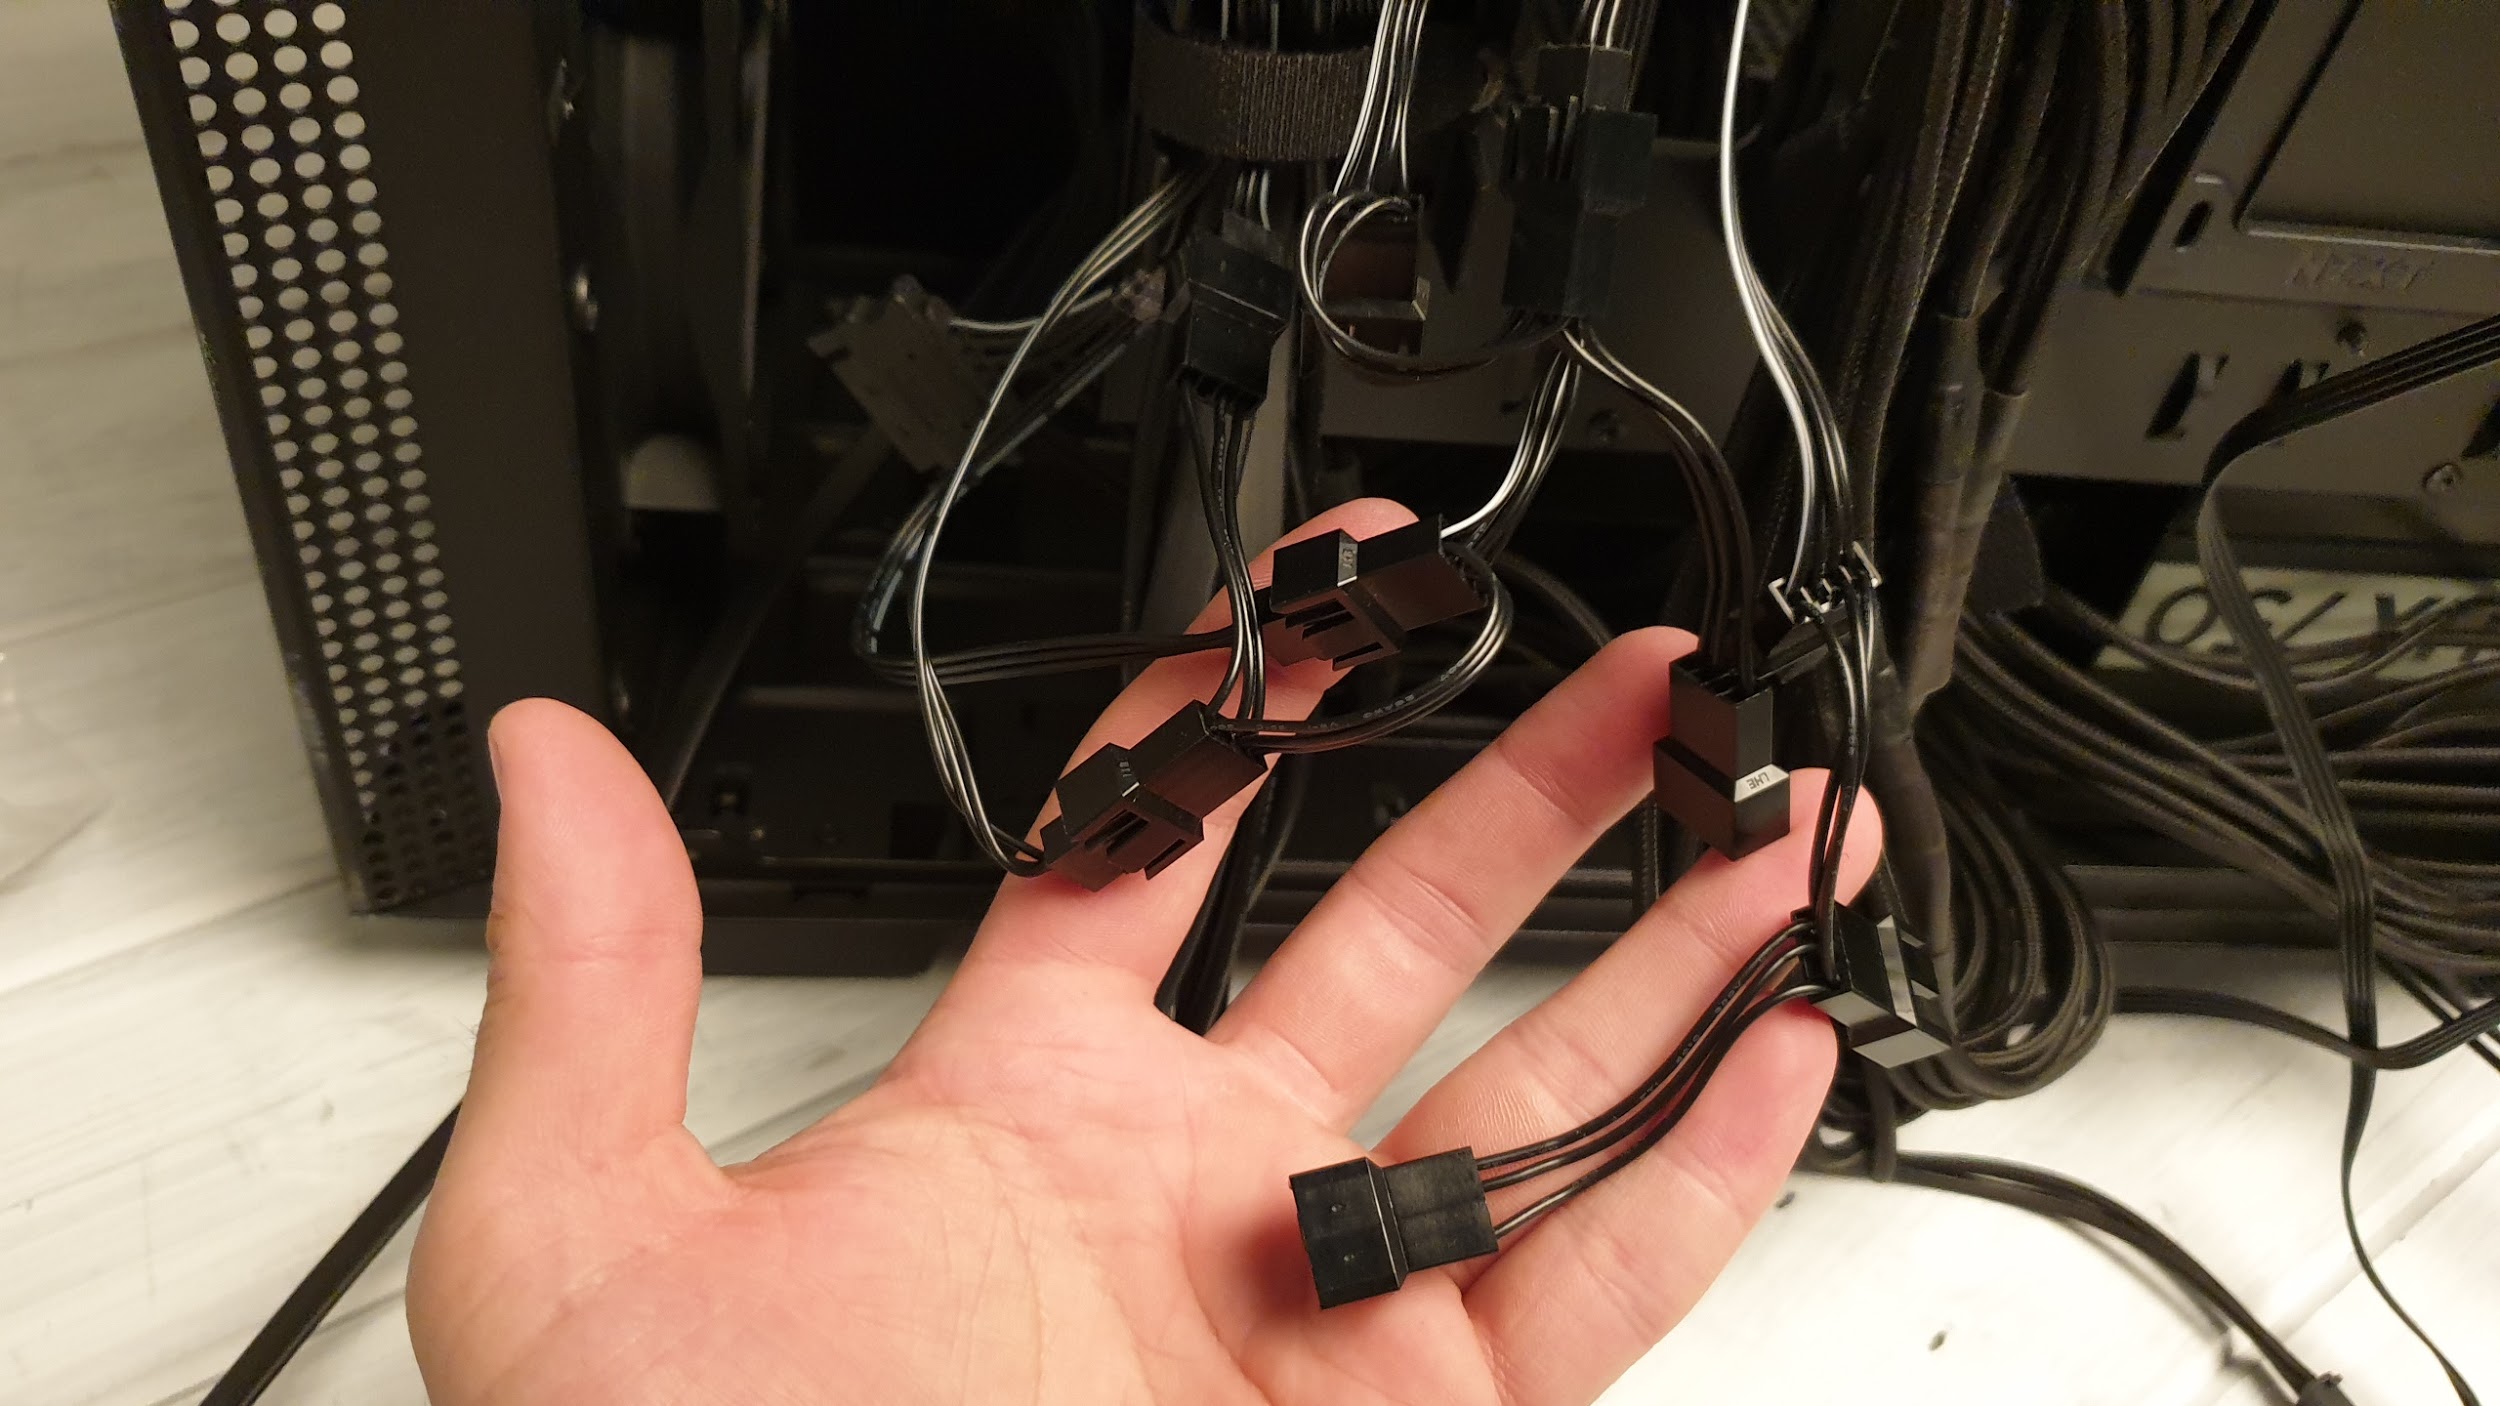
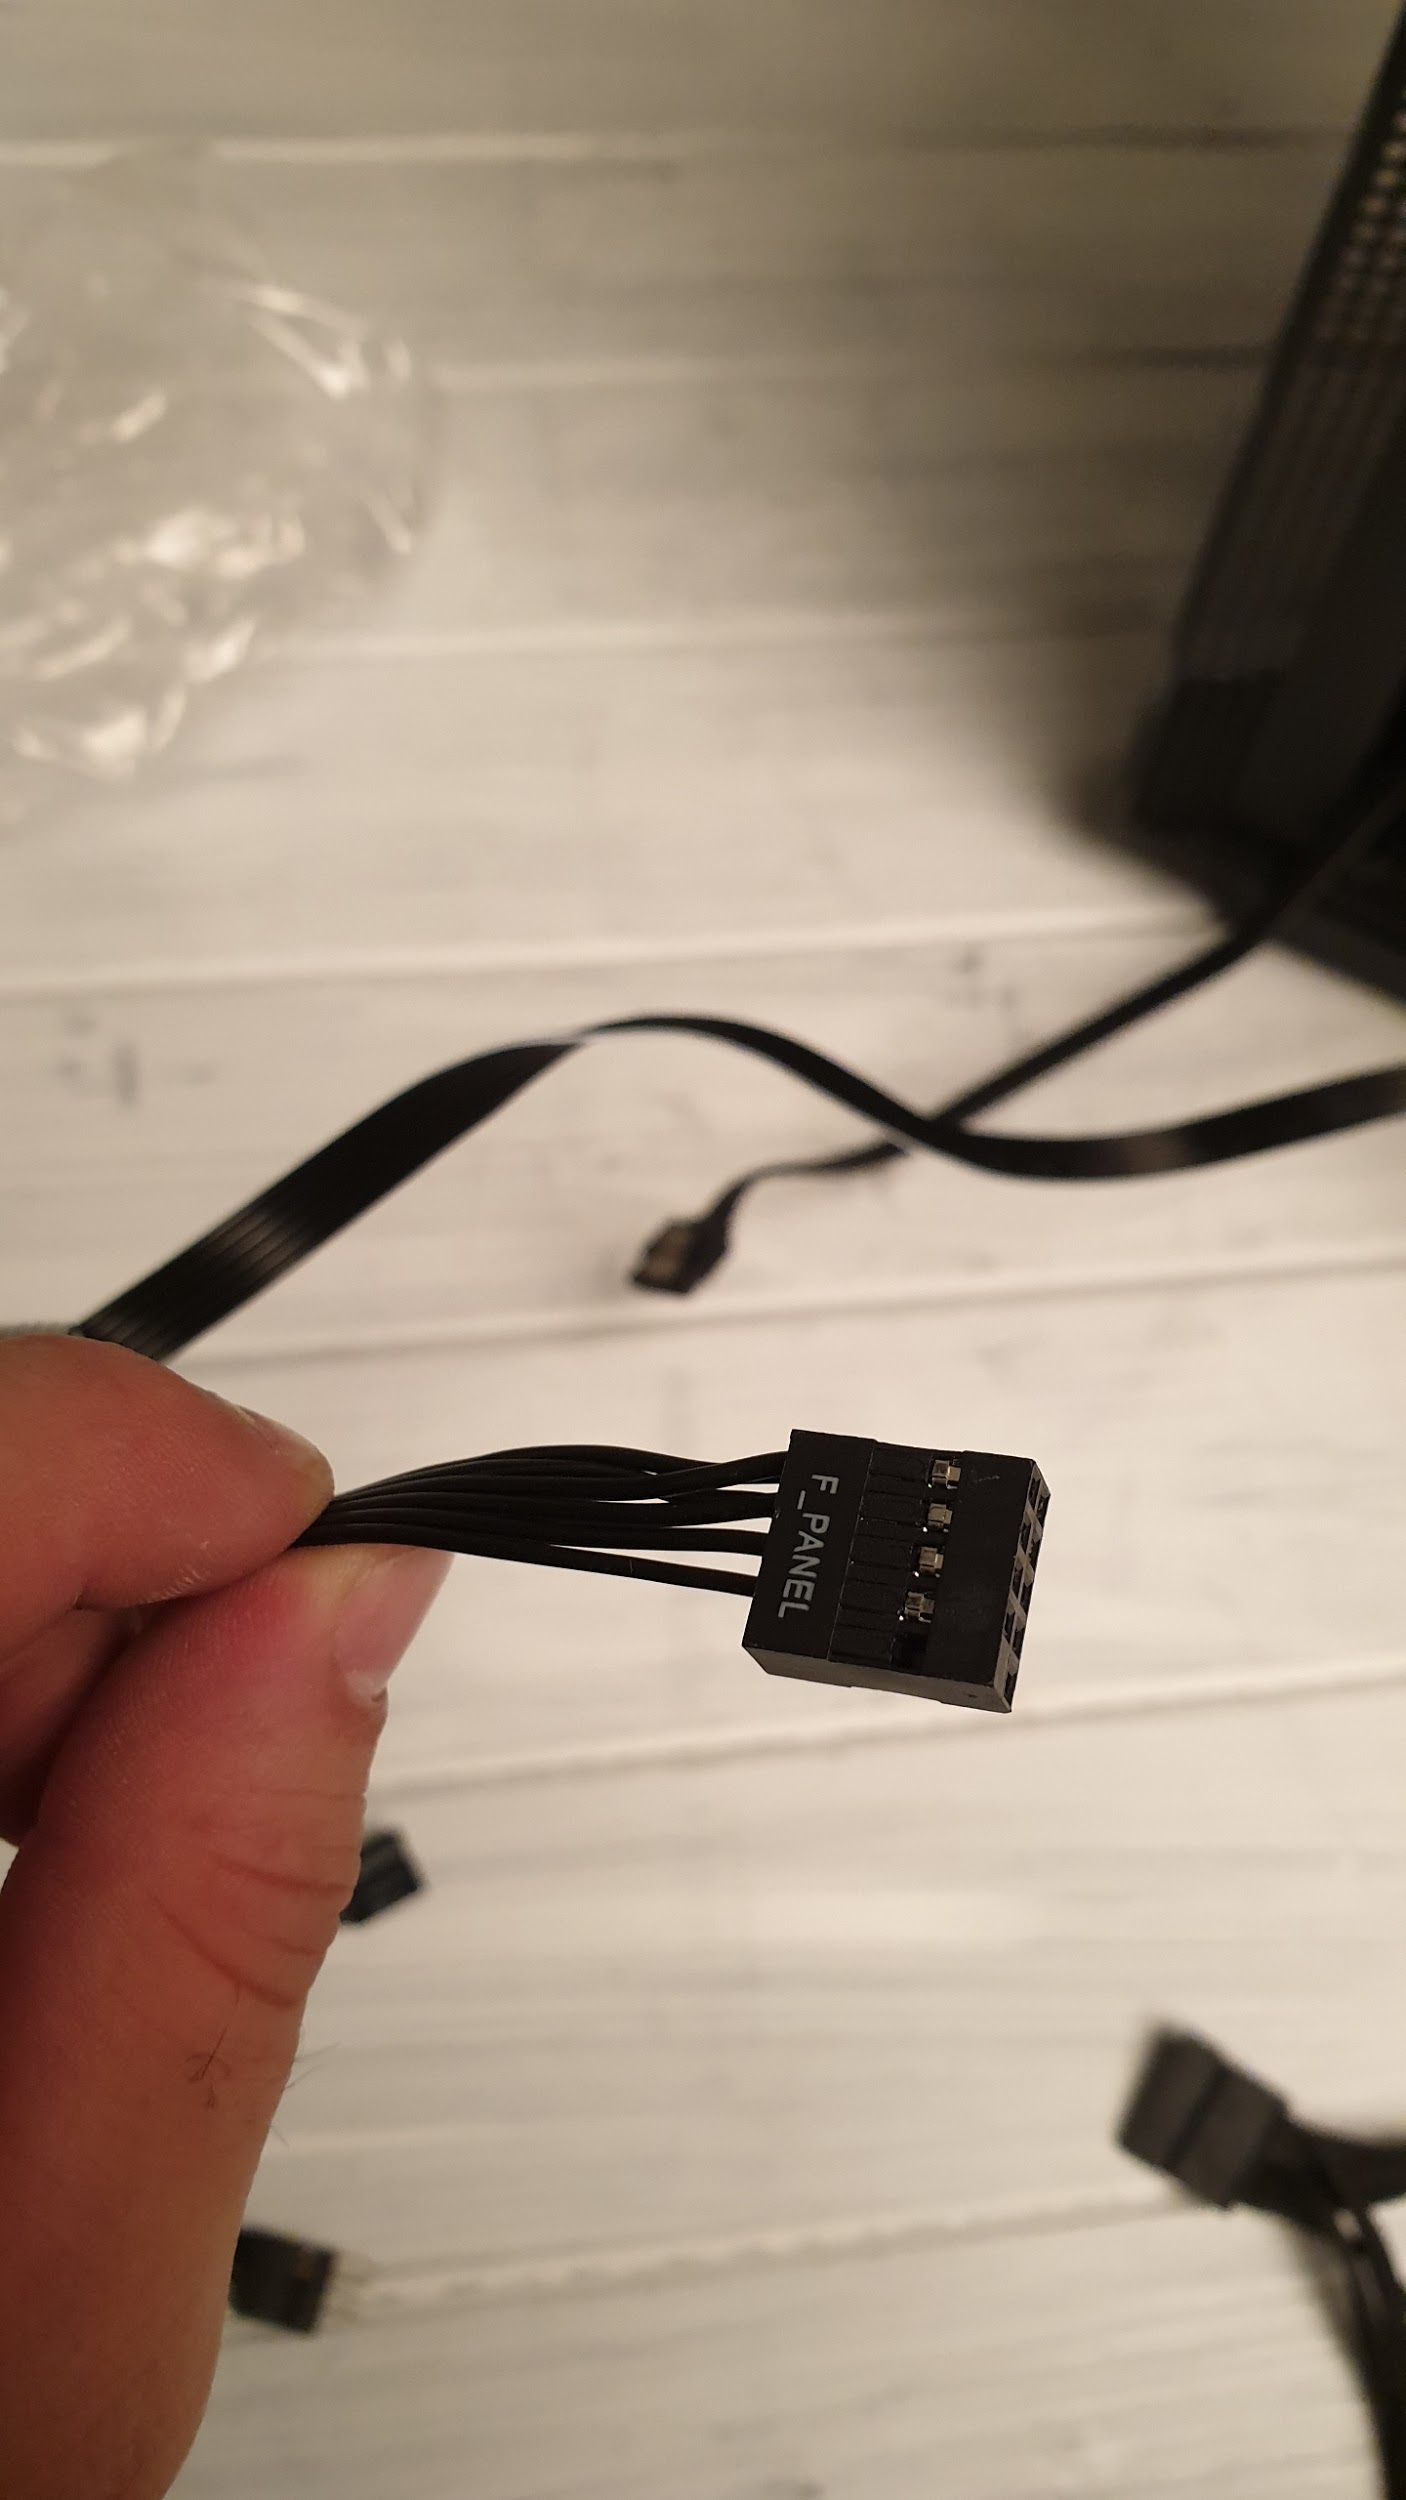
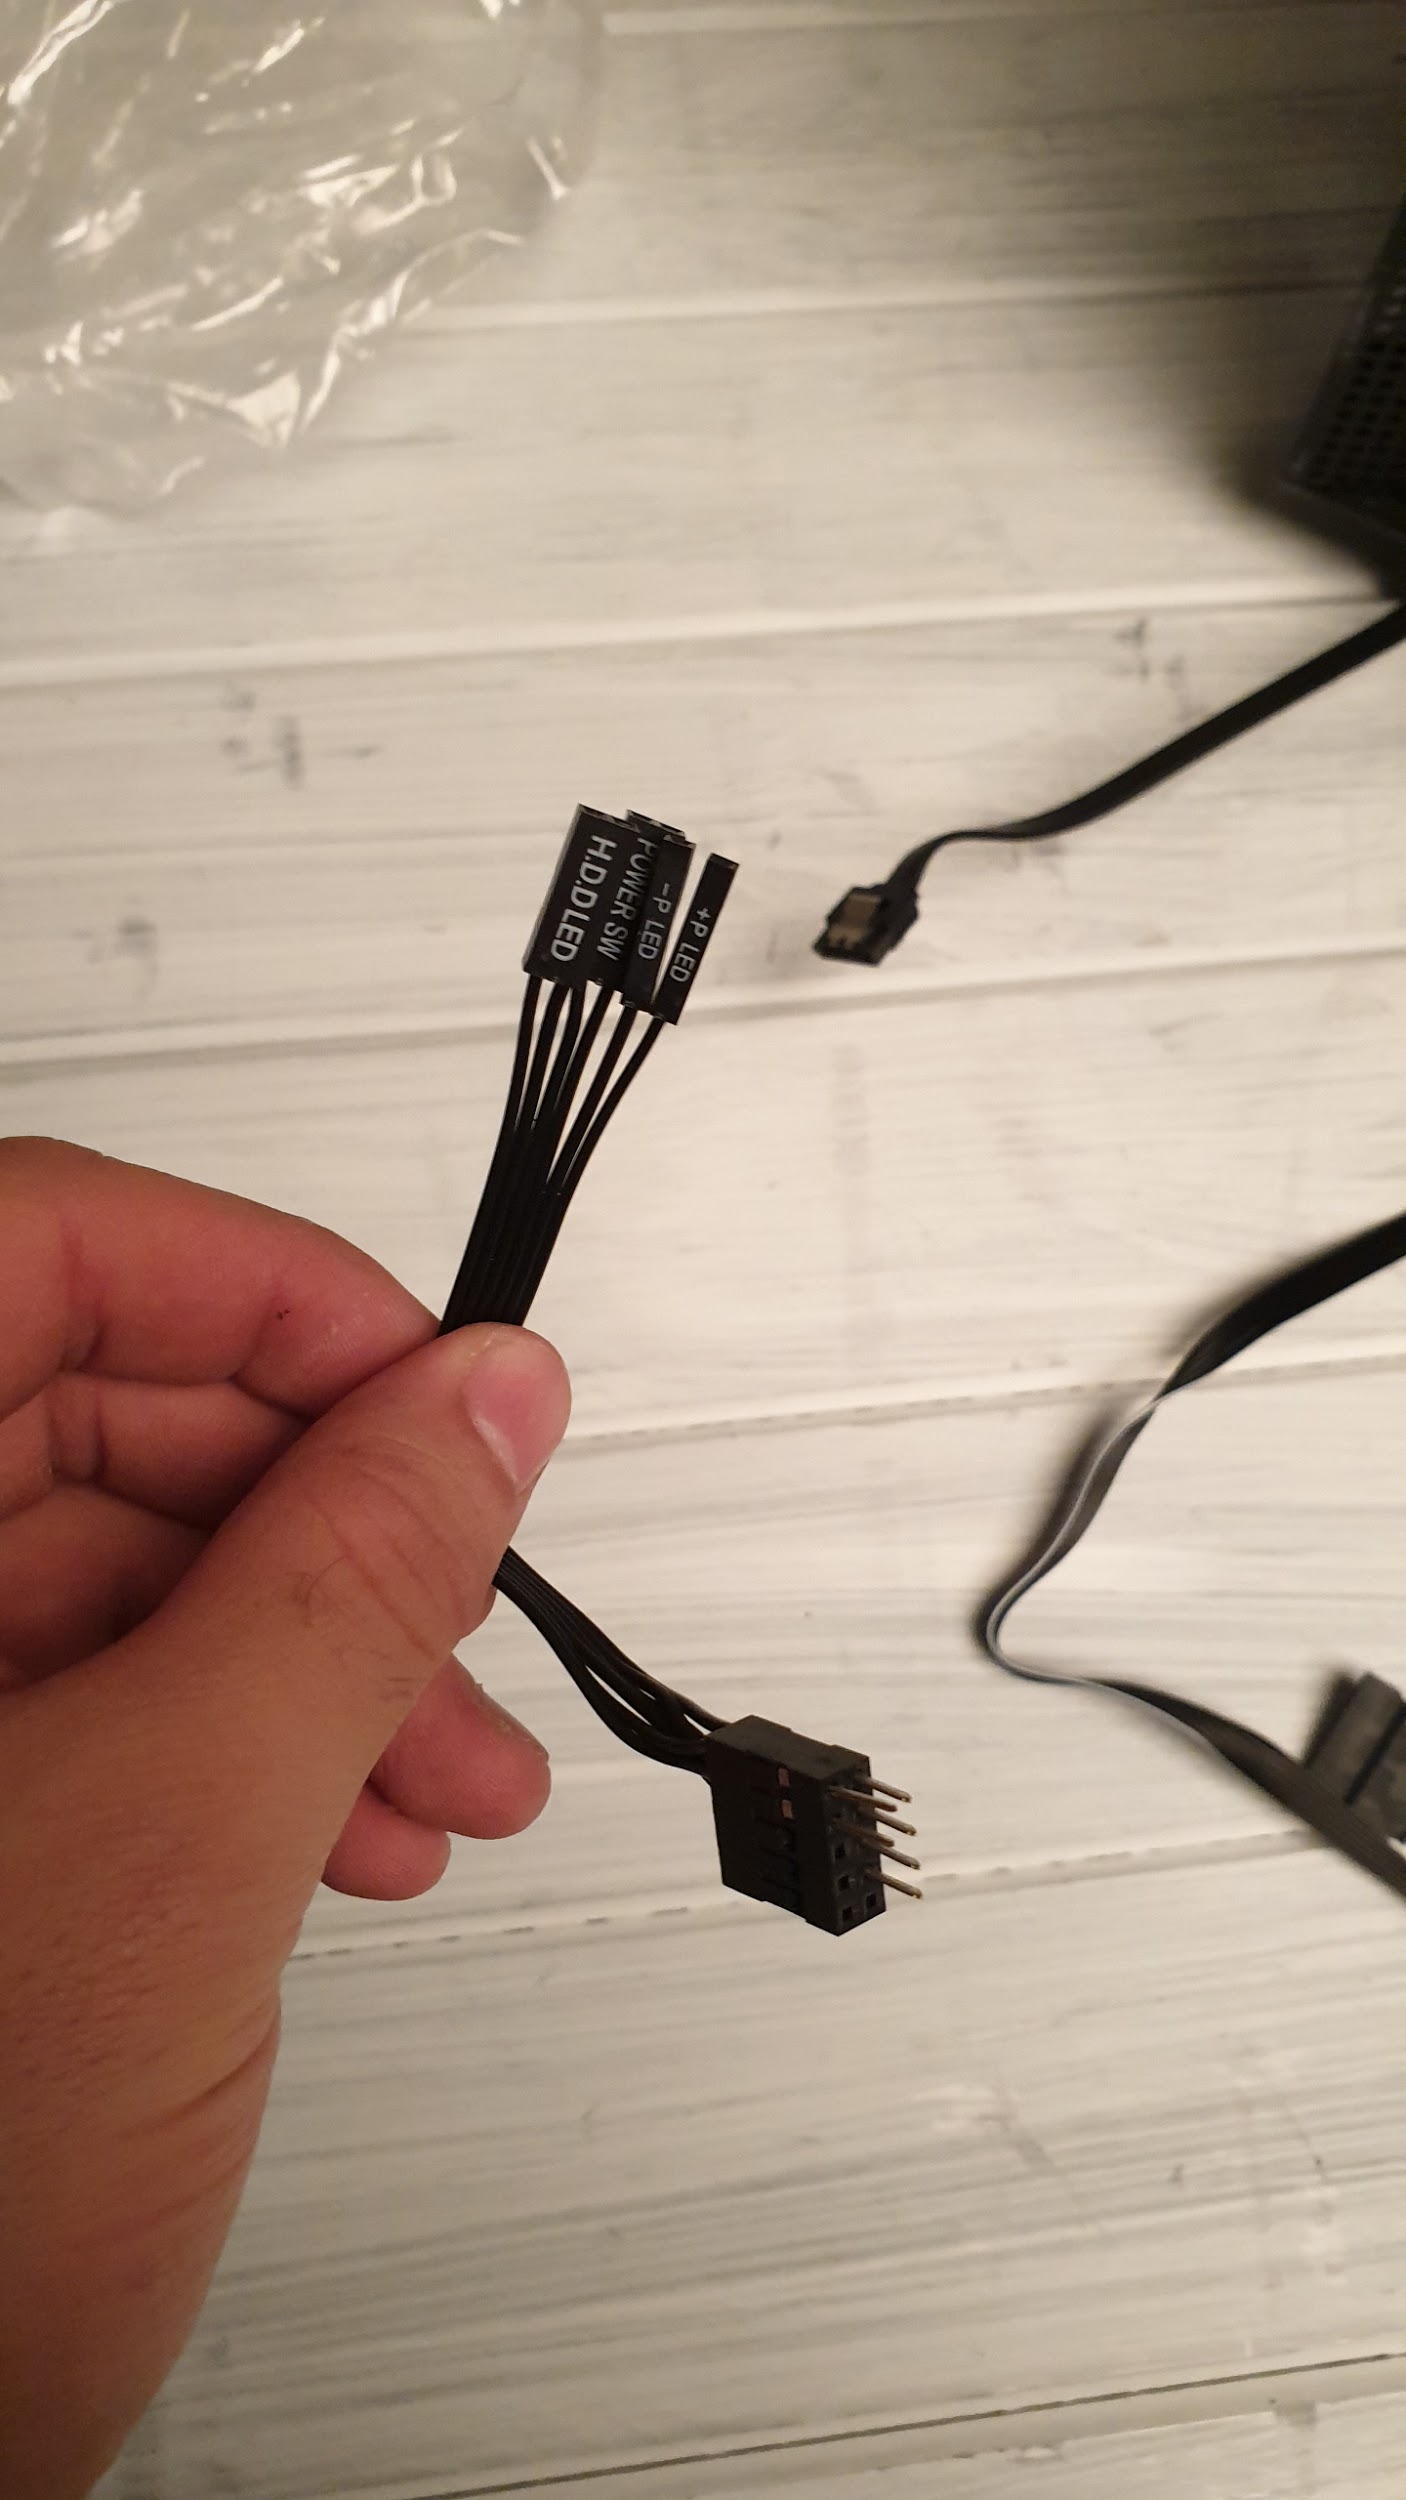
You can plug a maximum of 9 fans into the controller itself using splitters and configure these manually in software, or let CAM auto-tune them. This is also a good time to point out the front I/O cable. NZXT is the only case manufacturer to have fitted these into a small internal USB-like connector. Which is great for motherboards that support it (Asus, MSI) however less so for those that don’t Gigabyte being one. For that, you’ll have to plug in the front panel I/O extension/splitter NZXT includes in its case accessory box.
Once our fans were all connected, our front I/O plugged in, and our cables wrangled into position, we reconnected the LED light strips, cable tied it down to the bar, and then resecured everything into place.
Complete Build
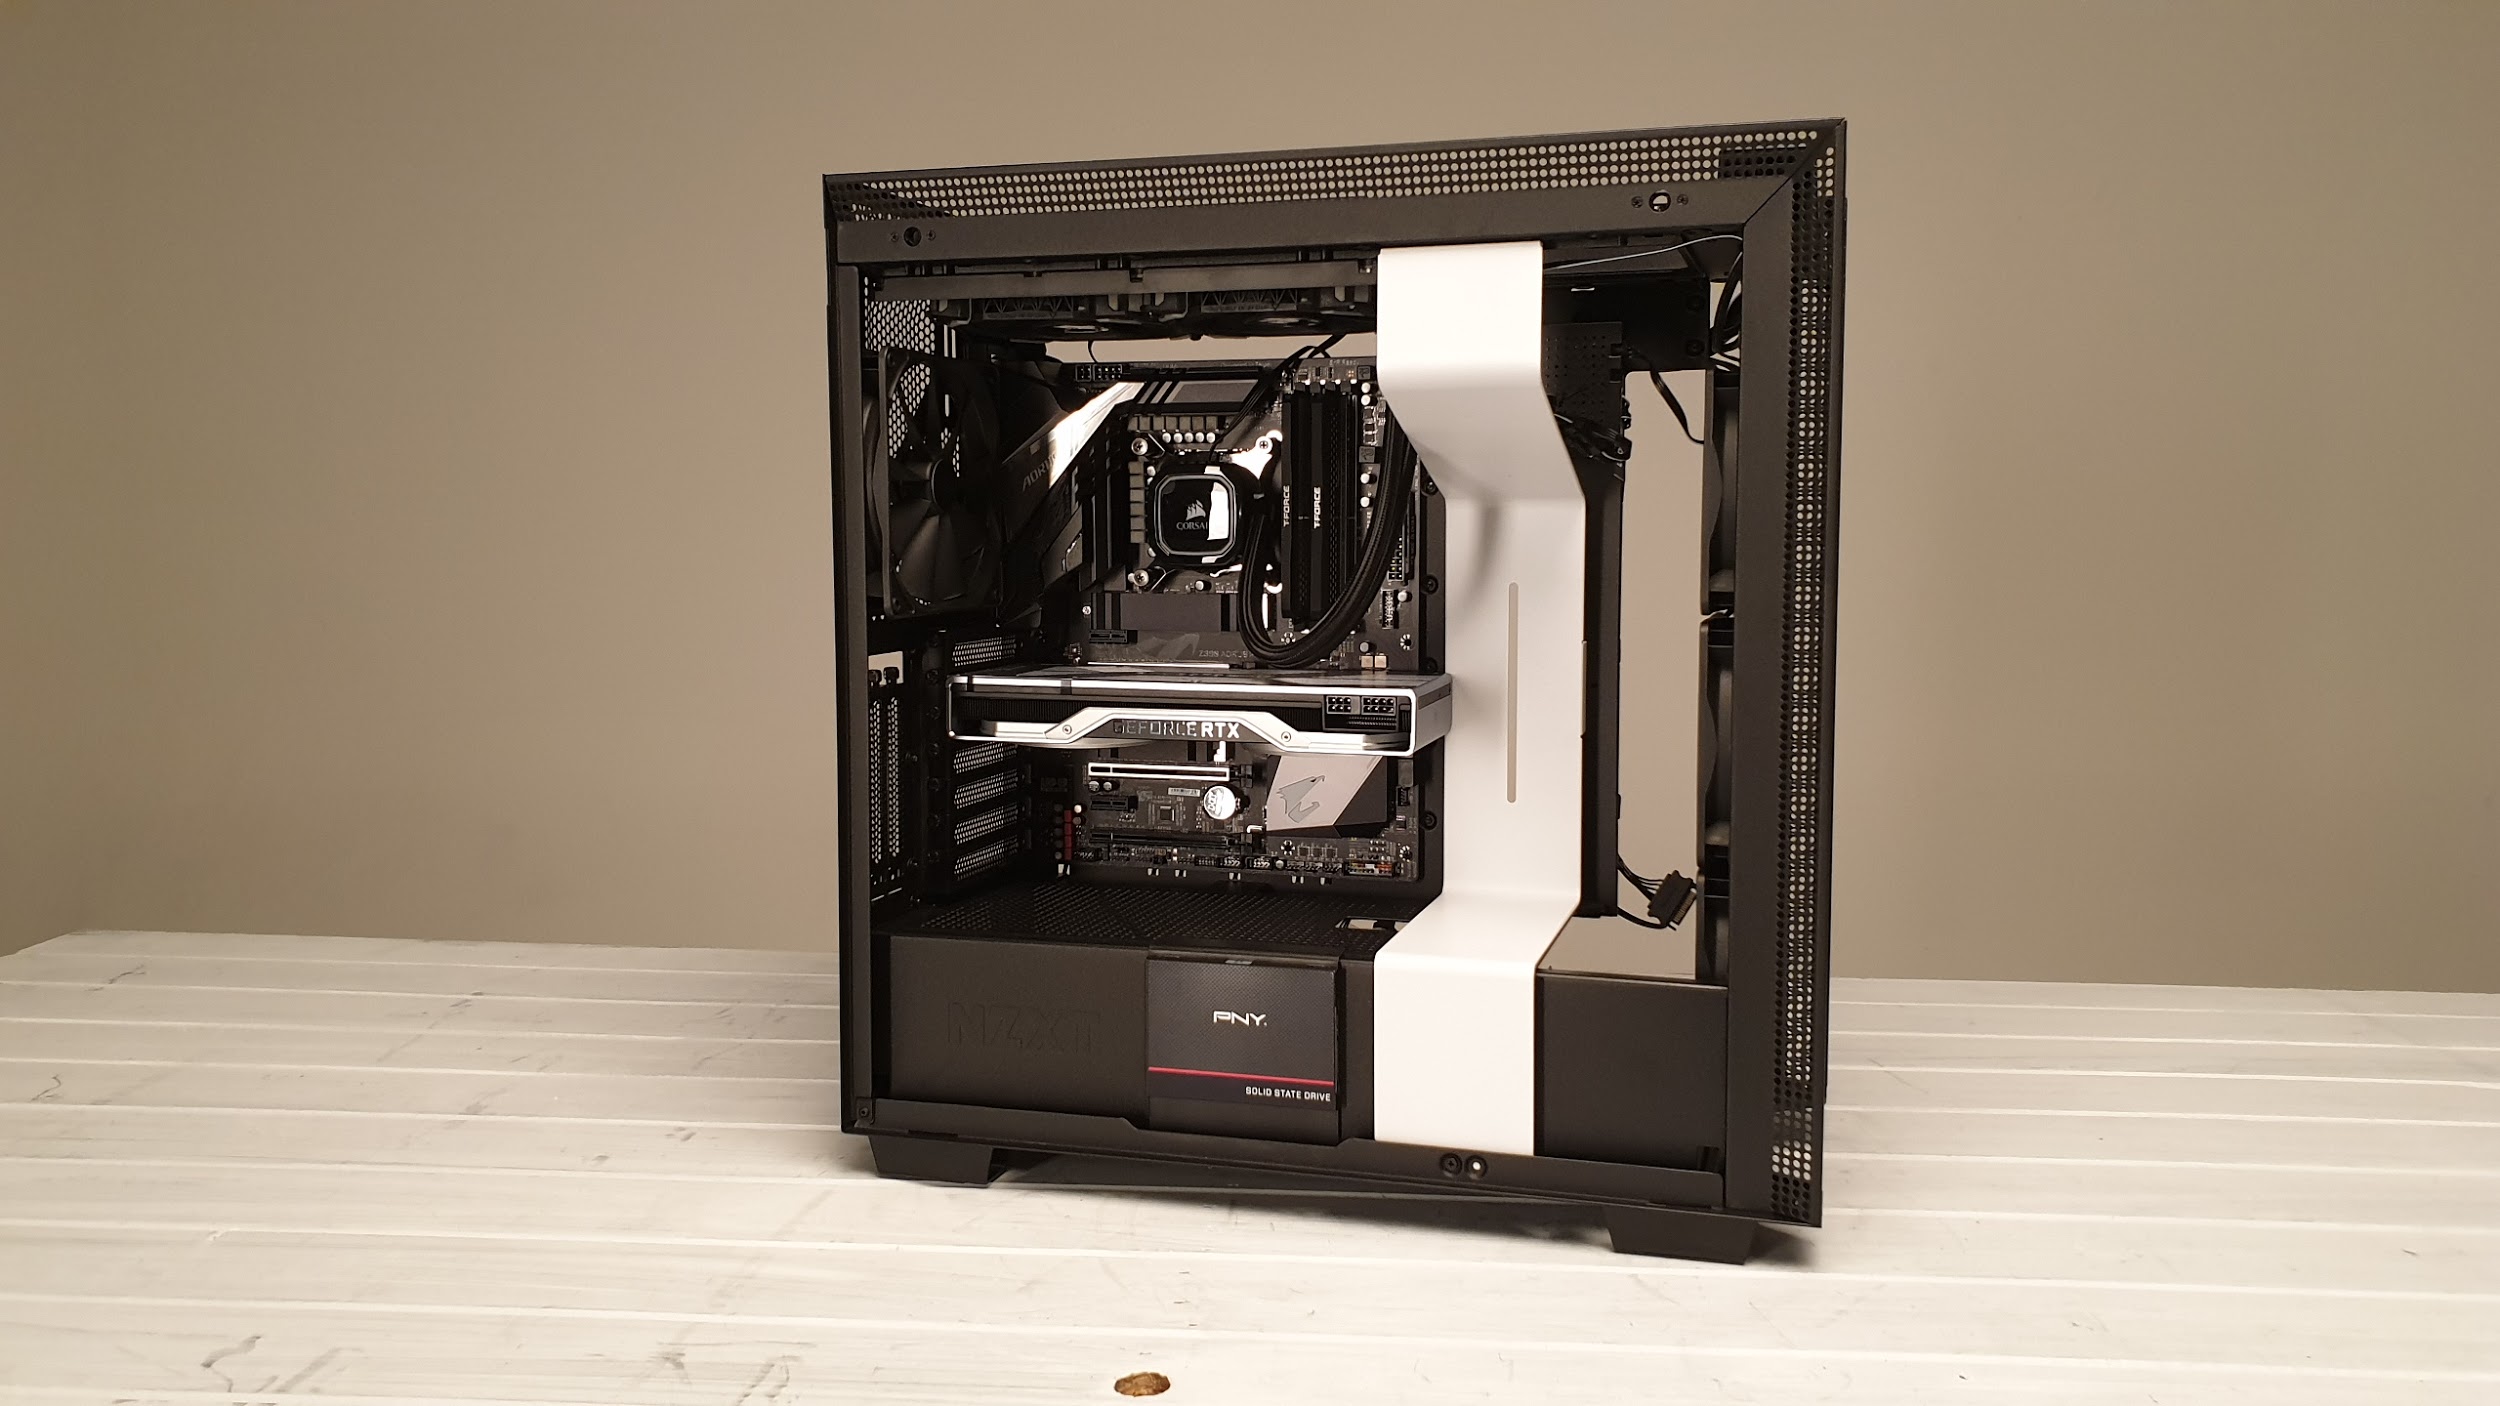
Once you’re wrapped up, the H710i comes together quite nicely. It’s clean, the lighting comes together beautifully, and everything just works. Even if you’re a little lazy and can’t be bothered to fit all your PSU cables to the channels in the back, slot the rear panel into place, push it into position, and the panel will lock into place no sweat.
MORE: Best Cases
MORE: All Case Content
Current page: Hardware Installation and Test Configuration
Prev Page Features and Specifications Next Page Benchmark Results and Conclusion
As Associate Editor of Tom's Hardware's prestigous British division, Zak specializes in system building, case reviews and peripherals, and has a particular penchant for liquid-cooling. He's also a lover of all things Viking/Scandinavian (thus the poor attempt at a beard).
-
FurryVengence I really love my nzxt h700, to me for 100 bucks its a decent value. Lots of room and really good airflow. But the i version and this version are wayyy to much. Heres hoping for something similar for the h710 (non I) down the road.Reply -
sandslv what happened to the other case review guy? After reading this review I am left with more questions than answers. You say CAM software has improved "quite dramatically" but don't explain how. There are three 3.5 drive spots, not two (tabs on top of cage have holes for hard drives). Can you fit radiators with fans on both sides in the front? Will single fan coolers reach the CPU when mounted in front? Do reservoirs mounted on the cable bar impact the size of radiator mounted in front? What about fitting triple fan radiators? You compared a $199 case to a $100 and $70 case. There is no way to compare the H710i to the P400A unless I go to another website and no way to compare it to any other Tom's case review because the hardware is significantly different. Are your results over ambient? How loud is this case? How did GPU temps drop by 4C by adding an AIO? The list of questions goes on and on. This reads like a glorified ad, not your normal Tom's case review.Reply -
T&M Why did you guys quit showing all the different water cooling rads installed in your reviews? the $100 price jump seems a bit high compared to the regular h700.Reply -
Adam 12345 I bought the 710. It started whining like crazy. I tracked it down to the fans in the front. Even holding them with my hand didn't stop the whine. I used some sewing machine oil which helped for a bit but then it came back. I ended up cutting the leads to the bottom fan, its was the worst one. The top 2 aren't as bad and I can live with it when the side of the case is on. It's fine if your computer is in a machine shop but I'm in an office. I definitely wouldn't buy from this company again.Reply
