Why you can trust Tom's Hardware
We are using the following system for today’s system:
| CPU | Intel Core i5-9600K |
|---|---|
| Motherboard | ASRock Z390 Phantom Gaming-ITX/ac |
| Memory | Corsair Vengeance LPX 3200 MHz, 16 GB (2x 8GB) |
| Graphics | Nvidia GeForce RTX 2070 Super Founder's Edition |
| CPU Cooling | Cooler Master ML120R RGB AIO |
| Row 4 - Cell 0 | Corsair ML120 Fan on AIO |
| Row 5 - Cell 0 | Noctua NT-H2 Thermal Paste |
| Storage | Corsair Force Series MP600 NVMe SSD, 500GB |
| Power Supply | Corsair SF750 |
Step 1: Installing Lower Fan
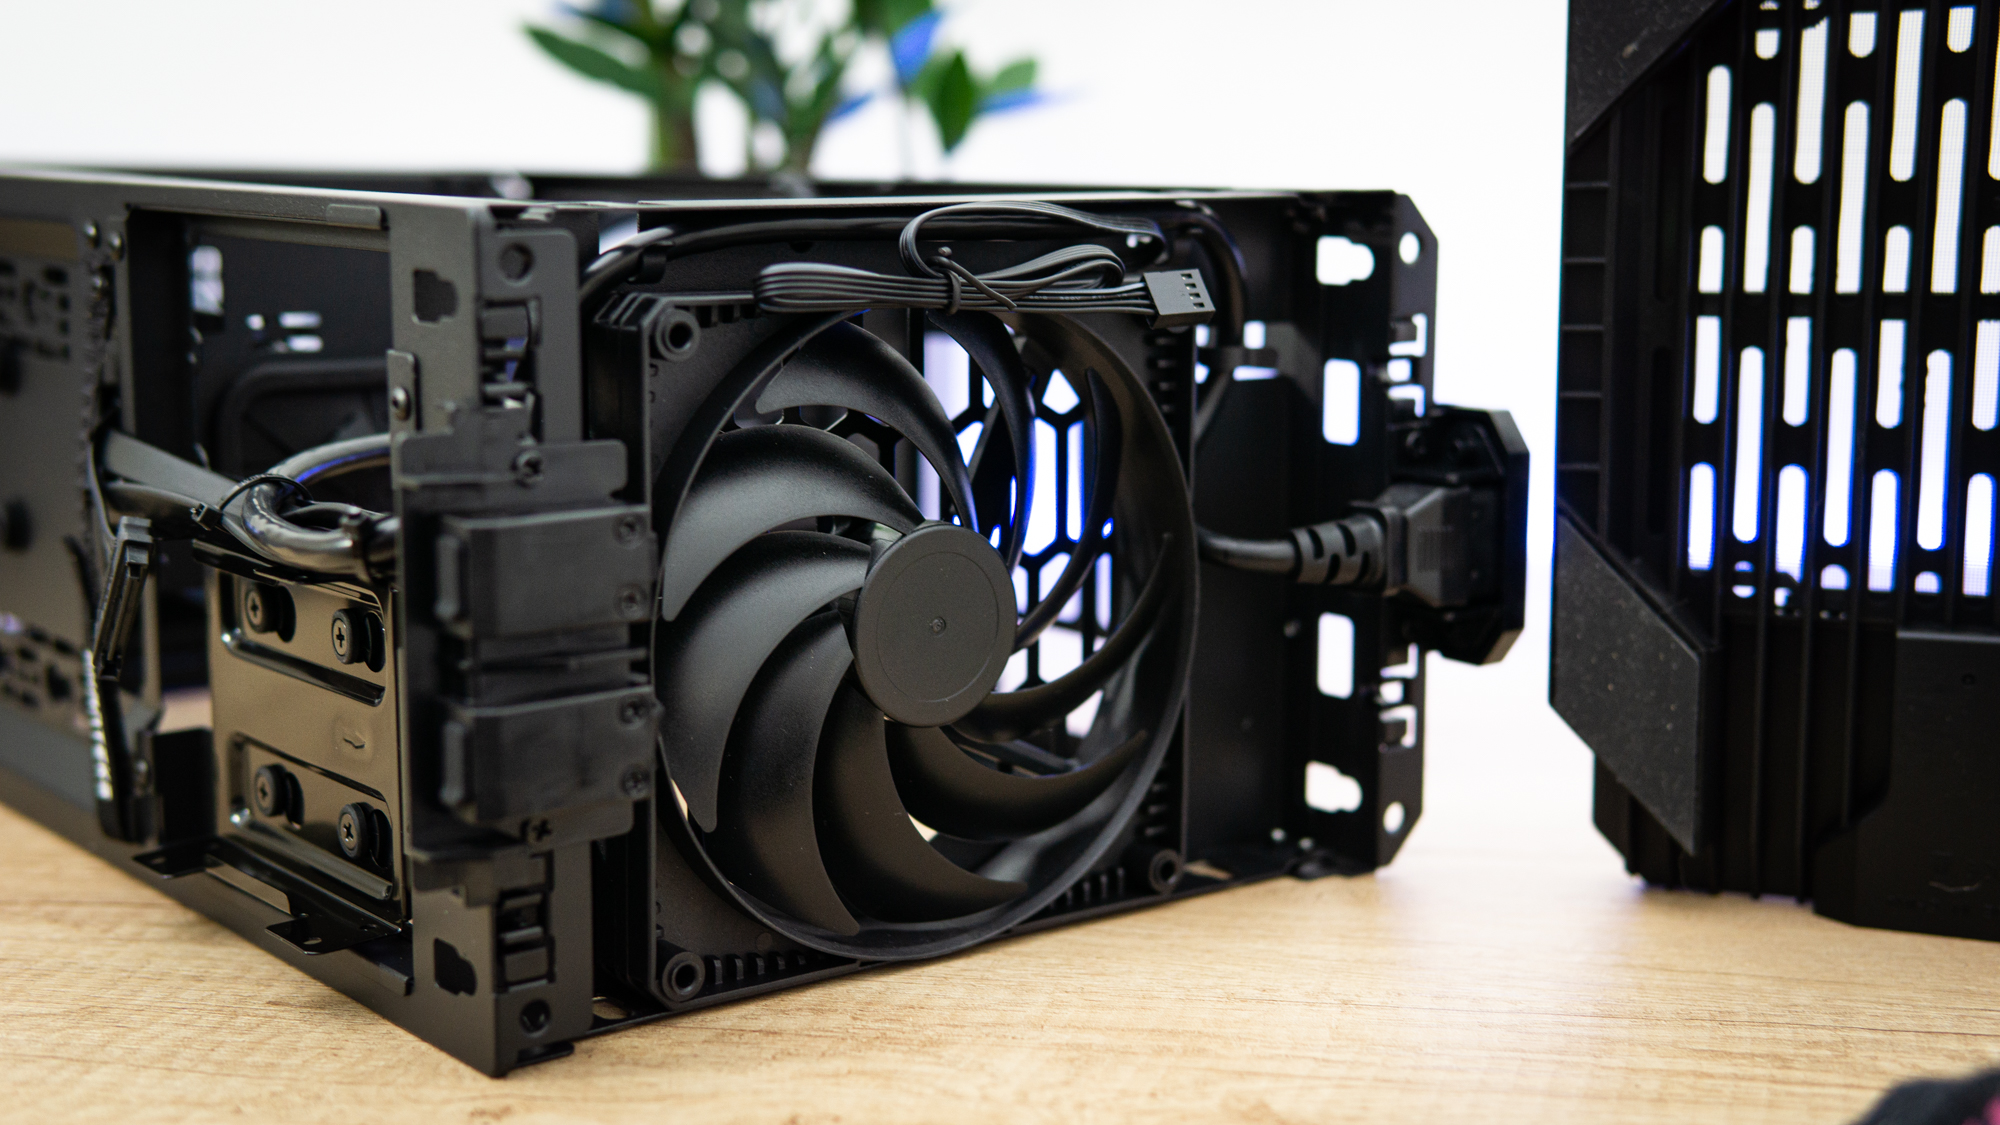
Before anything else, I installed the intake fan at the bottom of the chassis. as getting to its mounting holes would be challenging after installing the power supply and AIO.
Step 2: Installing the PSU
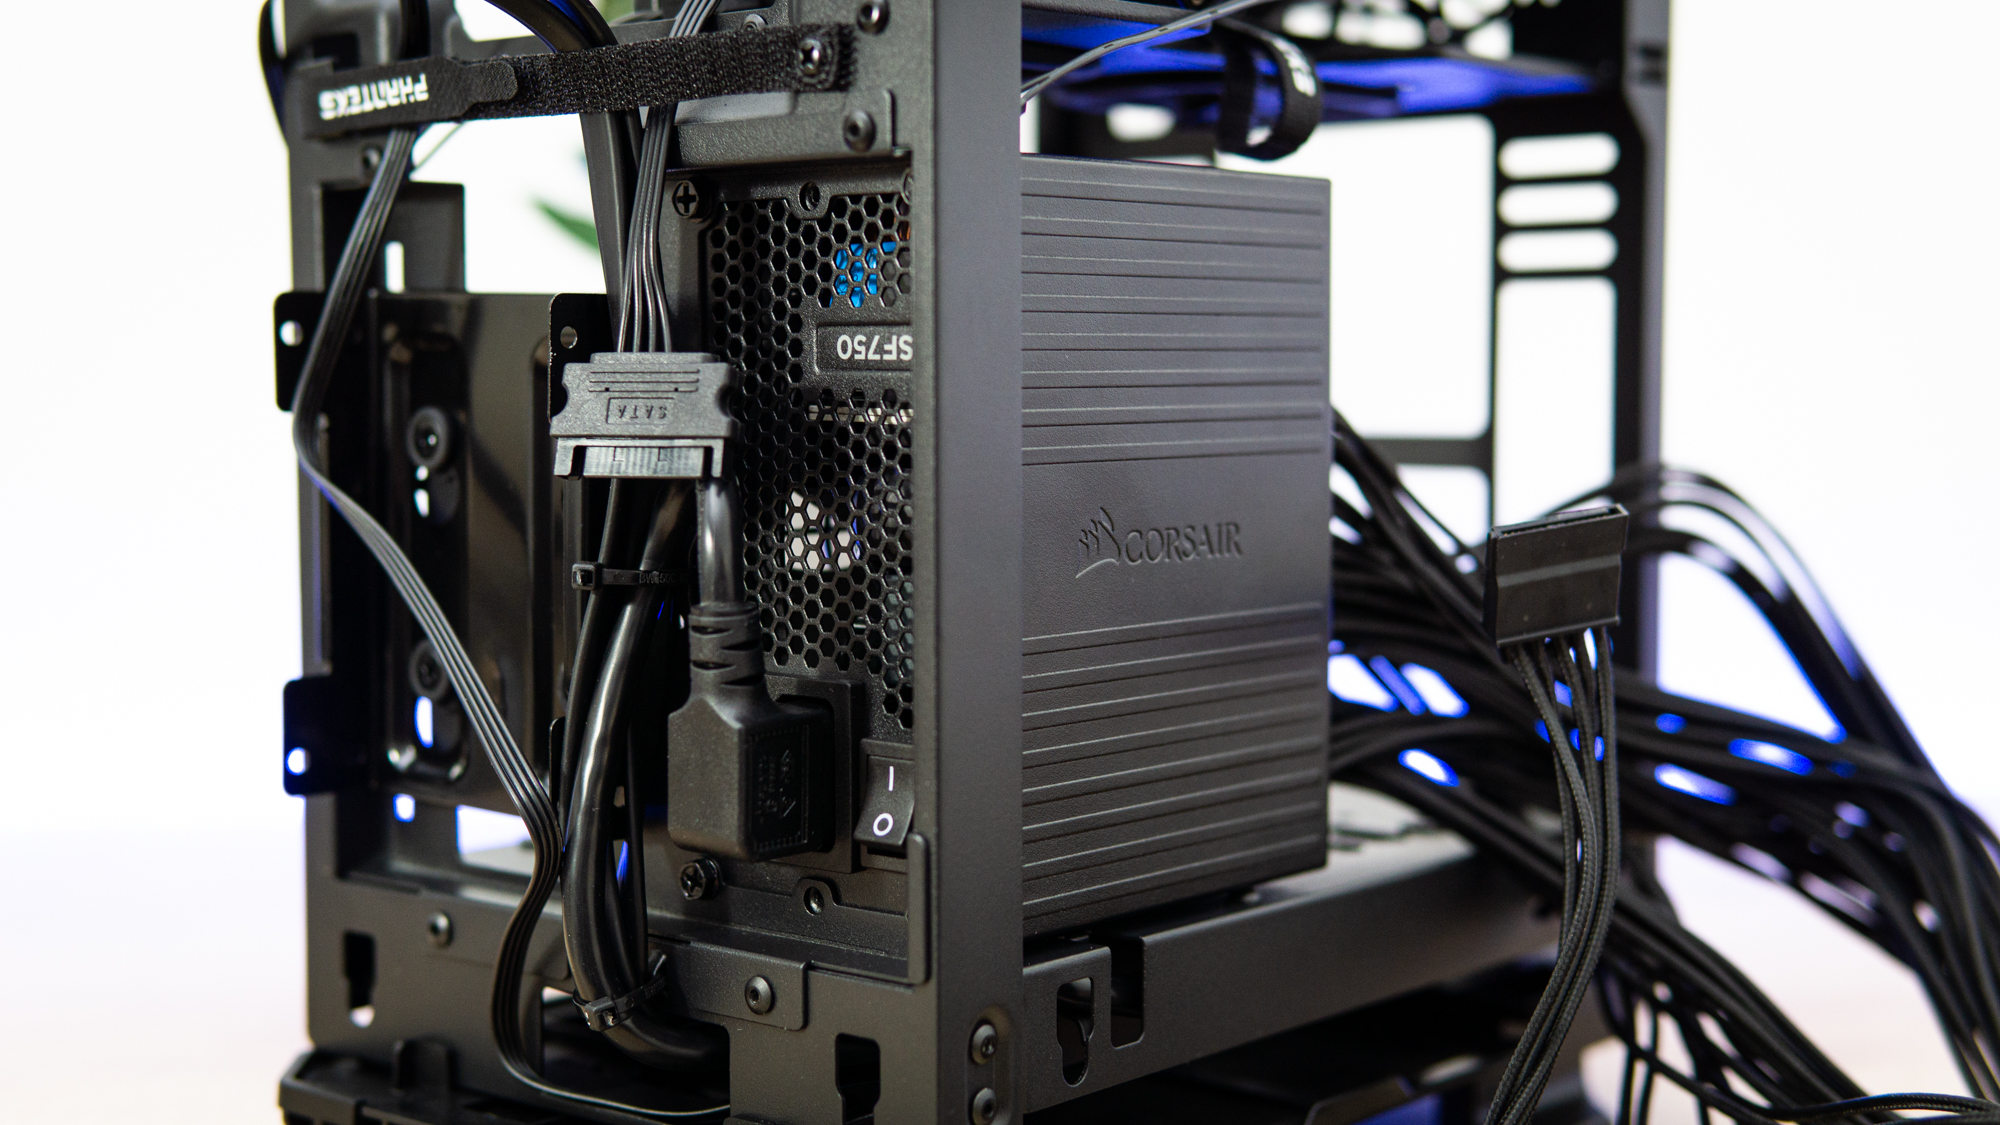
I installed the Corsair SF750 power supply with the fan facing inwards, as facing outwards would be too close to the glass panel. If you are using the ventilated side panels, feel free to point the fan whichever way you prefer.
Step 3: Installing the Motherboard
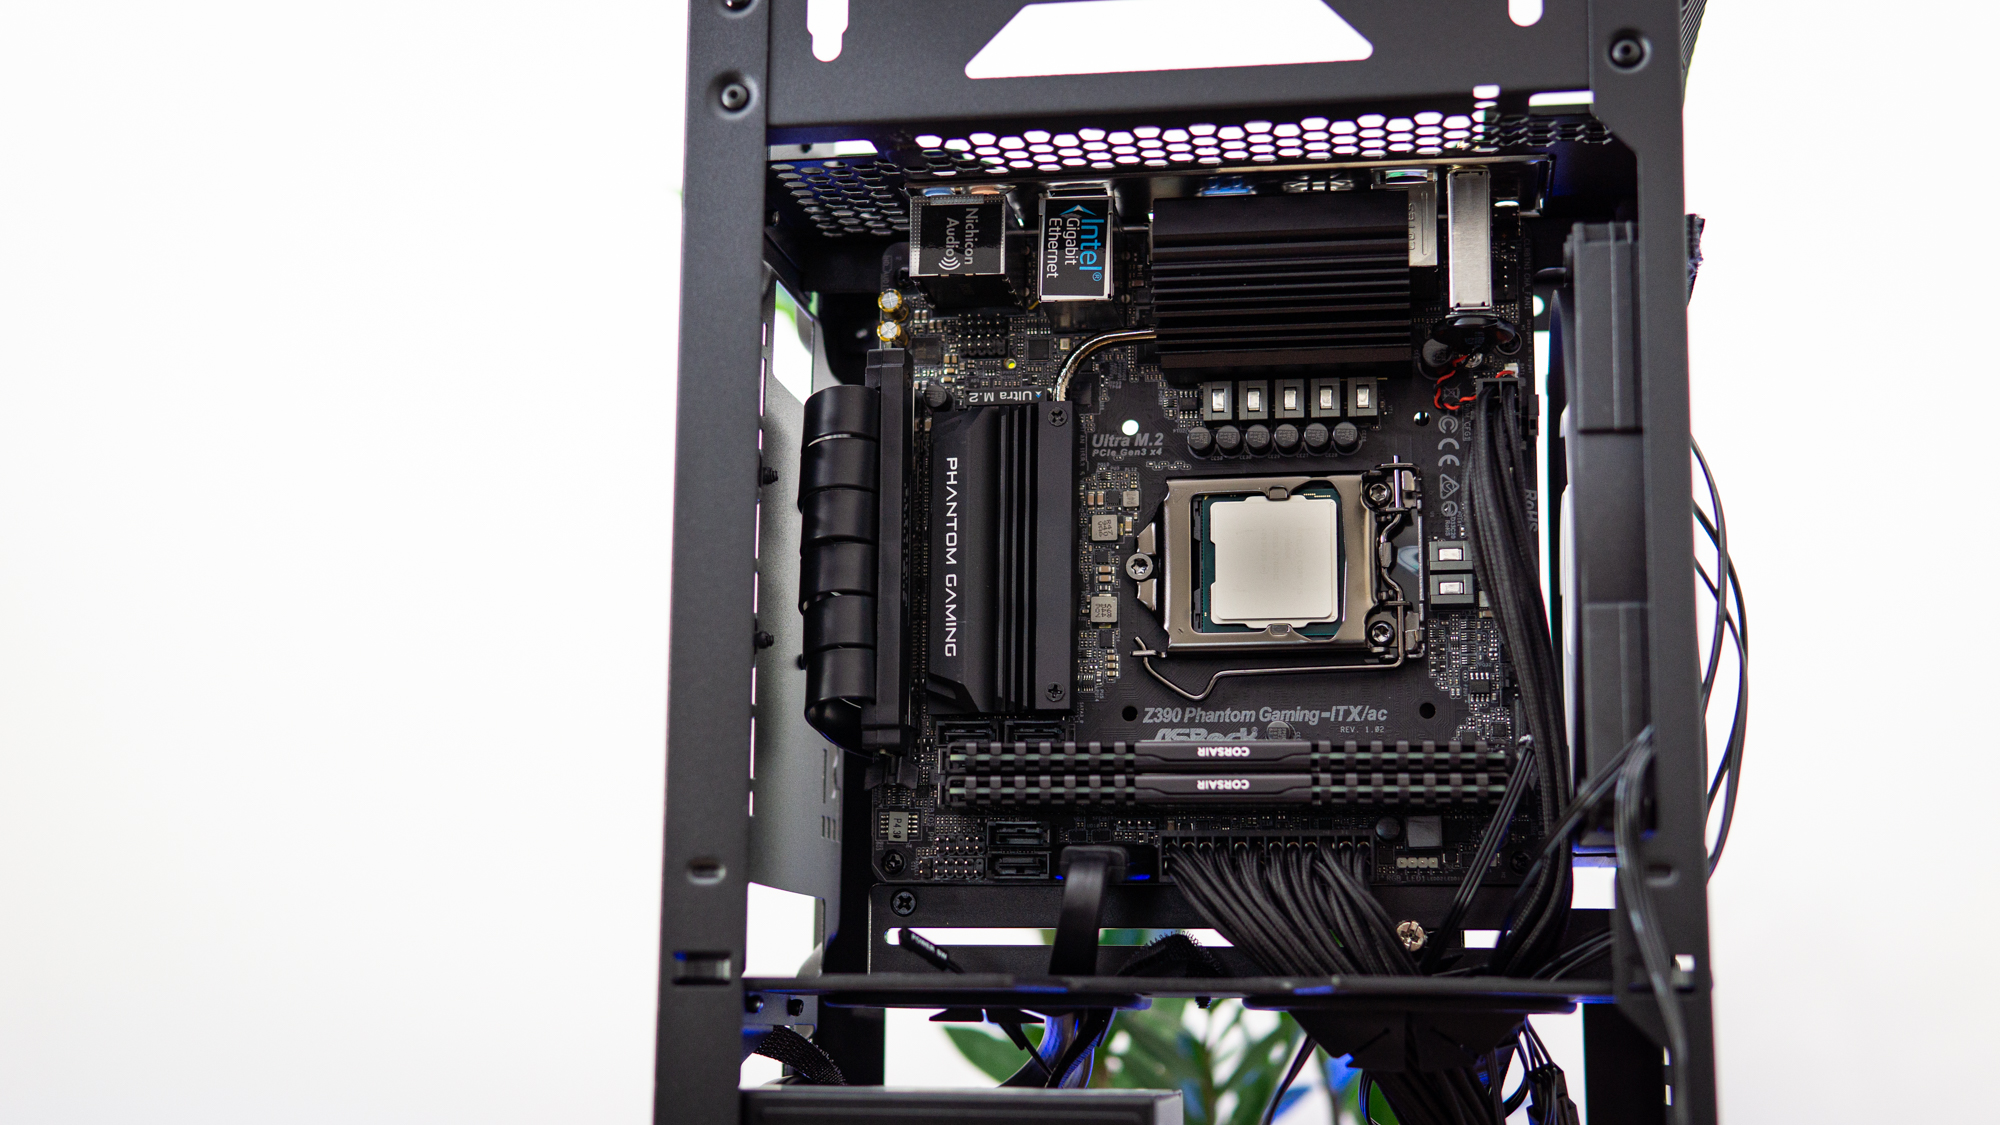
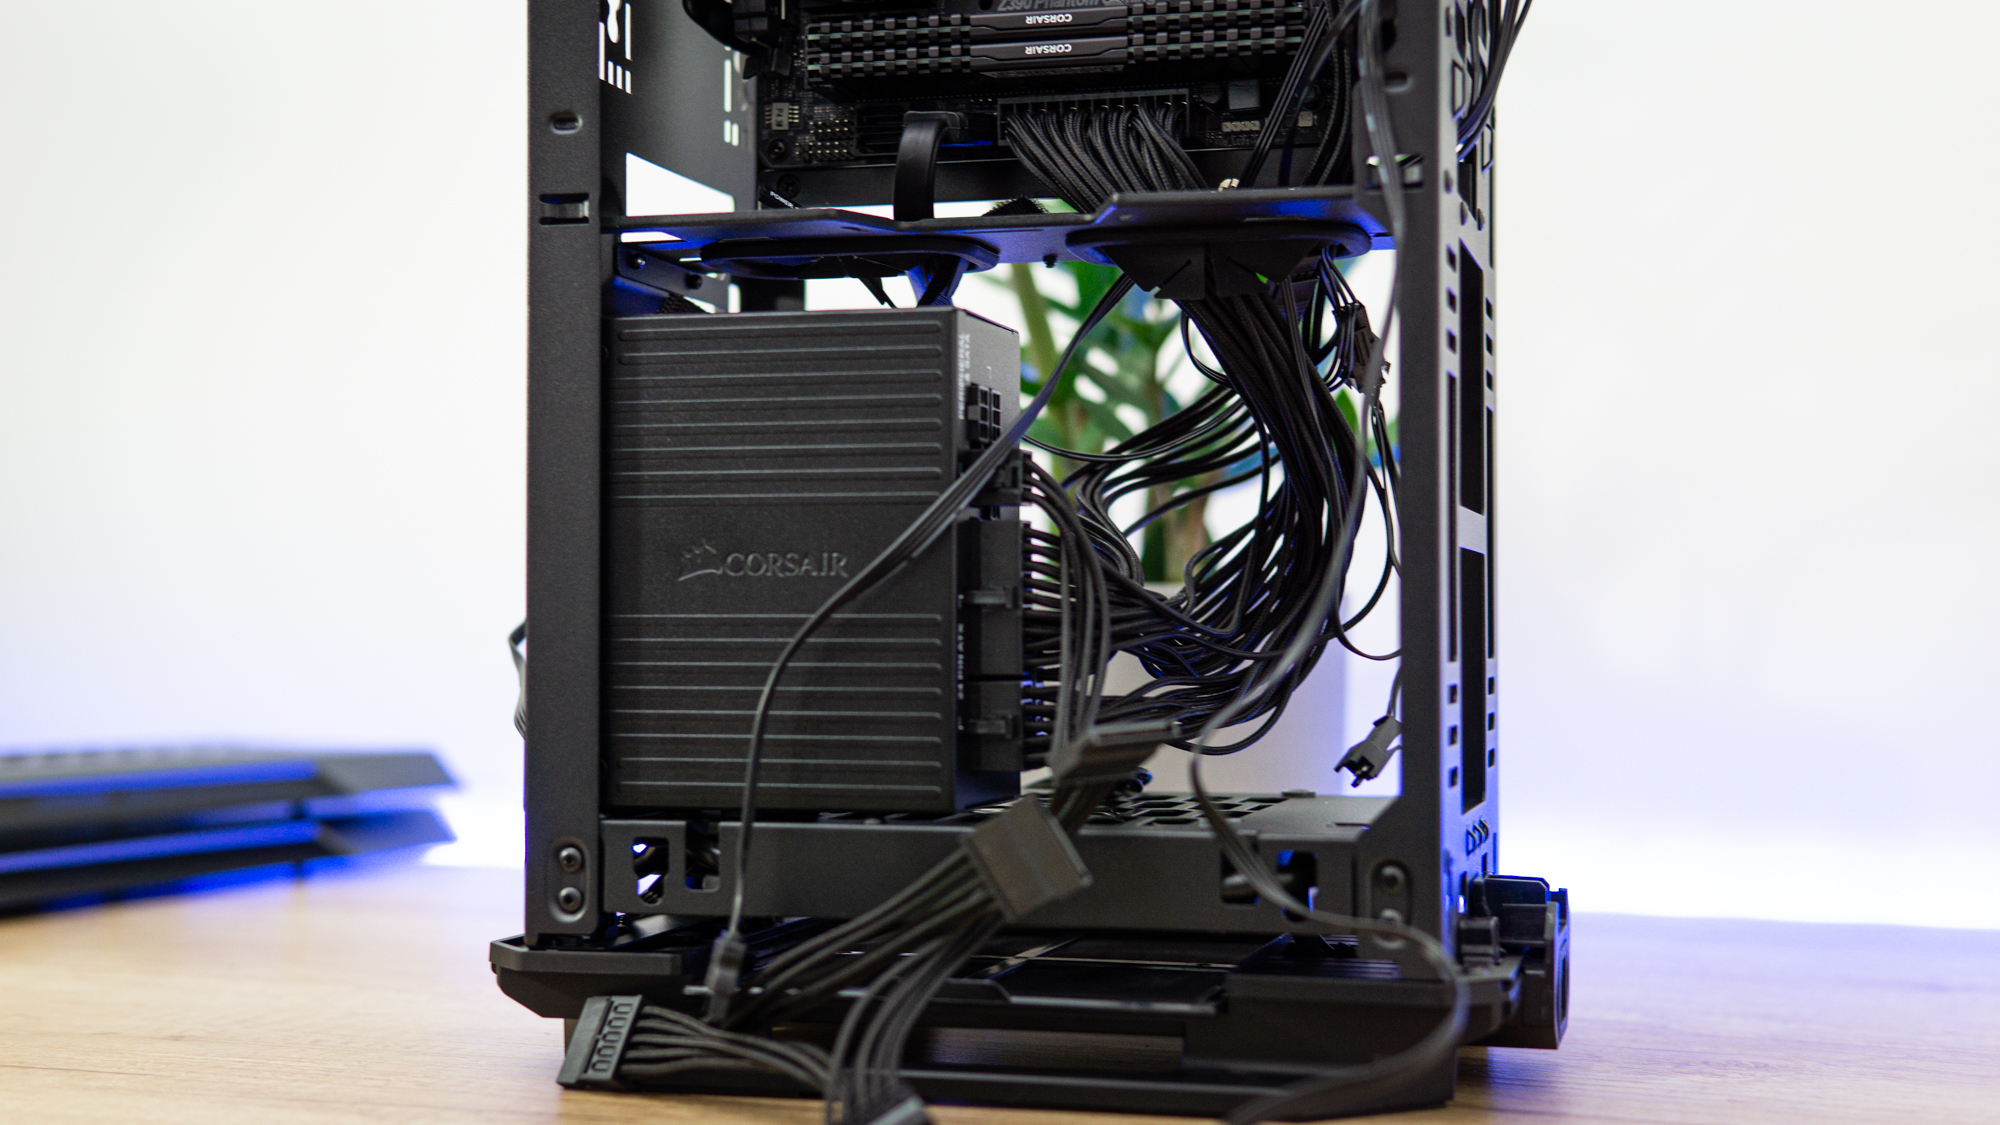
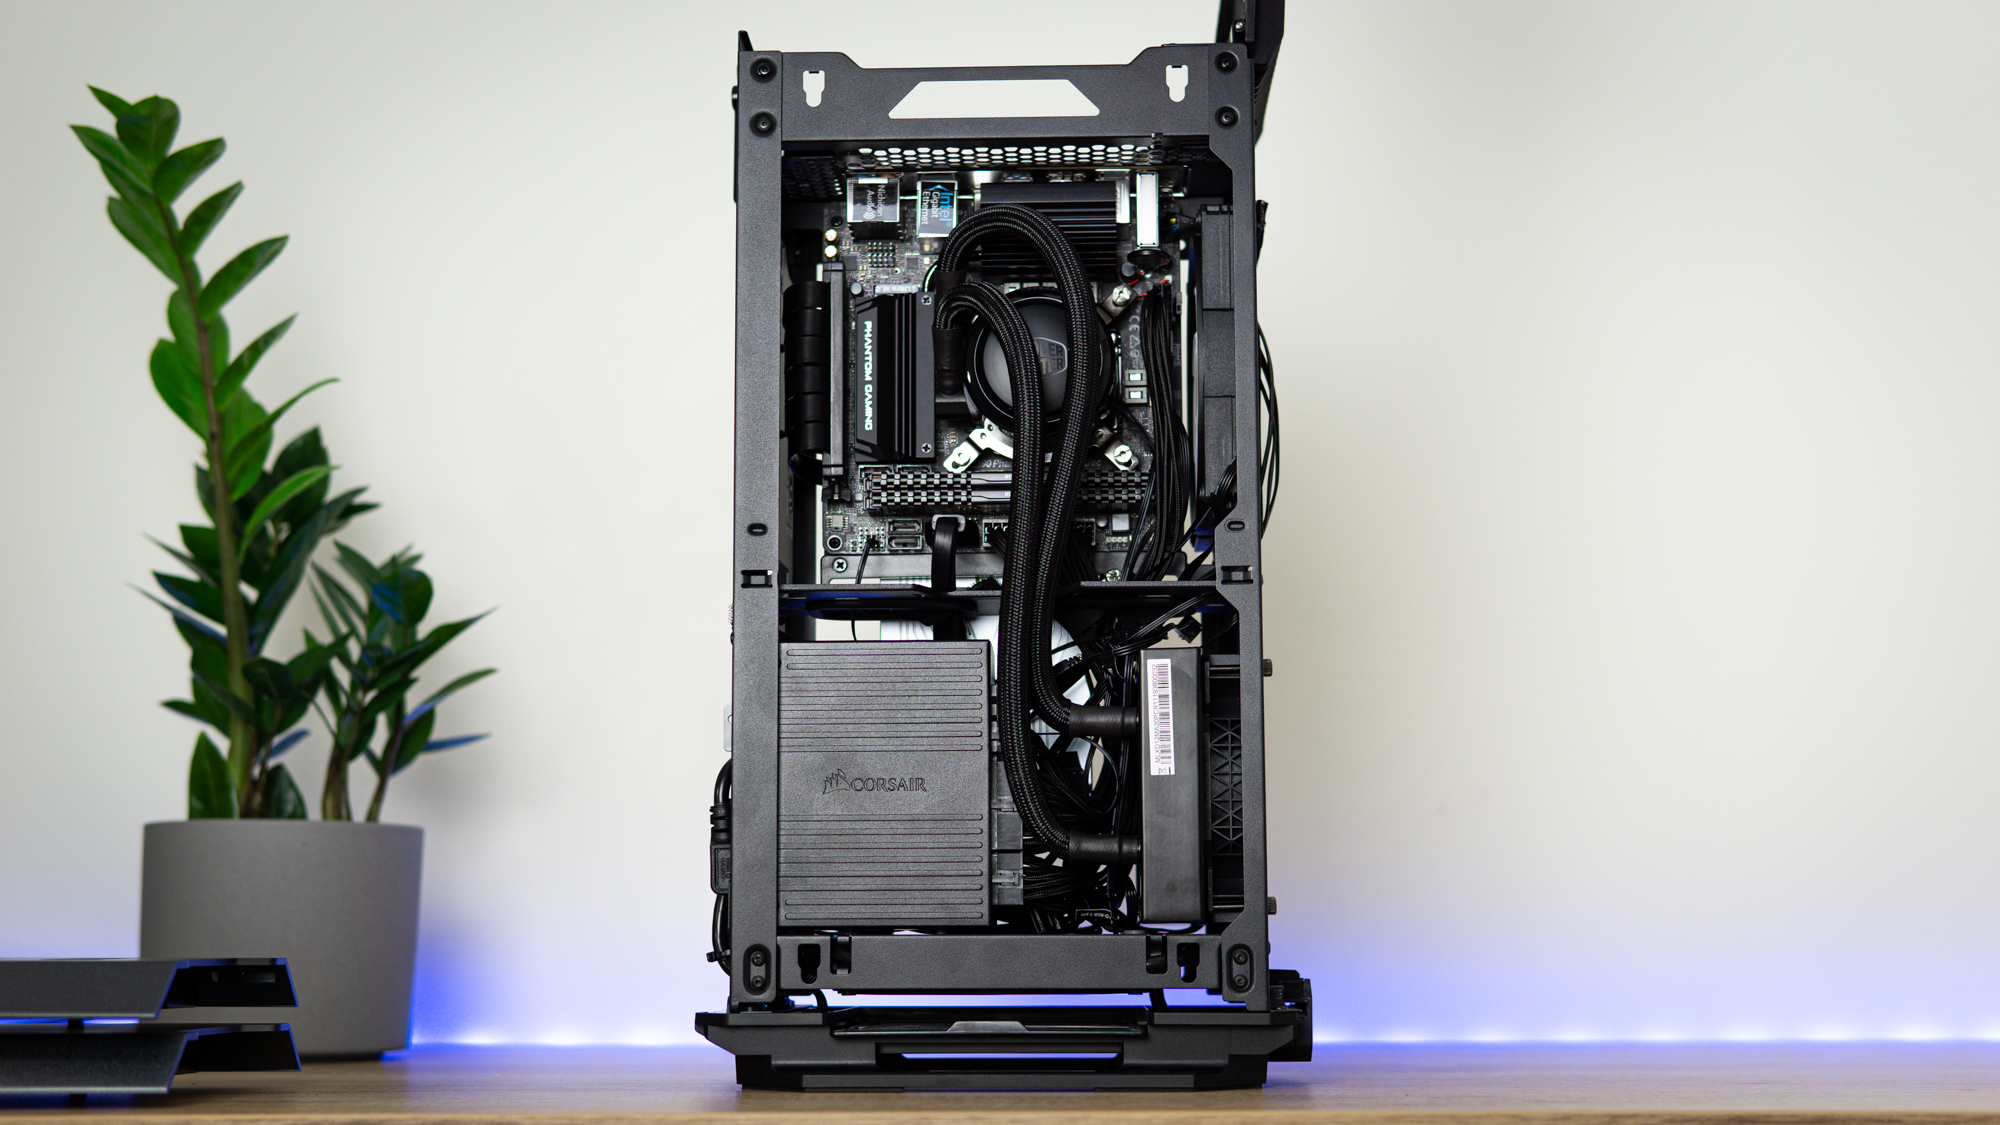
Of course, I had already installed the CPU, SSD, and memory into the motherboard before installation, so all I needed to do here was pop the IO shield into place, line up the motherboard and screw it in. While here, I also took the liberty of attaching a few cables. As you can see, the mass of the cable clutter underneath was a job for later.
Step 4: Installing the AIO
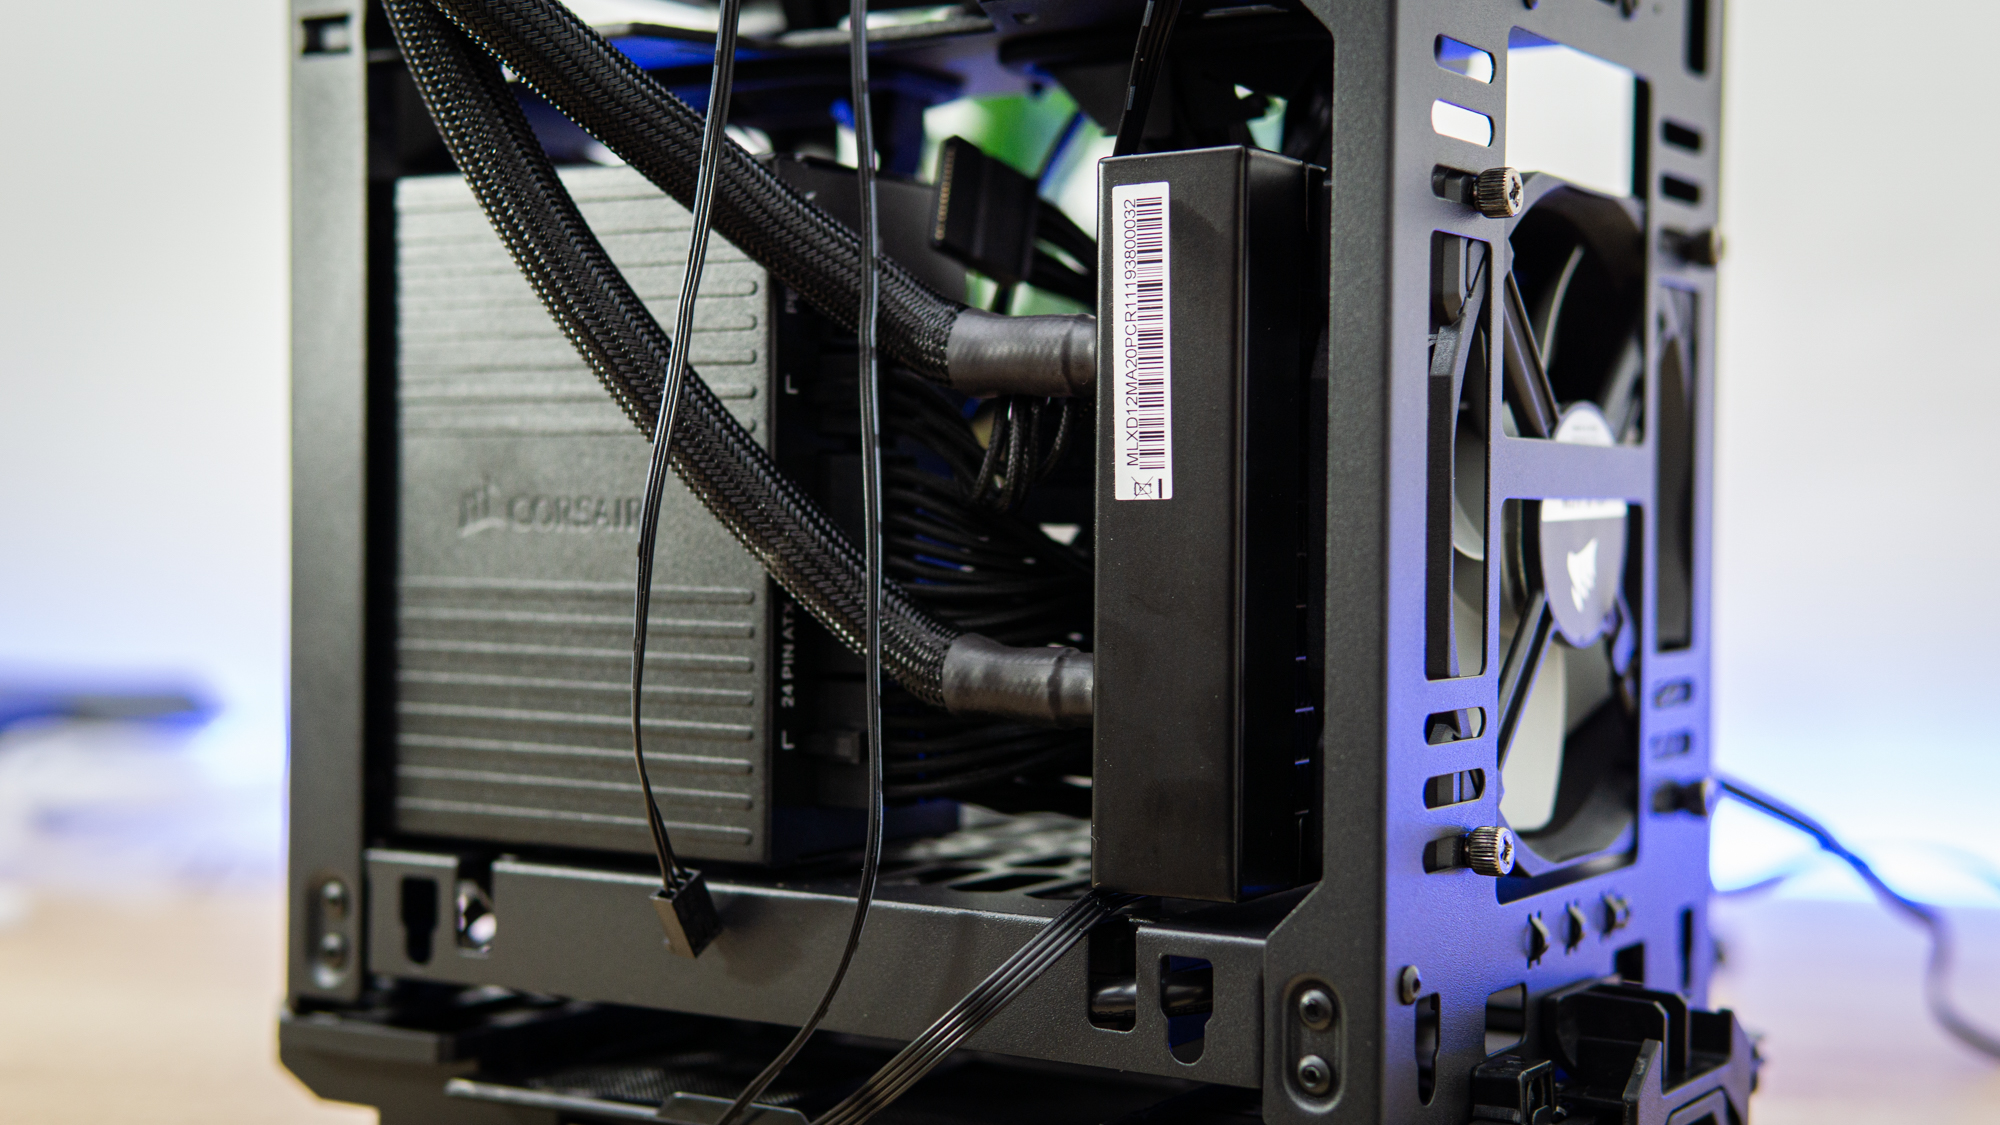
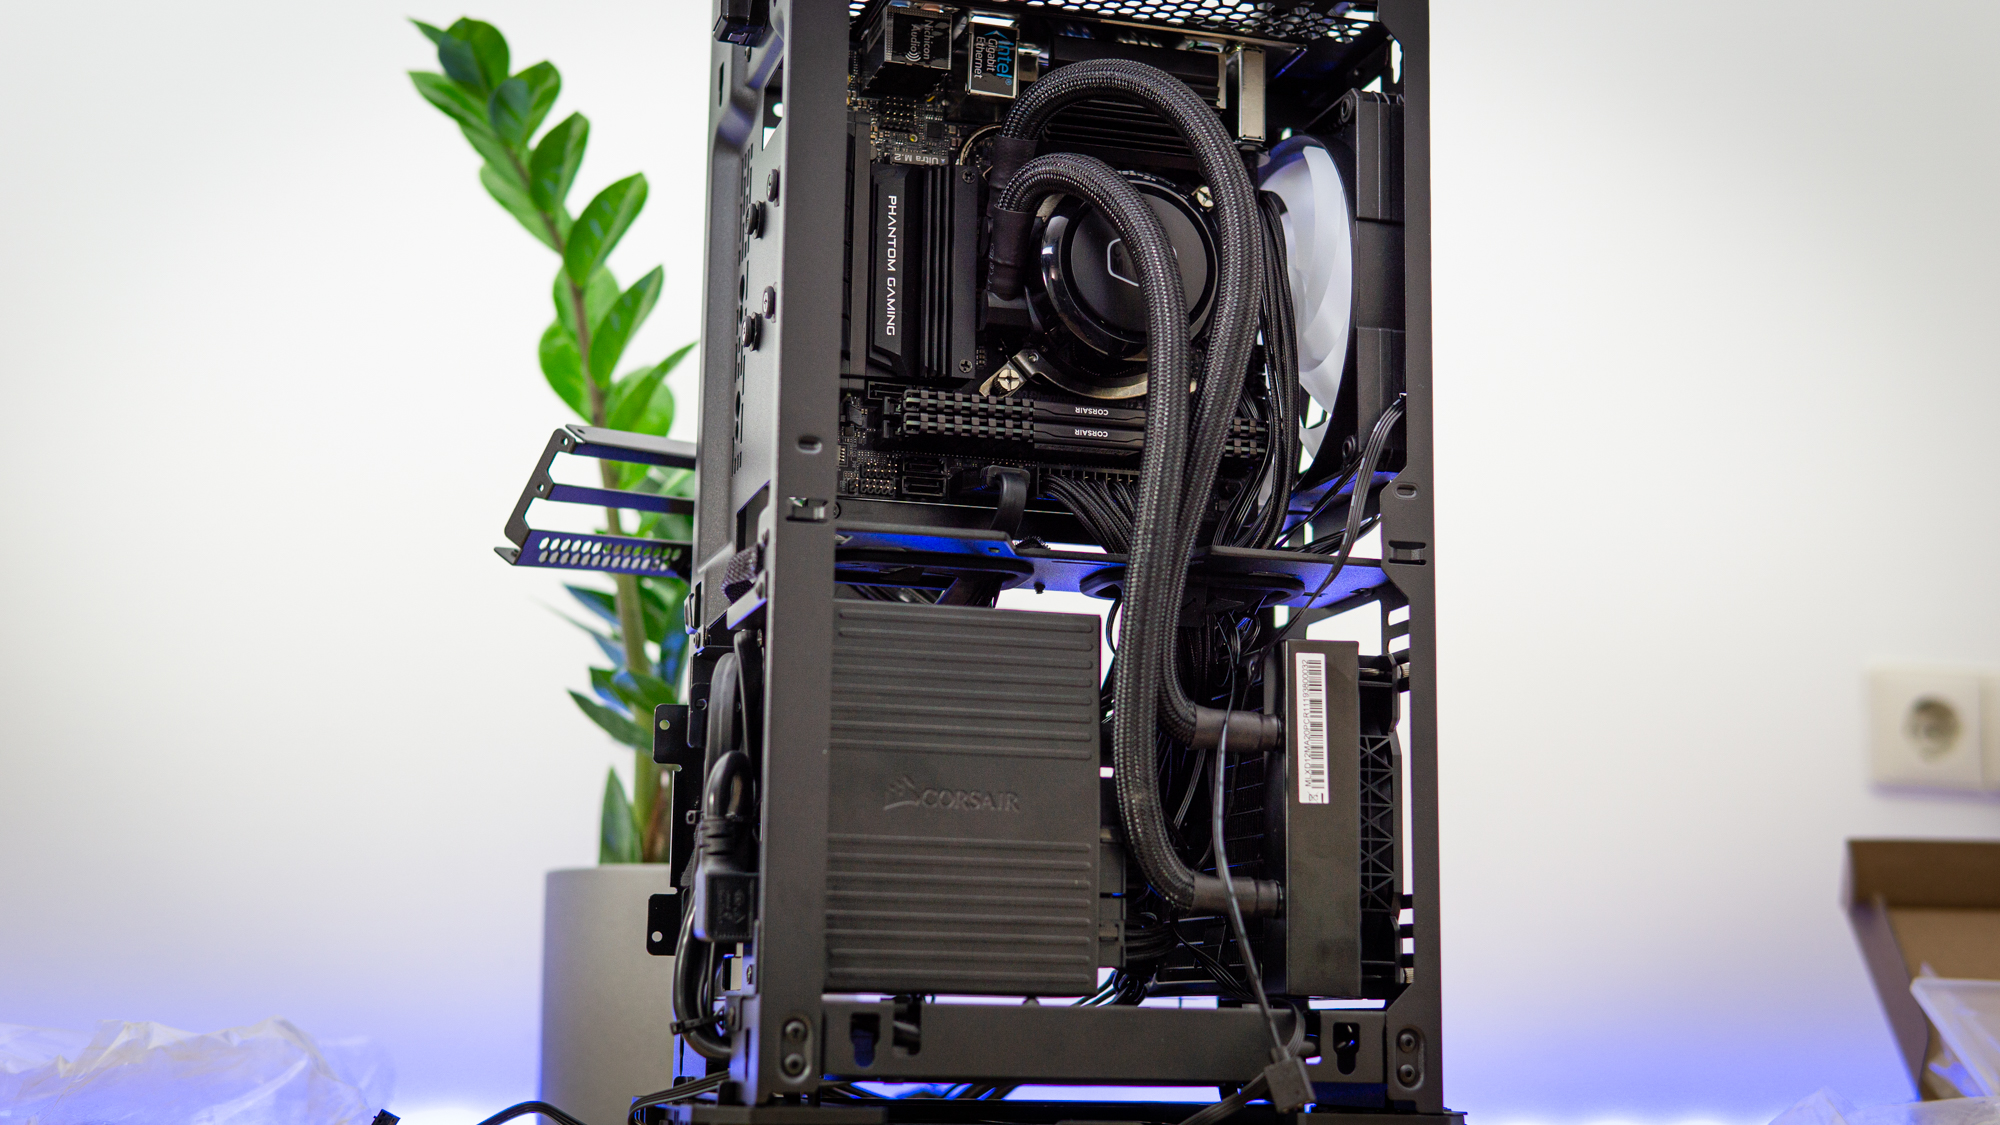
Because we can’t see the RGB of the fan behind the radiator anyway, I opted to use a Corsair ML120 fan instead of the fans that came with the Cooler Master AIO. Technically there is space here for a push-pull setup, but with the sheer number of cables, a run-in with the fan would be inevitable if you don’t spend at least an hour managing cables and tying matters up. So I went with just a pull setup to save time. Note that SFX-L PSUs do fit here, but you’ll probably want to stick just to SFX to keep the space reserved for thicker radiators.
Note that the pump is at the top of the loop. I ran the tubing over the pump so that any air bubble wouldn’t get trapped in the pump, and I followed Phanteks’ recommendation to mount the radiator sideways so that the bubble would get trapped at the top of its reservoirs, out of harms way.
I now also took some time to connect a handful of cables and tidy up.
Get Tom's Hardware's best news and in-depth reviews, straight to your inbox.
Step 5: Installing the GPU
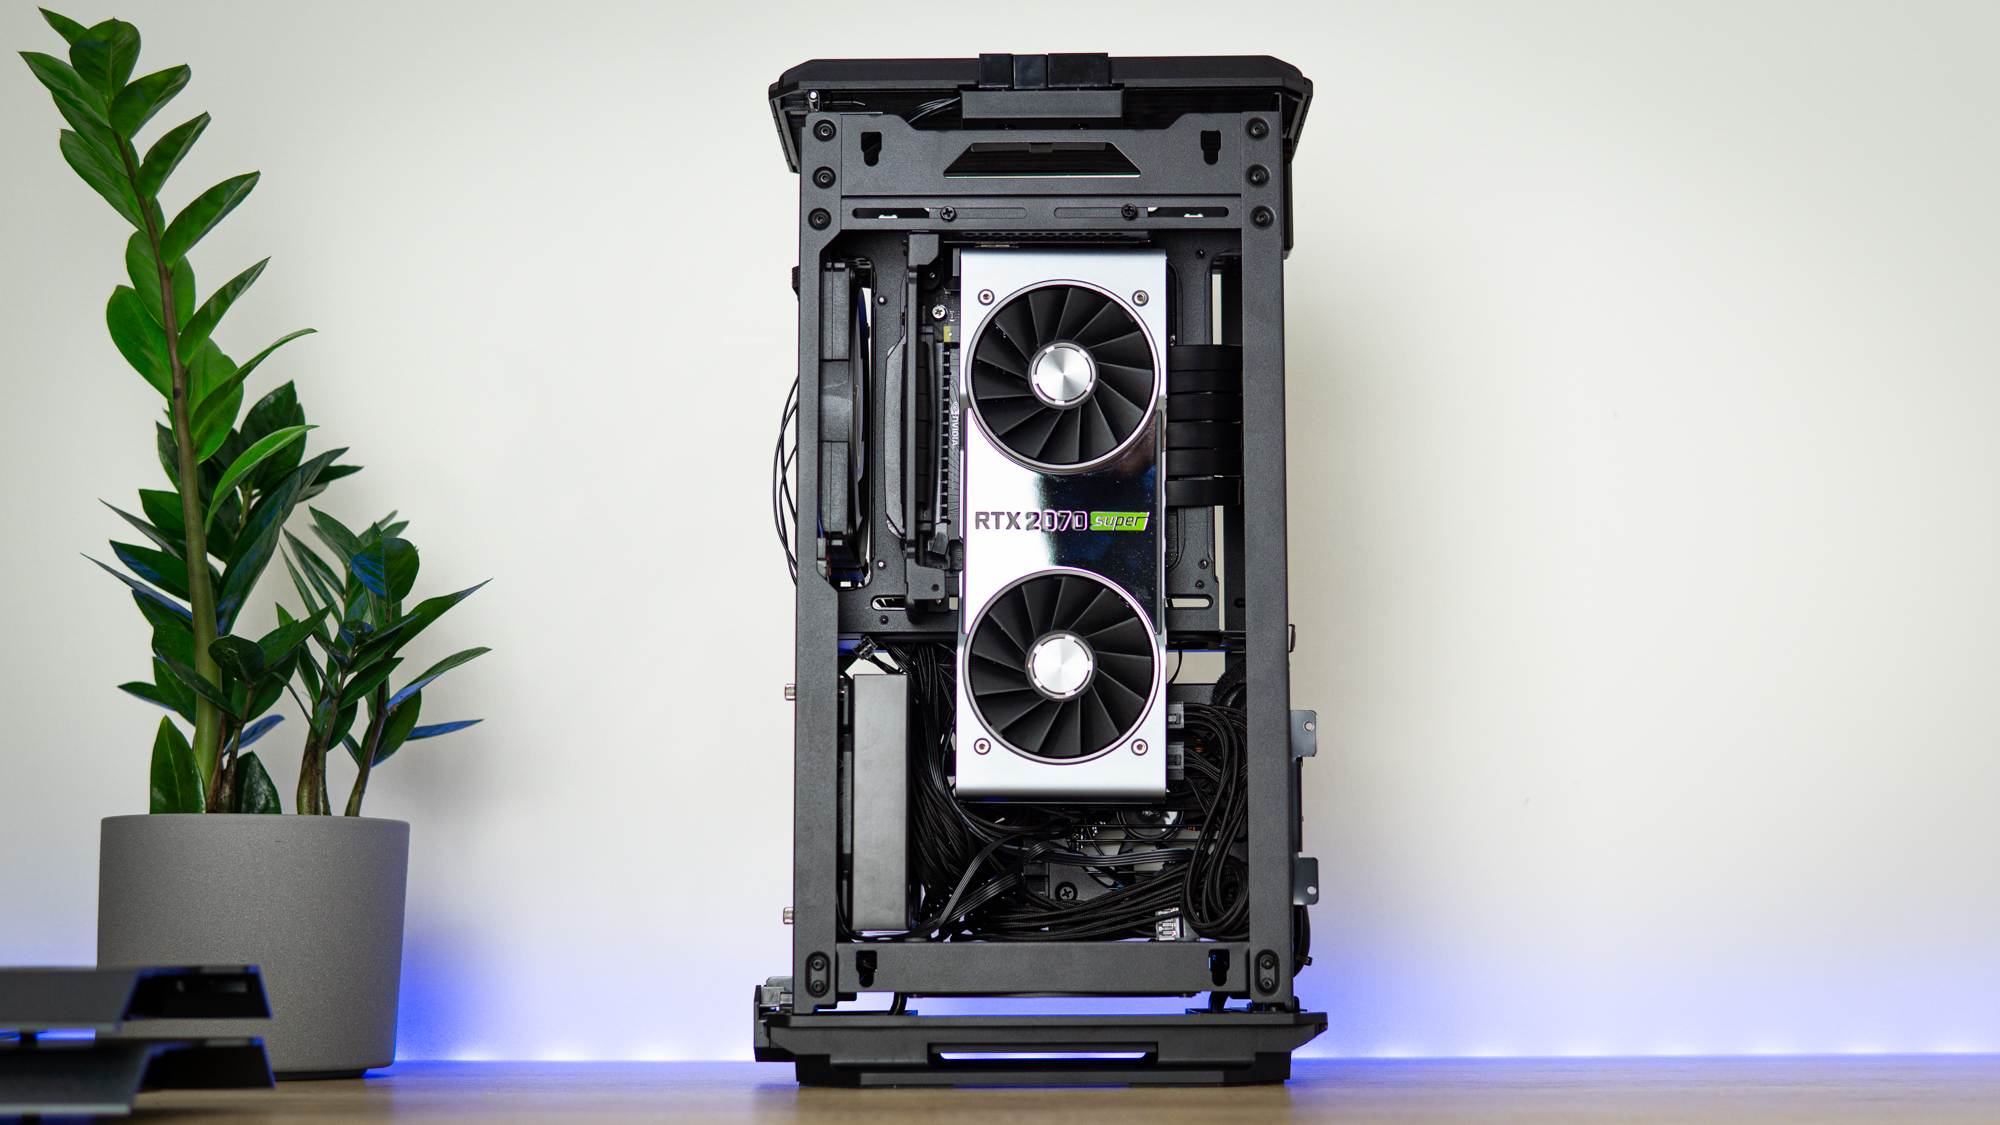
To install the graphics card, I removed the included bracket, installed the GPU into it, and placed it back into the system. The beauty of this bracket system is that it’s easy to shift it left or right, allowing you to perfectly center your card behind the tempered glass.
Step 6: Crying over Cable management
Now that all the main parts are installed, it was time to connect the remaining cables and get everything tidied up. This wasn’t the easiest job with the limited space, but as I had done some of it along the way, I only needed about 30-45 minutes before I was satisfied. If you’re building this system to keep it running for longer than I will, you’ll probably want to spend some more time on this.
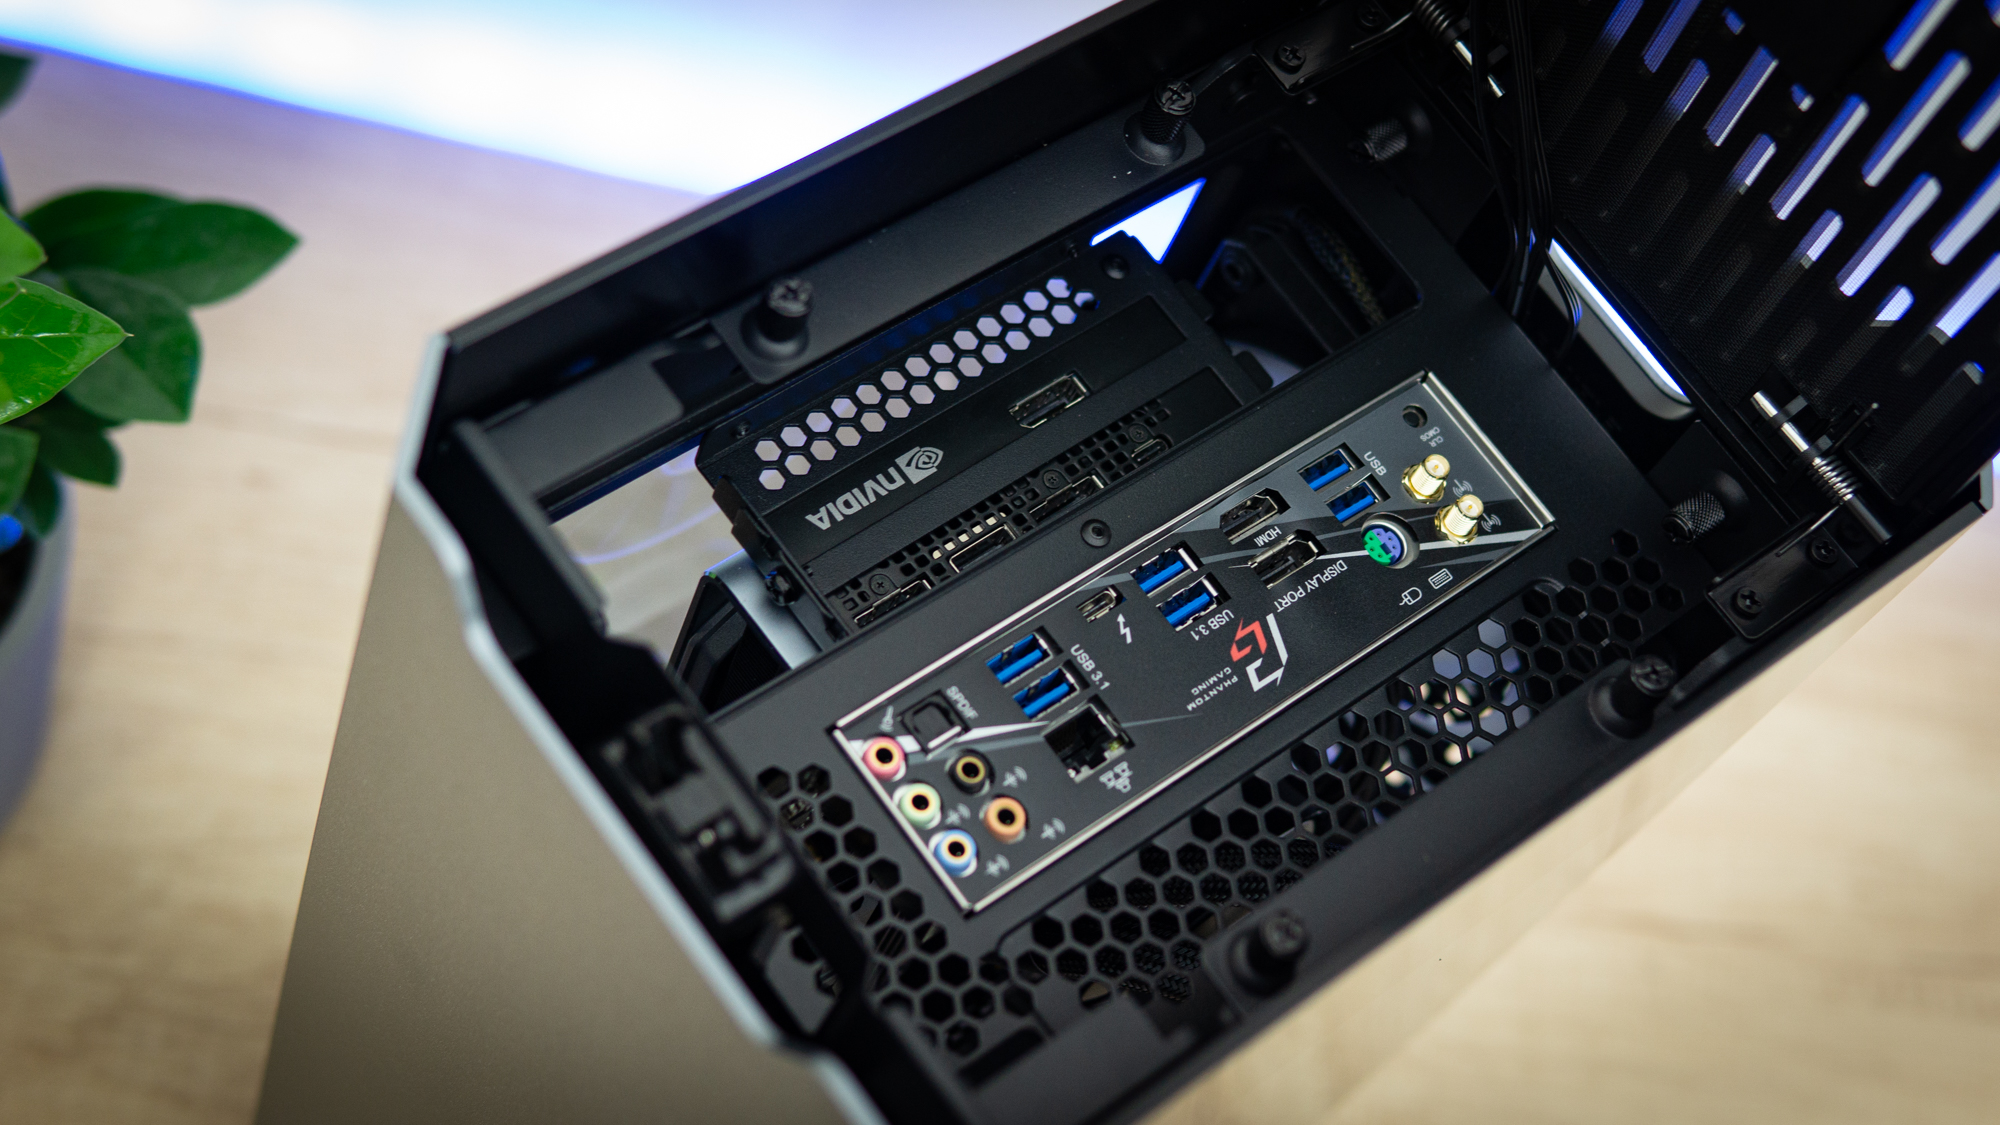
Step 7: Bask in the Glory of Top ‘Rear’ IO
With the rear IO at the top of the chassis, I now got to enjoy the beauty of all of the rear IO available at the top of the case. This is truly unlike anything I’ve seen before, and I can see the appeal of it – no more leaning over the desk, awkwardly feeling where the heck that Ethernet port is, and then realizing you need to flip the connector – everything is in sight and easy to access. Note, though, that if you have the case on a desk and you aren’t very tall, access here can also be frustrating.
Step 8: Build Complete
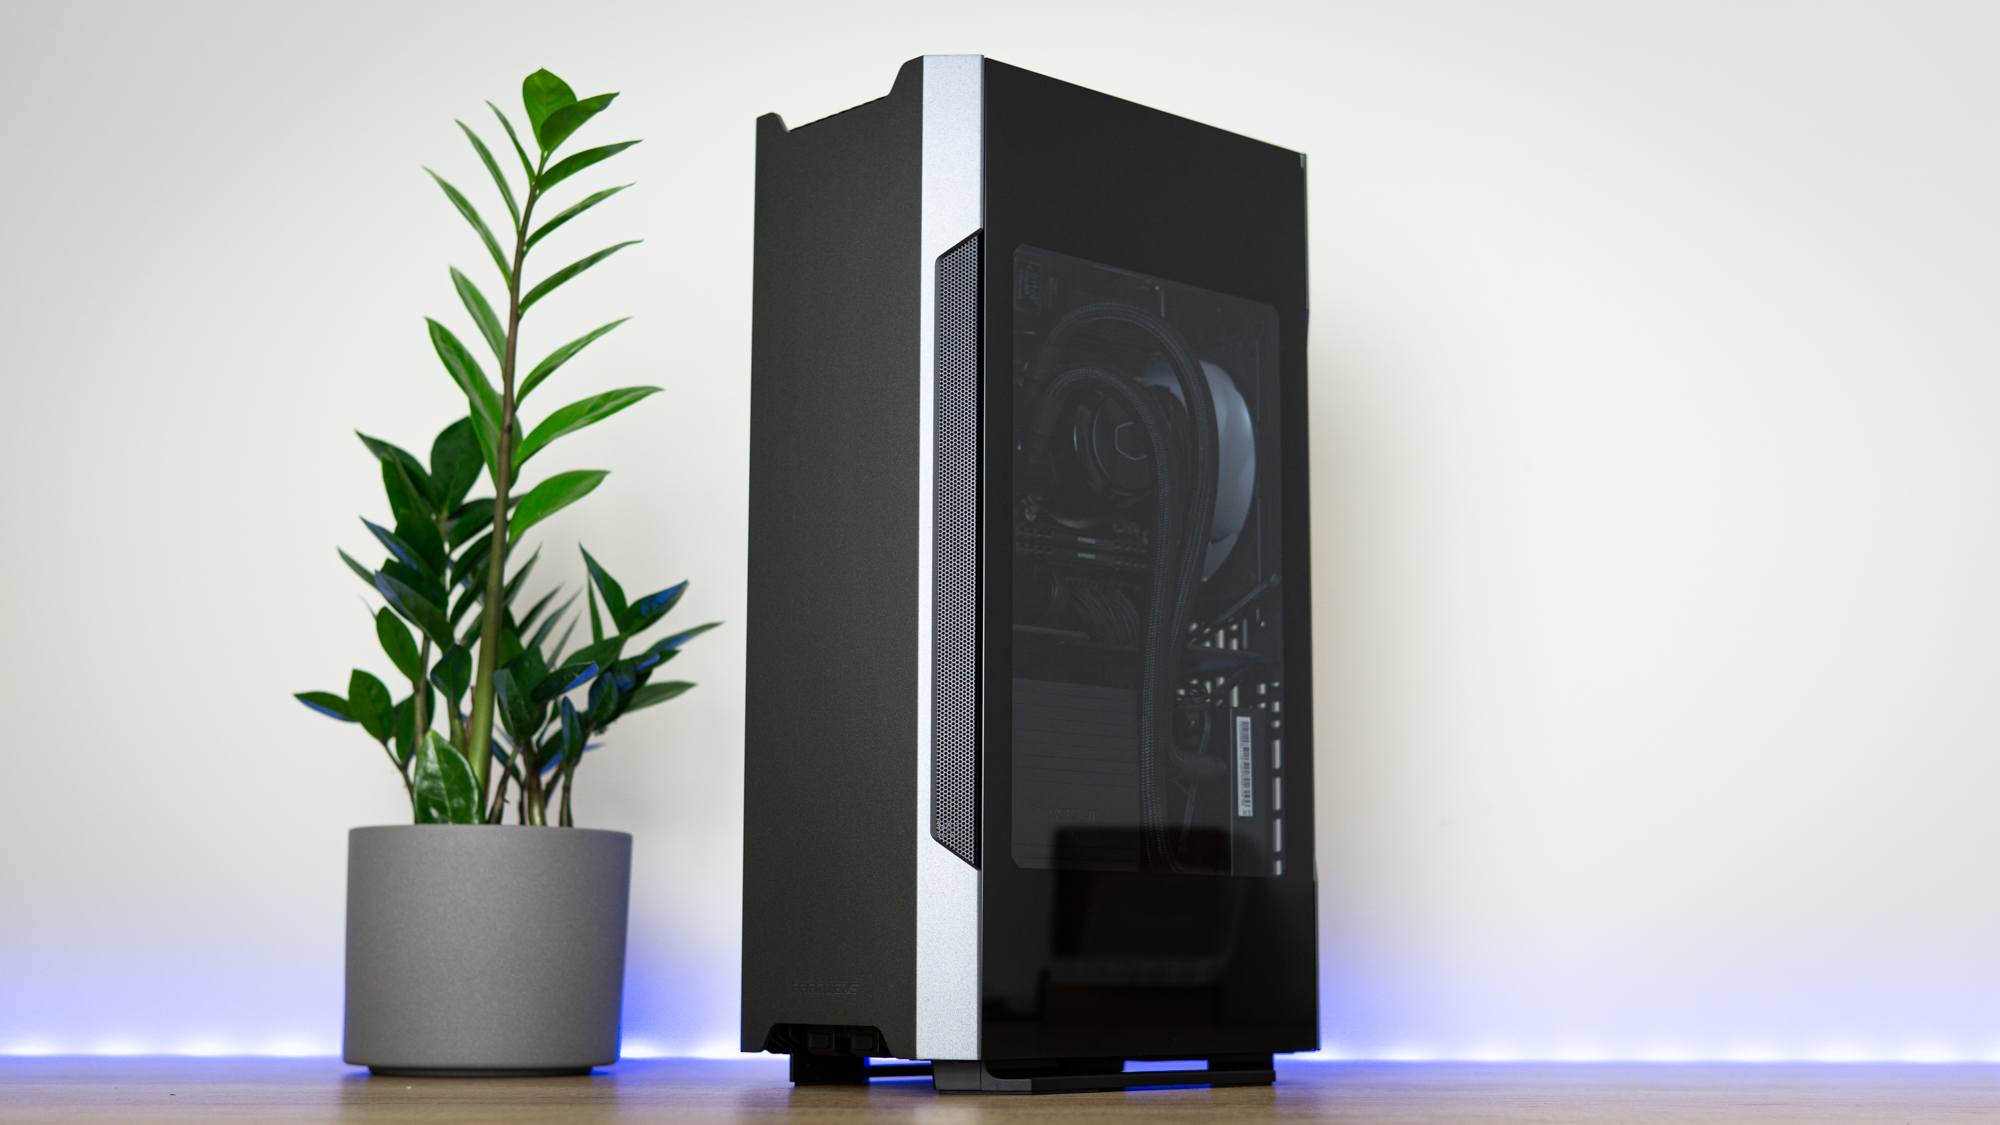
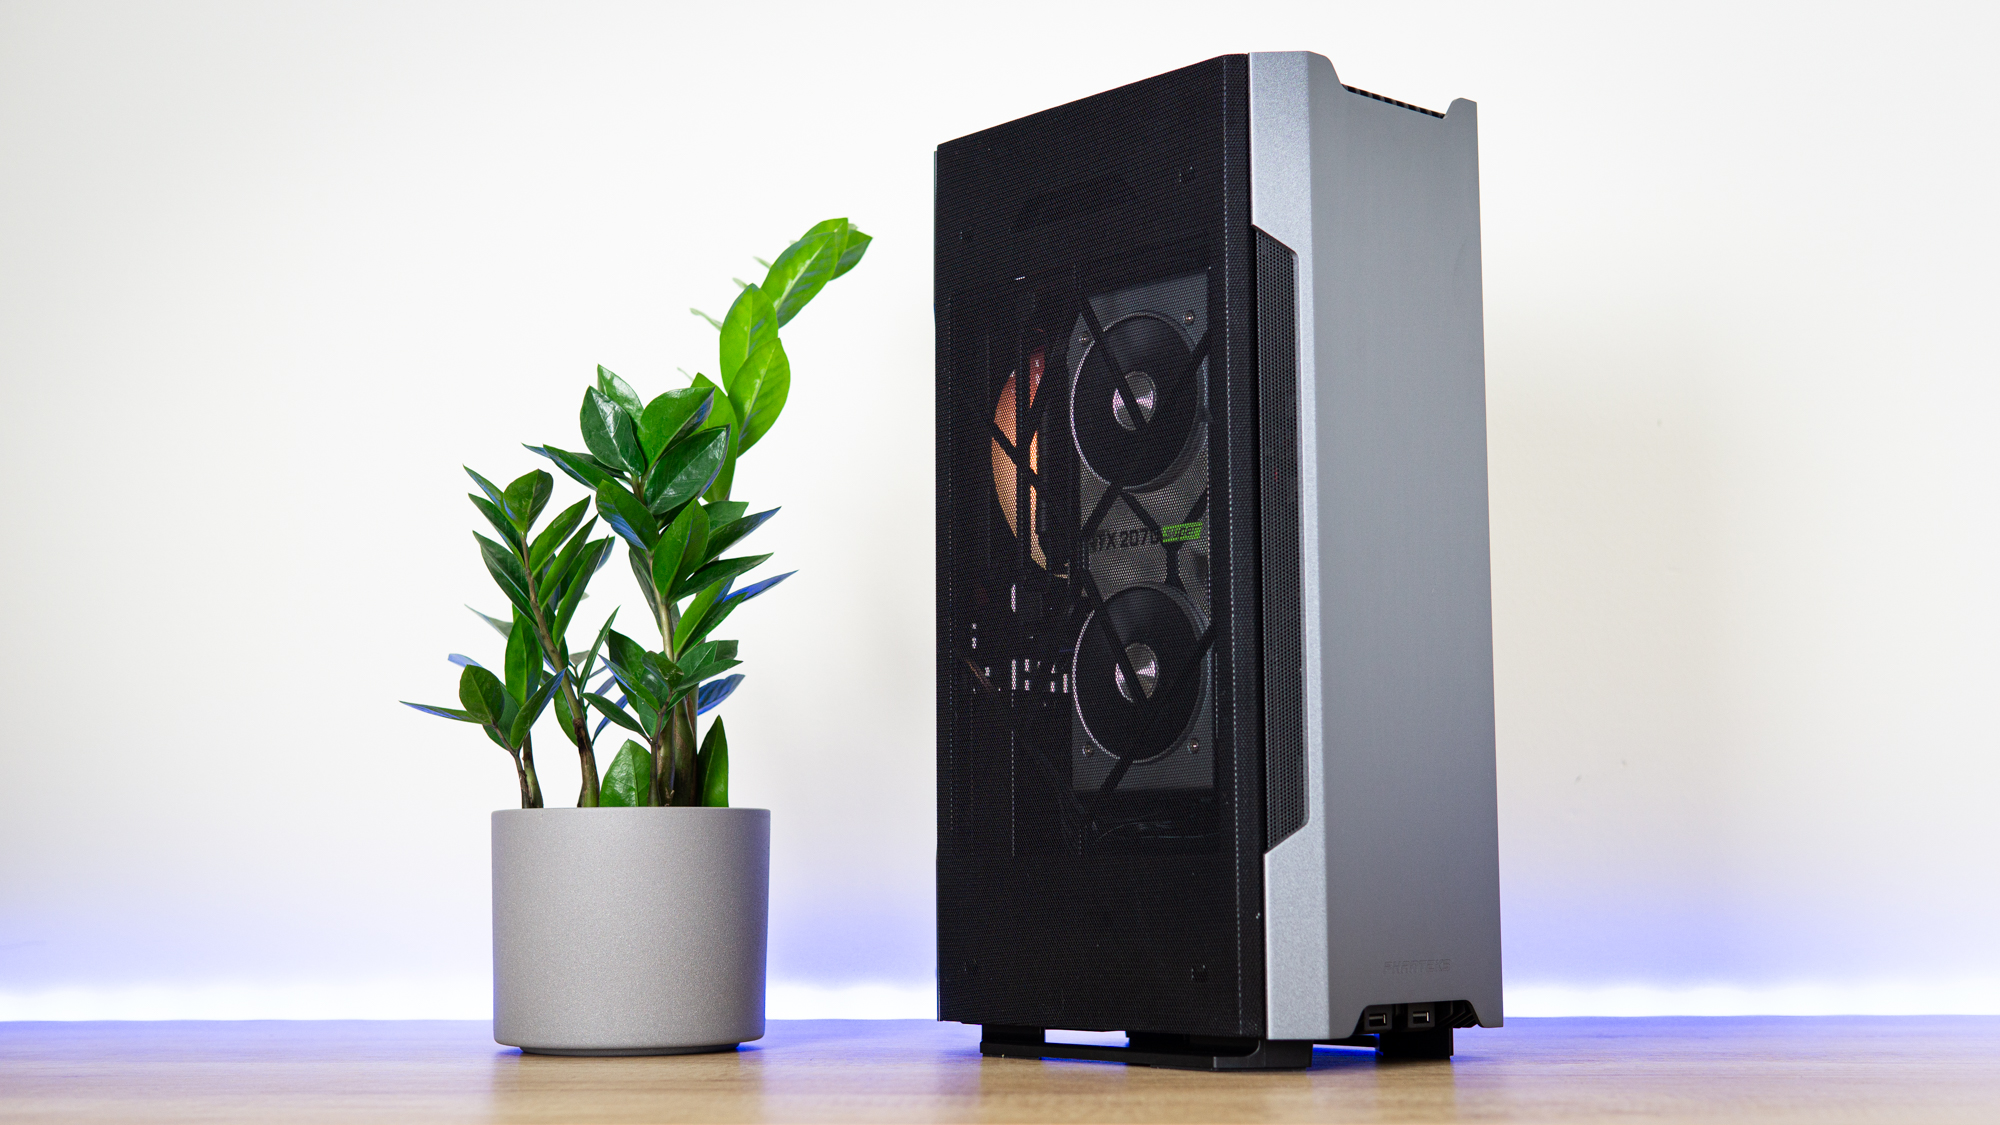
After a test run without the panels on and verifying that everything worked, I slapped the paneling on and had a moment to rest and relax. In the end, it took me about three hours to build this system. including photographing the most important steps along the way, which is significantly longer than it normally takes me to build a system in a ‘normal’ ATX chassis.
The Evolv Shift ITX isn’t an easy case to work in. It’s cramped inside, and if you have big hands, do make sure you have a small-handed building partner with you for plugging cables into tight spaces and fishing out dropped screws.
But effort and frustration along the way is the price you pay for a Mini-ITX system, and the end result you’re left is well worth the effort. I’ve always found working on Mini-ITX systems to be much more rewarding, despite the cramped frustrations along the way, and the Evolv Shift 2 is no exception.
MORE: Best Cases
MORE: All Case Content
Current page: Hardware Installation
Prev Page Features and Specifications Next Page Testing and ConclusionNiels Broekhuijsen is a Contributing Writer for Tom's Hardware US. He reviews cases, water cooling and pc builds.
-
Zescion Nice case and nice review.Reply
I would pick the air version, as to me the meshes are more "cool" -
imsurgical A bit off-topic and simply curious, but is there any reason why an NR200 review was not done on Tom's?Reply
Nice review, admittedly read a good portion of it and then jumped to the conclusion, but did I miss the release date of this case? Didn't see it, even during a search function. -
Zescion Reply
Techpowerup reports availability in Dec 2020imsurgical said:A bit off-topic and simply curious, but is there any reason why an NR200 review was not done on Tom's?
Nice review, admittedly read a good portion of it and then jumped to the conclusion, but did I miss the release date of this case? Didn't see it, even during a search function.
https://www.google.com/amp/s/www.techpowerup.com/275355/phanteks-launches-new-evolv-shift-2-and-shift-2-air-cases%3famp -
javiindo The case is not on the Best Mini-ITX case list.Reply
Also, we need a face to face with the cooler master NR200. :-)
