Do It Yourself: More Storage For Your PlayStation 3
The latest PlayStation 3 Slim offers up to 250 GB of storage on its built-in hard drive. But enthusiasts are better off paying Sony less for a cheaper model and upgrading immediately to a larger hard drive. We show you how in four simple steps.
Step 2: Replace The Hard Drive
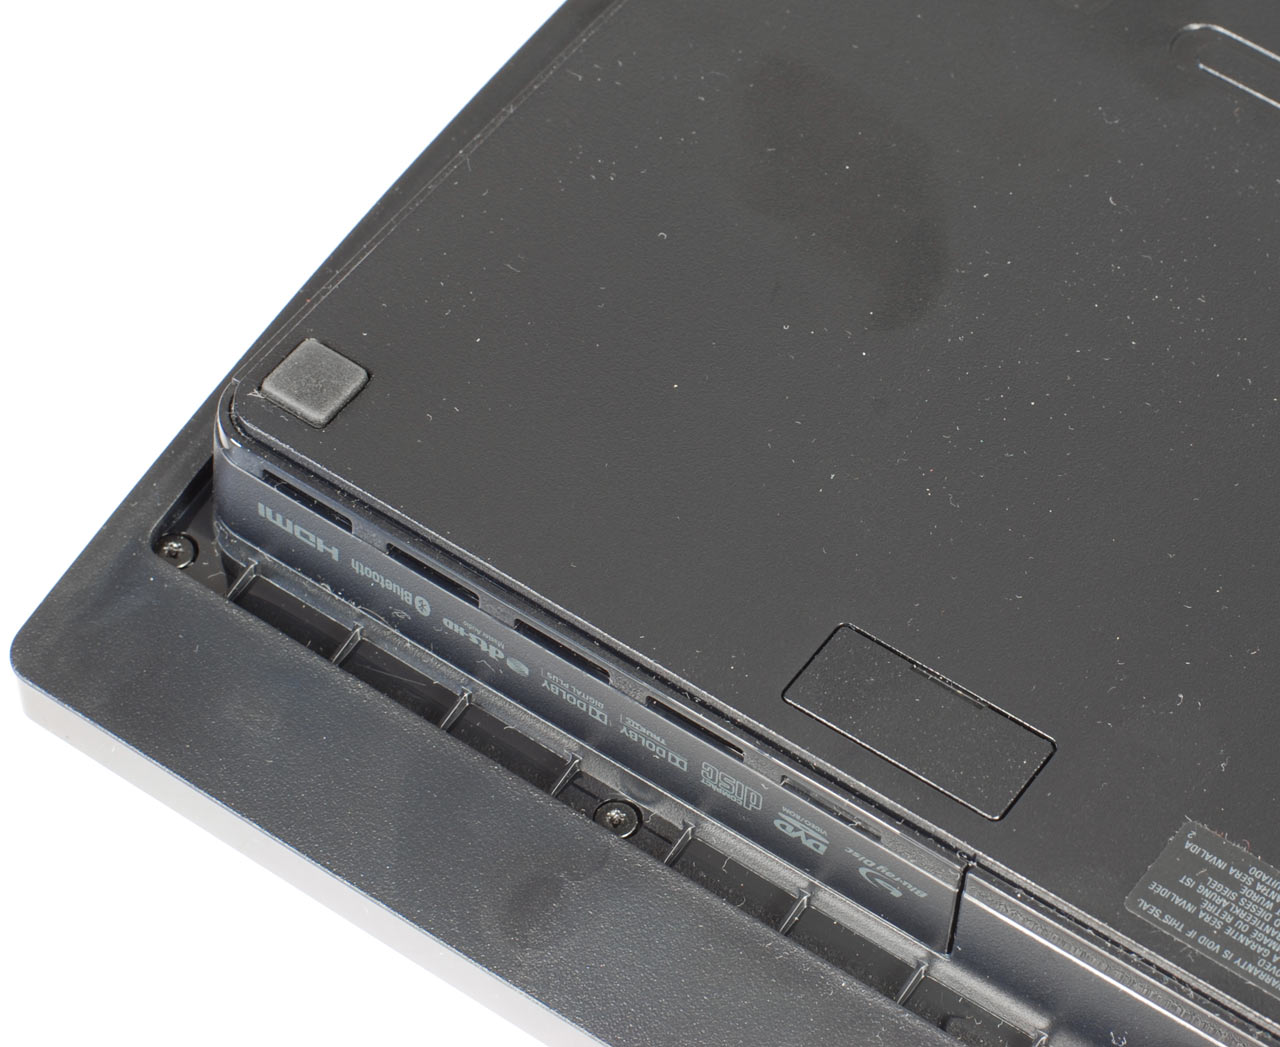
The hard drive bay is locked by a screw. Remove this small squared cover to access the screw.
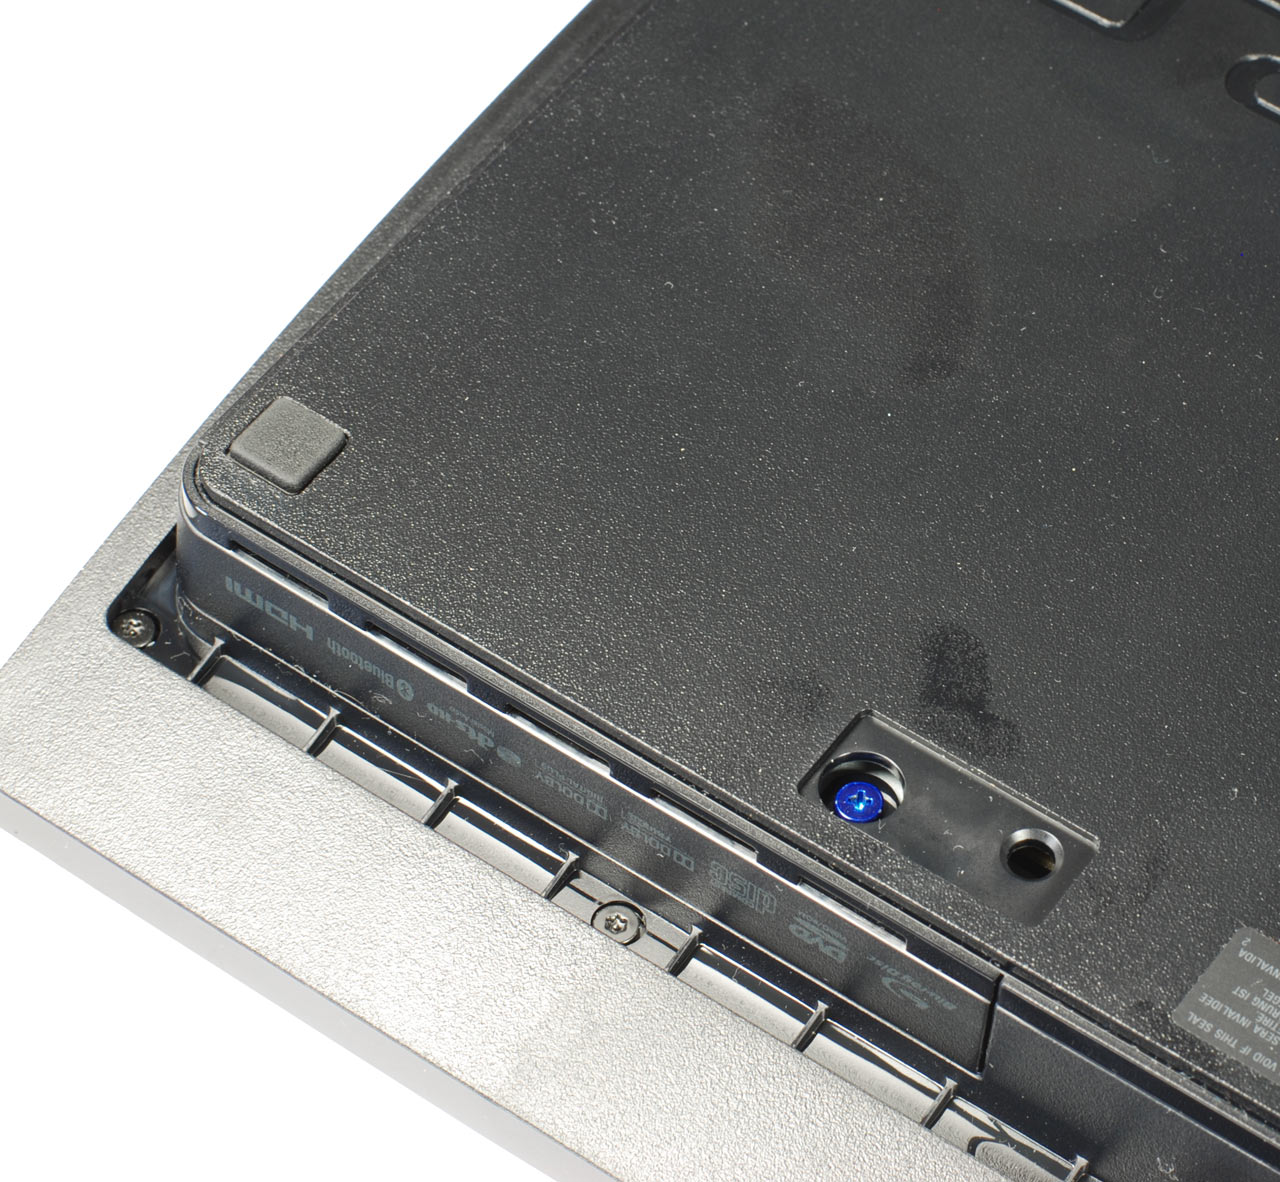
Remove the blue screw to unlock the drive bay cover and the drive frame. You can easily identify it by the various logos printed onto it.
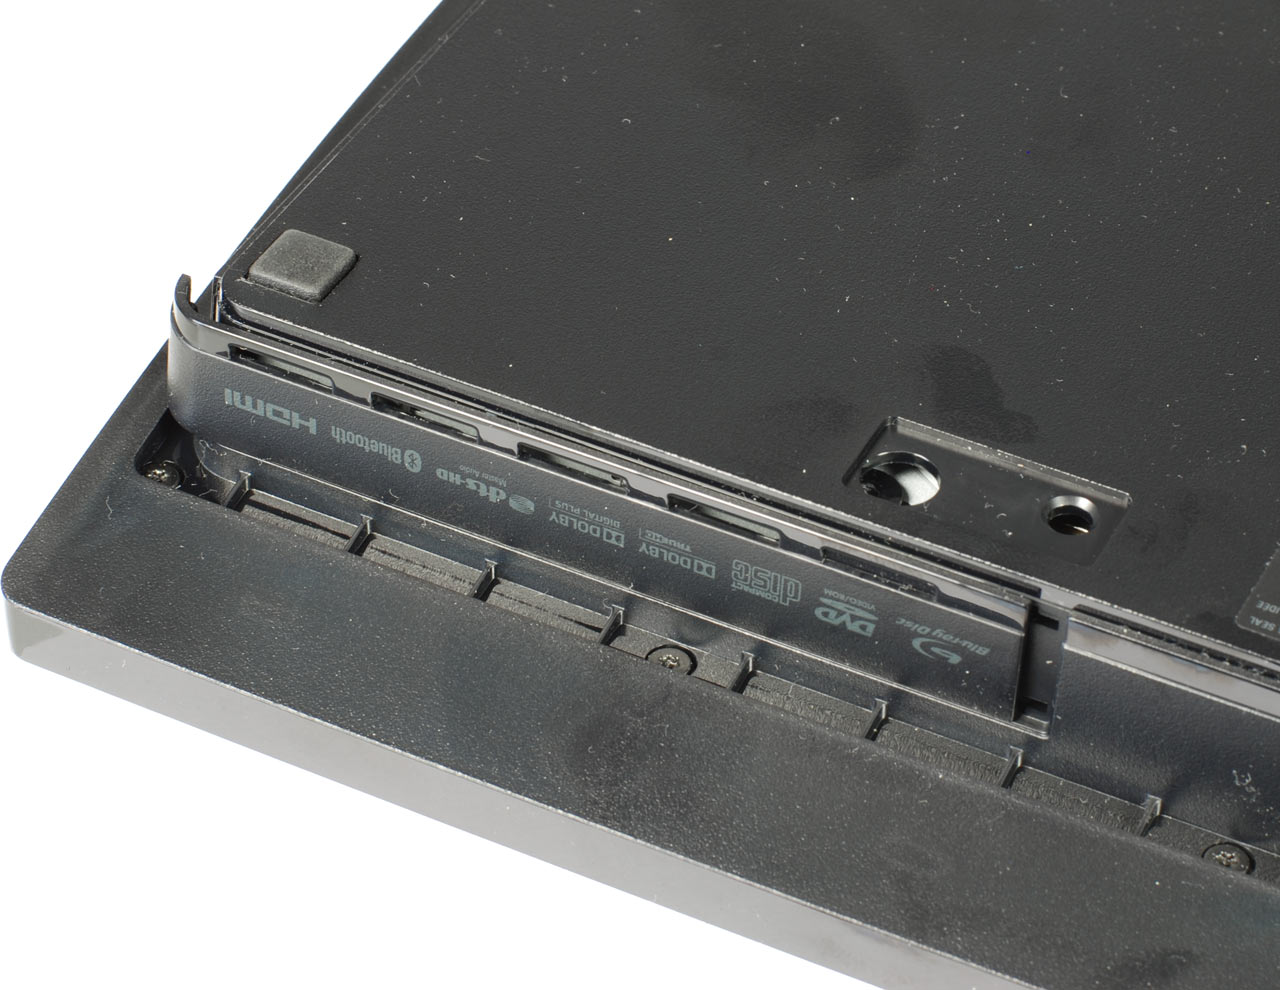
Now remove the drive bay cover.
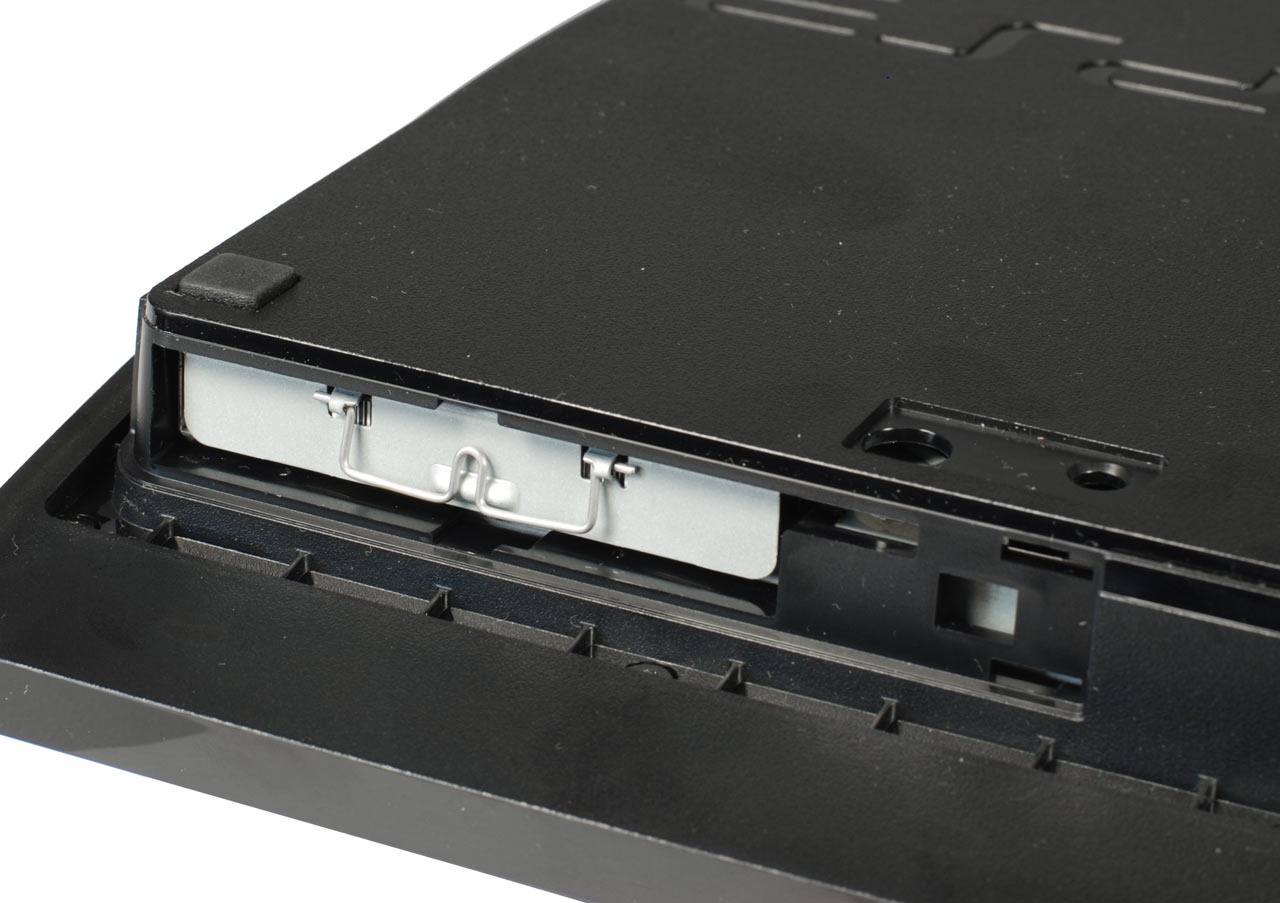
This is the hard drive bay. Pull the small handle to extract the installation frame.
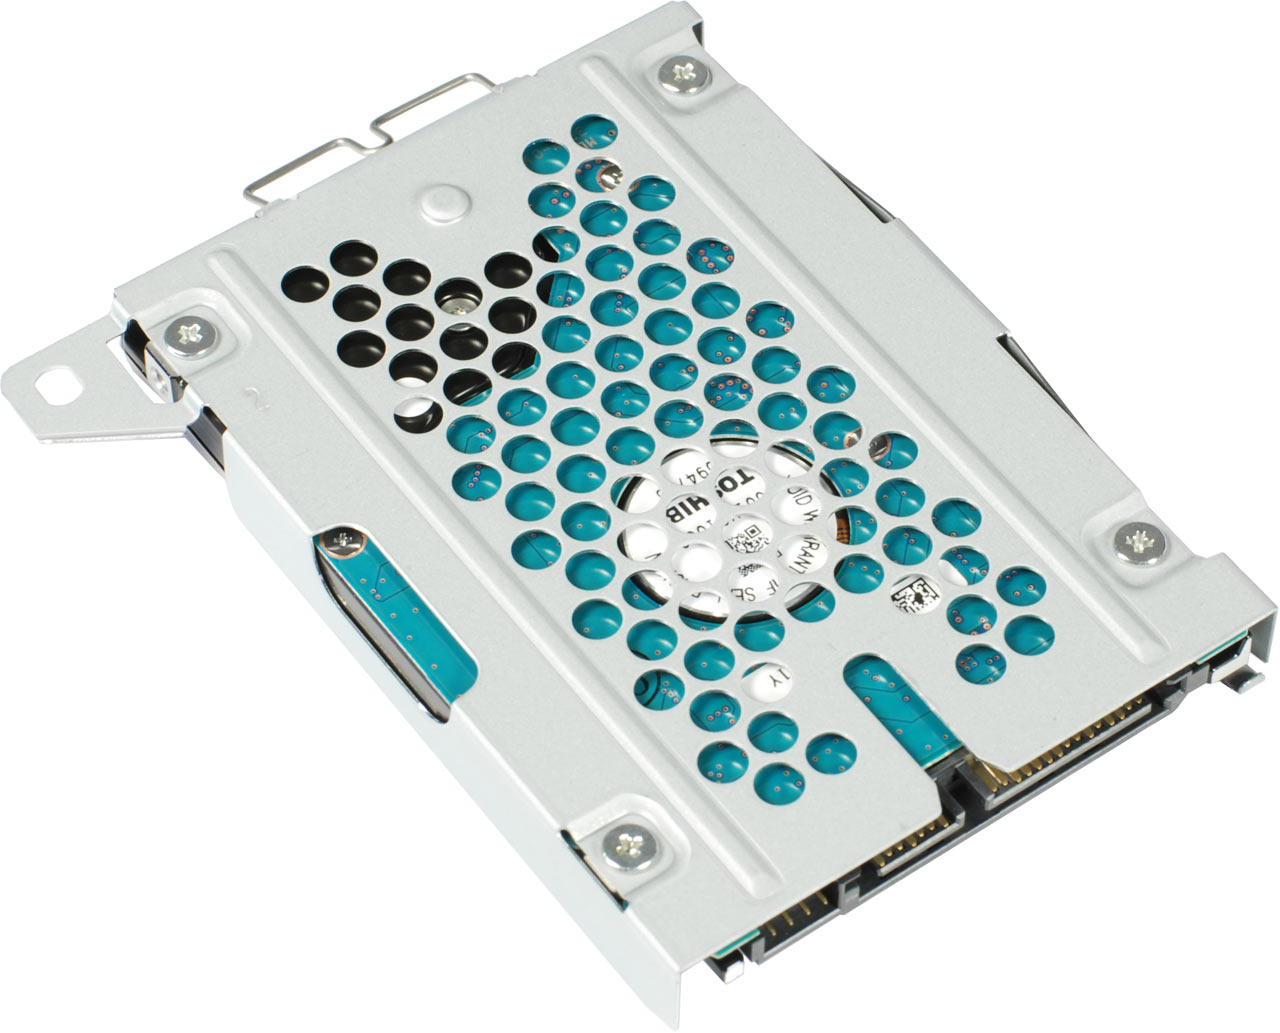
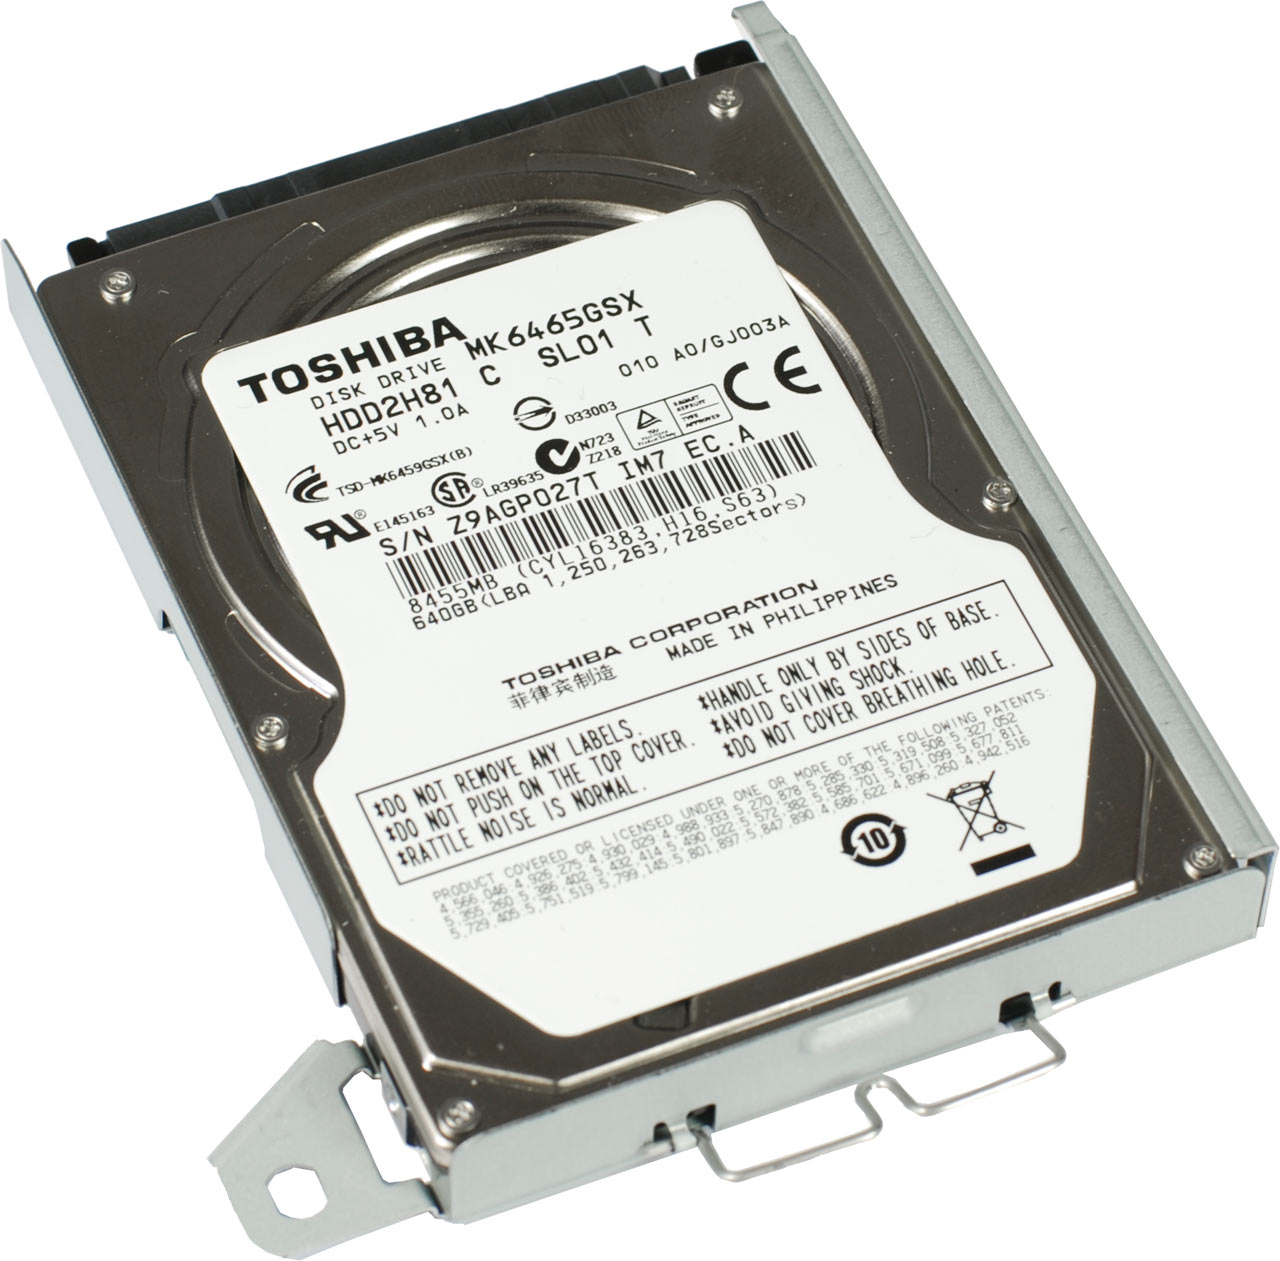
The new hard drive has to be installed into the drive frame. This picture shows the drive upside down with the new Toshiba 640 GB drive already installed. Four screws are used to attach the hard drive.
That’s it! Reinstall the drive frame into the bay, attach the front cover, and put the screw back in.
Get Tom's Hardware's best news and in-depth reviews, straight to your inbox.
Current page: Step 2: Replace The Hard Drive
Prev Page Step 1: Back Up Your PS3 Next Page Step 3: Install The Firmware