Silent But Deadly PC: How We Built a Quiet, RGB-Free Desktop
Build Notes: Never Easy
Baby Steps
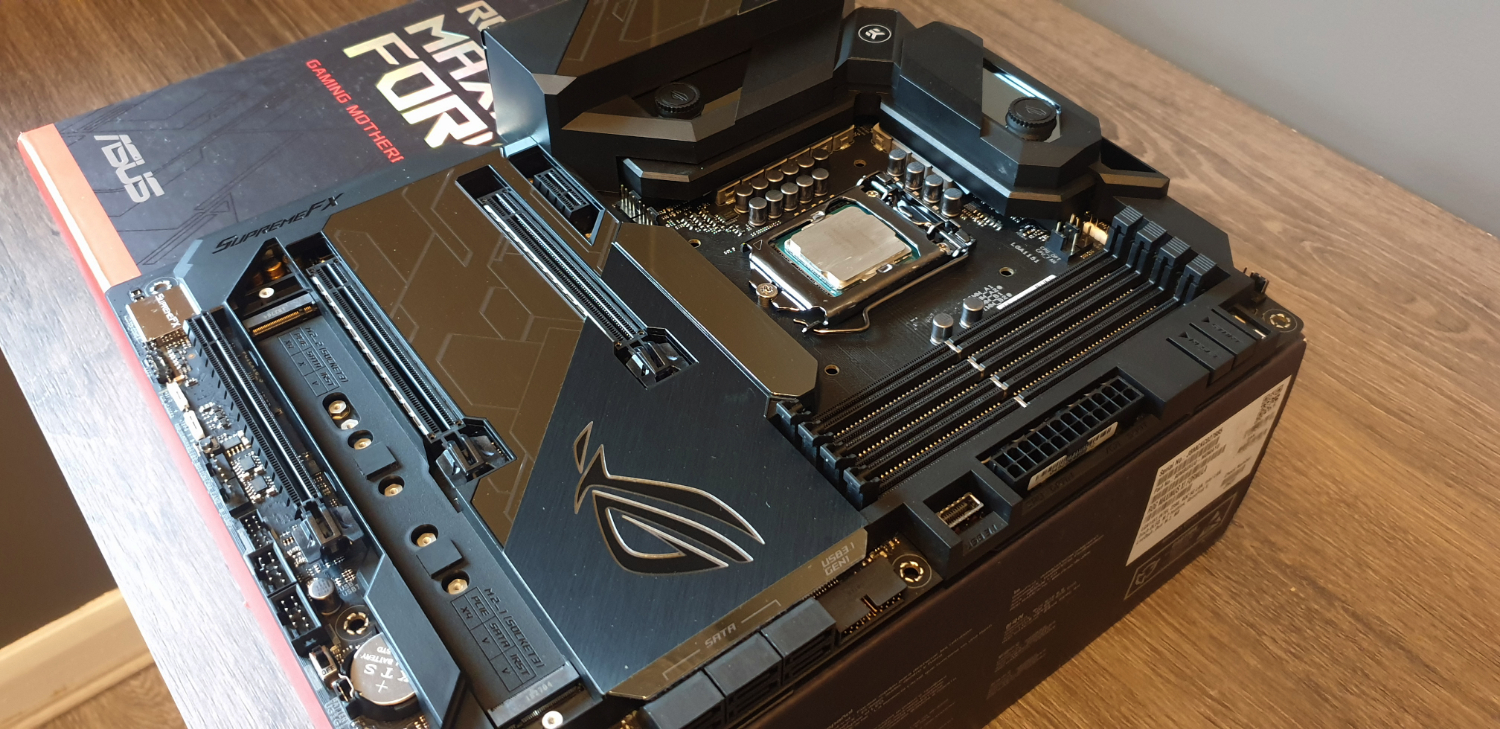
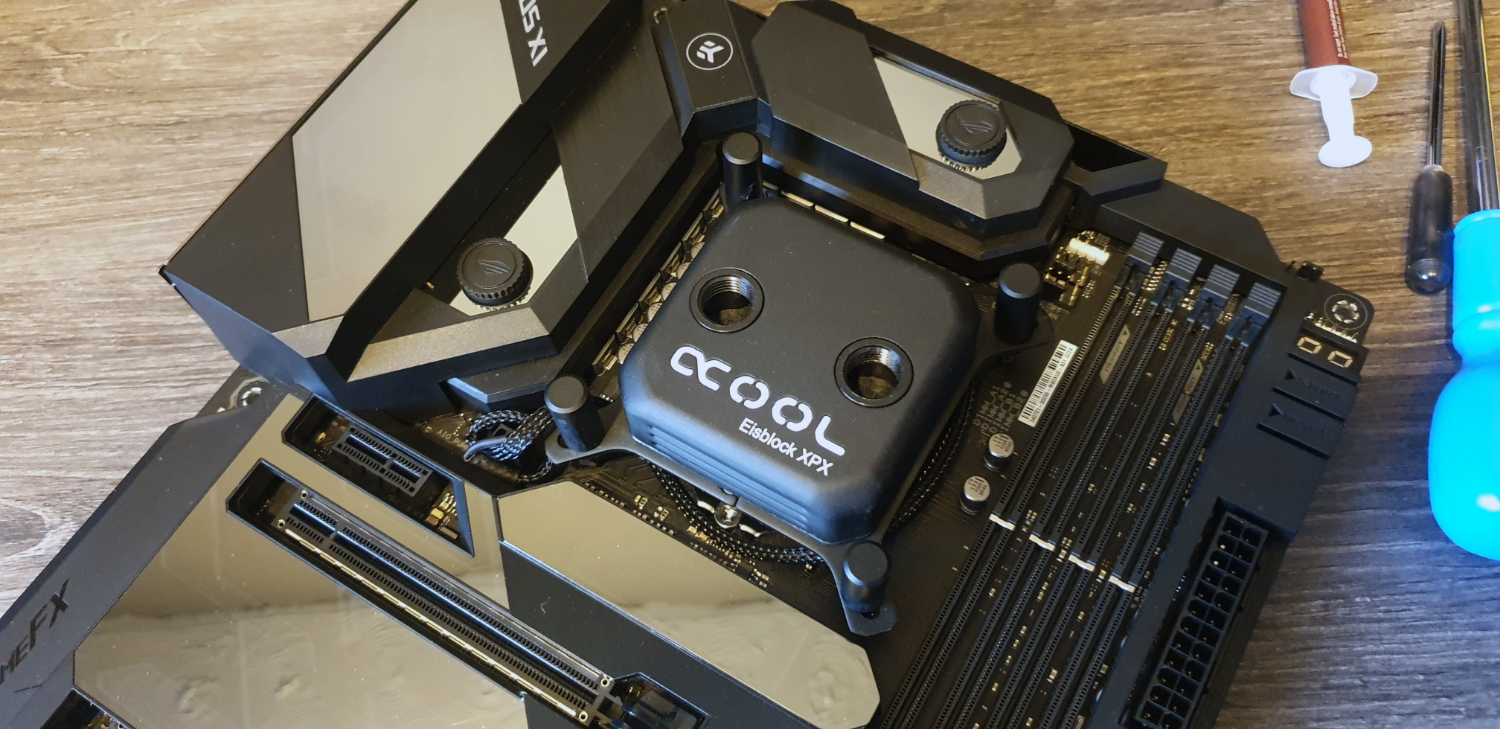
So then let’s begin. First thing we did was prep our motherboard outside of the case. It’s easiest to do this here, especially as we’ll be fitting a waterblock to the CPU. We’ve gone with a thin layer of Noctua’s new NT-H2 paste on the CPU just to see how it’ll do.
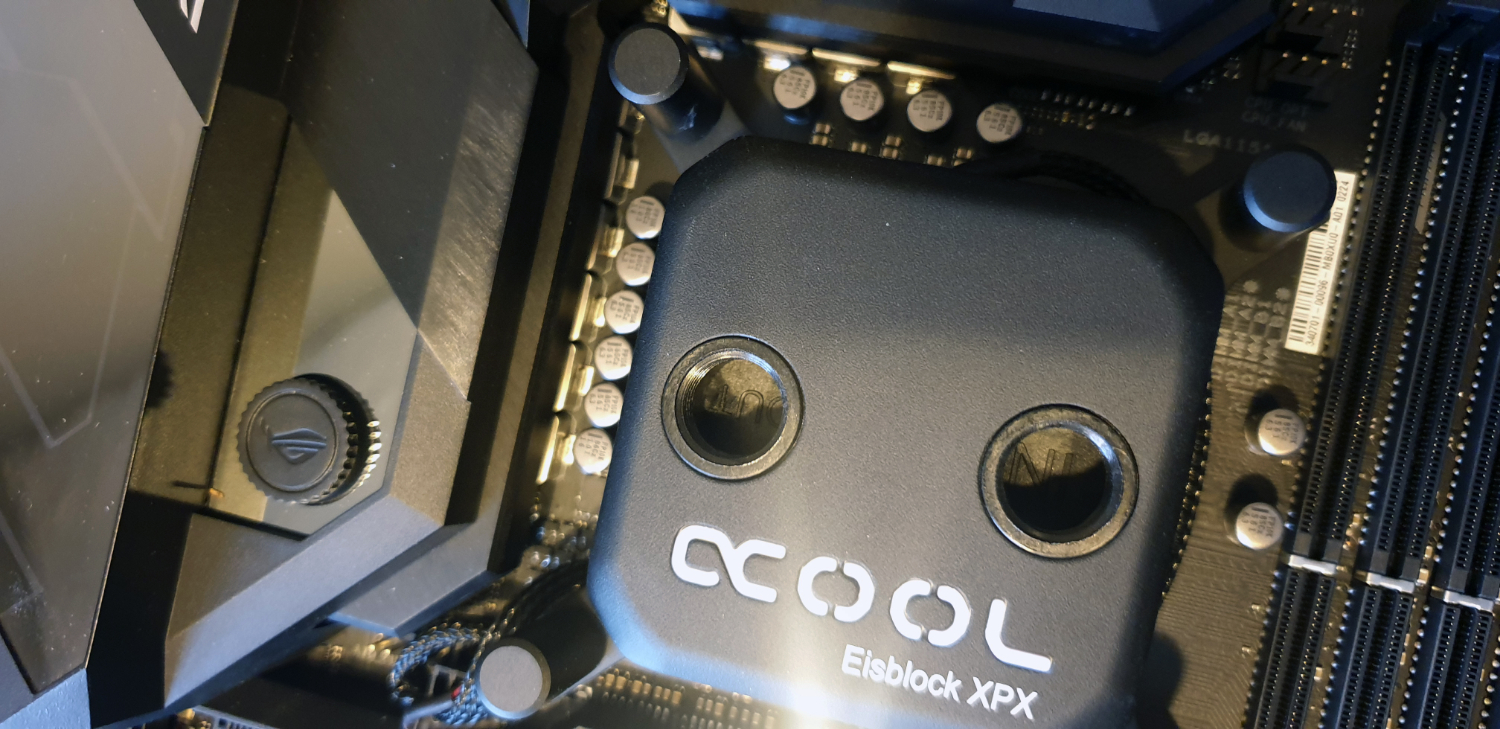
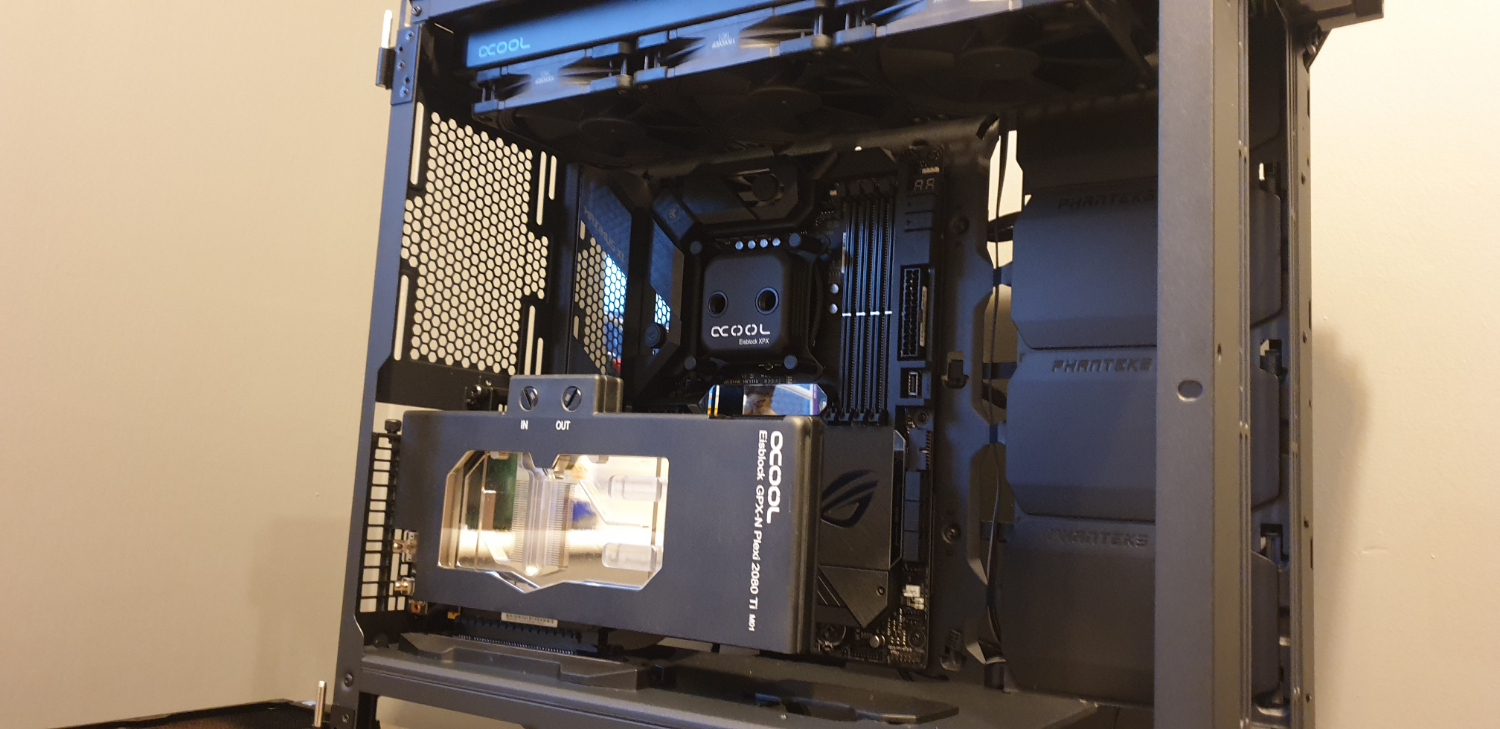
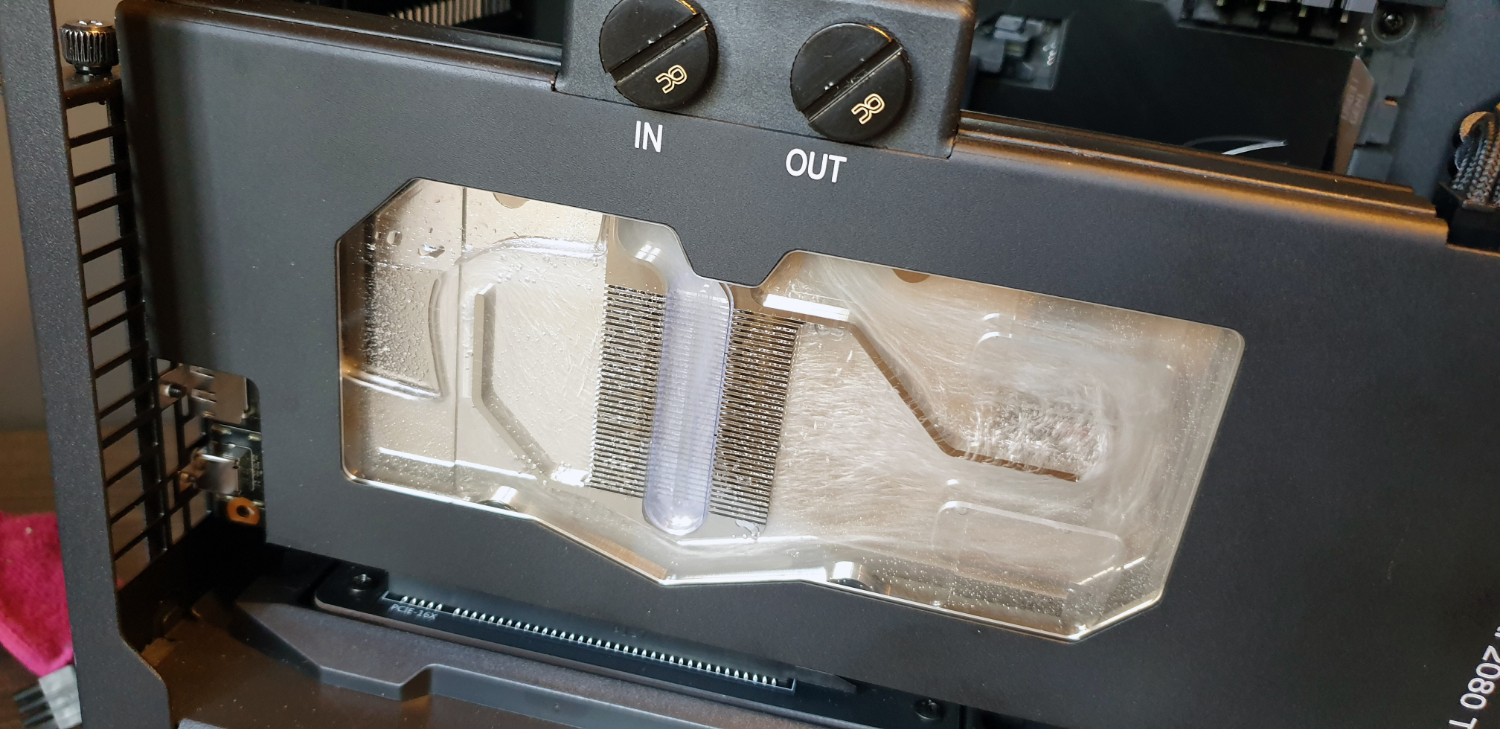
Take a quick peak in the closeup of the block on the CPU, and you’ll notice internally one port, says in, and one says out. This designates which direction the coolant needs to travel to maximize the efficiency and avoid any gunk build up on the fins inside. We’ve actually modded our block, by popping off the cover, and spinning it around, so the inlet is facing the correct way.
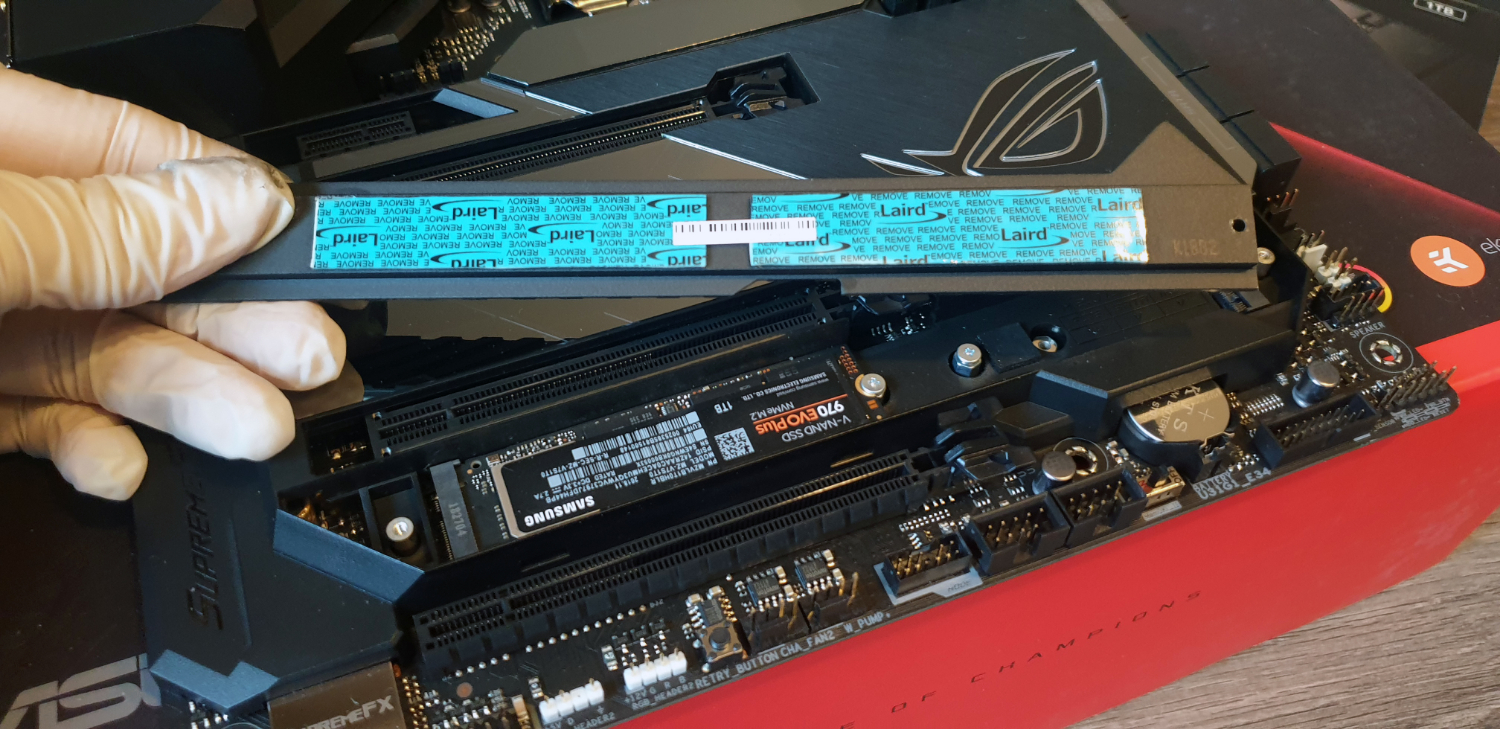
We’ve also installed our first SSD to arrive, the 1TB Samsung 970 Evo Plus in the lower most heatsink. At this point in time we were still waiting for the OS drive to arrive. Once they’re both in, we’ll pull off the laird thermal pad cover and secure it down.
Stripping the Chassis
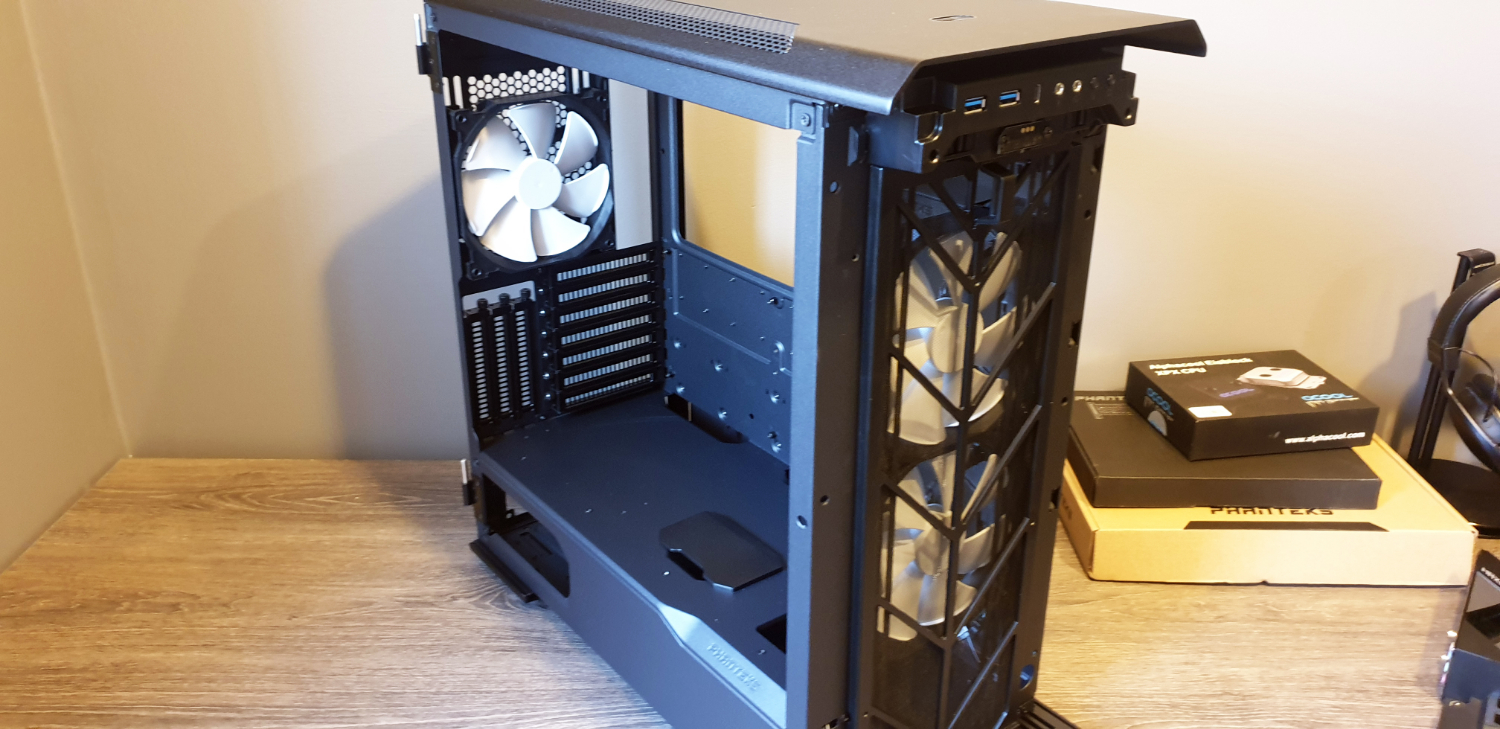
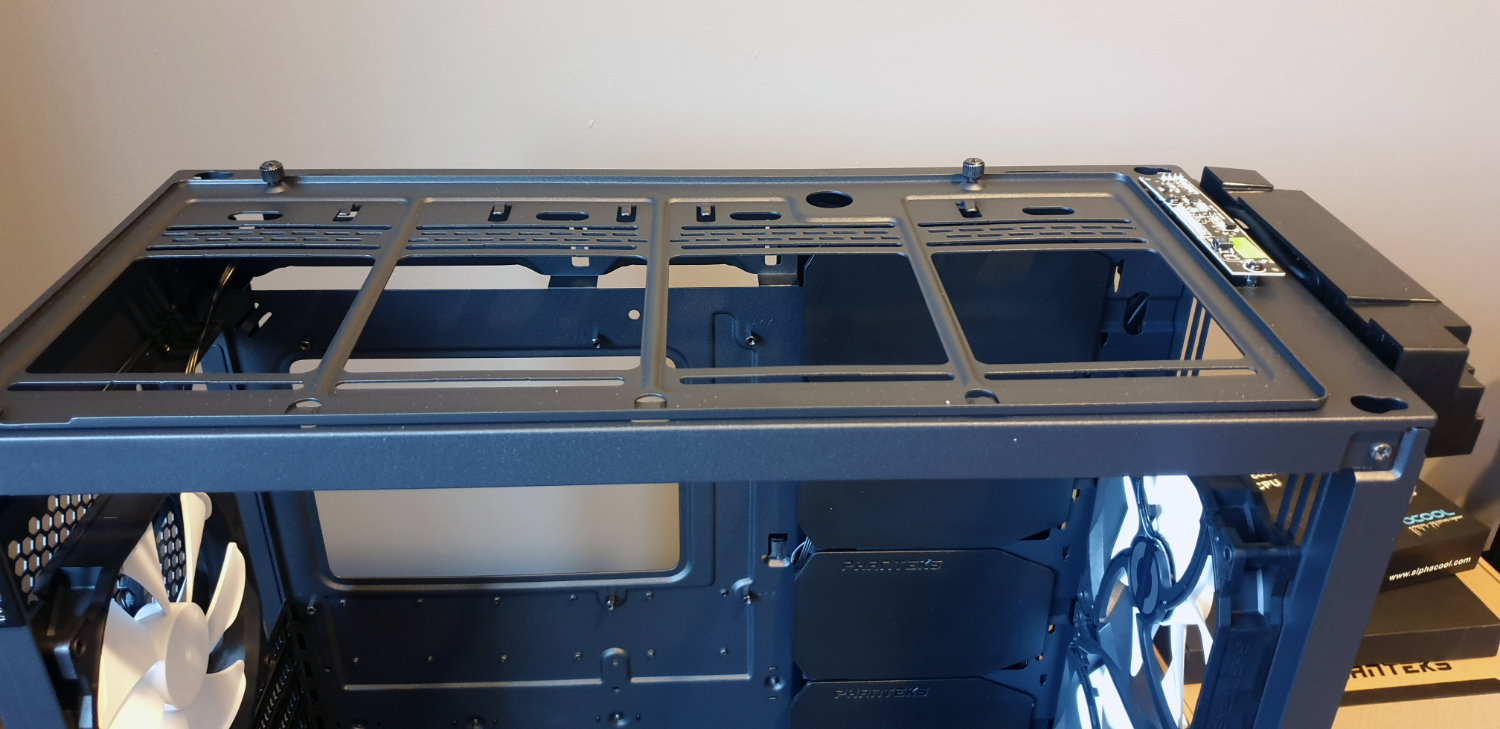
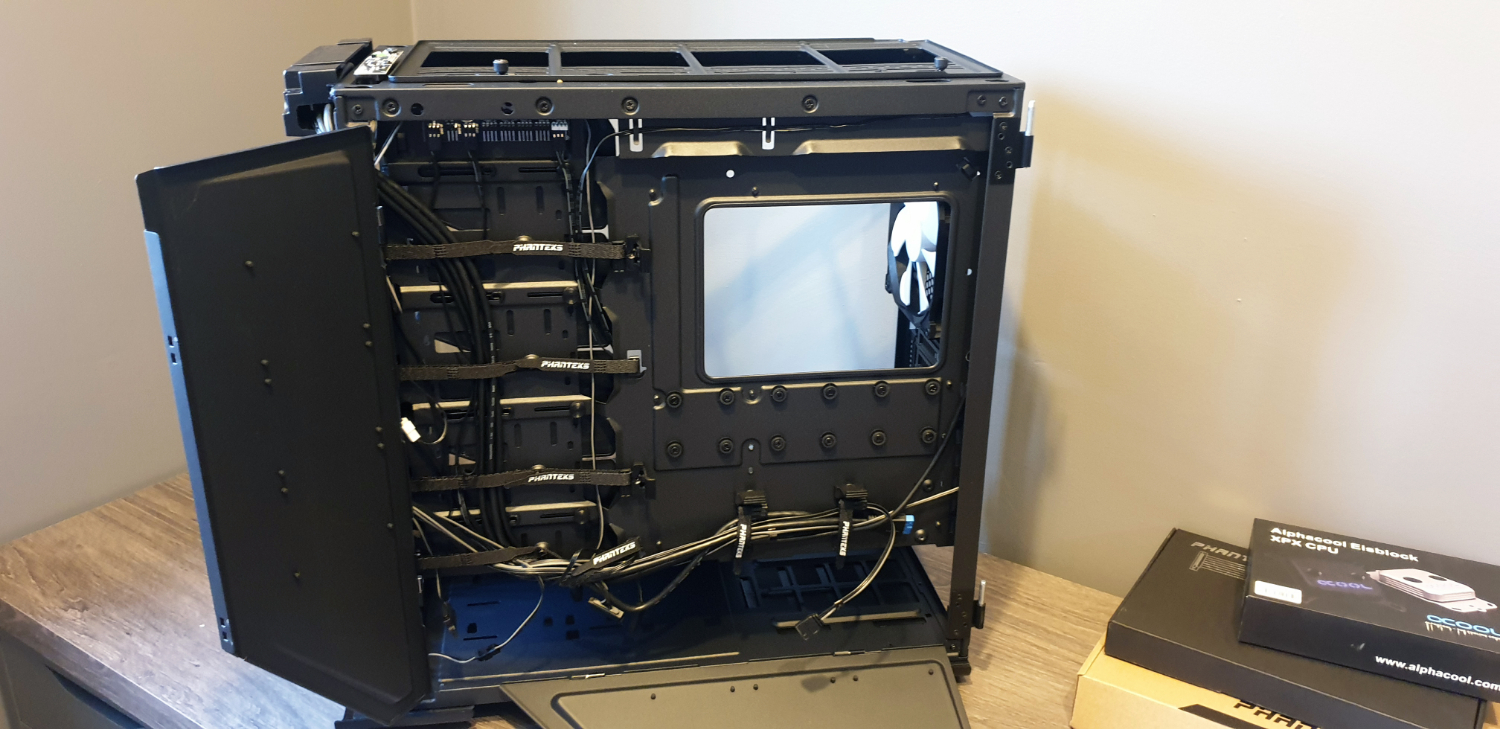
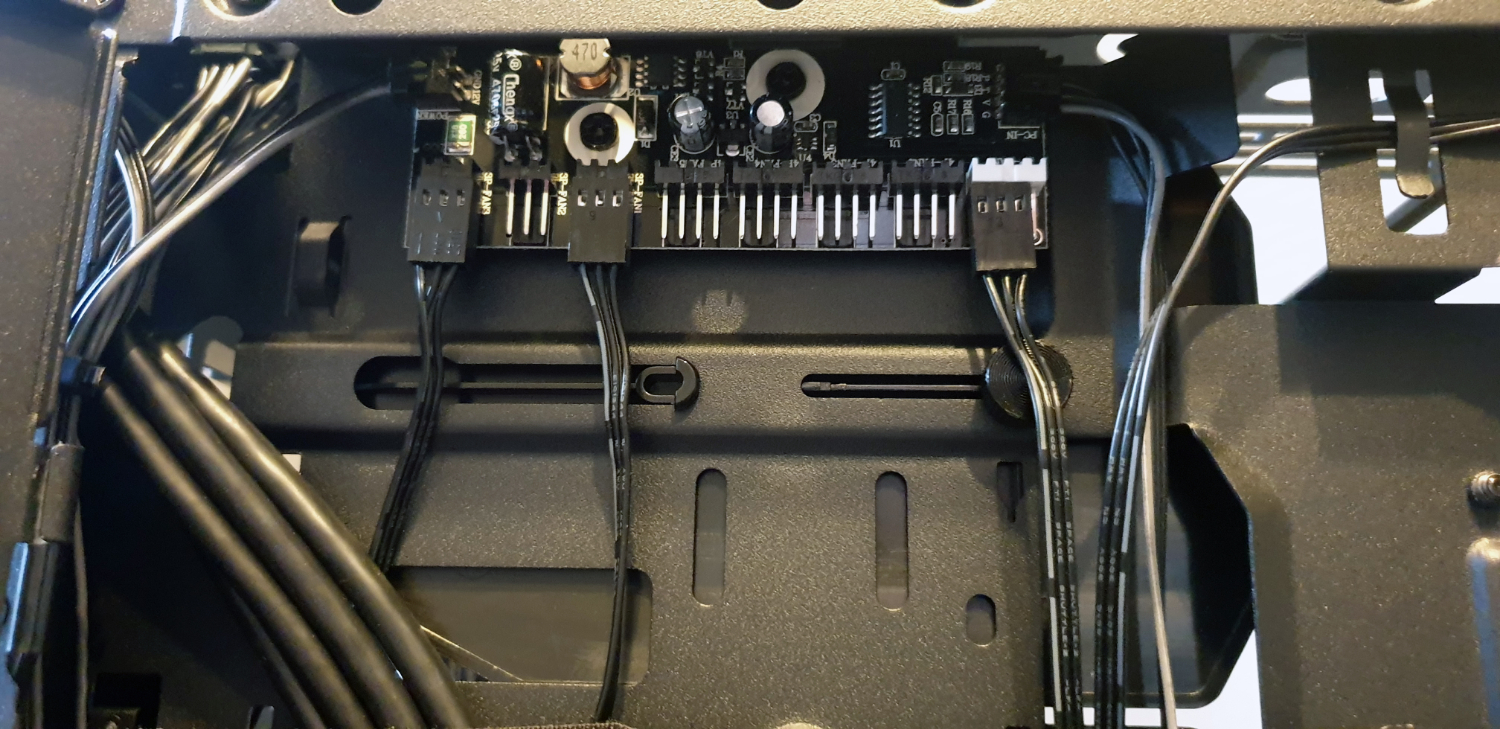
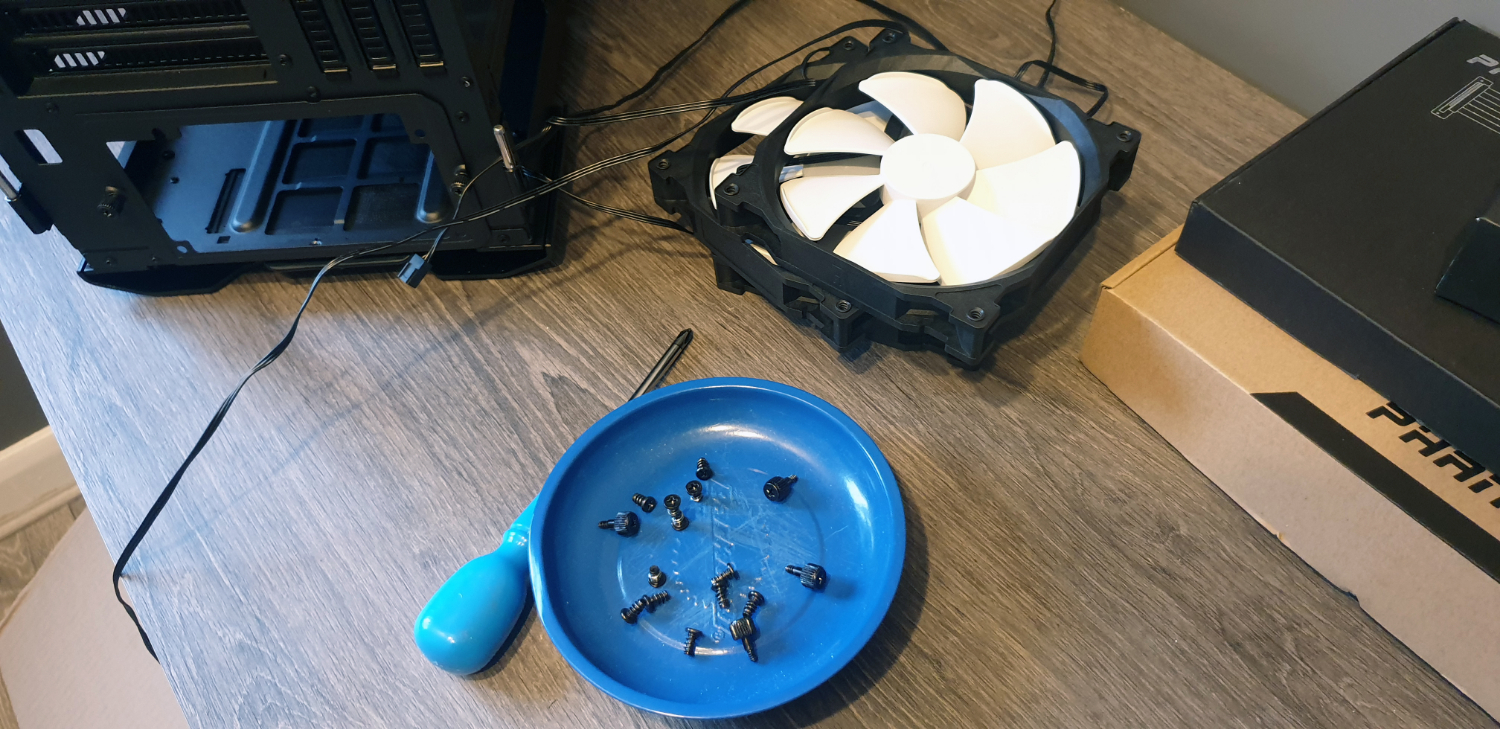
Case strip down was next up on the agenda. Pull the chassis from the box, and it’s time to remove as many panels as possible. We’ve kept the majority of them wedged in between the soft-foam packaging in the cardboard packing box just so we don’t damage or scratch them.
We also took the opportunity to remove the SSD Mounts/cable cover plates in the back, just to make the initial build that much more convenient. Then it’s a case of removing the fans, placing all the screws we need in our trusty old Park Tool’s magnetic bowl, and continuing on with our journey.
PCIe and Storage
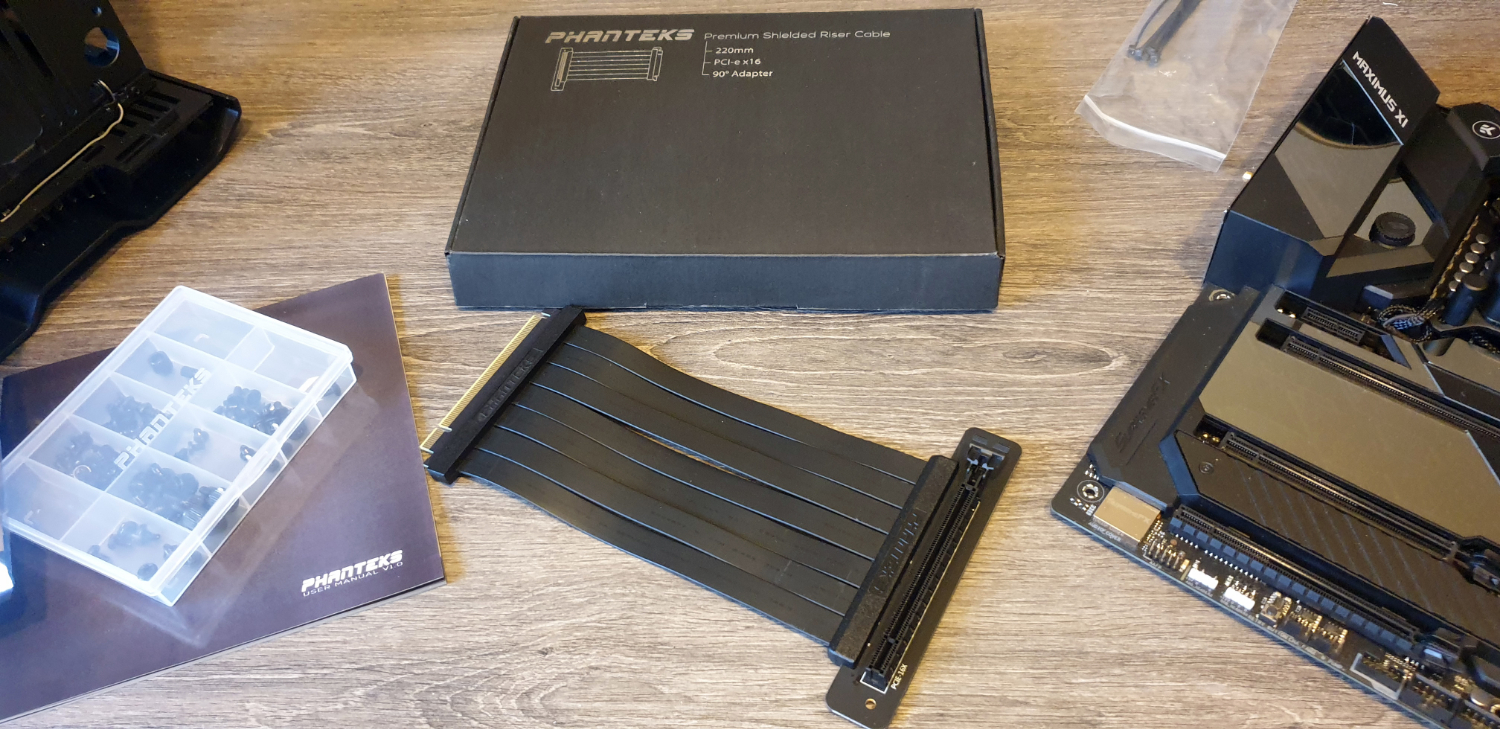
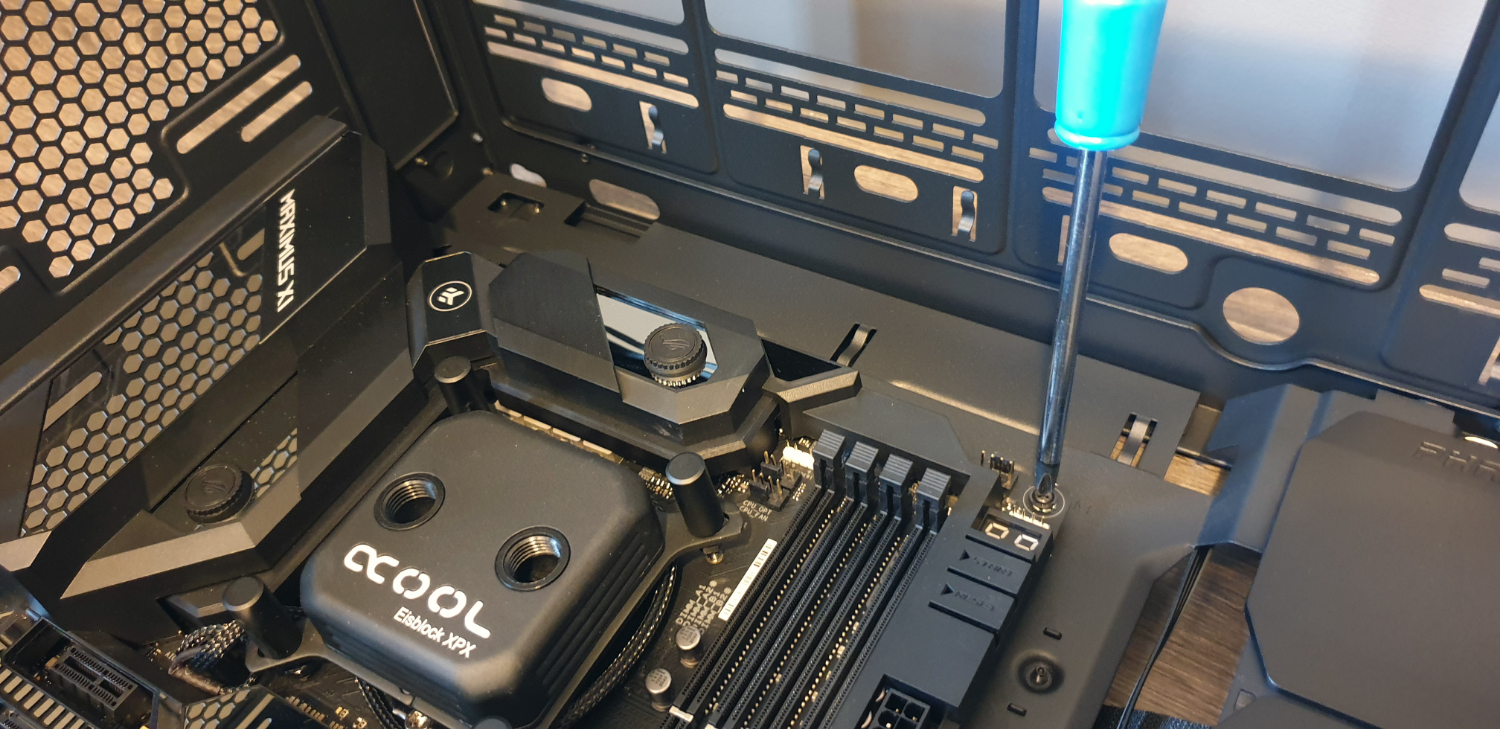
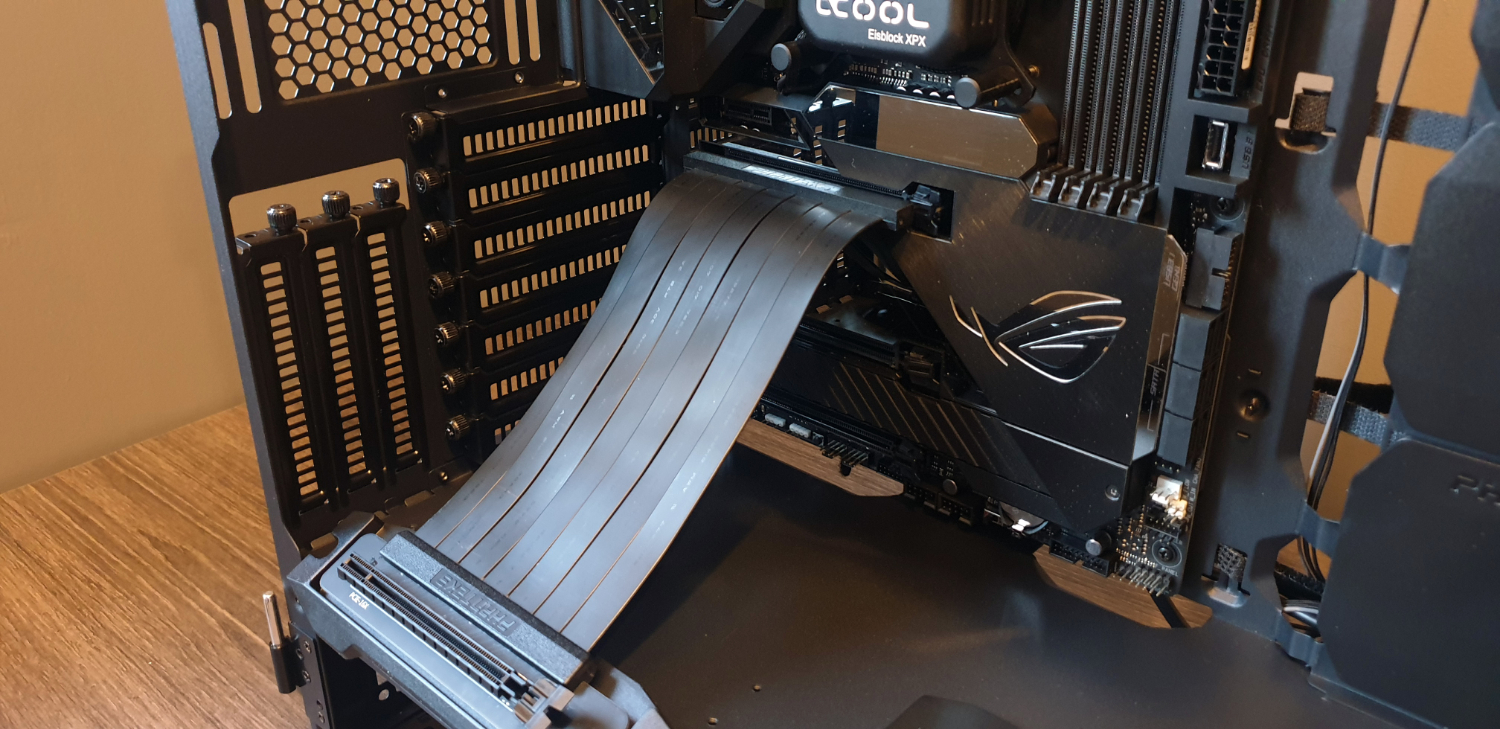
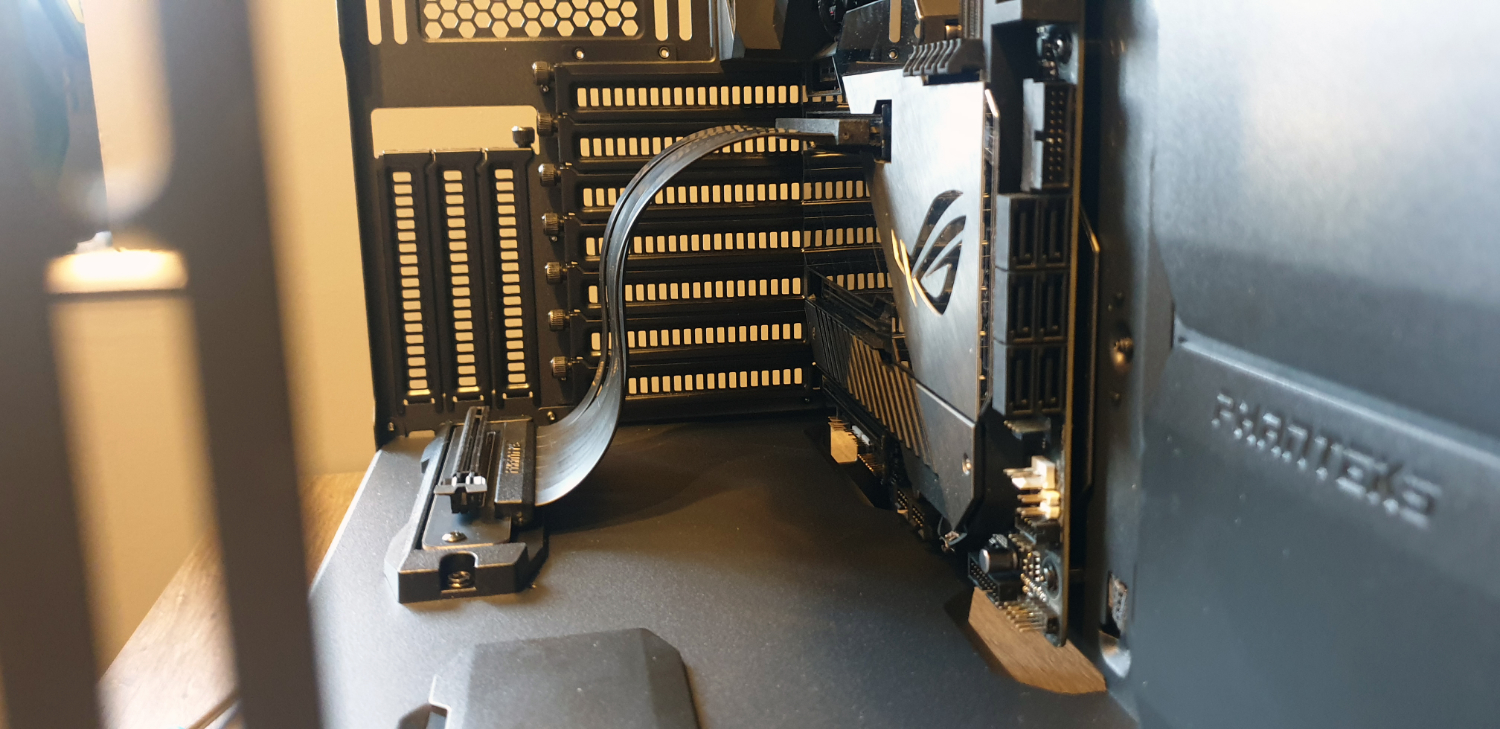
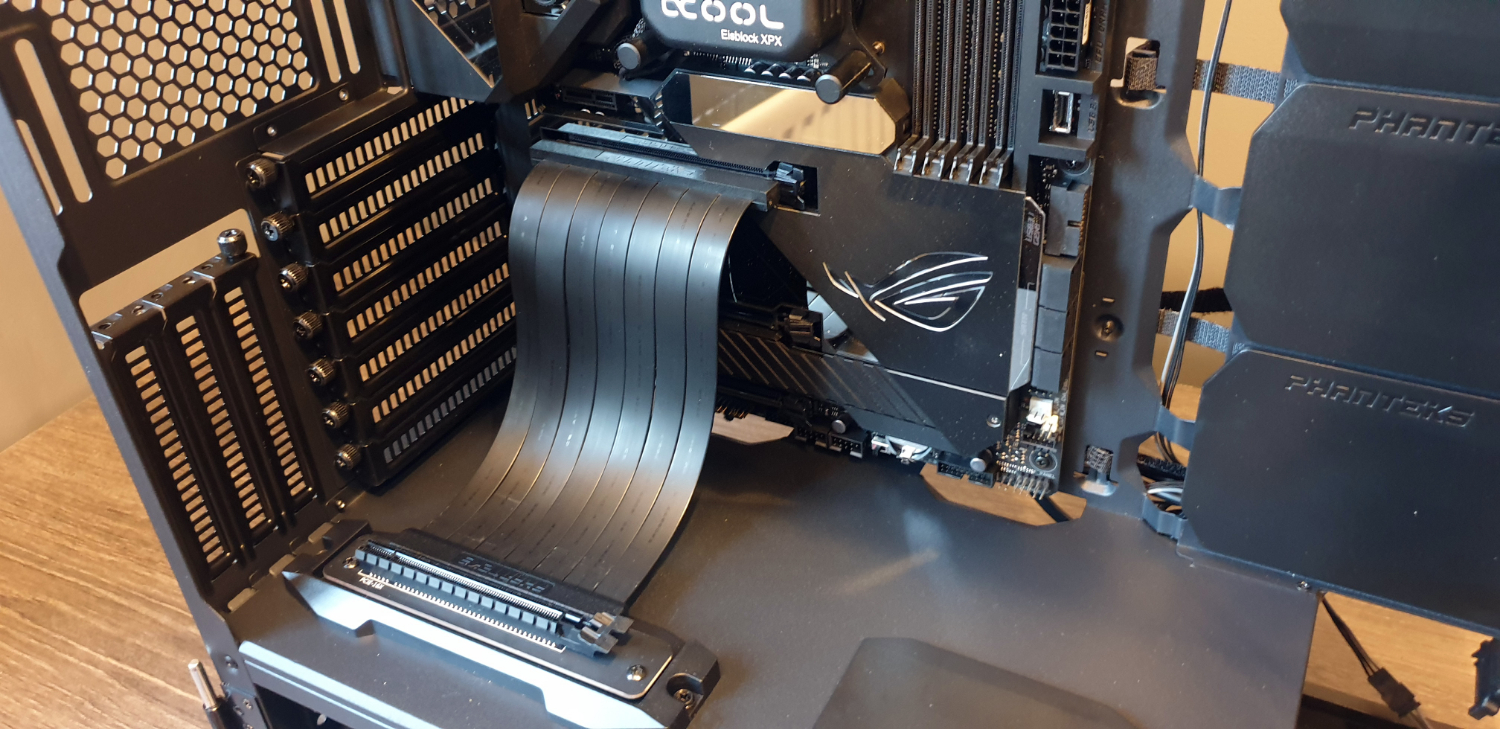
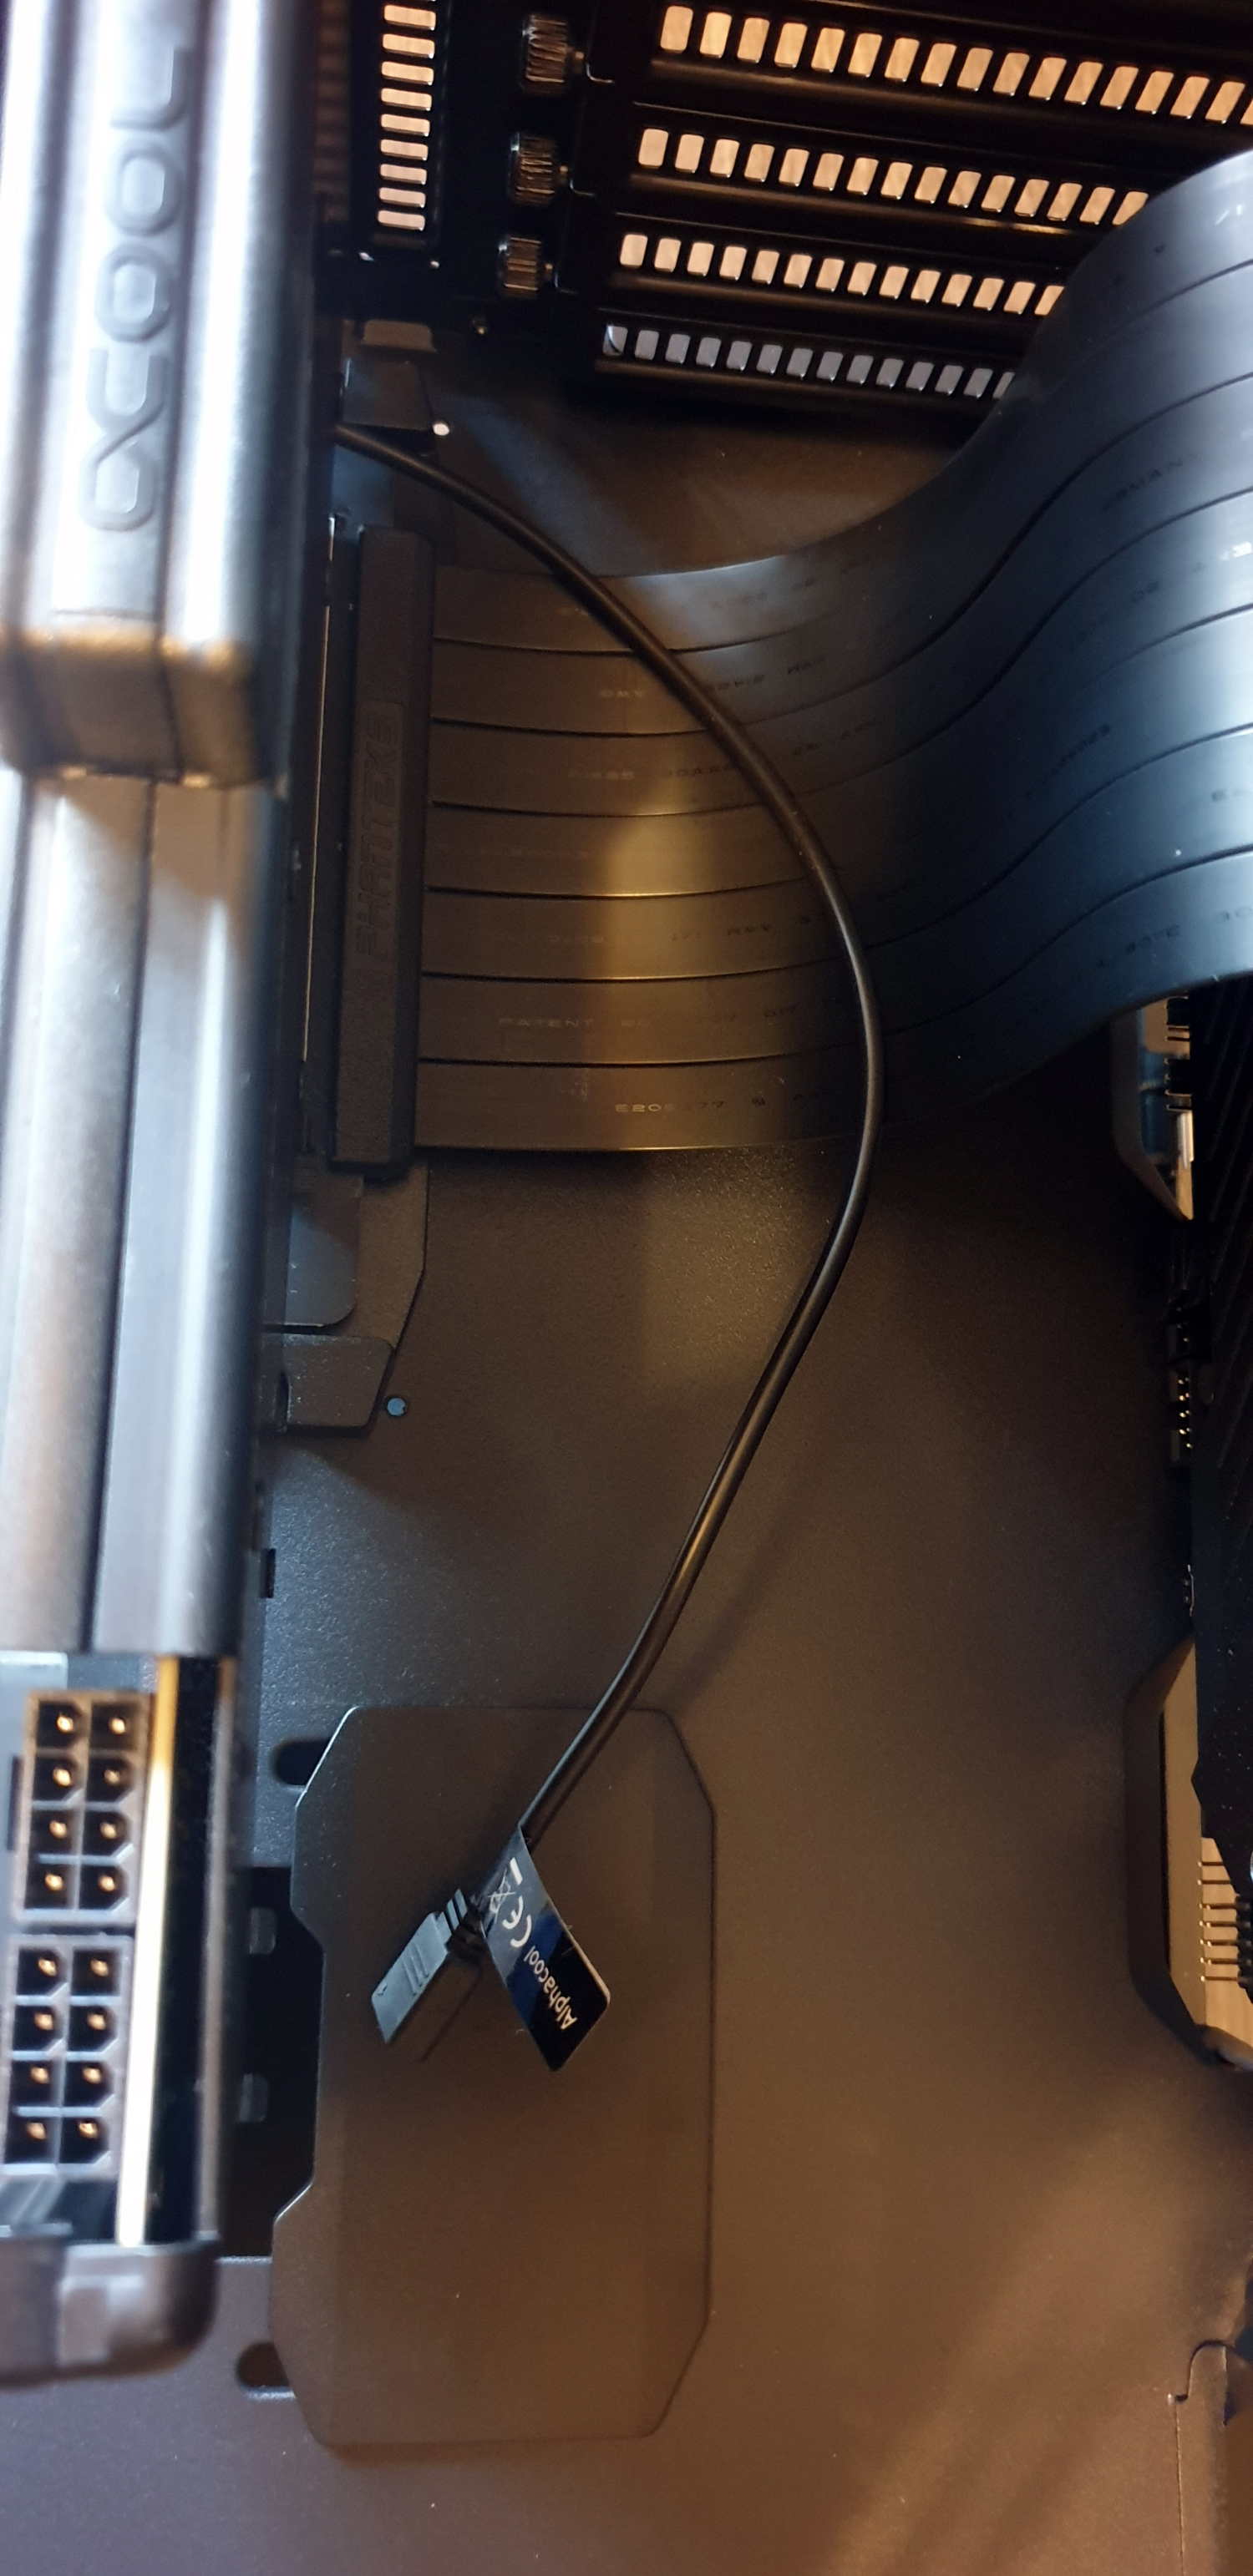
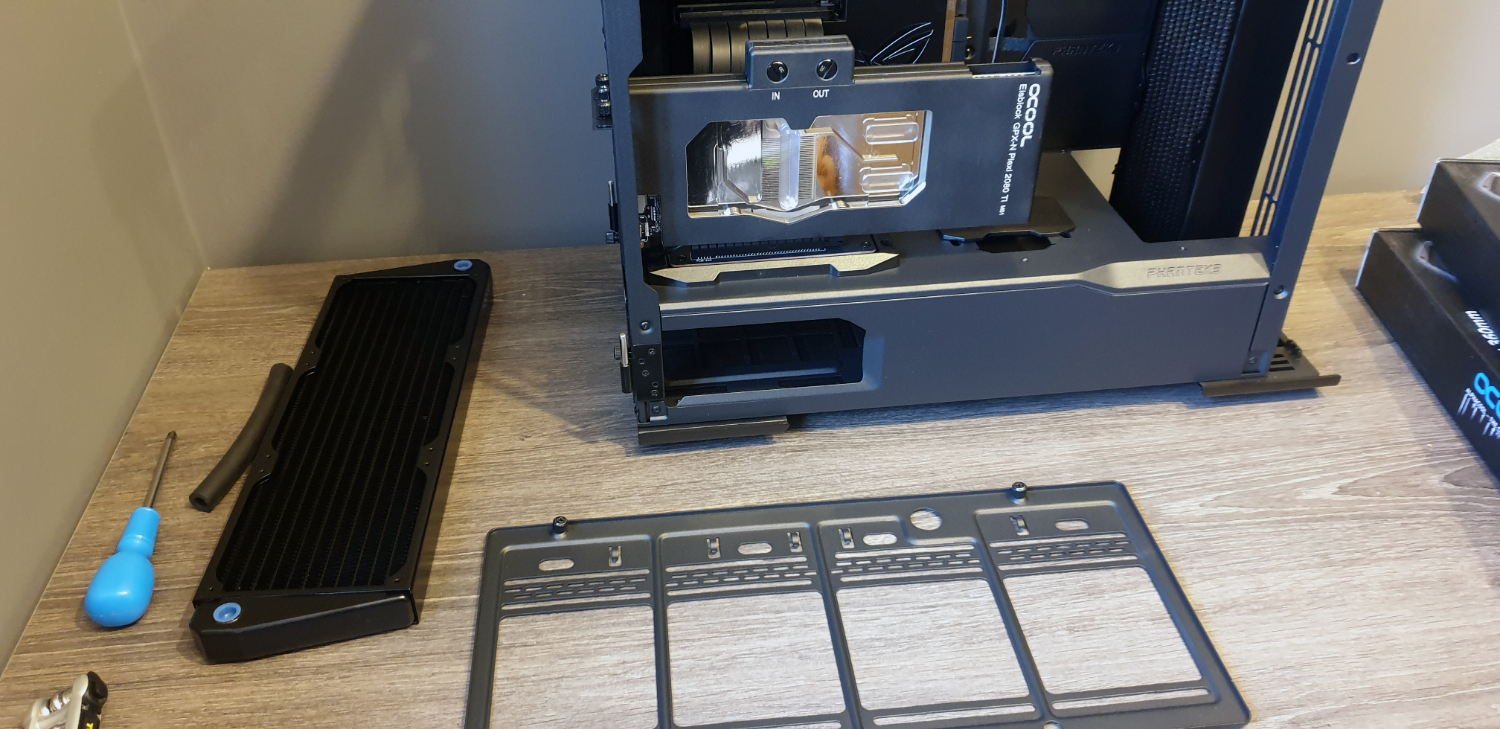
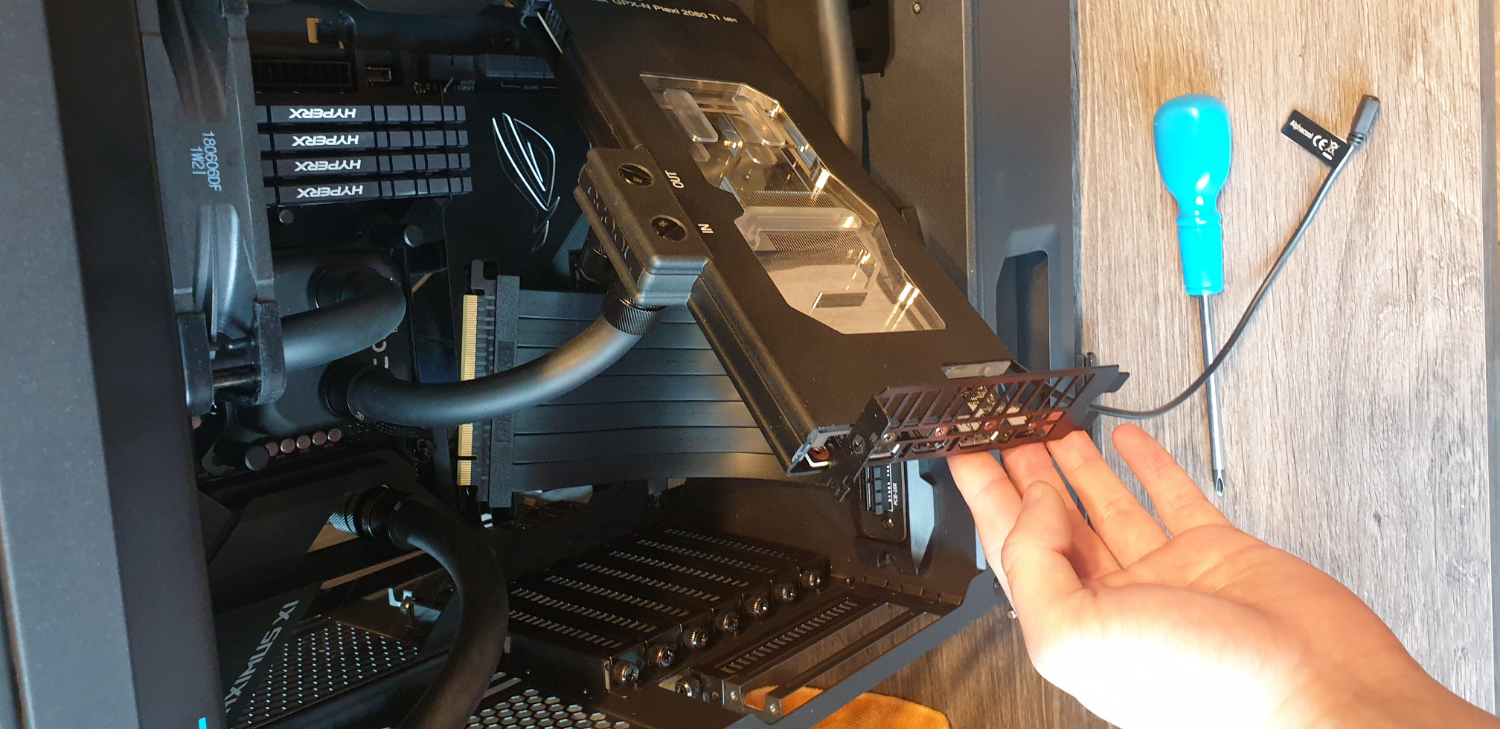
And here we go, motherboard installed, no problems so far. But next up is the PCIe riser cable. This is the premium version Phanteks sells, and it’s very pretty, and quite flexible too.
Ironically we had the opportunity to go with an Intel 905P Optane drive, but when we realized we’d be running a vertical GPU, ditched it in favor of the two Sammy drives instead. That said, once the PCIe riser was in, we realized we probably could’ve gotten away with it. Although there’s no telling what that heat coming off the SSD heatsink would’ve done to the riser cable.
Get Tom's Hardware's best news and in-depth reviews, straight to your inbox.
We also took the opportunity to install the GPU, it sits nicely in place here, and of course we’ll not suffer from any GPU sag thanks to the orientation.
Radiator Mounting
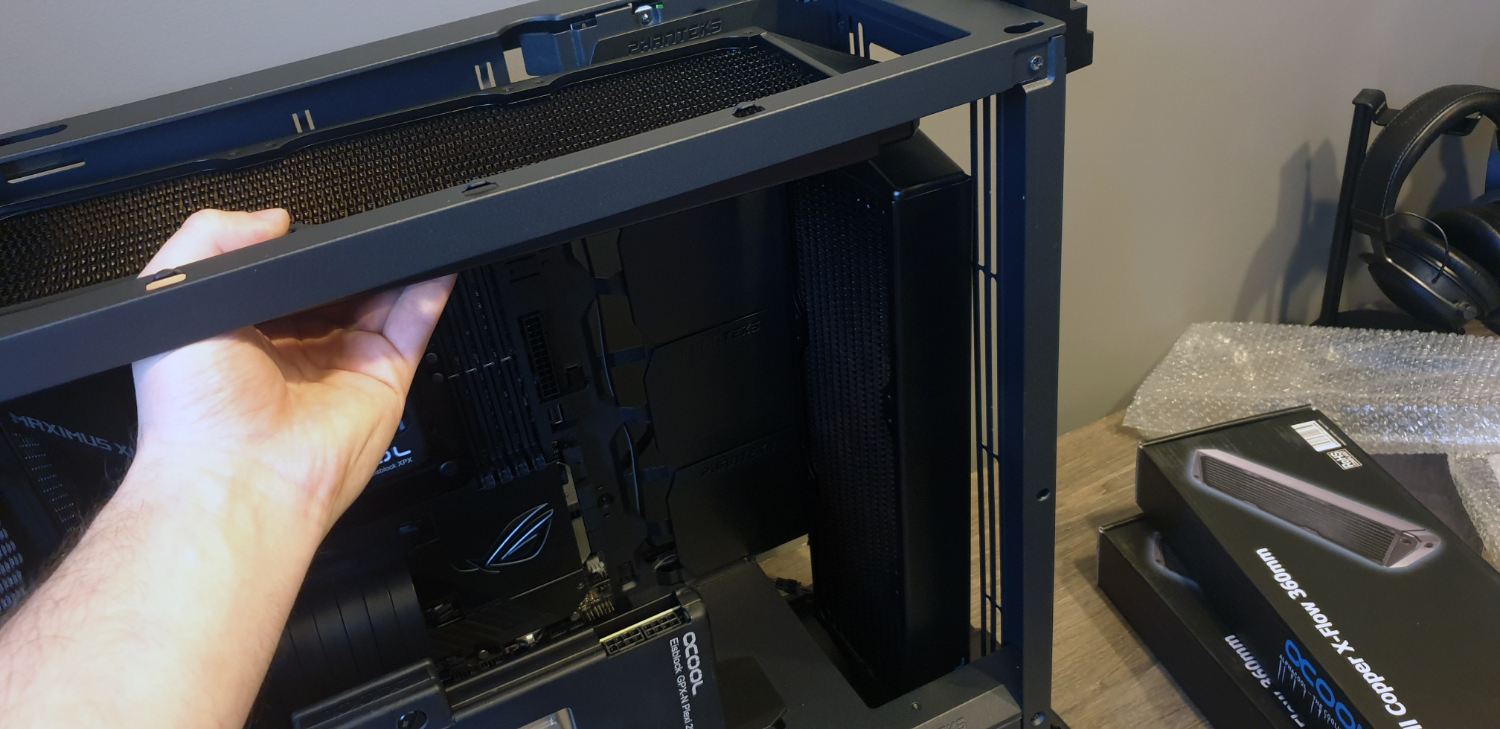
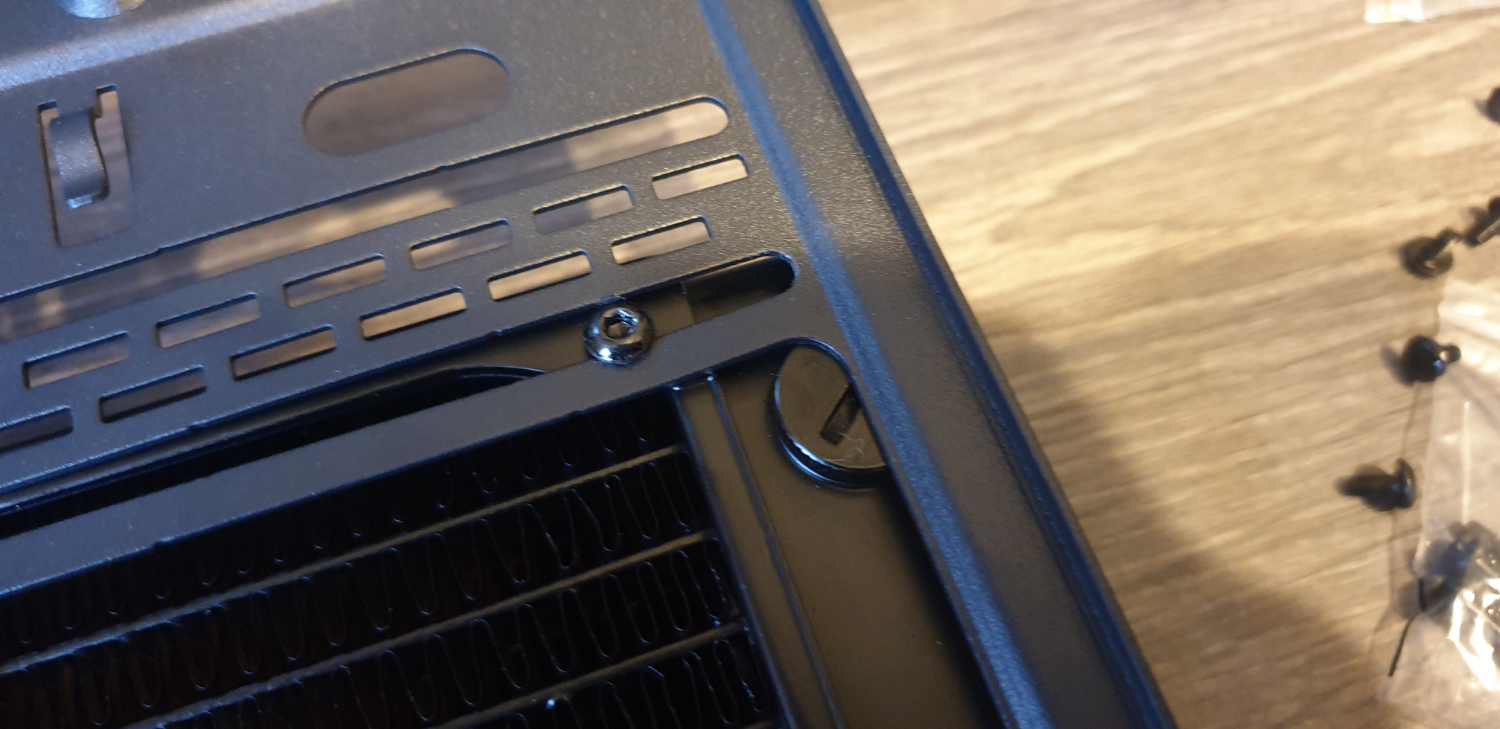
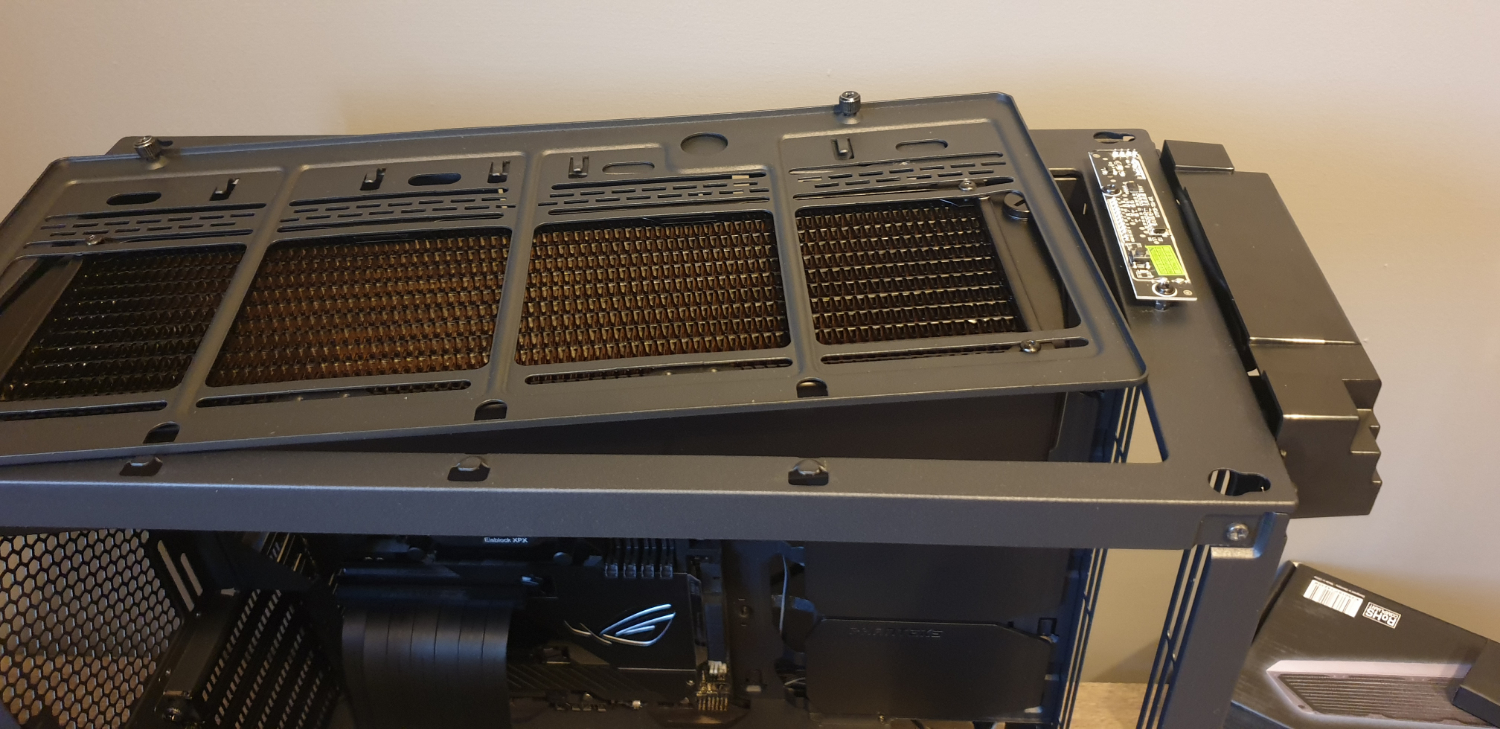
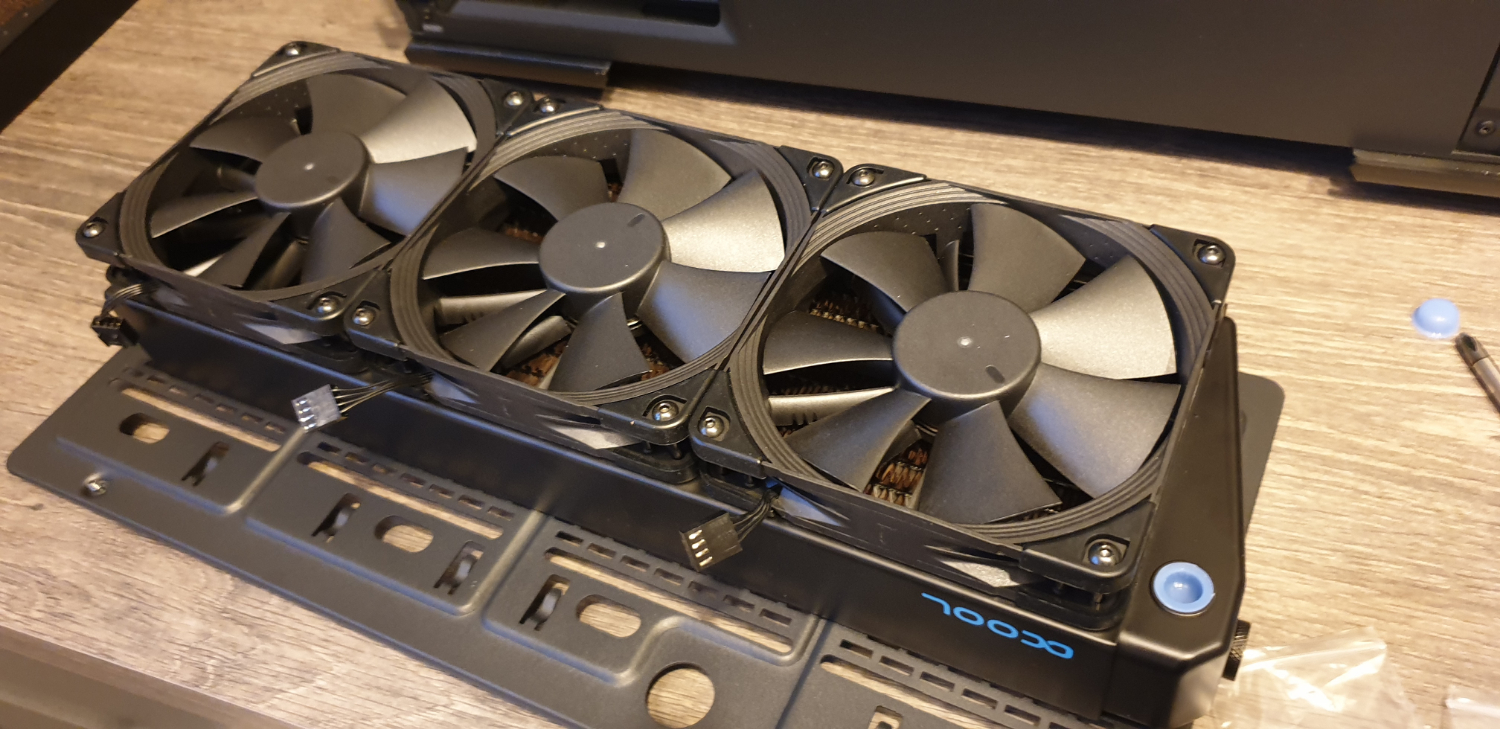
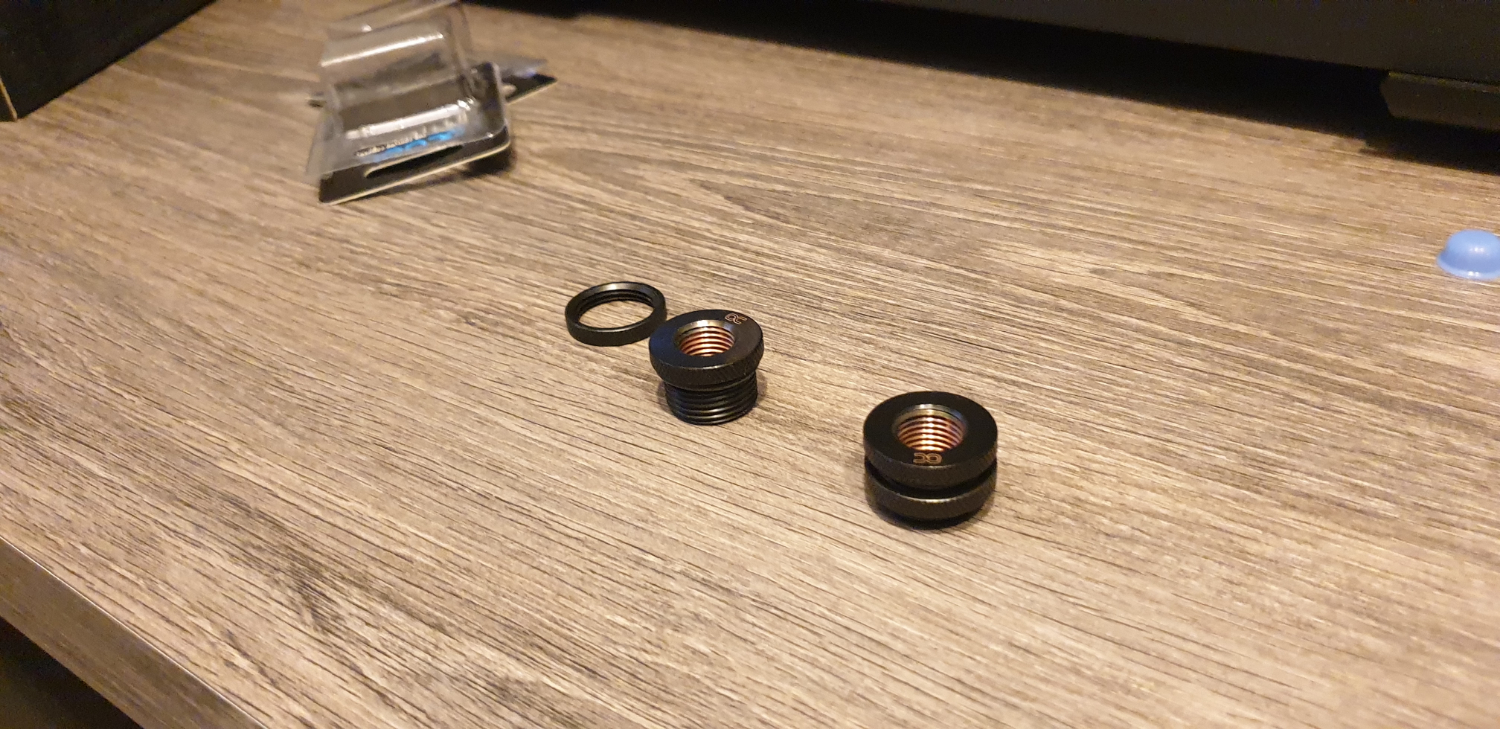
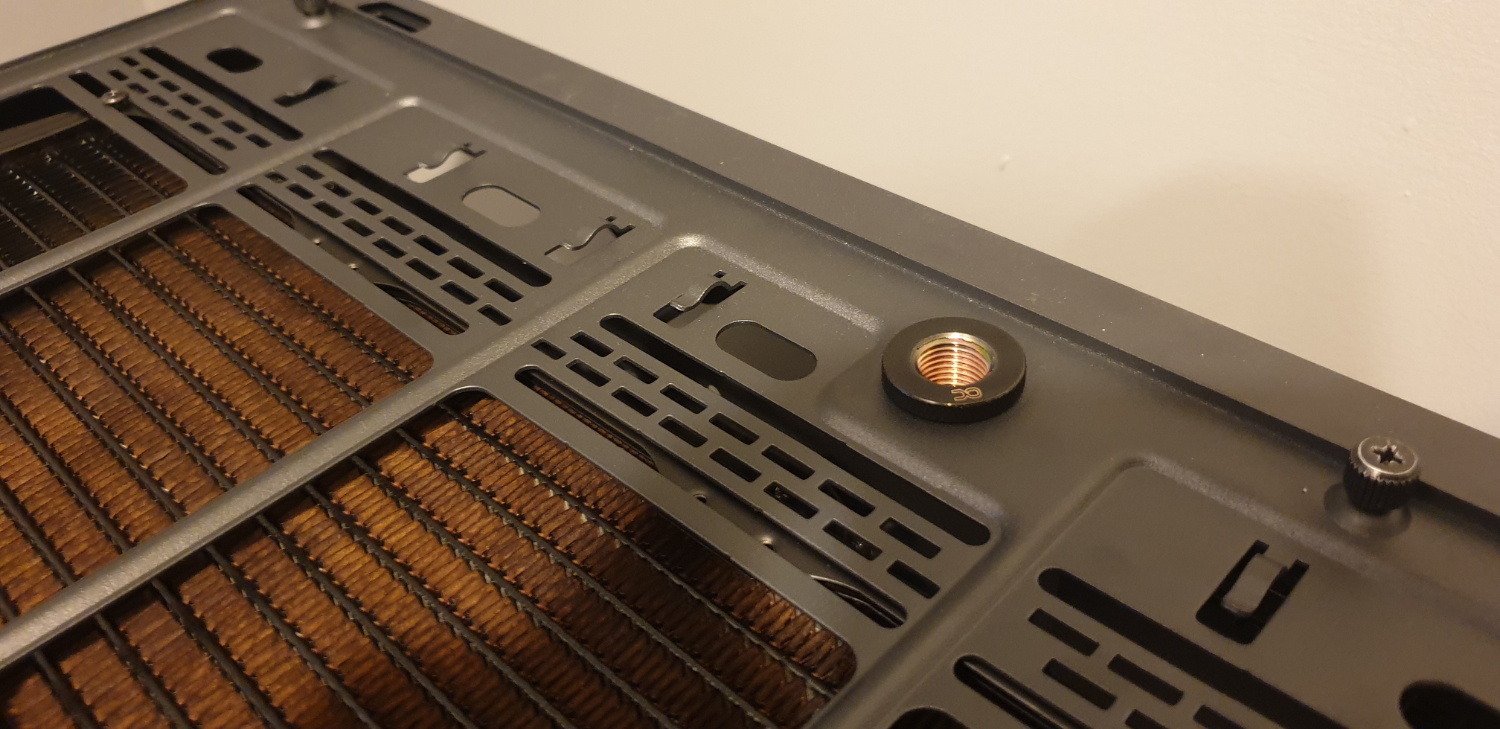

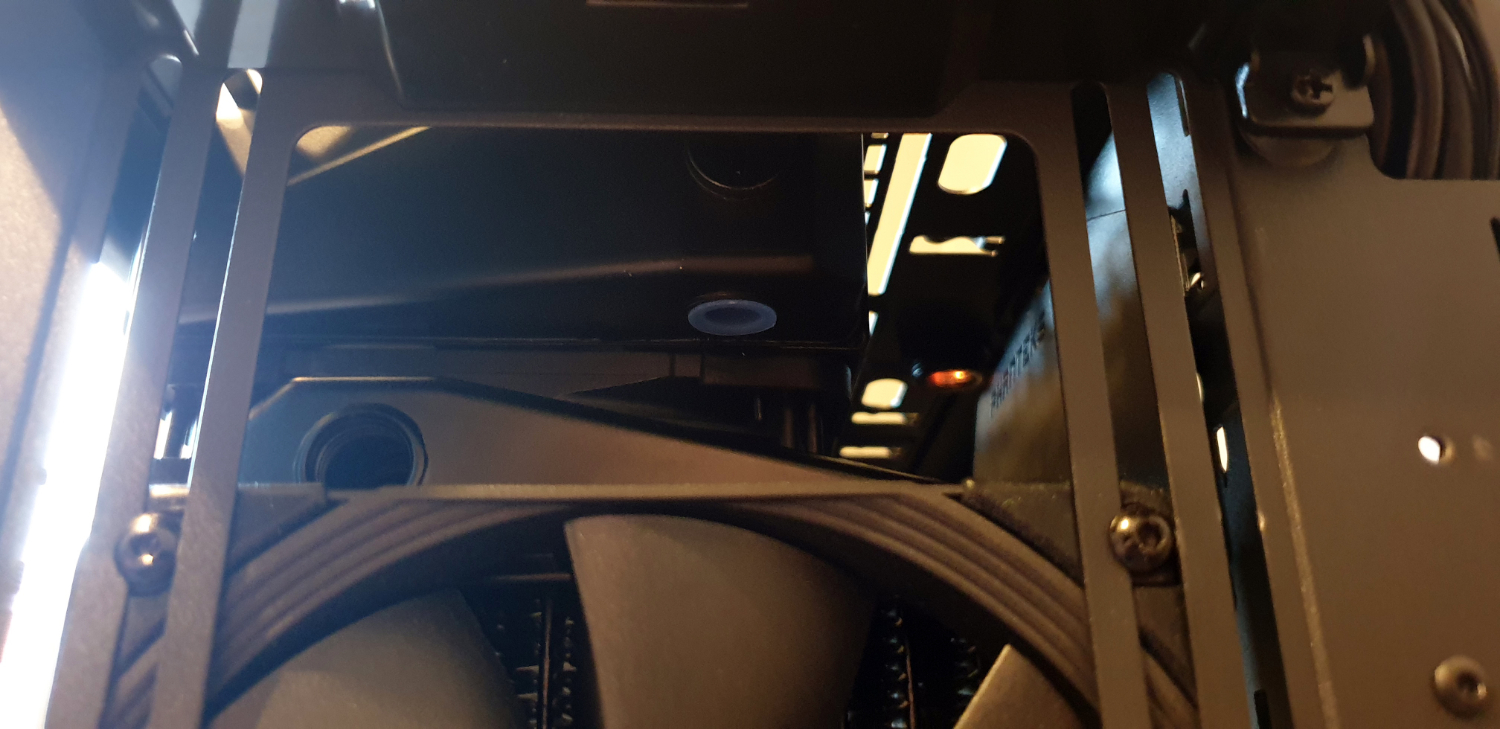
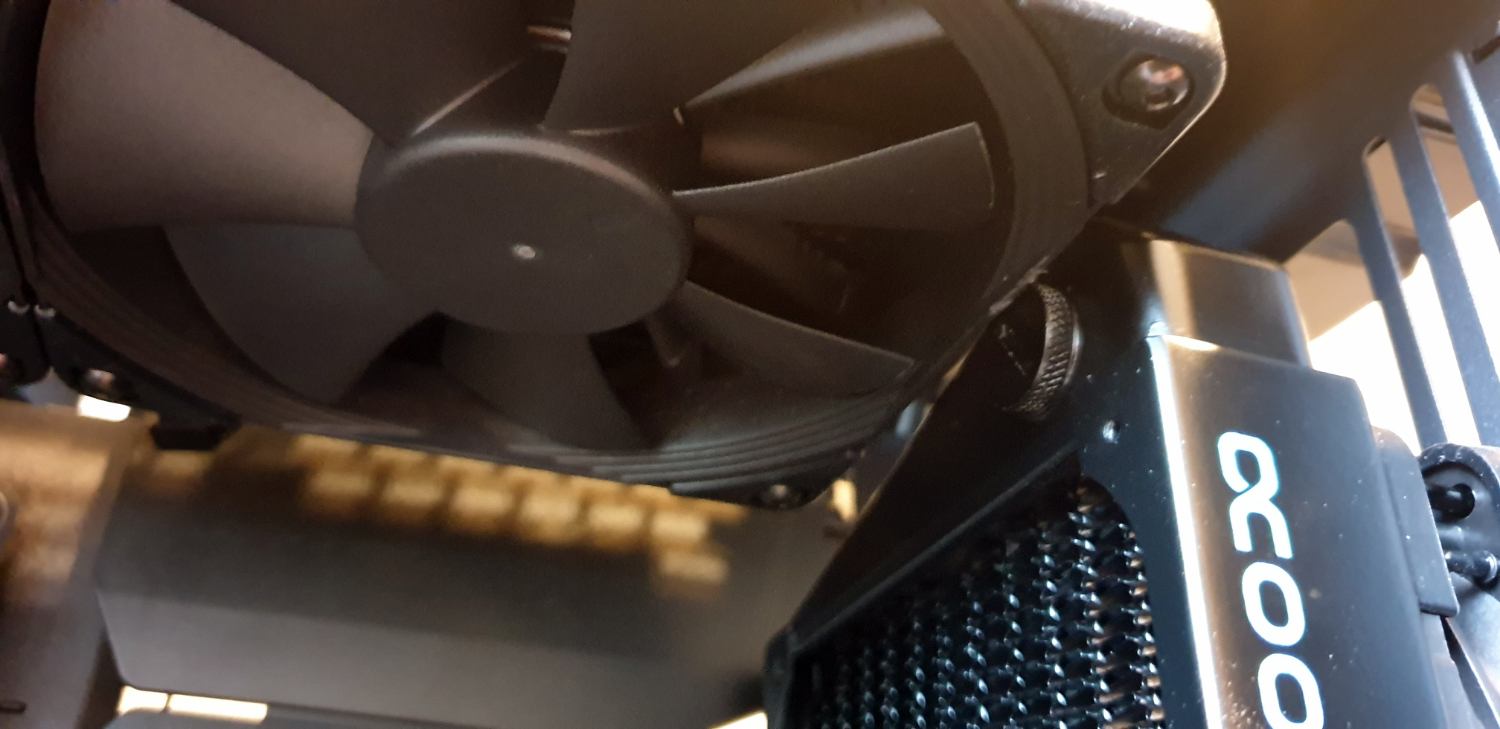
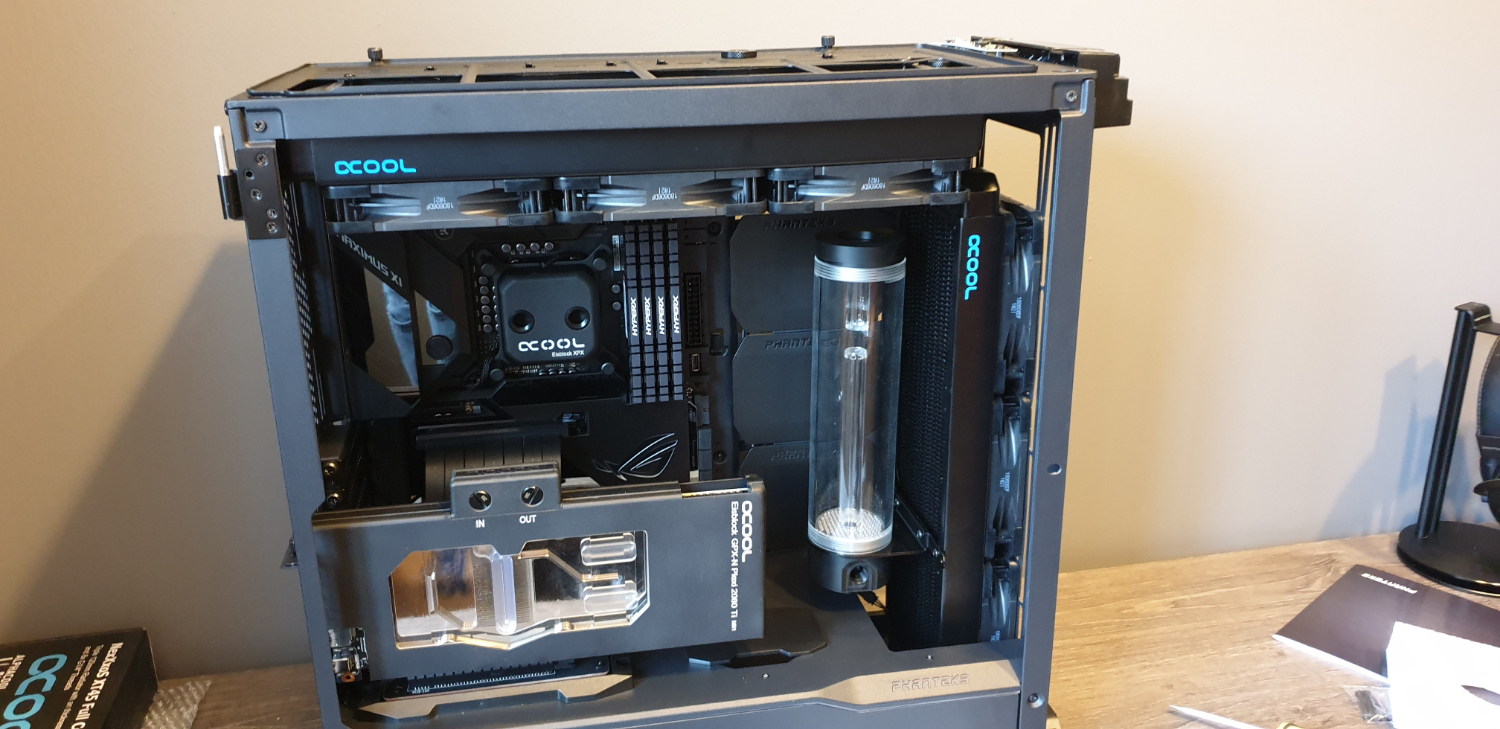
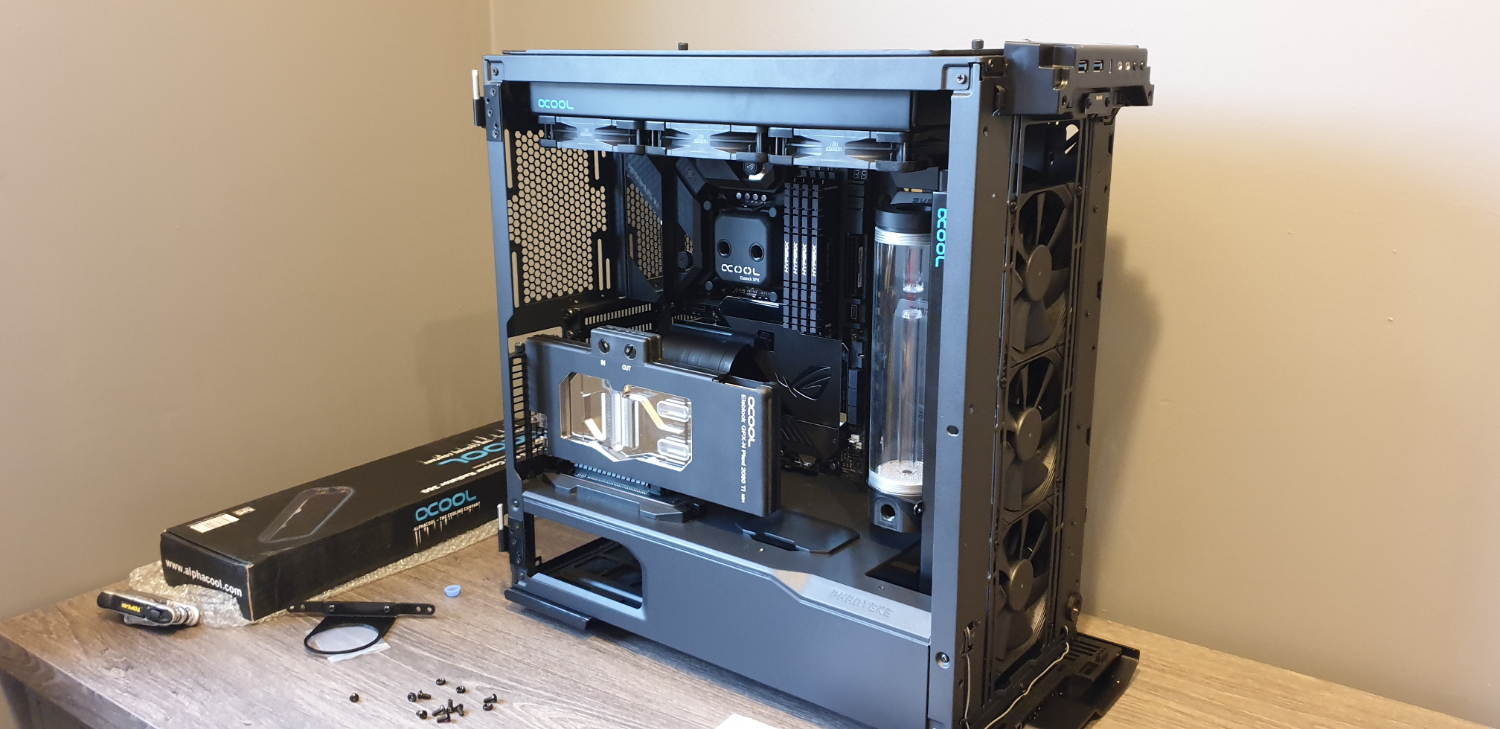
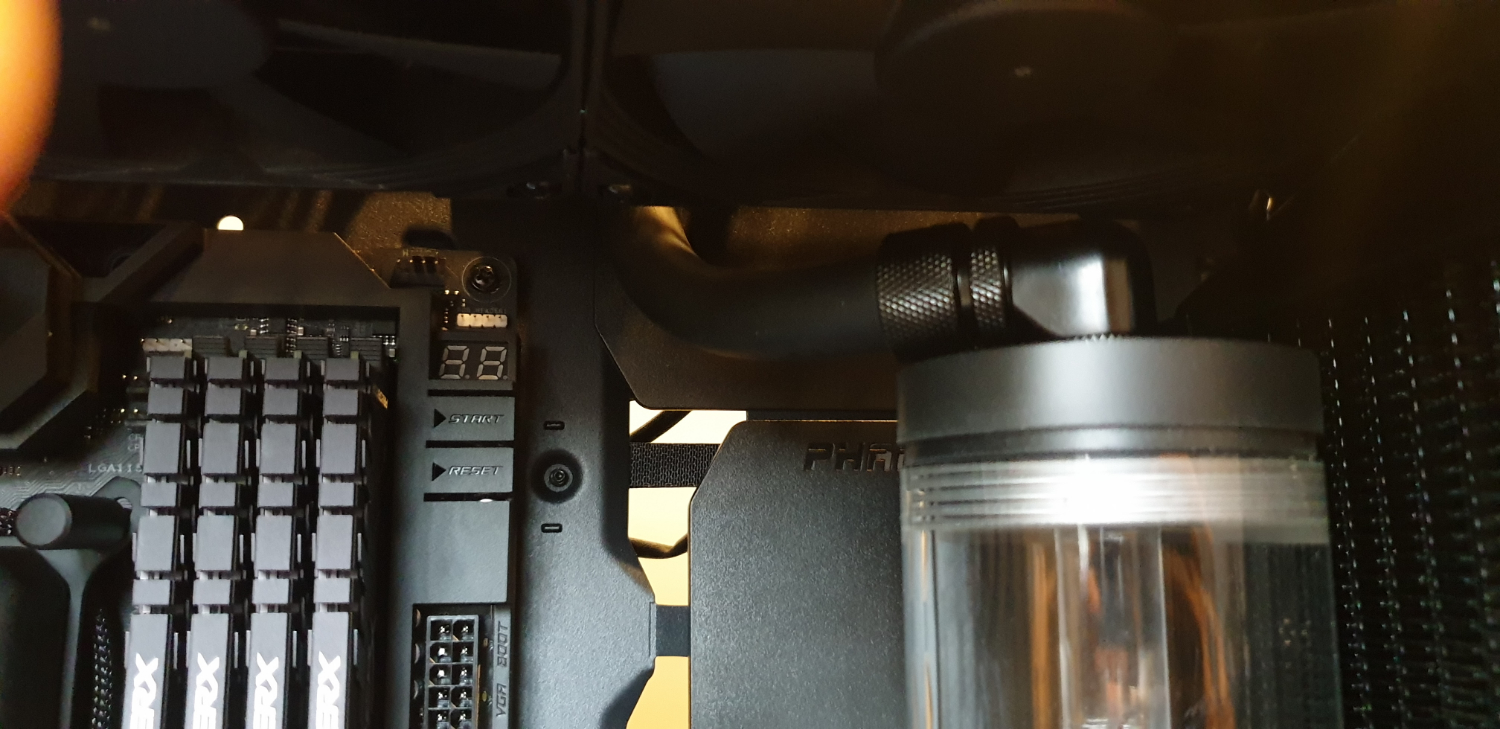
Now the tricky bit begins, notably radiator installation. We did a few test fitting runs first just to see how they lined up, and to figure out whether we could pull off our twin crossflow rad solution. Turns out we could, although things were going to be tight. We had a few clearance issues, mostly due to Alphacool’s plug’s being a bit bulky. Alphacool rads are generally really good, they come with numerous ports to allow for multiple configurations. However, these plugs (at the time of building) can cause issues when mounting them to brackets vertically like this. Since building this, the pesky company has released some flush-plugs; the problem doesn’t sound like much but darn is it annoying.
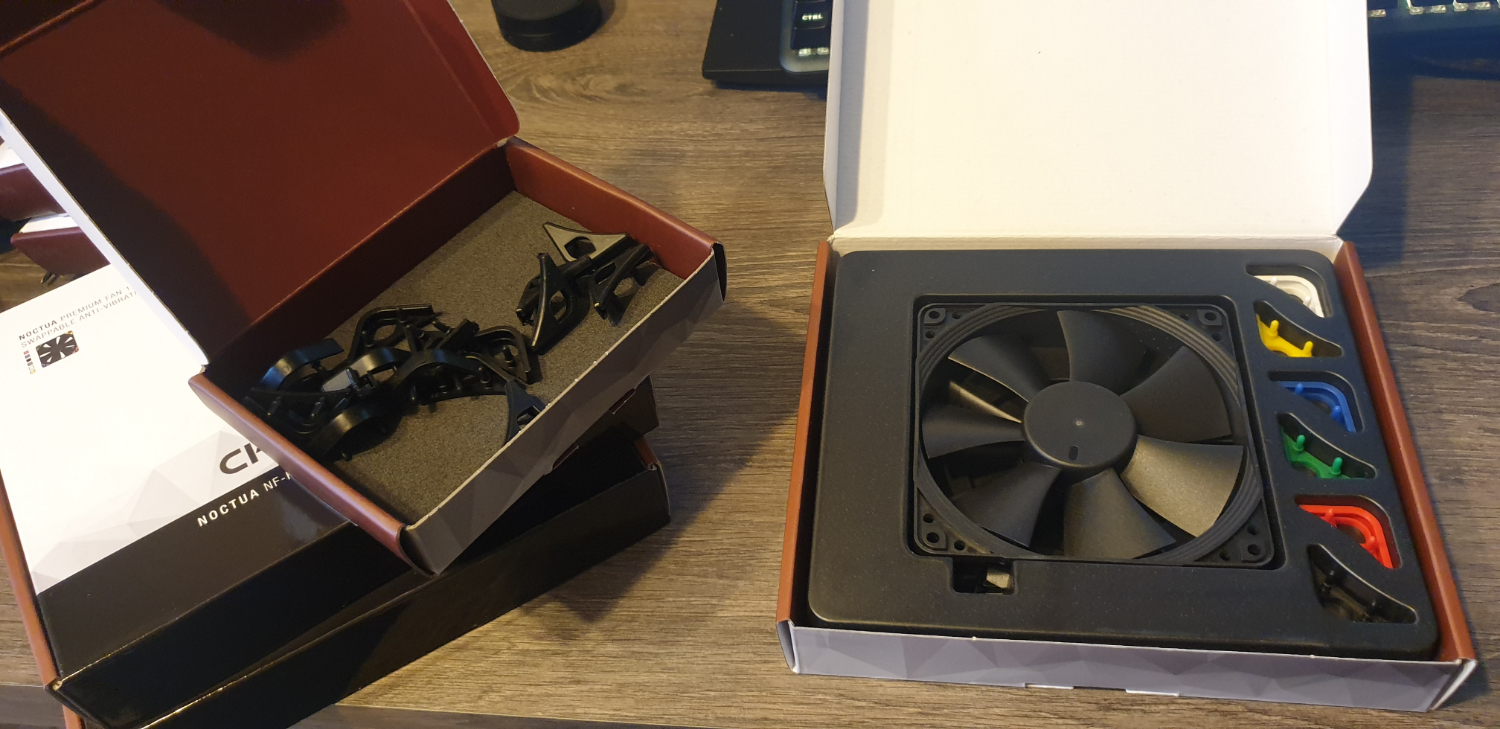
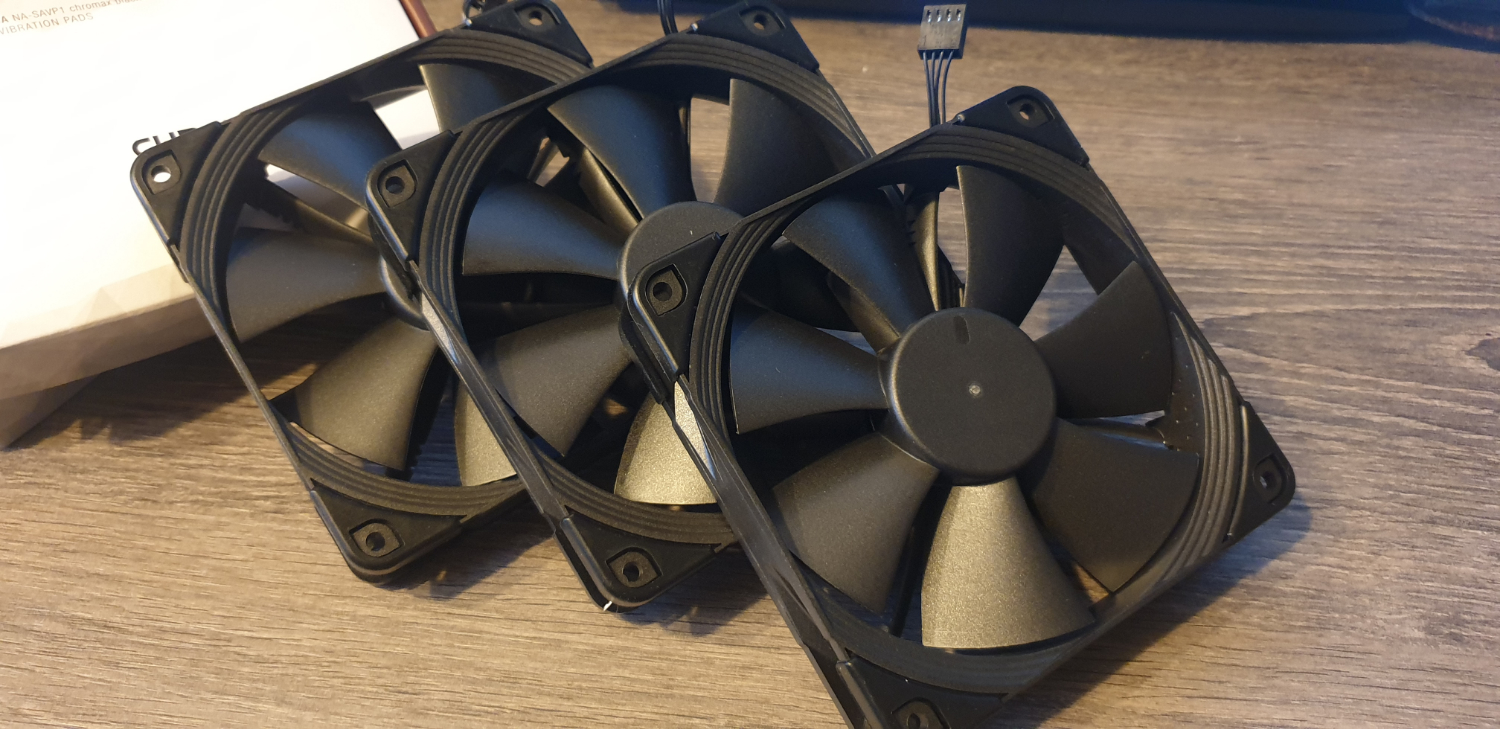
Once we knew this would work, the next step was setting up all of our Noctua NF-F12 Chromax fans. Each one requires you to install 8 of the black rubber, noise dampening clips on each corner. Six fans, eight grommets each, yup. You don’t get enough to do each fan by standard, so you do have to buy an extra box of black corner clips separately. It’s annoying, but I mean come-on! Clean black Noctua fans? What’s not to love?
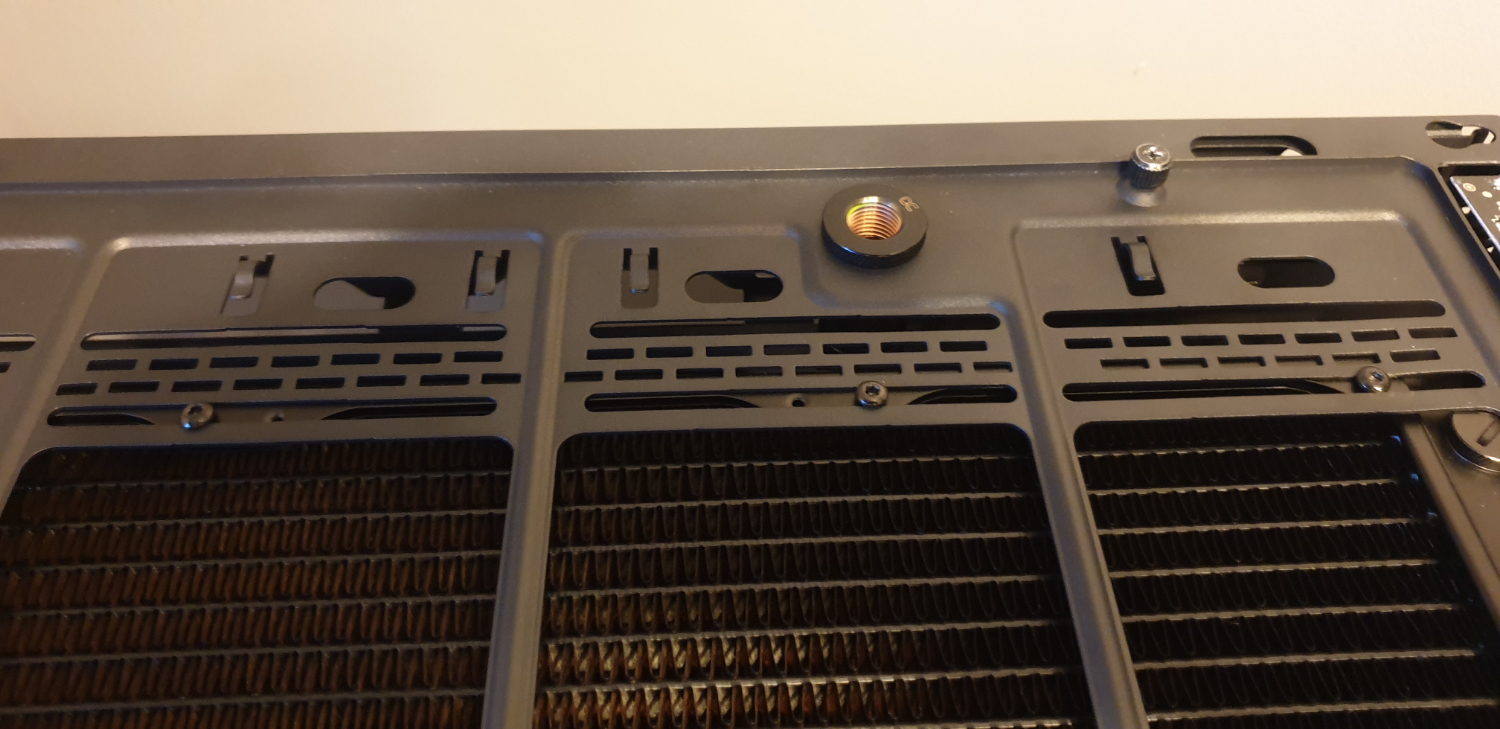
We also took the opportunity to fit our two bulkhead fittings that would be acting as our fill and drain ports on the build. Phanteks designed the Evolv X with these two threads pre cut so you can install bulkhead passthroughs in, exactly for this. They sorta work as intended. However thermodynamics are a bit of a pig, but more on that later. Then we grabbed our HyperX Predator DDR4 and slotted that into position too.
A tale of Reservoirs and Front I/O
>
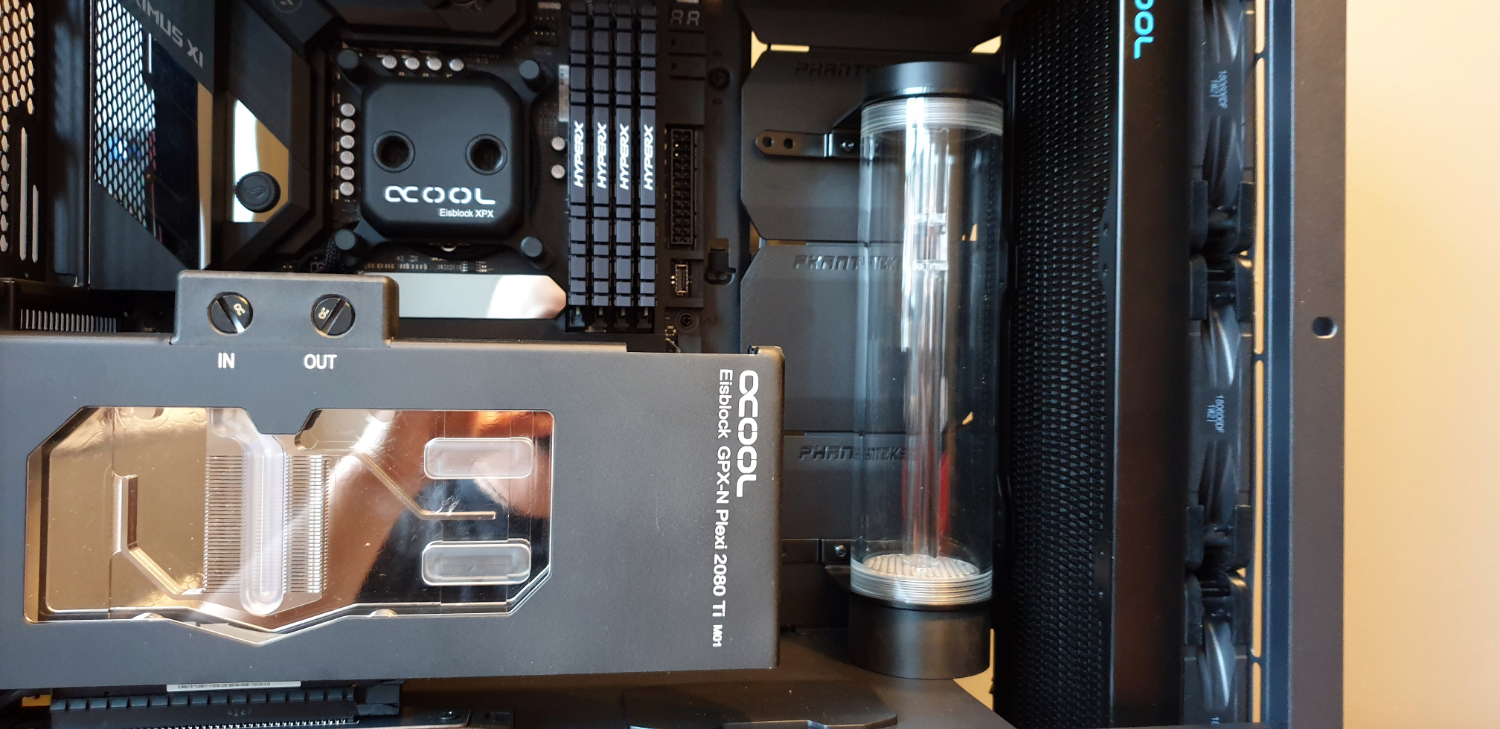
Next up we decided to tackle the reservoir mounting we’d be using. We had a few options available to us. Either A, drill holes into one of the cable covers and mount it that way, or b, use one of the included brackets and mount it to the radiator itself. This took a few attempts to get right, and we had to make a few tweaks to this later on, but overall it looks clean mounted to the radiator, so we’re happy.
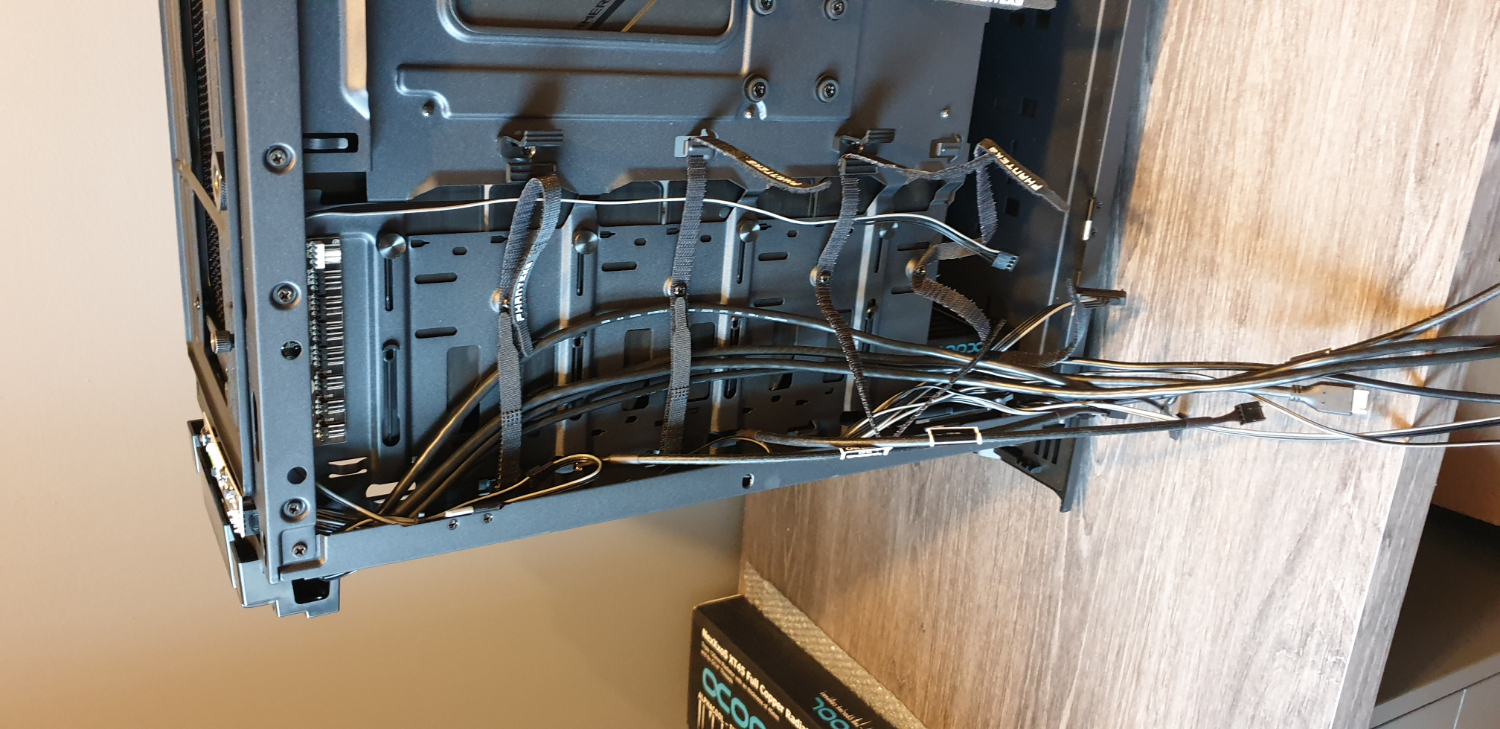
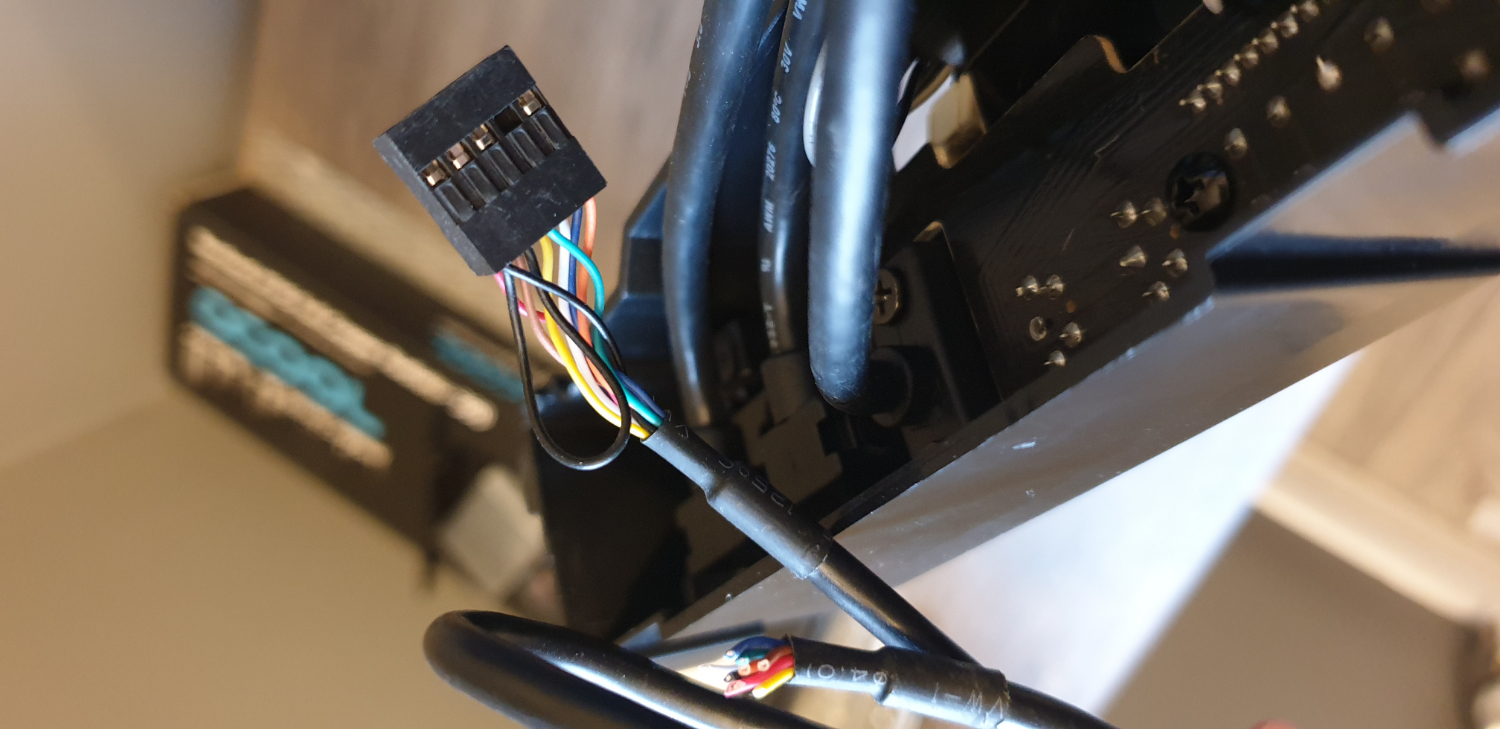
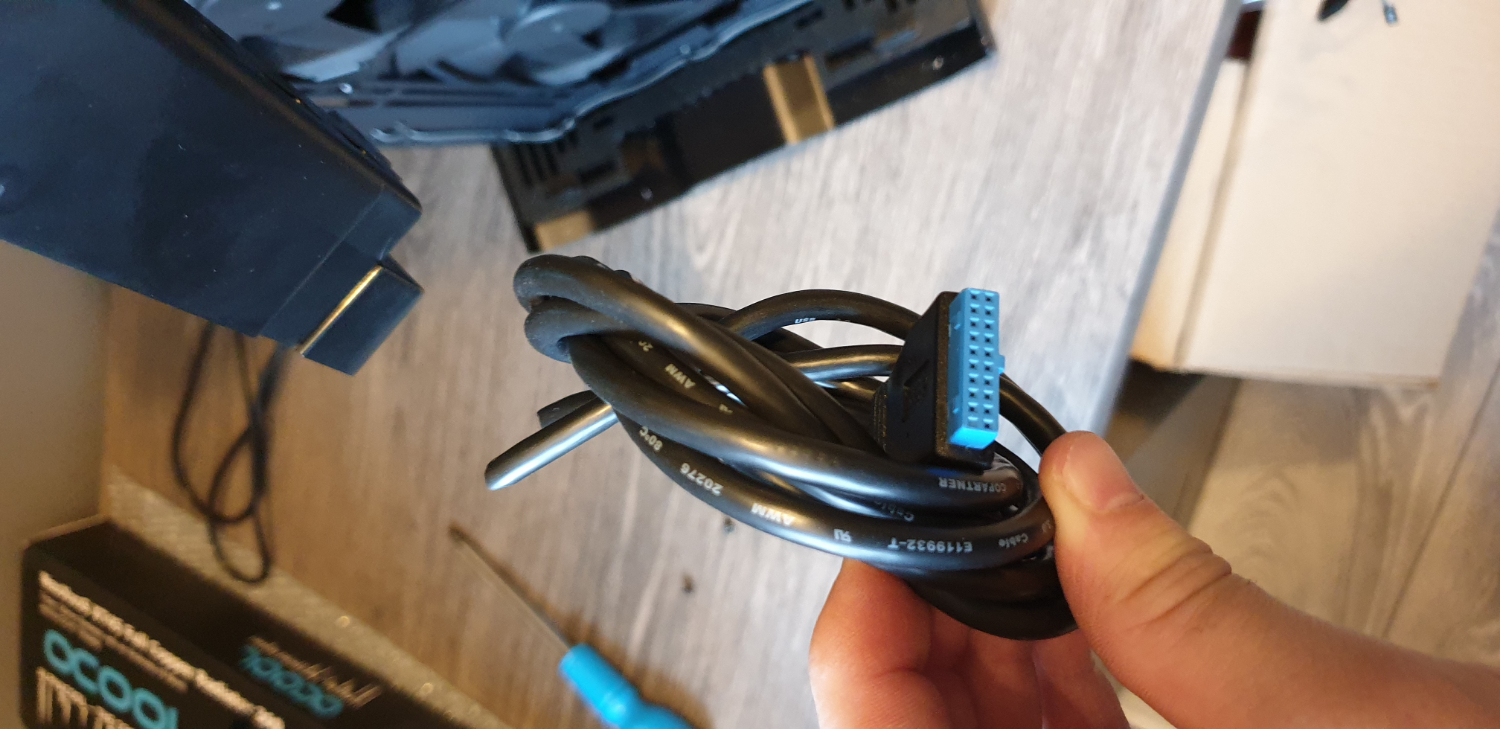
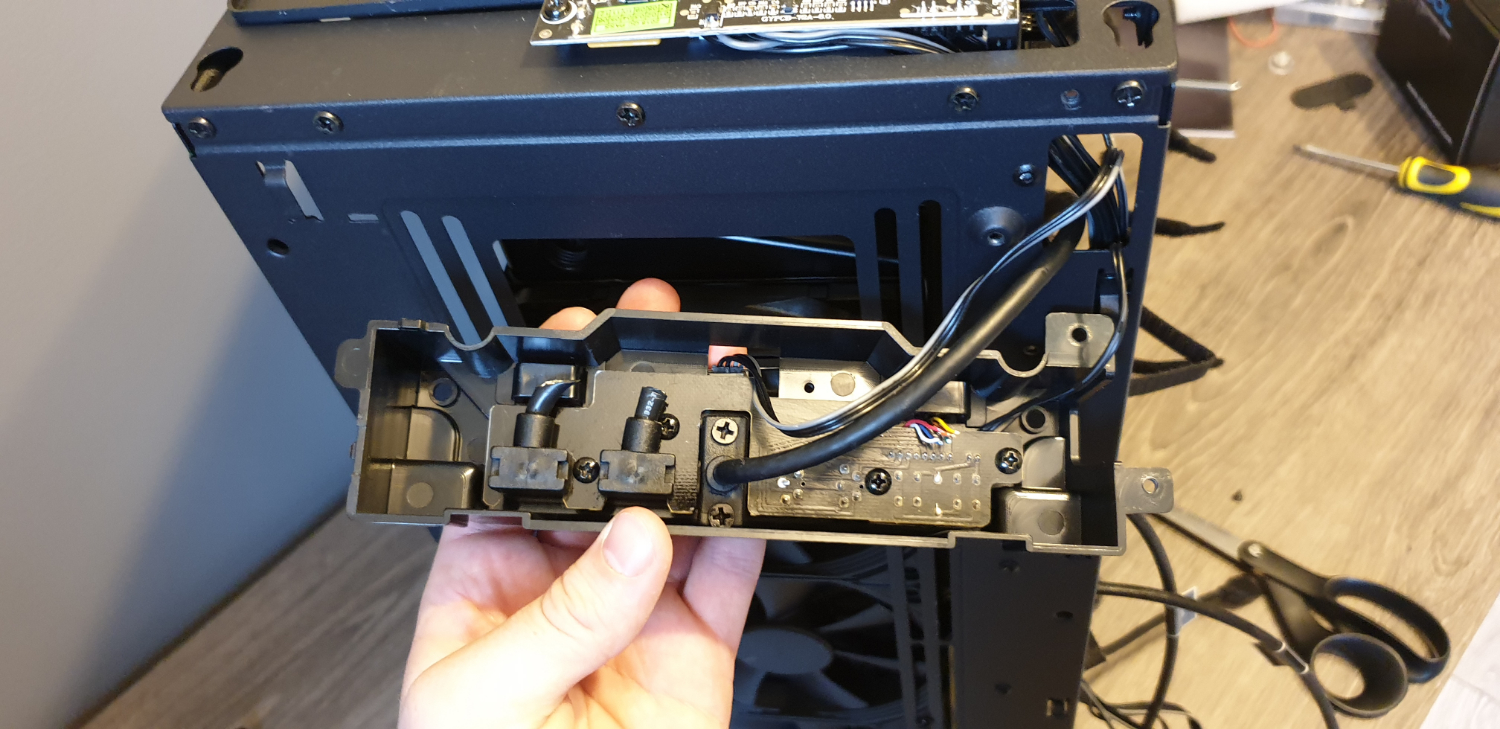
We also took the time to butcher up the front panel I/O. We know it’s a controversial move here, but a lot of this will never be used, and we’d rather have less visible cables in the rig, than usable ports on the front. After all, there’s always more ports on the back, and if need be we’ll get a USB hub to support more.
Pump Drilling
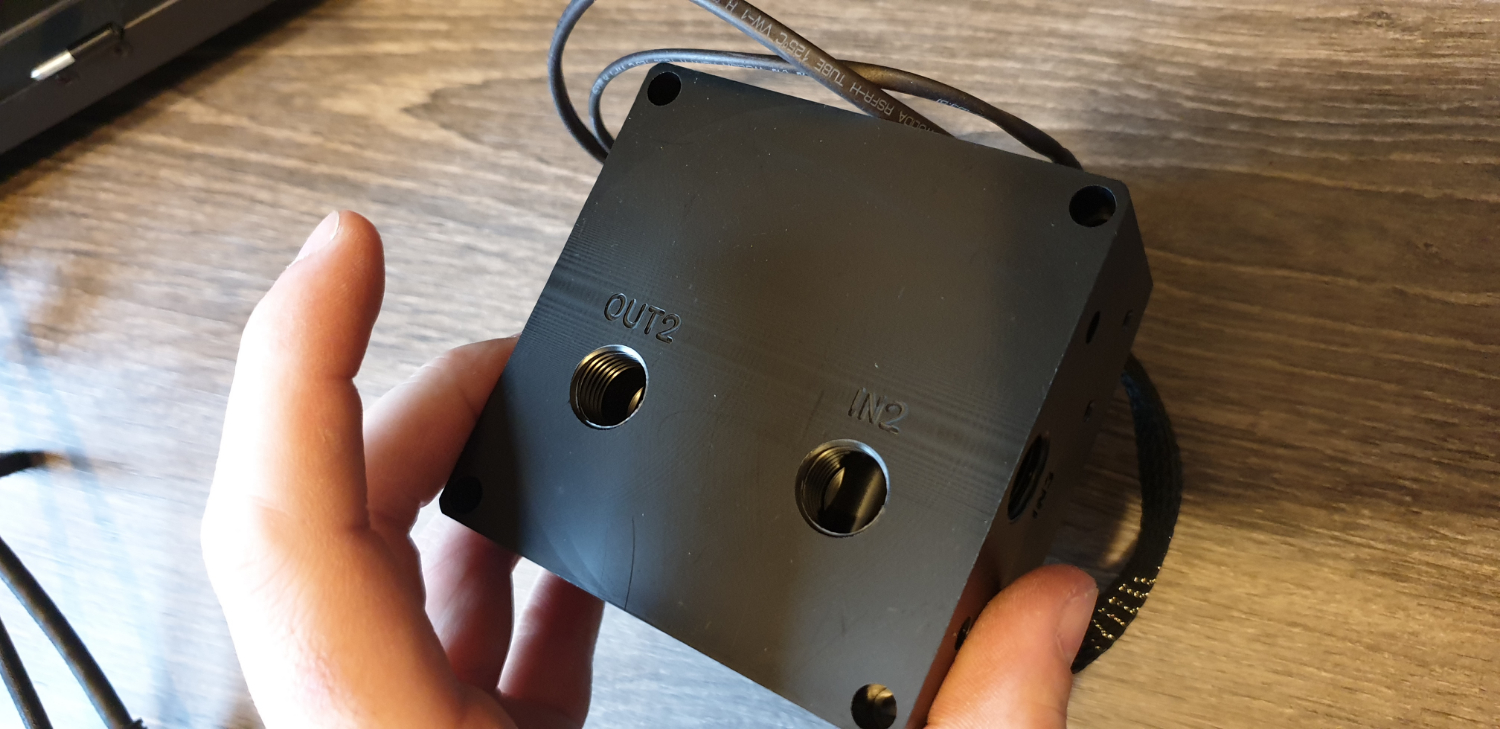
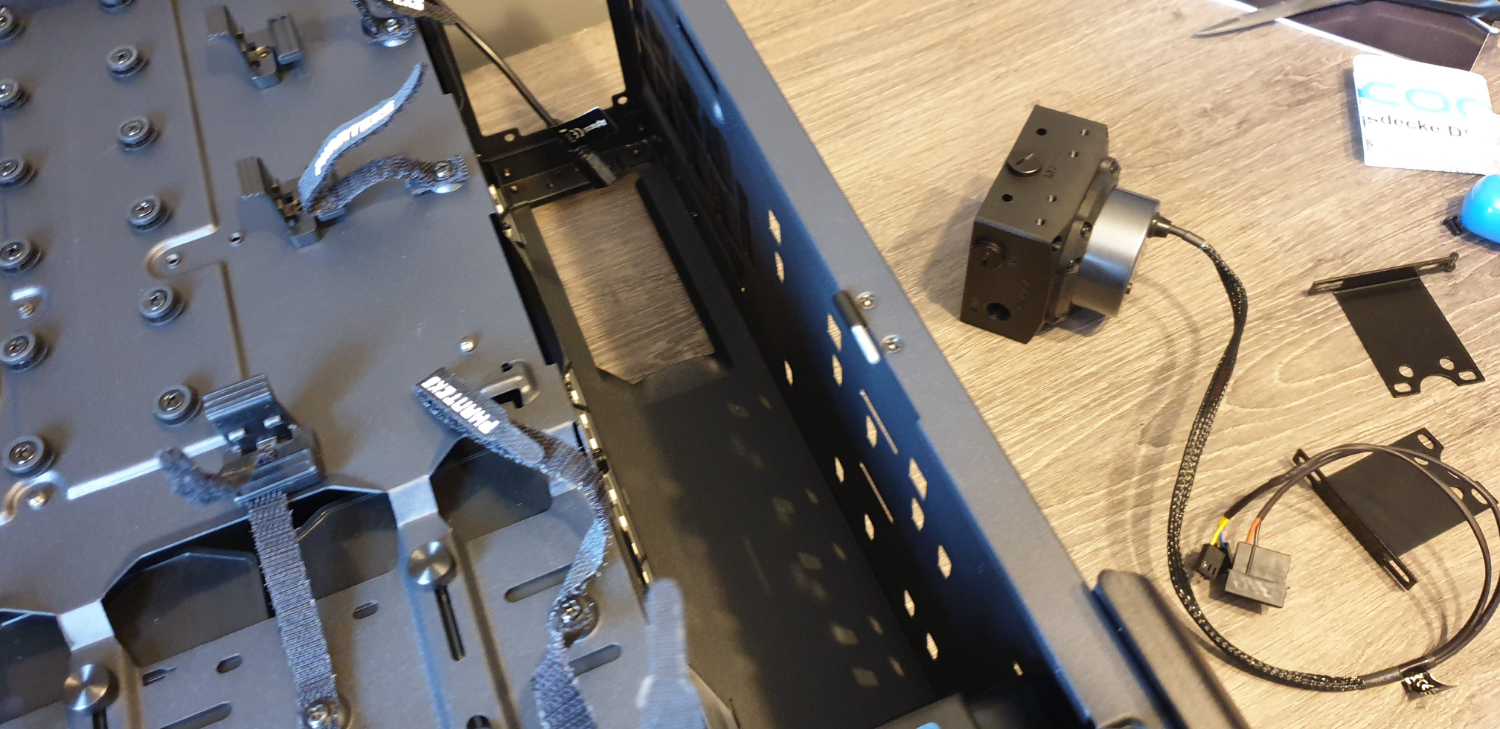
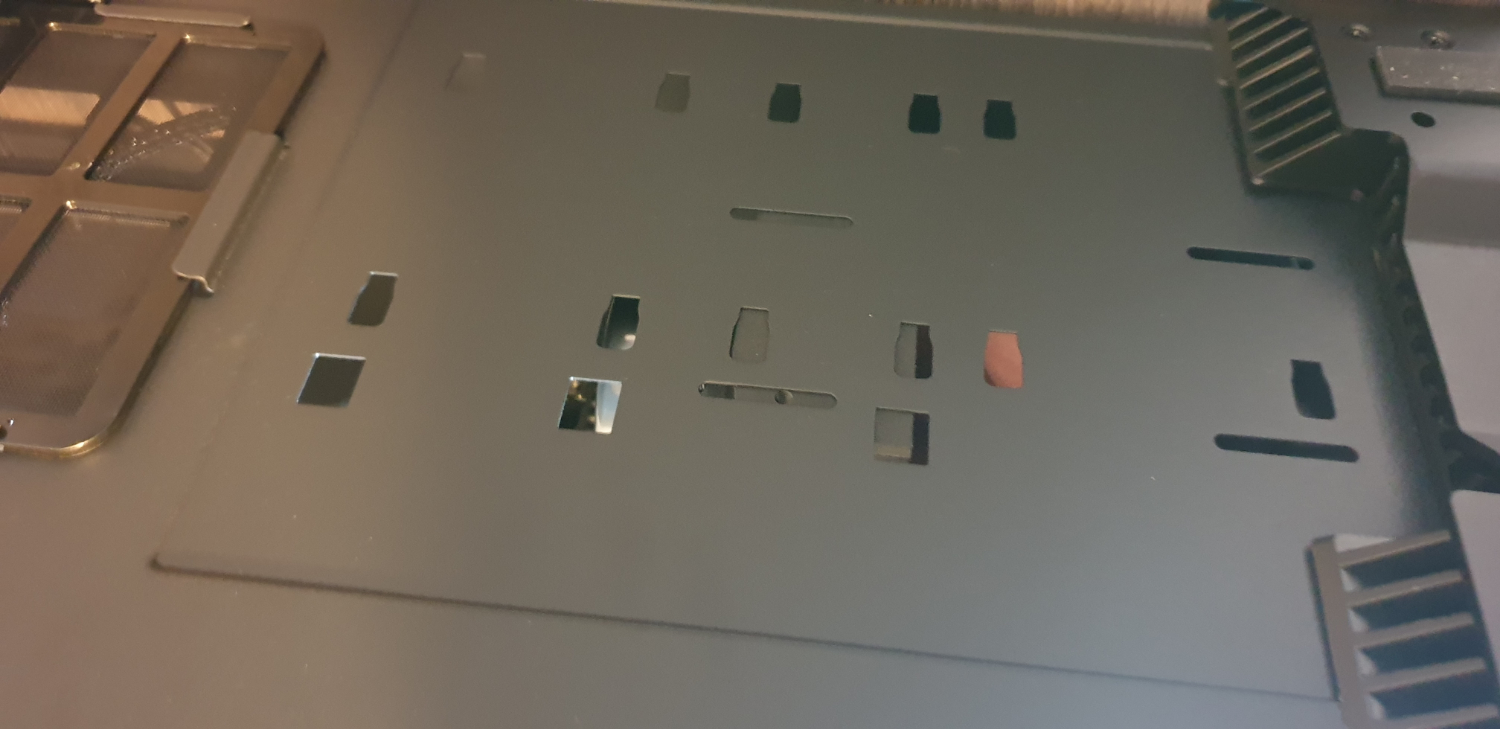
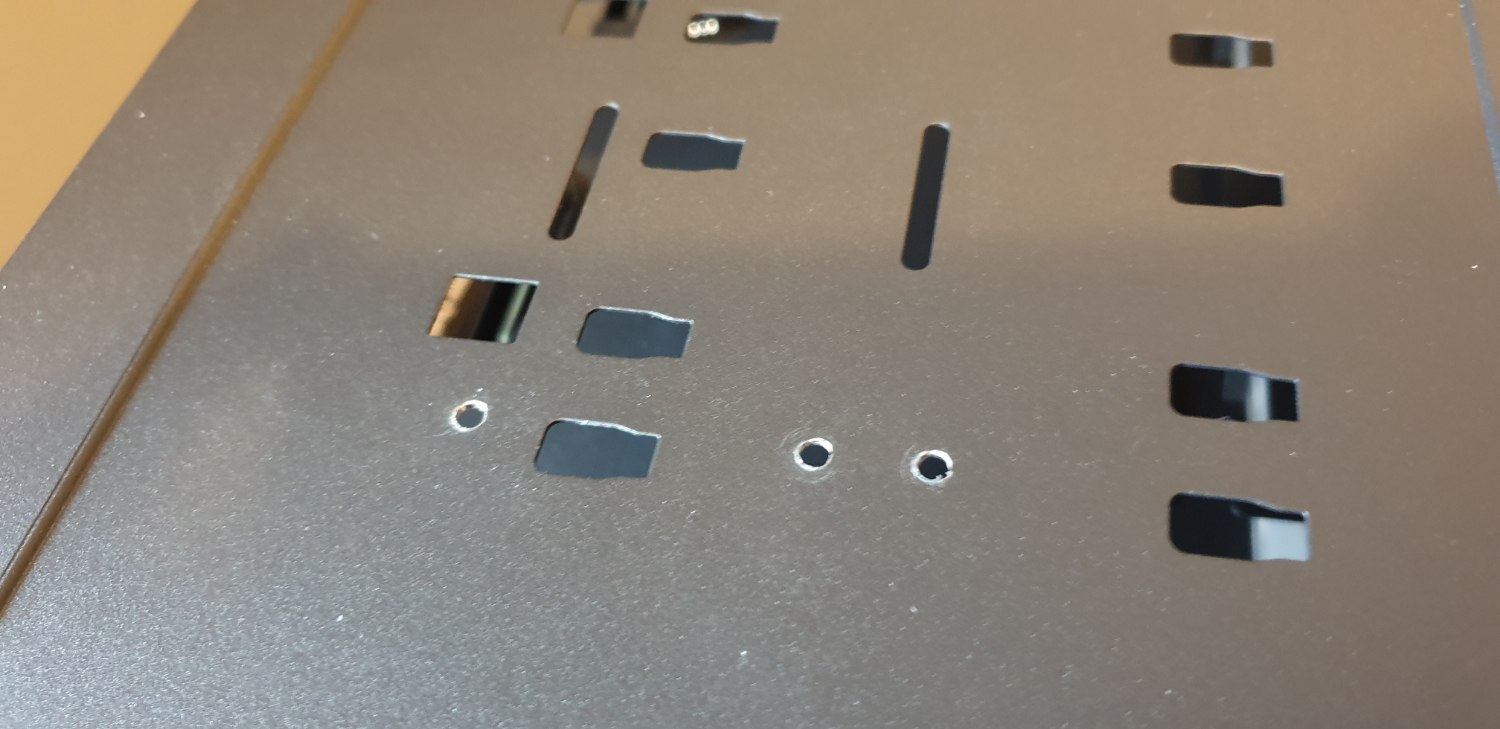
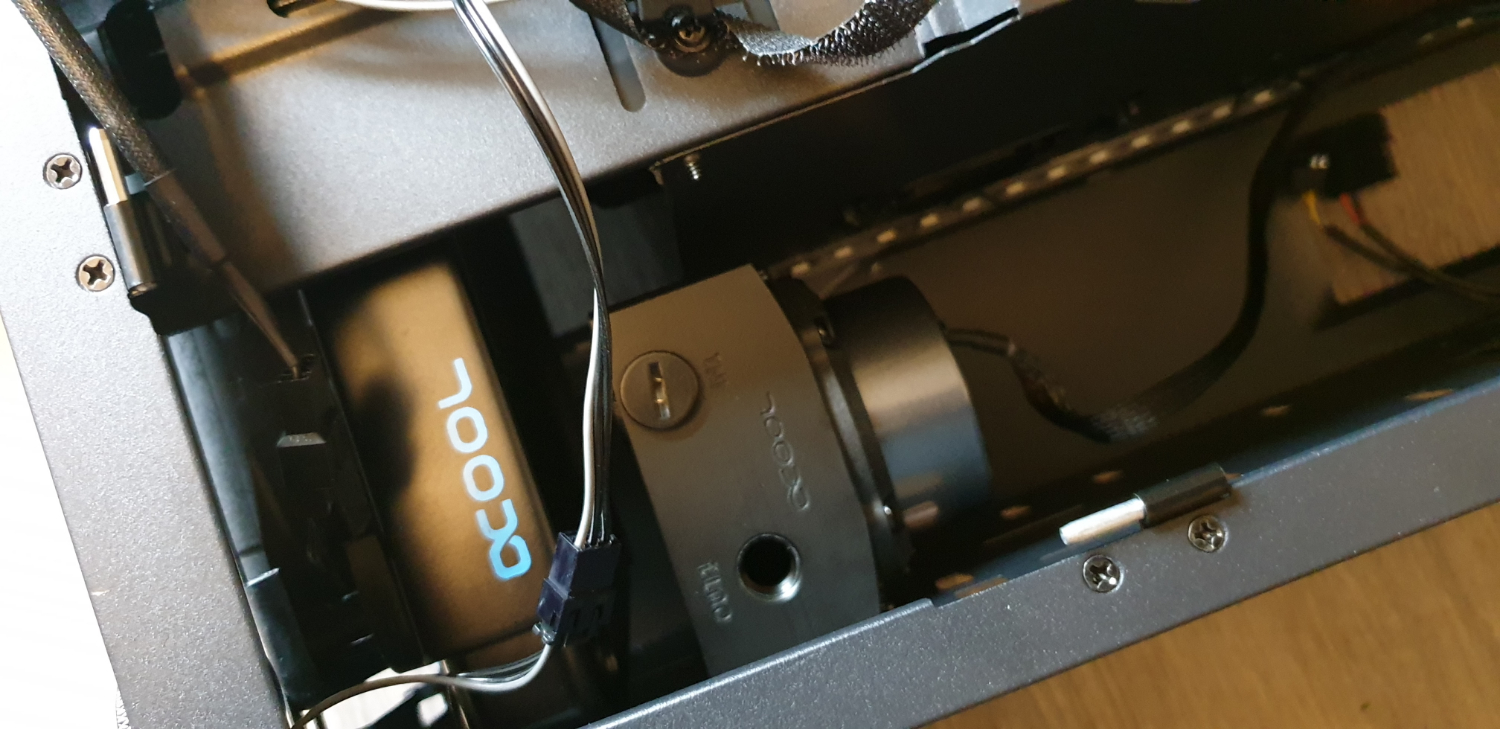
Now we come to the first tricky bit (and arguably a pointless decision on our part). Mounting the pump. First we had to figure out just which ports to block off and which ones to run on our D5. As always Alphacool provides a metric ton of options when it comes to this, so we blocked off one inlet, and left two outlets ready for use (one for the radiator, and one for the drain port).
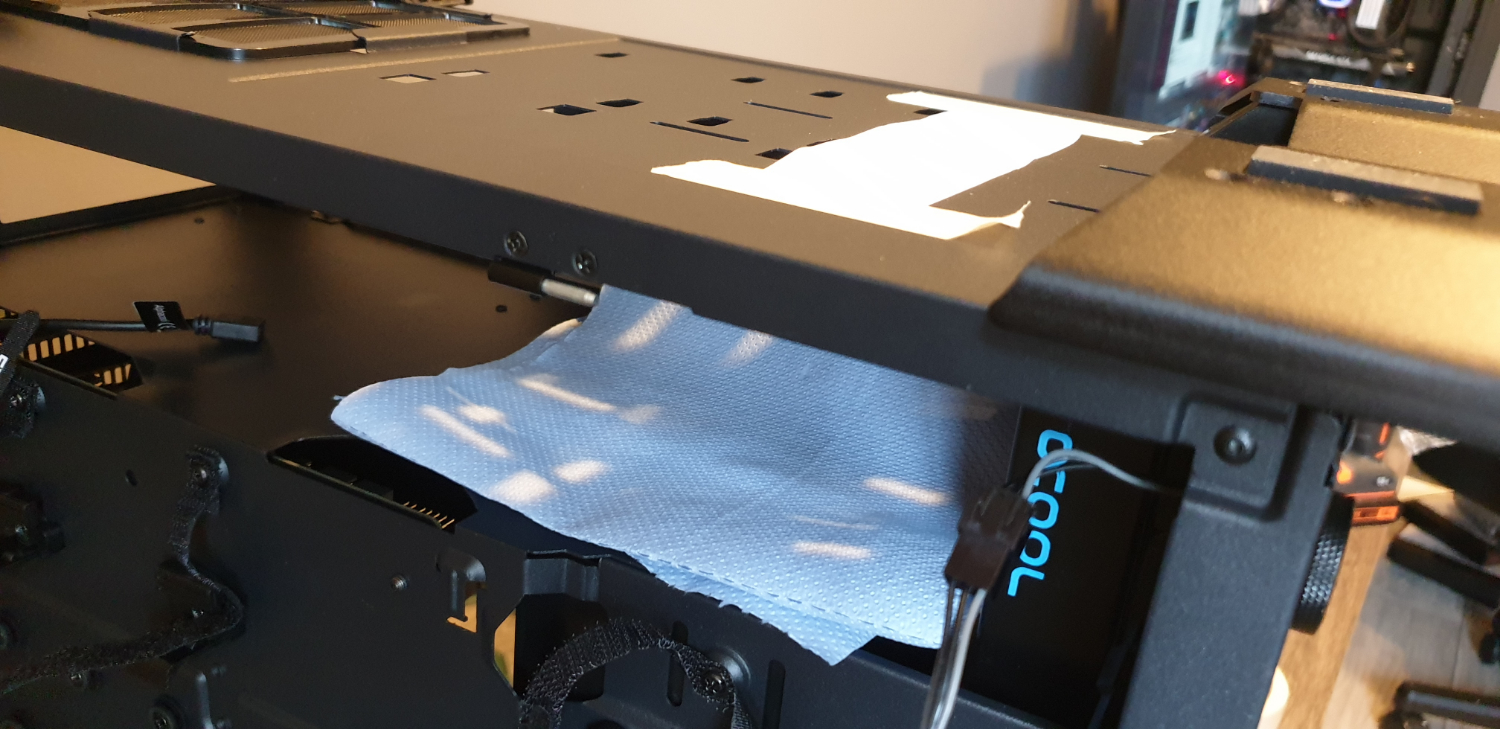
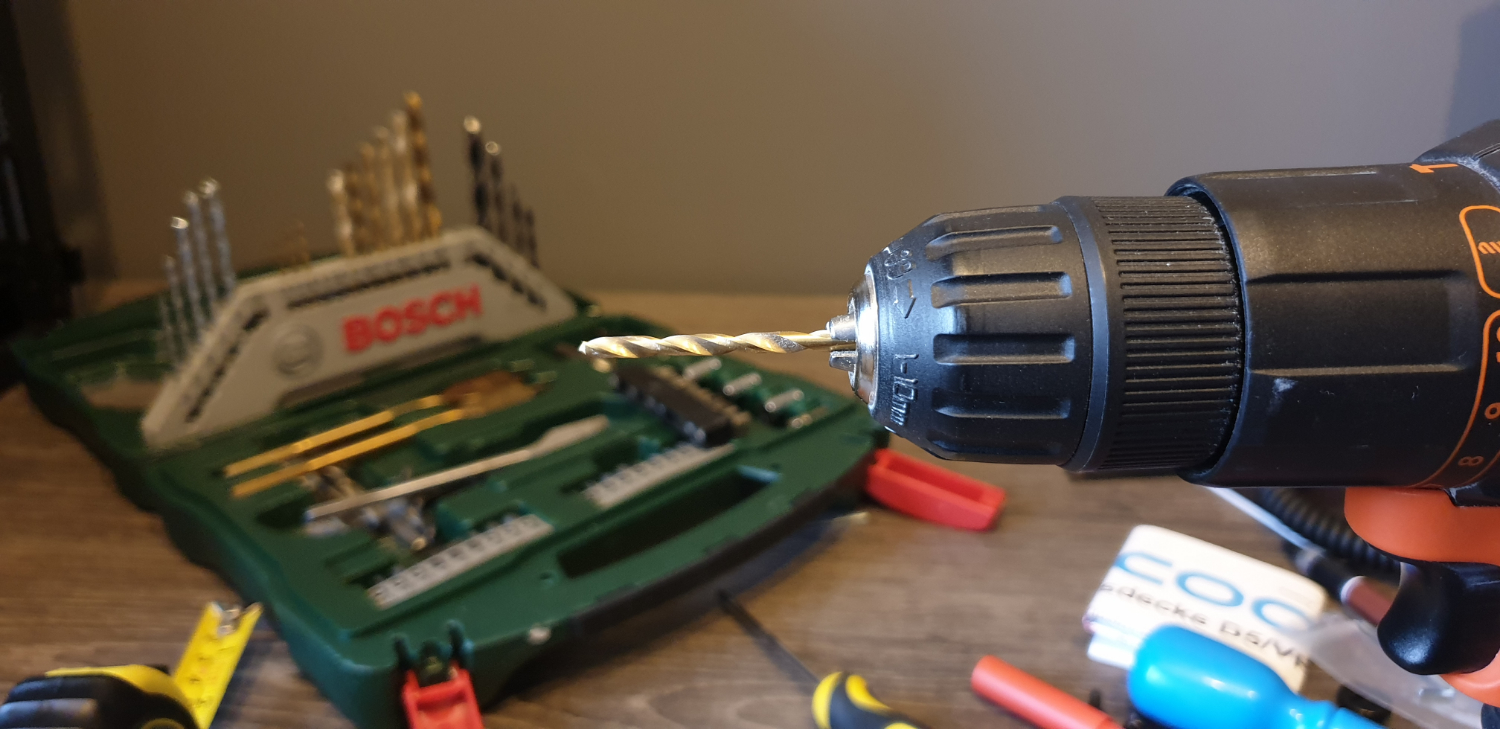
Then, using a piece of paper, we marked the mounting holes on the pump, secured it to the underside of the case using tape, and used a drill to drill some mounting points through the chassis itself. Phanteks does include a pump mount if you so desire, but we didn’t request one due to the tolerances we were working with. Additionally, you could technically run a combi pump/res, but in our opinion, this looks cleaner.
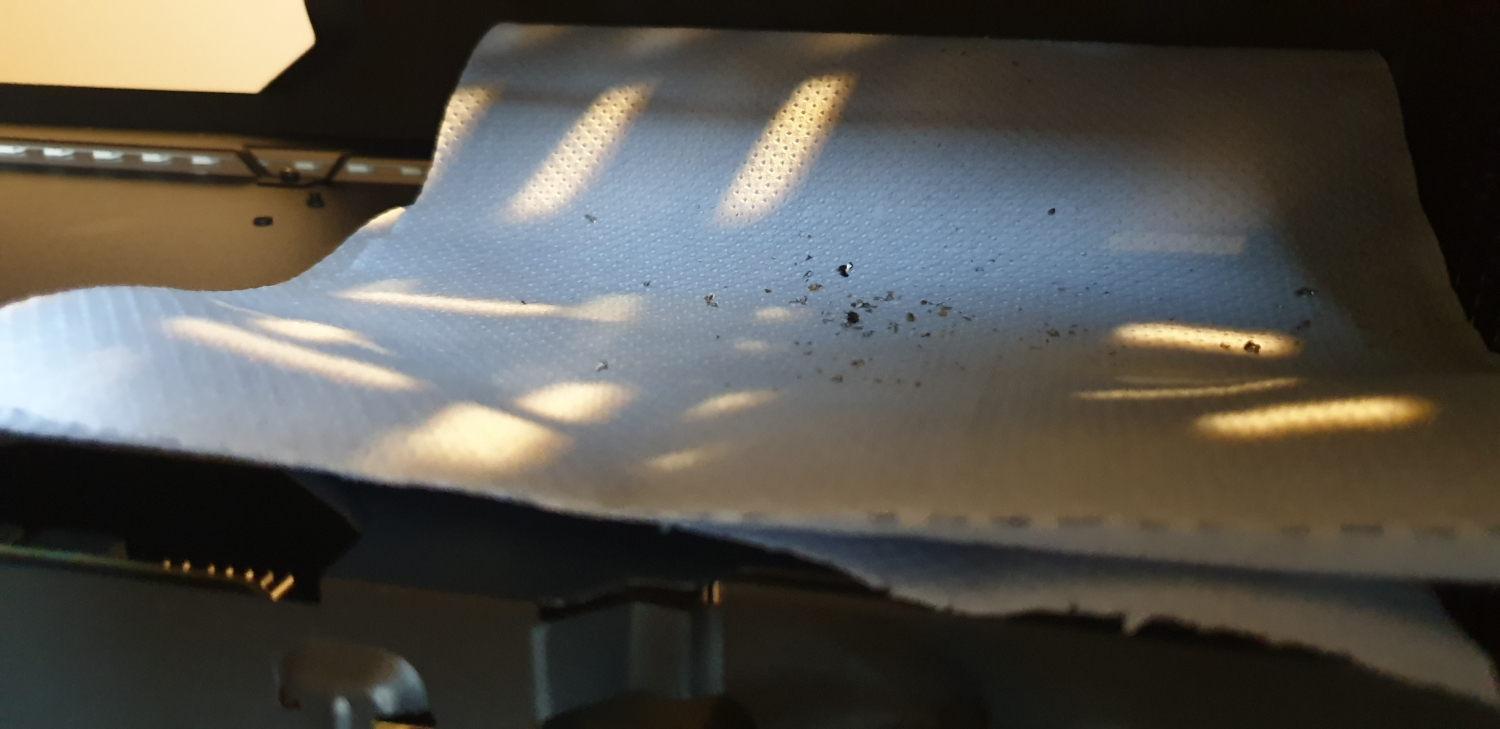
Pro tip we learnt from Alphacool’s PR and modder Dave Alcock, when drilling in a chassis with hardware already in, line the underside with kitchen roll or paper to catch the metal shards you’ll be flinging around in there. It’s not a fool-proof solution, but in a sinch it’ll serve you well.
Radiator Flushing
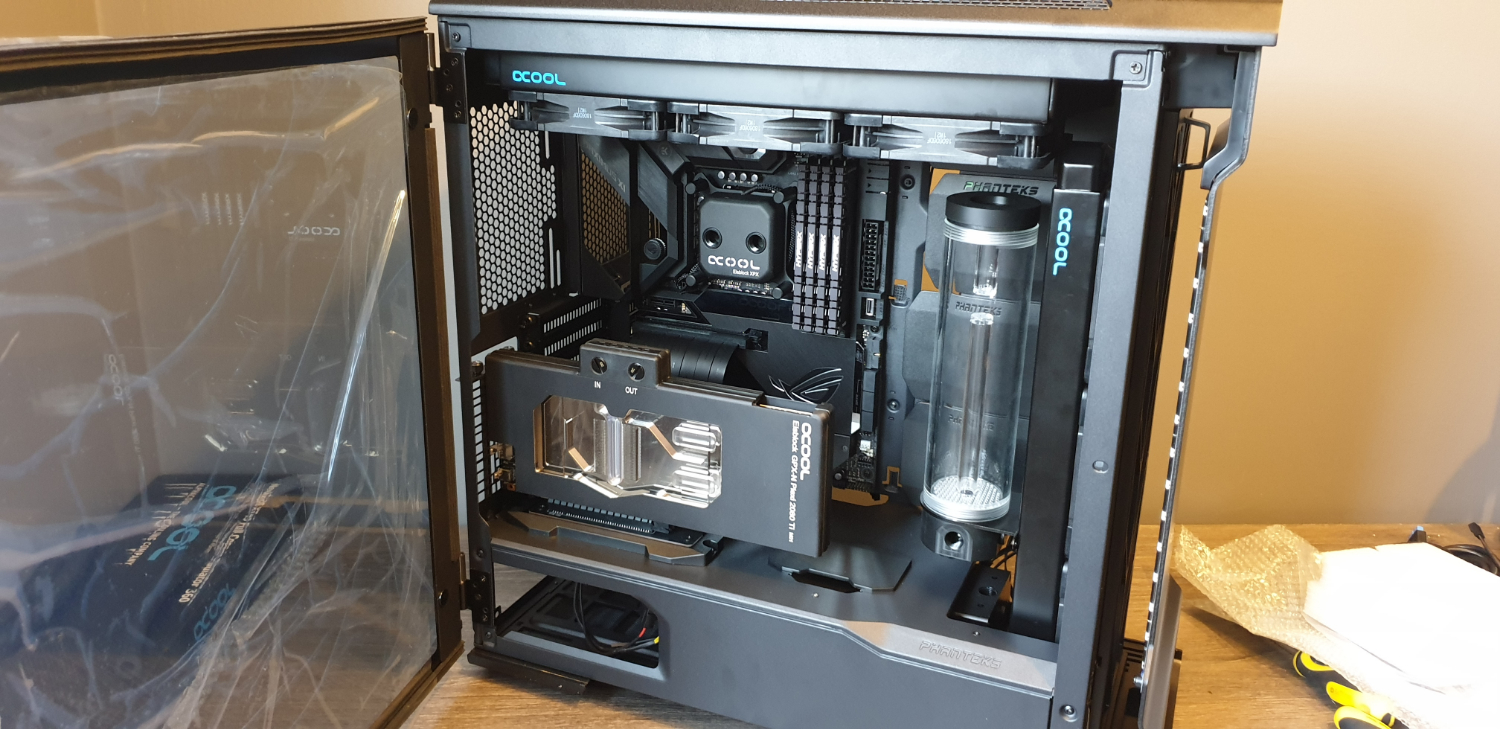
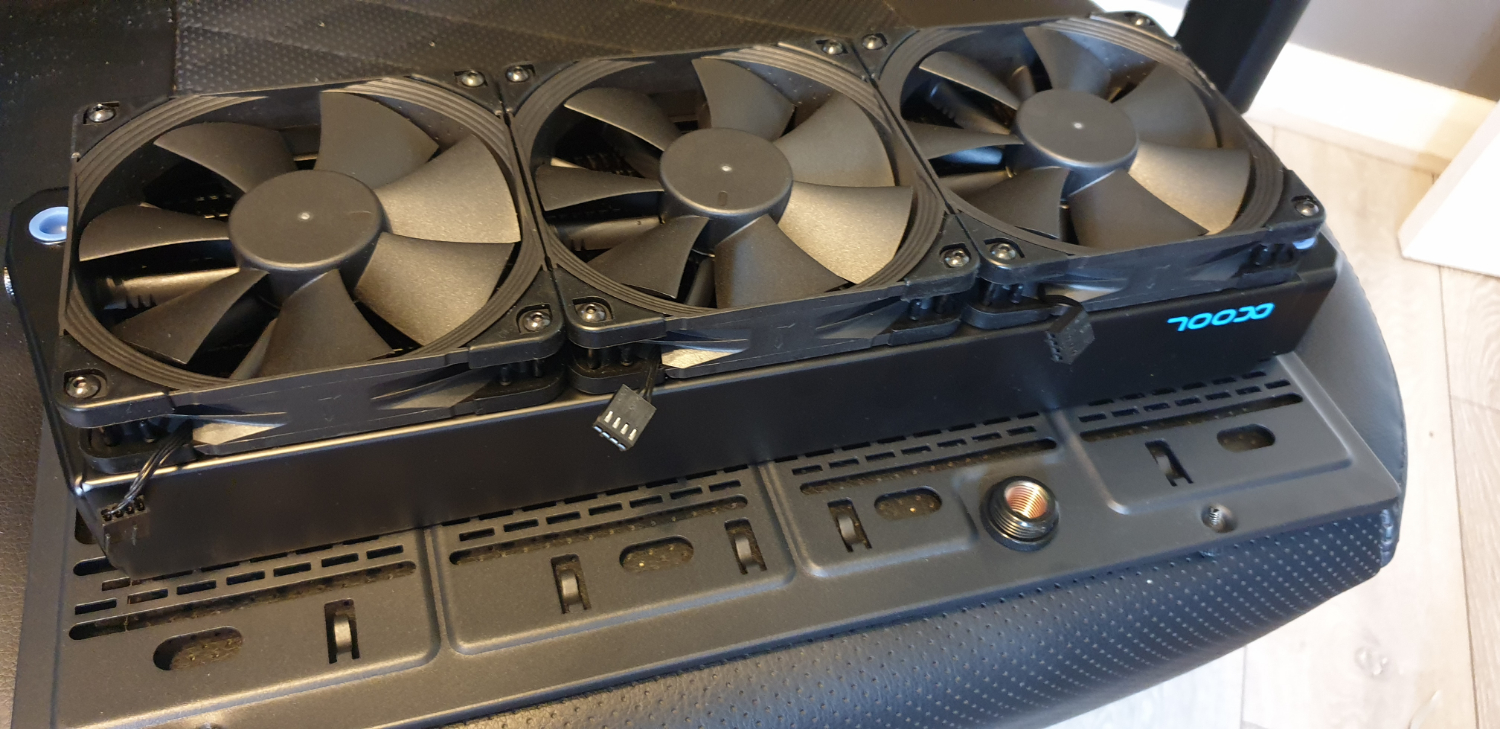
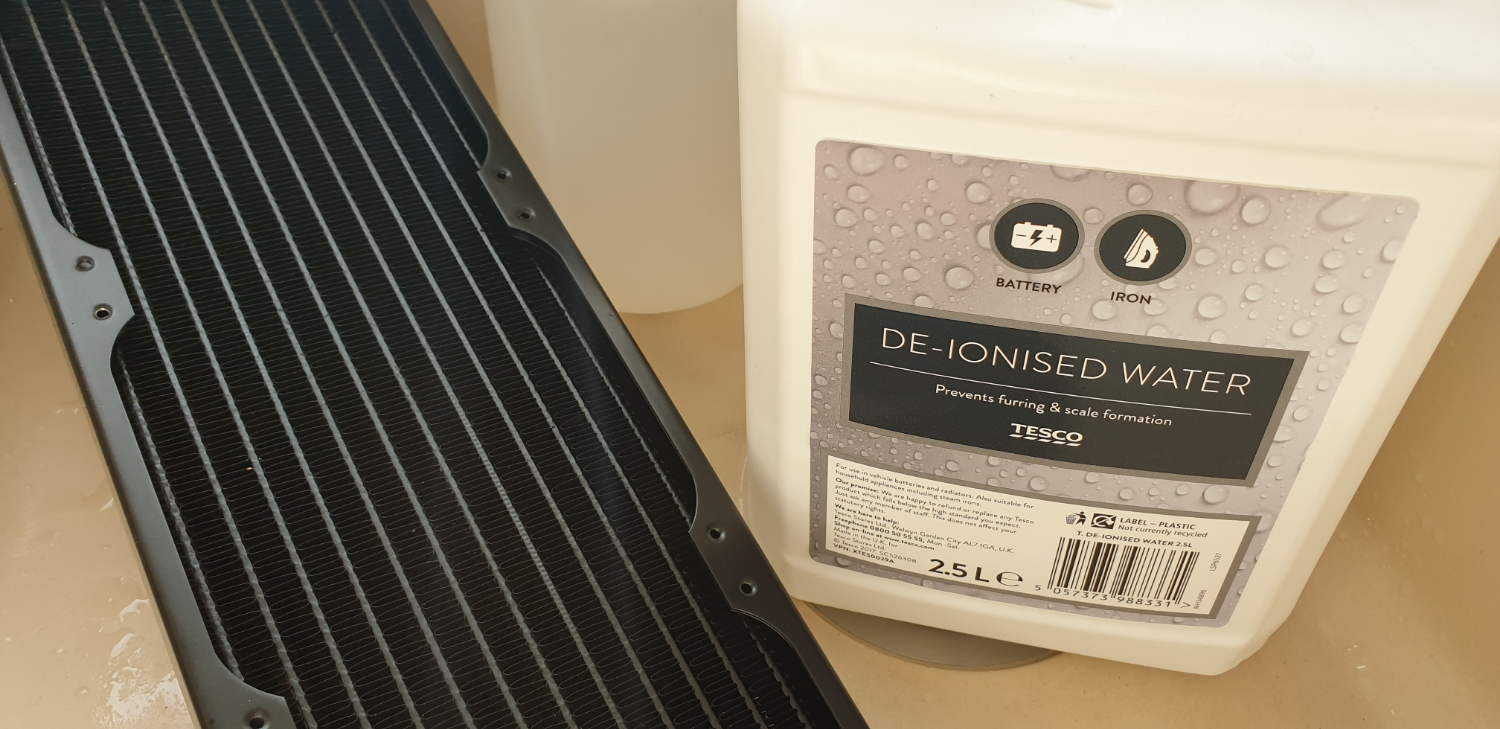
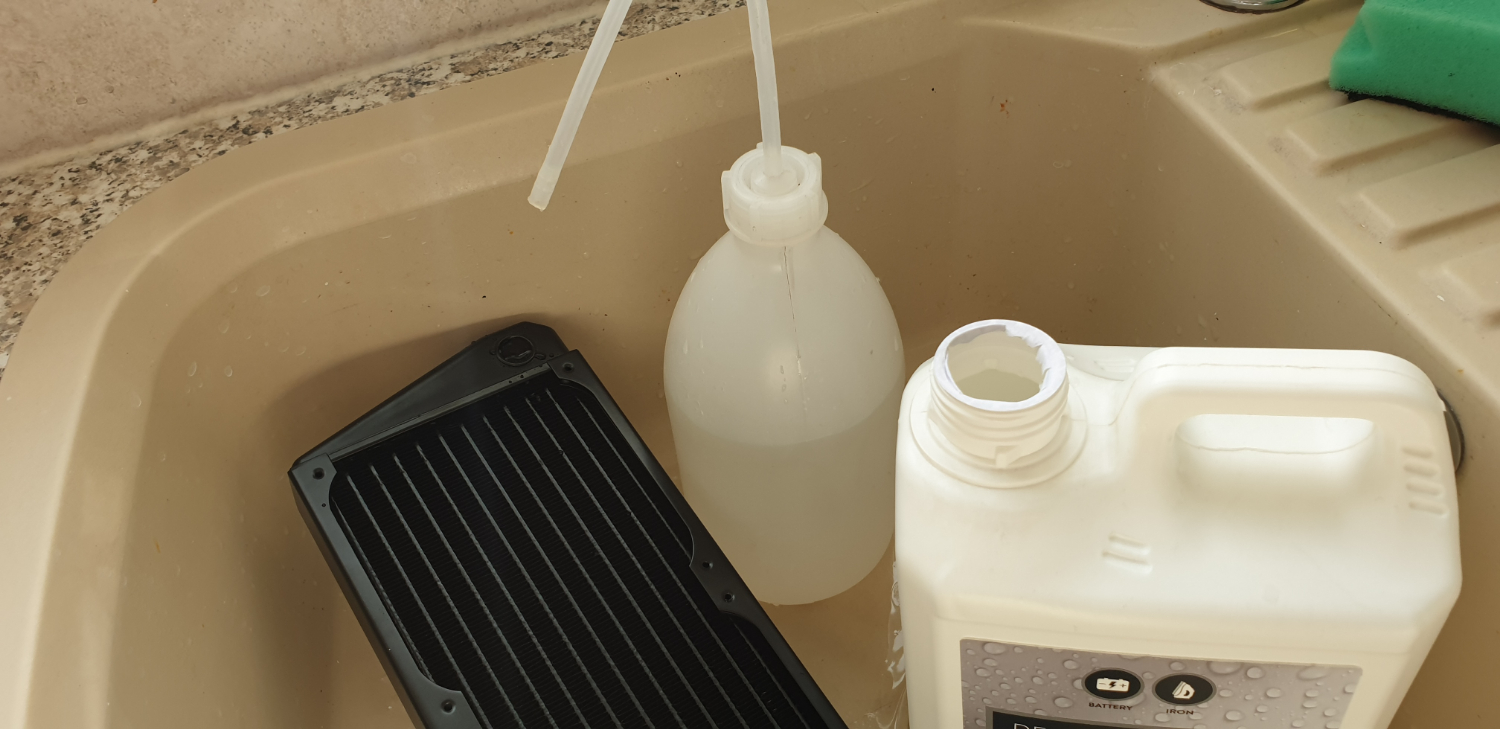
So this is definitely something we should’ve done before we started building, but as we weren’t quite sure just which radiators we were going to use, we left it till after we’d started. In short, we stripped the radiators out of the case, took all the fans off, then took them to the sink to flush out any left over chemicals or welding flux inside.
We used deionized purified water for this (you can buy it at any local superstore/supermarket). Simply load up each radiator, cap it off, give it a good hard shake several times, then empty it. Do this about three or four times and you’ll be good to go.
Using a Blitz kit from Mayhems is even better. This’ll absolutely remove any and all gunk from inside your blocks and radiators.
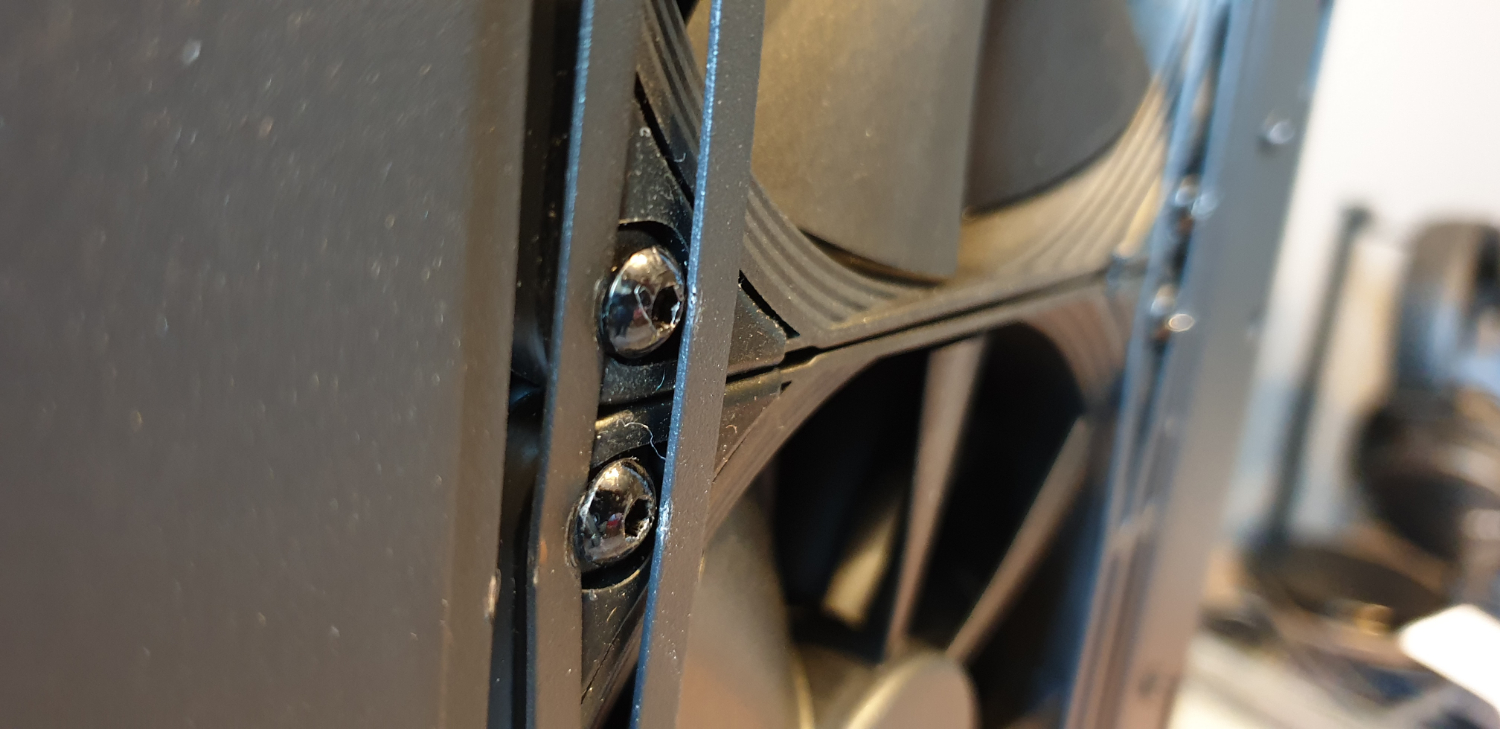
Once that’s all done, and they’ve dried out (the exteriors of the rads), it’s time to reinstall them into the chassis. Phanteks needs to work on their radiator mounting strips as they have a bad habit of bending under pressure. Either that or liquid-cooling manufacturers need to work on their bolts.
Tubing Runs
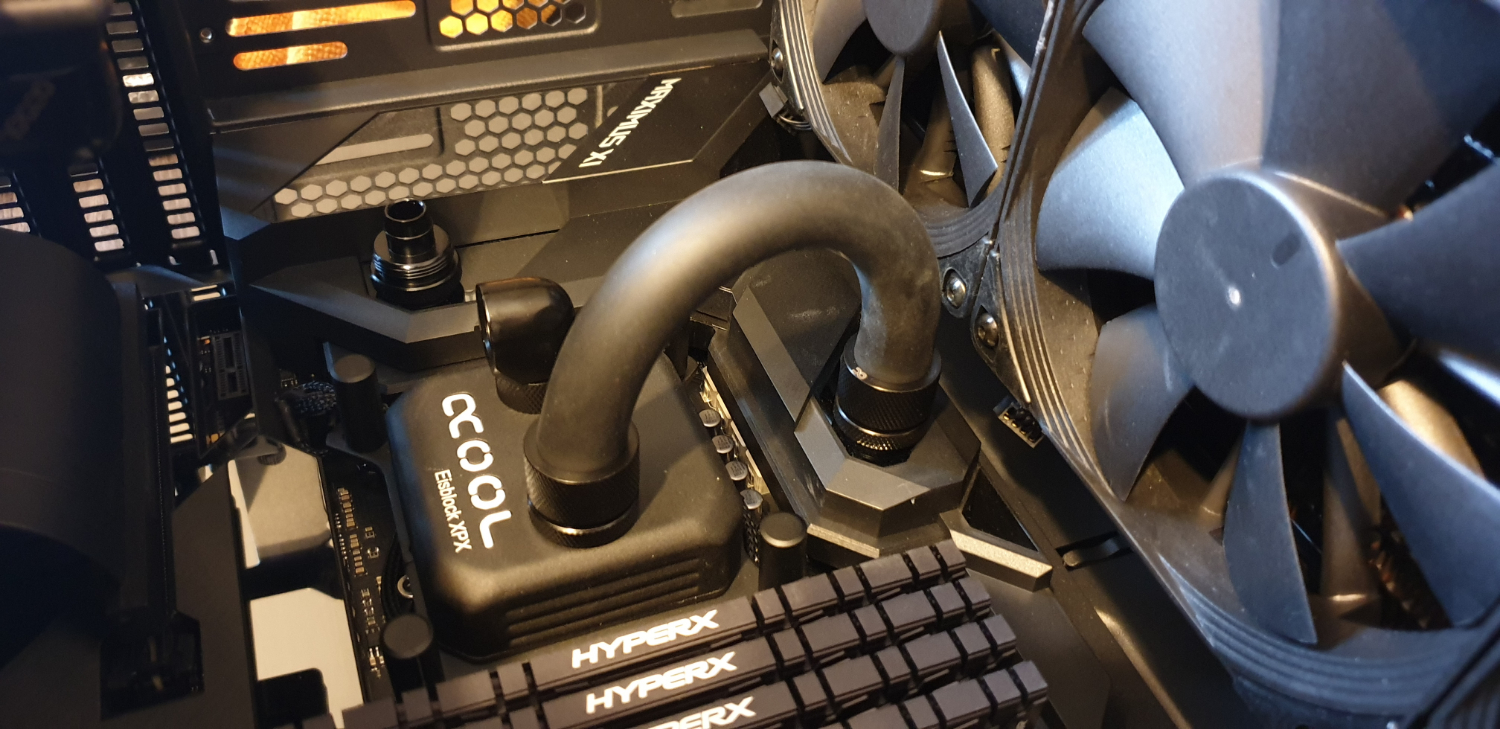
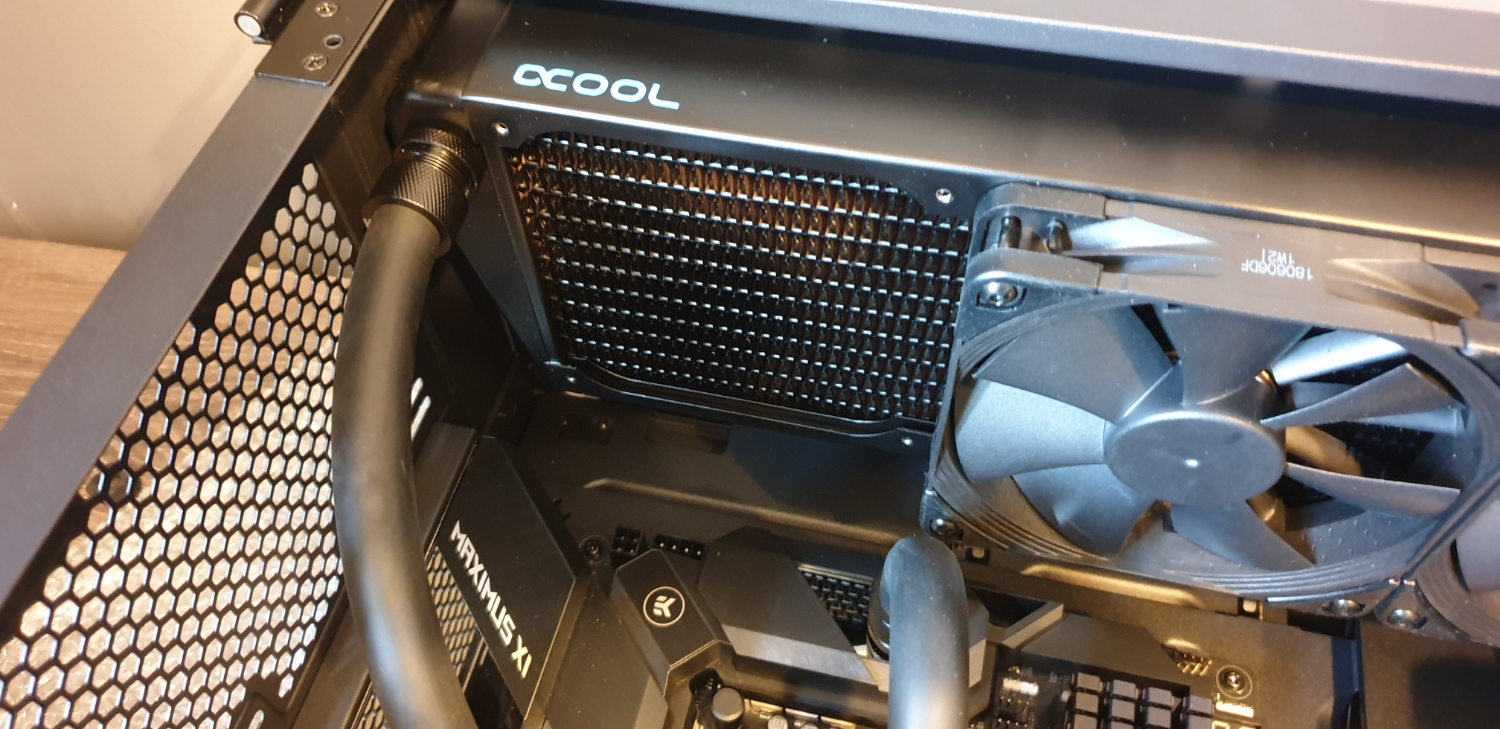
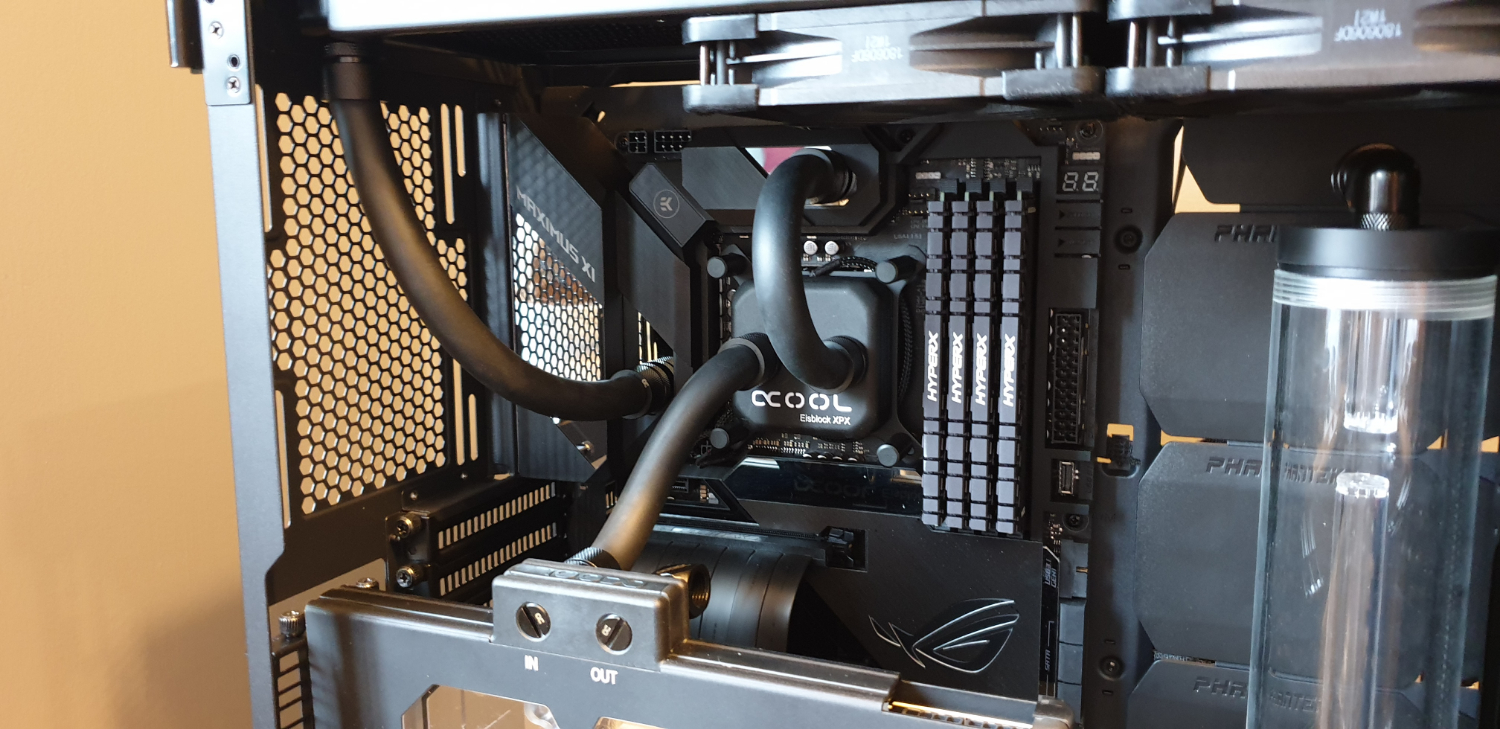
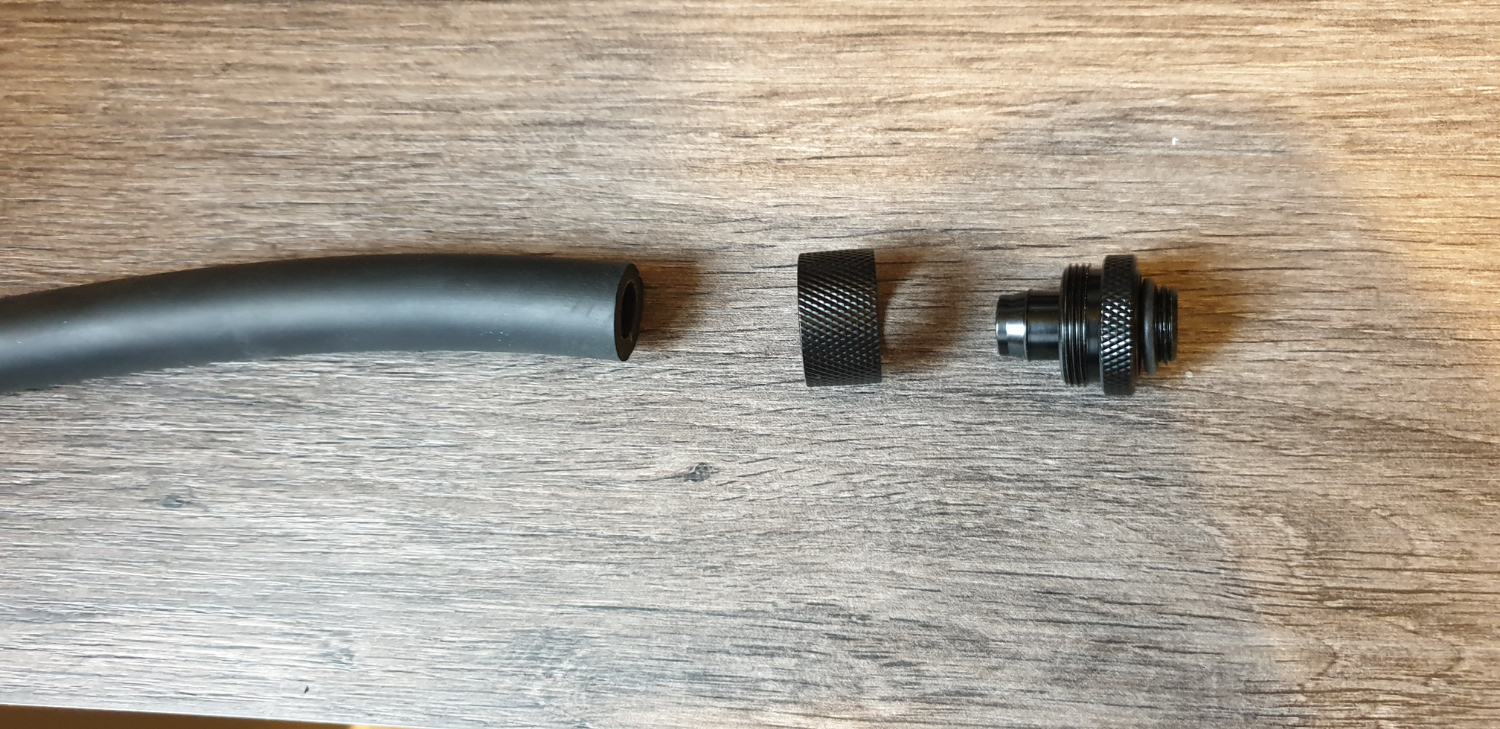
The easy tubing runs are always the most fun. This was the first time we’ve worked with 16mm rubber tubing like this, and what we can say is, boy can it bend well without kinking. We did all the preliminary runs we could. The first connecting the top VRM heatsink to the alphacool inlet, and the second connecting that same VRM waterblock to the top most radiator.
Soft tube compression fittings are notoriously hard work to turn and secure in place. This top-most one was particularly frustrating. In the end, we had to remove one of the fans to give us better access to it.
Once that one was in, we proceeded to create the run from the CPU outlet to the GPU inlet. This one was our first challenging tubing run, as we weren’t quite sure how the tubing would react under this much pressure. Traditionally soft tubing would kink, but EKWB’s ZMT tubing doesn’t, thanks to its ridiculously-thick inner wall.
Front Rad Connections
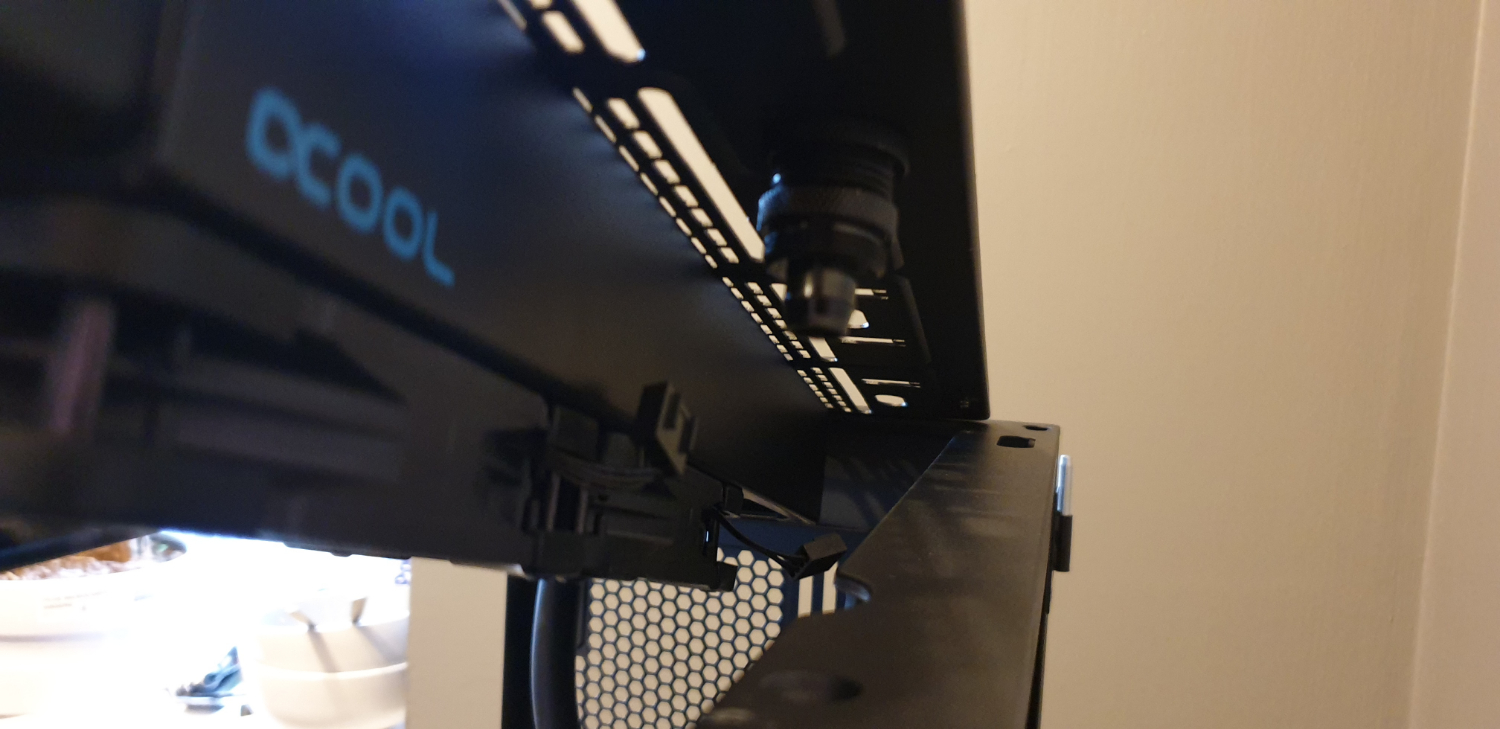
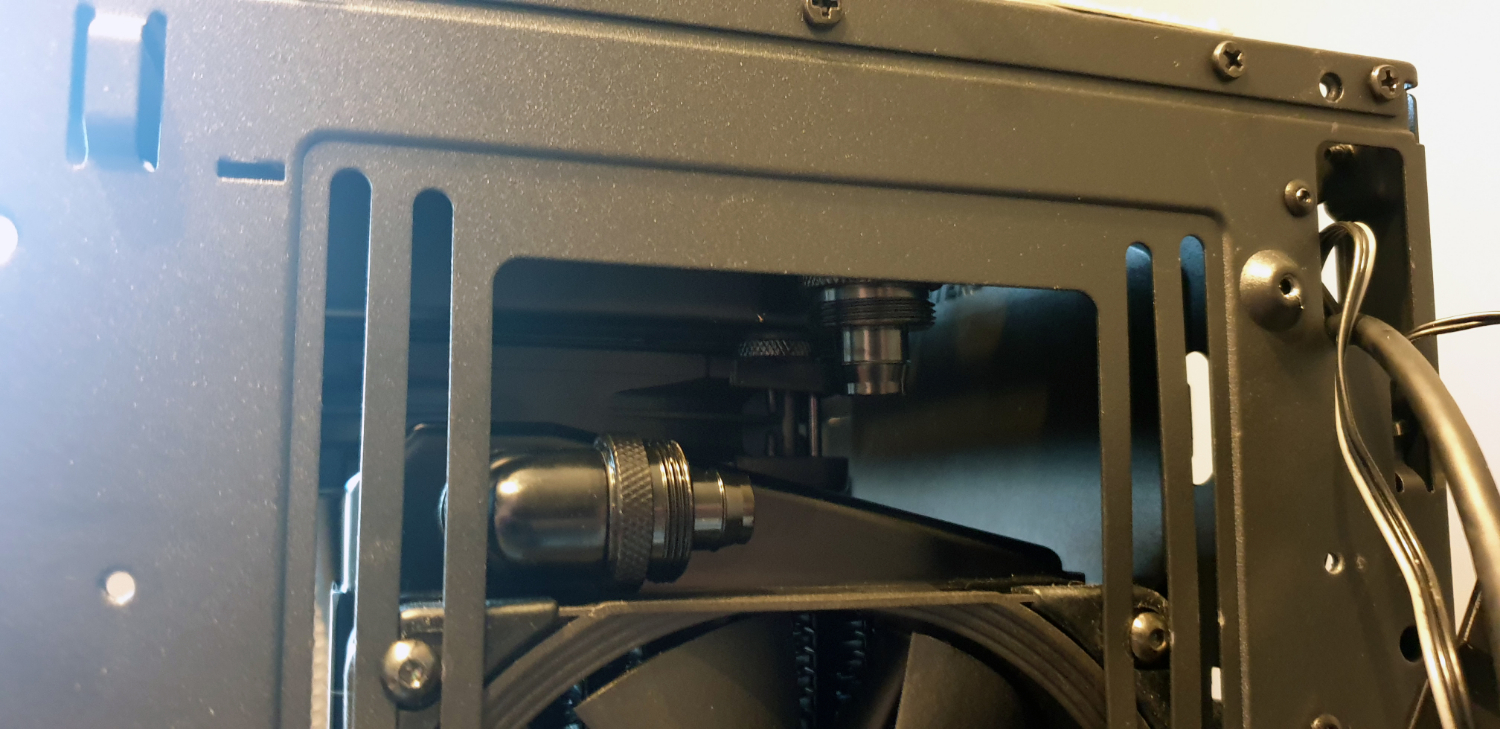
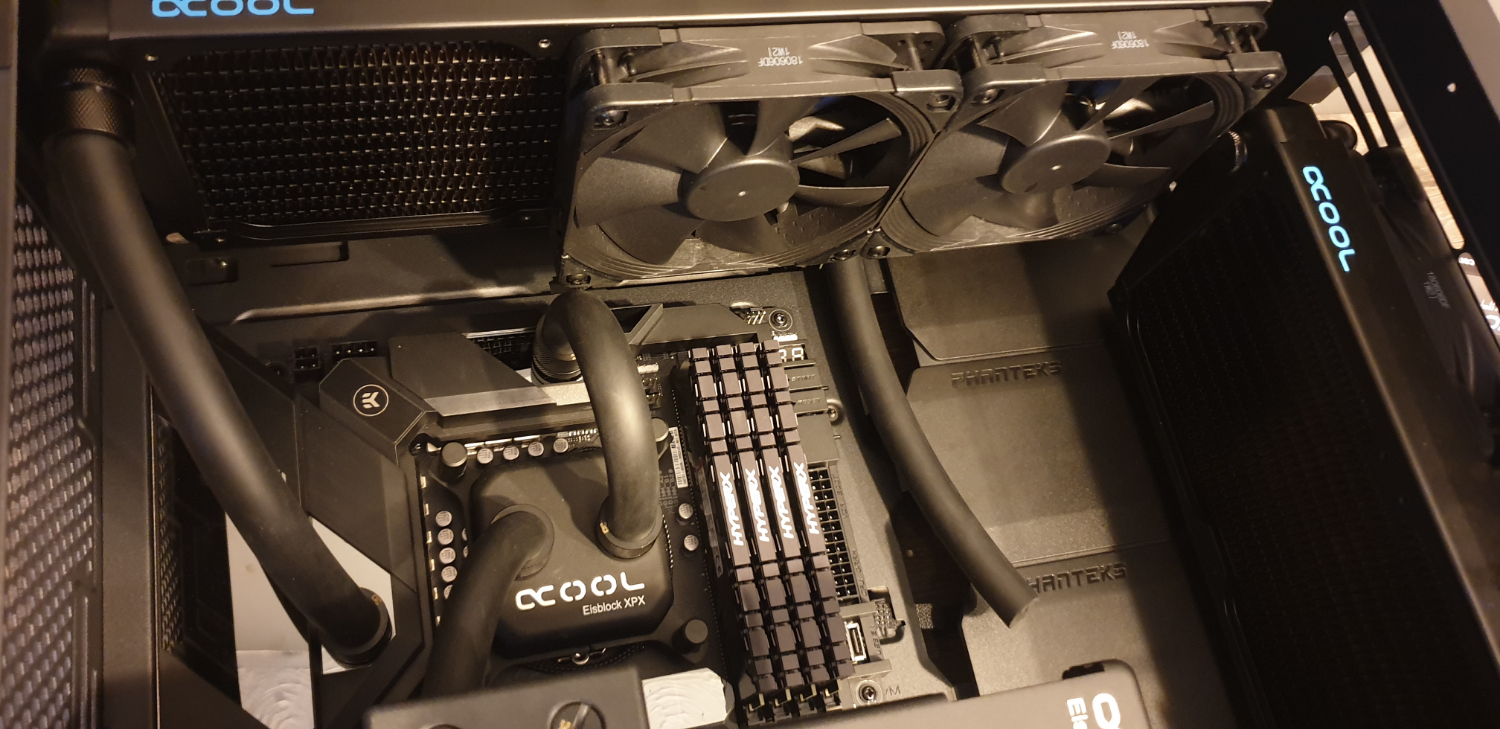
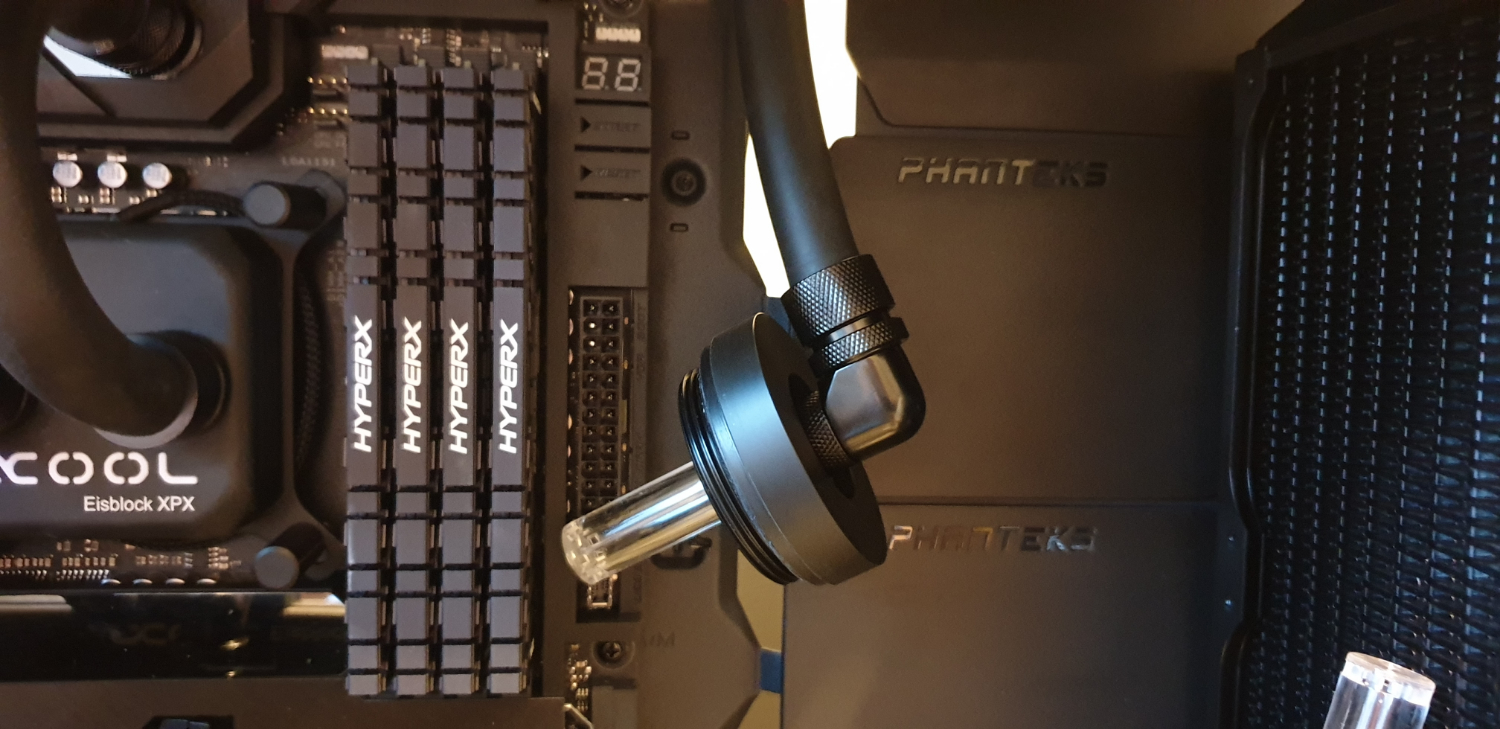
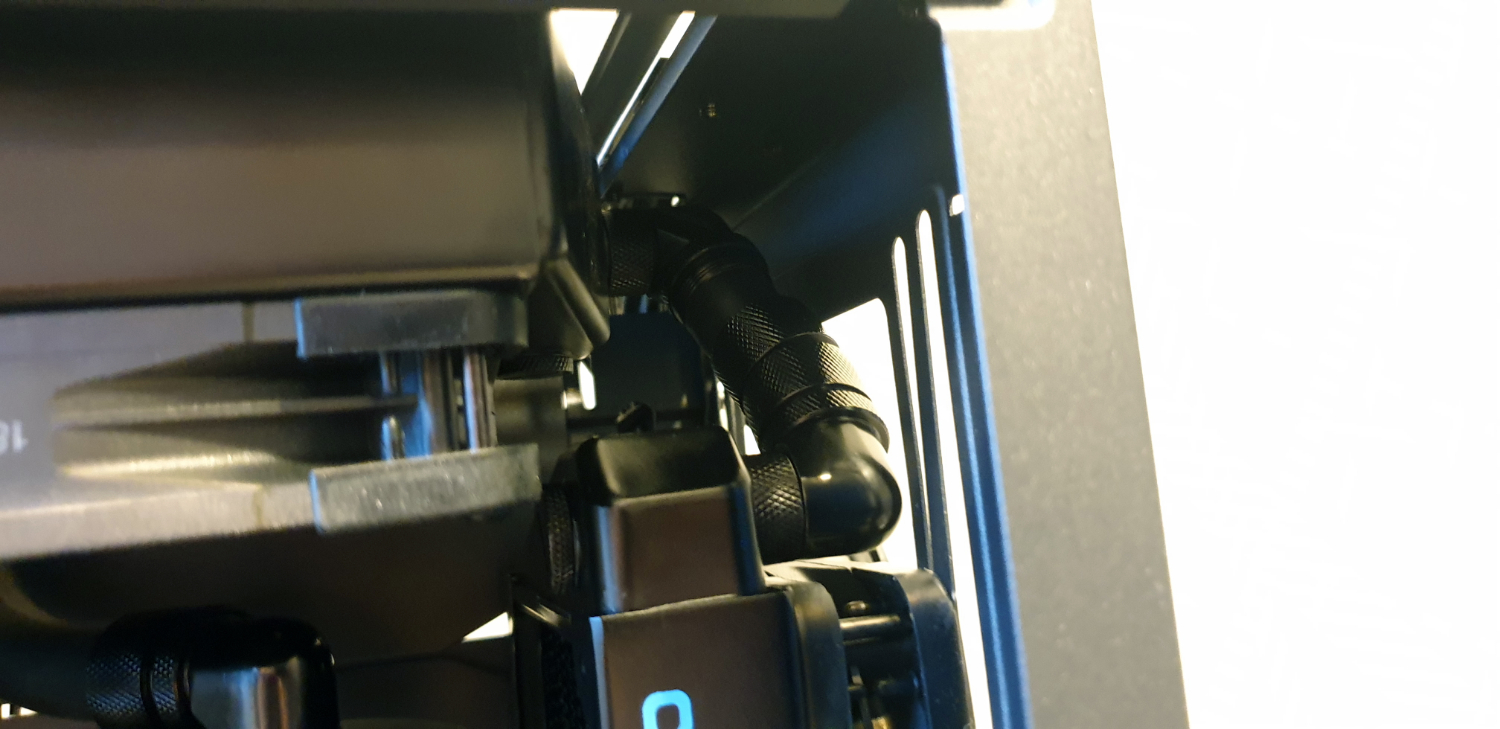
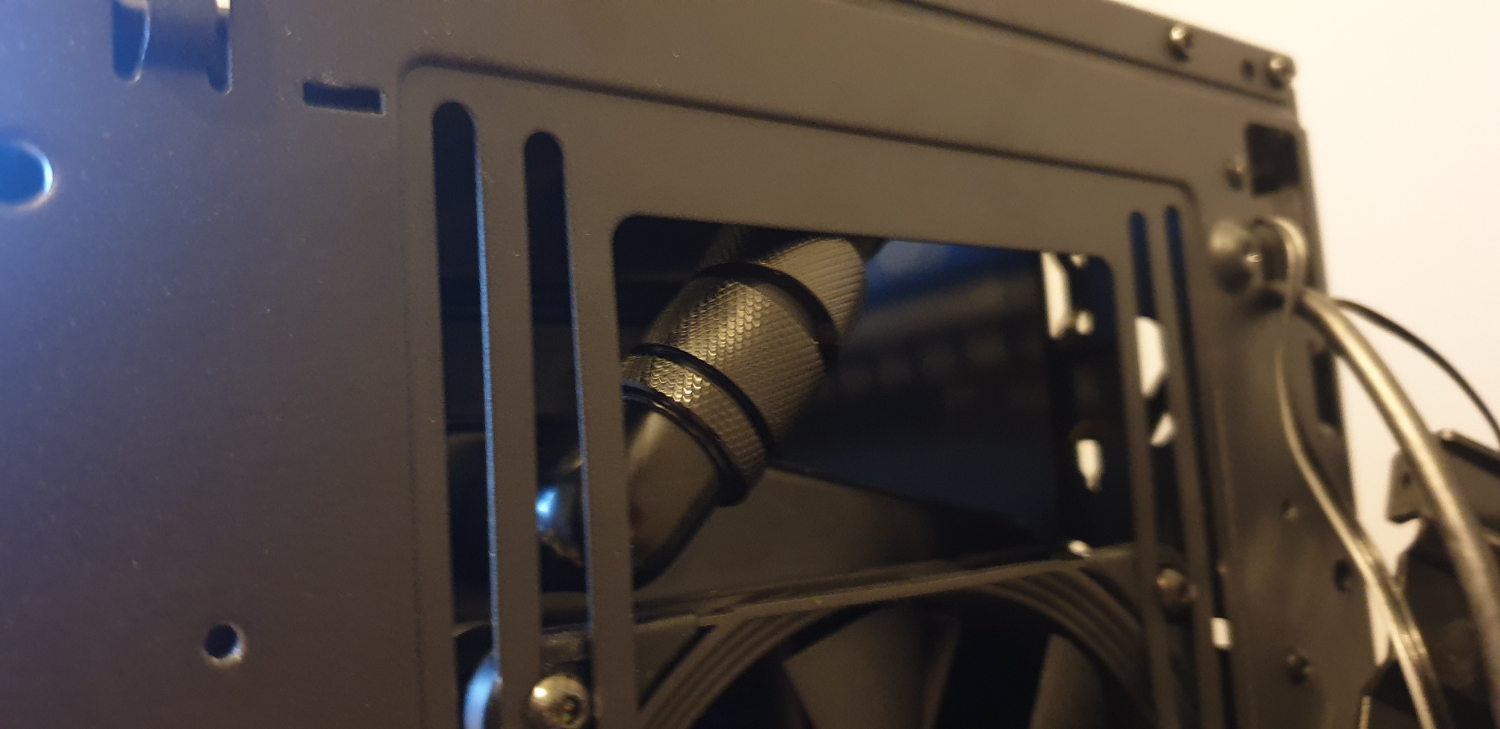
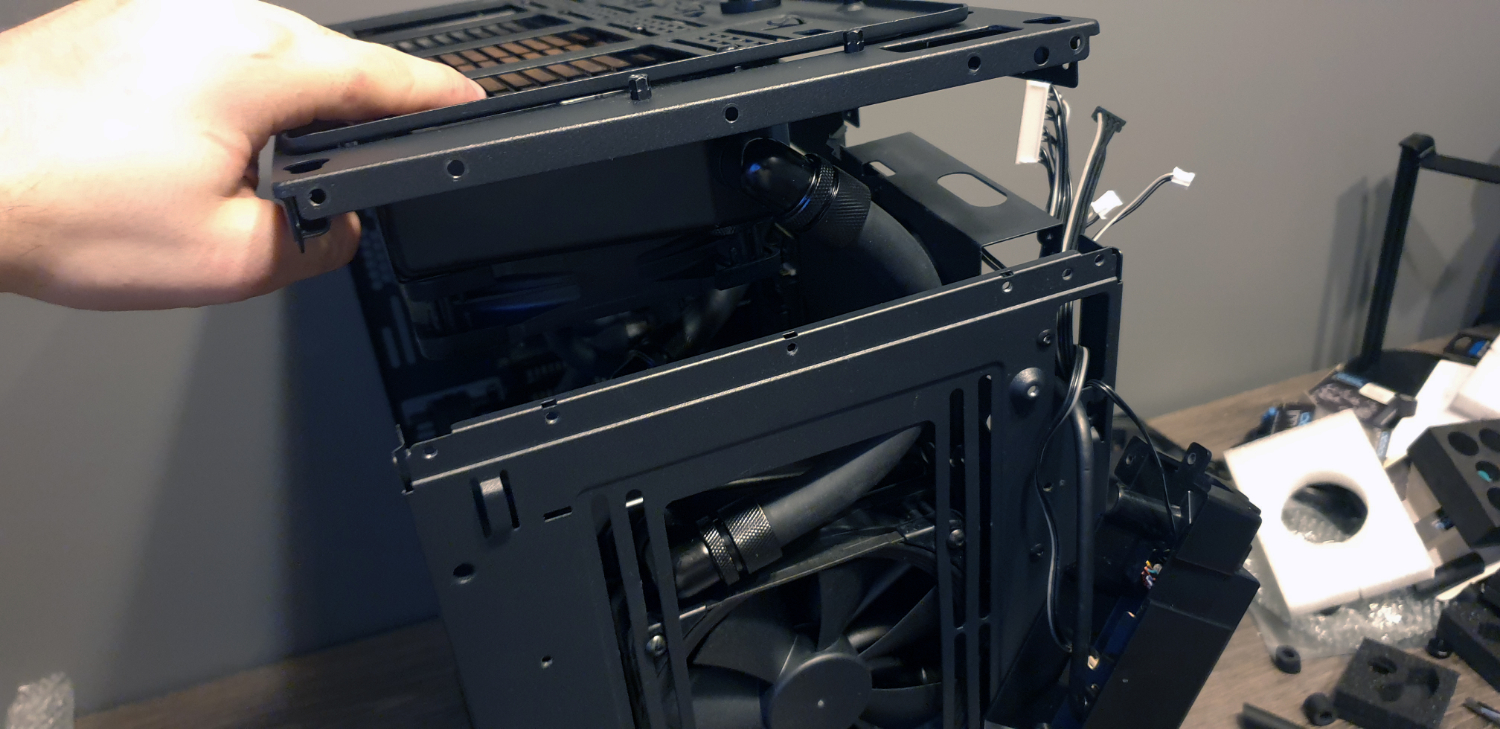
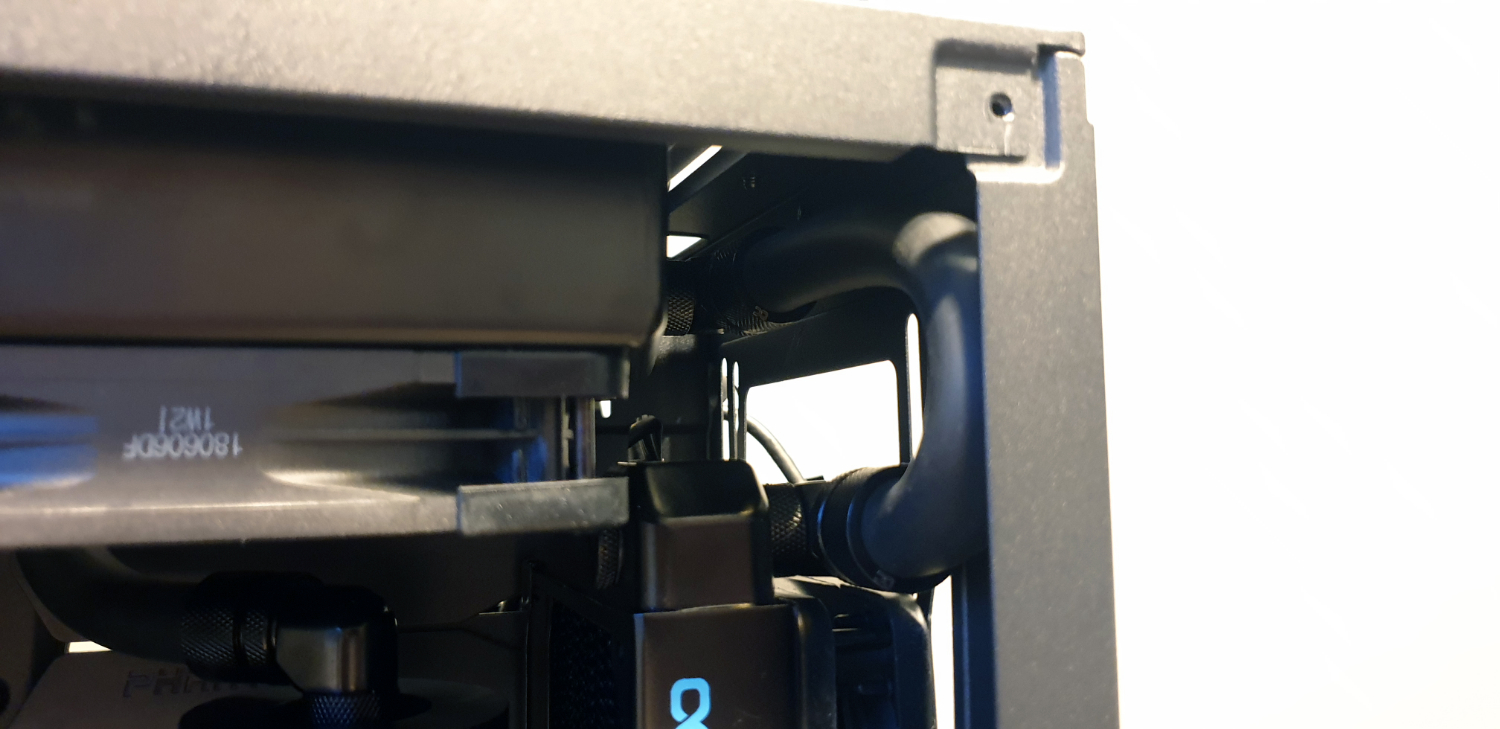
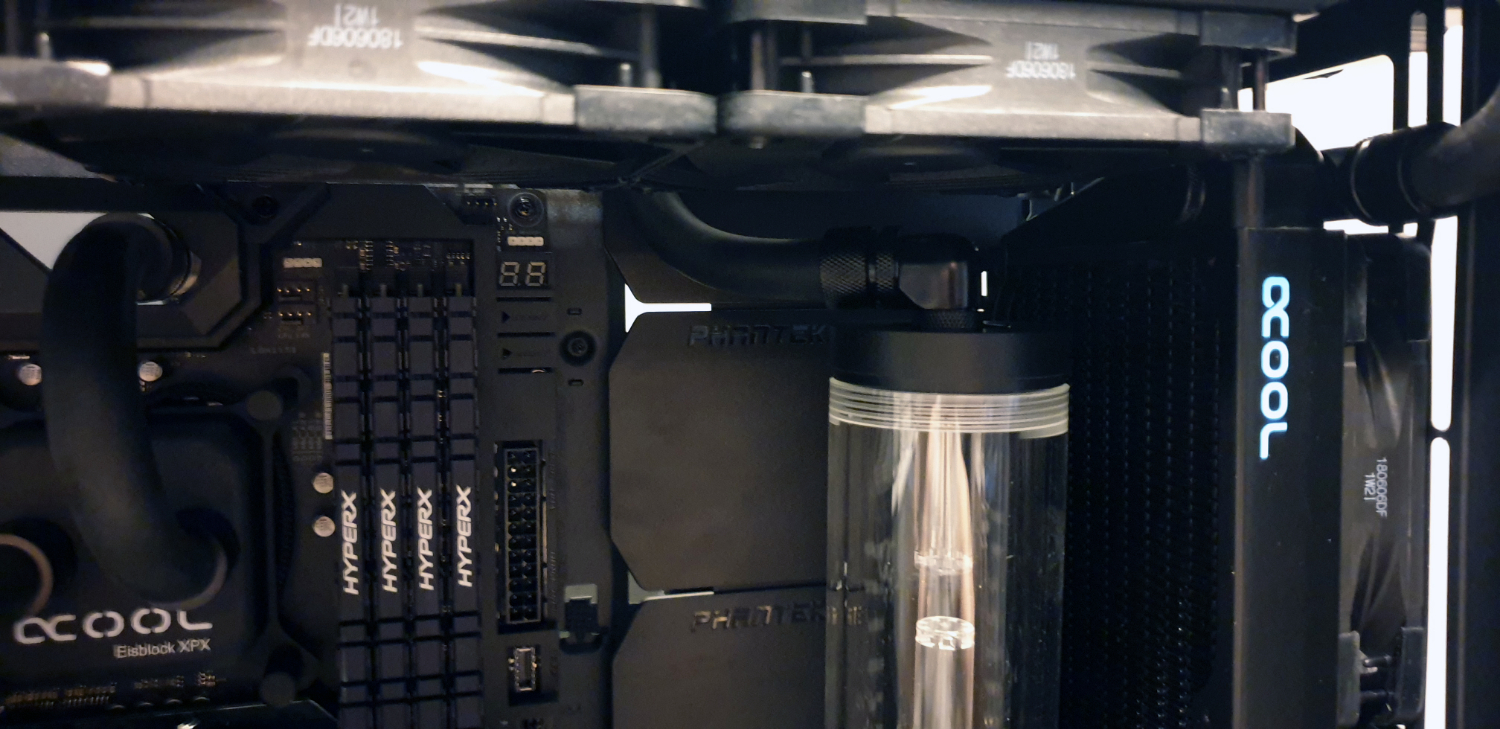
Ahh the weekend, that wonderful time where you get to recoup, get your brain together, and think of new and innovative ways of tackling a problem. The problem in question was how to connect the front and the top rad. Let’s break it down real quick. The reservoir gravity feeds the pump, the pump pushes fluid into the front radiator, that then goes into the top rad, down into the VRM waterblock, into the CPU, then into the GPU, and back to the reservoir.
It’s a neat little setup, and using the crossflow rads means we can keep it relatively clean. The problem is however, that the clearances are so tight between the top and front rad, that it’s nigh impossible to get the two fittings to connect.
We tried everything, a straight length, which was impossible to secure, a tight 90 degree angle, which would kink, purely using fittings to bridge the gap, we didn’t have enough. Three days later and we finally had a solution. Detach the entirety of the top of the case (with the radiator bracket attached), then run a long length of tubing between the two in a big curve. It was tight but it works.
Before we did it, we sorted out the fill port up top first, as it was easier to get to, and one of our last easy runs.
PSU Predicaments
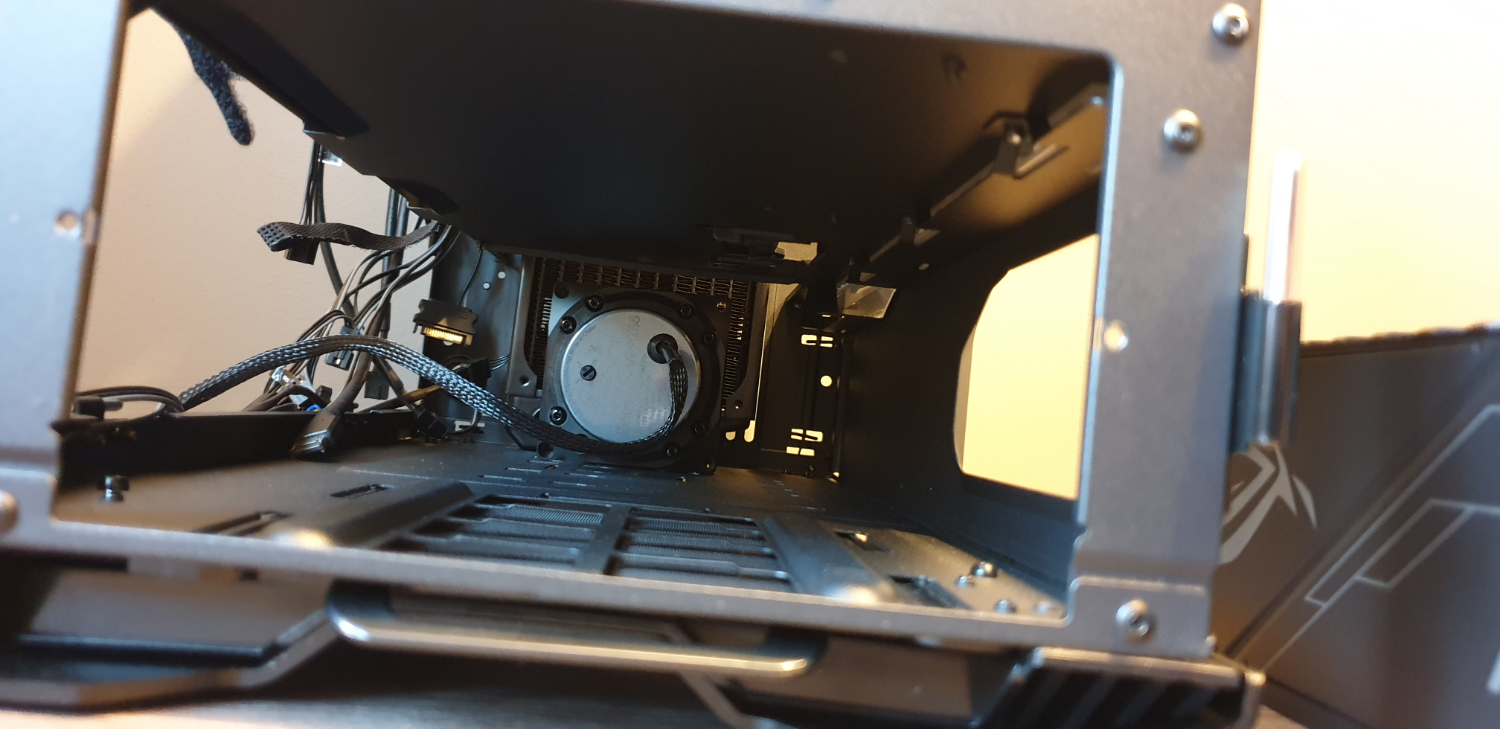
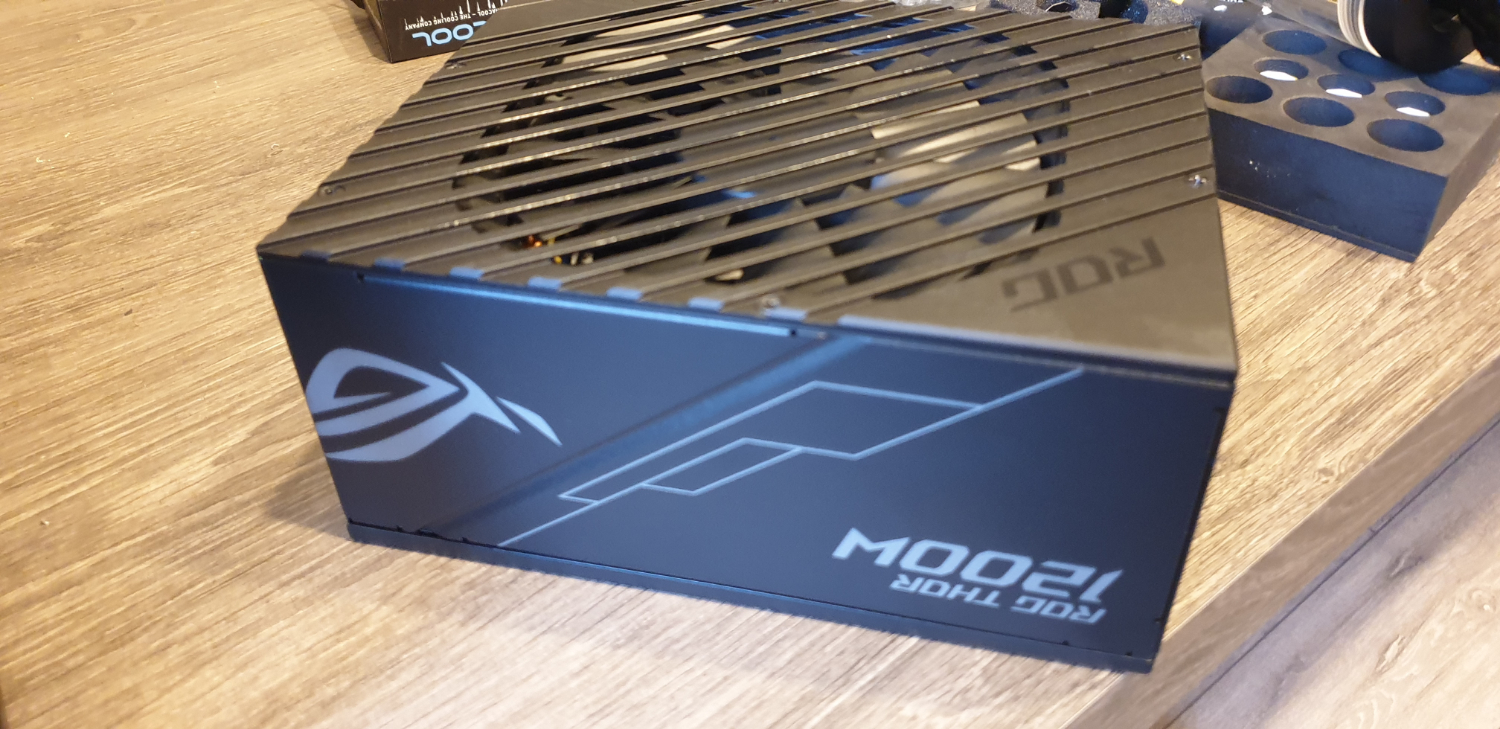
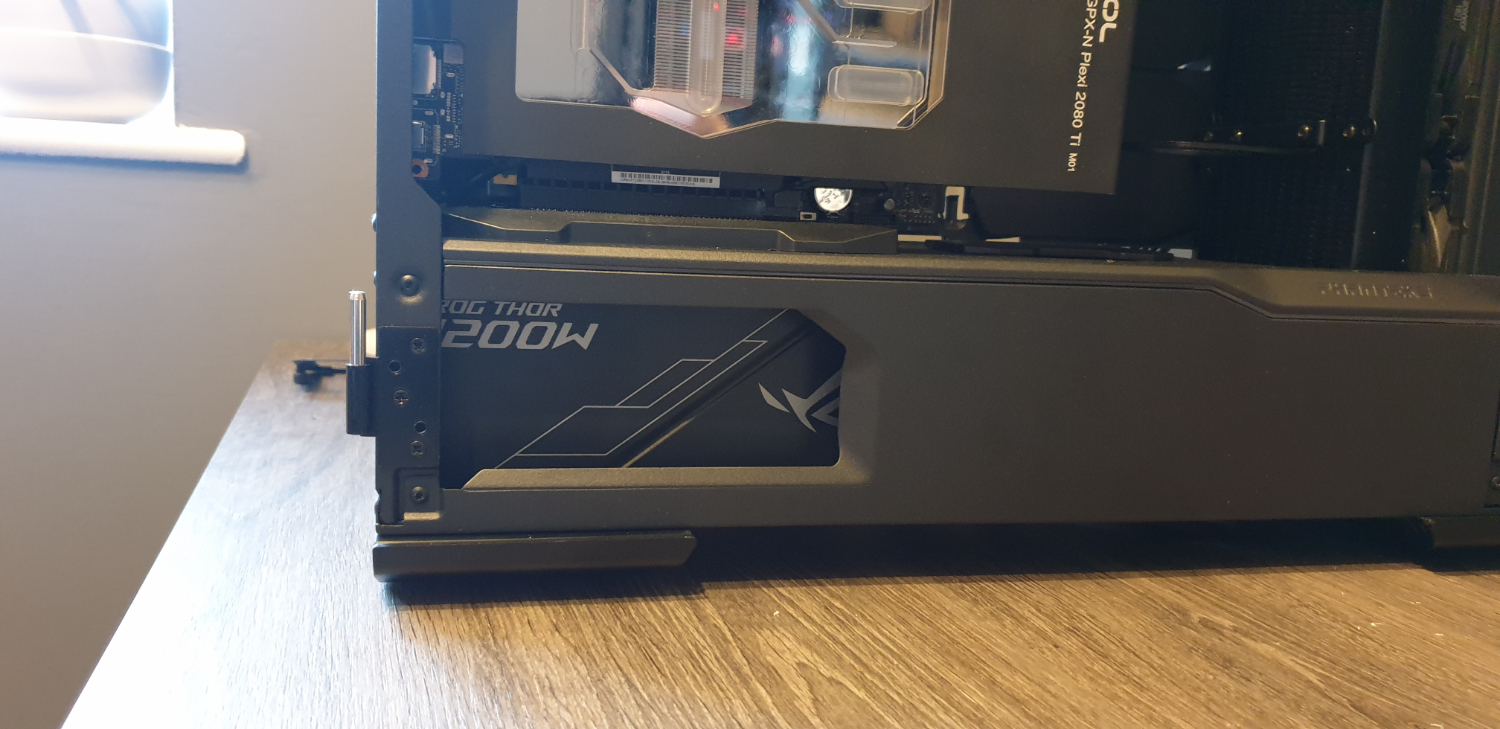
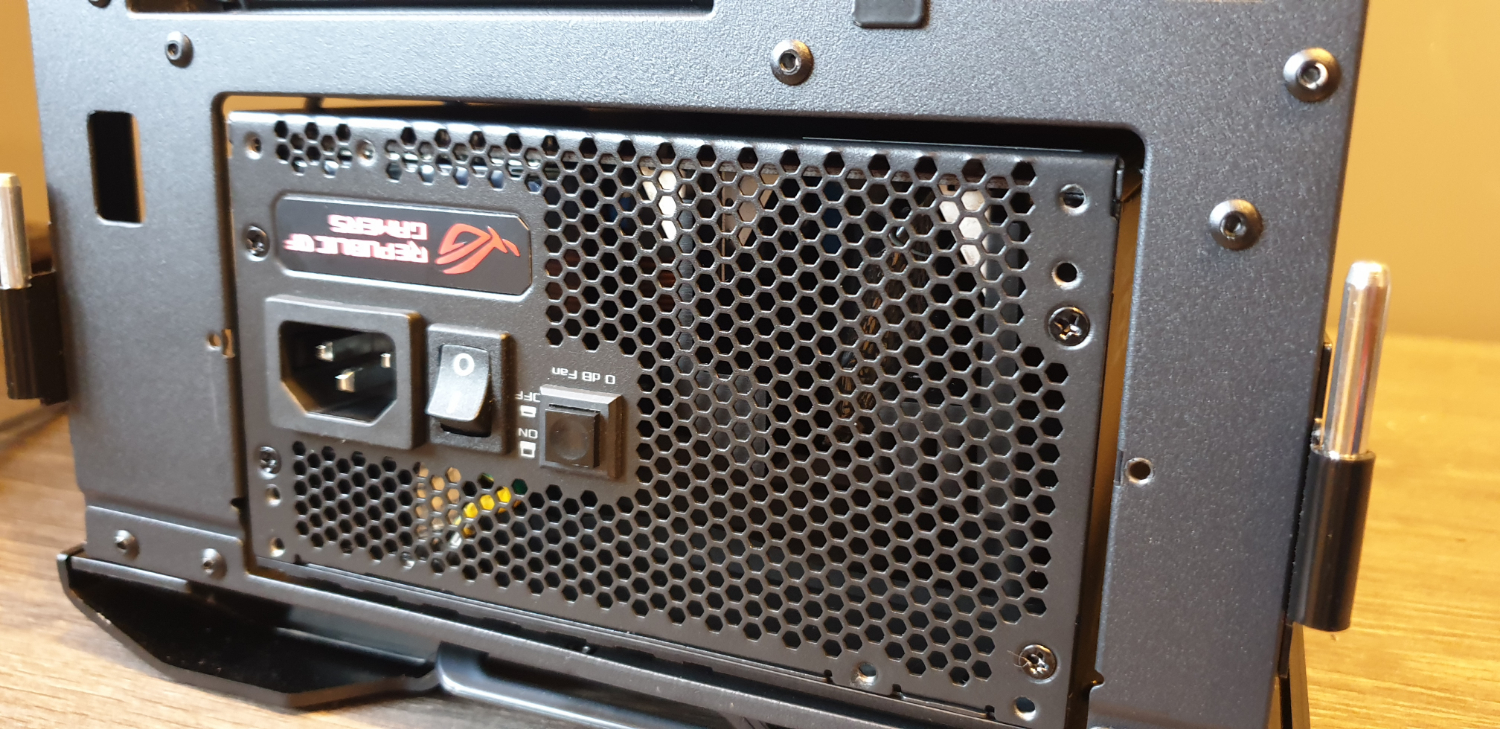
Next we decided to install the PSU, just so we knew how much room we had to work with on the bottom. Asus sent us the ROG Thor 1200W for the build, but it comes with one caveat. That beautiful OLED display, that showcases power draw and temps is only on one side and only one orientation. In short, if you want to see the OLED and the RGB, you must have the fan facing upwards. The problem is that the Evolv X’s PSU cover is solid.
There’s no ventilation for it to breathe. Additionally when it comes to liquid-cooled builds, we’d always recommend you face the PSU fan downwards anyway. That way if you get a leak, say off the GPU, or the CPU, it’s not going to kill your entire rig.
That said, it doesn’t look all that bad! And hell, this is a stealth rig after all, it’s not the end of the world that we can’t see that extra dash of lighting.
Second SSD and Pump Fittings
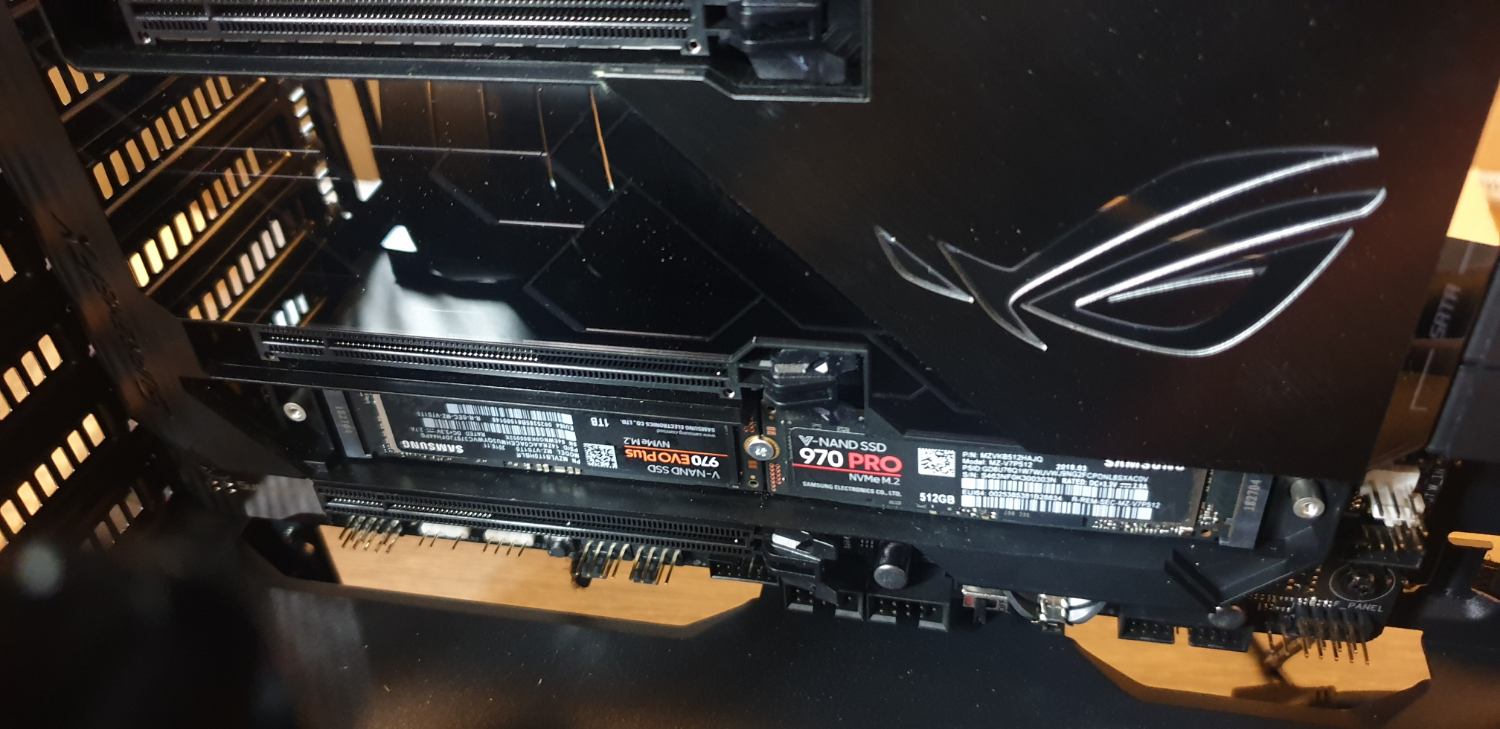
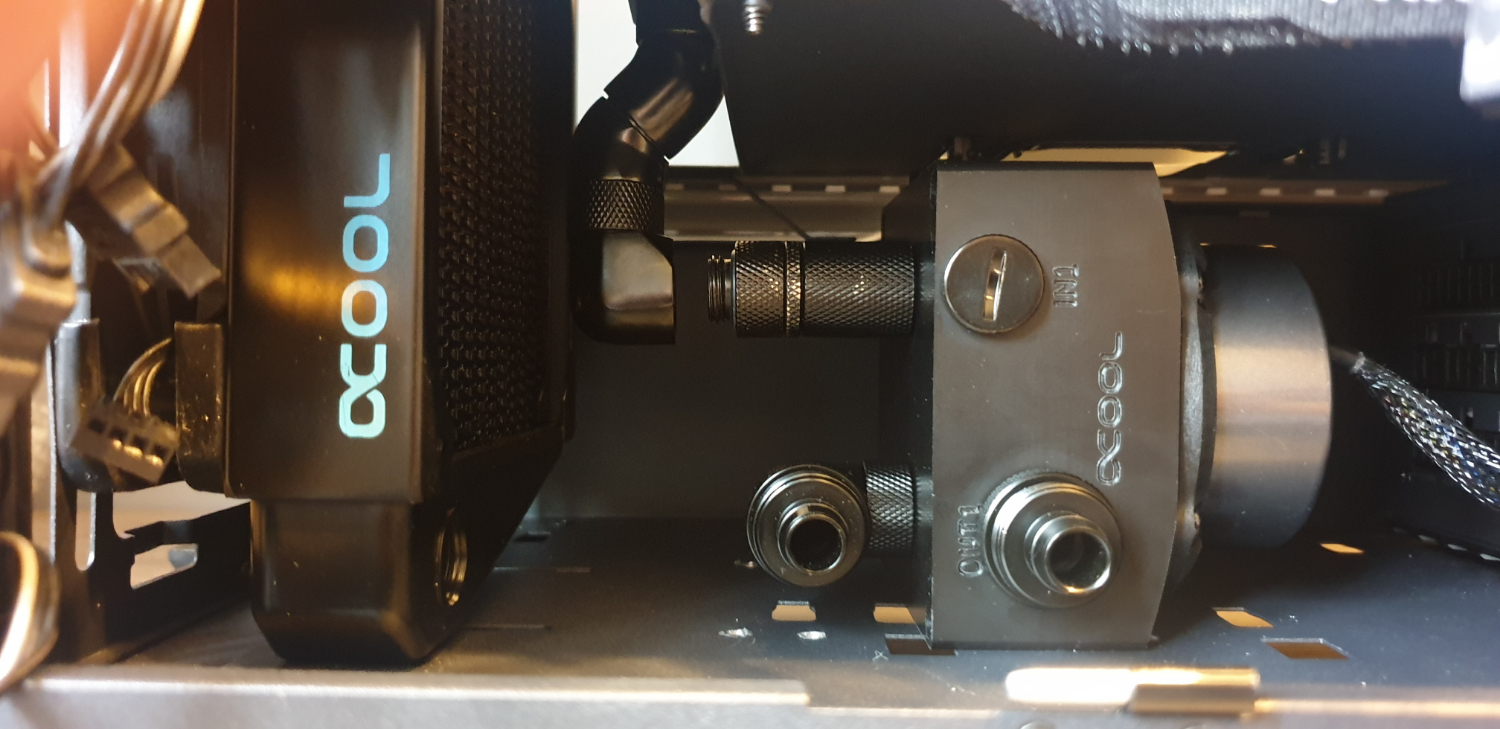
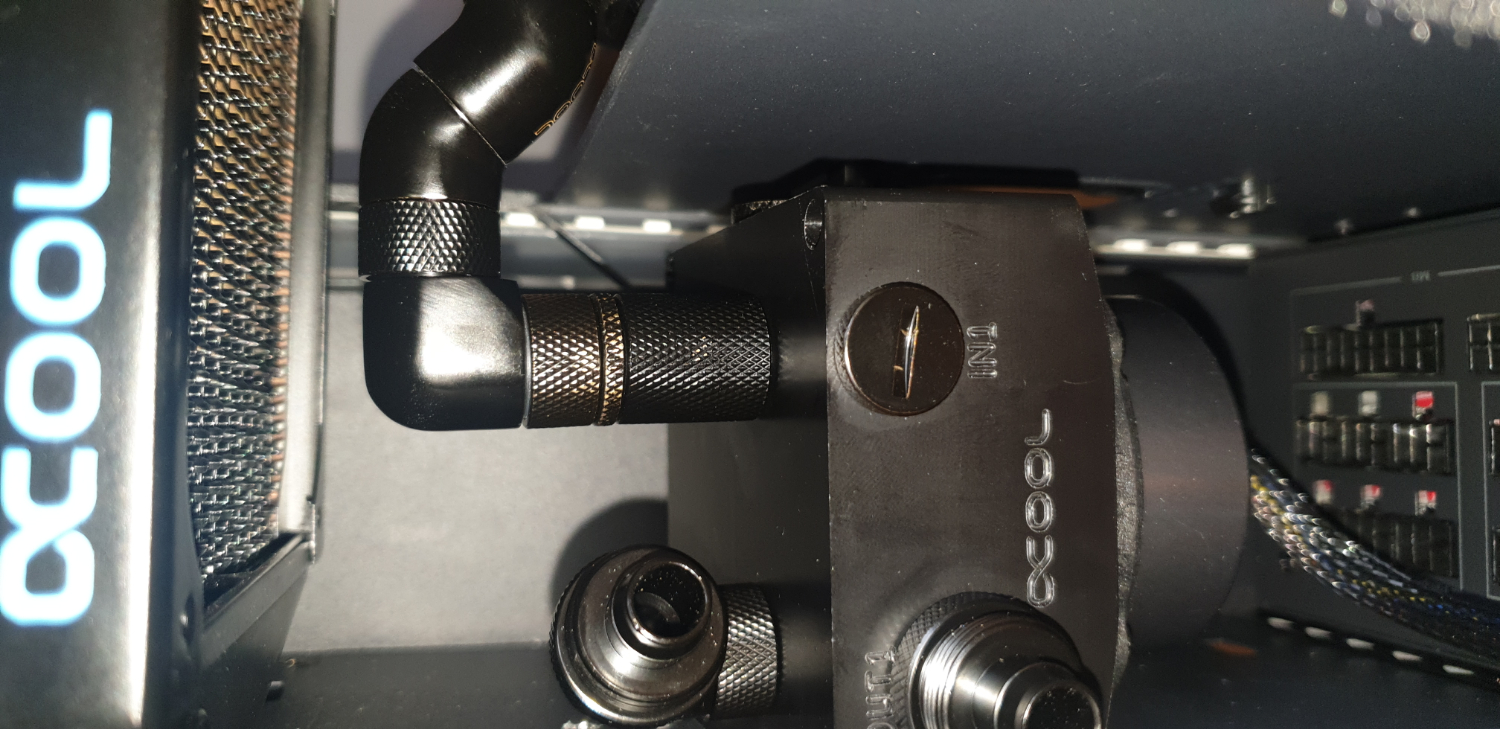
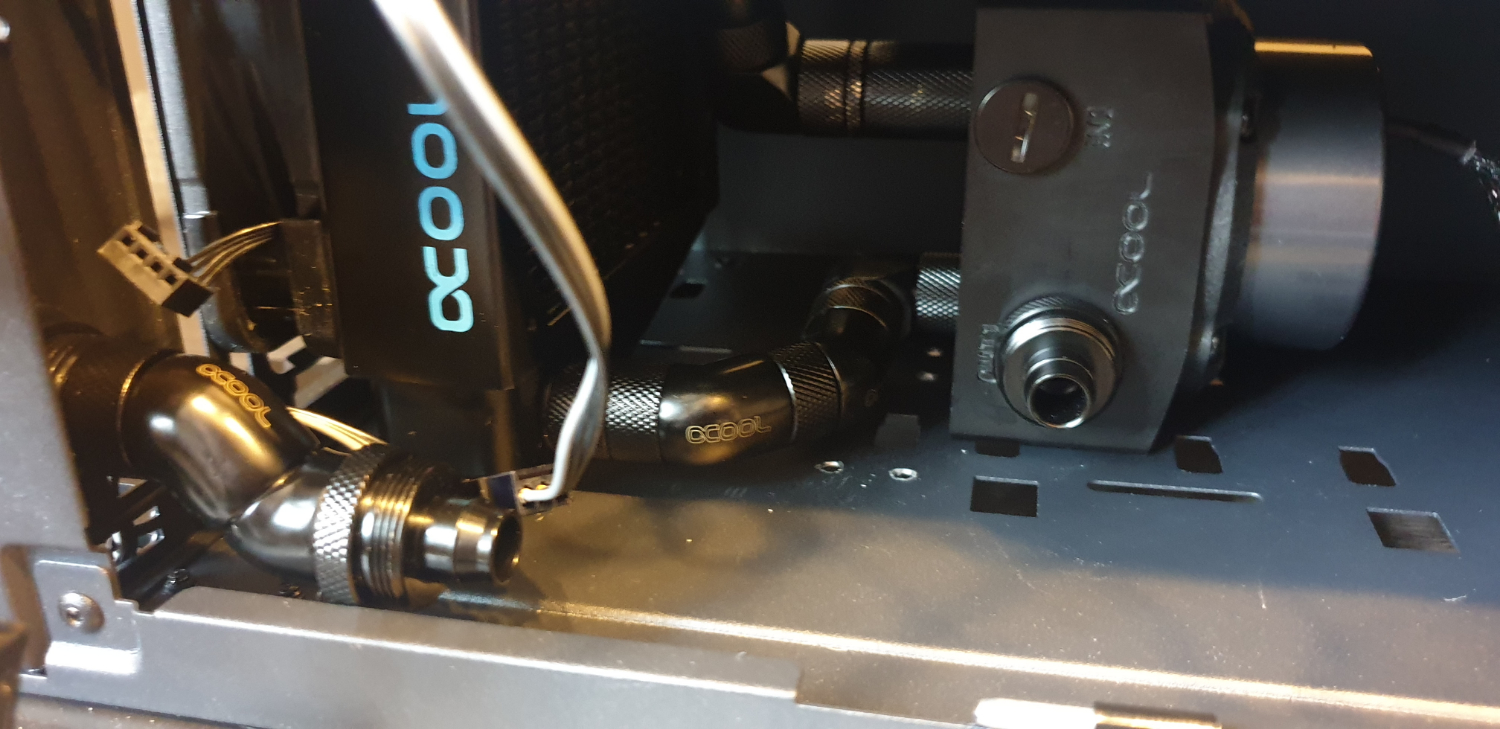
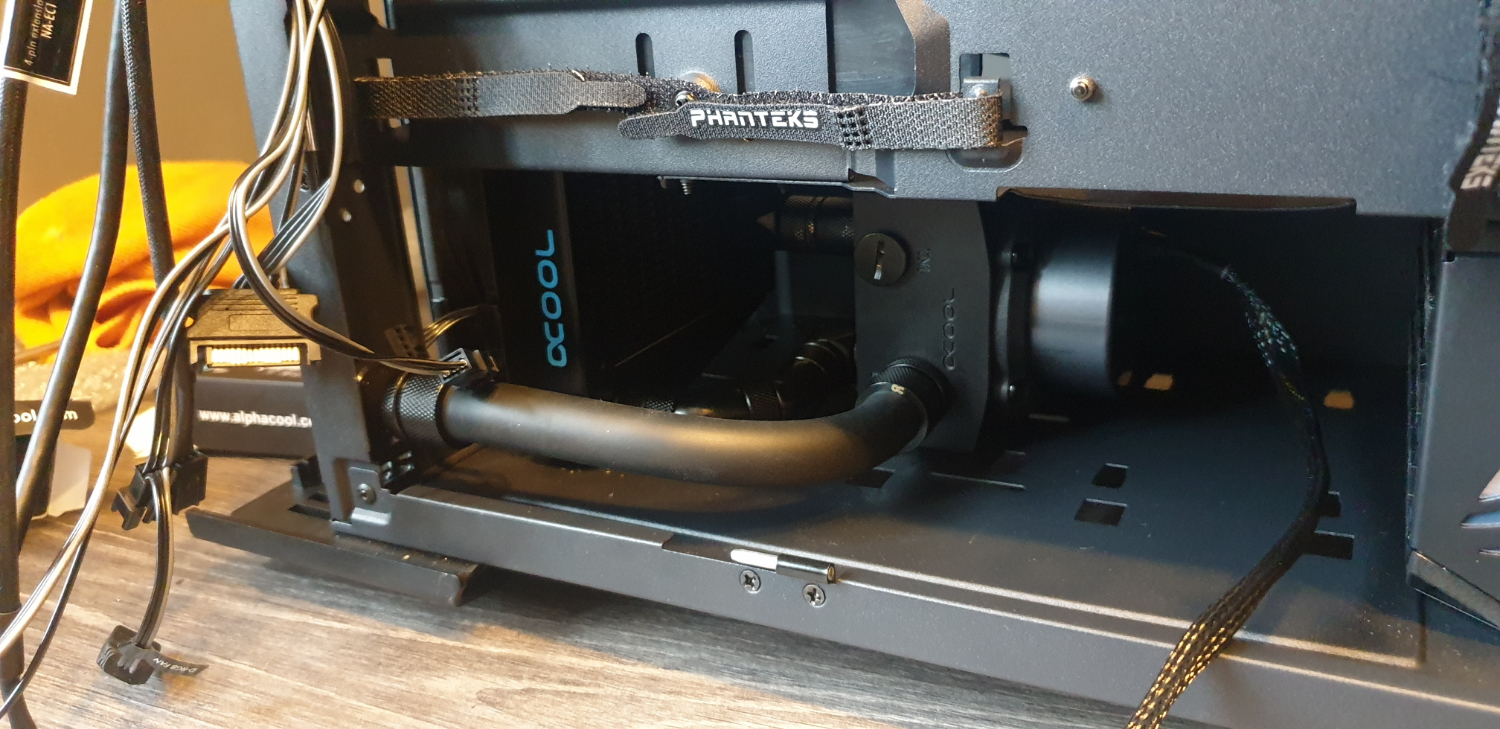
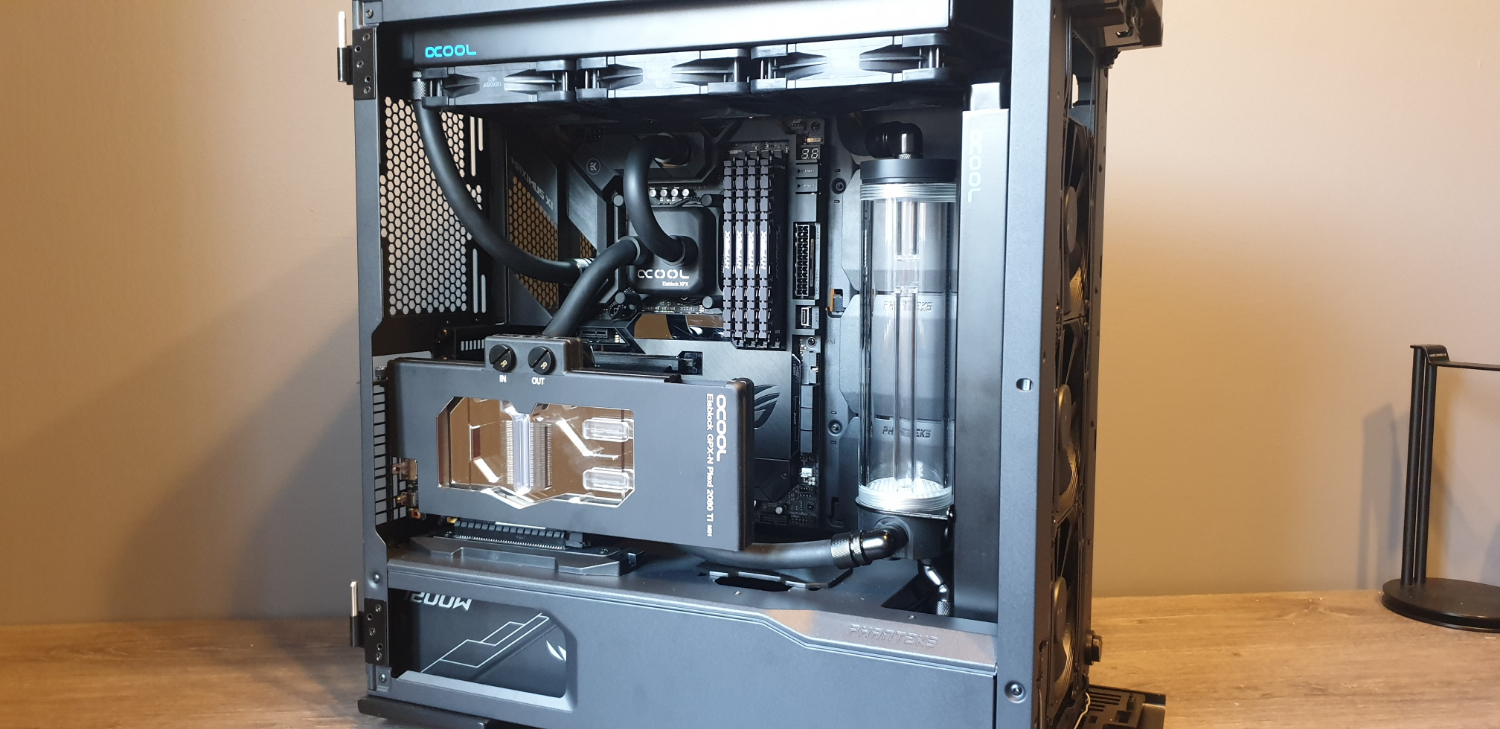
Finally our second PCIe SSD arrived, the Samsung 970 Pro, and, after a quick install, we were good to go. Then onto sorting out the pump in the basement. This took some time, but with a few extra parts from the store cupboard, we finally managed a solution. A plethora of fittings connected it to the reservoir up top (thanks dual 45 degree adapter), and even more connected it to the front rad. However this would become a problem later.
Then it was one final length of tubing to the drain port, and a few felt furniture pads underneath to stop vibrations and the liquid-cooling part at least, was seemingly done.
Cable Time
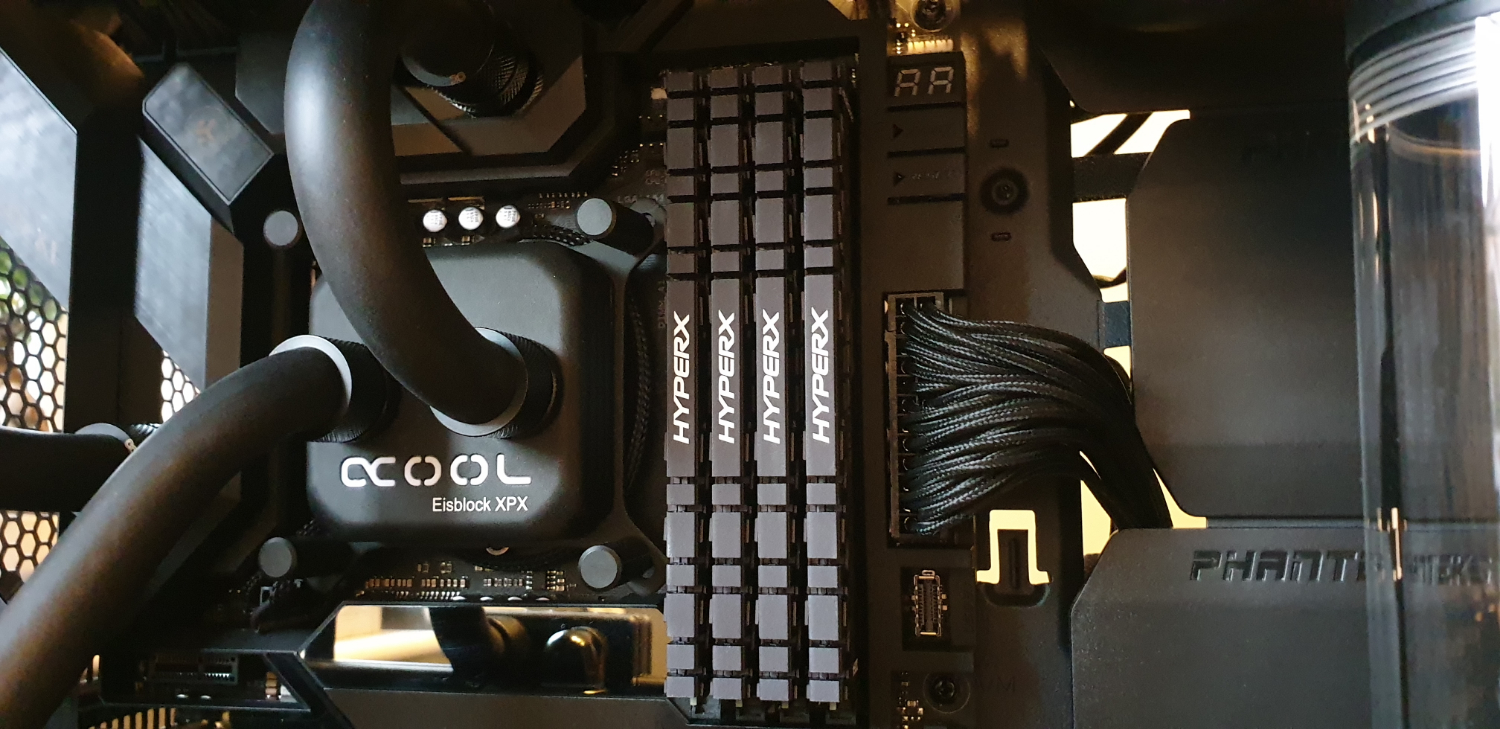
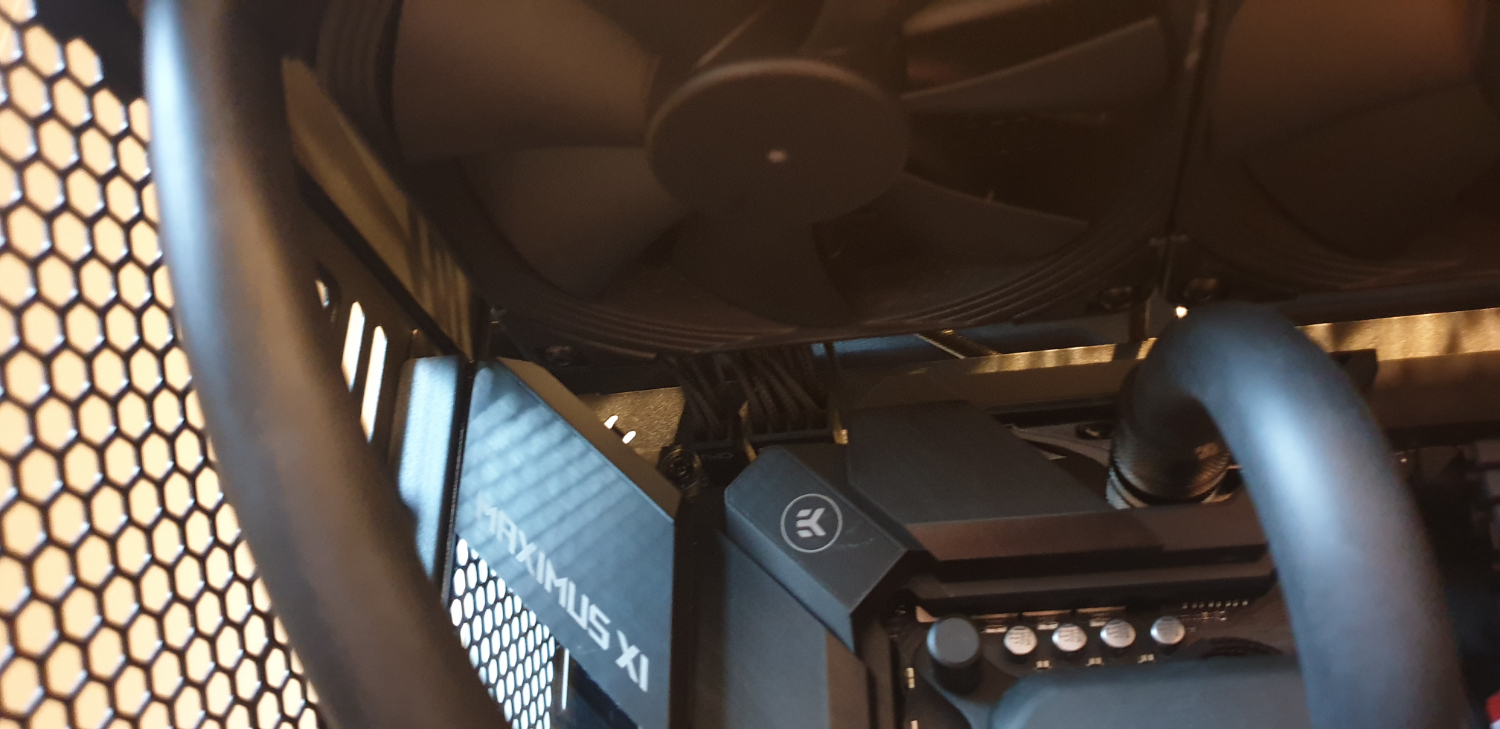
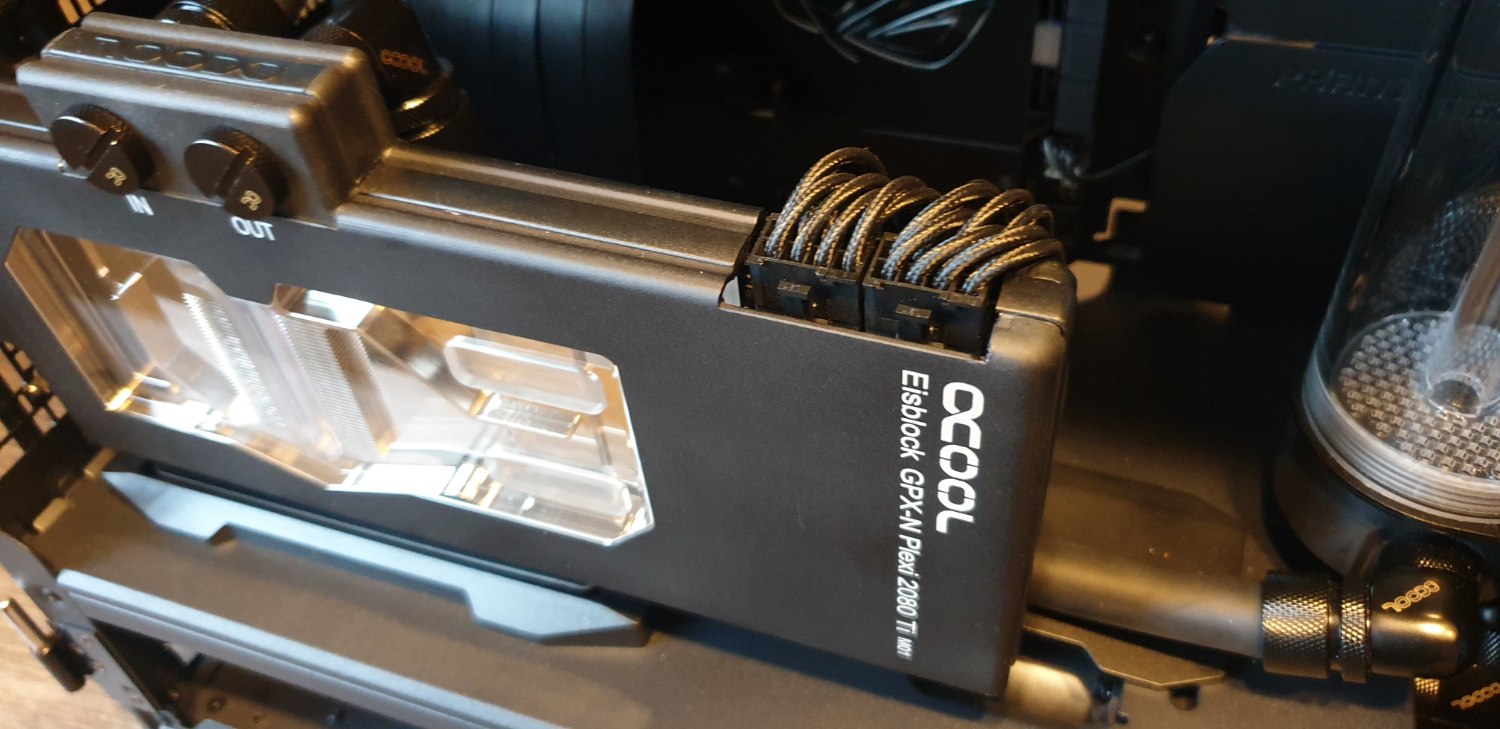
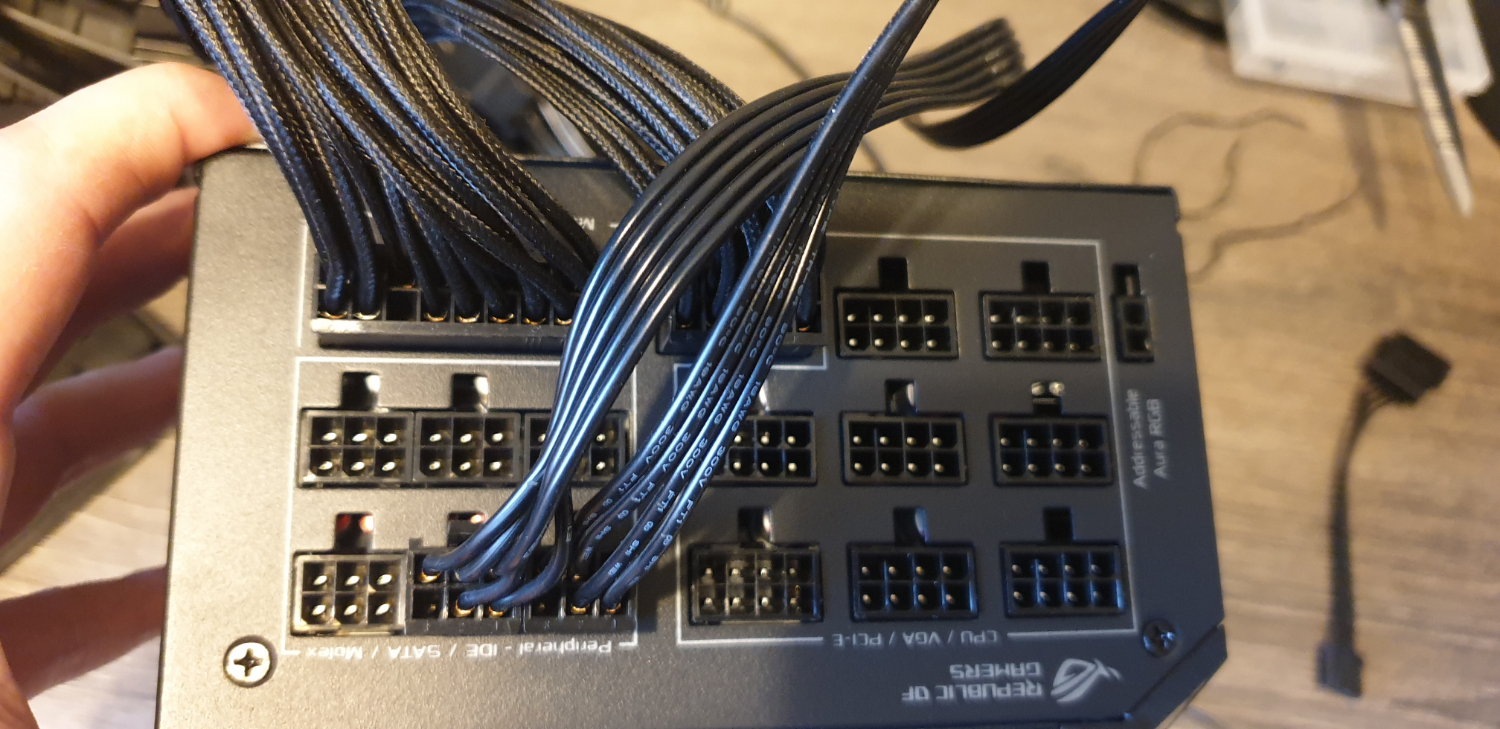
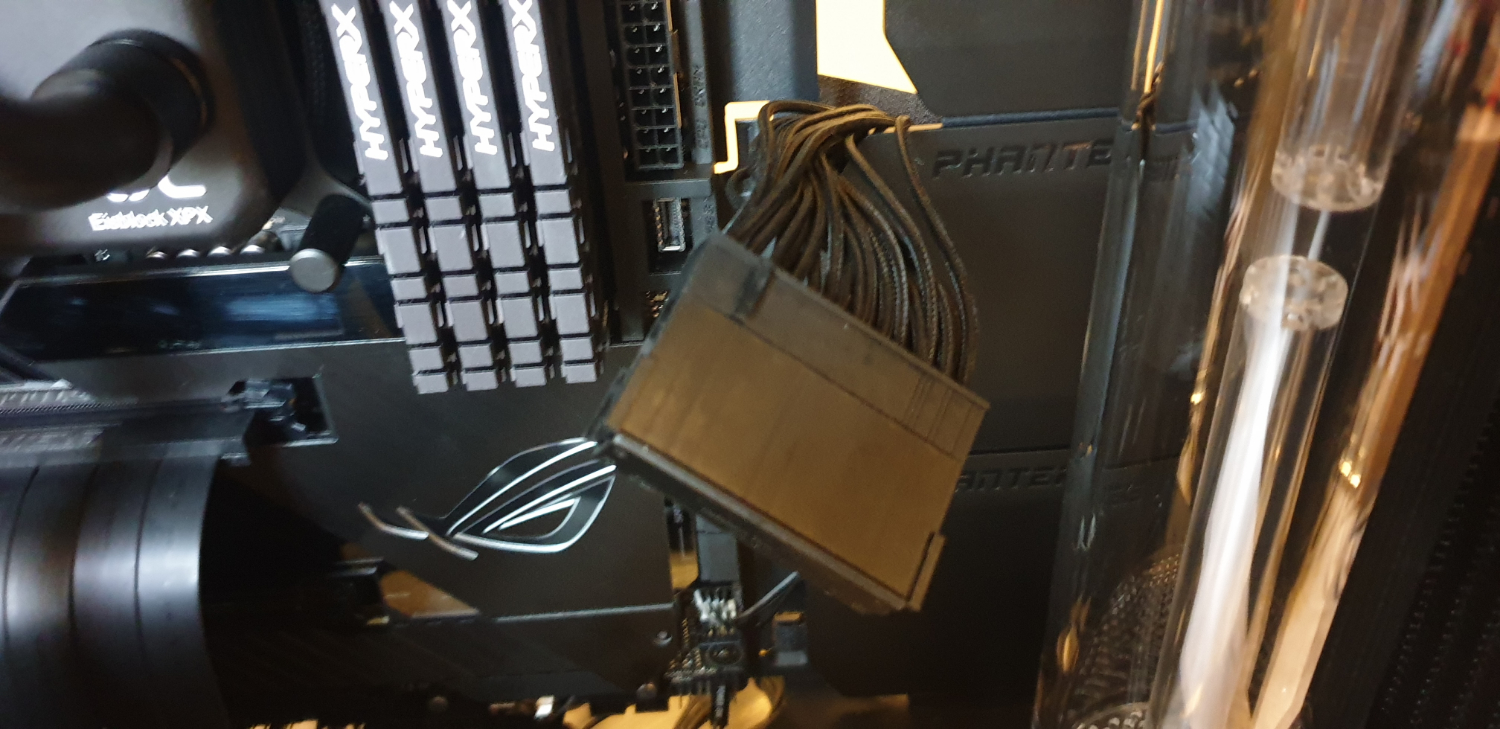
At this point, we were still waiting on the CableMod custom sleeved cables to arrive, so for the time being we opted to just plug in the standard cables that come along with the ROG Thor. The majority of visible ones are still individually sleeved, but there’s a severe lack of combs.
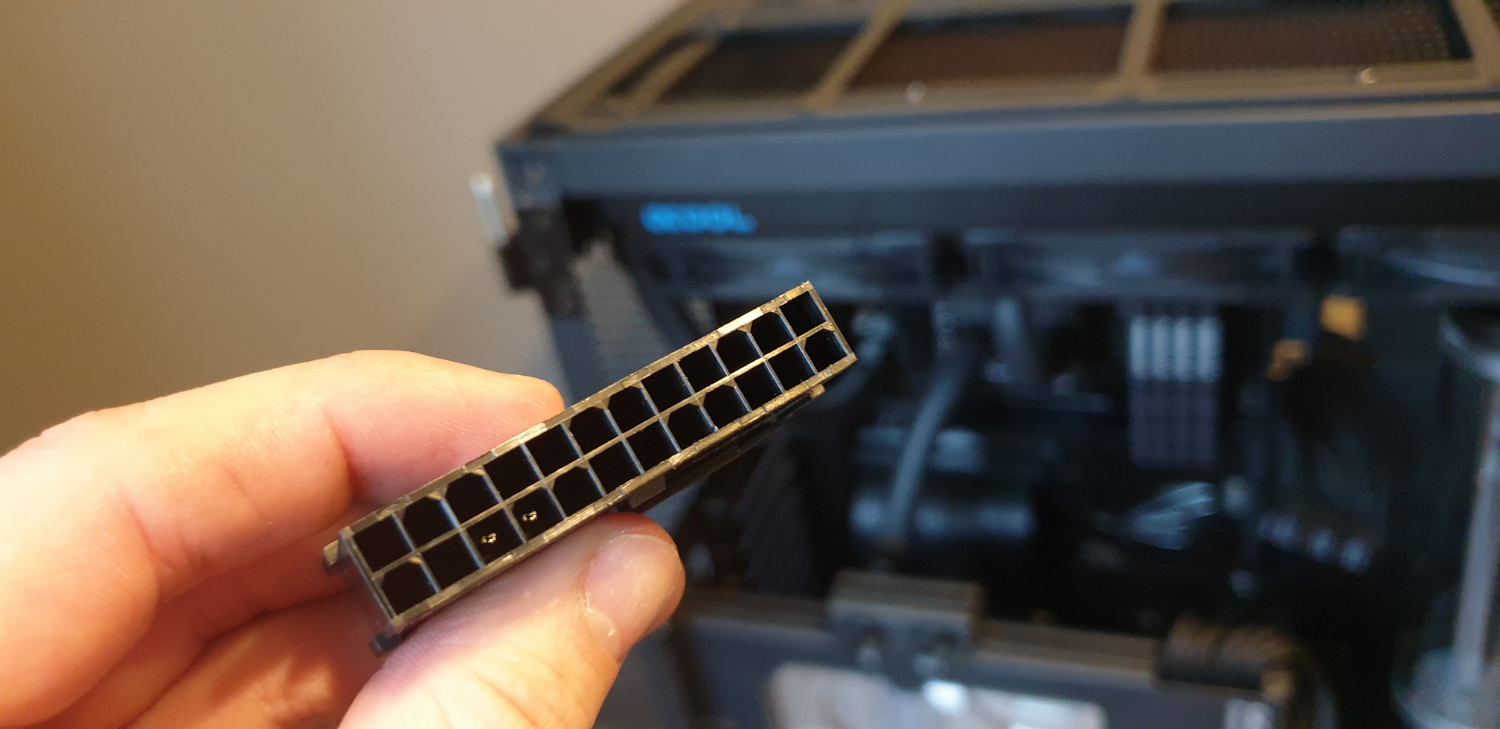
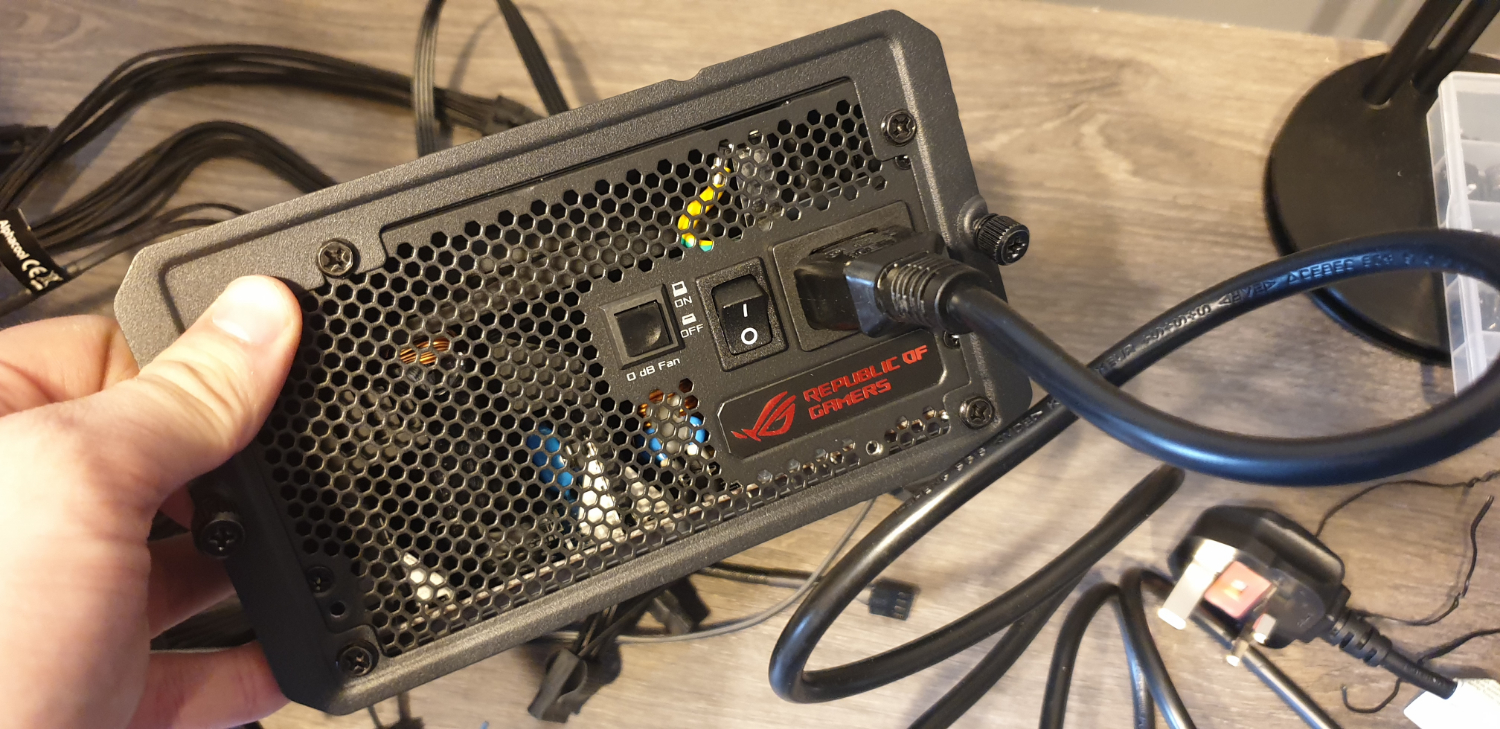
In short, this is because we wanted to fill the loop. To prime your loop with coolant, you need to effectively cycle only the pump and that’s it. To do that, unplug all the power cables to the system (we do this at the PSU end to save time and energy), then add a bridging connector to the 24-pin. You can buy one of these for around £3 or $5 on Amazon, and what this effectively does is allow you to start up your power supply without it being plugged in to the motherboard, simply by using the hard switch on the back. Alternatively, you can use a paperclip or piece of flexible conductive metal and bridge these two pins yourself, although make sure you don’t touch it whilst the PSU is on.
Coolant Filling
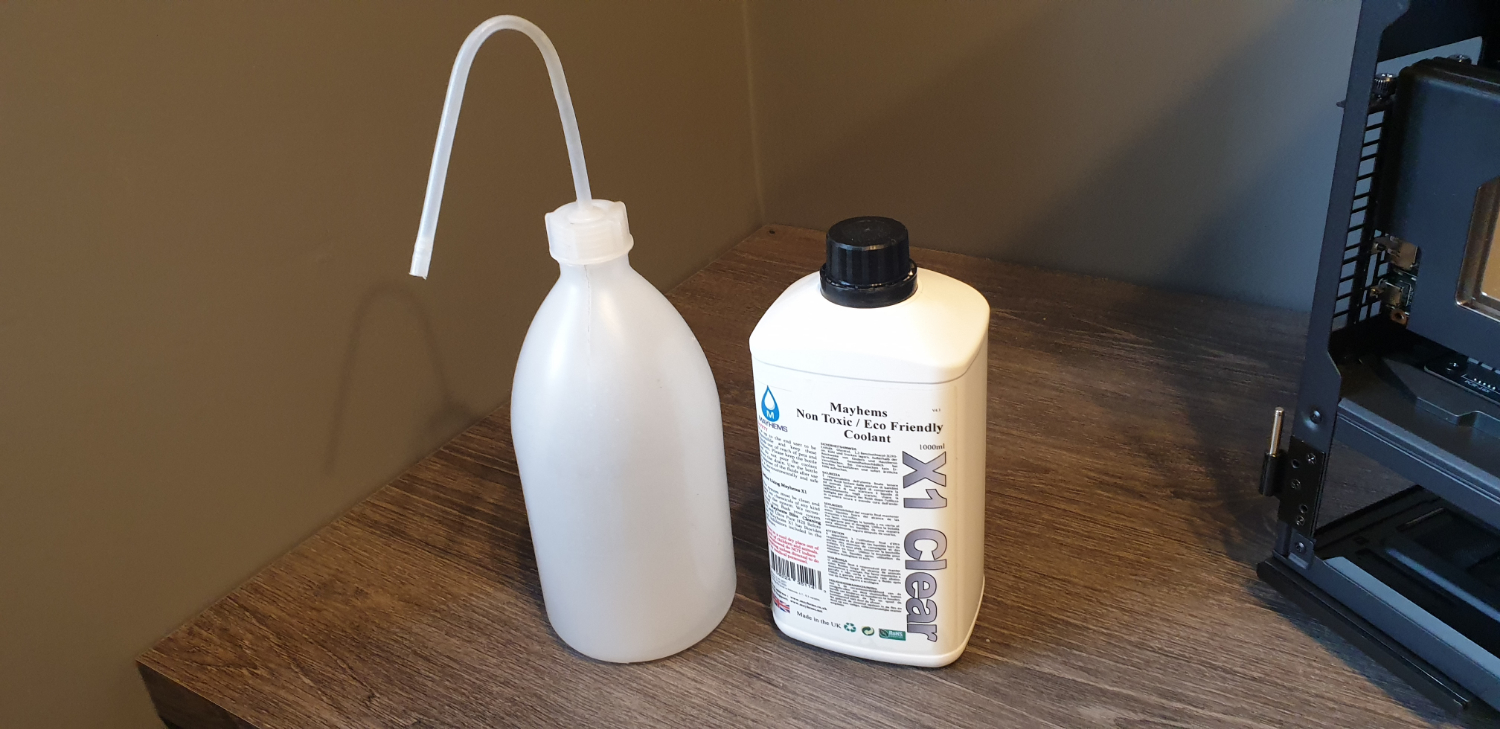
For our coolant we went with Mayhem’s X1 Clear coolant. These boys are a British company, but they’re second to none in the liquid-cooling biz. The research and time the team puts into its coolant is just incredible. We decided to go with a clear coolant, because a) you can’t actually see it outside of the res and the GPU, and b) because well, anti-RGB.
Before filling and priming your system, it’s advisable for you to put paper towels down anywhere where there’s a fitting. This’ll be a good indicator for if there’s any leaks in your setup.
Filling came with its own problems. Opening up the fill port at the top and squirting the coolant into the system quickly backed up, and poured out of the top. This was to do with the fitting we still had situated at the top of the reservoir, and the pressure in the system being too great to let the coolant pass through the small gaps in the sprinkler down tube. We removed that, and although much better, we still had issues filling it without getting backflow. In the end, we carefully unscrewed the entire top of the reservoir to allow air in and out, and the coolant went in much smoother, without issue.
Leak Testing
Once you’ve filled the res the process is fairly straightforward. Simply hit the power button on the back of the power supply (making sure your pump is plugged into a molex adapter on the PSU), and watch as the coolant, gravity fed to the pump via the res, drains out of the system and begins to circle around the system. As soon as the res is empty, switch off the PSU and begin the filling process again. It’s imperative you don’t run your pump dry, as the coolant itself acts as a lubricant for the bearings situated in the middle of the pump.
Once you’ve got the system refilling itself, and the reservoir rotating coolant, you can then leave the pump on and continue to fill the res until you’ve reached the desired amount of coolant. At this point, it’s worth letting the system run for around 24 hours or so. If your paper towels remain dry, and you can’t spot any leaks, congratulations! It’s time to switch off the PSU, and plug everything back in.
Not So Straightforward
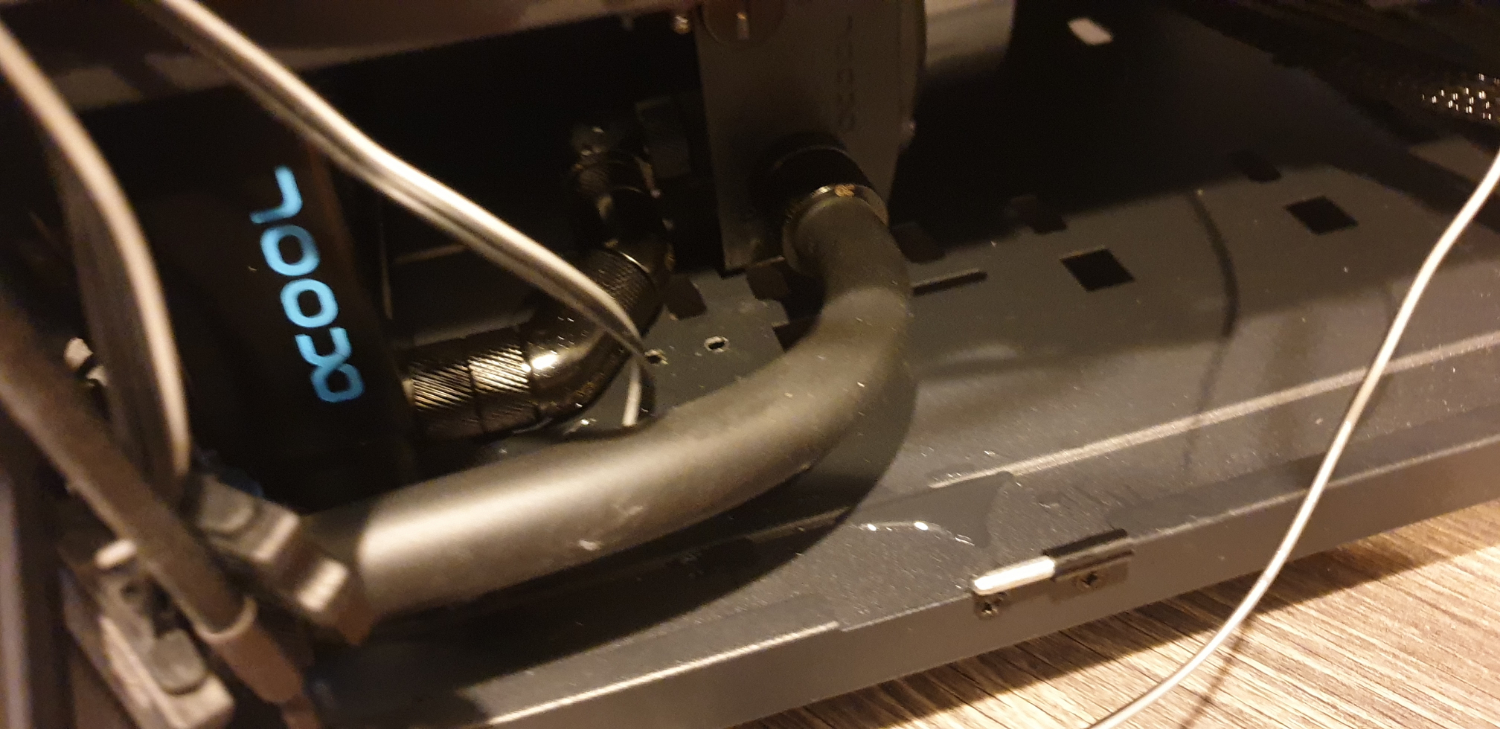
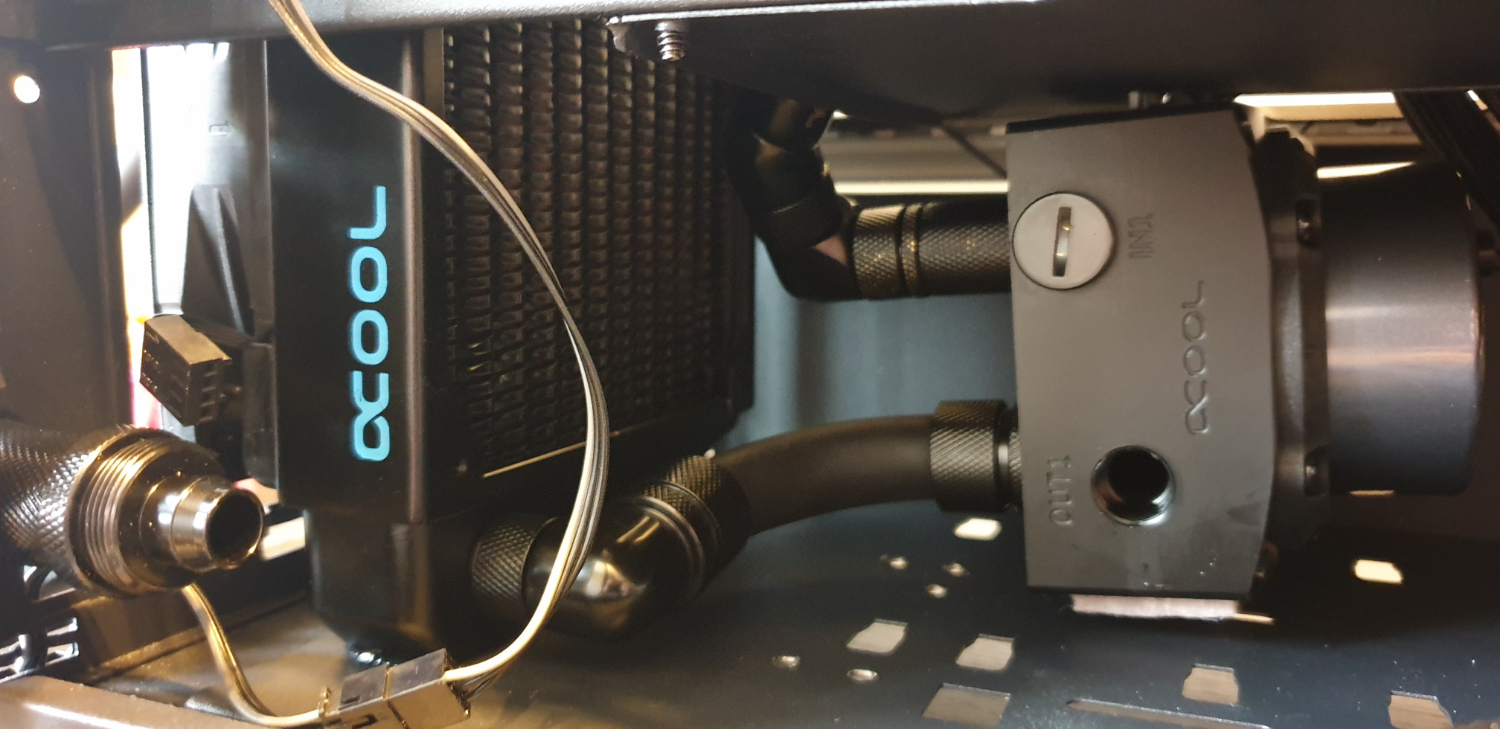
For us on the other hand, we had a problem. In short our fabulous pump fittings array, leaked colossally, either because the fittings we’d pilfered from our cupboard were a bit worn out, or because there was just too much tension on the combination of fittings we’d used. Either way, no amount of tightening could stem the leak when the system was on.
Because of this, we had to drain the system. However if you’ve ever drained a loop, you know it can be a pretty trying ordeal, so instead we decided to part drain it. To do this, we opened up the fill port at the front, with a length of tubing attached to a fitting. We pointed it at a bucket, then opened up the fill port up top to let air pass through.
Once the res and the pump were drained, we started taking apart the fittings and kept our paper towels at the ready to catch the inevitable excess (mostly from the front radiator). Once that was done, we went with the far simpler solution of just running a length of tubing to the front radiator instead, which entirely resolved the issue.
Premium Cables
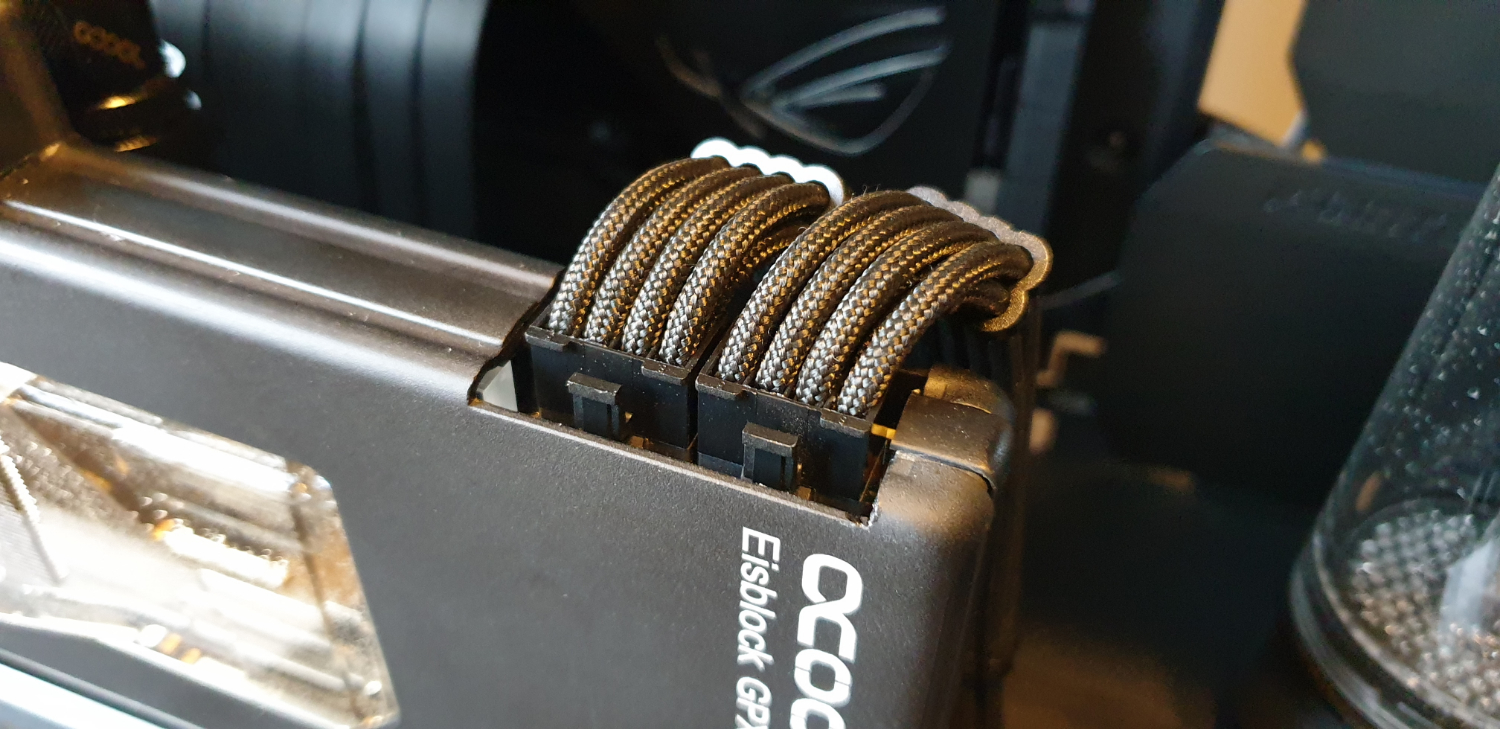
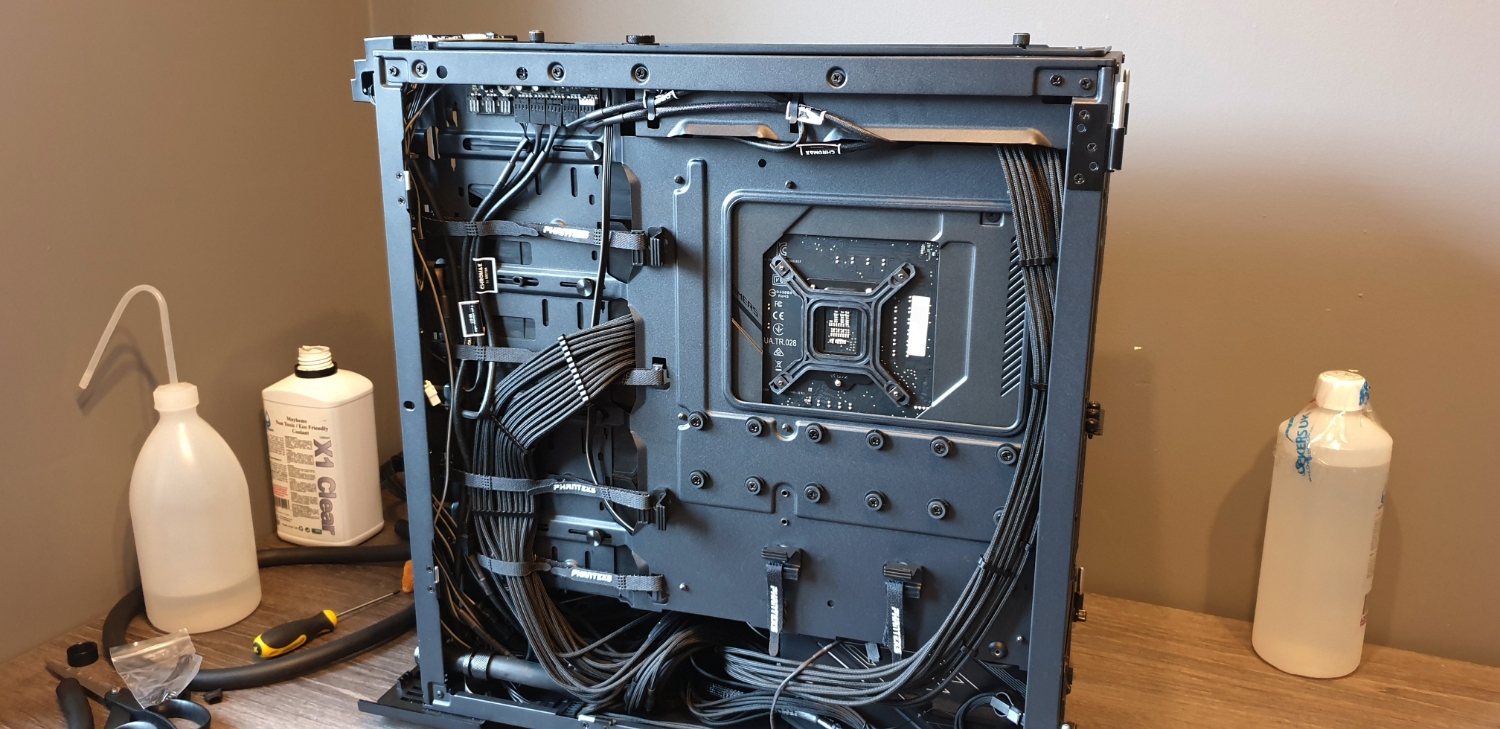
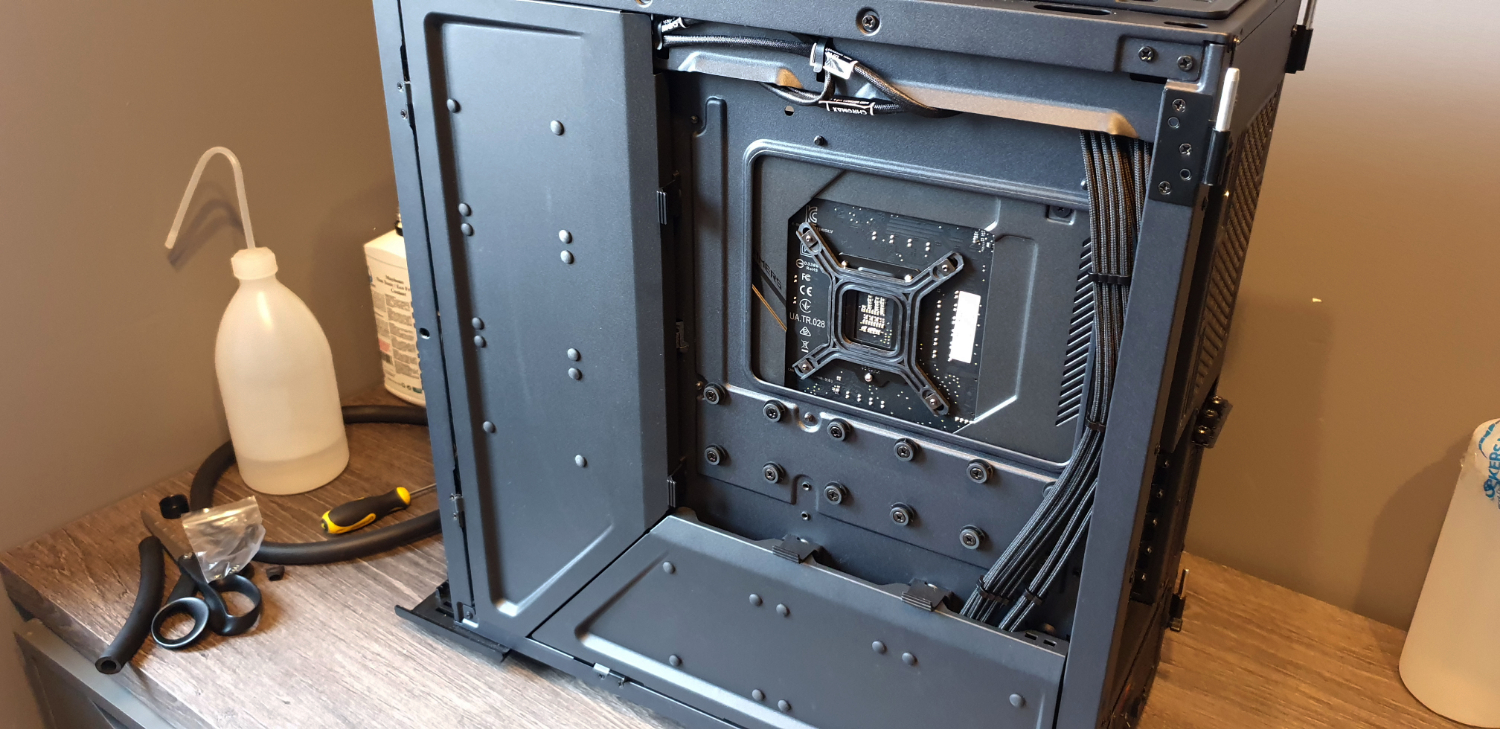
Finally, with CableMod’s pro cables having arrived, we set to work tidying the place up and getting it show ready. We placed a 30cm white LED strip in the front to the side of the radiator, and called it a day.
The beauty of the Evolv X is that thanks to its massive amount of cable management in the back, plus the huge cable hiding panels situated there, it’s very easy to tidy things up, or at least keep it hidden. Ok we’re not going to win any awards for cable management here, but at the very least once it’s all shut up, it sure does look clean.
MORE: Best Gaming Desktops
MORE: How To Build A PC
MORE: All PC Builds Content

As Associate Editor of Tom's Hardware's prestigous British division, Zak specializes in system building, case reviews and peripherals, and has a particular penchant for liquid-cooling. He's also a lover of all things Viking/Scandinavian (thus the poor attempt at a beard).