Sony PlayStation VR (PSVR) Review
Why you can trust Tom's Hardware
System Requirements & Setup Procedure
The PSVR HMD interfaces directly with the PlayStation 4 console, and the PlayStation operating system automatically detects when the HMD is present. Sony made sure that using a PSVR is as simple as any other PlayStation peripheral or game.
The most intimidating part of using a PSVR is its initial setup. The package includes several components, and at first glance you might think setup is going to be complicated, but Sony simplifies the process as much as possible. Each component is labeled with a clearly marked number that denotes the order in which everything gets plugged in.
First remove the HDMI cable between your PS4 and TV and plug it into the PSVR’s breakout box. Then connect the box to the TV with a second HDMI cable (included with the PSVR).
In step two, you plug a bundled USB cable into the back of the processor unit, and then into a free USB port on the PS4. Sony didn’t build a USB port into the back of its original PS4, so you'll have to make that connection up front. The PS4 Pro includes one USB 3.0 port on the rear to better accommodate a PSVR headset.
Step three is simple: plug the processor unit into a free power outlet.
Once you have the breakout box set up as a pass-through for the PS4’s video connection, you’ll want to plug the extension cable into the front of the breakout box. Slide the cover back to expose two front-facing ports. Plug the cable in and slide the top back into place, securing the cables.
Before you can start using the PSVR, you have to configure the PlayStation camera so that the PS4 can track the HMD (and Move controllers, if you have them). The setup routine lets you place the camera wherever you want, but we found that tracking works best when the camera is elevated. At first, we put it on the TV's stand, but we eventually set it on top of the TV for better performance.
Get Tom's Hardware's best news and in-depth reviews, straight to your inbox.
You can now power up the PSVR HMD to start calibrating it.
Prepare Your Space For VR
The designated play area for PSVR is smaller than the space you need for room-scale VR with the Vive, but it’s larger than the minimum space necessary for seated and standing experiences with the Rift.
Sony recommends clearing a space larger than the tracking area, which is 6.2 feet wide and 9.8 feet deep. The camera can’t read the headset or controllers at a range closer than two feet, leaving you with 6.2x7.2 feet of usable space. The play area gets narrower as you approach the camera, though. Two feet away, the play space is 2.3 feet wide.
Most of the games for PSVR are seated experiences, so you don’t want to clear the tracking space completely. Move coffee tables and fragile objects within arm-swinging distance, but make sure you have a couch or chair to sit on. It’s also a good idea to make sure you have room to stand in front of your seat without getting too close to the camera.
Simplistic Software Setup Splendor
The PSVR's software setup procedure couldn't be any easier. Simply power on your PS4 with the HMD plugged in. Once the system boots up, turn on the PSVR headset. The PS4 automatically detects it and begins downloading whatever drivers it needs.
The system will reboot during the install process. Just sit back and relax for a few minutes.
Calibration Demands A Steady Hand
Calibration isn't difficult per se, but it can be frustrating. You must hold the headset steady at several different angles. The software tells you which LEDs the camera needs to see, and you have to mimic that position for five seconds. The calibration includes poses for the front, both sides, and back of the headset.
Digital IPD Adjustment
The PSVR headset doesn’t include a mechanical IPD adjustment, but there is a way to calibrate the experience for your pupil distance through Sony's software, which features a digital IPD adjustment system.
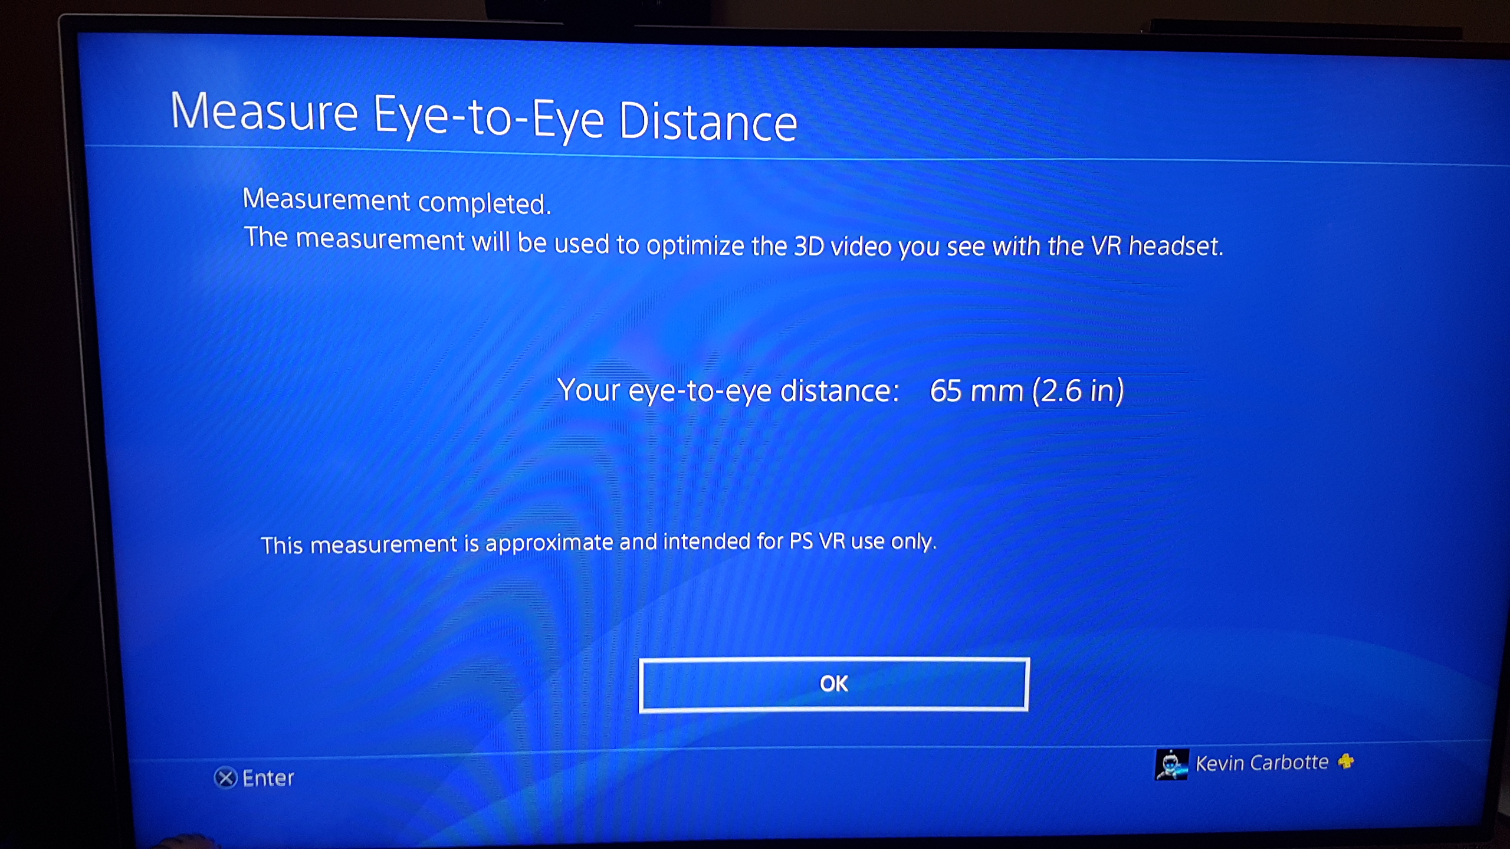
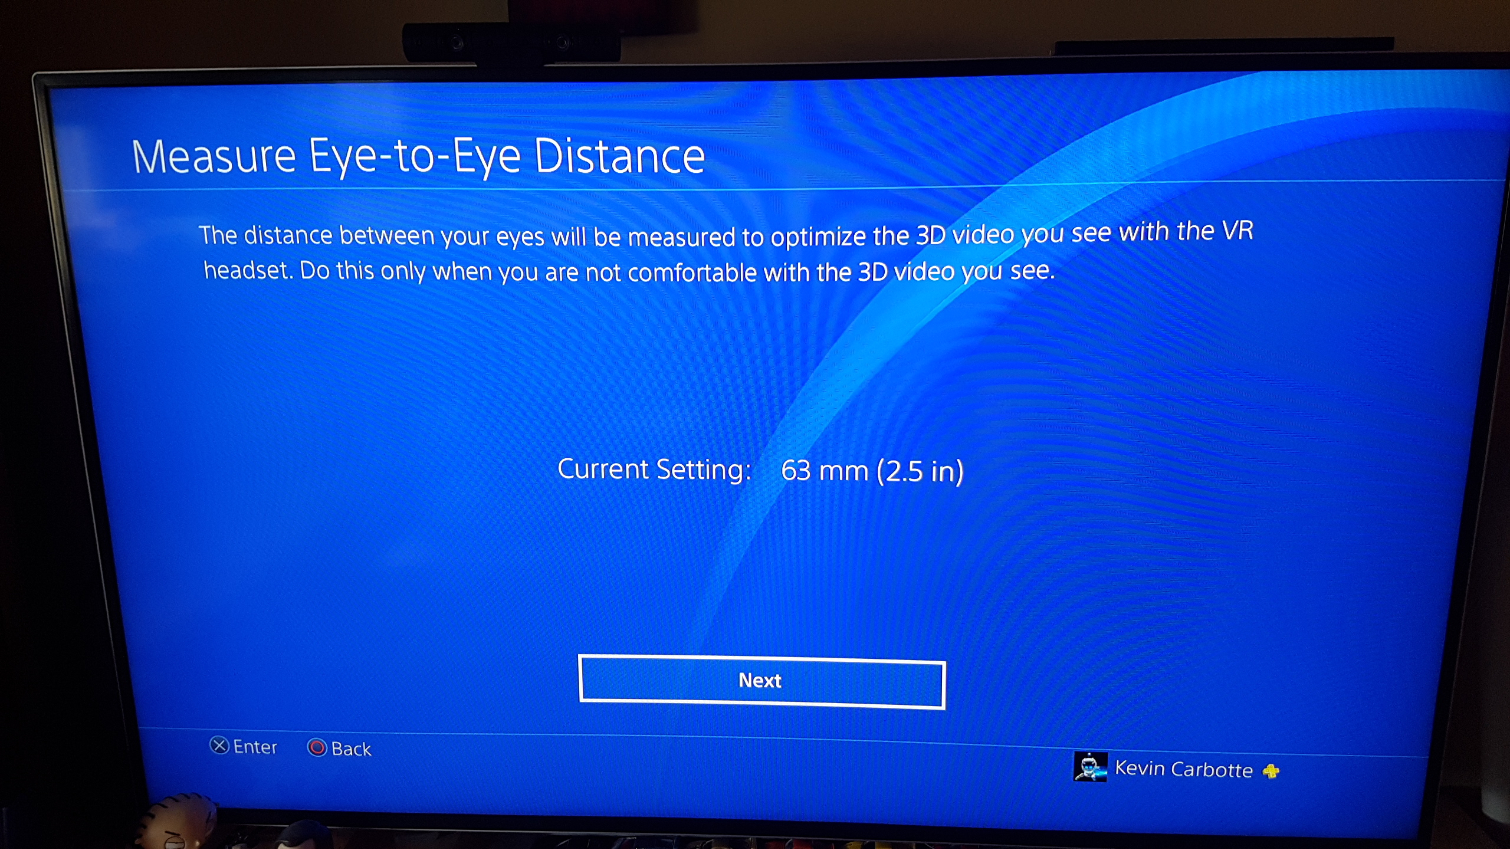
The option to calibrate your eye distance is nestled deep in the PS4 settings menu. From there, open the Devices menu, and then open the PlayStation VR menu. There you’ll find “Measure Eye-to-Eye Distance.” Sony uses its stereoscopic PlayStation camera to measure the distance between your two eyes, and then applies that information to calibrate the PSVR's stereoscopic image.


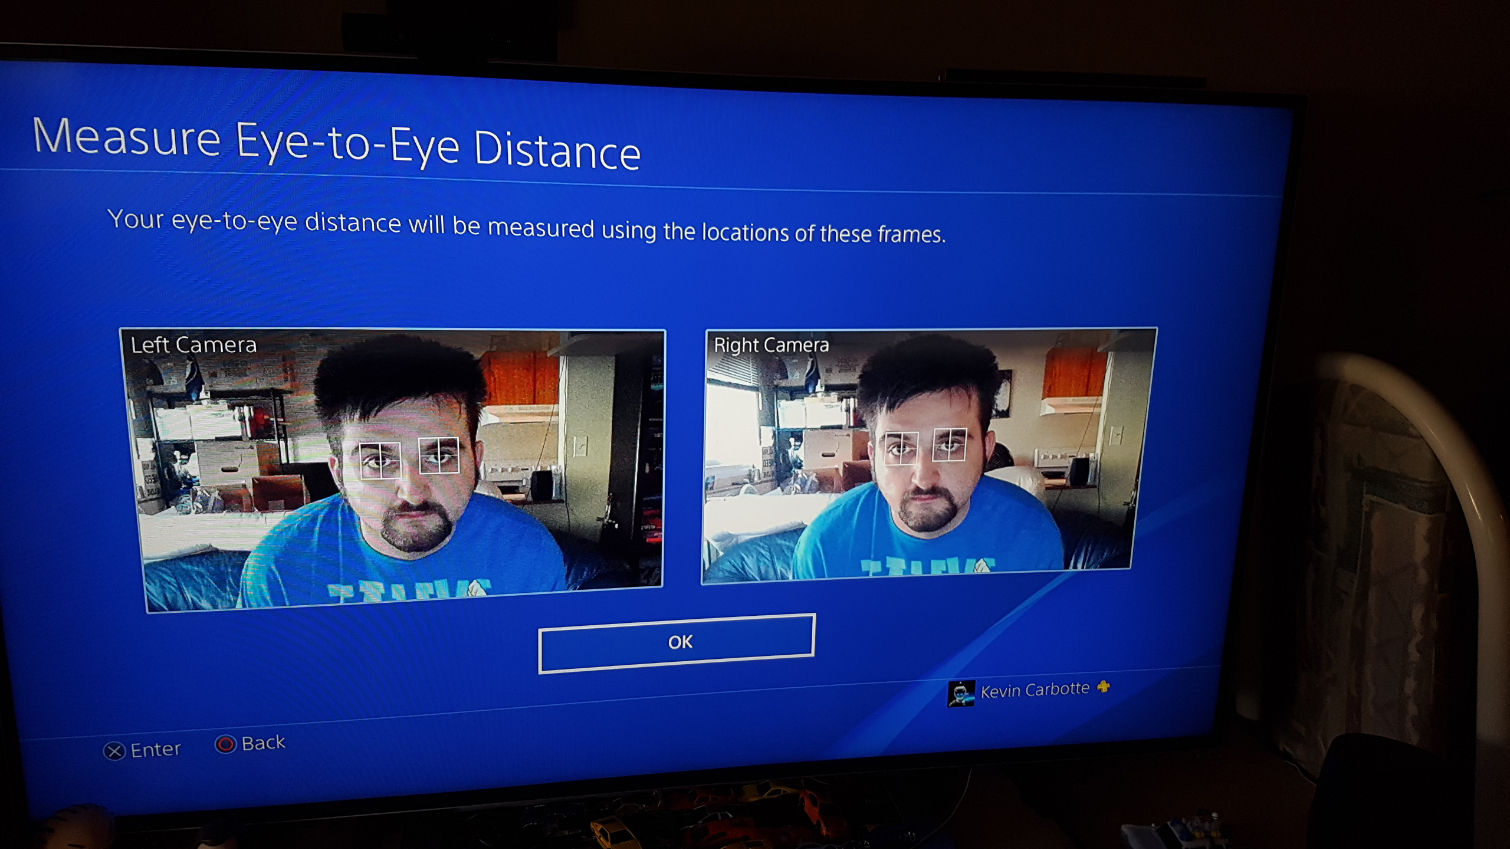
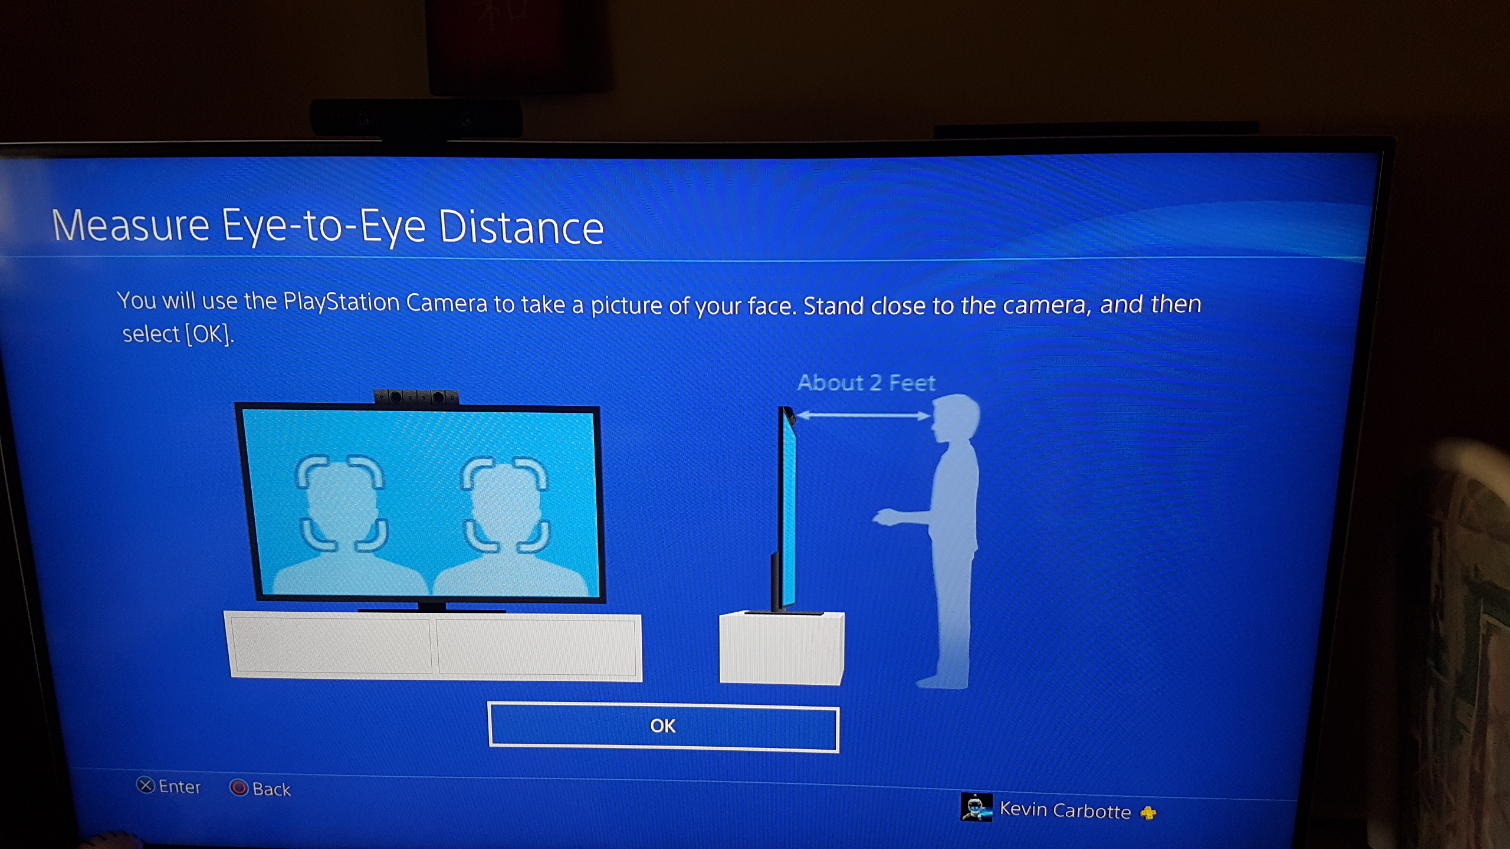
To calibrate your eyes, you must sit or stand approximately two feet in front of the PlayStation camera. Line your head up with two boxes on the screen (one from each lens) and snap a picture of your face with the camera. Next, you’ll be asked to pinpoint the center of your eyes on each image.
The software uses your input to establish an “eye-to-eye” measurement. Sony warns that this figure is only for the PSVR. A more precise IPD reading requires the expertise of an optometrist.
Current page: System Requirements & Setup Procedure
Prev Page What Else Is In The Box? Next Page Health, Safety, & MaintenanceKevin Carbotte is a contributing writer for Tom's Hardware who primarily covers VR and AR hardware. He has been writing for us for more than four years.
-
blackmagnum Sony going after the affordable market? You've got to be kidding me! What's Apple say on this?Reply -
bit_user Thanks for the thorough review, Kevin. Is OSVR's HDK2 in your queue? I understand it has display tech similar to PSVR's, but with the same pixel resolution as Rift & Vive.Reply
If I buy PSVR, I'd wait for PS4 Pro to get updated so the breakout box is unnecessary. They should've just put the PSVR ports right on the front of it. Then, sell me the whole kit in one box.
As for the lack of room scale, it's hardly surprising, if they're just using the stereo camera for tracking. It has to be able to see the controllers, which it can't do if your body is in the way. Even if they have built-in IMUs, those will drift without periodic registration with the camera.
Finally, I'm impressed that it can send different images to the HMD and TV. Although this will only add to the burden on the PS4's GPU, it's a nice feature. Reminds me of the Wii U, a bit. I don't own one, but saw a couple games make good use of the private view afforded by the tablet. -
Dosflores Reply19196429 said:Finally, I'm impressed that it can send different images to the HMD and TV. Although this will only add to the burden on the PS4's GPU, it's a nice feature.
It doesn't necessarily add burden on the GPU. It's only needed for "social gaming", and that kind of games can live without great graphics. For "standard games", the breakout box simply undistorts the image being sent to the HMD, and outputs the result to the TV.
You're right about the PS4 Pro. It should have included the PSVR ports, and not only to reduce clutter. The PS4 Pro supports HDR output (and the standard PS4 now does it too), but the breakout box doesn't. If you want HDR output to your TV, you have to disconnect the breakout box and connect the PS4 directly to the TV. If you want to play some VR game again, you have to disconnect the TV and connect the PS4 to the breakout box again. This design flaw is enough to convince me not to buy PSVR until the next update of either the PS4 Pro or the PSVR system. -
cknobman You did not touch on the actual gaming experience very much.Reply
I read and watched a few game experiences and reviews using PSVR and the biggest complaint that was due to how low the processing power was of the PS4 they had to really really compromise on the graphics.
The graphics of the VR games on PS4 were absolutely terrible including missing/no textures lots of things just not rendered period and low res up-sampled. -
Agente Silva ... and I´ll explain why:Reply
1. In an era where game developers are heading into unified platforms it will be very hard to see proper games (instead of "experiences").
2. Gamers don´t want to have a strapped screen to their face.
3. Enthusiasts won´t spend 500$ on something that doesn´t display AAA games (not even mentioning mainstream).
4. For the mainstream this is a showroom equipement. -
Jeff Fx >Premium-grade virtual reality demands more performance than you would expect a PS4 could provideReply
Yes it does.
>, but Sony pulls it off.
No, this is PSVR, which is far from a premium VR experience.
They can't deliver the tracking accuracy or video quality of a premium VR system. -
kcarbotte Reply19196429 said:Thanks for the thorough review, Kevin. Is OSVR's HDK2 in your queue? I understand it has display tech similar to PSVR's, but with the same pixel resolution as Rift & Vive.
If I buy PSVR, I'd wait for PS4 Pro to get updated so the breakout box is unnecessary. They should've just put the PSVR ports right on the front of it. Then, sell me the whole kit in one box.
As for the lack of room scale, it's hardly surprising, if they're just using the stereo camera for tracking. It has to be able to see the controllers, which it can't do if your body is in the way. Even if they have built-in IMUs, those will drift without periodic registration with the camera.
Finally, I'm impressed that it can send different images to the HMD and TV. Although this will only add to the burden on the PS4's GPU, it's a nice feature. Reminds me of the Wii U, a bit. I don't own one, but saw a couple games make good use of the private view afforded by the tablet.
I'm glad you enjoyed the review. OSVR HDK2 is on my list. I hope to have a review sample in the near future.
I was also suprised/impressed that it could do social screen gaming when I first hear about it. Check out my interview with Richard Marks (linked in the review) for more insight on that.
-
kcarbotte Reply19198130 said:You did not touch on the actual gaming experience very much.
I read and watched a few game experiences and reviews using PSVR and the biggest complaint that was due to how low the processing power was of the PS4 they had to really really compromise on the graphics.
The graphics of the VR games on PS4 were absolutely terrible including missing/no textures lots of things just not rendered period and low res up-sampled.
I wrote the review before the PS4 Pro launched but it was delayed due to the Rift review, holiday break, and CES. At the time of writing the review, I hadn't had a chance to try many games. Sony didn't provide us a review sample, so I purchased all the games that I have.
I've since updated to the PS4 Pro and picked up a number of games. Watch for follow-up content about some games soon. -
kcarbotte Reply19198536 said:... and I´ll explain why:
1. In an era where game developers are heading into unified platforms it will be very hard to see proper games (instead of "experiences").
Care to elaborate? I'm not following your logic here.
Unity and Unreal make it easy for developers to support Oculus, SteamVR, and PSVR with minimal effort.
19198536 said:2. Gamers don´t want to have a strapped screen to their face.
That's an incredibly generalzed, and ill-informed statement. Sony stated it sold "many hundred of thousands" of PSVR headsets upon release and the hardware has been in high demand to the point where Sony has not been able to keep up with demand. Its sold out practically everywhere.
In my experience, after showing over 3000 people VR hardware, people think they don't want to strap on a screen until they try it, and then they want one of thier own.
19198536 said:3. Enthusiasts won´t spend 500$ on something that doesn´t display AAA games (not even mentioning mainstream).
Resident Evil 7 drops tomorrow with full VR support start to finish.
Robinson: The Journey is easily a AAA title.
AAA titles are coming. It takes time to make AAA games, though. Many games take 2 to 3 years or more to develop. Sony hasn't had developer kits of PSVR out in the wild for that long.
19198536 said:4. For the mainstream this is a showroom equipement.
Yup. That's how new technology launches.
When CDs hit the market in the 80s, DVD players were thousands of dollars.
When PCs hit the market, they were well over $5000
When Cell Phones came to market, they were thousands of dollars with no subsidies.
I could go on and on and on all day long about new technologies launching at crazy prices.
Early adopters always pay a higher price to be first in line. As units sell in higher and higher volume, manufacturing costs come down, which leads to lower consumer price tags.
VR hardware won't always be $500.