Tom's Hardware Verdict
The Sovol SV01 Pro is a good budget 3D printer with an unusual size and many features of more expensive printers.
Pros
- +
Large build size
- +
Direct Drive
- +
Great interface
- +
Creality ecosystem
Cons
- -
Complex auto bed level
- -
Loose gears in extruder
- -
Easily damaged bed surface
Why you can trust Tom's Hardware
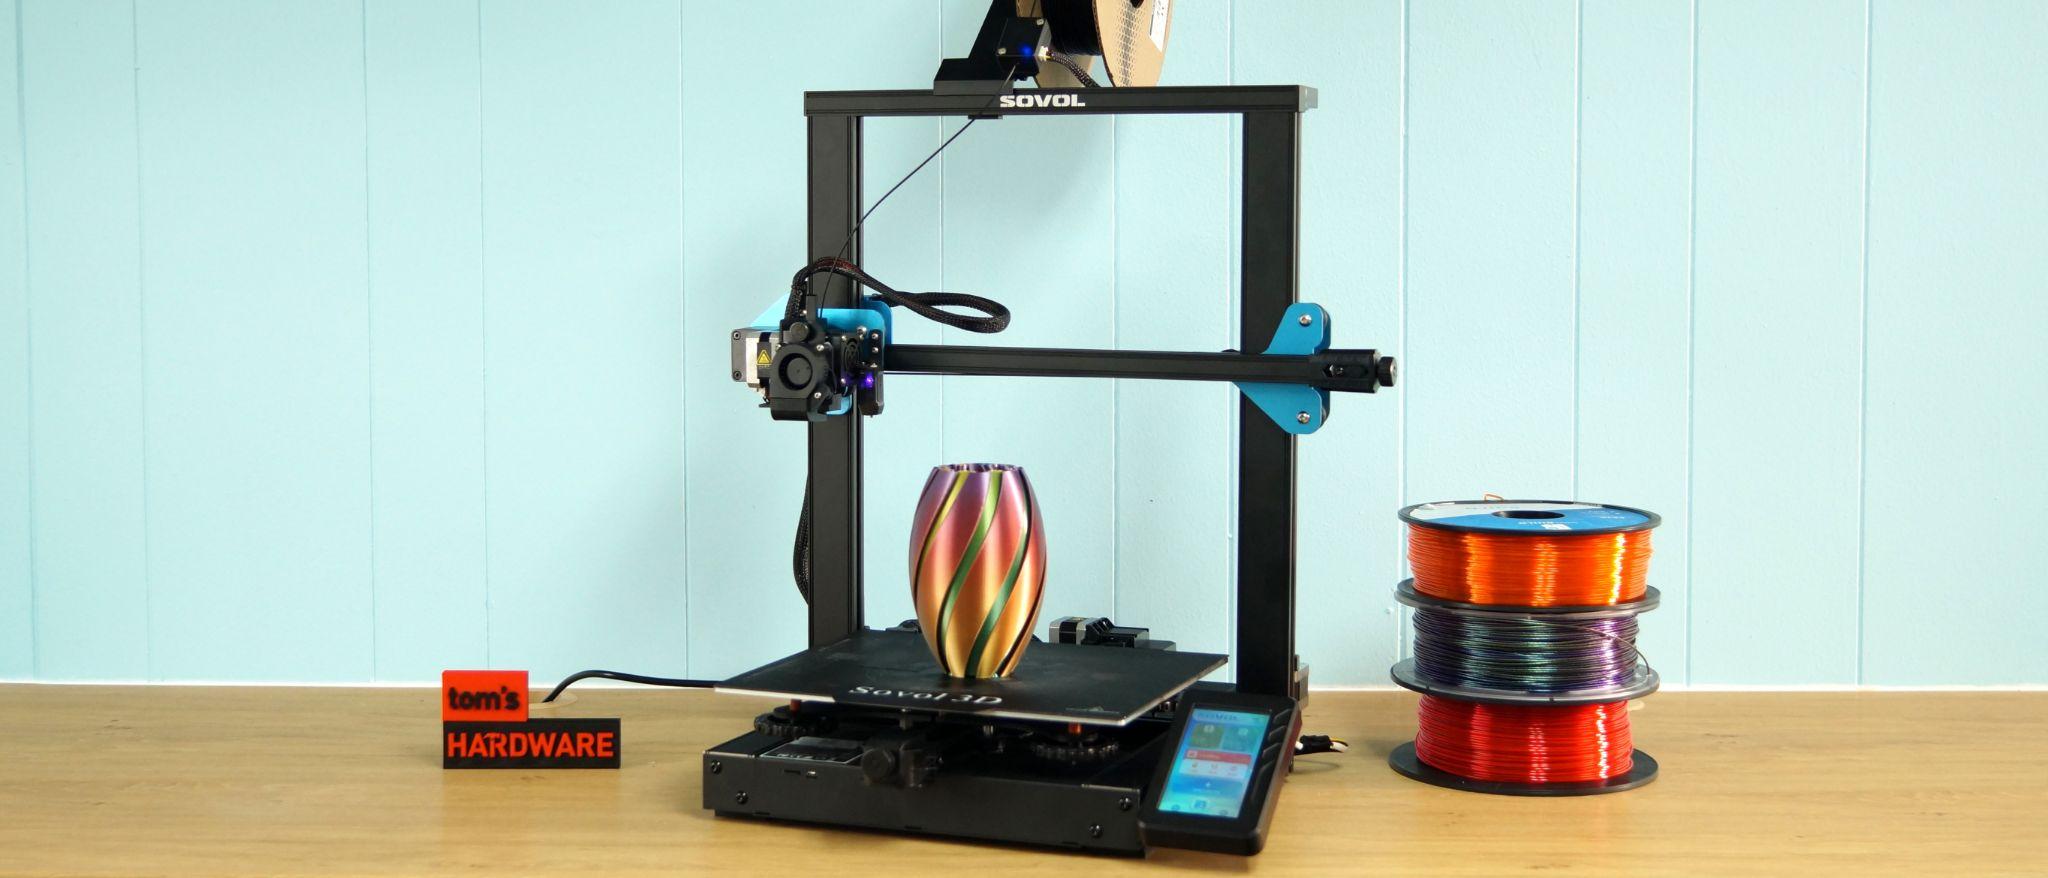
What if you take a bunch of Creality parts, mix them up and make a whole new printer? That’s the concept behind Sovol’s SV01 Pro, a 3D printer that’s more than just another copy cat. Sovol is a company that sources parts from Creality and assembles them in new and interesting ways.
Retailing at $329, the SV01 Pro has a direct drive, CR Touch auto level, and a wide 280 x 240 print surface. These features make it comparable to a Creality Ender 3 S1 with more build volume for about a $70 less.
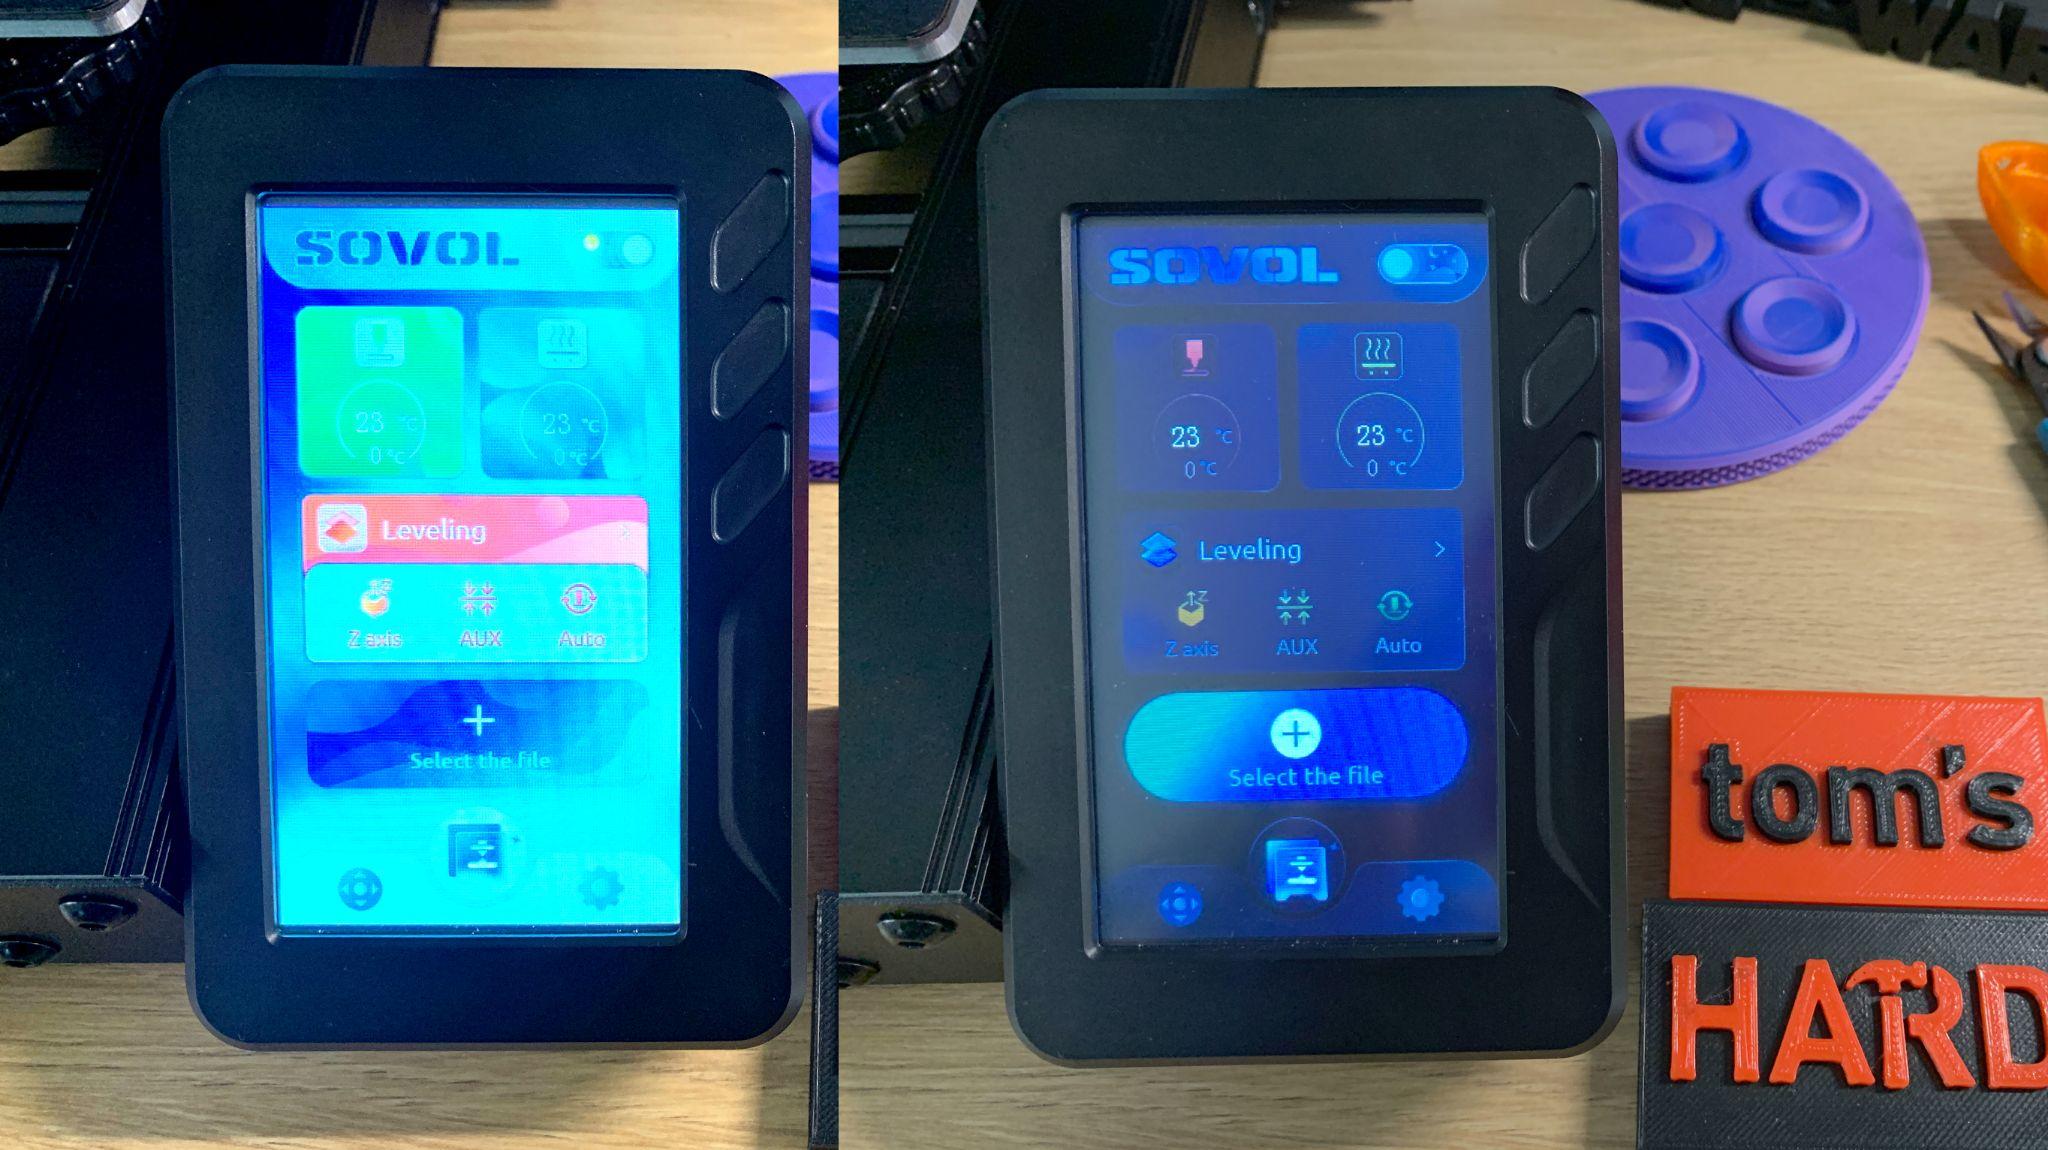
The SV01 Pro has a colorful touch screen with a dancing astronaut mascot and a more user-friendly vibe than many of the best 3D printers. Maybe a cheerful interface isn’t a huge selling point for everyone, but I found it fun to use.
Specifications: Sovol SV01 Pro
| Machine Footprint | 520 x 509 x 647 mm (20.5 x 20 x 25.5 inches) |
| Build Volume | 280 x 240 x 300 mm (11 x 9.4 x 11.8 inches) |
| Material | PLA/PETG/ABS/TPU |
| Extruder Type | Direct Drive, All Metal |
| Nozzle | .4mm (Interchangeable) |
| Filament Runout Sensor | Yes |
| Bed Leveling | Automatic |
| Bed Surface | PC Magnet |
| Connectivity | Micro SD, Micro USB |
| Interface | Full Color Touch Screen |
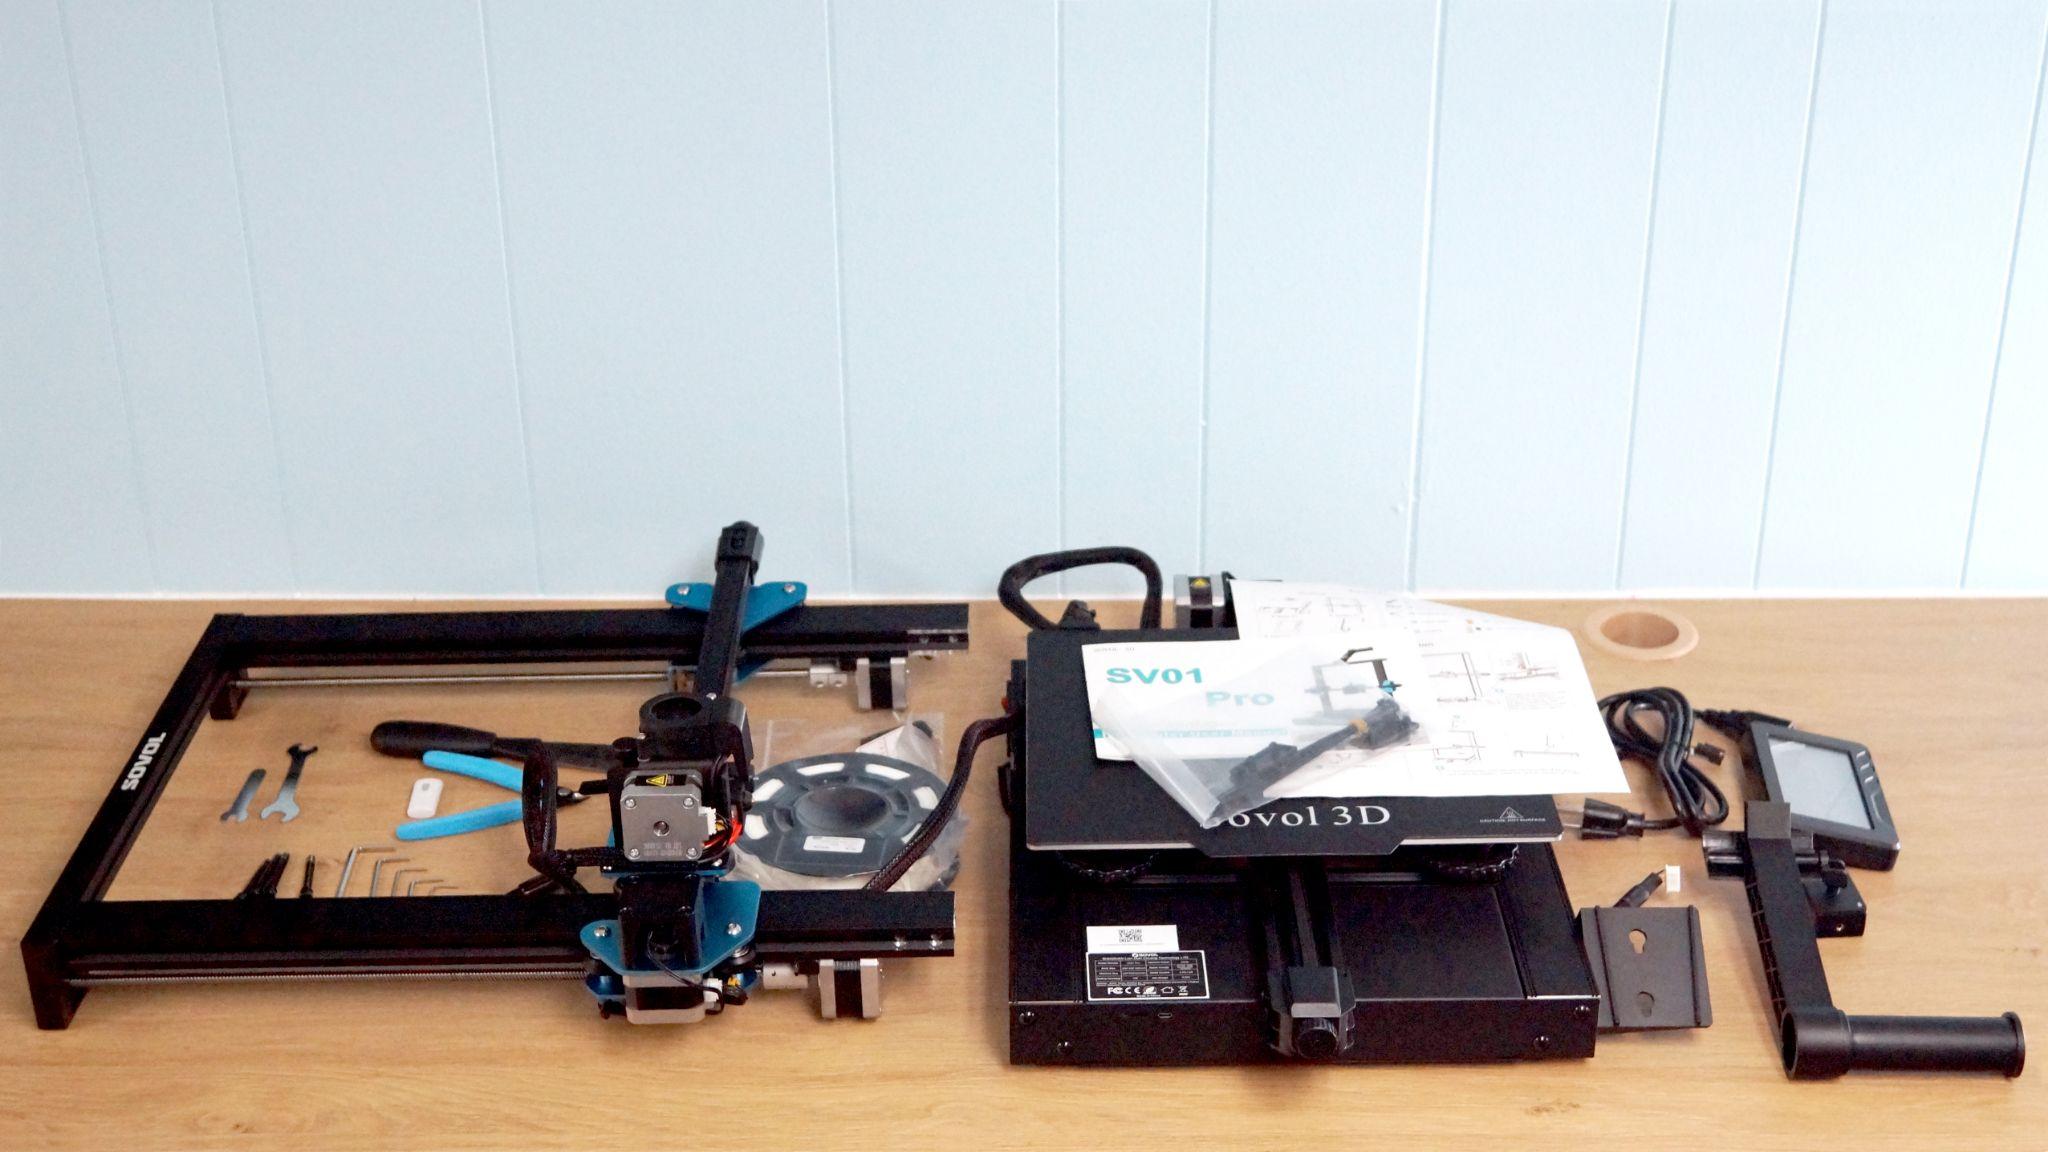
The Sovol SV01 Pro comes with everything you need to get started: tools to build and maintain the printer, side cutters, a metal scraper, nozzle cleaner, zip ties, and a microSD card with a USB adapter. You also get a spare nozzle and a generous 200 kg reel of PLA.
There’s a paper copy of the manual, plus a video on how to assemble the machine on the microSD card. The card also has four sample models, a PDF copy of the manual, and a copy of Sovol3D Cura.
The SV01 Pro ships mostly assembled. Putting it together only involves four bolts and takes about 20 minutes. The touch screen and spool holder snap into place. This is one of the easiest printers I’ve had to build.
After the printer is assembled, check for loose or over-tight parts. Make sure all the wheels roll smoothly with a bit of grip and check that there’s no wiggle in the print carriage. Belts should be tight, but not straining – there’s handy adjuster knobs for both the X and Y axis. If any of the wheels are loose or too tight, you can adjust them by turning the eccentric nuts with the provided wrench.
Get Tom's Hardware's best news and in-depth reviews, straight to your inbox.
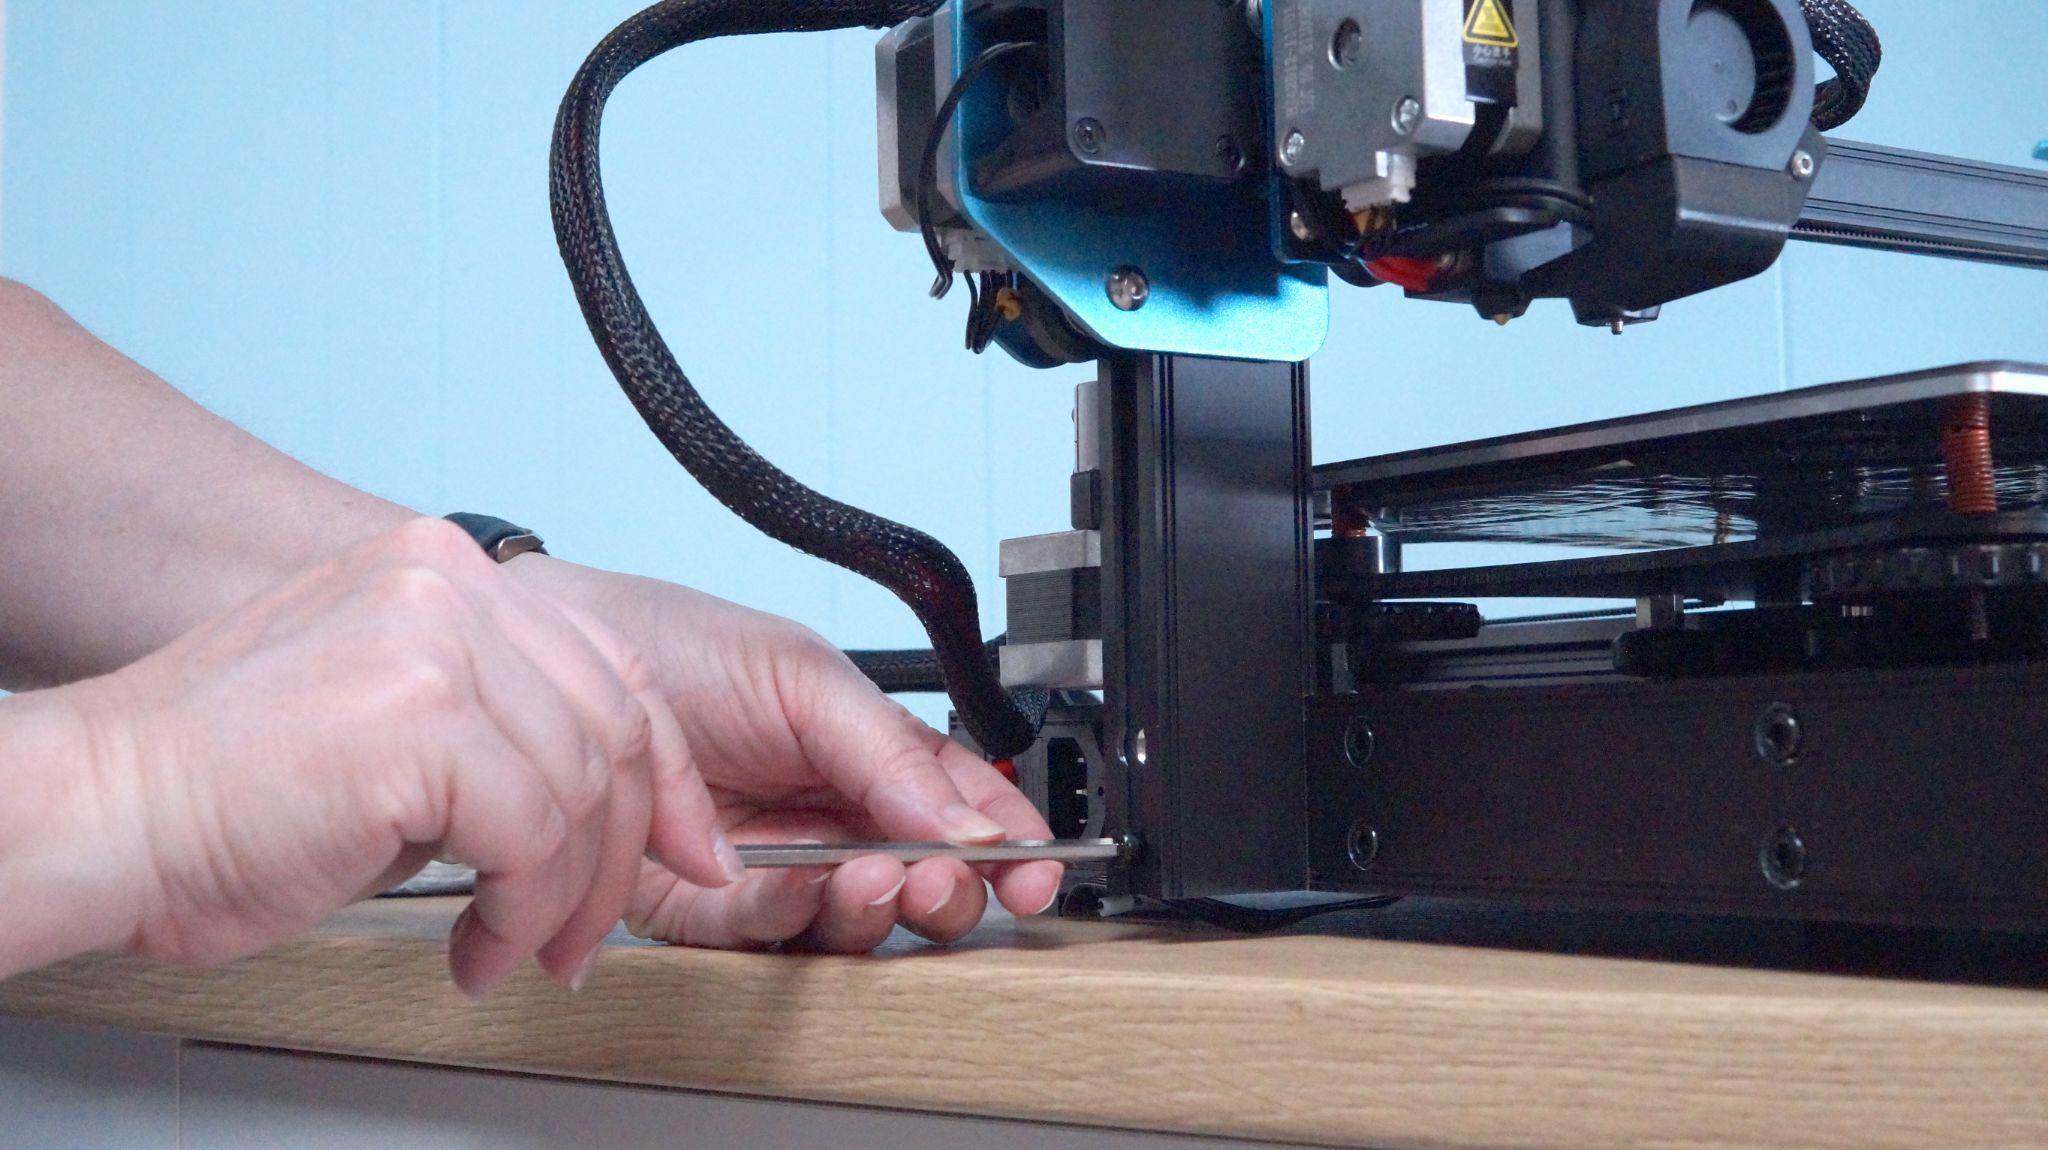
Before starting your printer, you’ll need to check the voltage setting – it needs to be at 110 for US households. Use a hex key to push the switch.
Leveling the Sovol SV01 Pro
The SV01 Pro has a CR Touch probe preinstalled, but also retains the manual leveling knobs. The printer I reviewed came with a faulty CR Touch, which made it frustrating to use since it could not save the Z height settings and required manually adjusting the nozzle height while printing. Thankfully, once the problem was fixed – Sovol sent a new CR Touch and main board – the printer worked exactly as it should.
Leveling the SV01 Pro is a three-step process. Or four steps, if you follow my advice.
First, this machine needs to level cold. The manual doesn’t tell you this, so if you pre-heat the bed, you will end up with an off kilter surface as it cools down through the lengthy process.
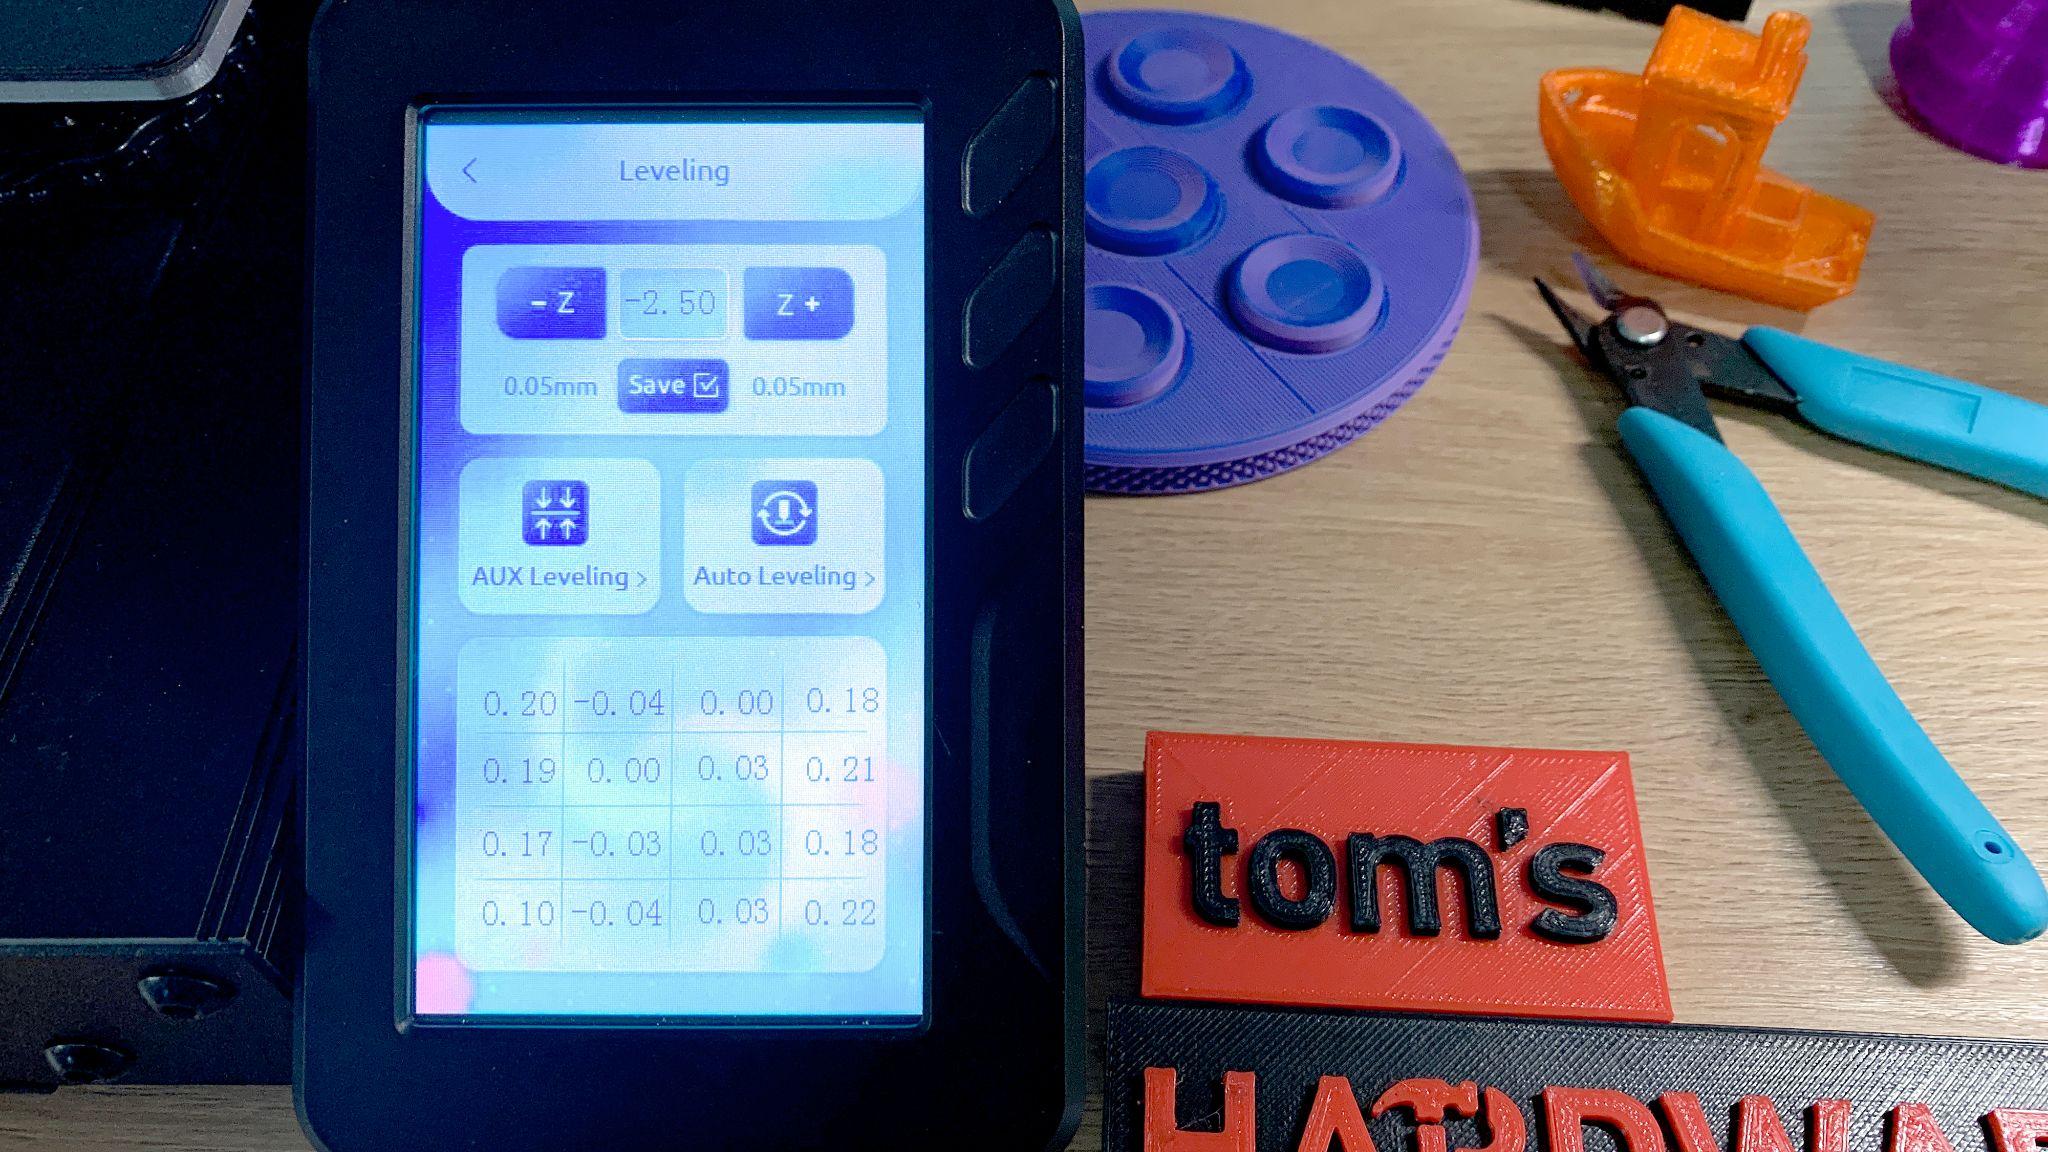
Press the “Leveling” section on the main screen to enter the leveling mode. The machine home itself, then it will tap the center of the bed with the probe. Slip a piece of paper under the nozzle while it does this. Once it’s done bobbing up and down, set the Z height. You’ll want the nozzle to firmly scrape the piece of paper. Press save. Pressing save is very important.
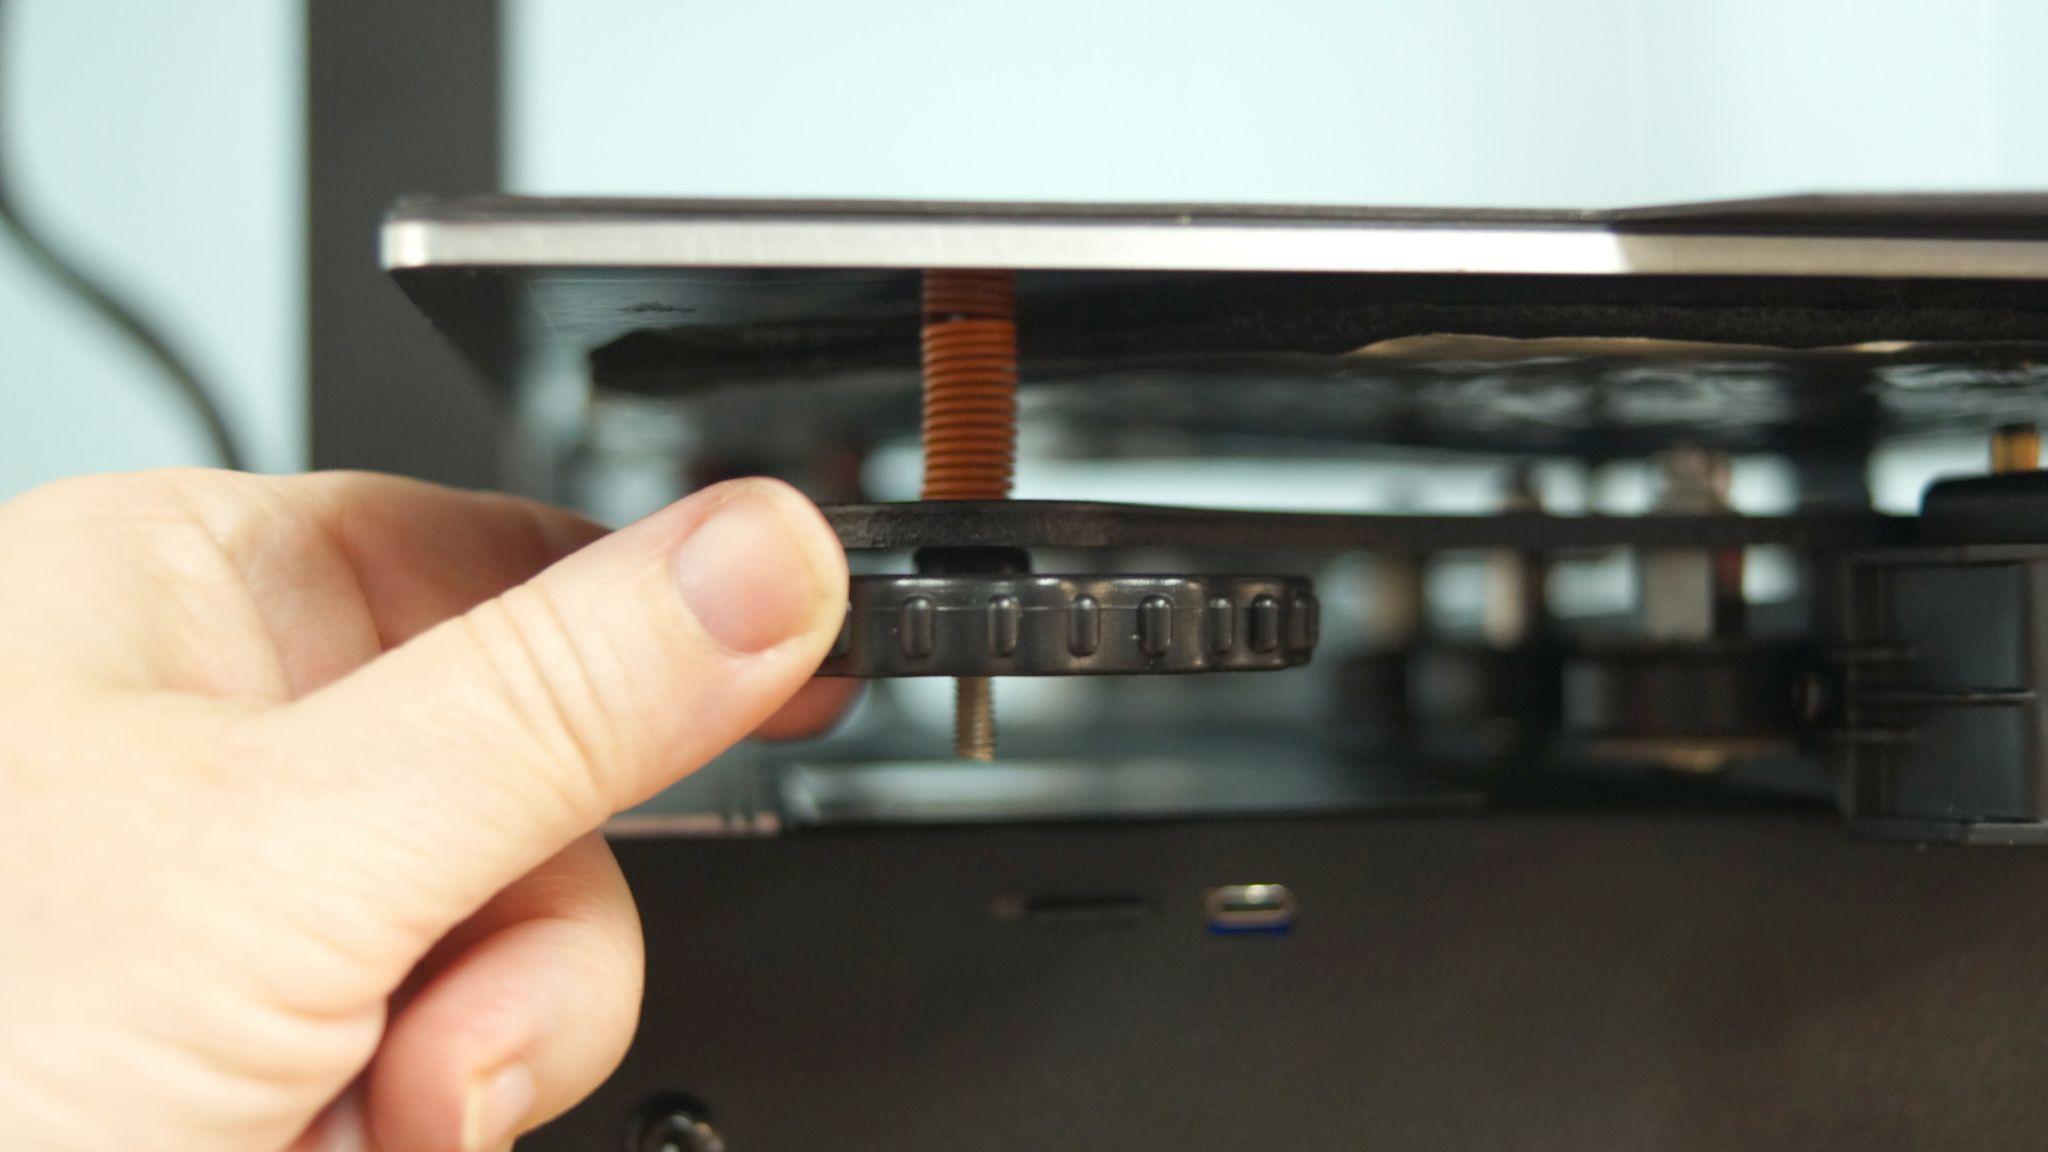
Next, press “AUX Leveling” to run through a manual leveling session. The printer will move the nozzle to each corner on your command. Slip the piece of paper under the nozzle and adjust the wheels under the print bed until the nozzle scrapes the paper. Do this 2-3 times. Don’t worry about the center, the CR Touch will compensate if your printer – like ours – is low in the middle. Go back to the leveling menu.
Now you’re ready for the CR Touch. Press the “Auto Leveling” button and watch the Sovol astronaut on your screen as it hops across 16 leveling points. This final level should smooth out any imperfections on the print surface. Press save.
The directions don’t say this, but I found it helpful to check the Z height one last time while still in the leveling menu. Adjust if needed – the nozzle should just scrape your paper – and press save one last time before returning to the main menu.
The SV01 Pro comes with heavy duty orange springs, so once set properly it should be able to hold level through dozens of prints if not more.
Loading Filament in the Sovol S V01 Pro
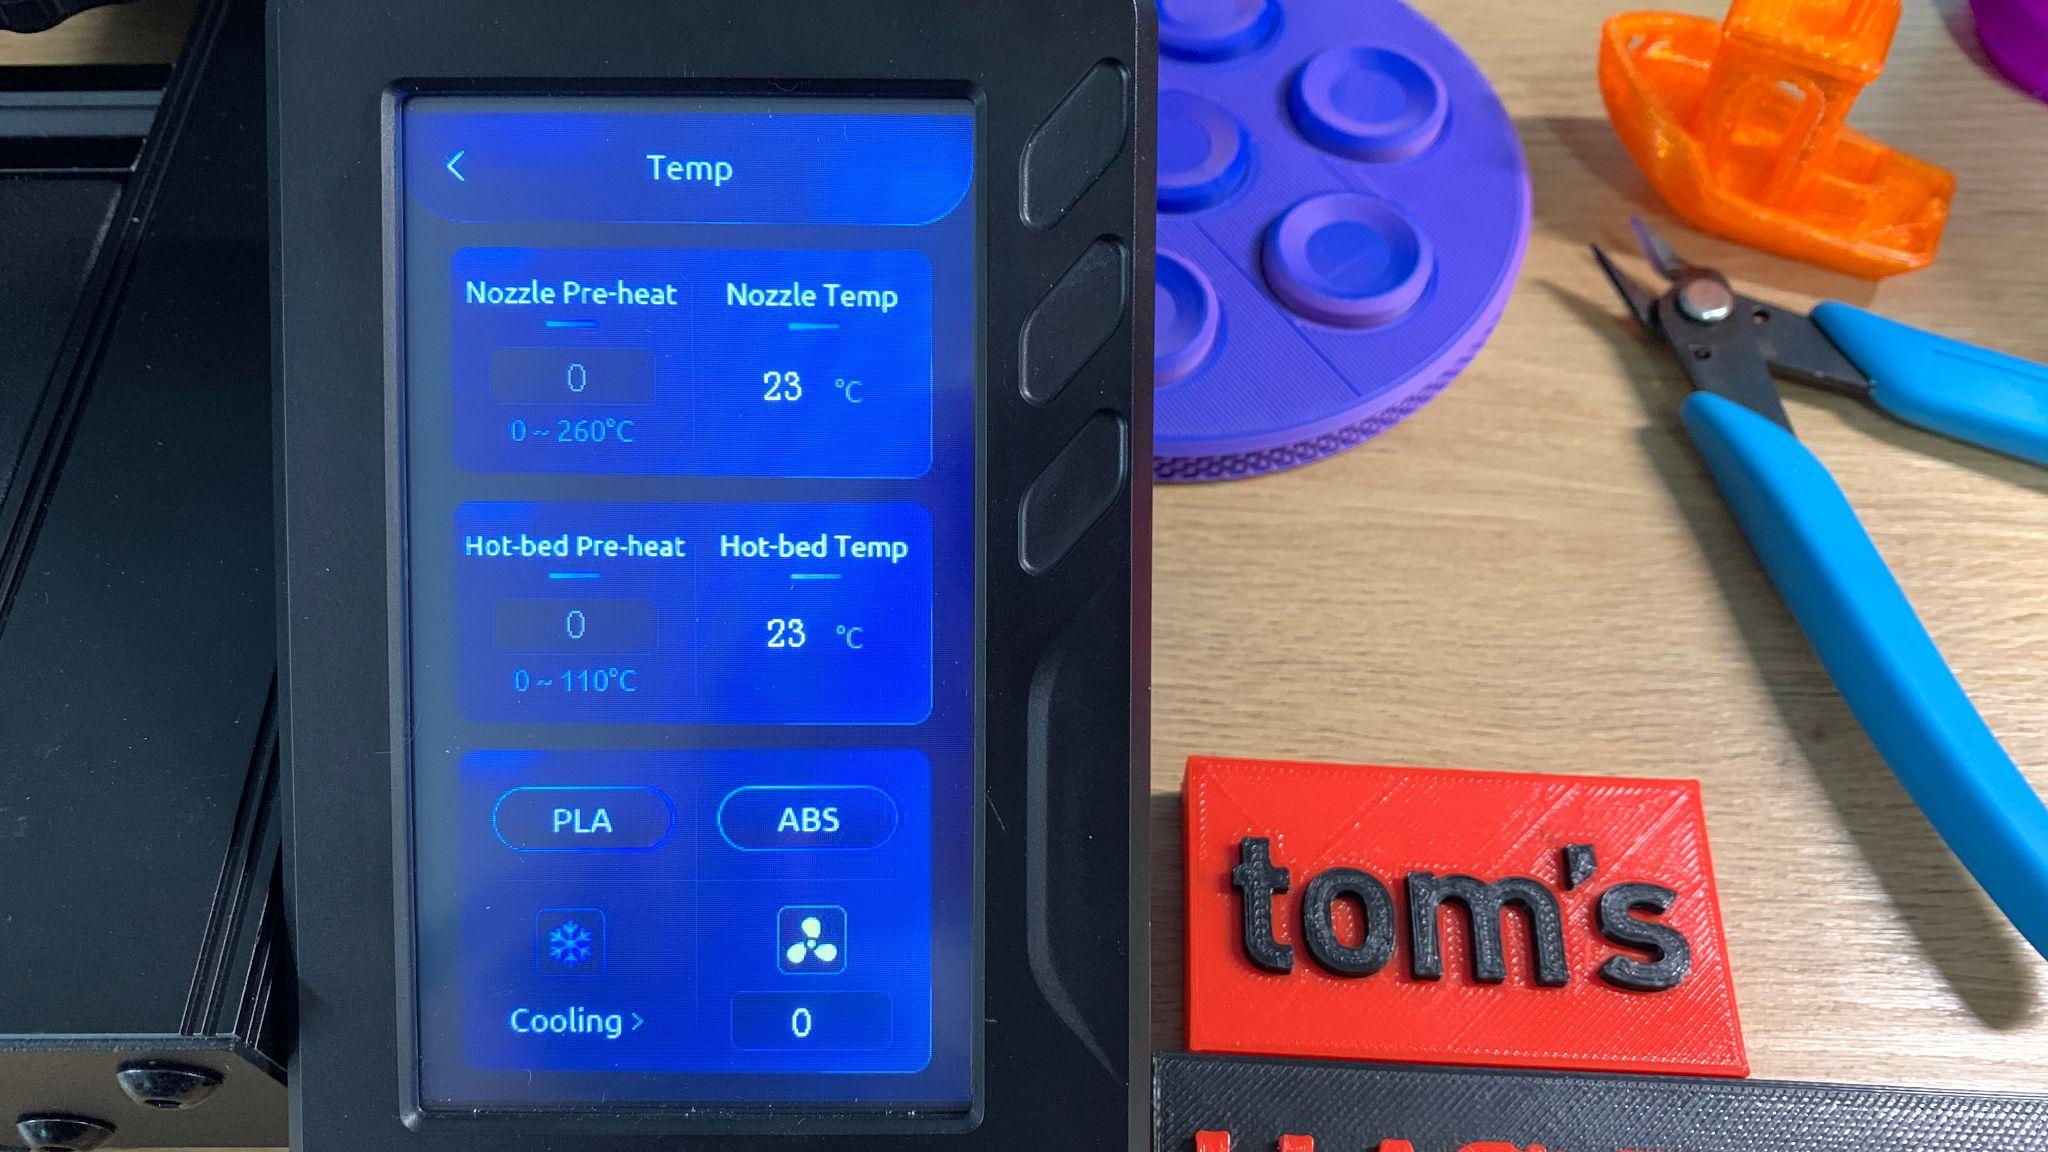
To load filament, press the Nozzle/Hotbed section of the main menu. You can press the presets for PLA or ABS, or manual enter temperatures for both the nozzle and bed. The snowflake icon at the bottom of the screen will turn the heater off for both nozzle and bed if you have need.
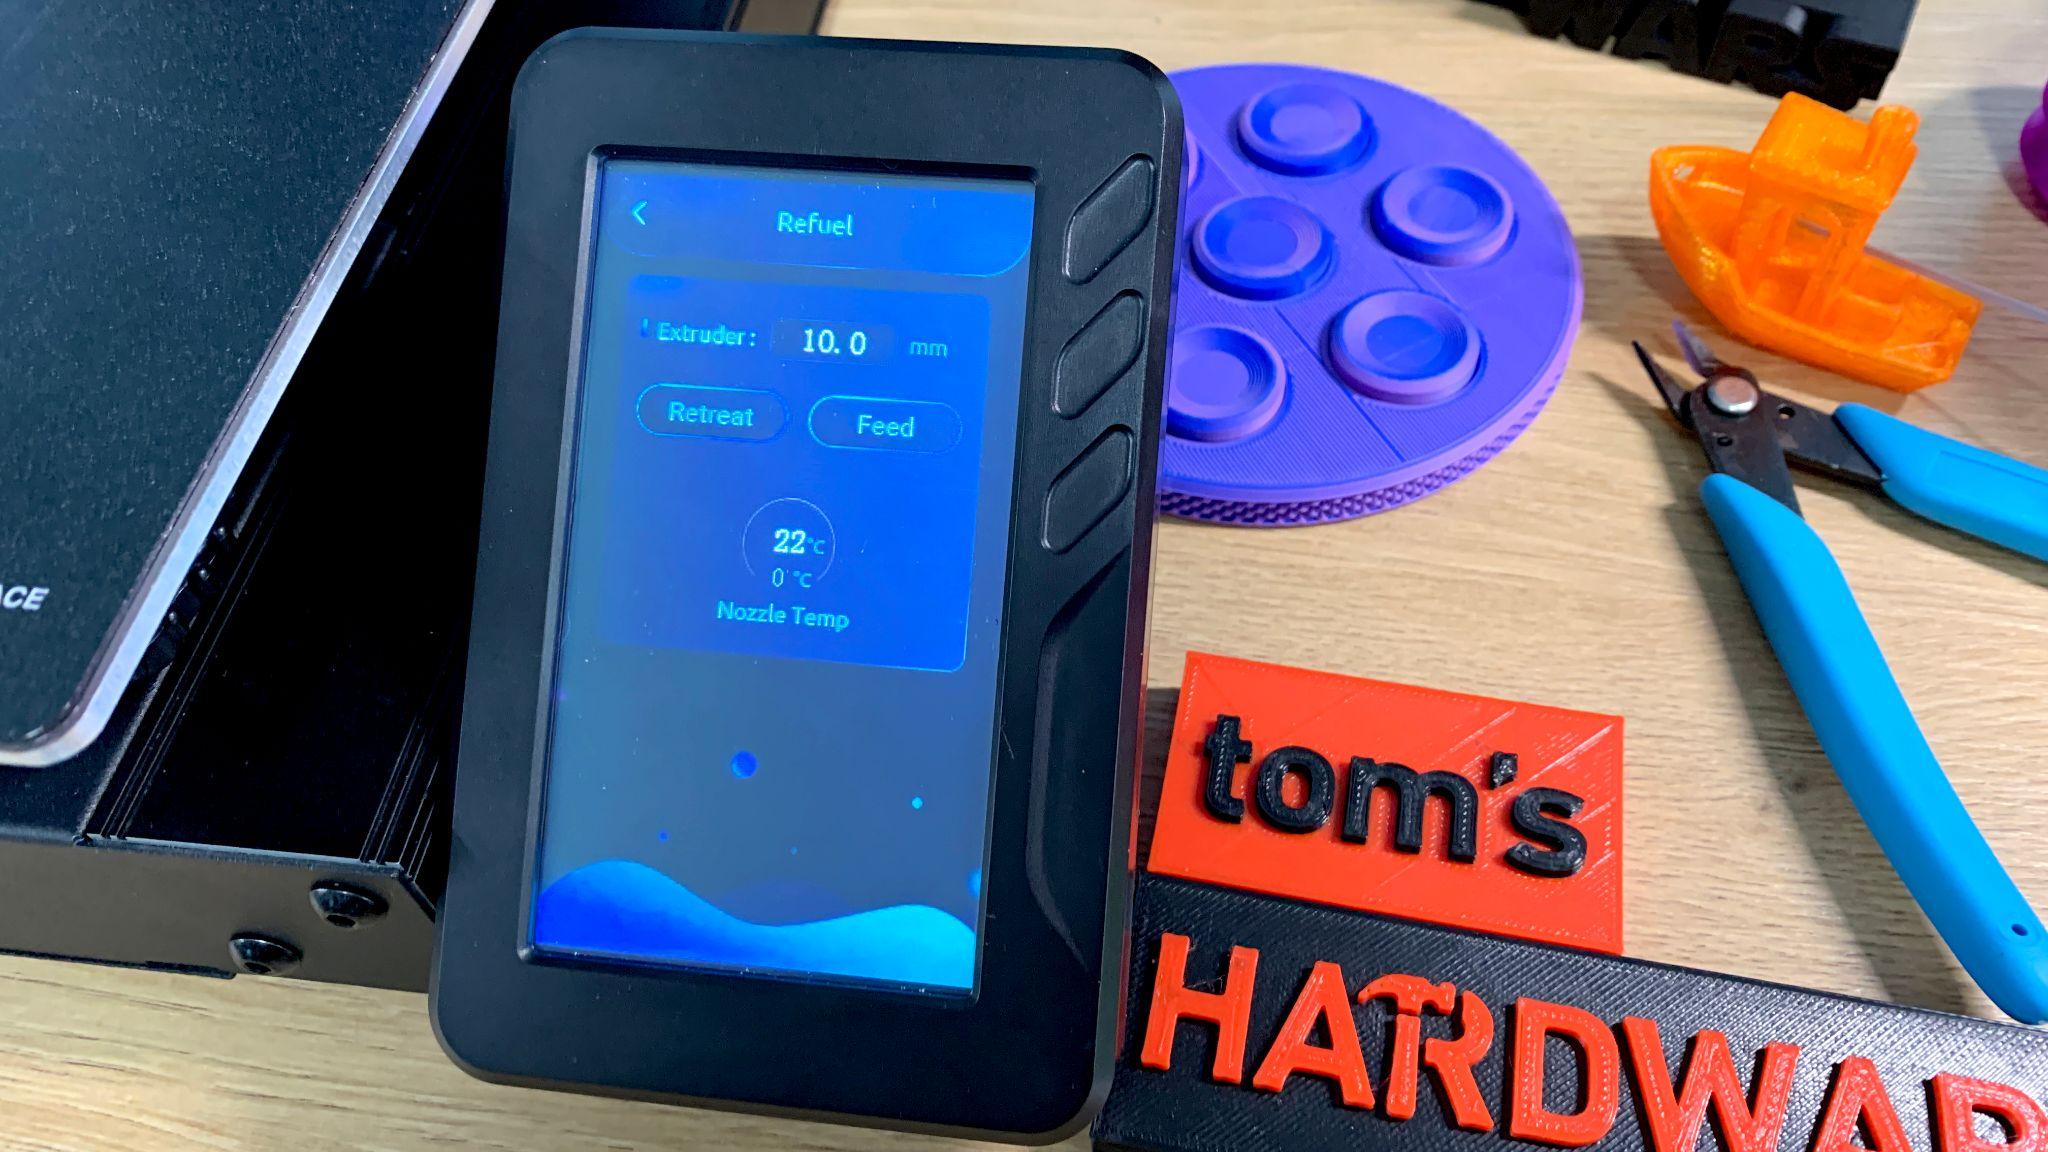
Return to the main menu. Now click the Setting Gear, and the ReFuel Icon. Here you can tell it how much filament to retract or feed. A warning will pop up if you ask it to extrude before it’s warmed up, which is quite handy.
The SV01 Pro has a direct drive, so filament is feed through first through the run out sensor near the spool holder, then down to the top of the extruder. Cut the filament at a 45-degree angle and insert it through the top hole while pulling back on the lever. You can either manually push filament through the hot nozzle or select the feed button to advance through as much filament as you need.
Design of the Sovol SV01 Pro
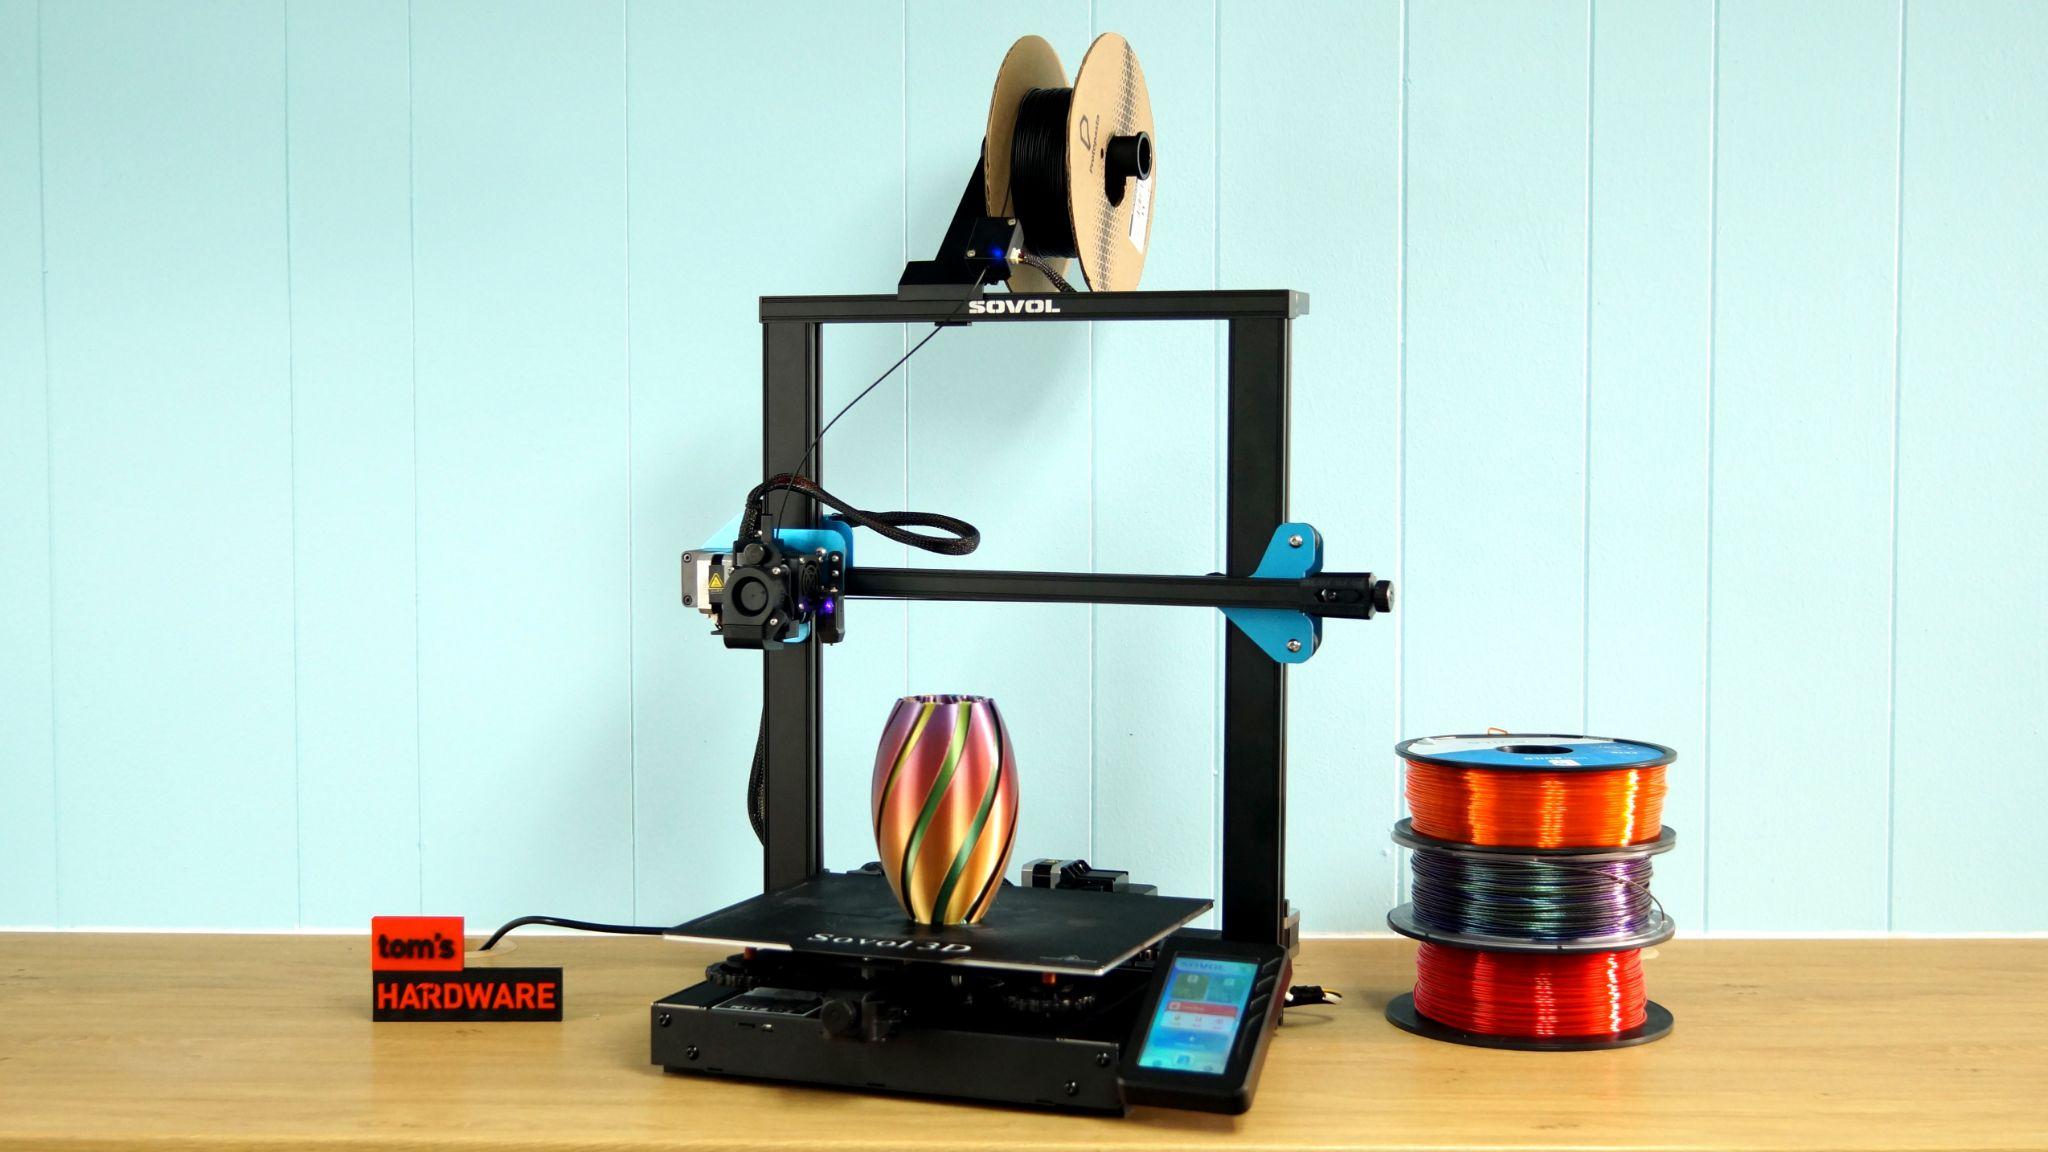
The SV01 Pro bears a striking resemblance to an Ender 3 v2 with a smooth frame and blue accents. It proudly displays Sovol branding on the top crossbar so you don’t forget where it came from.
The power supply and processor are in the base of the machine, with the touch screen clipped to the side. The touch screen is truly a step up from even the Ender 3 S1 Pro and offers a bright graphic interface that is easy to use and, I have to say, rather cute. It offers a day and night mode, something I’ve not seen before. The day mode has bold primary colors, while the night mode is all dark.
The printer has dual Z rods, but these are not synced with a belt. There is some concern that your X axis could slip out of level, but I wouldn’t be too concerned. It has silent stepper motors, relatively quiet fans and belt tension adjusters on both the X and Y axis.
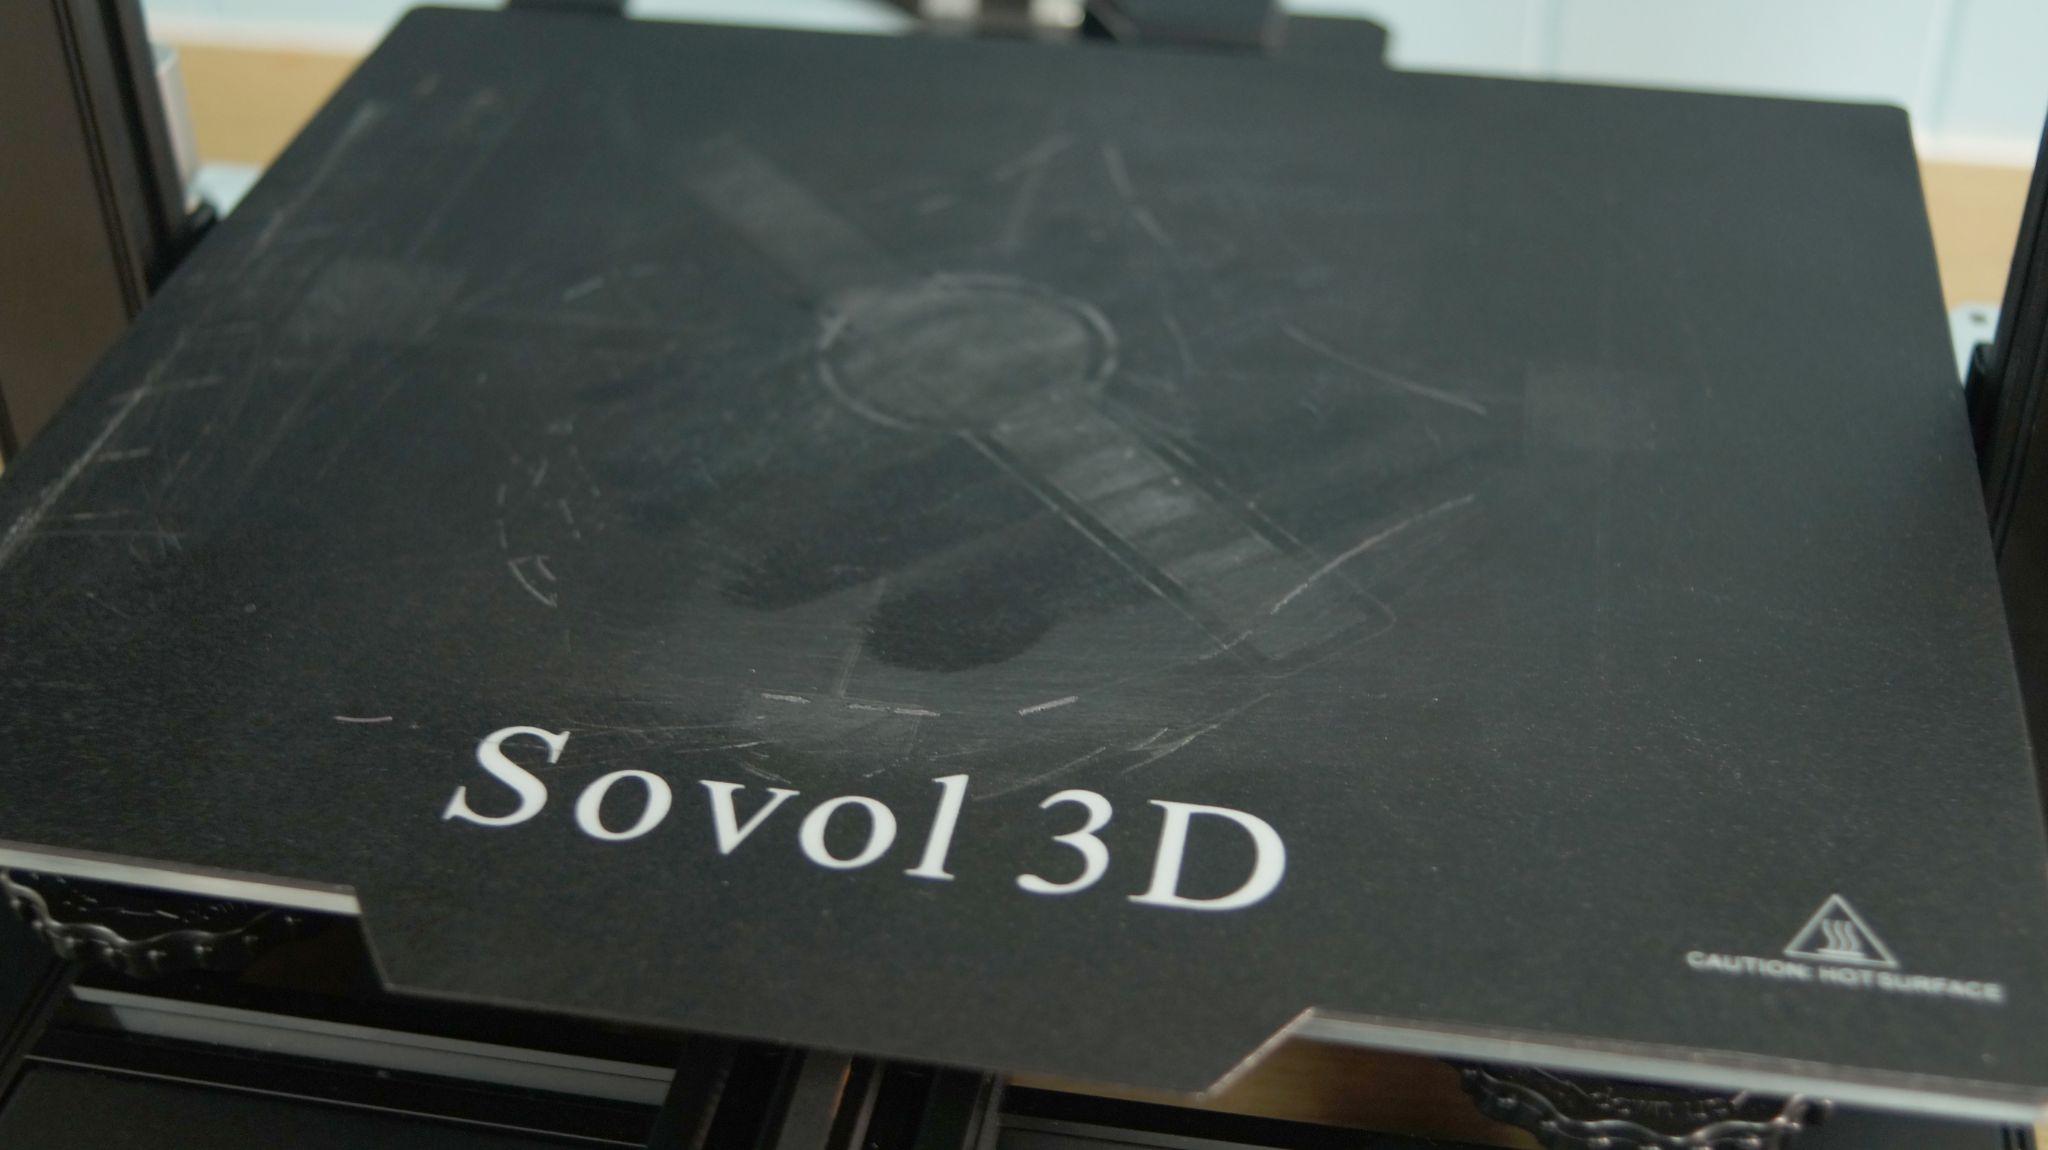
The build plate is not my favorite – a floppy PC magnet with a slightly textured surface. Though it’s a fairly grippy surface, it’s difficult to clean and easy to puncture with a scrapper or crashed nozzle. If the nozzle gets too close to the bed, you’ll risk etching filament permanently into the surface.
It has a PTFE lined hotend that can reach 260 C, hot enough for most consumer grade materials. Don’t be misled by the “all metal extruder” feature, which refers to the gears of the drive, not the hotend. On the model I tested, the gears of the extruder were loose and could slip side to side while loading filament. This made it annoying to load, but didn’t seem to affect the quality of prints.
Preparing Files / Software
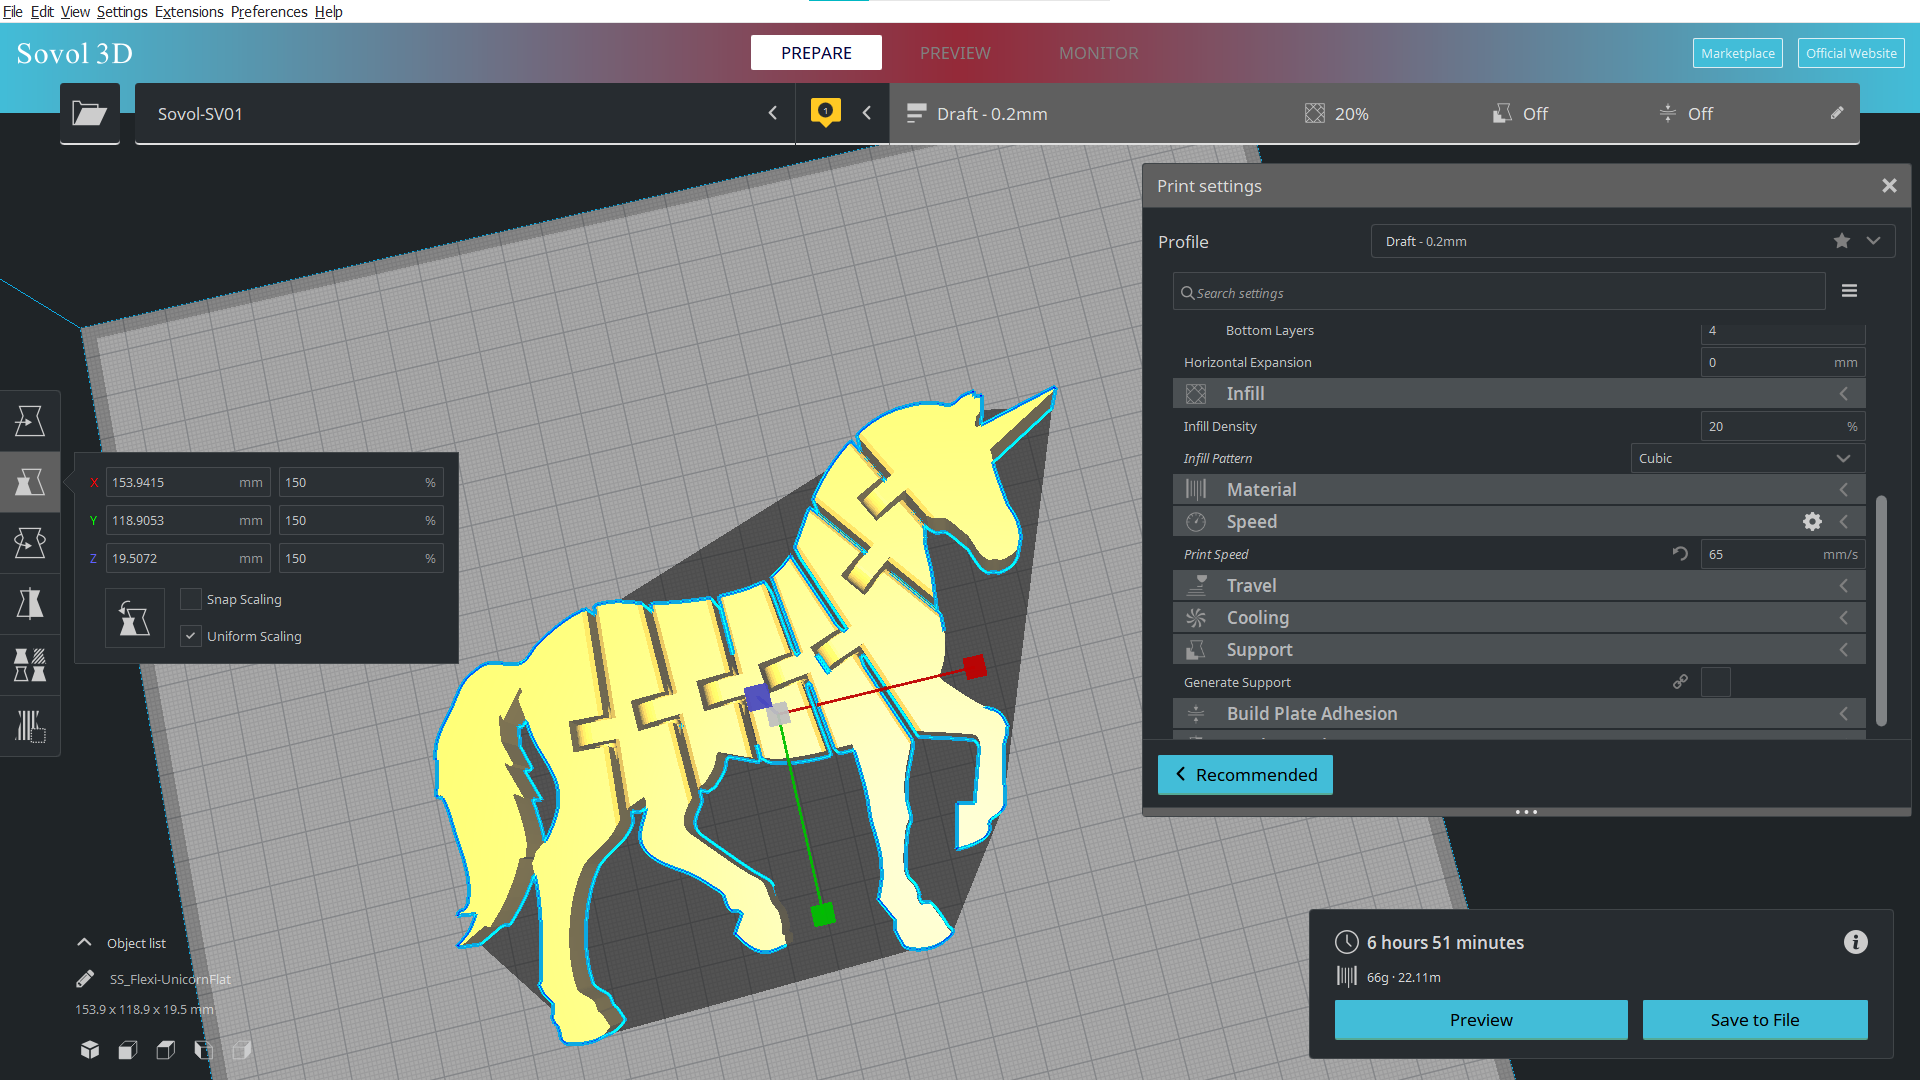
The SV01 Pro comes with Sovol Cura, with profiles for all of their machines. This is just a custom copy of ordinary Cura – if you’ve already downloaded Ulitimaker Cura for another machine, you’ll find the SV01 profile is included. The profile for the SV01 and SV01 Pro are the same, as both are direct drive machines with the same build volume.
If you want to try PrusaSlicer, you will need to create a profile from scratch.
Printing with the Sovol SV01 Pro
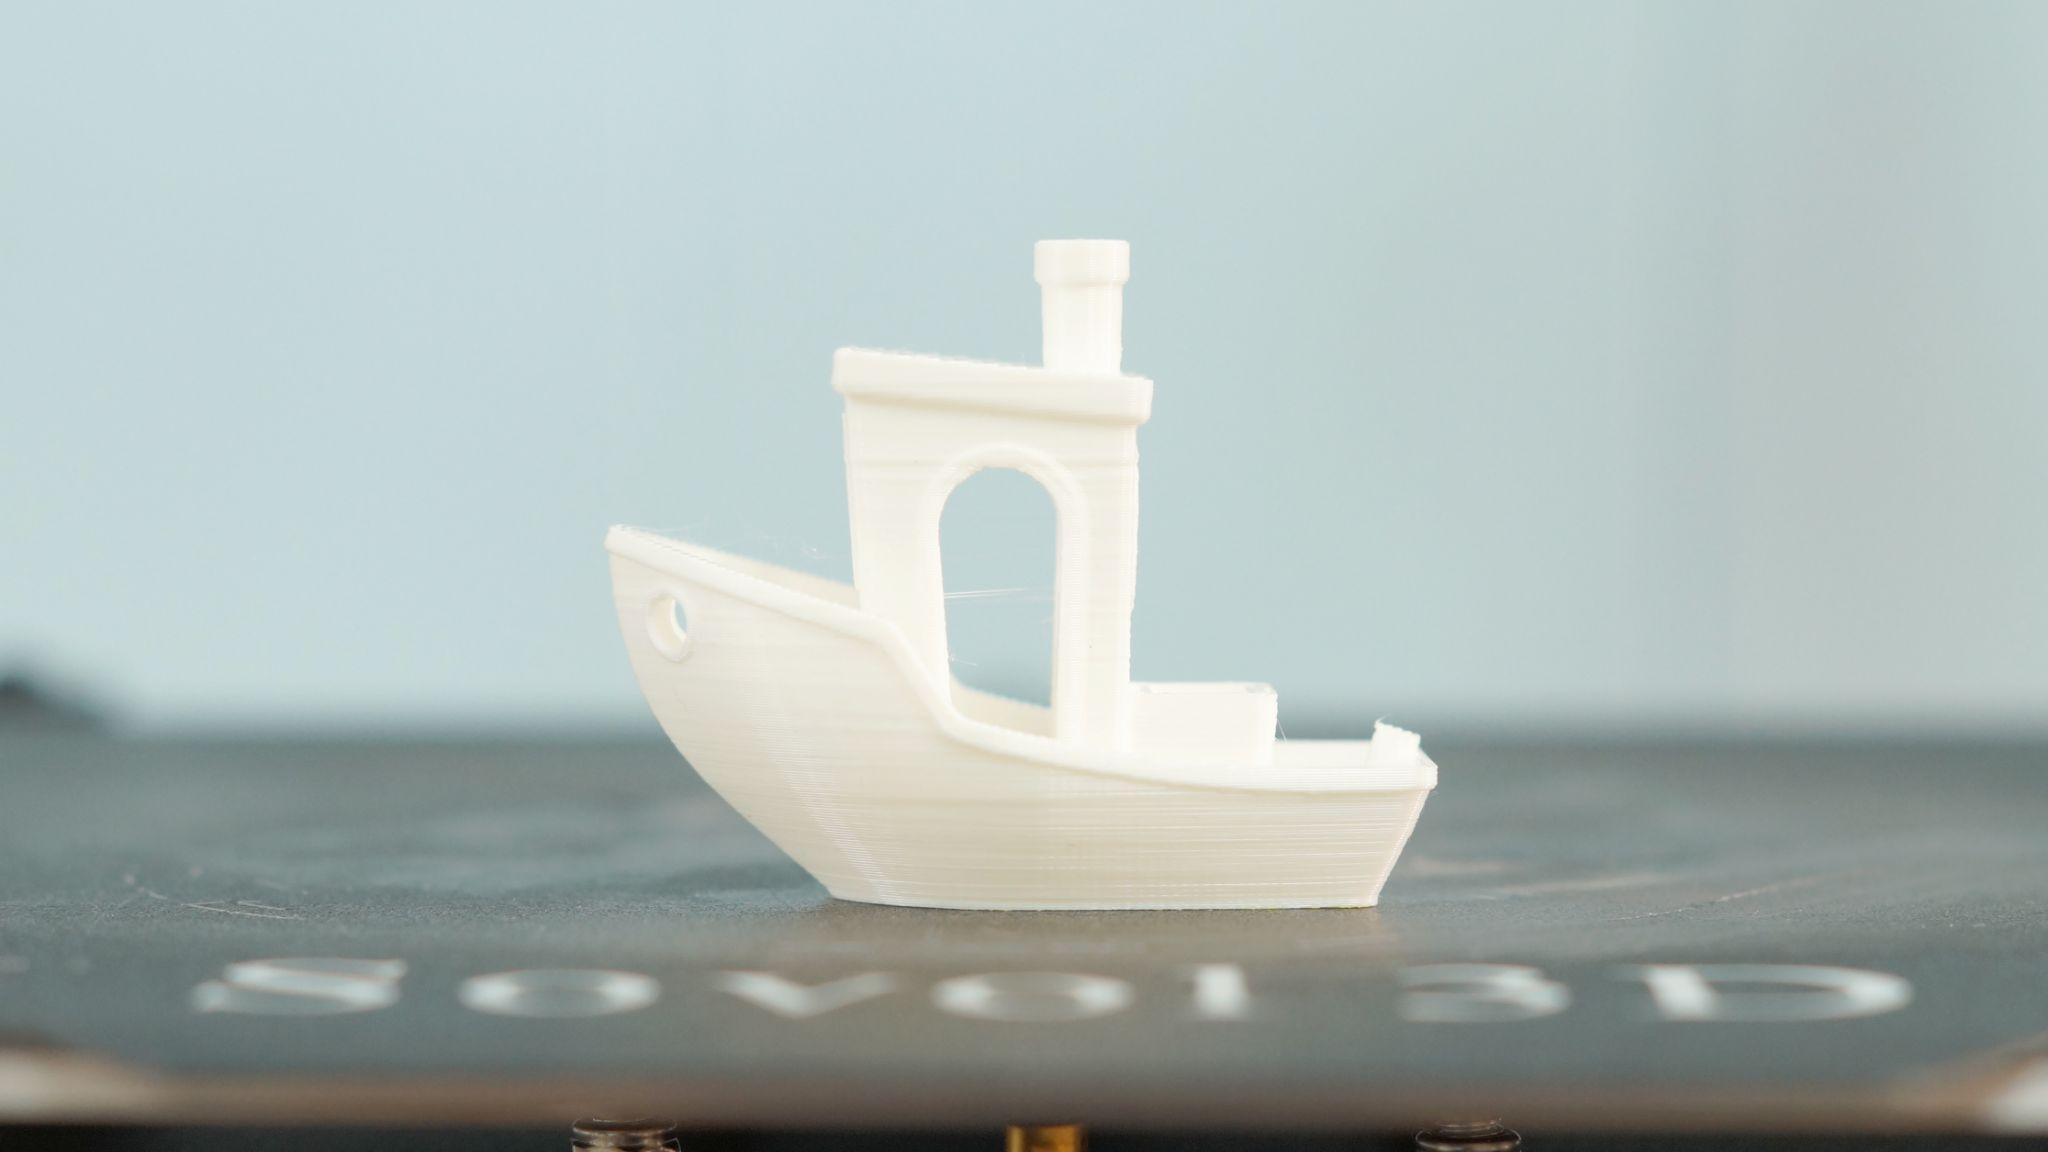
I usually start with the pre-sliced test model and the provided sample filament. A 3DBenchy was included, so I went with that. It had some layer lines and a little bit of stringing, however this was printed before I discovered the CR Touch was not accurate. Presliced, 1 hour and 54 min.
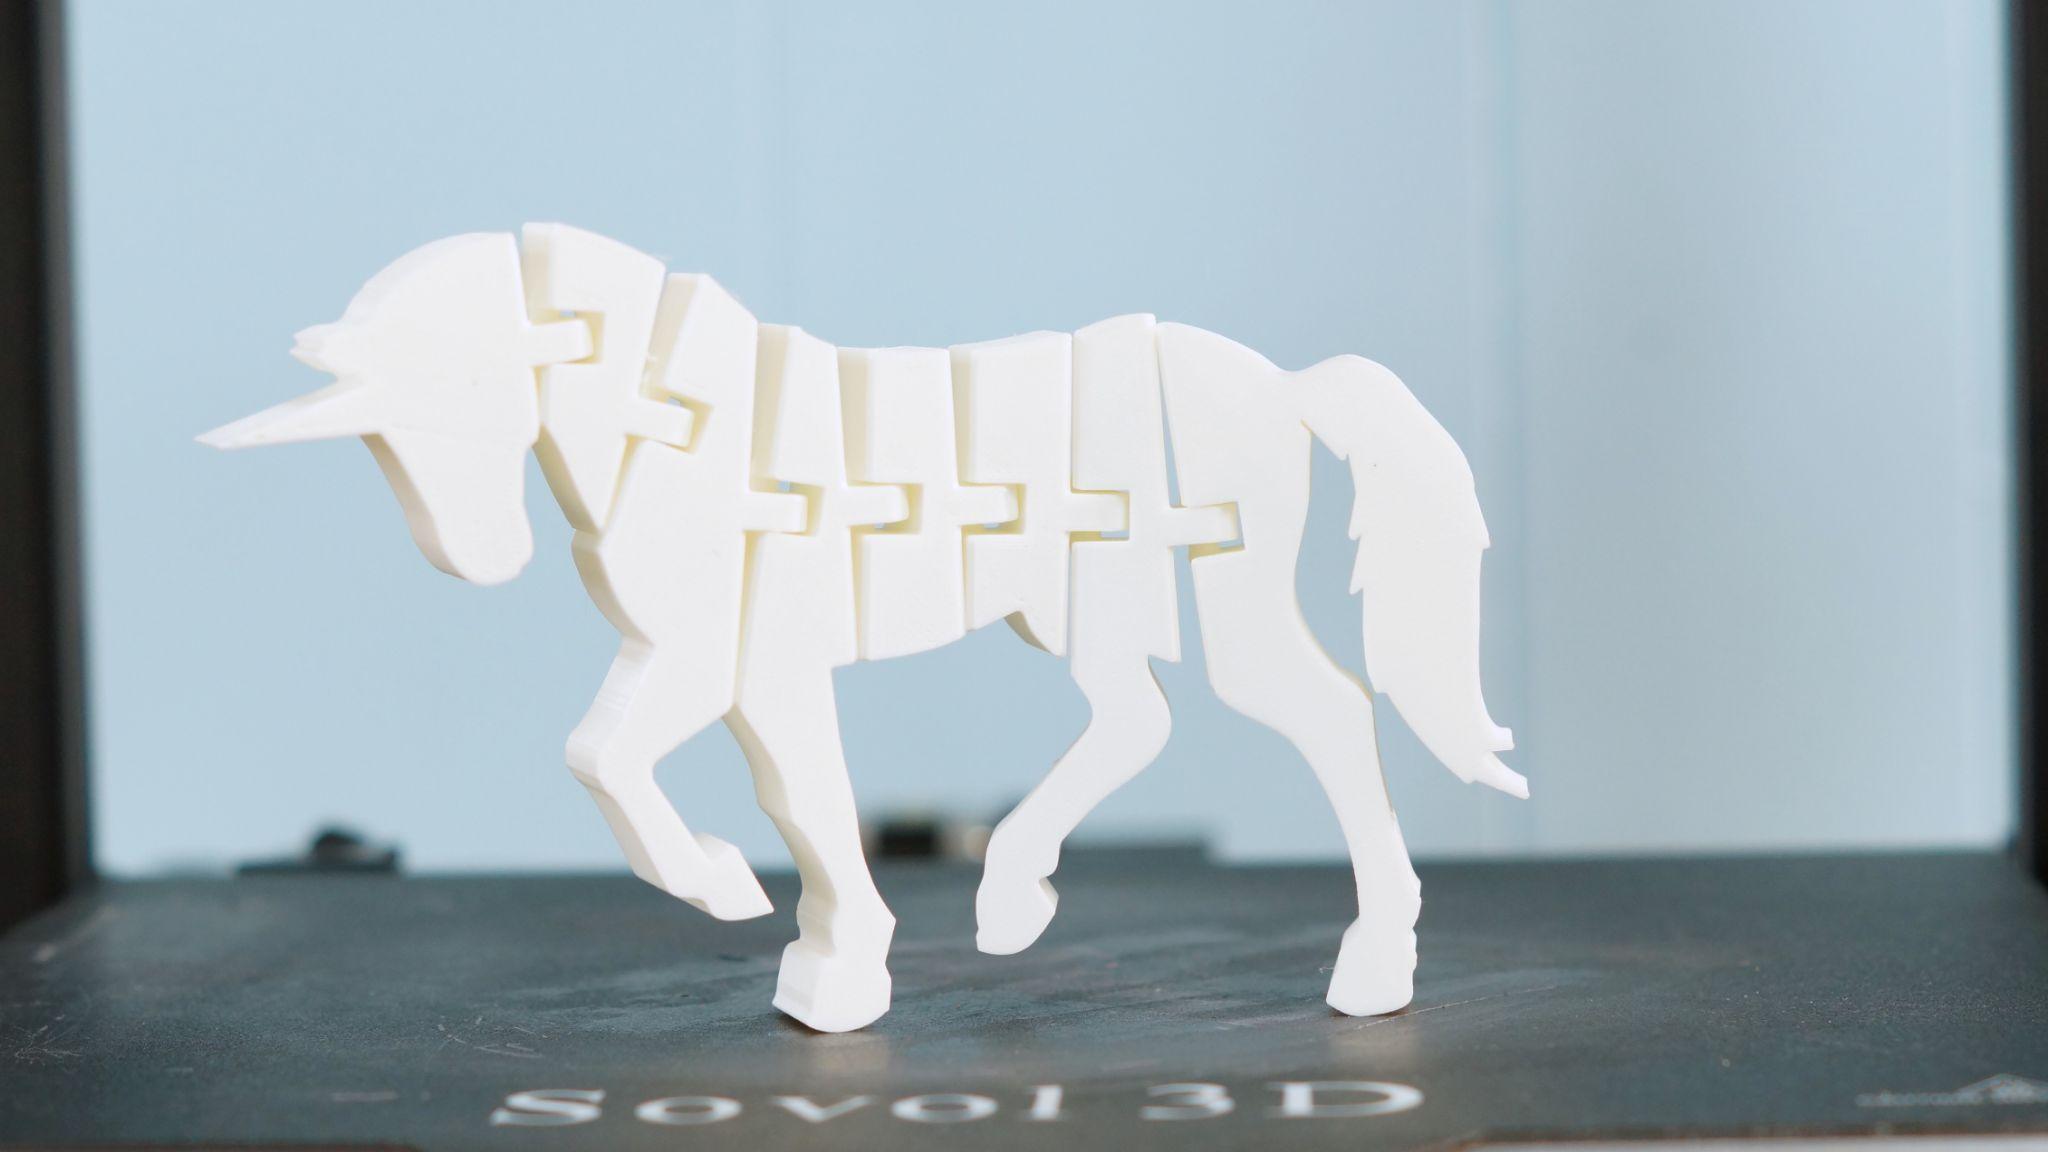
I printed my favorite flexi, the Flexi-Unicorn by Benchy4Life, at 150% in the provided sample PLA. This also printed very clean, despite the uneven bed. Unfortunately, the skirt from this unicorn is still smashed into the build plate. Time to print: 6 hours, 51 min at .2 mm layer high and 65 mms speed.
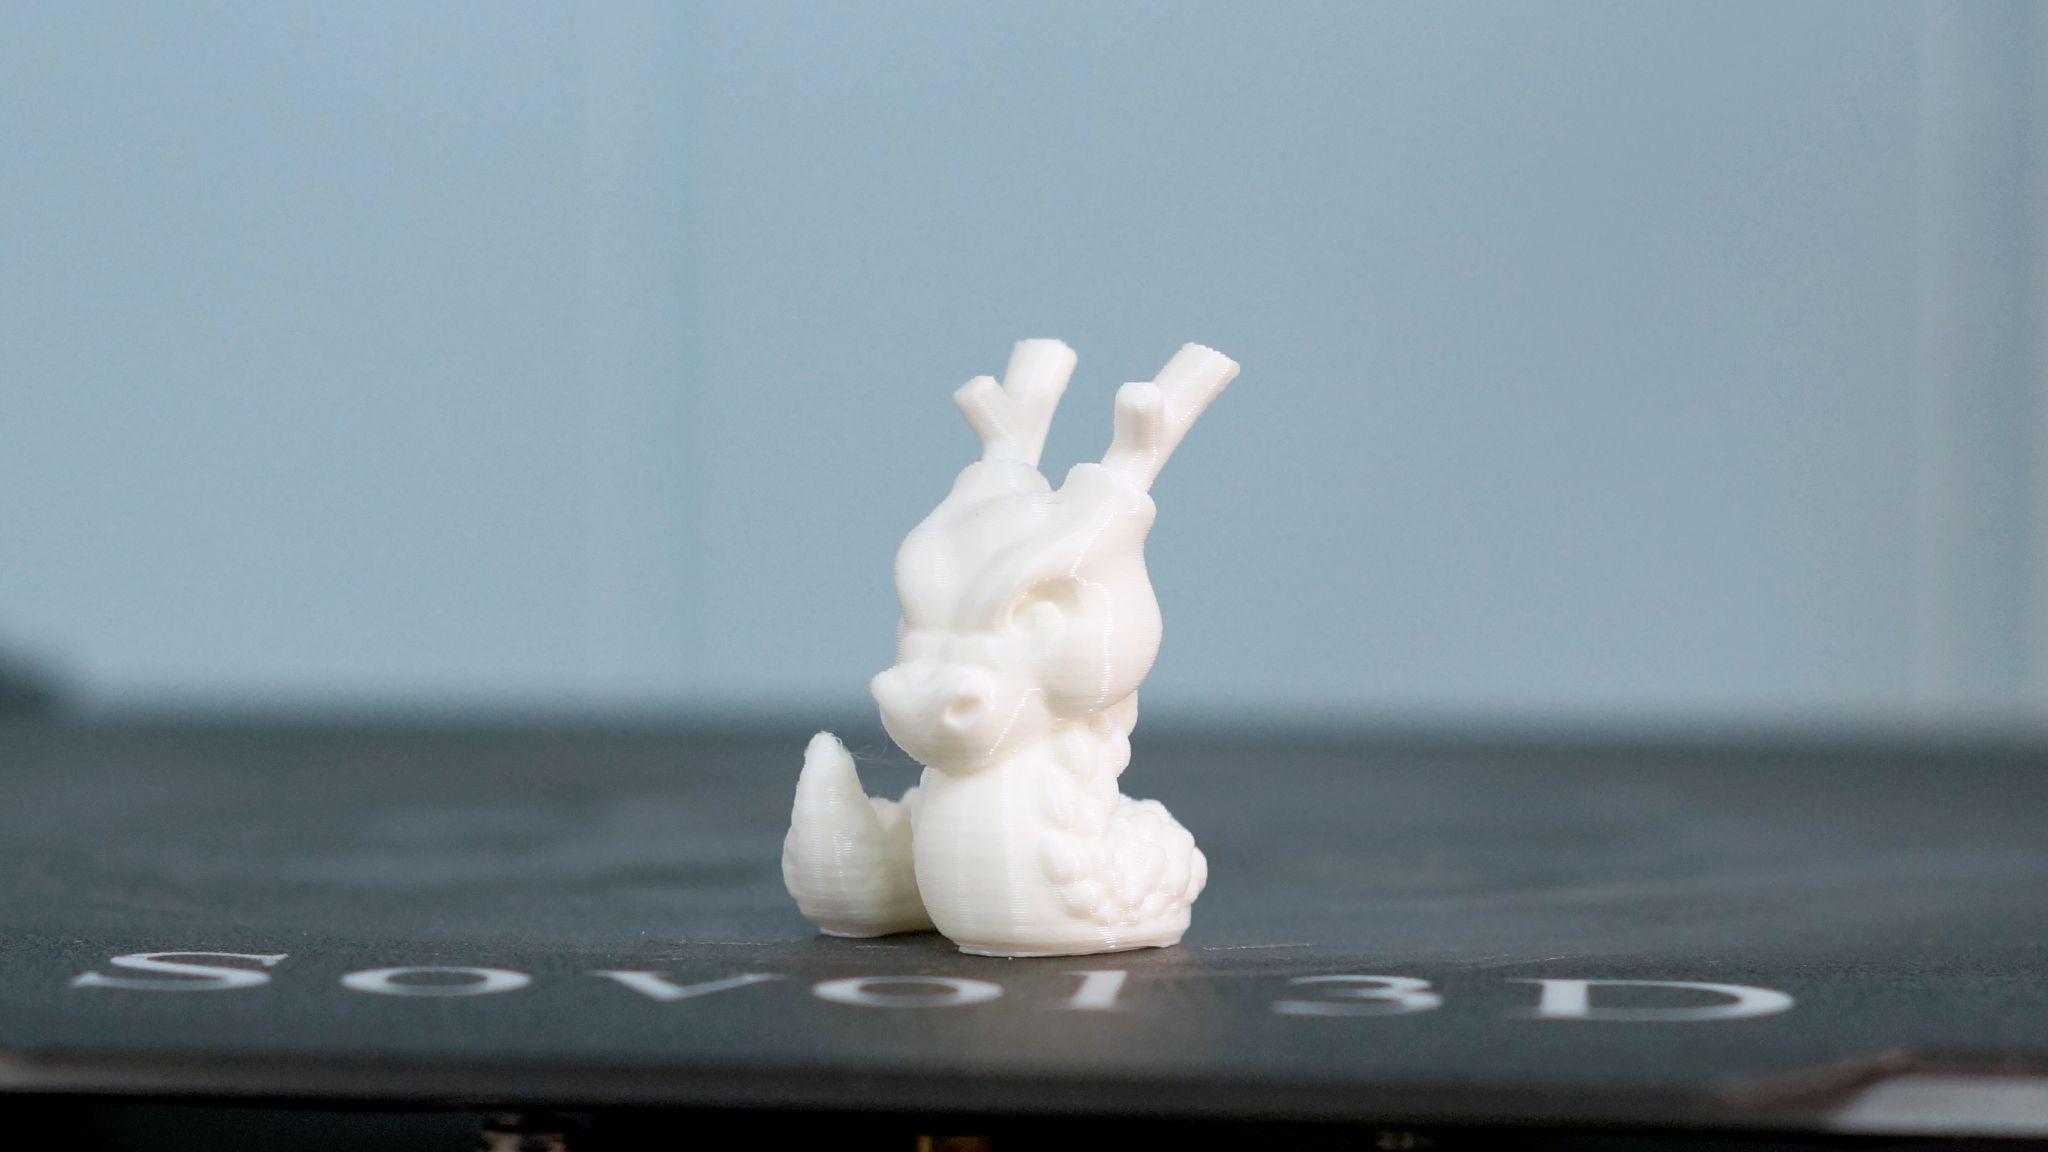
The latest calibration tool in the 3D print community is McGybeer’s new Cali-Dragon. This is also printed in the sample PLA and is amazingly smooth. Though a simple print, you can judge stringy and small perimeters from the antlers, as well as ghosting, overhangs and small details. This one surely passed. Time to print: 42 minutes at .2mm layer height and 65mms speed.
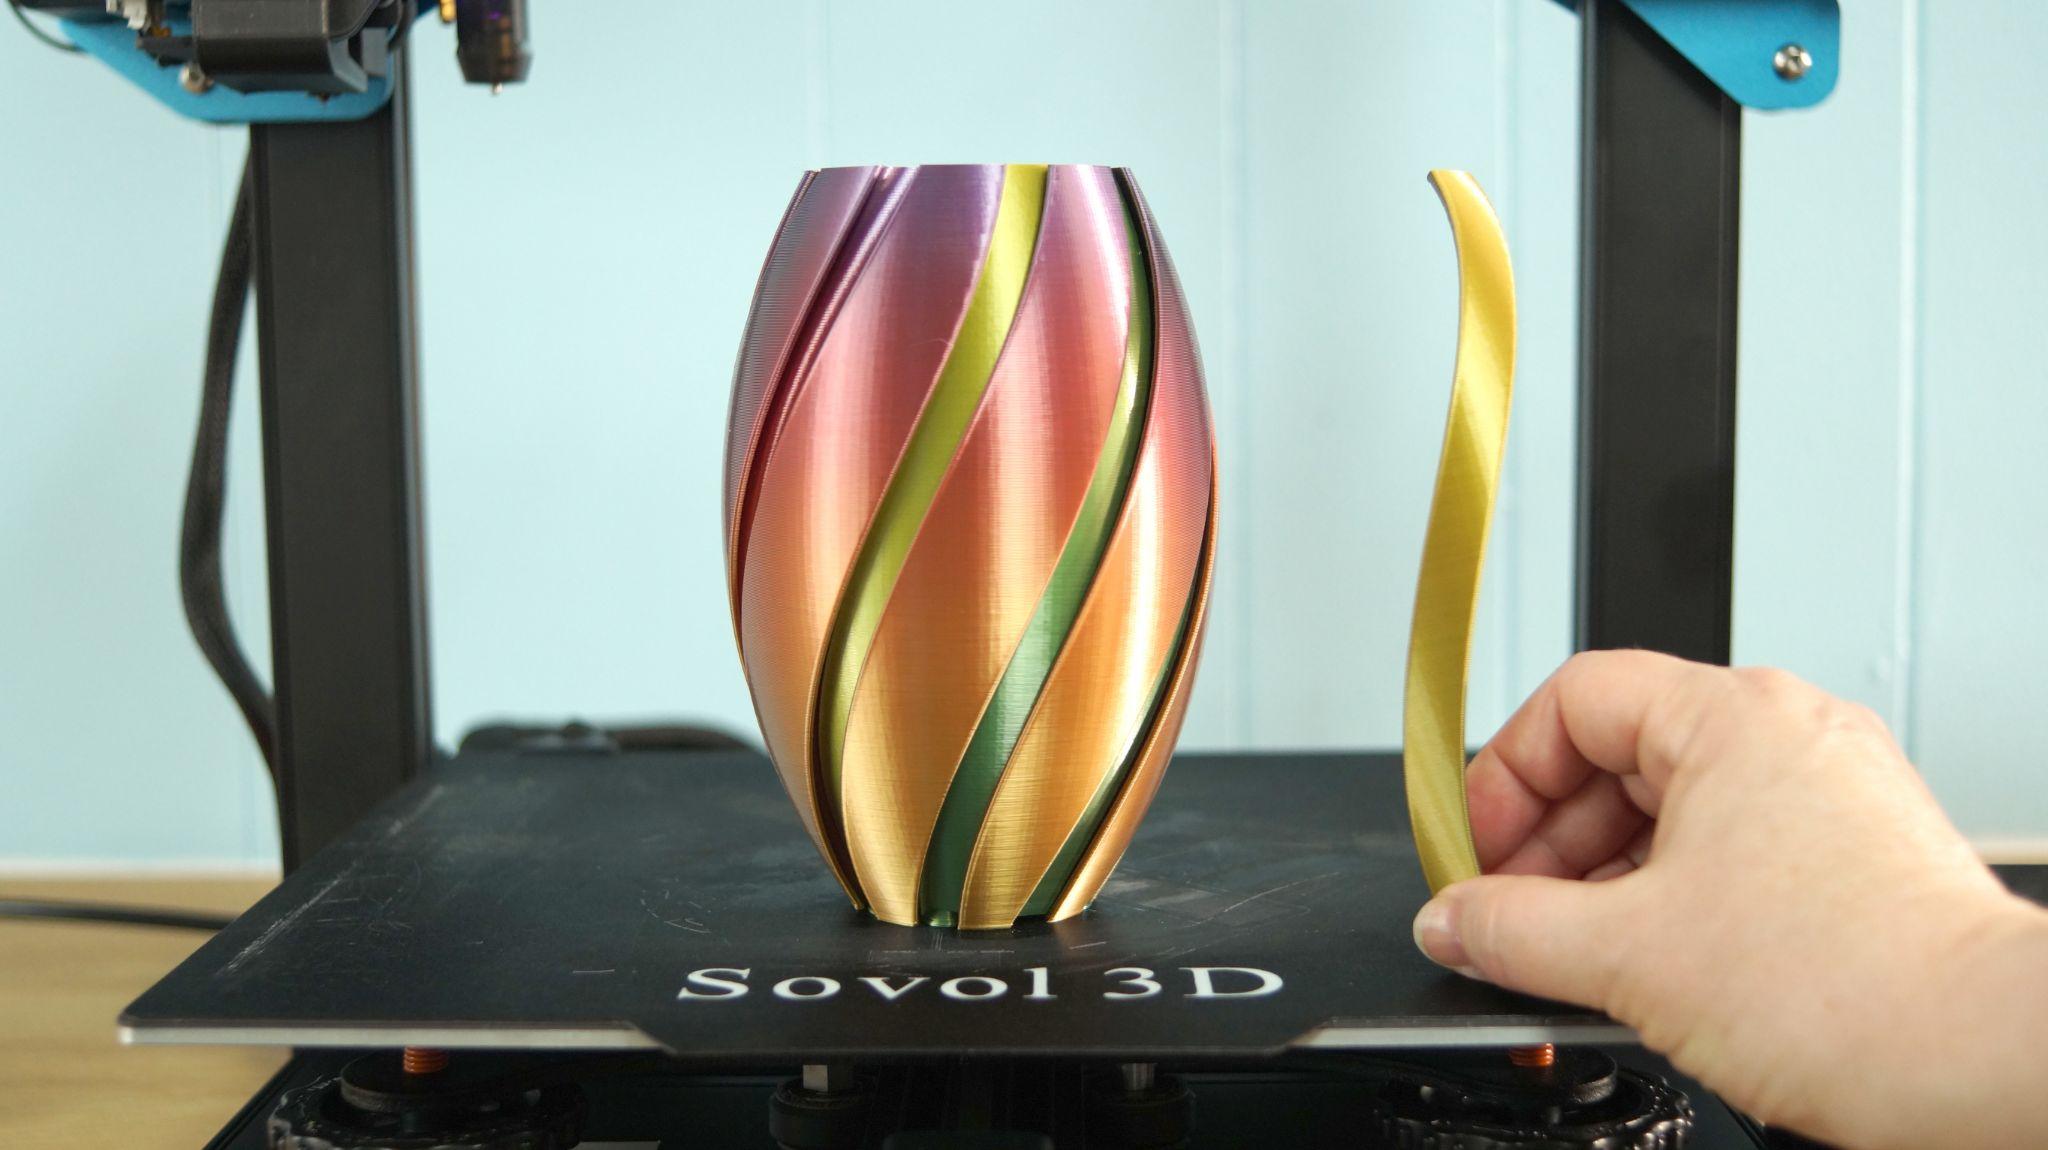
I wanted to give the SV01 Pro a bigger challenge, so I printed the Correlation Vase from Clockspring3d’s Patreon. This is a spiral mode vase with eight delicate spiral mode inserts that required great adhesion and a steady Z axis. The vase printed smooth in Mika3D rainbow silk. Time to print: 3 hours, 5 min for the vase, plus 5 hours to print the inserts at .2mm layer height at 65mms speed in vase mode.
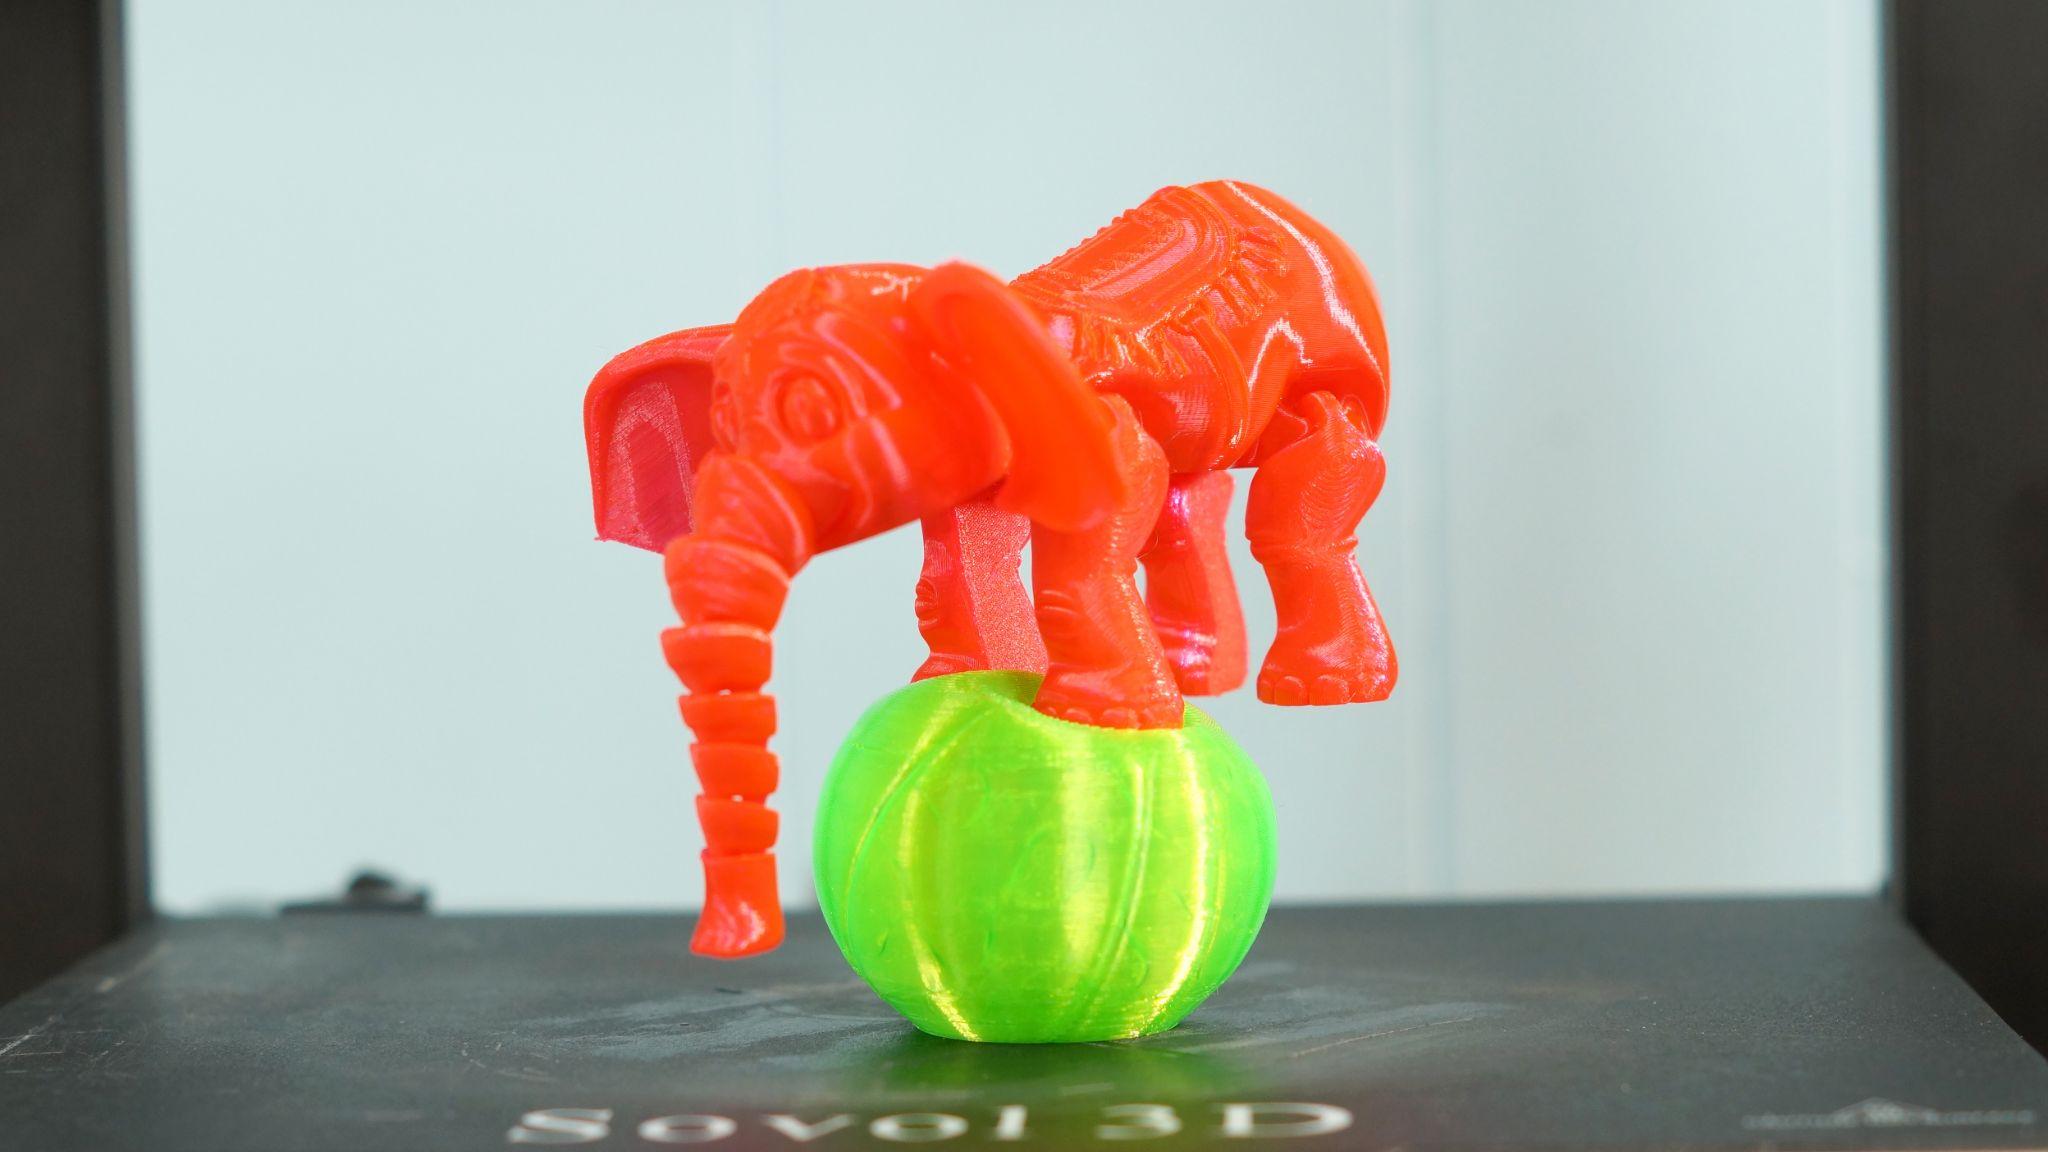
I needed to test PETG and TPU, so I combined the two tricky filaments into one Flexi Factory print. This is the Cute Circus Elephant and he comes with your choice of a balance ball or platform. I printed the elephant in Keene Village Edge Glow Pink and his ball in Matterhackers’ Build Series Transparent Green TPU. Both prints came out delightfully smooth with no stringing. Print time: 7 hours 43 minutes at .2mm layer height and 65mms speed for the Elephant, plus 4 hours and 18 minutes at .2mm layer height and 40mms speed for the ball.
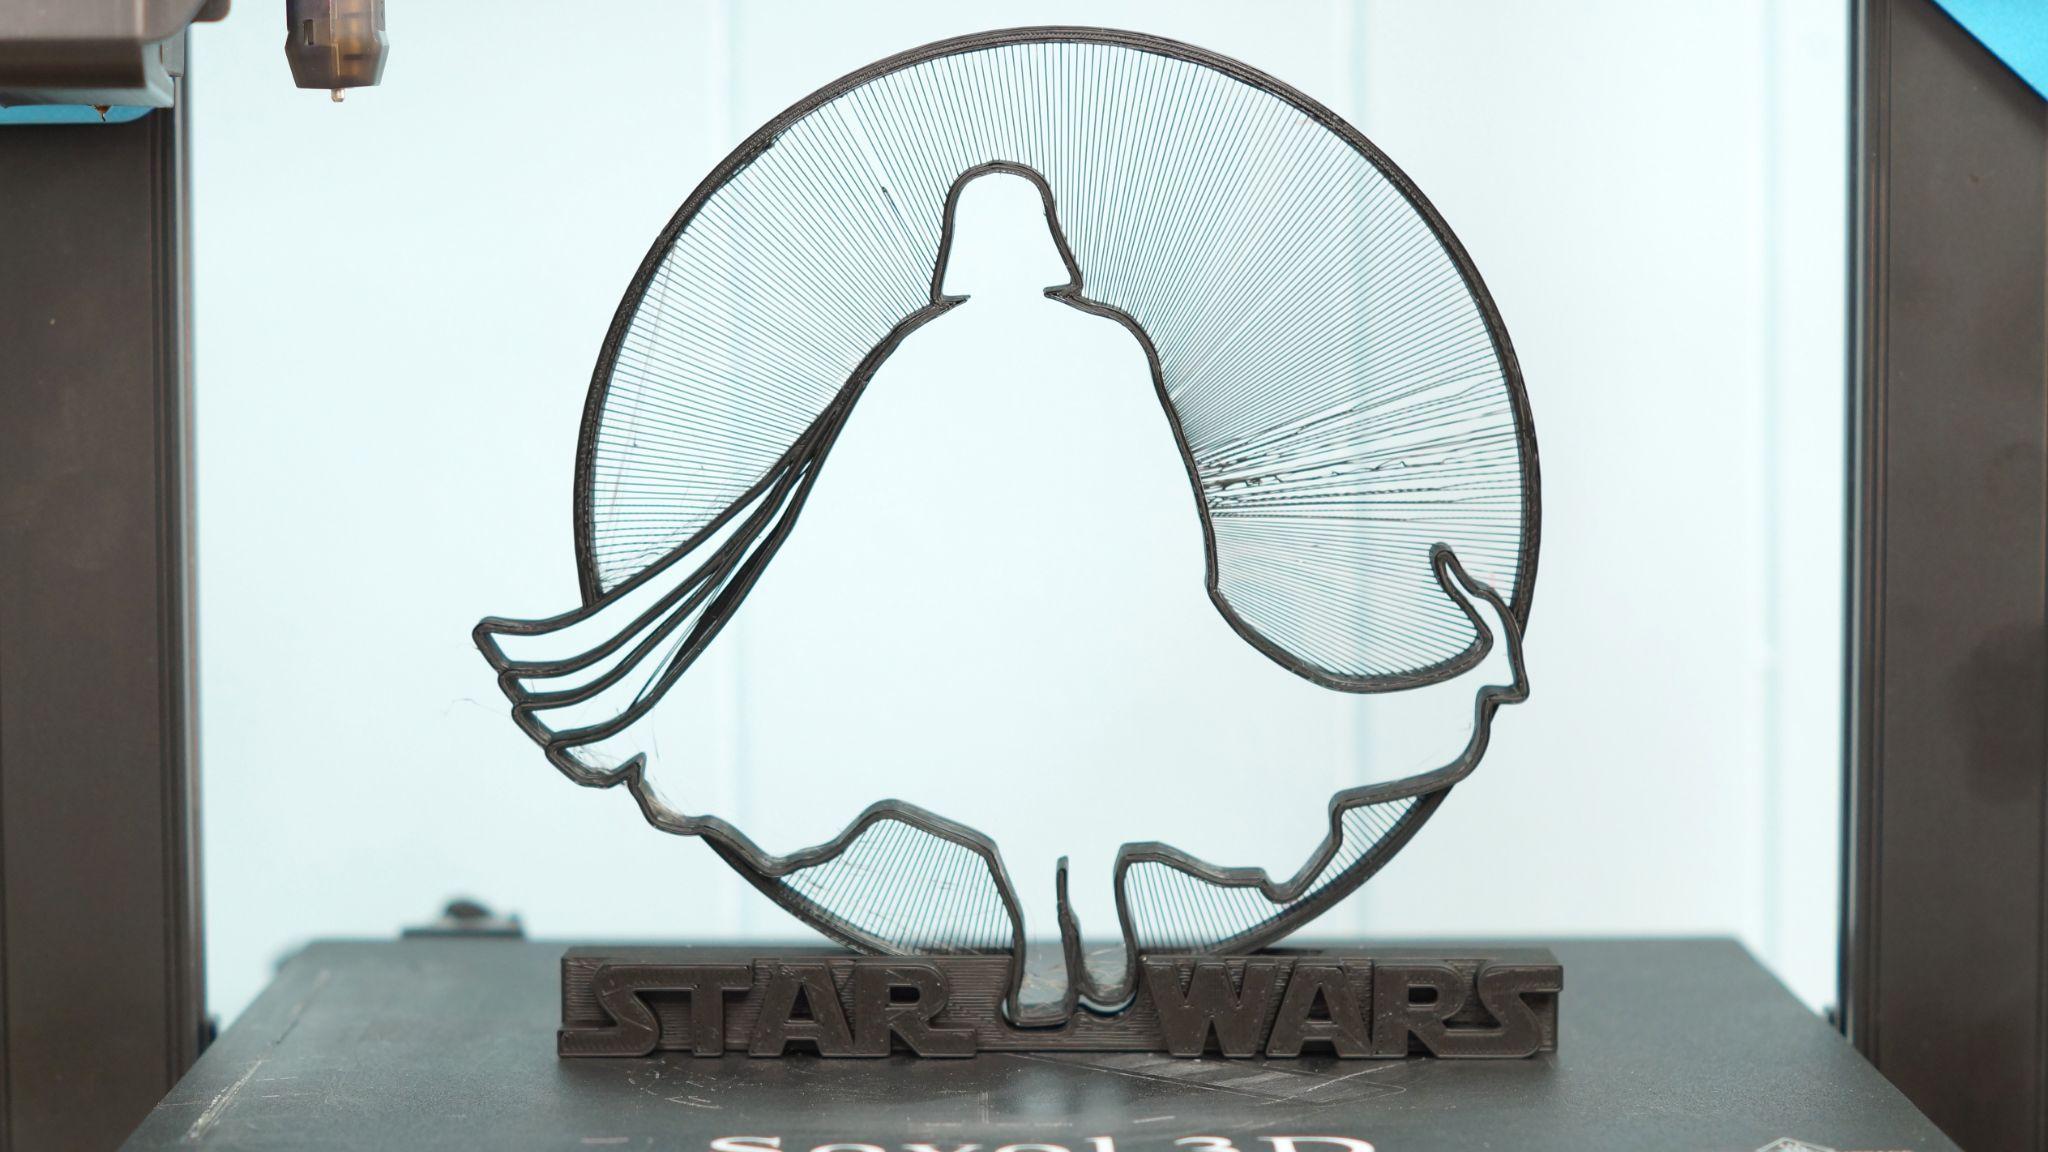
I wanted to see if the SV01 Pro could handle something really off the wall, so I gave it one of 3DPrintBunny’s latest Star Wars inspired string art creations. There’s very little you can tweak with these models, you either got it or you don’t. It mostly got it. Time to print: 2 hours, 9 min for the main art, plus 1 hour, 16 minutes for the base, printed in Protopasta recycle black.
Bottom Line
It’s frustrating when a machine ships with a faulty part, especially when you can’t identify the trouble right away. I wasted a lot of time getting to the bottom of this printer’s leveling problems. Once the machine was repaired, it won me over with its quality prints and ridiculously cheerful touch screen. It’s not quite a Best of 2022 3D printer, but it is a good bargain.
The SV01 Pro has perks of a deluxe printer – auto bed leveling, direct drive and a good color touch screen – for only $329. Not everything is top of the line, as I found the build plate lacking and the direct drive on my test printer was loose. And yes, this is a direct drive, but it’s not the Creality Sprite direct drive, which is built much tighter.
If you don’t mind cutting a few corners, and perhaps adding a few improvements down the road, the Sovol SV01 is a good choice for a large budget printer that’s not as bulky or expensive as the $499 Anycubic Kobra Plus, our pick for Best Large Format 3D Printer. If you’re looking for a full feature budget printer with a better build plate, check out the Elegoo Neptune 3, retailing at $299 and our choice for Best Budget FDM printer.

Denise Bertacchi is a Contributing Writer for Tom’s Hardware US, covering 3D printing. Denise has been crafting with PCs since she discovered Print Shop had clip art on her Apple IIe. She loves reviewing 3D printers because she can mix all her passions: printing, photography, and writing.
