Install A Hard Drive Or SSD In Your Notebook's Optical Bay
You want a performance-oriented SSD in your notebook, but you also need the capacity of a hard drive. Why not just remove your optical drive, drop your hard drive into its bay, and load up a brand new SSD with Windows and your apps?
Step 3: Replace The Optical Drive With The OptiBayHD Caddy
After installing Windows on the SSD, the notebook is almost ready to use again. But we still have to put the hard drive-equipped caddy into the optical drive bay, where it will serve as a storage device for bulk data.
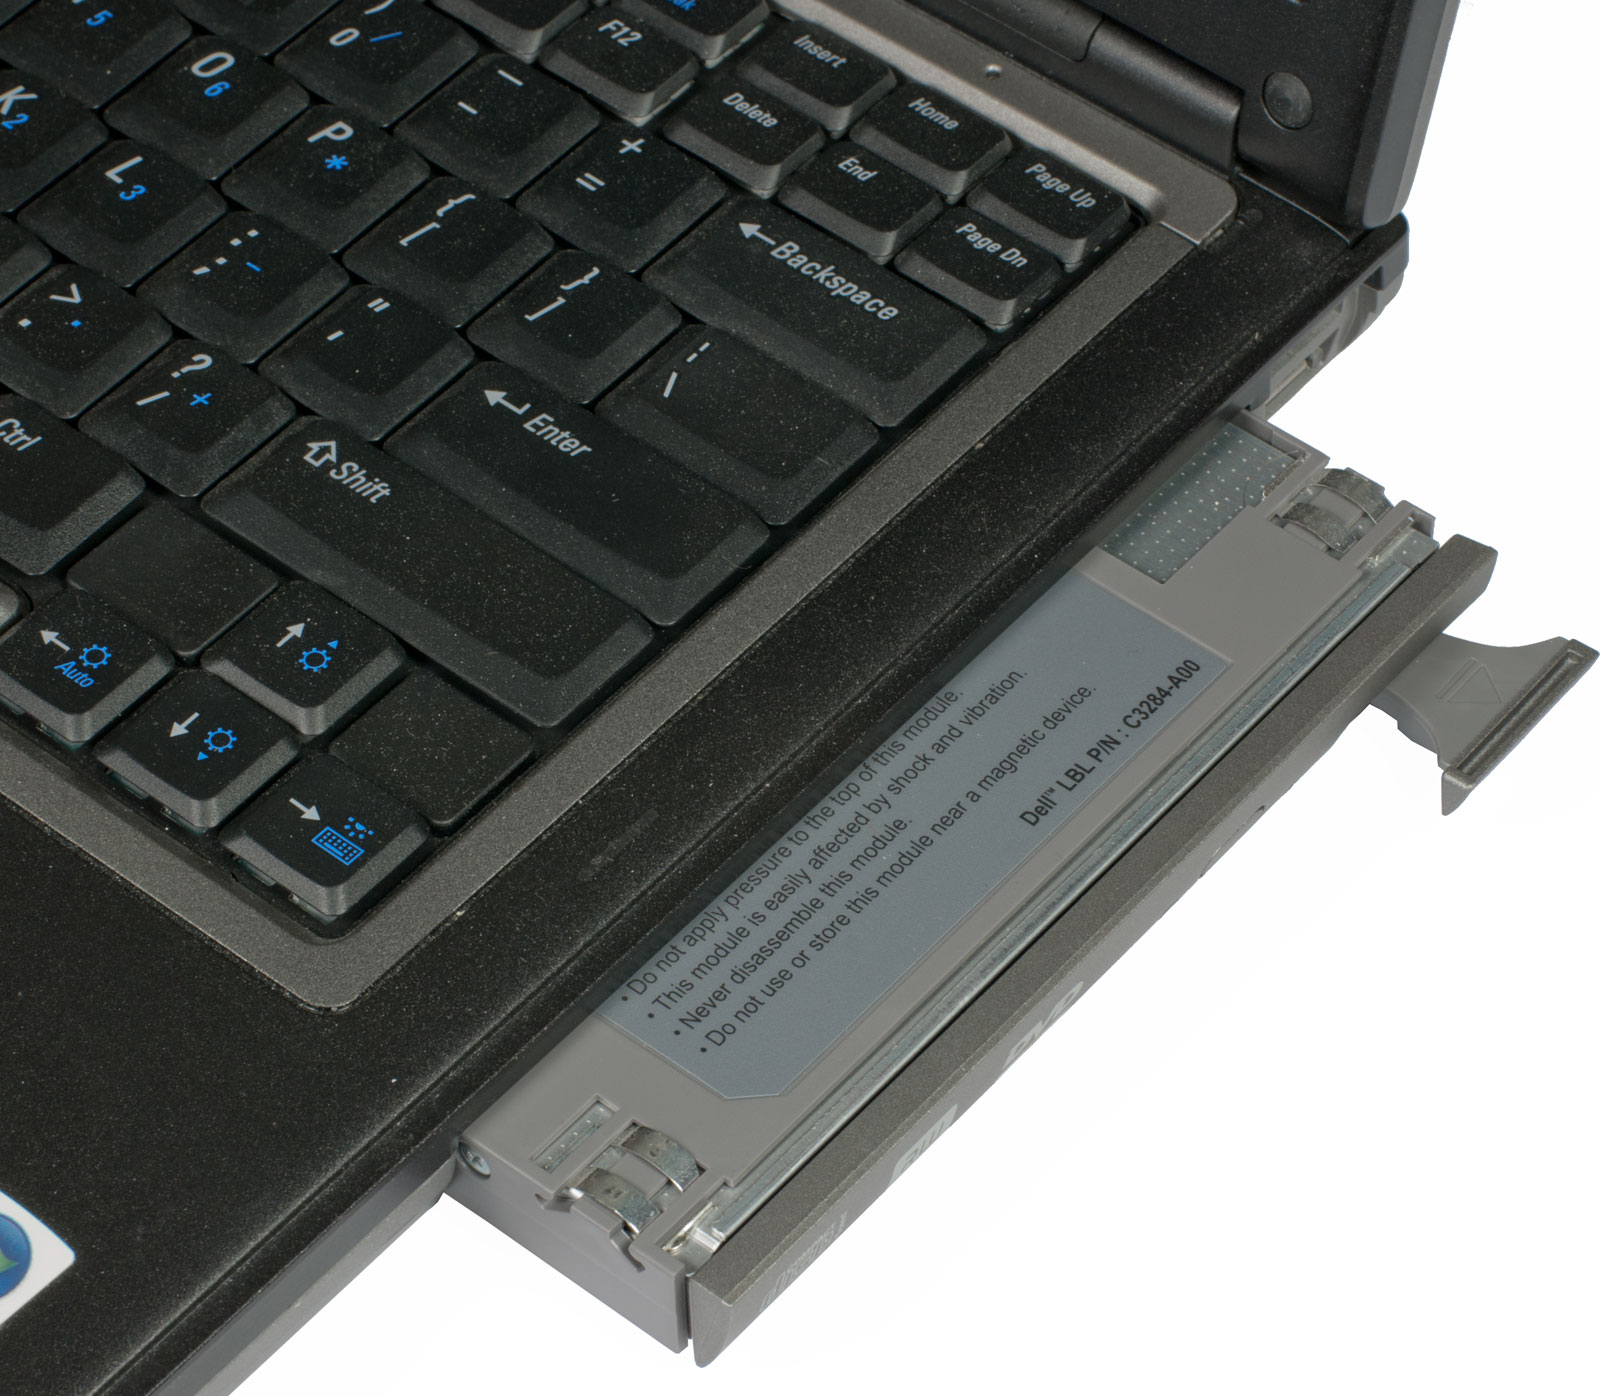
7. After removing a single screw, the optical drive of the Dell Latitude D630 can be pulled out easily:
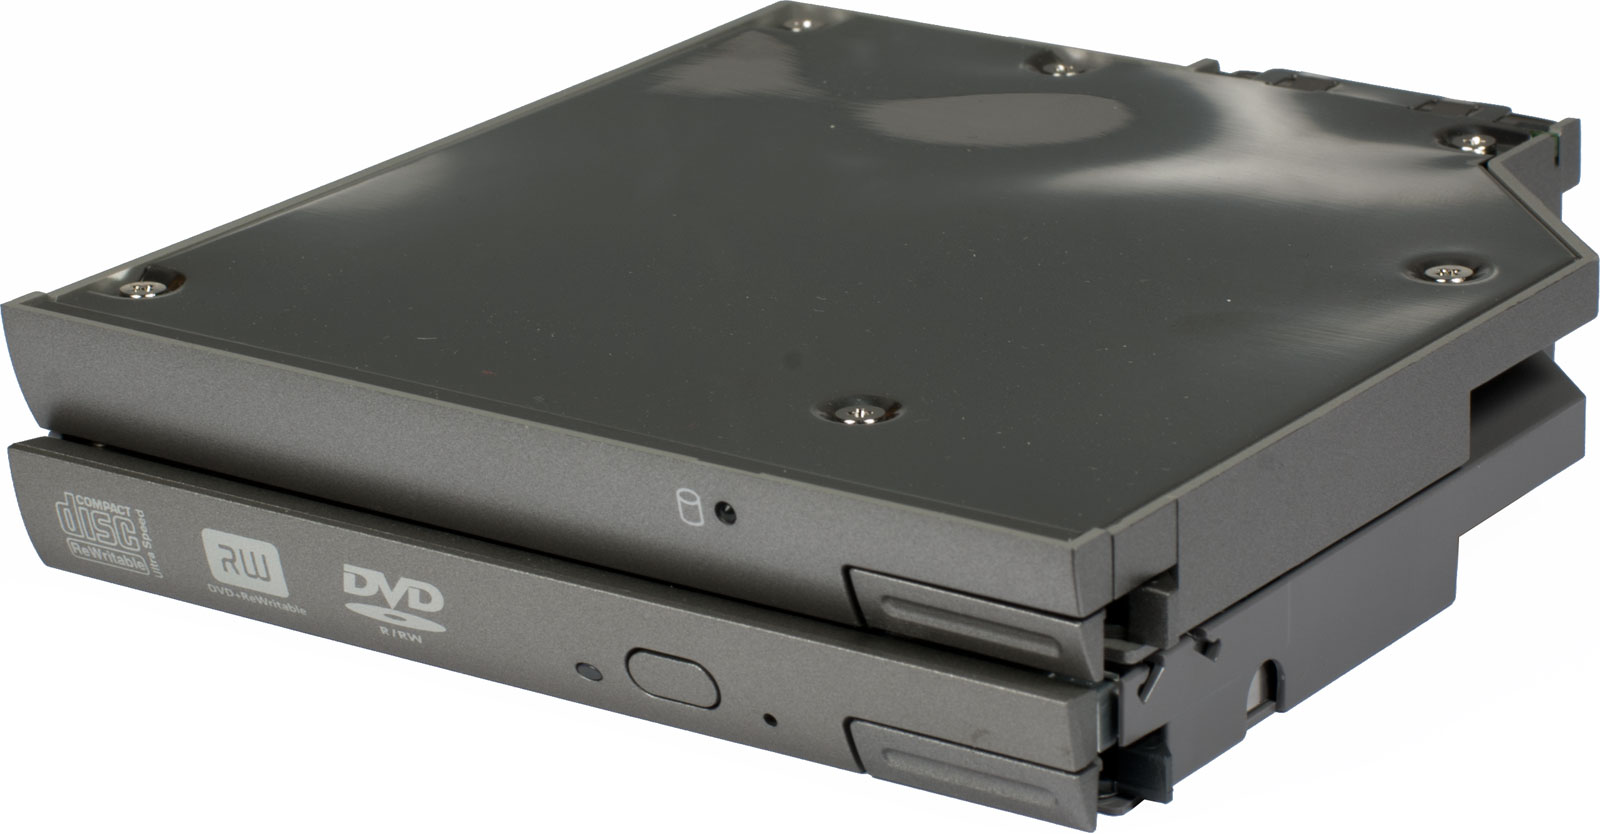
Matching size: The OptiBayHD caddy (top) and the optical drive of the Dell notebook (bottom).
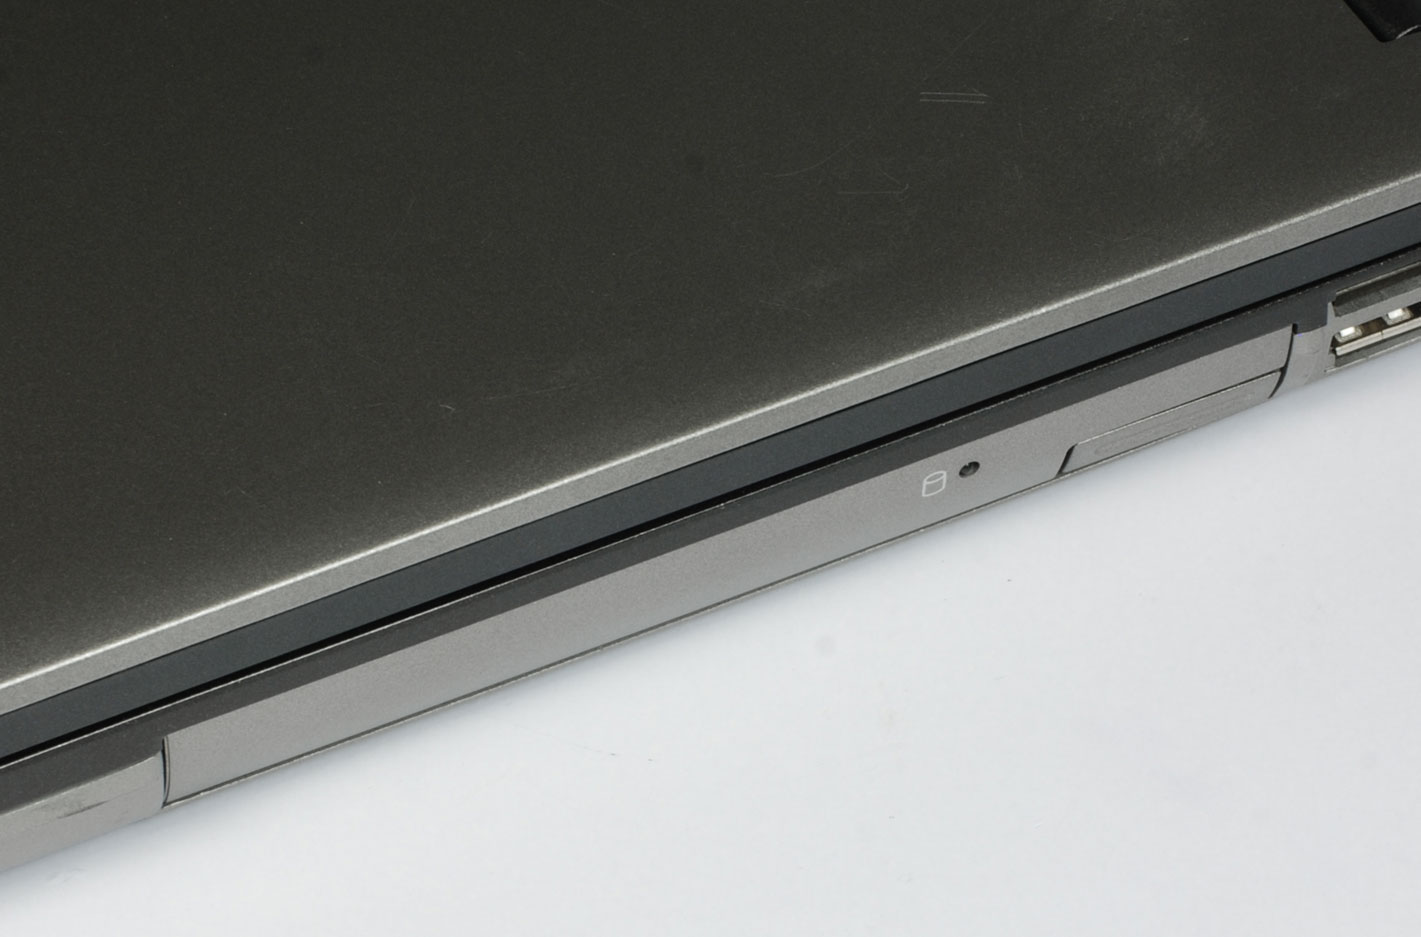
8. After inserting and securing the OptiBayHD caddy, your notebook is good to go. Who would guess that there is now a hard disk behind the side panel?
Conclusion
The OptiBayHD caddy represents an easy to way to upgrade a notebook with an SSD without having to pick solid-state or mechanical storage. By using the two technologies in parallel, you're able to enjoy the best of both worlds.
But what about the optical drive? Increasingly, they're only used to install software or, occasionally, play a game from. You're pretty safe getting everything loaded and then swapping it out. And because the caddy simply slides in in place of the optical drive, it's easy enough to swap back in case you need to load an app or want to watch a Blu-ray movie. That's one good reason to install the SSD internally and leave your user data on a hard drive in the caddy; even if you pull it out, you're still able to boot and run your most important applications.
Get Tom's Hardware's best news and in-depth reviews, straight to your inbox.
At about $68 (plus international shipping) the caddy isn't exactly cheap. However, you might find it worthwhile, especially as SSDs come down in price. Cheaper 64 GB drives start in the $100 range, and those numbers are sure to drop as lithography advances and density increases. We used Samsung's 830, but any 2.5" drive will work for this project.
Current page: Step 3: Replace The Optical Drive With The OptiBayHD Caddy
Prev Page Step 2: Mount The Hard Disk In The OptiBayHD Caddy-
thehidecheck Lol, this reminds me of the floppy disks of yore. Still, there is alot of utility in this, I see it having a good future.Reply -
phamhlam I thought about doing this. It gives you the speed of a SSD and the space of a HDD. When you need your DVD drive, slide it back in or just use a USB one. I ended up selling my laptop and getting a desktop haahaha.Reply -
Xajel I think having a 128 - 256 GB mPCIe SSD will be much easier to have :DReply
+ it will give you the ability to have another HDD for large storage if you can't life with just 128 or 256GB :) -
But what about heat? As far as I can see there are no venting holes or I might just be mistaking. :)Reply
-
Reynod Great idea ... I like it.Reply
Can you run some tests on the drive please?
Compare it to the main drive for speed?
Cheers
-
Pyree ReplyBut what about heat? As far as I can see there are no venting holes or I might just be mistaking. :)
Have that set up on my laptop. SDD in the normal HDD bay, HDD in OD bay. No issue on heat for HDD. HDD about 38-40c on load. -
ivyanev Isn't eSATA usb 3 and other ports designed to accommodate external hdd? I agree that external isn't as convenient as build in ,but can be used in several laptops.Reply -
jamesedgeuk2000 Lmao I did this back in 2006, the dell drive bay in your pic is one of the multibay drives used in the first ever XPS and the i9100.Reply
Hears another newsflash, you can also replace the optical drive with hot swappable extra battery's for extra power time! :O


