Why you can trust Tom's Hardware
We are using the following system for today’s build.
| CPU | Intel Core i5-9600K |
| Motherboard | ASRock Z390 Phantom Gaming-ITX/ac |
| Memory | Corsair Vengeance LPX 3000 MHz, 16 GB (2x 8GB) |
| Graphics | Nvidia GeForce RTX 2070 Super Founder’s Edition |
| CPU Cooling | NZXT Kraken M22 |
| Row 5 - Cell 0 | Noctua NT-H2 Thermal Paste |
| Storage | Corsair Force Series MP600 NVMe SSD, 480GB |
| Power Supply | Thermaltake ToughPower GF2 ARGB 750W |
Step 1: PSU Installation
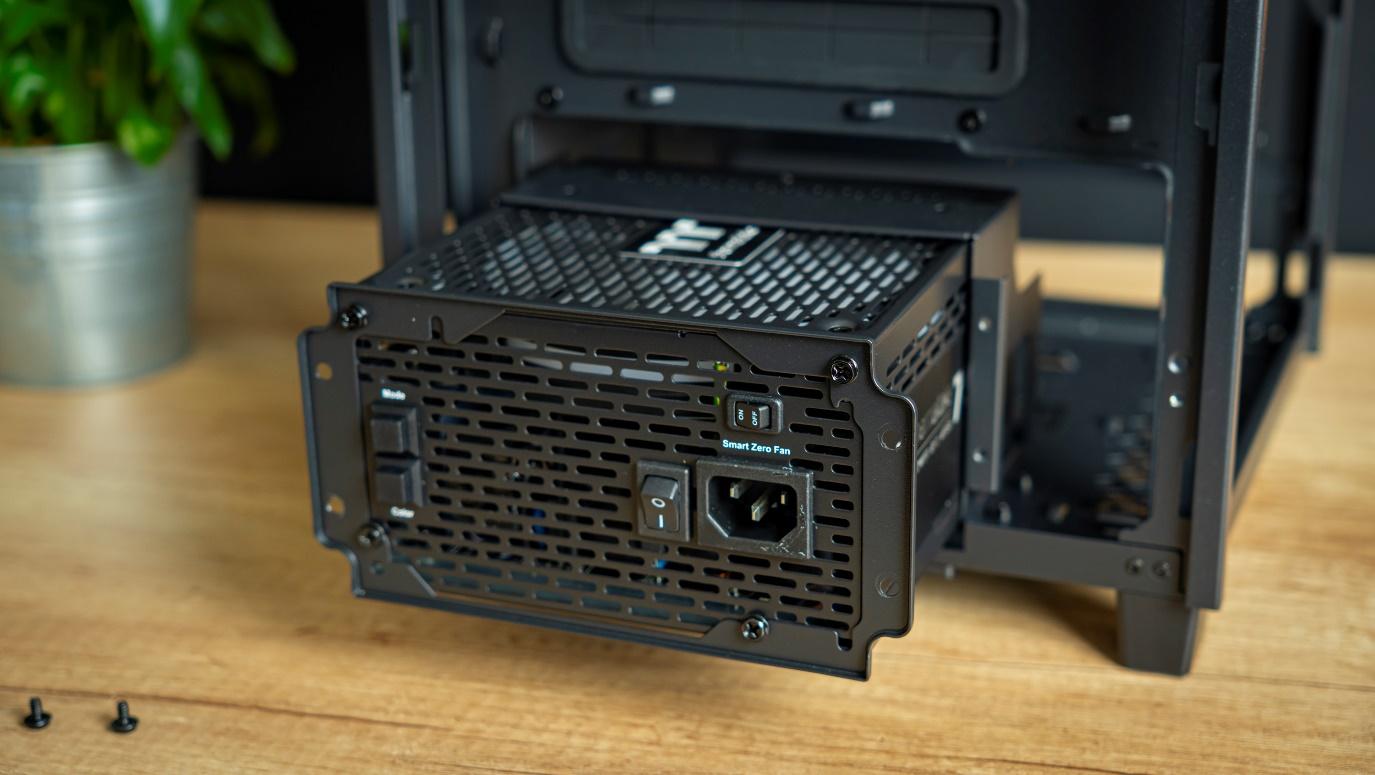
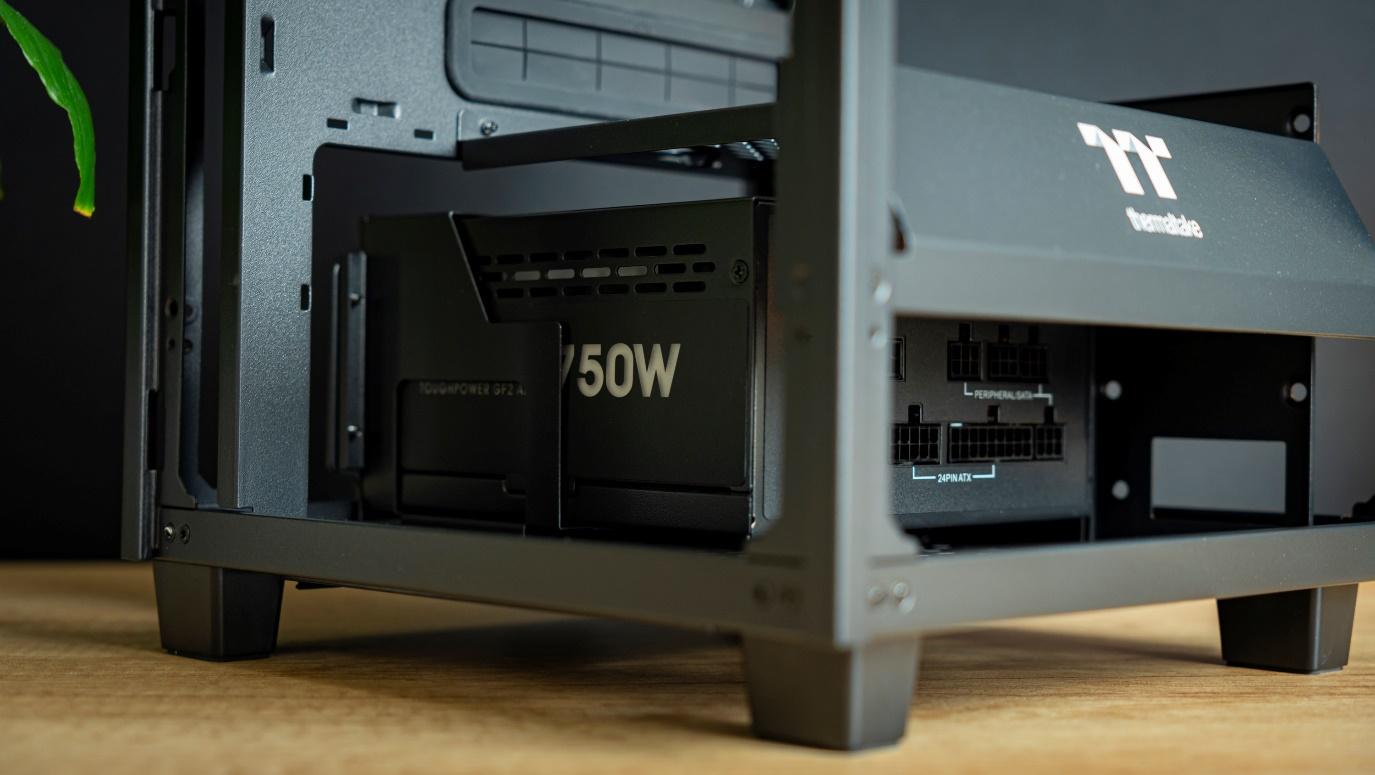
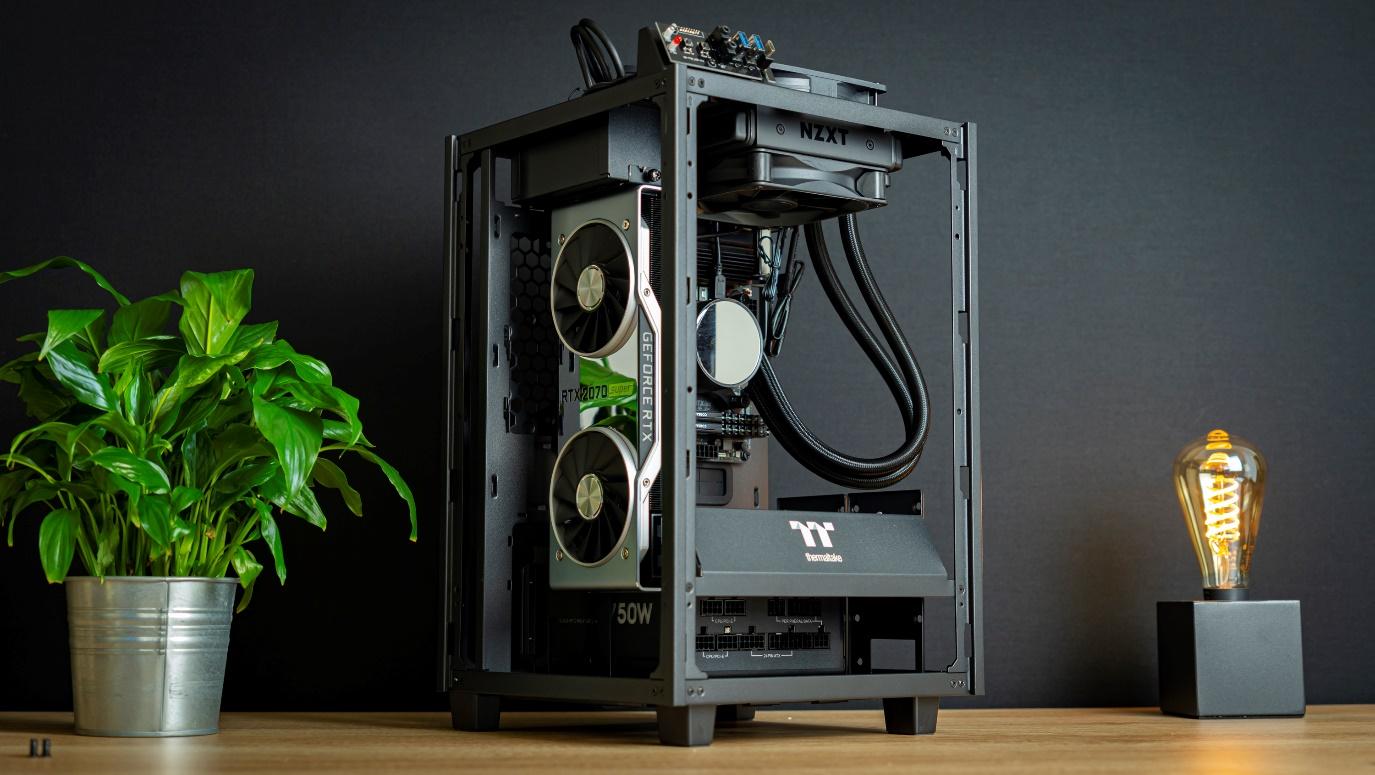
In sending this chassis, Thermaltake also dropped us a 750W RGB power supply, so we figured we might as well use it for this build. Although you generally want to point the fan down to make use of the fresh air intake, I decided to point it up to make the RGB spinner visible through the top. Meanwhile, I figured it could also help system cooling this way (at the expense of PSU cooling), as there isn’t a lot of exhaust on this chassis, so every bit helps.
Step 2: Motherboard Installation
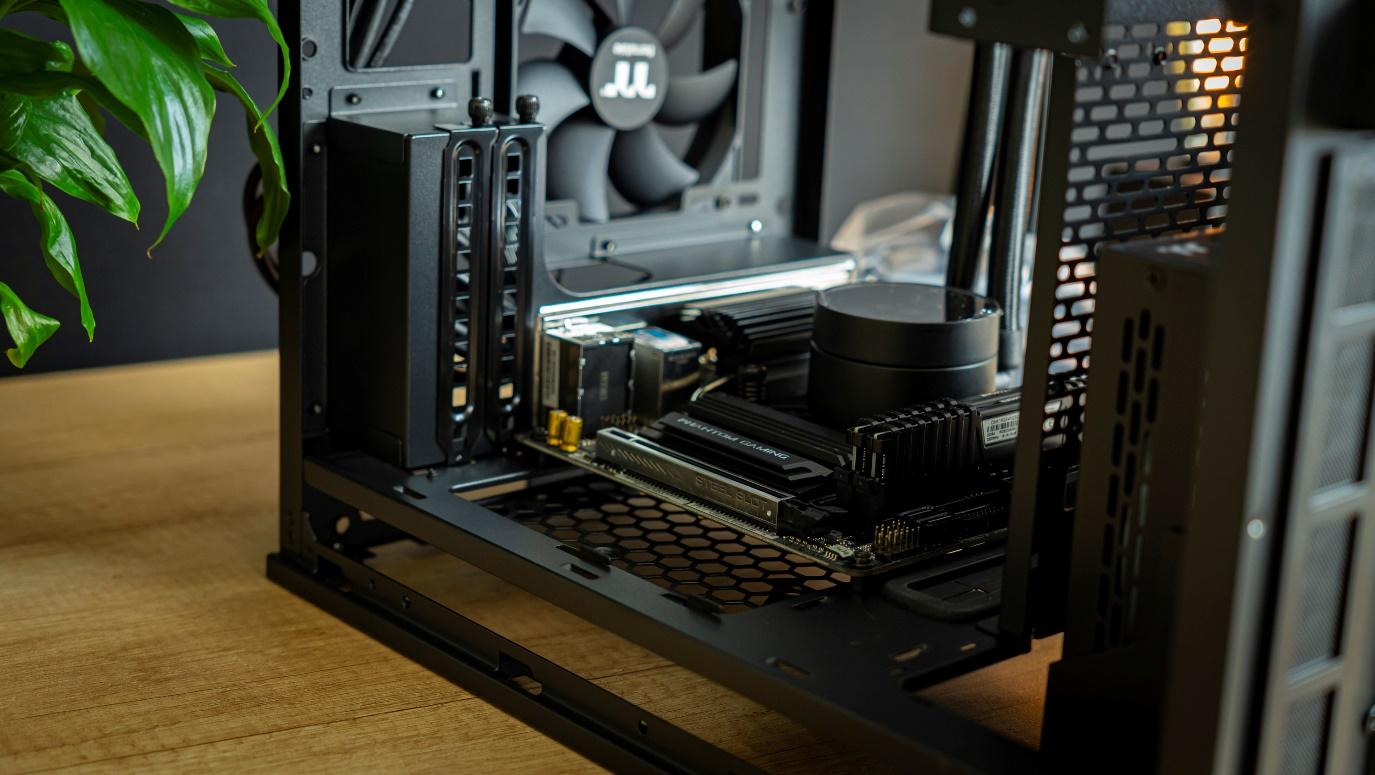
I then installed the motherboard into the chassis, which I had to do with the case laying on its back. It secured in easily like this. Look carefully though, and you’ll spot that I had already installed the memory, CPU, SSD, and the CPU cooling block. This is because the back of the board is no longer accessible once installed, so you’ll want to install your CPU cooler before installing the motherboard into the case.
Step 3: AIO Install
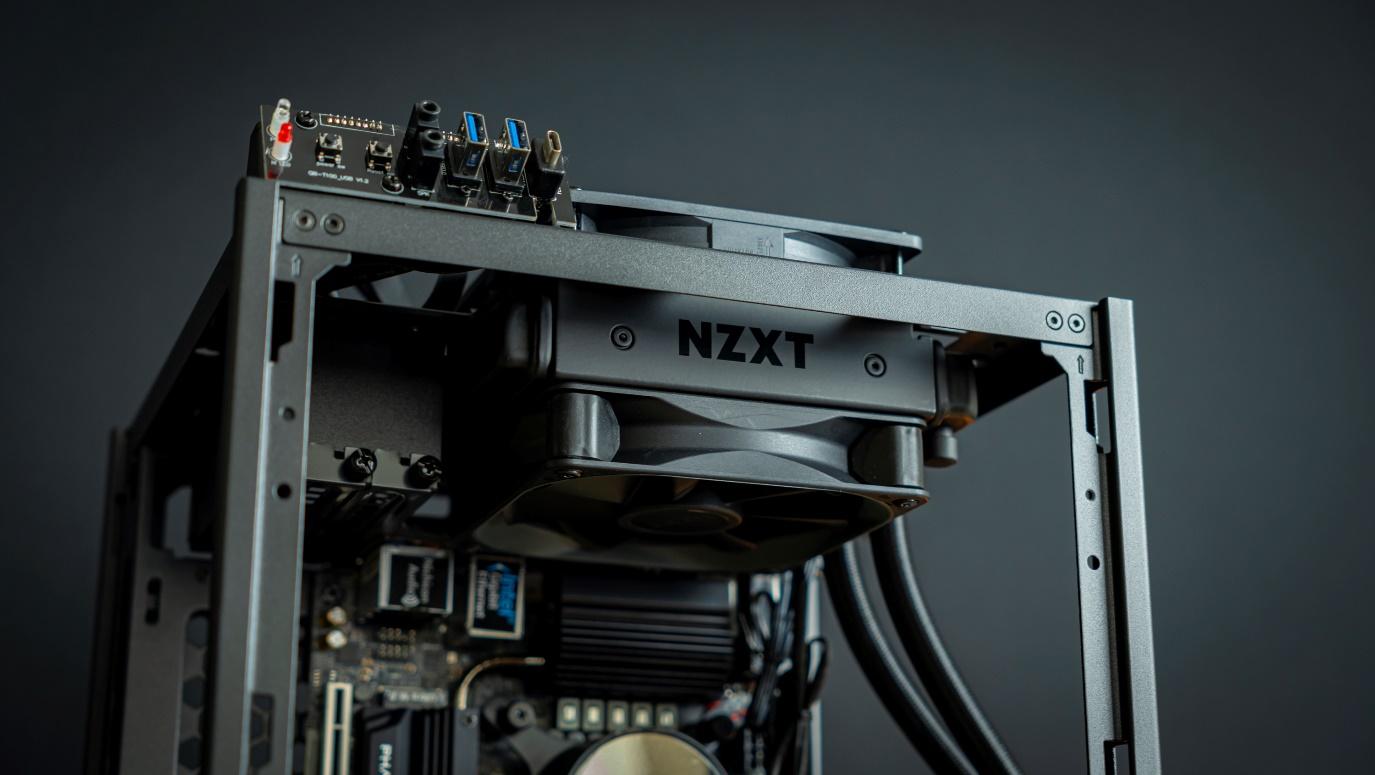
Because the case comes with a fan at each exhaust location, and one of those exhaust locations happens to be where the radiator comes installed, I figured I might as well re-use that fan to create a push-pull radiator configuration. After all, the 120mm limitation isn’t stellar, so every bit of extra cooling can help.
Step 4: GPU Install
Dropping the GPU into place was a breeze. Undo the two thumbscrews holding the expansion slot covers, drop the GPU in, and do up the thumbscrews again. As you can see, there is plenty of room for bigger GPUs.
Step 5: Cable Management
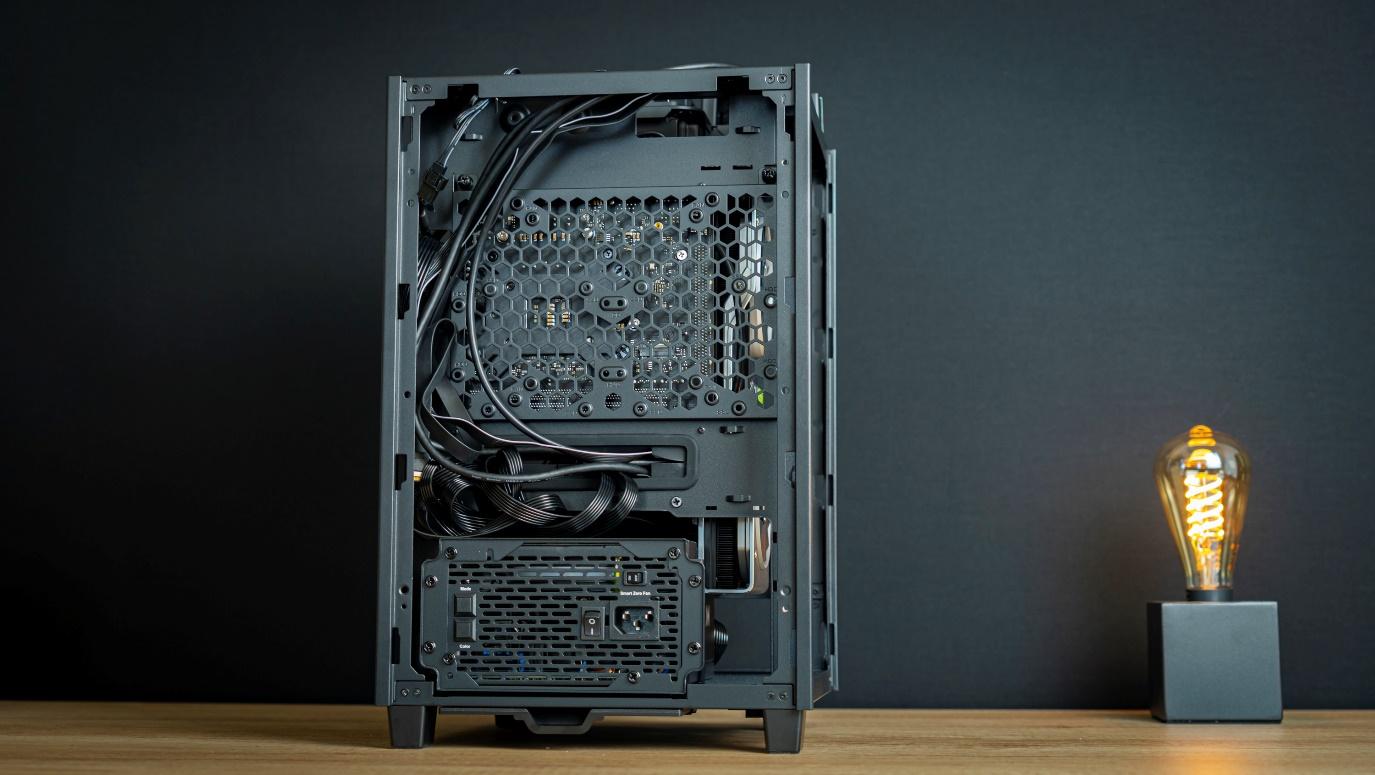
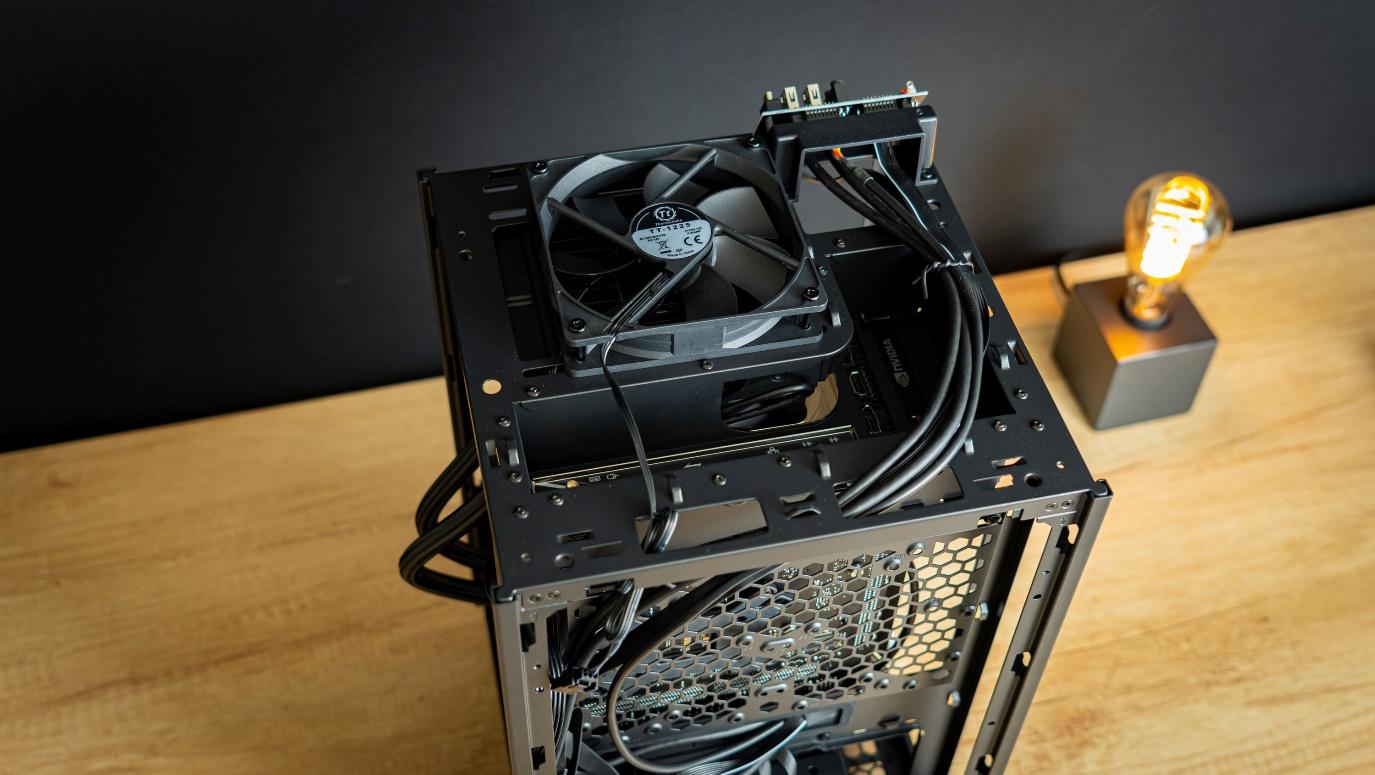
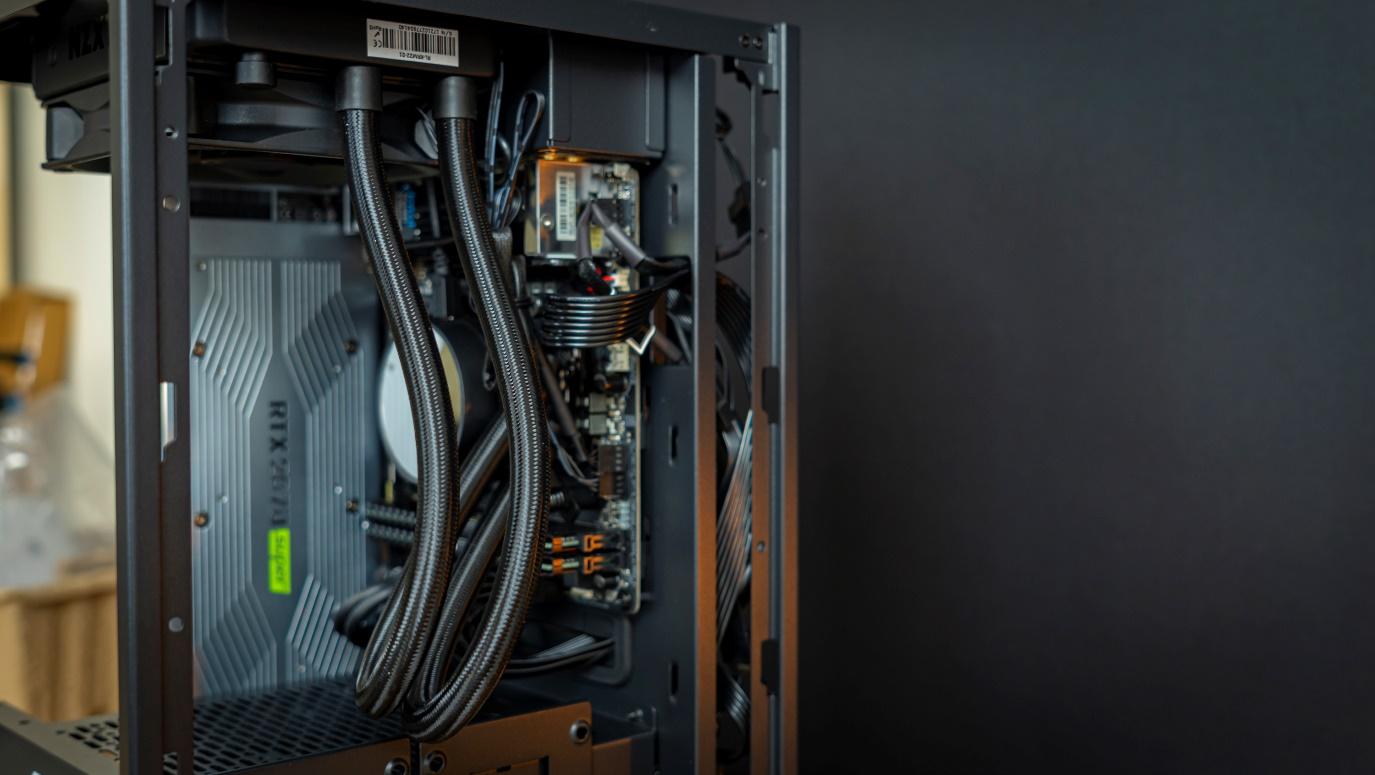
When it comes to cable management, The Tower 100 is far from the best. Though not terrible, the decision to prioritize form over function means that cable management is a bit of an afterthought in the case’s design, and it shows. Some awkward cabling runs are needed, though most of it is covered up by paneling in the end anyway, and there is enough space behind the motherboard tray to fit the slack.
Build Complete
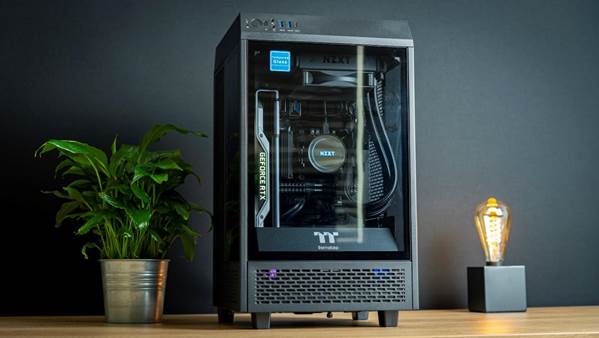
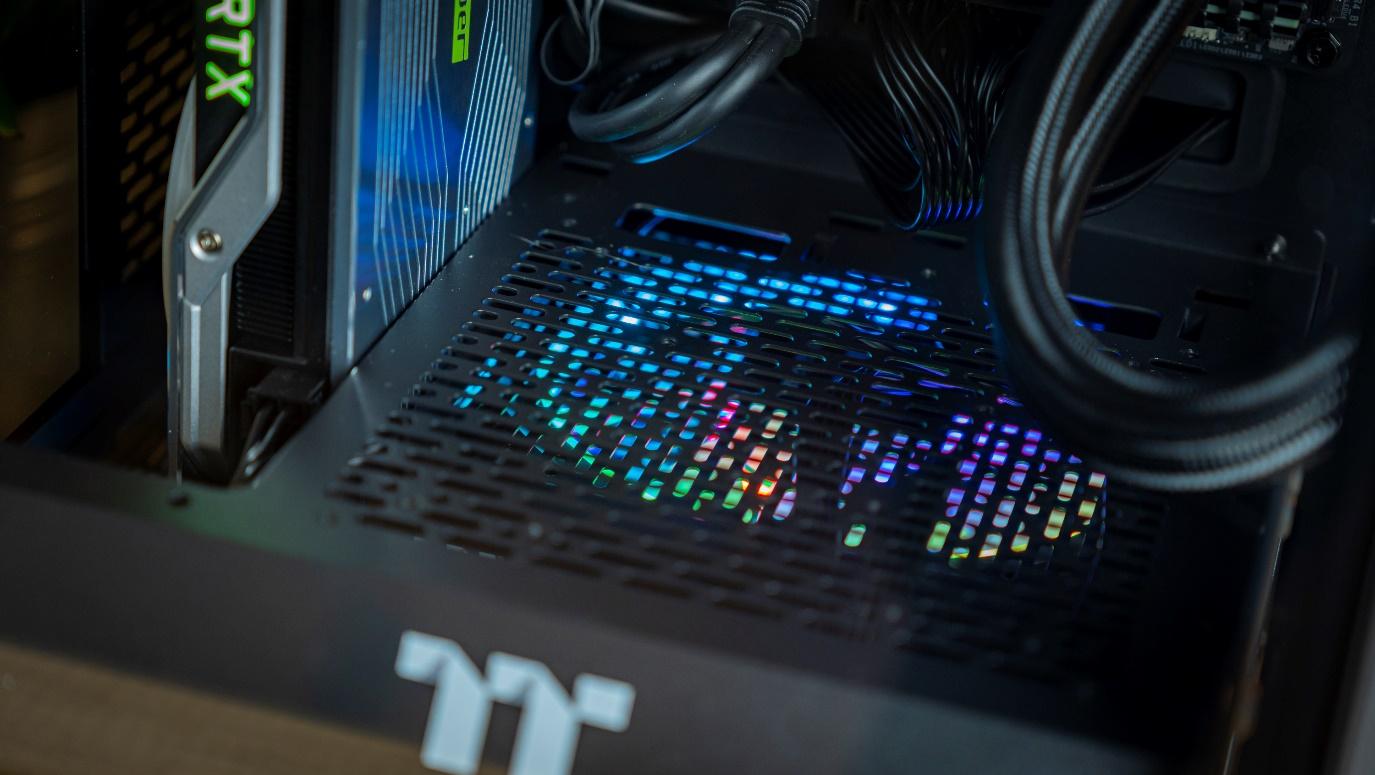
With that, the build is complete and we can proceed to chuck all the paneling back on. In the end, it’s a pretty system that showcases the hardware well. It’s just a shame that there isn’t enough space to justify or get a custom loop to fit, though I don’t think many shoppers in this price segment will care.
Get Tom's Hardware's best news and in-depth reviews, straight to your inbox.
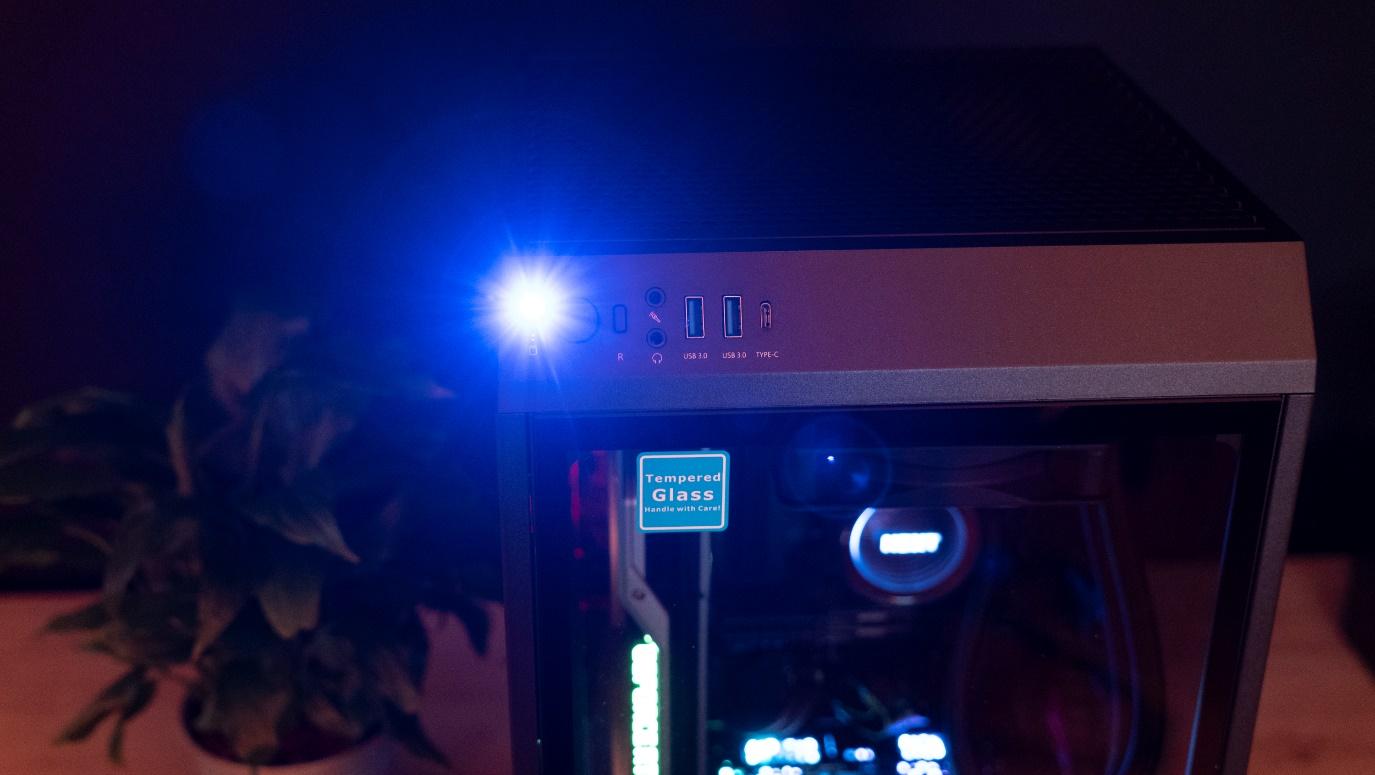
I do have to mention something that annoyed me: The power LED is ridiculously bright when viewed from a dead-on angle. From most angles, it’s fine, but look straight into it and it will overwhelm you a bit. This is not good as at table height, it’s pointed exactly at head height when you’re standing, so there’s a good chance it’ll blind you for a moment each time you walk by it.
Current page: Hardware Installation
Prev Page Features and Specifications Next Page Testing and ConclusionNiels Broekhuijsen is a Contributing Writer for Tom's Hardware US. He reviews cases, water cooling and pc builds.
-
thepersonwithaface45 Honestly I love how that looks, would be neat to see some better quality versions of this come out.Reply -
cknobman Love how this looks!Reply
This jumps right to the very top of case choices on my next build. -
LaminarFlow I bought the NZXT H1 last summer before the fire hazard problem became public.Reply
There is no excuse in the poor handling of the issue from NZXT's front, but having said that I still haven't been able to find a worthy alternative to the H1, this case included.
At least it's nice to see several ITX cases that adopt the tall-n-slim design. Personally I much prefer this to the short ones that take up a very large footprint. -
80-watt Hamster The design says "popcorn machine" to me more than "fish tank".Reply
I almost want to buy it simply to reward a manufacturer for releasing a new design with a disk activity LED. Shame about the PLED, though. -
IrocD I absolutely love this case. Took some time to get things how I wanted them but it came out fantastic. I agreed with the review about the cooling, and I have an EK clc 120 with 2 coolermaster fans on the rad in push/pull, and even this can be insufficient for my i7-10700, but that more on me for my CPU and cooling choices. The chimney design works great, though there's obviously room in this case for a custom loop if you wanted to. But I'm really happy with it how it is, except for the GPU :mad: but that will be upgraded eventually.Reply
a/qWIEXA2View: https://imgur.com/a/qWIEXA2
