The Oculus Touch Motion Controller Review
Why you can trust Tom's Hardware
Sensor Calibration
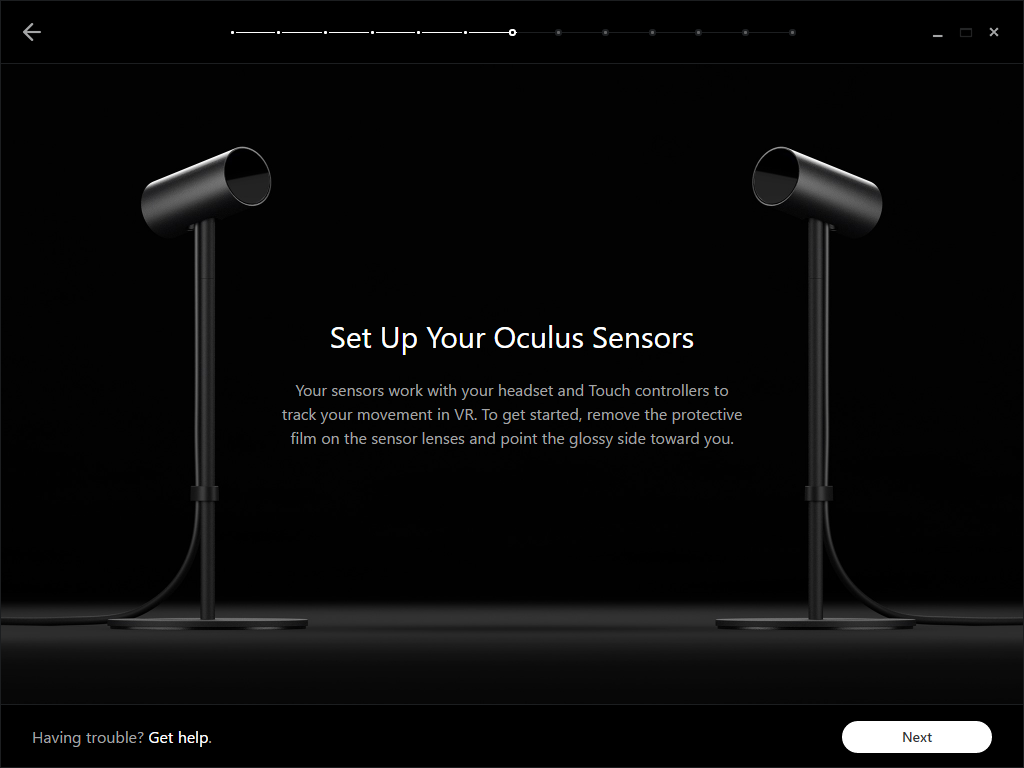
Oculus' Touch controllers must be complemented by at least two sensors. The default configuration requires that both of them face you from the same direction. For example, you can place the sensors at opposite ends of your desk. They must be at least three (and no more than seven) feet apart. Their USB cables are relatively short, so you might not have much choice where they go unless you invest in extensions.
The sensors do come with pedestal stands for easy placement, but consider a wall mount to keep them out of the way. If you accidentally bump the stands, the room calibration goes wonky, forcing you to re-calibrate over and over.
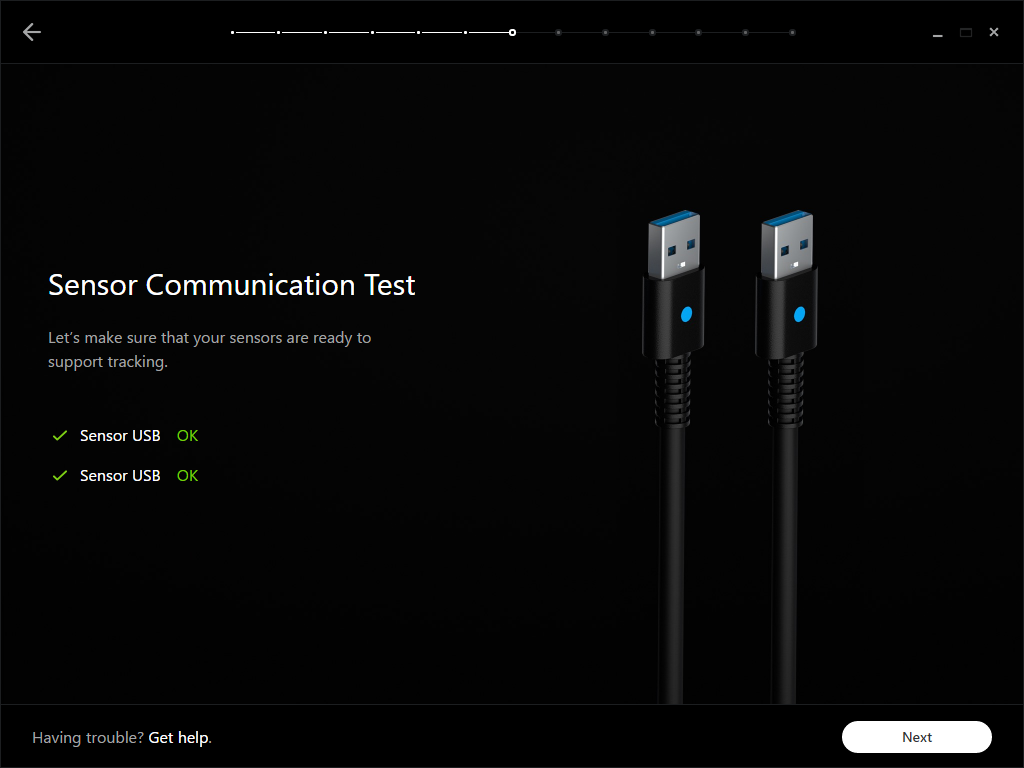
Once you have the sensors where you want them, click Next and let the software run its communication test. You may find that one or both of the sensors spit back a bandwidth error. Each sensor requires lots of USB 3.0 throughput. If you have too many devices on one root hub, the sensors may not work well. Try plugging them into different controllers if you can.
Frankly, two sensors probably won't cause headaches. However, Oculus does give you an option to use three sensors for increased tracking space. If you plug the third sensor into a USB 3.0 port, they can overload the controller with too much tracking data. Try to hook the third sensor up via USB 2.0 if it's available.
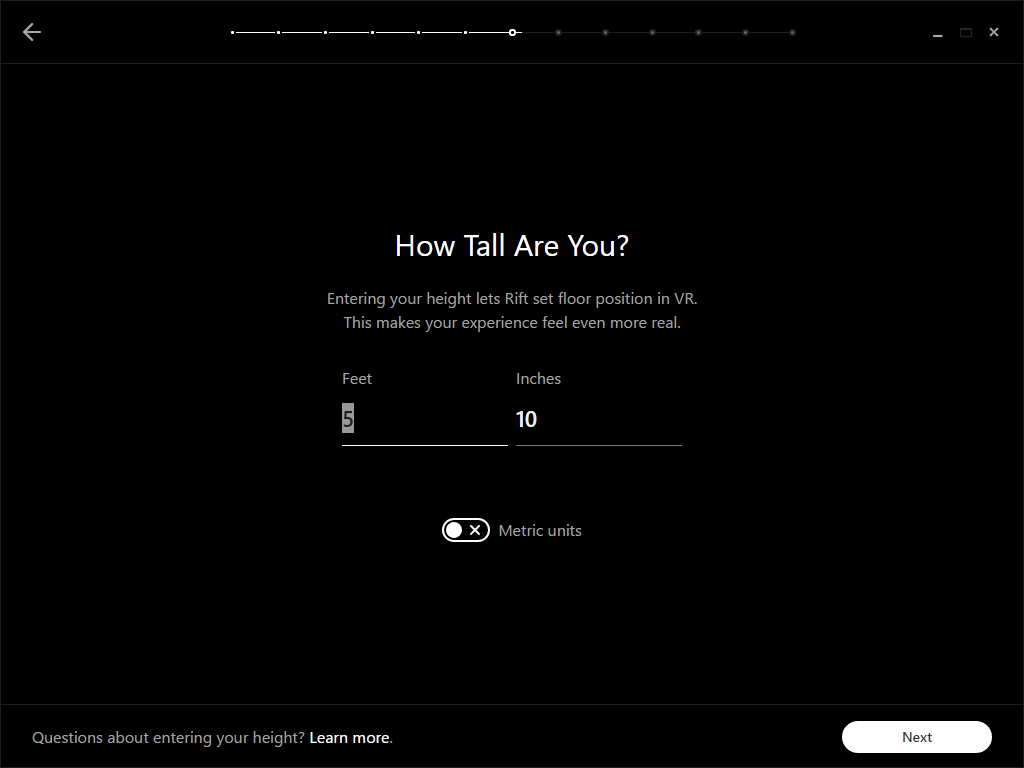
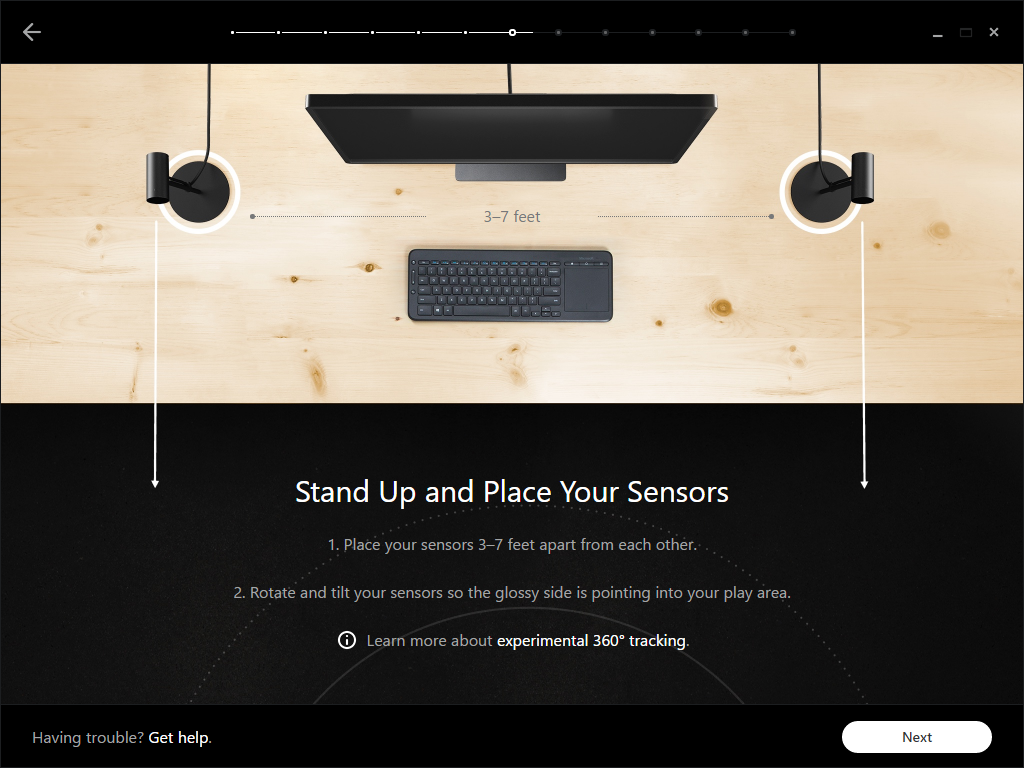
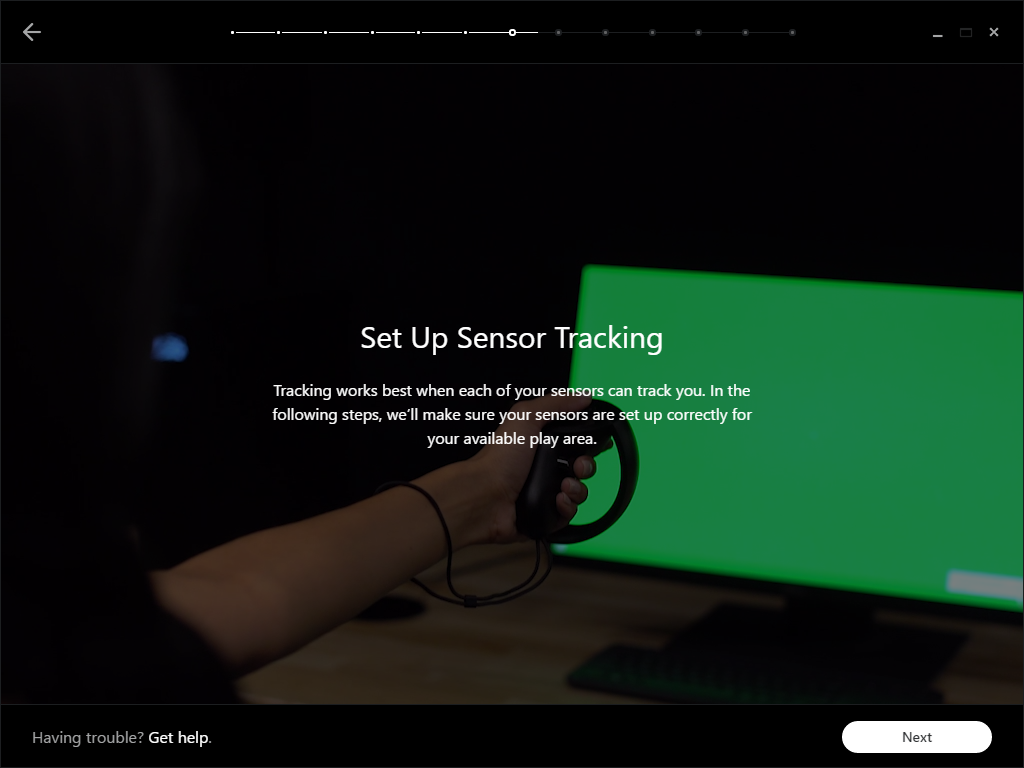
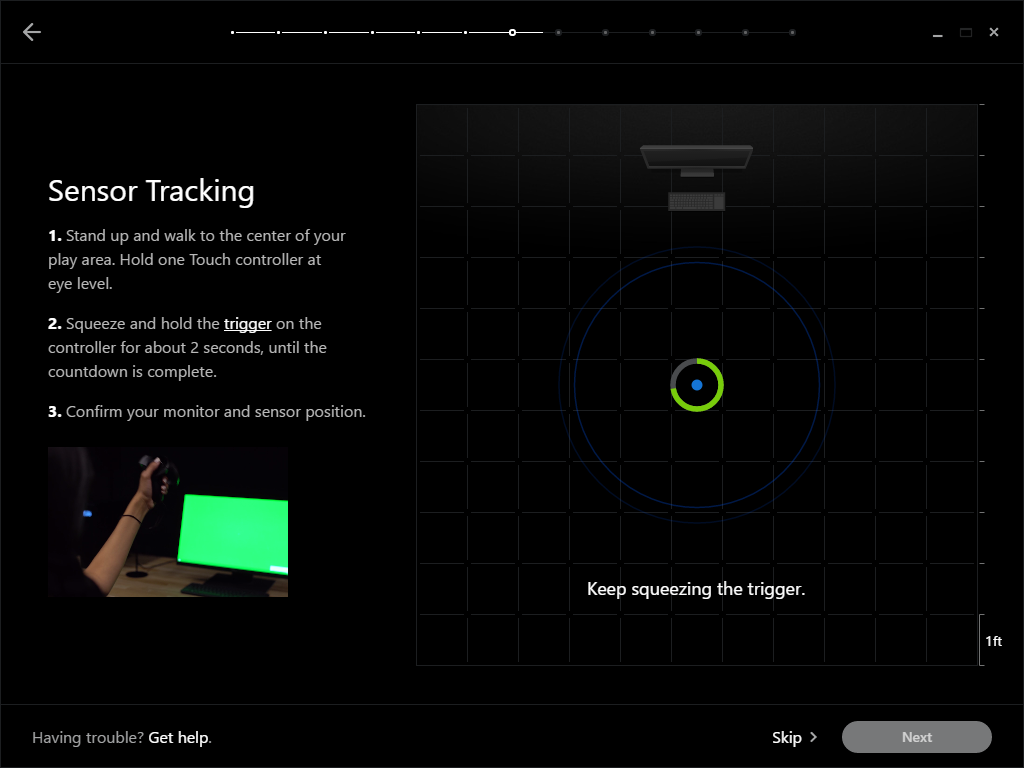
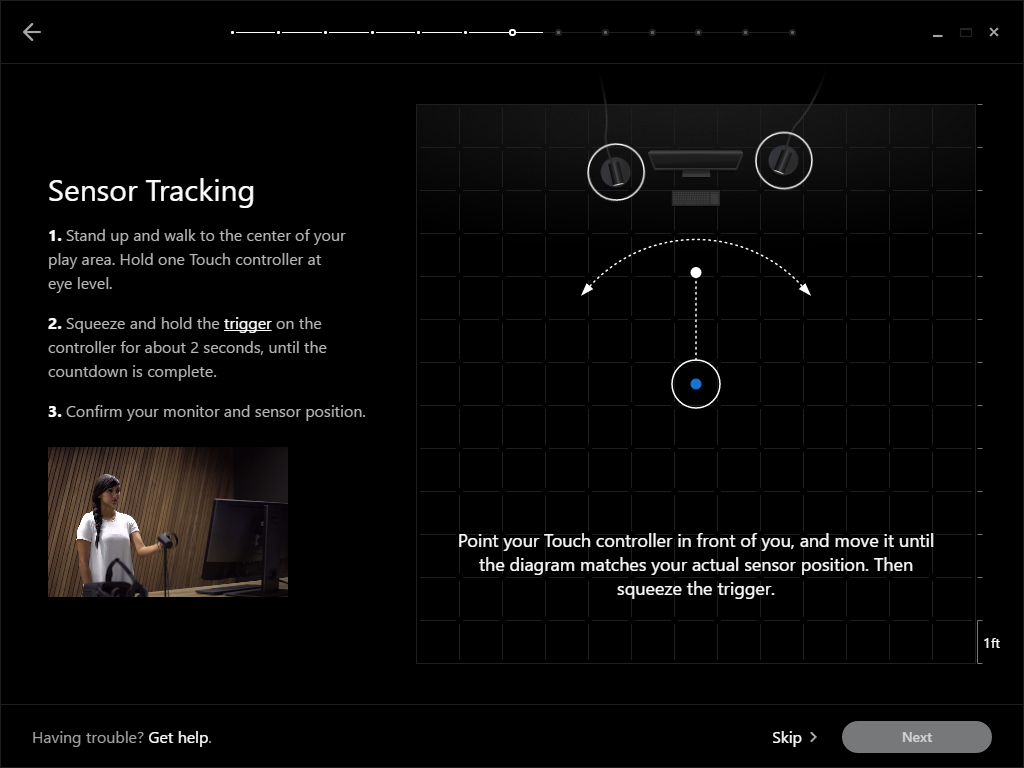
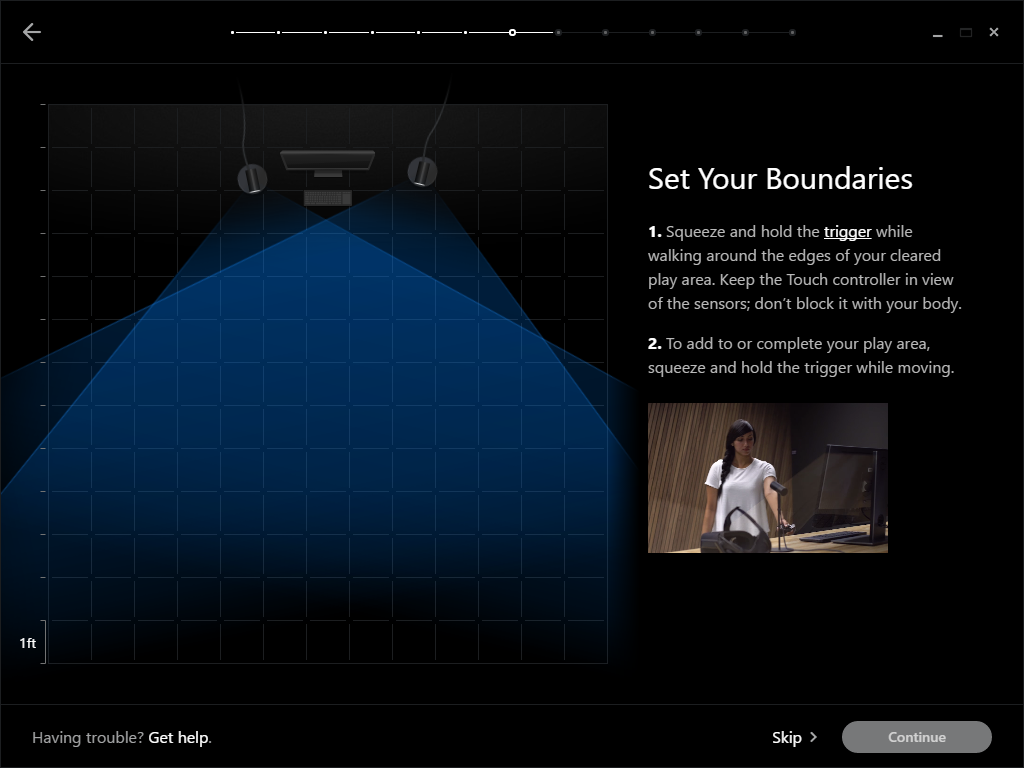
Next, grab one of your Touch controllers and find the center of your desired play space. Make sure you can stretch your arms out to the side and in front of you without hitting anything in either direction. While standing in the center of this area, face the sensors, hold the controller up to eye level, and pull the trigger. On the monitor, you’ll see a countdown circle. Hold the trigger until this completes.
The countdown calibrates the sensors’ positions relative to the controller. Once Oculus' software has that information, it asks you to position the sensor icons in relation to your computer’s display. Wave the Touch controller from right to left to rotate the sensor position on-screen. Pull the trigger when you’re happy with the sensor placement.
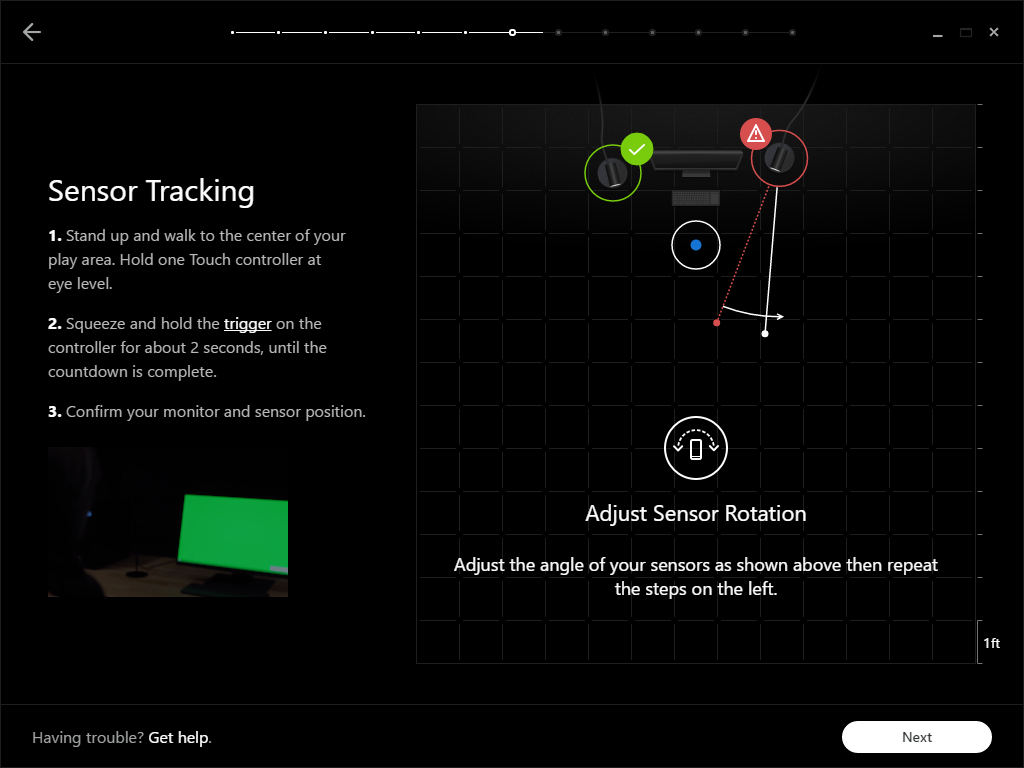
There's a good chance your original sensor placement will need adjustment. The Constellation sensors have a relatively narrow field of view, and the controllers work best when two sensors can see them at once. The Oculus software calculates the best rotation angle for each sensor to minimize occlusion within the tracking area. If a sensor's angle is off, the software tells you which one needs tweaking and the direction to rotate it through a diagram. Oculus doesn’t provide an angle calculation, but the diagram indicates how far to spin the sensor.
Get Tom's Hardware's best news and in-depth reviews, straight to your inbox.
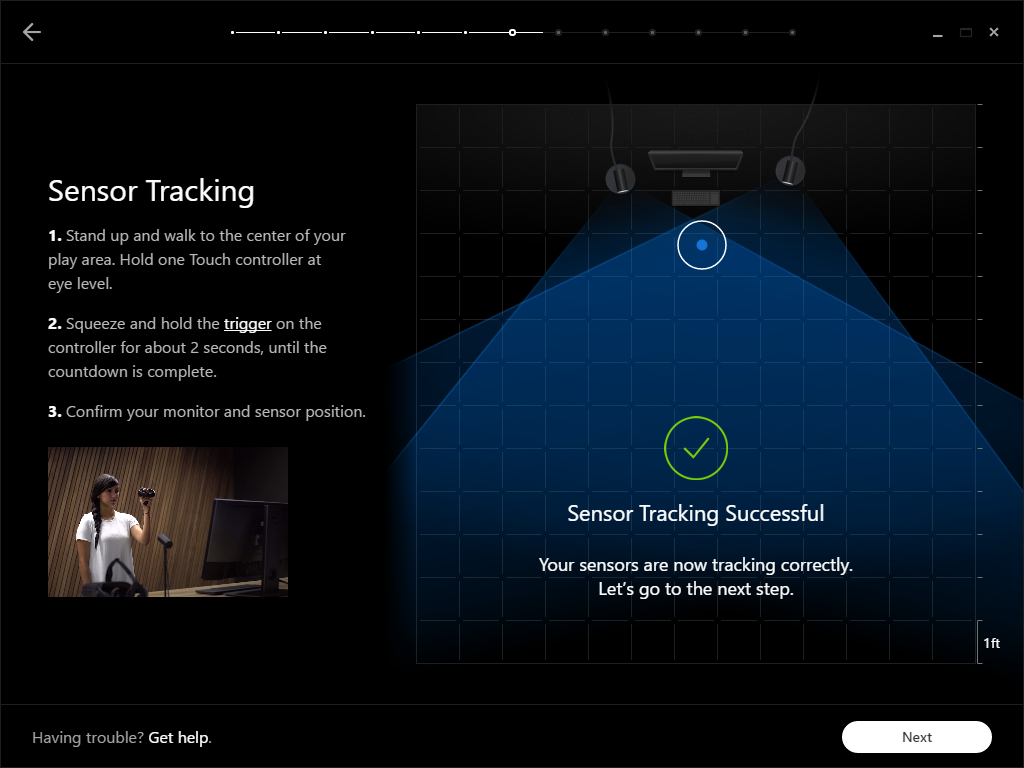
After every adjustment, step back to the center of your play space, hold the controller up to eye level, and pull the trigger. You’ll see a check-mark and a message saying sensor tracking successful when you get the placement right.
Set Your Boundaries
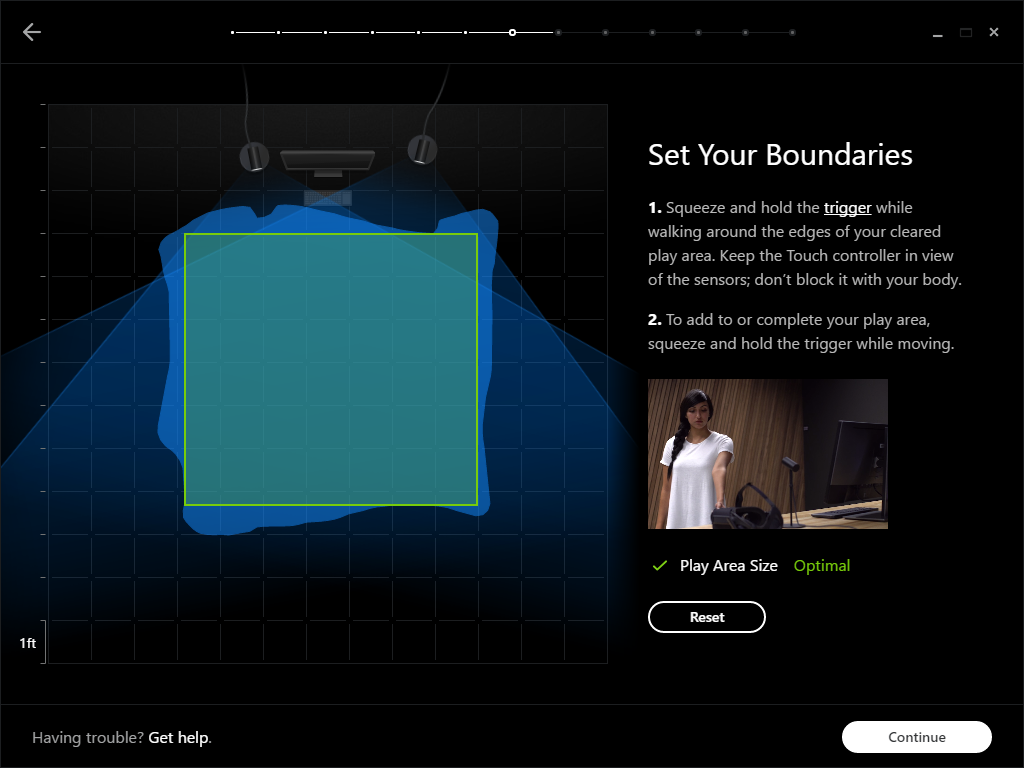
The last step is setting up the Guardian system. Guardian is Oculus’ answer to HTC’s Chaperone system, and it works almost the same way. First, you must define your play space boundaries. Grab one of the Touch controllers, reach out to the edge of your play space, and pull the trigger. While holding the trigger down, trace the border of your safe space. If you don’t have a third sensor covering the back of your play area, be careful not to block the other sensors' views. The controller must remain visible to at least one of them.
Once you’ve traced your space, click Continue to let the software determine your maximum play area. Interestingly, the “optimal” play space for Touch is seven feet by seven feet. That's more than HTC and Valve require for room-scale VR with the Vive. Touch works fine in smaller spaces, provided you can reach out in all directions, but anything more confined than 7x7 triggers a warning. Even if you don't have much room to work with, play it safe. It's better to be sub-optimal than trace dangerous boundaries.
The Guardian boundary pops up in the headset when you move too close to an edge, but it's easy to reach beyond the threshold. If you’re already mid-swing when the Guardian grid comes up, you’re probably going through the barrier. It’s a good idea to set the boundary at least six inches away from anything you may whack with a swinging hand.
Experimental Configurations
When you get to the sensor configuration step, you can either follow the on-screen prompts for a standard configuration or optional instructions for one of two experimental tracker configurations.
One setup facilitates 360° tracking by placing sensors in opposing corners, facing each other. This provides up to 5x5 feet of unobstructed tracking space. The 360° configuration covers a smaller overall play area, but it allows you to spin around completely without occluding the sensor’s view of the Touch controllers and Rift headset.
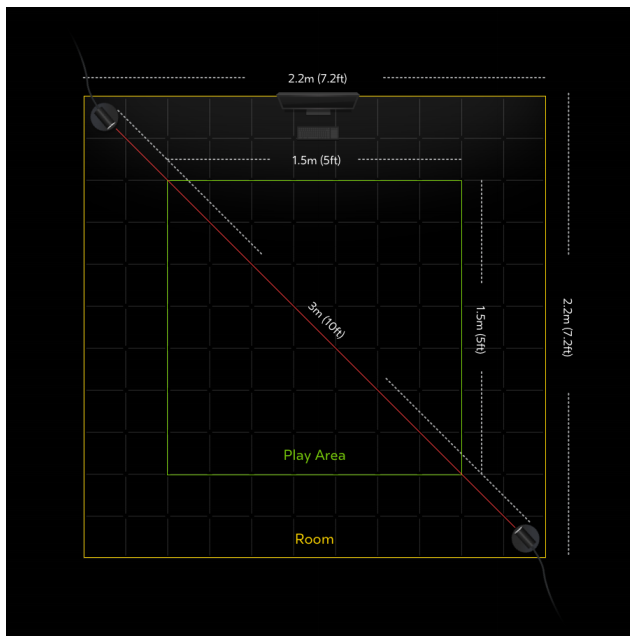
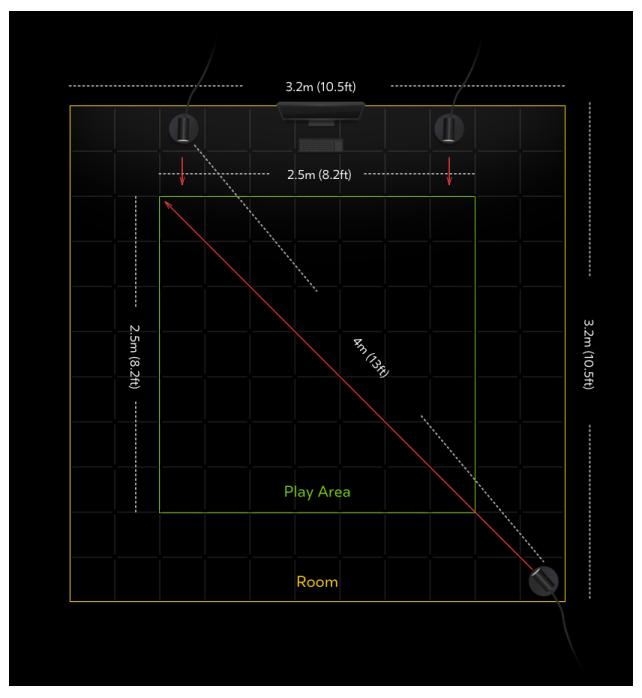
If you want full room-scale tracking, which offers up to 8.2x8.2 feet of play space, you need one sensor to capture the rear and two sensors to capture the front. This configuration provides the largest possible tracked area and least chance of occlusion of any configuration.
MORE: Best Gaming Monitors
MORE: Best Professional Monitors
Kevin Carbotte is a contributing writer for Tom's Hardware who primarily covers VR and AR hardware. He has been writing for us for more than four years.
-
edhem So it appears that the Oculus setup costs more than the HTC Vive, and for someone who does not have Donald Trump hands it might be uncomfortable? In addition, it appears that the Facebook Rift is not that easy to use for non-gamers, which to me seems to be very unusual for Facebook.Reply -
scolaner After spending a couple of days with these things at OC3, I was super impressed. One thing I wish for, though--and Kevin pointed out--is control over (for lack of a better term) the DPI. I like to dial down my mouse DPI somewhat, and I want to do the same with the Touch controllers.Reply -
stairmand I didn't bother to order these for my Rift, too expensive and the whole room-scale bit of VR didn't impress me. Driving games, flight sims etc are amazing but everything else seems a bit mediocre to me.Reply -
dark_lord69 I have an Oculus but having a hard time convincing myself to buy these $200 controllers.Reply
When I first bought a controller it was about $25-30, which seemed like a lot for a controller. Then I bought one for my PS3 and I thought $50 was completely insane. So, no surprise that I'm not willing to listen to my wife bitch about spending $200 on controllers that don't even come with a game...
You'll have to do a lot to convince me that these are worth $200. -
Sakkura Reply18963471 said:So it appears that the Oculus setup costs more than the HTC Vive, and for someone who does not have Donald Trump hands it might be uncomfortable? In addition, it appears that the Facebook Rift is not that easy to use for non-gamers, which to me seems to be very unusual for Facebook.
It costs the same as the HTC Vive, actually less for people who preordered. And the Touch controllers are extremely comfortable in my average hands.
As for ease of use, the Rift certainly has the Vive beat. Setup is very intuitive.
18963675 said:I didn't bother to order these for my Rift, too expensive and the whole room-scale bit of VR didn't impress me. Driving games, flight sims etc are amazing but everything else seems a bit mediocre to me.
I think you should reconsider, unless you're dead set on sticking to those genres. It is pretty damn mind-blowing when you first pick up and use these controllers. -
Chris_342 I've seen maybe 5 reviews and none complained about the comfort and I agree. I have medium sized hands and after a long demo at Best Buy on 2 separate occasions I felt that the controllers were the best I've used for the games I played.Reply -
kcarbotte Reply18963471 said:So it appears that the Oculus setup costs more than the HTC Vive, and for someone who does not have Donald Trump hands it might be uncomfortable? In addition, it appears that the Facebook Rift is not that easy to use for non-gamers, which to me seems to be very unusual for Facebook.
I wouldn't go so far as the say its not that easy. Most of the games don't rely on the buttons that much.
The buttons and joysticks add complexity, which will deter newcomers, such as people who have never played a video game before. But i would argue that Touch controllers are no more intimidating than a gamepad to non-gamers. .
-
scolaner Reply18963837 said:18963471 said:So it appears that the Oculus setup costs more than the HTC Vive, and for someone who does not have Donald Trump hands it might be uncomfortable? In addition, it appears that the Facebook Rift is not that easy to use for non-gamers, which to me seems to be very unusual for Facebook.
It costs the same as the HTC Vive, actually less for people who preordered. And the Touch controllers are extremely comfortable in my average hands.
As for ease of use, the Rift certainly has the Vive beat. Setup is very intuitive.
18963675 said:I didn't bother to order these for my Rift, too expensive and the whole room-scale bit of VR didn't impress me. Driving games, flight sims etc are amazing but everything else seems a bit mediocre to me.
I think you should reconsider, unless you're dead set on sticking to those genres. It is pretty damn mind-blowing when you first pick up and use these controllers.
Note: Parse out room-scale from the Touch controllers...those are two different things. Both great. I might buy a Rift without the third cam. But I would definitely *not* buy one without the Touch controllers at this point...they're really, really great.
-
kjohnsen045 A solution to the hand cramping issue the author had is to use something like Sugru to mold your own grip around the baseReply
https://sugru.com/
