The Oculus Touch Motion Controller Review
Why you can trust Tom's Hardware
Oculus Touch Setup
Before you can use the Touch controllers, you must configure them for your system. If you already own a Rift, the process is simple. Open Oculus' Home desktop app, click on the gear icon in the upper-right corner, and select Settings. Open the General tab and make sure that Automatic App Updates is turned on. If it wasn’t on, let the app update to the latest version.
If you haven’t updated Oculus Home in a while, the download could take some time. Remember, if you uninstall Oculus Home, you'll also remove your downloaded games. Oculus doesn’t have a backup function for store content.
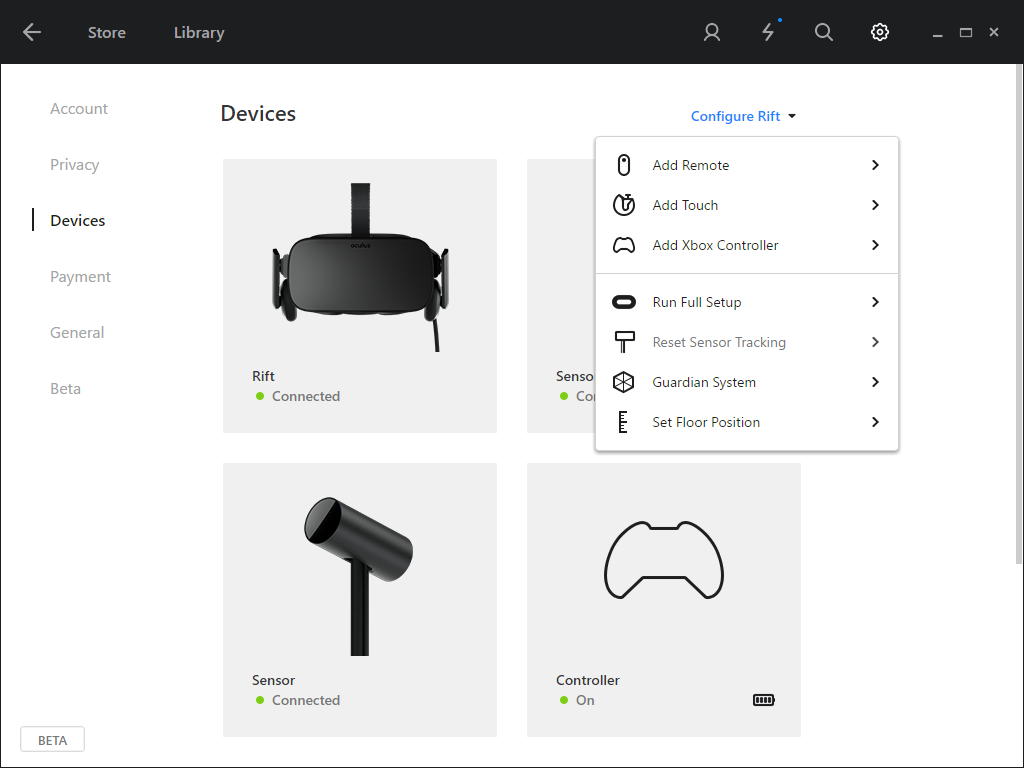
Once Oculus Home is up to date, open the Devices tab in the Settings menu. In the upper-right corner of that pane, you’ll find a drop-down menu called Configure Rift. The current version of Oculus Home features an option called Add Touch, which walks you through the Touch pairing and calibration process. Run Full Setup also includes the Touch configuration routine.
What About The Newbies?
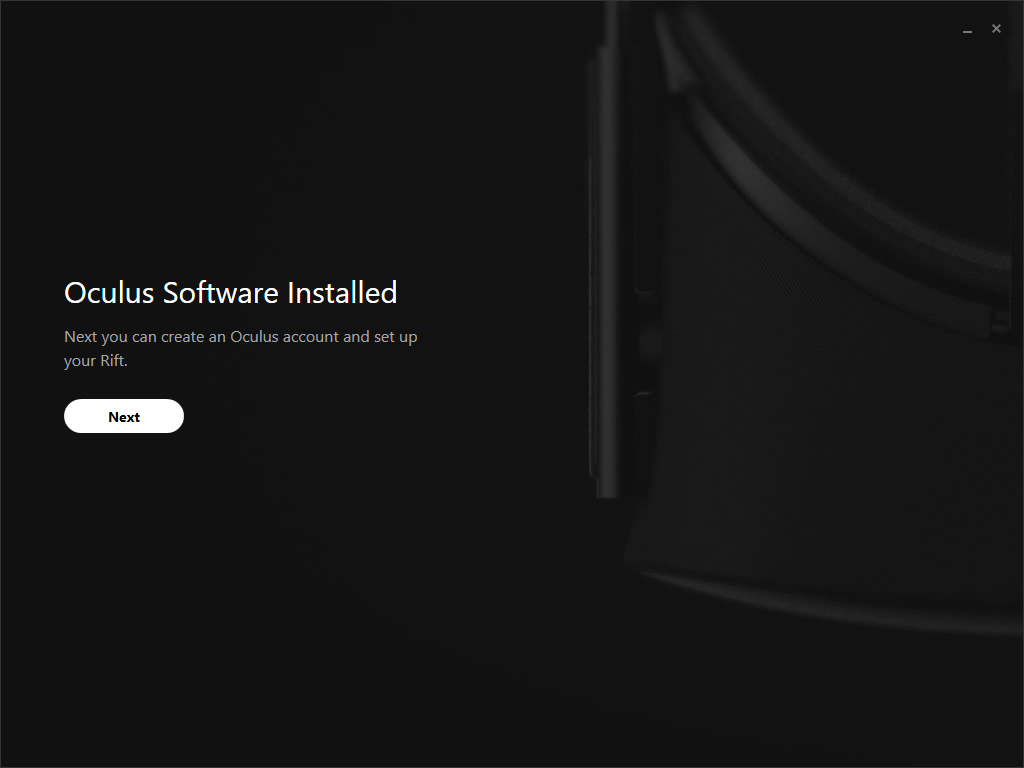
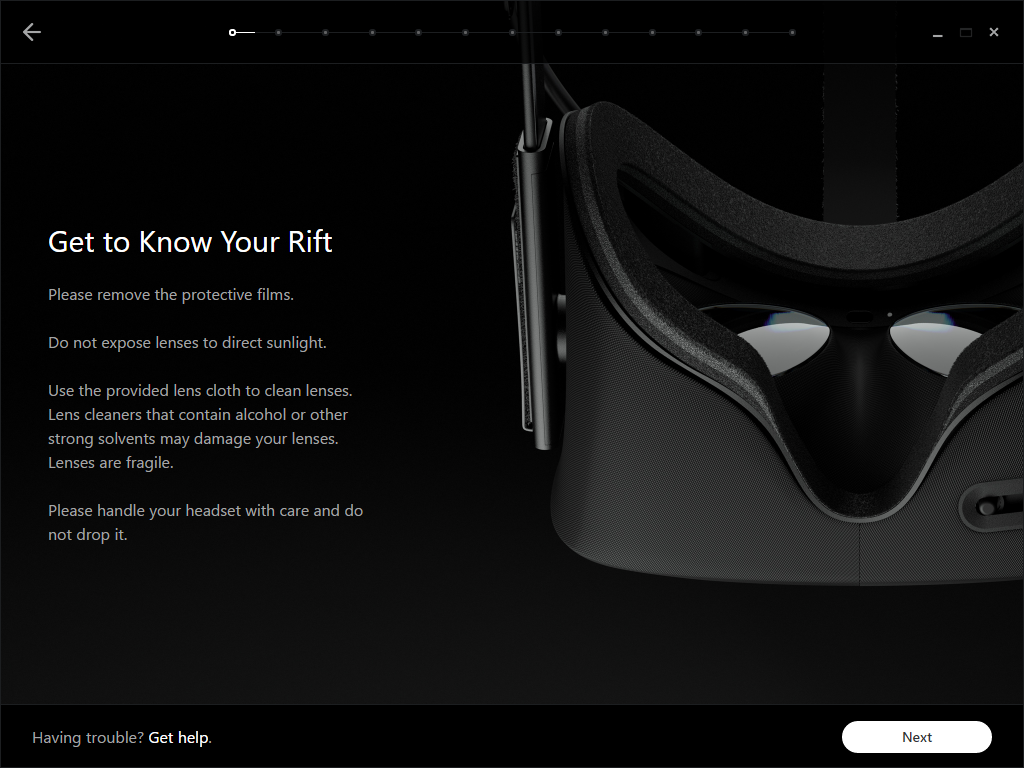
If you picked up a Rift along with Touch controllers, first, welcome to the world of VR. Second, before you plug anything in, download the installation package from www.oculus.com/setup. The Oculus Home installer walks you through the entire setup process, step by step.
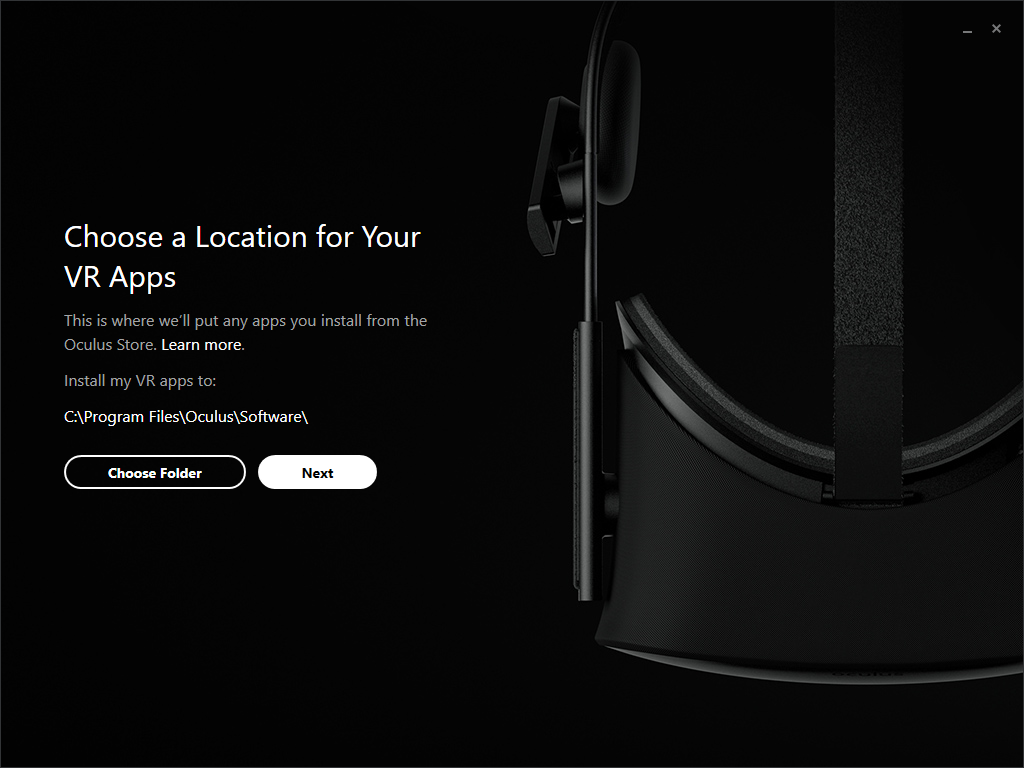
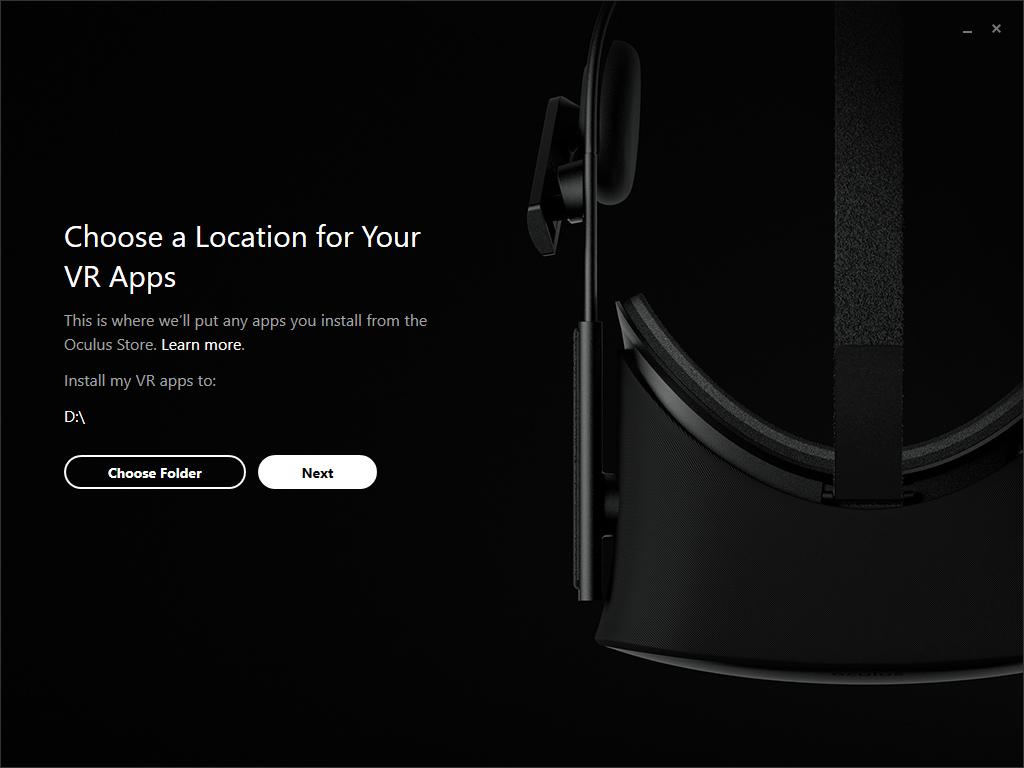
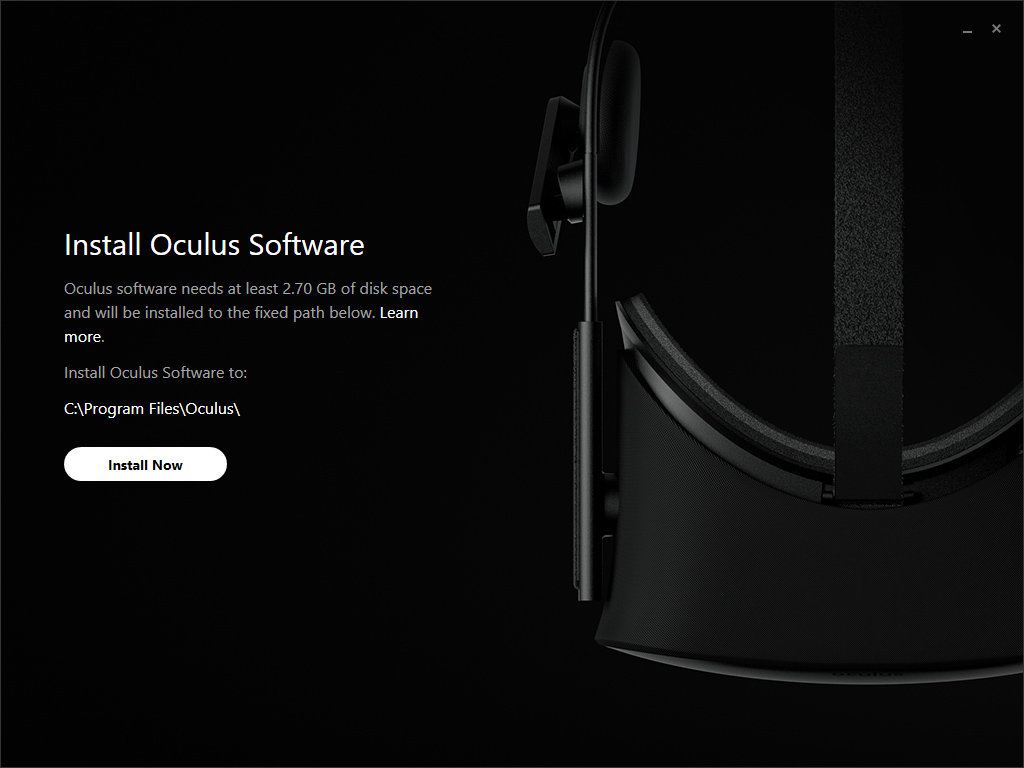
Oculus changed a few things about its software installation since we first evaluated the Rift in March. Back then, you didn’t have control over the installation directory. Home installed to C:/Program Files (x86)/Oculus, no matter how big your hard drive was. If your boot drive was a 128GB SSD, you were stuck with that. Oculus now allows you to select the destination for its software.
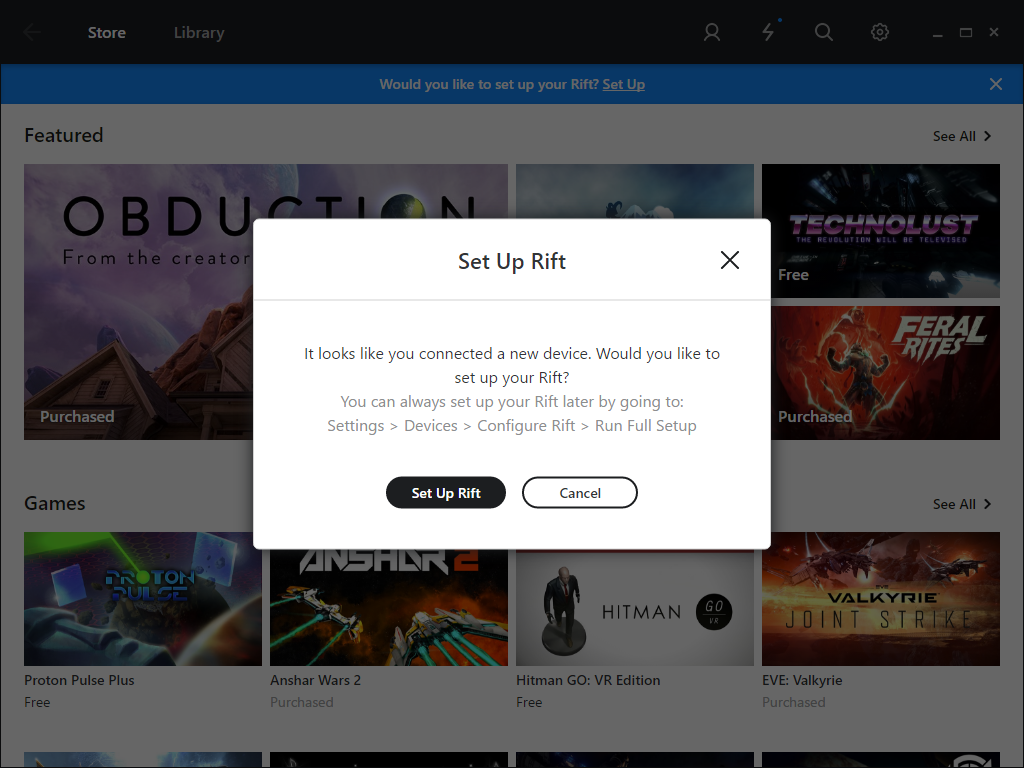
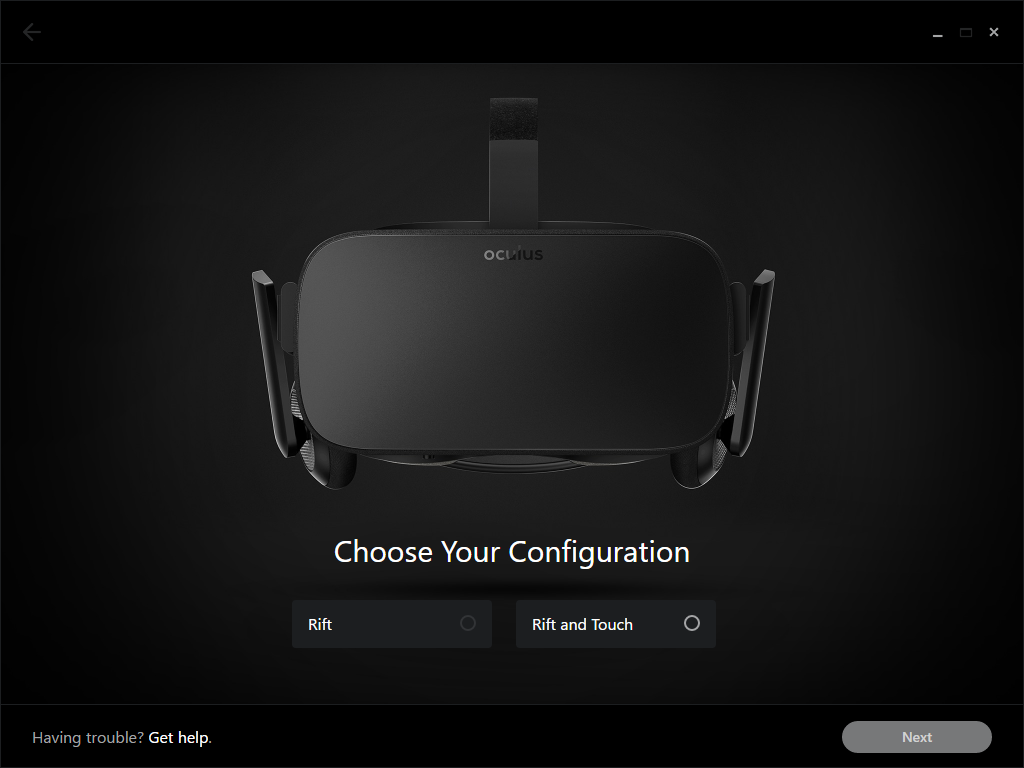
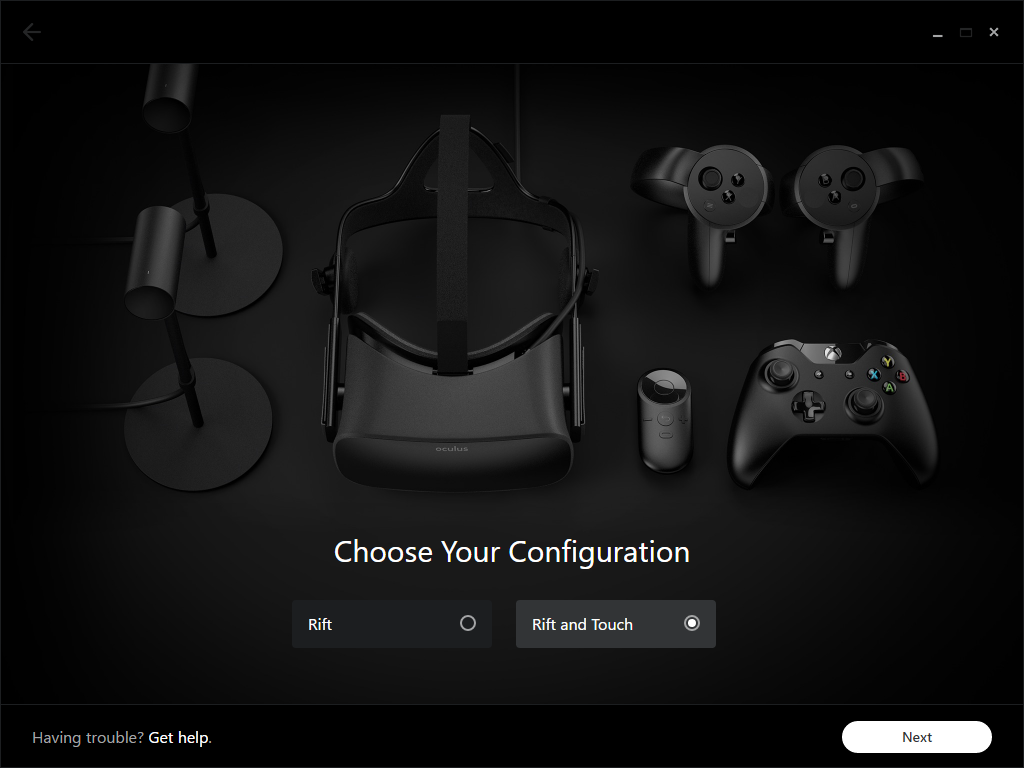
The first time you open Oculus Home, you’re prompted to set up the Rift. This process starts by asking if you’re setting up a Rift headset or a Rift with Touch controllers.
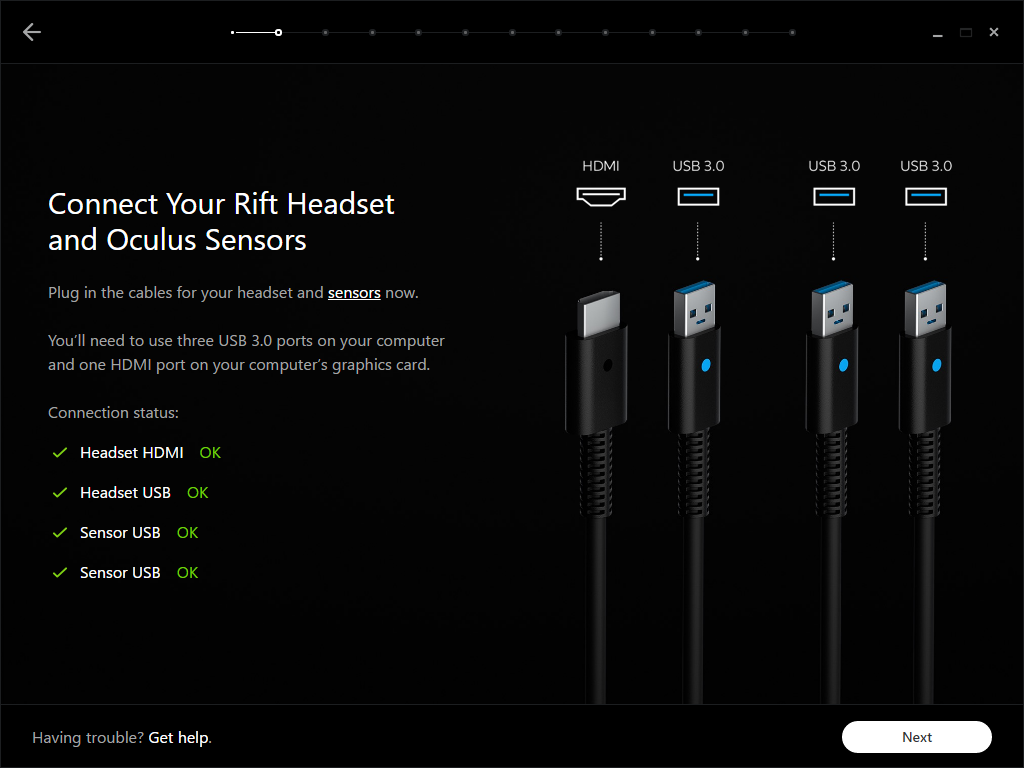
The next step involves plugging the hardware into a PC. There's no way to continue until the software detects the HMD's HDMI and USB signals, and, if you're using Touch, a USB signal from at least two sensors.
Get Tom's Hardware's best news and in-depth reviews, straight to your inbox.
Once the install finds a headset and sensors, you're asked to connect the Oculus remote and Xbox One controller. Follow the on-screen prompts.
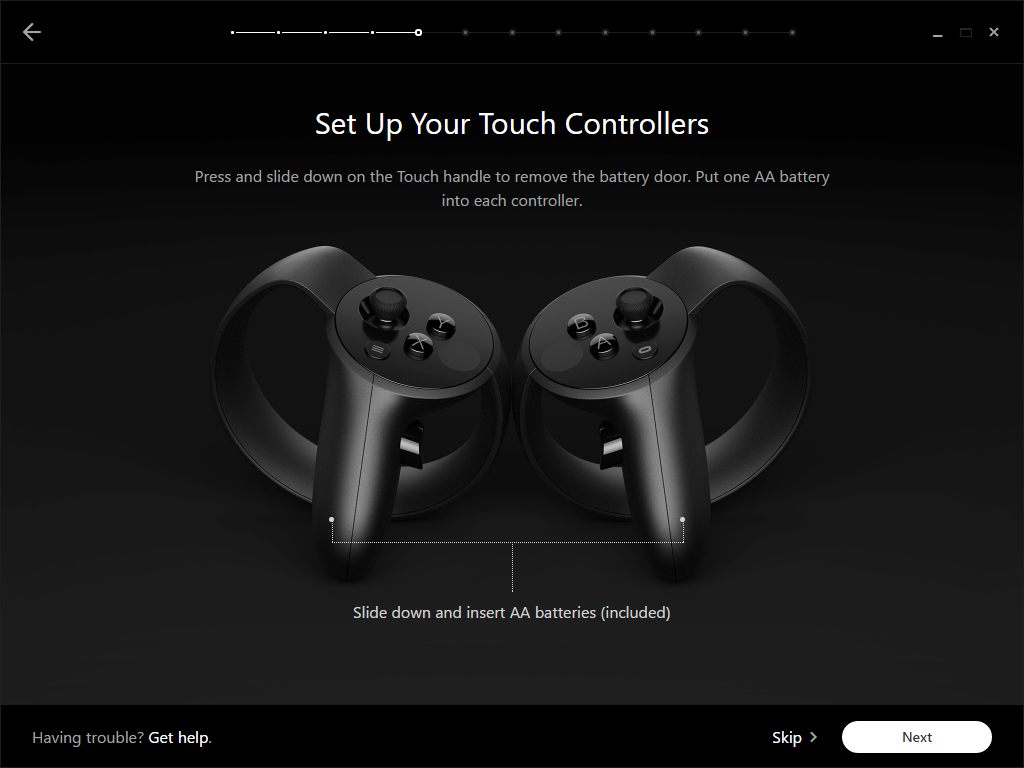
If you haven’t installed batteries into the Touch controllers yet, do that now. To open the battery compartment, locate the eject icon stamped into the handle. Flip the controller upside down so the buttons and joystick face your palm. Press your thumb on the upper edge of the cover. You don’t need to push hard, but you must apply force at the correct angle.
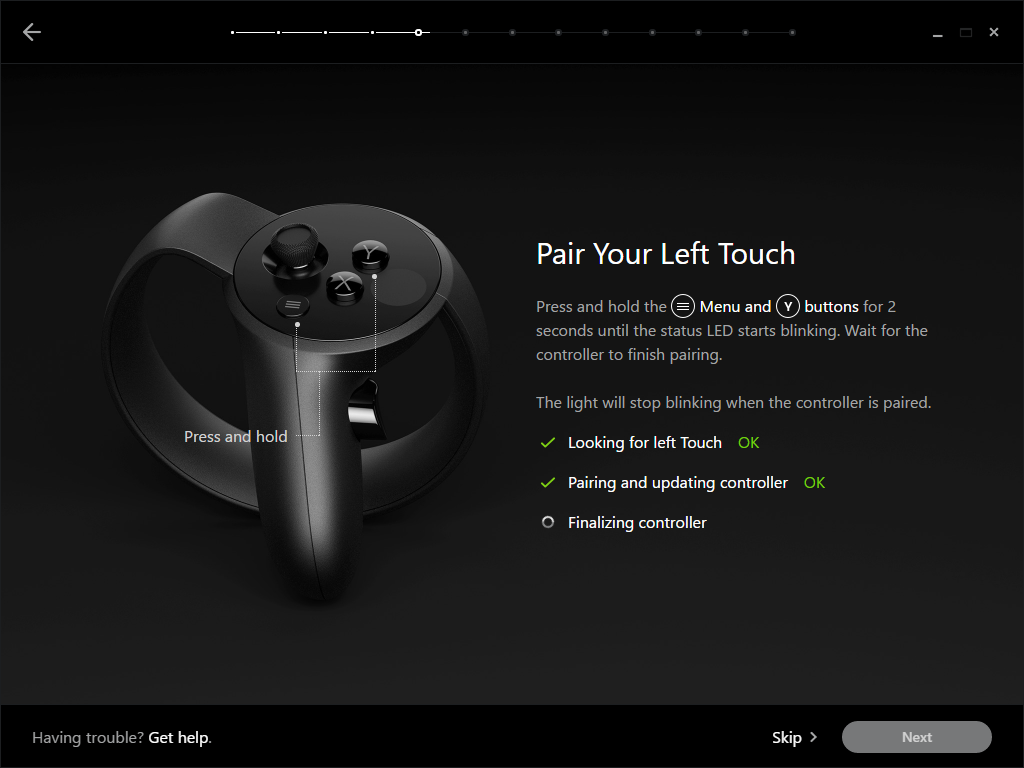
The install process prompts you to pair the left controller first. To put the controller into pairing mode, hold the Menu and Y buttons down for two seconds. When the controller switches to pairing mode, a white LED on its face starts blinking. As soon as the controller pairs with your Rift, the Oculus installer checks for firmware updates and applies them, if needed.
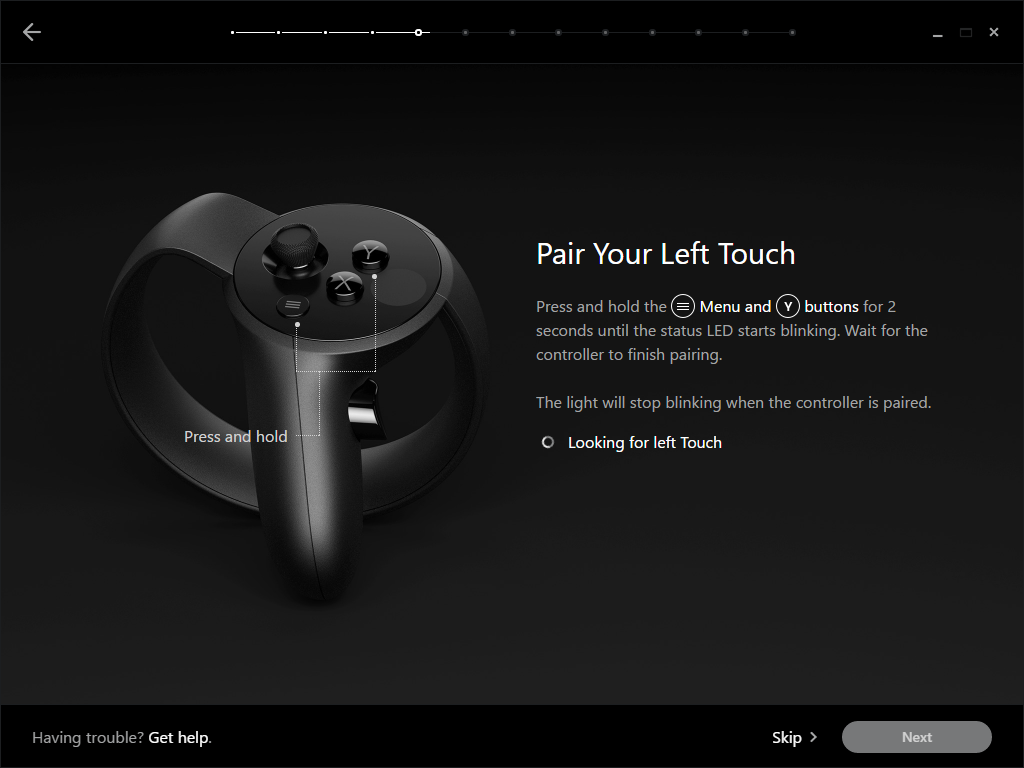
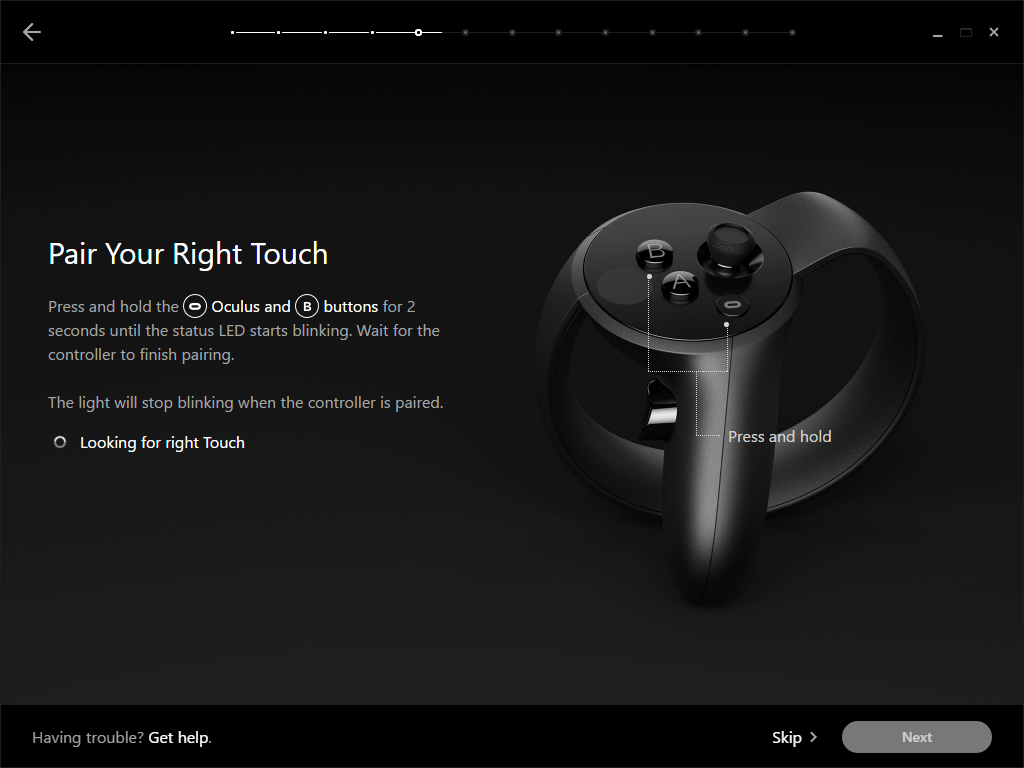
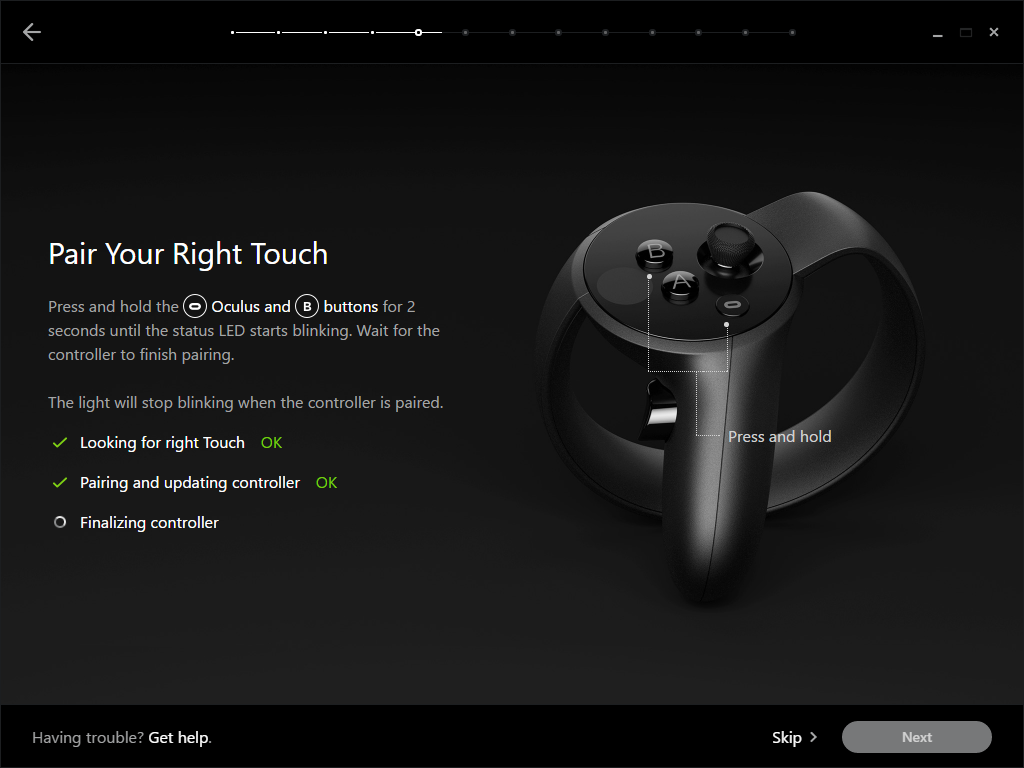
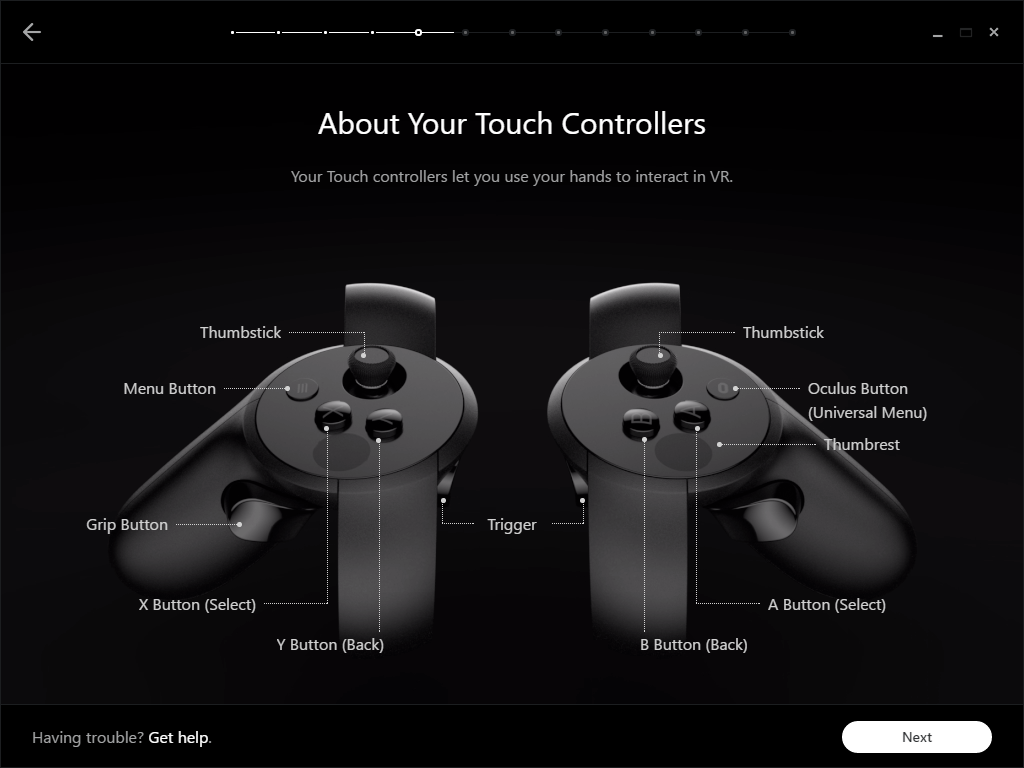
You must go through the same process for the right controller. To start its pairing process, hold the Oculus and B buttons down until the white LED starts blinking. Repeat the same steps.
MORE: Best Graphics Cards
MORE: Best Gaming Laptops
Kevin Carbotte is a contributing writer for Tom's Hardware who primarily covers VR and AR hardware. He has been writing for us for more than four years.
-
edhem So it appears that the Oculus setup costs more than the HTC Vive, and for someone who does not have Donald Trump hands it might be uncomfortable? In addition, it appears that the Facebook Rift is not that easy to use for non-gamers, which to me seems to be very unusual for Facebook.Reply -
scolaner After spending a couple of days with these things at OC3, I was super impressed. One thing I wish for, though--and Kevin pointed out--is control over (for lack of a better term) the DPI. I like to dial down my mouse DPI somewhat, and I want to do the same with the Touch controllers.Reply -
stairmand I didn't bother to order these for my Rift, too expensive and the whole room-scale bit of VR didn't impress me. Driving games, flight sims etc are amazing but everything else seems a bit mediocre to me.Reply -
dark_lord69 I have an Oculus but having a hard time convincing myself to buy these $200 controllers.Reply
When I first bought a controller it was about $25-30, which seemed like a lot for a controller. Then I bought one for my PS3 and I thought $50 was completely insane. So, no surprise that I'm not willing to listen to my wife bitch about spending $200 on controllers that don't even come with a game...
You'll have to do a lot to convince me that these are worth $200. -
Sakkura Reply18963471 said:So it appears that the Oculus setup costs more than the HTC Vive, and for someone who does not have Donald Trump hands it might be uncomfortable? In addition, it appears that the Facebook Rift is not that easy to use for non-gamers, which to me seems to be very unusual for Facebook.
It costs the same as the HTC Vive, actually less for people who preordered. And the Touch controllers are extremely comfortable in my average hands.
As for ease of use, the Rift certainly has the Vive beat. Setup is very intuitive.
18963675 said:I didn't bother to order these for my Rift, too expensive and the whole room-scale bit of VR didn't impress me. Driving games, flight sims etc are amazing but everything else seems a bit mediocre to me.
I think you should reconsider, unless you're dead set on sticking to those genres. It is pretty damn mind-blowing when you first pick up and use these controllers. -
Chris_342 I've seen maybe 5 reviews and none complained about the comfort and I agree. I have medium sized hands and after a long demo at Best Buy on 2 separate occasions I felt that the controllers were the best I've used for the games I played.Reply -
kcarbotte Reply18963471 said:So it appears that the Oculus setup costs more than the HTC Vive, and for someone who does not have Donald Trump hands it might be uncomfortable? In addition, it appears that the Facebook Rift is not that easy to use for non-gamers, which to me seems to be very unusual for Facebook.
I wouldn't go so far as the say its not that easy. Most of the games don't rely on the buttons that much.
The buttons and joysticks add complexity, which will deter newcomers, such as people who have never played a video game before. But i would argue that Touch controllers are no more intimidating than a gamepad to non-gamers. .
-
scolaner Reply18963837 said:18963471 said:So it appears that the Oculus setup costs more than the HTC Vive, and for someone who does not have Donald Trump hands it might be uncomfortable? In addition, it appears that the Facebook Rift is not that easy to use for non-gamers, which to me seems to be very unusual for Facebook.
It costs the same as the HTC Vive, actually less for people who preordered. And the Touch controllers are extremely comfortable in my average hands.
As for ease of use, the Rift certainly has the Vive beat. Setup is very intuitive.
18963675 said:I didn't bother to order these for my Rift, too expensive and the whole room-scale bit of VR didn't impress me. Driving games, flight sims etc are amazing but everything else seems a bit mediocre to me.
I think you should reconsider, unless you're dead set on sticking to those genres. It is pretty damn mind-blowing when you first pick up and use these controllers.
Note: Parse out room-scale from the Touch controllers...those are two different things. Both great. I might buy a Rift without the third cam. But I would definitely *not* buy one without the Touch controllers at this point...they're really, really great.
-
kjohnsen045 A solution to the hand cramping issue the author had is to use something like Sugru to mold your own grip around the baseReply
https://sugru.com/
