Tom's Hardware Verdict
Valkyrie’s SYN 360 features exquisite packaging and uniquely upgradable storage. But its high price and unpolished software make it hard to recommend against competitors.
Pros
- +
2.1-inch programmable display
- +
32 GB of removable storage (SD Card)
- +
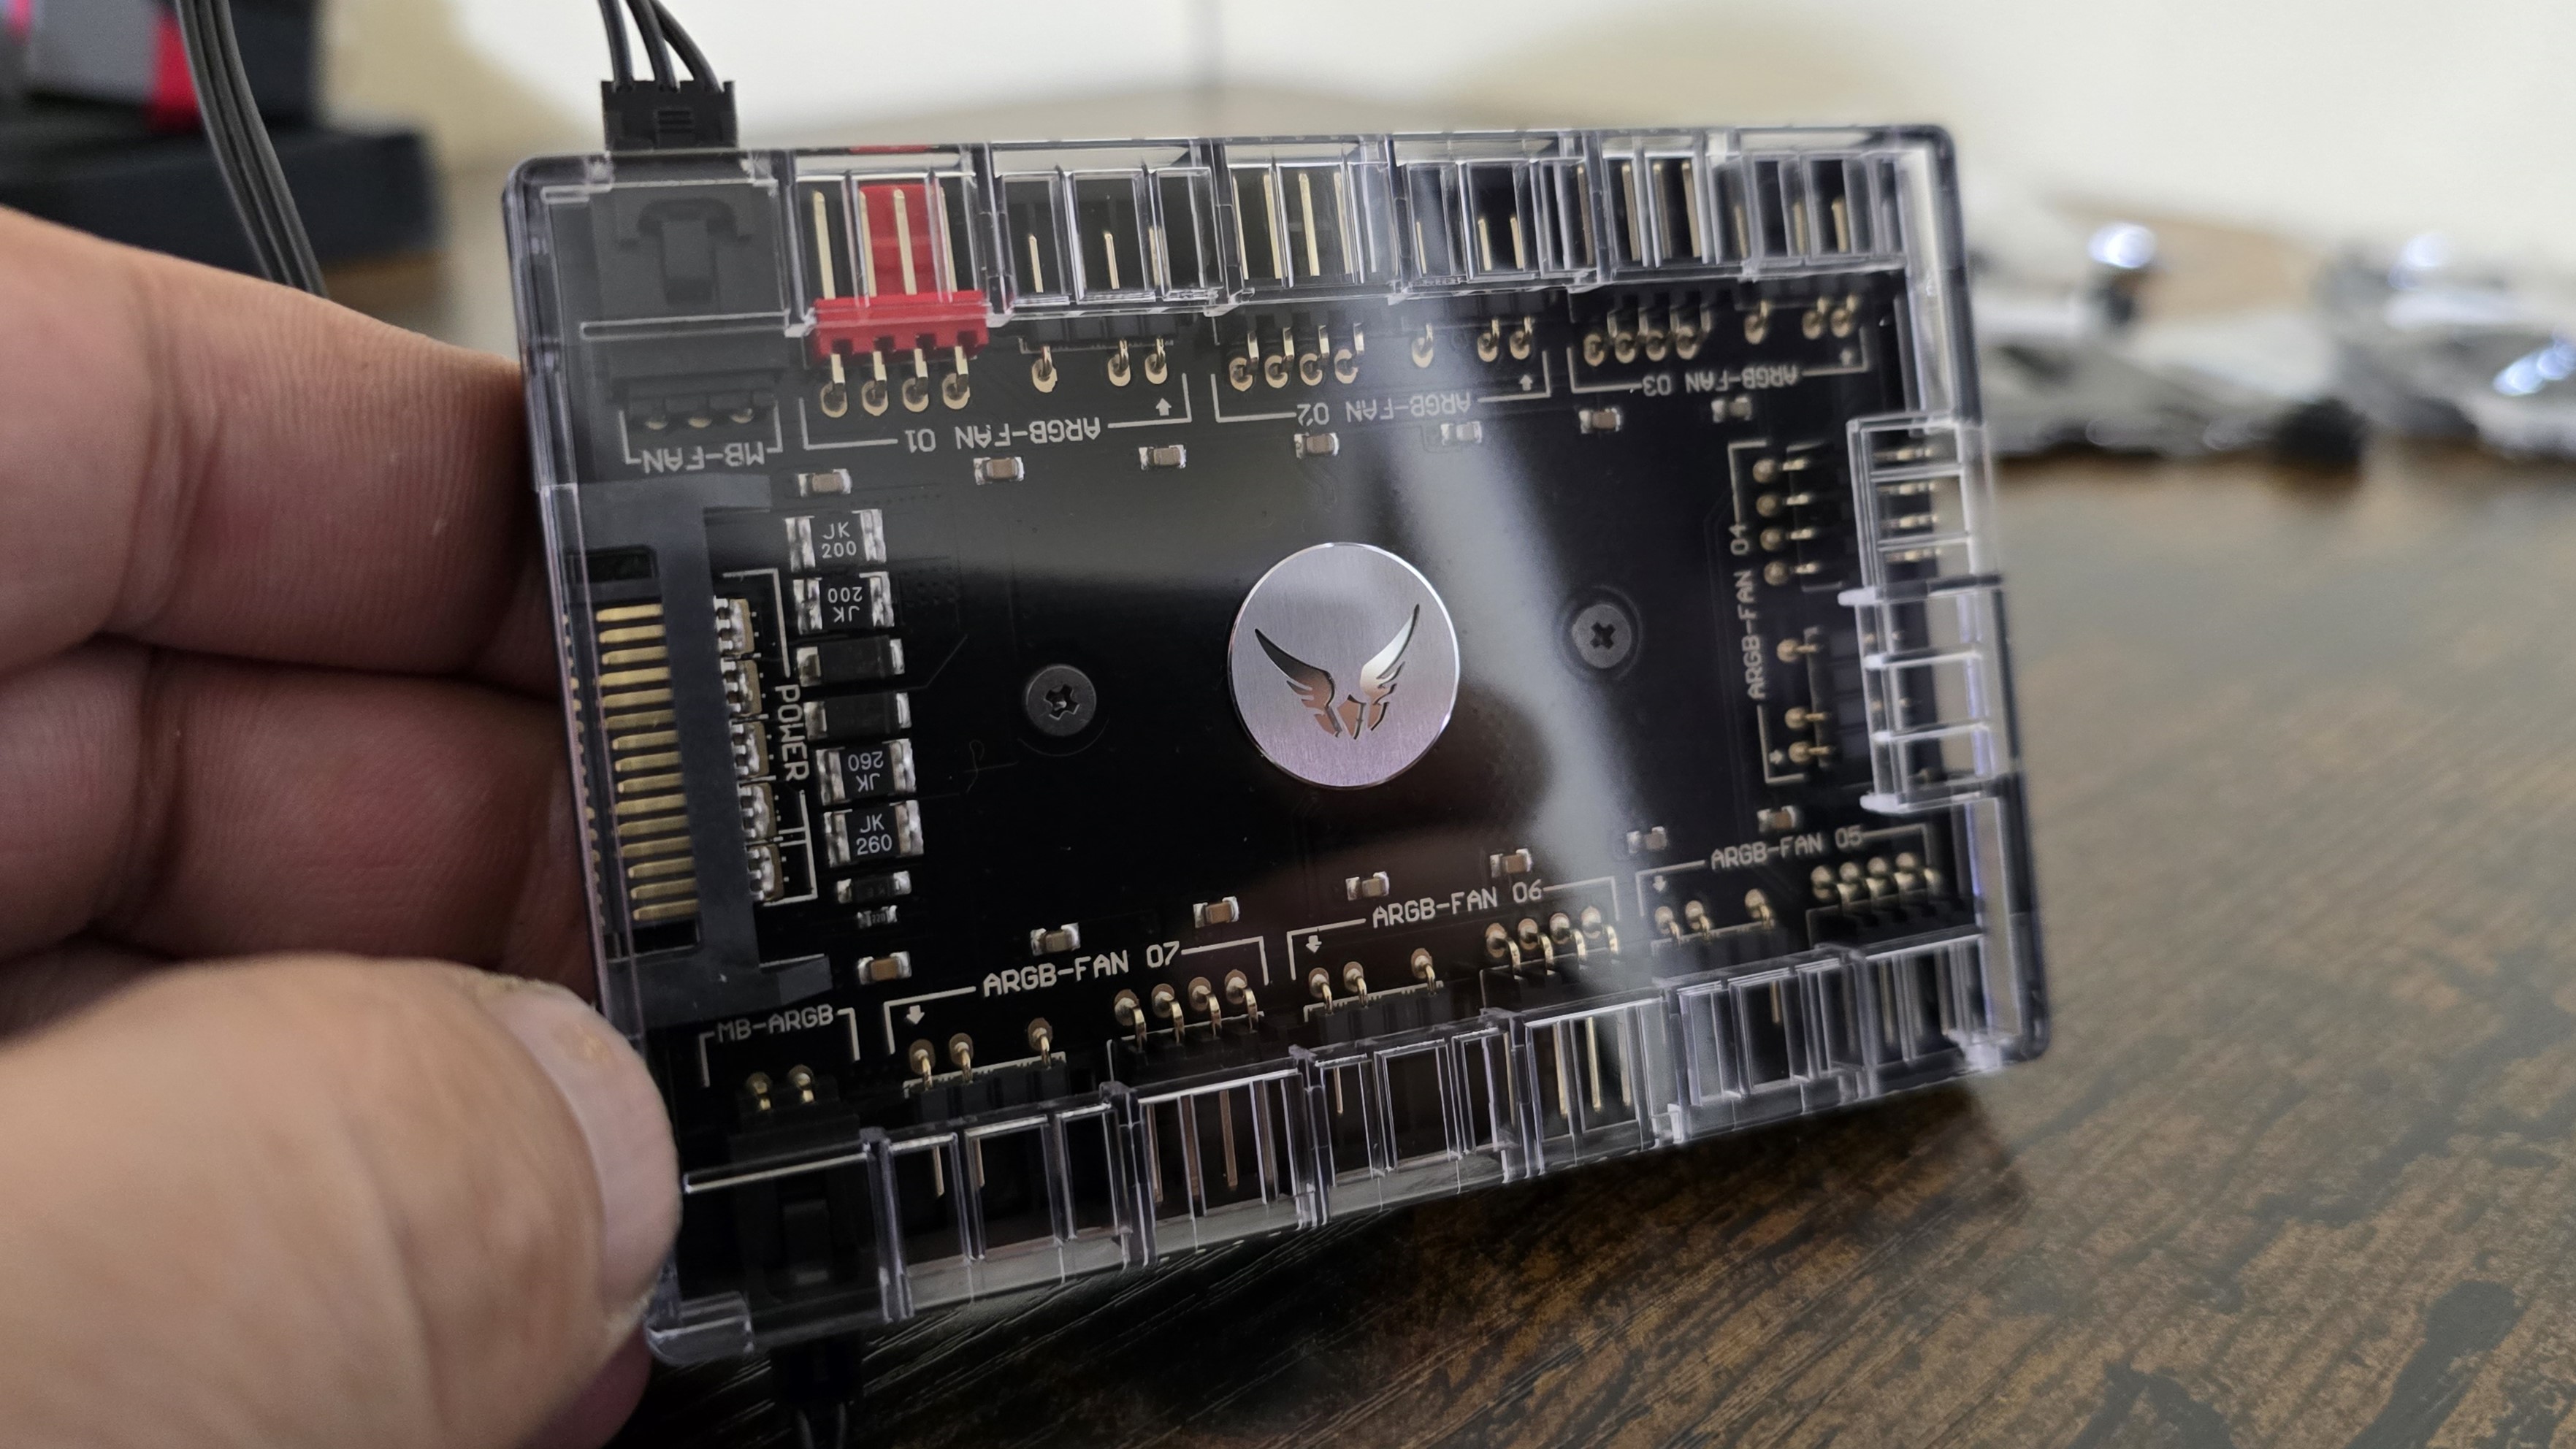
Included ARGB and PWM hub
- +
Five-year warranty
Cons
- -
High price of $209.99 USD
- -
Clunky software feels like a beta release
Why you can trust Tom's Hardware
The SYN AIO from MyValkyrie features what might be the fanciest packaging I’ve seen for a cooling product, plus upgradable storage via an SD Card, and is available in both 240mm and 360mm models. Does the 360mm version of Valkyrie’s SYN AIO have what it takes to make our list of best AIO coolers? We’ll have to put it through testing to be sure, but first here are the specifications from My Valkyrie.
Cooler specifications
| Cooler | Valkyrie Syn 360 |
| MSRP | $209.99 USD |
| Heatsink Material | Aluminum |
| Rated Lifespan | Unlisted |
| Socket Compatibility | Intel Socket LGA 1851/1700/1200/115x AMD AM5 / AM4 |
| Base | Copper |
| Max TDP (Our Testing) | ~260W with Intel’s i7-13700K |
| Installed Size (with fans) | 276mm (L) x 52 mm (W) x 120mm (D) |
| Warranty | 5 years |
Packing and included contents
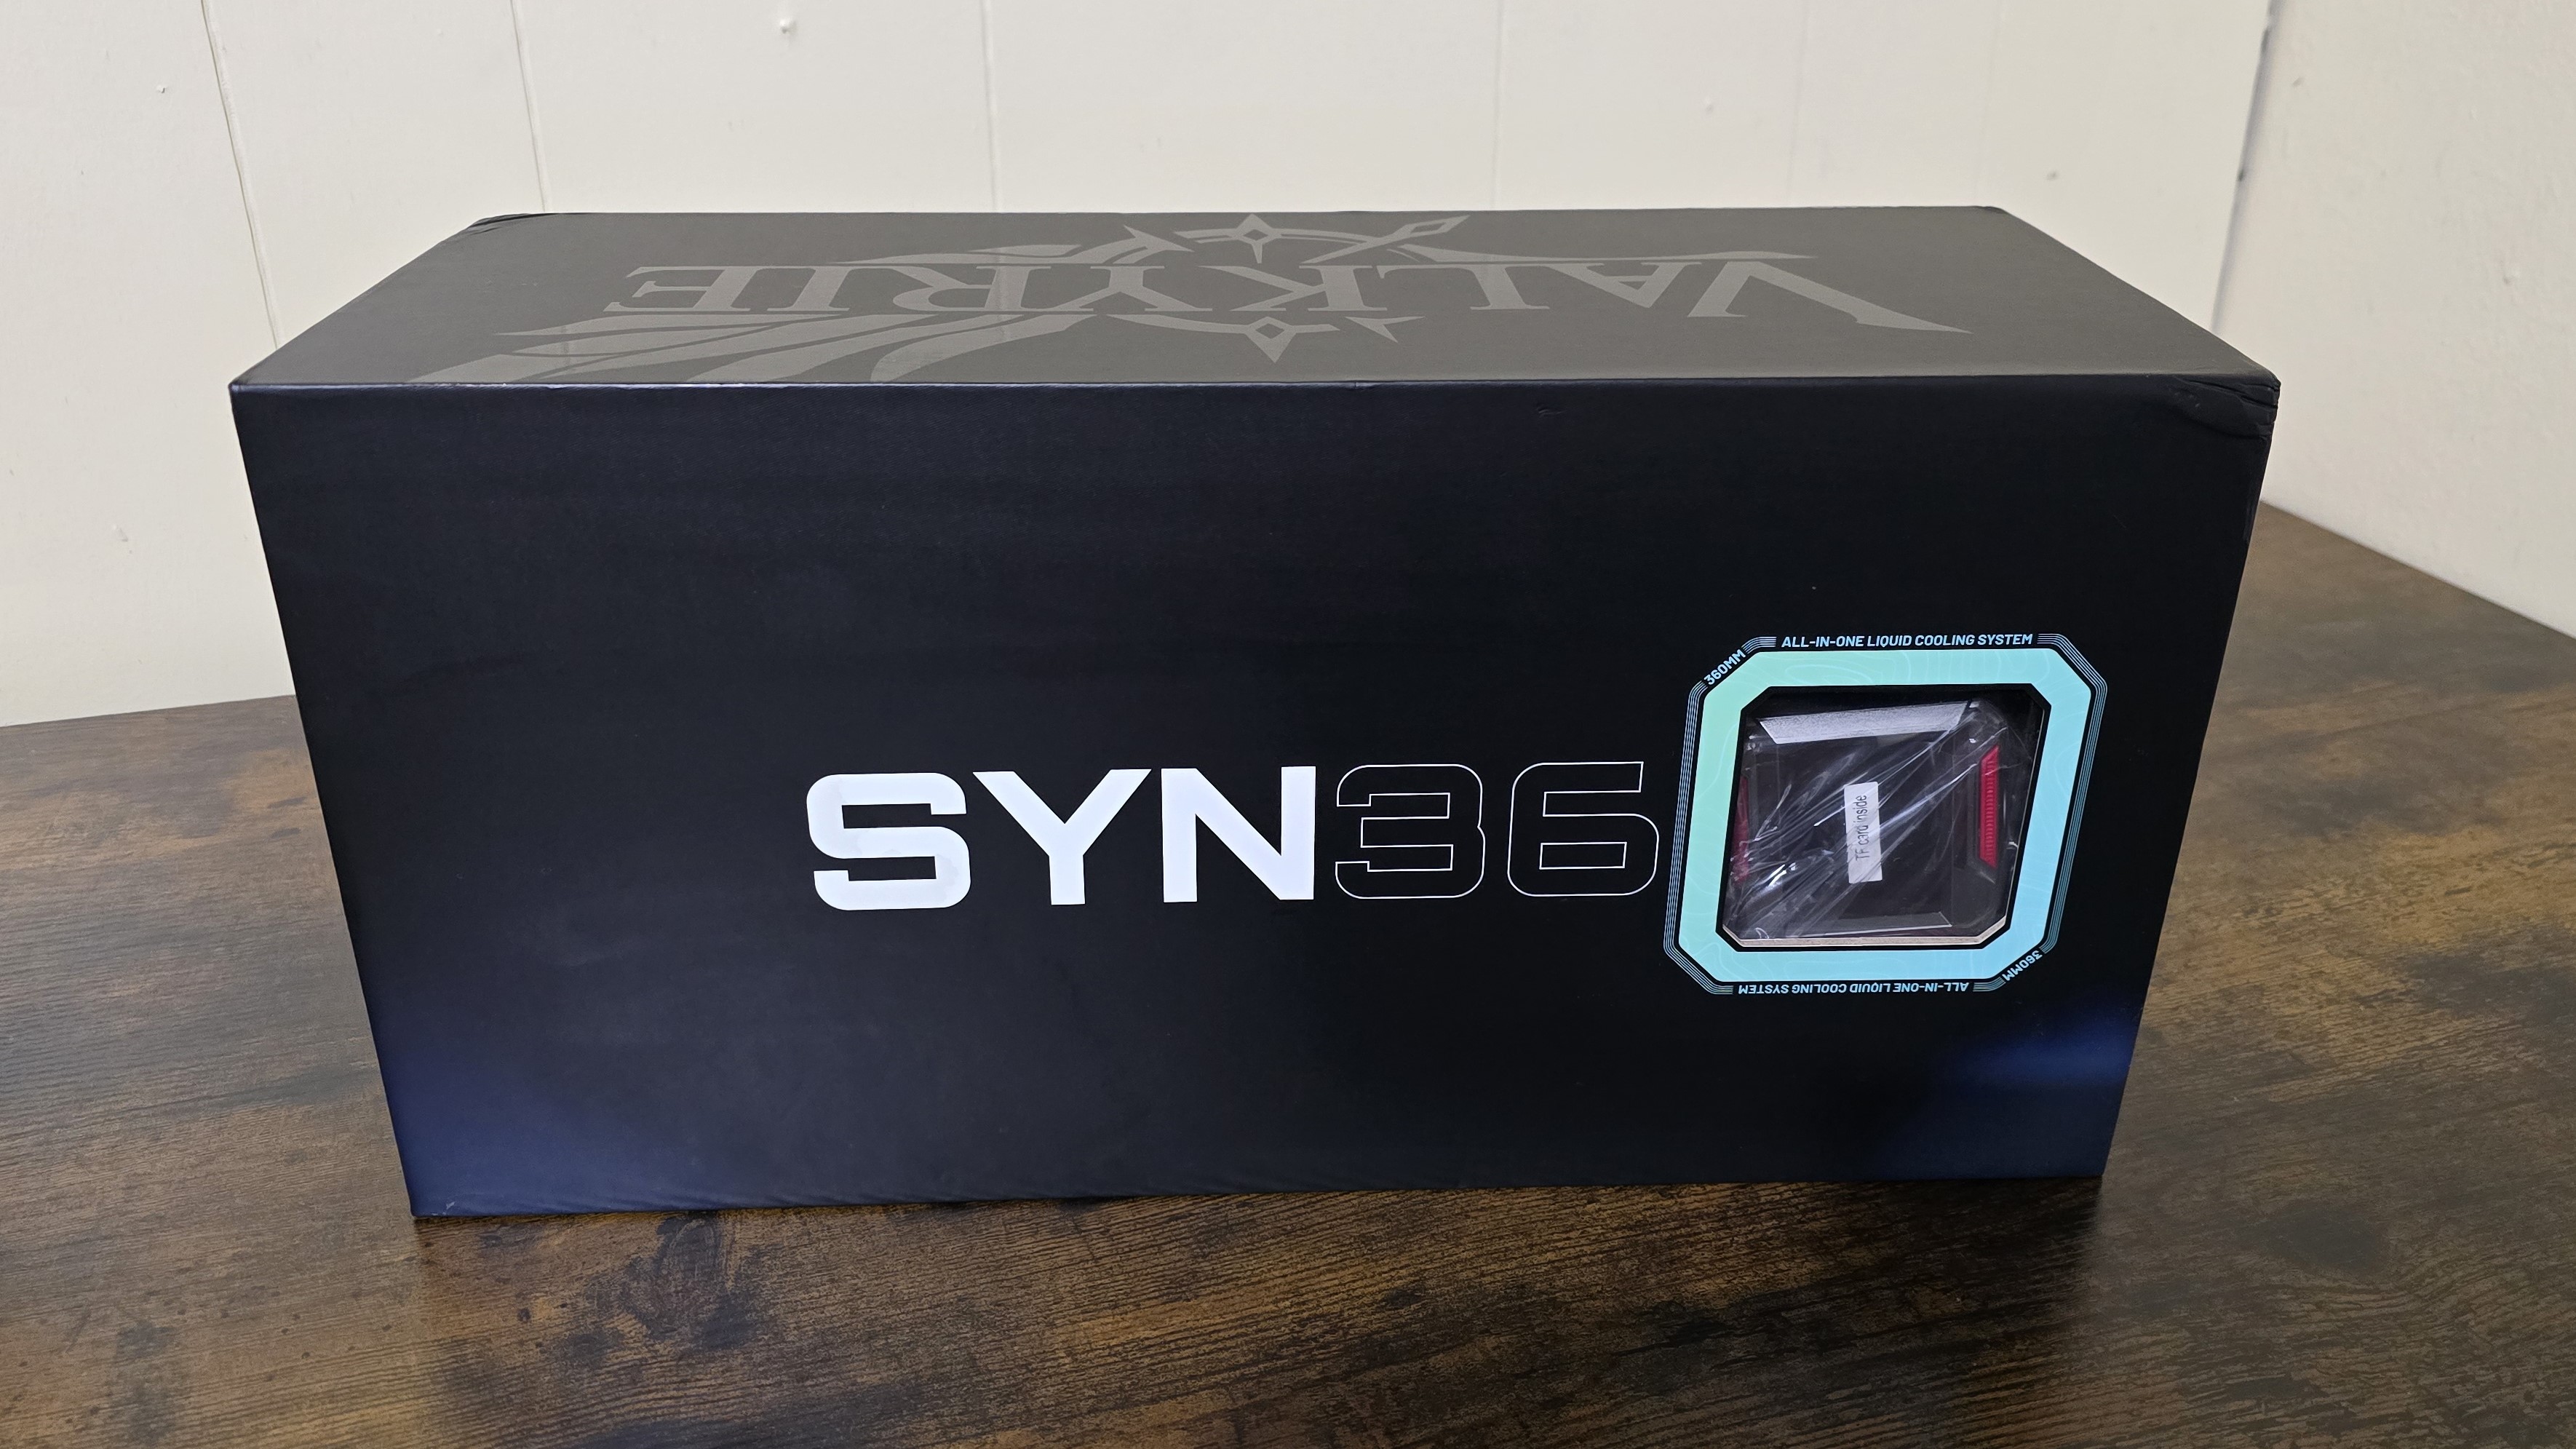
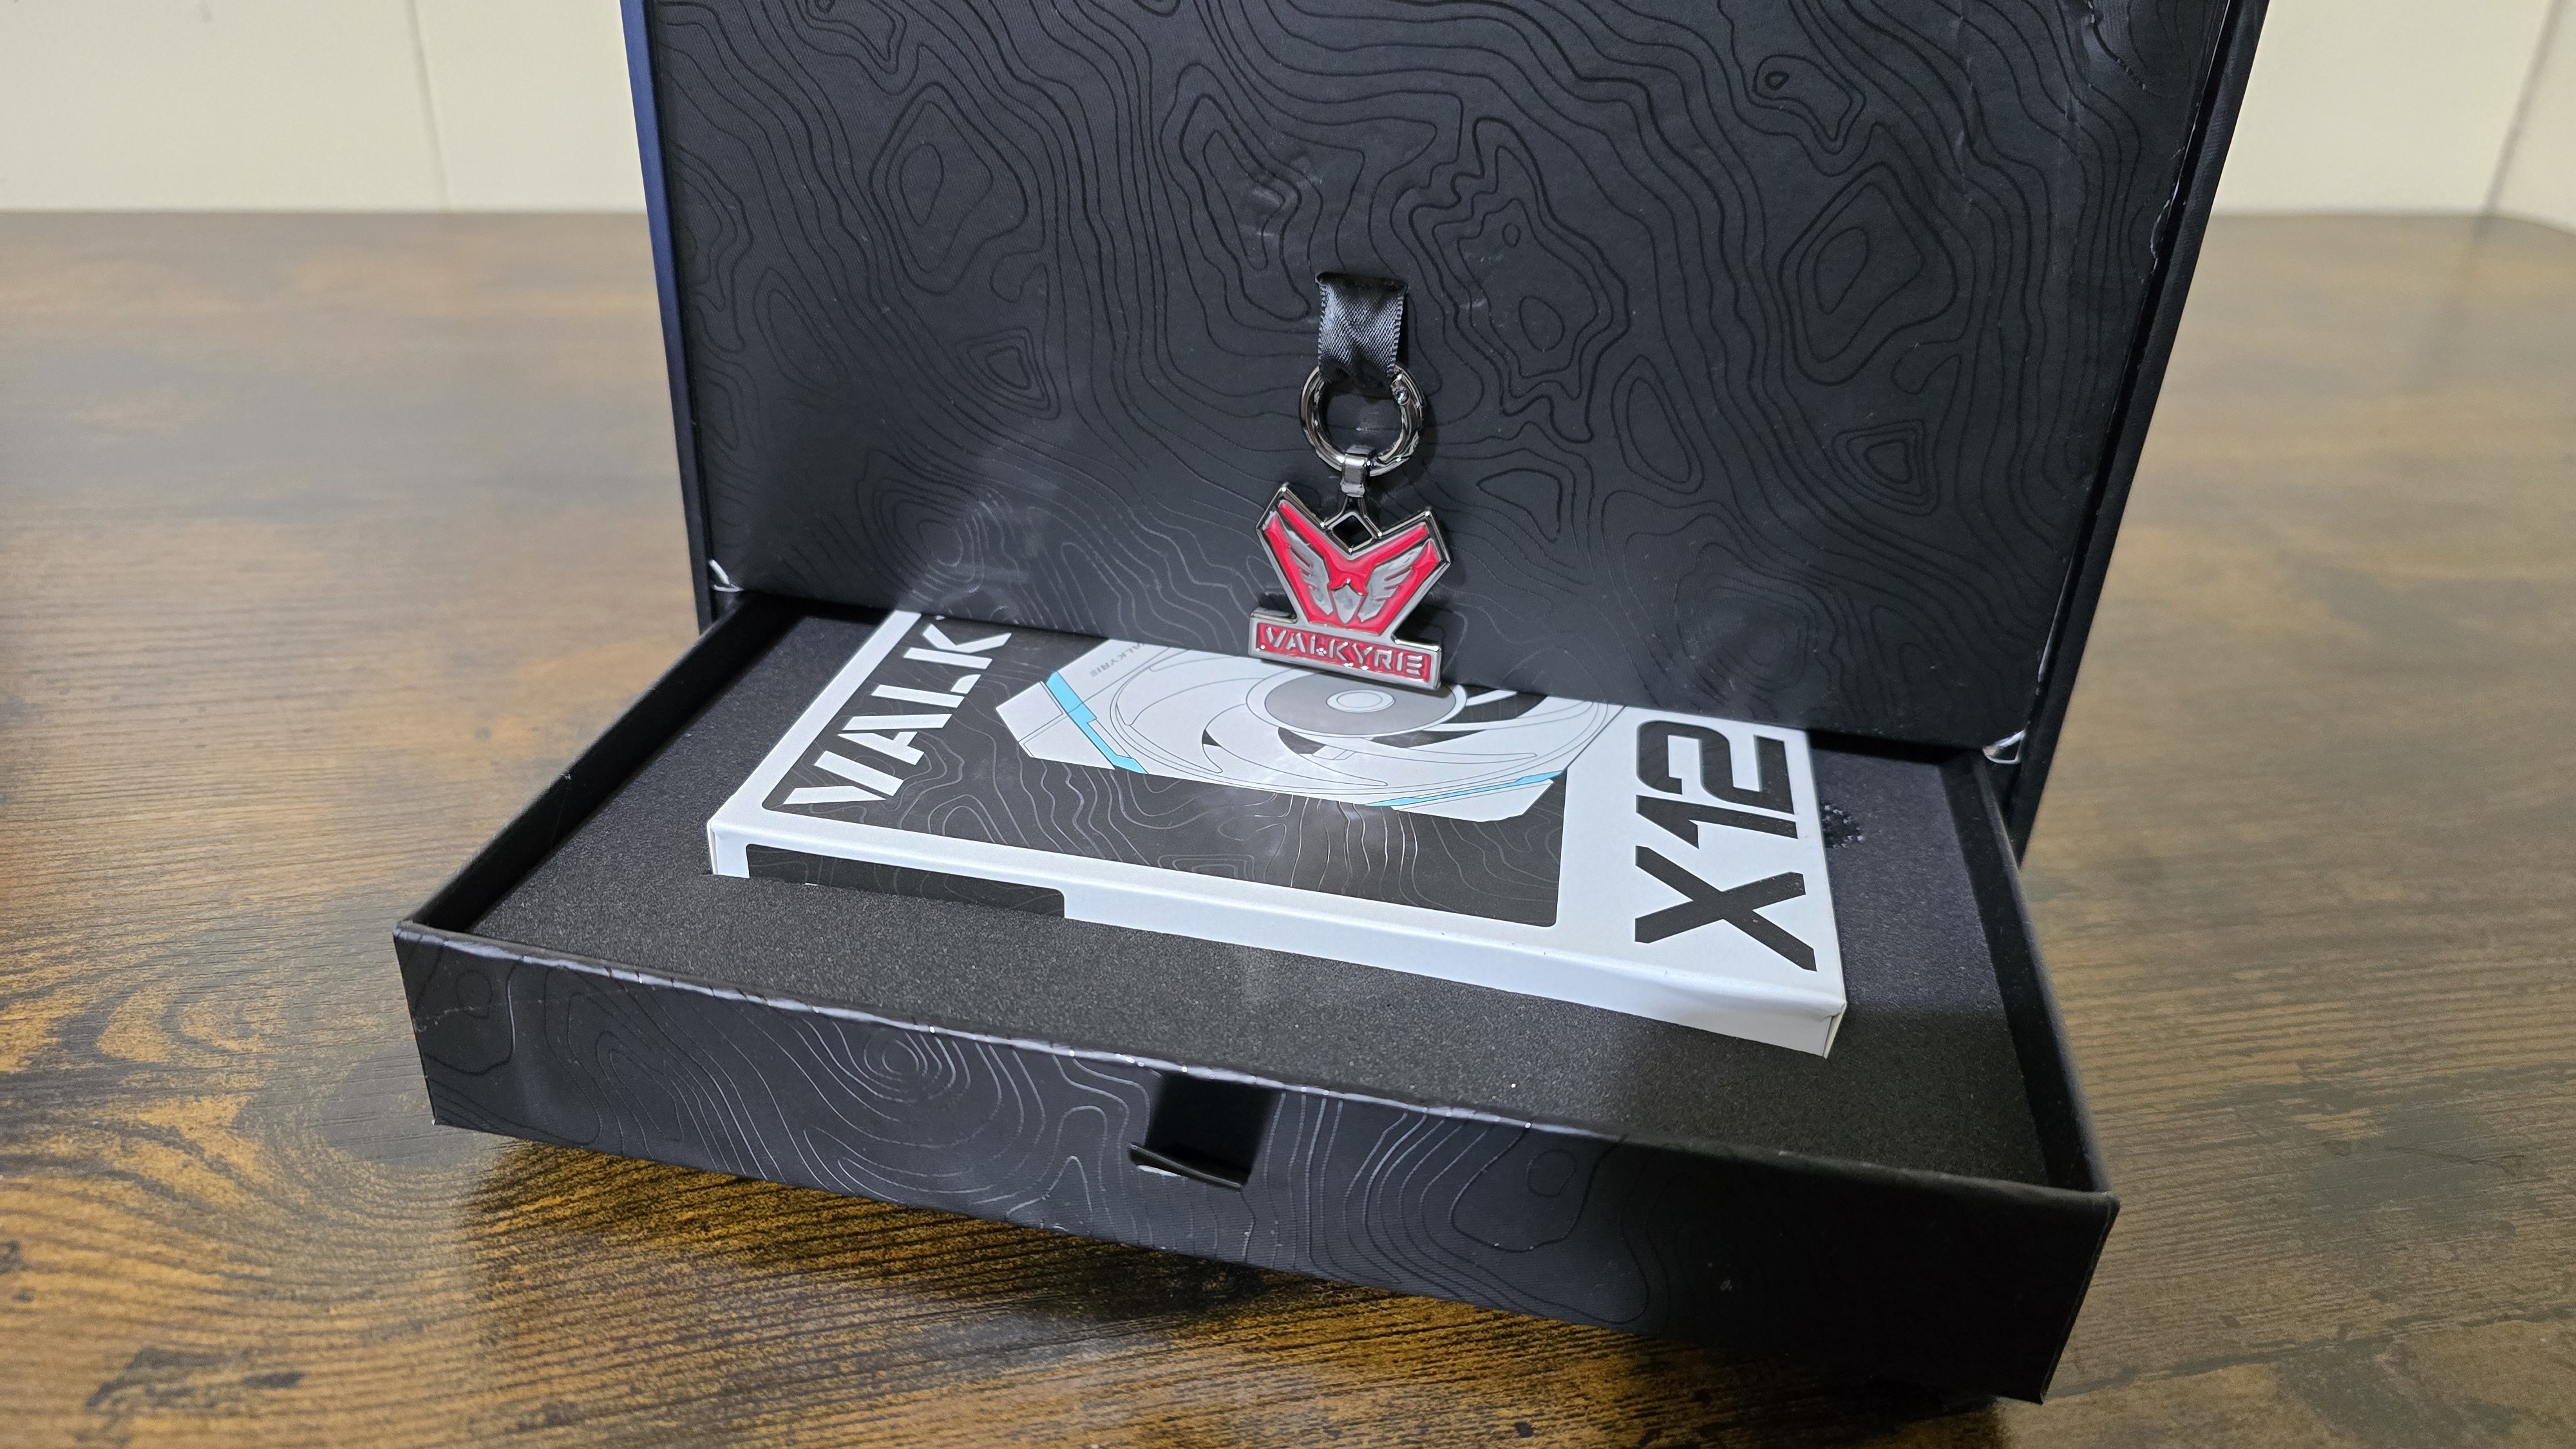
The packaging of the AIO is rather different from most coolers. It feels like luxury product packaging. The individual parts are protected by molded foam, carboard, and plastic coverings. On the side of the unit, a removable keychain is attached which can be used to open the drawers. The fans are contained in a second drawer below the main parts.
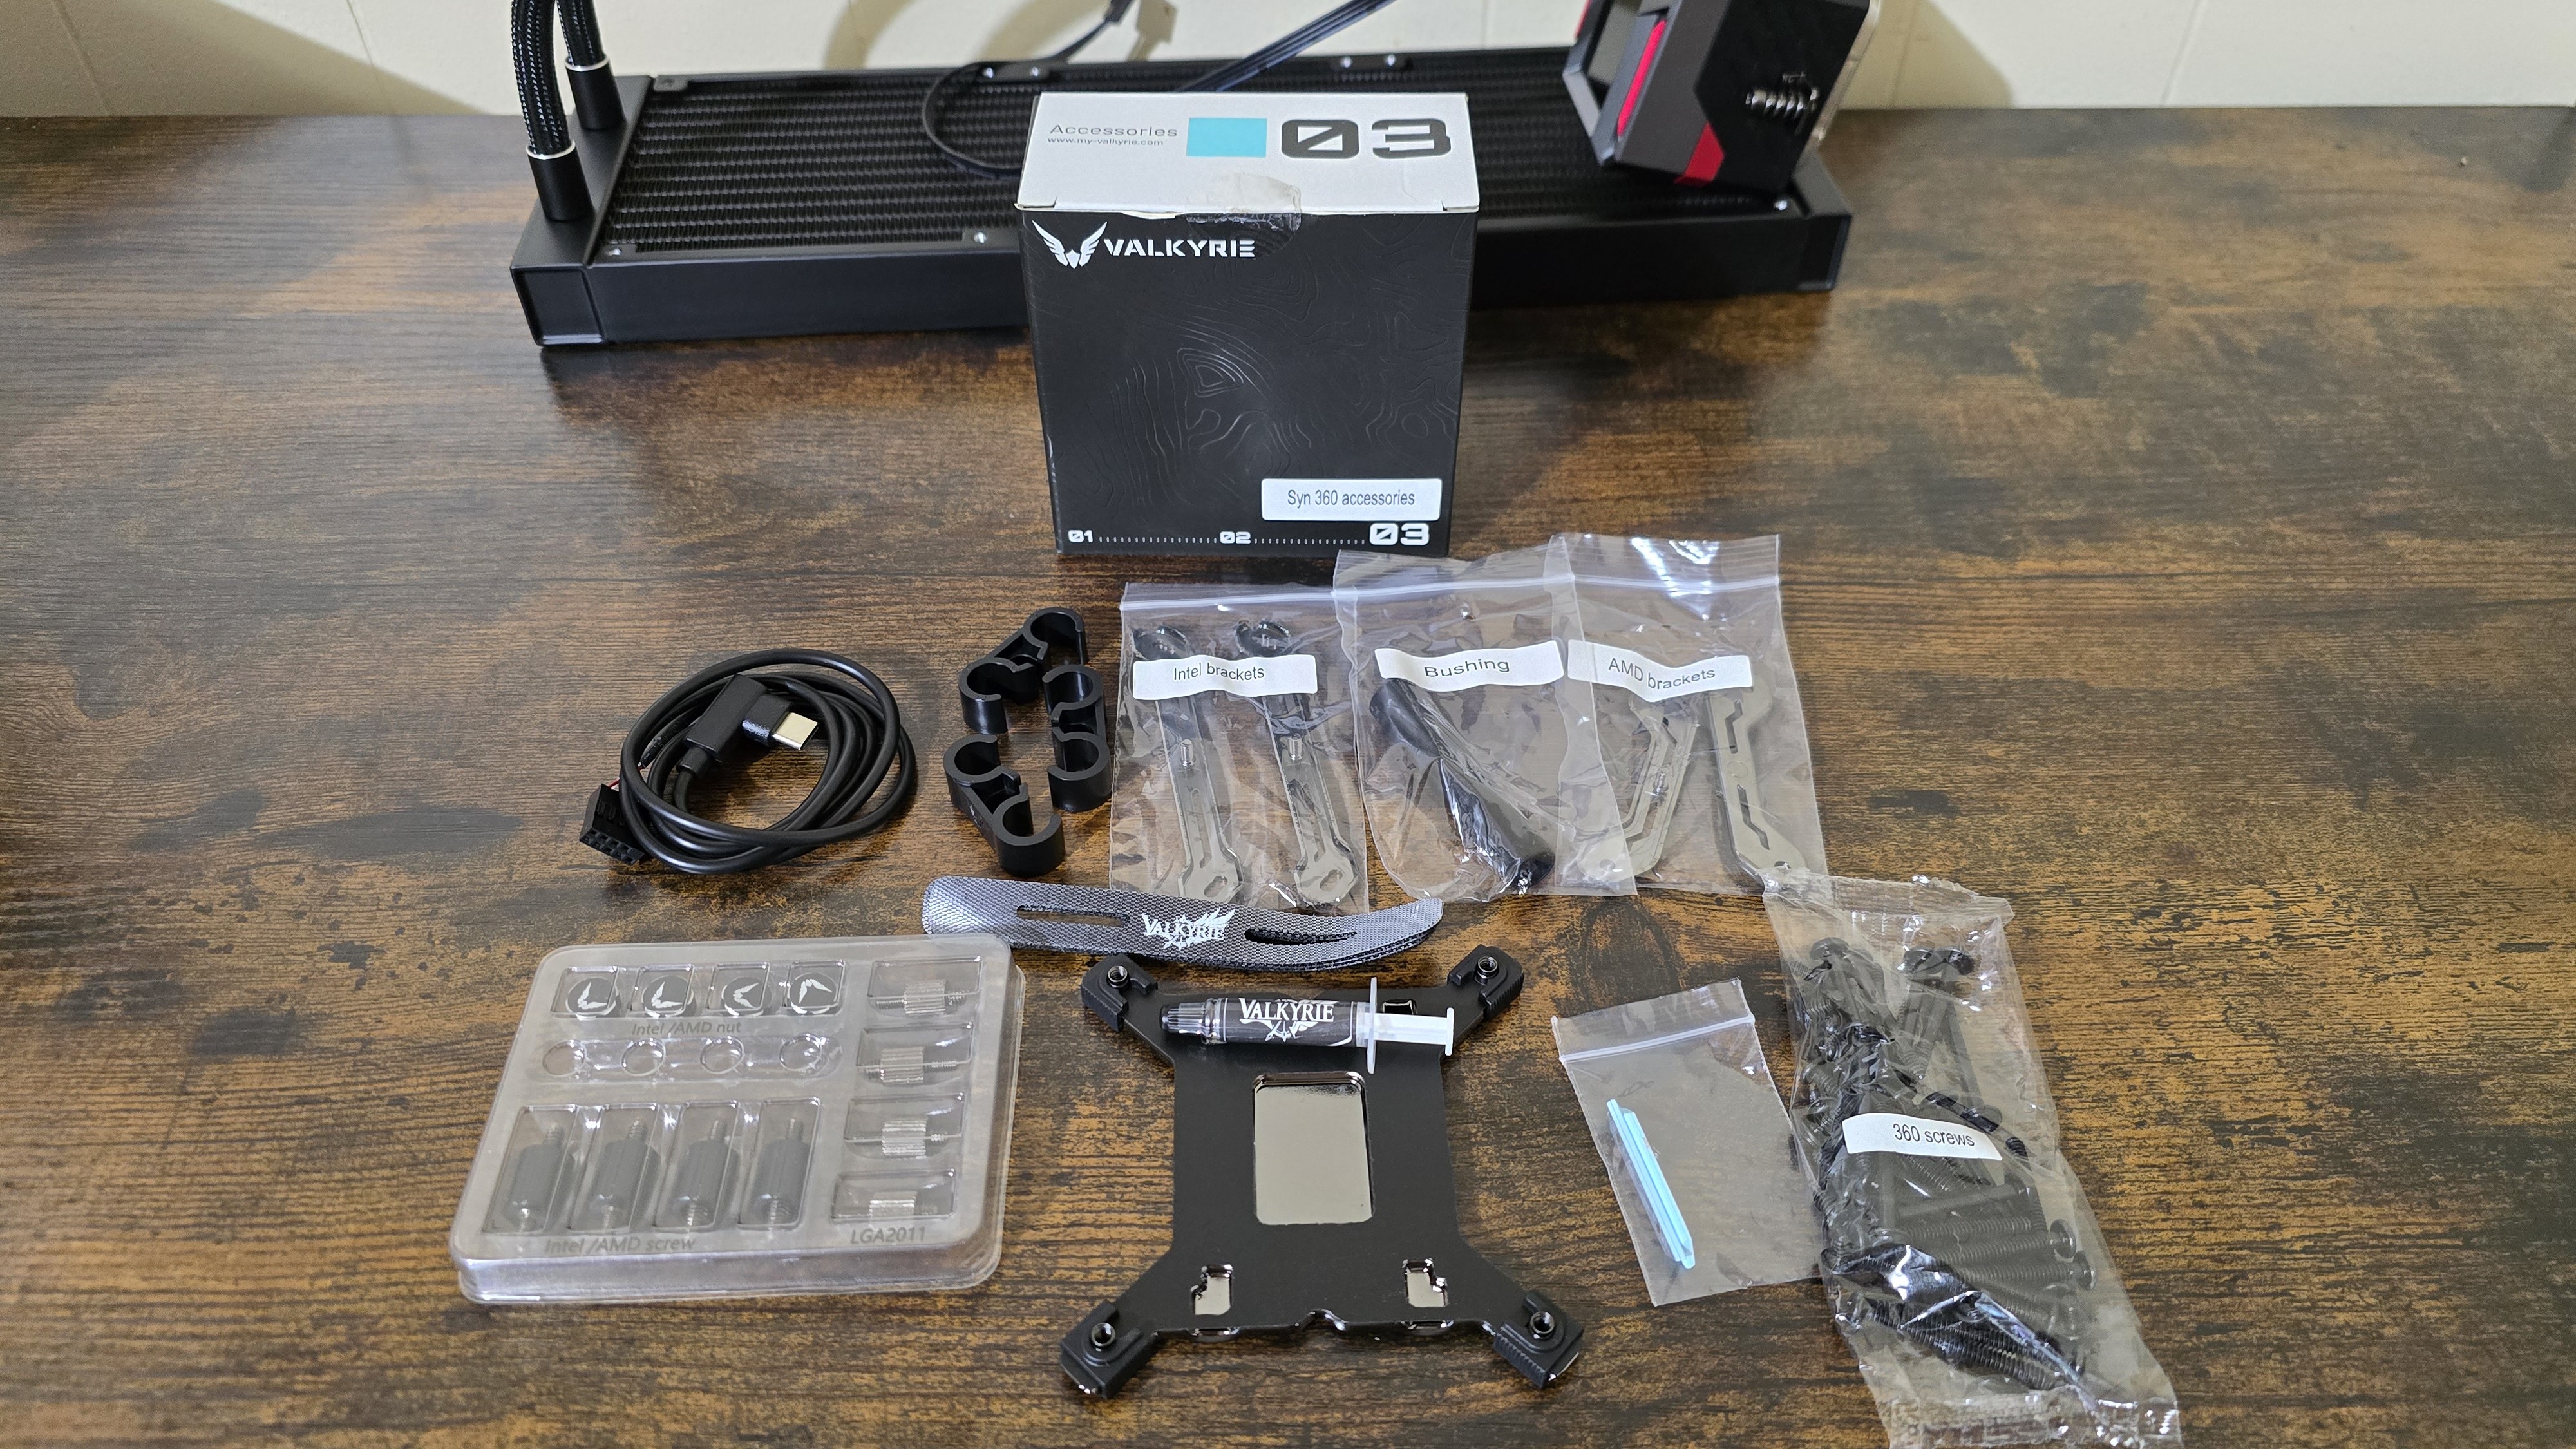
Included with the cooler are the following:
- 360mm radiator and CPU block
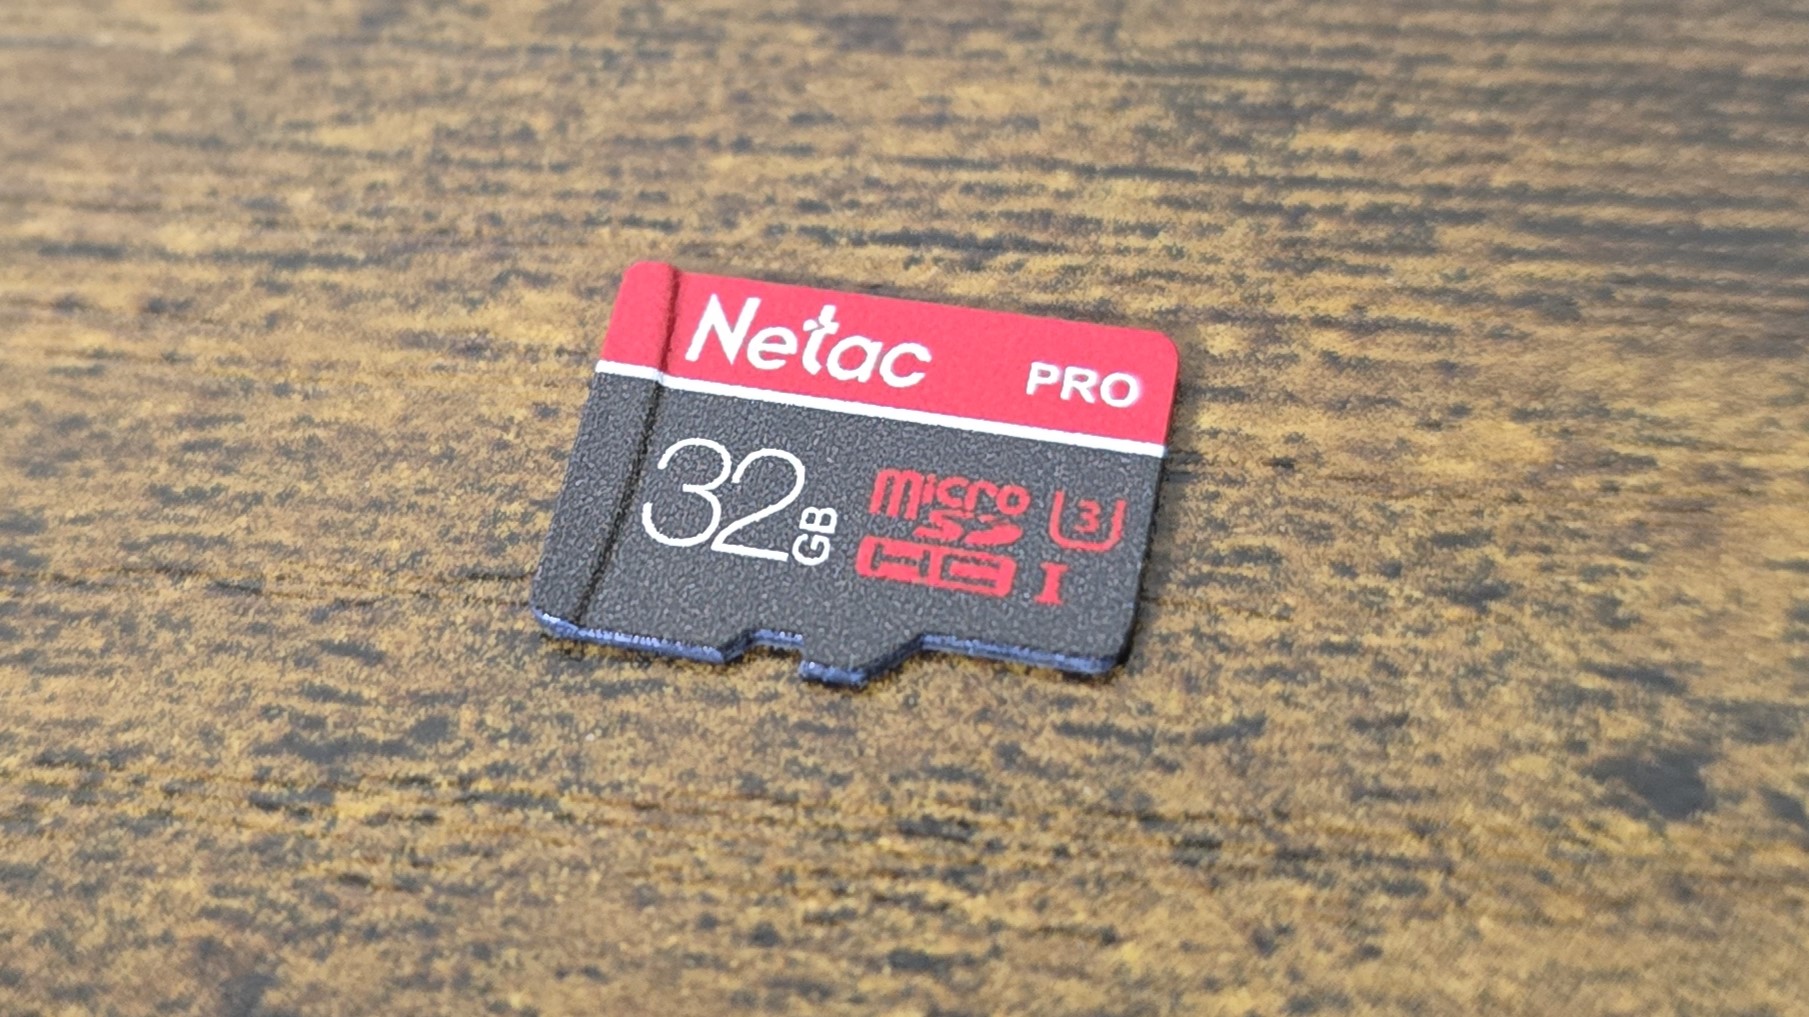
- Pre-installed 32GB SD Card
- Three 120mm fans
- Hardware Fan and ARGB hub
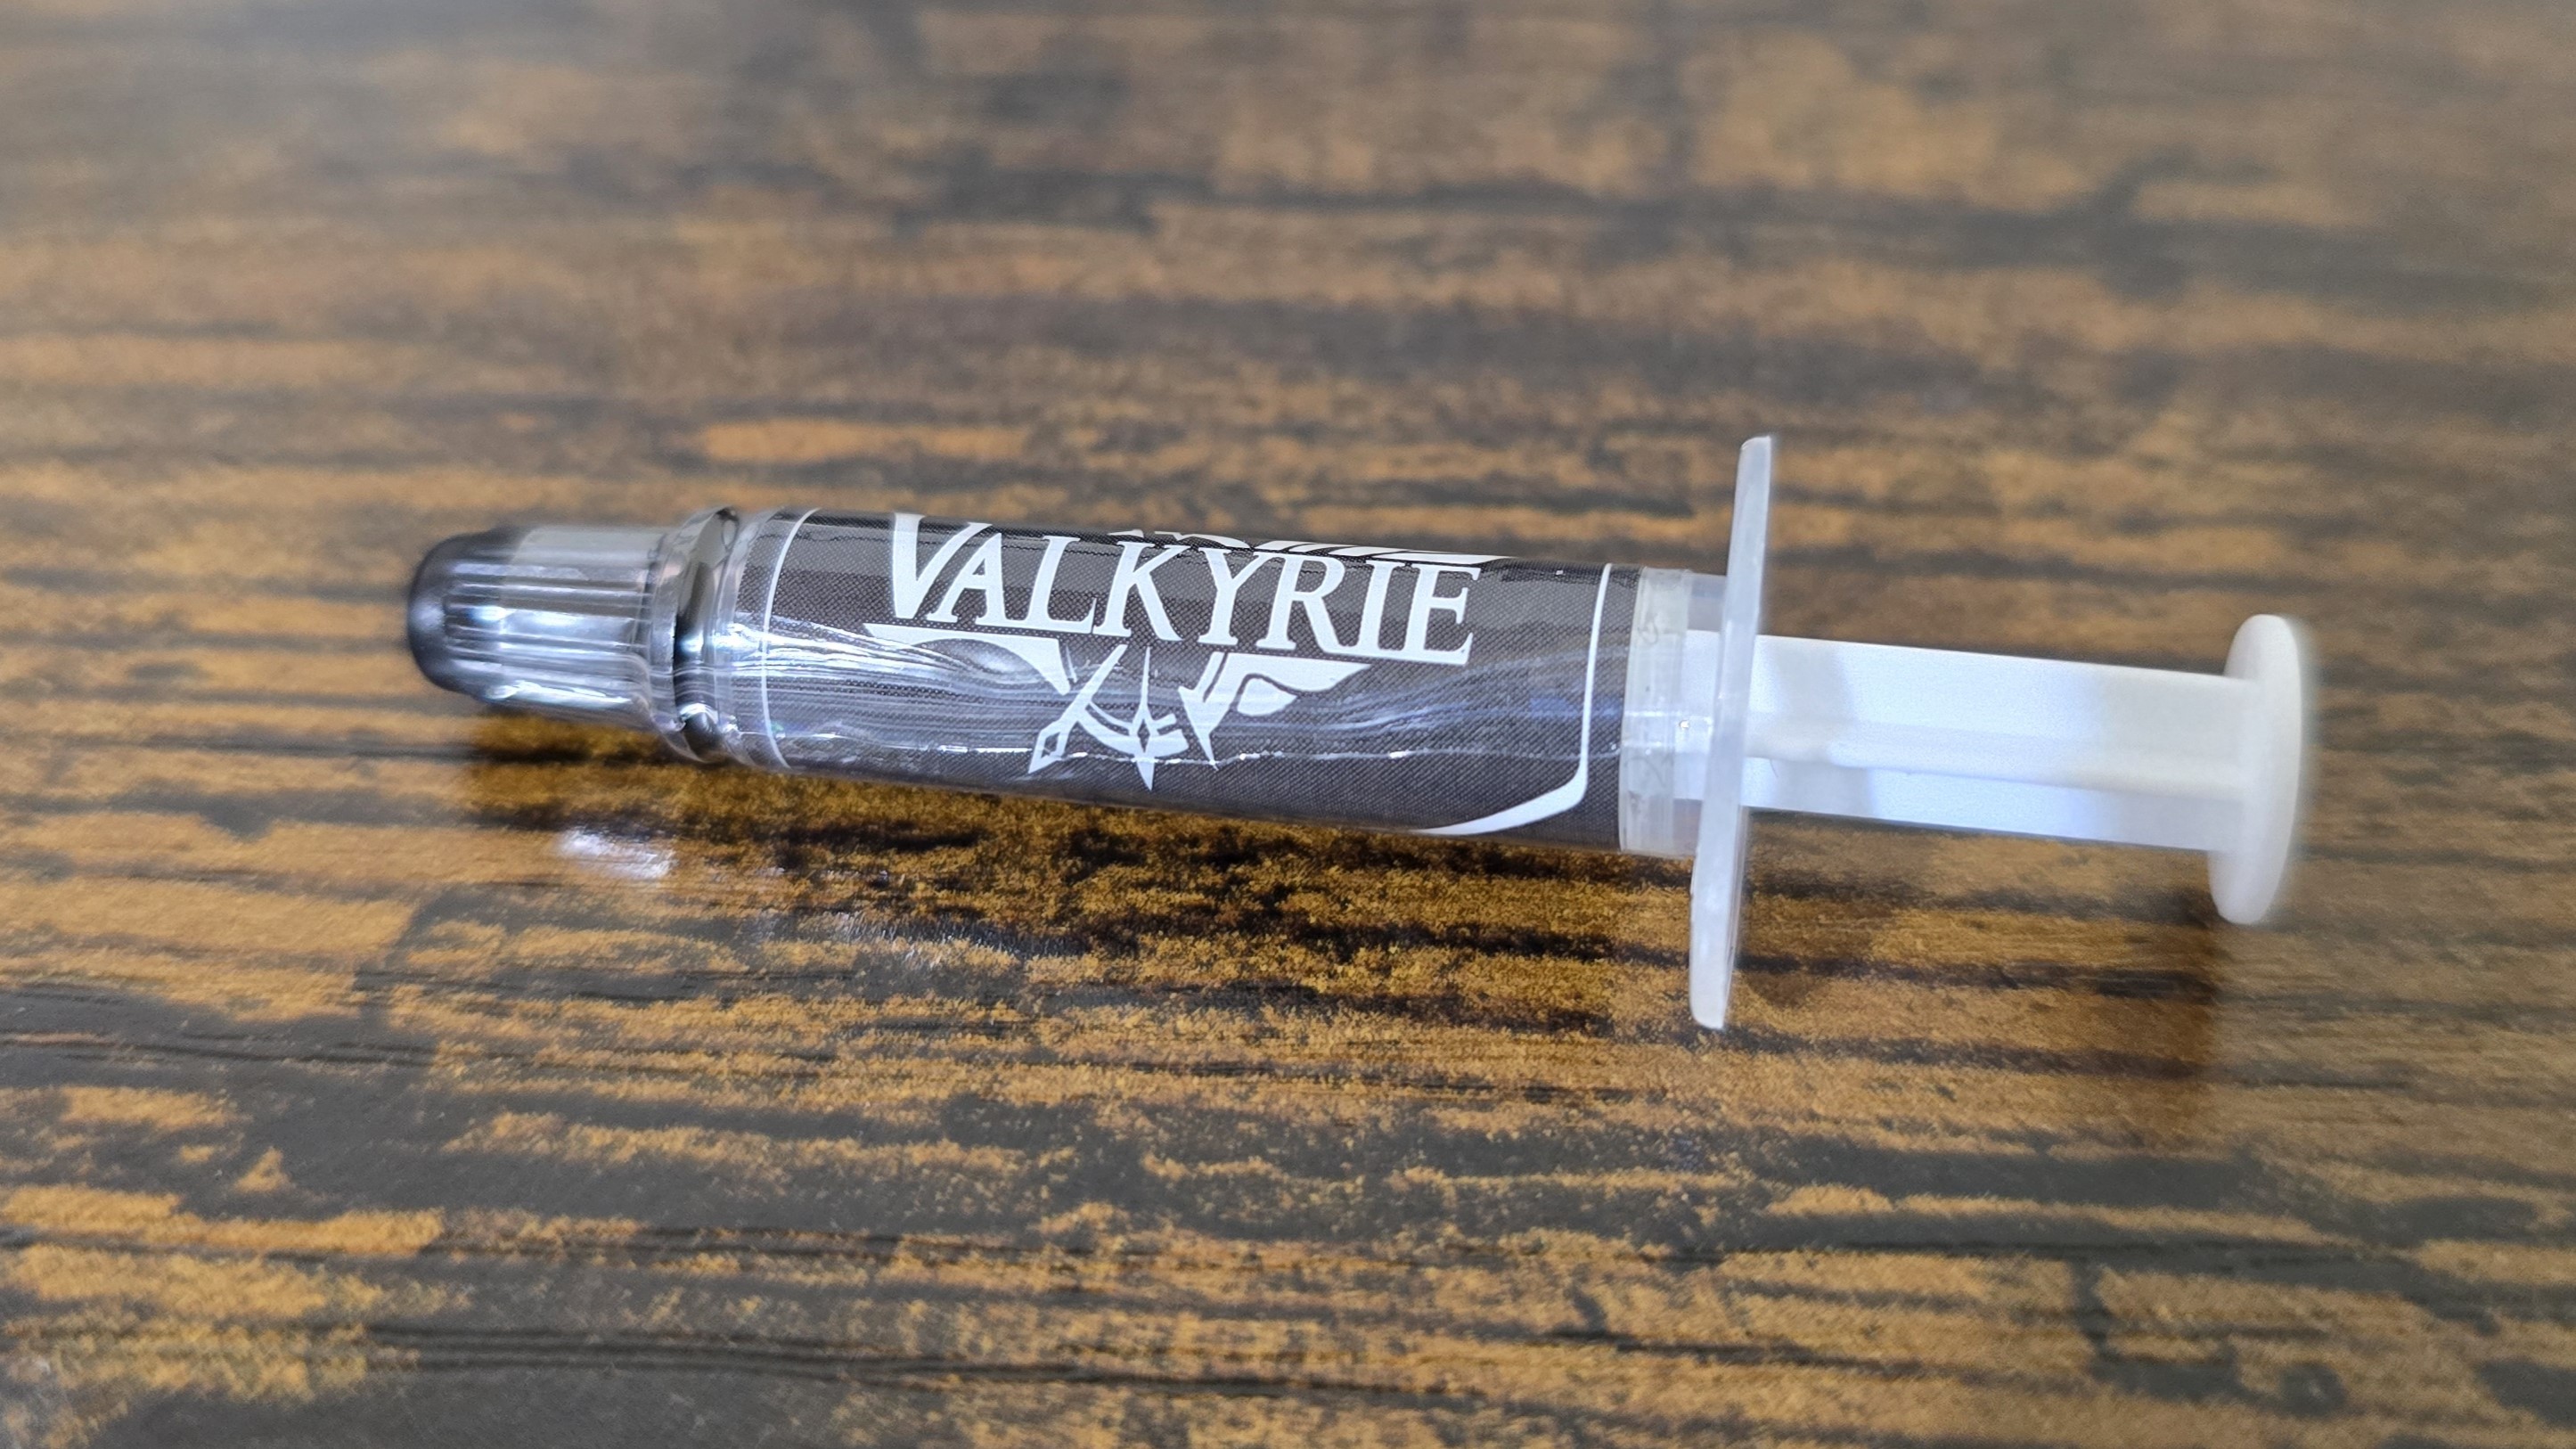
- Valkyrie thermal paste and pre-installed thermal paste
- Bushing tool
- Mounting for AMD and Intel platforms
Features of Valkyrie’s SYN 360
*️⃣ Included PWM and ARGB Hub
A transparent PWM and ARGB hub is included, which supports up to six devices.
*️⃣ Full RAM compatibility
As this AIO does not interfere or overhang DIMM slots in any manner, all sizes of RAM, no matter how tall, are compatible with the SYN 360
Get Tom's Hardware's best news and in-depth reviews, straight to your inbox.
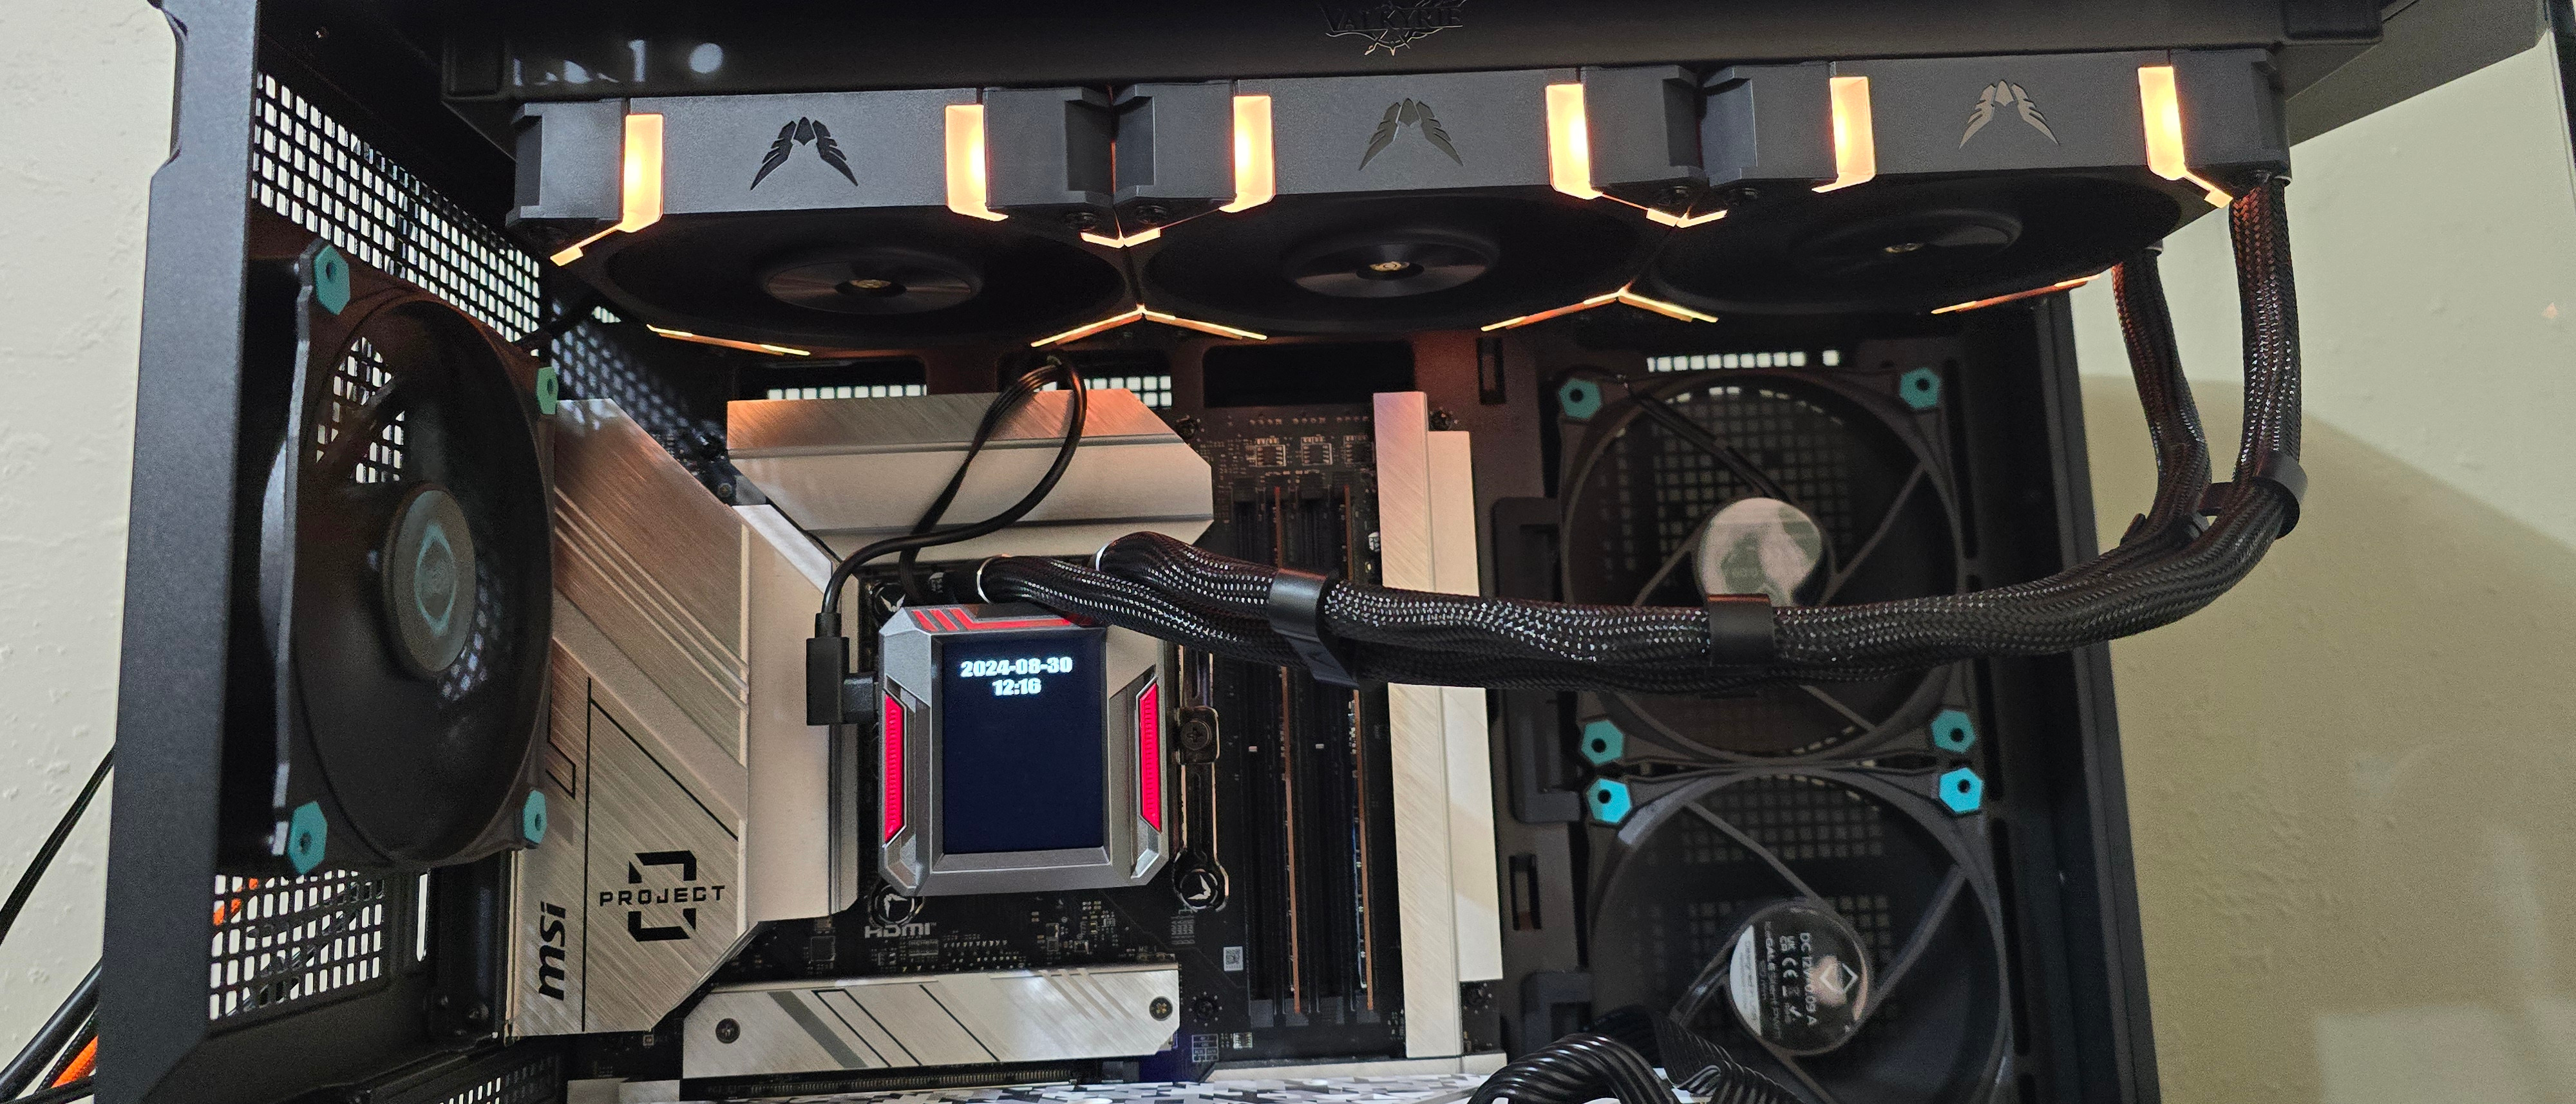
*️⃣ 2.1-inch LCD display, MythCool software
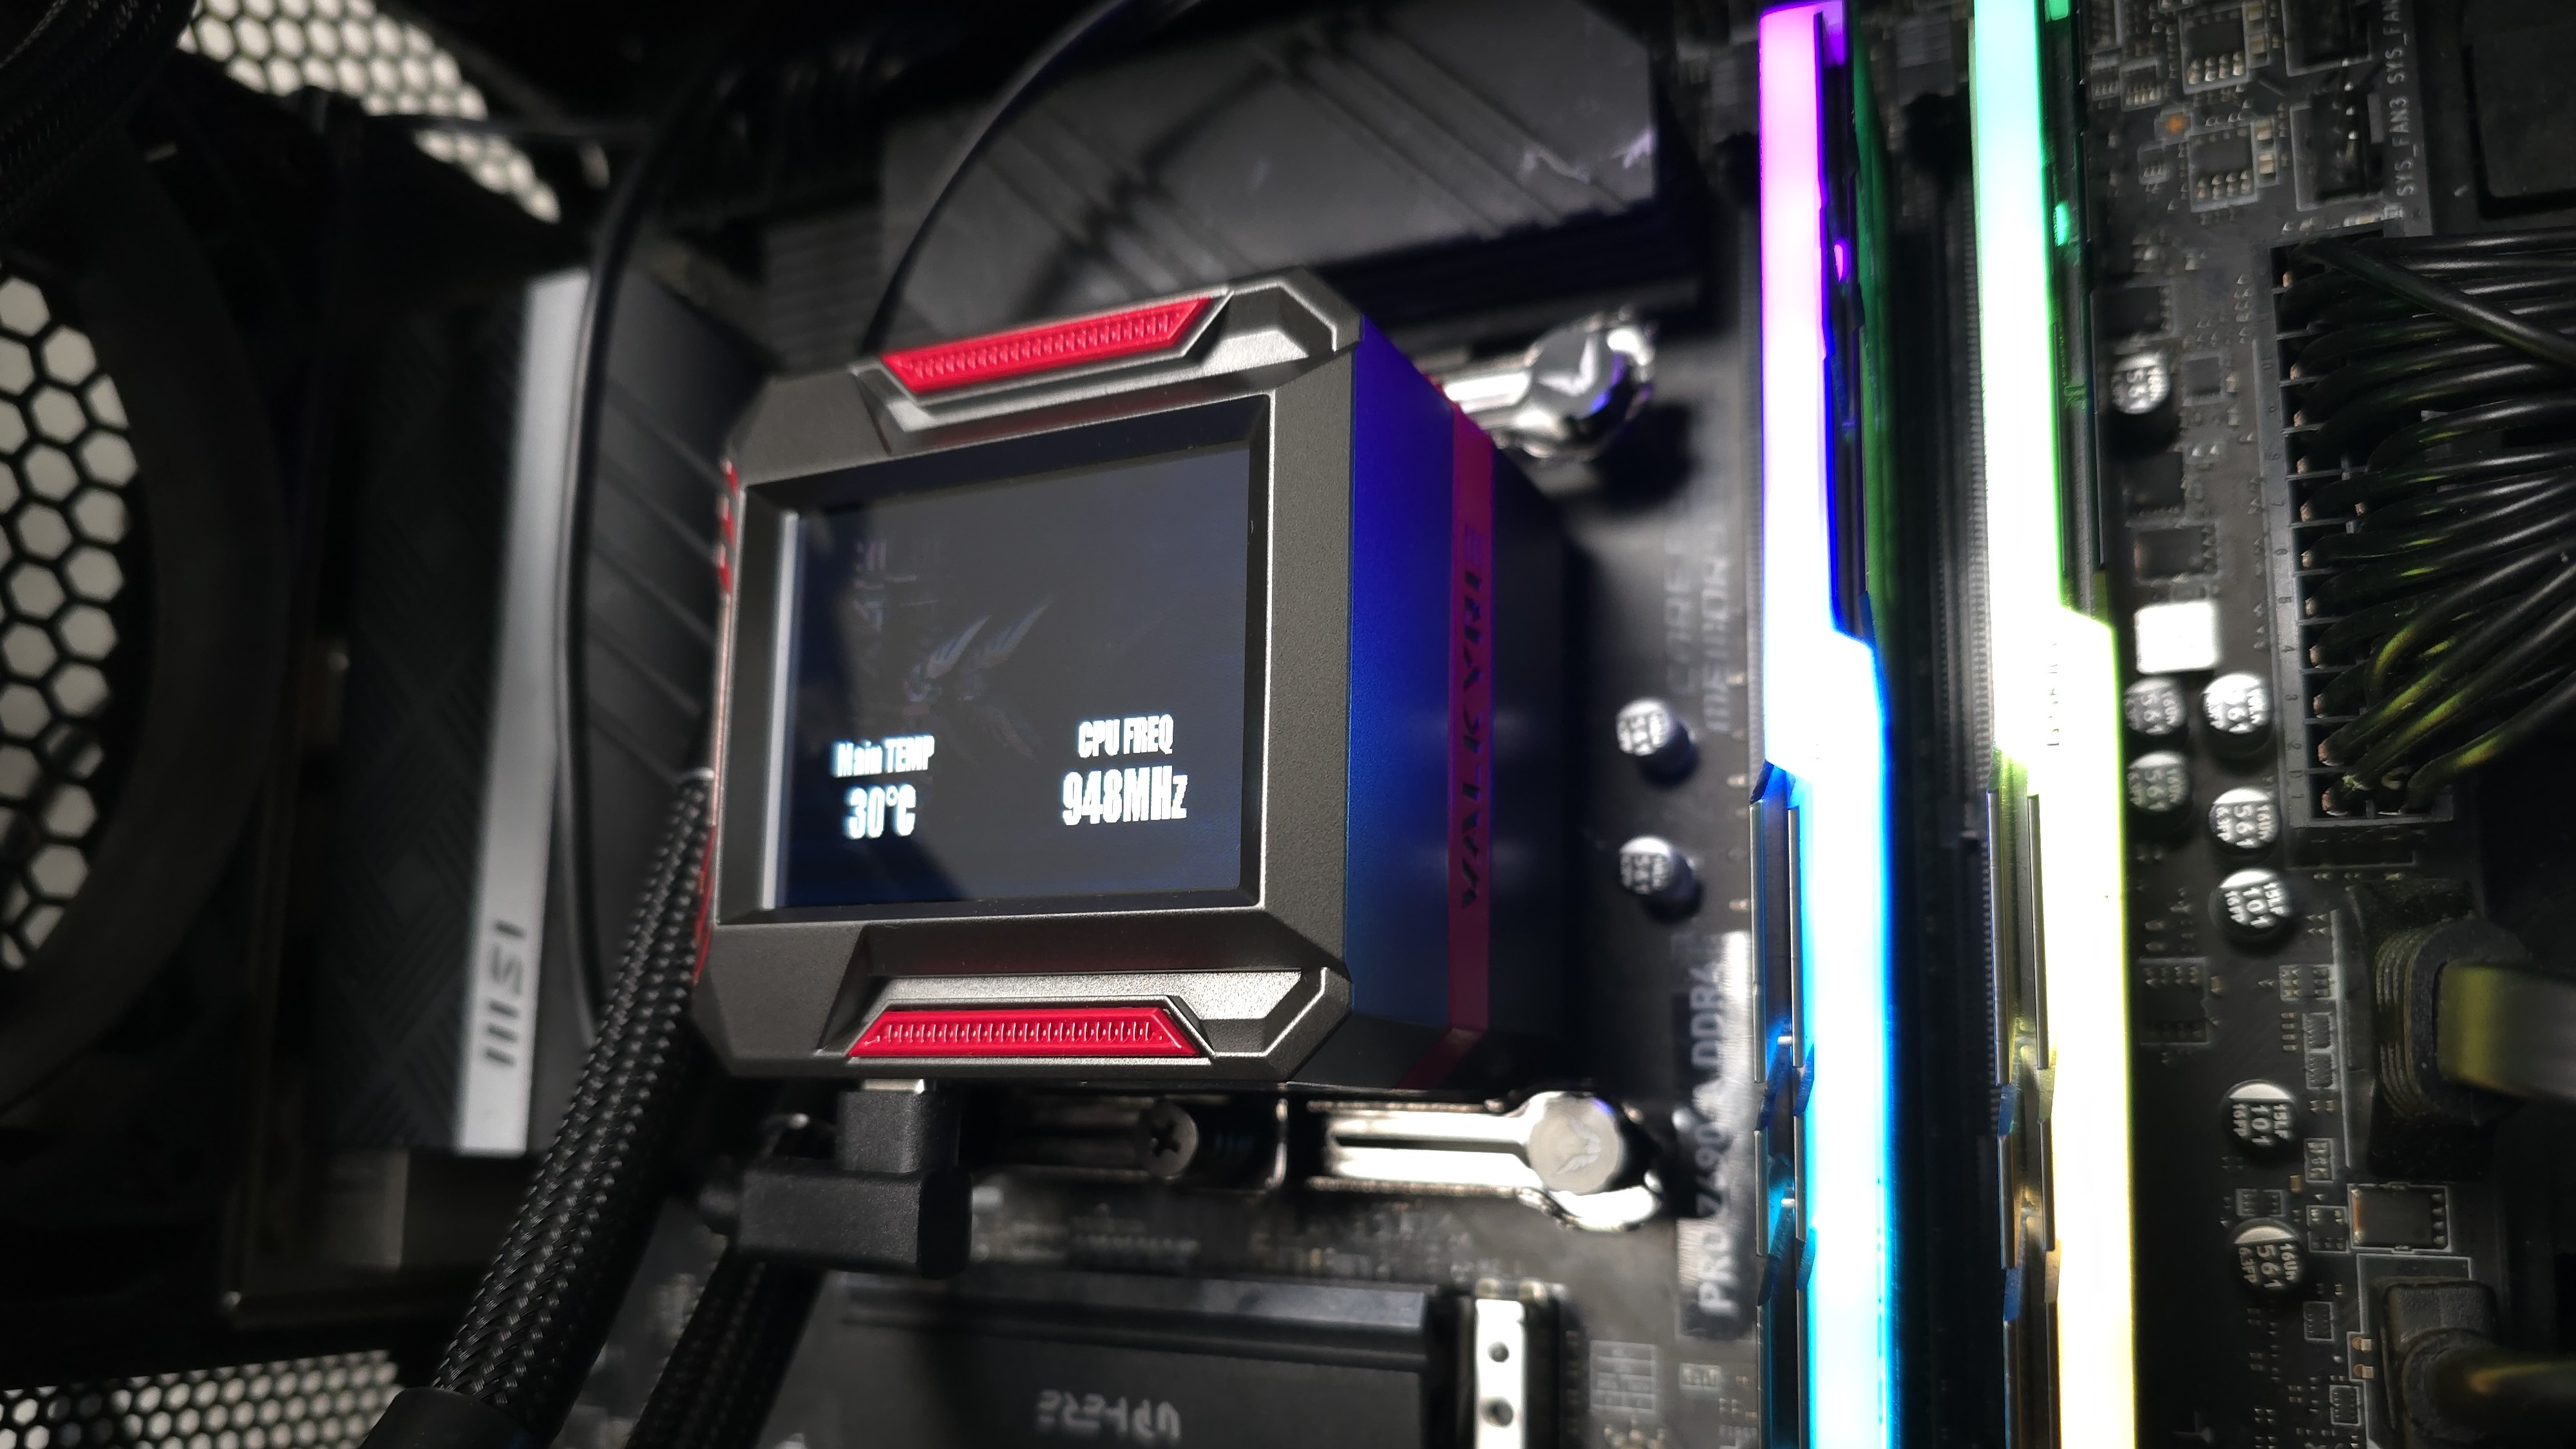
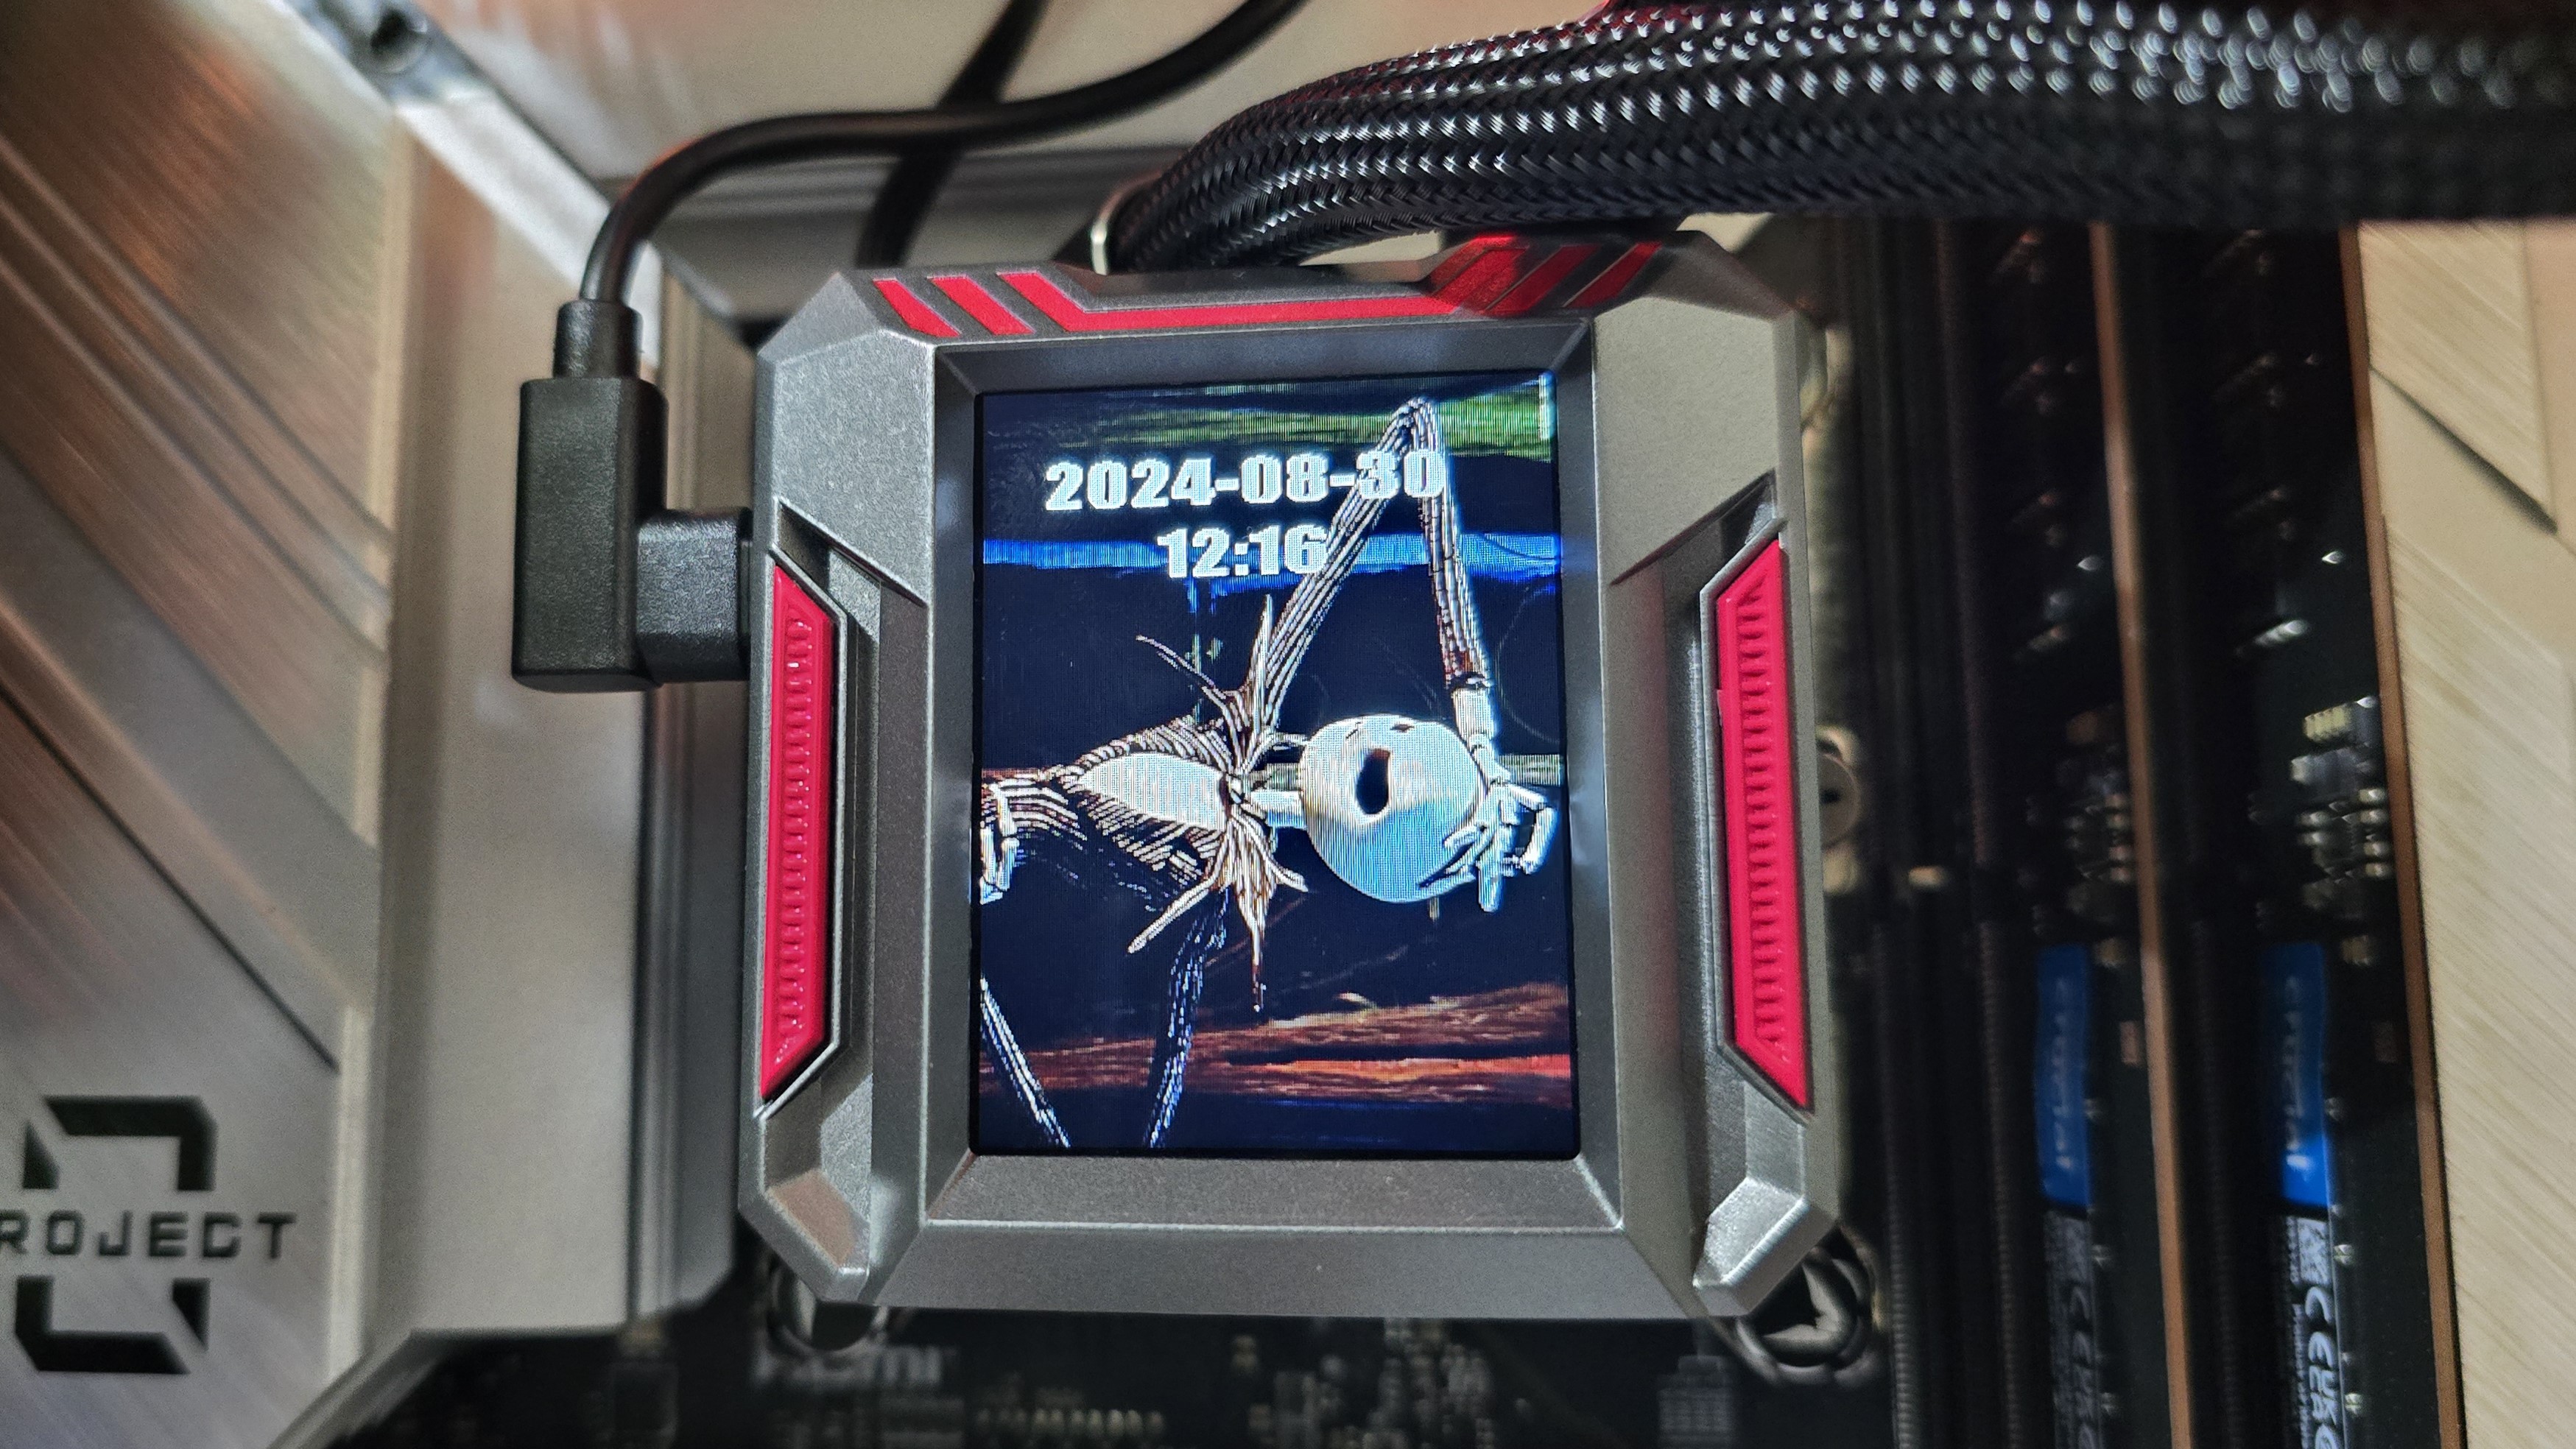
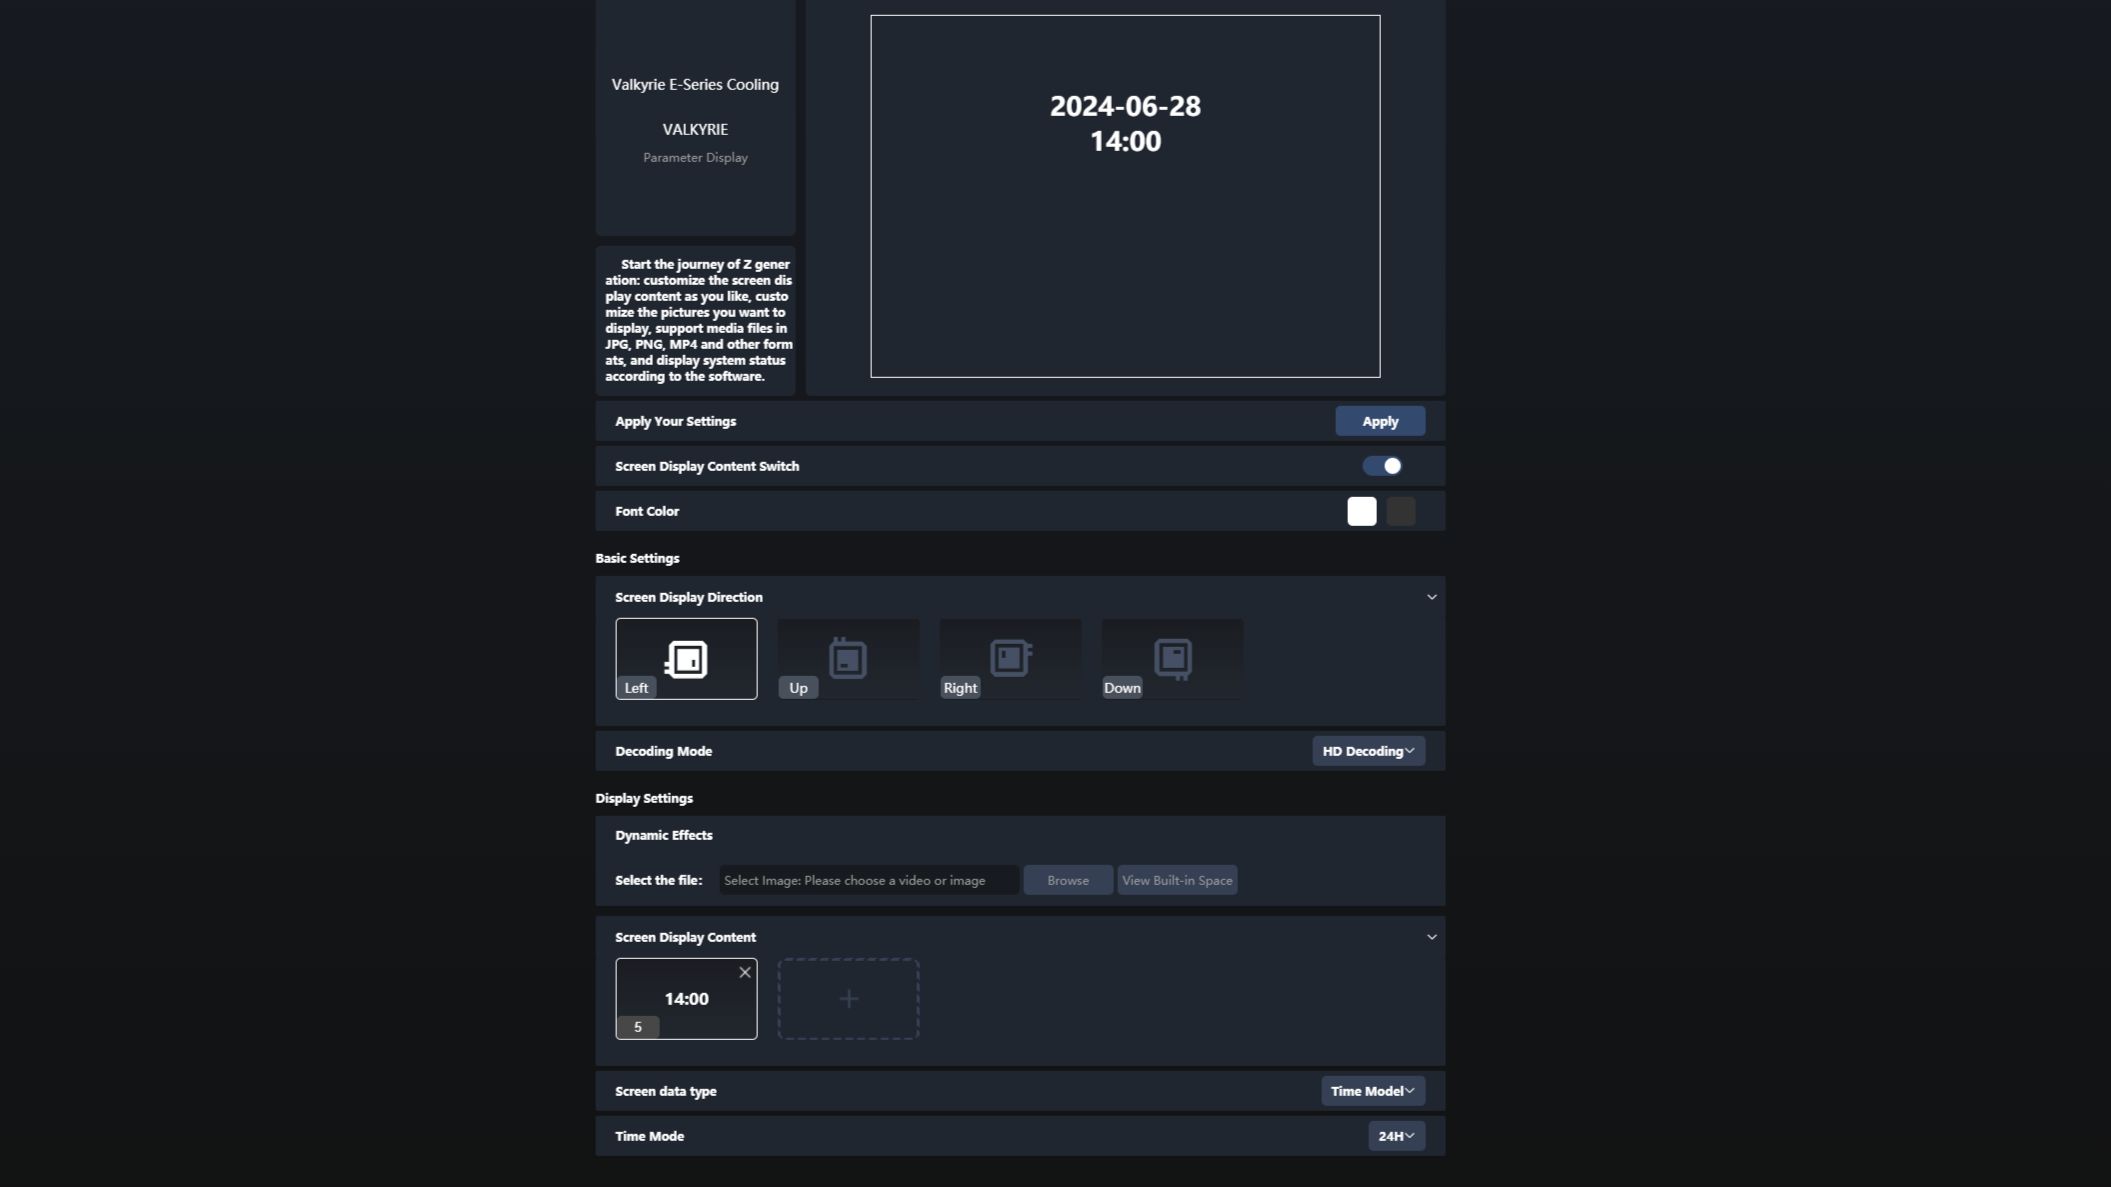
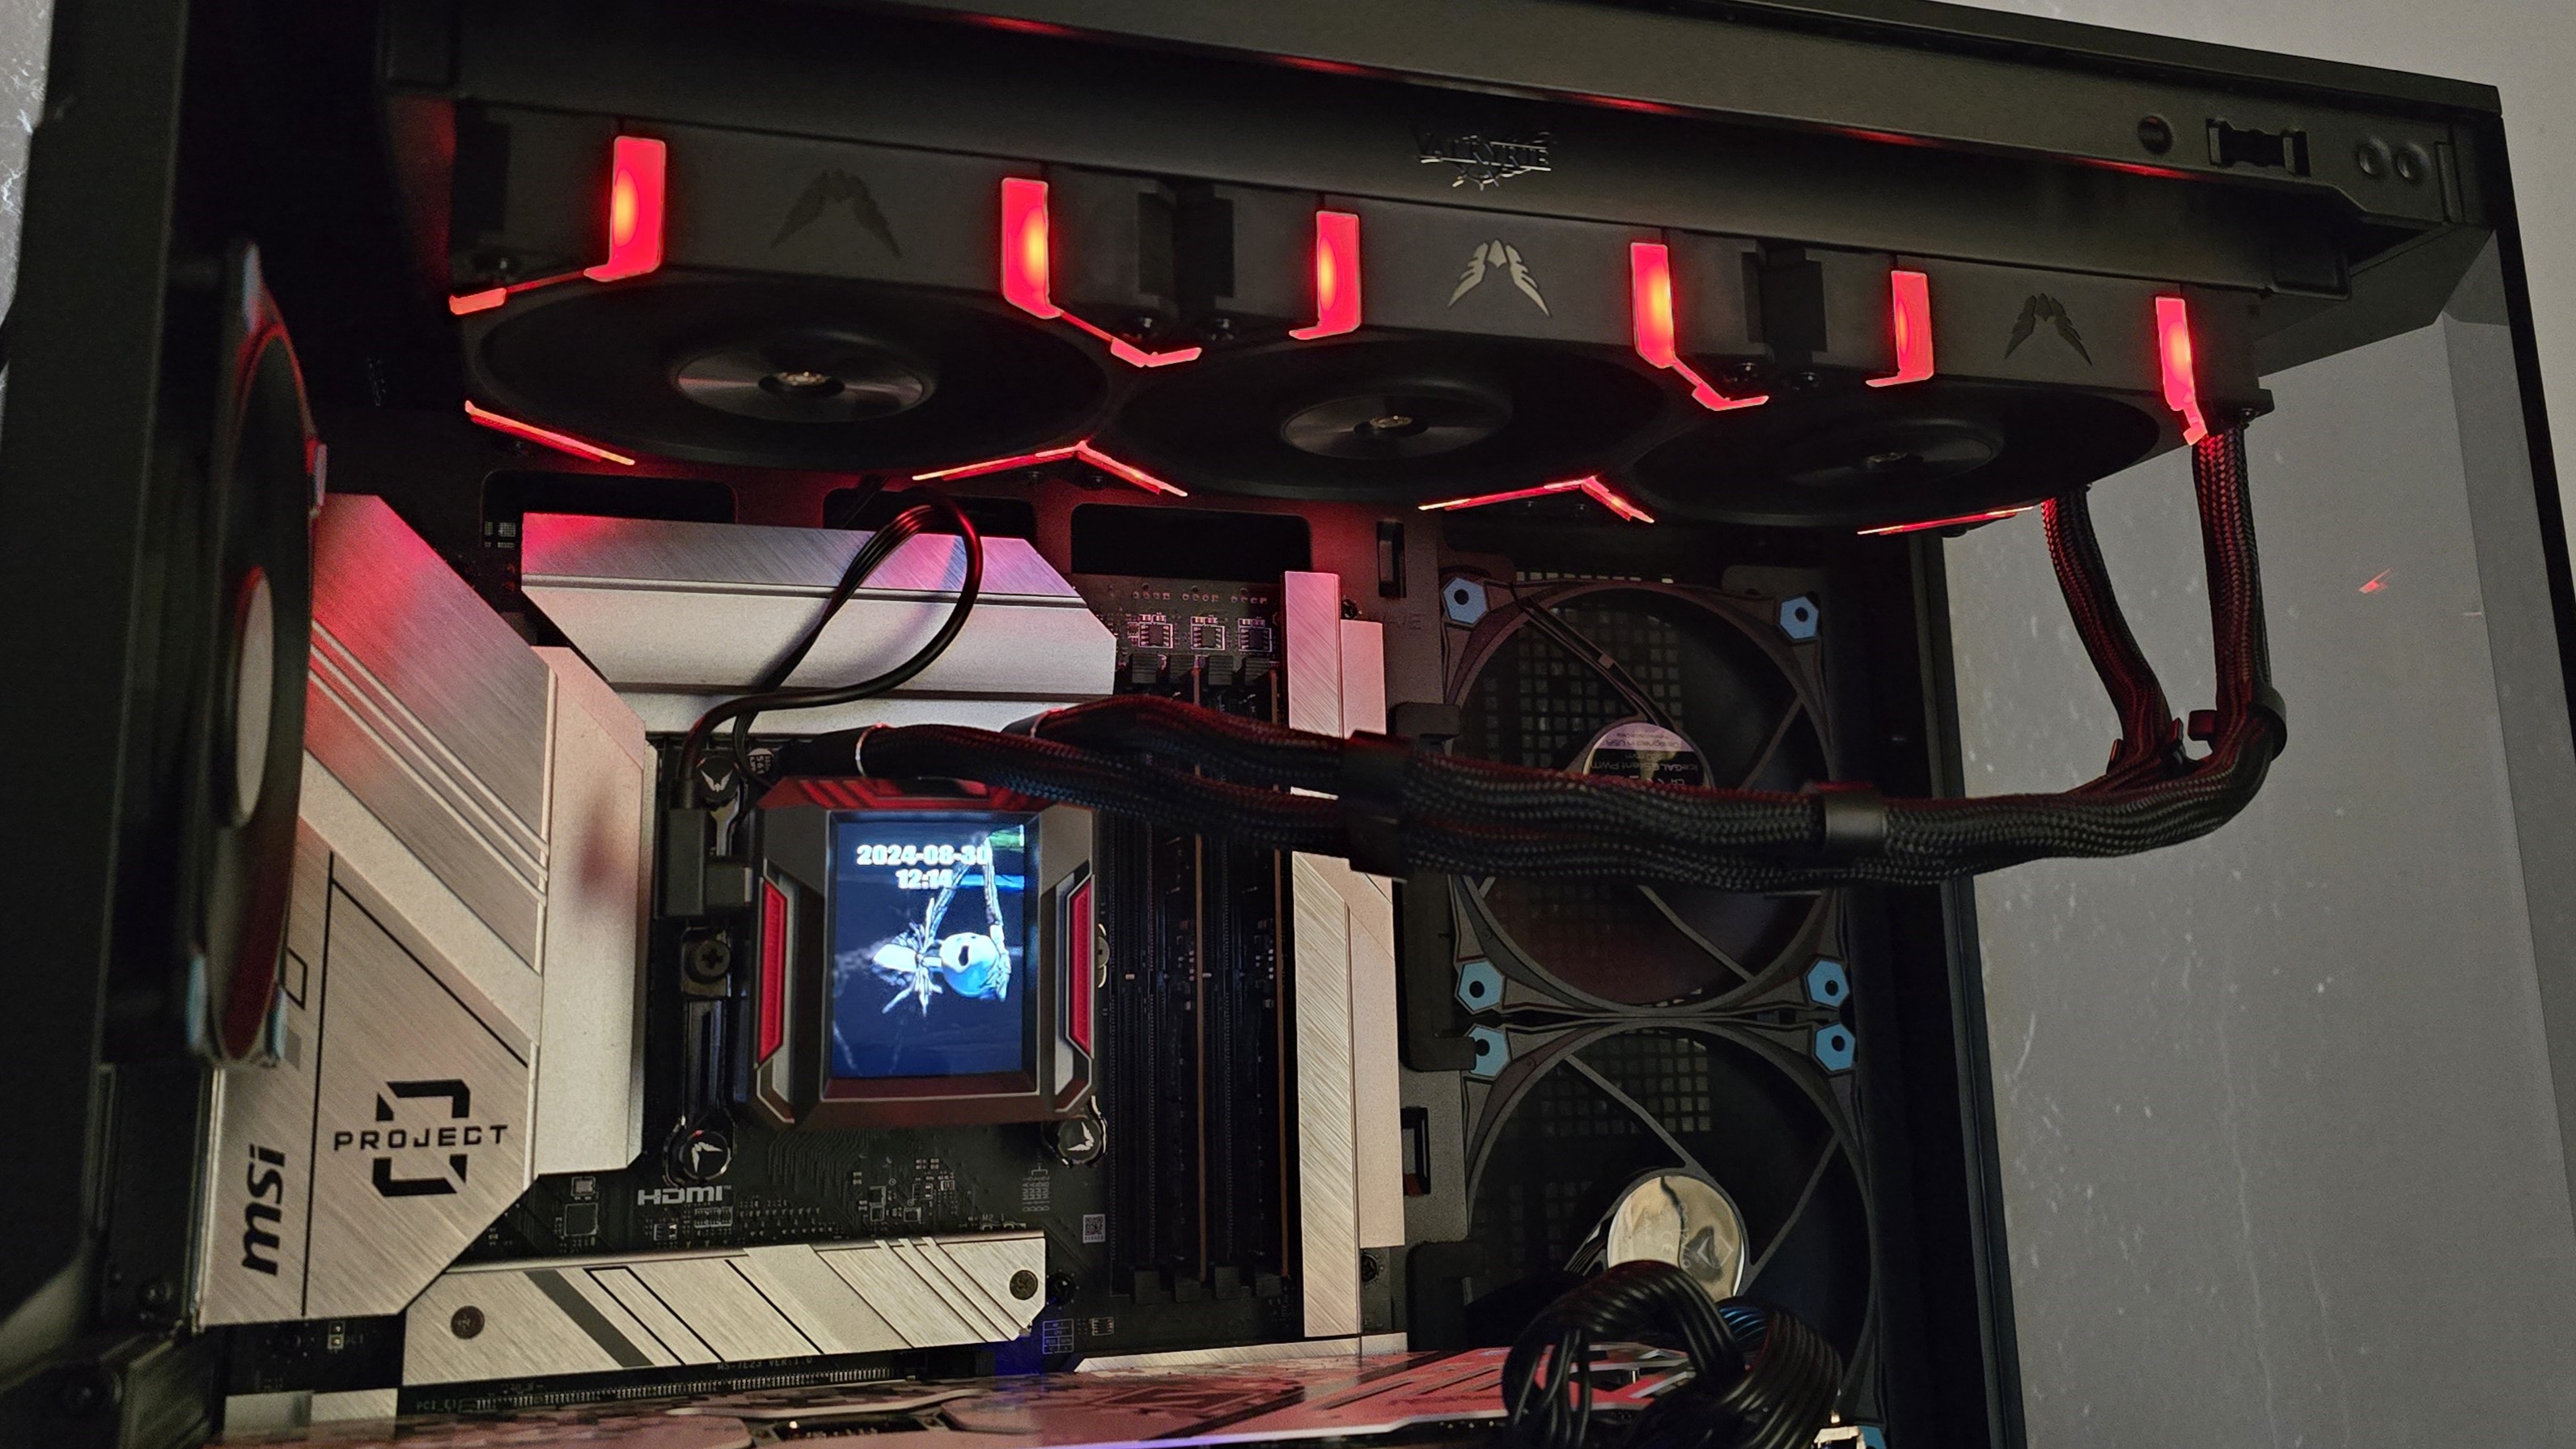
Valkyrie’s SYN features a 2.1-inch round display, which can be customized with a custom background, GIF, or video file via the MythCool software. You can also control the software using a mobile phone, if you prefer. I’ll go over a few more details about the software in the next section of the review.
*️⃣ 27mm thick radiator
The radiator included is a standard 27mm size, for a total of 52mm in thickness if you include the fans attached.
*️⃣ Rotatable, braided tubing
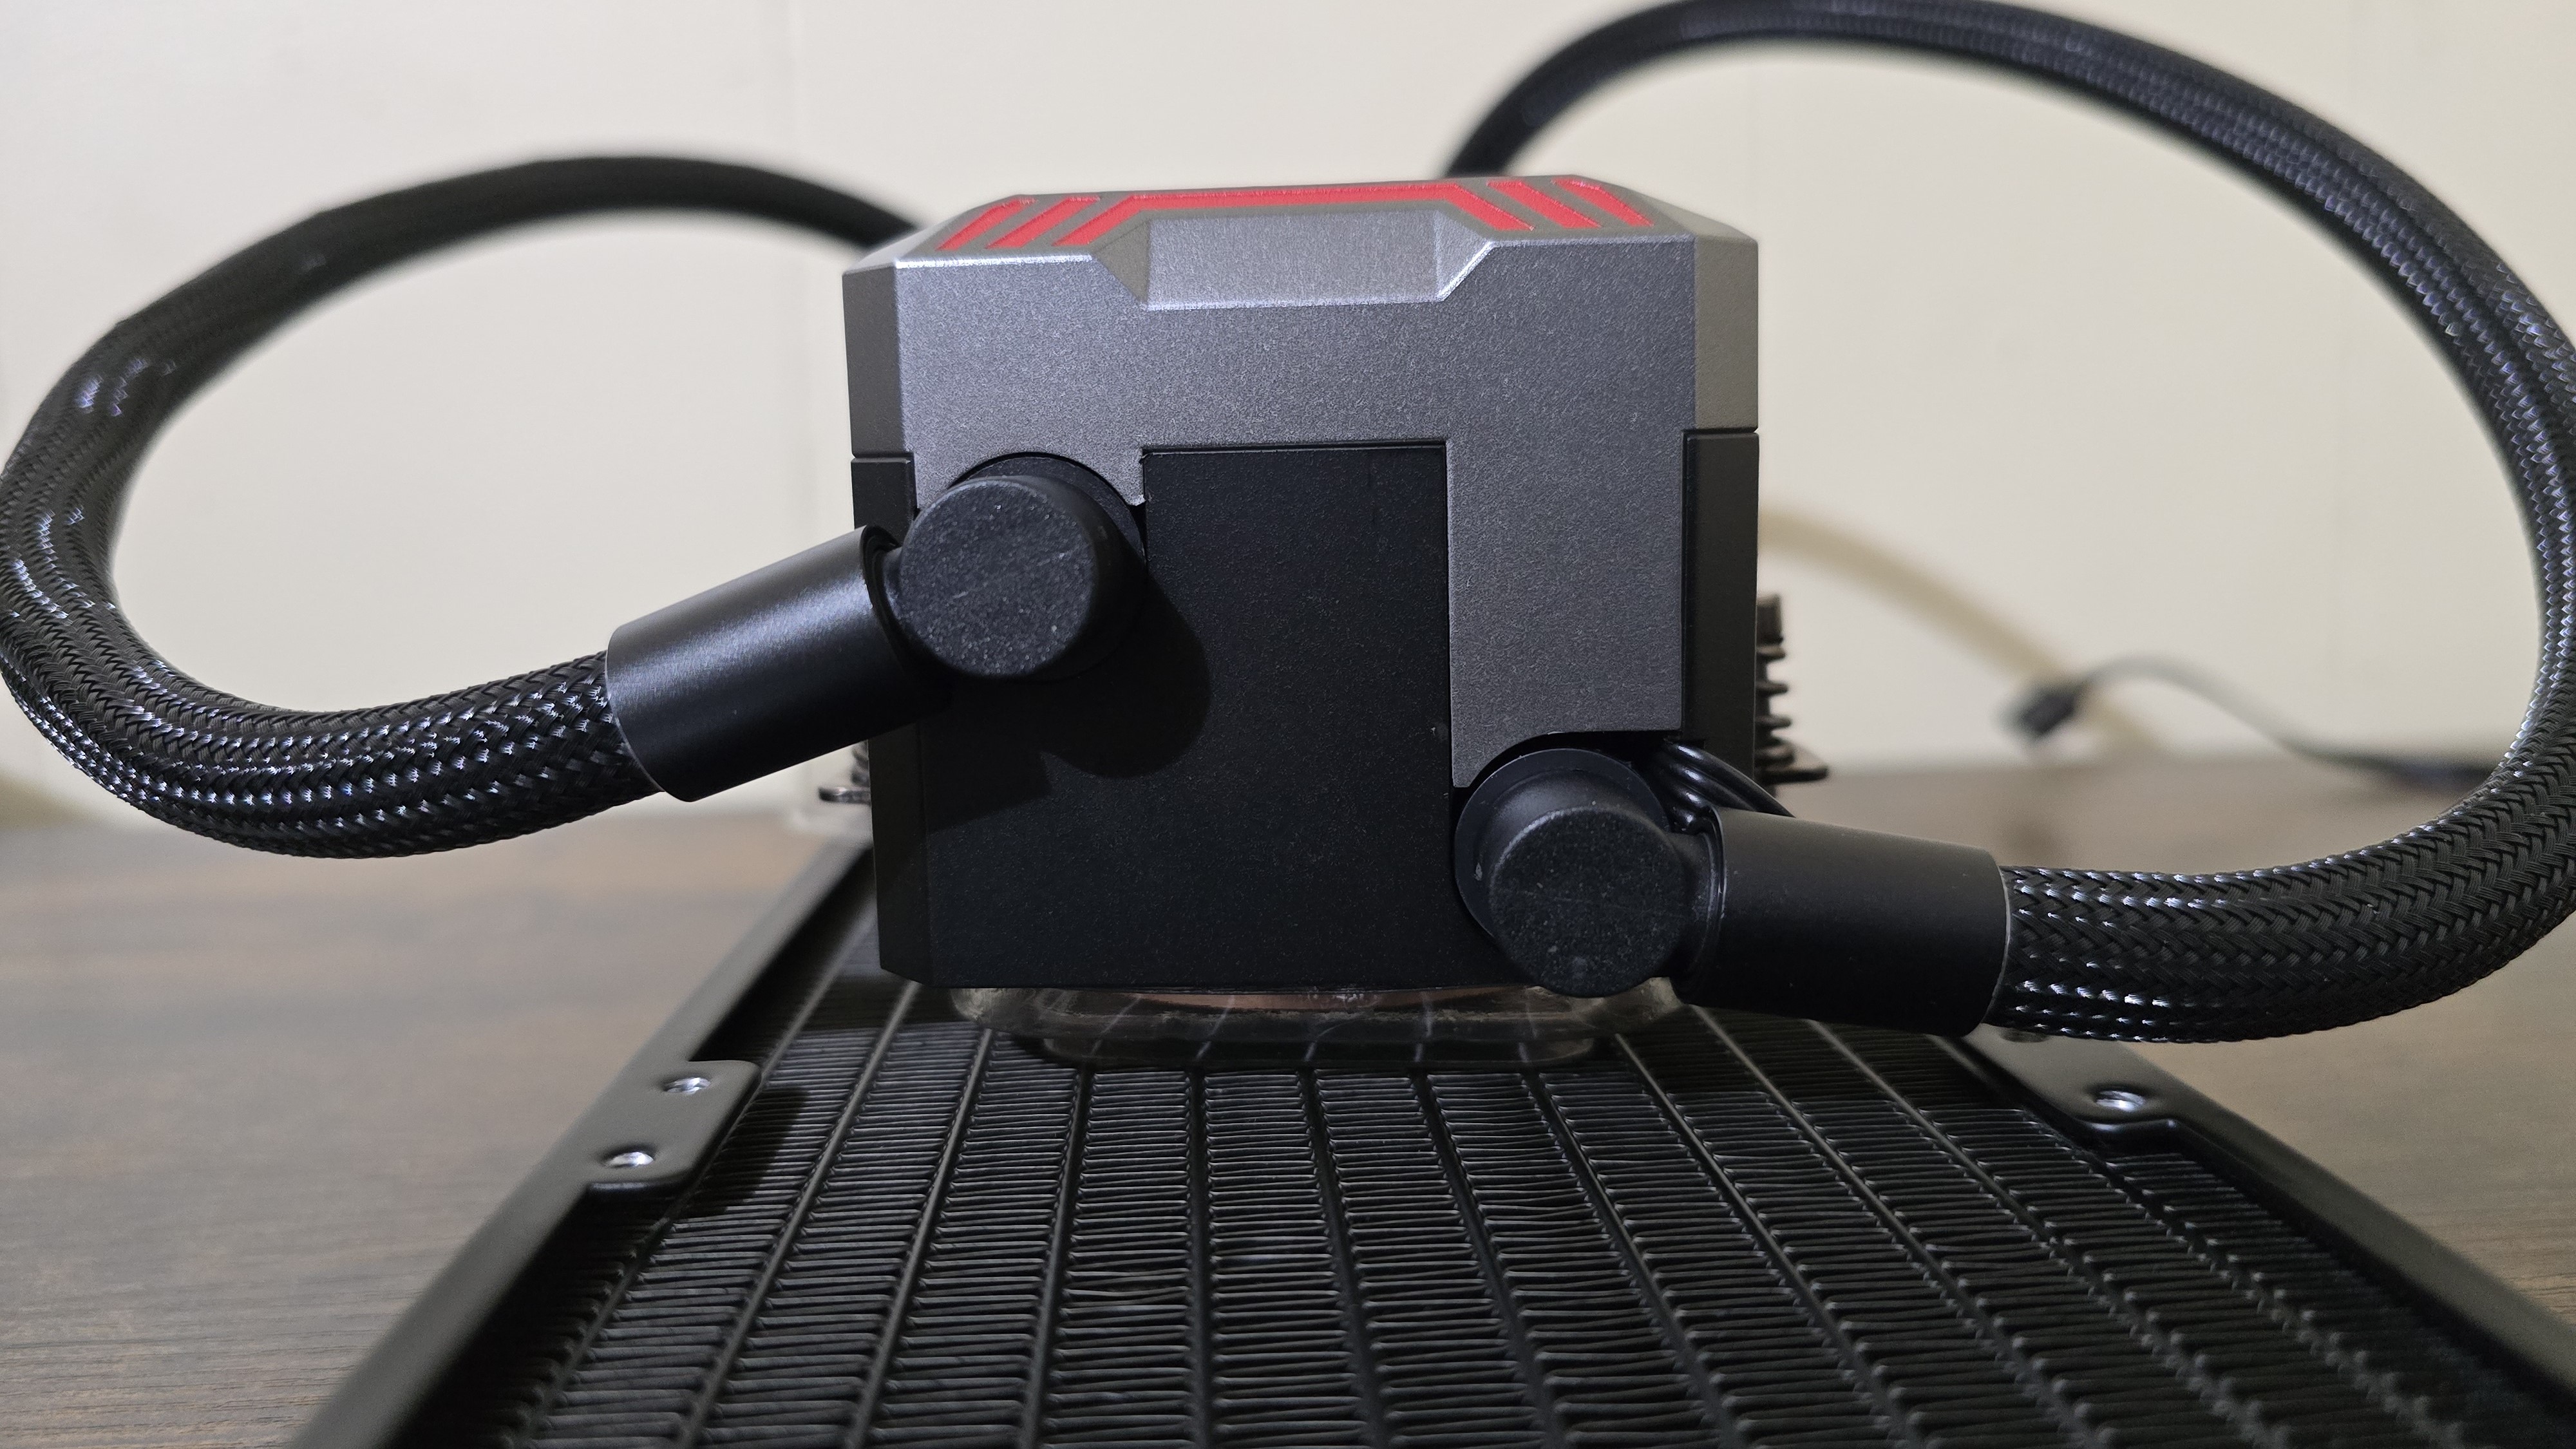
The braided tubing of the AIO is fully rotatable, which can help make installation easier.
*️⃣ Extra thermal paste
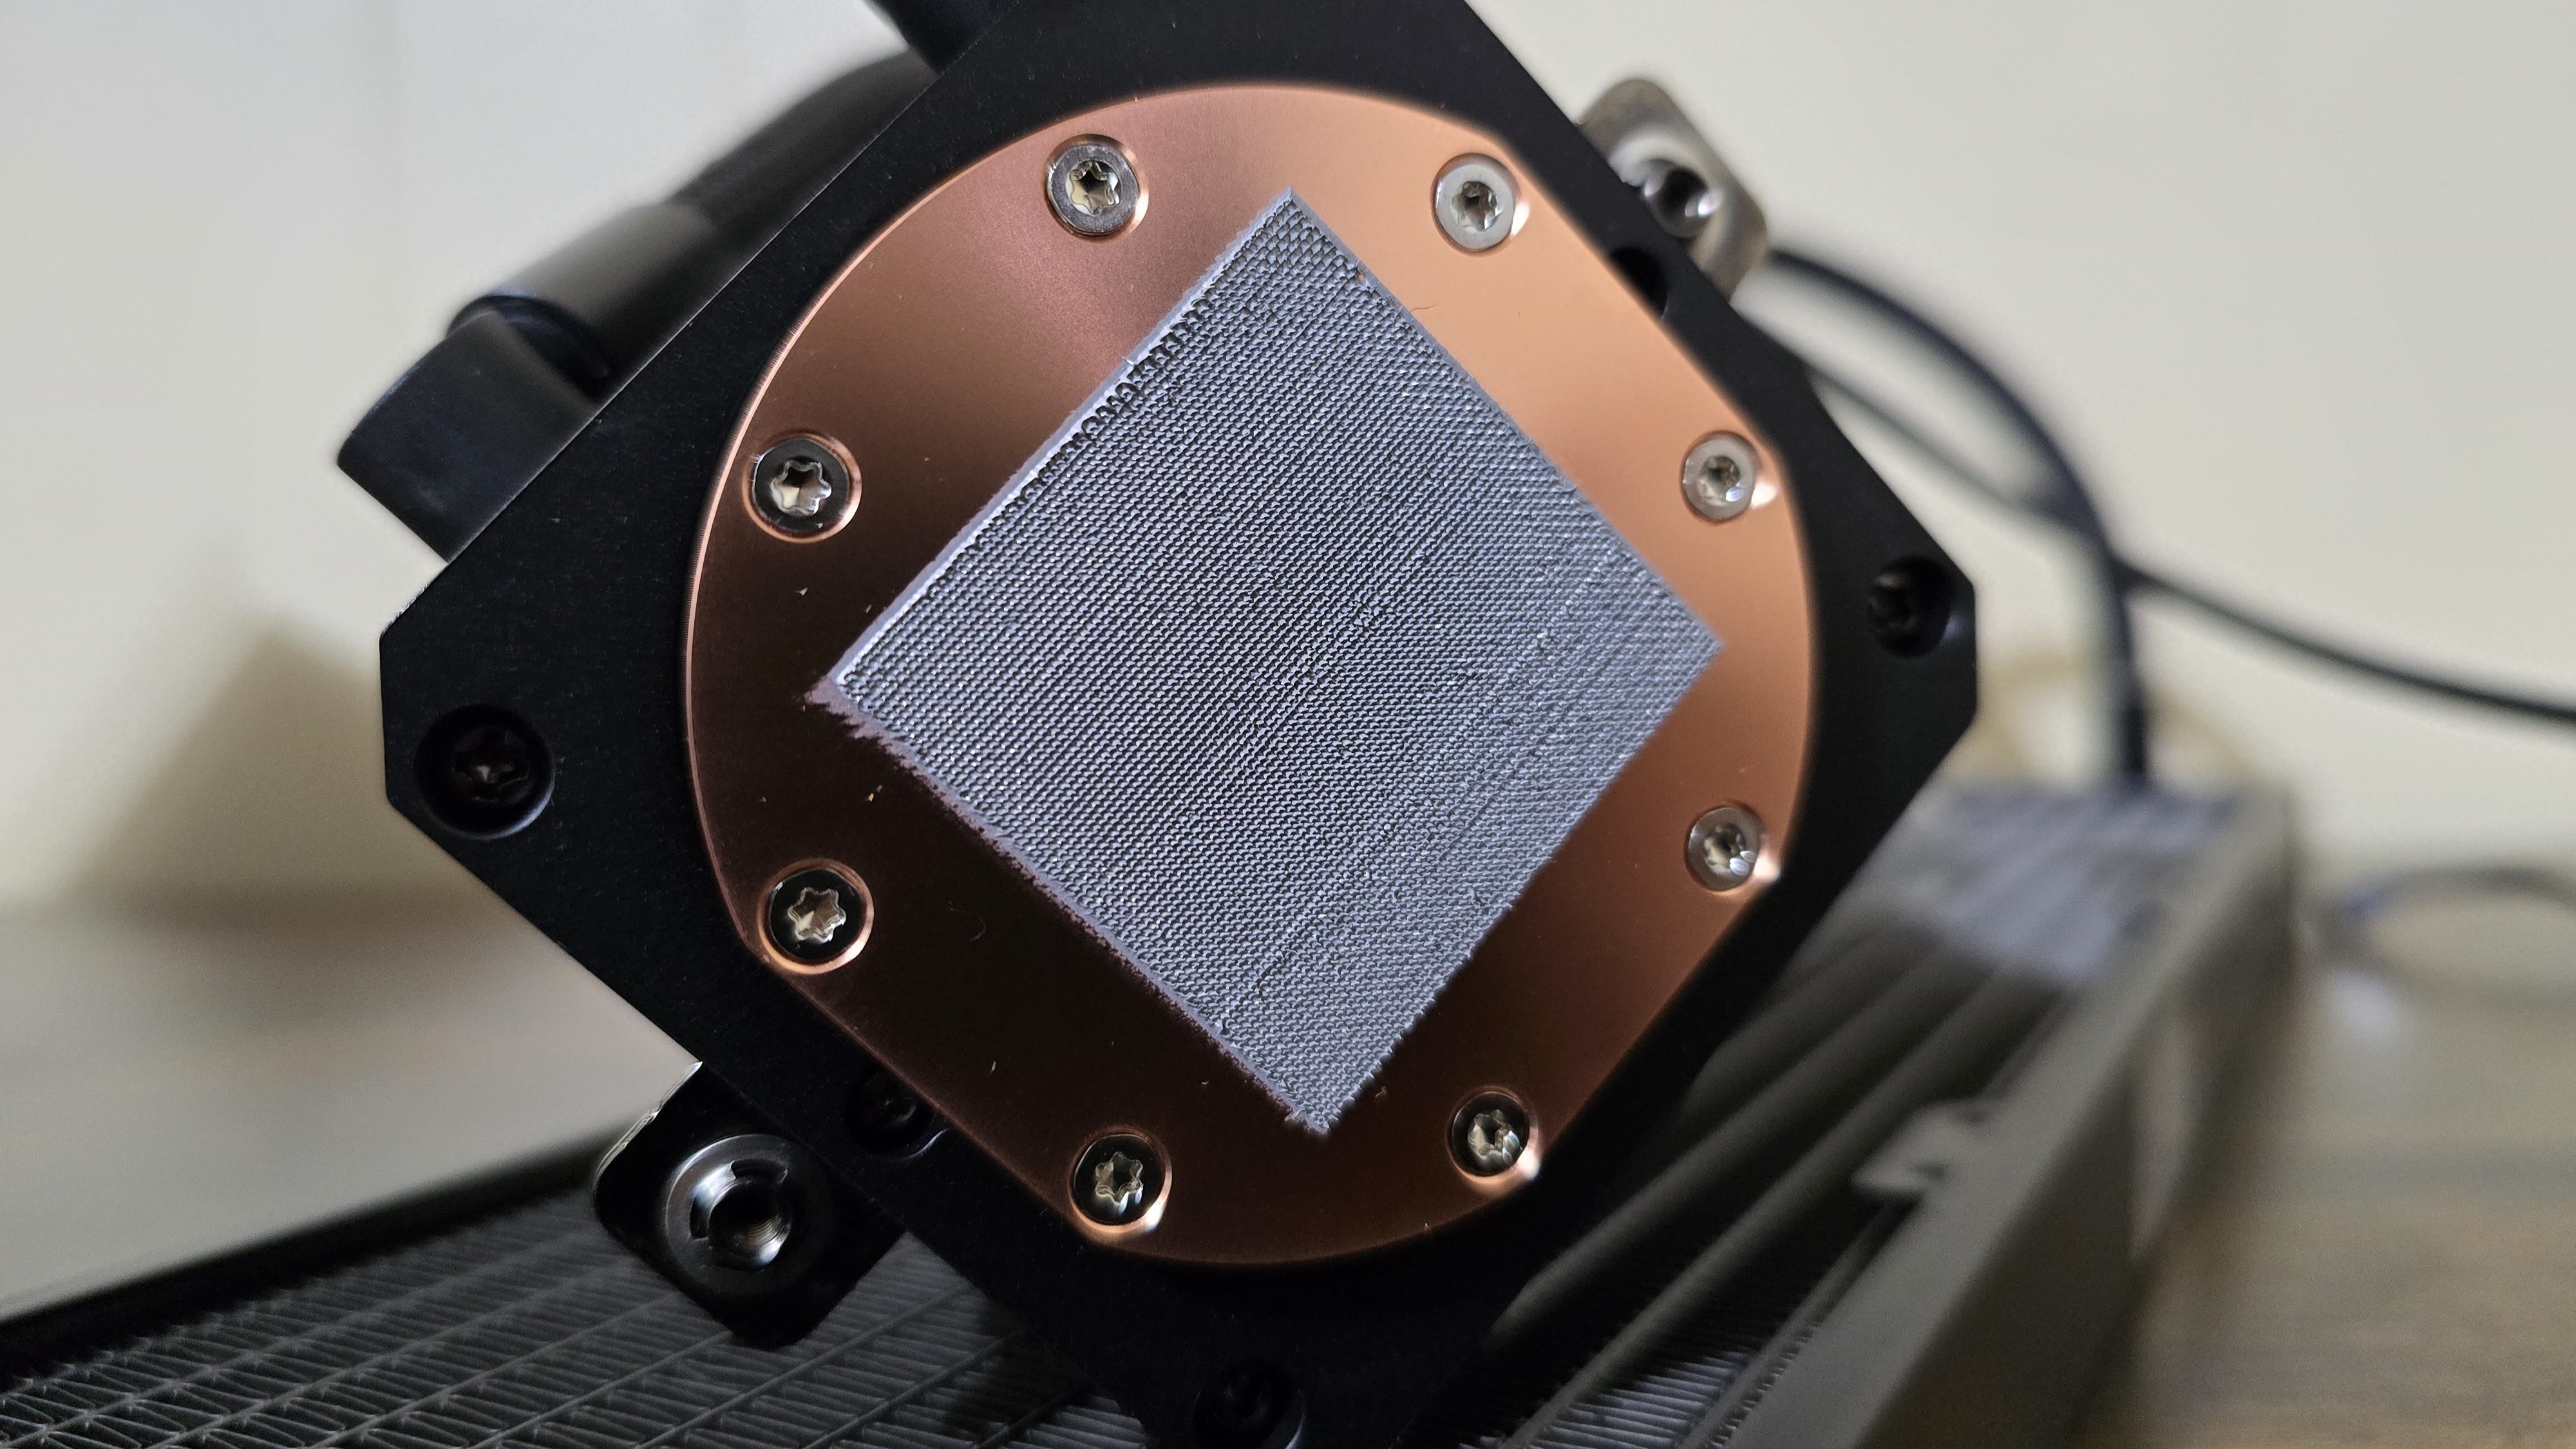
Most companies either have pre-applied thermal paste for their coolers, or include a small tube of thermal paste for the user to apply. MyValkyrie goes the extra mile and does both – pre-applying paste to the CPU block, and also including an extra tube for future use.
*️⃣ Upgradeable storage
Valkyrie’s SYN AIOs include a removable 32GB SD card for storing custom animations and videos.
*️⃣ Cable management features
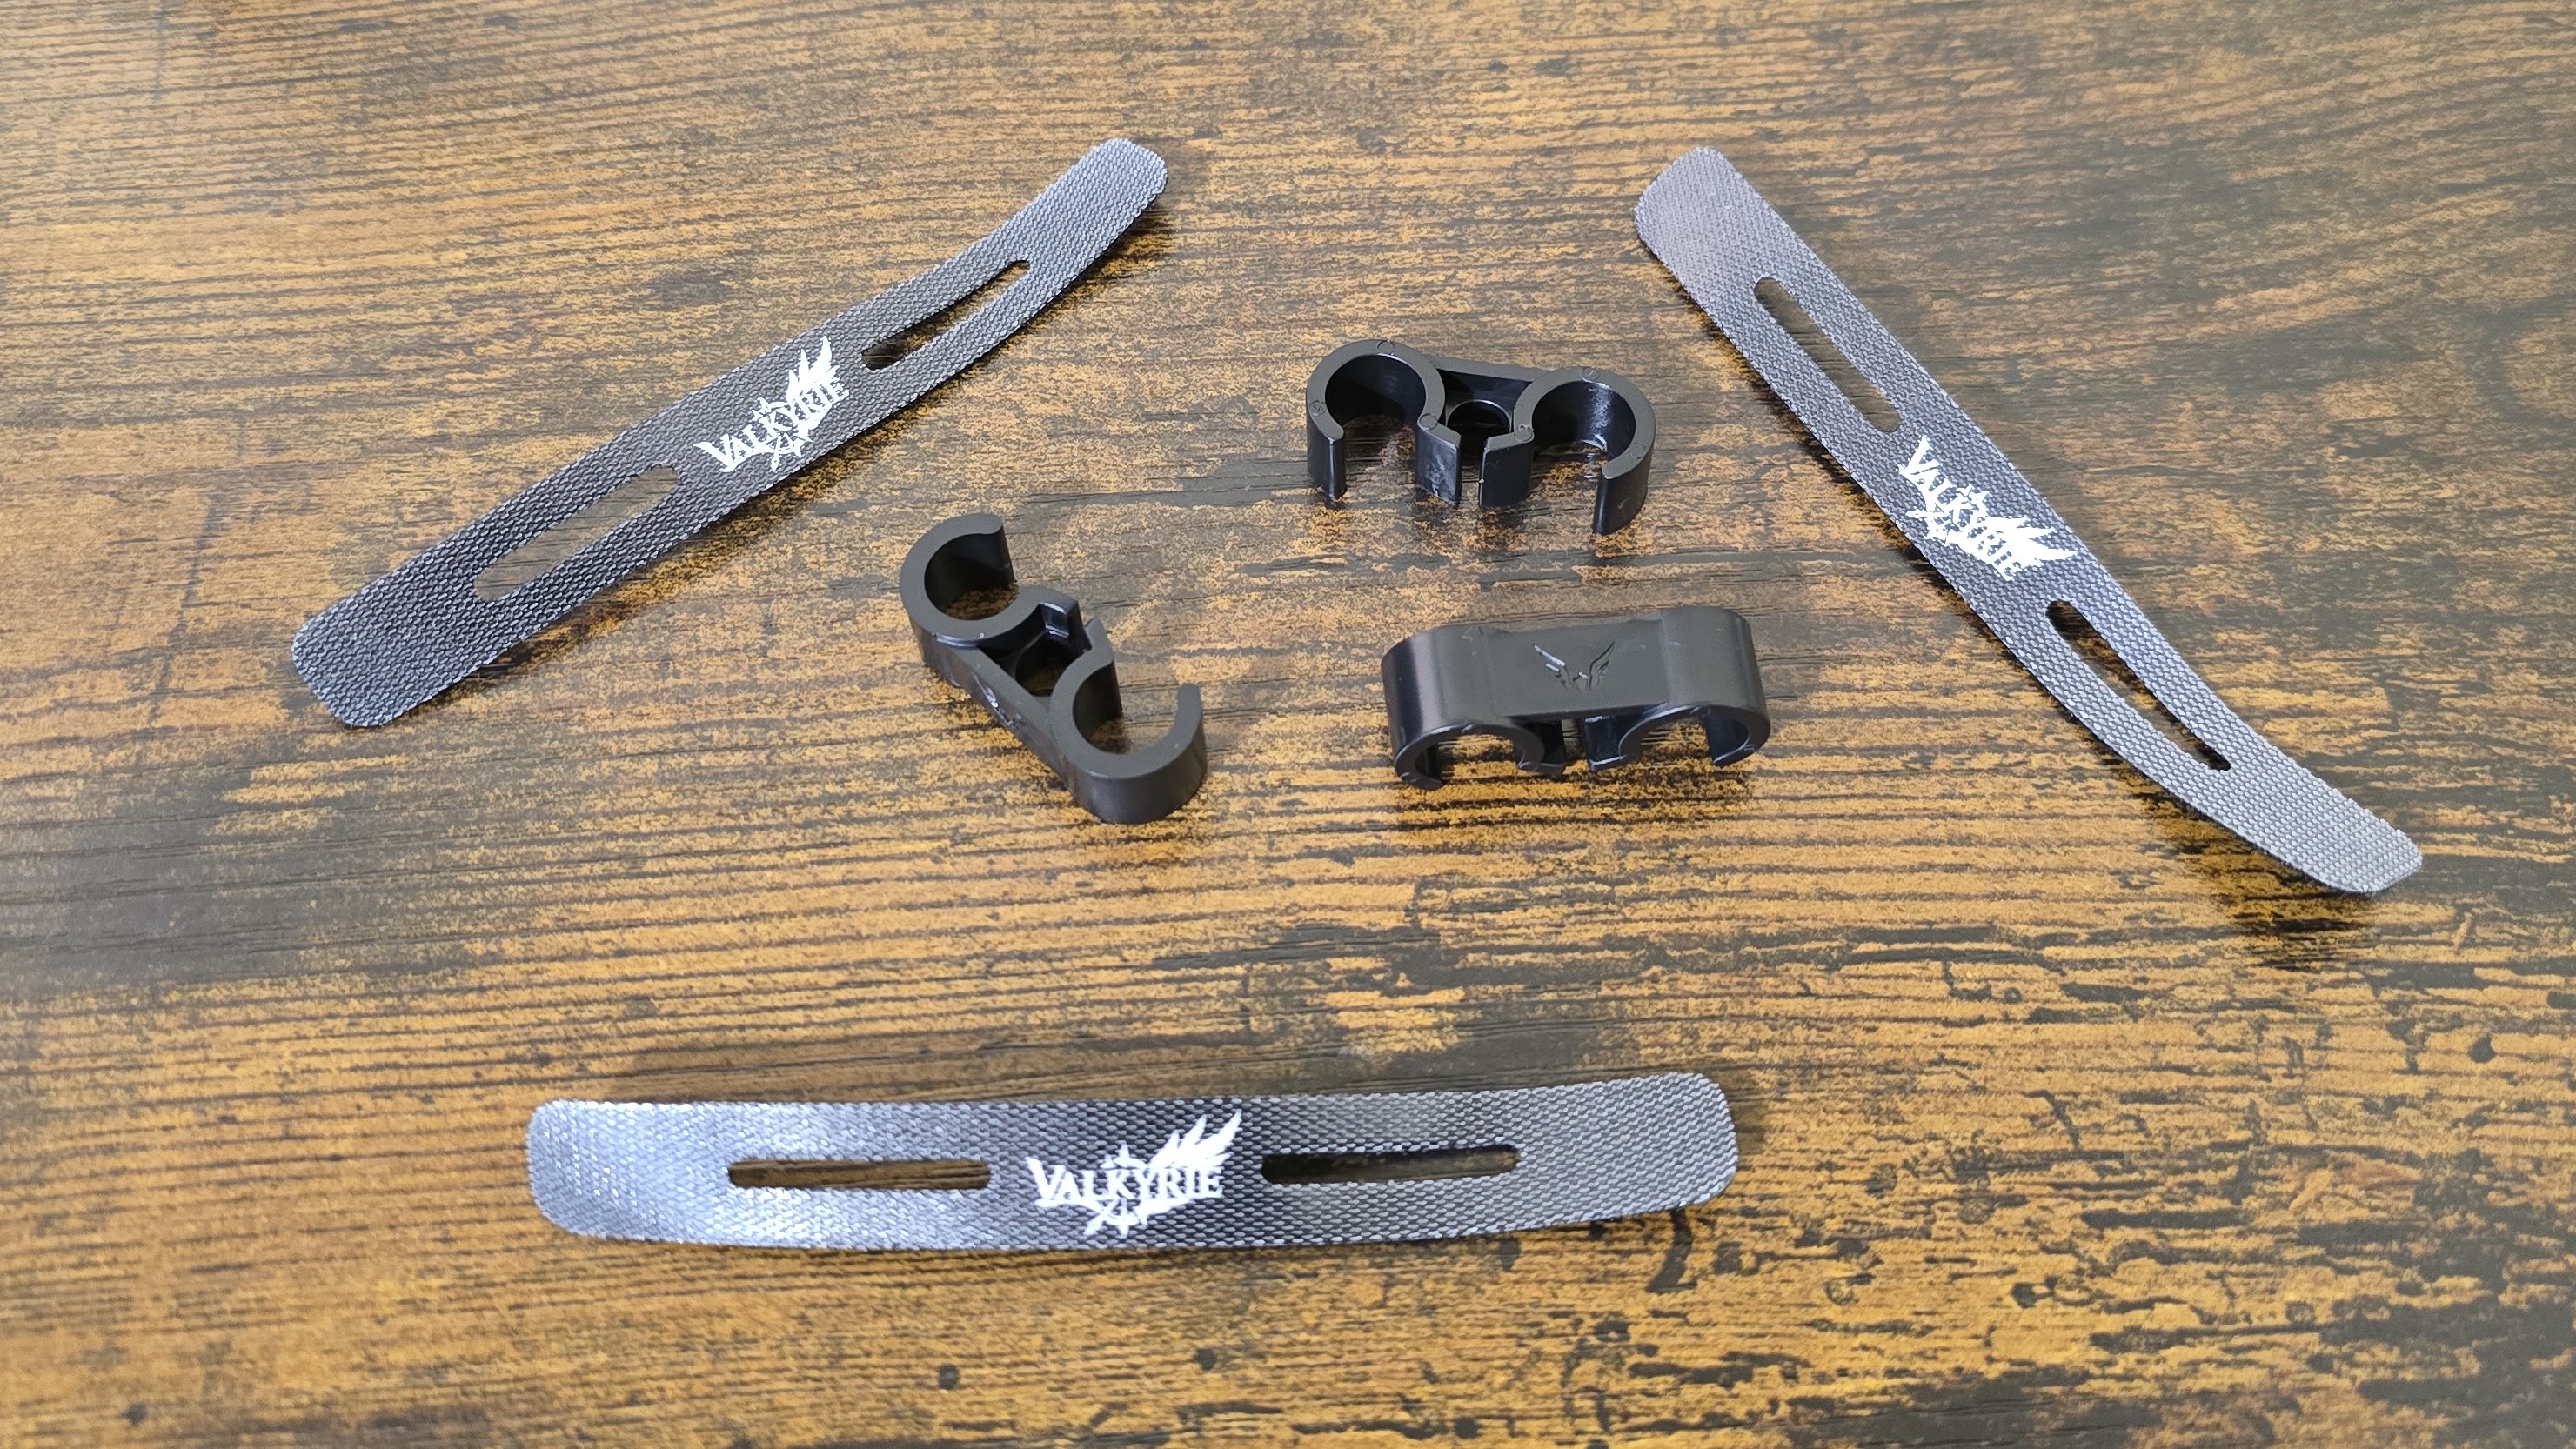
Included are cable management clips and velcro straps, which can help keep the tubing of the AIO organized.
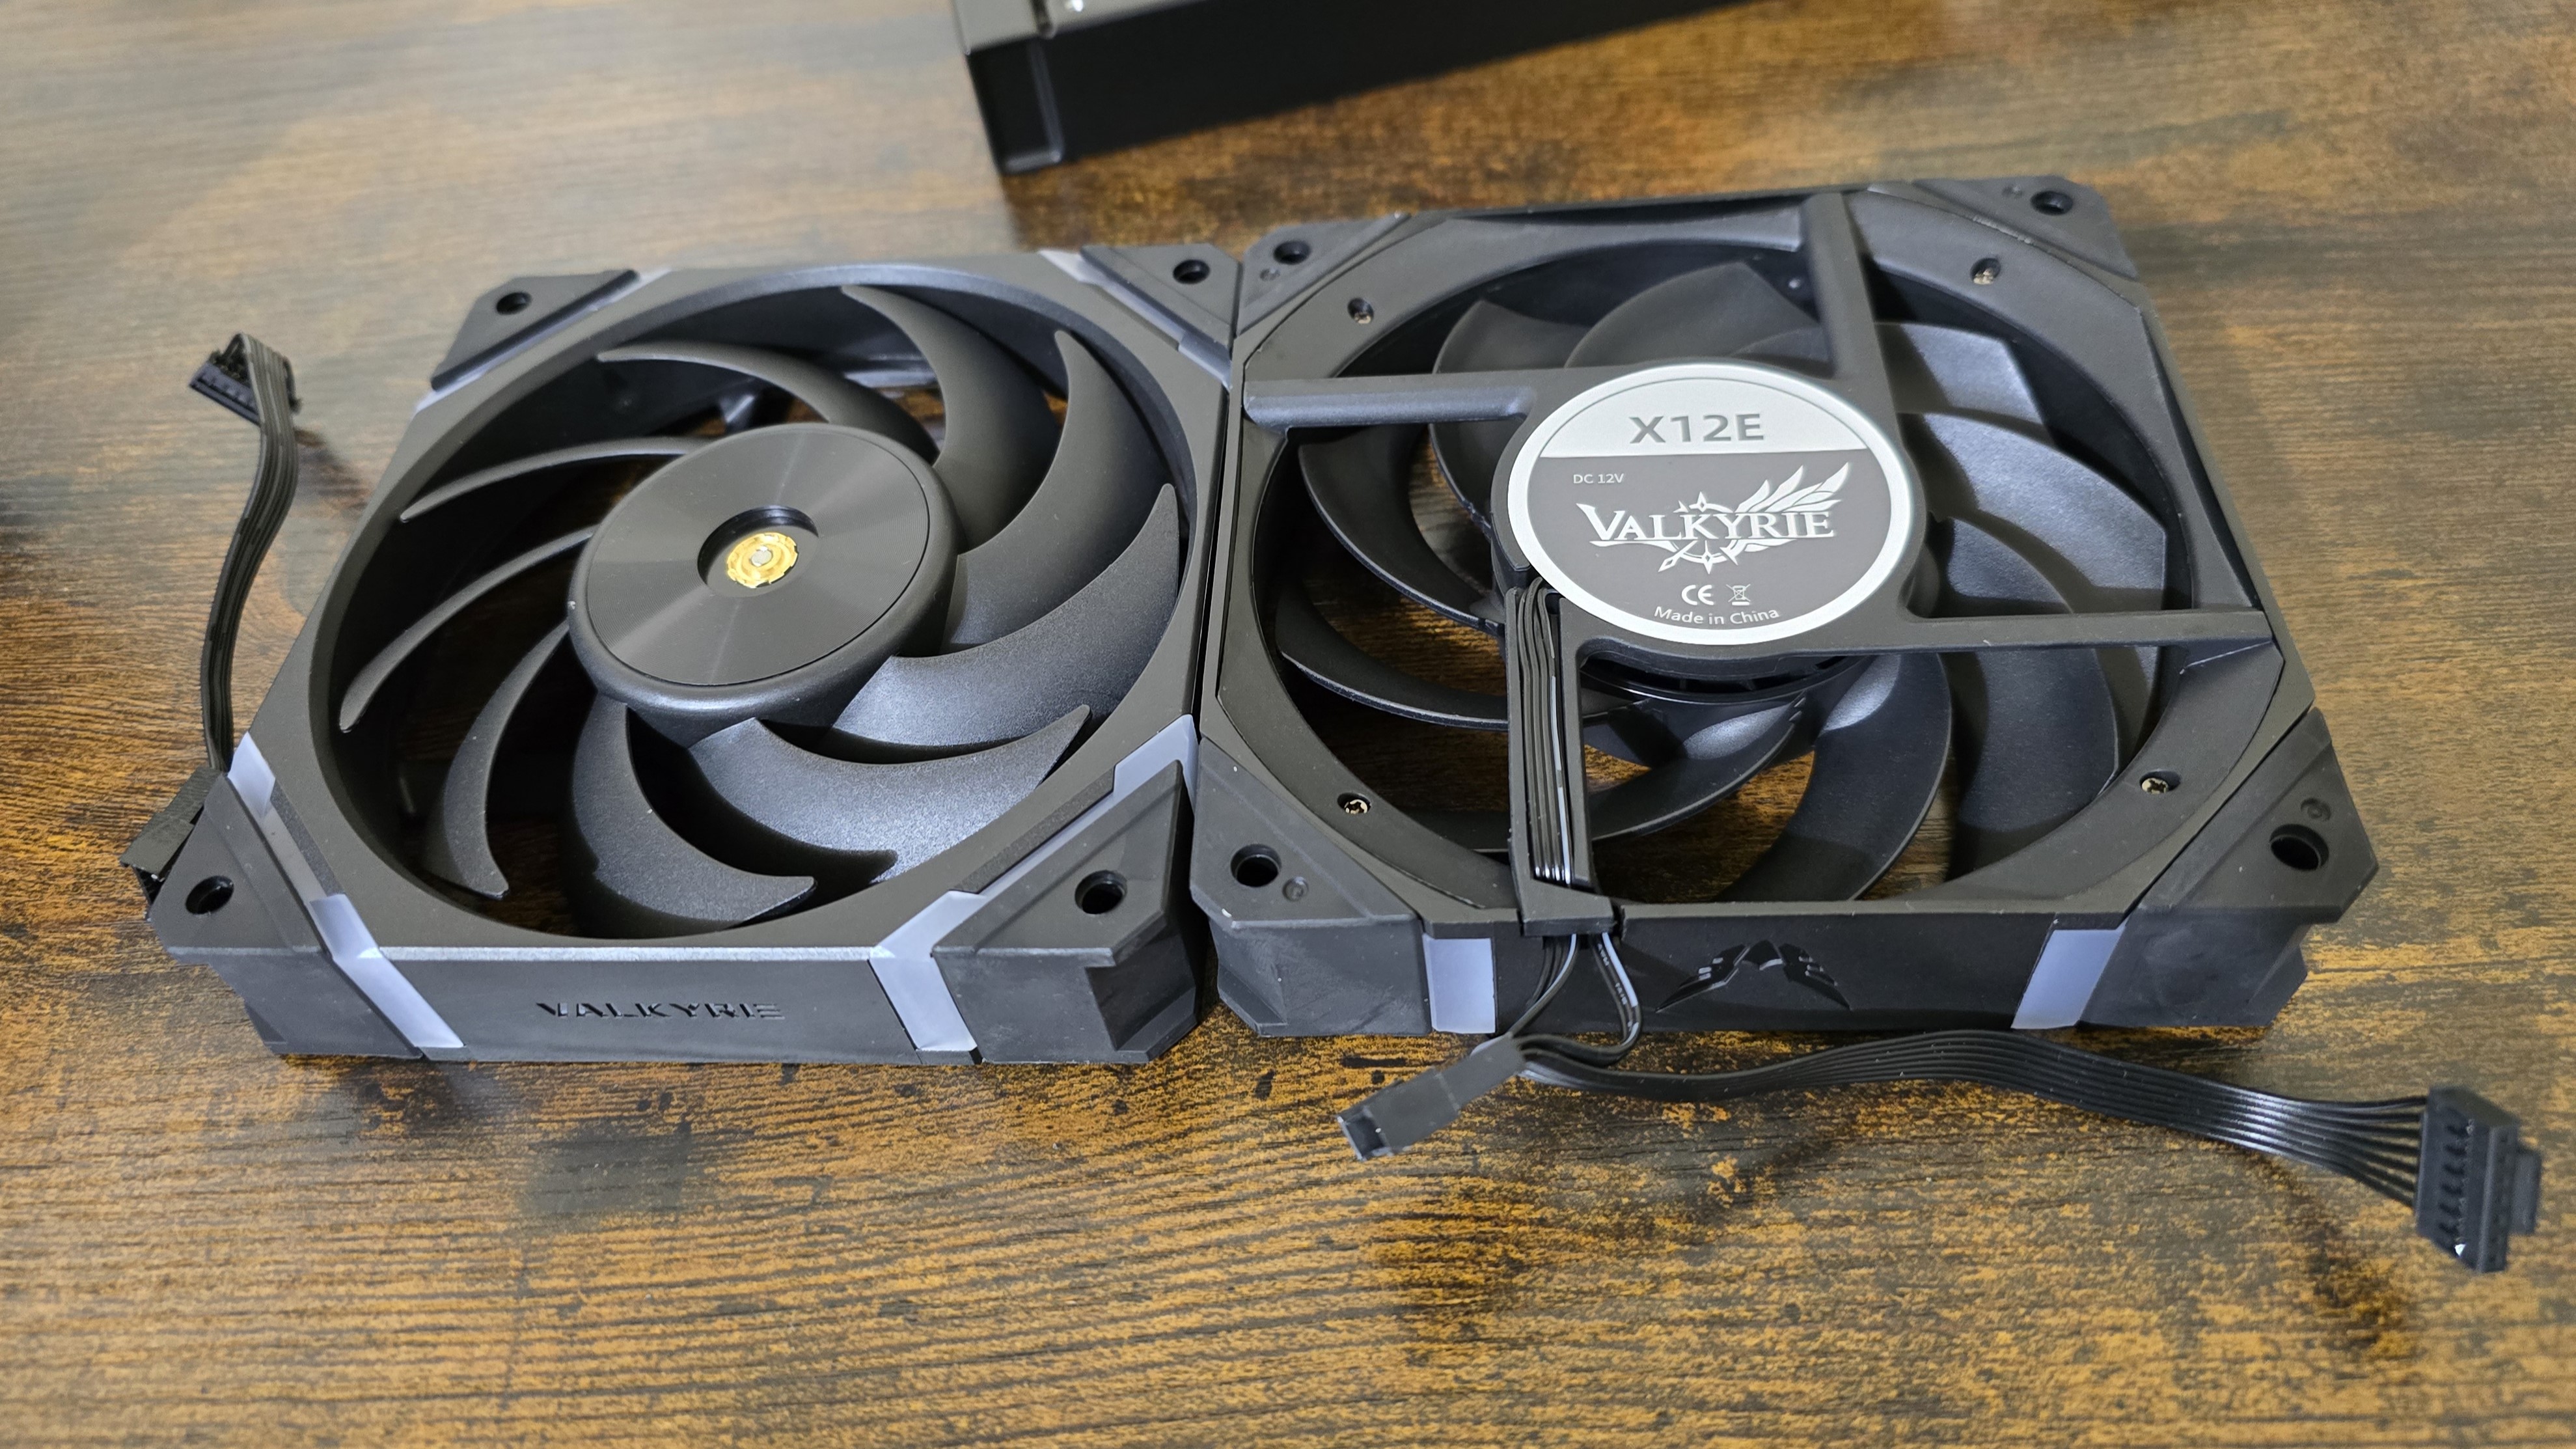
*️⃣ 3x Valkyrie X12 fans
There’s more to a cooler than just the heatsink or radiator. The bundled fans have a significant impact on cooling and noise levels, as well as how the cooler looks in your case.
Valkyrie includes its X12 120mm fans with the AIO. These fans feature 9 blades, rubber anti-vibration pads, and incorporate ARGB strips for decorative lighting.
| Model | Valkyrie X12 |
| Dimensions | 120 x 120 x 25mm |
| Fan Speed | 800-2150 RPM ± 10% |
| Air Flow | Up to 80 CFM |
| Air Pressure | Up to 3.14 mmH2O |
| Bearing Type | FDB |
| Lighting | ARGB |
What I don’t like about the SYN 360
❌ High Price
The price of this AIO is higher than competing 360mm AIOs. Part of this can be explained by the inclusion of the LCD screen and included PWM hub, but $209.99 is still hard to accept because of the next point.
❌ “Beta” level software
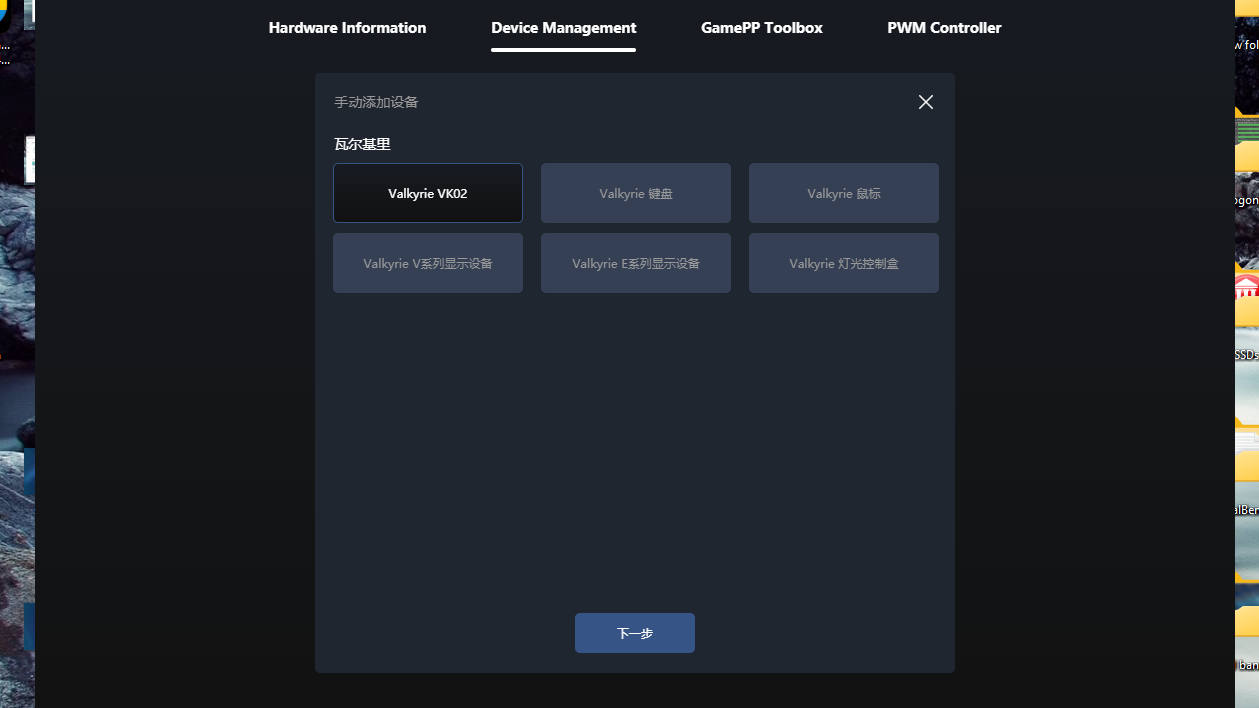
The software is very rough around the edges and feels clunky and rushed. Some parts have not been translated into English yet and display in Mandarin.
The software also only includes one background for the display. No other visuals are available, unless you upload a custom image or video file.
Testing Methodology, and how my testing differs vs the competition
I do a few things differently than many other reviewers, to ensure my results are actually applicable to most users. I test in an actual case, rather than an open bench. The problem with testing on an open bench is that with typical consumer usage – you know, with an enclosed computer case – the ambient temperature within the case will be higher than that of outside air, which adds difficulty to the cooler’s job.
I also strictly regulate the ambient temperature to 23 degrees C during testing. I do not accept results at 22 or 24 C as valid, even though in theory there wouldn’t be a significant difference in terms of test results.
Testing is also only performed with recent-generation CPUs. Older CPUs have bigger hotspots due to older manufacturing processes, and they also have lower clock speeds, which can make them easier to cool.
Many other reviewers, and also most of my own older reviews, only test coolers with a load running on the CPU. While this does provide good and useful information, it doesn’t paint a complete picture of how a cooler will perform. Many workloads, and especially gaming, will stress both the CPU and GPU.
To test how well a CPU’s cooler will perform in these situations I’ve added two tests: one with a light CPU and one with a moderate CPU load, both while running a full load on with AMD’s Radeon RX 7900GRE.
Today's highest-end CPUs, whether Intel or AMD, are difficult to cool in intensive workloads. In the past. reaching 95 degrees Celsius or more on a desktop CPU might have been a cause for concern. But with today’s top-end CPUs, this is considered normal operation. Similar behavior has been present in laptops for years due to cooling limitations in tight spaces.
All testing is performed with a 23 C ambient room temperature. Multiple thermal tests are run on each CPU to test the cooler in a variety of conditions, and acoustic measurements are taken with each result. These tests include:
1. Noise-normalized testing at low noise levels
2. Out-of-the-box / Default configuration thermal and acoustic testing
a. No power limits enforced
b. Because CPUs hit TJ Max in this scenario, the best way to compare cooling strength is by recording the total CPU package power consumption.
3. Thermal and acoustic testing in power-limited scenarios
a. Power limited to 175W to emulate a medium-intensity workload
b. Power limited to 125W to emulate a low-intensity workload
The thermal results included are for 10-minute testing runs. To be sure that was sufficiently long to tax the cooler, we tested both Thermalright’s Assassin X 120 R SE and DeepCool’s LT720 with a 30-minute Cinebench test with Intel’s i9-13900K for both 10 minutes and 30 minutes. The results didn’t change much at all with the longer test: The average clock speeds maintained dropped by 29 MHz on DeepCool’s LT720 and 31 MHz on Thermalright’s Assassin X 120 R SE. That’s a small 0.6% difference in clock speeds maintained, a margin of error difference that tells us that the 10-minute tests are indeed long enough to properly test the coolers.
Testing configuration – Intel LGA1700 platform
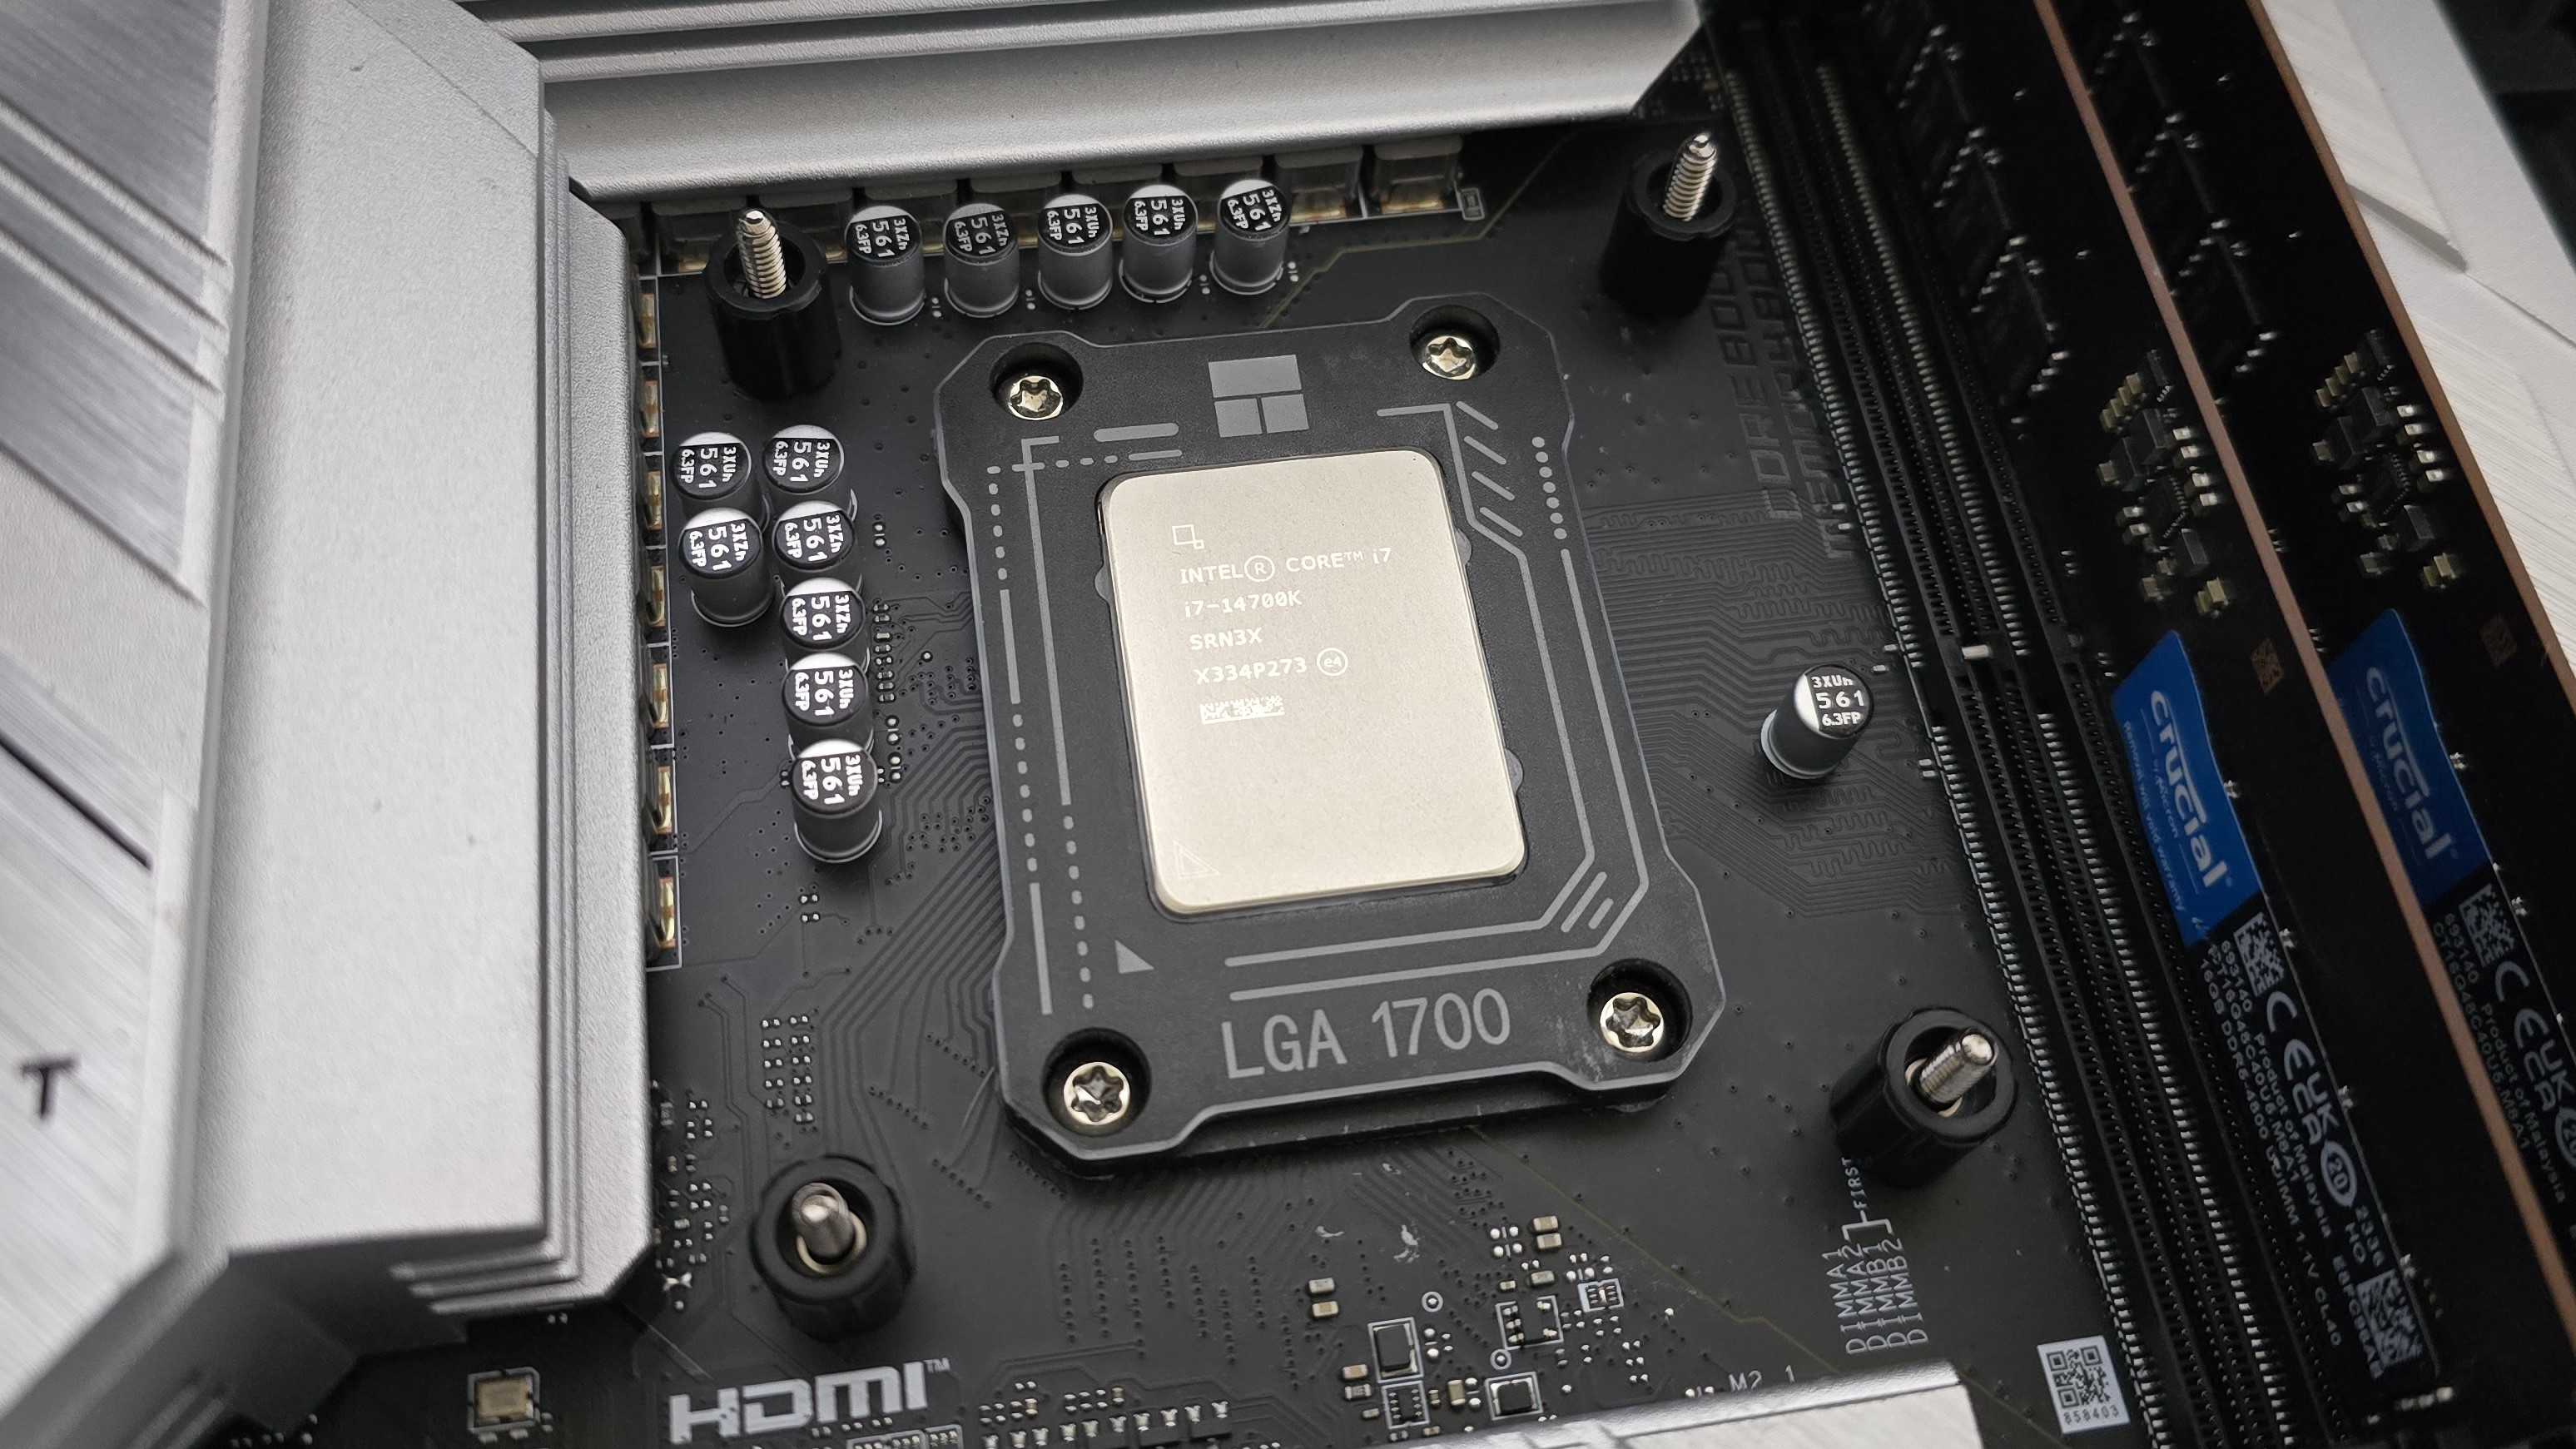
| CPU | Intel Core i7-14700K |
| Motherboard | MSI Z790 Project Zero |
| Case | MSI Pano 100L PZ |
| Monitor | LG 45GR95QE |
| PSU | Silverstone HELA 1300 |
There are many factors other than the CPU cooler that can influence your cooling performance, including the case you use and the fans installed in it. A system's motherboard can also influence this, especially if it suffers from bending, which results in poor cooler contact with the CPU.
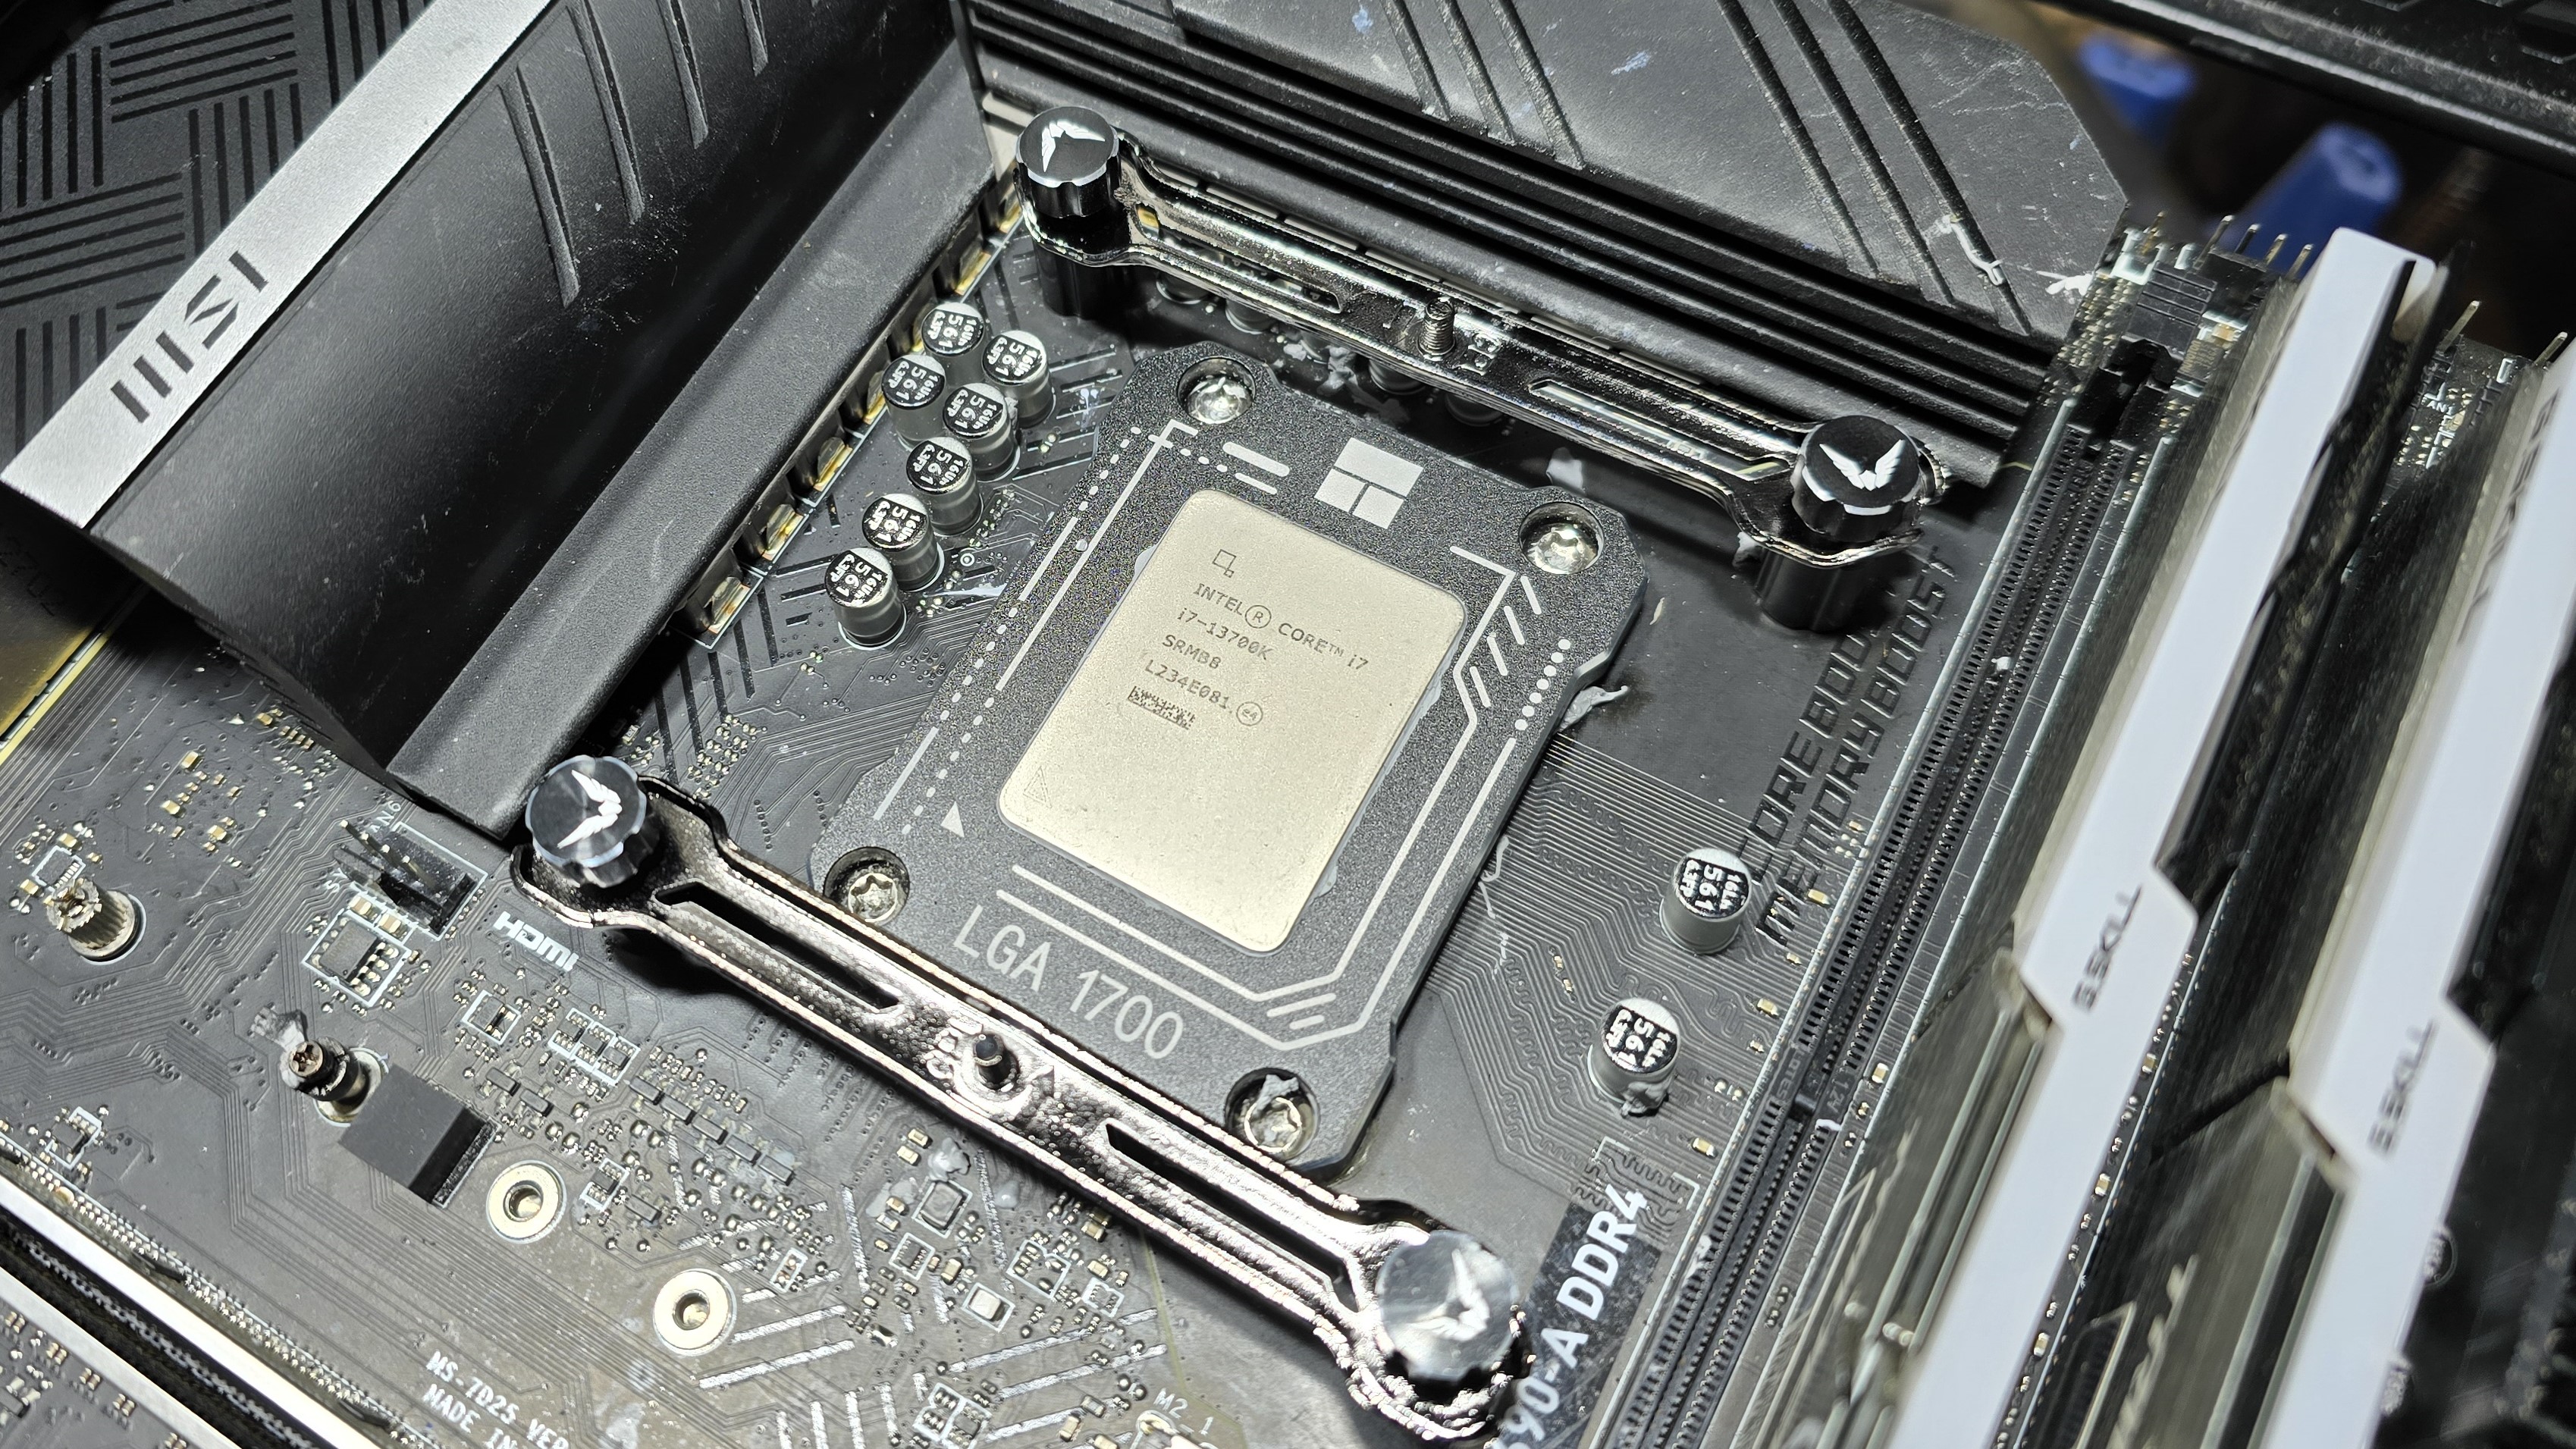
In order to prevent bending from impacting our cooling results, we’ve installed Thermalright’s LGA 1700 contact frame into our testing rig. If your motherboard is affected by bending, your thermal results will be worse than those shown below. Not all motherboards are affected equally by this issue. I tested Raptor Lake CPUs in two motherboards. And while one of them showed significant thermal improvements after installing Thermalright’s LGA1700 contact frame, the other motherboard showed no difference in temperatures whatsoever! Check out our review of the contact frame for more information.
Installation
The cooler installation is simple and easy. The fans come pre-installed, saving a few moments of installation time. I generally recommend securing the radiator to the case before proceeding to other steps.
1. Place the CPU bracket against the rear of the motherboard, and secure it using the included standoffs.
2. With the first installation of the cooler, you won’t need to apply thermal paste – it’s already on the copper contact plate. However, additional paste is included for other installations. If you’re not sure how to apply thermal paste, we have a guide you can read for more details.
3. Attach the mounting bars, and secure it using the included thumbscrews.
4. After securing the CPU block, you’ll need to connect the pump to a USB header using the included cable. You’ll also need to connect the power cord to the CPU block and a SATA power port. Finally, connect the ARGB and PWM cables to finish installation.

Albert Thomas is a contributor for Tom’s Hardware, primarily covering CPU cooling reviews.
-
triplex1 For this particular company , I have not heard good things about its products and I will also agree with the article that it is very expensive.Reply
Although I'm in favor of air cooling, lately I've been thinking about going with a 280 water cooler, which I think some of them are even better than 360.
So it was between two, the Corsair ICUE H115i Elite Capellix XT and the Frozen Warframe 280 as the Arctic Liquid Freezer III 280 hardly fits into most Midi Towers on the top.
I finally ended up with the Corsair ICUE H115i Elite Capellix XT because I already have ICUE installed and also because I found it for half the money of what the Valkyrie costs -
Albert.Thomas Reply
The reason I tested them is because I heard very good things, it's a shame the software is such a mess.triplex1 said:For this particular company , I have not heard good things about its products and I will also agree with the article that it is very expensive. -
triplex1 Reply
I think everyone is happy when there are tests on many products, mainly I have heard from friends that it does not offer anything good in relation to its priceAlbert.Thomas said:The reason I tested them is because I heard very good things, it's a shame the software is such a mess. -
The Historical Fidelity Reply
First I just want to express my gratitude for your hard work. Your test regimen is impressive and I really appreciate your pursuit for high quality data and using real world use cases to design your study parameters!Albert.Thomas said:The reason I tested them is because I heard very good things, it's a shame the software is such a mess.
Question, with AIOs within a brand’s product stack generally sharing the same liquid pump and fan design, the only reasons to go with a 360mm over a 240mm are the greater surface area with which to transfer heat to atmosphere and the slightly increased volume of thermal transfer liquid. Do you plan on implementing a “Time to liquid thermal saturation” aka “Time to Steady State” test? -
Albert.Thomas Reply
Thank you!The Historical Fidelity said:First I just want to express my gratitude for your hard work. Your test regimen is impressive and I really appreciate your pursuit for high quality data and using real world use cases to design your study parameters!
After observing a few interesting results on Raptor Lake I thought about trying to create a "Time until TJMax" test, testing how long a cooler can keep a CPU under its peak temperature. I was originally going to incorporate this into my testing of Intel's Ultra 9 285K.The Historical Fidelity said:Do you plan on implementing a “Time to liquid thermal saturation” aka “Time to Steady State” test?
However, I've run into a problem which has prevented me from publishing this information. I've been attempting to test this with Intel's Core Ultra 9 285K, but I've run into an uncomfortable margin of variance and I haven't been able to determine why this variance is occuring yet. I may end up trying this on my i7-14700K system instead.
