Build Your Own: Wall-Sized 3D Gaming, Just Like Theaters Do It
Installation And Set Up
This section will be of interest mostly for folks who are planning to recreate a dual-projector, polarized 3D theater in the home. Casual readers might be best served by forwarding to the next page.
So you want to set up your own dual-projector theater, huh? The first thing to do is to install the screen. To do that, you'll want to test-fire your projector and see how far away from the screen it will have to sit to produce the size of the image you'd like. At this point, you should have a good idea of where everything will be placed.
Our particular screen is made of a special silver fabric that preserves the polarization of light and it requires a lot of elastic mounting strips for installation. It takes some time, but the process isn't rocket science. To properly mount the screen, a frame is ideal, but for the purposes of our testing, we'll apply it directly to the wall.
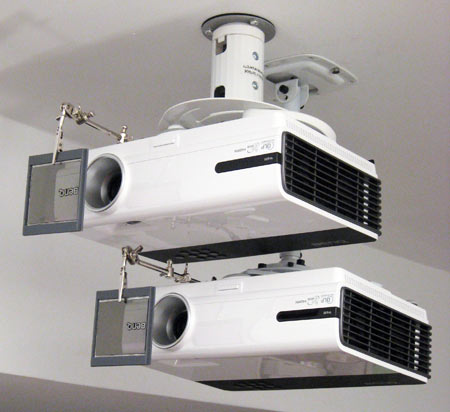
Setting up a dual-projection system is, well, twice the work of setting up a single projector. But the work to install the projector mounts is not simply doubled. Care must be taken to place the mounts so that the projector lenses will be aligned as close as possible. For a dual-projector system to work properly, the displays must overlap perfectly and this is difficult to do if the projectors are mounted too far away from each other. Of course, the projectors do need a bit of breathing room, and it is important that airflow must be allowed to reach the hardware so that the cooling fans can do their job.
As with any projection system, power and display cables need to be routed to each unit. In our somewhat temporary setup, we'll simply mount the cables to the ceiling, but a permanent solution would probably benefit from a stealthy installation behind the wallboard or ceiling tile.
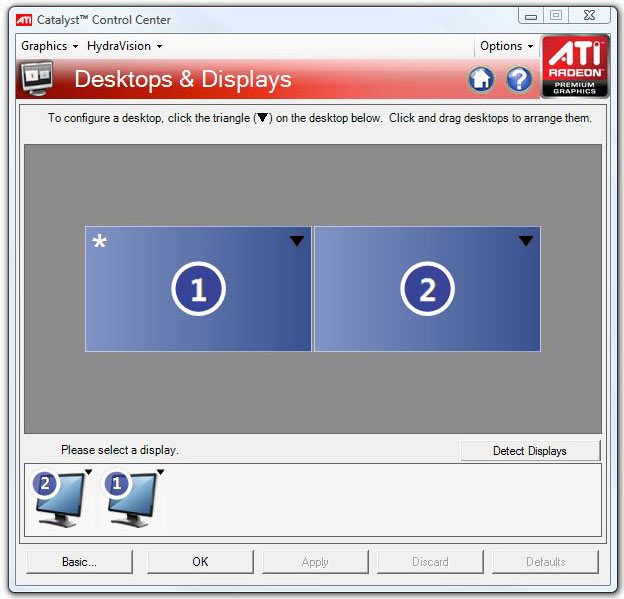
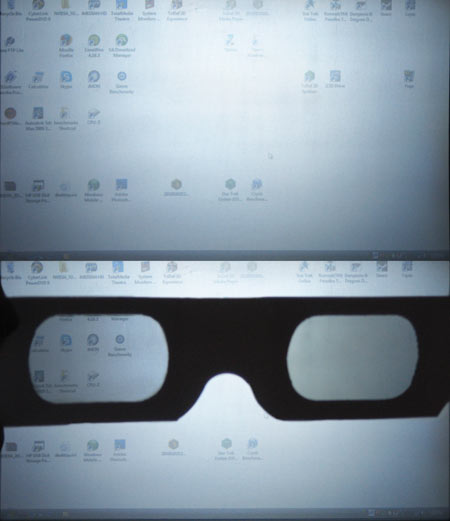
With the projectors mounted and cables attached to the PC, it's time to set up an extended desktop with both projectors as active side-by-side monitors. Using a plain-white desktop background here will help keep the visual confusion to a minimum. Both sides of the desktop are projected onto the same screen space, so the bright light from both displays will wash out the detail. In the Radeon or GeForce drivers, assign the primary desktop to the left display on the extended desktop for now--we might have to switch this later, but this is a good starting point.
At this point, install the TriDef and iZ3D drivers. After the install, select dual projection as the output option for each. There are more details about the driver setup on the following page.
Get Tom's Hardware's best news and in-depth reviews, straight to your inbox.
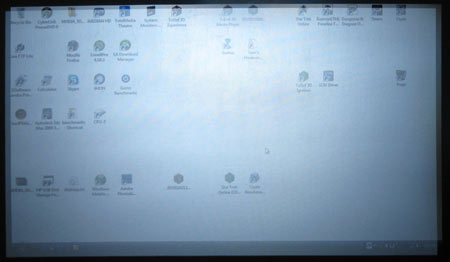
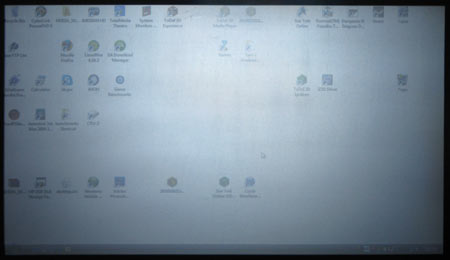
Now is the time to do a preliminary screen alignment. Make sure both projectors are outputting the same size of image to the same space. Once again, using a plain white Windows background will come in handy, as it makes it easier to see when one display is bleeding over the edge of the other. It'll take a bit of tweaking to adjust the zoom, focus, and keystone settings to bring the displays acceptably close, but it isn’t as difficult as we imagined it might be. Truth be told, when your eyes see the separate images through the glasses, your brain compensates for a lot of imperfections in alignment.
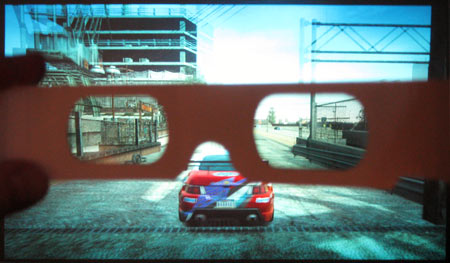
After the preliminary alignment, install the polarized filters. This requires a bit of care because each projector will use the same kind of filter, but the axis of polarization will be rotated by 90 degrees in relation to each other. Also remember that the polarized filters only work in one direction. You can test the filter orientation by looking at the screen and wearing a pair of 3D glasses. Now look at the display and adjust the filter until only one eye can see its projector's output. This is usually easy because, in an extended desktop configuration, one projector probably displays the Windows icons and the other is probably blank. It's not important which eye is linked to which projector at this point, as long as one eye receives only the light from one projector.
When installing the polarized filters, it is also important to keep in mind that if it isn't perfectly aligned to the plane of the glasses, the viewer might experience unpleasant crosstalk effects. Also remember to install the filter as far as possible from the projector while keeping all of the light output within its boundaries. Heat from the powerful bulb can quickly damage the expensive filter if it is placed too close. The farther the filter is from the lens, the more area it has to absorb the heat. Ideally, the light output from the projector will cover the polarized filter all the way to its edges.
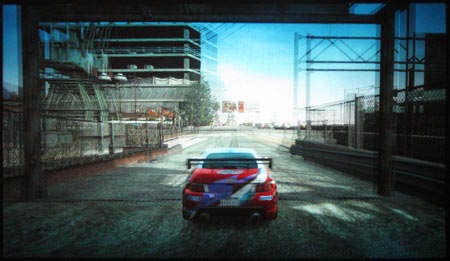
After the polarized filter is installed, it's time to test the system. Launch a game in 3D mode and pay attention. If the 3D effect appears disorienting and confusing, the displays probably need to be switched as the image intended for the right eye is being displayed in the left eye and vice-versa. This is done in the graphics card's display driver panel. Simply swap the location of the displays in relation to each other when configuring the extended desktop and try again.
By now, the display should be working in-game and you will probably be completely amazed by the result, but there's one more thing to do: find a static screen without a lot of 3D effect in the Options menu and remove the 3D glasses. This is a good reference to use for a final alignment of the projectors. A 2D Options menu provides a lot of identical detail on each screen and the text should make it obvious that things are in or out of alignment. Align the projectors until the image looks as clear as possible with no blurry edges.
That's all that's involved with the installation and frankly it sounds more difficult than it actually is. If you're intrepid enough to get this far, you're probably surprised at how quickly the system is up and running once the projectors are mounted. I expected some additional driver hocus-pocus to deal with, but our test system was up-and-running fairly quickly.
Current page: Installation And Set Up
Prev Page Hardware: Dual-Projector 3D Theater Checklist Next Page Using The Stereoscopic 3D Display DriversDon Woligroski was a former senior hardware editor for Tom's Hardware. He has covered a wide range of PC hardware topics, including CPUs, GPUs, system building, and emerging technologies.
-
Don't gives too big an image to try and see it 3d. A monitor can't handle: 800px \00d7 248px!!!! That's just crazy big!!!Reply
-
Icehearted As for poor folk like me, we'll just settle for those still images where we cross our eyes, and cry because $2,565 is far away from "comfortable".Reply -
tigerwraith 2.6k now but you know things like this keep getting cheaper and cheaper. Maybe by this time next year, the 1080p 2600 lumens will drop to 500, and the drivers will better support dual projector setups.Reply -
gti88 Great article! Thanx a lot.Reply
But as I can see, 3D stereo is not there yet.
Almost no movies are available at 3DS, and game developers don't focus on stereo optimisation. Thus, we have some glitches and inconveniences. -
pojih ahh, something else to cost an arm and a leg...Reply
not saying that many people here don't want the fastest and most expensive....
but it was clearly shown that many people looking at this site want something that performs for what it costs, as seen by the fermi release and the comments ..... -
skora Whats the next price bracket up for a projector with higher res?Reply
I like the idea of dual projectors better than the alt-image standard, but they didn't ask me.
Here's a wild thought, soon, everyone will have their own glasses that not only do the shutter for 3D, but will also be able to be personal monitors. Connect to any computer/phone/TV with your glasses. Displays might even become unnecessary. That will be the next wireless mainstream device. The iShades. Phone, mobile pc and display, earbud is right there. Have pants that have built in keyboard. We'll all just be sitting there with our shades on and never see the person next to us as we get lost in the cloud. And it all starts with 3D glasses. :P -
djab IceheartedAs for poor folk like me, we'll just settle for those still images where we cross our eyes, and cry because $2,565 is far away from "comfortable".Reply
No, you can at least use red/cyan paper glasses with iz3d drivers and a normal display.
That is not that bad!
