Tom's Hardware Verdict
Anycubic does it again, this time offering a lower cost direct drive 3D printer with auto bed leveling.
Pros
- +
Affordable price
- +
Quality prints
- +
Direct Drive
- +
Auto bed leveling
Cons
- -
Z height adjustment is not beginner friendly
- -
Difficult to upgrade
Why you can trust Tom's Hardware
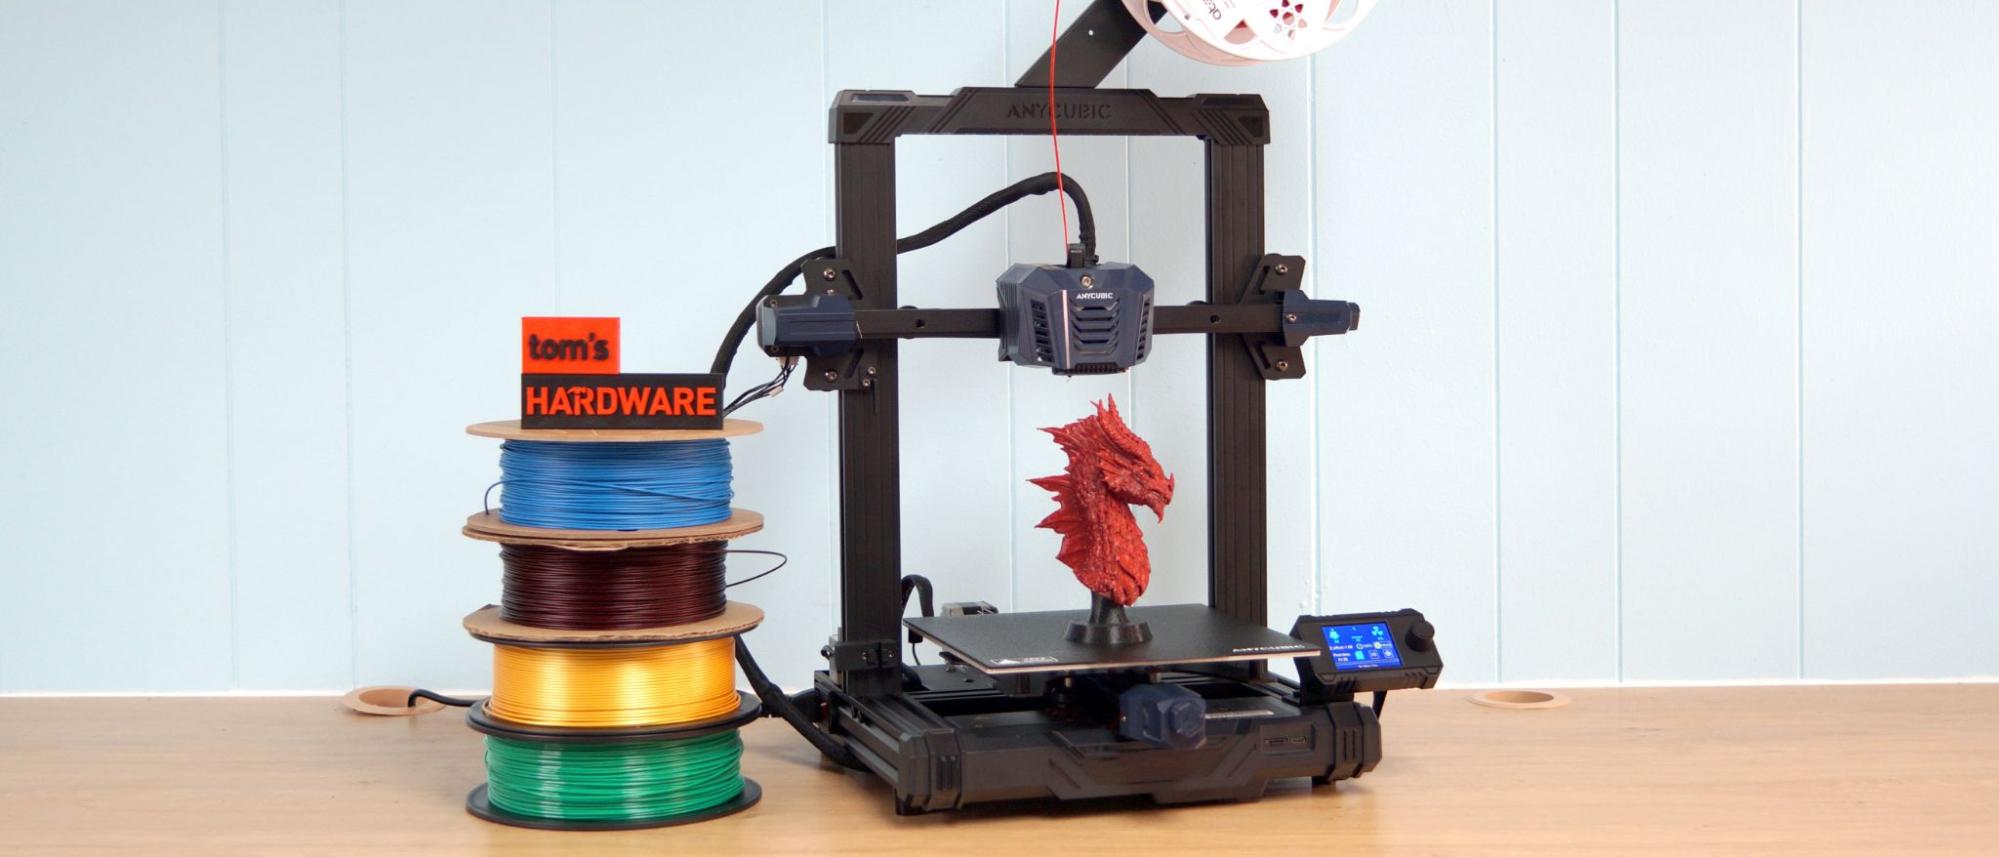
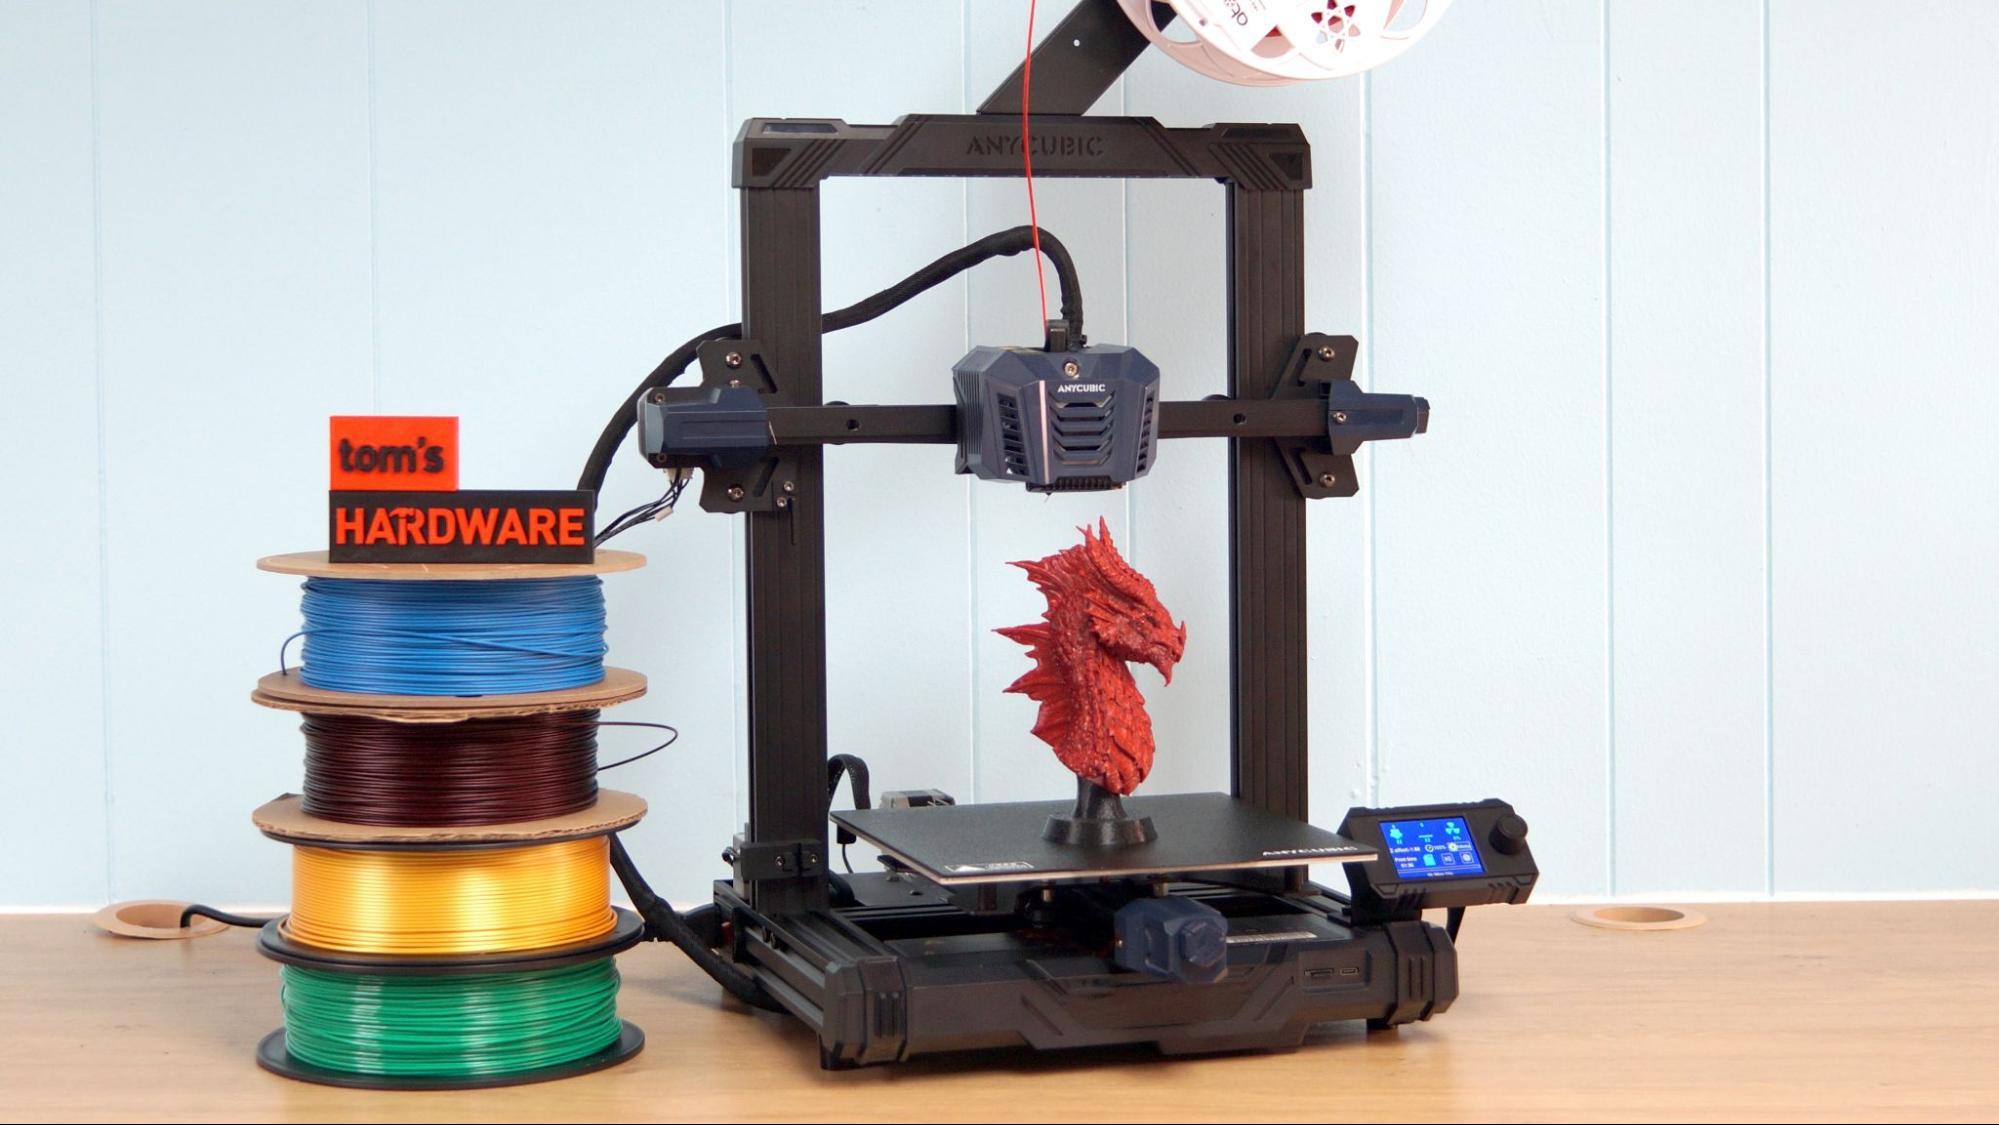
Anycubic is at it again, slashing prices and a few deluxe features from their popular Kobra 3D printer to produce an affordable option for beginners on a budget. The Anycubic Kobra Neo is a less expensive version of the Kobra, retailing at $249 with a similar feature set: a direct drive, PEI coated flex plate, auto bed leveling and arriving 90% pre-assembled.
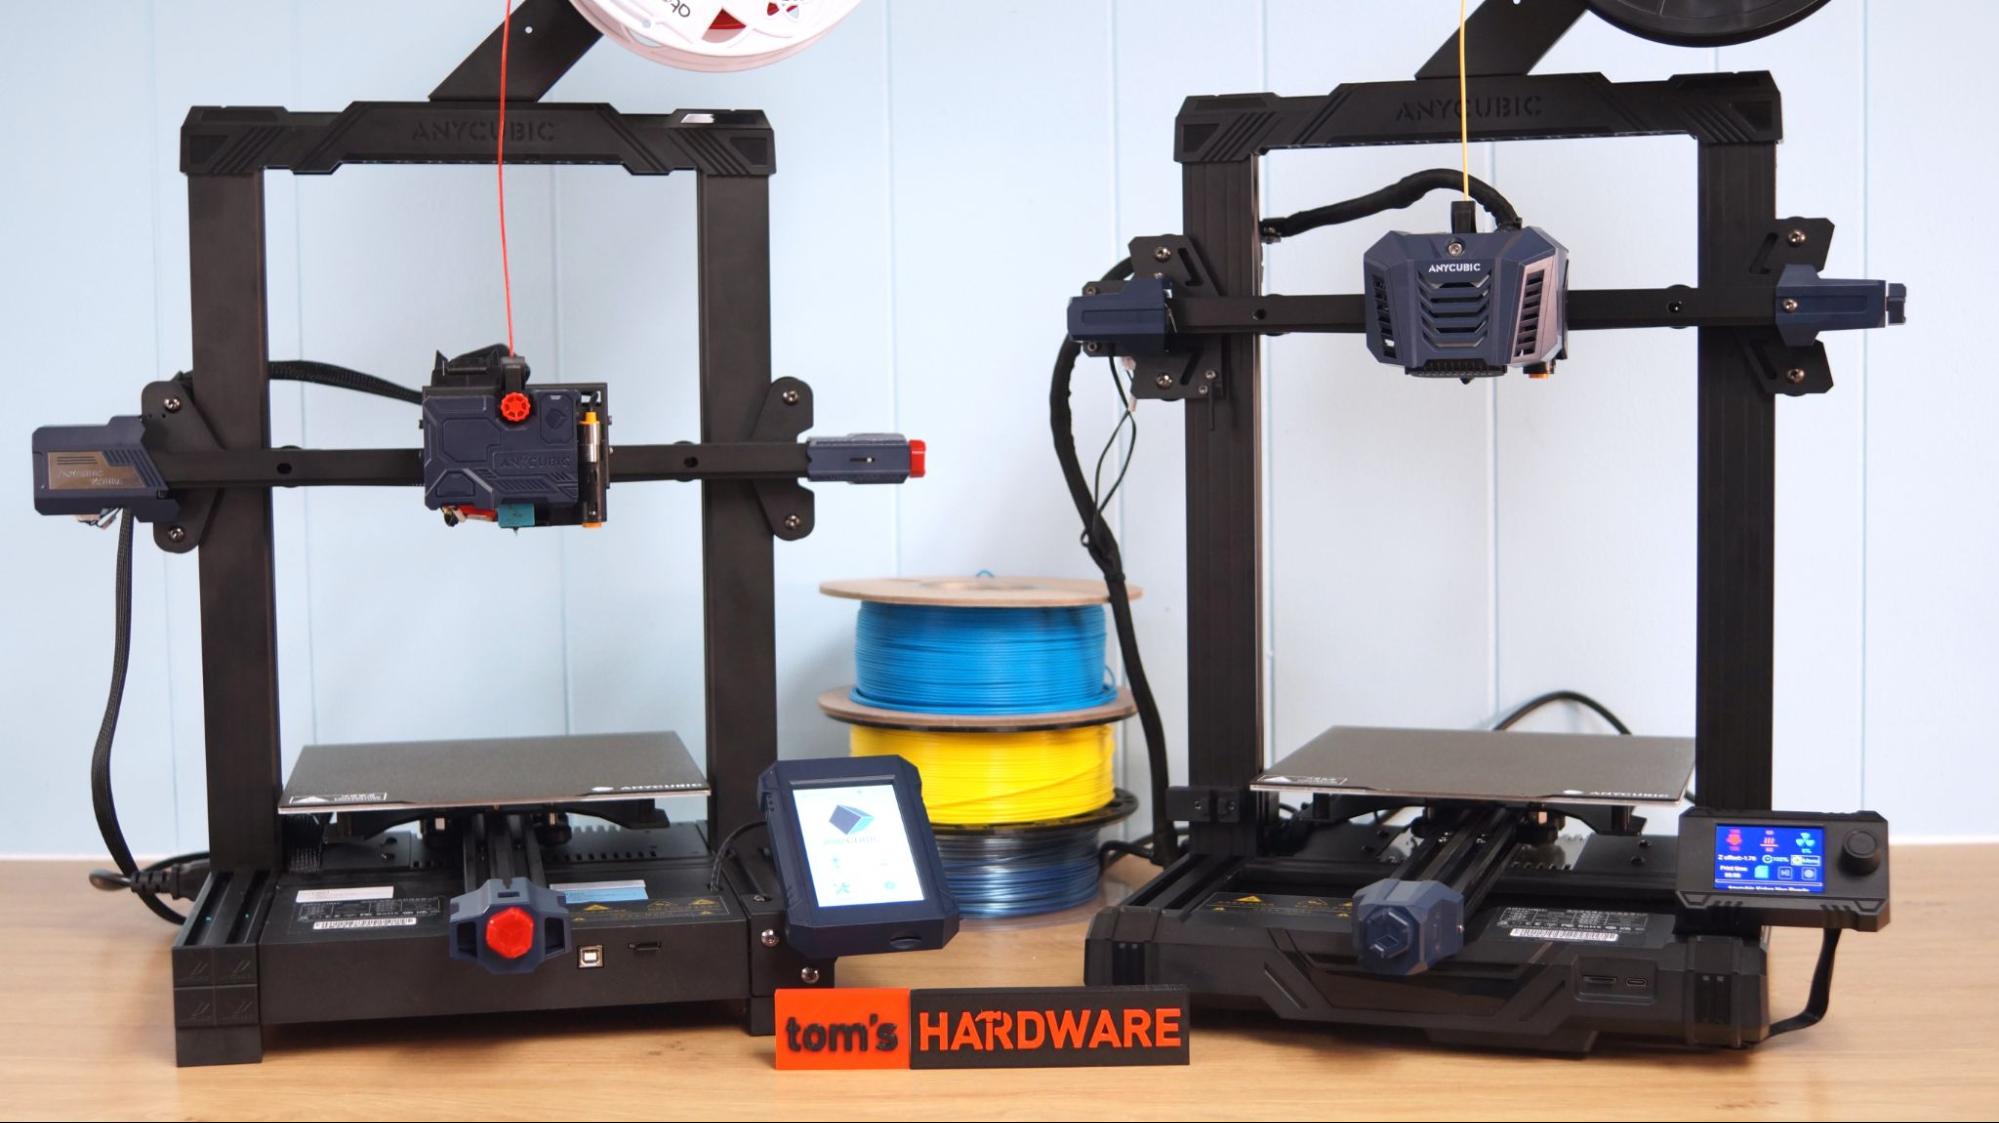
The only obvious thing missing is the touch screen, which has been replaced with a tiny 2.4-inch color screen controlled by a knob. It’s hard to believe they wrung $70 in savings from the screen alone, though Anycubic isn’t saying where they made additional cuts. There are noticeable changes in style – the Kobra Neo has several generic parts, which could be shared with its sibling, the Kobra Go.
The Kobra Neo performs as well as the original Kobra – going from box to first print in 20 minutes. It has an easy-to-feed direct drive and super simple auto bed leveling probe that removes much of the frustrations new makers face. The PEI coated steel flex plate is a joy to use, grabbing prints tight while hot and completely releasing them when cold. For this reason, we’re naming the Kobra Neo our new Best 3D Printer for Beginners. It’s a printer that just works.
Obviously, the Kobra Neo will be a good addition to anyone’s workshop, beginner or not. However, Anycubic’s lack of 3rd party ecosystem and reliance on in-house parts makes it more challenging to mod or upgrade – something many advanced users are fond of doing.
Specifications: Anycubic Kobra Neo
| Machine Footprint | 445 x 443 x 490 mm (17.5 x 17.4 x 19.3 mm) |
| Build Volume | 220 x 220 x 250 mm (8.7 x 8.7 x 9.8 in) |
| Material | PLA/PETG/TPU/ABS |
| Extruder Type | Direct Drive |
| Nozzle | .4mm (Interchangeable) |
| Build Platform | Double sided PEI Spring Steel, Heated |
| Filament Runout Sensor | No |
| Bed Leveling | Inductive Auto Leveling |
| Connectivity | MicroSD/USB |
| Interface | 2.4 inch color LCD with knob |
Included in the box: Anycubic Kobra Neo
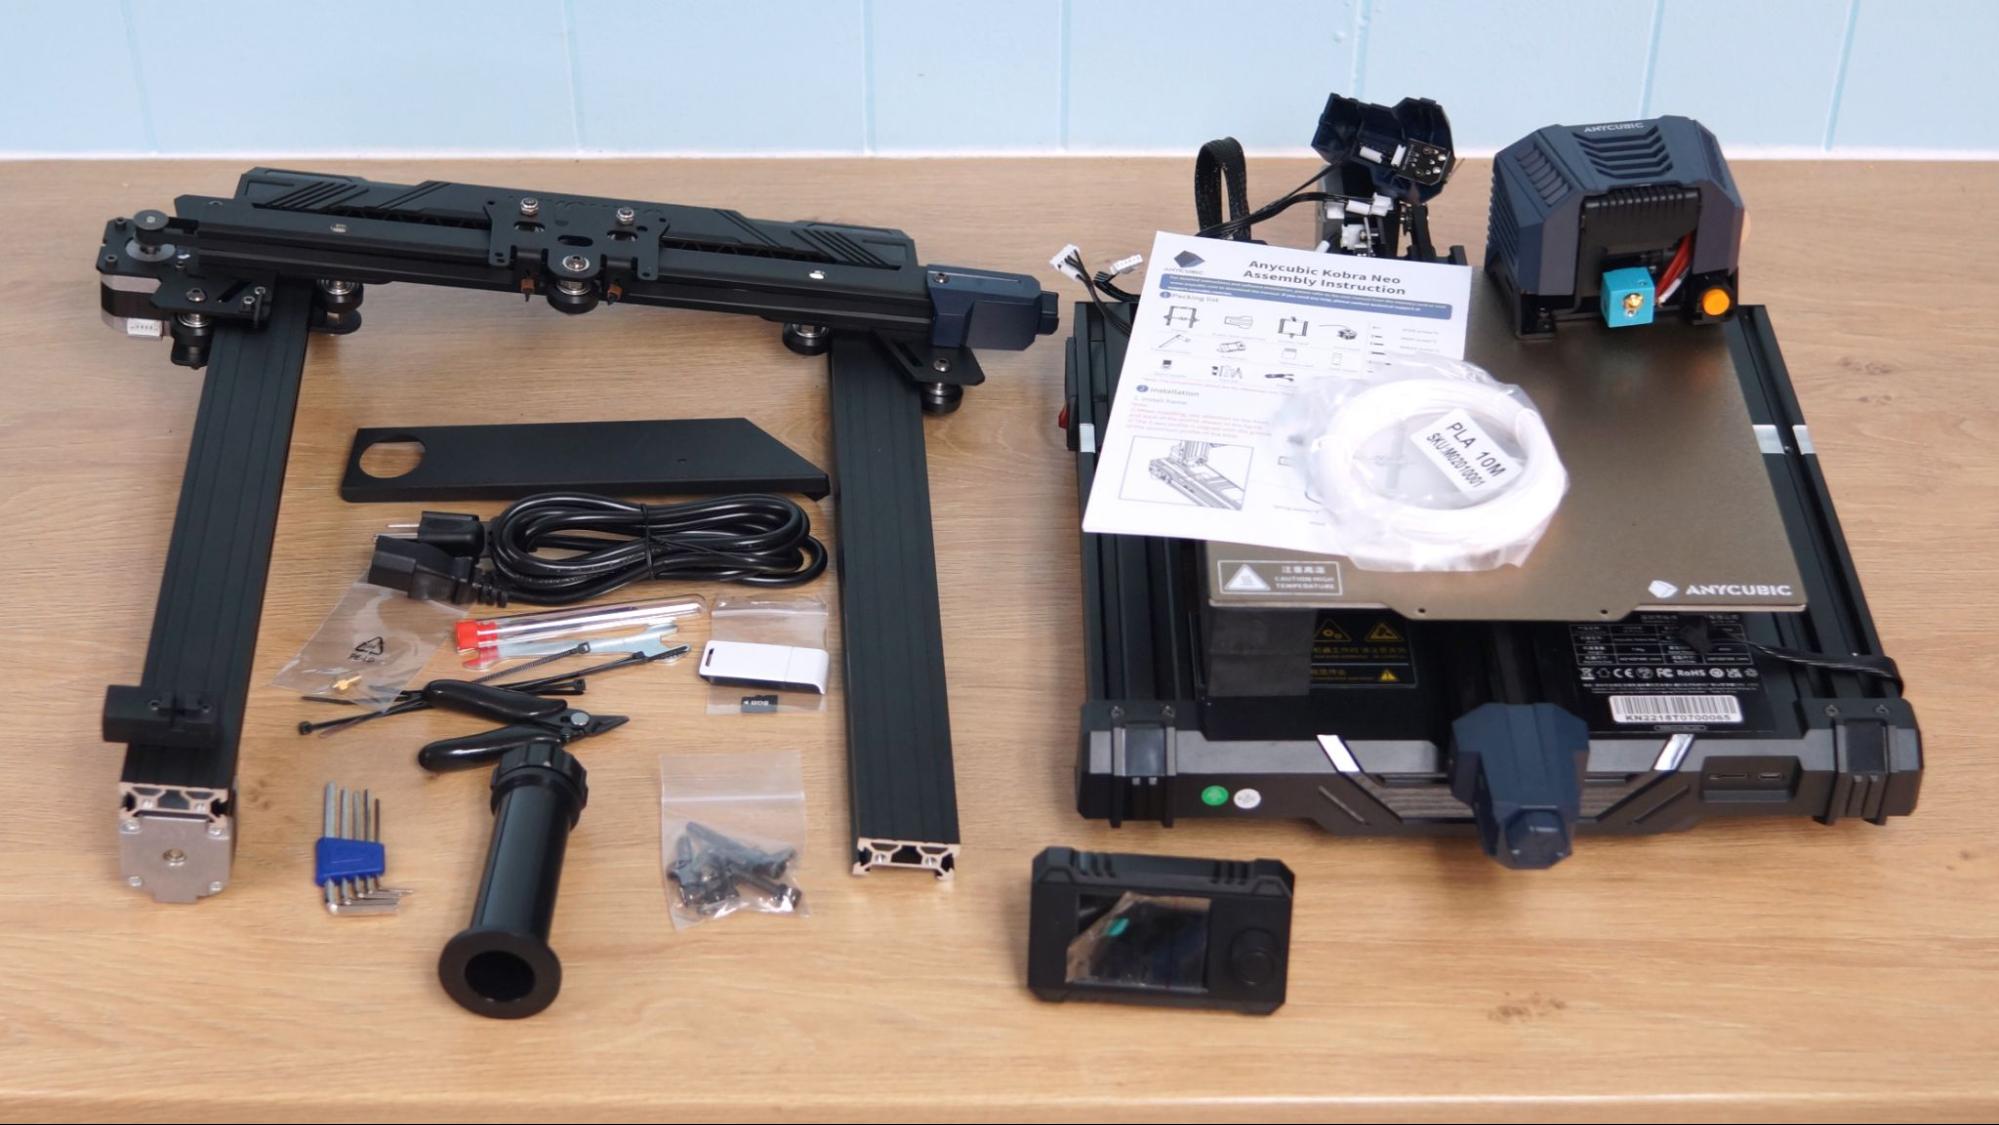
The Anycubic Kobra Neo comes with everything you need to get started: tools to build and maintain the printer, side cutters, nozzle cleaner, grease and a microSD card with a USB adapter. You also get a spare nozzle and small sample of PLA.
There’s a paper copy of the quick start guide to help you build the printer. The microSD card comes with a sample model, a PDF copy of the manual, a copy of Cura 4.12.0 and profiles for PLA, TPU and ABS to get you started.
Assembling the Anycubic Kobra Neo
The Kobra Neo arrives 90% pre-assembled and only needs a few bolts to put together. I got it assembled in about 20 minutes. The wiring is clearly marked and easy to plug into place.
Get Tom's Hardware's best news and in-depth reviews, straight to your inbox.
Leveling the Anycubic Kobra Neo
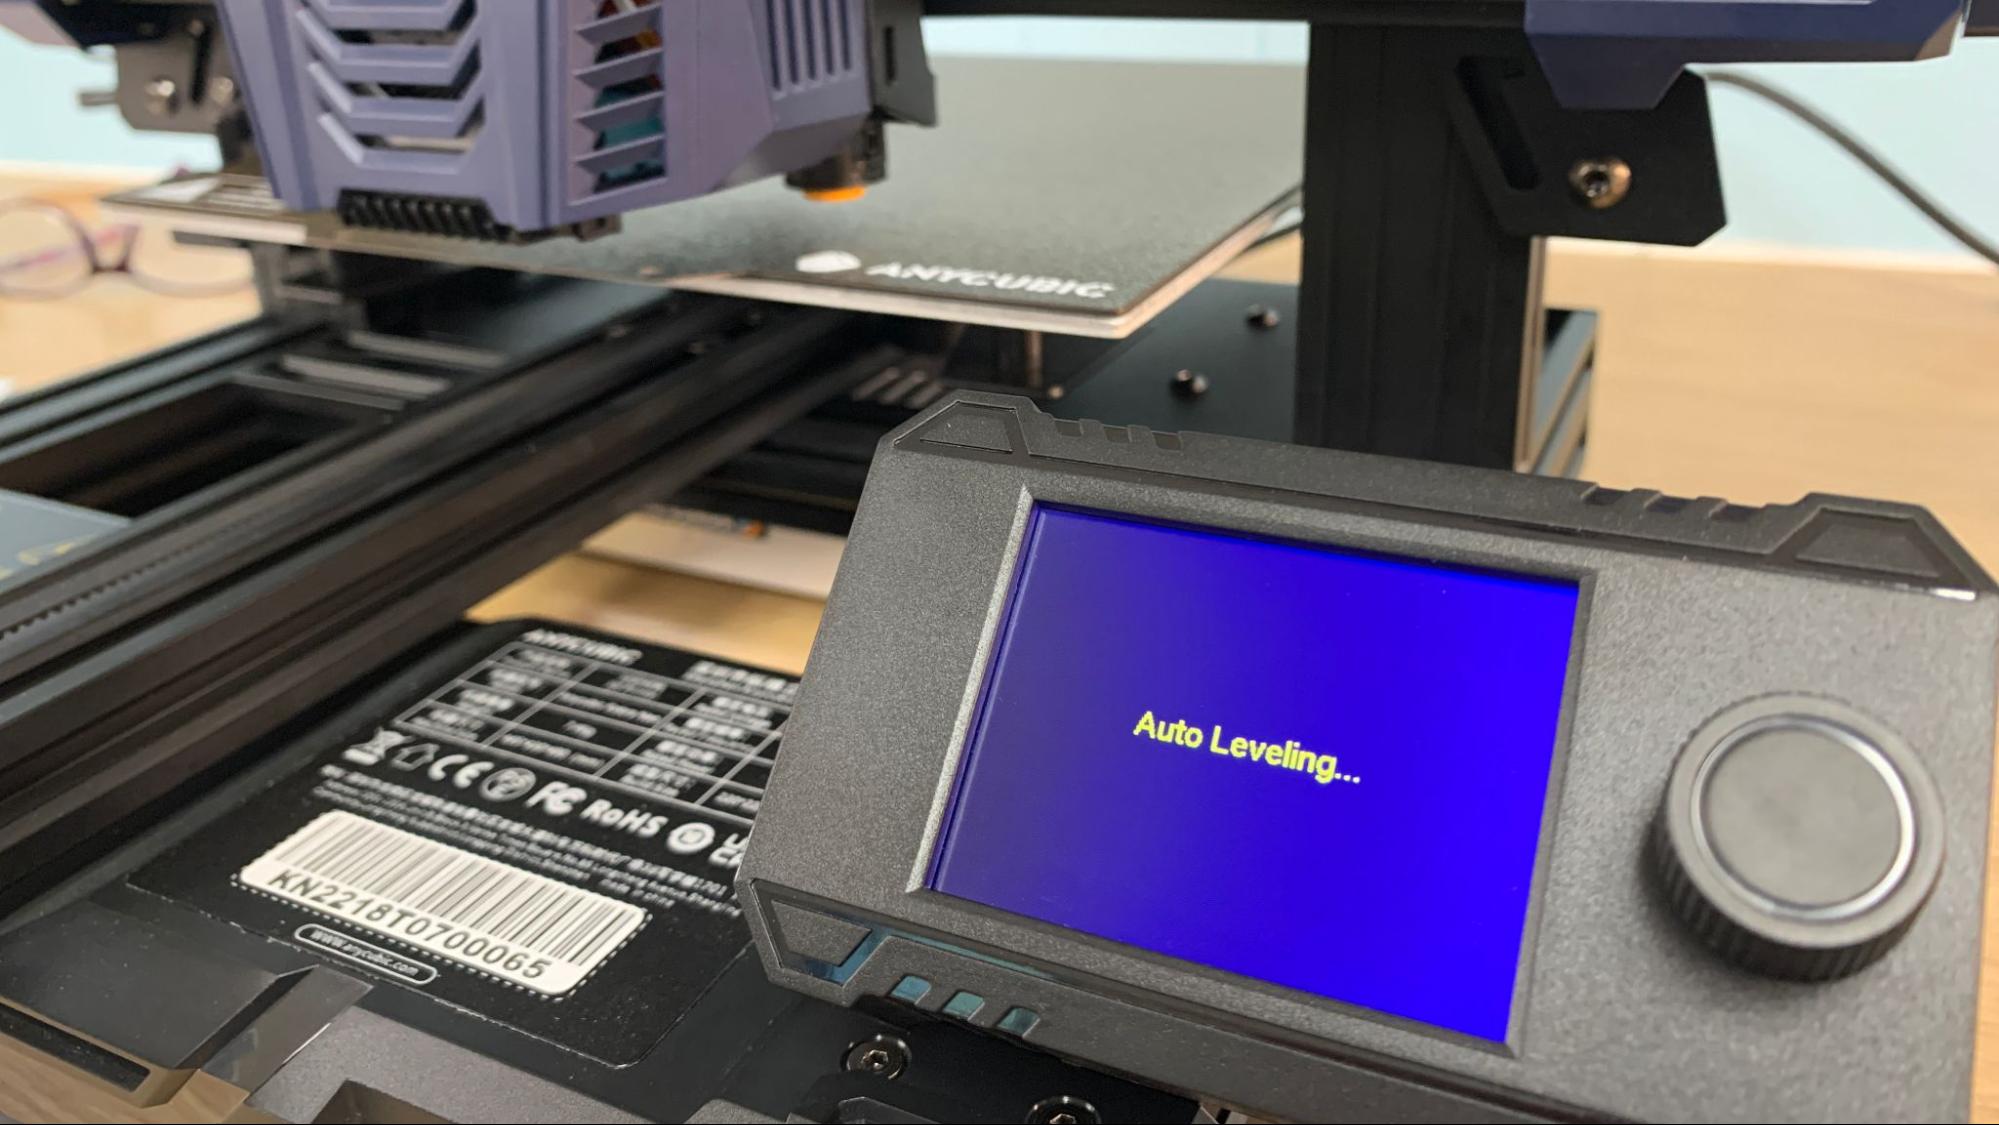
The Anycubic Kobra Neo comes with an inductive automatic bed leveling sensor, which uses a non-contact magnetic probe. This is the same leveling sensor on the standard Kobra and Kobra Go, which detects the metal surface of the build plate while hovering a few millimeters above it.
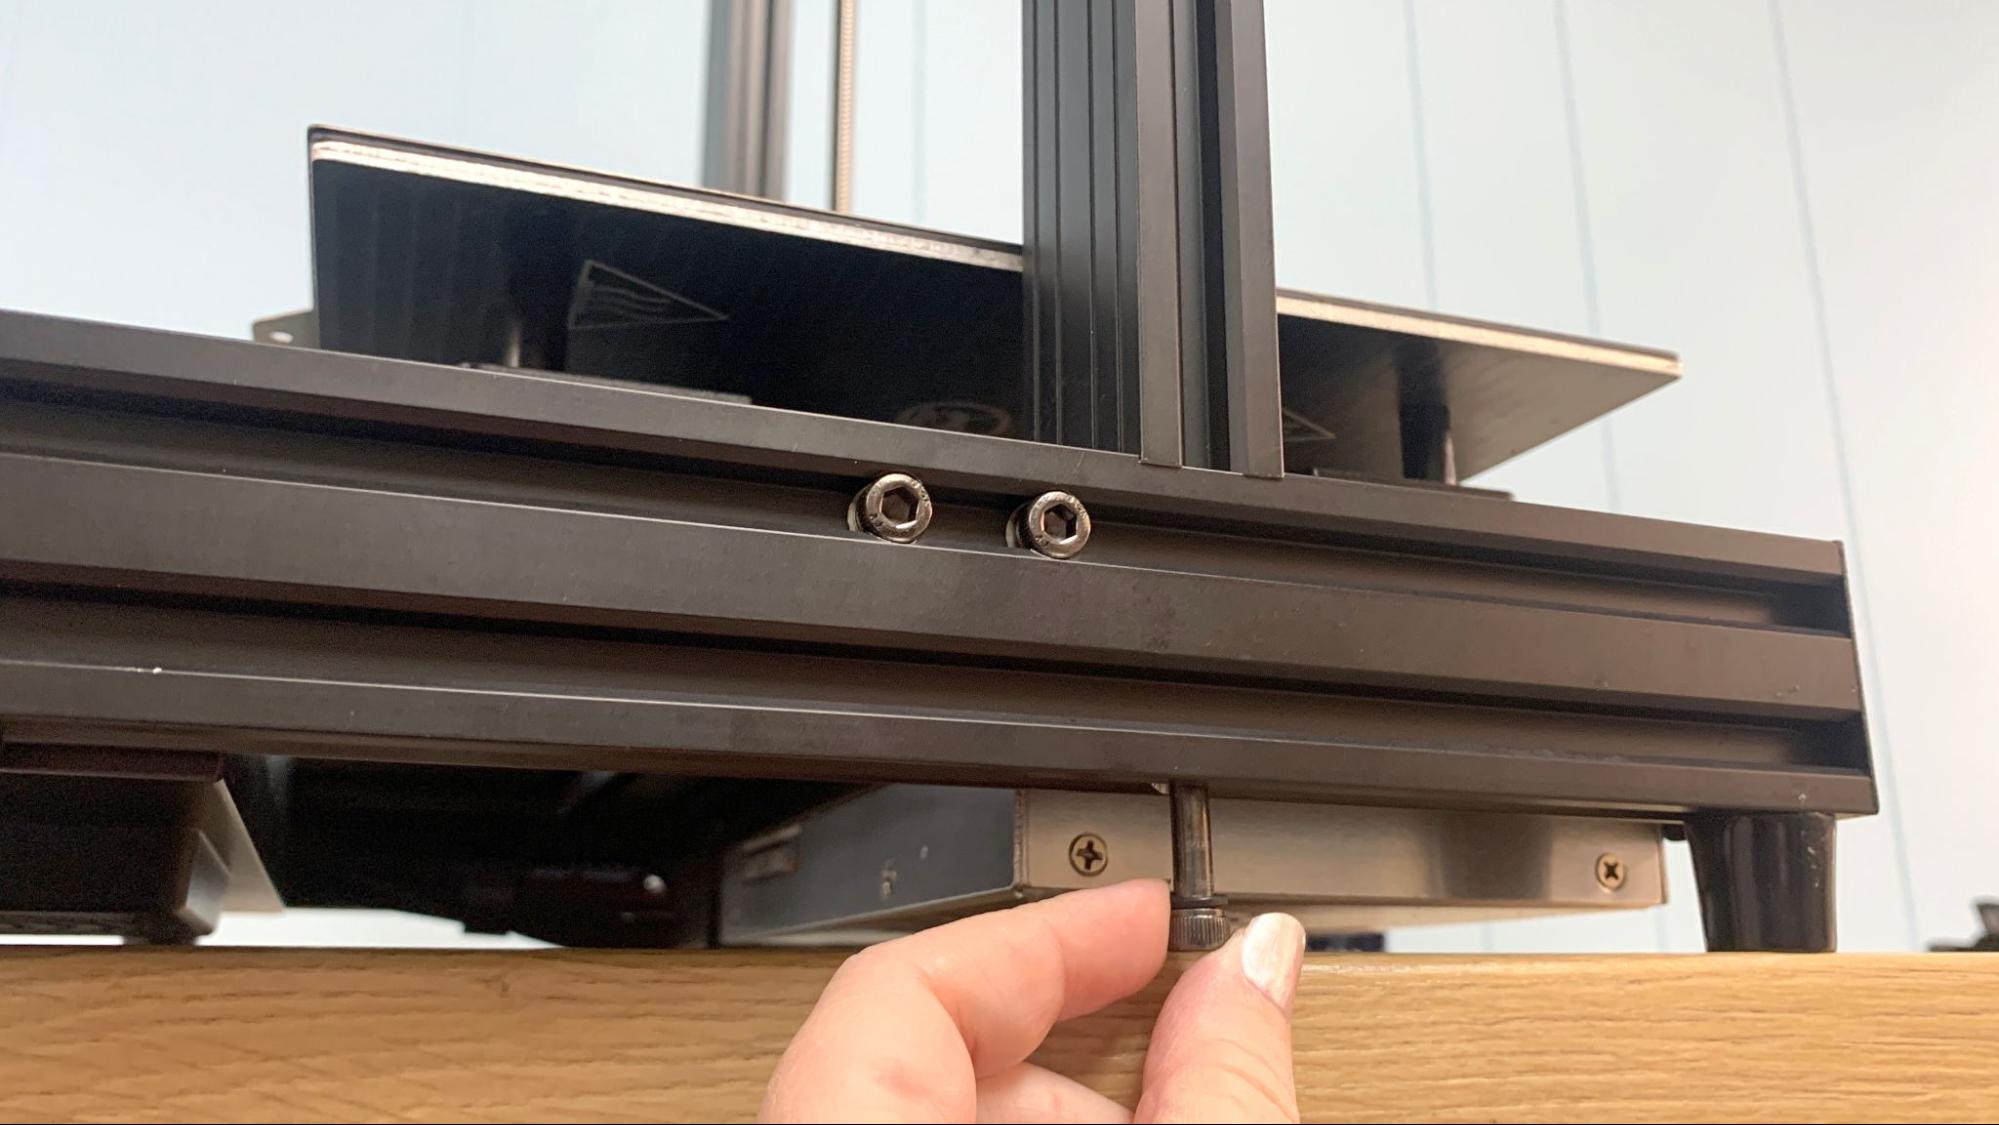
There are no knobs for manual tramming and everything is done through the printer’s touch screen.
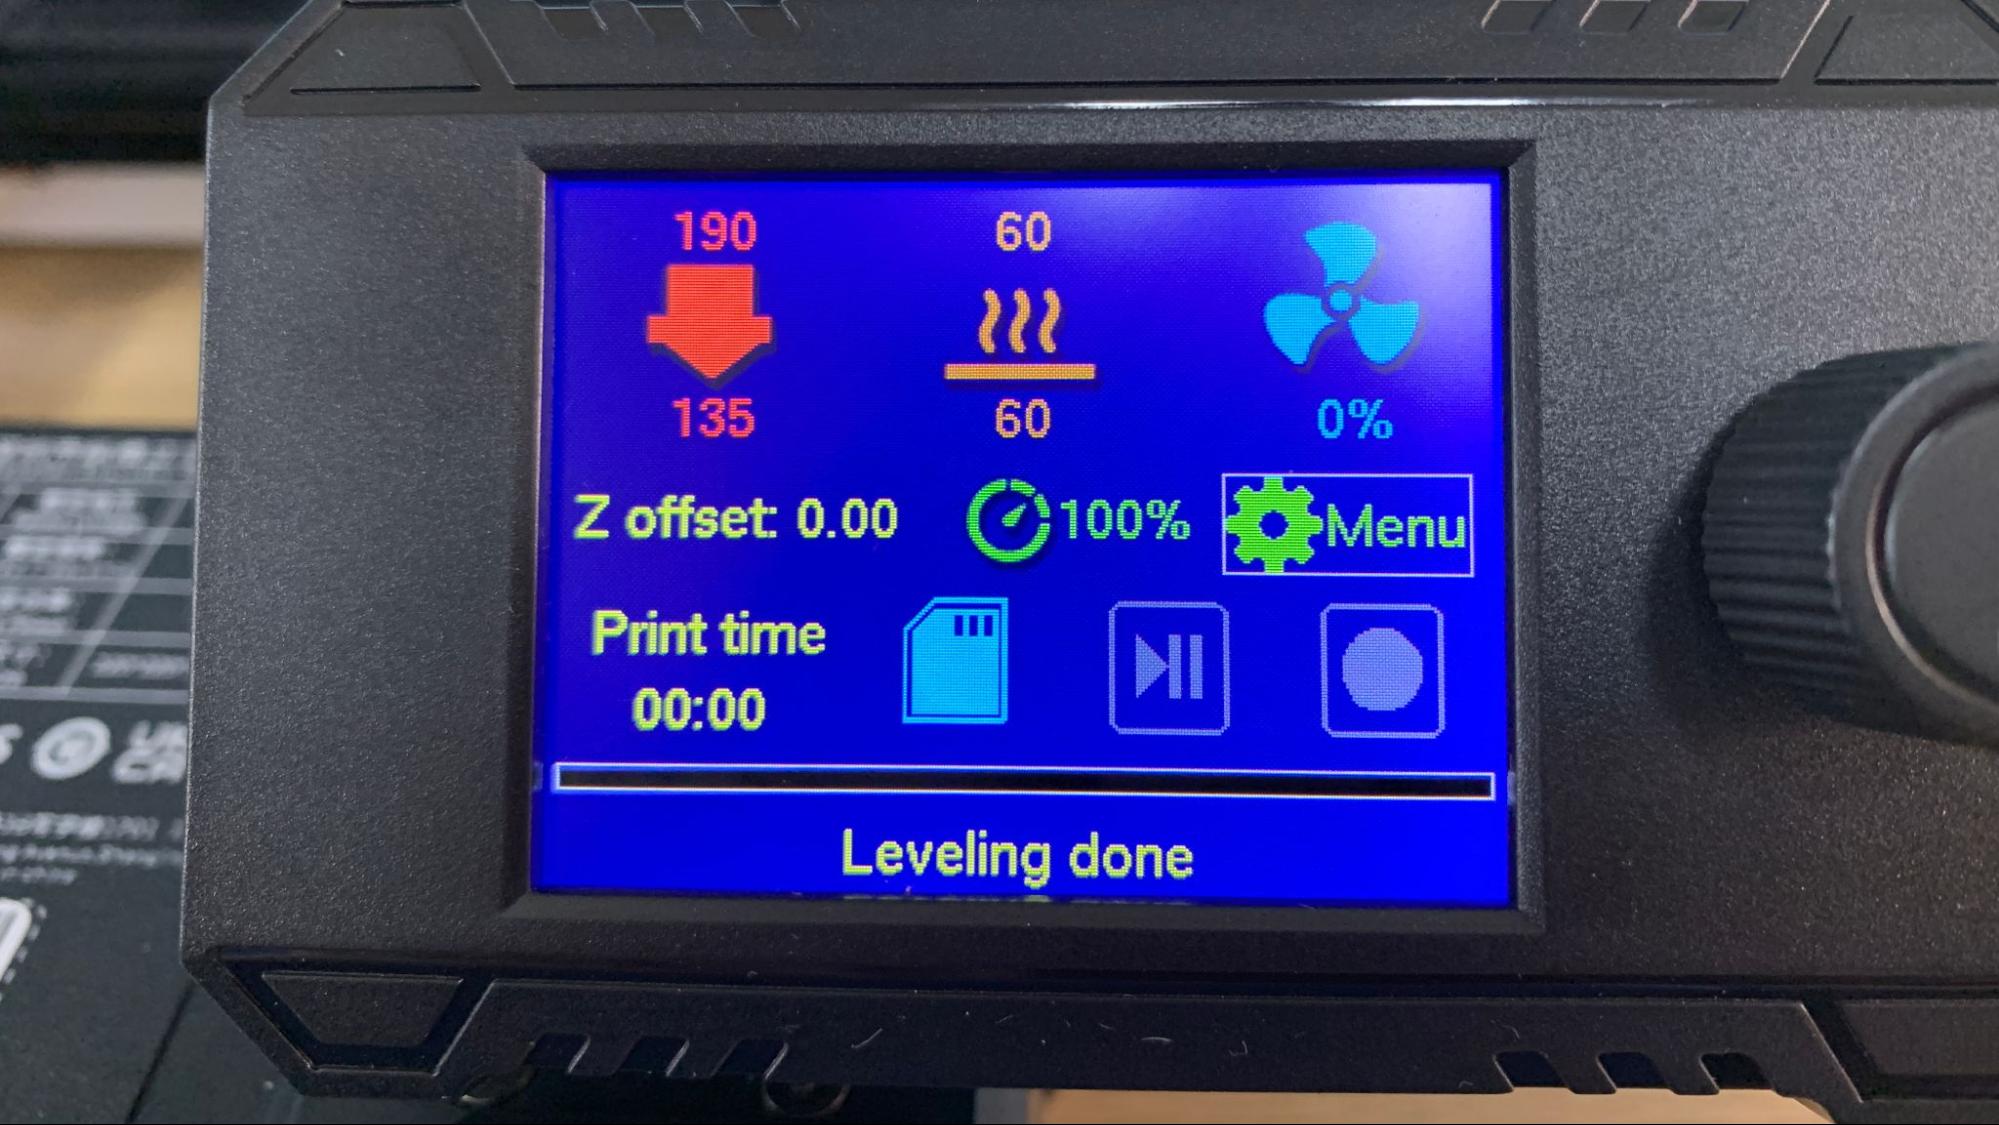
To level the bed, select Menu from the home screen. Then select Leveling →Auto Leveling and the printer takes care of the rest. It will home the bed, heat up, then double tap 25 spots in a grid across the bed surface. The sensor hovers a few millimeters above the bed, not allowing the nozzle to touch during the process.
It’s important to note the auto leveling can only tell where the sensor is located, not the nozzle itself. The next step is to set the Z height, which places the nozzle the perfect distance from the bed. See our handy guide on bed leveling to get an idea how close you should get.
Anycubic didn’t include a special program for setting the Z height on the Kobra Neo, which might confuse some beginners. The manual suggests you adjust the Z while you’re running the test print, which took me three tries (and I’m not a beginner). Instead, I suggest you first visit the “Move Axis” menu, home the printer, then select disable steppers and manually push the nozzle to the center of the bed. Now select the Z axis and confirm that you are at “0” for the height. Return to Leveling → Z height, place a piece of paper under the nozzle and VERY slowly adjust the Z until the nozzle just scrapes the bed.
You may still need to adjust the Z height during the test print, but now you’ll only be a few clicks of the knob from perfection.
Loading Filament in the Anycubic Kobra Neo
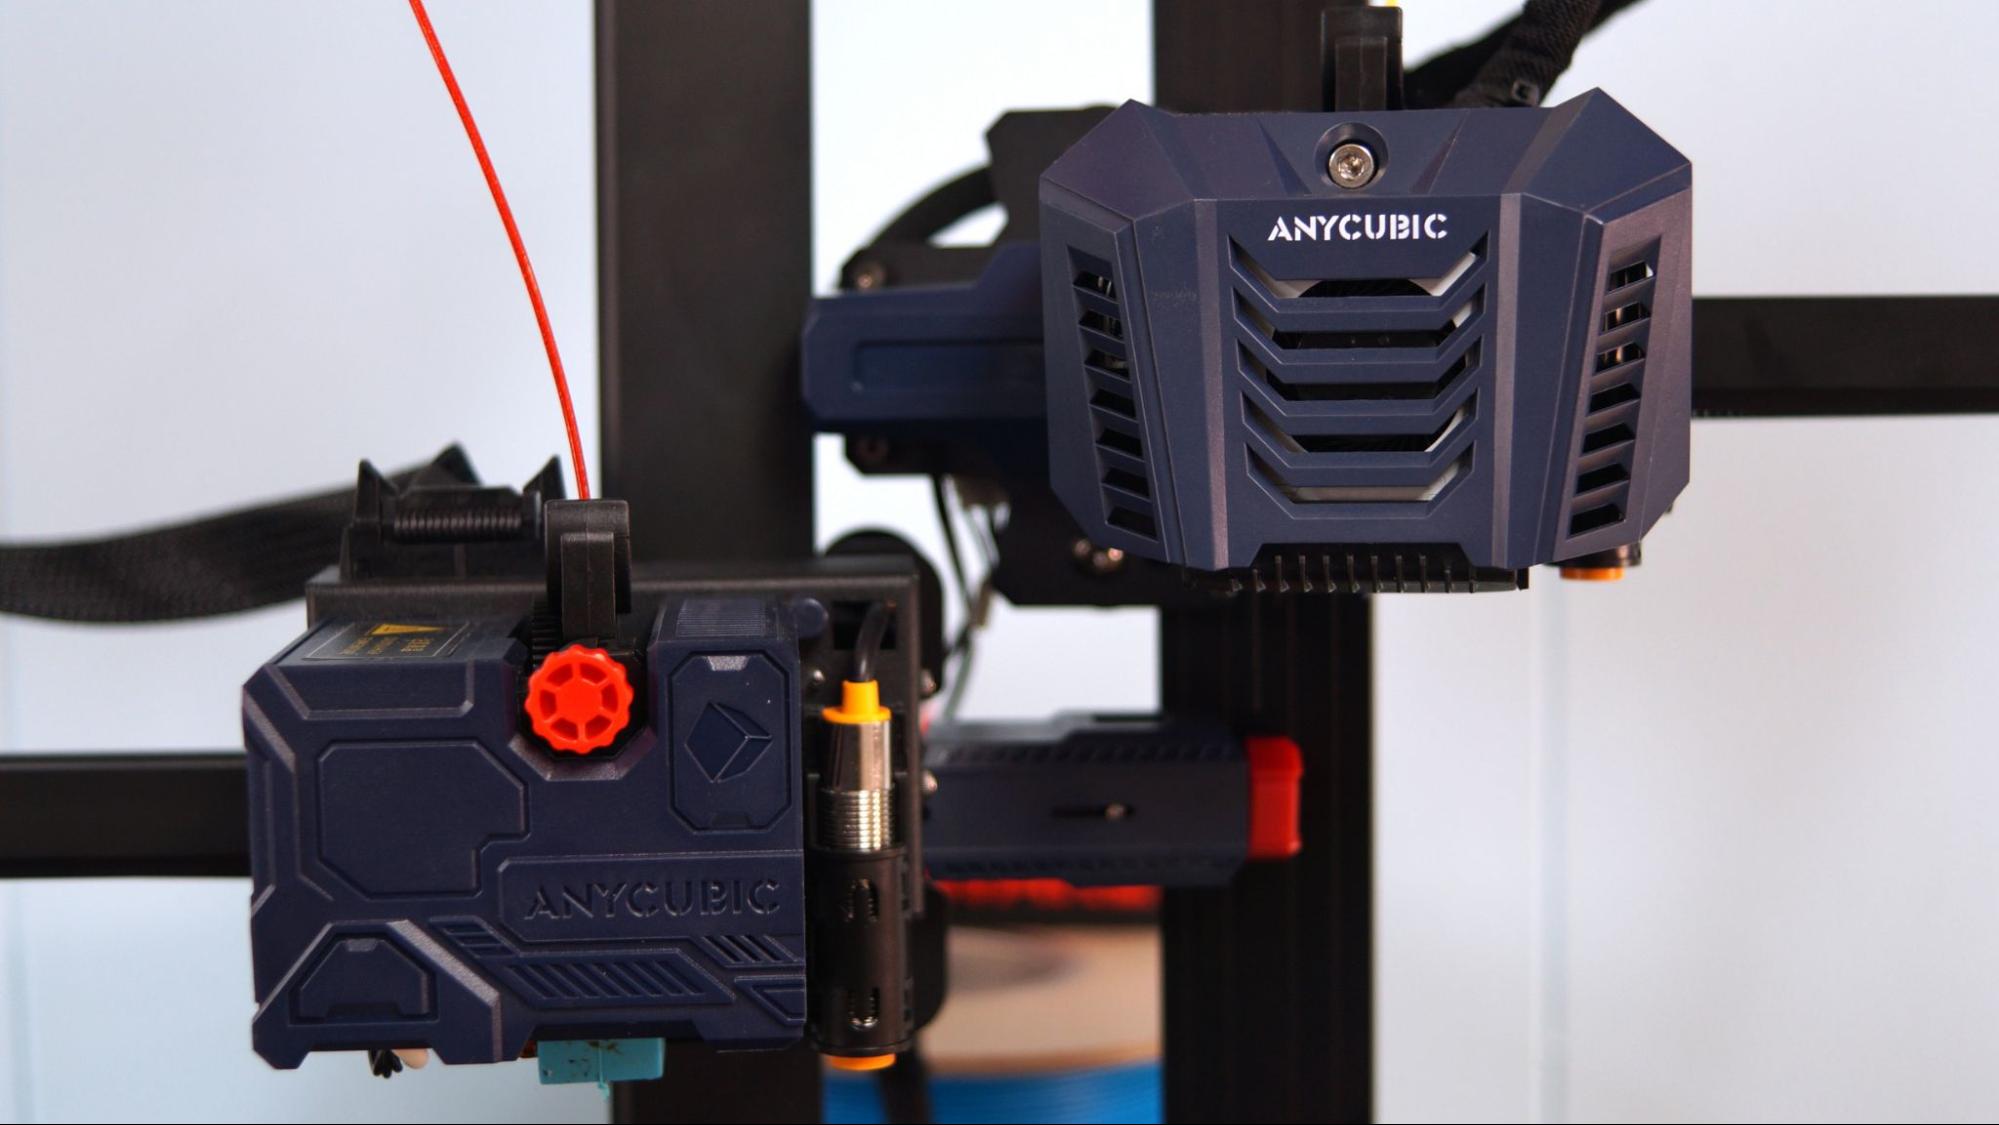
The Anycubic Kobra NEO has a direct drive tool head – meaning that the extruder gears, fans and hotend are all in one small package. This makes filament loading a lot easier for beginners with everything in the front of the machine.
To load filament, press Menu on the home screen, then Prepare, and finally Preheat PLA (or Preheat ABS for a higher setting). Place the filament in the hole at the top of the drive and once it is hot it will grab on. Press stop when the filament begins to flow from the nozzle. You WILL need to be on standby to press stop, it will not stop on its own.
Removing the filament works the same, just in reverse. Let the tool head preheat, select Filament Unload and let the gears back the filament out. Remove the filament when there is no more tension on the plastic.
Design of the Anycubic Kobra Neo
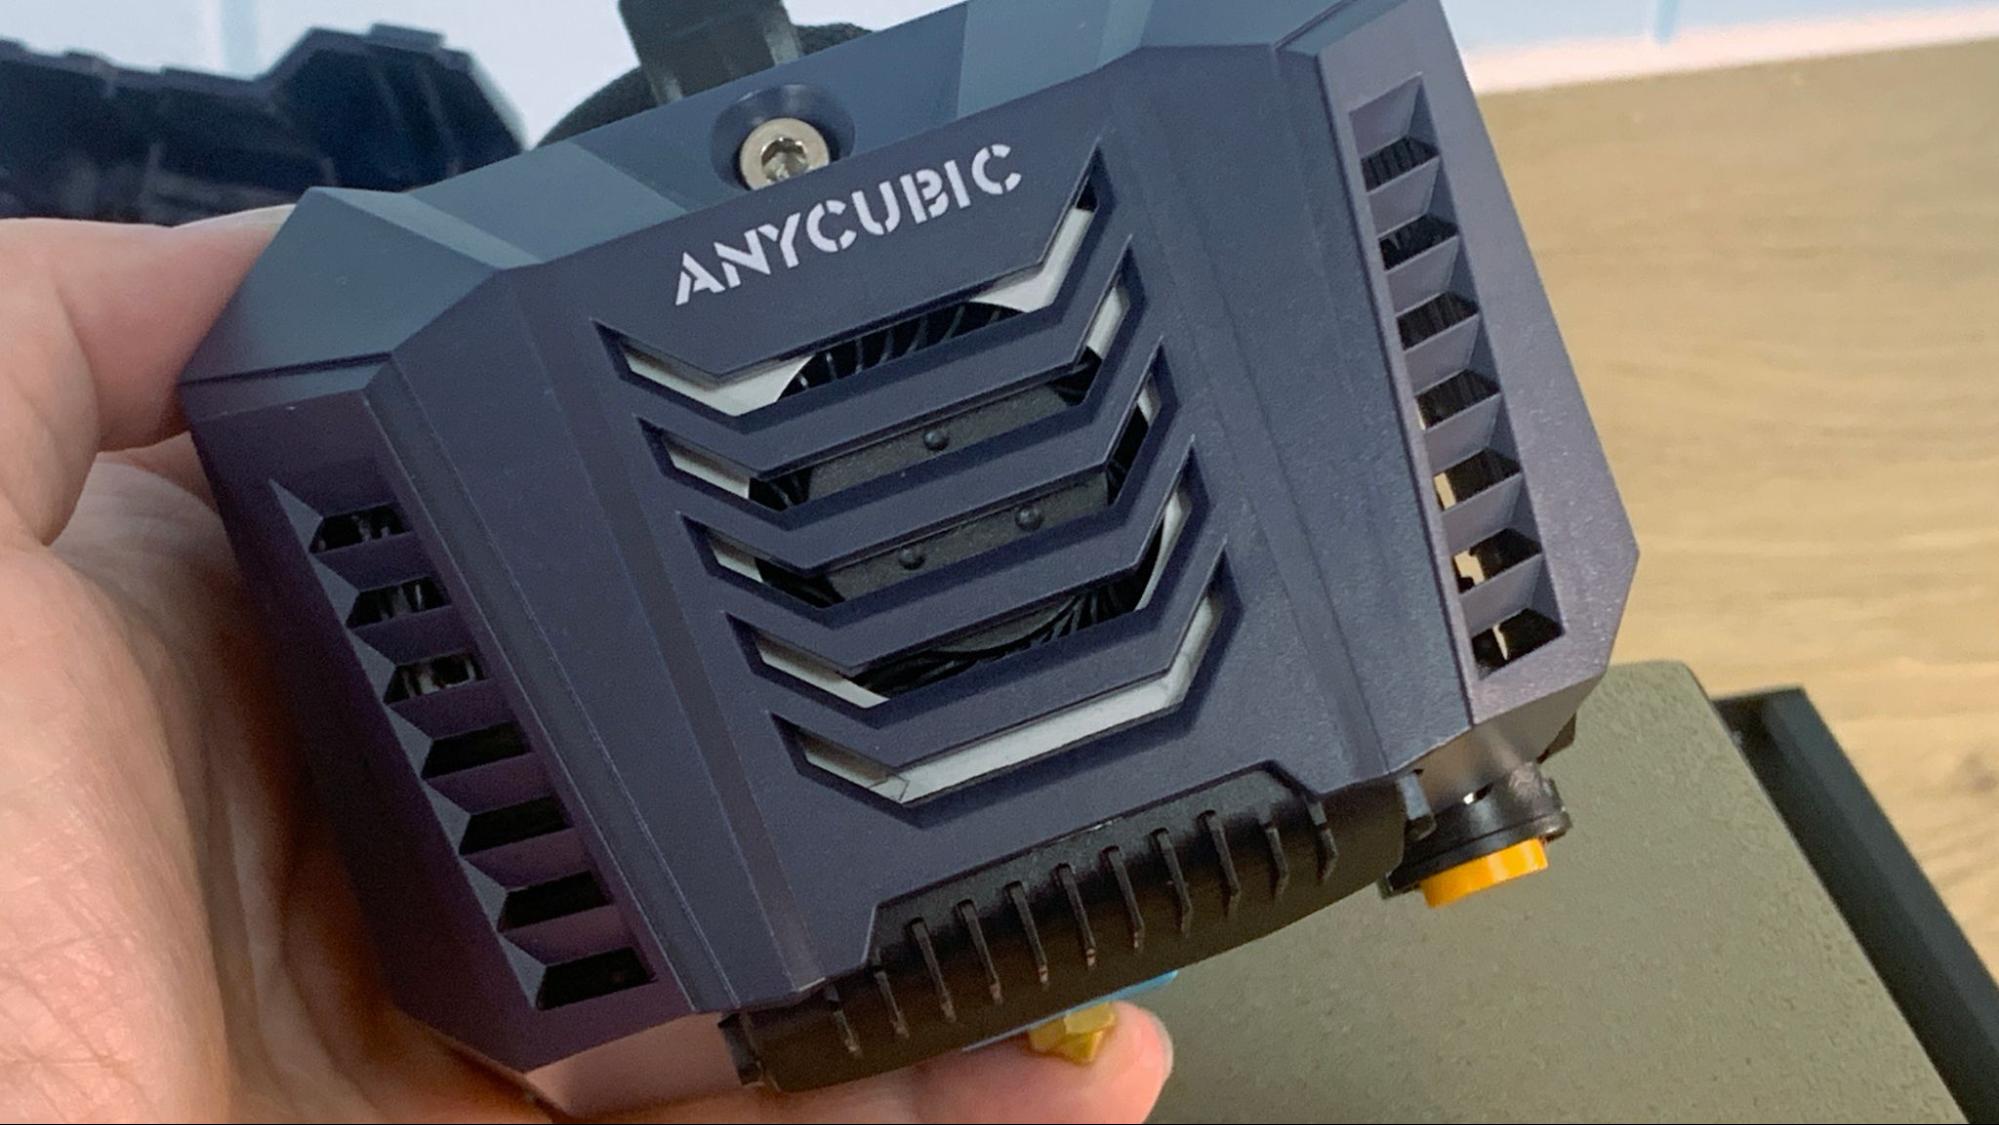
The Anycubic Kobra Neo is only slightly different in design from the original Kobra and nearly identical to the Kobra Go. It has a modern look with an etched black aluminum alloy gantry and sturdy plastic parts embossed with futuristic looking patterns. The hotend cover is smaller and looks a bit more like the 2021 Vyper – our pick for best printer for a print farm.
The electronics and 400w power supply are the same, and still tucked under the build plate, giving it a nice neat footprint. The machine weighs about 16 pounds, making it fairly easy to move. There’s a 32-bit board, silent stepper motors and extremely quiet fans.
I was very happy to see that the Kobra Neo continues to use a textured PEI coated spring steel plate, held down with a magnetic sheet. This one is a double sided sheet, with both sides having the same texture. The advantage is if you damage one side, you can flip the plate over and it’s just like new. Most prints pop off when the bed cools down, but larger or more sticky PETG prints can be removed easily by flexing the plate. Anycubic didn’t provide a scraper because you don’t need a scraper with this plate.
The biggest design change is the move to a smaller LED screen with a knob. The screen is bright and full color, with simplified icons and very easy to navigate menus.
Preparing Files / Software
The Anycubic Kobra Neo comes with a copy of Ultimaker Cura 4.12 and three material (PLA, ABS, TPU) profiles to get you started. Directions on how to set up a custom printer are included in the manual, however I think it’s easier to start with the Anycubic Vyper as a base and change the bed size to 220 x 220 x 250.
Because the copy of Cura included with the printer is not customized for the Kobra Neo, you can also download the latest version here or use any version of Cura you might already be using for another printer. You can also use PrusaSlicer and built-in profile for an Anycubic Mega Zero, which has the same bed size.
To get a new profile, click Preferences in Cura →Printers →Add. In the Add a Printer menu, scroll down to Anycubic and select Vyper, then Add.
Printing on the Anycubic Kobra Neo
I started with the pre-sliced test file and the sample coil of filament provided with the printer. Sample coils are just enough to get one test model printed, so you’ll definitely need to shop for some more. To see my favorite materials to use, check out our guide to the Best Filaments for 3D Printing.
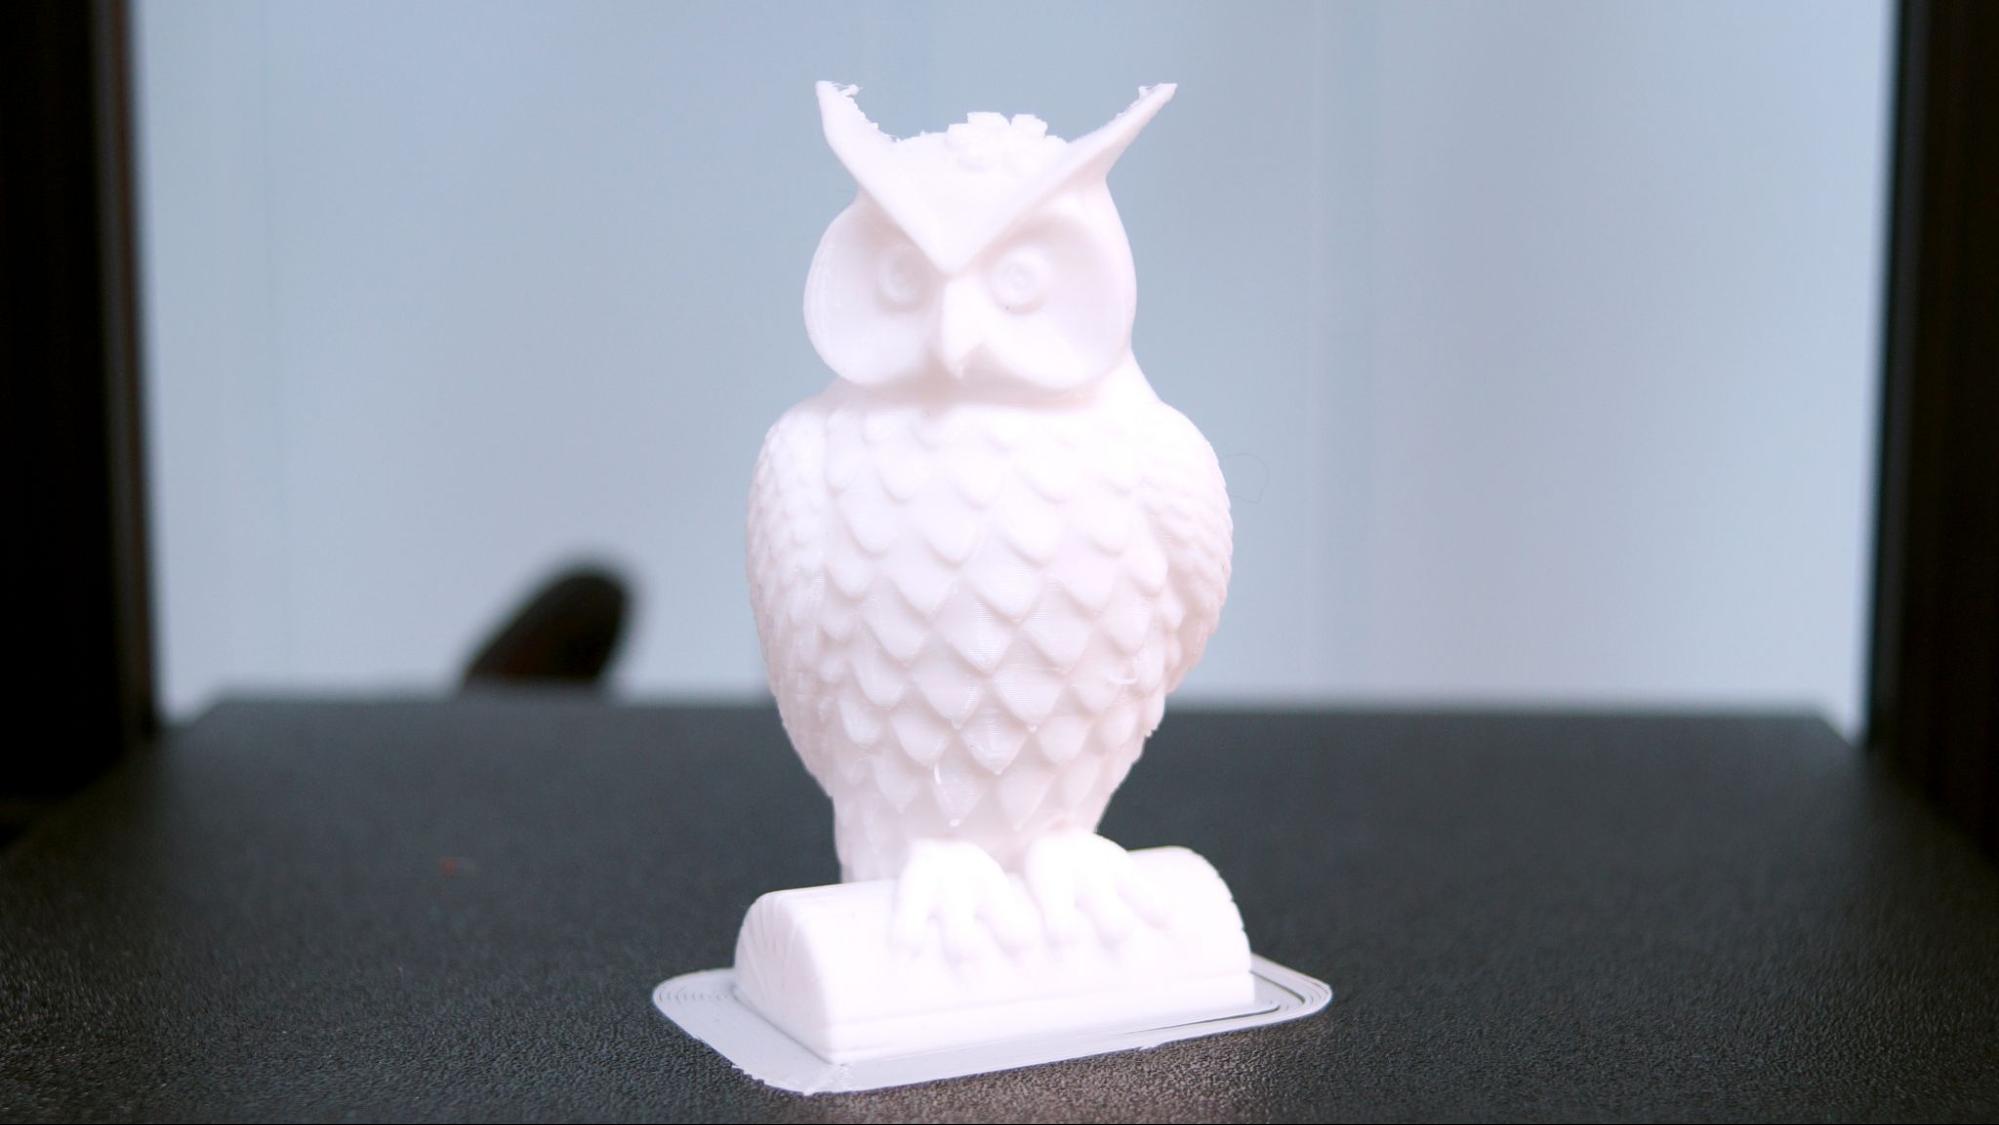
The test owl printed out just fine, with a few blobs on the lower feathers from difficult overhangs and some wisps about the ears.
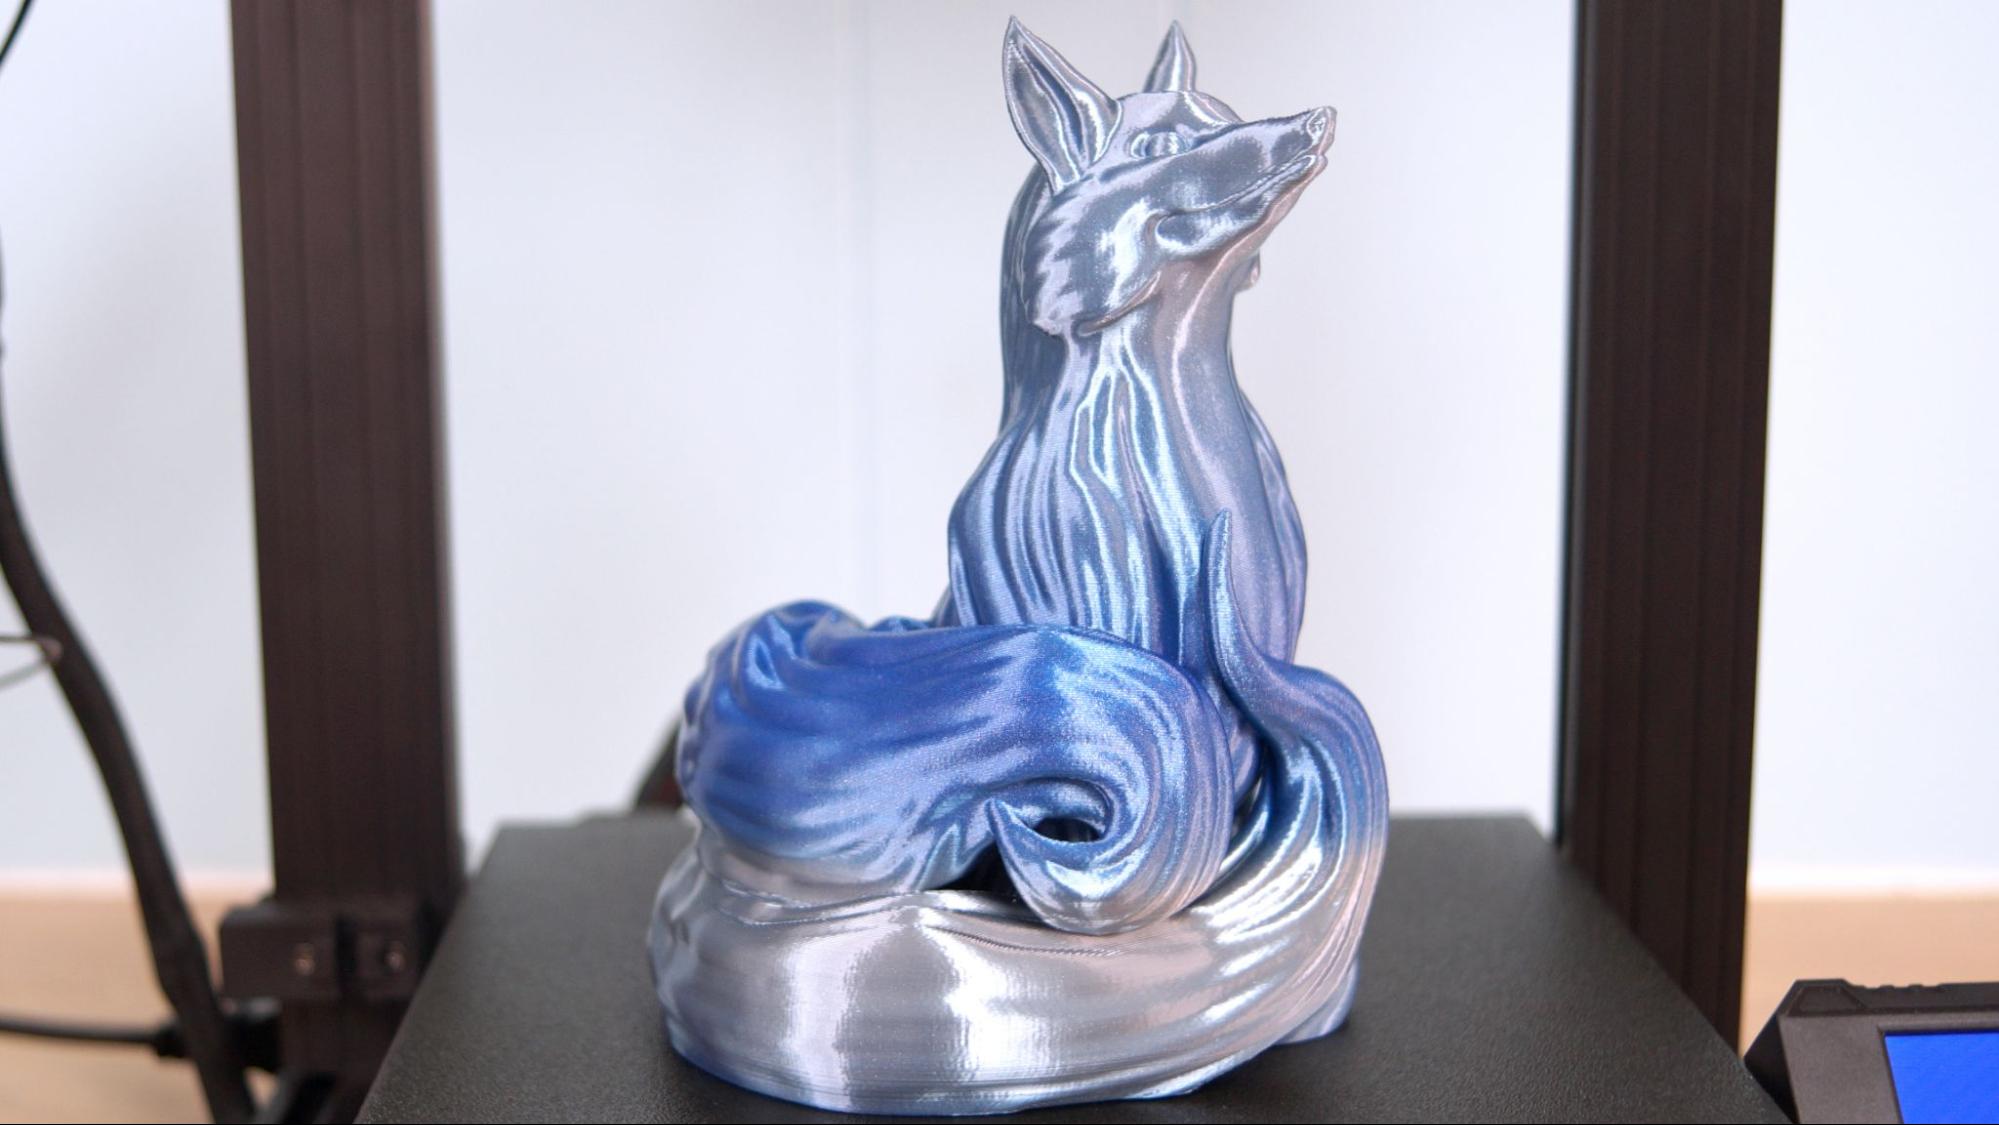
I wanted to print something larger, so I loaded up this fox by Kijai and ran it in Amolen Silk Silver and Blue. Similar to rainbow filament, this two color material slowly fades from silver to blue and back. The print came out very clean with barely visible layer lines at a standard .2mm layer height and a brisk 65mm/s speed. I used lightning infill for a quicker print, so it only took 10 hours and 52 minutes.
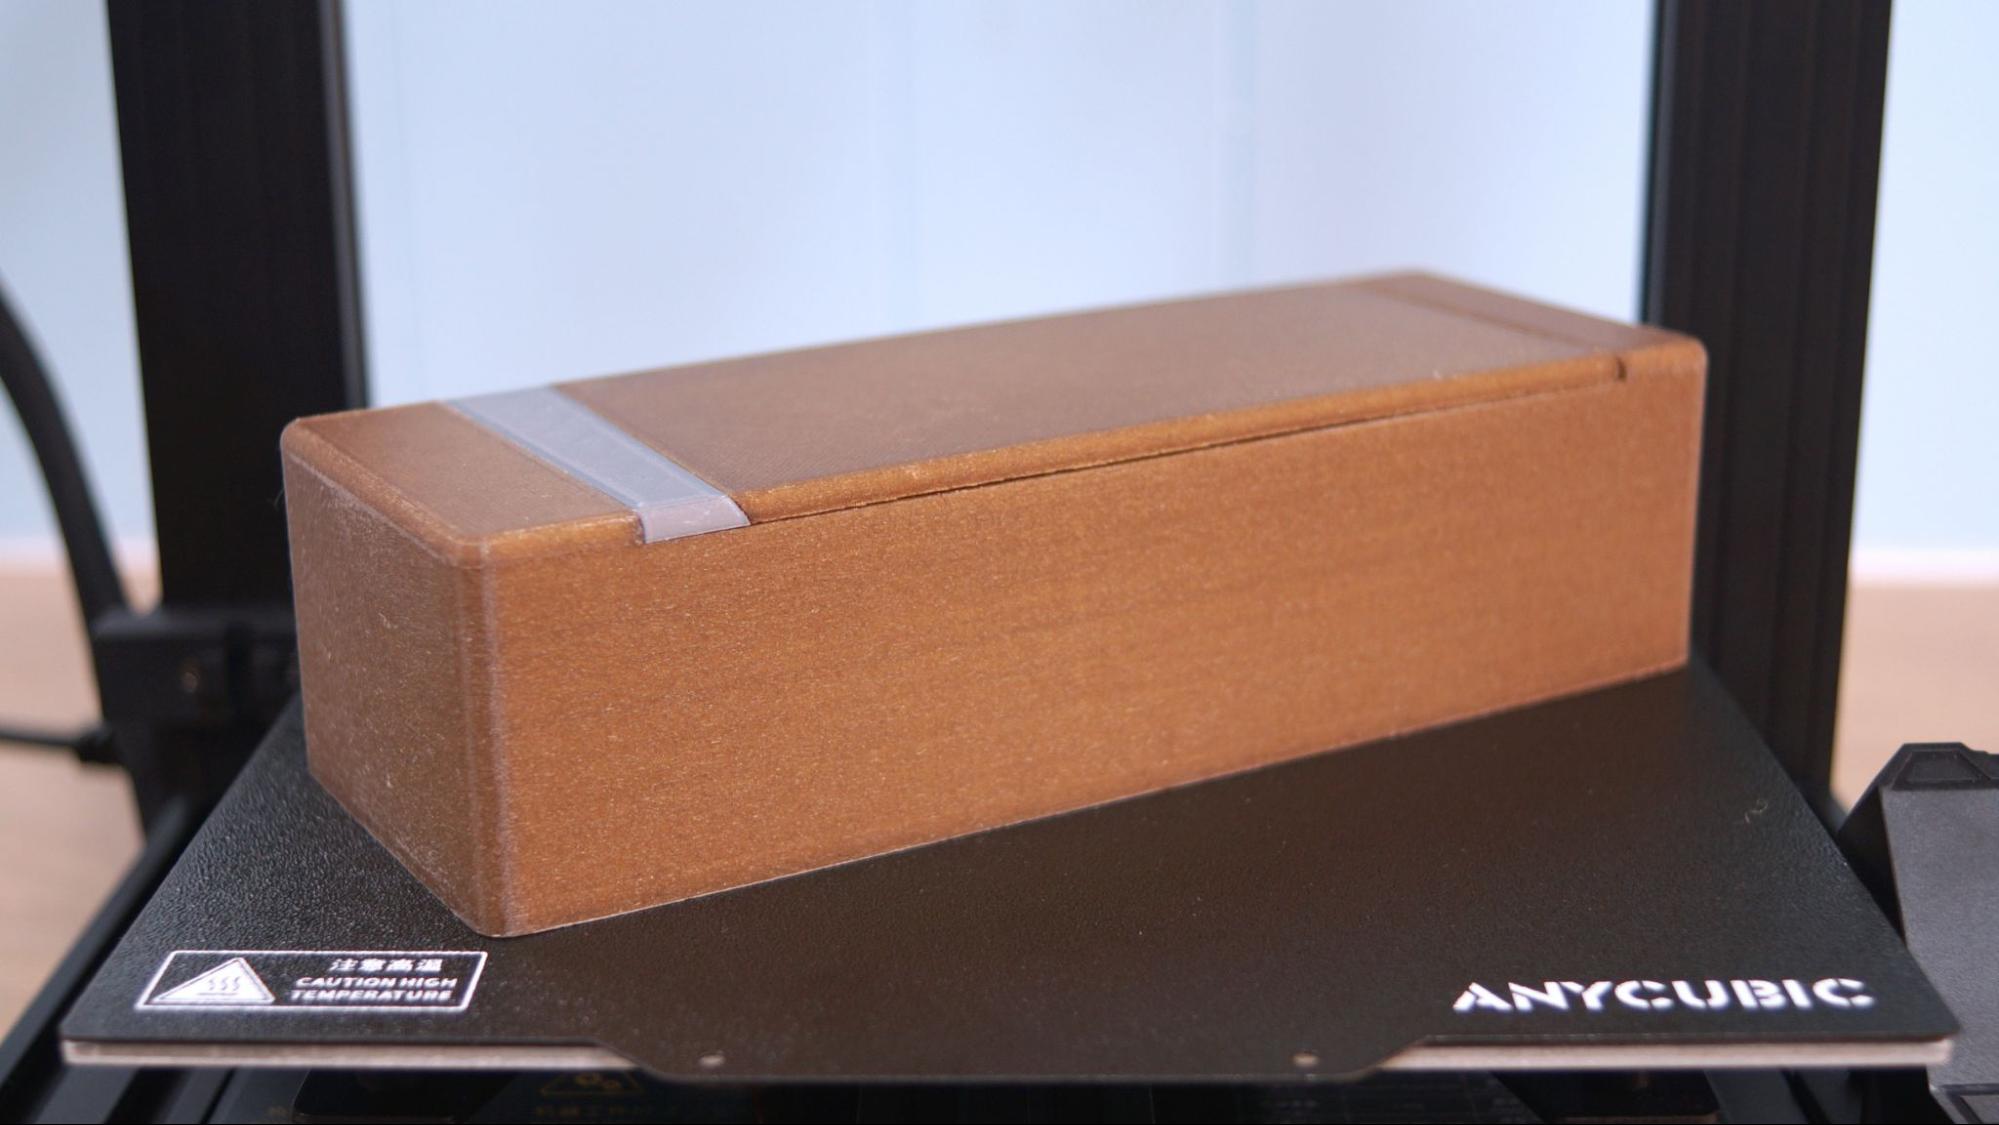
I had some leftover 3D Fuel Entwined Hemp PLA from a previous project, and thought it would make a nice substitute for wood. I used this, and a few grams of gray Inland PLA to make this Japanese inspired locking toolbox. The box prints in 3 parts, and it was a challenge to get the tolerances just right. I ended reprinting the lid and gray locking piece 3% shorter on the Y axis and finally everything fit perfectly. The end result is a good looking faux wooden box with the layer lines giving it the appearance of grain. This took 14 hours and 31 minutes of printing altogether, at a .2mm layer height and 65mm/s speed.
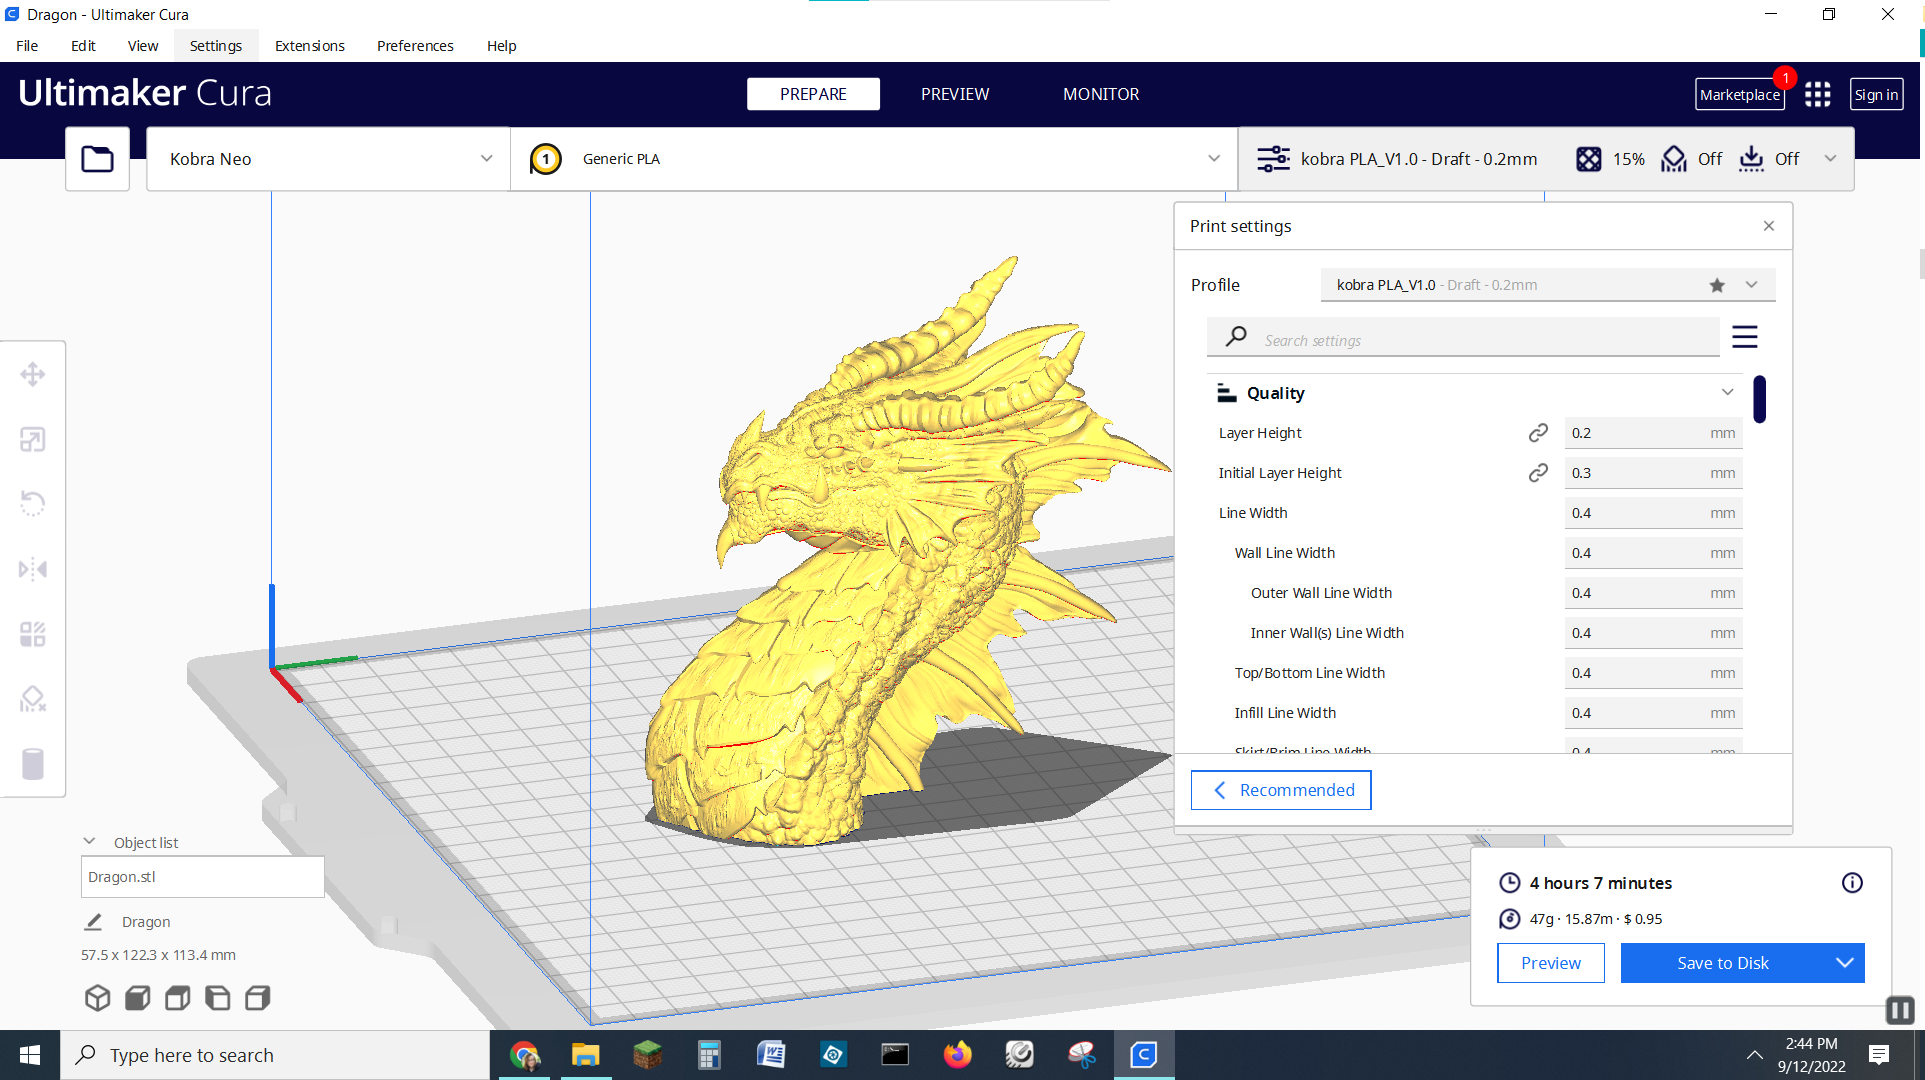
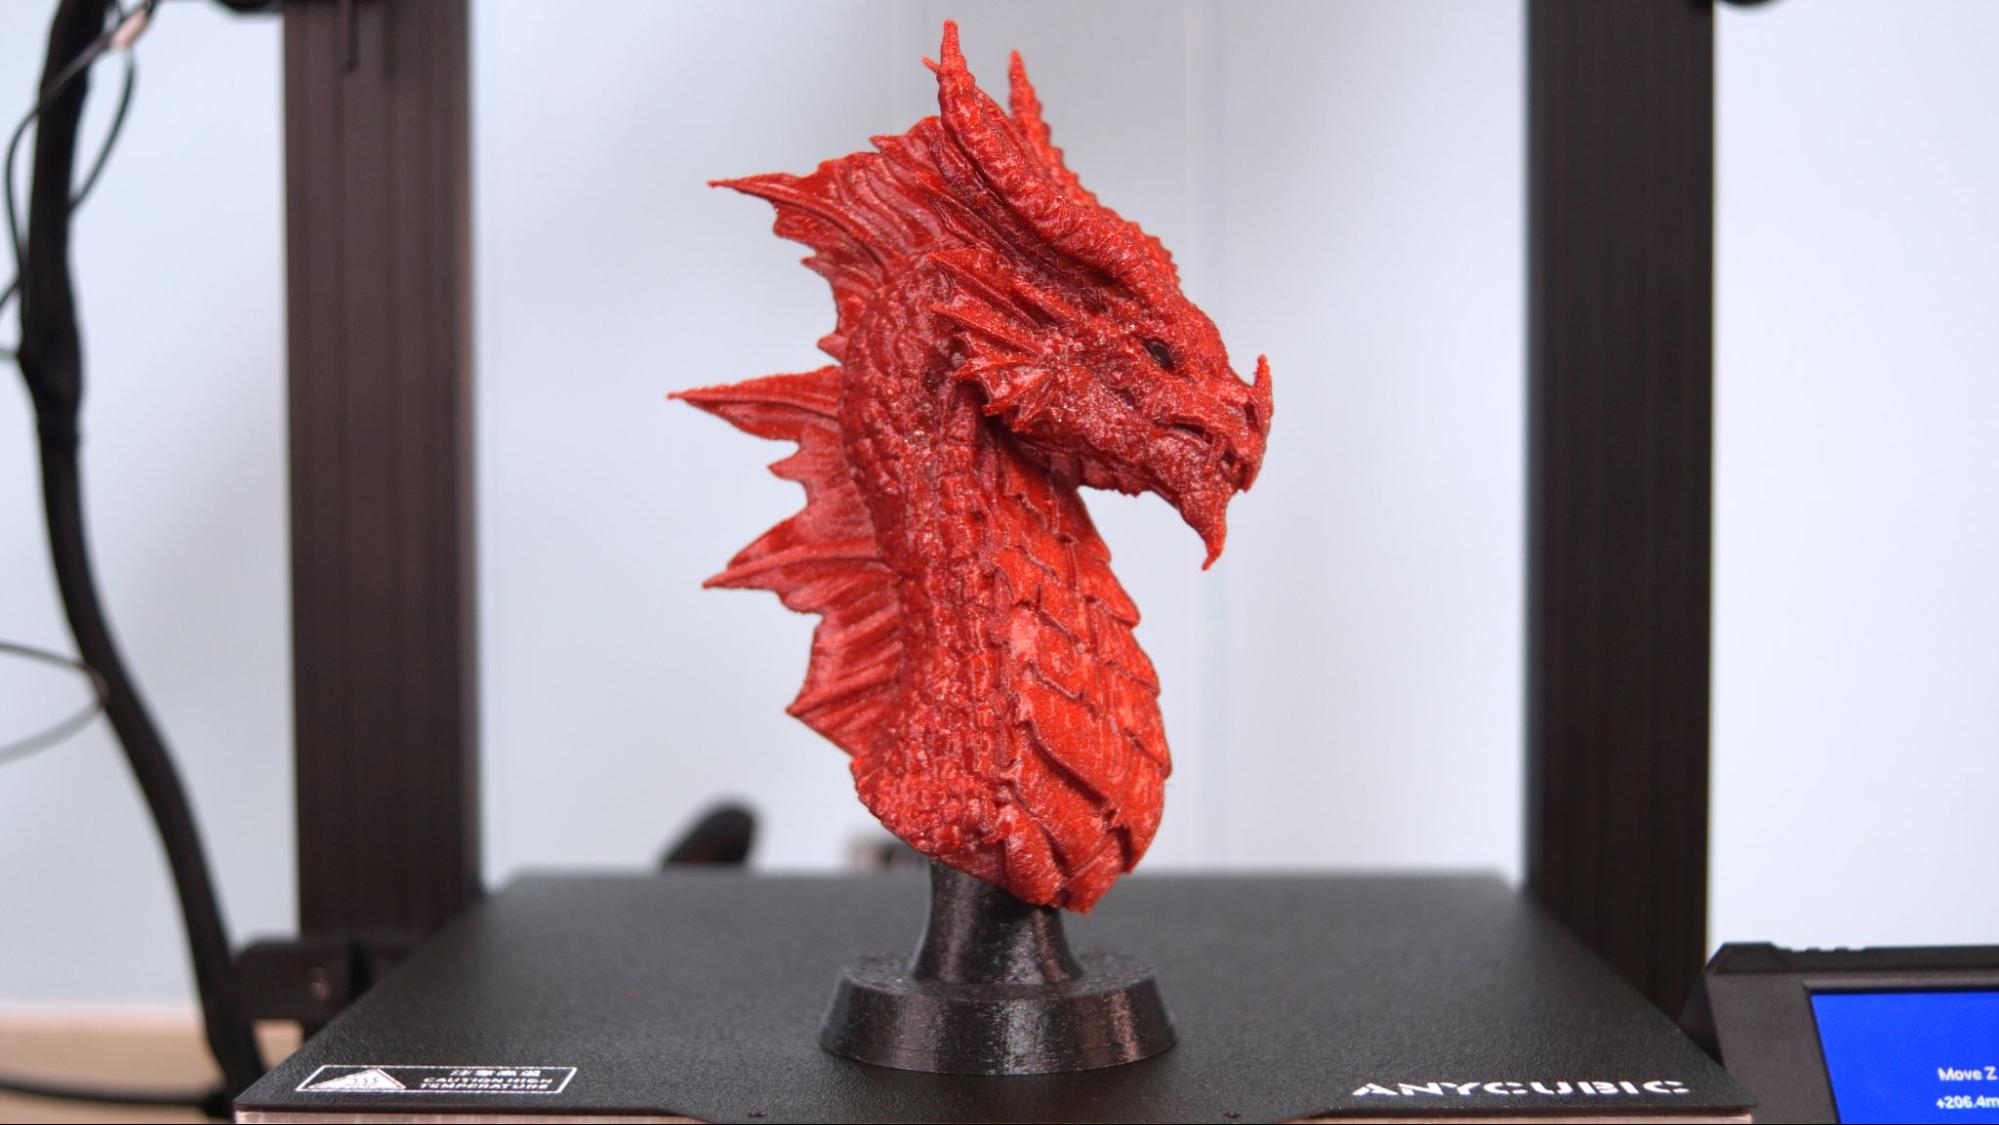
Fotis Mint has been making some really detailed dragon busts lately, which seemed like a perfect test for Prusament Carmine Red PETG. This model only required support under the chin and the Kobra Neo did a fantastic job with just a little bit of stringing that easily burned off with a lighter. The base is printed in Jessie Soul Black Glitter PETG at a .16 mm layer height to pick up the rough surface details of the print. The dragon itself was printed at a .2 mm layer height. The entire print took 5 hours and 47 minutes at 65mm/s.
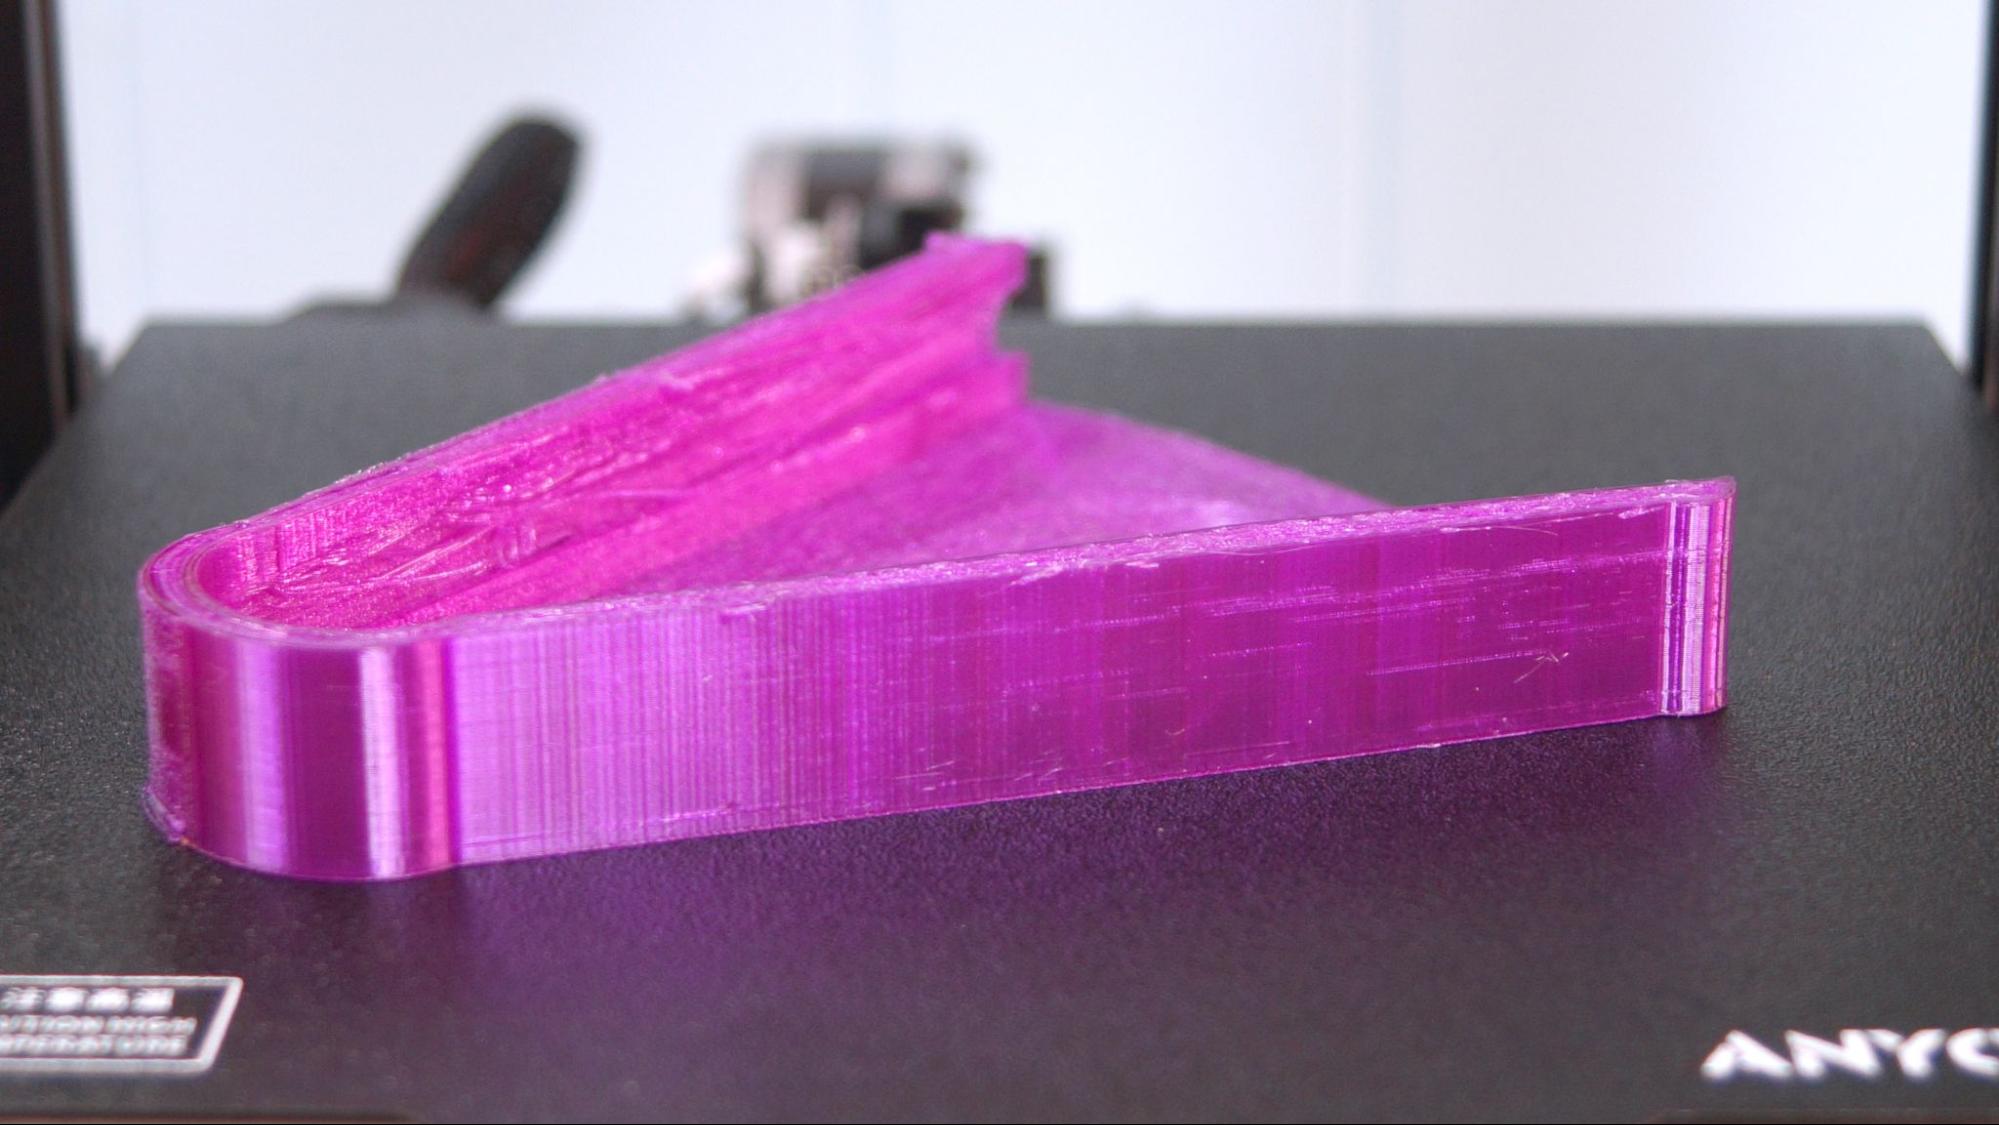
The Kobra Neo handled TPU fine, though this print has some challenging overhangs and wasn’t really designed for flexible filament – strange since it's a jar opener. This printed in 5 hours and 46 minutes with a .2mm layer height and 40mm/s speed. Printed in Matterhacker’s Build Series Translucent Purple TPU.
Bottom Line
The Anycubic Kobra Neo and it’s sibling the Kobra Go caught us by surprise. In a world where 3D printers keep getting bigger, faster and way more expensive, it’s refreshing to find a machine trimmed down to meet the needs of today’s uncertain economy.
The Kobra Neo is a simple to use 3D printer that doesn’t need any upgrades to work well. For this reason we’re recommending it for beginners, but honestly anyone would enjoy adding this no fuss machine to their workshop. Auto bed leveling and a good flexible print surface removes many of the problems that plague beginners and seasoned makers alike. The direct drive is not just a boon for flexible filaments, it’s so much easier to load a Bowden drive.
Some might see the smaller interface screen as Anycubic “cheaping out” on this machine, but I’m going to give them a pass on this one. The screen is in full color and so well laid out, it’s actually easier to navigate than the deluxe touch screen on Creality’s flagship Ender 3 S1 Pro.
If you’re interested in an even less expensive first printer, you can check out the Anycubic Kobra Go, our pick for best budget printer. If you’re looking for a printer with safety features more suited for young makers, check out the fully enclosed Creality Sermoon V1 Pro.
MORE: Best 3D Printers
MORE: Best Resin 3D Printers
MORE: Best Filaments for 3D Printing

Denise Bertacchi is a Contributing Writer for Tom’s Hardware US, covering 3D printing. Denise has been crafting with PCs since she discovered Print Shop had clip art on her Apple IIe. She loves reviewing 3D printers because she can mix all her passions: printing, photography, and writing.
