Asus ROG Strix Z370-G Gaming WI-FI AC Review: Top Micro-ATX Z370 Performance
Why you can trust Tom's Hardware
Software & Firmware
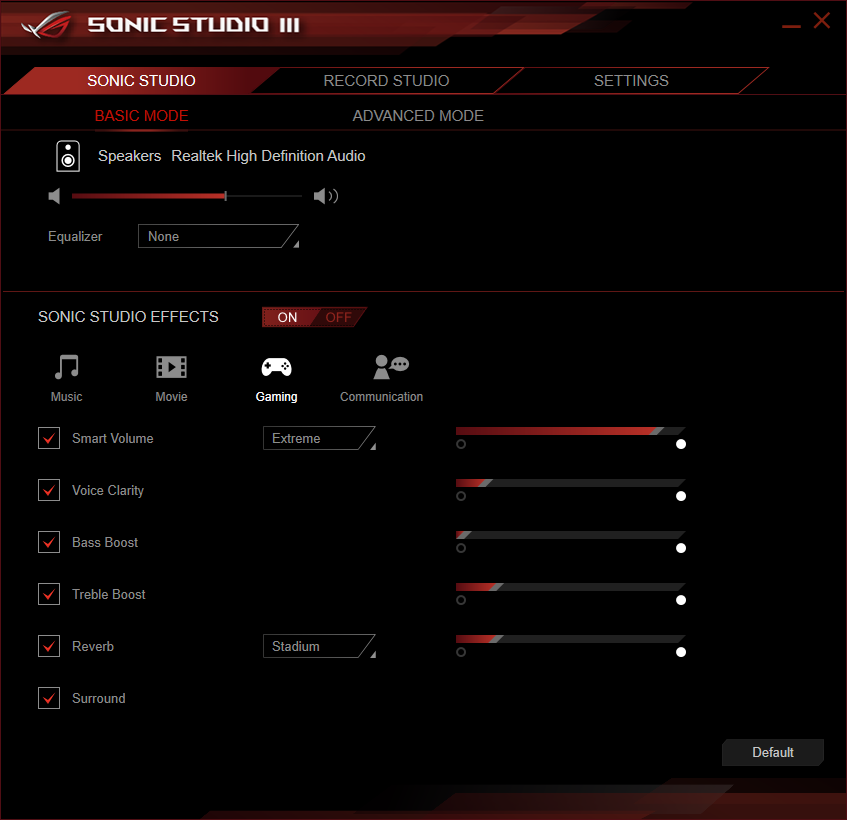
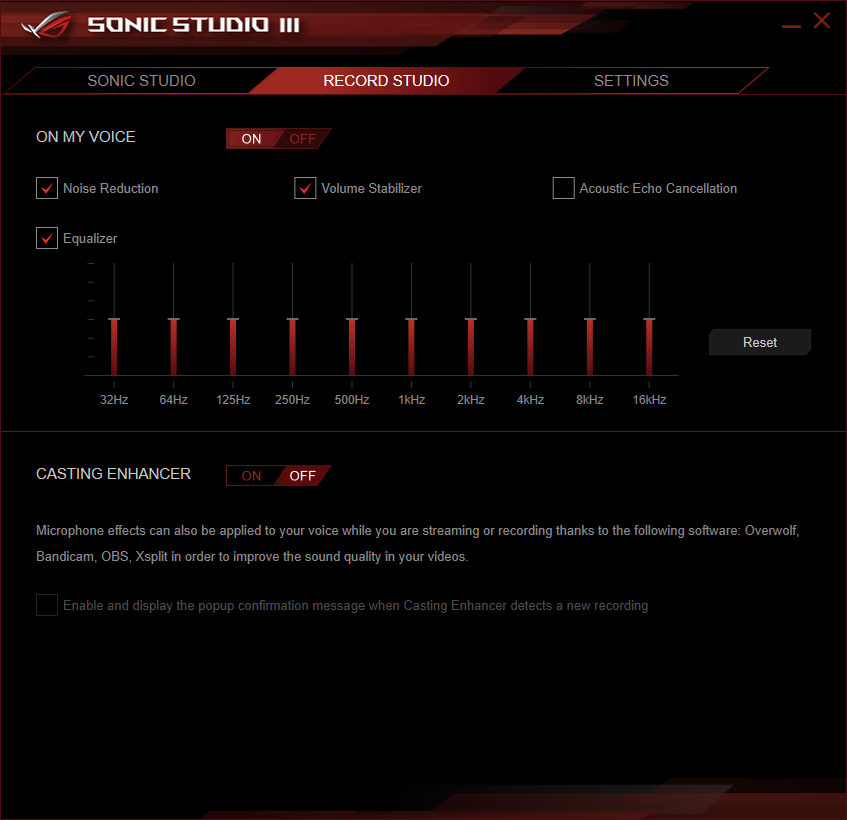
The mobo includes standalone apps, such as Clone Drive, EZ Update, GameFirst IV, RamCache 2 and Sonic Studio. Sonic Studio 3 resembles third-party software SoundBlasterX 720° in that it includes Smart Volume leveling and Voice Clarity boosting capability, and similar comparisons can be made between the GameFirst IV packet prioritization suite and cFosSpeed.
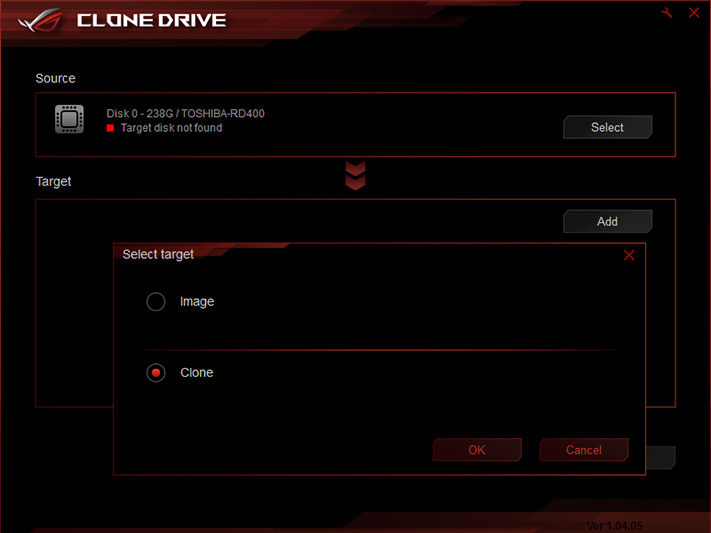
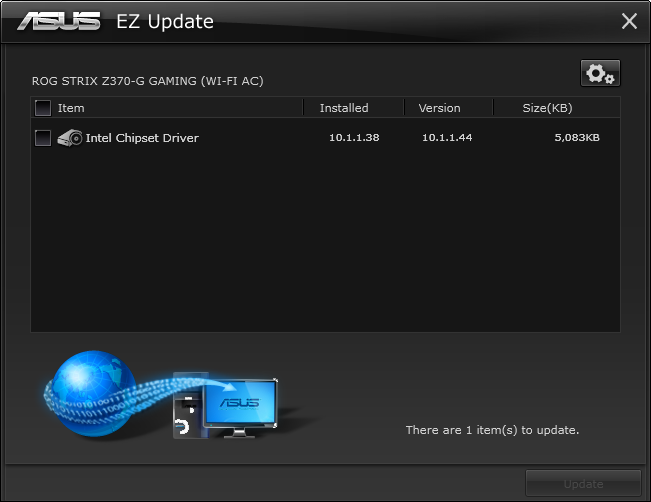
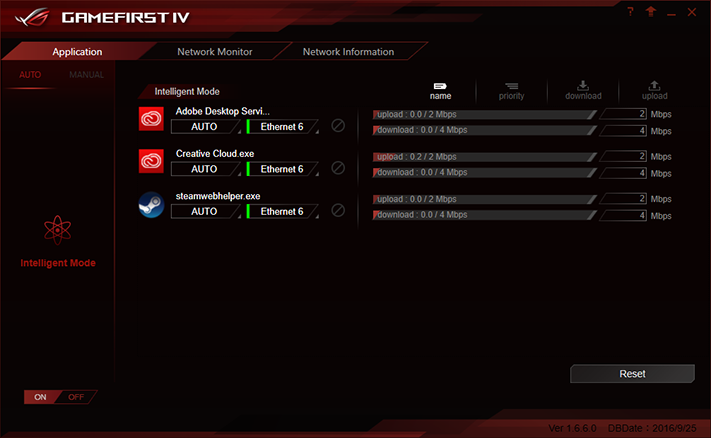
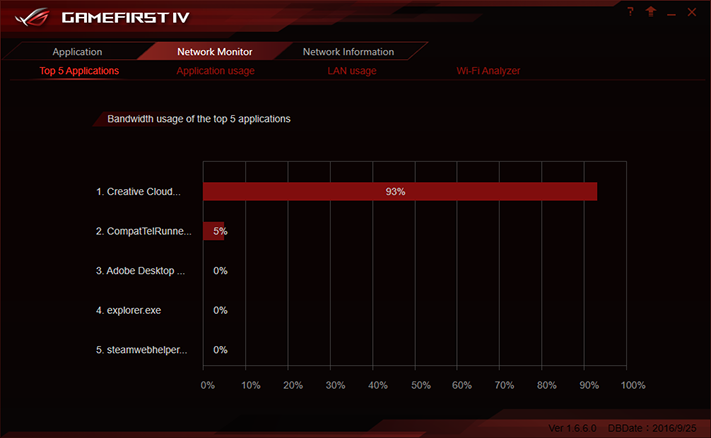
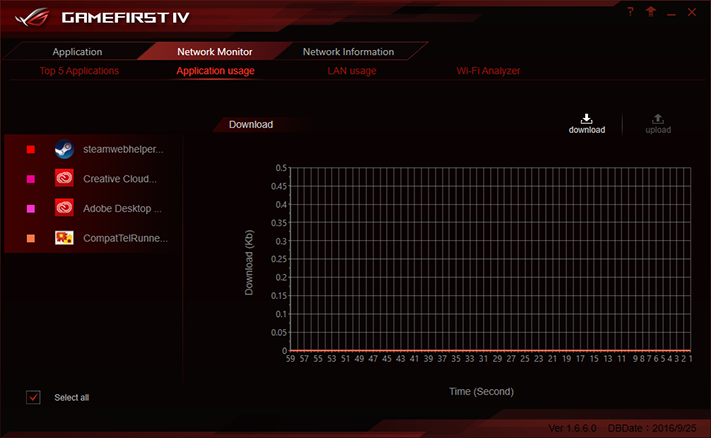
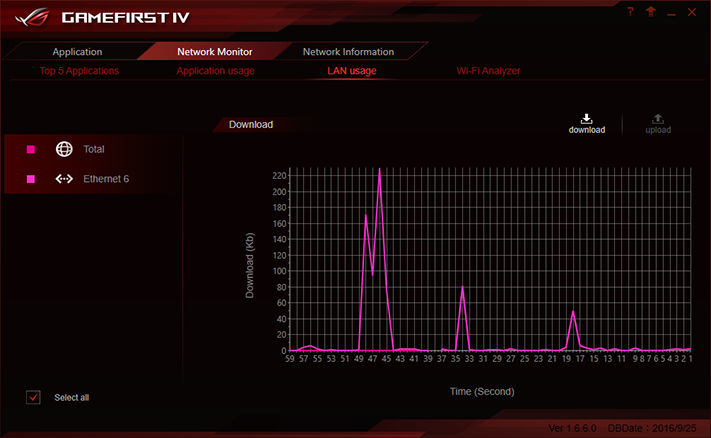
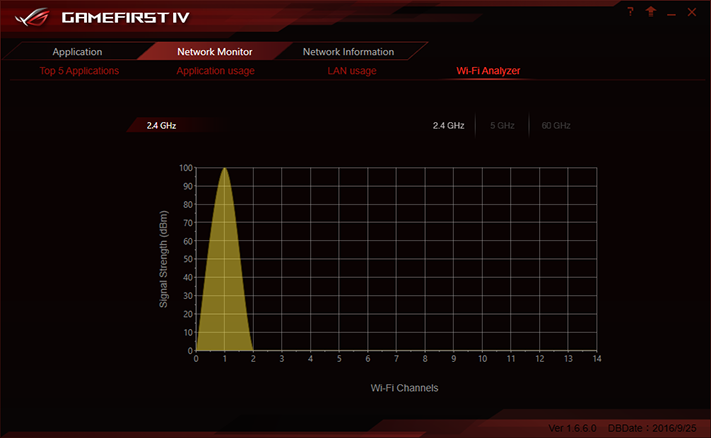
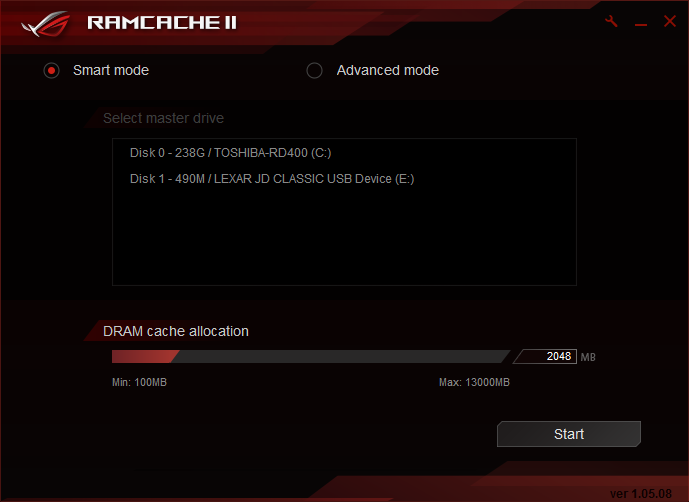
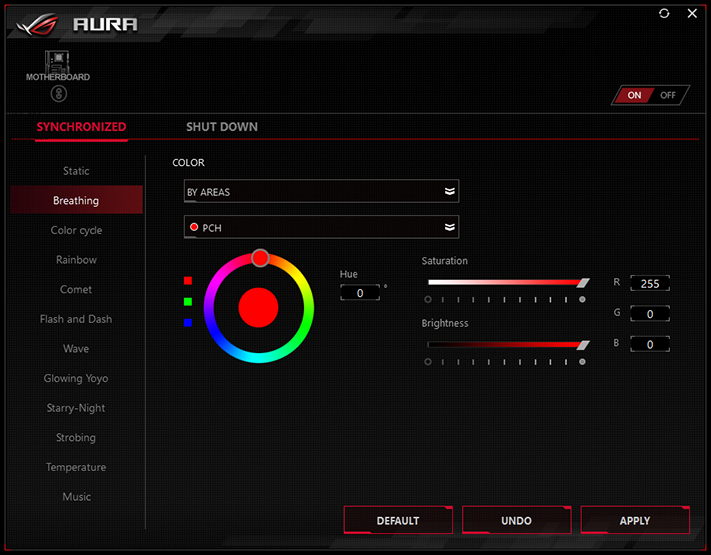
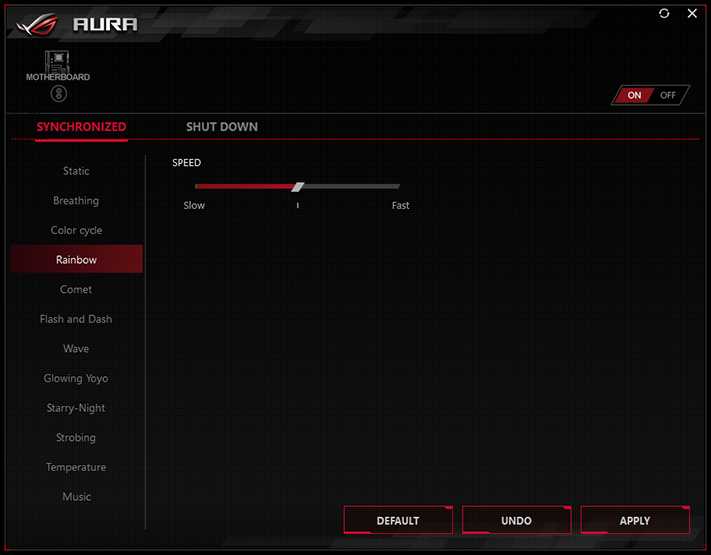
There aren’t any RGB headers, but that doesn’t keep Asus Aura from addressing the PCH sink’s logo lighting. The software is also compatible with most RGB memory lighting.
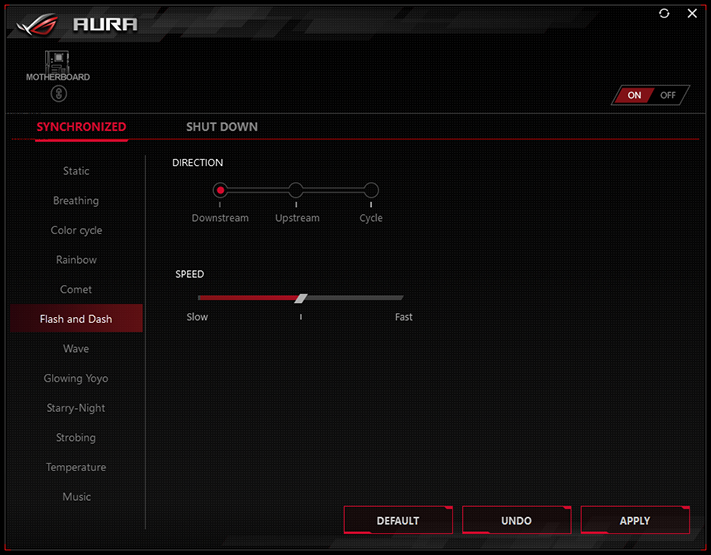
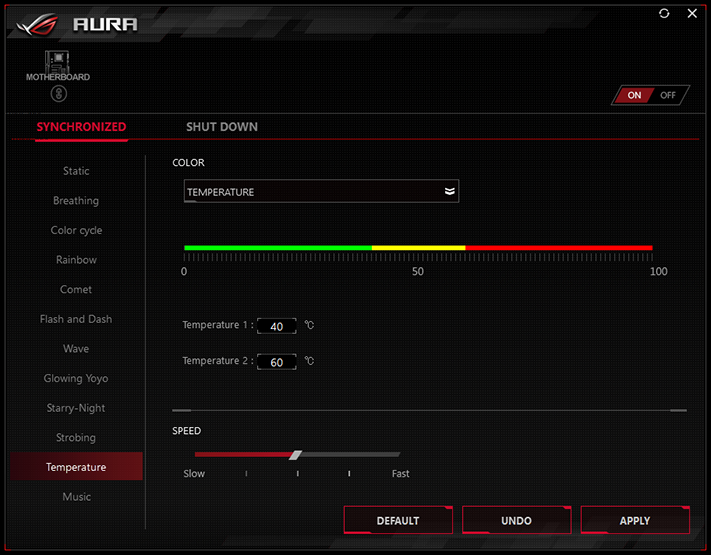
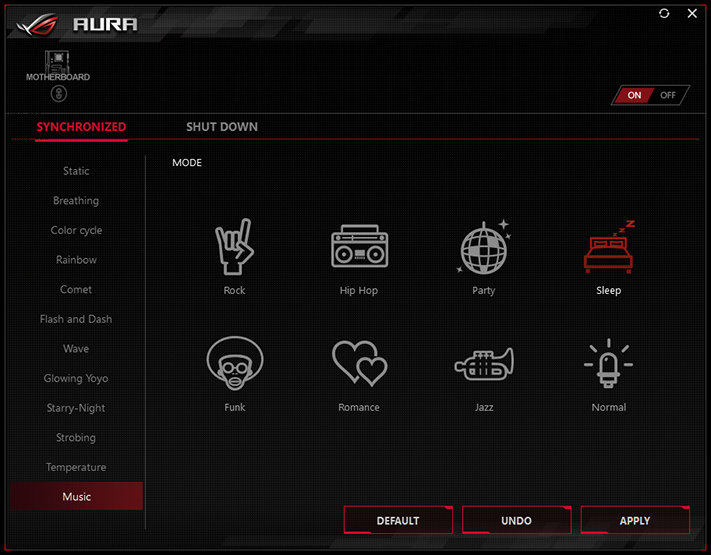
Asus AI Suite includes the Dual Intelligent Processors 5 automatic tuning suite, TPU automatic overclocking, Turbo App manual overclocking, EPU energy saving schemes, Fan Xpert 4 automatic fan profile configuration, Digi+ VRM, for voltage regulator control, PC Cleaner system utility and an integrated version of Asus EZ Update. As usual, the main menu nags users to click the 5-Way Optimization button for automatic CPU/fan/efficiency tuning.
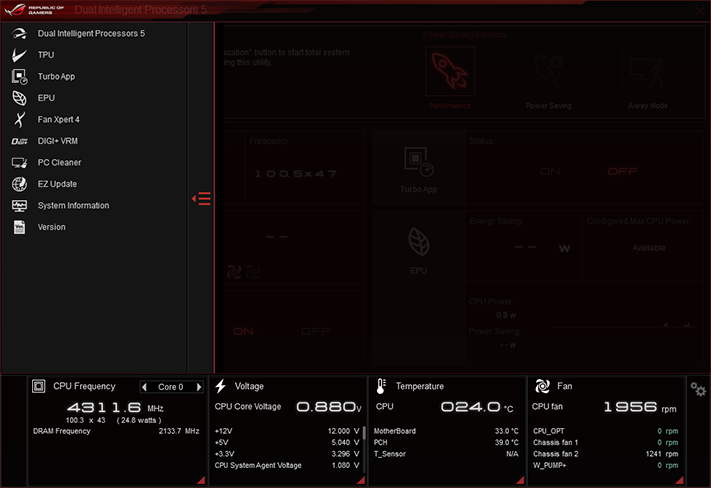
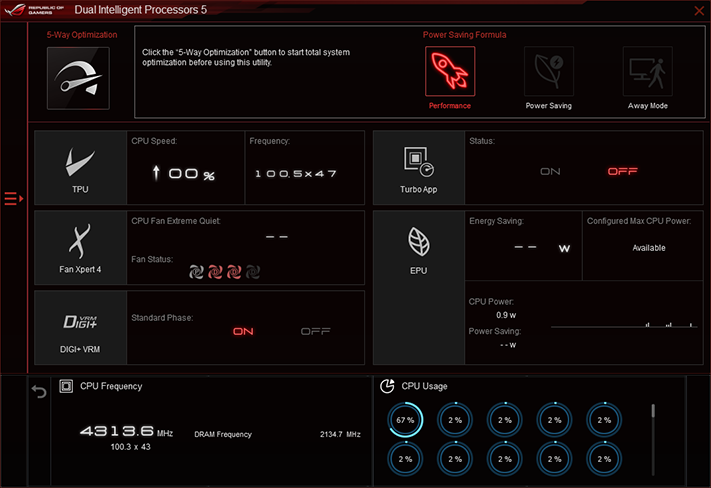
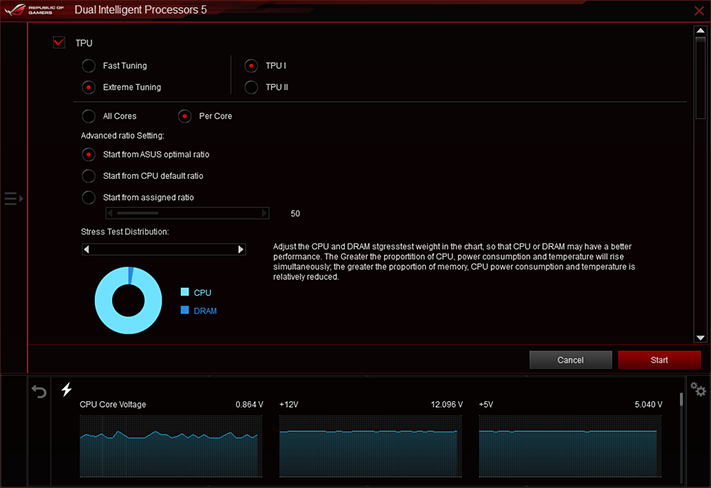
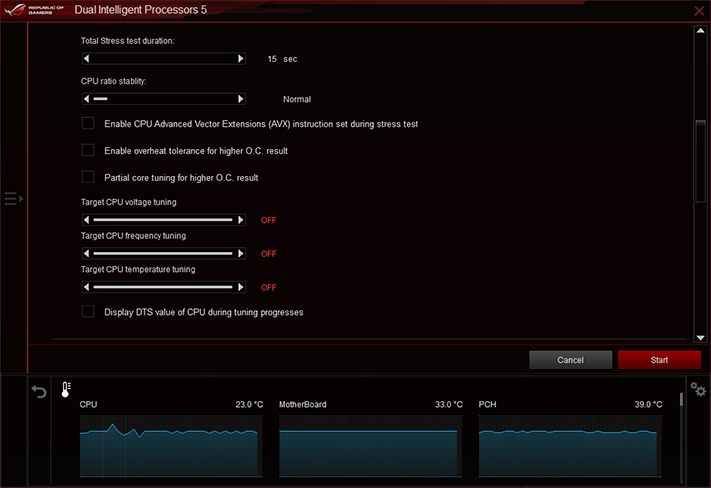
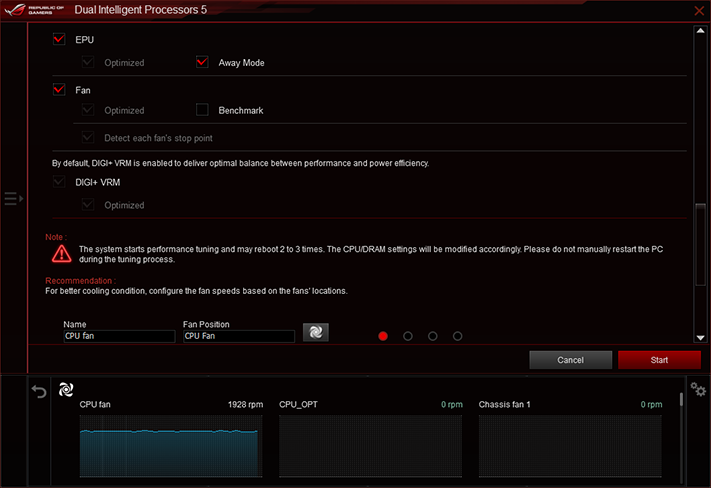
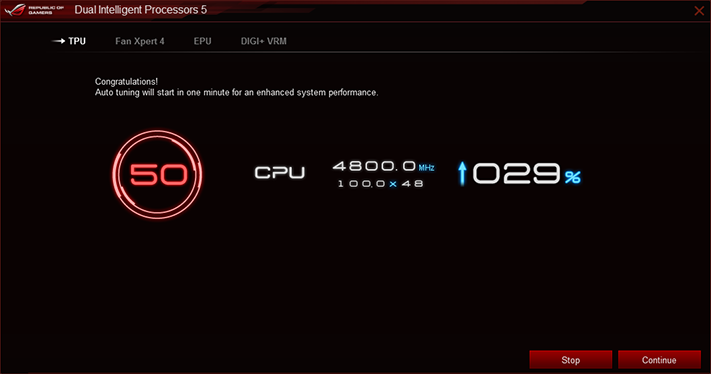
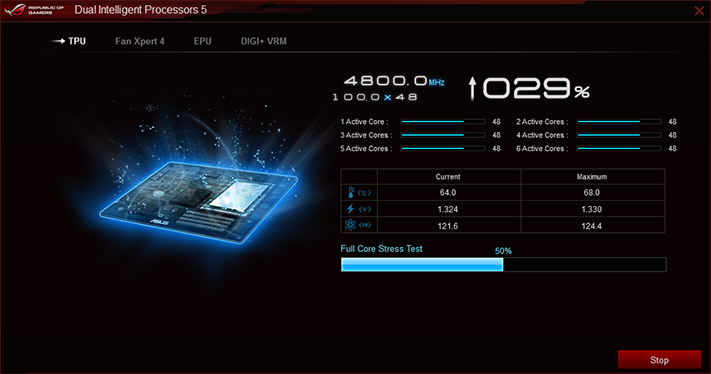
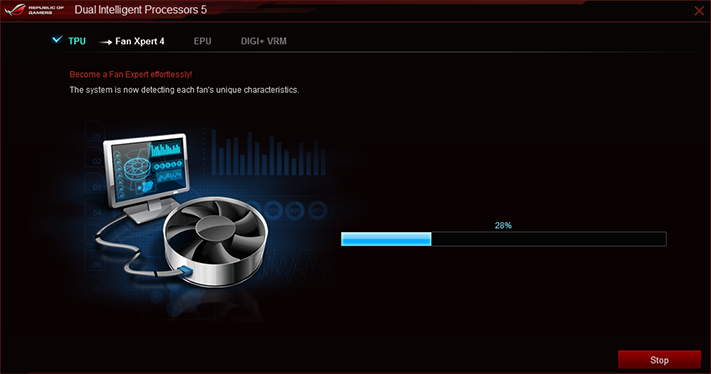
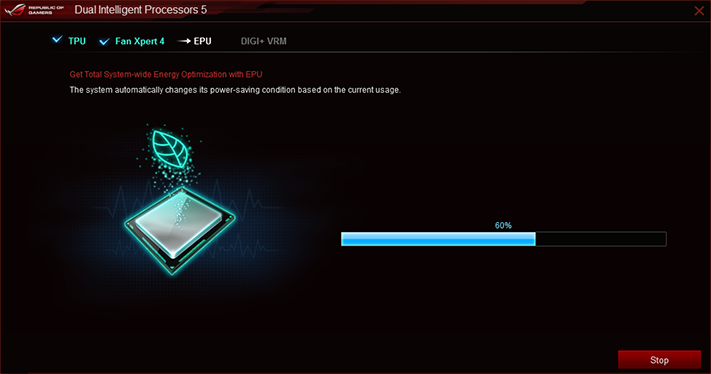
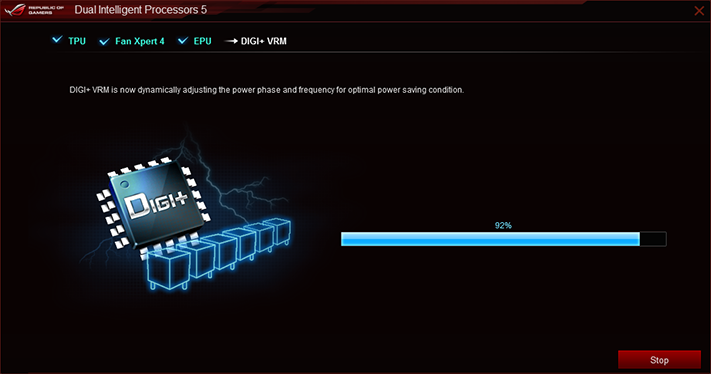
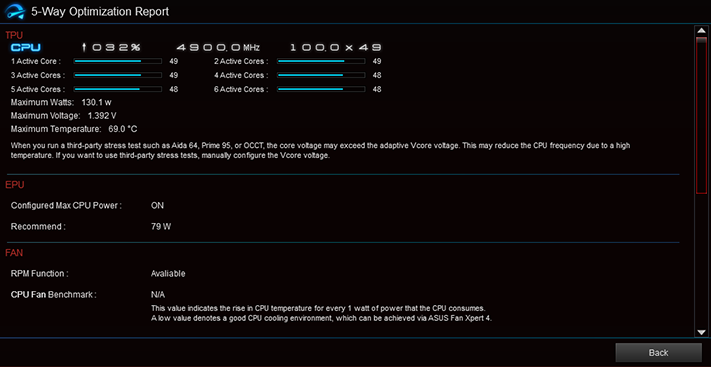
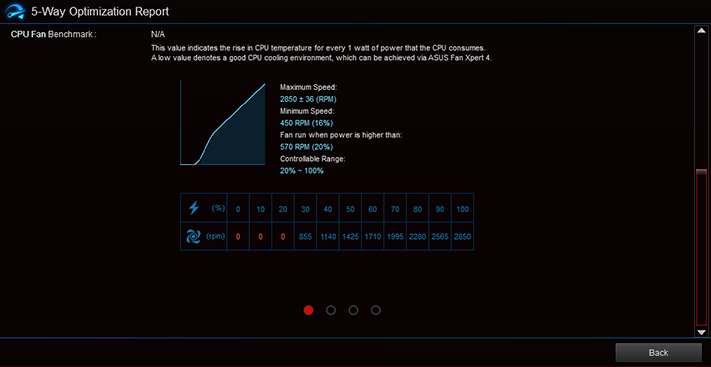
After optimizing our system four ways through various menus, the system returned a range of 4.8-4.9GHz under relatively moderate loads with up to a 1.4V CPU core. Throttling became a constant issue for our heavier tests, though pinning things down was a little more difficult in a system that automatically manages temperature via clocks and voltage levels.
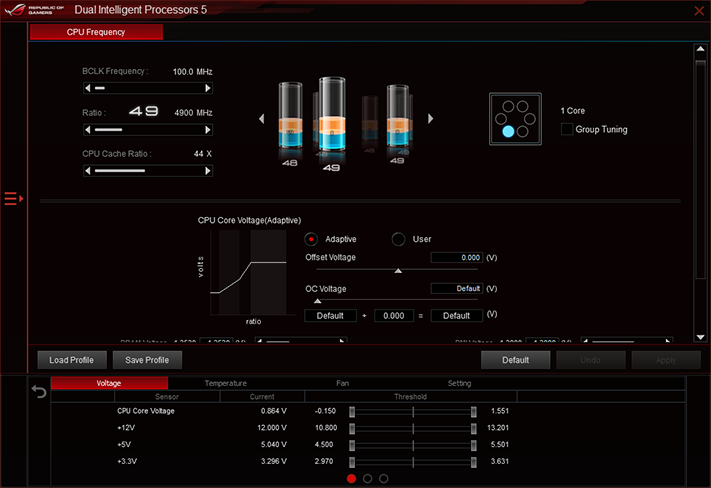
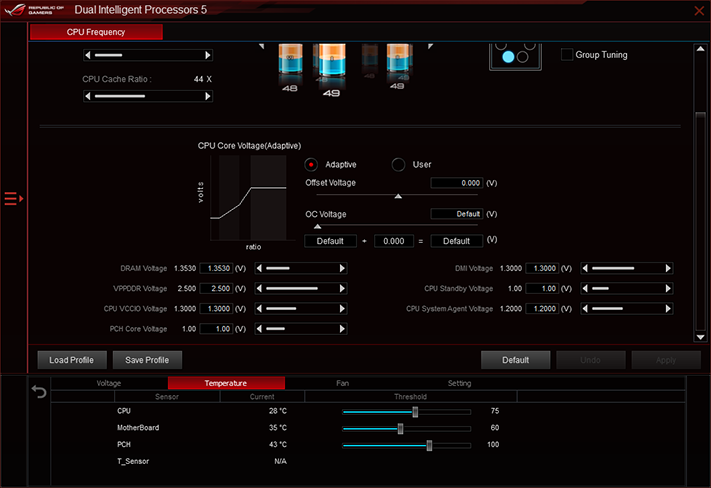
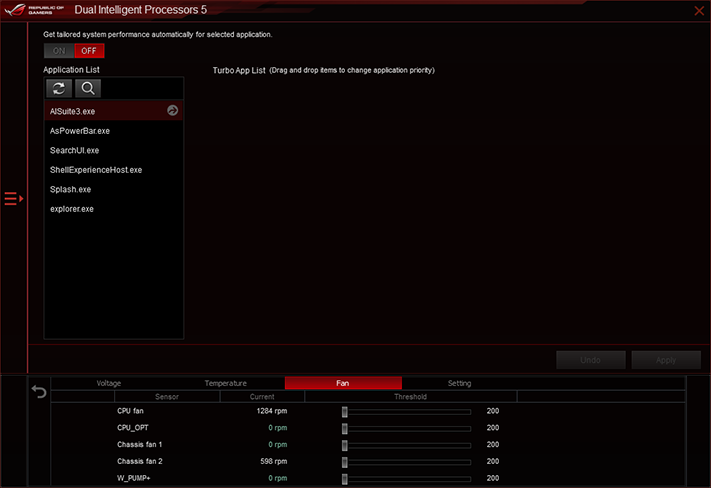
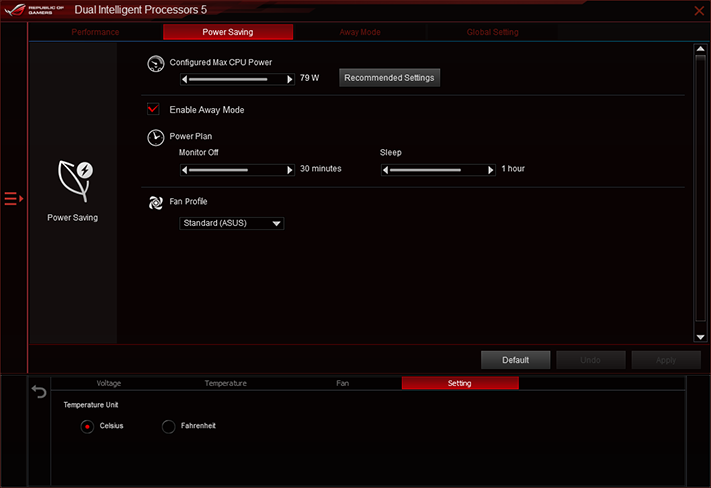
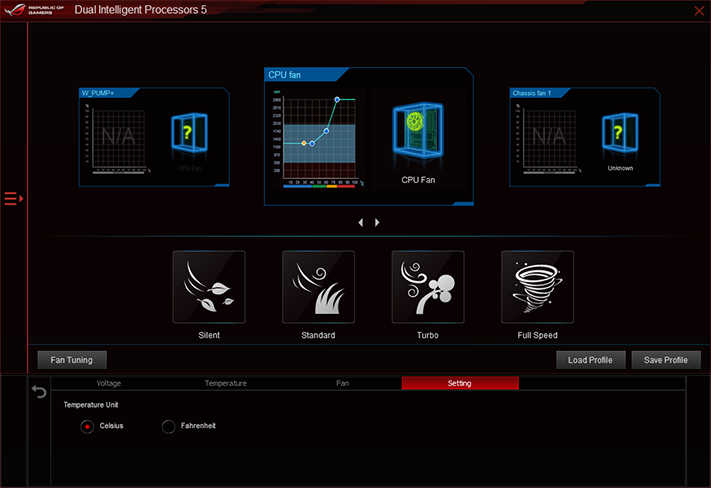
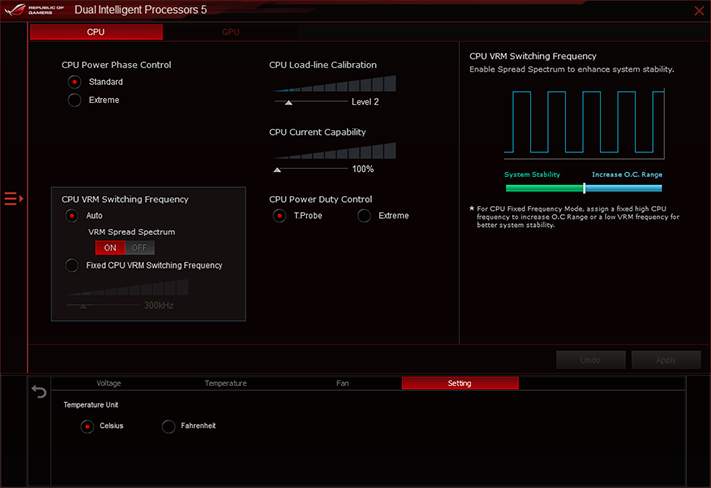
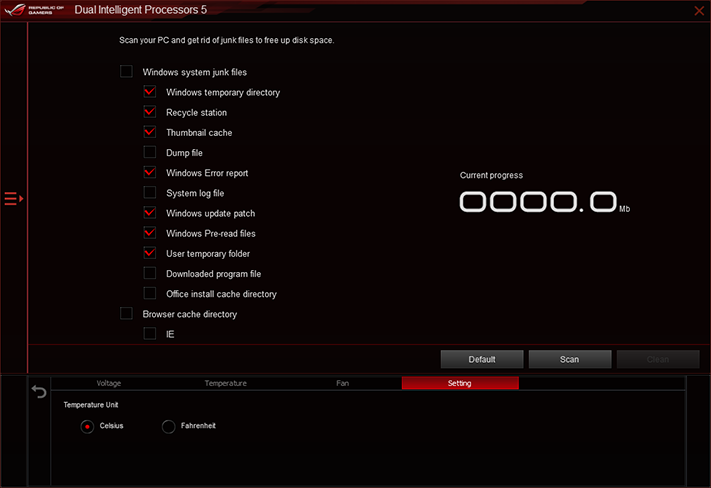
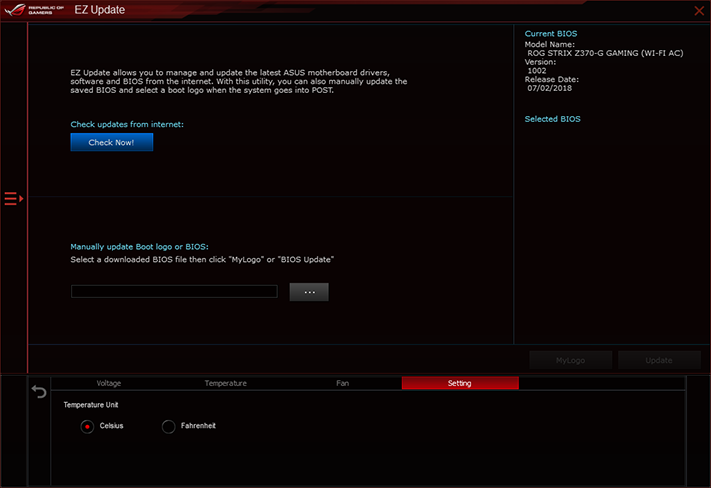
We might have gotten farther by overclocking the CPU manually, but the software wouldn’t set the fixed voltage levels we picked. We really wanted to know the highest continuous frequency this board can achieve with our Core i7-8700K under a constant, AVX-heavy, 12-thread load. For that, we turned to firmware!
Firmware
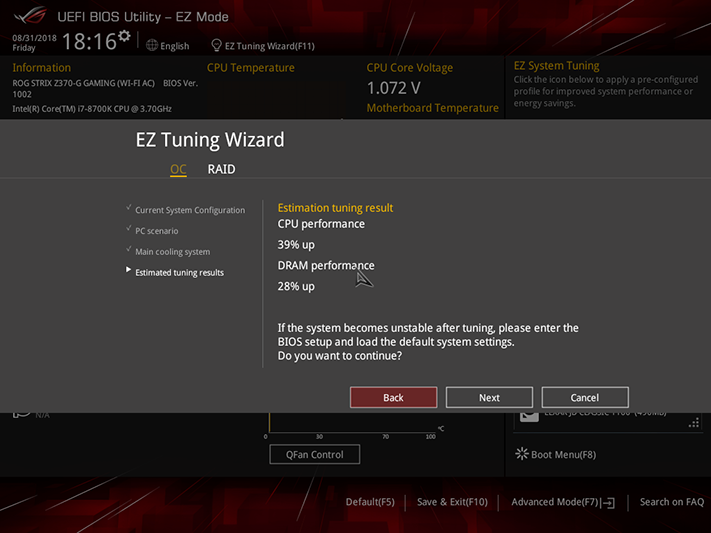
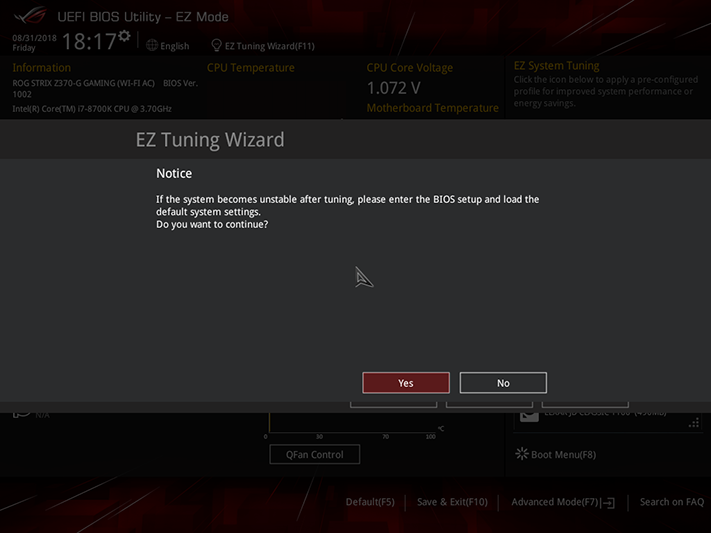
The Z370-G Gaming's firmware is set to use its EZ Mode interface by default, though you can change that from the Advanced mode's Boot menu. The simplified GUI allows builders to enable XMP, alter fan settings, change boot order, select one of two programmed overclocks, or start Asus’ EZ Tuning Wizard automatic overclocking.
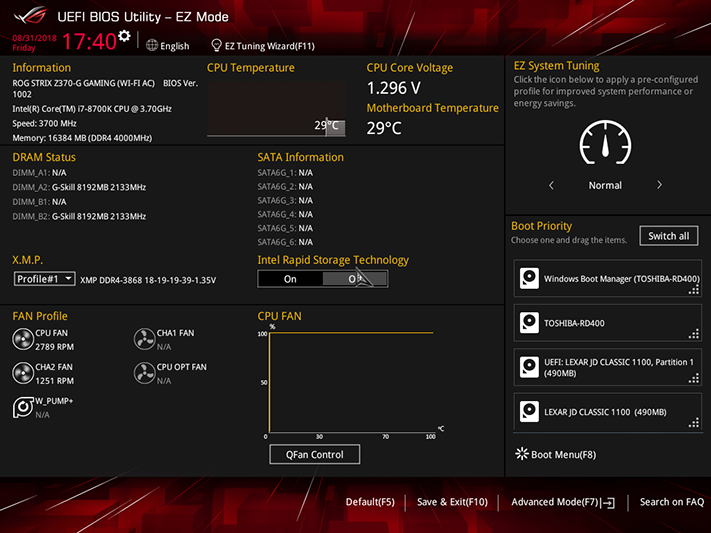
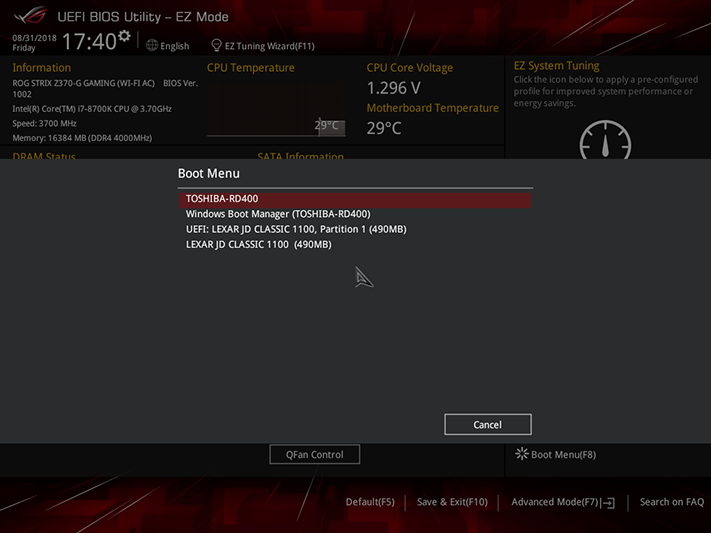
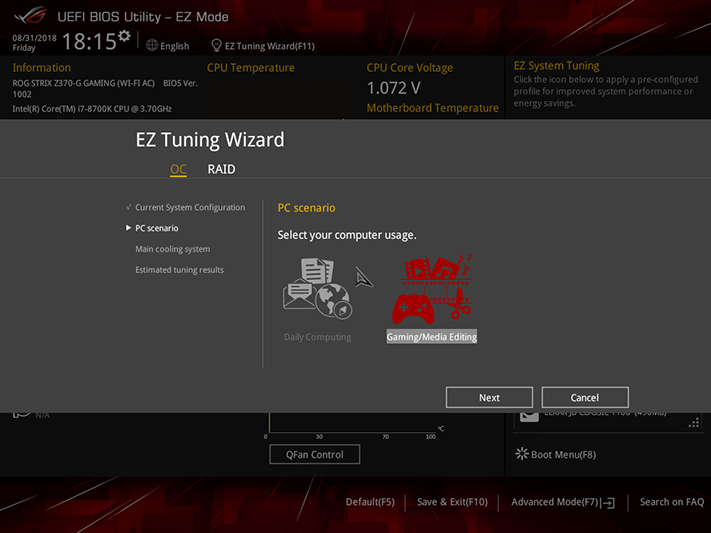
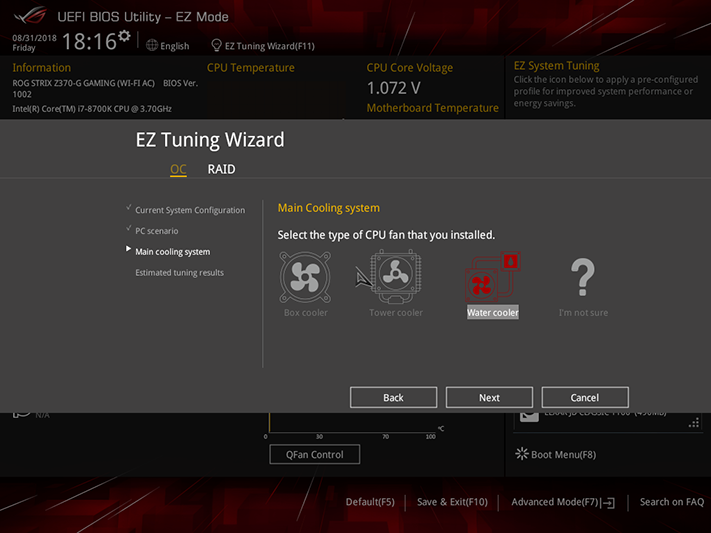
The first programmed overclock sets a 48x CPU multiplier for up to three cores of load and 47x for four or more cores loaded. The latter sets a more extreme 50x multiplier regardless of load but for one exception: Both engage a 3x multiplier offset (a 300MHz drop) for AVX loads, such as the Prime95 test we used. We retained flexible voltage, but it increased beyond stock levels, with Fast Tuning using a 1.35V core at low loads, which drops to 1.265V under heavy loads, and Extreme Tuning using 1.45V and dropping to 1.35V. Neither of these programmed settings would have been suitable for the thermal throttling limits of our CPU or the motherboard’s voltage regulator if not for the AVX offsets. EZ Tuning Wizard gave us an even more aggressive overclock at 50x 103MHz (5.15GHz) at 1.45V. Prime95 worked in blend mode, but half of its threads crashed under small FFTs.
Get Tom's Hardware's best news and in-depth reviews, straight to your inbox.
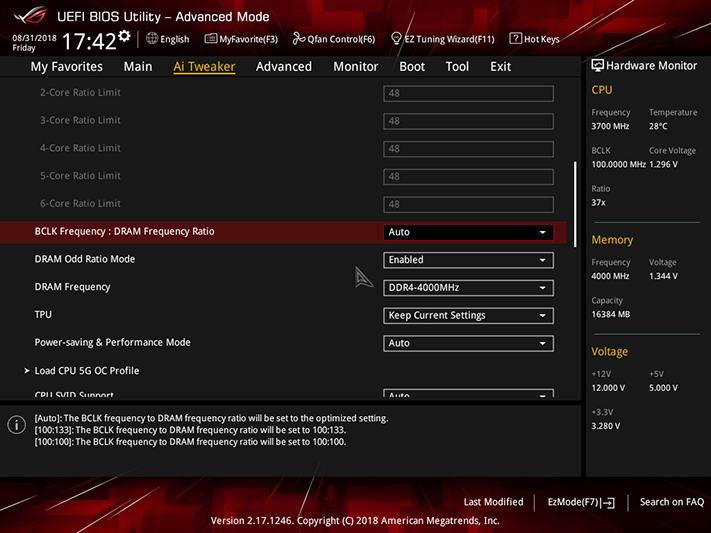
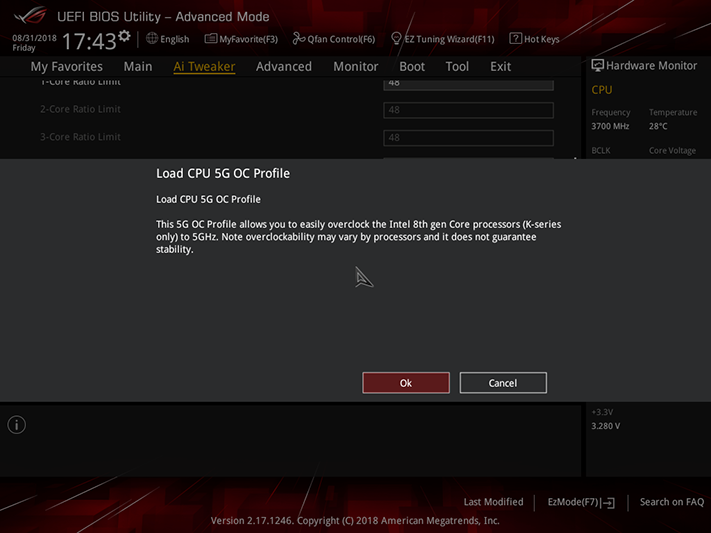
Clicking the keyboard’s F7 key brings up Advanced Mode, where Ai Tweaker contains nearly every setting imaginable for overclocking both the CPU and DRAM. Keeping XMP enabled requires starting the overclock with Ai Overclock Tuner set to XMP mode. There are also TPU and Load CPU 5G Profile options. TPU-I corresponds to the Fast Tuning settings of EZ Mode, TPU-II corresponds to EZ Mode’s Extreme Tuning and the 5G Profile runs at a fixed 50X multiplier using approximately 1.42V at the CPU core…until Prime95 crashes.
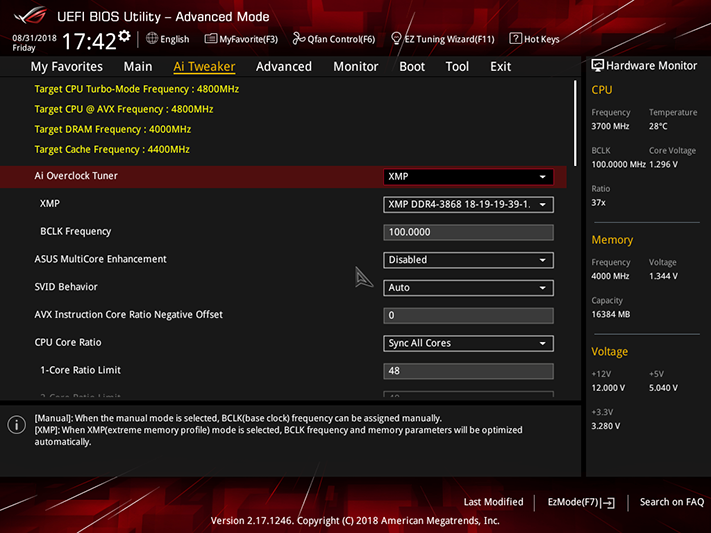
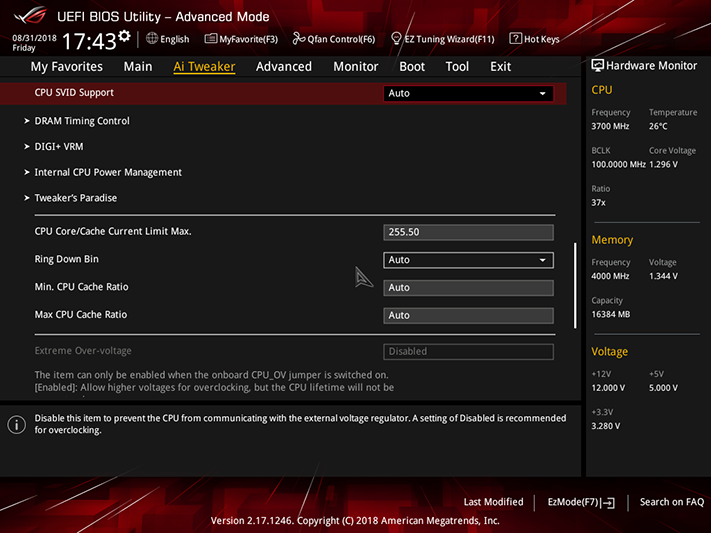
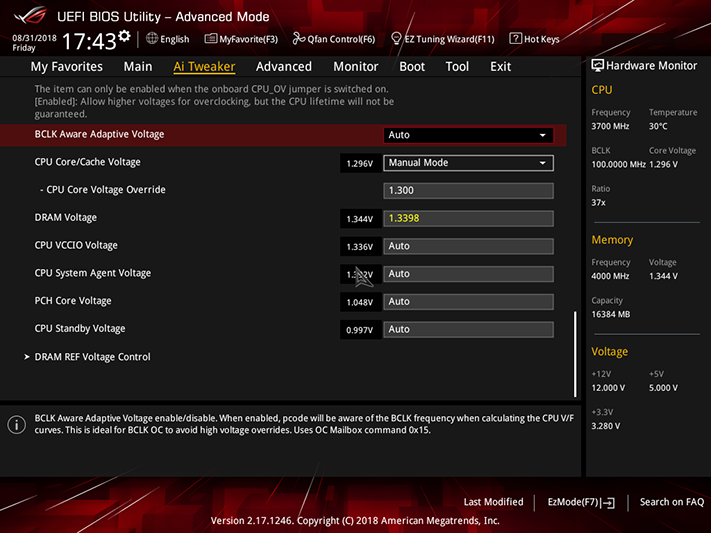
The continuous stress stability limit for our CPU is defined by its ability to expel heat, going up to 4.85GHz on certain boards using a 1.3V core setting. The Z370-G Gaming got us close to that limit at 4.8GHz. We also observed that the board’s 1.3398V DRAM voltage setting produced 1.352V at the slots. We used that to remain within our “keep it fair” 1.355V test ceiling.
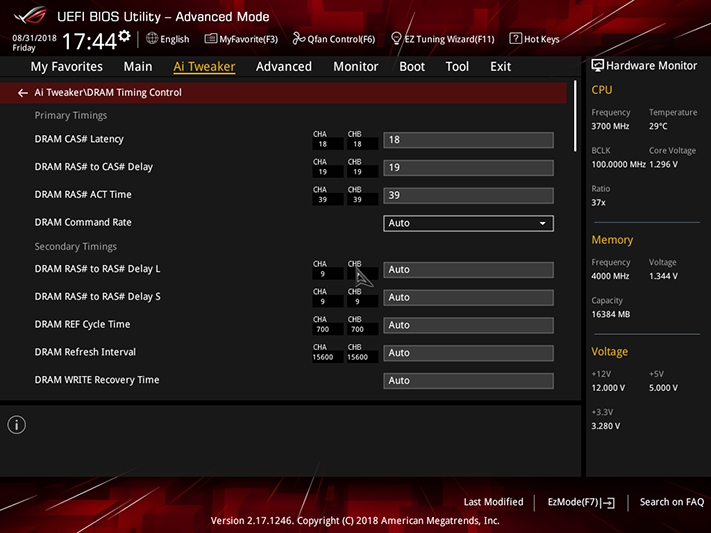
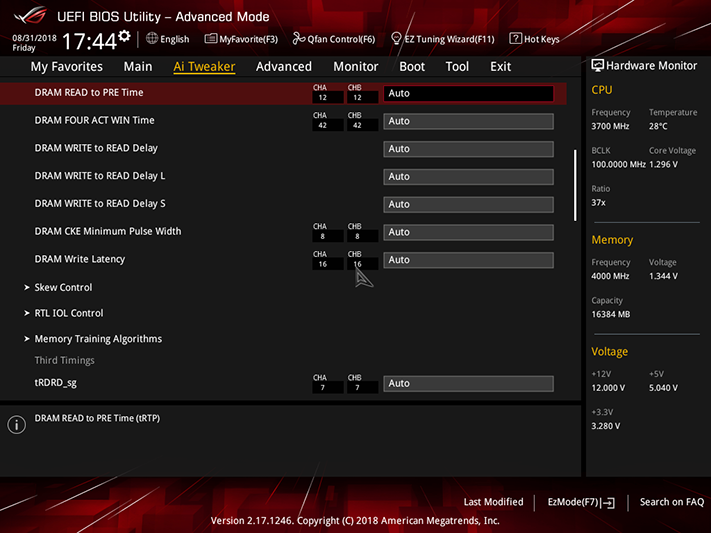
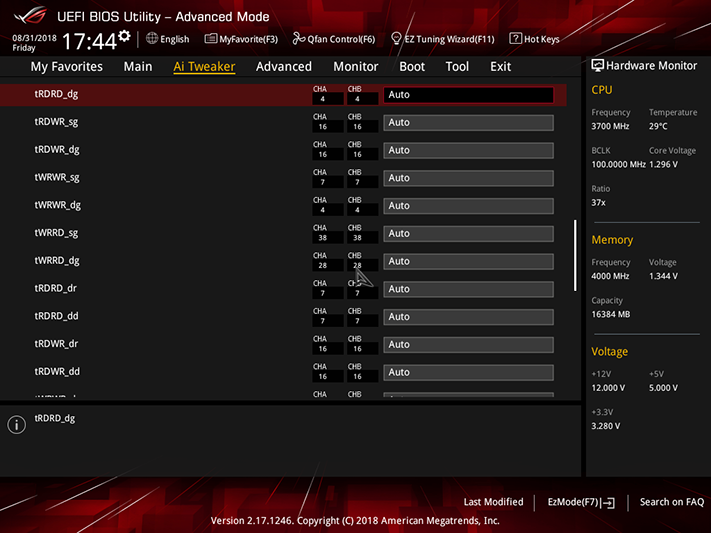
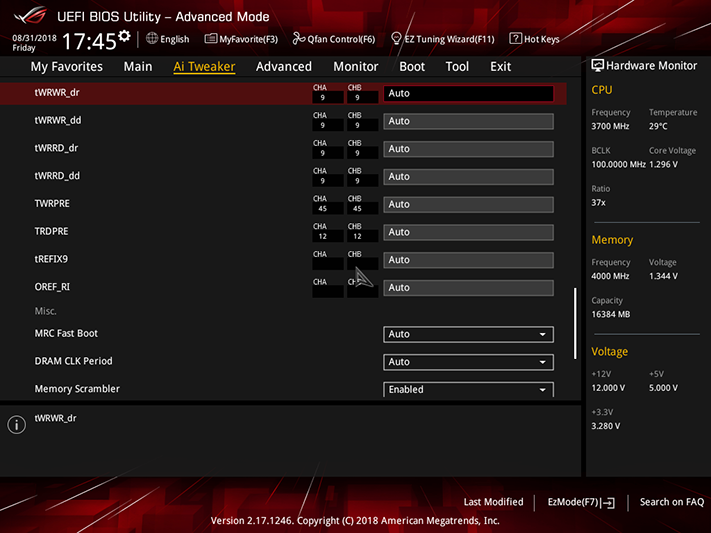
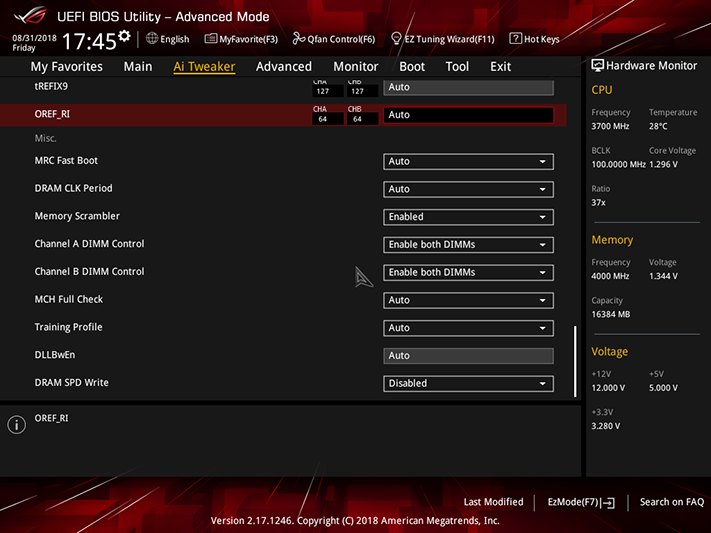
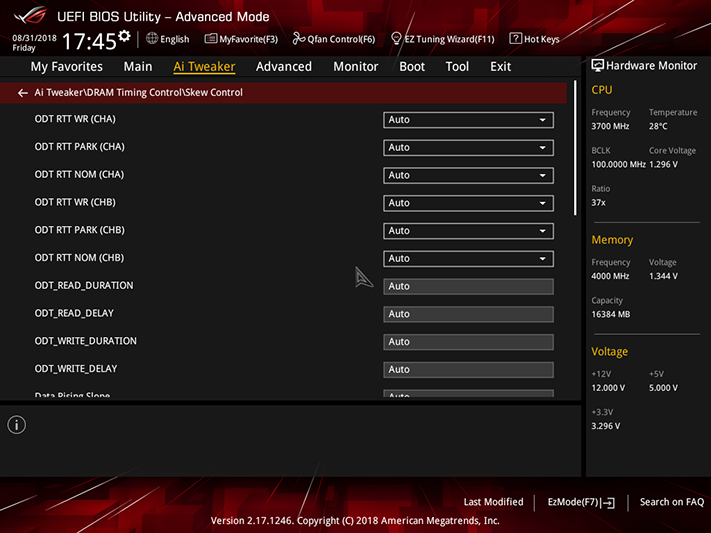
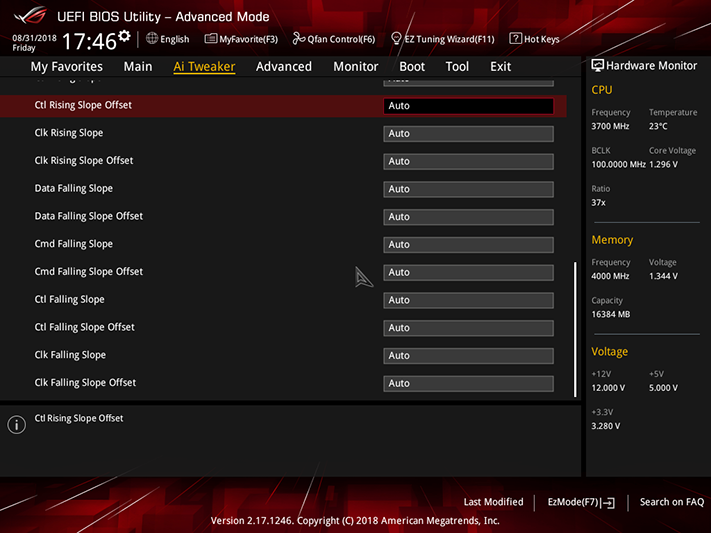
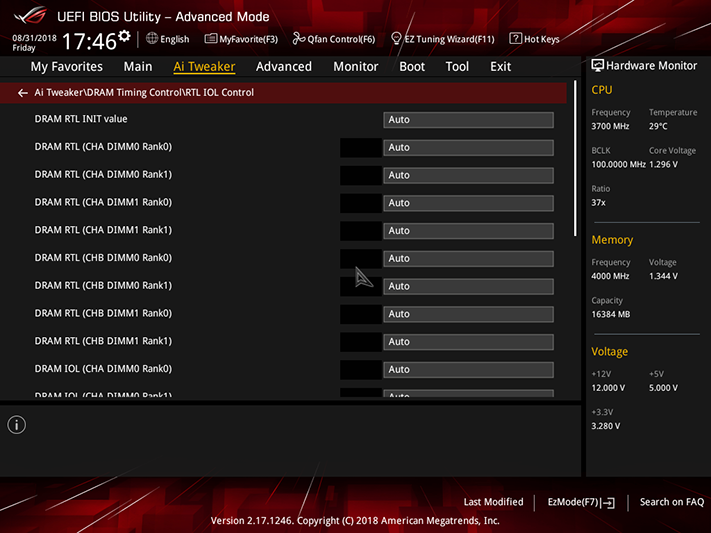
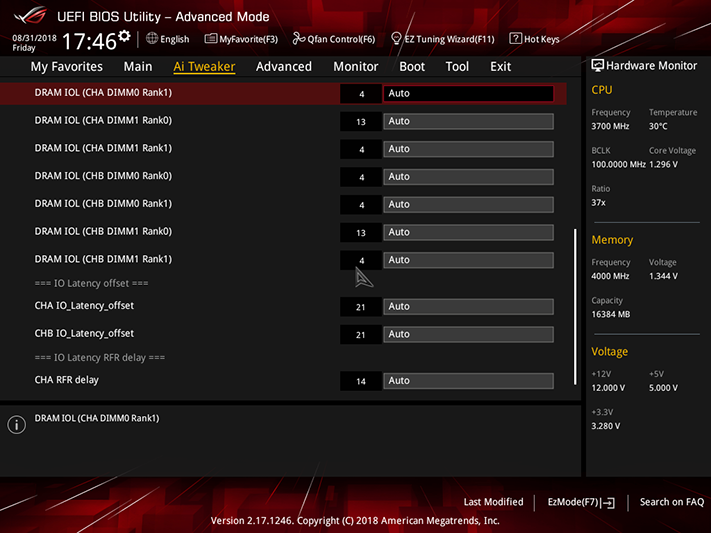
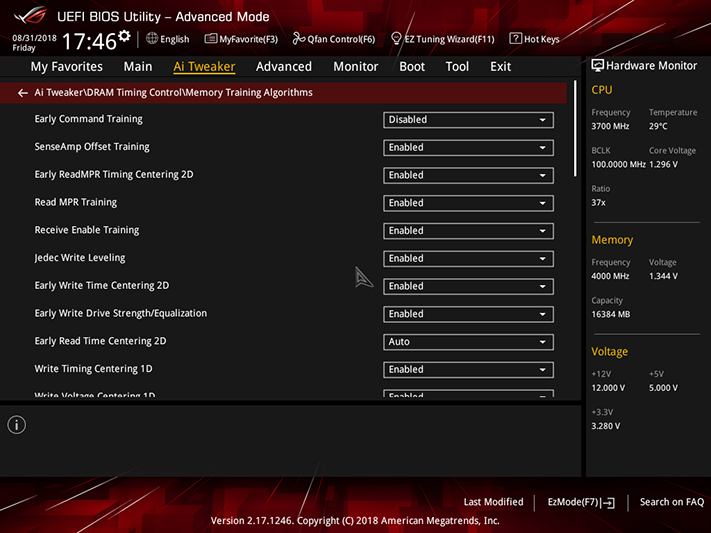
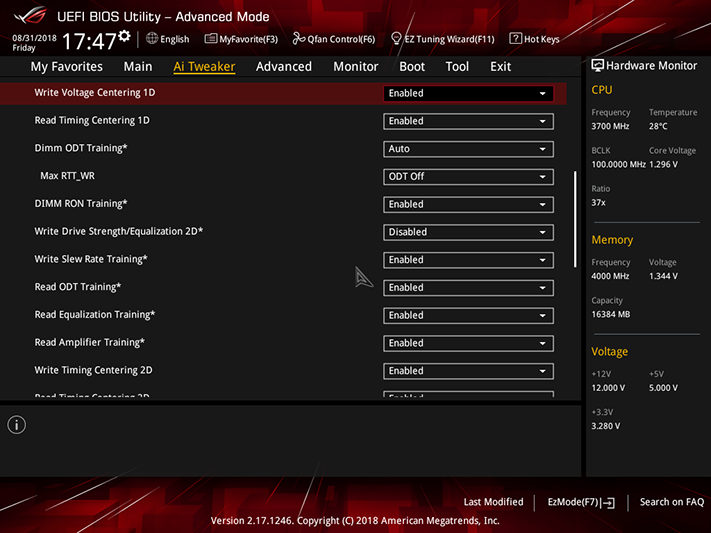
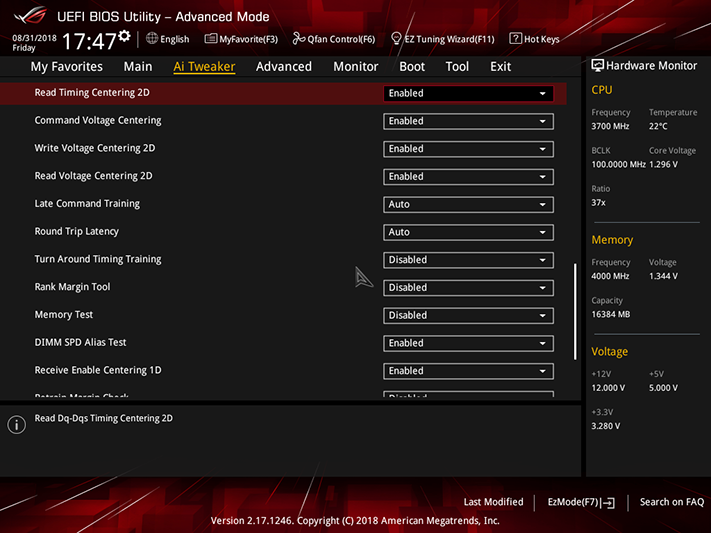
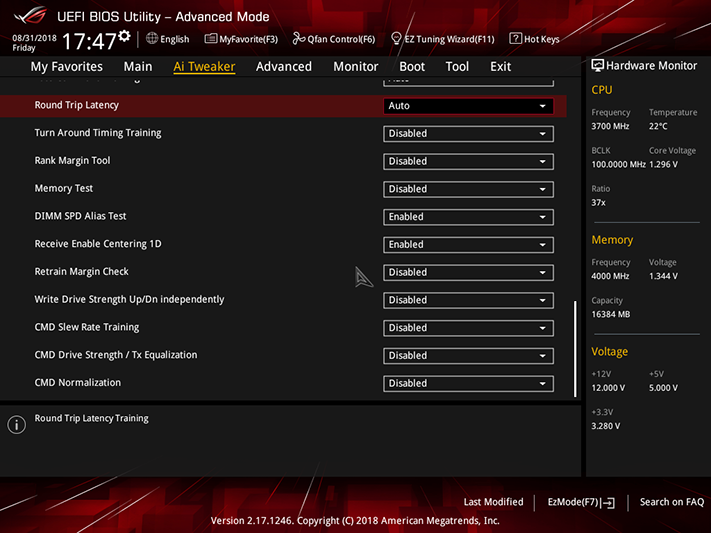
Between its full set of DRAM timings and submenus for Skew Control, RTL IOL Control and Memory Training Algorithms, users who love to tweak memory should be fully satisfied with the Z370-G Gaming’s available settings.
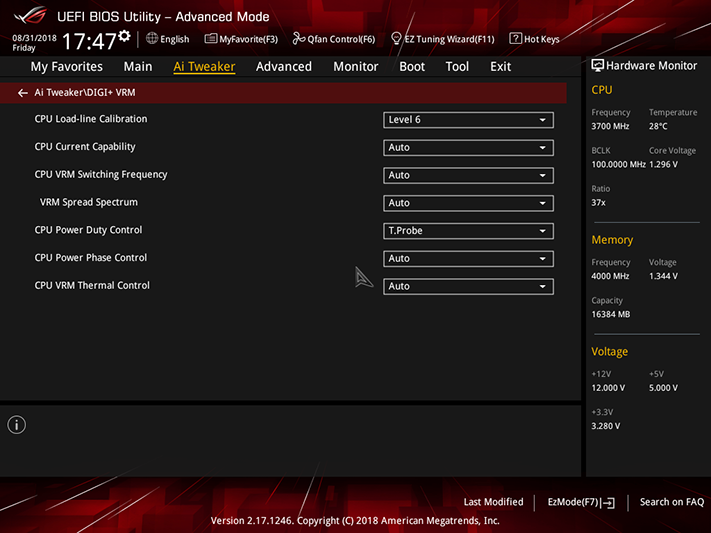
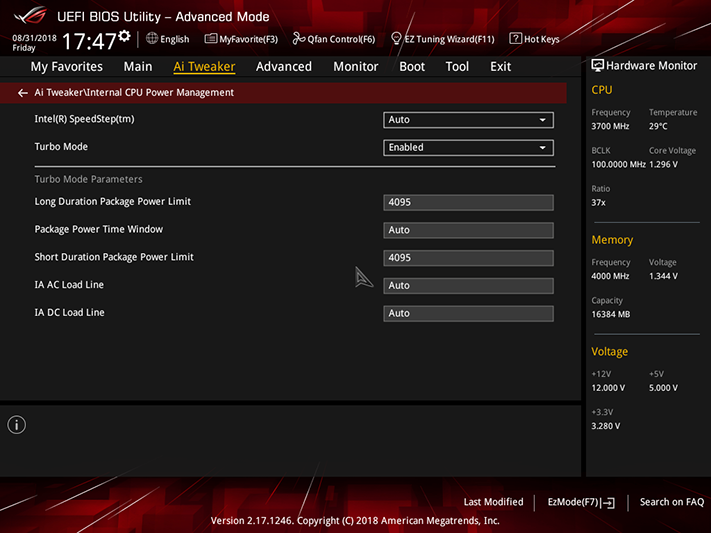
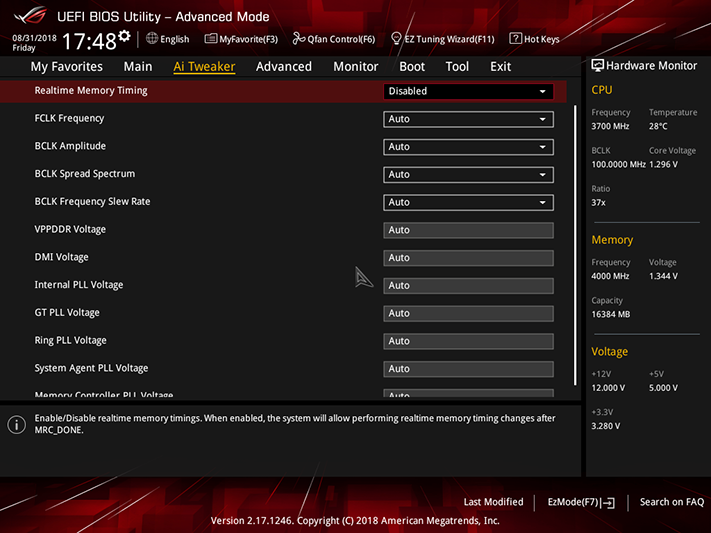
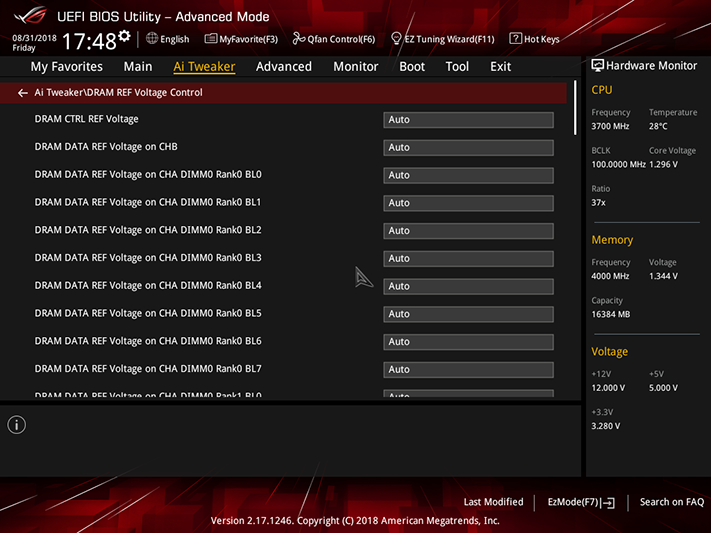
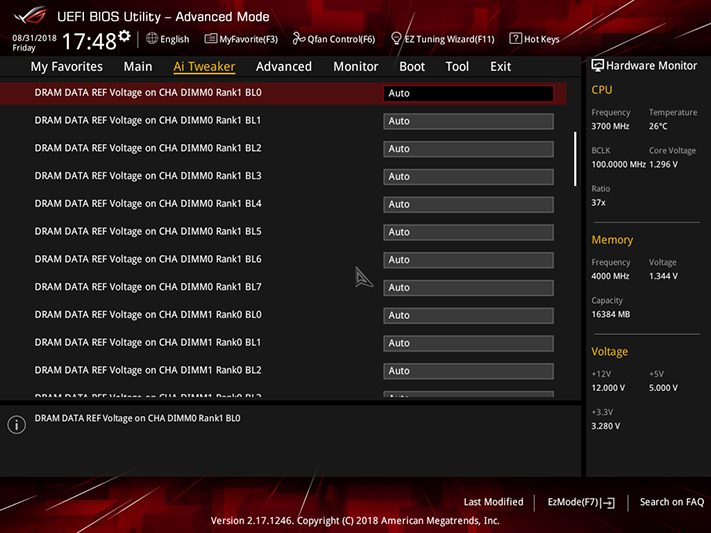
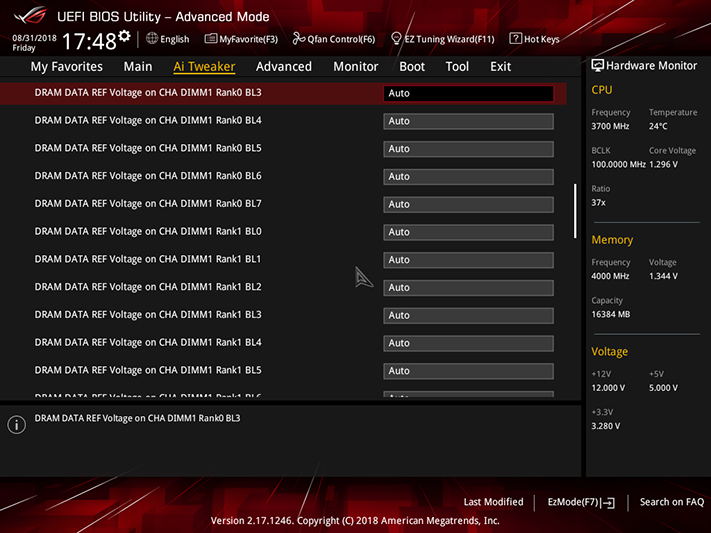
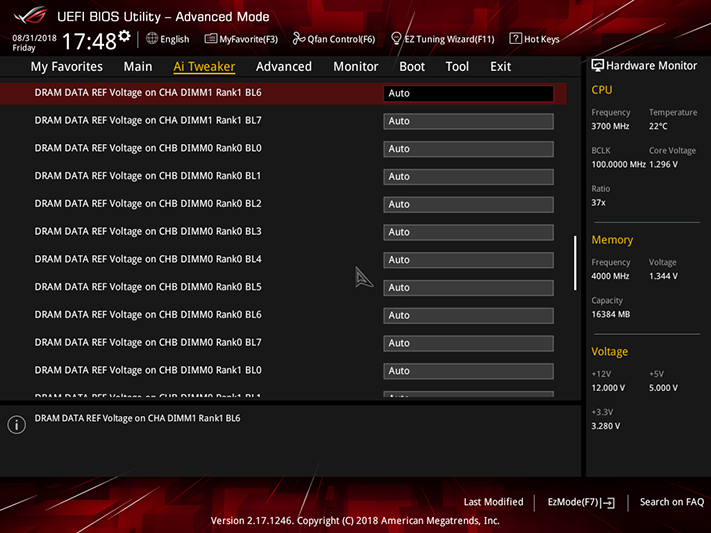
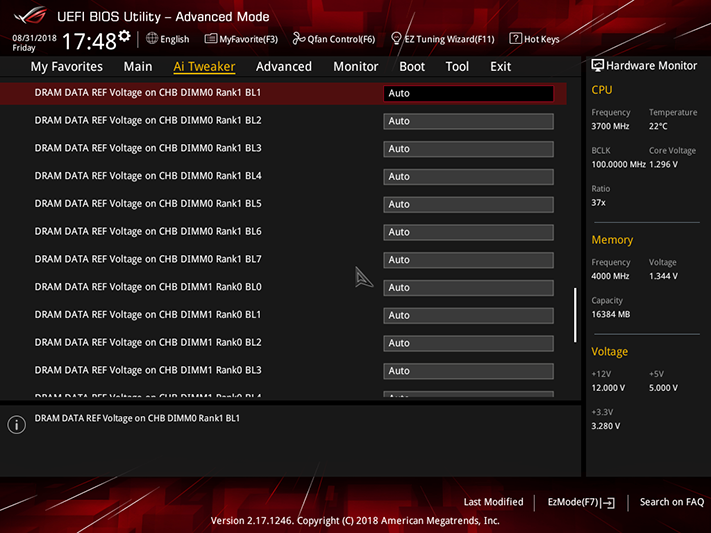
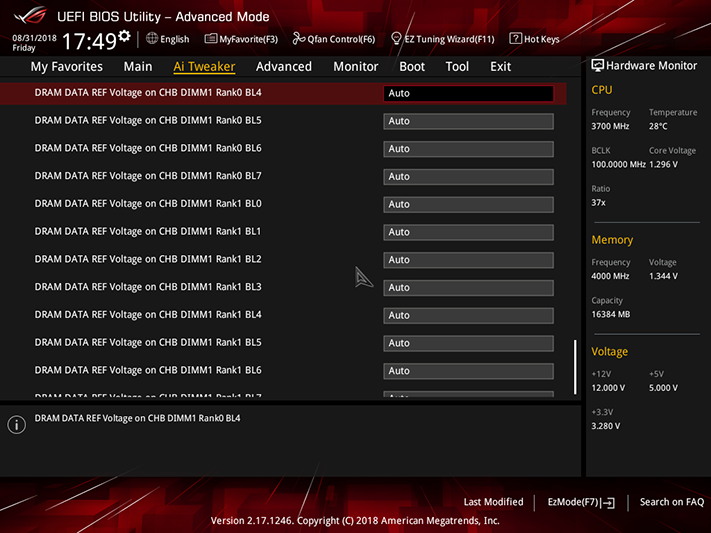
We got our highest stable frequency using the Z370-G Gaming’s Level 6 CPU Load-line Calibration setting, where our desired 1.3V dropped only to 1.29V. It’s Level 7 setting pushed us to 1.33V, where our CPU thermal throttled while using the highest available wattage and amperage limits to avoid power-limit throttling. Additional settings for advanced users include fine controls for DRAM Reference Voltage.
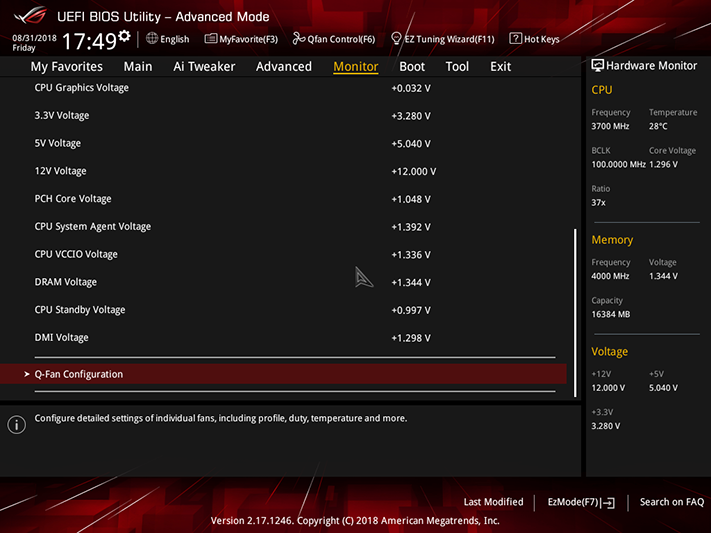
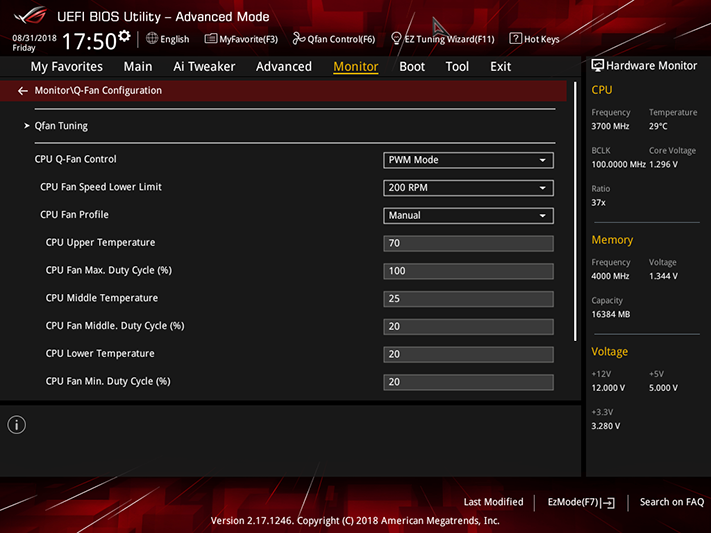
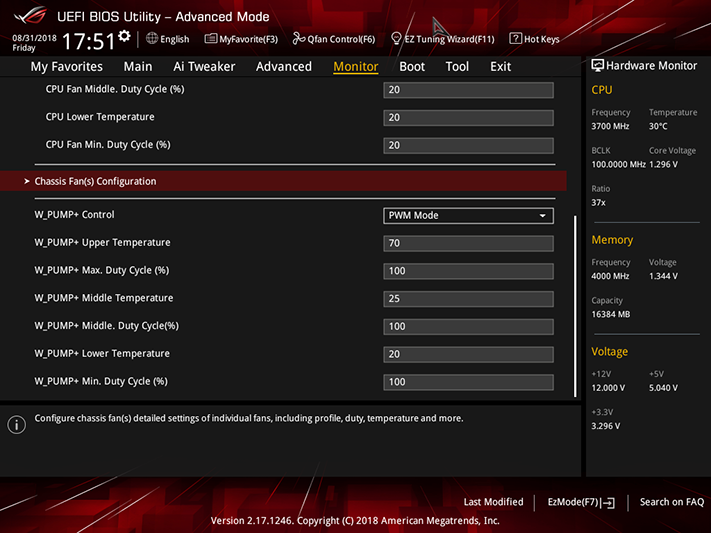
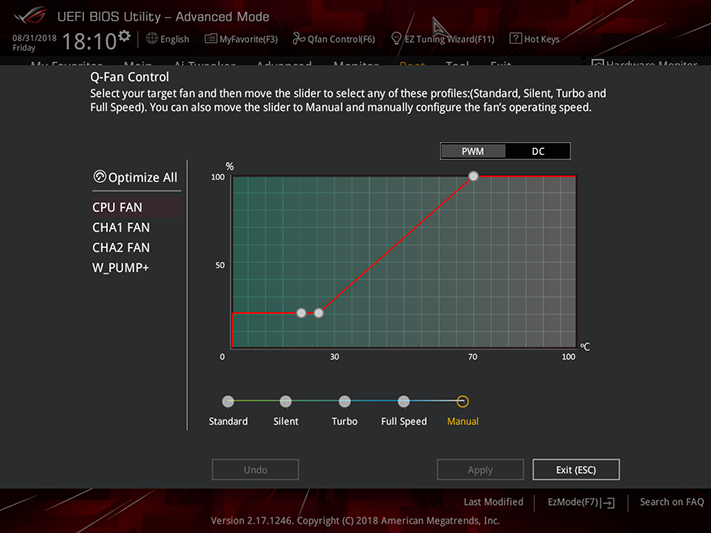
In addition to the graphical fan control interface available by pressing the keyboard’s F6 key, table-style fan settings are available from the bottom of the system monitor menu. All five headers can be switched between PWM and voltage-based control, though settings for the two CPU headers are paired.
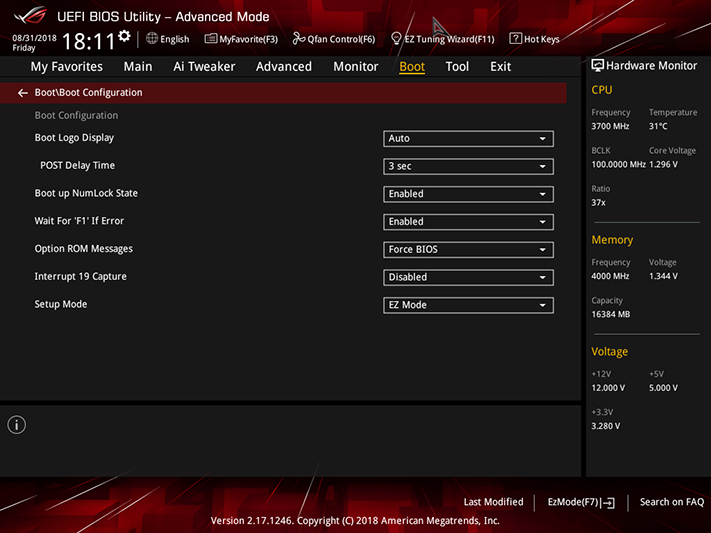
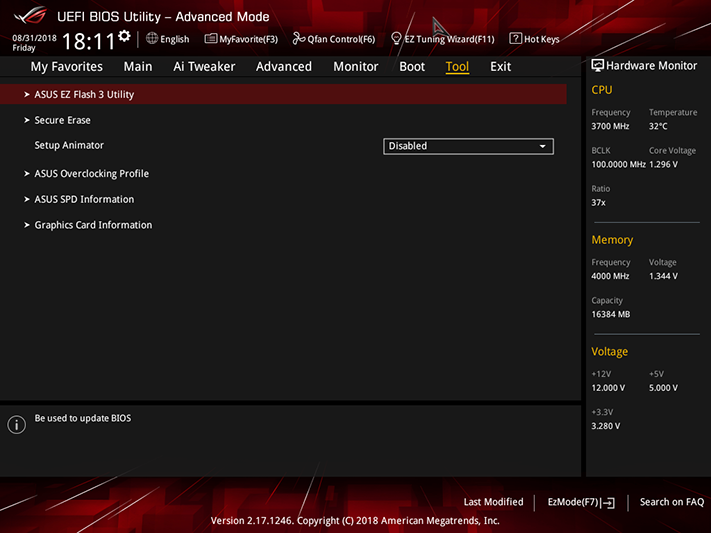
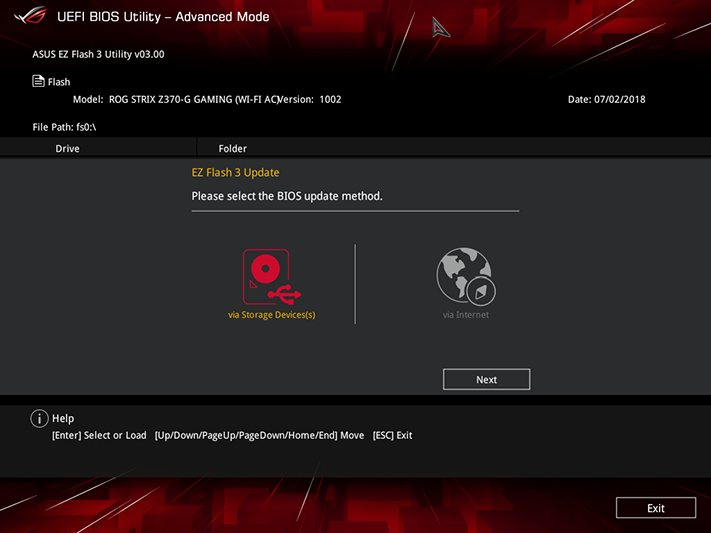
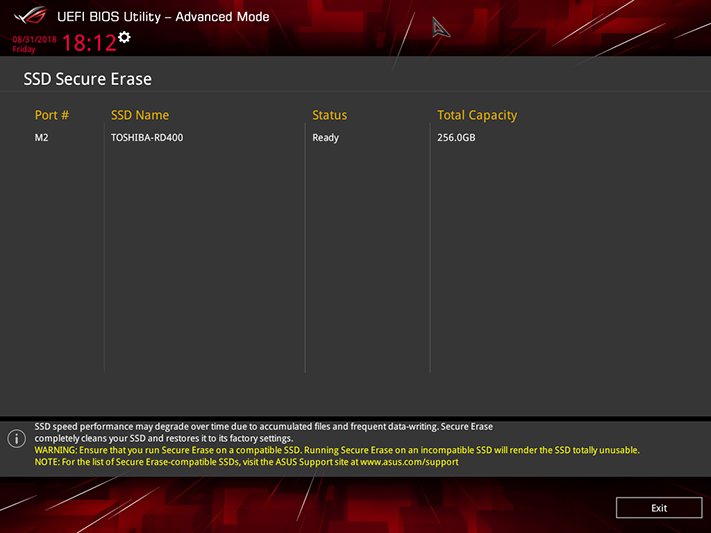
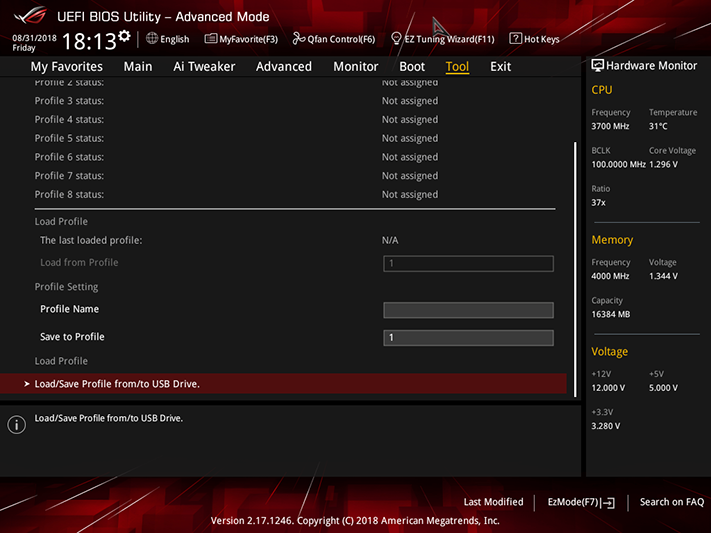
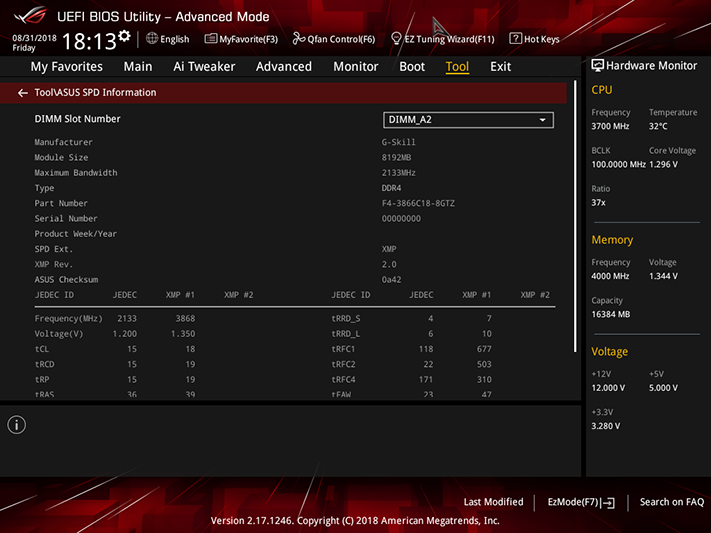
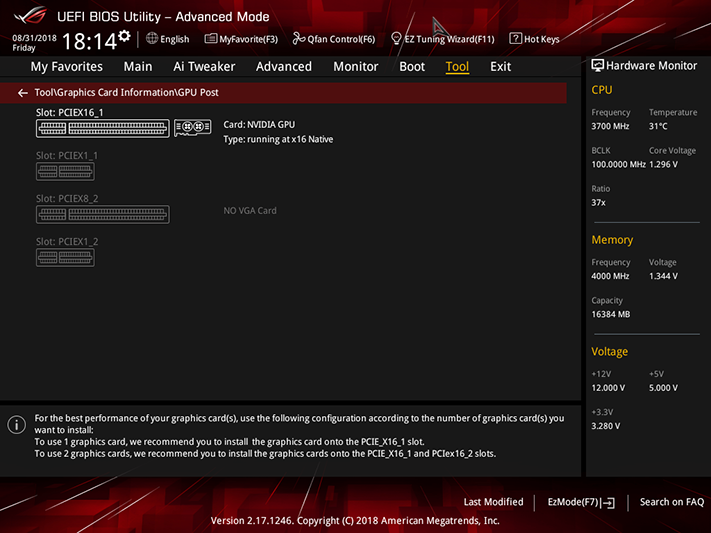
Tools include a firmware update mode that can use either a USB flash drive or an internet connection, Secure Erase for SSDs that have this capability, onboard storage for up to eight custom firmware configurations as user profiles (plus USB flash drive profile transfer ability), SPD (serial presence detect) information that reveals additional memory programming details and a PCIe connections map for graphics cards.
MORE: Best Motherboards
MORE: How To Choose A Motherboard
MORE: All Motherboard Content
-
Lutfij For the sake of relevance, Asus have two versions of the board:Reply
https://www.asus.com/Motherboards/ROG-STRIX-Z370-G-GAMING/
https://www.asus.com/Motherboards/ROG-STRIX-Z370-G-GAMING-WI-FI-AC/
The one you have and ultimately reviewed is the latter version which should be mentioned in the title. -
Crashman Reply21311202 said:For the sake of relevance, Asus have two versions of the board:
https://www.asus.com/Motherboards/ROG-STRIX-Z370-G-GAMING/
https://www.asus.com/Motherboards/ROG-STRIX-Z370-G-GAMING-WI-FI-AC/
The one you have and ultimately reviewed is the latter version which should be mentioned in the title.
Thanks! It doesn't help that the Amazon link leaves out the parenthesized portion but sells the Wi-Fi board, or that Asus goes both ways in its description :D -
stuffwhy Aren't these vertical m.2 slots problematic and potentially hazardous? Or is there something I don't know?Reply -
Crashman Reply
Well, if your drive cage overhangs the board it could be a problem. I can't think of any hazards though.21311820 said:Aren't these vertical m.2 slots problematic and potentially hazardous? Or is there something I don't know?
-
shinto Water pump header amp rating is upto 2 amps as mentioned in the manual (paper version).Reply -
Crashman Reply
Thanks Shinto. I didn't find anything elsewhere :)21314377 said:Water pump header amp rating is upto 2 amps as mentioned in the manual (paper version). -
stdragon Reply21312079 said:
Well, if your drive cage overhangs the board it could be a problem. I can't think of any hazards though.21311820 said:Aren't these vertical m.2 slots problematic and potentially hazardous? Or is there something I don't know?
Oh, I can! If not careful, a pulled cable could wrap around and snap it or damage the socket. It's the stupidest and most irresponsible design!
If you must, you can in theory get an M.2 slot extension ribbon cable and relocate the NVMe drive. But they're over $60. No way, that money is better spent on another MB with two M.2 slots that lay flat like normal. -
Crashman Reply
Sometimes a manufacturer has to make space somewhere. When the option is upright or none, upright is "more options".21314612 said:21312079 said:
Well, if your drive cage overhangs the board it could be a problem. I can't think of any hazards though.21311820 said:Aren't these vertical m.2 slots problematic and potentially hazardous? Or is there something I don't know?
Oh, I can! If not careful, a pulled cable could wrap around and snap it or damage the socket. It's the stupidest and most irresponsible design!
If you must, you can in theory get an M.2 slot extension ribbon cable and relocate the NVMe drive. But they're over $60. No way, that money is better spent on another MB with two M.2 slots that lay flat like normal.
