Asus ROG Strix Z390-E Gaming Review: Stretching The Envelope
Why you can trust Tom's Hardware
Software and Firmware
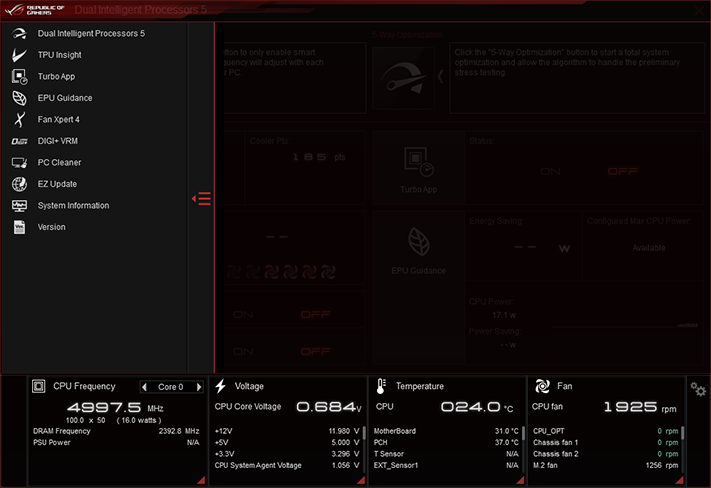
The Strix Z390-E Gaming contains all the expected ROG apps from Asus, such as its Ai Suite tuning, Aura RGB control, GameFirst V network prioritization,Sonic Studio III audio effects, andSonic Radar III visual overlay to help gamers identify the direction and distance of opponent noises. Ai Suite includes a variety of applications selectable from a pop-in menu on its left edge.
Dual Intelligent Processors 5 is Ai Suite’s home menu. Prompts at the top of the window invite you to run its auto-overclocking program and 5-way optimization.
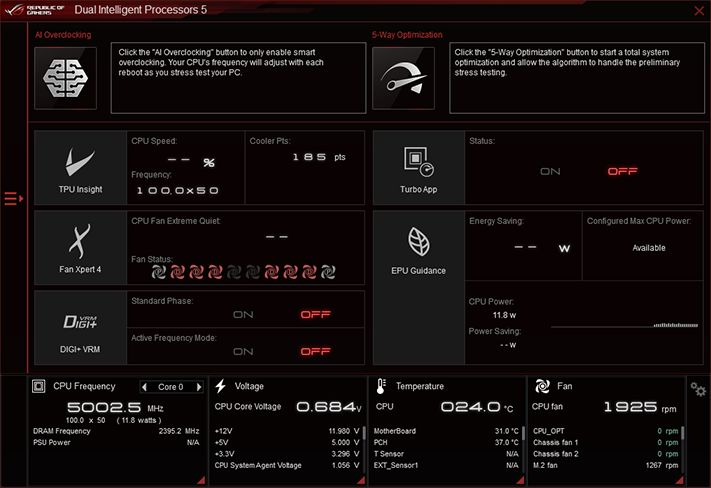
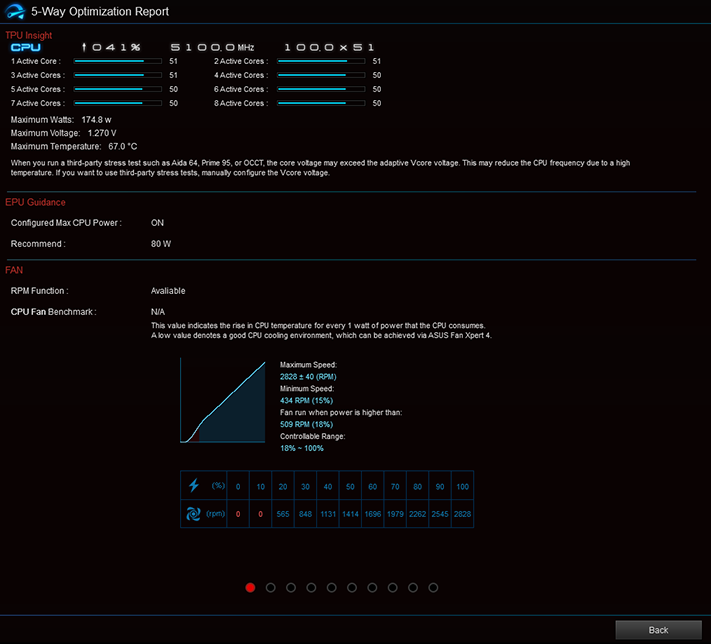
The automatic overclocking portion of 5-Way Optimization pushed our max Intel Turbo Boost multiplier from 50 to 51x, and its all-cores-loaded multiplier from 47 to 50x, but didn’t adjust CPU core voltage high enough to prevent a crash with more than three cores loaded. And since it only briefly hit 51x when idle, we didn’t find any advantage to using this supposed “41%” overclock.
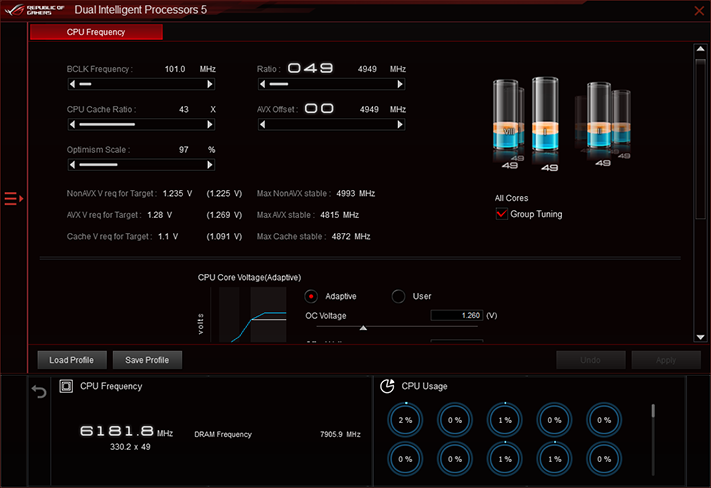
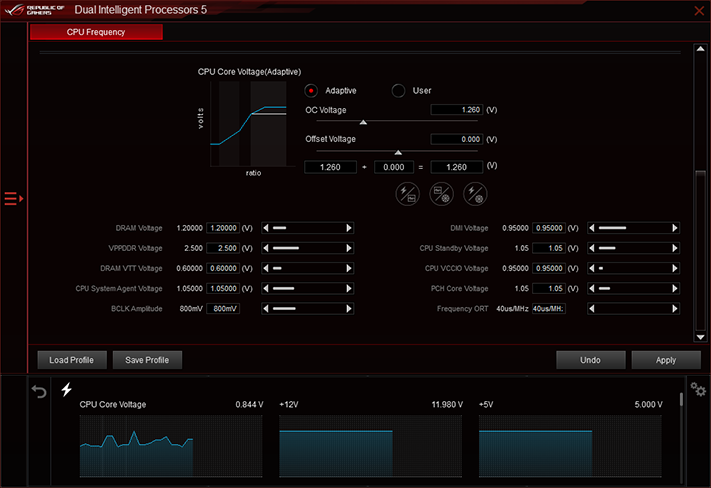
Manual overclocking is simple, as we had no difficulty setting a custom multiplier, BCLK, and core voltage here.
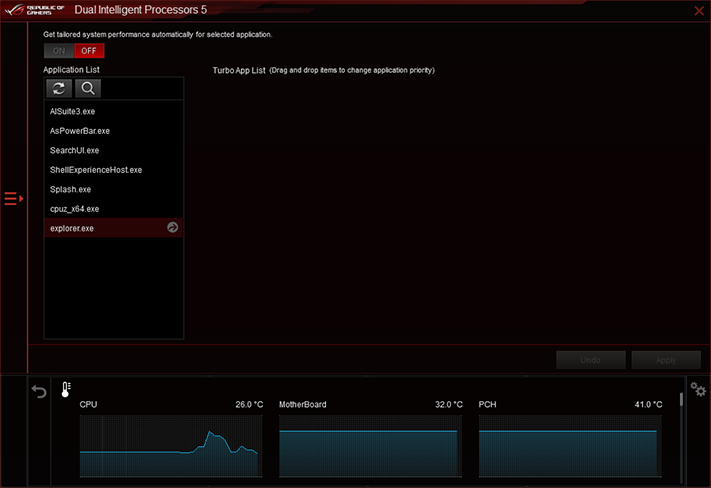
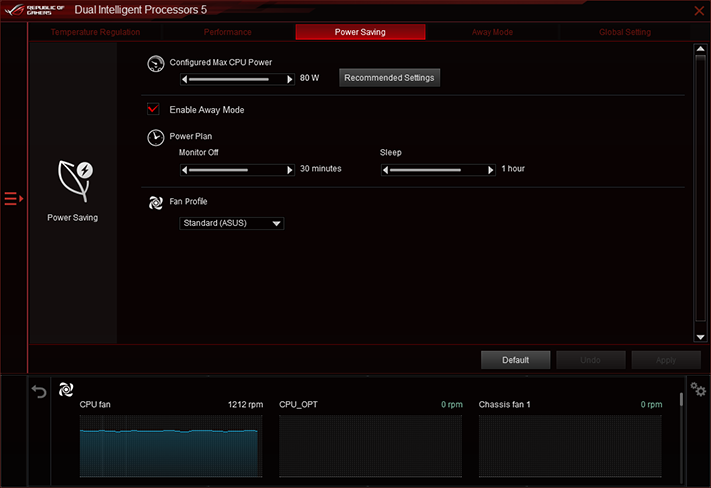
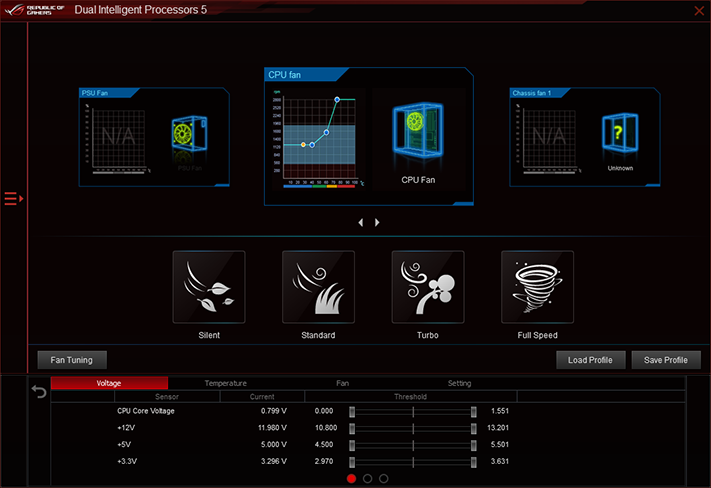
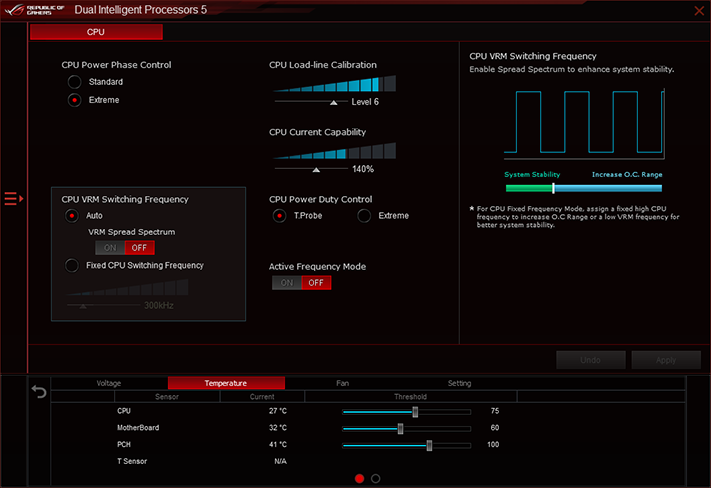
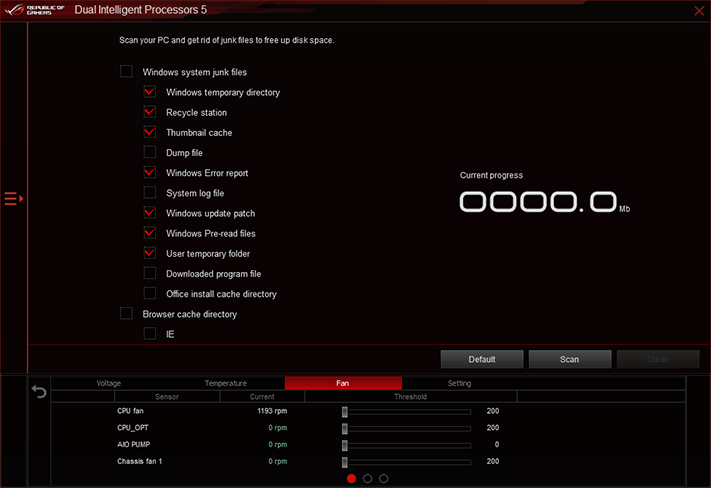
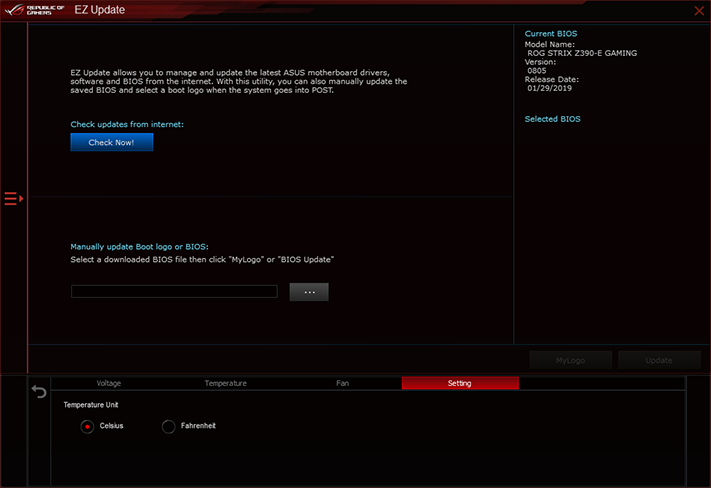
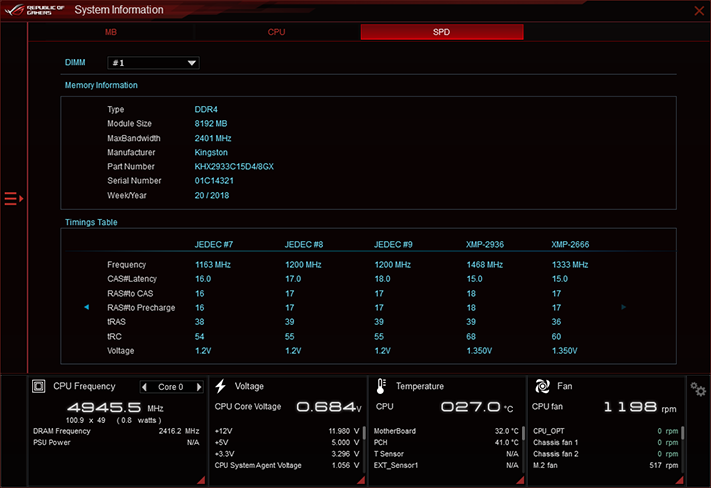
Other Ai Suite apps include task prioritization, power-saving feature configuration, fan profile selection, voltage regulator manipulation, junk file elimination, EZ Update for Asus applications, and a full SPD report under “System Information”.
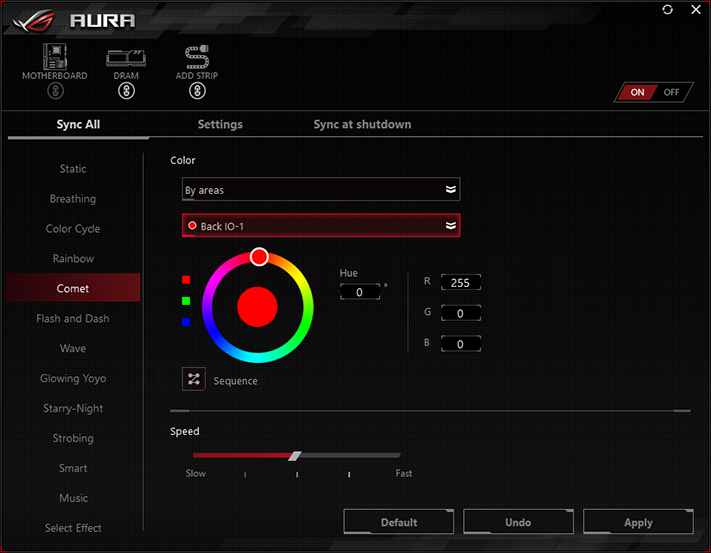
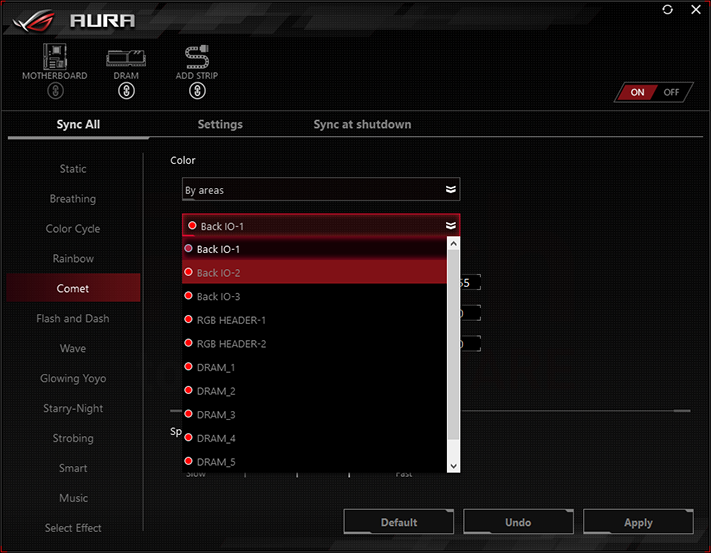
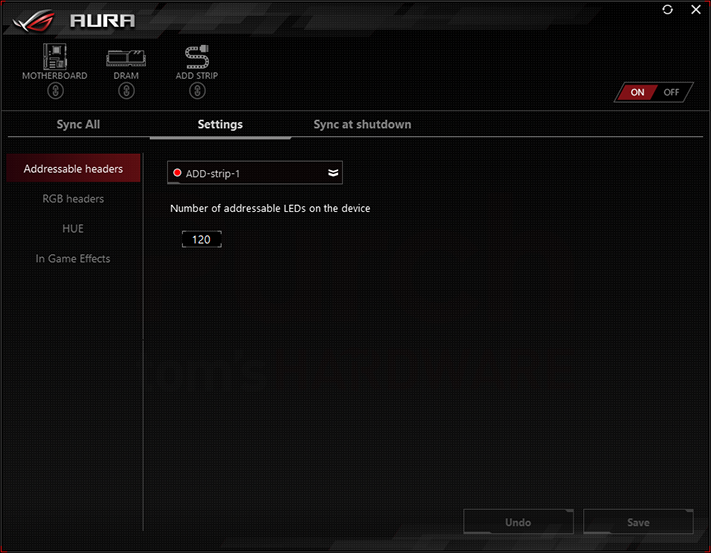
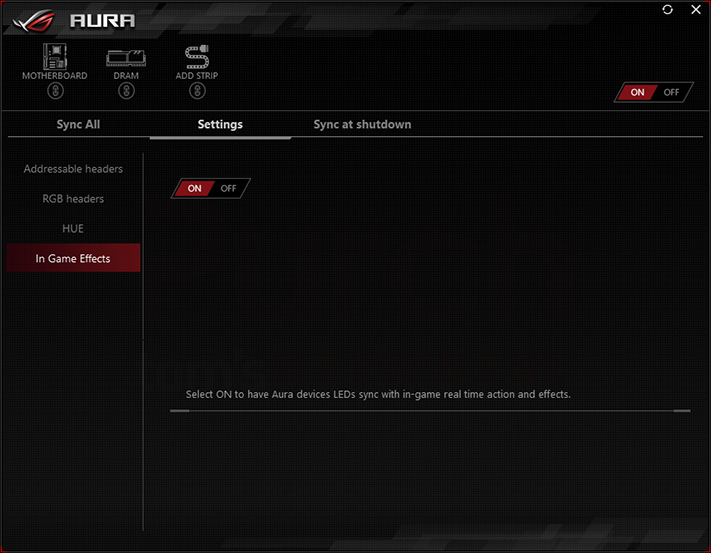
Asus Aura attempts to synchronize settings between the motherboard, DRAM, and an addressable LED strip. We were able to get Static, Breathing, Color Cycle, and Rainbow patterns mirrored between the board and our DRAM, but the patterns operated at different speeds between the board and DRAM. Other settings, such as Comet, applied to the board but not our Kingston DRAM. And clicking the memory unlink icon did not give it a separate control menu.
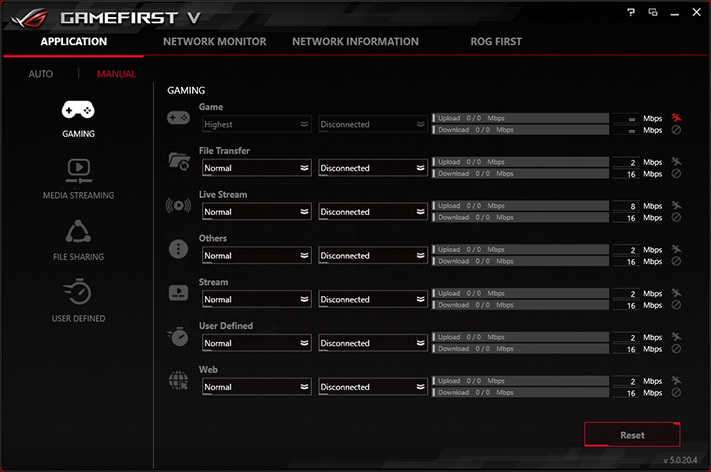
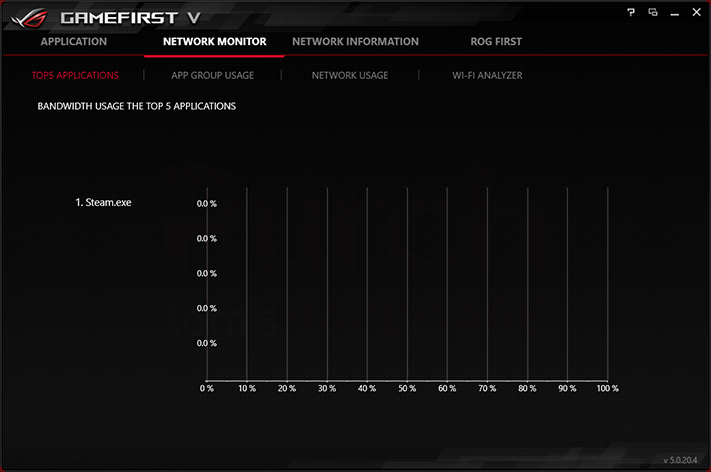
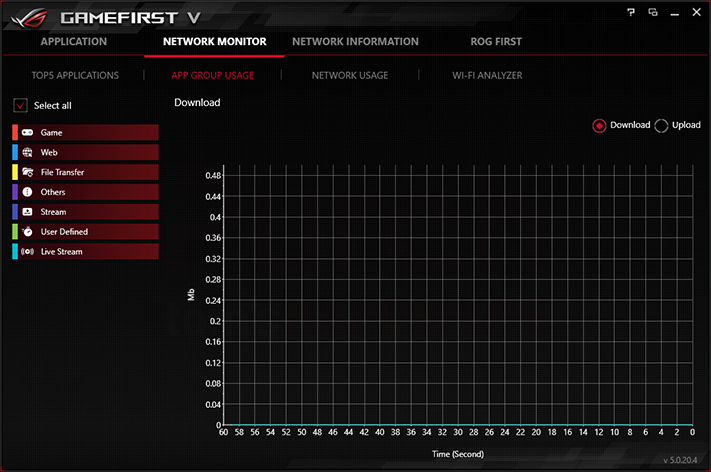
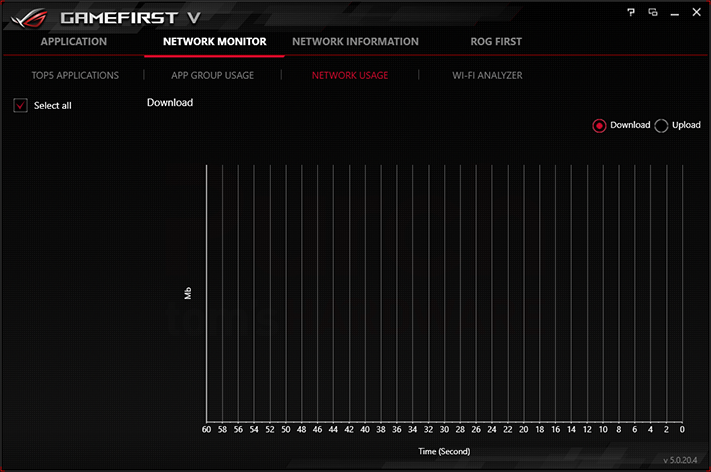
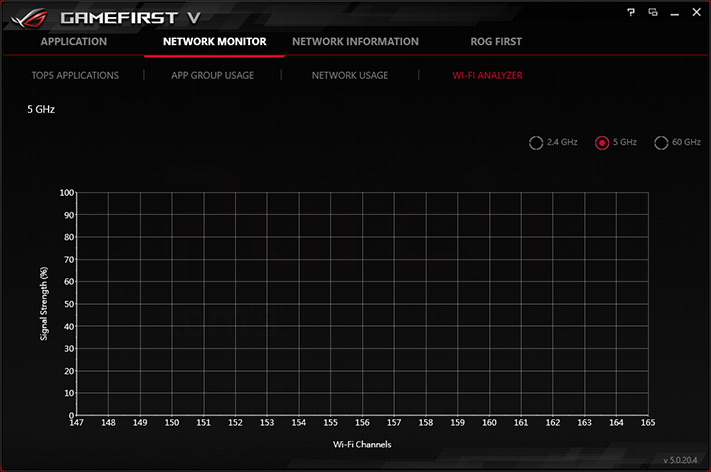
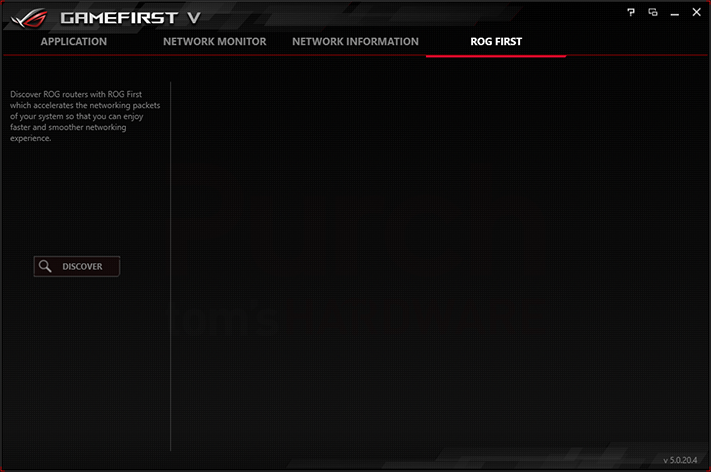
Asus GameFirst V includes network monitoring and optimizations for Asus ROG routers, in addition to its anticipated packet prioritization.
Get Tom's Hardware's best news and in-depth reviews, straight to your inbox.
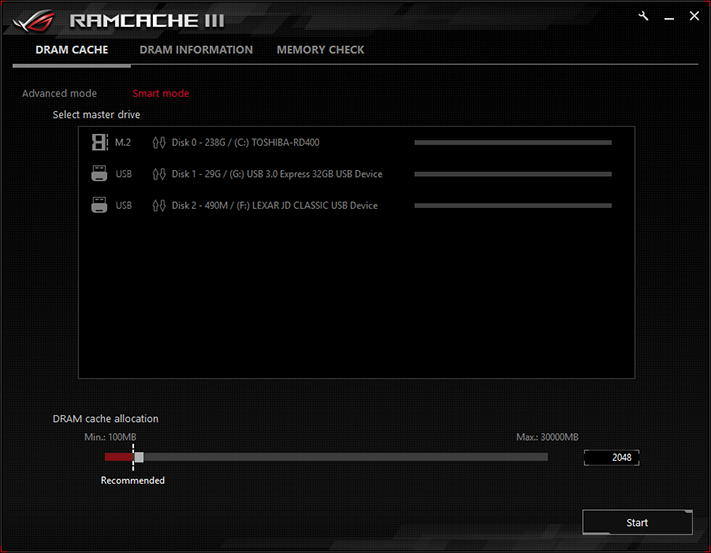
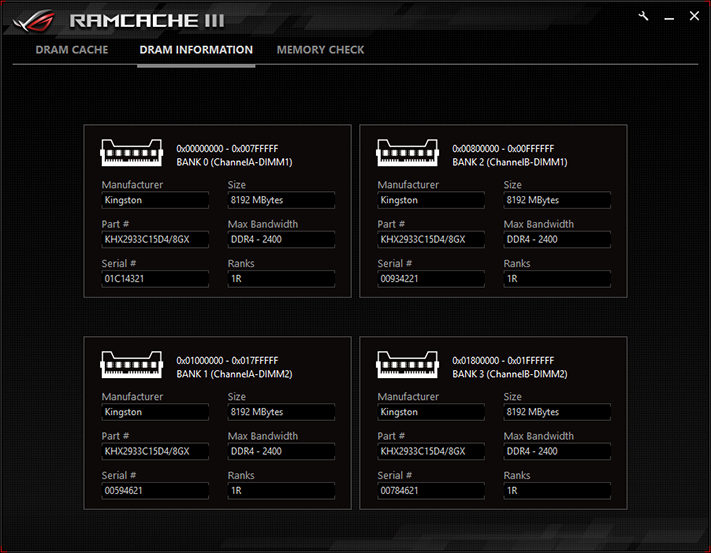
Asus RamCache III boosts program load times by caching frequently accessed files to a reserved portion of DRAM, which answers the never-asked question about what to do with all your extra memory.
Firmware
Asus ROG Strix Z390-E Gaming firmware opens (by default) to the Ai Tweaker menu of its Advanced Mode GUI. Our Core i9-9900K easily reached an all-cores-loaded CPU clock of 4.90 GHz at 1.30V (up from 4.70 GHz) and a DRAM data rate of DDR4-3800 at 1.35V (up from its 2933 XMP) easily, but the basic settings to start our overclocks required far more attention to detail.
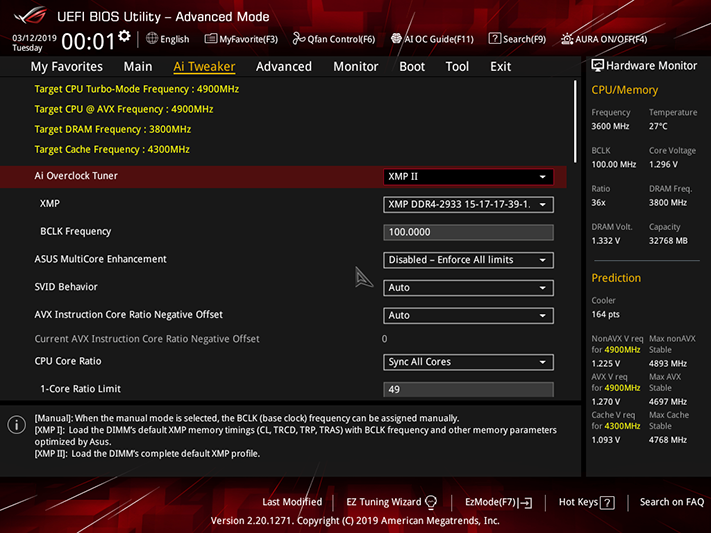
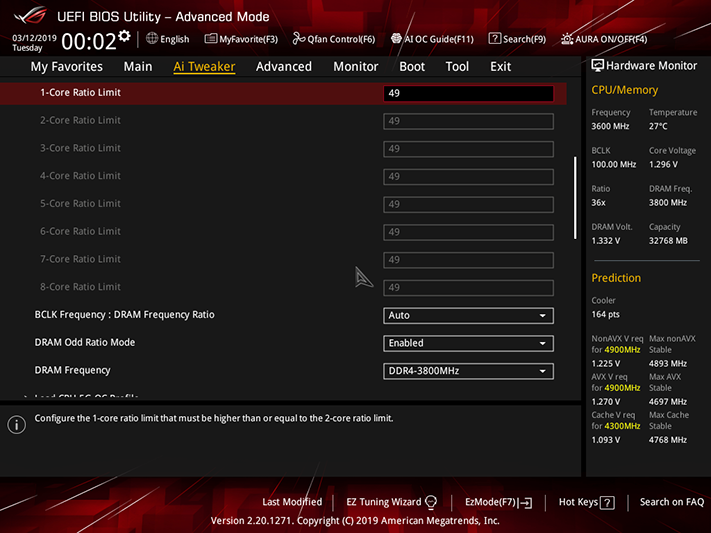
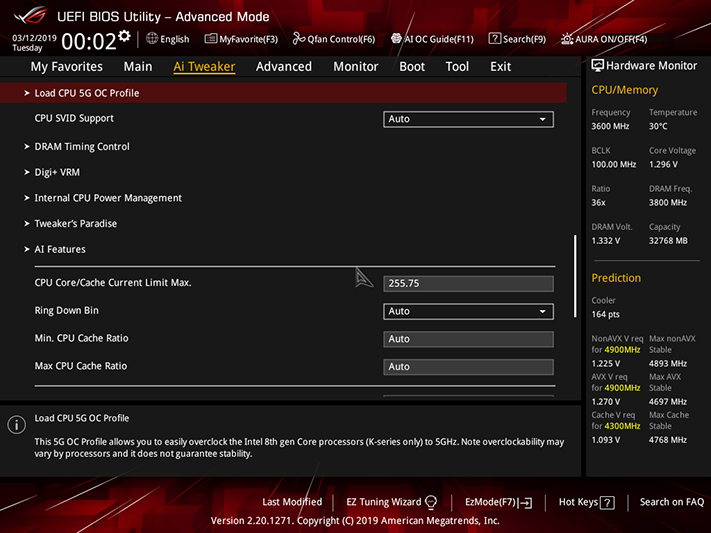
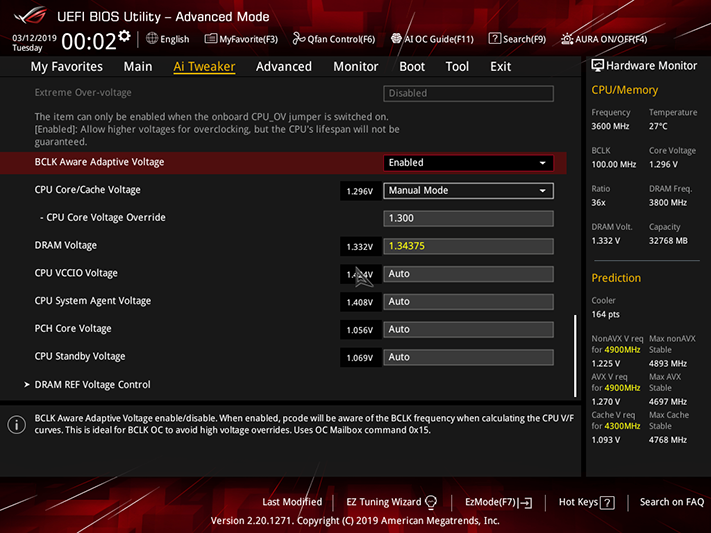
For example, current limit throttling knocks our CPU down to 4.5GHz at around 175W by default, so we increased its Core/Cache limit to the motherboard’s maximum value. DRAM over-voltage (above what we set) was measured as a scant 5mV, but since our 1.355V test limit is actually 1.35499V (to avoid rounding up), we chose its next-lower voltage setting.
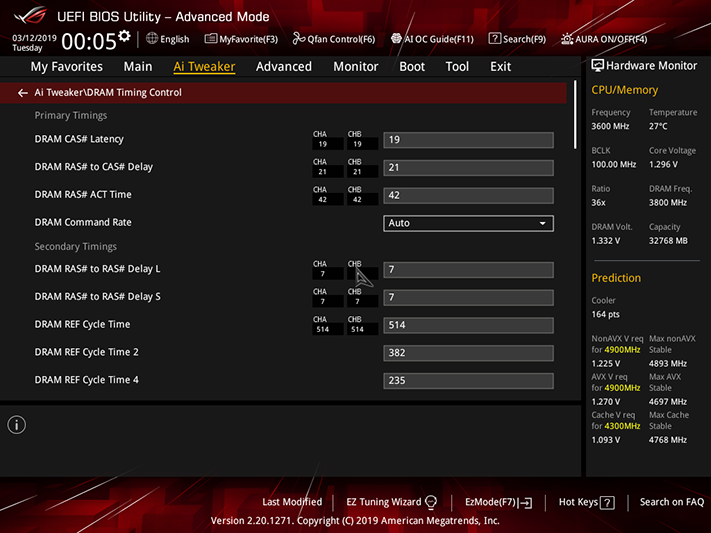
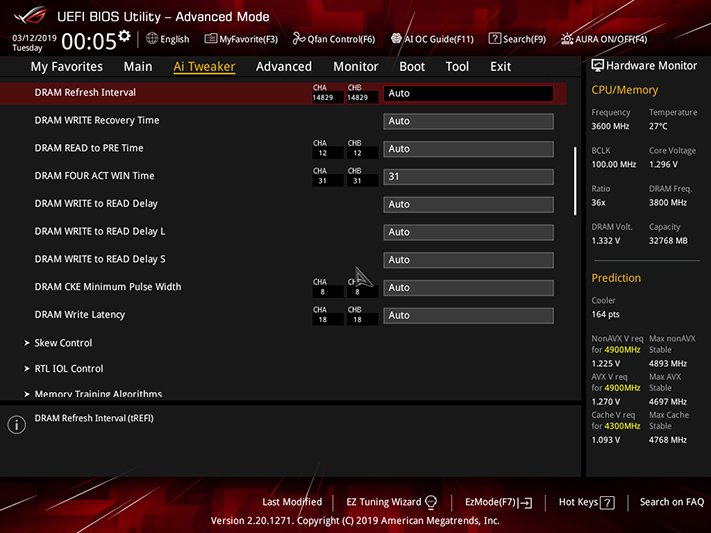
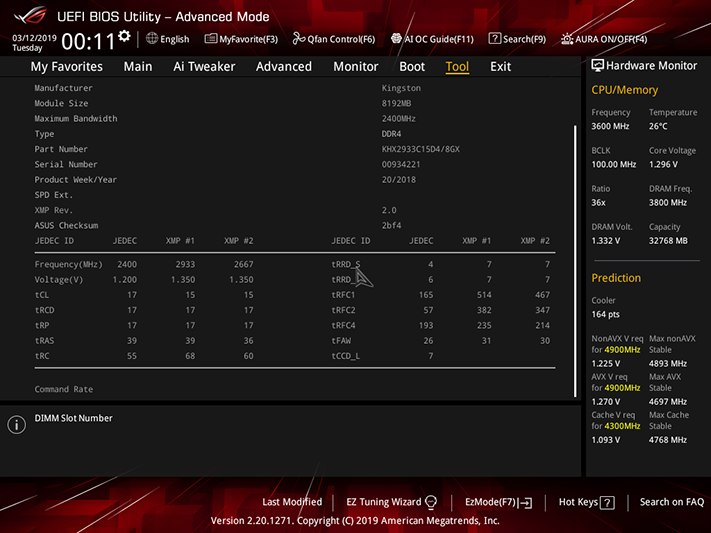
Though CAS 21 “straight timings” (meaning CAS, tRCD, tRP) are our limit for stability testing, our memory typically works better at 19-21-21-42 when installed on an Intel Z-Series board. Note that the missing tRP setting below is a function of the firmware automatically repeating it from tRCD. Another performance boost came from using Asus’s “XMP II” setting on the main Ai Tweaker menu, as it dropped tRRD and tRFC from automatic values of 9 and 665 cycles to 7 and 514 cycles, respectively (see first image above).
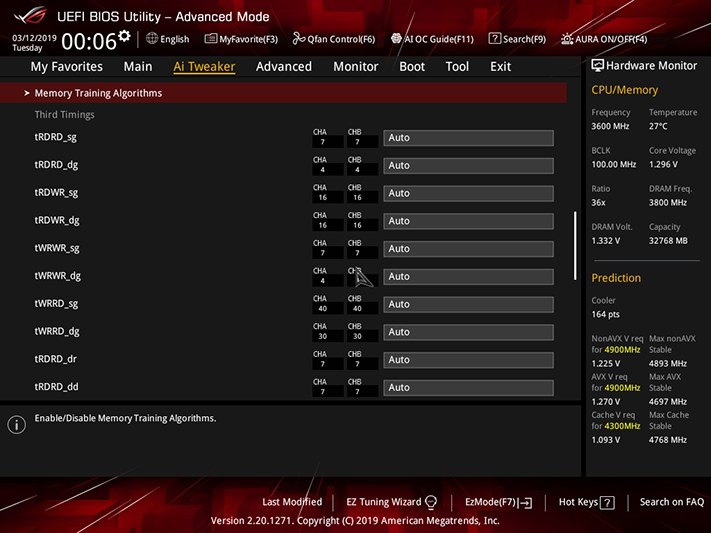
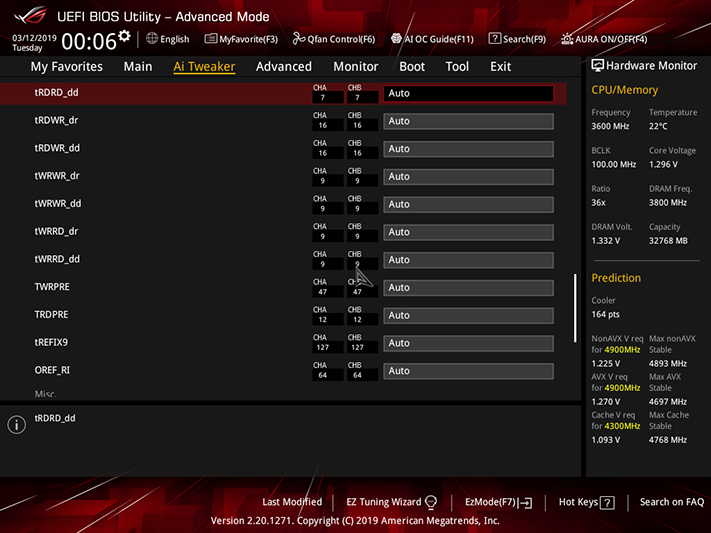
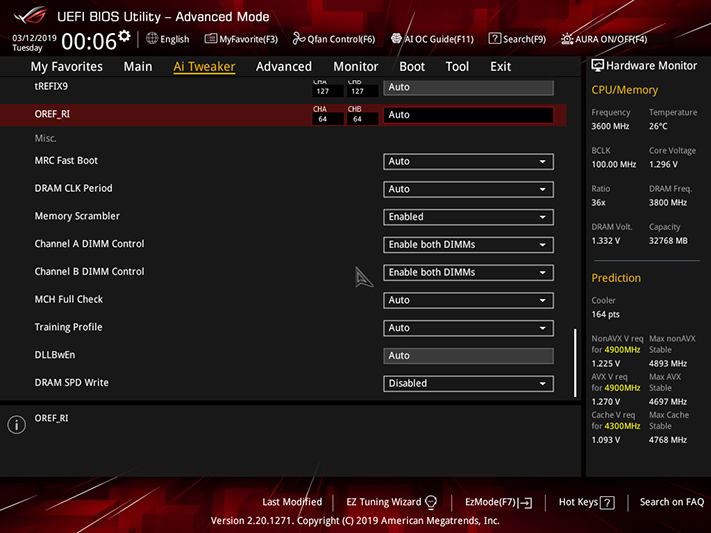
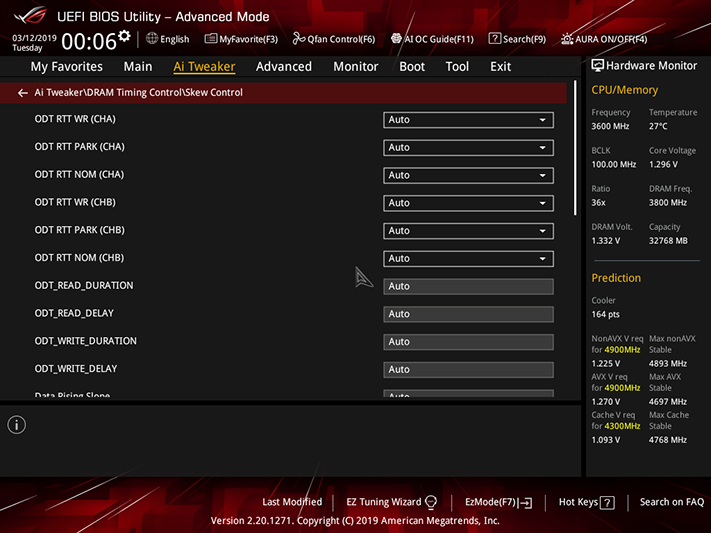
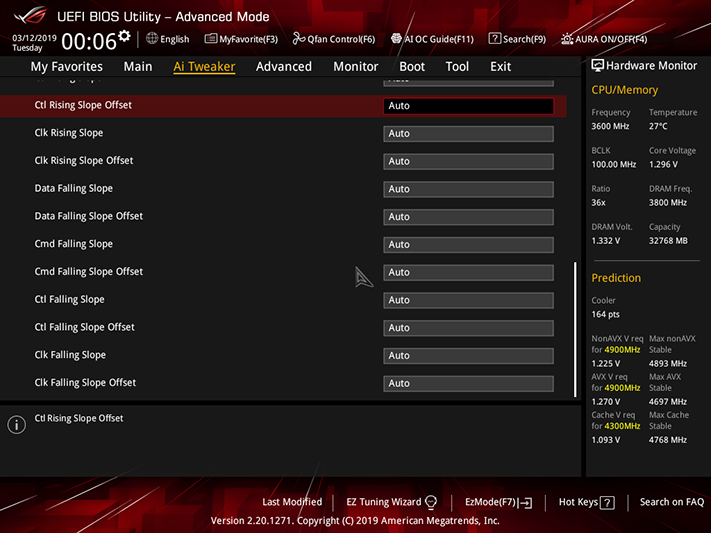
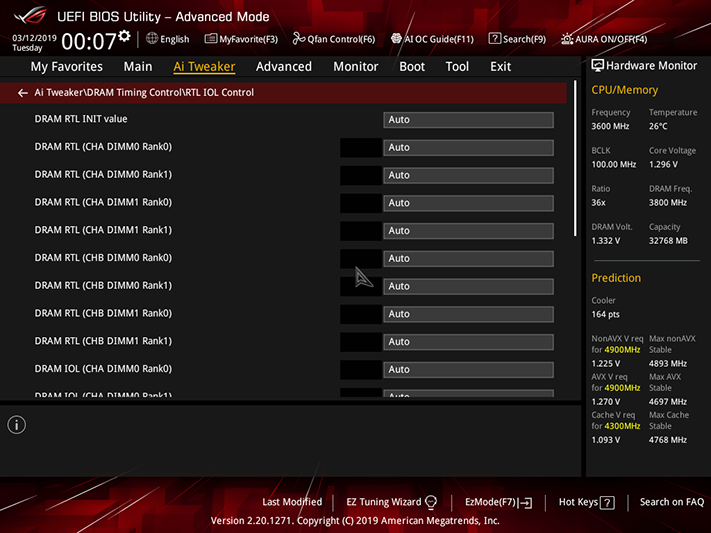
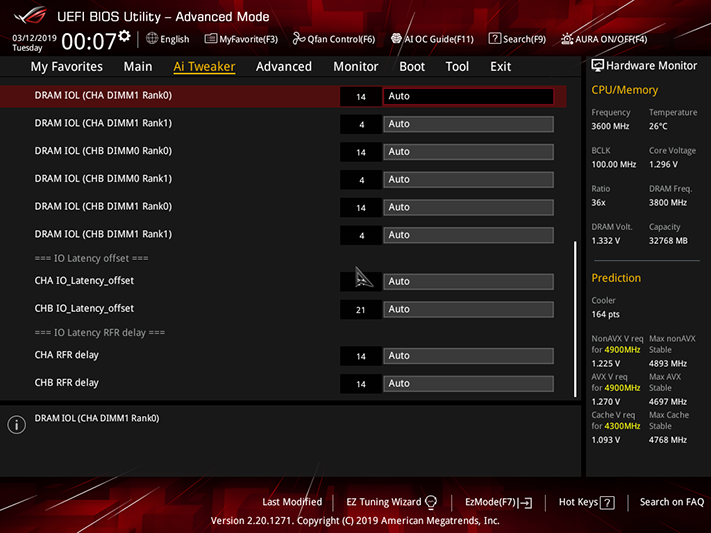
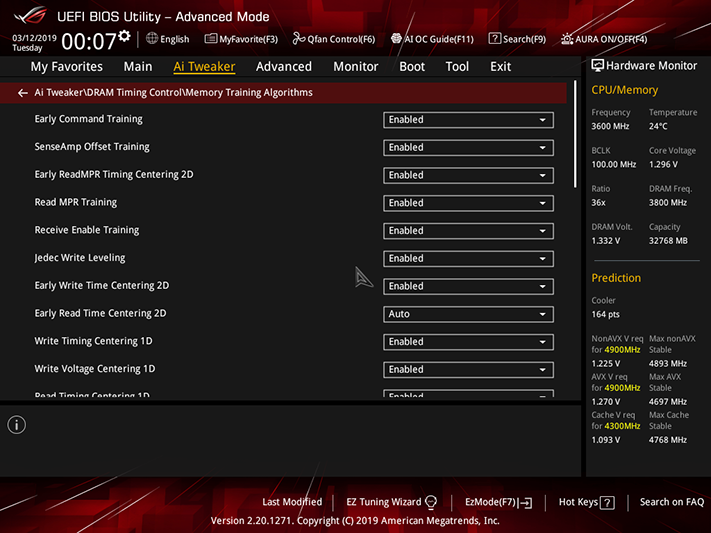
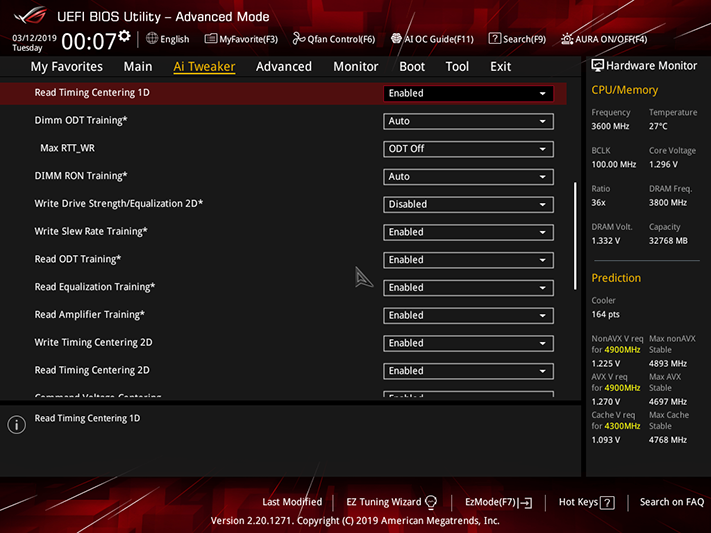
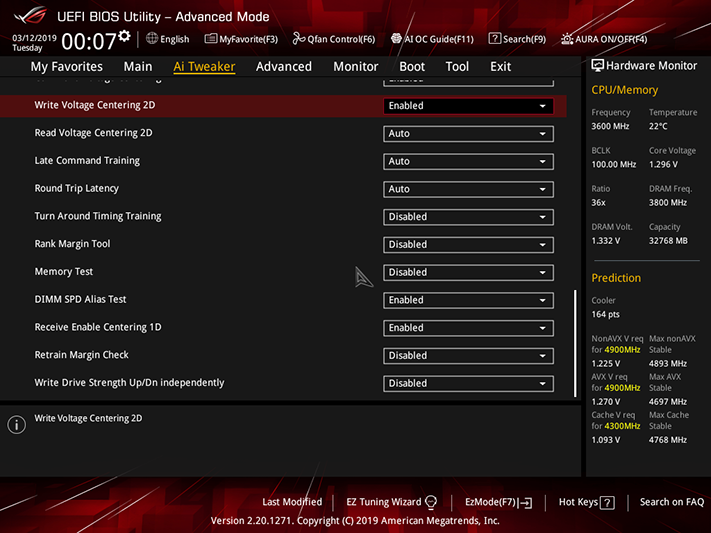
If the secondary and tertiary timings weren’t enough to soothe your memory tweaking itch, the Strix Z390-E Gaming DRAM Timing Control submenu also has Skew Control, RTL IOL Control, and Memory Training Algorithm submenus.
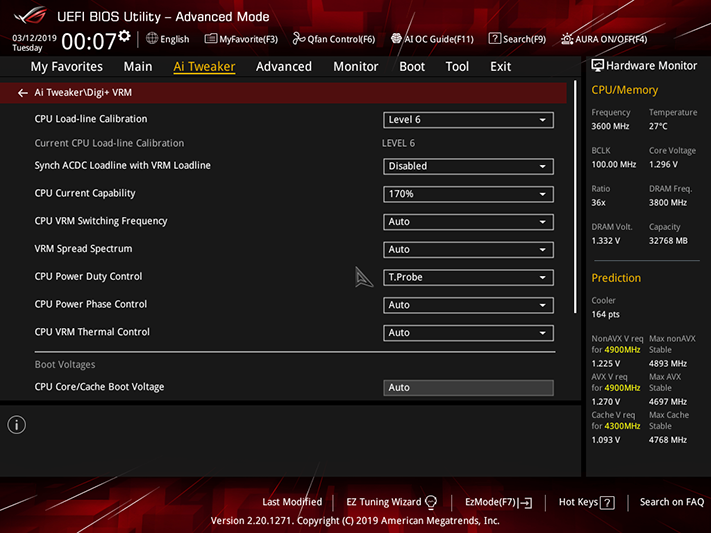
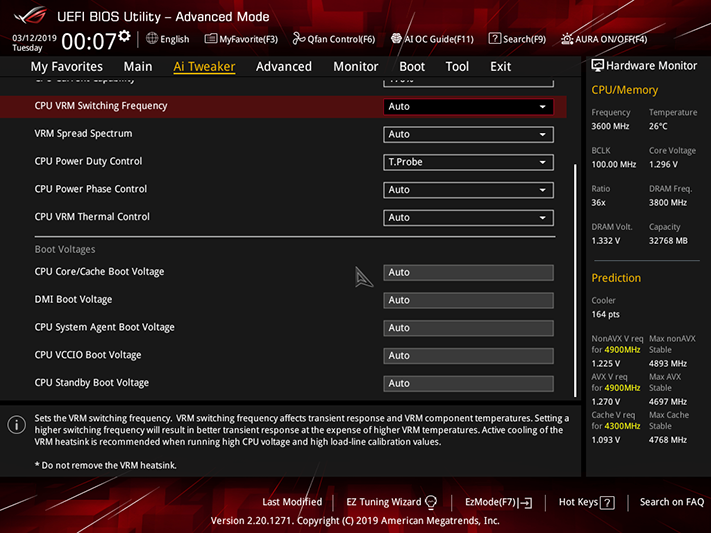
Thermal limitations are why we chose a 1.30V limit for overclocking our CPU core, as it peaks at around 104 °C when fully overclocked and fully loaded at that setting. Core voltage drops under load however, which is why boards like the Strix Z390-E Gaming include a compensation setting called, in this instance, “CPU Load-line Calibration”. Higher settings mean more compensation, and Level 6 was needed to keep our core above 1.295V when loaded at 4.90 GHz with Prime95 small-FFTs. Because it’s so important, this setting is tops inAi Tweaker’s “Digi+ VRM” submenu.
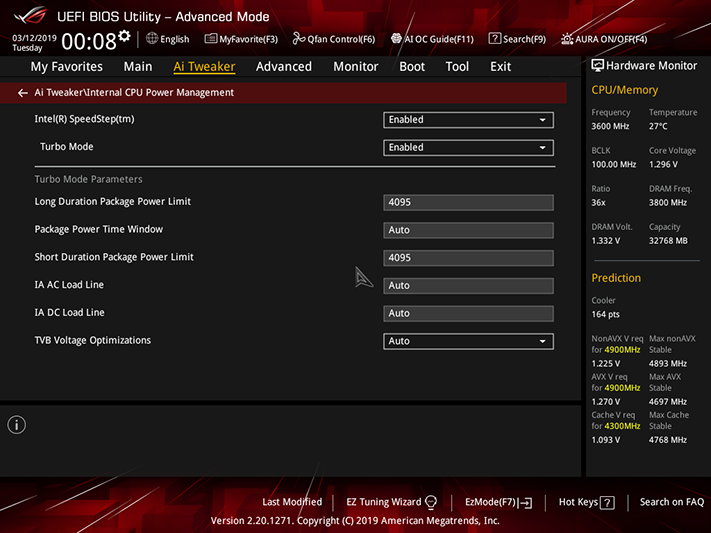
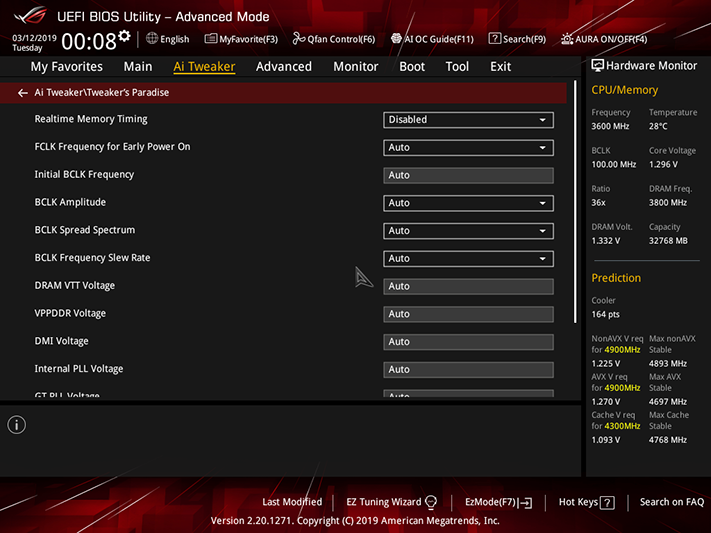
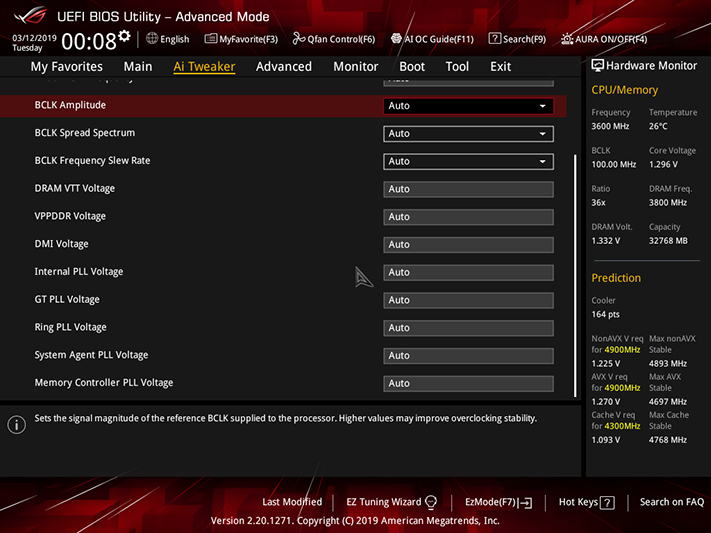
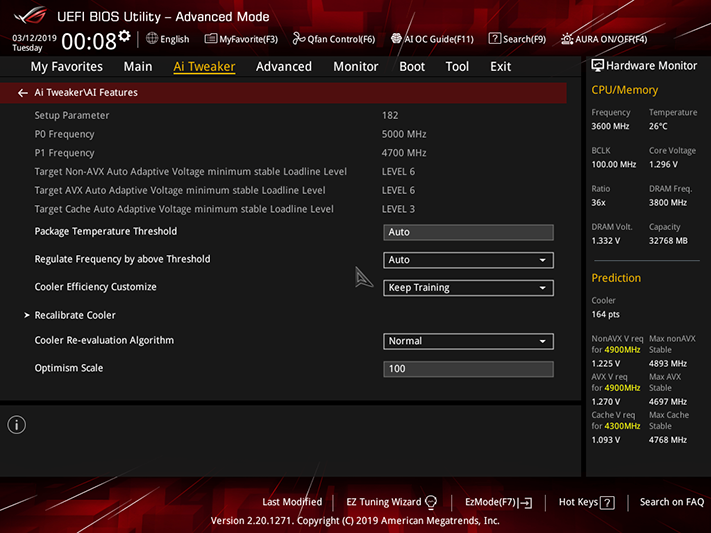
The default “Long Duration Package Power Limit” setting drops our CPU from around 200W to its default 95W package TDP after around 12 seconds of heavy load at default settings, causing Prime95 small-FFTs to run at the CPU’s non-Turbo-Boost 3.60GHz frequency. We set both it and the short duration limit to the board’s maximum values for all tests, including overclocking, within Ai Tweaker’s “Internal CPU Power Management” submenu.
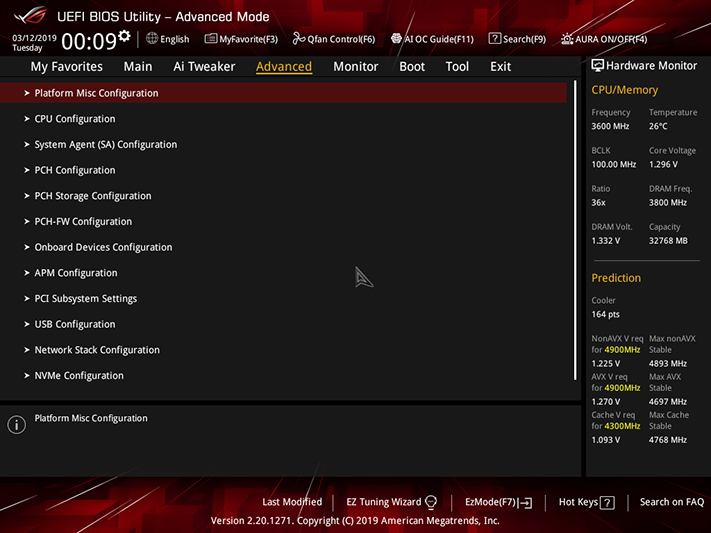
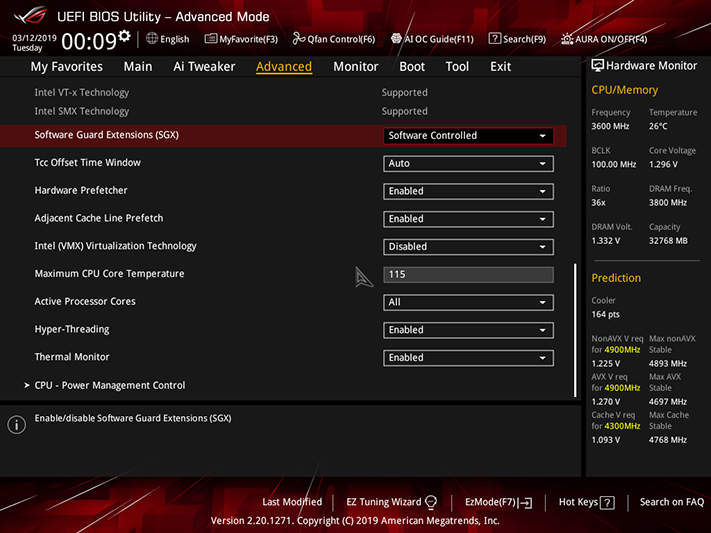
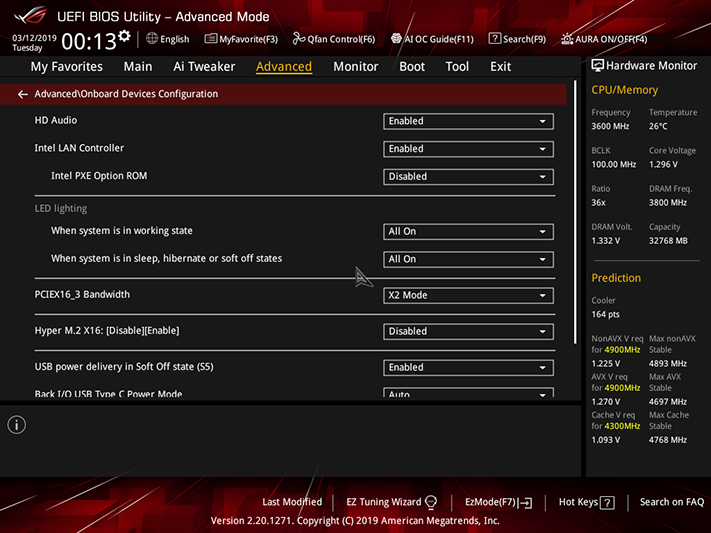
Our CPU’s actual thermal limit is 115 °C, but the motherboard default is the same 100° that Intel set for previous-generation CPUs. Changing this value can be done with the CPU Configuration submenu of the Strix Z390-E Gaming’s Advanced menu. Likewise under the Advanced menu is the Onboard Devices Configuration submenu, where users can switch the third PCIe x16 slot from x2 to x4 mode (by disabling two SATA ports), as well as configuring All On / Stealth Mode / Aura Only / Aura Off lighting for active and sleep modes.
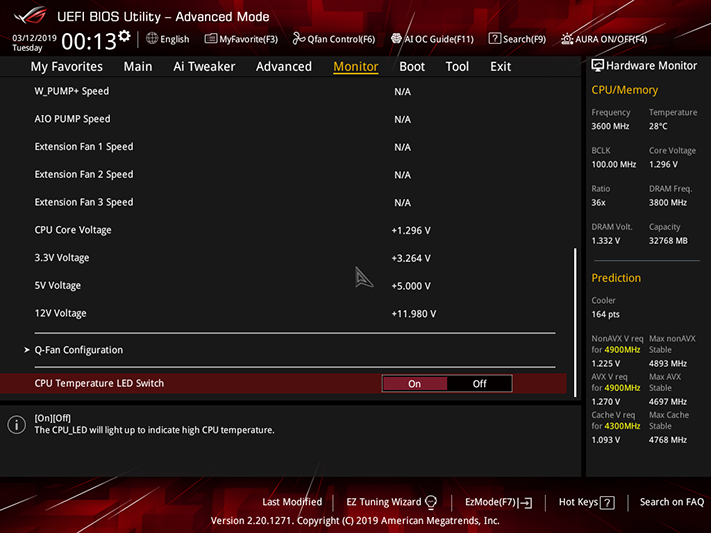
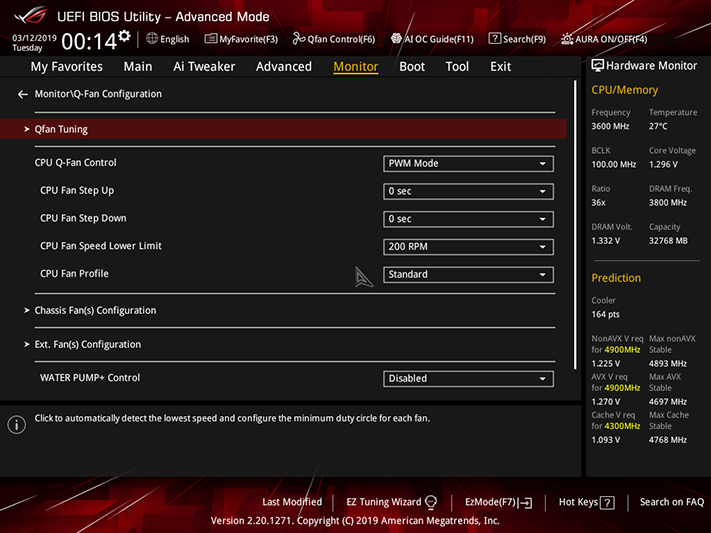
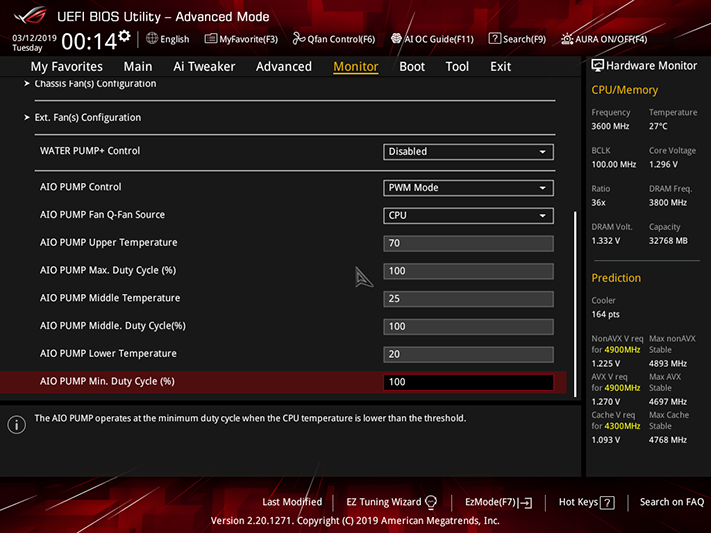
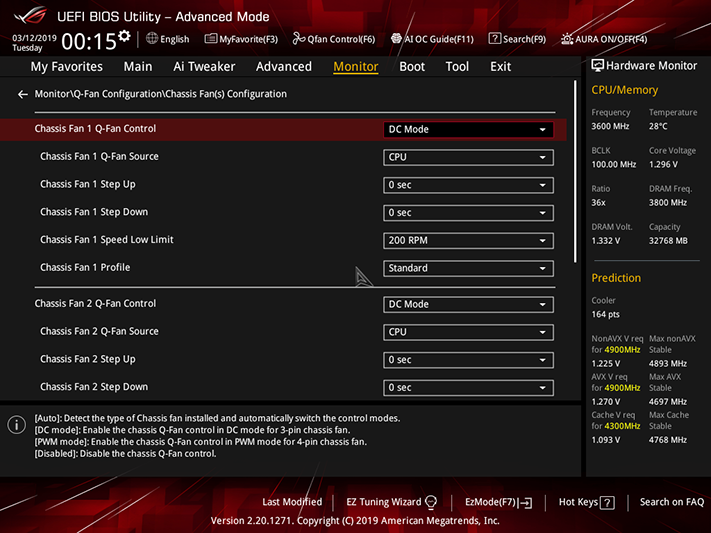
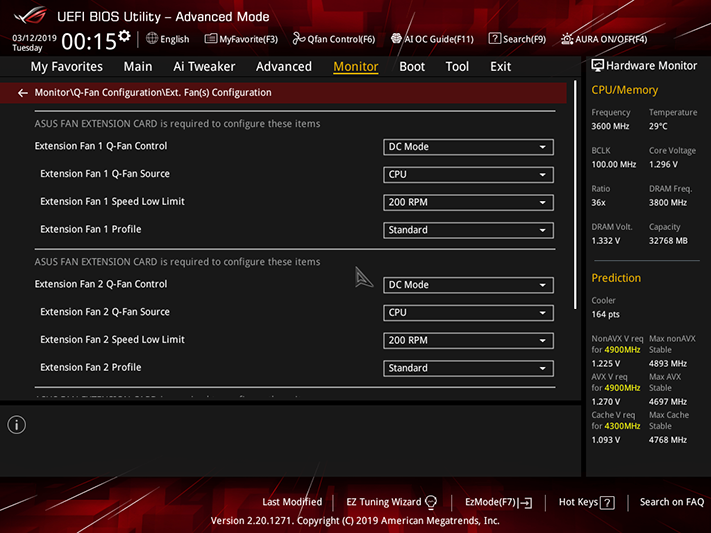
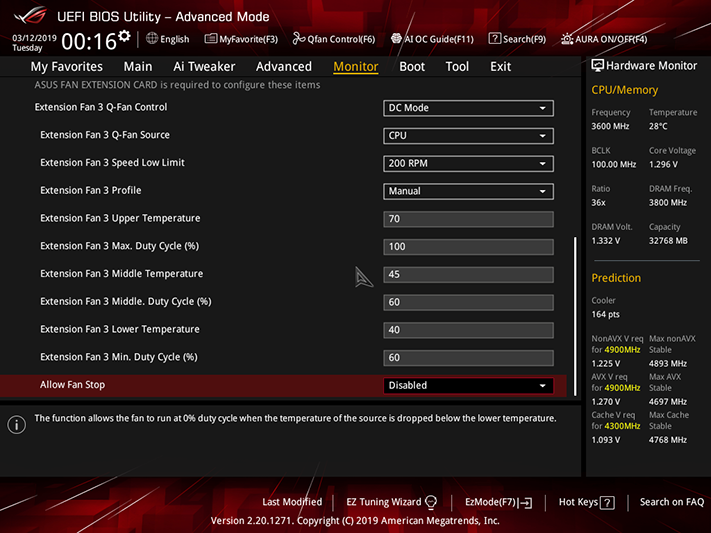
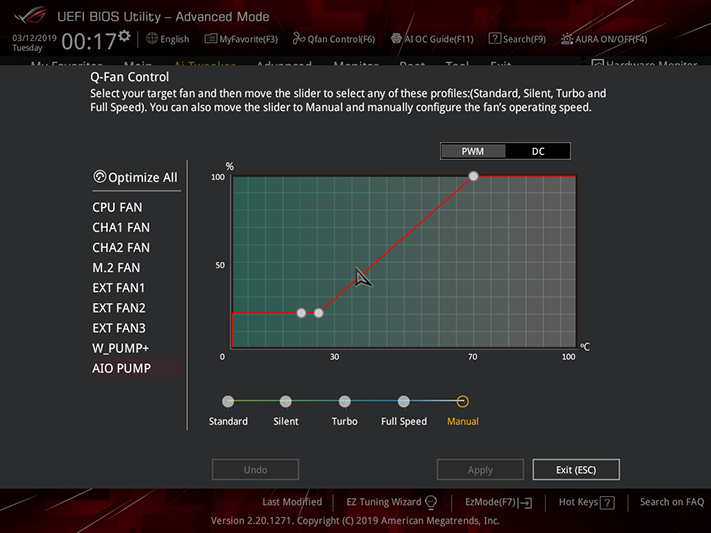
Advanced fan settings are launched from a button at the bottom of the Strix Z390-E Gaming’s “Monitor” menu, but the simpler graphic version can instead be launched using the keyboard’s F6 key from any main menu. All headers support both PWM and voltage-based RPM control.
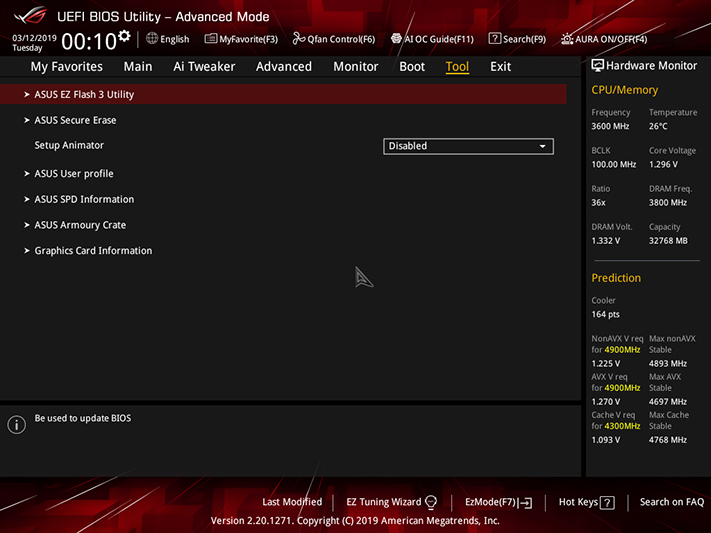
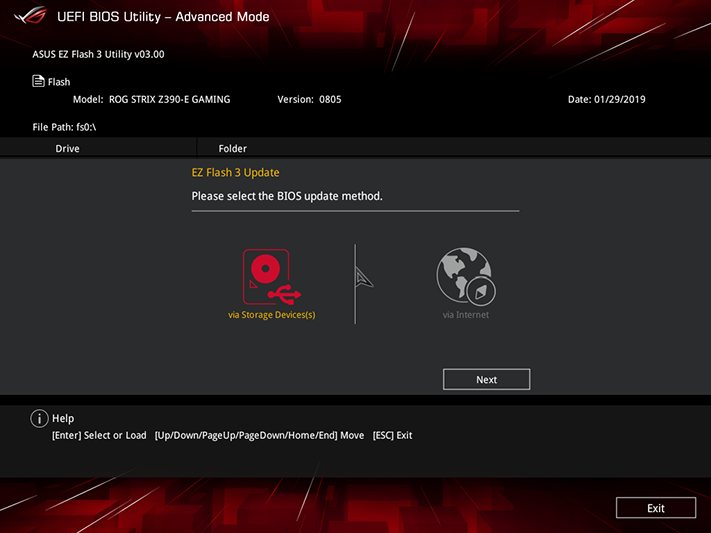
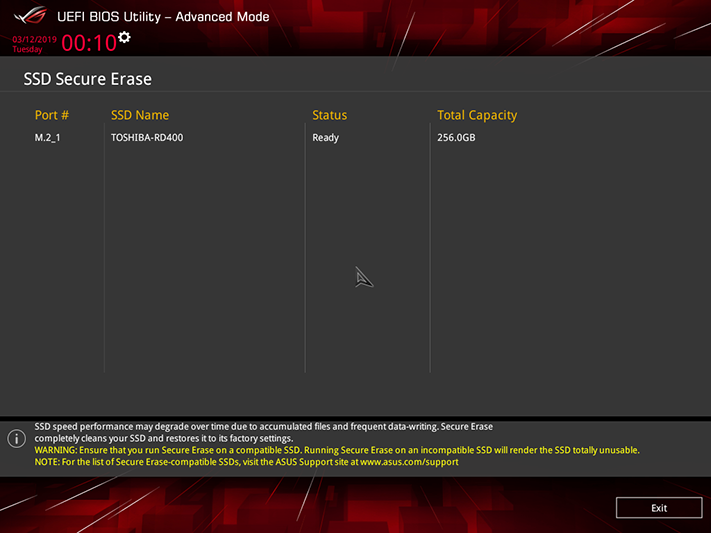
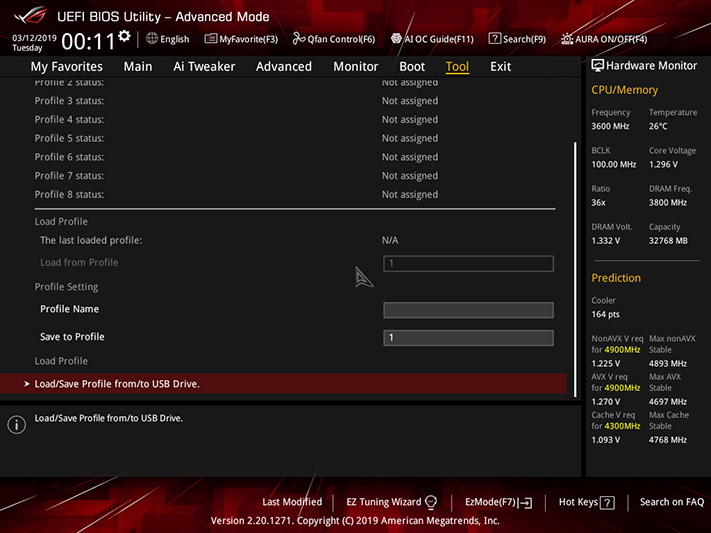

The Asus Tool menu includes utilities to flash firmware, erase SSDs, save overclocking configurations as user profiles that can be transferred to and from a USB drive, and report memory programming.
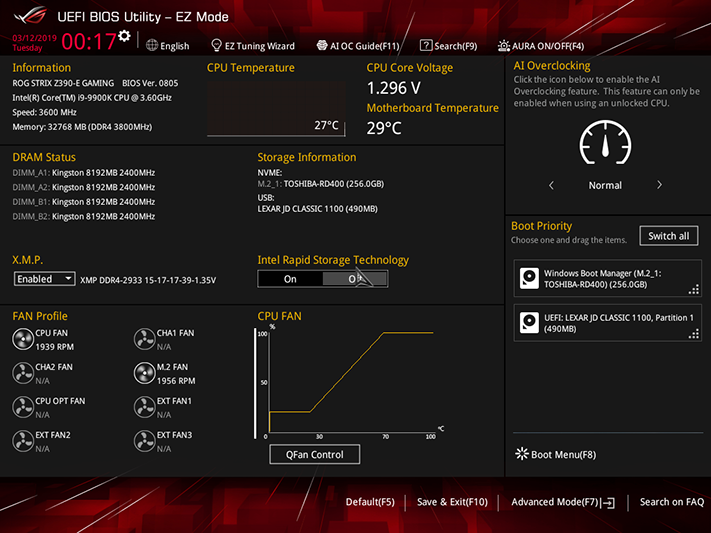
If all of those options sound confusing, users are welcomed to press their F7 key to bring up the Strix Z390-E Gaming’s “EZ Mode” interface. From here, they can still enable an XMP profile, set boot priority, choose a fan profile, and run an automatic overclocking utility that caused our CPU to drop Prime95 threads without the dreaded Windows “Blue Screen Of Death” (your results may vary).
MORE: Best Motherboards
MORE: How To Choose A Motherboard
MORE: All Motherboard Content
