Asus X570 ROG Crosshair VIII Hero Wi-Fi Review: Mid-Range Menagerie
Why you can trust Tom's Hardware
Software and Firmware
Asus’ software suite starts off with AI Suite 3, a single piece of software that offers a lot of functionality including power control and system optimization, fan control, overclocking, and update capabilities. Along with AI Suite, it offers the Armoury Crate installer, Overwolf, RAMdisk, Ai Charger, and other tertiary applications. You can find the full list at Asus’ website for the board.
AI Suite 3 lives in the system tray until use. When opening the application, the default screen is the DIP 5-way optimization, displaying useful information covering the current performance mode, fan speed as well as some Digi VRM information. Across the bottom is a system monitoring bar that displays CPU frequency, Voltage, temperature and fan speeds, giving you a lot of information at your fingertips.
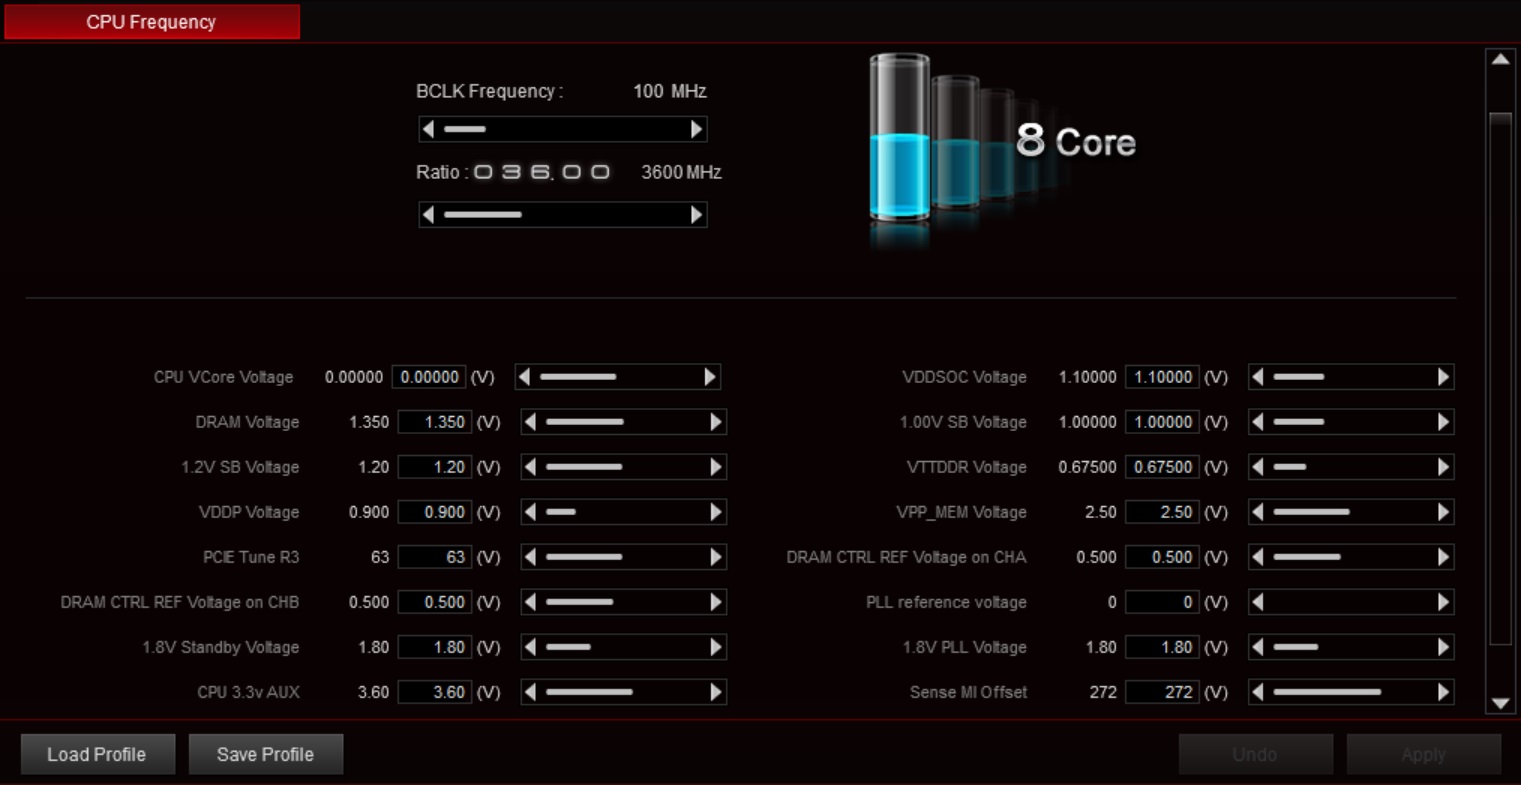
The TPU section is primarily used for both BCLK and CPU ratio adjustments as well as voltage adjustments, of which there are at least 16. This includes CPU Vcore, DRAM, VDDP, VDDSOC, and many other voltages (most of which are not needed in basic ambient overclocking). There’s overkill here for sure, but that’s to be expected at this level of motherboard.
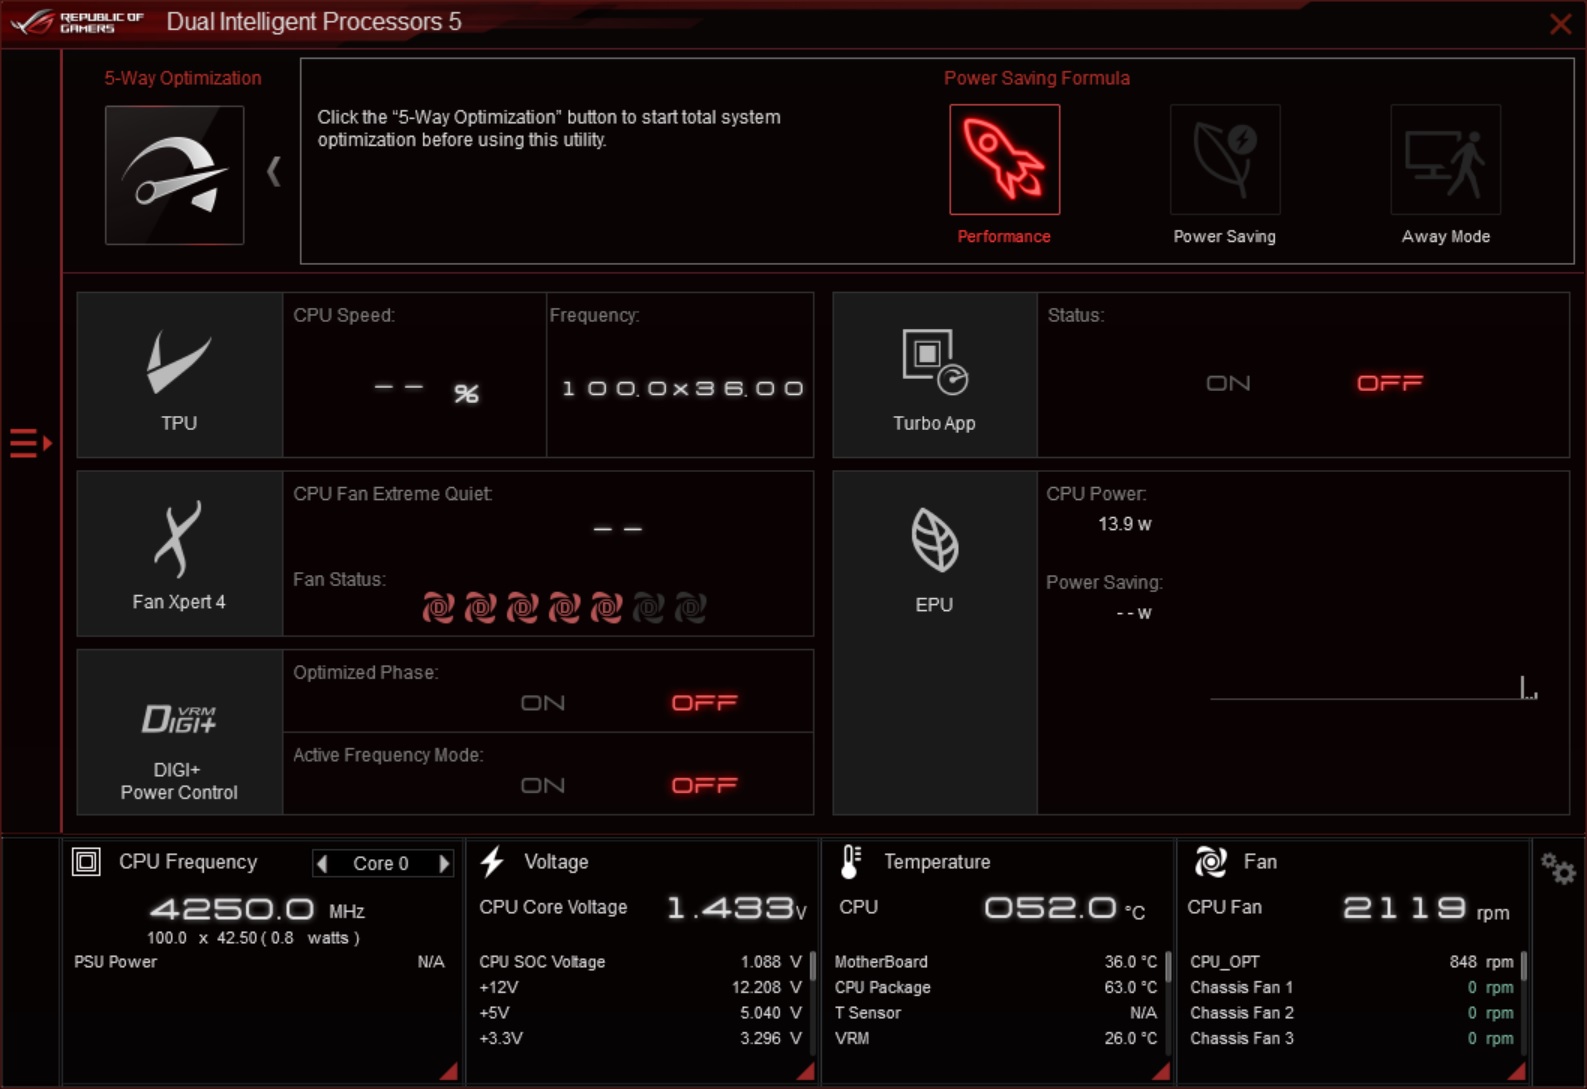
Turbo App is a section designed to assign priority for specific applications. This functionality is the same as what’s found within the task manager and app prioritization there. Inside the EPU section is where users adjust simple power plan times such as when the monitor shuts off and when the system goes to sleep.
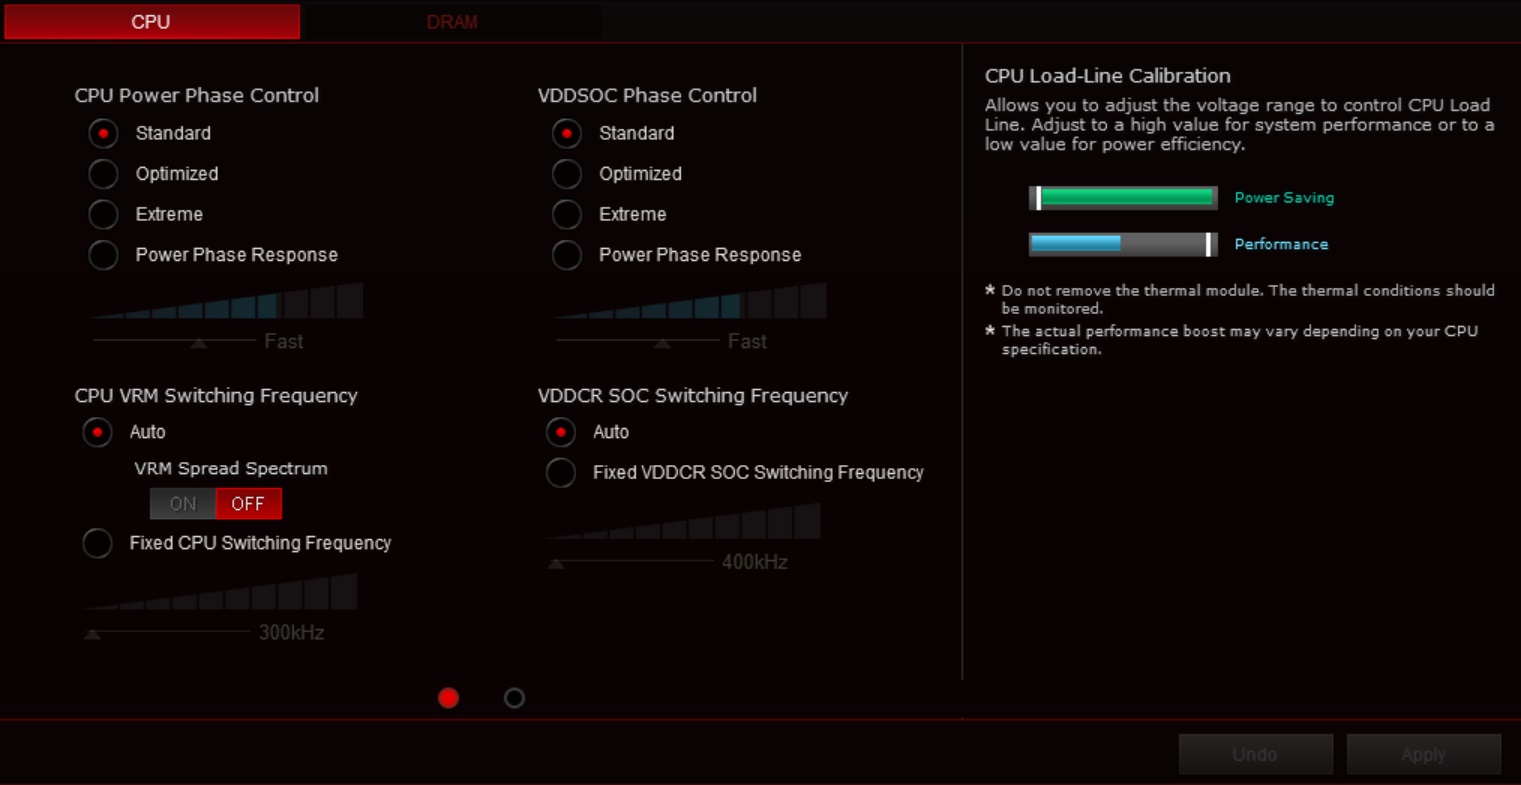
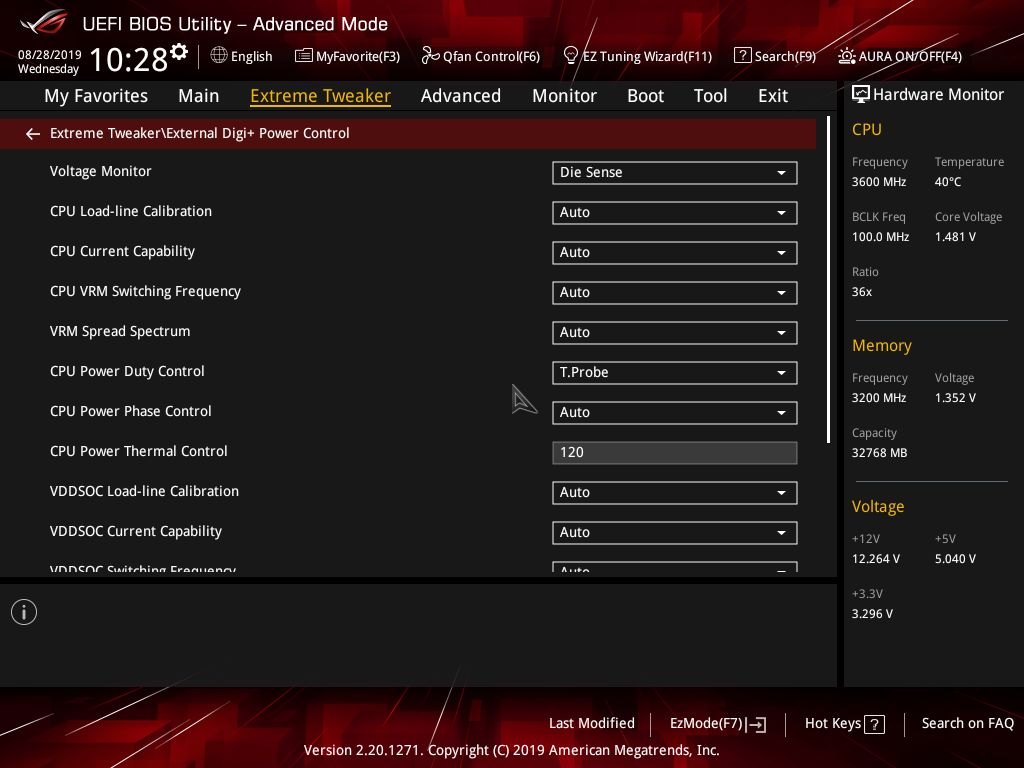
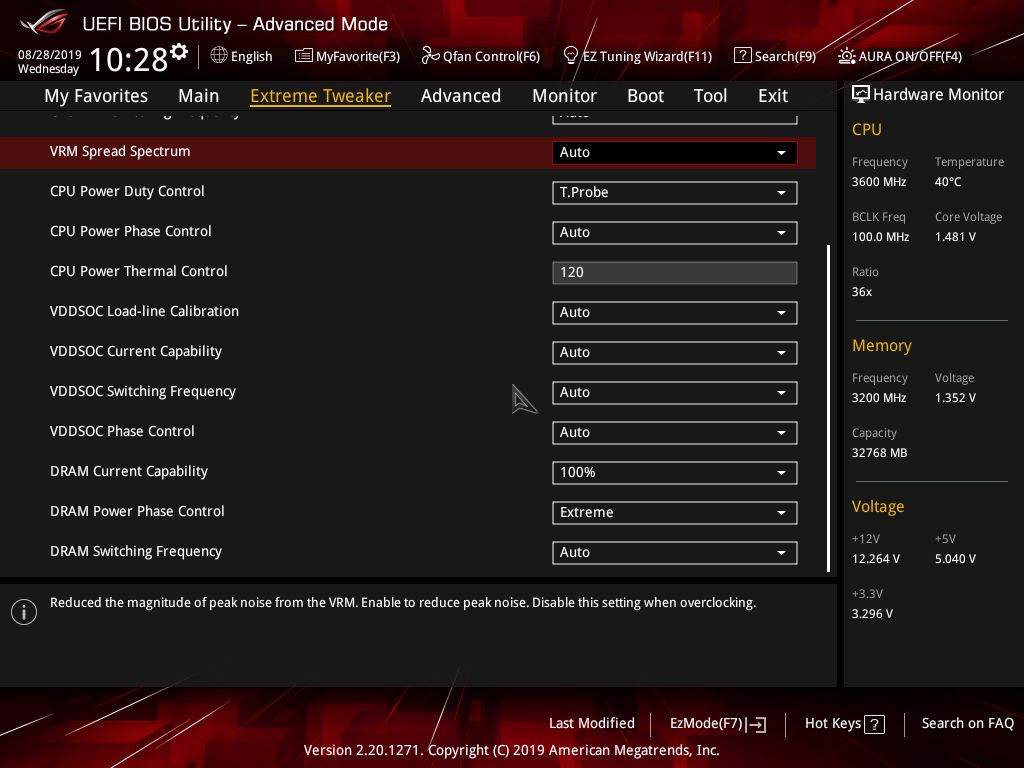
Digi Power controls the power going to the CPU. There are options that cover CPU power phases and VRM switching frequency, VDDSOC and VDDCR SOC switching frequency. Users can control Load Line Calibration functions here as well. None of these options were needed while ambient overclocking our 3700X, but it is good to have, perhaps for the higher-end chips and really pushing the overclocks.
Fan Expert 4 is where fan control is found. The fan tuning application detects the slowest and fastest speeds for the attached fans and allows you to create custom curves for each header. If creating custom curves isn’t your thing, this section also has four preset speeds (Silent, Standard, Turbo, Full Speed) you can set as well. As with the overclocking section, you can save profiles here as well.
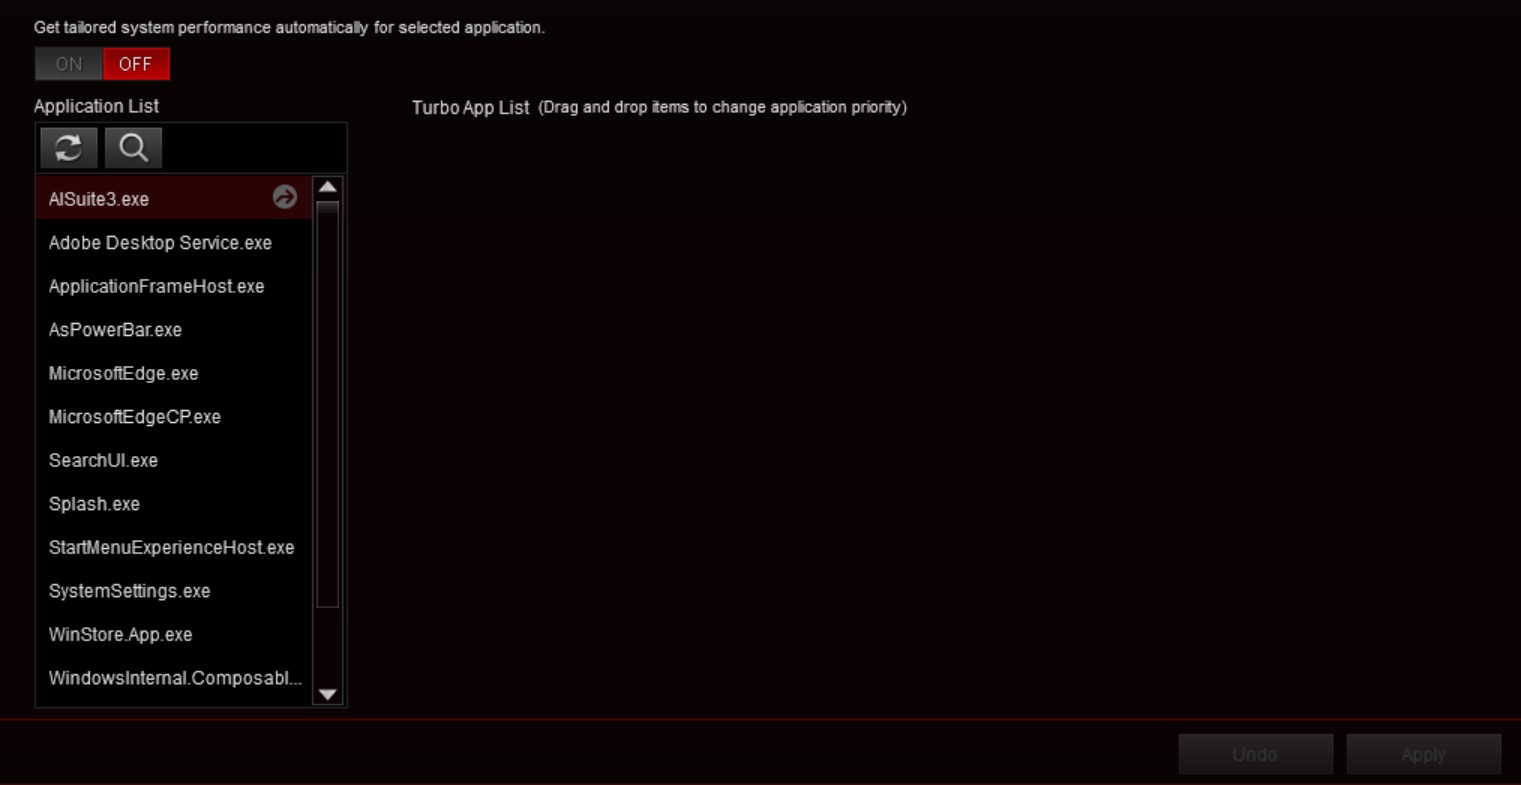
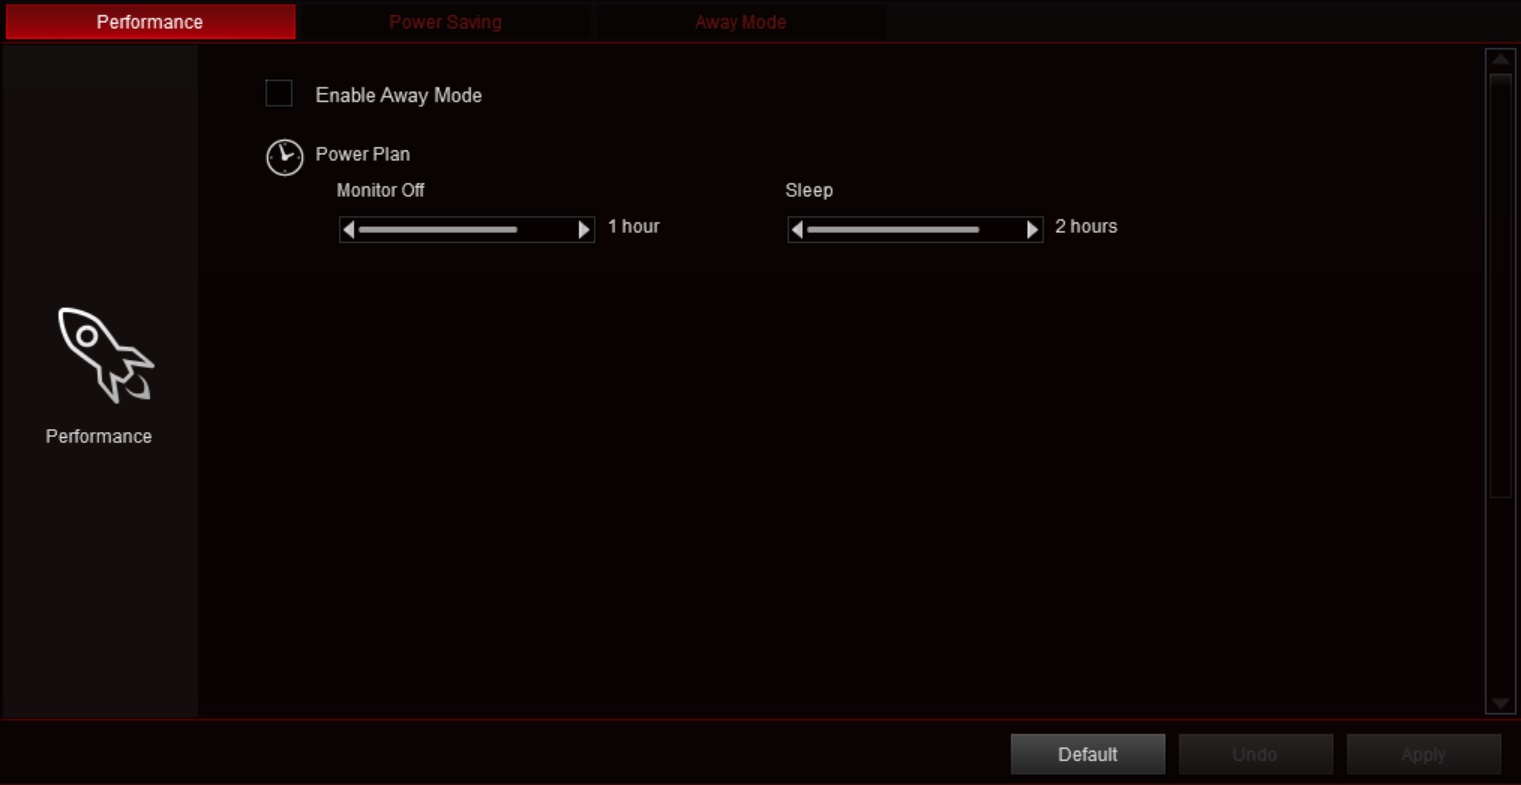
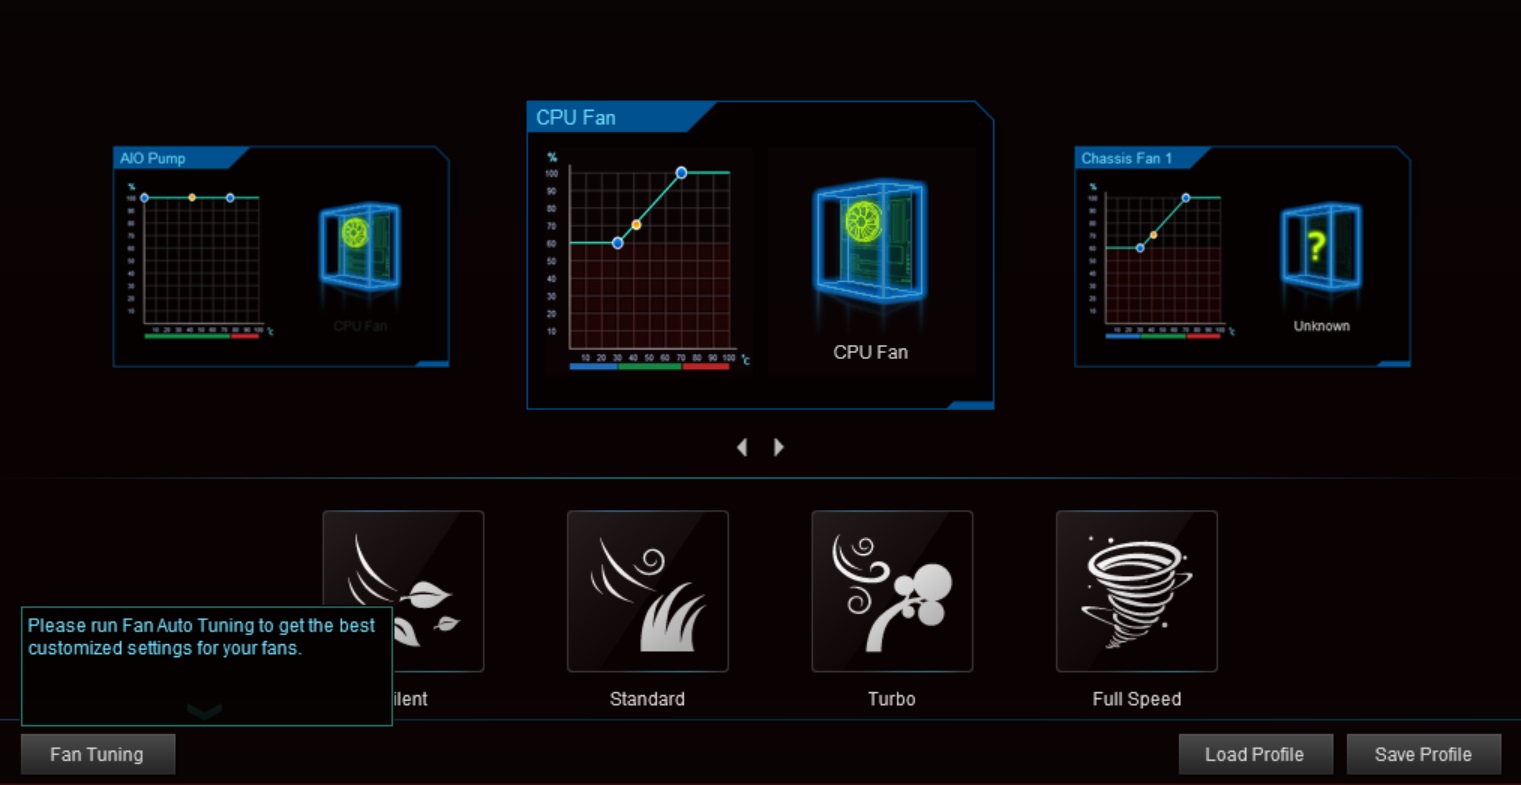
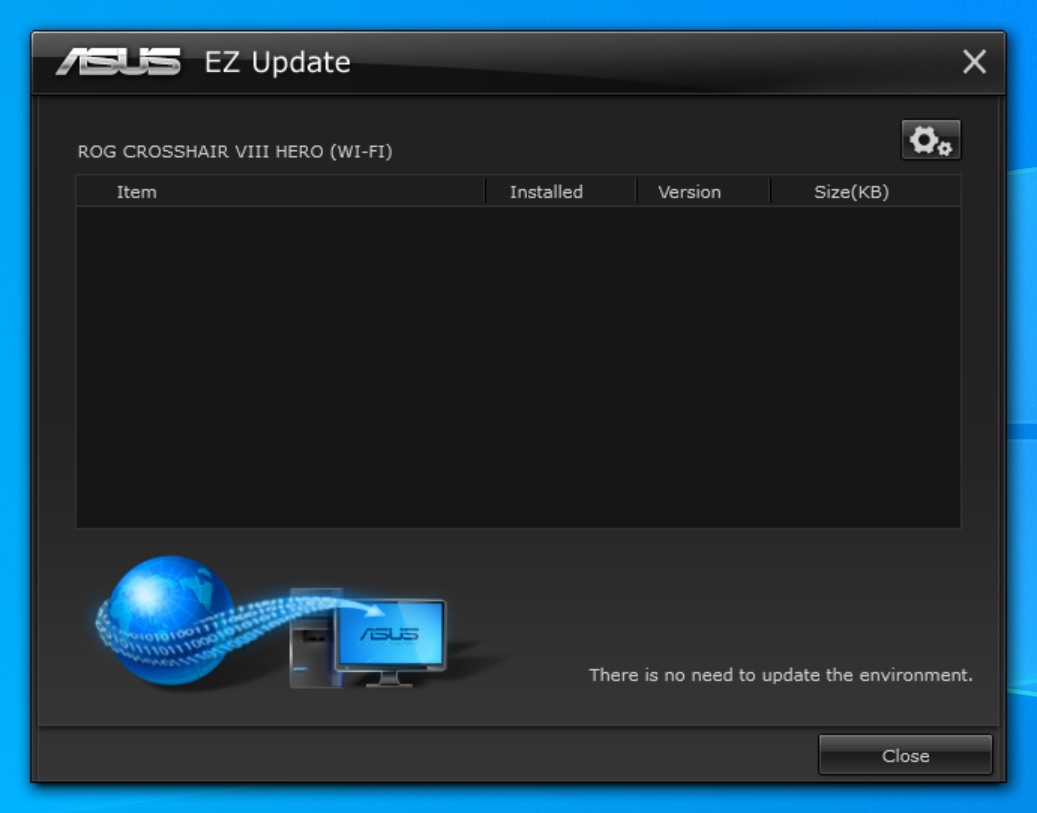
Last but not least is the PC cleaner and updating section. The PC cleaner is, as the name describes, a section dedicated to get rid of junk files and to free up more space on your disk. It works just like the same functionality in windows. The EZ Update section allows you to manage and update the latest Asus motherboard drivers, software and BIOS from the internet. You can also manually update the boot logo here for another level of customization.
Get Tom's Hardware's best news and in-depth reviews, straight to your inbox.
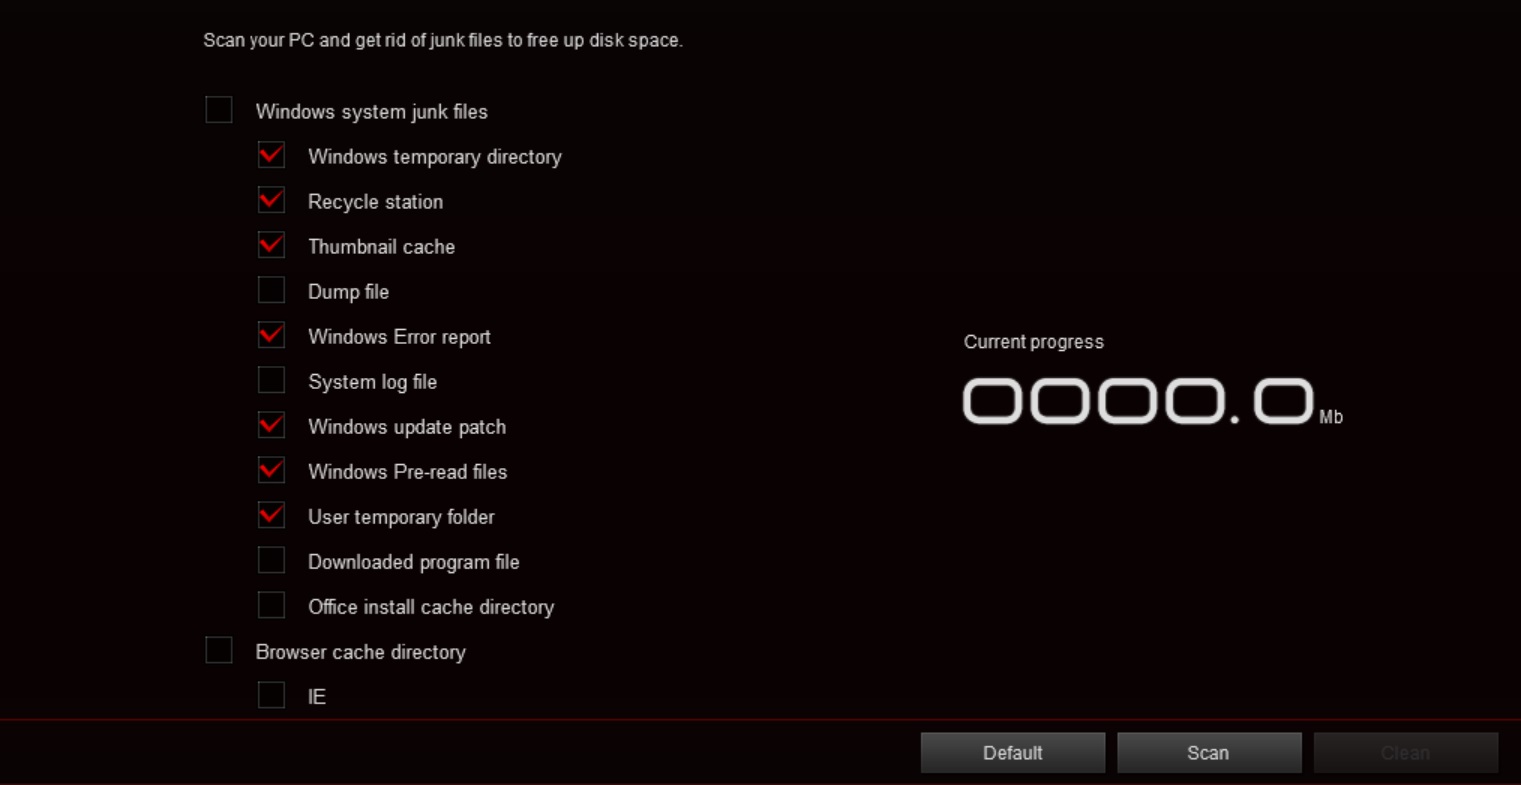
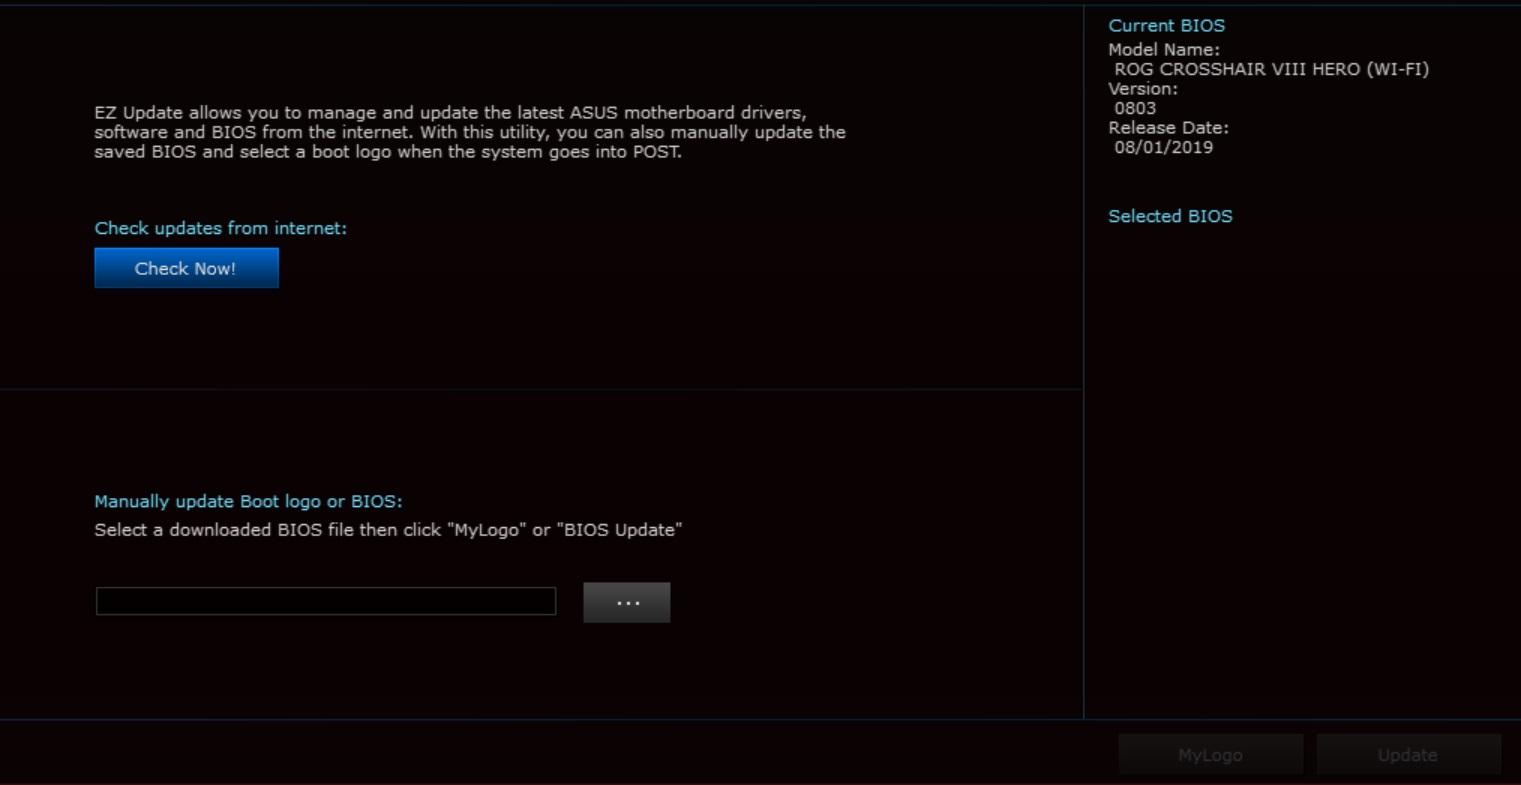
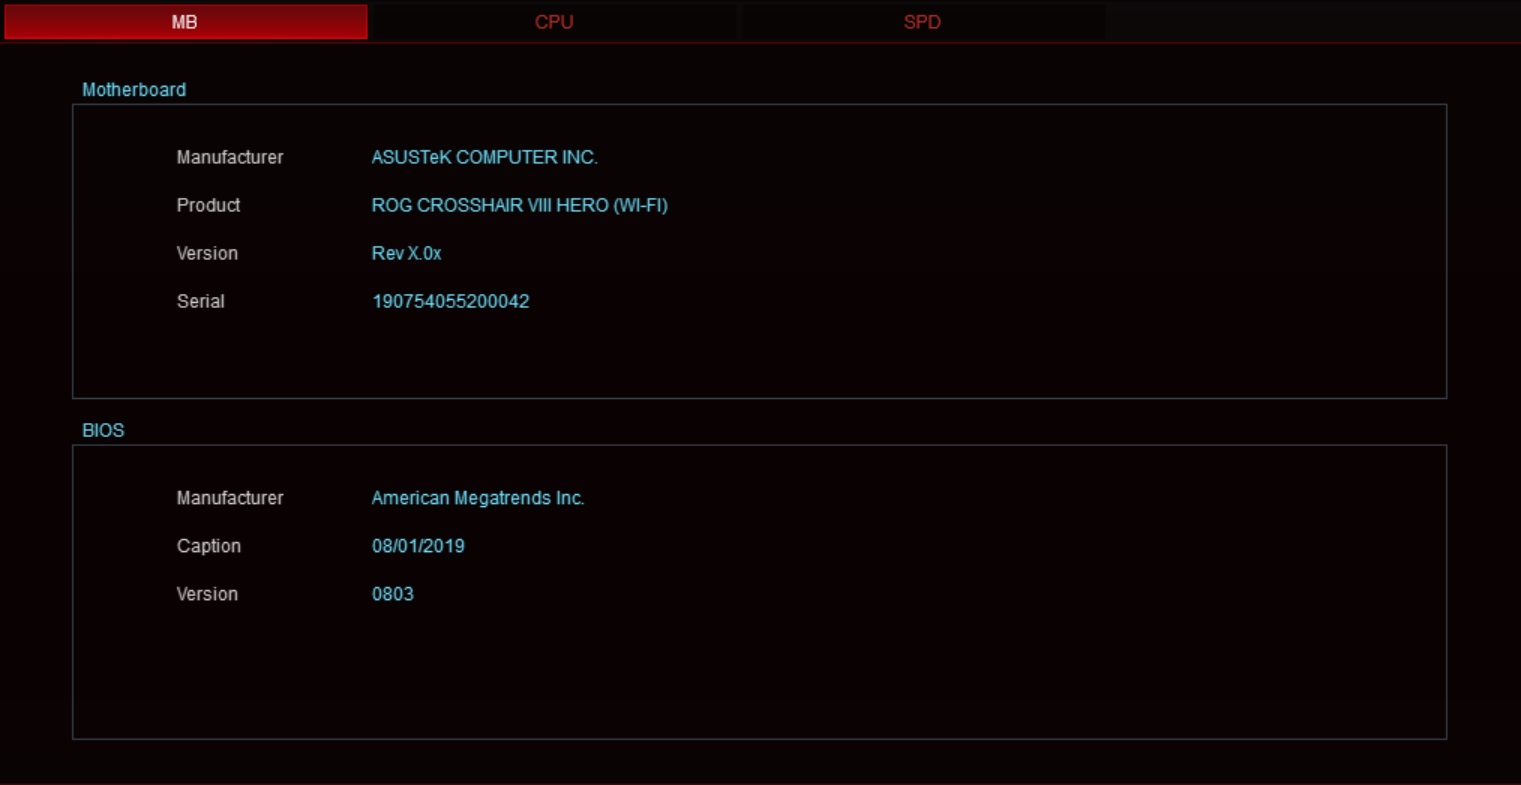
Asus also offers a standalone EZ Update application for managing and updating Asus drivers and software. I used this standalone instead of the integrated version to update any drivers.
Overall, Asus offers a lot of software which can be useful to many users. AI Suite 3 itself offers a lot of functionality and does so without issue in our testing.
Firmware
Moving on to the UEFI, I’ll start by saying the last couple of generations from Asus have been my favorite. Between the informative EZ Mode and thorough Advanced Mode as well as the logical implementation of functions, I think it’s one of the easiest to use. The ROG-based board has a red background, along with a dark grey middle with white, yellow, and grey text for easy-to-read pages.
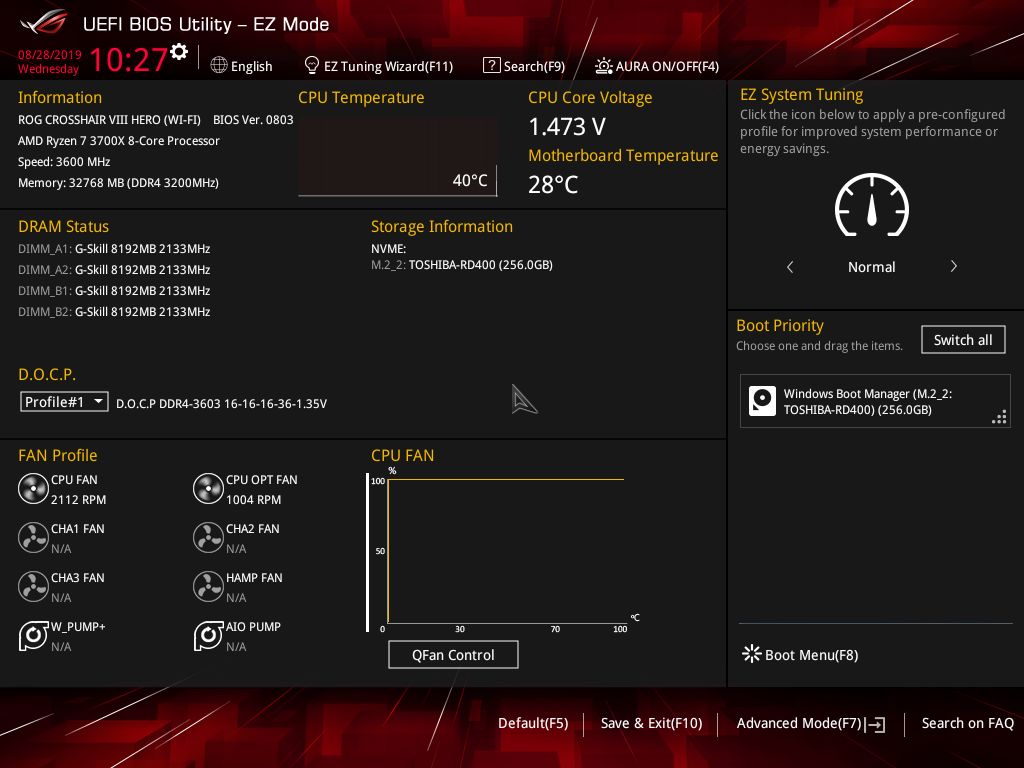
Starting out looking at EZ Mode, we see this is mostly an informational screen displaying details about the processor and memory (including temps and voltage), storage, fans, boot priority, and more. From this screen, users can access QFan control, enable DOCP/XMP profiles, adjust boot priority as well as select from a couple of preset profiles for system performance.
Advanced Mode continues the same red/dark grey ROG theme and adds headings across the top for each section. These headings include My Favorites, Main, Extreme Tweaker, Advanced, Monitor, Boot, Tool and Exit. By default, you jump into Main. On the right side is system monitoring information, including CPU, Memory and voltage details.
The Main section details information about the UEFI version and CPU information. Here is also where you will set the system language, date and time as well as BIOS security.
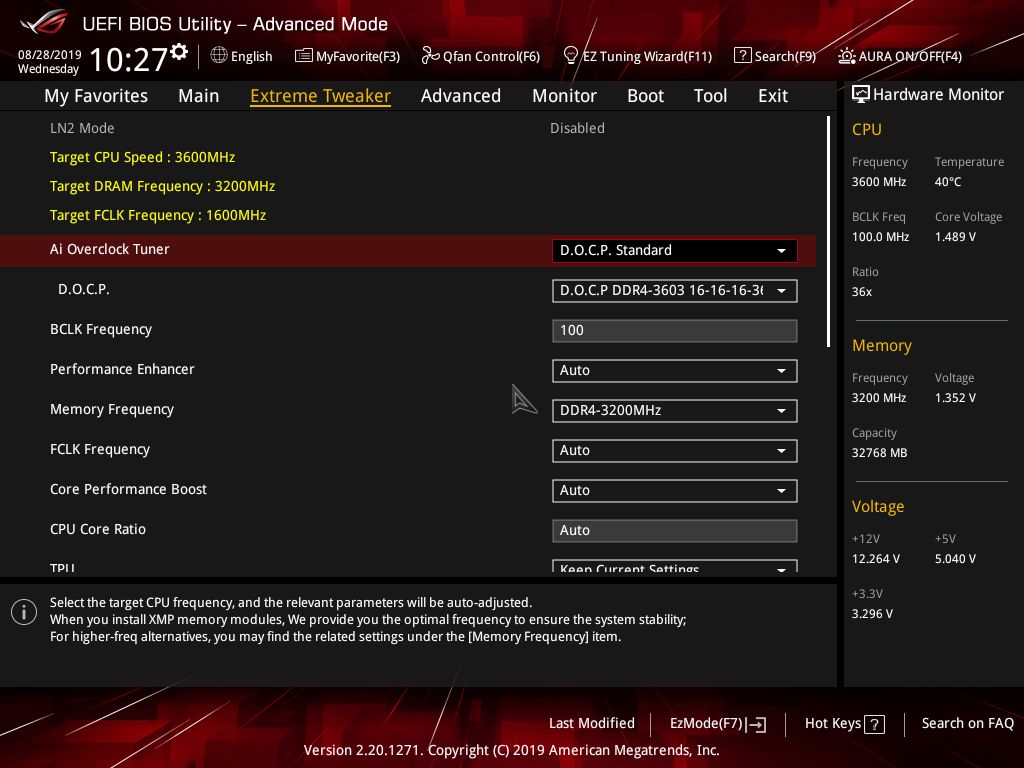
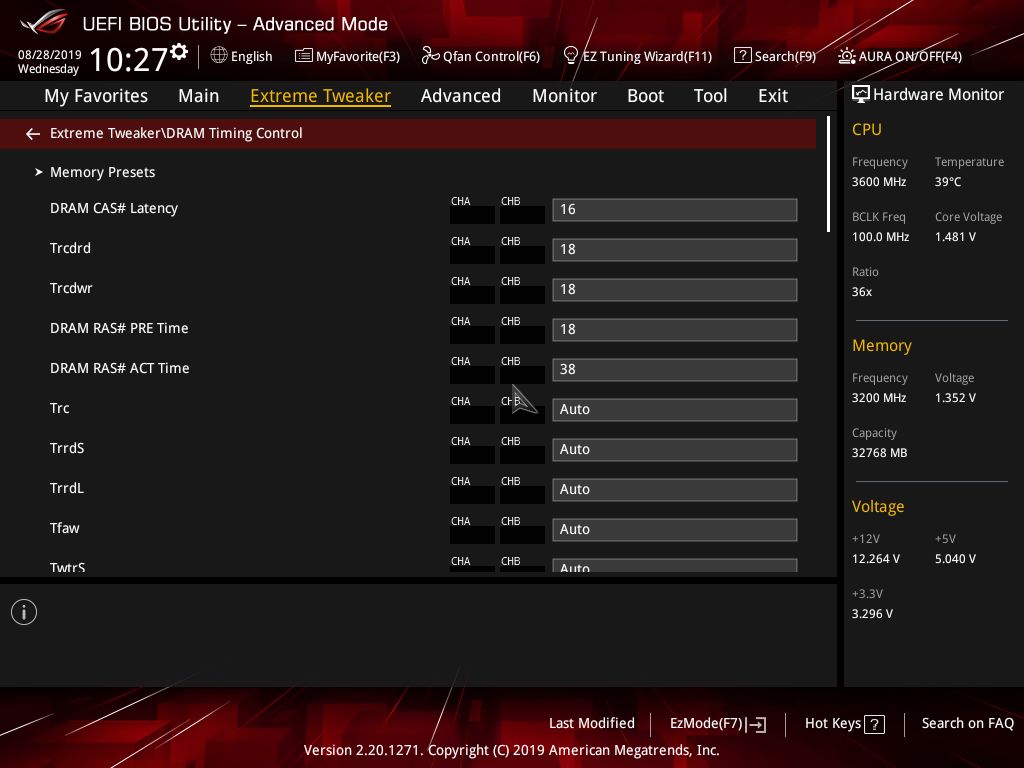
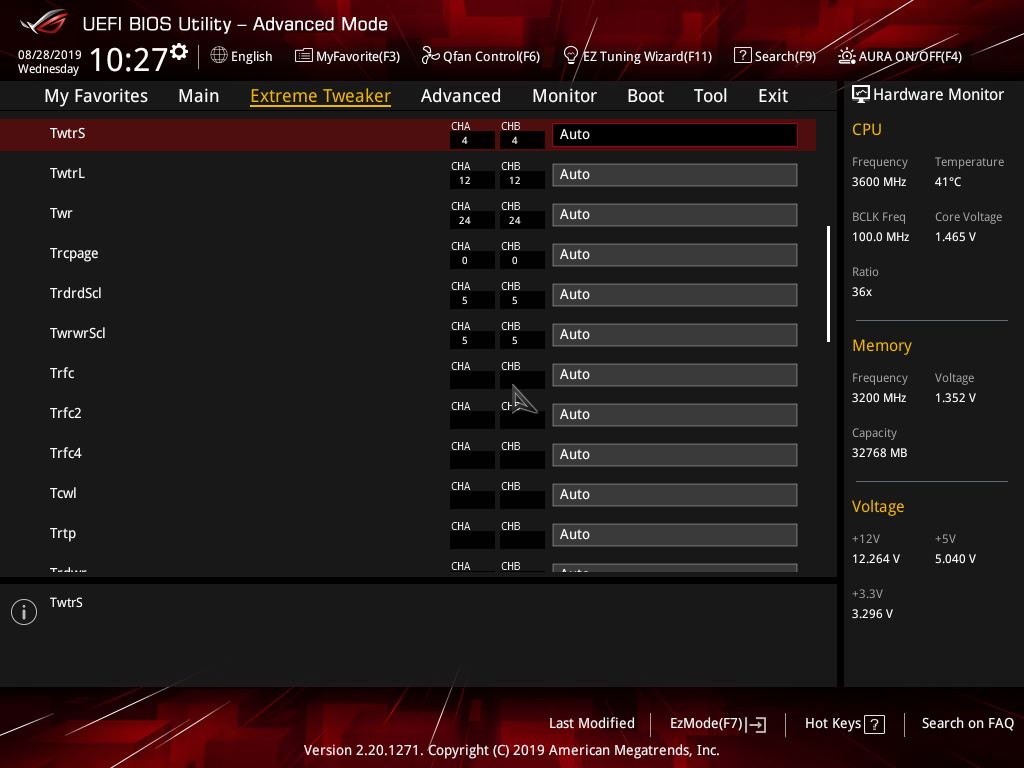
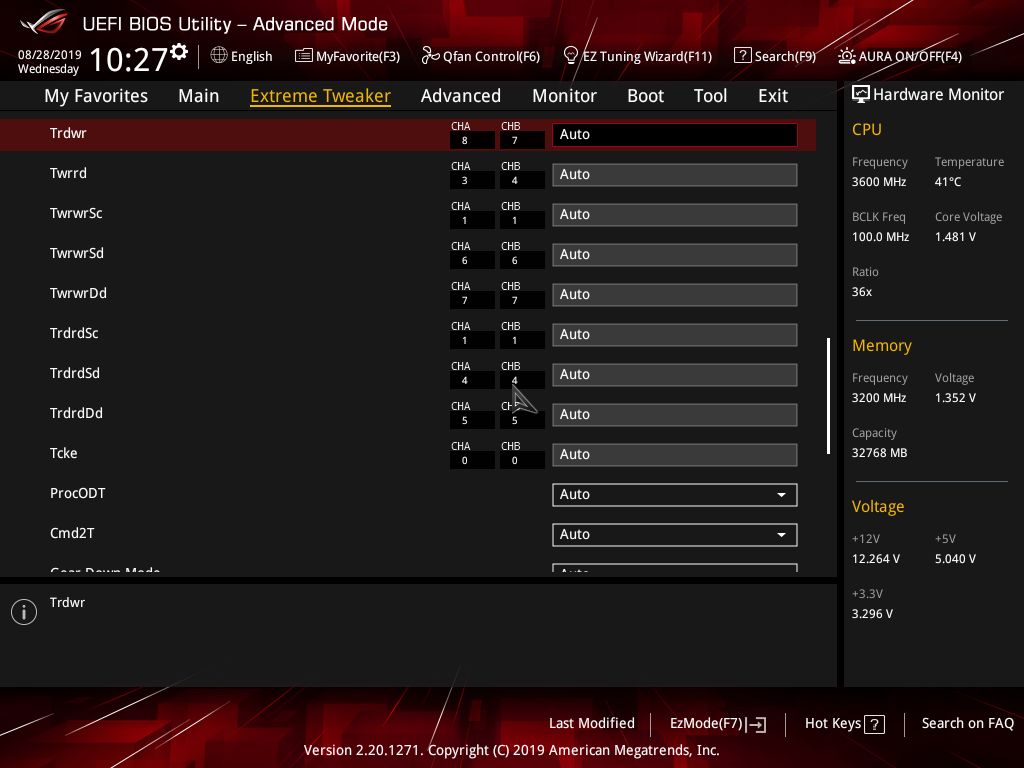
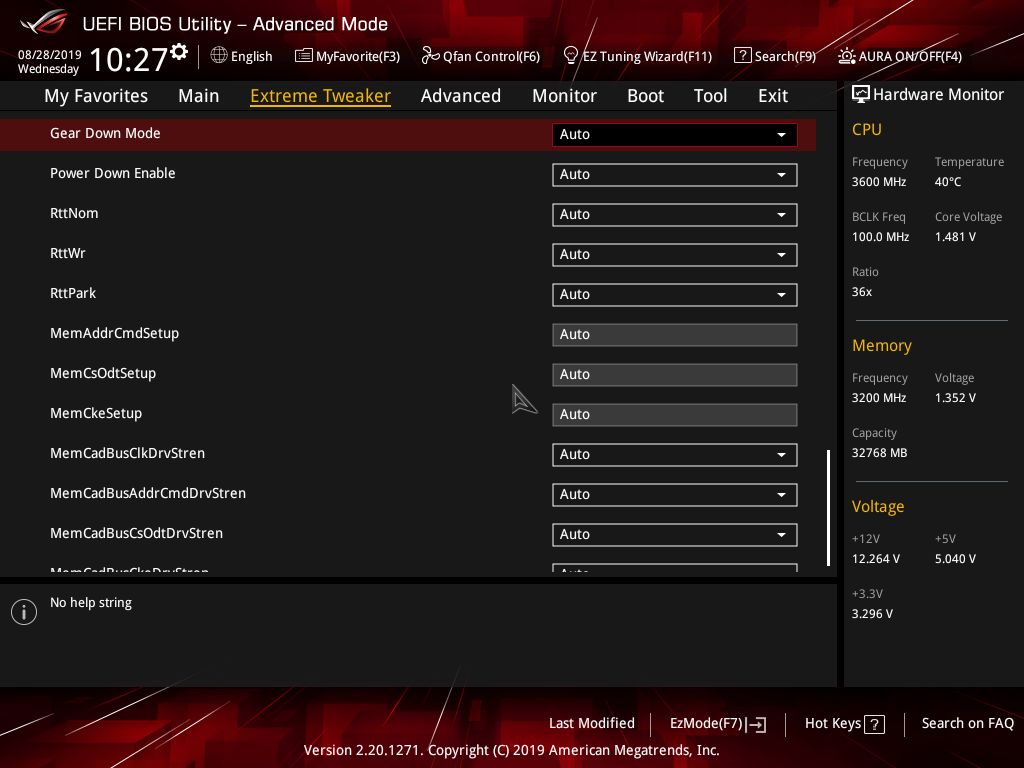
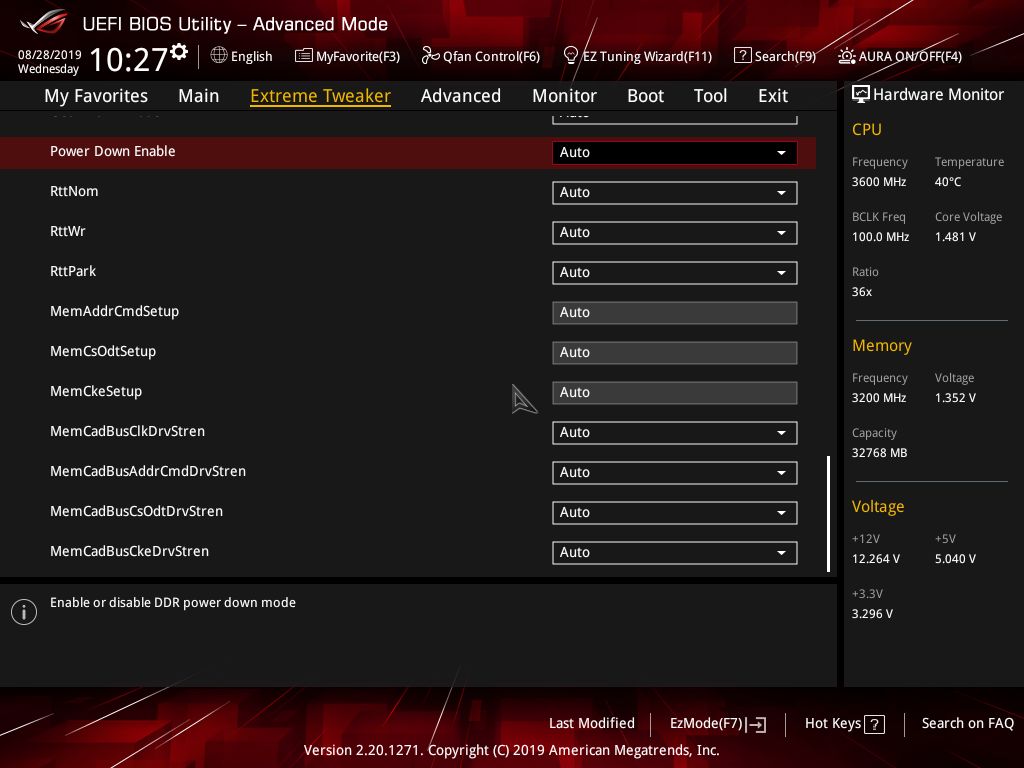
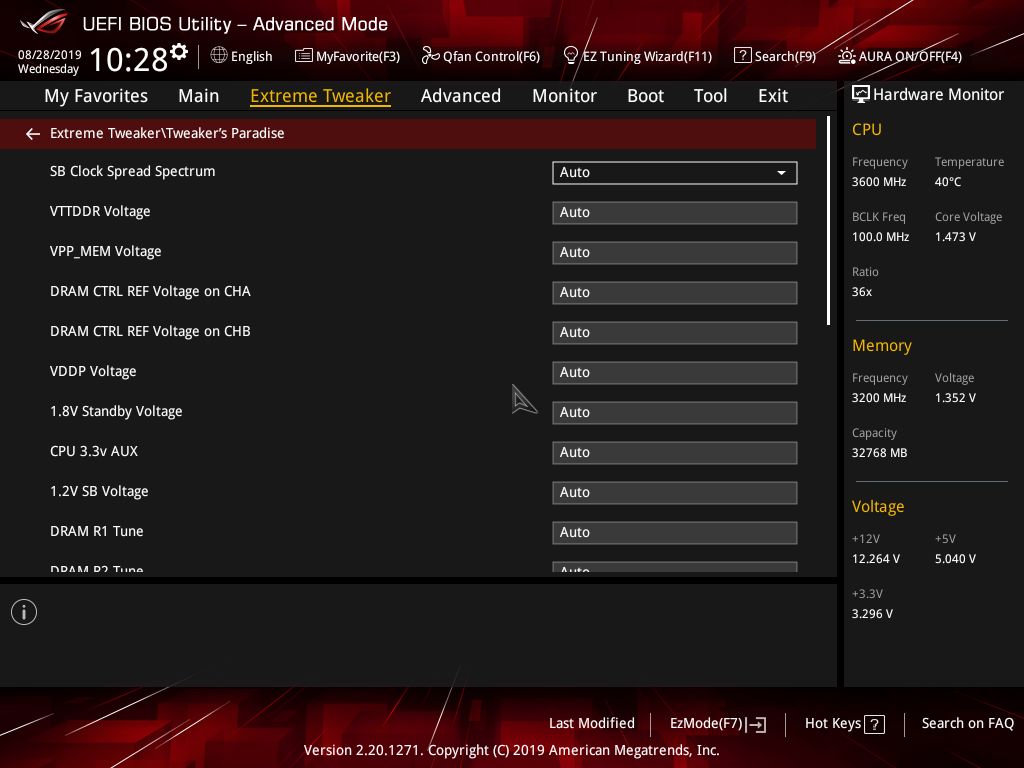
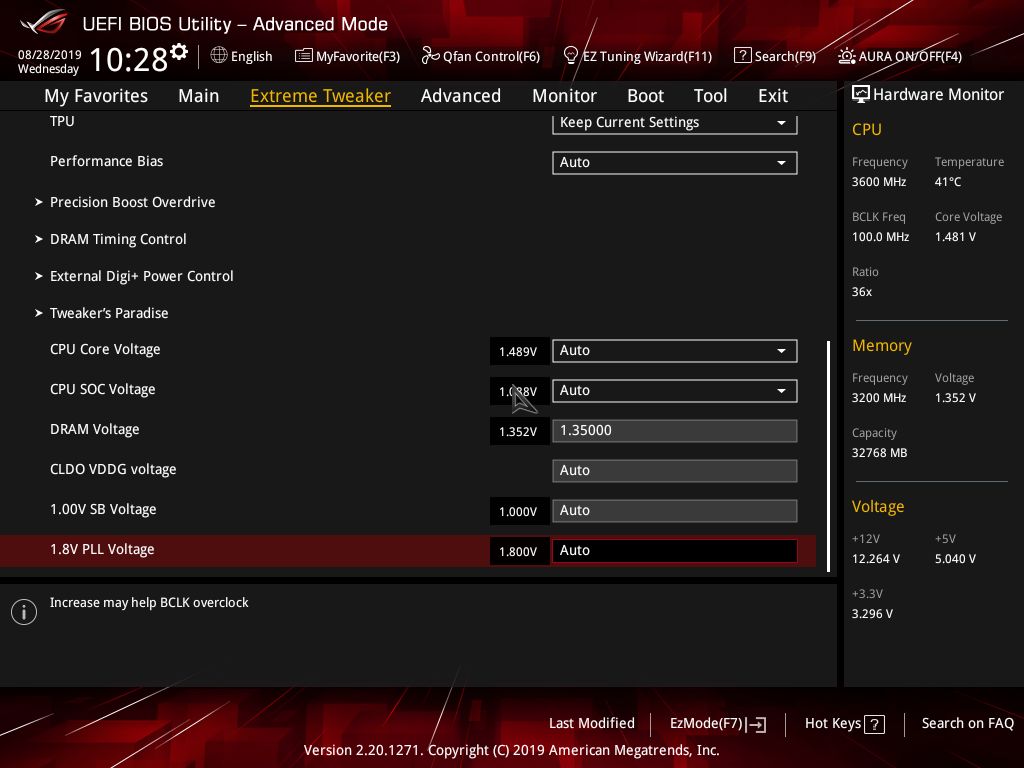
The Extreme Tweaker section is where the overclocking and many adjustments will be made to the CPU and memory. Within this section is where DOCP is enabled, BCLK and CPU ratio can be adjusted, as well as digging into DRAM timings (of which there are several screens worth, more than 99% of people need), access to PBO functions and Digi+ power control. Most of the simple functionality is on the first page and users don’t have to dig around too deep to find everything needed to overclock or tweak the system.
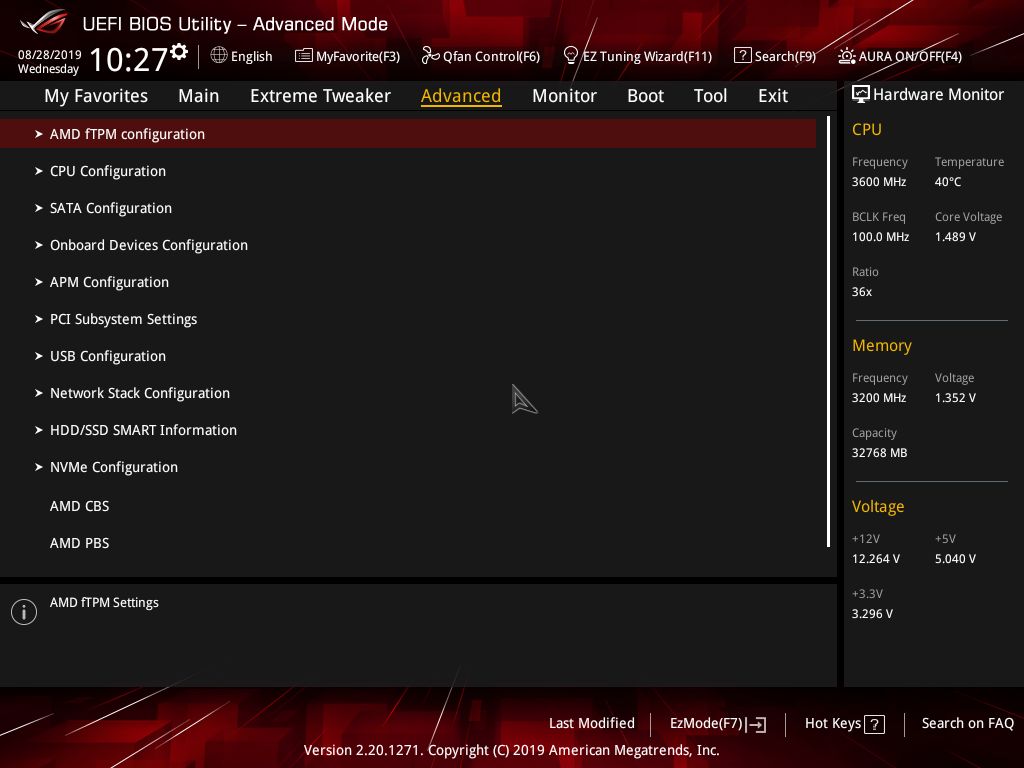
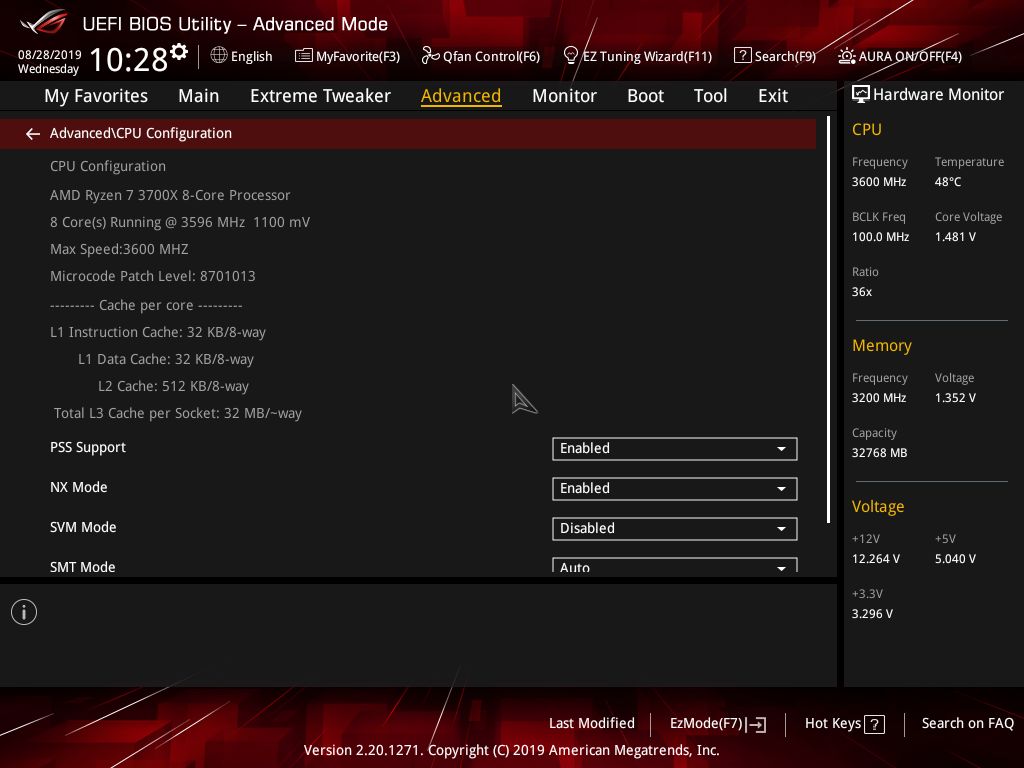
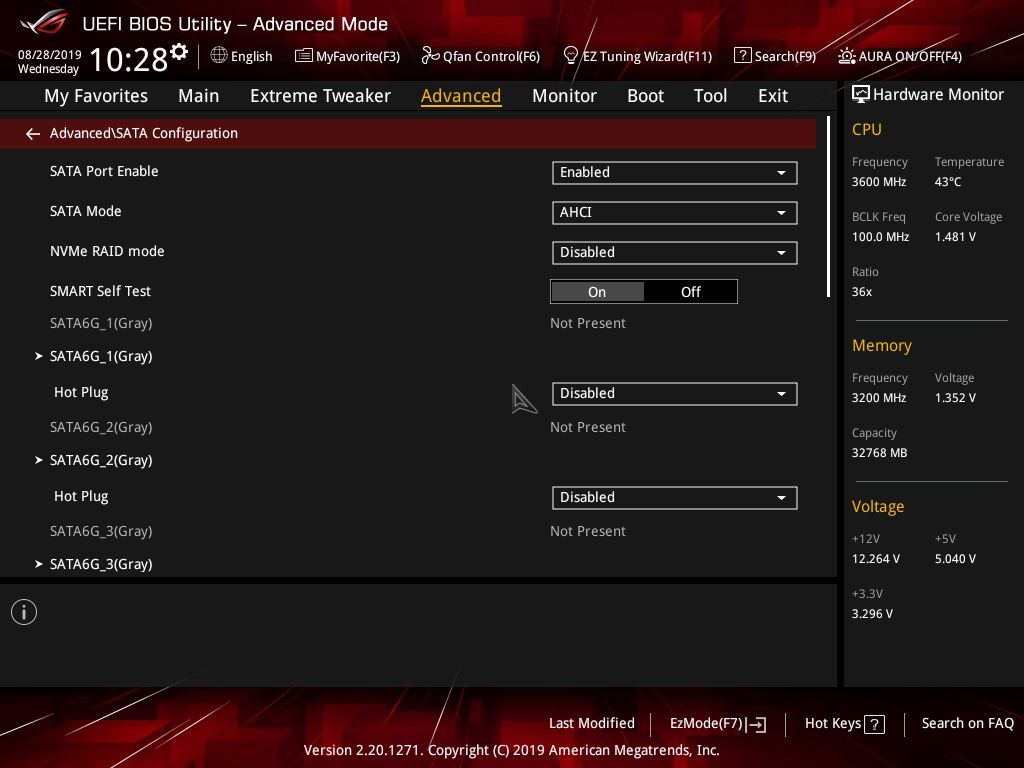
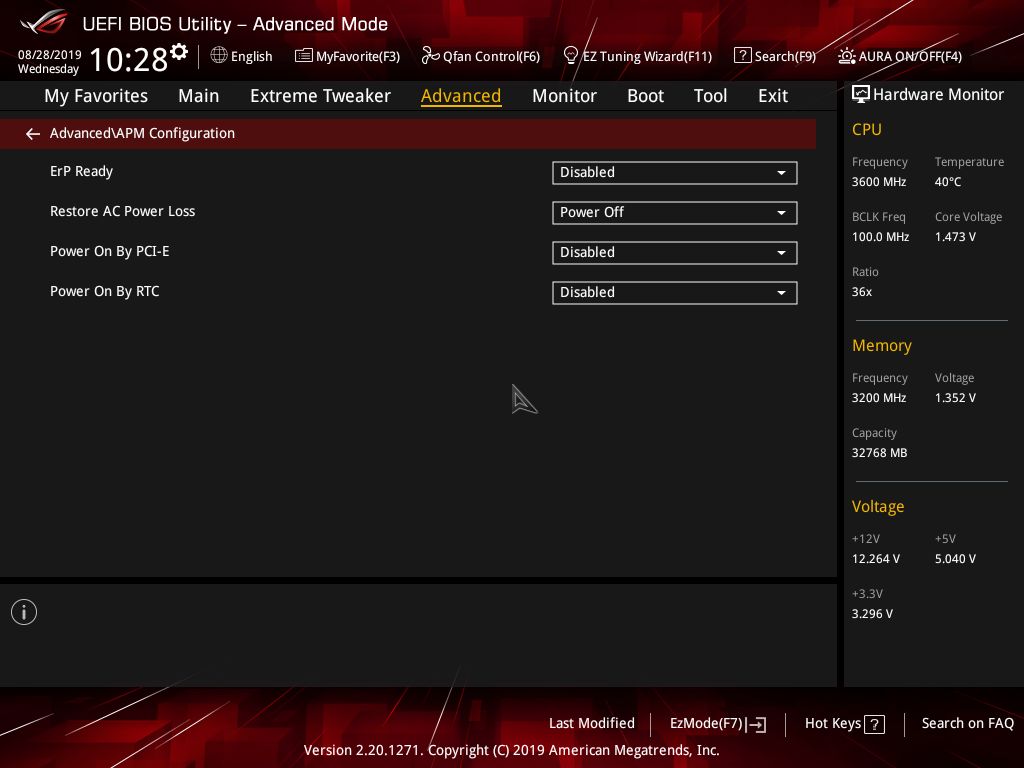
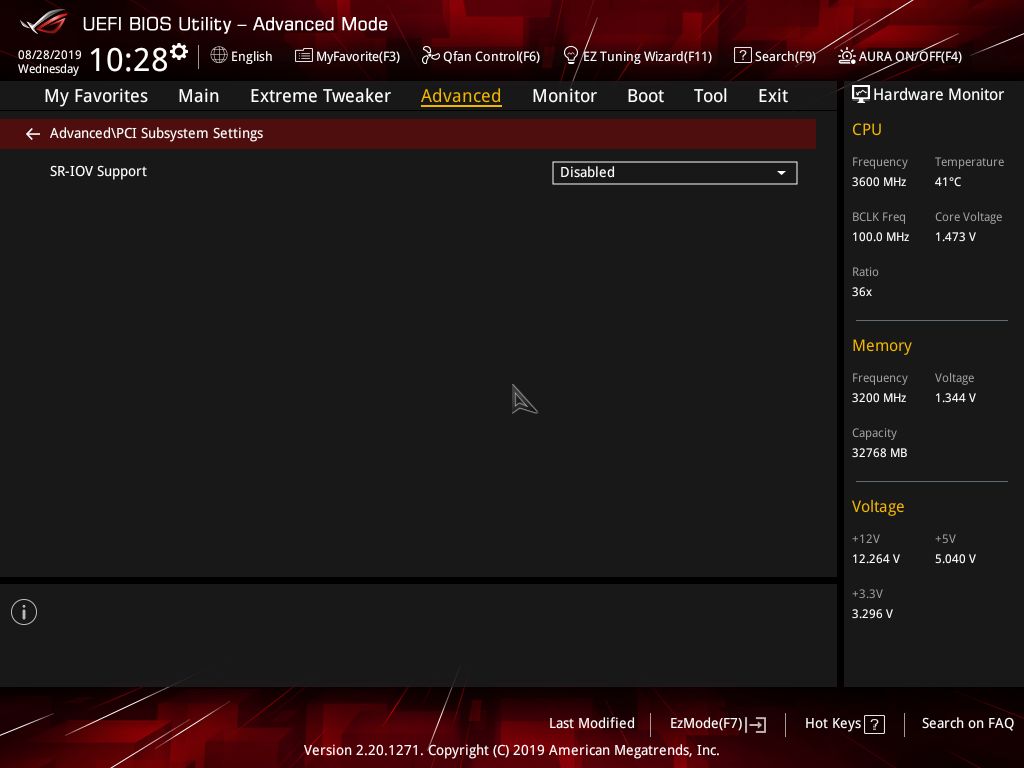
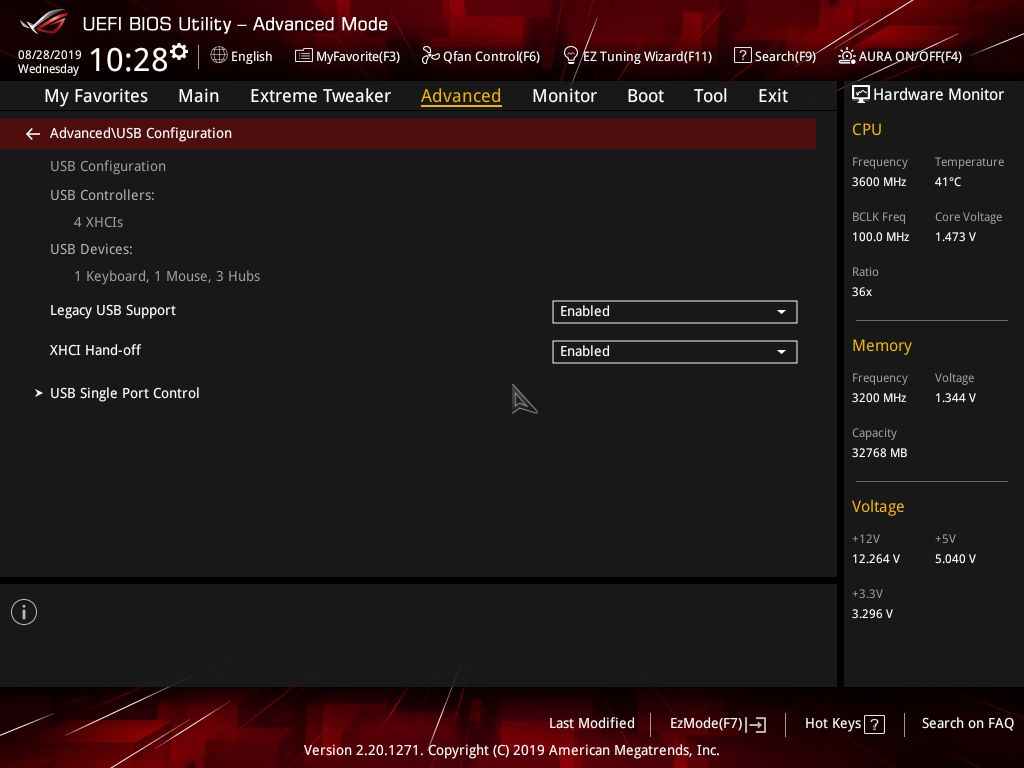
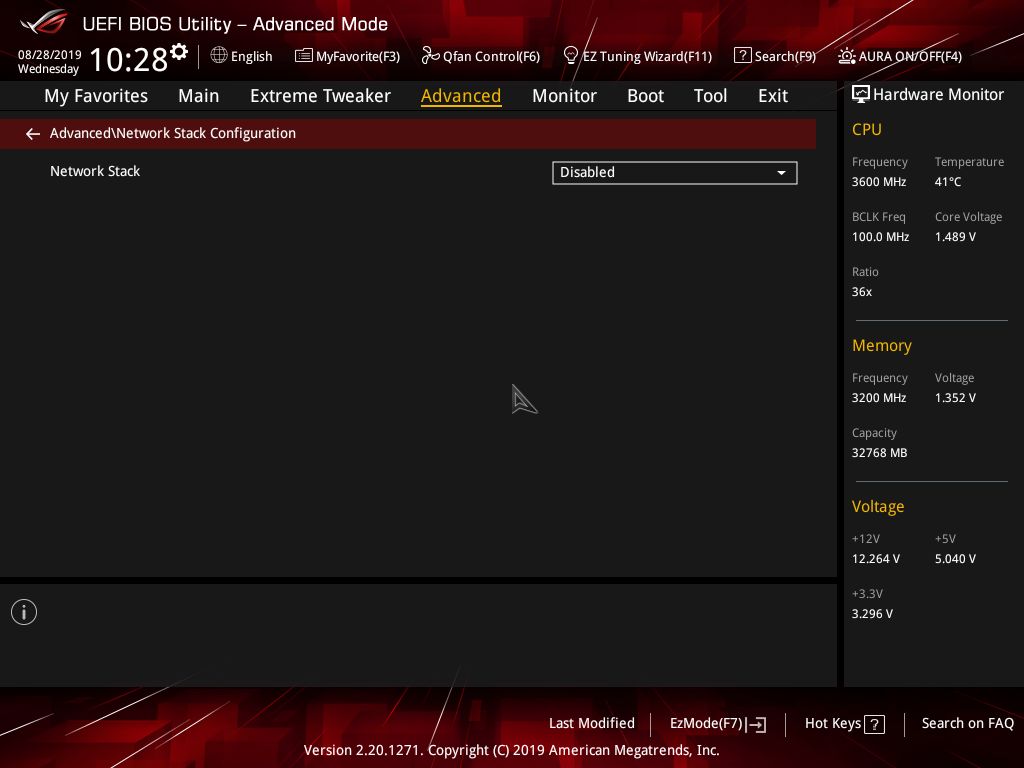
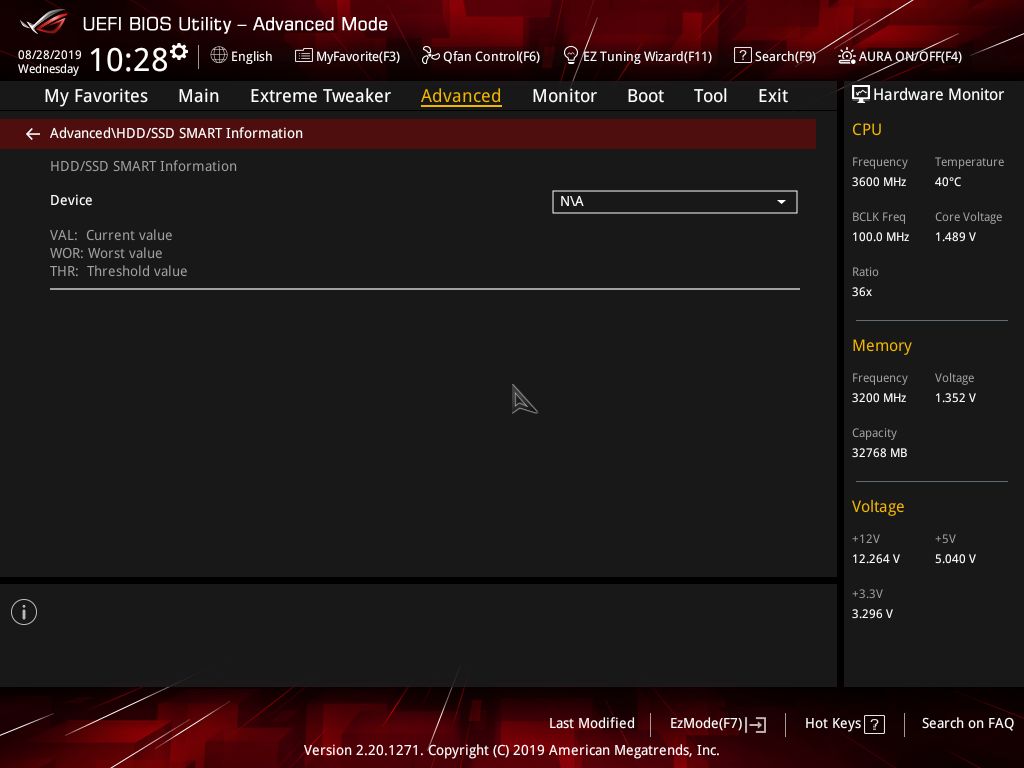
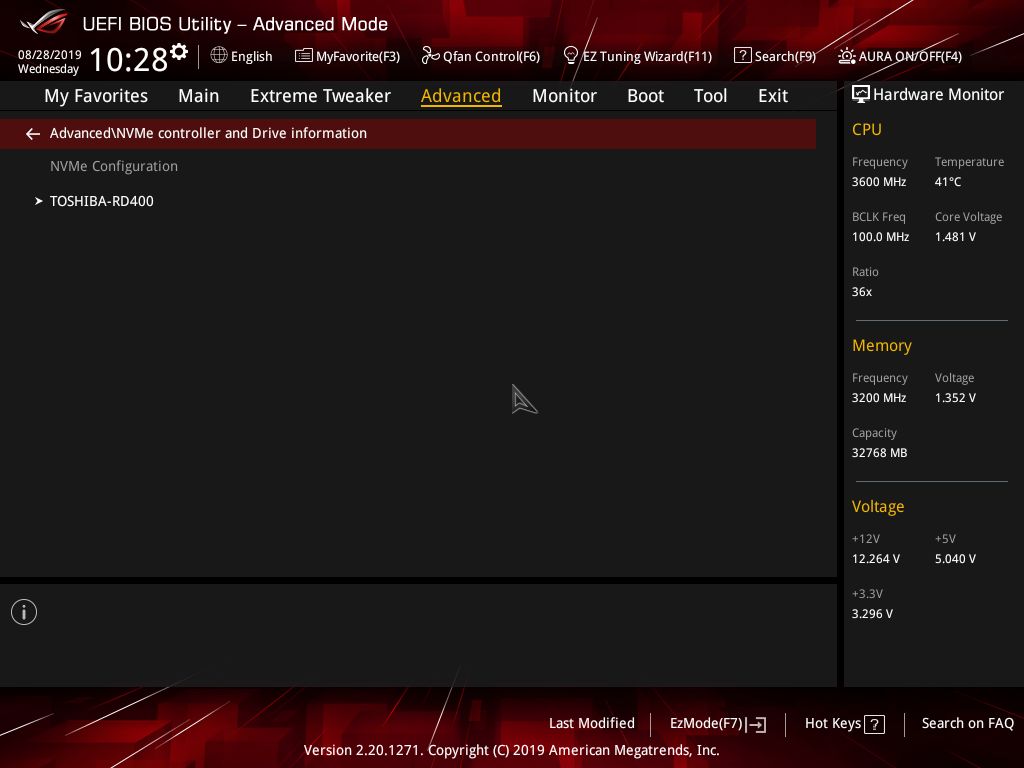
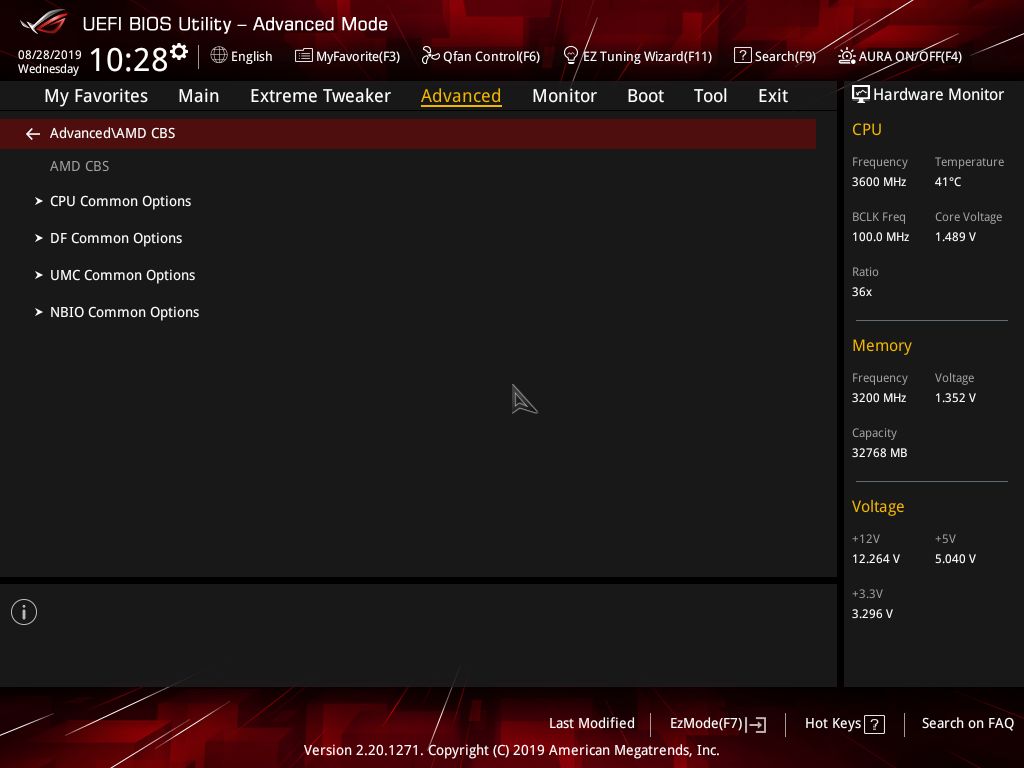
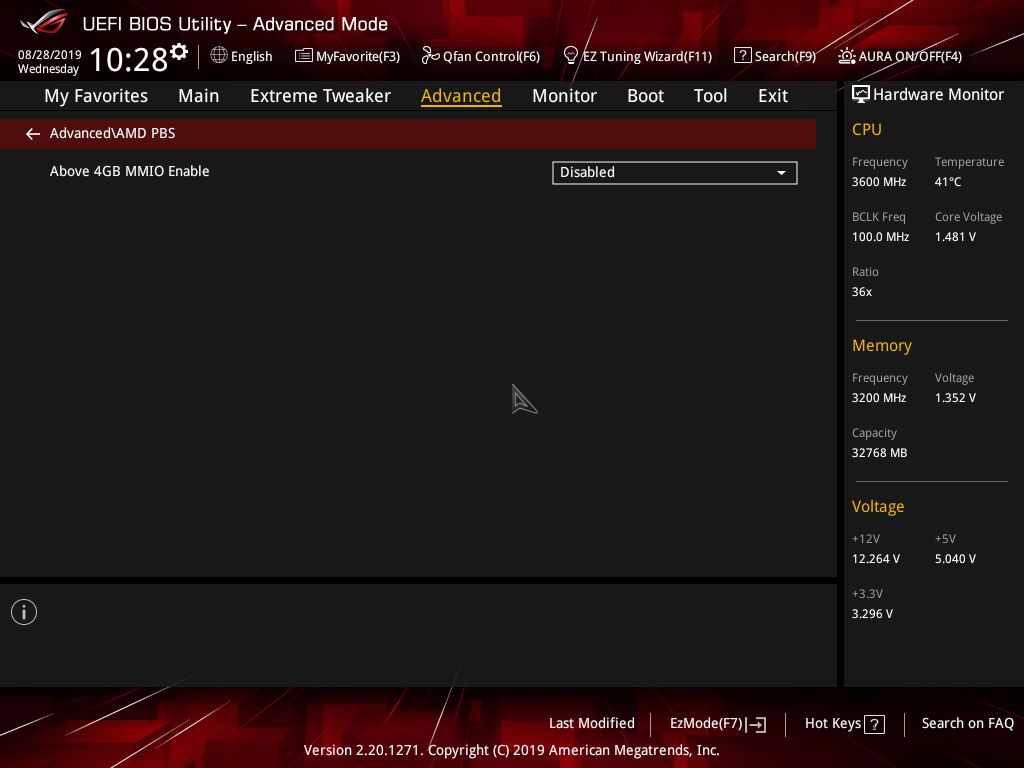
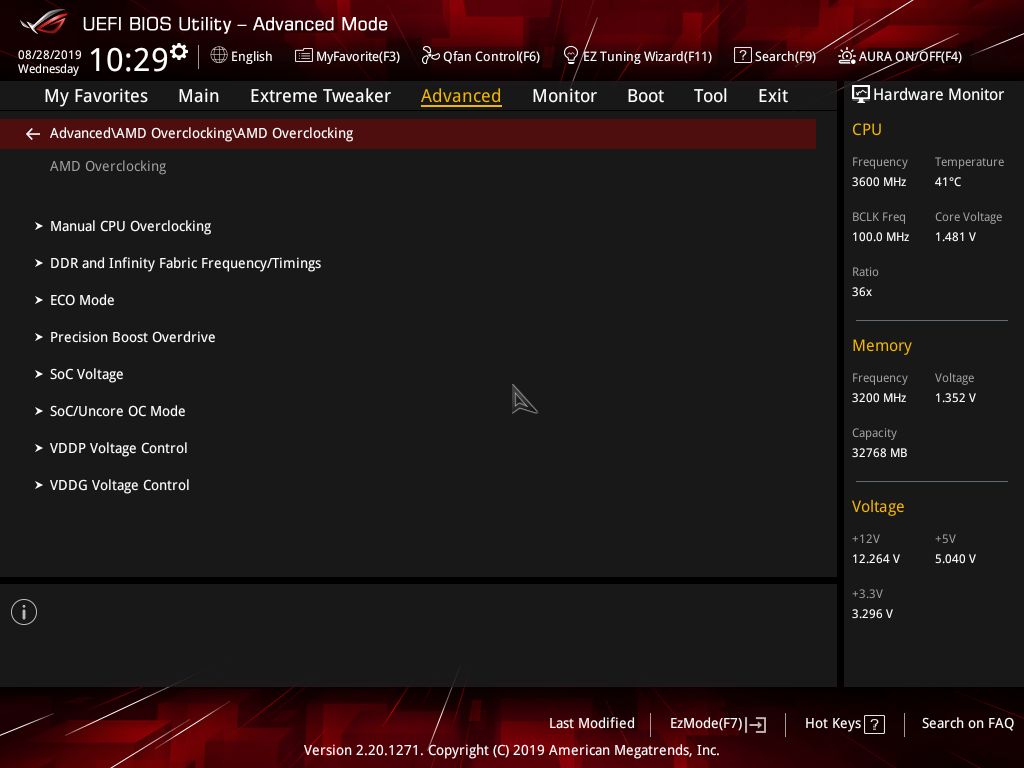
The Advanced section is where users configure the CPU, SATA, onboard device, APM, USB, Network stack, NVMe, and HDD/SSD configurations. This is also the location of AMD’s overclocking section which is injected into each BIOS.
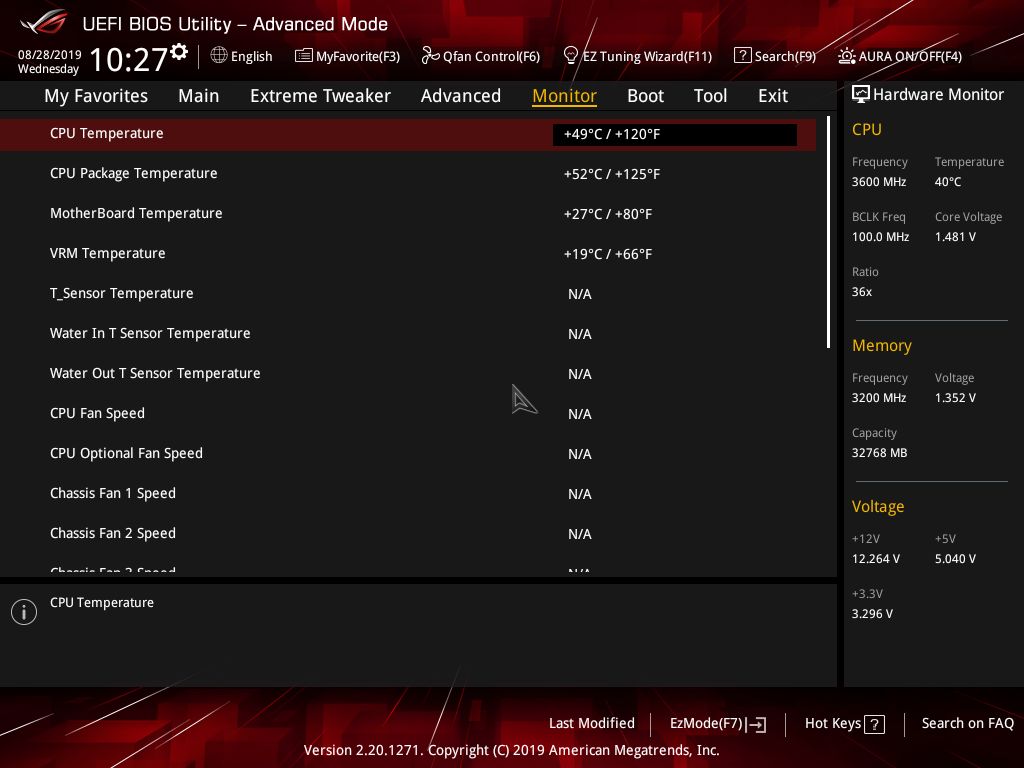
The monitoring section does just that, displaying information about the system temperatures and fan speeds. Here all the fan and pump headers are able to be controlled along with access to Q-Fan for additional control over system headers.
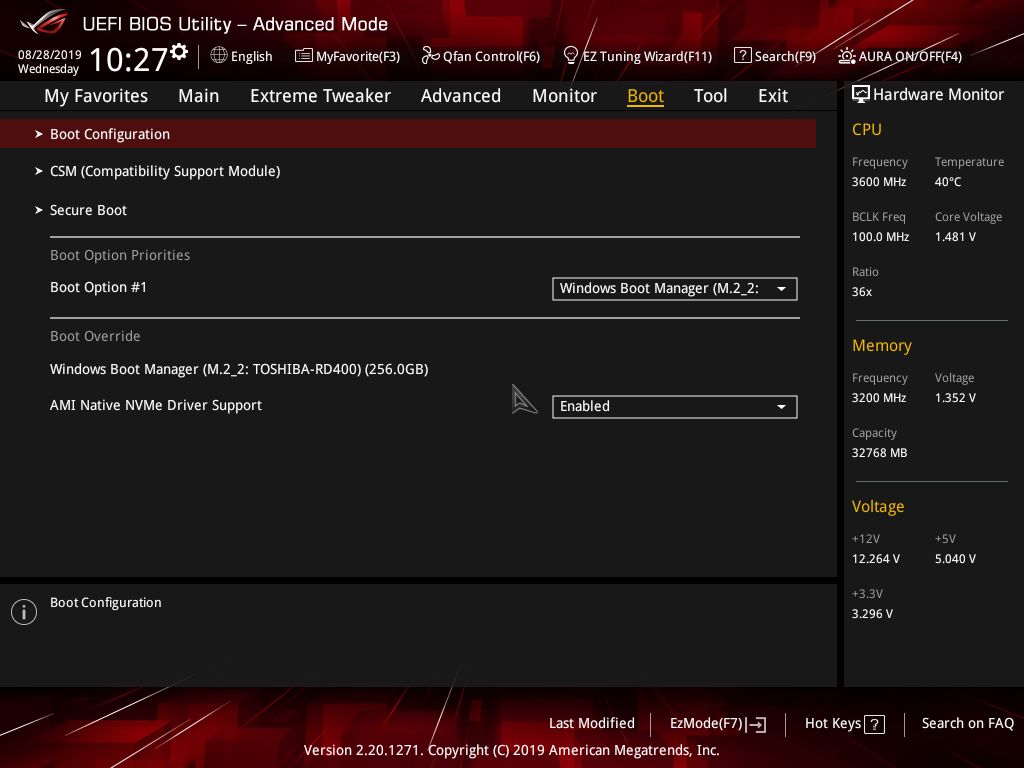
Boot and Tool we will leave alone; they are self-explanatory with nothing out of the ordinary found inside.
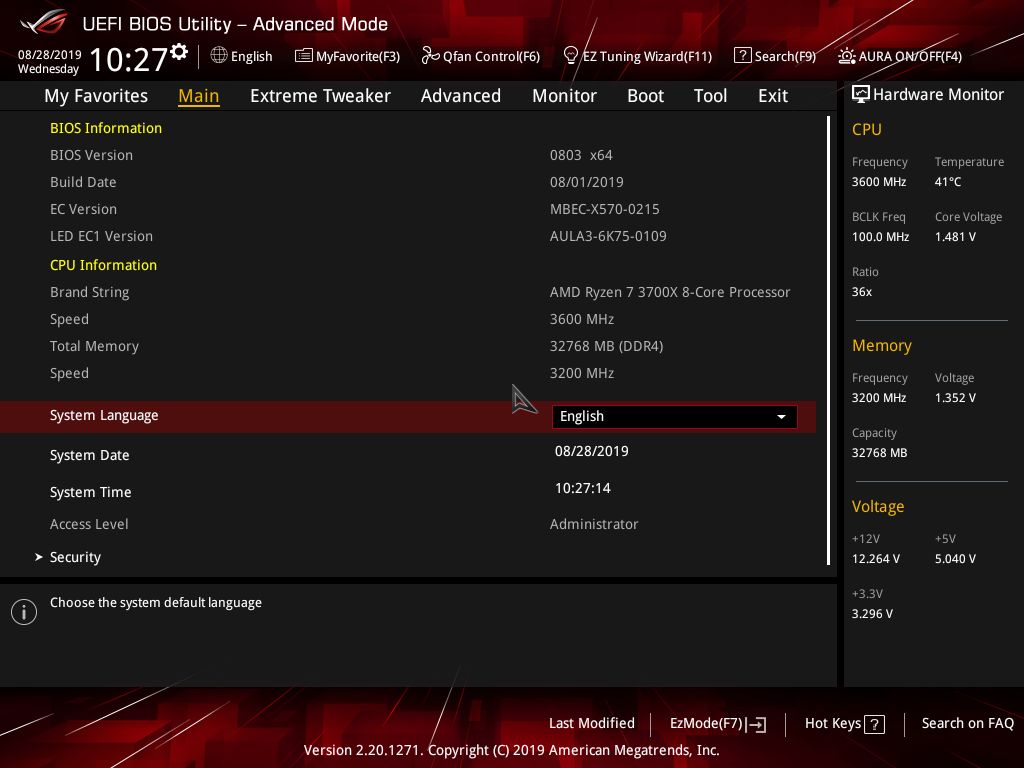
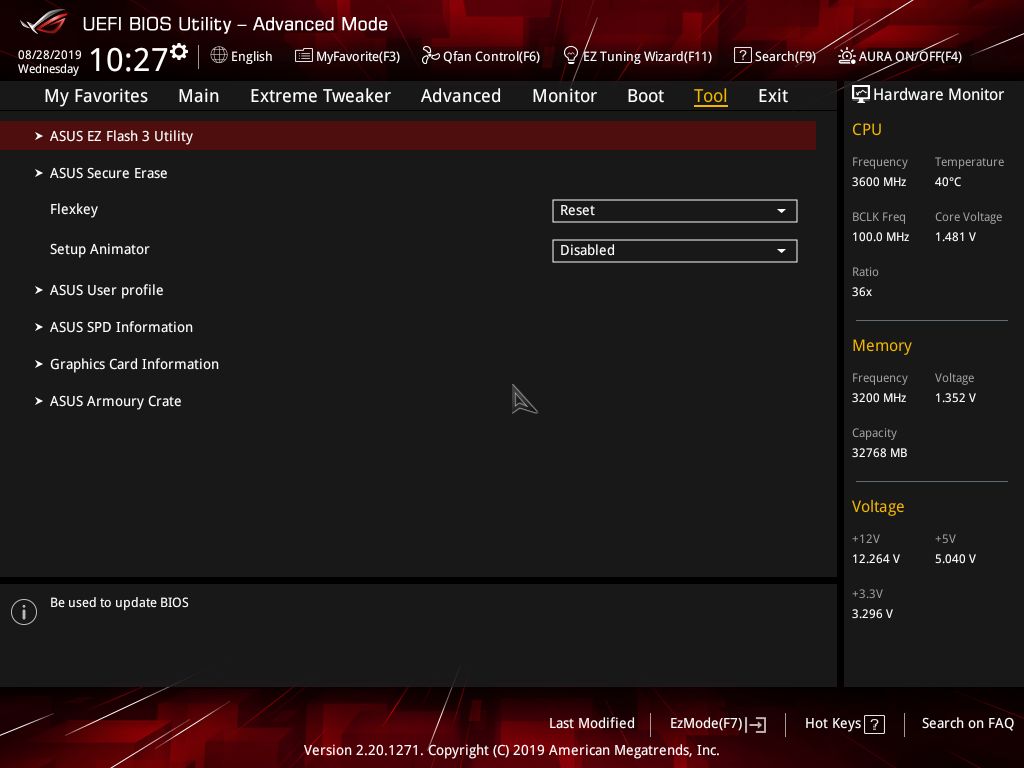
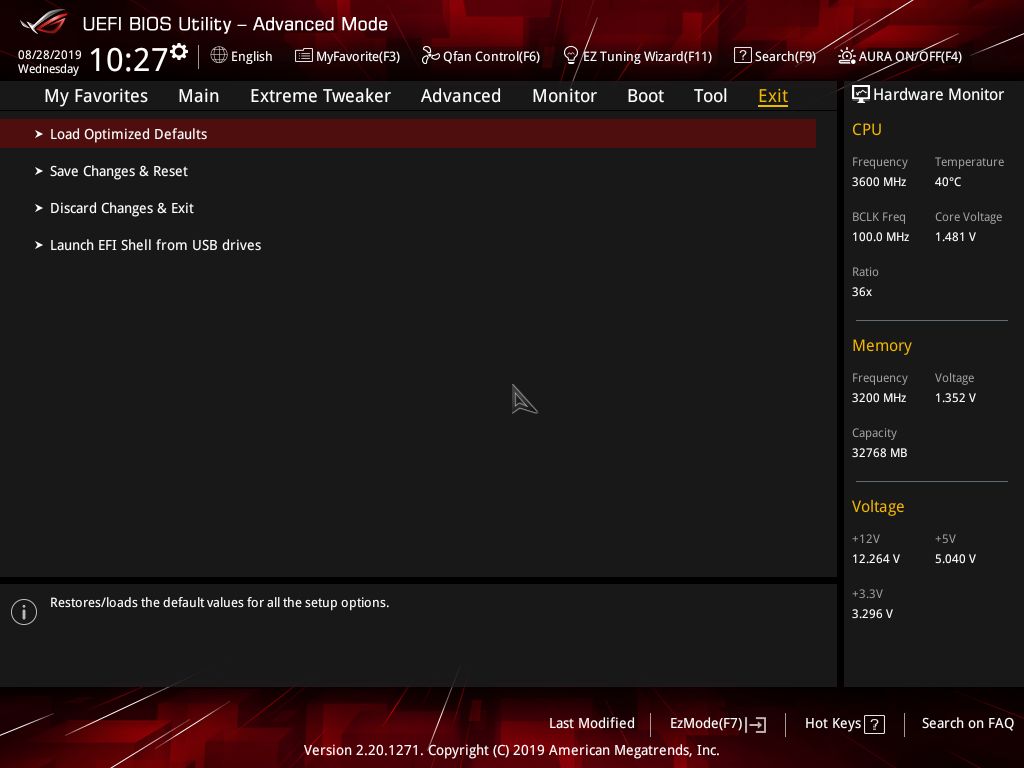
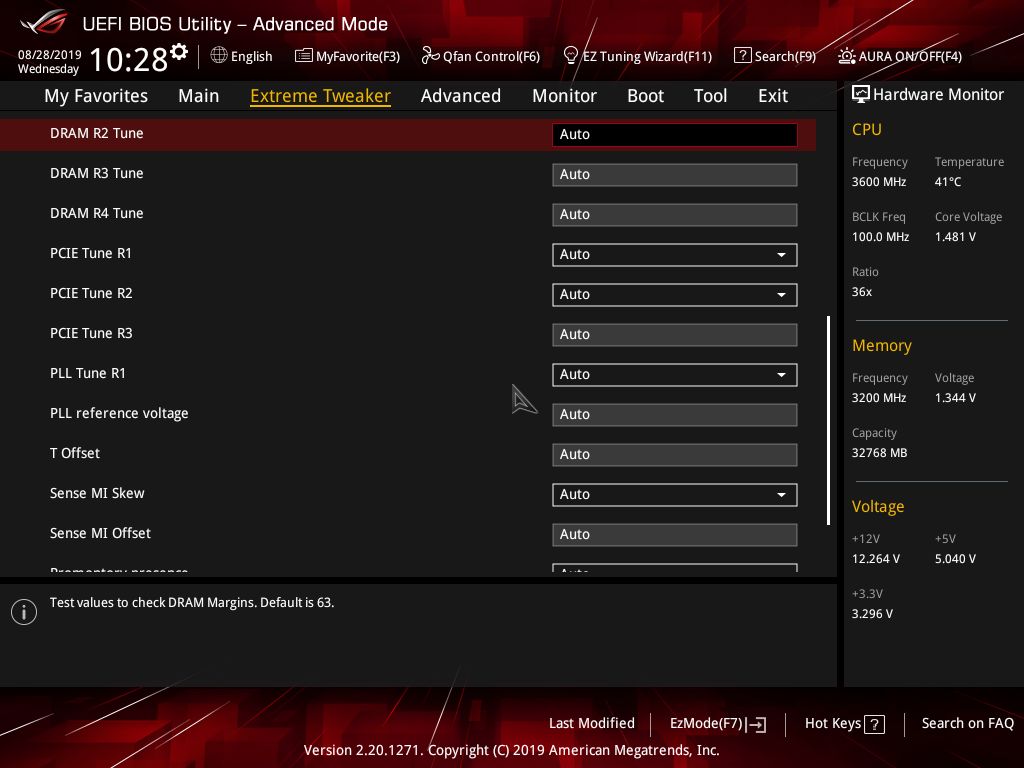
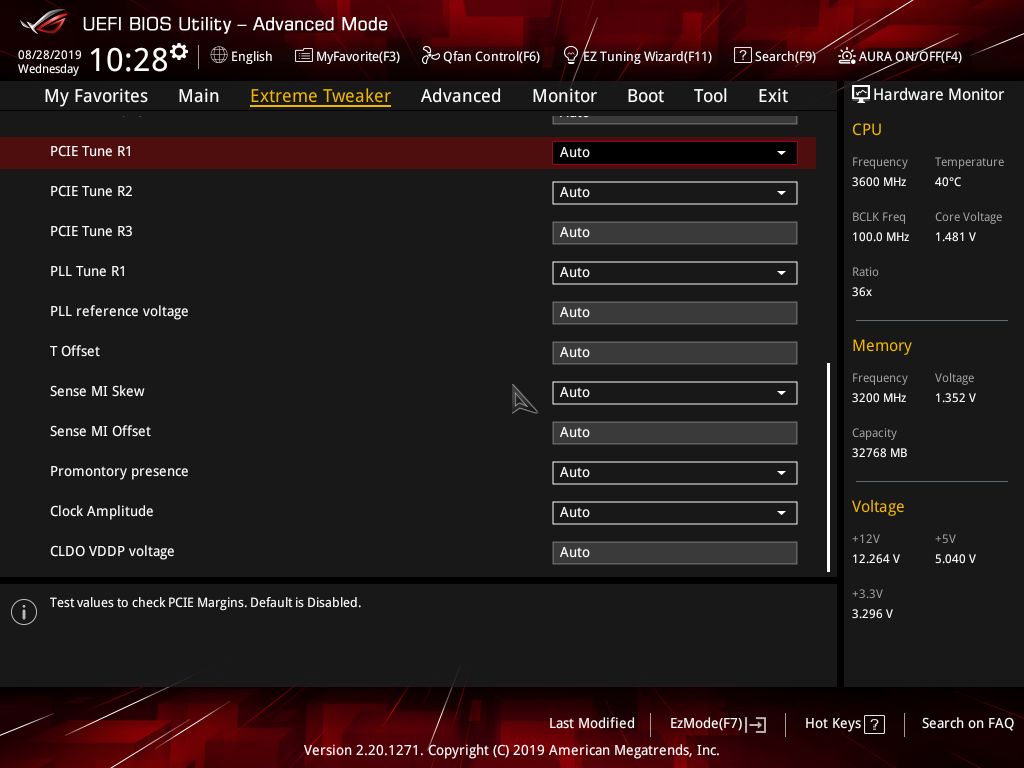
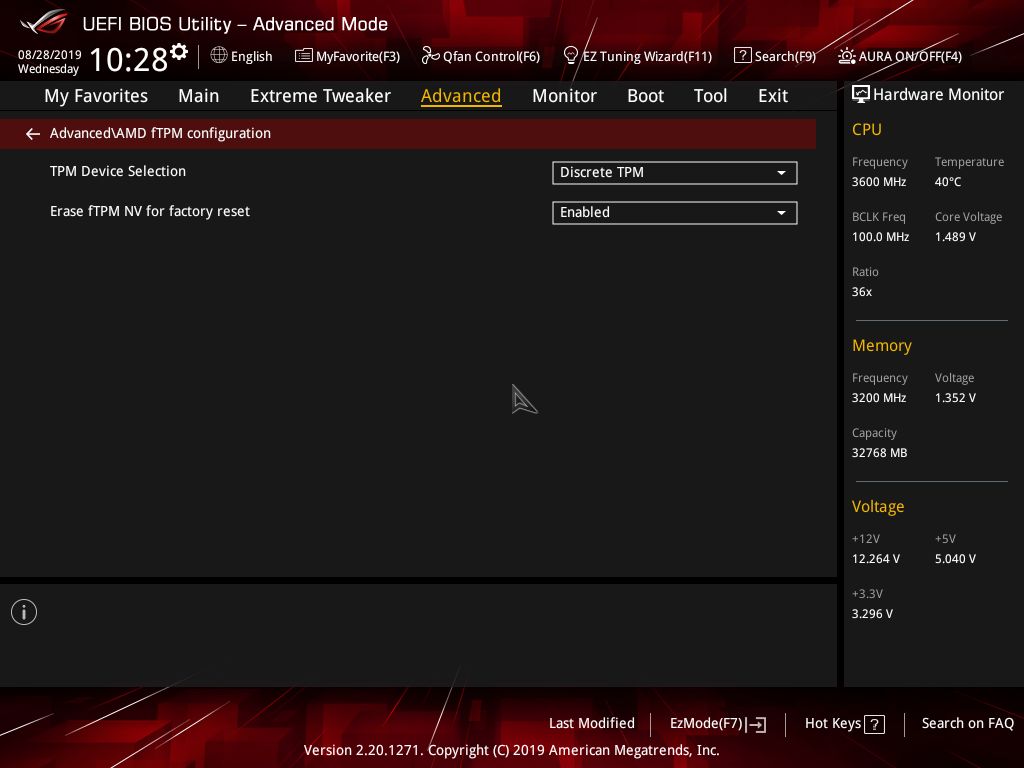
Overall I do like how the Asus ROG UEFI is laid out. It remains one of the more easy BIOS’ to use. Below is a slideshow of the rest of the BIOS.
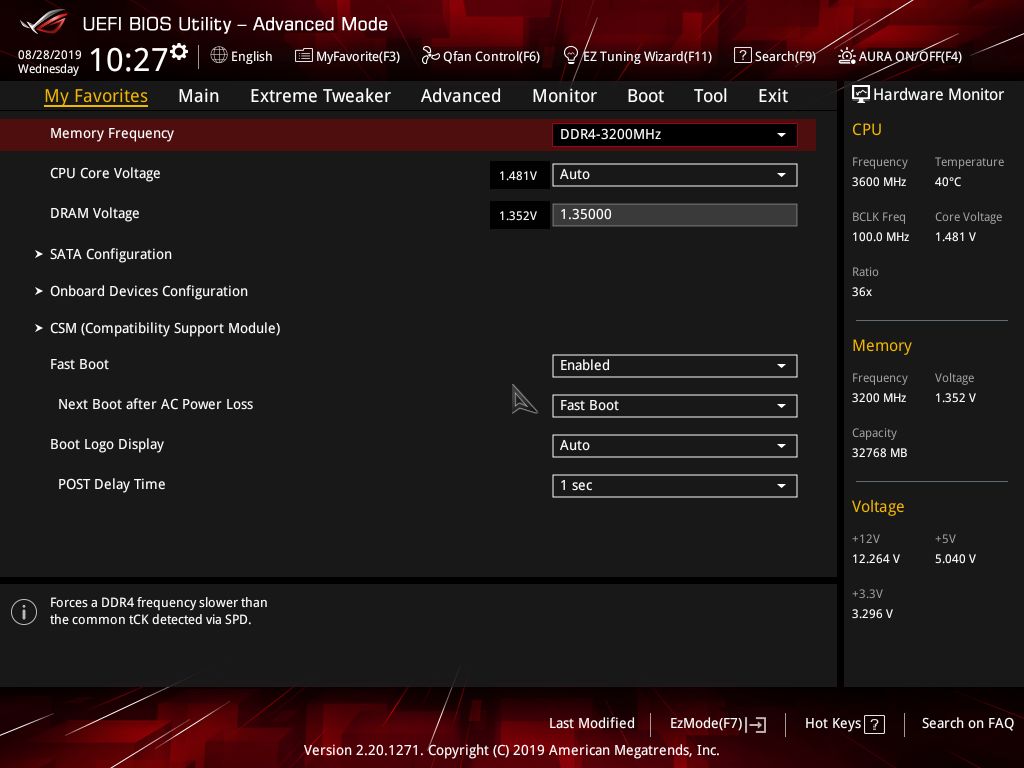
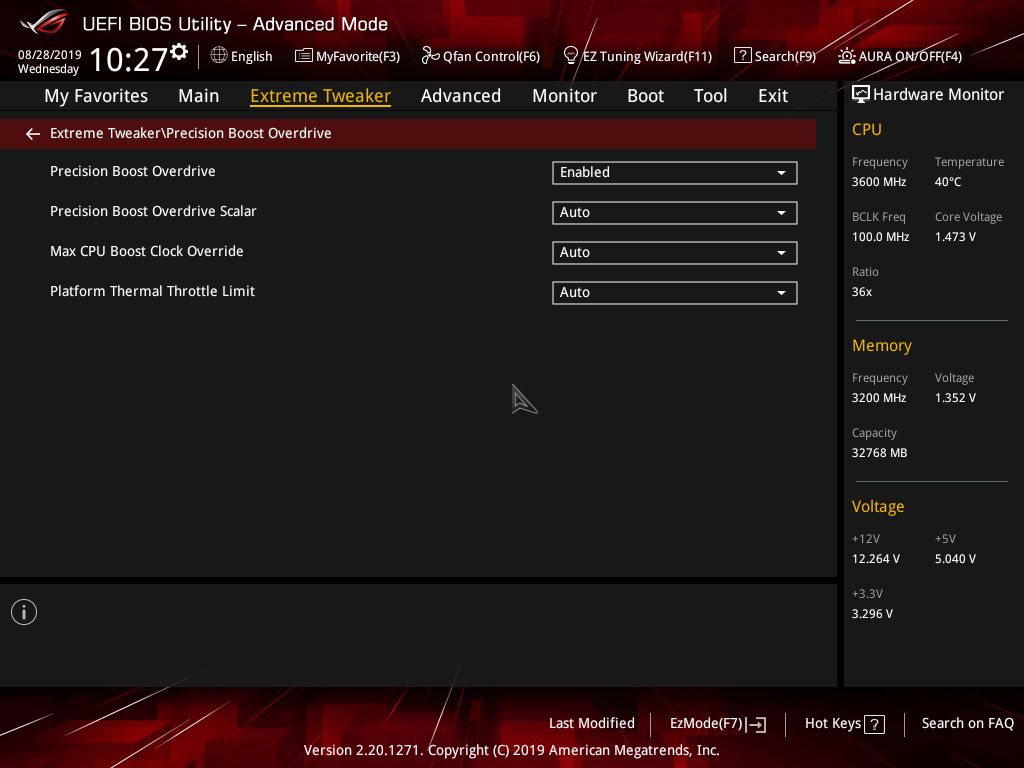
MORE: Best Motherboards
MORE: How To Choose A Motherboard
MORE: All Motherboard Content

Joe Shields is a staff writer at Tom’s Hardware. He reviews motherboards and PC components.
-
slash3 One correction for the first page - the bottom PCI-E x16 (physical) slot is an x4 (effective) from the PCH, not x8.Reply
