BenQ EX3501R 35" VA Curved FreeSync HDR Gaming Monitor Review: Good Gaming, Great Looks
Why you can trust Tom's Hardware
OSD Setup and Calibration
Like all BenQ monitors, the EX3501R has a tree-style on-screen display (OSD). It’s very easy to find your way around, even when looking for a rarely used option. We wish there was a joystick, but this display makes do with control keys on the bottom bezel edge. The power key is also there and is larger than the others with an internal LED.
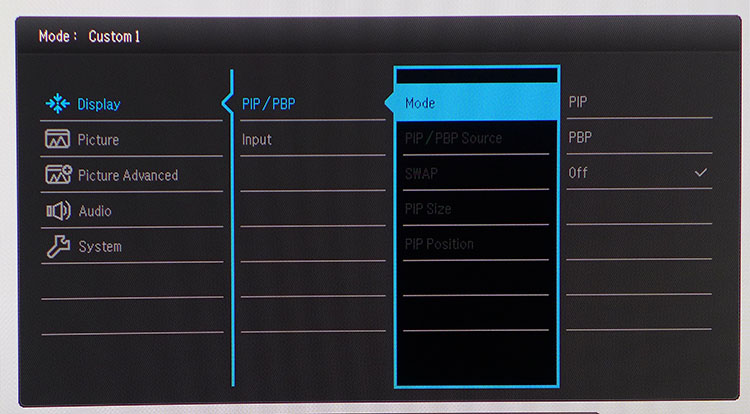
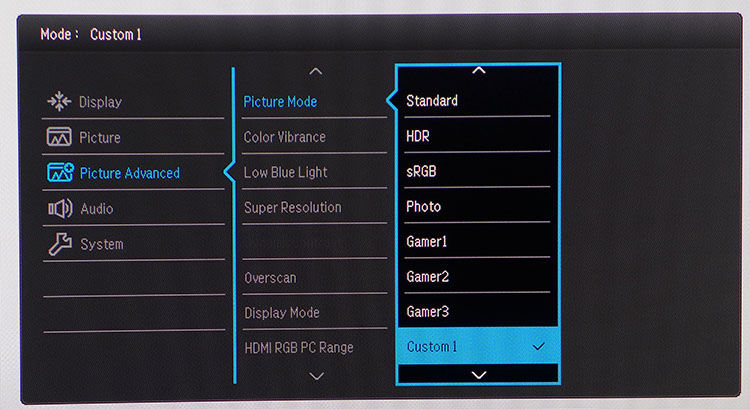
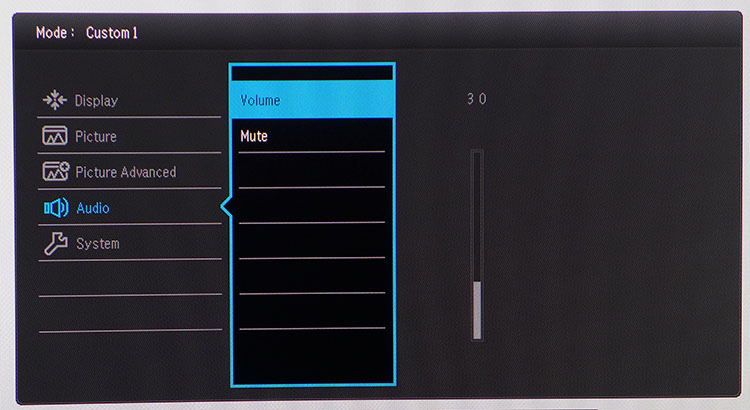
Display is the first of five sub-menus. It contains an input selector and PIP/PBP options. You can show up to two sources at once, either side-by-side, or one can be in a movable and sizable window. Inputs include two HDMI, one DisplayPort and USB-C.
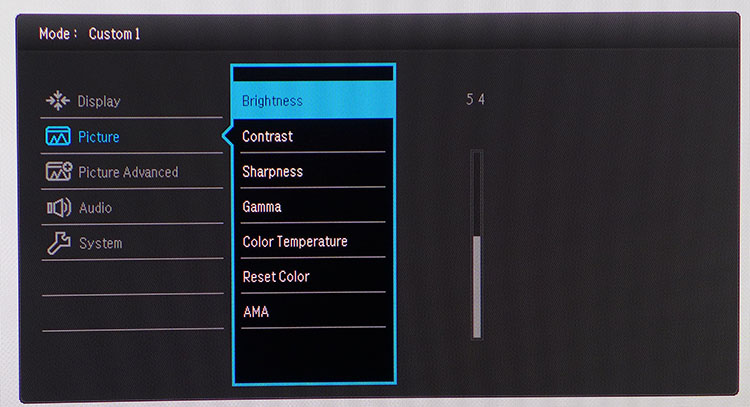
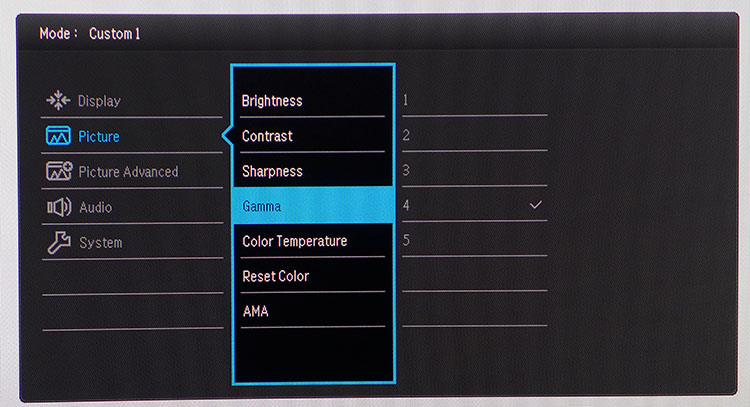
As expected, the Picture menu has traditional image settings, starting with brightness and contrast. Sharpness imparts visible edge enhancement, so use it sparingly. There are five gamma presets, all of which have flat tracking. The default is 3, but we found slightly better quality on setting 4.
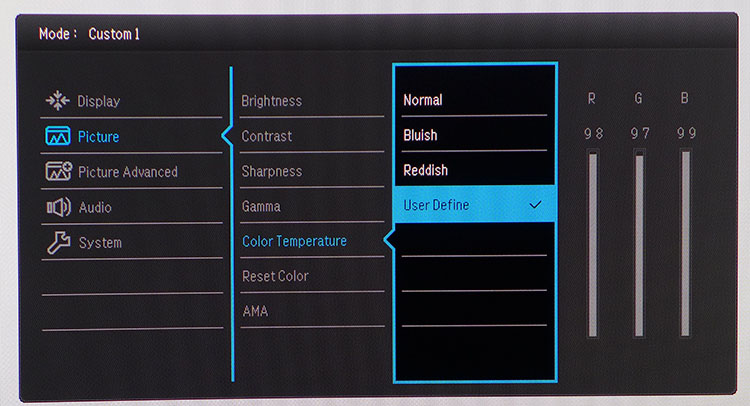
Also under Picture is an option to address Color Temperature. Here are three fixed options plus a User Define setting, which appears in the Custom picture modes. Finally under Picture is AMA, BenQ's term for overdrive. It can be used on either its High or Premium setting without visible ghosting, but we saw no difference between the two.
Eight fixed modes and space for two custom modes make up the picture presets. Unlike other BenQ HDR monitors, the EX3501R does not have an HDR emulation feature; to see HDR, you must provide an HDR signal. Selecting the HDR picture mode only skews gamma and will make SDR content look worse.
We discovered one caveat with the modes: If you want to access the Brightness Intelligence + feature, you must use a preset other than Custom. BI+ uses a front-mounted sensor to measure room light and adjust color temperature to compensate. It’s designed to reduce eye fatigue and can even change the white point over time if you wish.
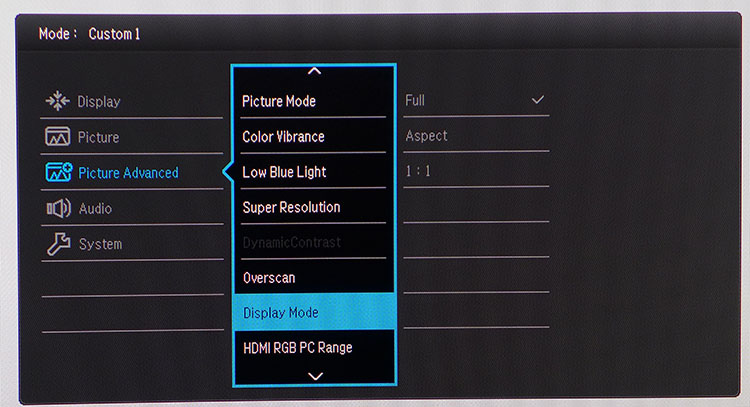
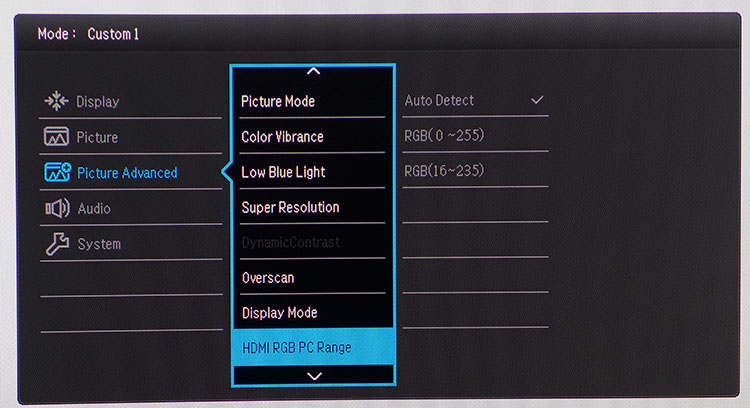
The Picture Advanced menu has a Low Blue Light feature, Color Vibrance (acts like the color control on a TV and increases perceived saturation), Super Resolution (more edge enhancement), overscan (removes the outer edge of the image and stretches the remaining picture to fit), Display Mode (aspect ratio control) and HDMI RGB PC Range (changes the black threshold for sources that don’t use the proper 16-235 video level standard). If you find clipping in your HDMI-fed material, try changing the HDMI RGB PC Range option to recover lost detail.
Get Tom's Hardware's best news and in-depth reviews, straight to your inbox.
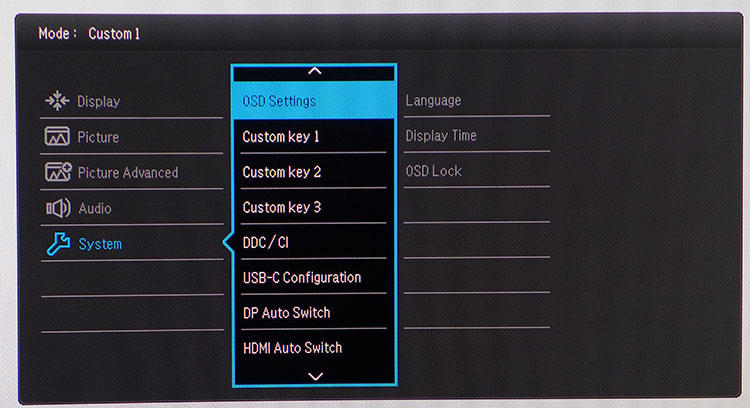
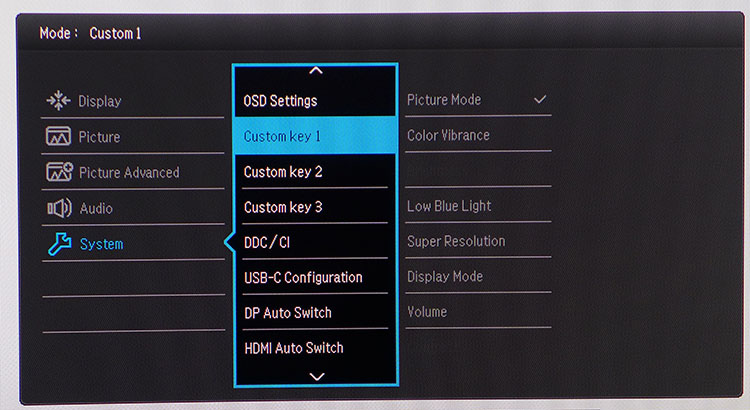
The System menu has everything else you might need to set up your EX3501R. The first three control keys can be customized to provide quick access to many different functions. USB-C Configuration lets you choose between 60 or 100Hz modes. A 100Hz connection sets USB capabilities to version 2.0. To access USB 3.1’s higher throughput, you’ll need to limit the connection to 60Hz.
Calibration
The EX3501R does not need calibration in its Standard, sRGB, or Custom modes. Out-of-box errors measured quite low in our tests, but as always, we dug a bit deeper to find the very best performance.
Custom is the only way to access the RGB sliders, which can buy you a small improvement but you won’t be able to see a difference with the naked eye.
One change we strongly suggest is to select Gamma 4 instead of 3. VA panels have higher contrast and so often benefit from a slightly darker gamma. This punches up color saturation and adds image depth.
Here are our recommend settings:
| BenQ EX3501R Calibration Settings | |
| Picture Mode | Custom 1 |
| Brightness 200 nits | 54 |
| Brightness 120 nits | 26 |
| Brightness 100 nits | 19 |
| Brightness 80 nits | 13 |
| Brightness 50 nits | 4 |
| Contrast | 48 |
| Gamma | 4 |
| Color Temp User Define | Red 98, Green 97, Blue 99 |
There are no adjustments available in HDR mode. We found little to complain about, however, as it is just as accurate as the SDR presets. As stated earlier, selecting HDR mode for SDR material is not recommended. The altered gamma does not change the picture in a positive way.
MORE: Best Gaming Monitors
MORE: How We Test Monitors
MORE: All Monitor Content
Current page: OSD Setup and Calibration
Prev Page Features and Specifications Next Page Brightness and Contrast
Christian Eberle is a Contributing Editor for Tom's Hardware US. He's a veteran reviewer of A/V equipment, specializing in monitors. Christian began his obsession with tech when he built his first PC in 1991, a 286 running DOS 3.0 at a blazing 12MHz. In 2006, he undertook training from the Imaging Science Foundation in video calibration and testing and thus started a passion for precise imaging that persists to this day. He is also a professional musician with a degree from the New England Conservatory as a classical bassoonist which he used to good effect as a performer with the West Point Army Band from 1987 to 2013. He enjoys watching movies and listening to high-end audio in his custom-built home theater and can be seen riding trails near his home on a race-ready ICE VTX recumbent trike. Christian enjoys the endless summer in Florida where he lives with his wife and Chihuahua and plays with orchestras around the state.
-
Diji1 >Right now, there are no games that can take advantage of HDRReply
Uh ... Assassin's Creed: Origins, Final Fantasy VI? -
DerekA_C mass effect andromeda I'm more concerned with that 4ms at 100hz YUCK already bought ASUS version and it was TRASH returned it motion blur and input lag VA is not where it needs to be yet ISP is still better.Reply -
jcroe72 why are screens being made with internal bezel a portion of the edges being useless its very ugly and misleadingReply -
Dantte Reply21097935 said:mass effect andromeda I'm more concerned with that 4ms at 100hz YUCK already bought ASUS version and it was TRASH returned it motion blur and input lag VA is not where it needs to be yet ISP is still better.
I think you're confusing response time with input lag:
Response Time is a measure of how fast a pixel can turn on/off (yes I'm simplifying this...) and is what affects "motion blur". VAs are generally faster and better then IPS here and there are ways to fix a monitor with a slow response such as using ULMB.
Input Lag is the time it takes for a signal sent out by the source to be displayed on the screen, this has no effect on motion blur and IPS are generally faster than VA here. Example, click you mouse button and (40ms) later that action takes place on the screen, this is input lag.
If you're truely concerned about either of the above items, get a TN panel as it smokes both IPS and VA in both fields, but you will lose a lot of color, contrast, and viewing angle with a TN. I use to do competitive game and my main gaming monitor is still a TN; anytime I'm on a VA or IPS something just feels off and i suspect its the display speed. I didnt give up my CRT (NEC FP2141SB) as my main gaming monitor until 2012 if this says anything about it... -
Colin_10 Been waiting for a monitor like this, after experiencing 144hz, going back to a 60hz monitor just for the larger size and curvature wasn't acceptable. A Curved/Freesync/VA/100Hz is in the sweet spot for me.Reply