Do It Like Tom's: Calibrating Your Monitor With CalMAN RGB
A while back, we introduced you to display calibration with Datacolor's Sypder4Elite. Today we look at CalMAN RGB, which is the other major calibration solution. With extensive meter and pattern source support, it’s positioned as a professional’s tool.
CalMAN RGB How-To: Getting Started
When you purchase any of SpectraCal’s CalMAN packages, you're able to download the software immediately. Even without a meter, you can run simulated calibrations to see how things work. Like Spyder, it’s wizard-based, so all you have to do is follow the well-written instructions on each screen.
After installing CalMAN RGB and PC Client, enter the license information that was emailed to you. From there, you're able to test-drive the software while you wait for your meter to arrive. Once that happens, plug it into a free USB port before opening the application.
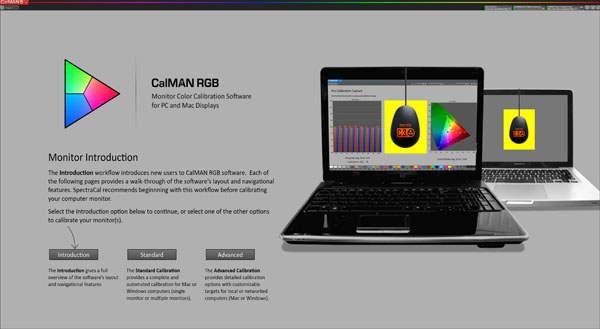
Here’s the first window you’ll see.
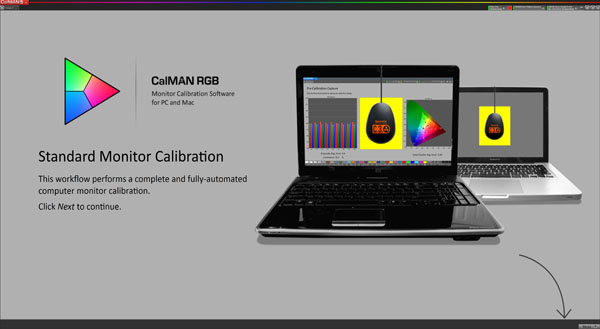
There are two modes, Standard and Advanced. Standard is super-simple and super-quick. It only performs a grayscale calibration, which in most cases is sufficient for periodic touch-ups or less critical applications. If you click Introduction, you get a very detailed tutorial that ushers you through every page and control window in CalMAN. Along the way, you can access pop-up help topics that explain some of the finer points of imaging science. We recommend that you check out this tutorial before doing the actual calibration, even if you’re experienced. CalMAN is very powerful, but you have to know how to access those features if you want to make full use of them.
We’ll take you through that procedure now, before we go more in-depth with the Advanced Calibration.
The common elements on every screen are the control tabs at the top-right and the back/next buttons at the bottom-right. All of the workflows in CalMAN operate like this. For monitor calibration, Spectracal has workflow pages with complete instructions that walk you through, step by step.
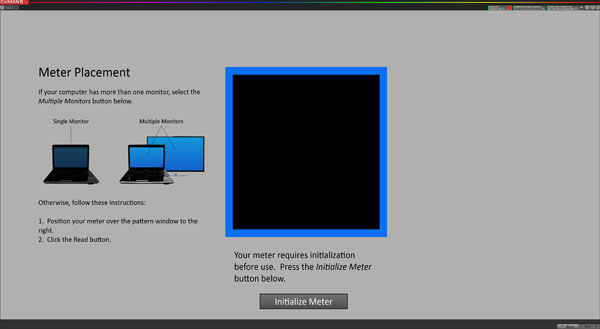
Before you can move on, the software must recognize a pattern source (the PC Client that you installed along with CalMAN). If it’s not found automatically, you’ll be prompted to search for it. Usually, that means firing up the PC Client, which then lives in your system tray. You’ll also be asked to connect a meter if you haven’t already. It’s best to do this before opening the app.
Get Tom's Hardware's best news and in-depth reviews, straight to your inbox.
If you’re using an i1Pro, set it on its calibration tile and click Initialize Meter. Tri-stim meters like the C3 or C6 don’t require initialization. This is just a dark reading to establish a measurement baseline. Once you’ve done this, hang the meter over the black window in the center of the screen, and click Next at the bottom-right.
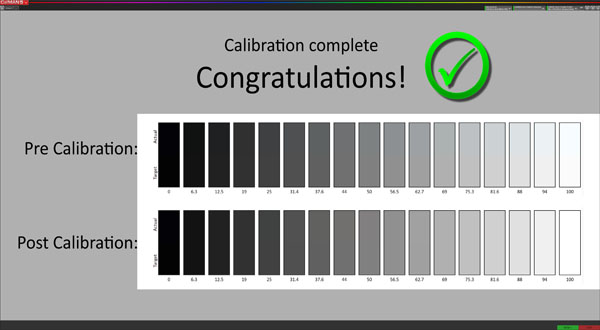
Believe it or not, the image above is the next and last screen you’ll see. CalMAN performs a 17-point grayscale calibration using full-field patterns. Again, we used a Dell UP3214Q for our exhibition, so the before and after state doesn’t look all that different in the screenshot. The calibration only affects the LUT. No changes to the monitor’s controls are made by CalMAN, nor are you prompted to make any. You’ll have to set brightness and contrast yourself. If you’re satisfied, click Exit in the lower-right and you’re done. Once you go through the procedure, you have to load PC Client every time your system starts up, which it does by default. That way, the LUTs are always available.
On the next page we’ll checkout the Advanced Calibration.
Current page: CalMAN RGB How-To: Getting Started
Prev Page CalMAN RGB In-Depth Next Page CalMAN RGB How-To: Advanced Calibration, Part 1
Christian Eberle is a Contributing Editor for Tom's Hardware US. He's a veteran reviewer of A/V equipment, specializing in monitors. Christian began his obsession with tech when he built his first PC in 1991, a 286 running DOS 3.0 at a blazing 12MHz. In 2006, he undertook training from the Imaging Science Foundation in video calibration and testing and thus started a passion for precise imaging that persists to this day. He is also a professional musician with a degree from the New England Conservatory as a classical bassoonist which he used to good effect as a performer with the West Point Army Band from 1987 to 2013. He enjoys watching movies and listening to high-end audio in his custom-built home theater and can be seen riding trails near his home on a race-ready ICE VTX recumbent trike. Christian enjoys the endless summer in Florida where he lives with his wife and Chihuahua and plays with orchestras around the state.
-
merikafyeah I know it's exaggerated for the purpose of demonstrating differences in calibrated views, but you have got to pick a better "before and after" pic than the one you've been using up to now. They don't even compare the same subject. Half of the image is one thing and the other half is something else entirely. It's impossible to compare something if you're not even certain what exactly it is that you're comparing. I'd argue they don't even depict the kind of differences you'd see in calibrated vs uncalibrated displays, just different preferences in regards to artistic color-grading.Reply -
daglesj Are the Datacolor Spyders now properly calibrated out of the factory? Apparently quality control and specs were not very well handled with the Mk3 and befores. Basically every Spyder 3 would give different results.Reply -
sveinan I would recommend a review on ColorHUG (about $110), open source display colorimeter. It's fast, and worth it's money (http://www.hughski.com/index.html).Reply -
MANOFKRYPTONAK CNET reviews TVs and they post their calibration settings that they use for the best results. Each calibration is set up with professional tools, you can look up each tv by model number. I don't know if it is as good as this but.. its free! And it made a difference for me. But others like colorHUG, displaycalGUI, etc... are good just some different options if anyone is looking.Reply -
cangelini ReplyHate to say it, but this one reads like an infomercial....
This is simply the follow-up to an earlier story we did on Datacolor's solution that was well-received: http://www.tomshardware.com/reviews/spyder4-monitor-calibration-image-quality,3581.html. Both tools are in-use in our labs--I think it's useful to show our readers what we use to review monitors and how they might achieve similar results. At least, that was the intent. -
Evolution2001 I'd really like to calibrate my projector using more than just my eyes for perception. Using either the Spyder or CalMAN solutions, which ones offers me the least expensive path to that goal? Is it better to buy one of their all-inclusive packages, or find a colorimeter and software independently?Reply


