Corsair iCUE 220T RGB Airflow Chassis Review: Compact ATX Performer
Why you can trust Tom's Hardware
Hardware Installation and Test Configuration
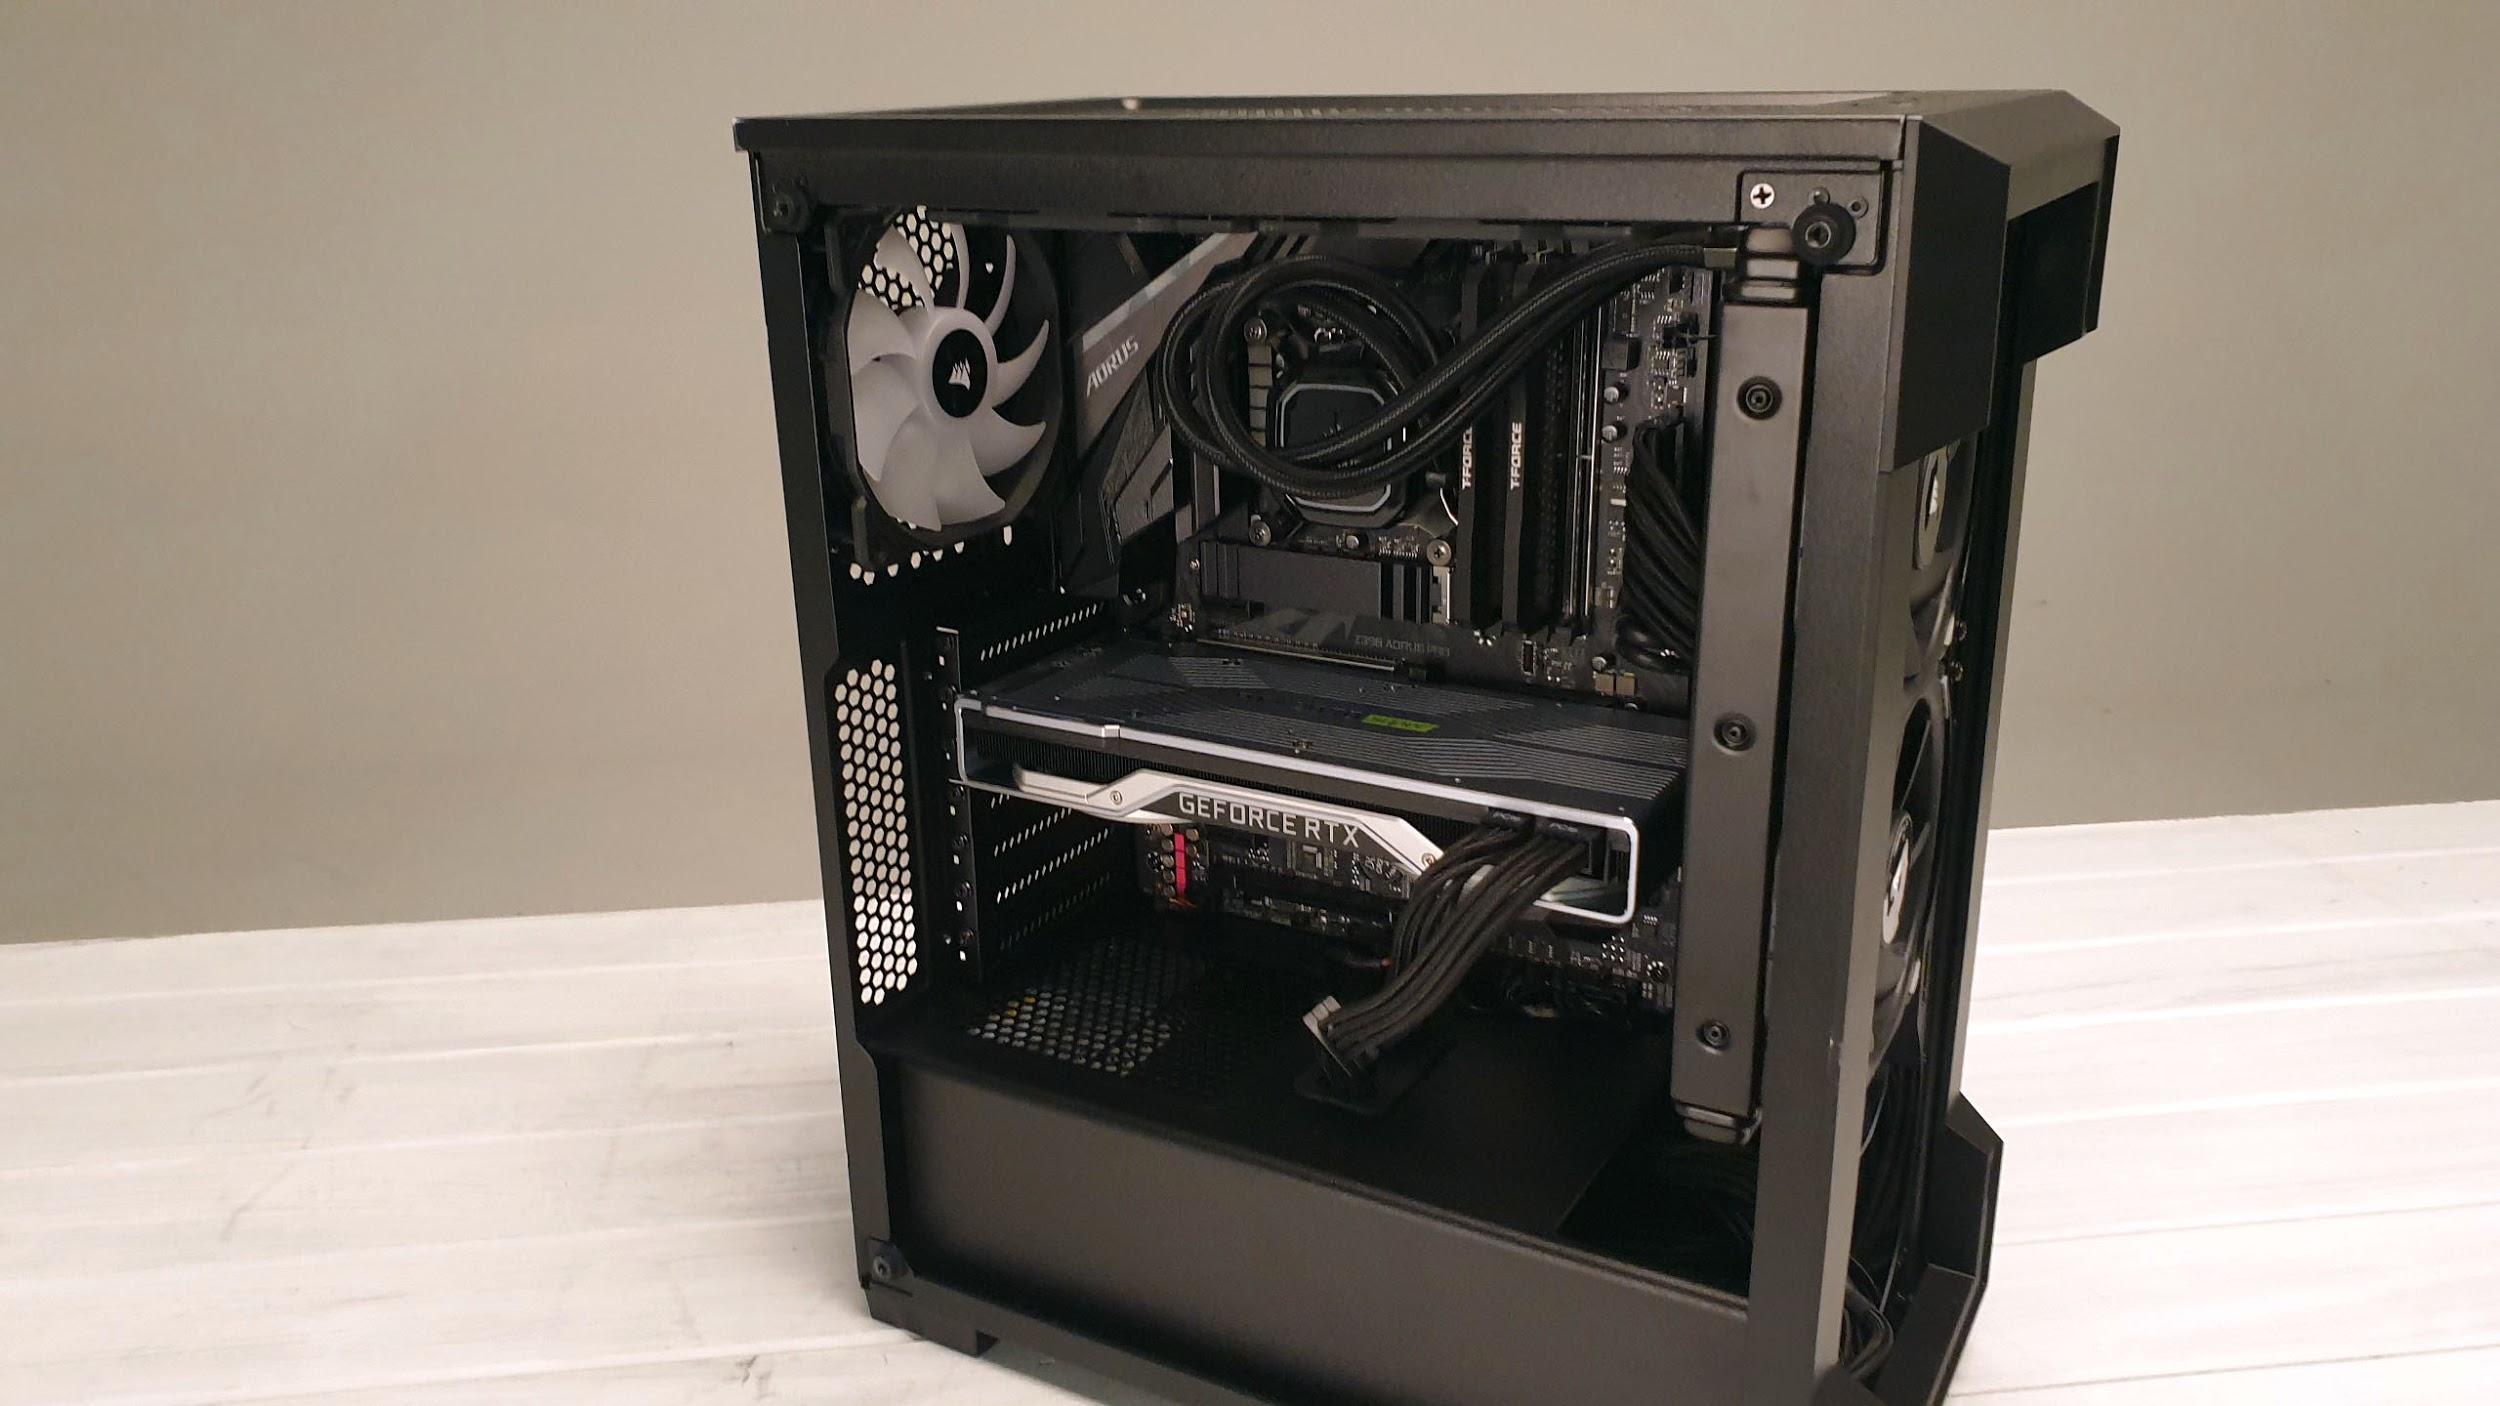
To find out how easy the Corsair 220T RGB Airflow is to use and how well it performs, we installed a complete system inside it. Our ATX test bench consists of the following:
| CPU | Core i9-9900K |
| Cooler | Corsair H100X 240mm AIO + 2x Corsair ML120 Pro Fans |
| Graphics | GeForce RTX 2070 Super |
| Motherboard | Gigabyte Z390 Aorus Pro |
| Memory | 16GB (2x8GB) T-Force Pro Dark @ 3600 MT/s |
| Power Supply | Corsair HX750 80+ Platinum Power Supply |
| Storage | 240GB PNY CS1311 2.5-inch SSD |
| Cables | Corsair Sleeved PSU Cables Pro Kit Type 4 |
Installing the Motherboard
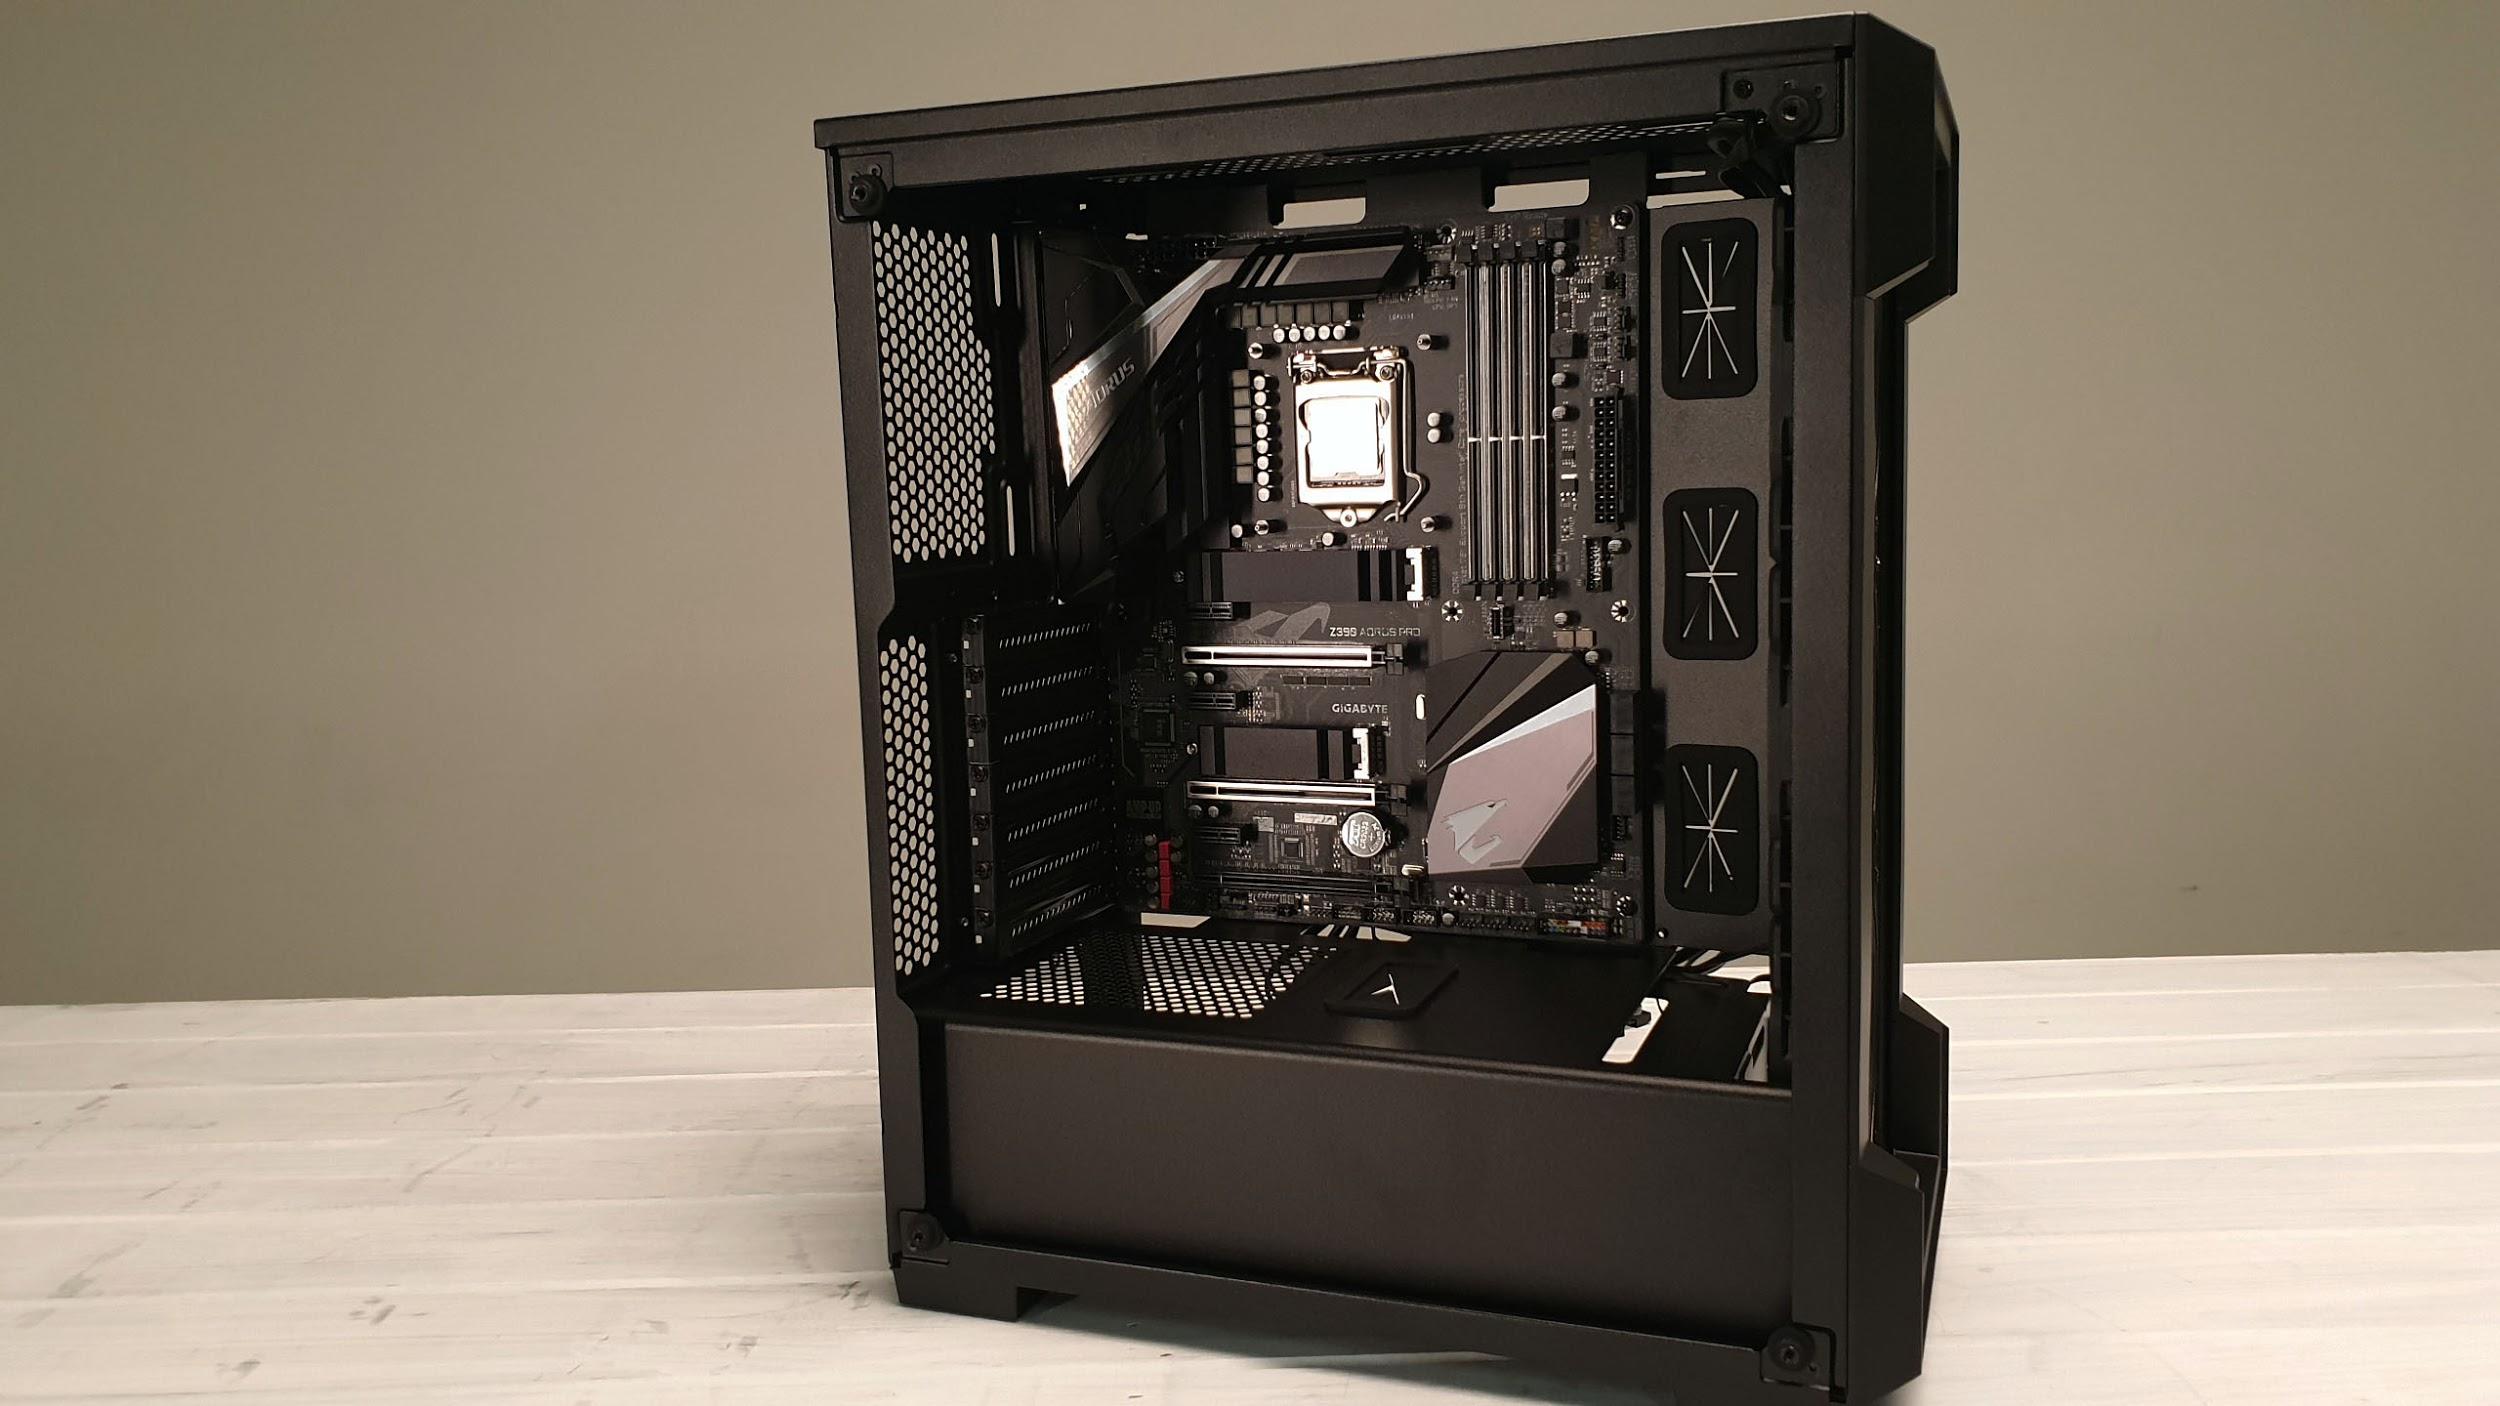
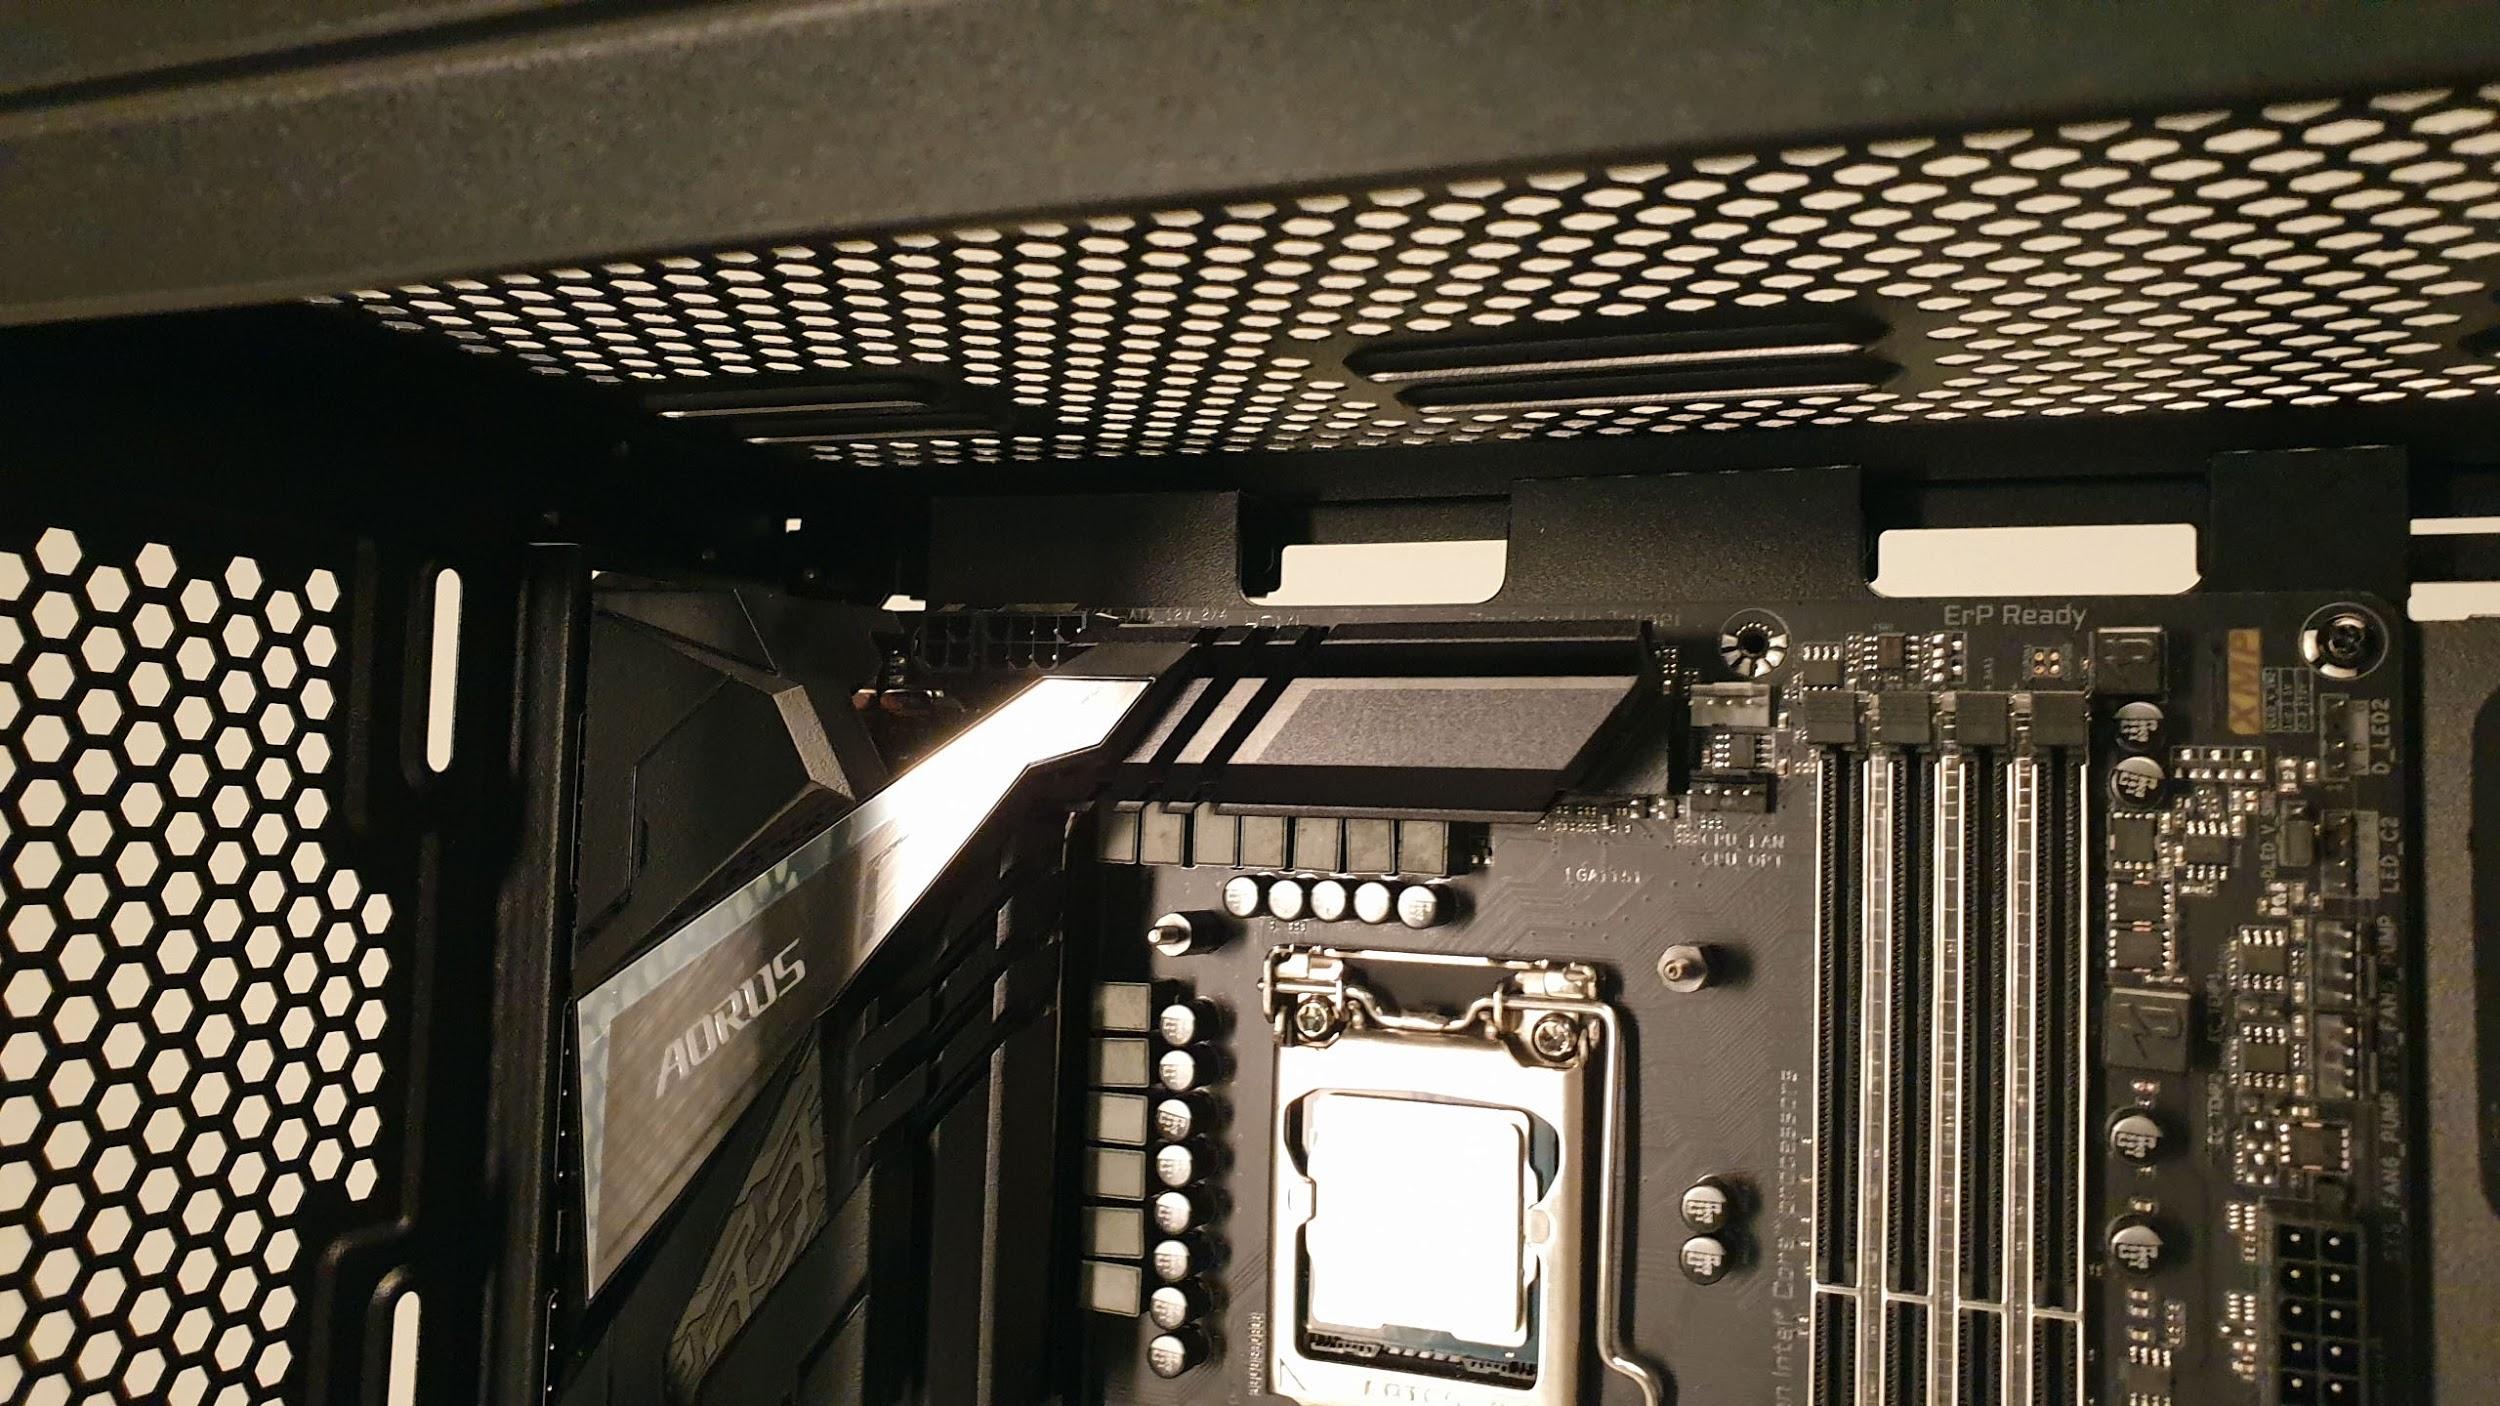
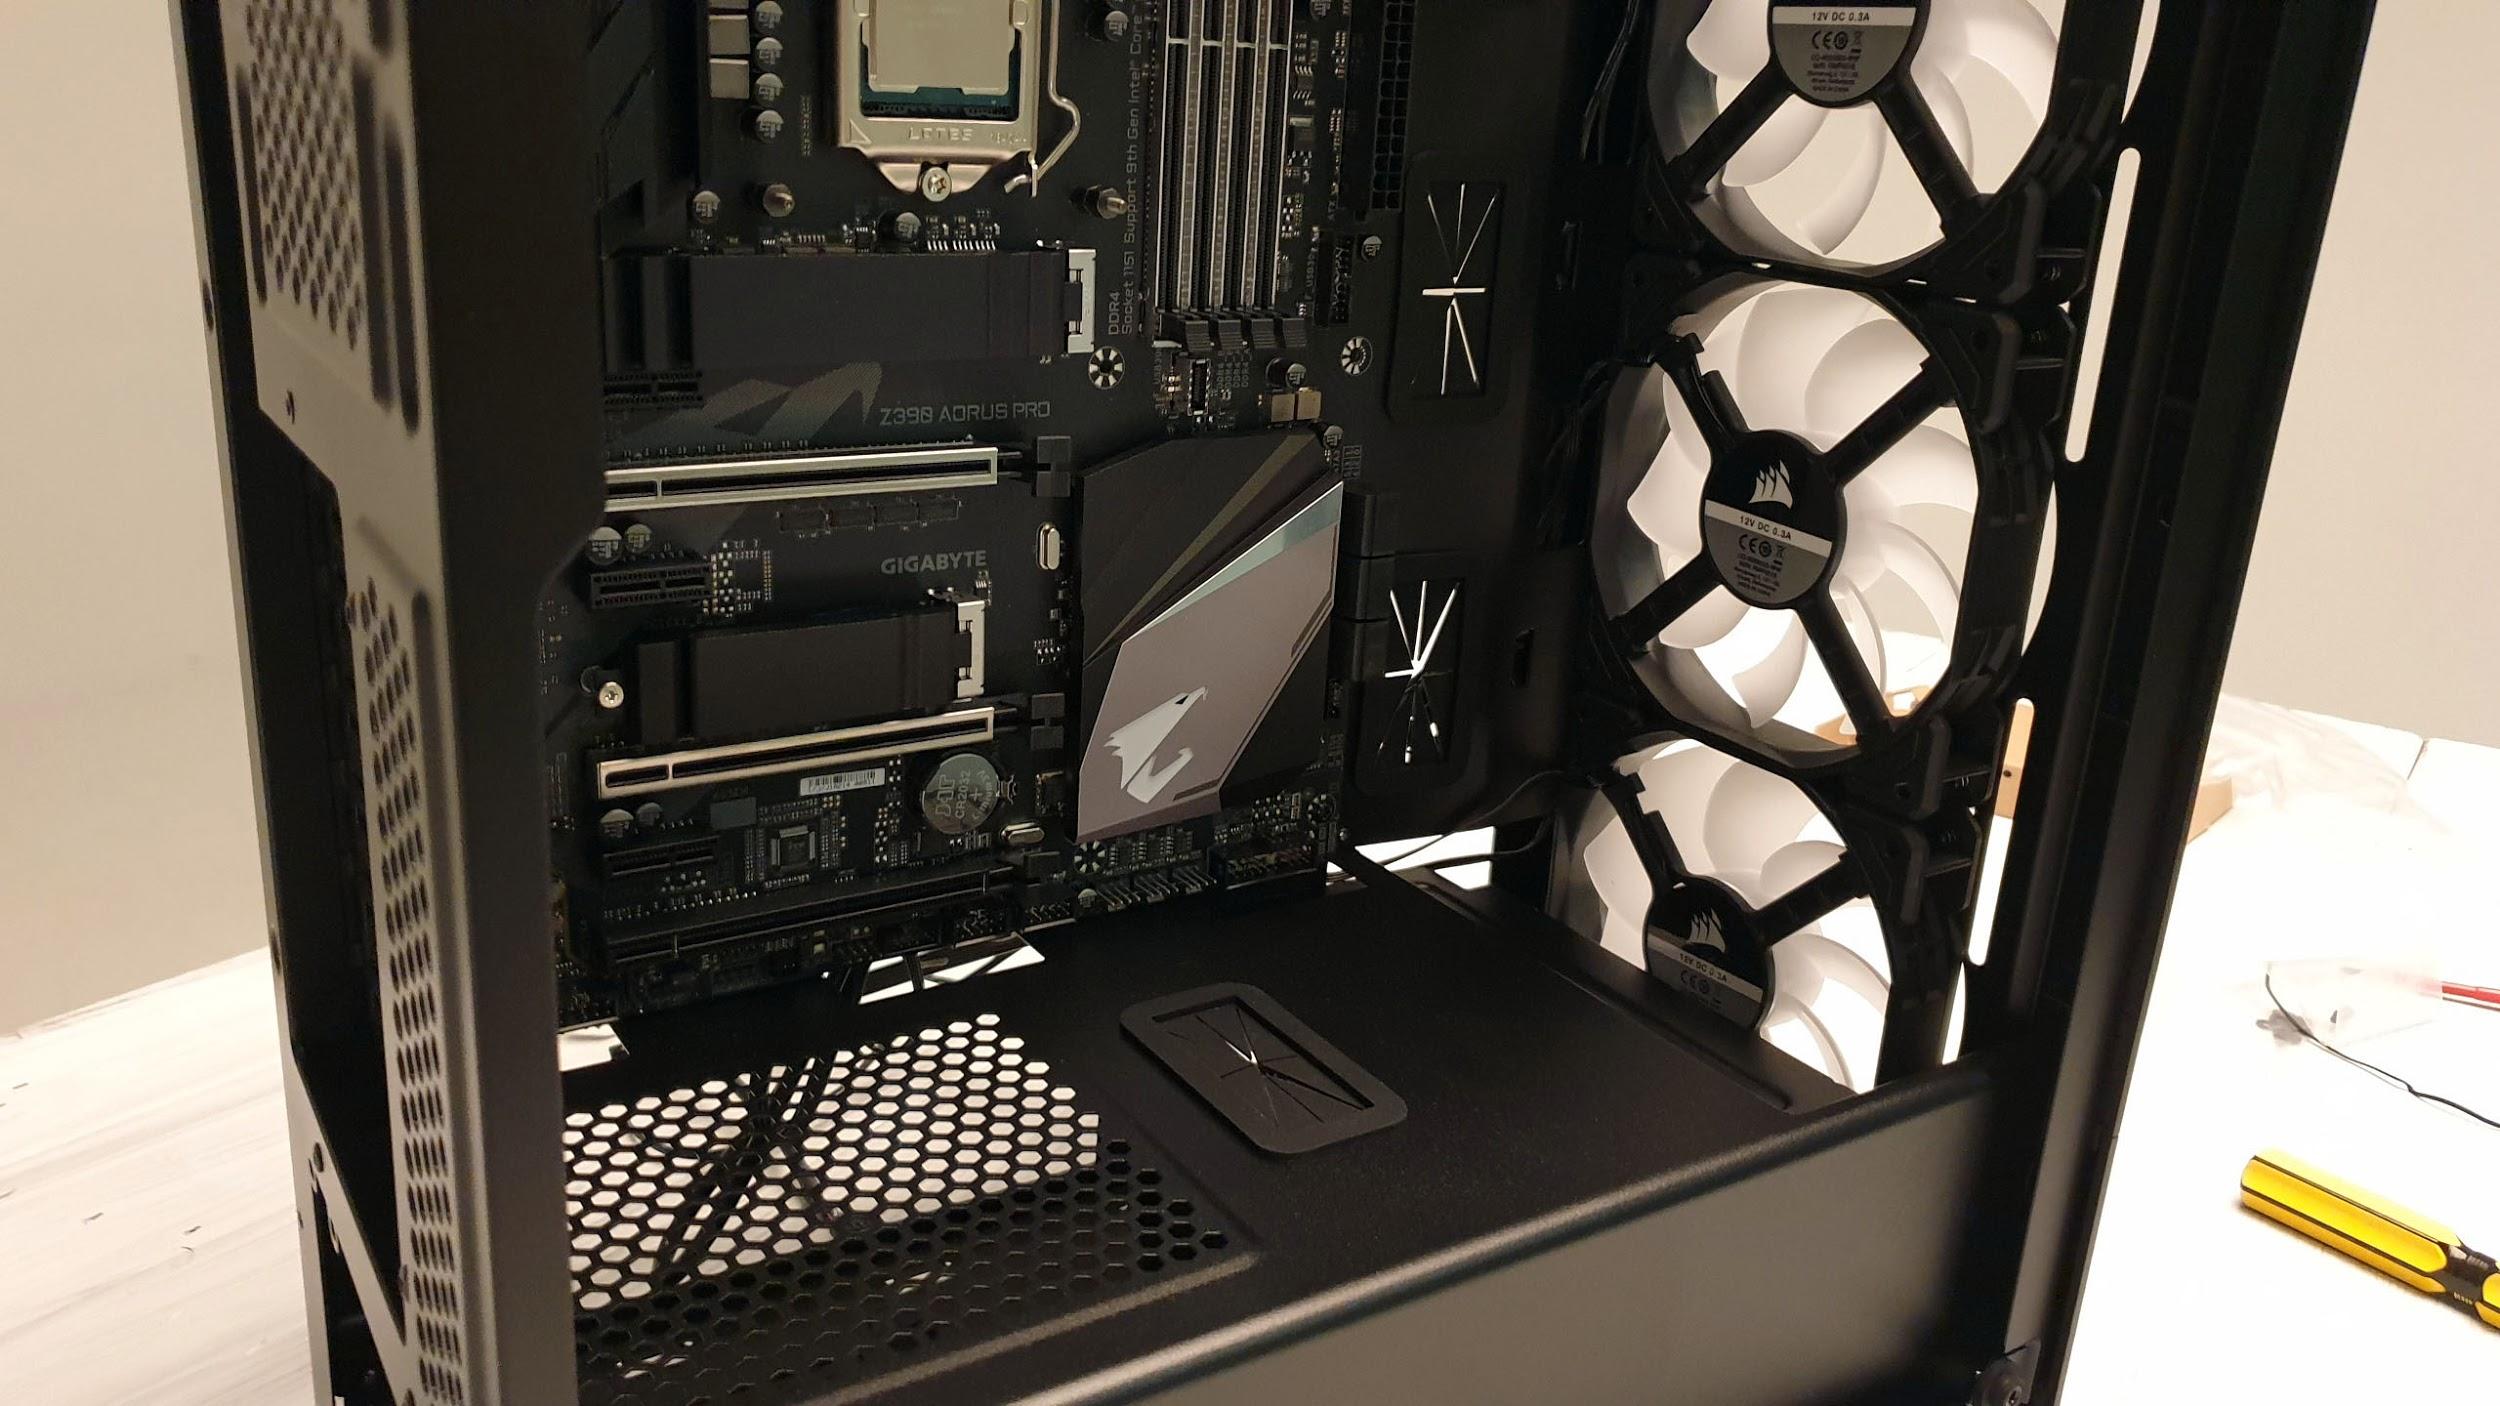
So first up on our list of things to install was the motherboard. We threw this in pretty quickly, with the CPU and AIO backplate installed in to our Gigabyte Z390 Aorus Pro. It was a fairly tight fit, with little clearance at the top for cables, especially if we wanted to install a 240mm AIO in the roof. So we knew we were going to need to do all of our cabling first.
Power Supply and Hard Drives
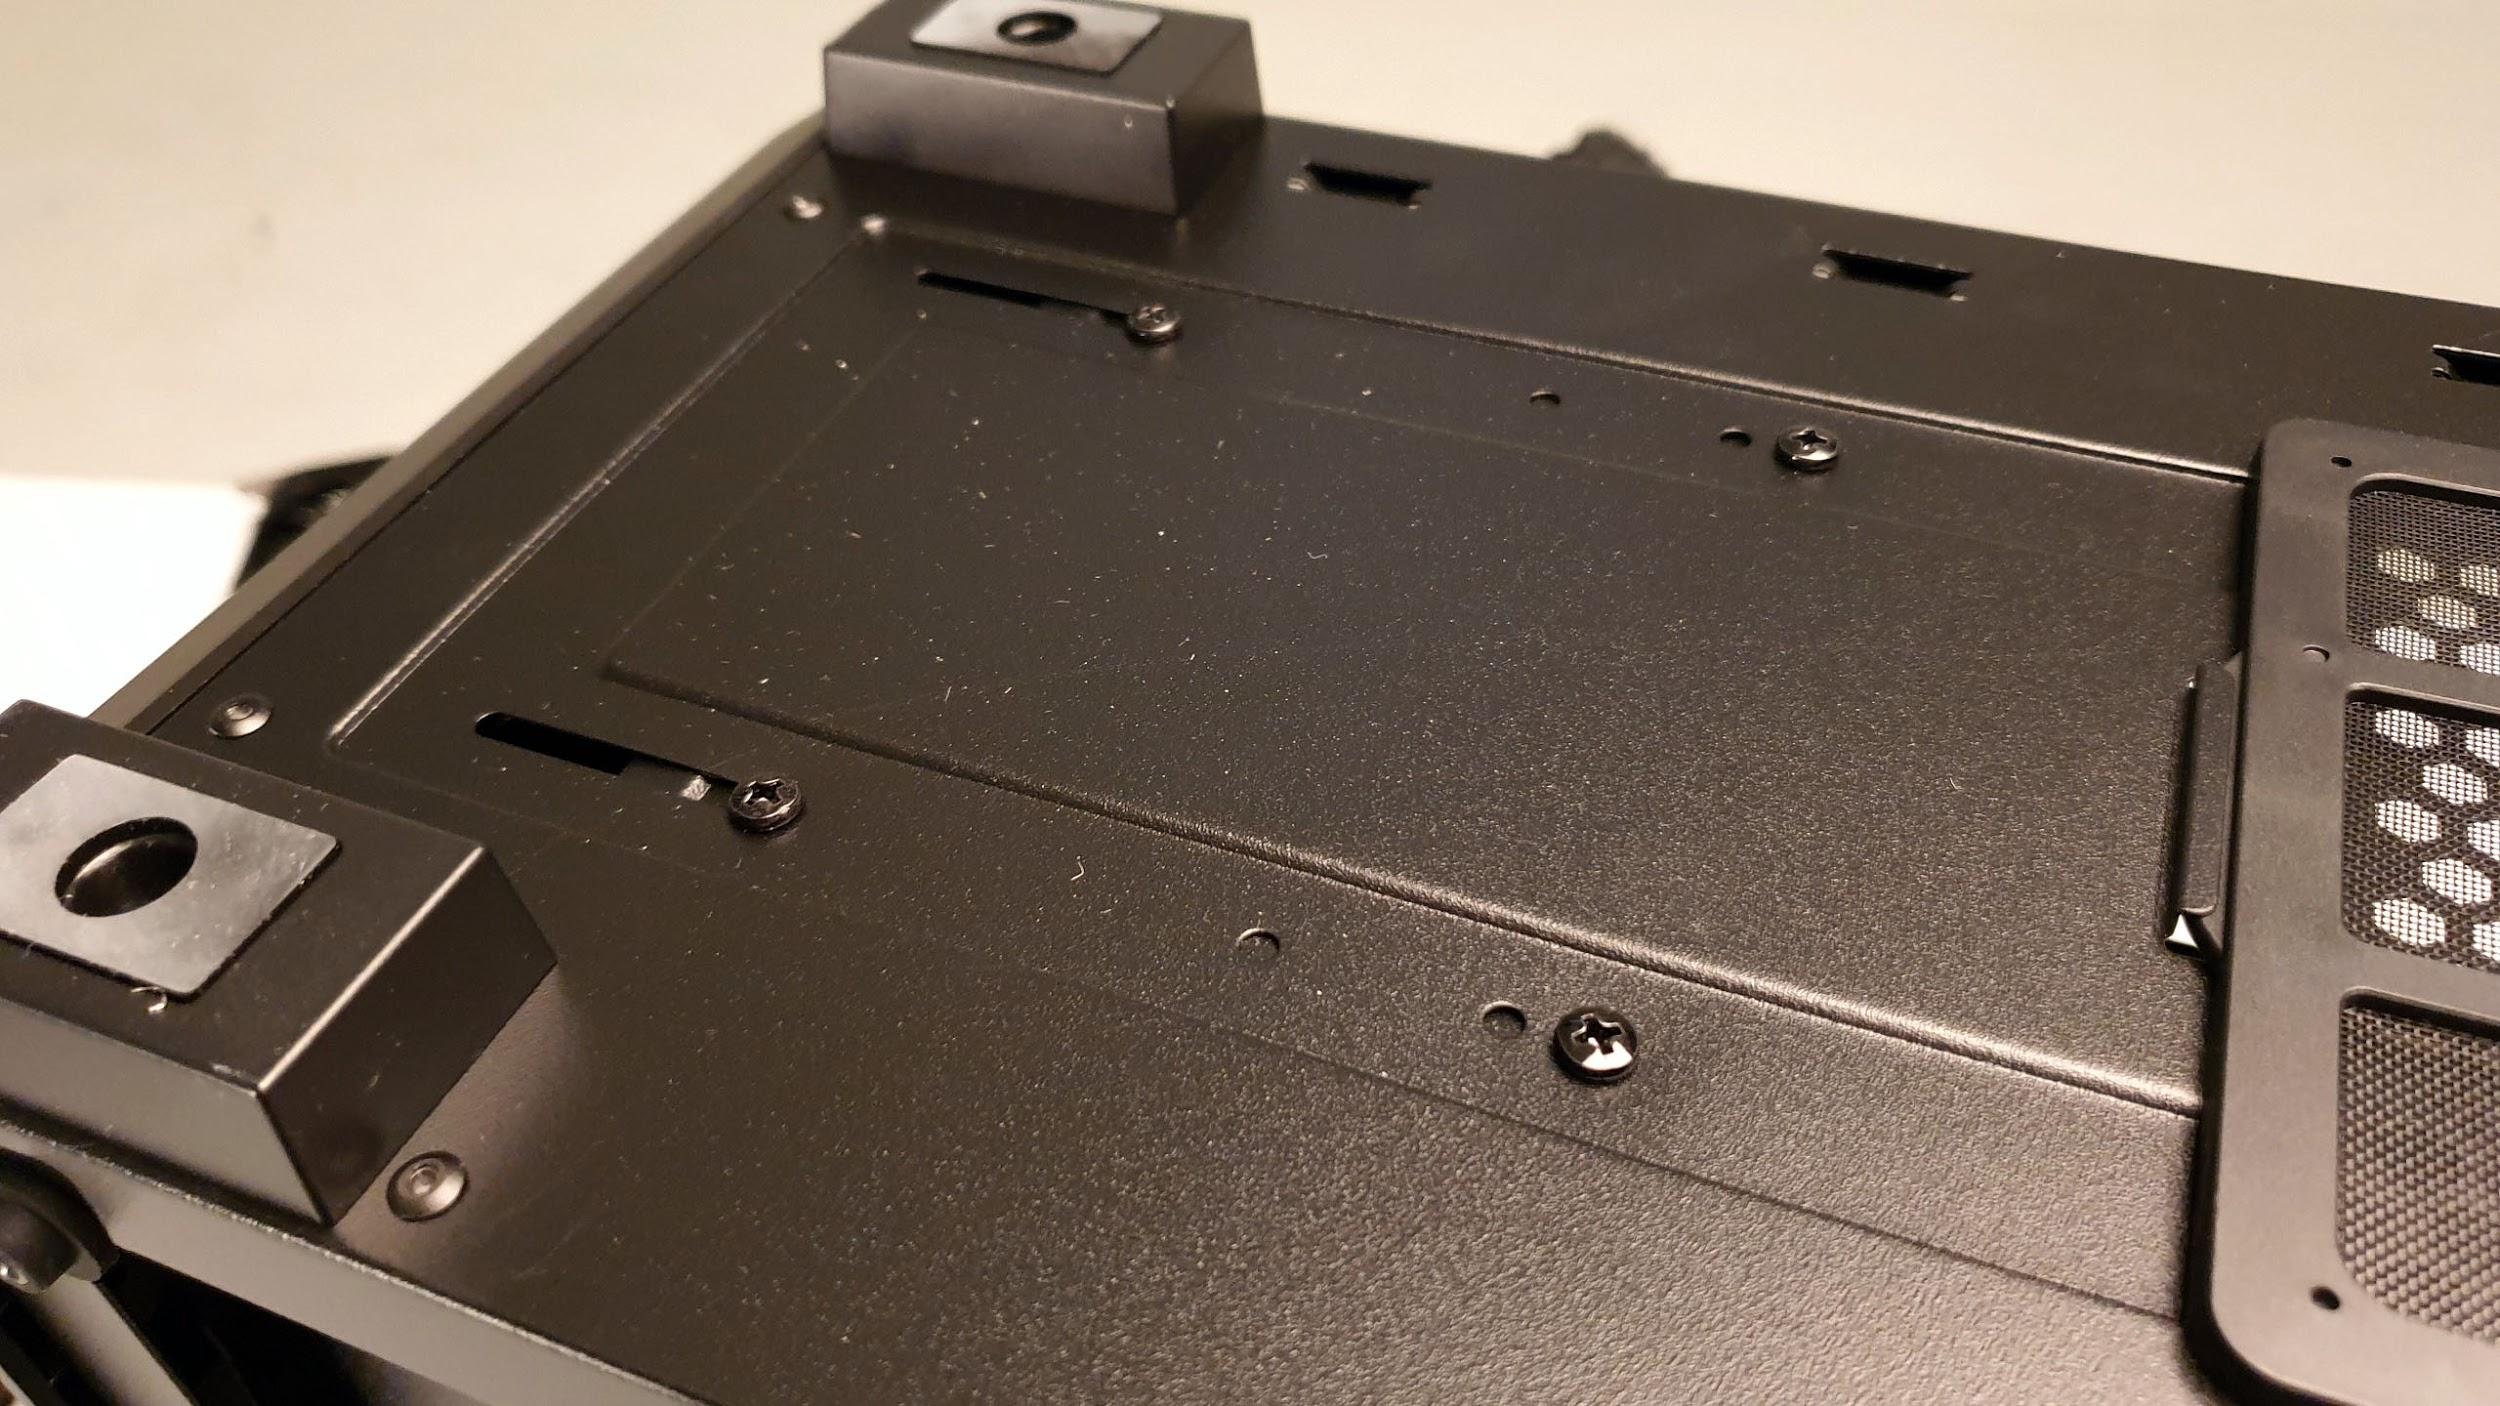
We used a standard-sized ATX power supply for this build: Corsair’s own HX750 80+ Platinum. But we soon learned it’s not possible to install the PSU with the hard drive cage in place. Fortunately, you can remove it and re-adjust its position to the left a bit. However, if you were to replace it in its original position after the HX750 was installed, you’d be left with little to no room for your cables.
Because we didn’t use any 3.5-inch hard drives, we removed the cage in its entirety. You have two options here really if you’re looking to take advantage of a spinning-platter hard drive: You can either opt for an SFX power supply (one with an included ATX PSU backplate adapter), or run a 2.5-inch hard drive instead.
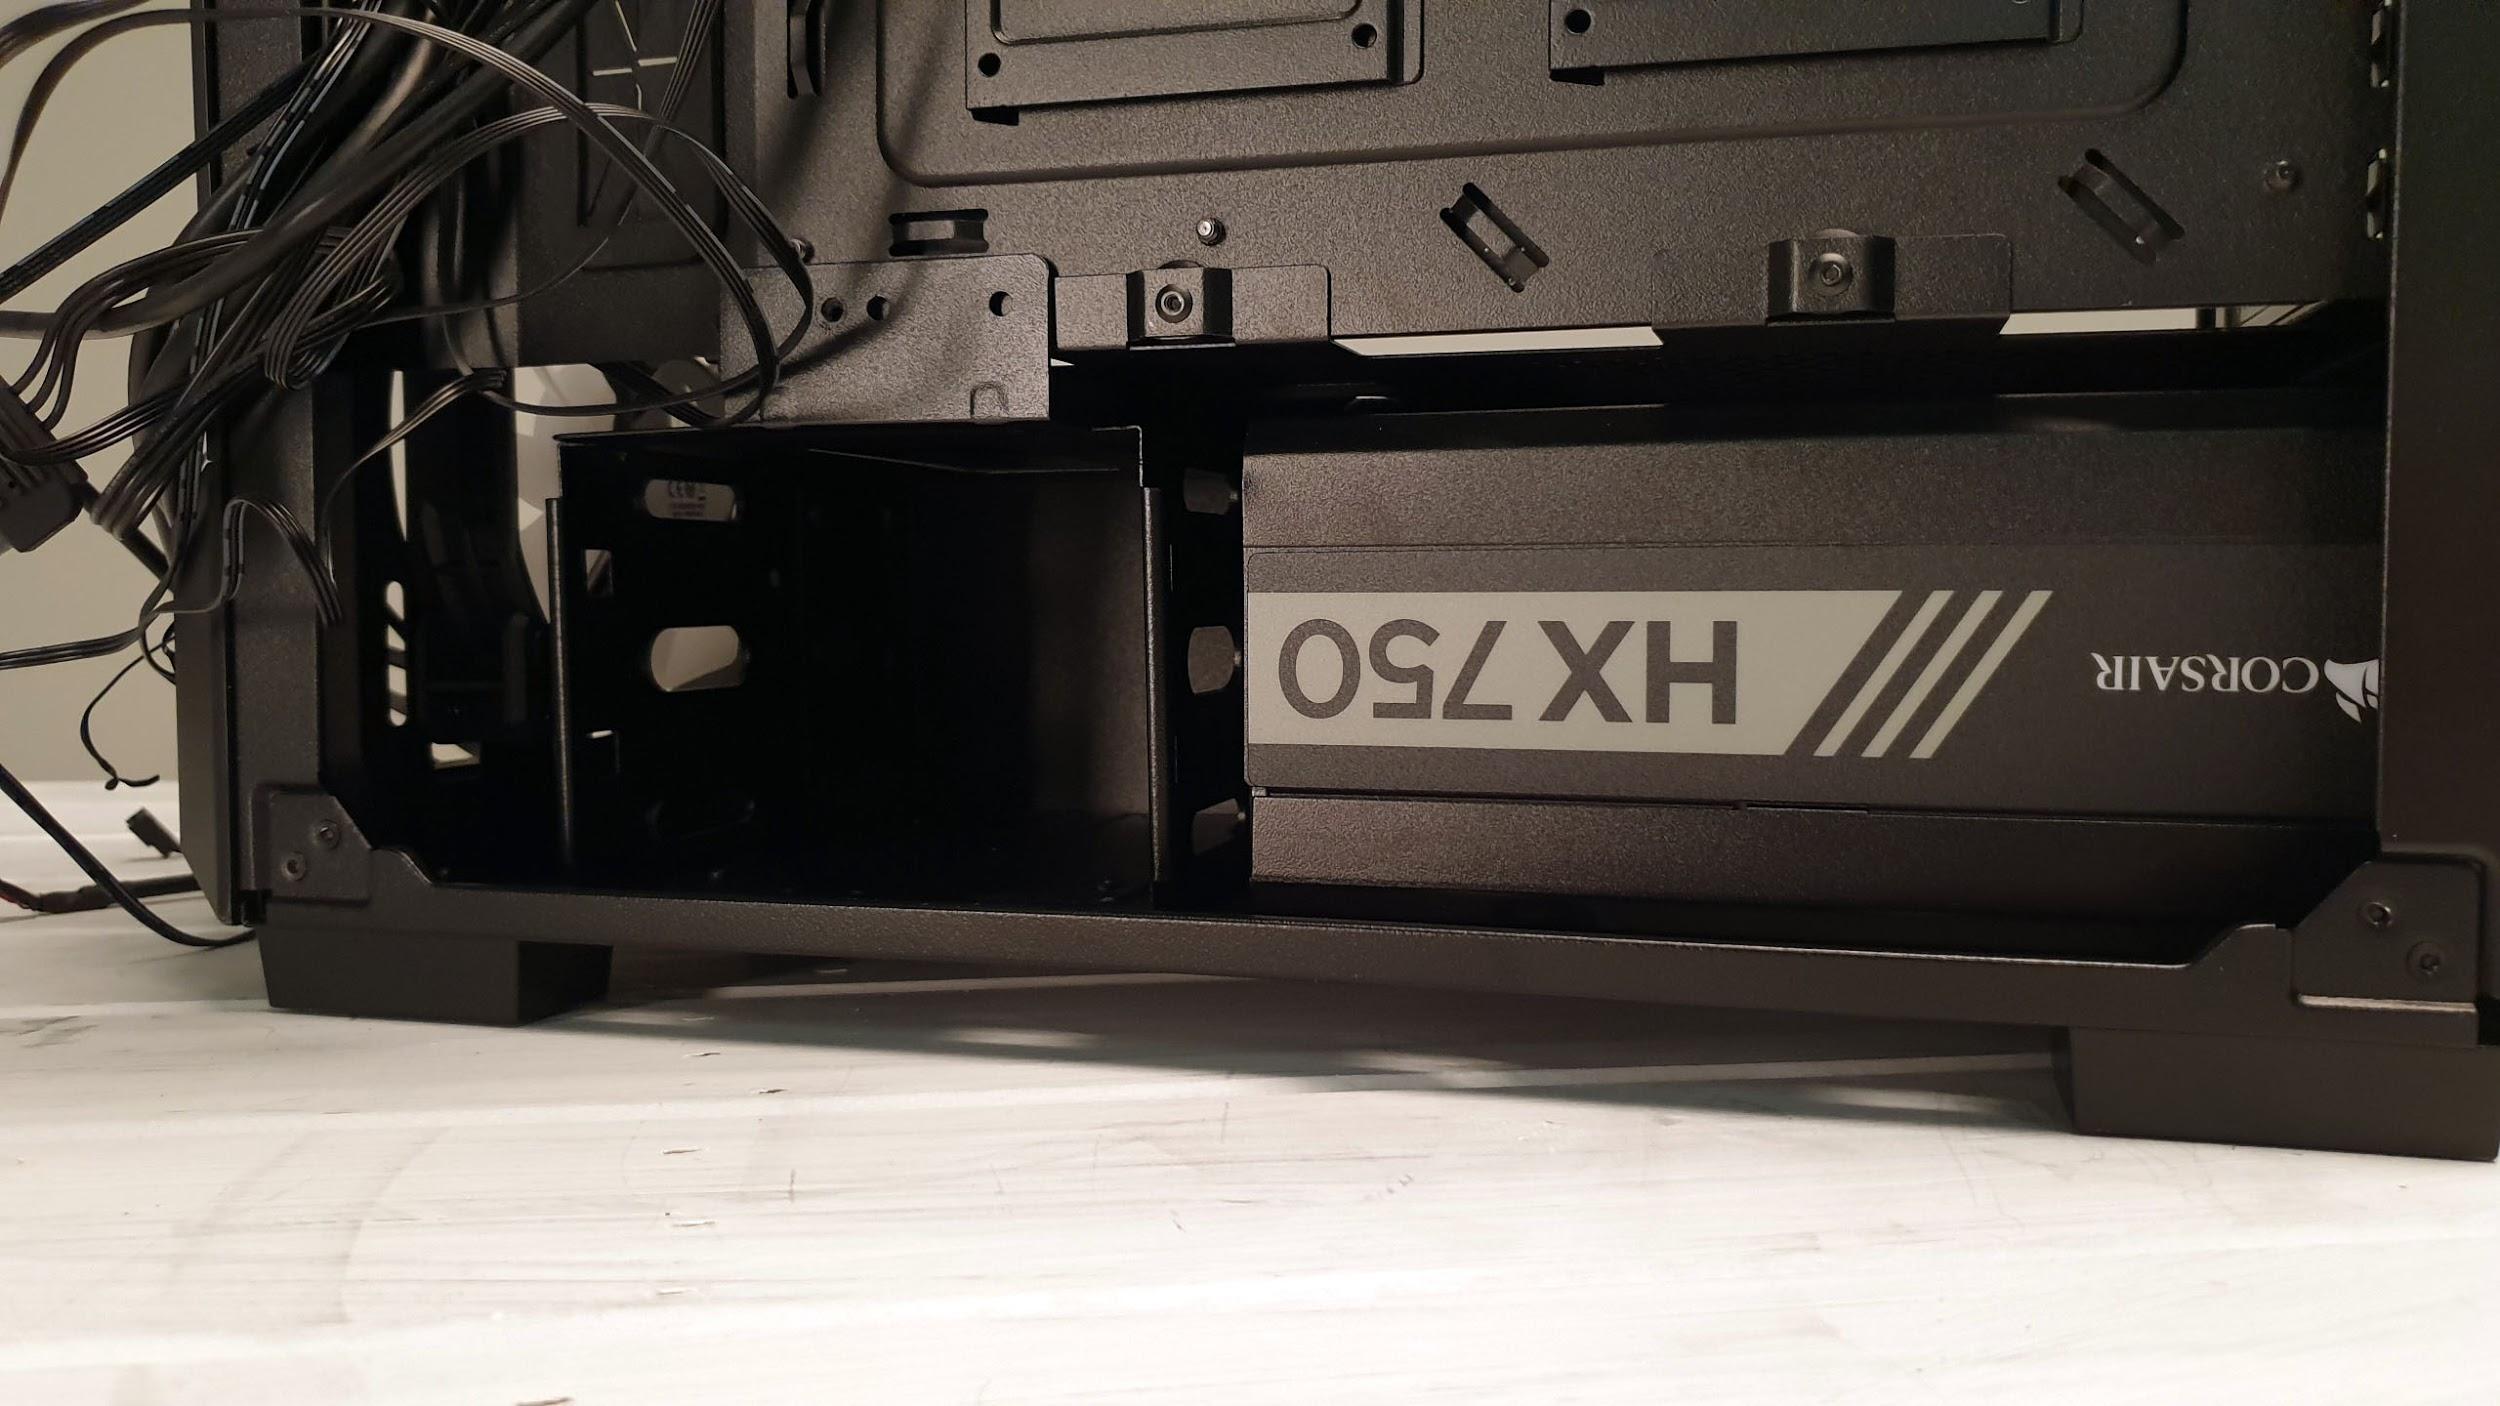
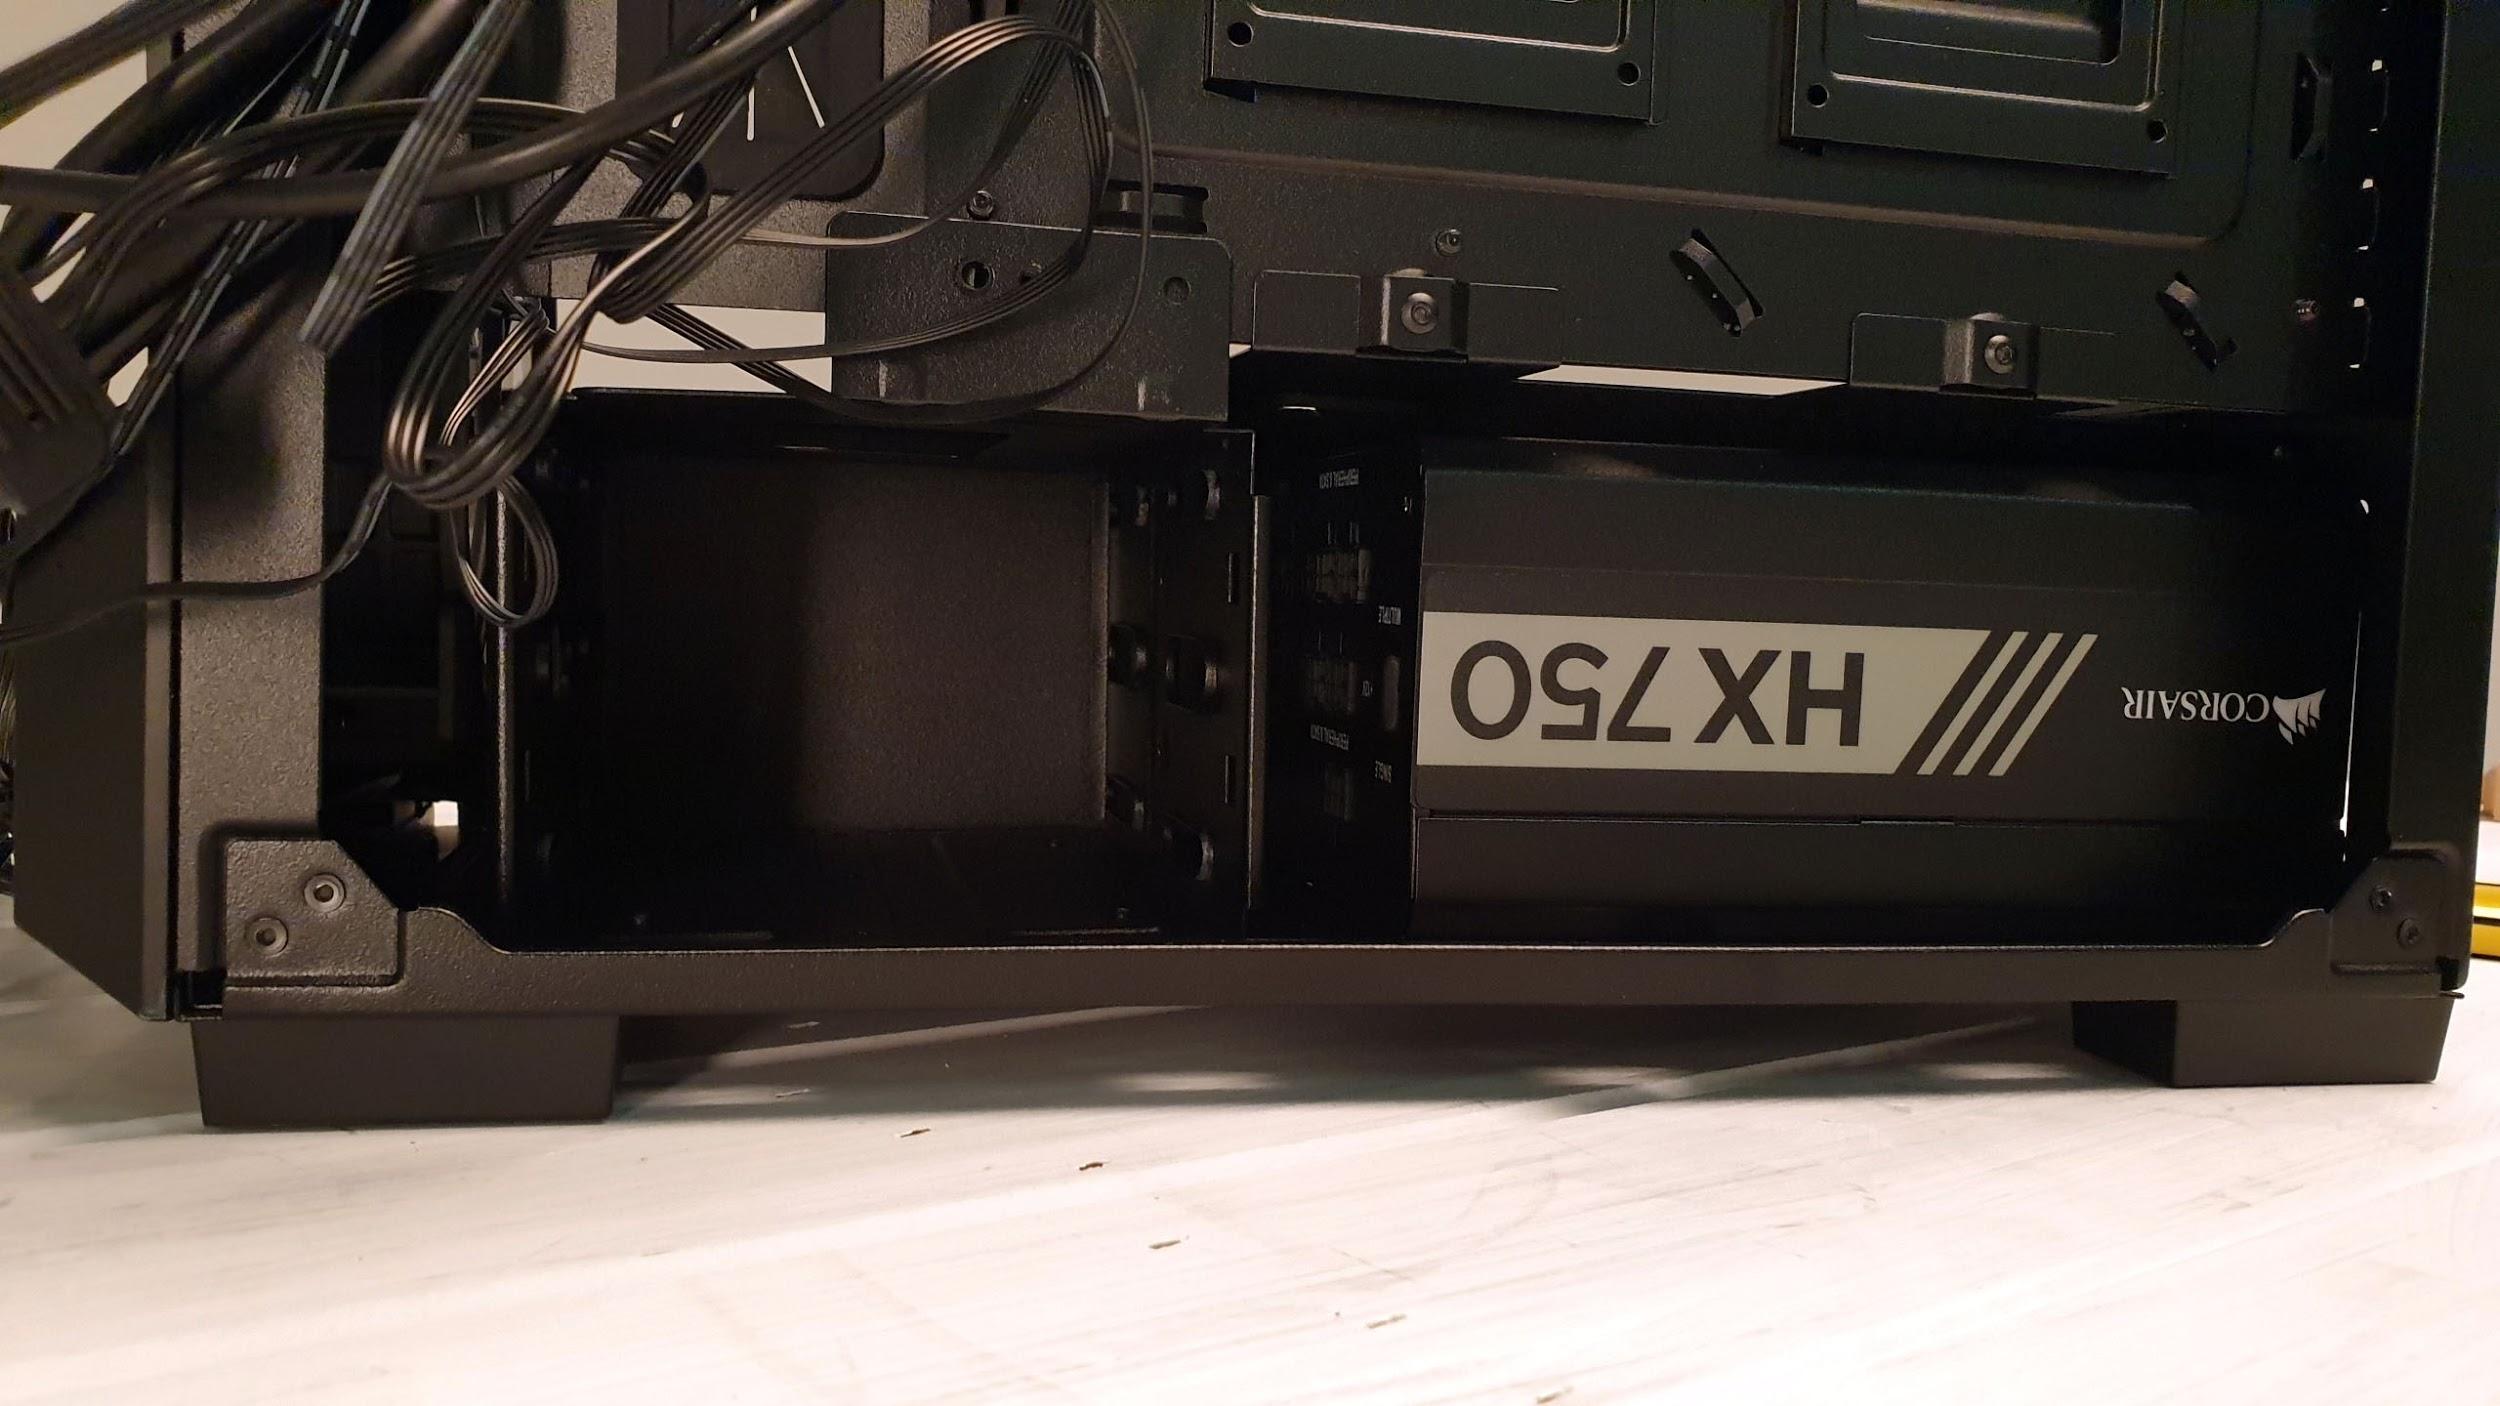
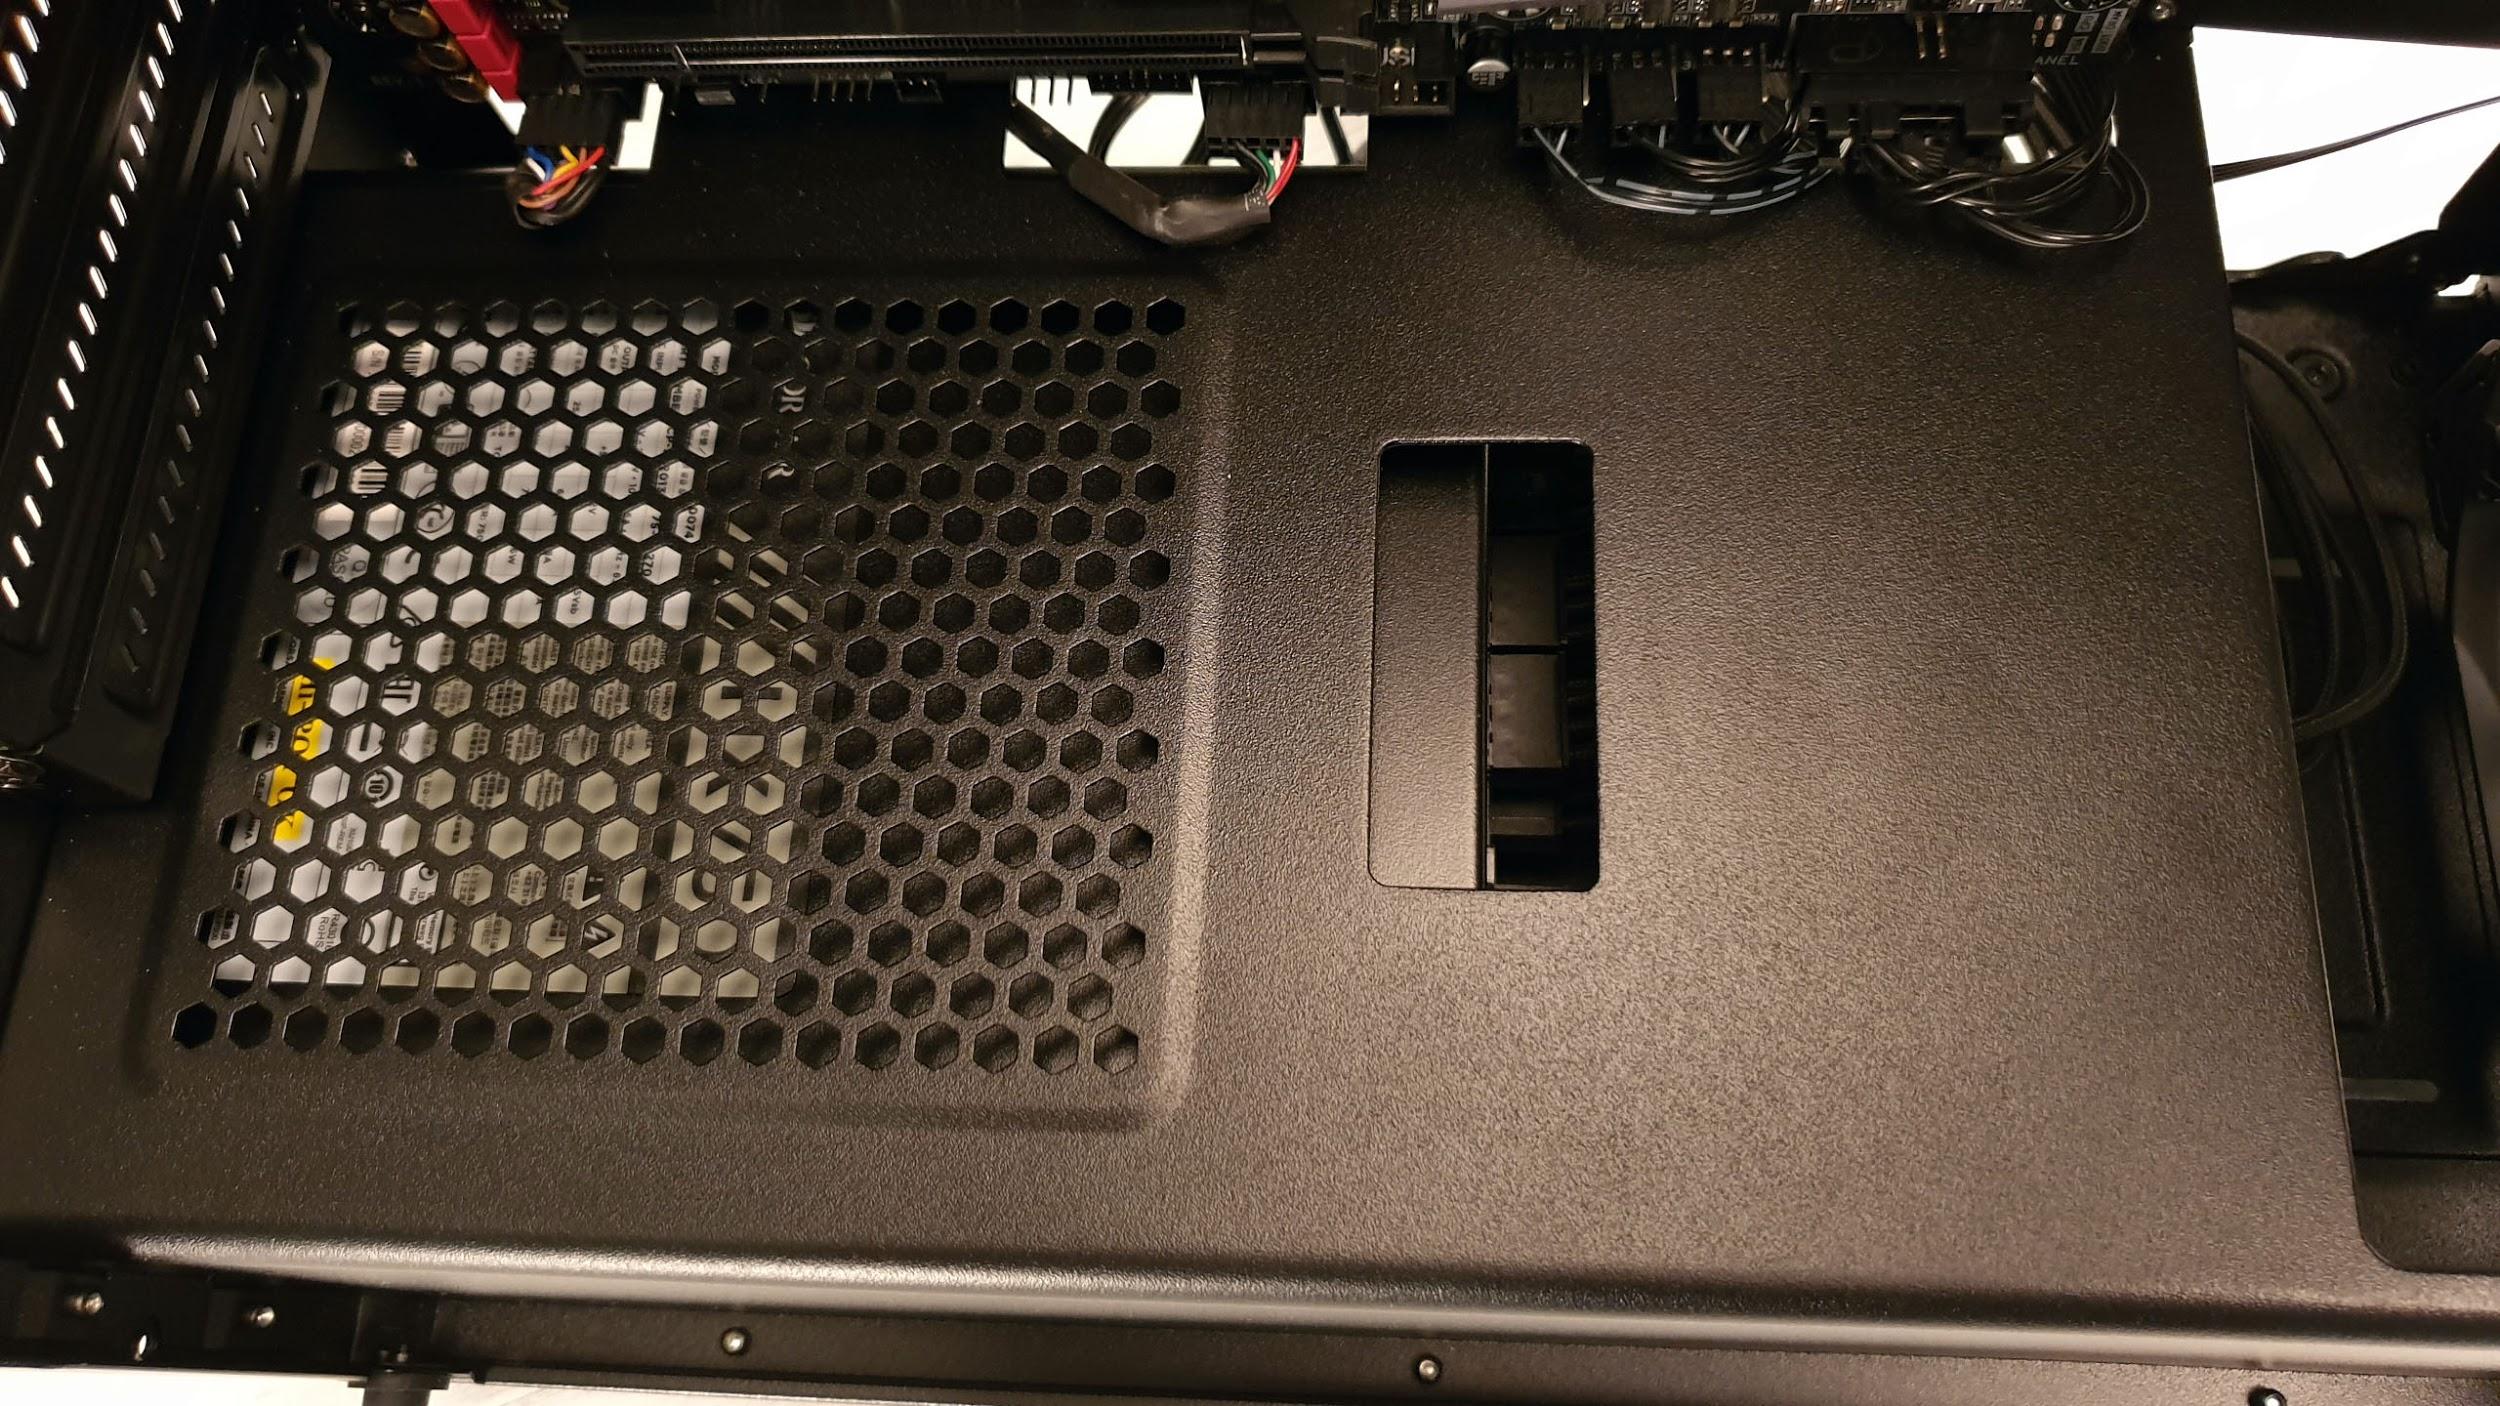
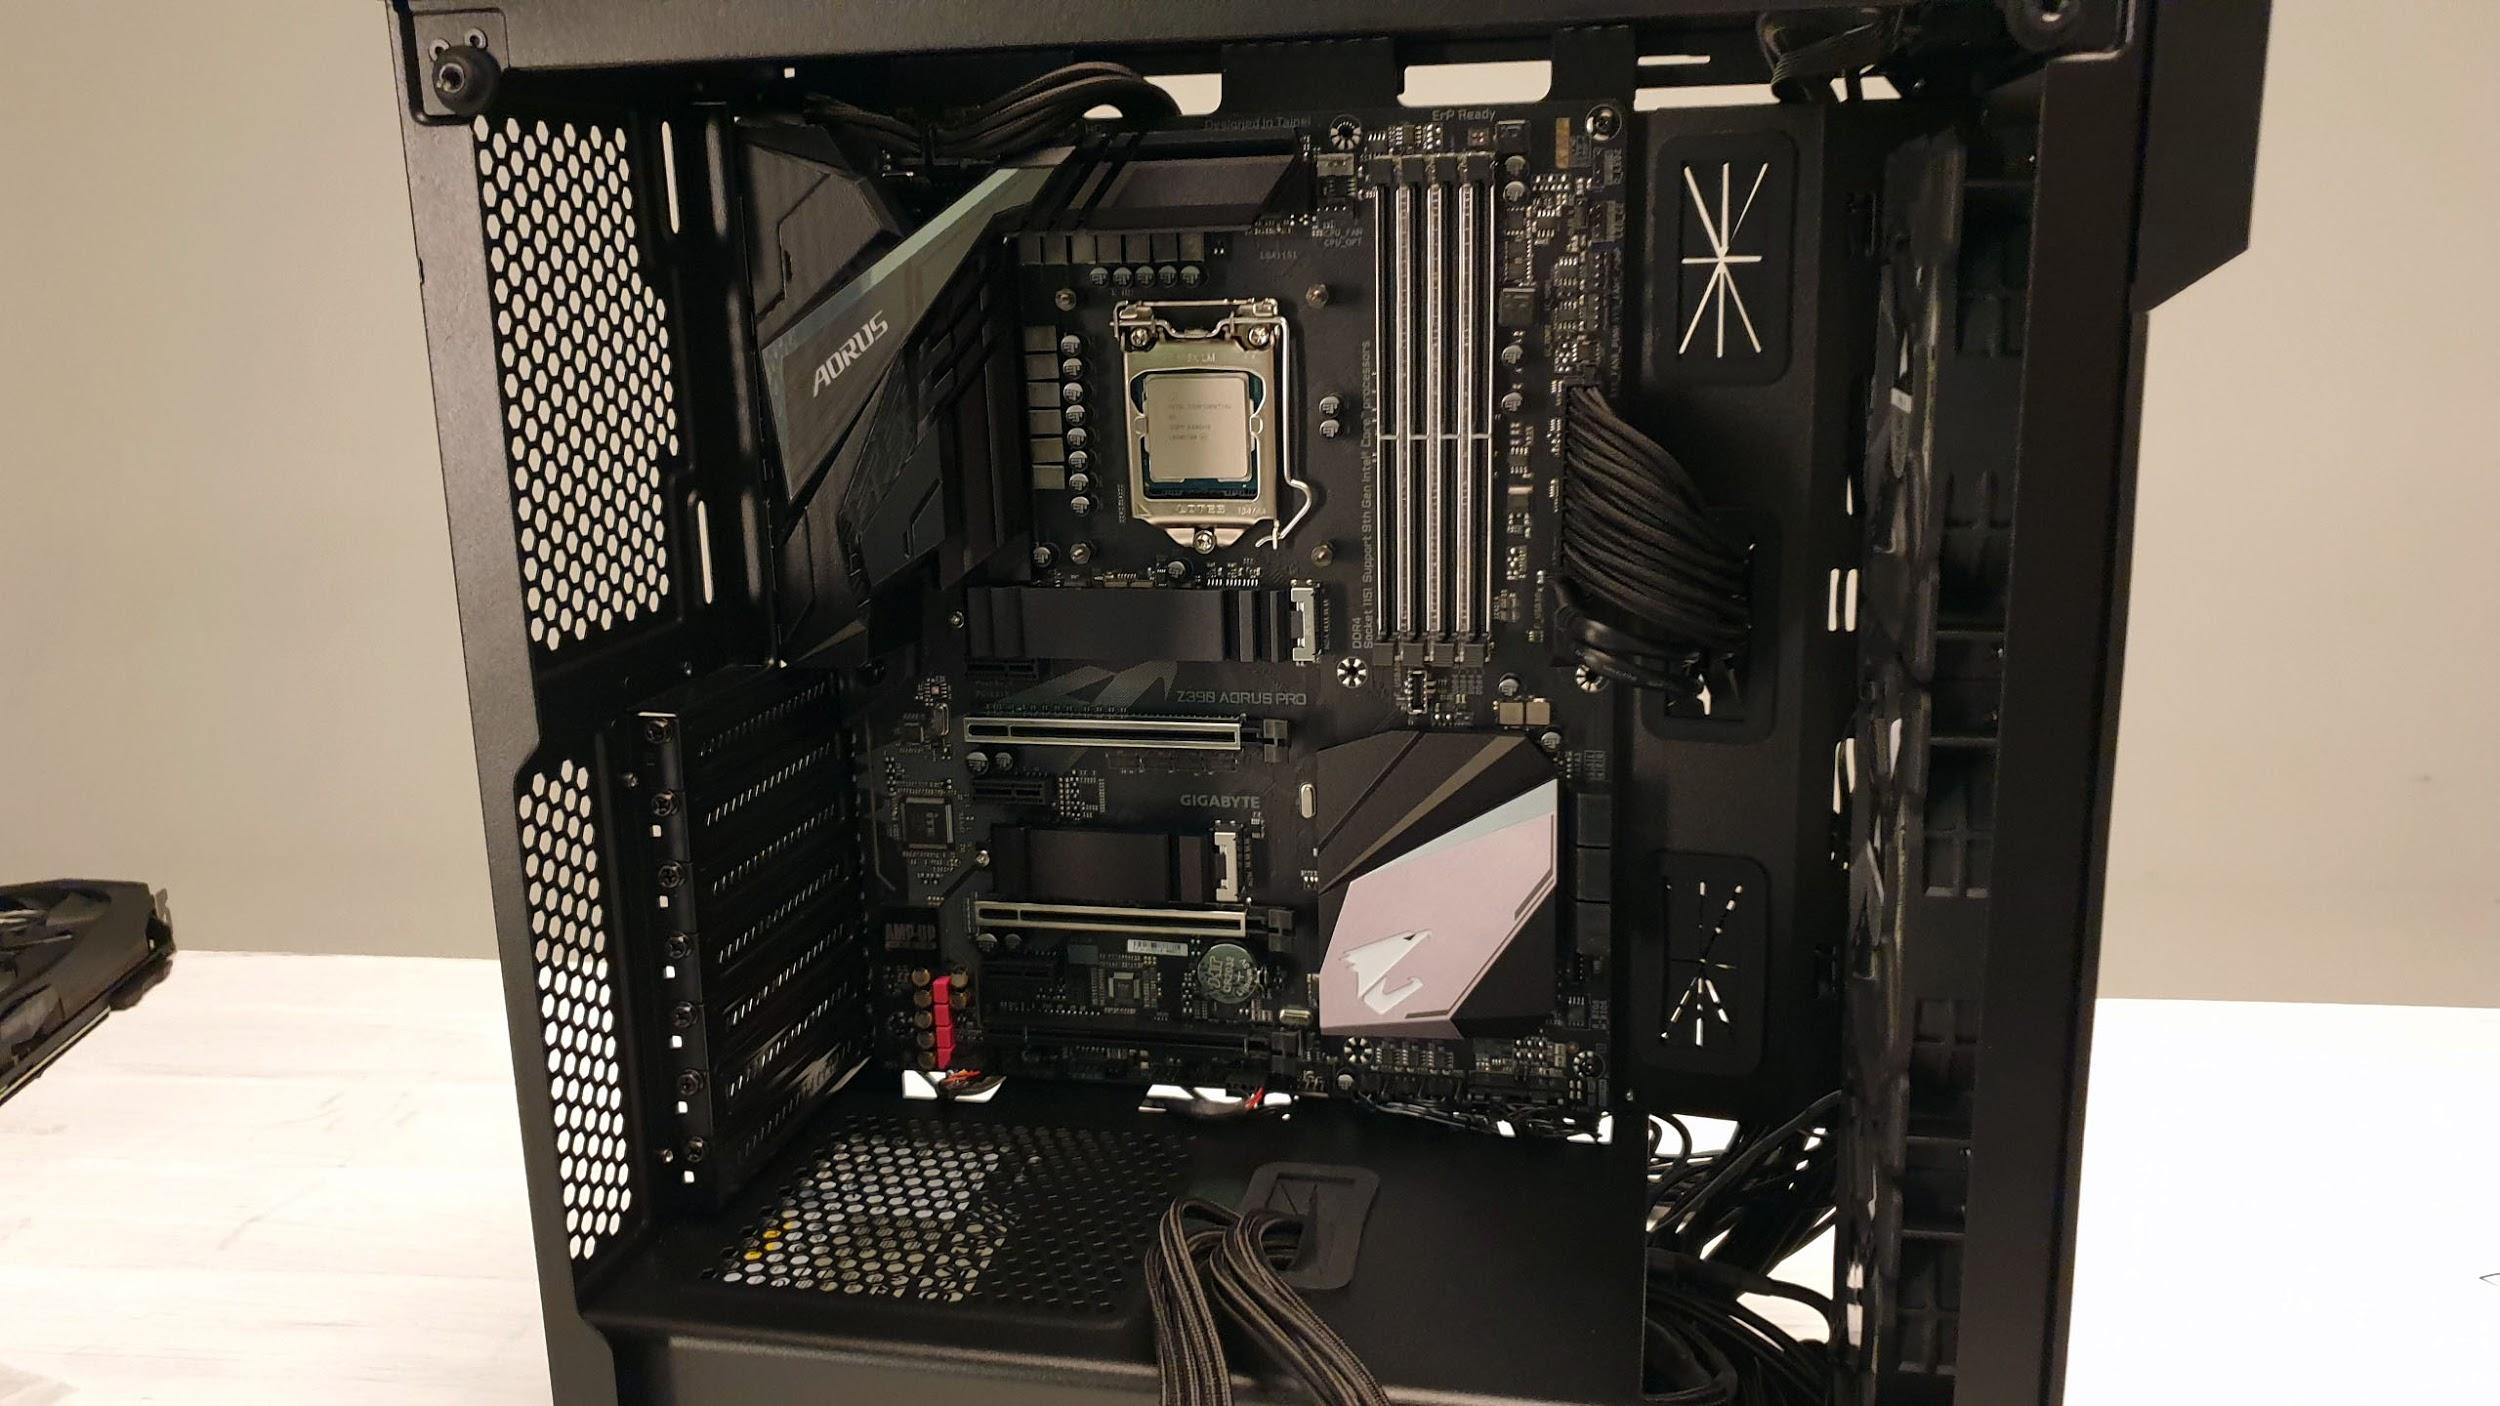
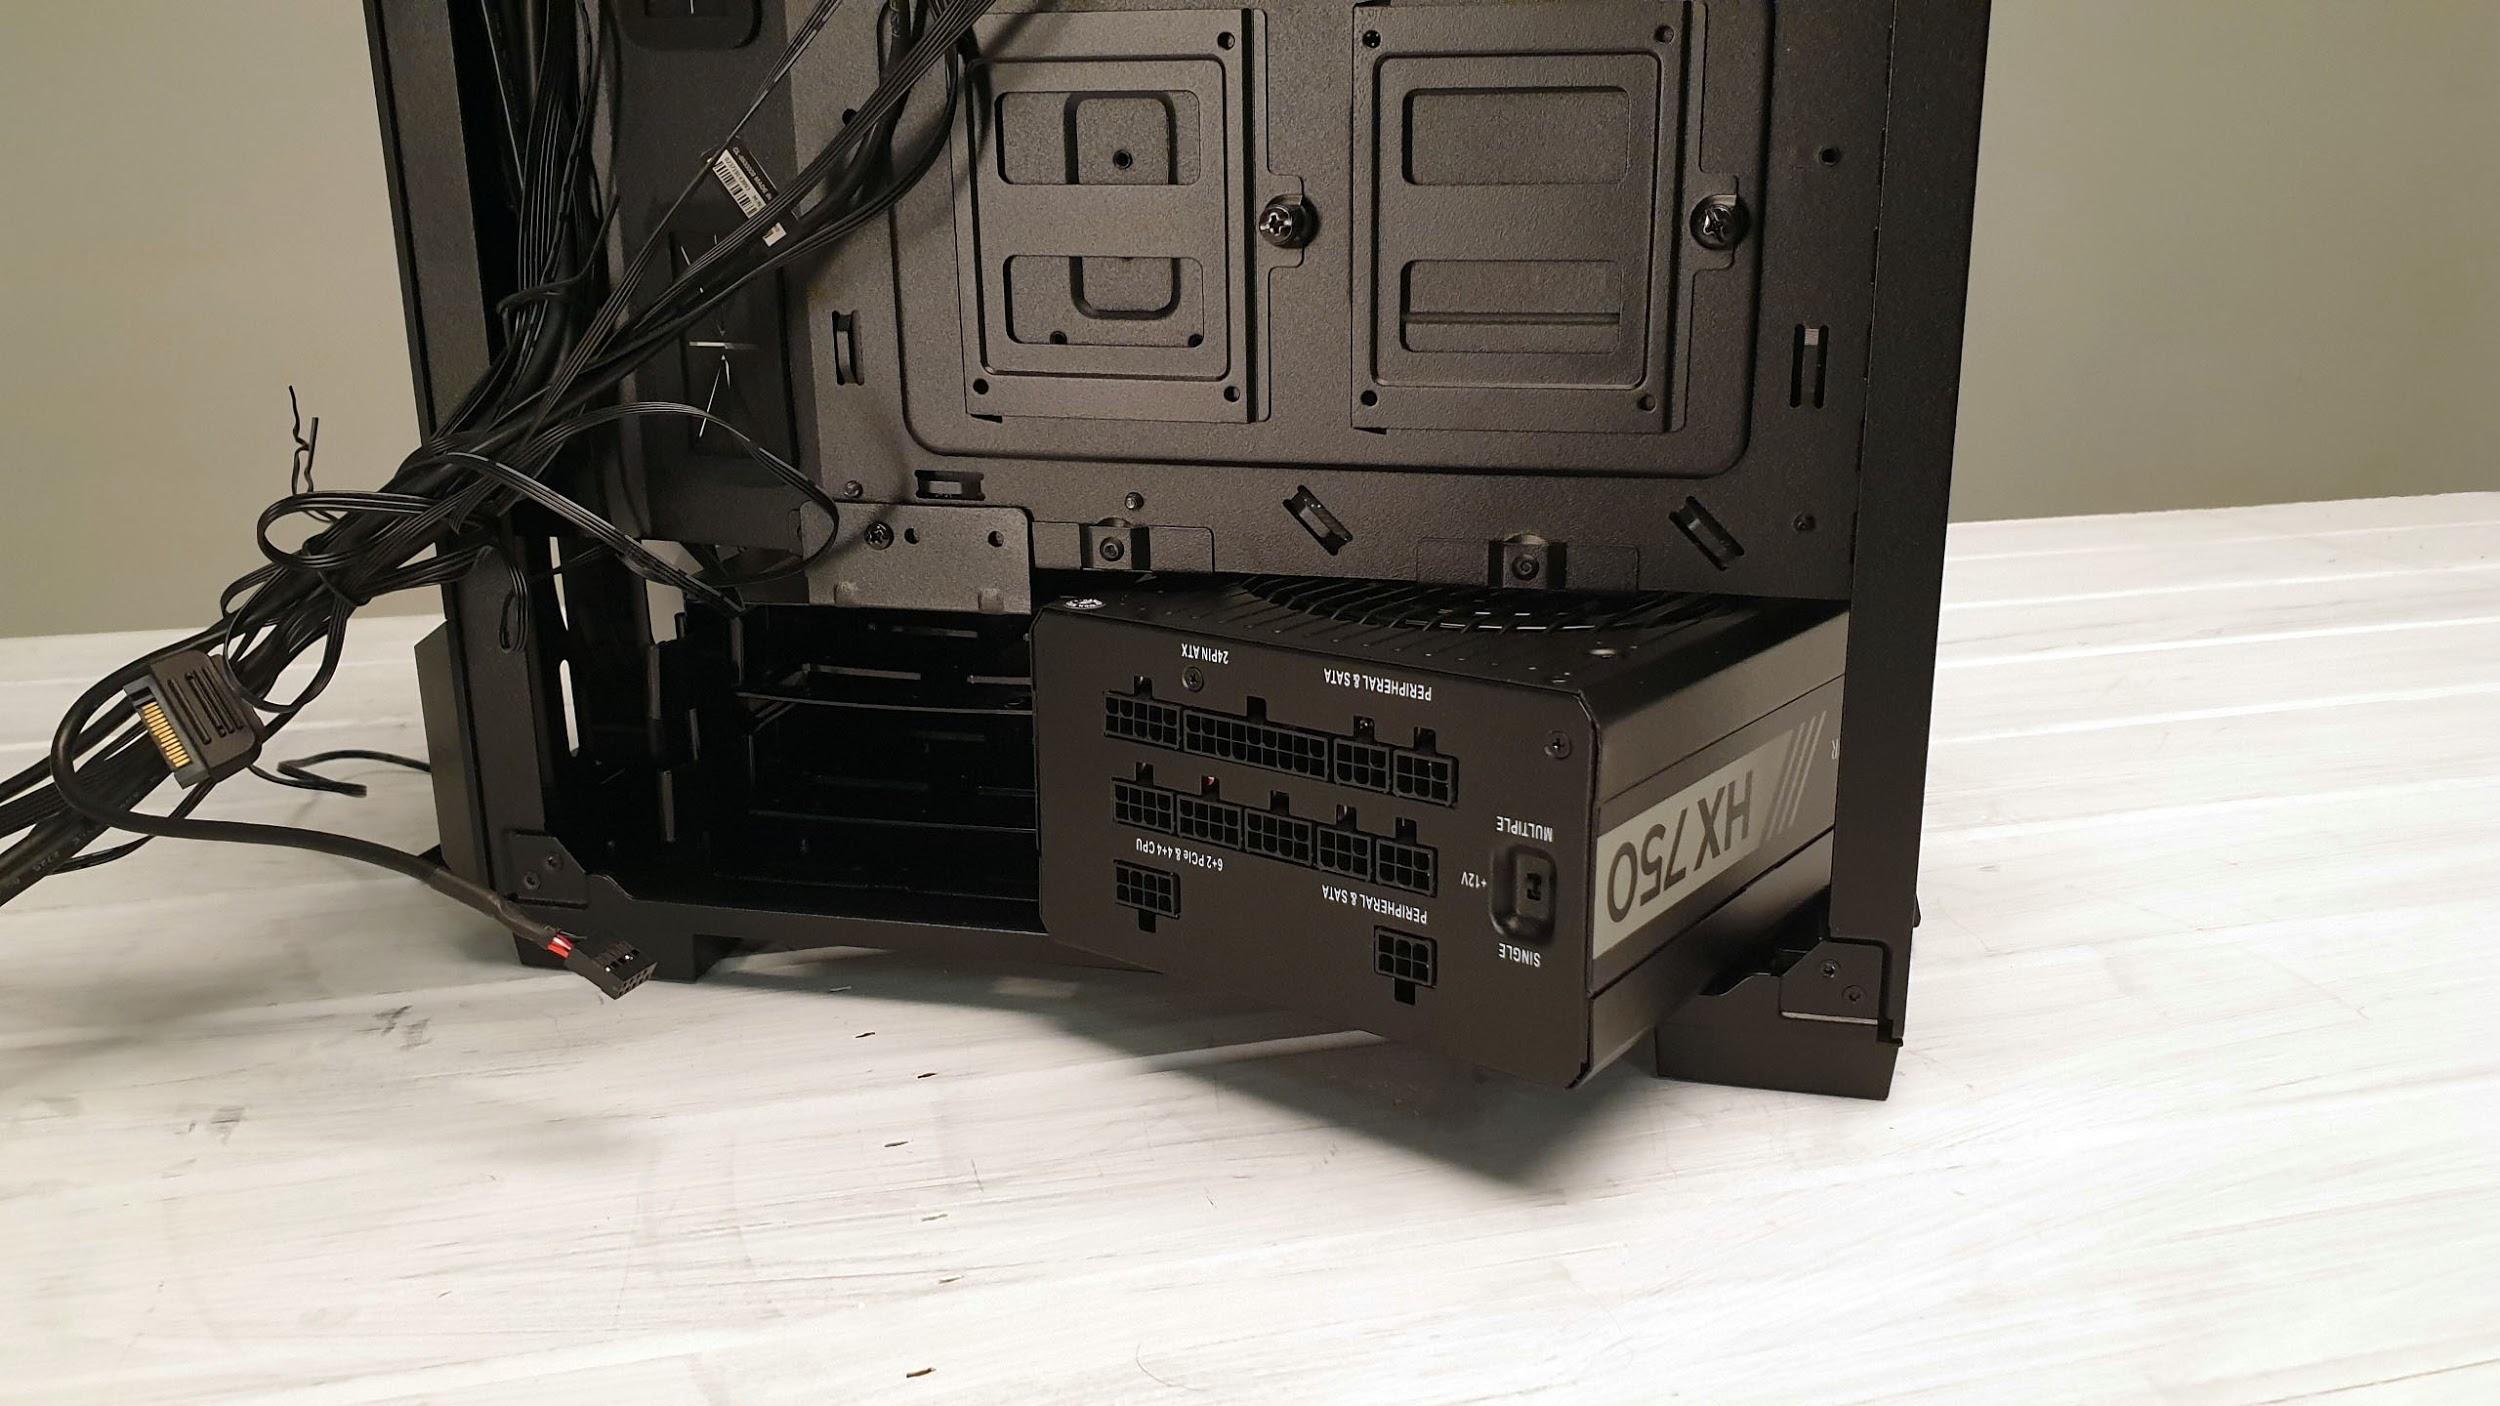
A quick glance at the GPU cable cutout in that PSU cover also shows that an ATX power supply blocks off half of the cutout entirely, so you’ll need to thread through your PCIe power cables carefully as well. Once that’s out of the way, running the cables in is a fairly straightforward procedure. Note our motherboard also features an 8 and 4 pin EPS CPU power, so we had to run our two EPS cables through separate cutouts to reach them.
Cable Management
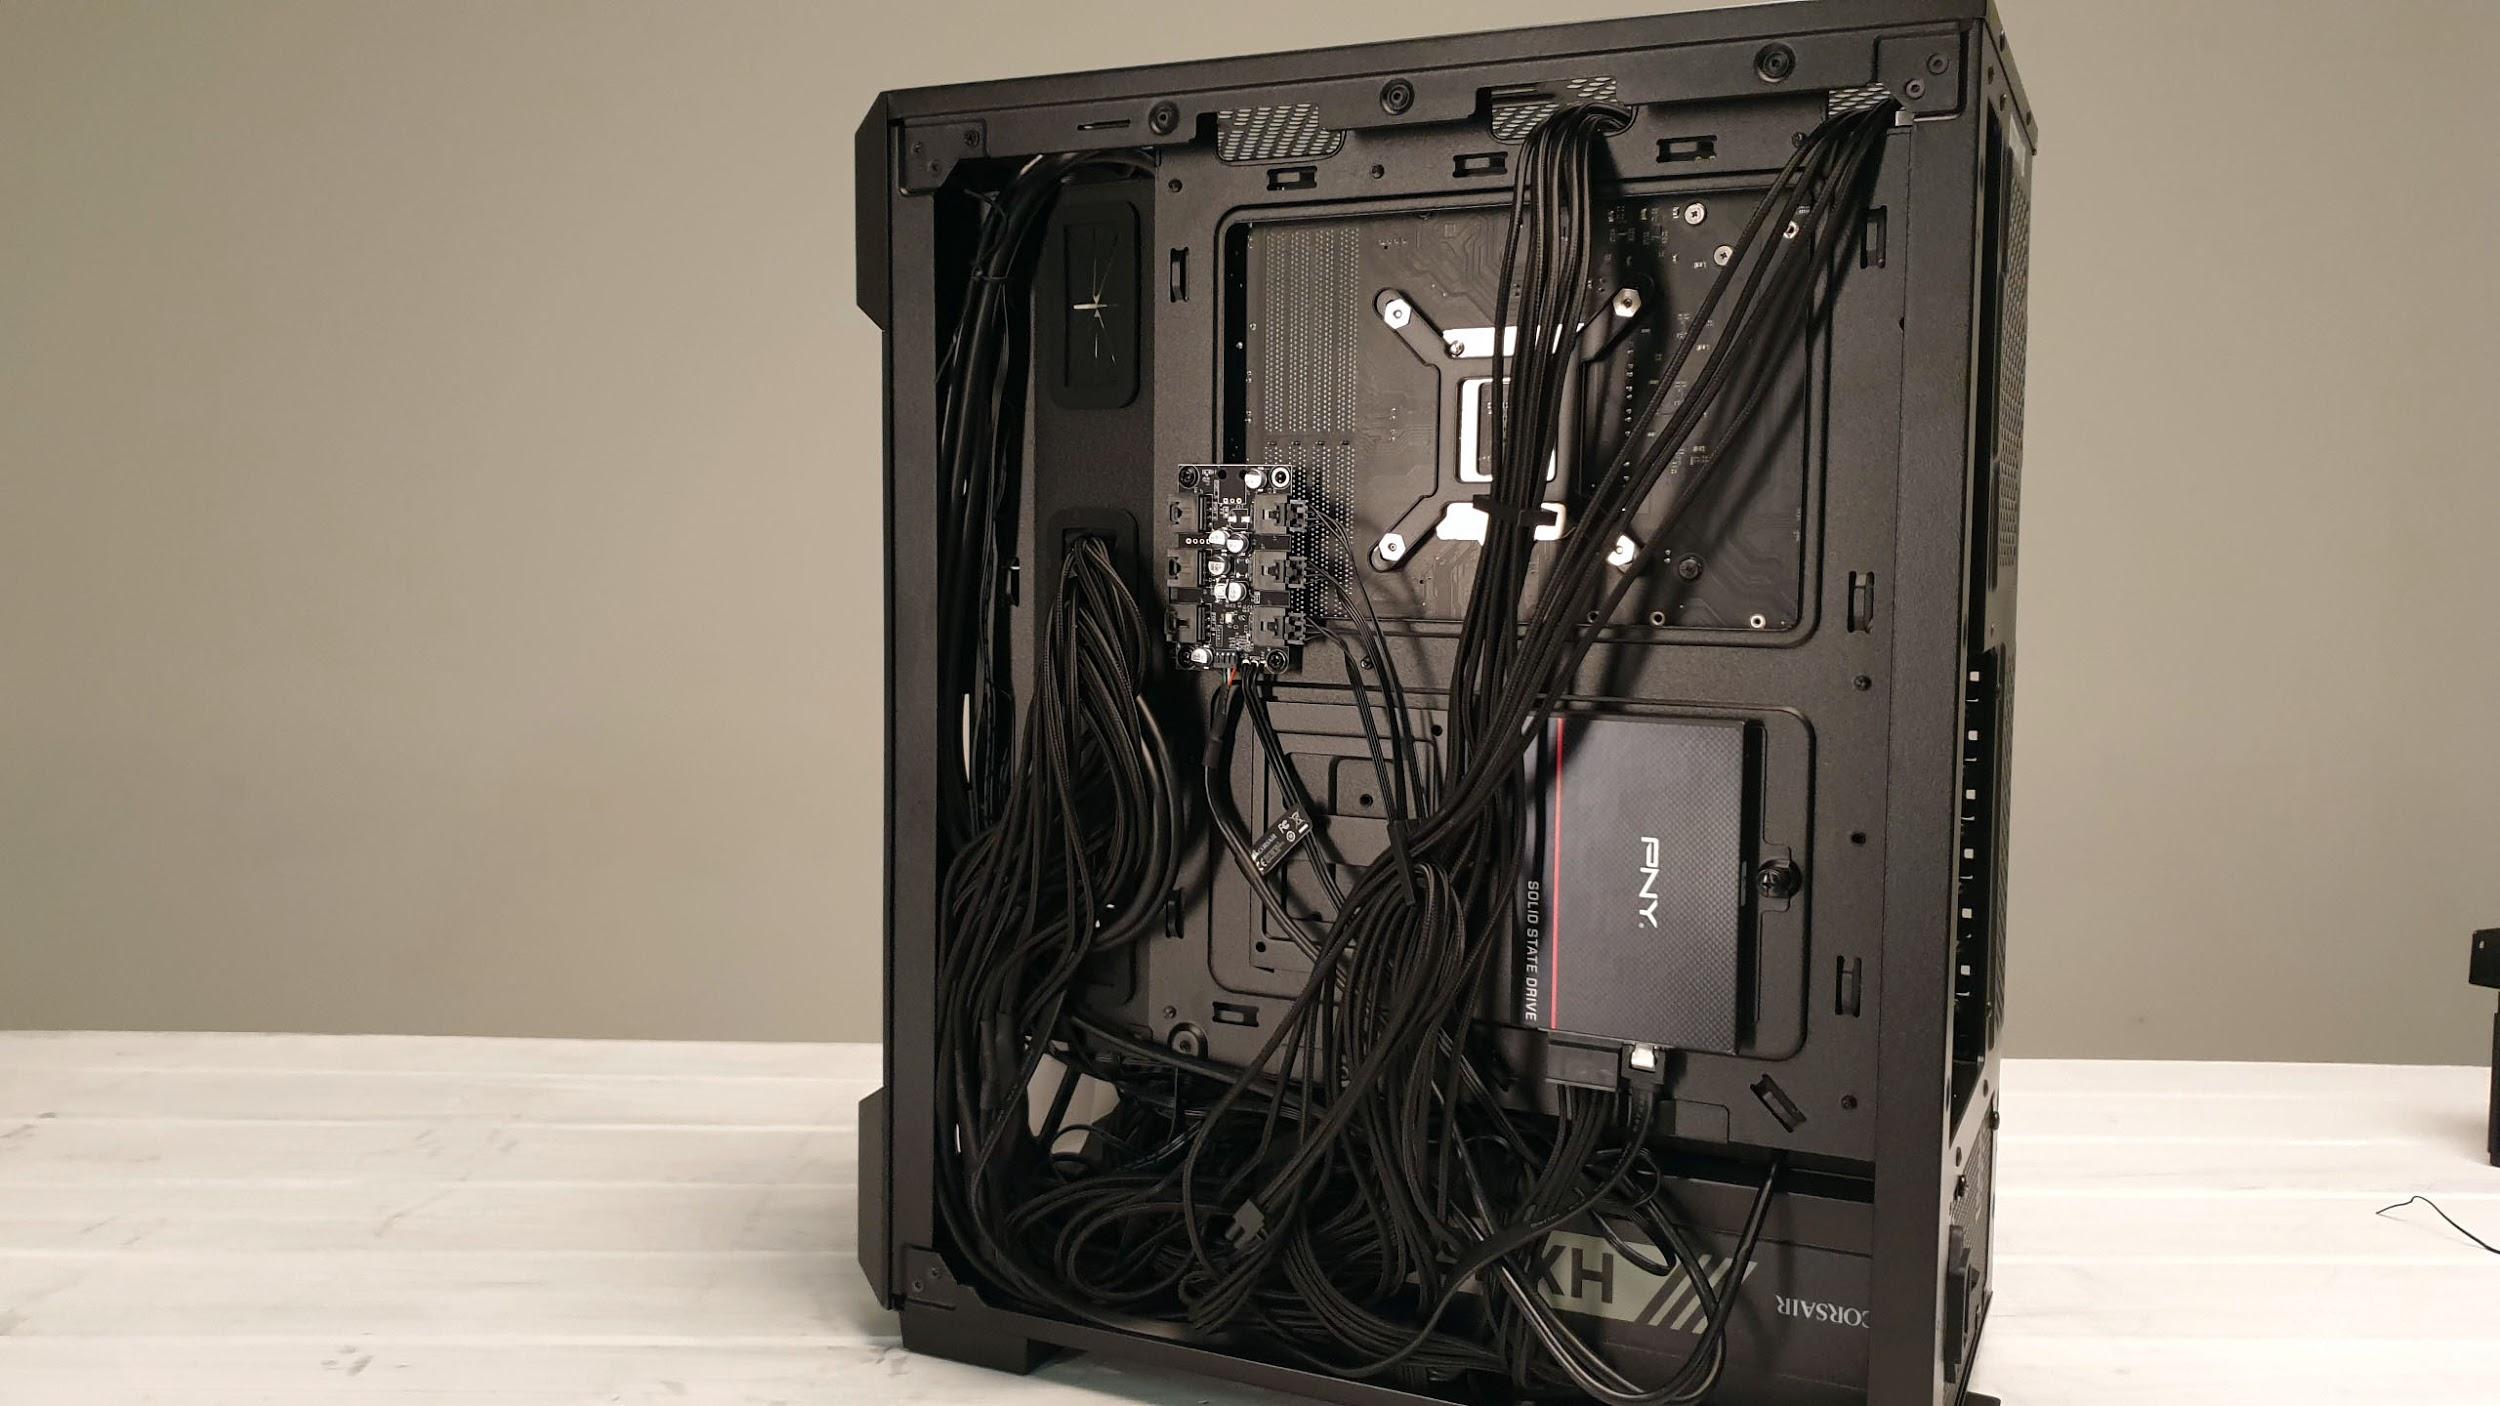
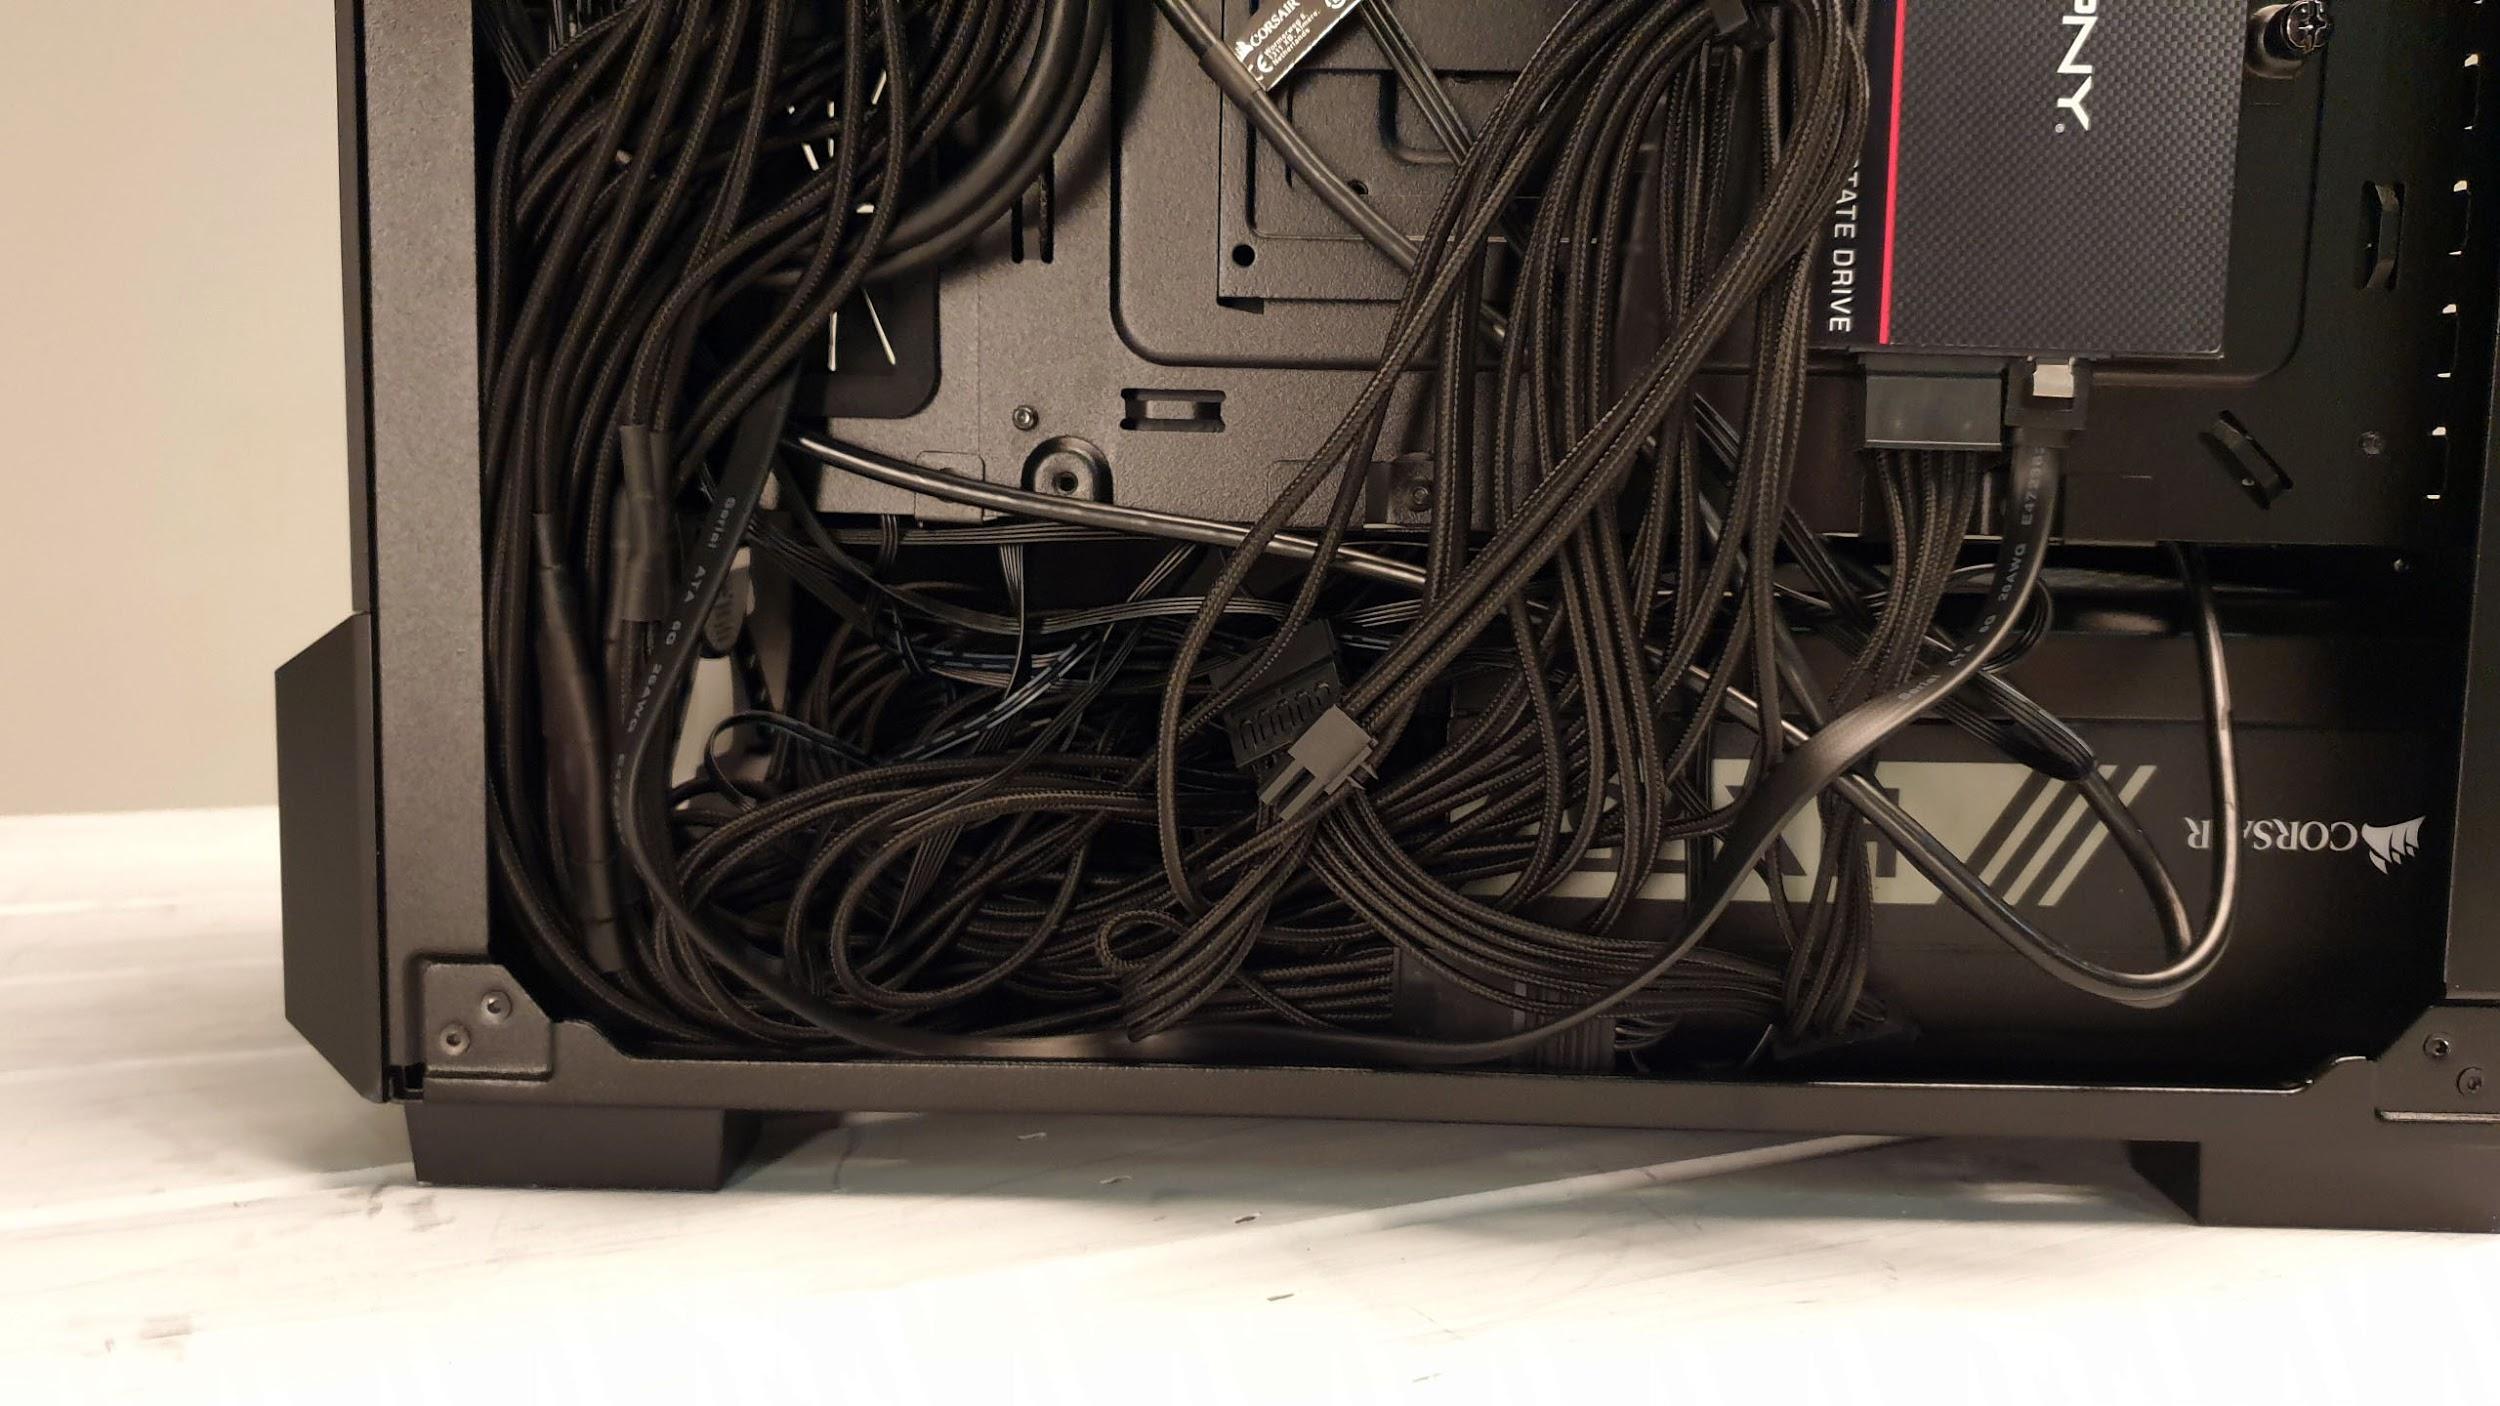
It’s a good thing that we removed the hard drive cage, because there’s just no way we could’ve tidied up the cables any more than that. We also installed our PNY SSD in the back of the chassis too.
Top-Mounted 240mm AIO: More Like AI-No
Unfortunately if you were looking to install a 240mm AIO in the roof of this case, you’re not going to get the opportunity. Although the top mounting points are offset, they still conflict with any motherboard with a rear I/O cover. You can slide it along of course, and butt up against the front I/O cables here, but you’ll also notice that you can’t install your memory, as the cooler is just too close to the motherboard.
Get Tom's Hardware's best news and in-depth reviews, straight to your inbox.
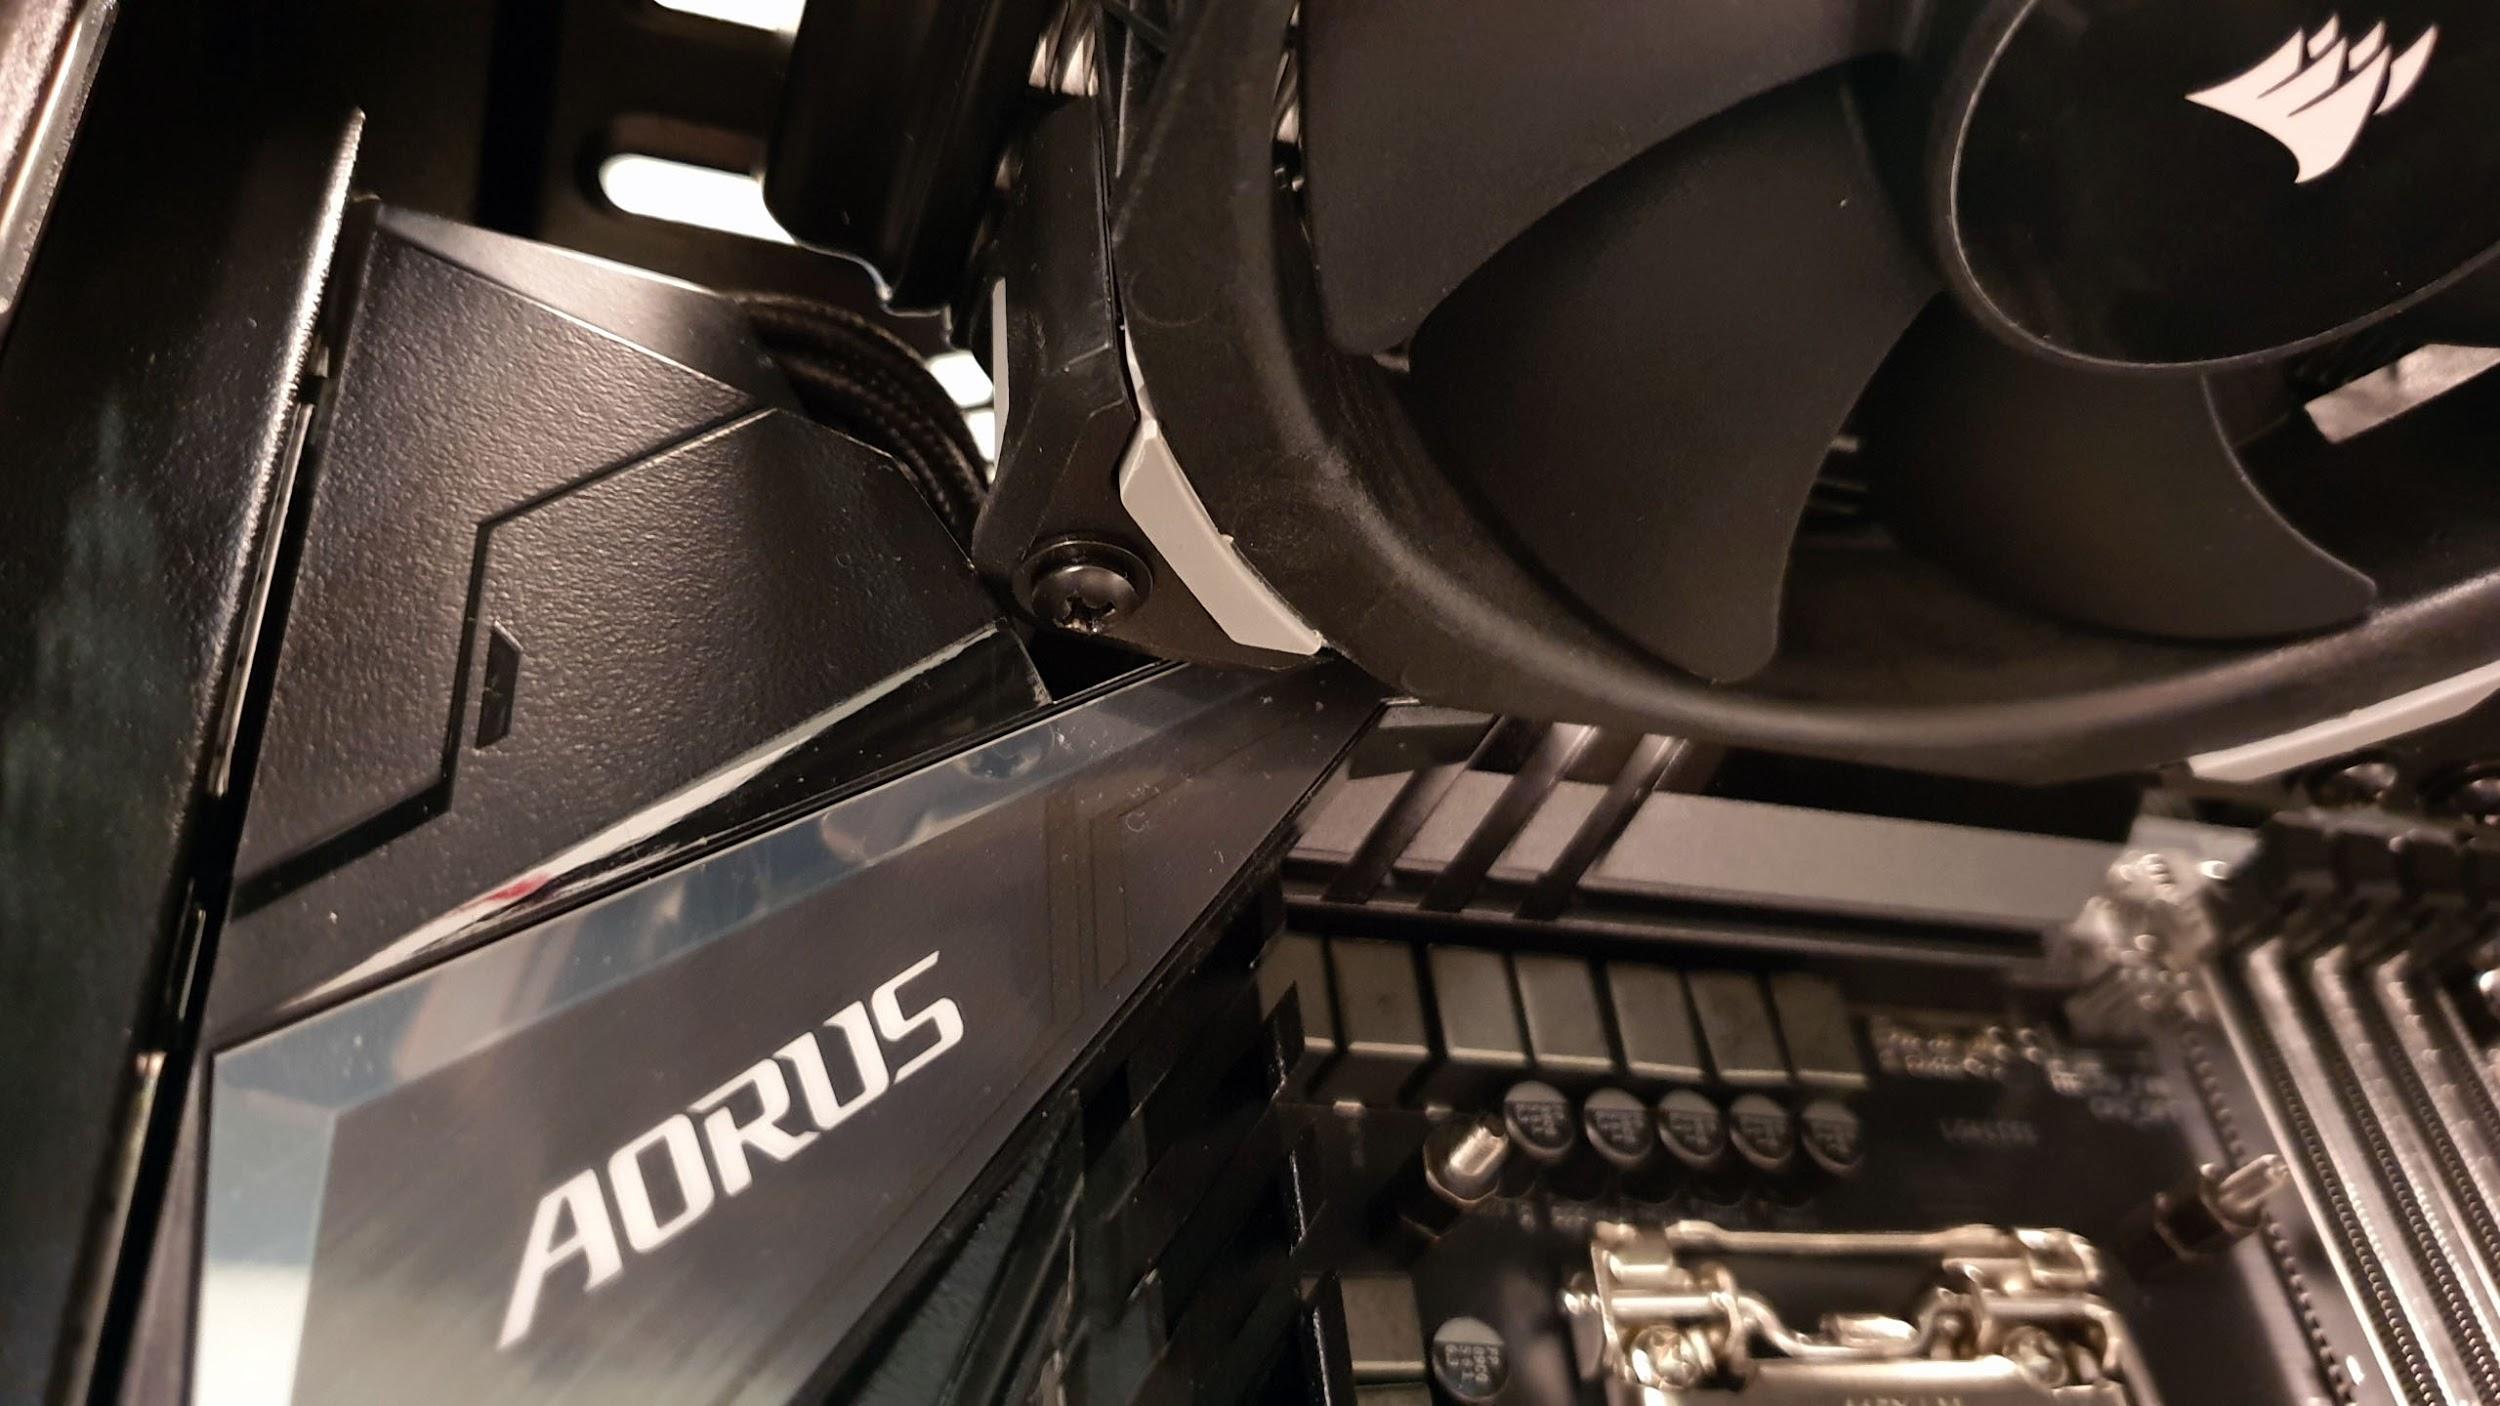
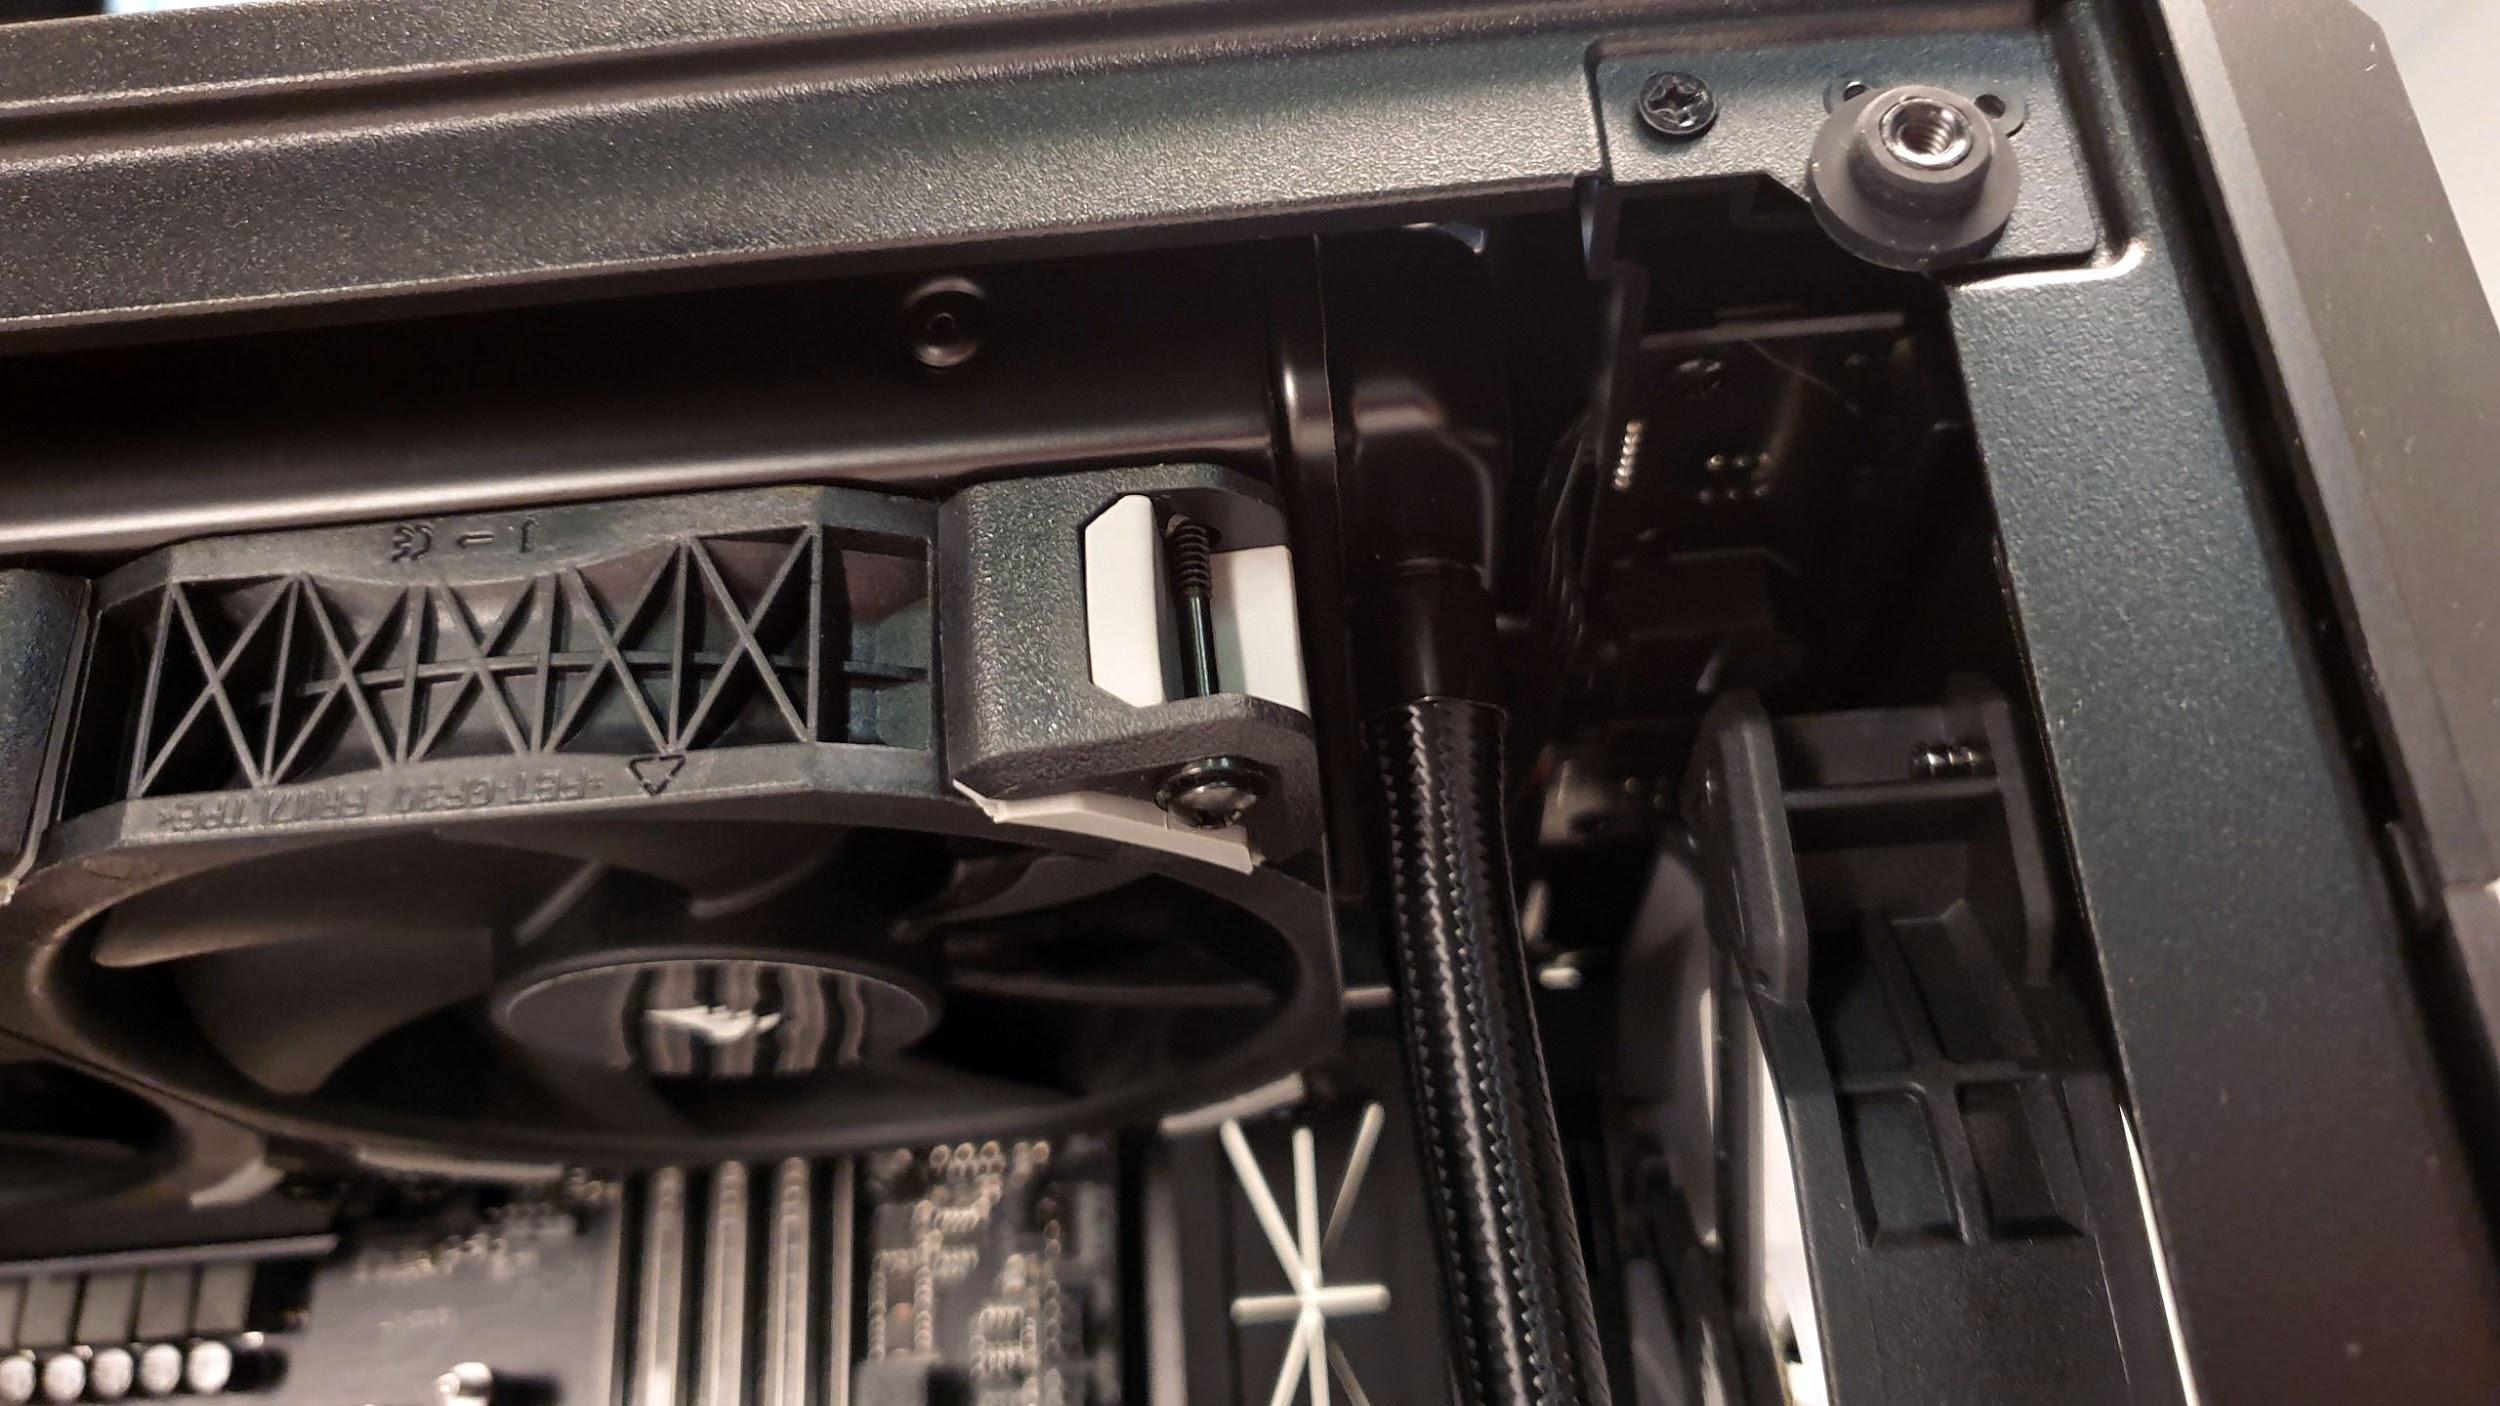
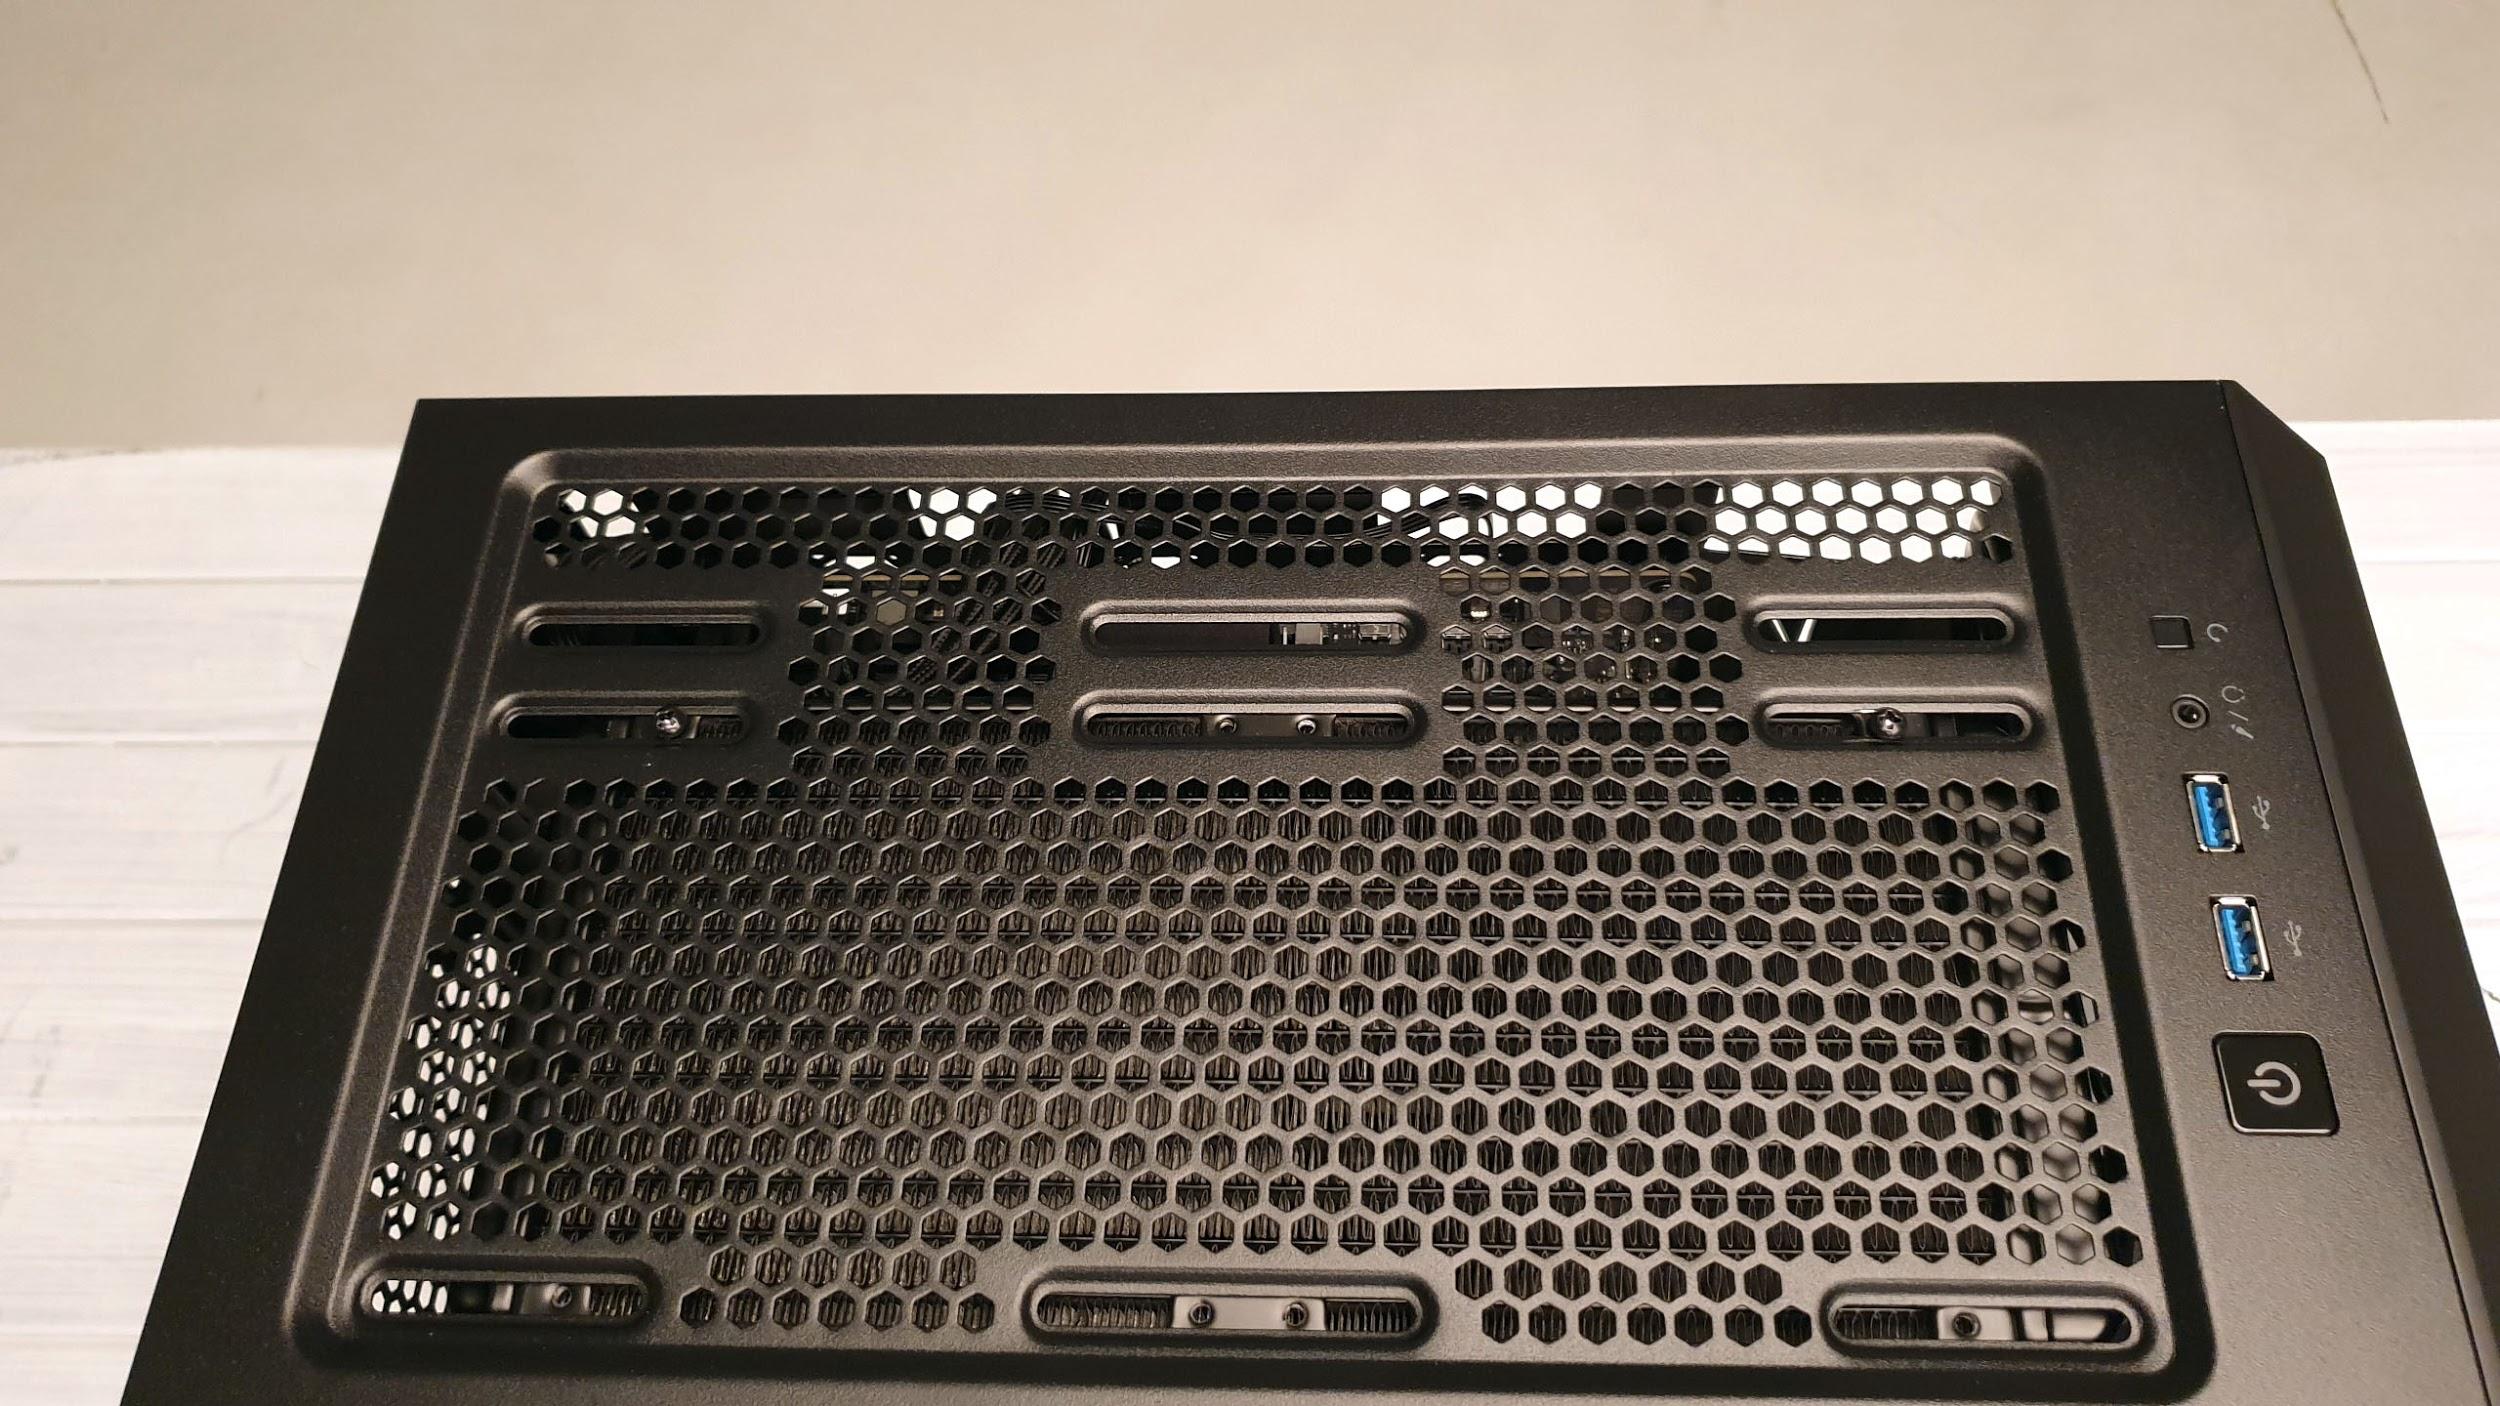
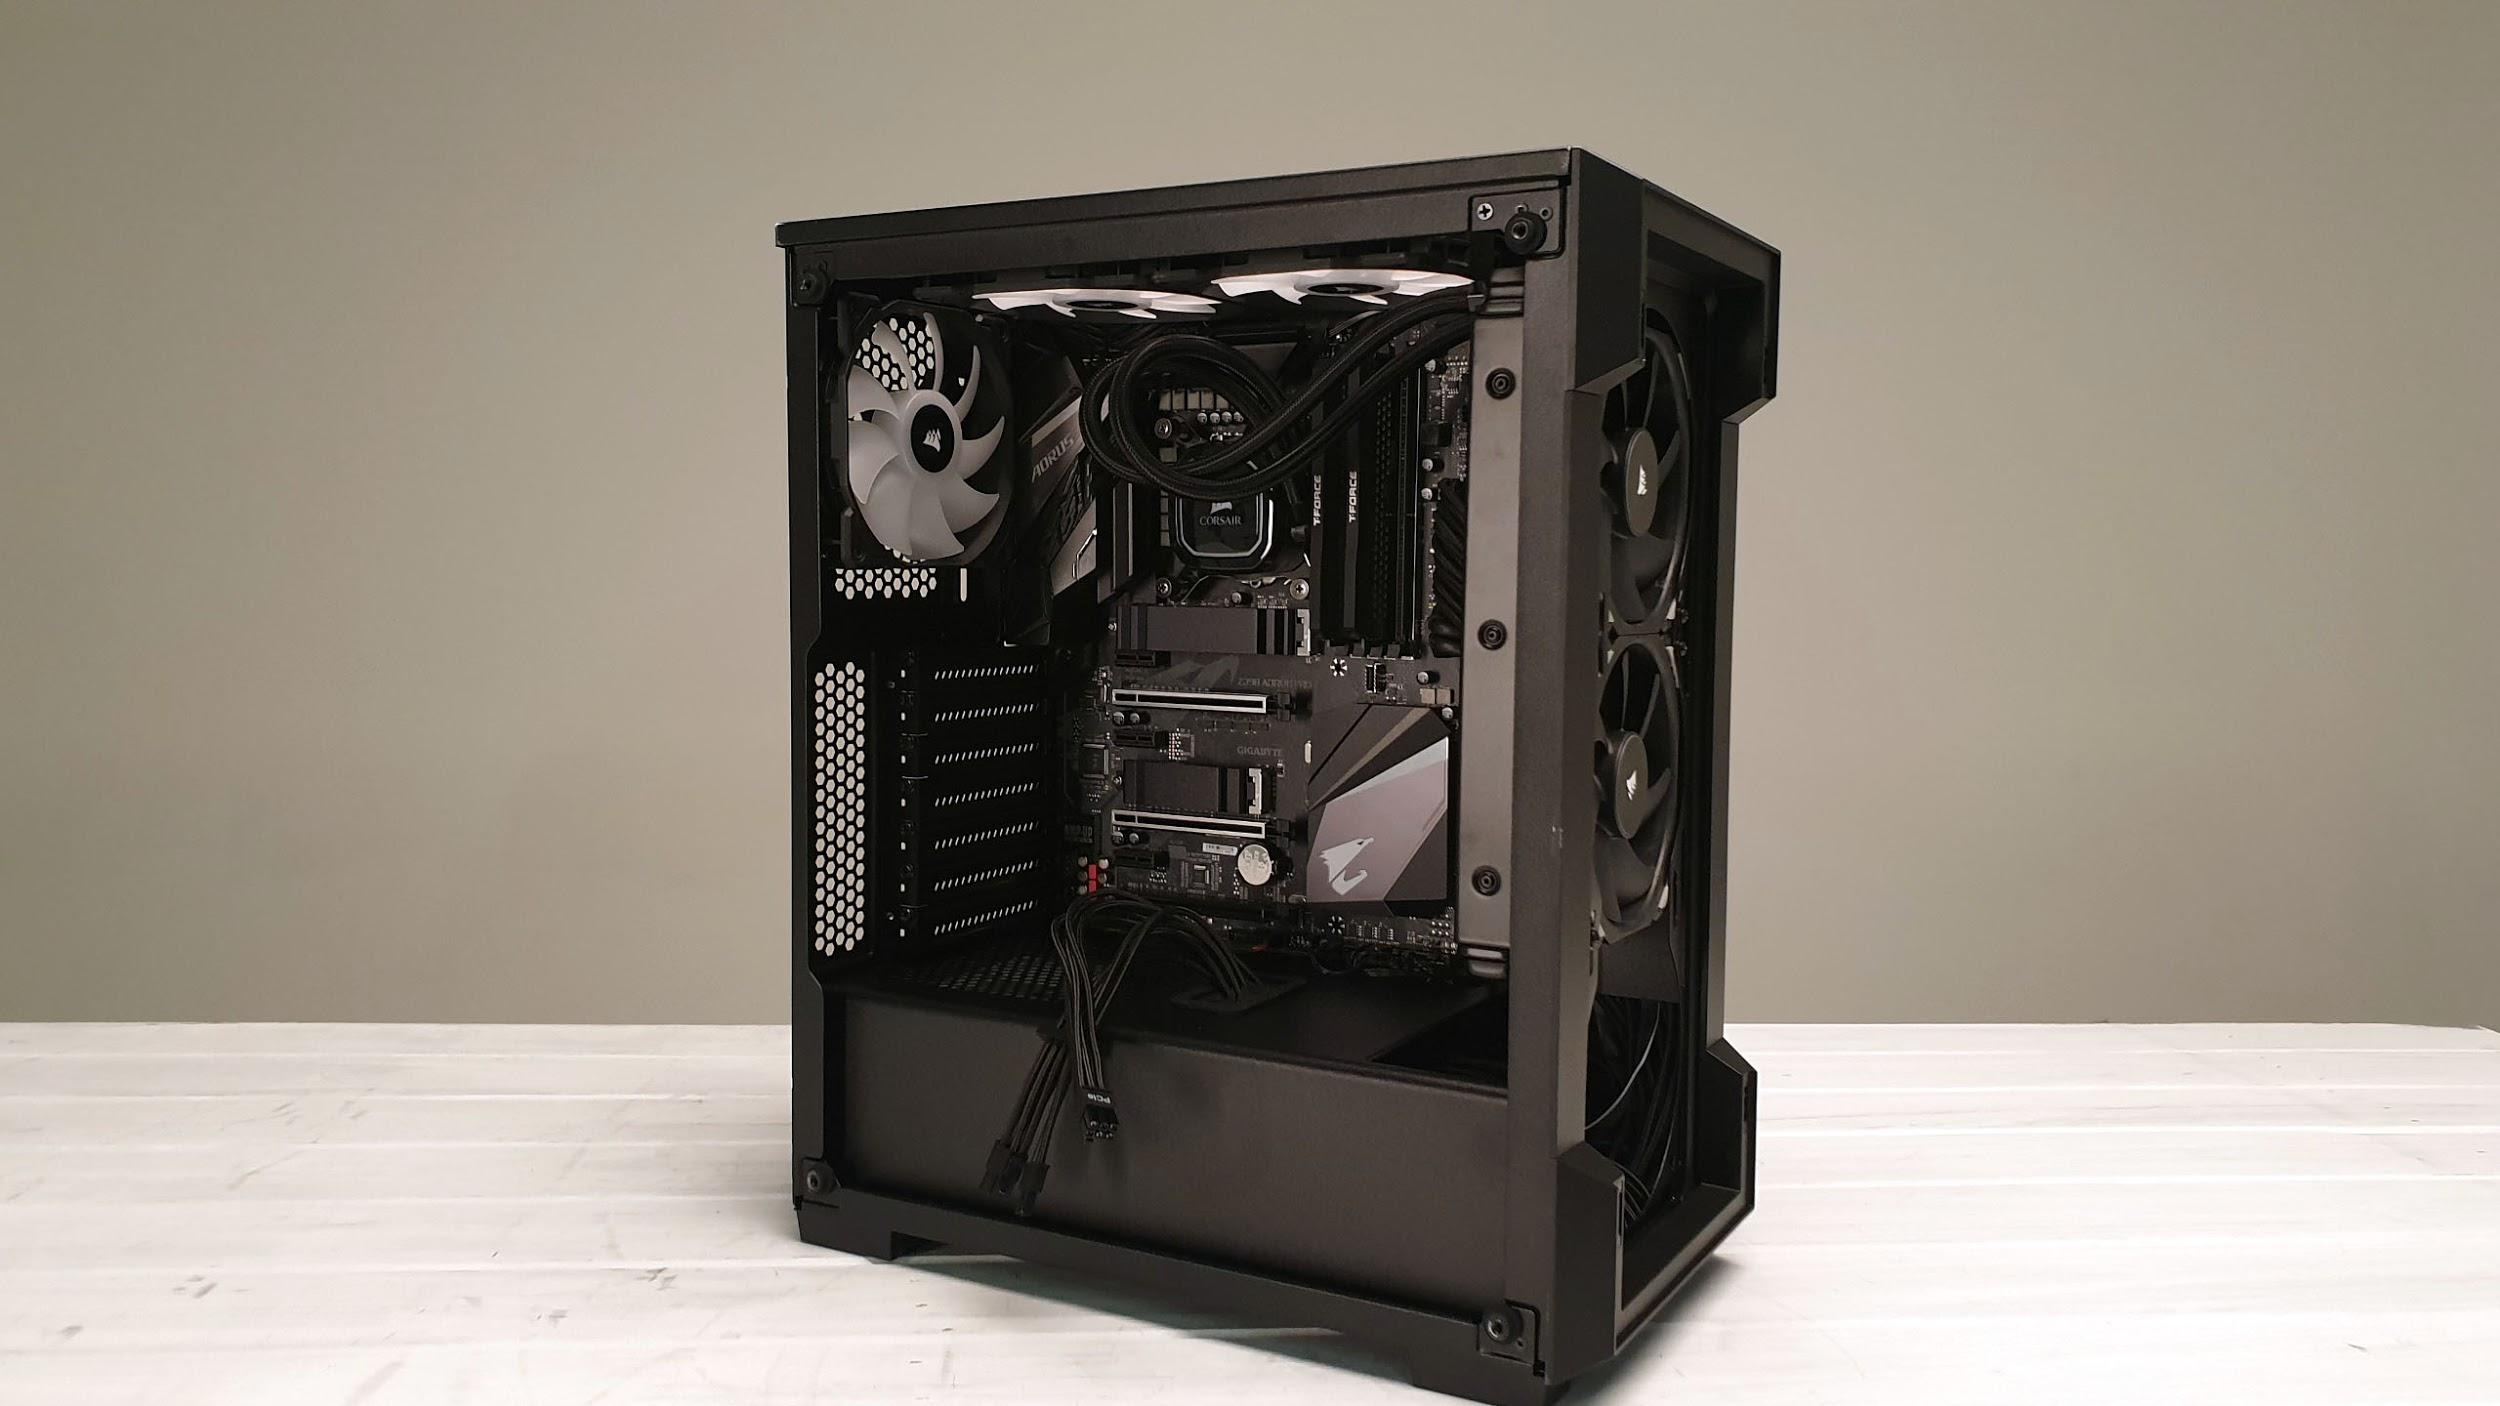
Because of that we had no choice but to rearrange our fan compliment accordingly. After removing the cooler and those three fans, we installed our 240mm AIO in the front of the case, and are instead using the front “SP” fans as exhaust in the roof, and the other remaining SP fan as an exhaust in the rear. Theoretically, you should be able to install a 360mm AIO in the front here, but given the lack of room in the PSU compartment below, we would advise against it. In this config as well, those two ML 120 Pros will have more than enough grunt to draw through any air from that perforated front panel, and given their impressive stats (both airflow and static pressure), should be more than enough to ensure this system isn’t running a negative pressure internal air flow setup. Alternatively, CPU permitting, you could run a single 120mm AIO in the rear of the case instead. The latter might be your best bet, as shoving a radiator in the front, as we have for the purpose of illustrating build possibilities here, means that your're pulling heated air in through the radiator and over your components, rather than cool air that would come in if there were just intake fans up front.
GPU Compatibility
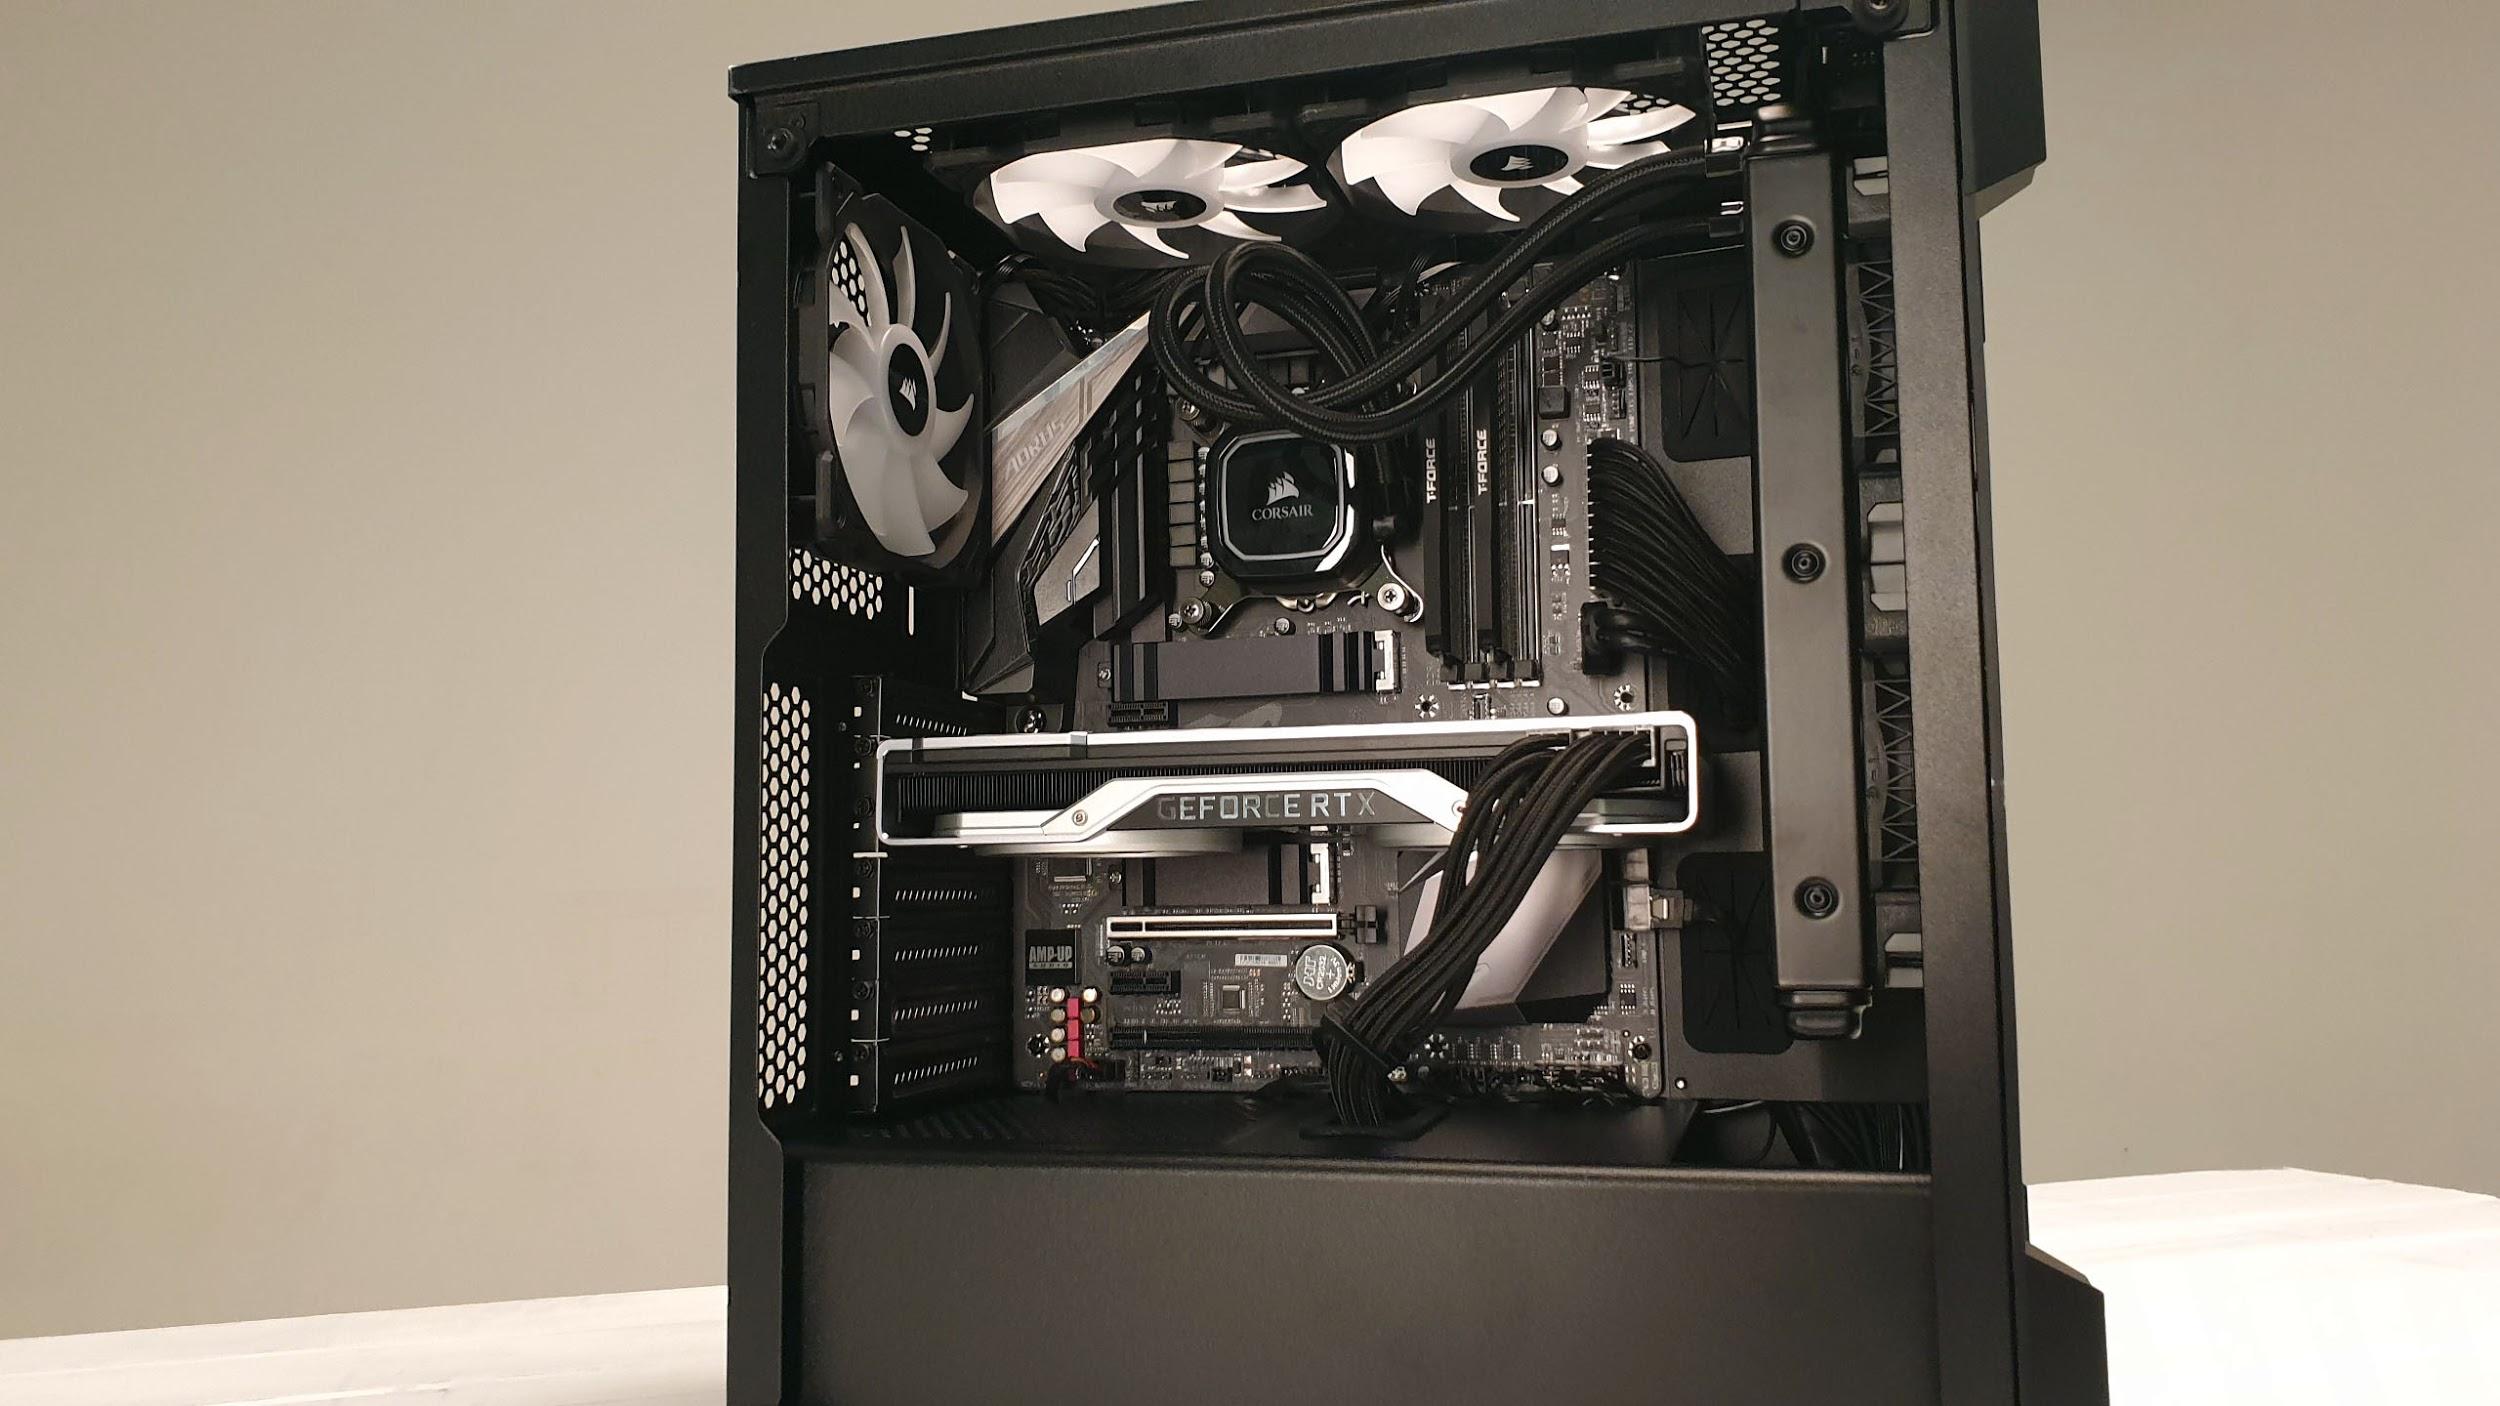
You can forget about installing any triple fan solutions, especially if you’re running an AIO in the front like we did. Nvidia’s RTX 2070 Super comes in at 267mm in length, but there’s there's not a whole lot more room than that to play with when installing your GPU, so you’ll need to be careful when picking your graphics card.
MORE: Best Cases
MORE: All Case Content
Current page: Hardware Installation and Test Configuration
Prev Page Features and Specifications Next Page Benchmark Results and Conclusion
As Associate Editor of Tom's Hardware's prestigous British division, Zak specializes in system building, case reviews and peripherals, and has a particular penchant for liquid-cooling. He's also a lover of all things Viking/Scandinavian (thus the poor attempt at a beard).
-
AlistairAB Should really be more clear what the compatibility issues are, in the summary. Just GPU length?Reply