Tom's Hardware Verdict
Creality’s CR-M4 is a massive printer, with industrial strength parts and a premium price.
Pros
- +
Easy assembly
- +
Simple Auto bed leveling
- +
Direct drive
- +
Dual gear extruder
- +
Wi-Fi and LAN
Cons
- -
Huge footprint
- -
Noisy
- -
Pricey
Why you can trust Tom's Hardware
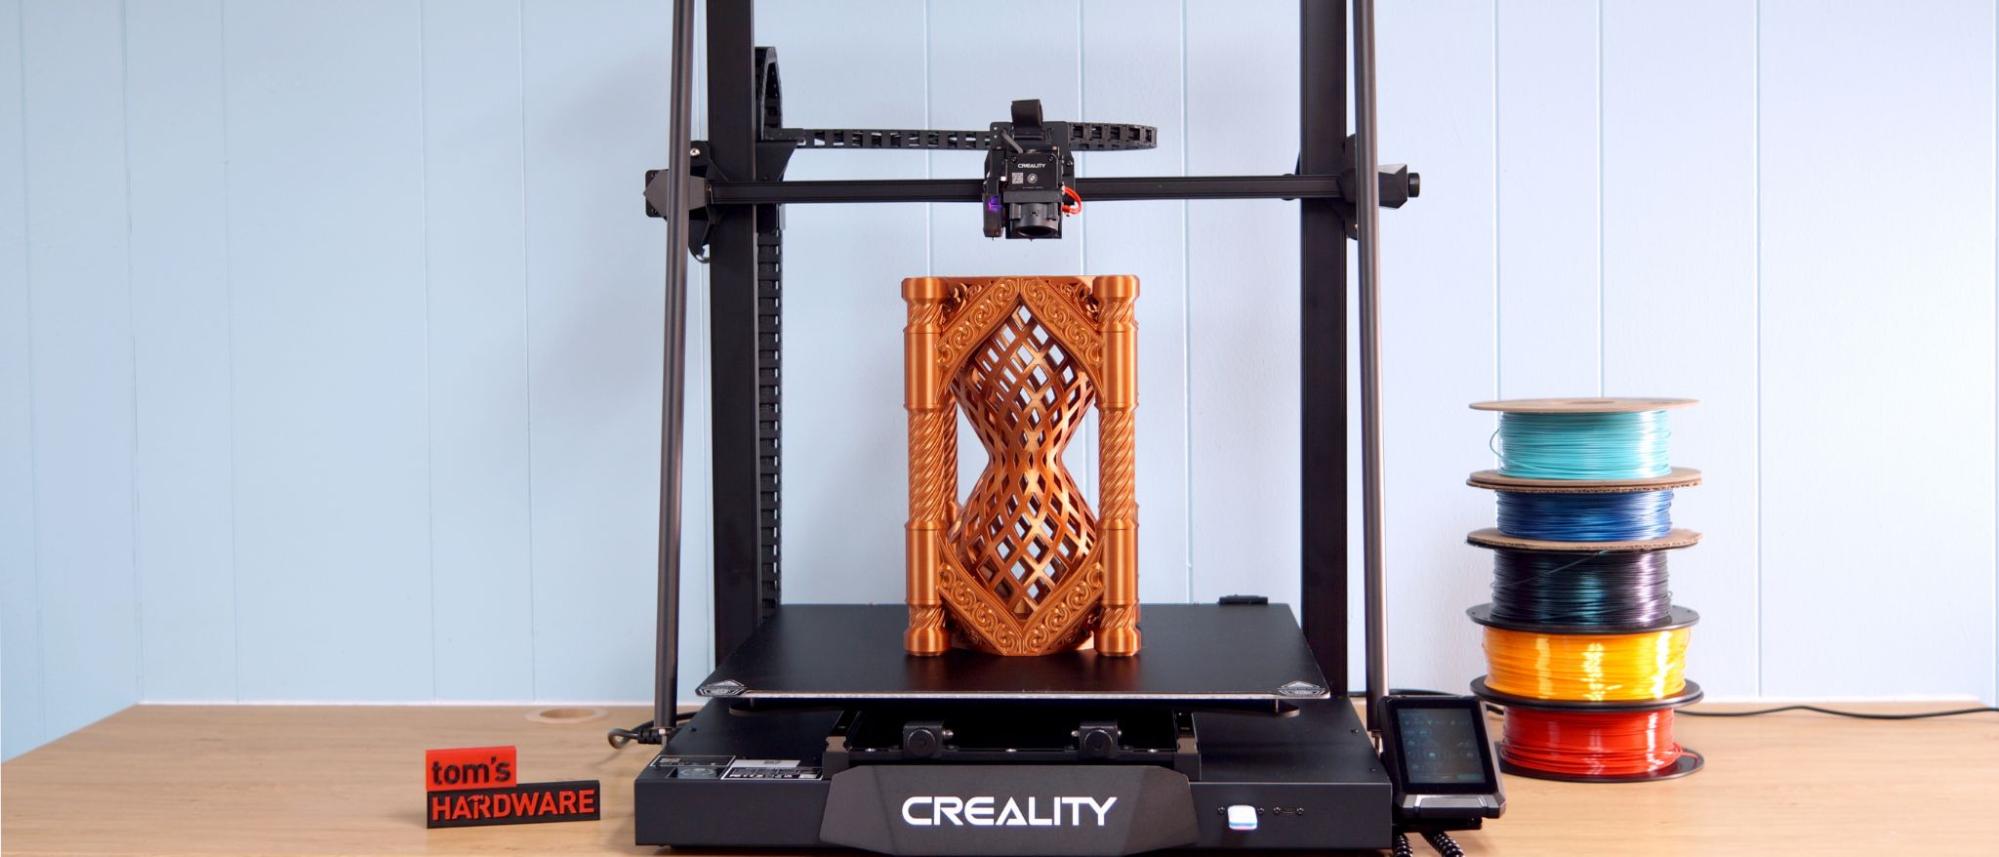
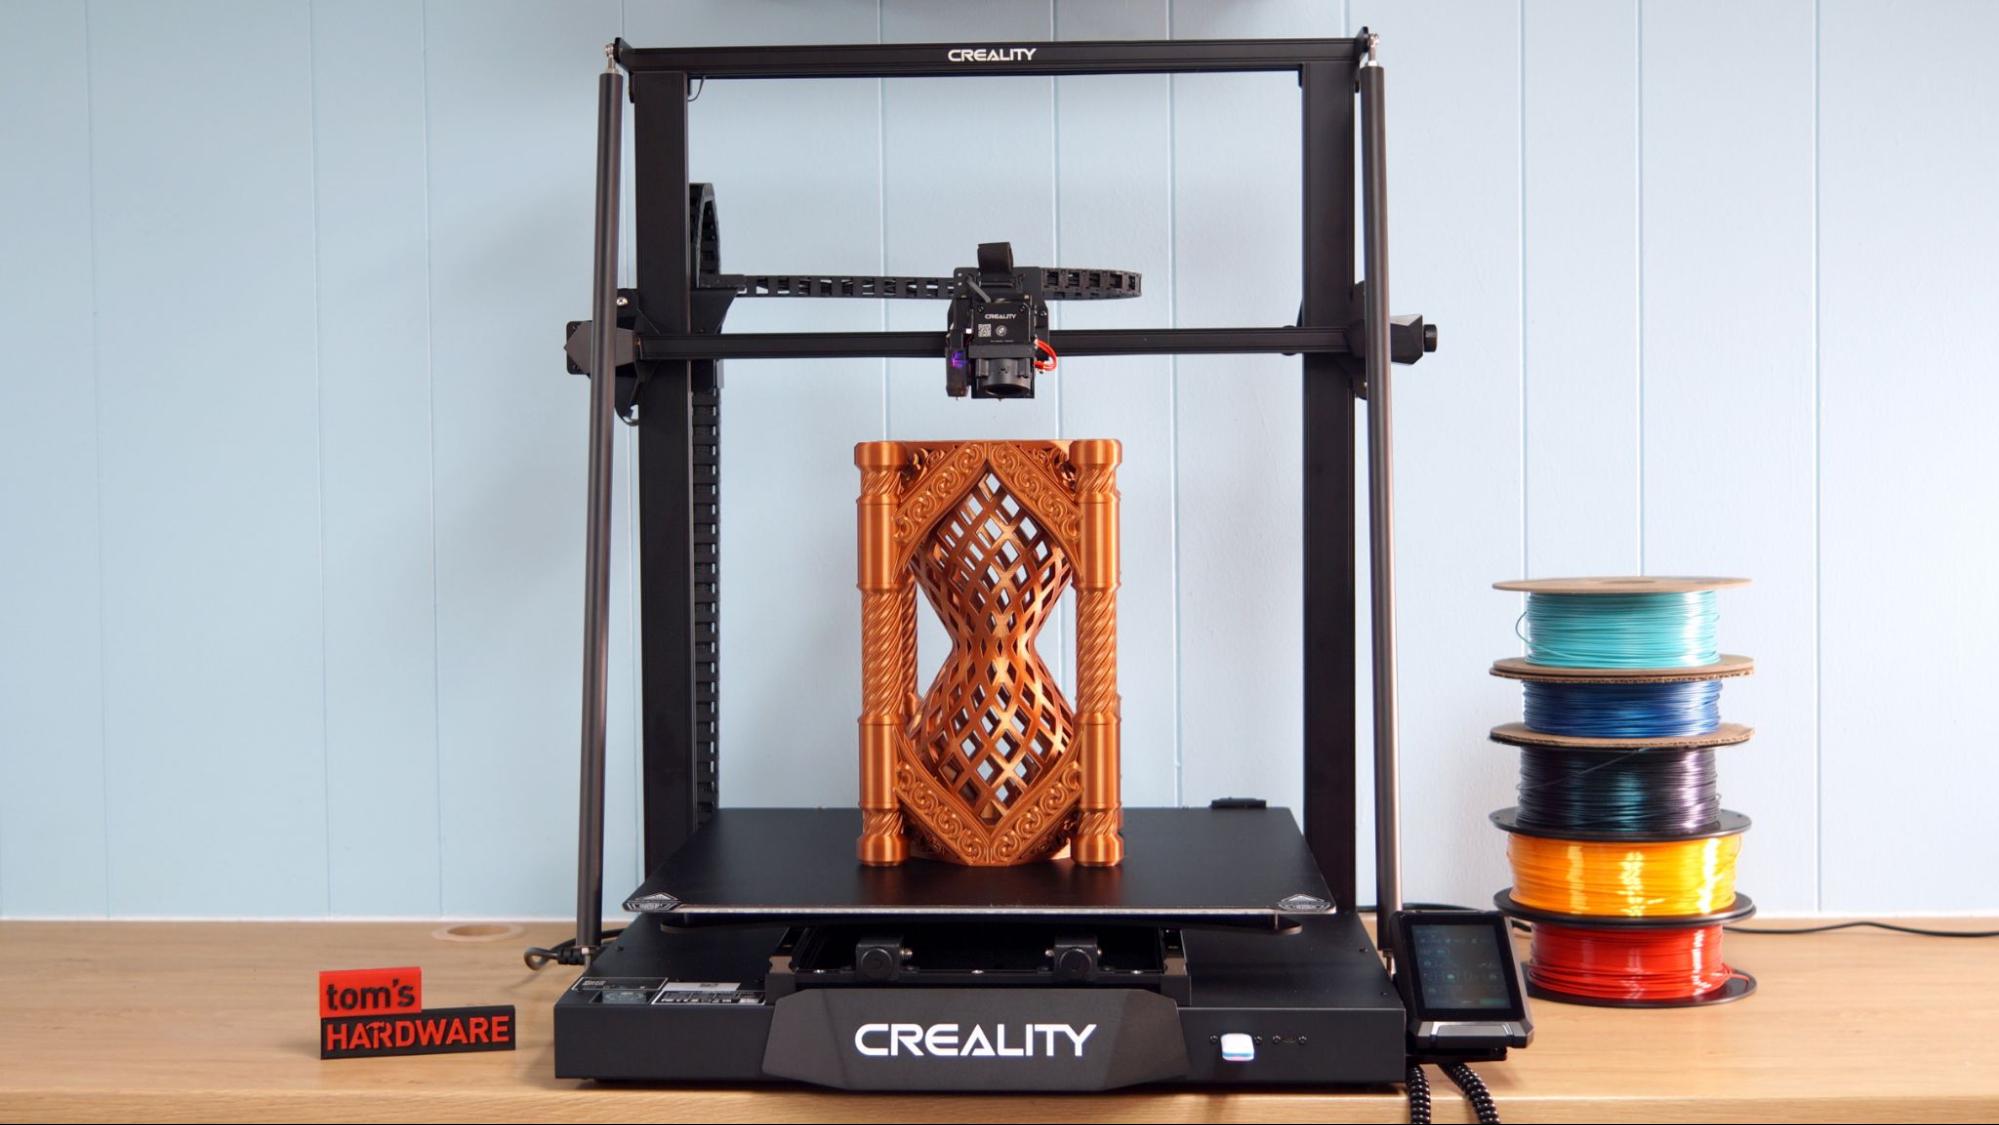
Creality’s waded into the current “my printer is bigger than your printer” argument with its own enormous 3D printer. The CR-M4 is so over-engineered that Creality is calling it “quasi-industrial” and, in ads, daring you to not only print full sized armor pieces, but full sized dragons.
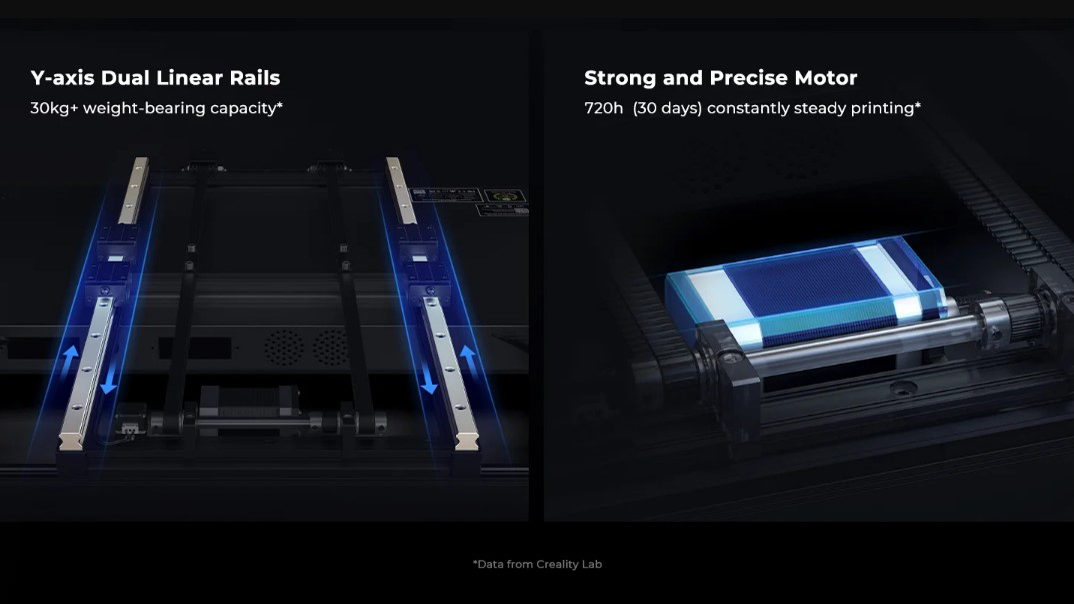
The Creality CR-M4 is built to last with linear rails on the Y axis, an oversized Y stepper motor, and a larger than normal 800W power supply. The company has adopted a Volcano style all metal hotend, but stumbled a bit by shipping the massive printer with a dinky .4 mm nozzle.
Precise auto leveling, a Sprite direct drive and a flexible bed surface make it easy to use. However, the CR-M4’s gigantic 450x450x470 mm build volume has an even bigger footprint – almost a full square meter. You definitely want to measure your table tops before bringing this one home.
If you’re wanting to make very large things – like cosplay armor – without cutting them into bite sized pieces first, this might be the best 3D printer for you. At $1,099, it feels expensive for the home printer market, but someone with a workshop who requires durability will feel that the printer’s robust build is worth the price.
Specifications: Creality CR-M4
| Build Volume | 450 x 450 x 470 mm (17.7 x17.7 x 18.5 inches) |
| Material | PLA/PETG/TPU/ABS (up to300 degrees) |
| Extruder Type | Direct Drive |
| Nozzle | 0.4mm (proprietary) |
| Build Platform | PC coated spring steel sheet, heated |
| Bed Leveling | Automatic, CR Touch |
| Filament Runout Sensor | Yes |
| Connectivity | USB Drive, USB Type C, , LAN |
| Interface | 4.3 inch Color touch screen, removable |
| Machine Footprint | 655 x 700 x 865mm (25.7 x 27.5 x 34 in) |
| Machin Weight | 22.48kg (49.5 lbs) |
Creality CR-M4: Included in the Box
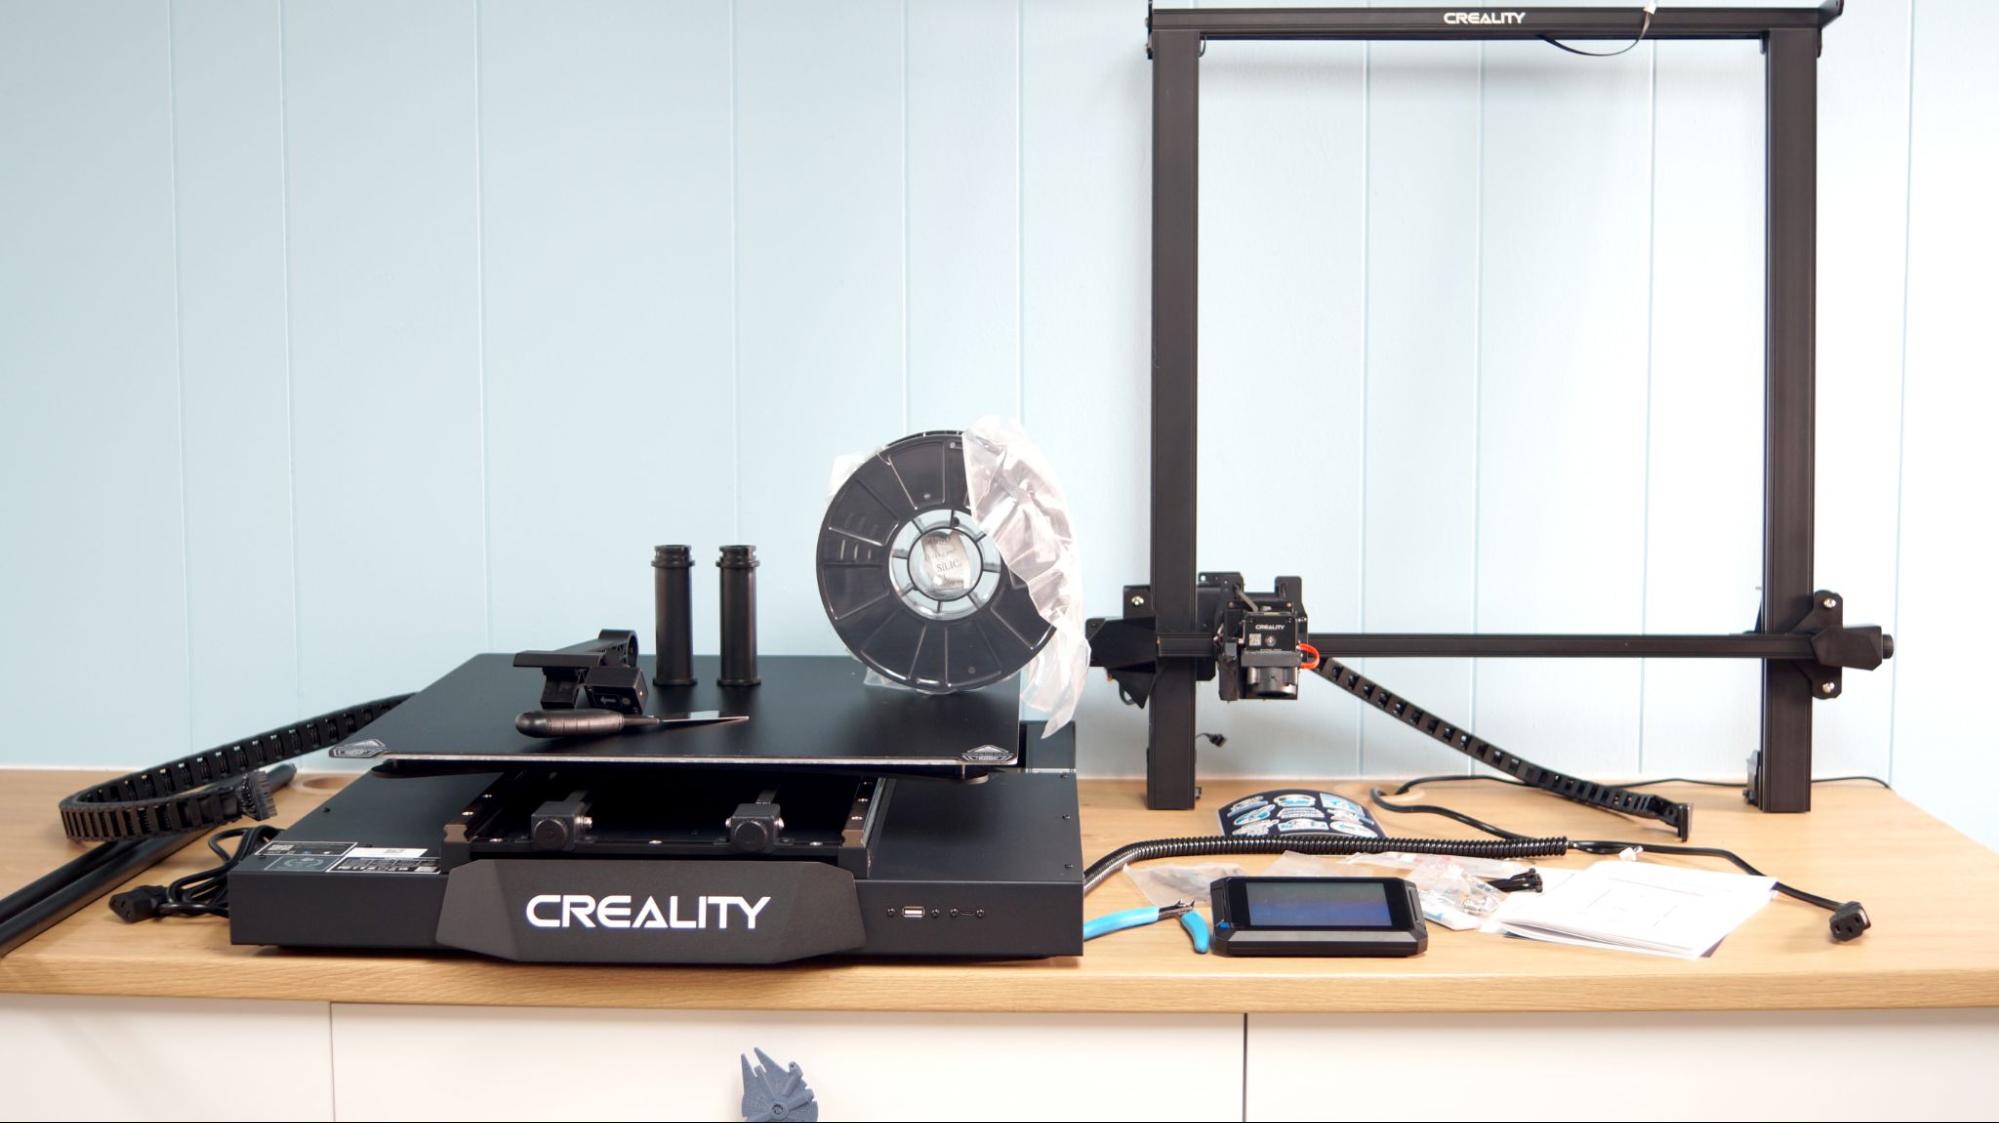
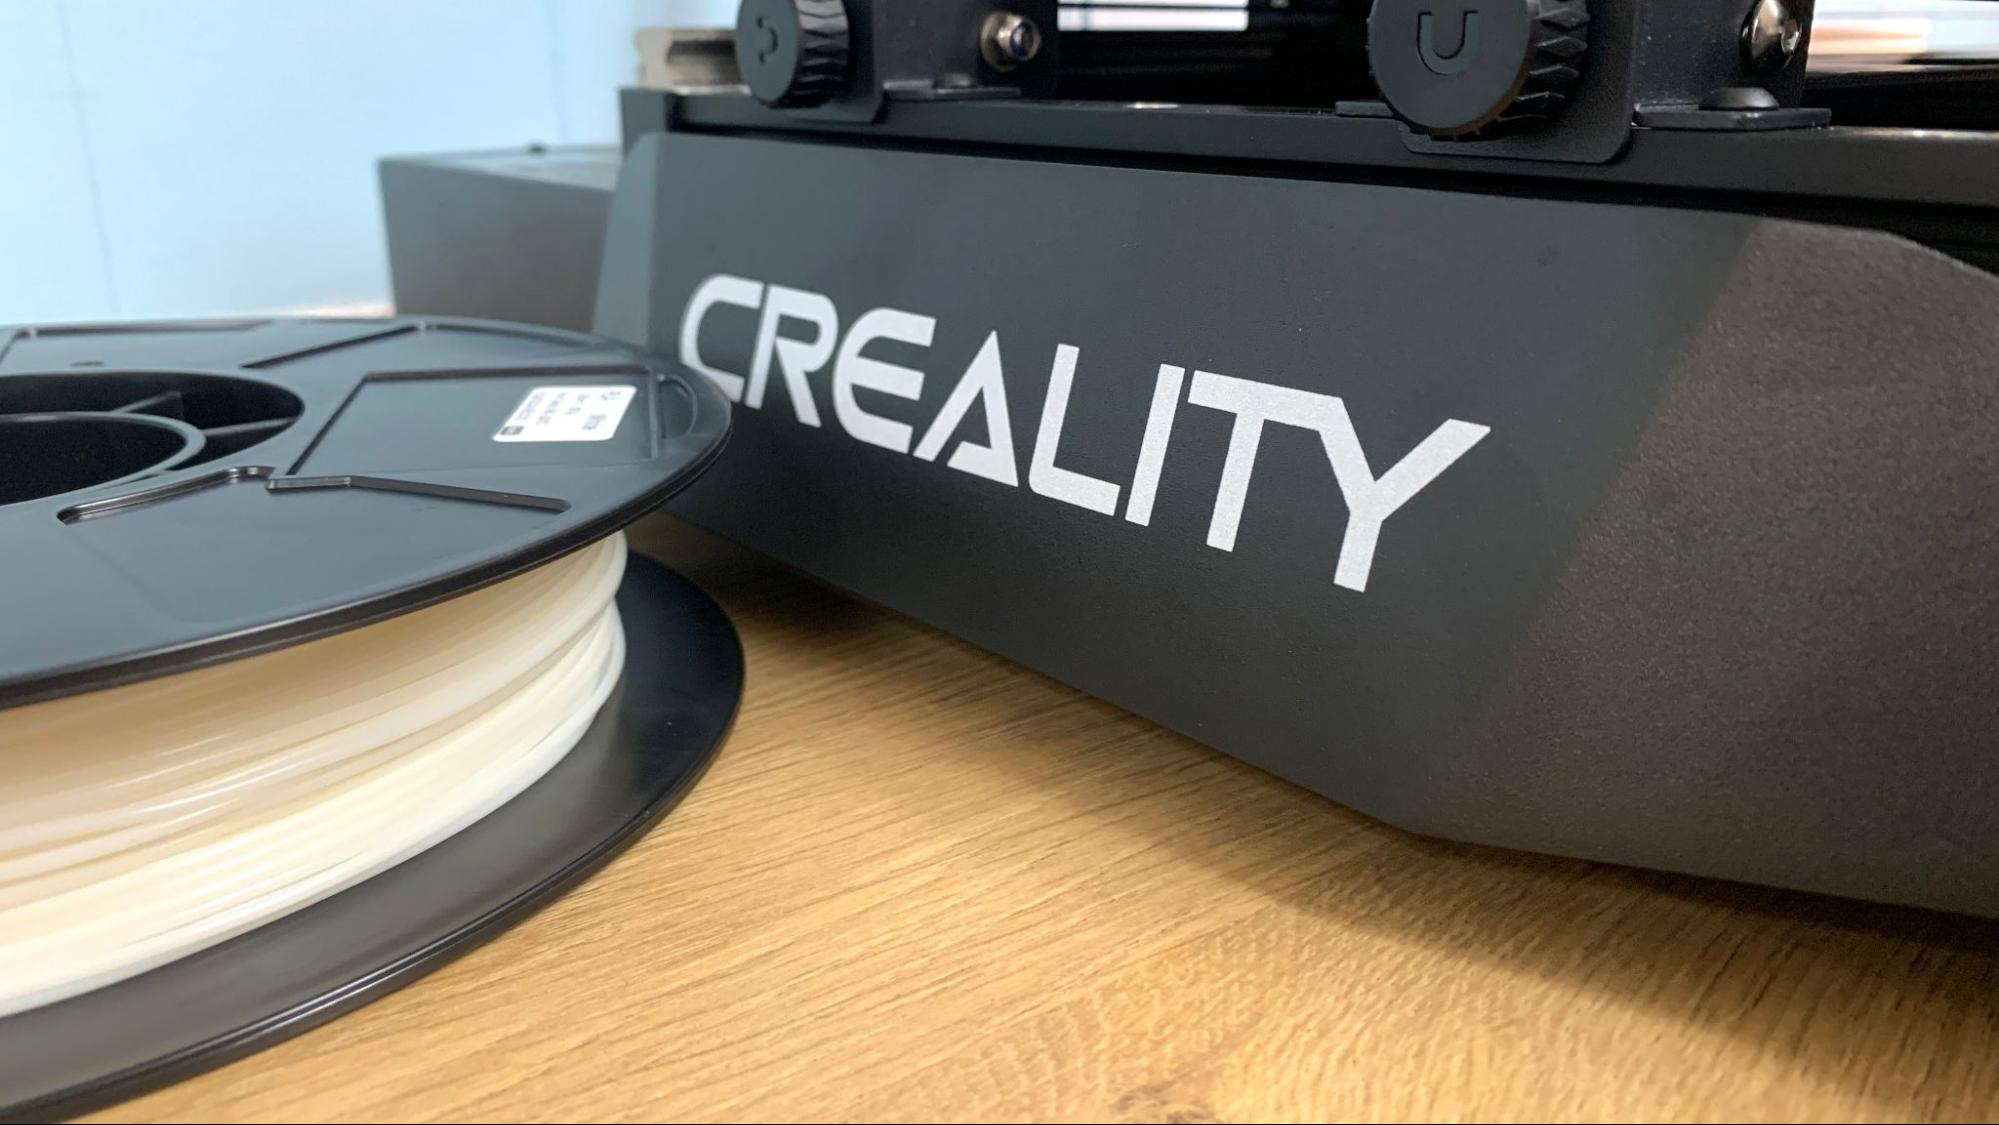
The Creality CR-M4 comes with everything you need to get your printer set up. You get tools to build and maintain the printer, side cutters, a metal scraper, 1 spare hotend with .4 nozzle preinstalled, and a USB stick for transferring files. There’s also a 500g sample of white PLA to get you started.
The USB stick has a very helpful short video on assembling the printer. You also get a PDF copy of the manual, a copy of Creality Print and two sample models in both pre-sliced .gcode and .stl format.
Design of the Creality CR-M4
The Creality CR-M4 is a very large printer in the style of the popular CR-10 and has the same build volume of 2019’s Cr-10 Max. Engineers have greatly improved upon the design, adding smooth rolling steel linear rails and a larger, 800 watt power supply. Combined with a 42-60 Y Axis stepper motor, the CR-M4 can handle a whopping 30kg print on its build plate.
Get Tom's Hardware's best news and in-depth reviews, straight to your inbox.
It has a dual Z axis as expected, with a belt to keep them in sync and tie rods to keep them steady. Heavy-duty cable chains protect the Z and X axis wiring, though not the Y, which is still wrapped in a mesh sleeve. Seeing as the Y axis moves as much as the X axis, I wonder if the cable chains are more window dressing than necessity.
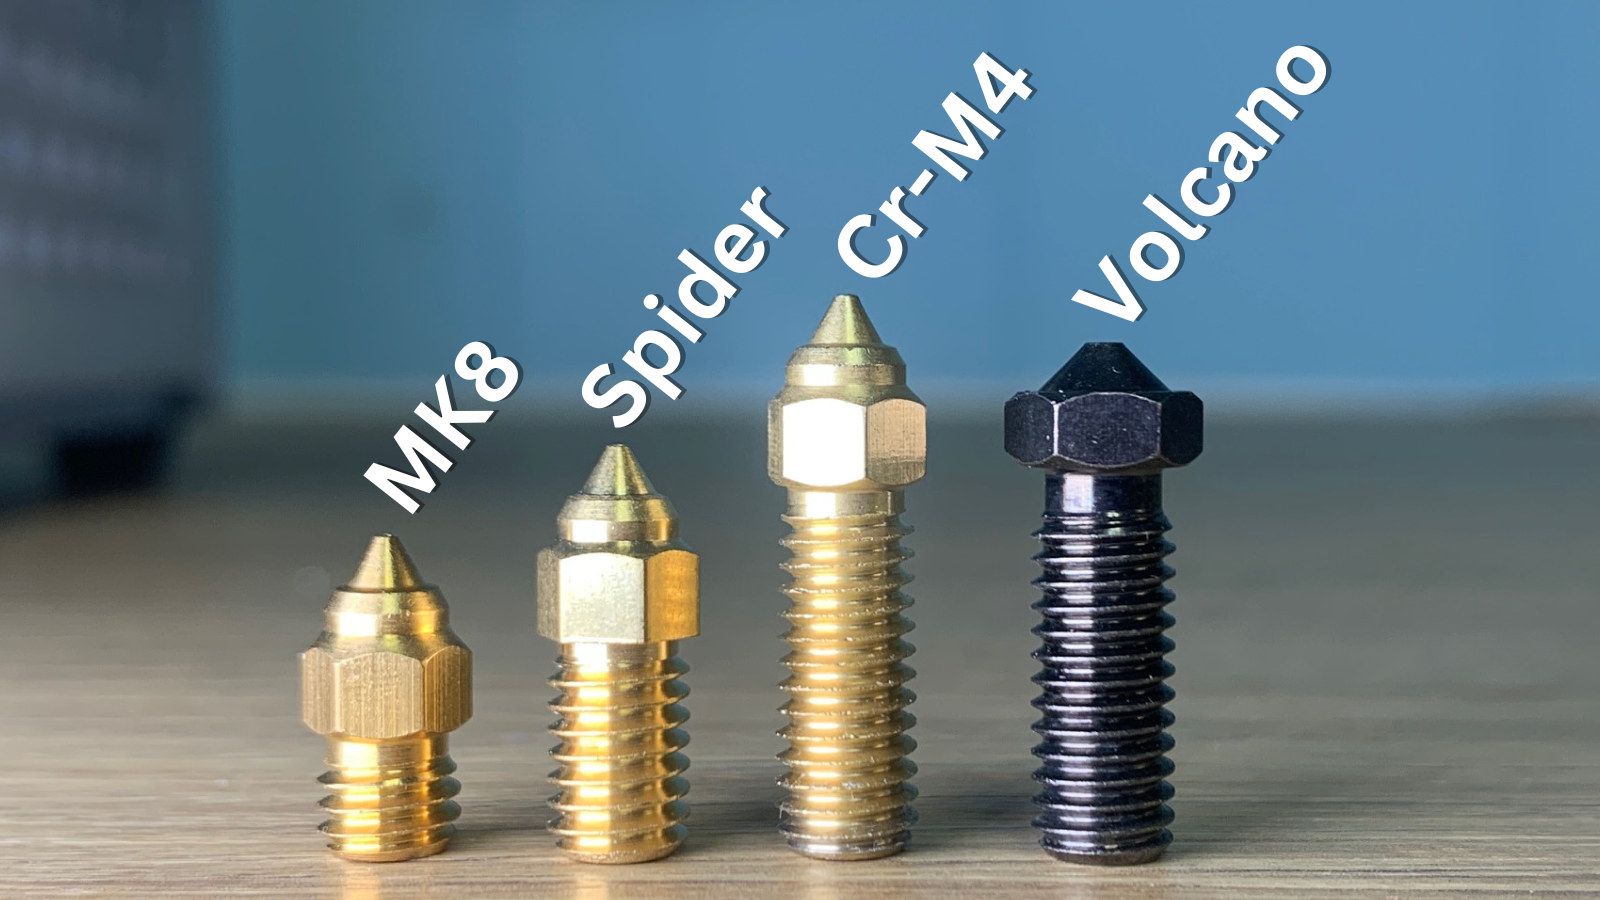
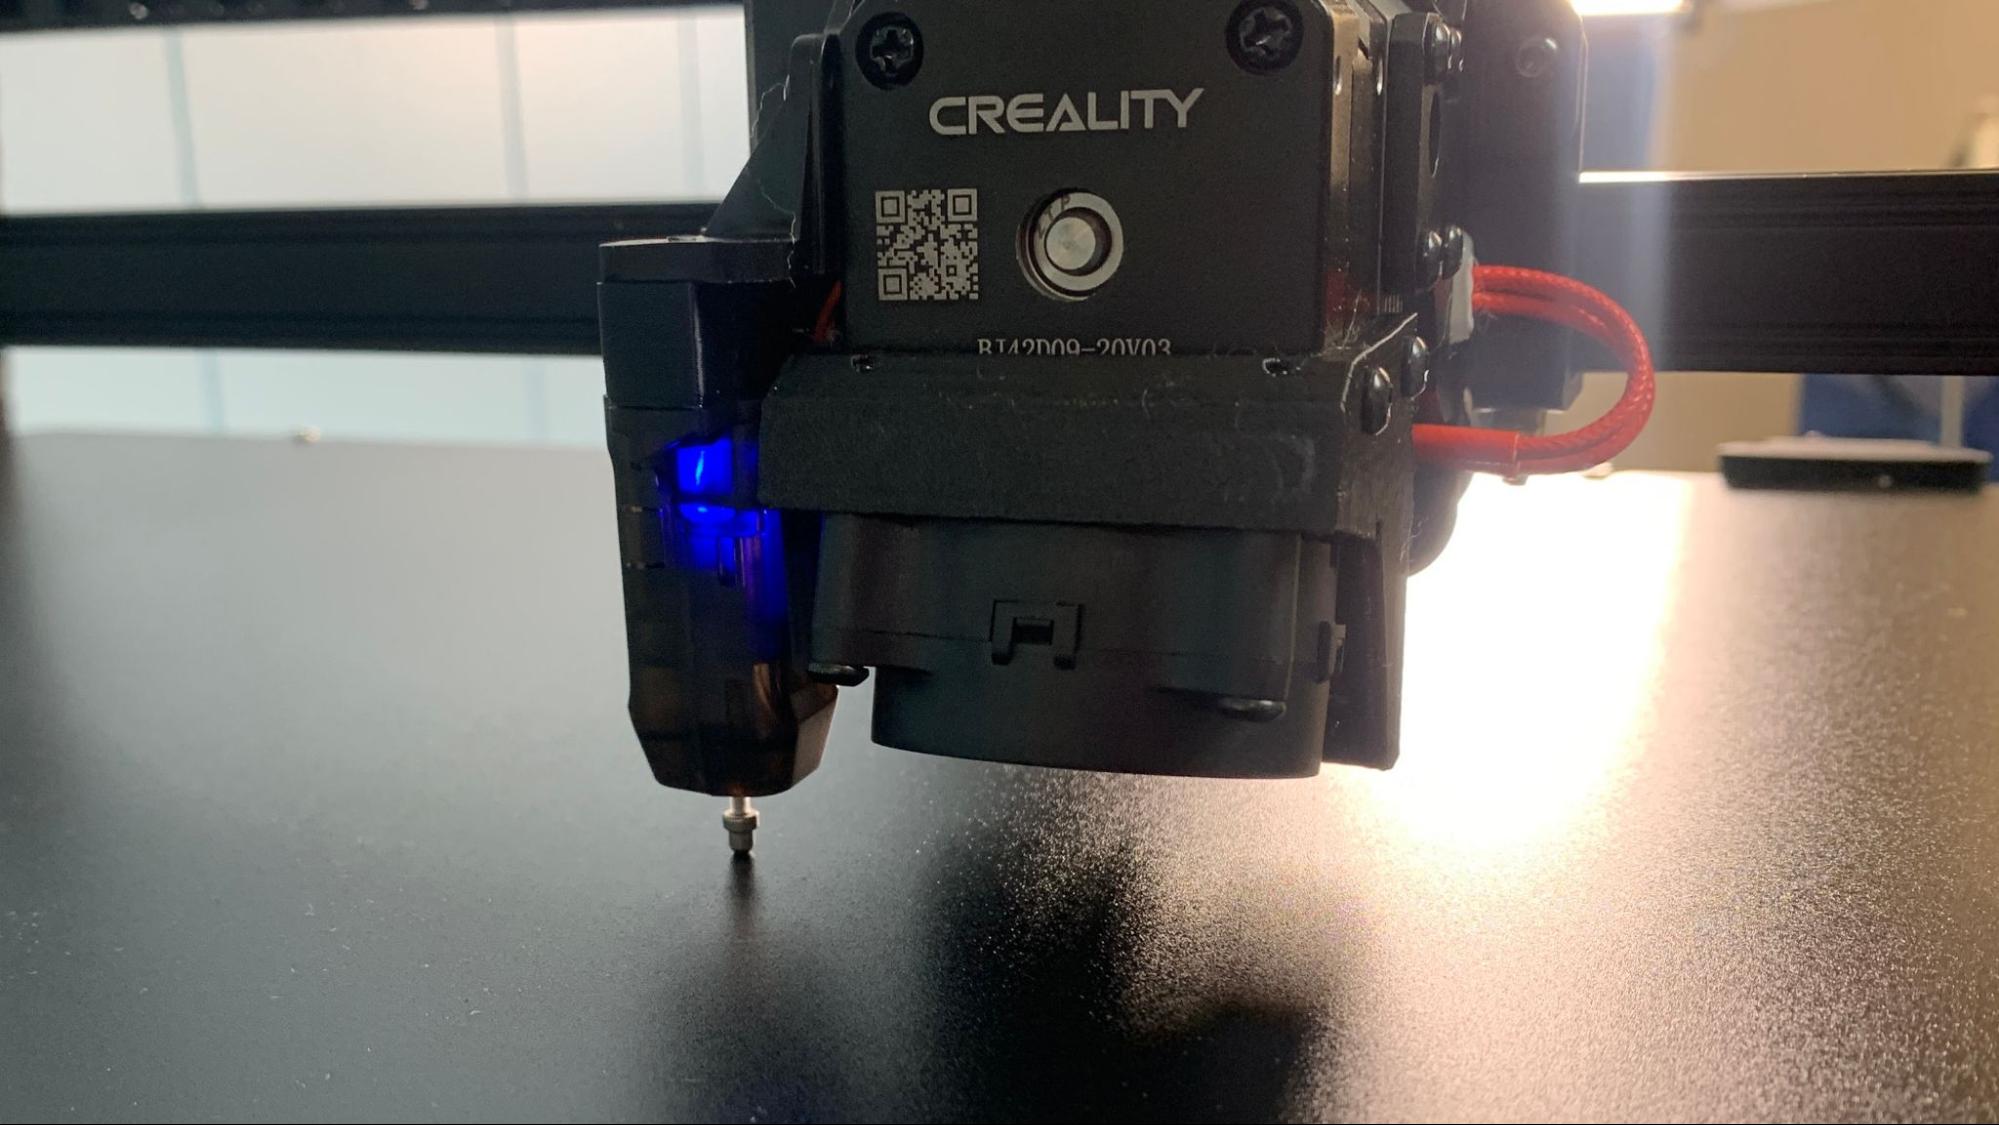
The all-metal, Sprite direct drive is nearly the same as found on the premium Ender 3 S1 Pro. But there’s a twist. This one is built for a longer Volcano type nozzle, which heats up more material and allows for faster printing. Sadly, Creality is using a custom nozzle only found here and at its sibling company, Sovol.
The included stock nozzle is a rinky-dink 0.4mm size, which is standard issue for most 3D printers, but woefully inadequate for the massive builds you’ll want to tackle with this kind of machine. Creality has reassured us that larger nozzles will become available soon.
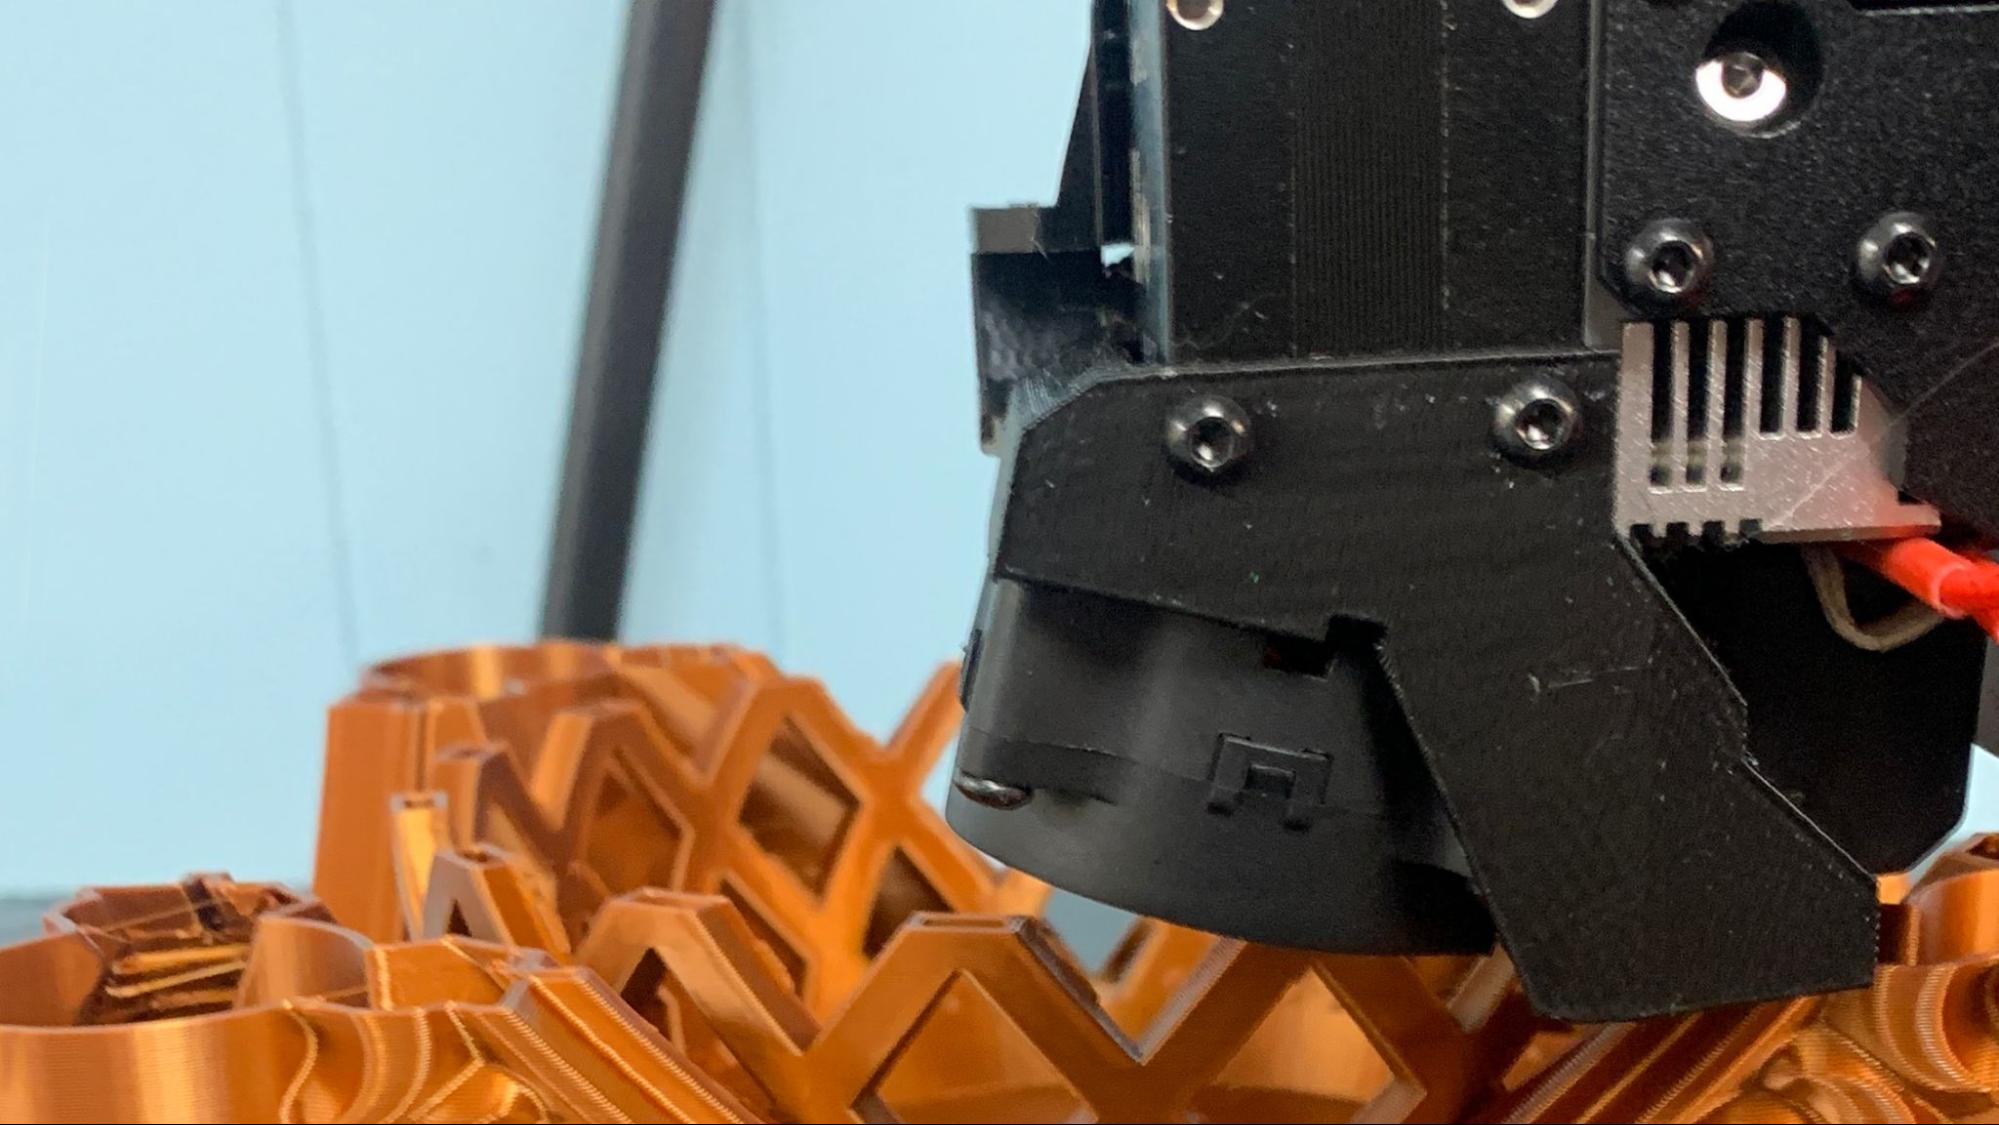
Creality’s custom high flow nozzle is, like the nozzle on the Ender 5 S1, going to confuse a few people. It looks like a Volcano and even has the same thread length. I went as far as placing a 0.6mm Volcano nozzle in the CR-M4, hoping to shave a few days off my test prints, when I realized it was too short to clear the fan shroud.
It’s not all bad. The bigger fan shroud is housing a 4020 fan with twin ducts pointed right at the nozzle’s tip for superior cooling.
The CR-M4 is the first Creality machine I’ve tested with a removable control screen. This came in quite handy while the printer was running in my studio. The printer is so large I had to run it sideways on my IKEA countertop, but the removable screen meant I didn’t have to strain my neck to fire up a print.
The spool holder is mounted on top, just like an Ender, which cuts down the printer’s width. I did find one flaw with the material rack, which is built for standard 1kg spools. I had hoped to use an extra large spool for a four day, 2000+ gram print.
Knowing that the spool holder would break under the strain of a 5 pound roll, I used a table-top spool holder which I borrowed from a smaller printer. I then ran the material up the printer, through a cable tie, into the top mounted filament runout sensor and back down to the direct drive. The strain of trying to pull material from a massive spool at a weird angle caused friction, embarrassing layer lines and even some under extrusion. If you want to use this printer with extra large spools, you’ll need to find a way to mount them to the ceiling or the wall above the printer.
The printer has a 32-bit board and silent stepper motors, but it’s not that stealthy. The CR-M4 requires a lot of cooling, and the fans are noticeable. They also stay on while the machine is idling, which can be aggravating.
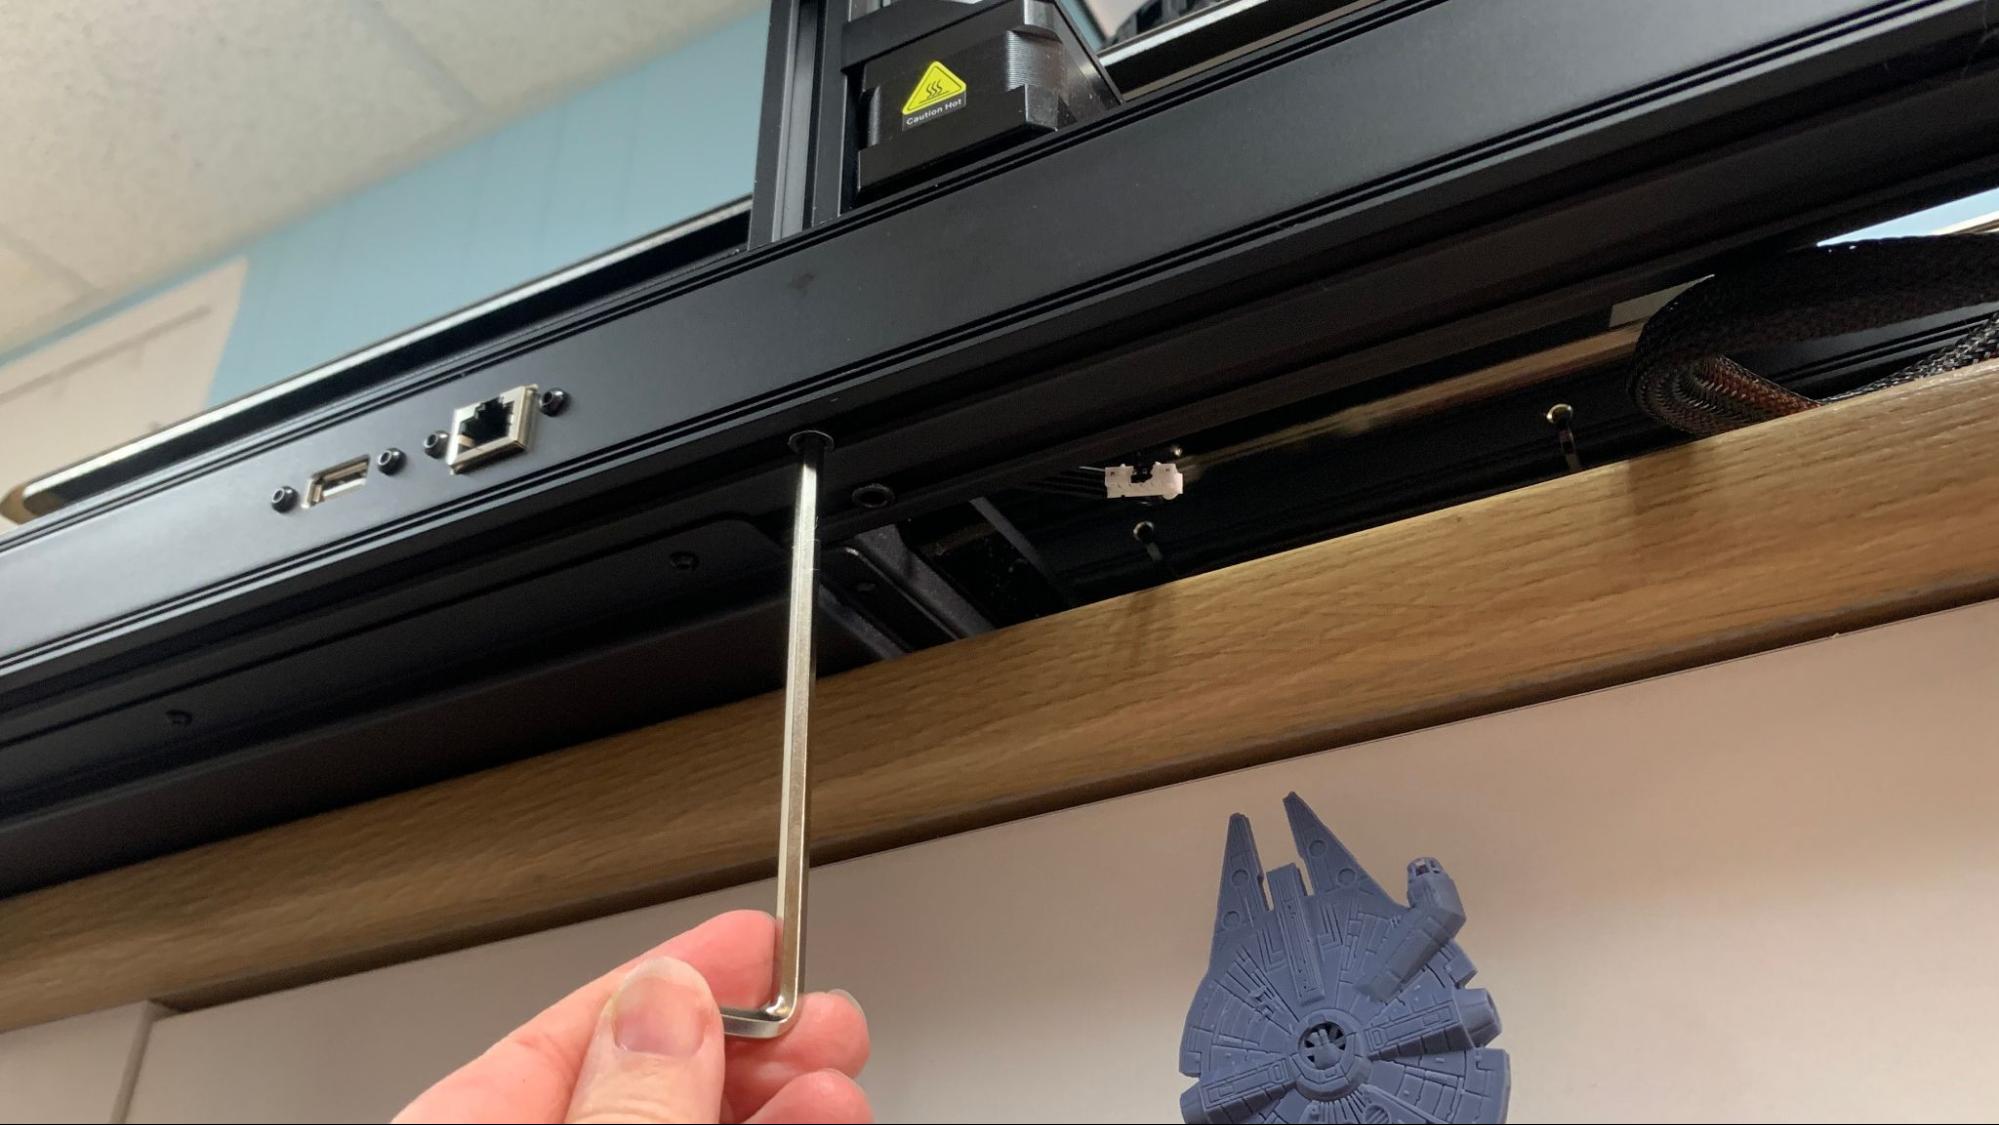
There are several ways to connect to the CR-M4: USB drive, USB-C cable, RJ45 cable, Wi-Fi and LAN. I’m very happy to ditch the tiny micro SD cards, and especially happy to be able to send files right from the slicer using Wi-Fi or LAN.
A note on Wi-Fi, which is accessed through a smart device and the Creality Cloud website. Creality Cloud is for gamified file sharing, shopping, socializing, slicing and sending prints to your machines. You can buy premium models with coins that are earned by using the website or with real money (99 cents will buy 100 credits). On the one hand, it’s pretty cool that you can find a print, slice and send it right from your phone. On the other hand, Creality hasn’t been able to prevent users from uploading (and selling) copyrighted models.
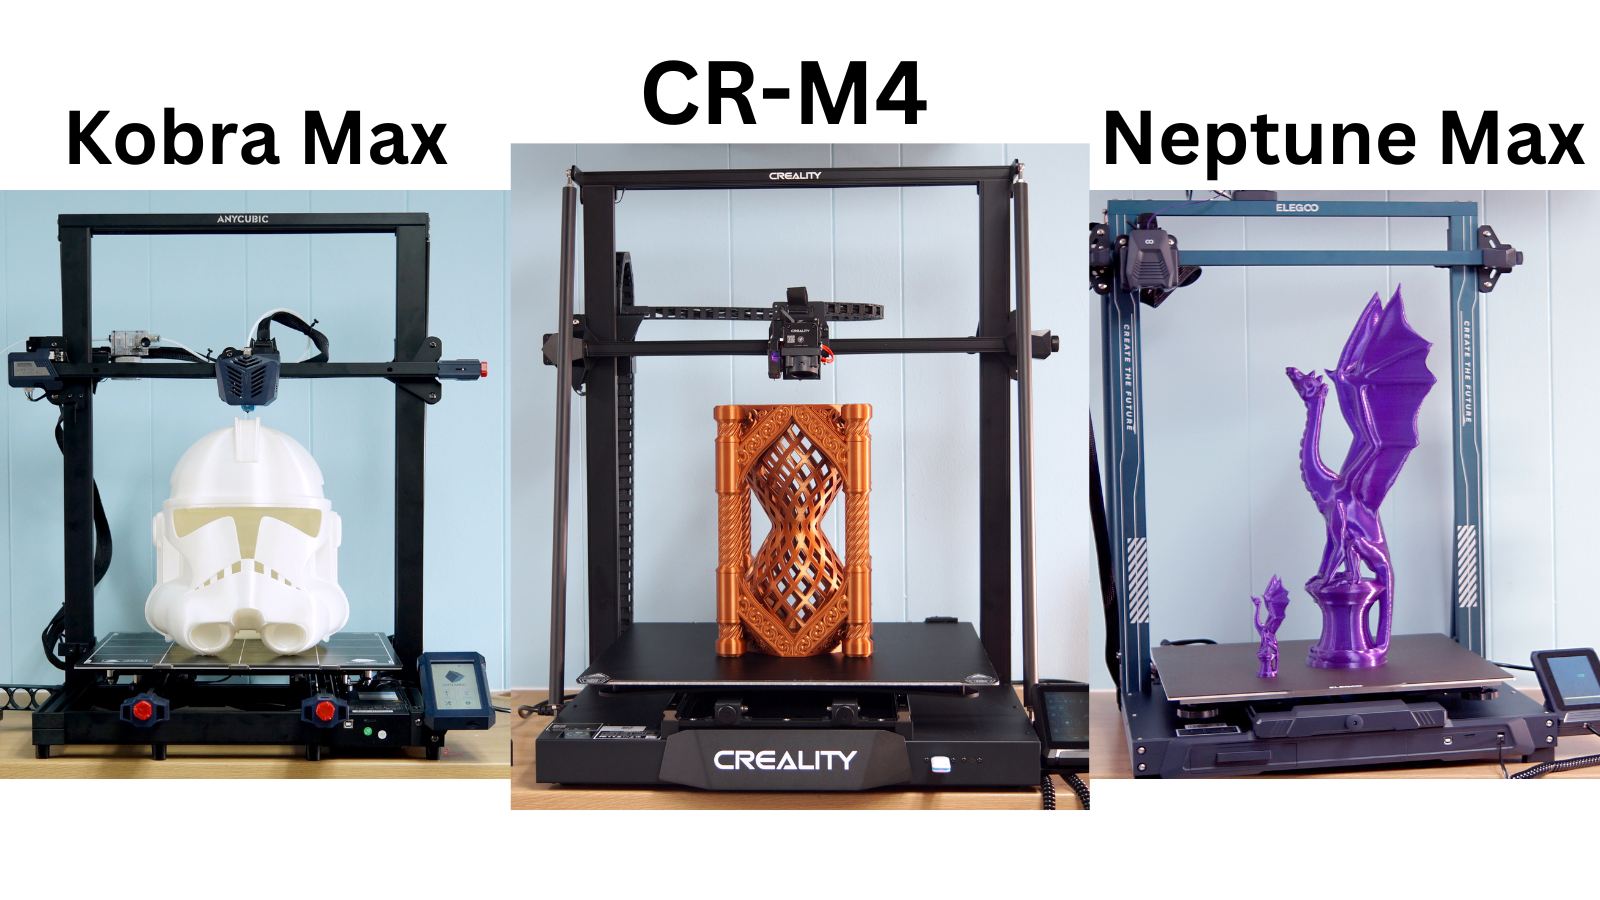
Creality CR-M4 VS Anycubic Kobra Max and Elegoo Neptune Max
We’ve reviewed three jumbo printers from three big companies in the past year. Anycubic’s Kobra Max and Elegoo’s Neptune Max are both similar designs with print volumes of at least 400mm cubed. So how do they stack up?
| Header Cell - Column 0 | Anycubic Kobra Max | Creality CR-M4 | Elegoo Neptune Max |
|---|---|---|---|
| Price | $569 | $1,099 | $470 |
| Volume | 400x400x450mm | 450x450x470mm | 420x420x500mm |
| Direct Drive | No | Yes | Yes |
| Linear Rails | No | Yes | No |
| High Flow Nozzle | Yes | Yes | No |
| All Metal Hotend | No | Yes | No |
| Build Plate | Glass | Flex PC | Flex PEI |
| Auto Level | Yes | Yes | Yes |
| Manual | No | Yes | No |
| Task Light | No | No | Yes |
All three machines produced quality prints on generously sized build plates. The CR-M4 and Neptune have easier to use flex plates, and the Kobra Max and CR-M4 have high flow nozzles to speed up their prints. The Neptune must be manually leveled first, while the Kobra Max and CR-M4 are full auto leveling.
The Neptune Max is a winner for your wallet, but has been notoriously hard to find in stock.
While more expensive, the CR-M4 beats the competition with more meaningful upgrades– linear rails on the Y axis helps move the heavy bed and an all metal hotend should keep it clog free. It’s also the only printer with WiFi capabilities.
Of course, we can’t forget the other monster printer we’ve reviewed, the Snapmaker Artisan. Retailing at $2999, the Artisan is in a slightly different class. It’s a 400x400x400mm dual extruder with all metal hotends. It has a glass bed, an enclosure…plus a laser and a CNC machine. It’s basically a whole workshop in one unit.
Assembling the Creality CR-M4
Assembling this beast is easier with a helper as some of the connection points are underneath. Like most modern printers, it comes semi assembled, and only needs 4 bolts to connect the gantry to the base. After that, you need to clip in the drag chain and screw on the supports. Two more screws fast the display screen to the side of the machine.
The wiring is very straightforward and well labeled, and there’s no hunting for a voltage switch as the CR-M4 is factory set to the appropriate voltage.
Leveling the Creality CR-M4
The CR-M4 has a hard-mounted bed without manual adjustments and relies on auto leveling to get a perfect first layer. It uses a Creality CR-Touch to probe the surface at 25 points.
The first time you level the CR-M4 is a little awkward because setting the Z height isn’t included in the leveling program. If you’re not following the manual closely it would be easy to overlook this critical step.
To level the bed, first click Prepare → Auto Leveling, then Start. It will probe 25 points on the bed. Next, click Move and manually return the printer to 0 on the Z axis. The first time through, 0 should be well above the build plate.
Click Move to return to the previous screen.Now click Z Offset and lower the nozzle until it just scrapes a piece of paper.
You can fine-tune the Z height from the print menu while running a print. However I didn’t find this necessary.
Loading Filament on the Creality CR-M4
The Creality CR-M4 has an easy-to-use Sprite direct drive, Creality’s lightweight extruder. There is no preset program for loading filament, but the path is so short that you can generally load and unload by hand.
First preheat the hotend by tapping Prepare. Select a Preheat button to match your filament. Presets for PLA and ABS are located on the main menu, and settings for PETG, TPU, Nylon, PA and “self defined” are located on a secondary menu. These can all be tuned to your liking in the Advance section of the menu.
Once the nozzle temperature hits the target, mount a spool on the rack, thread your filament through the filament runout detector and push it into the top hole. Release tension on the lever and push the filament through – it only needs a few centimeters before reaching the nozzle.
You can also advance the filament mechanically by using the Feed/Return button on the Prepare menu. To unload or change colors, simply reverse the process.
Preparing Files / Software for Creality CR-M4
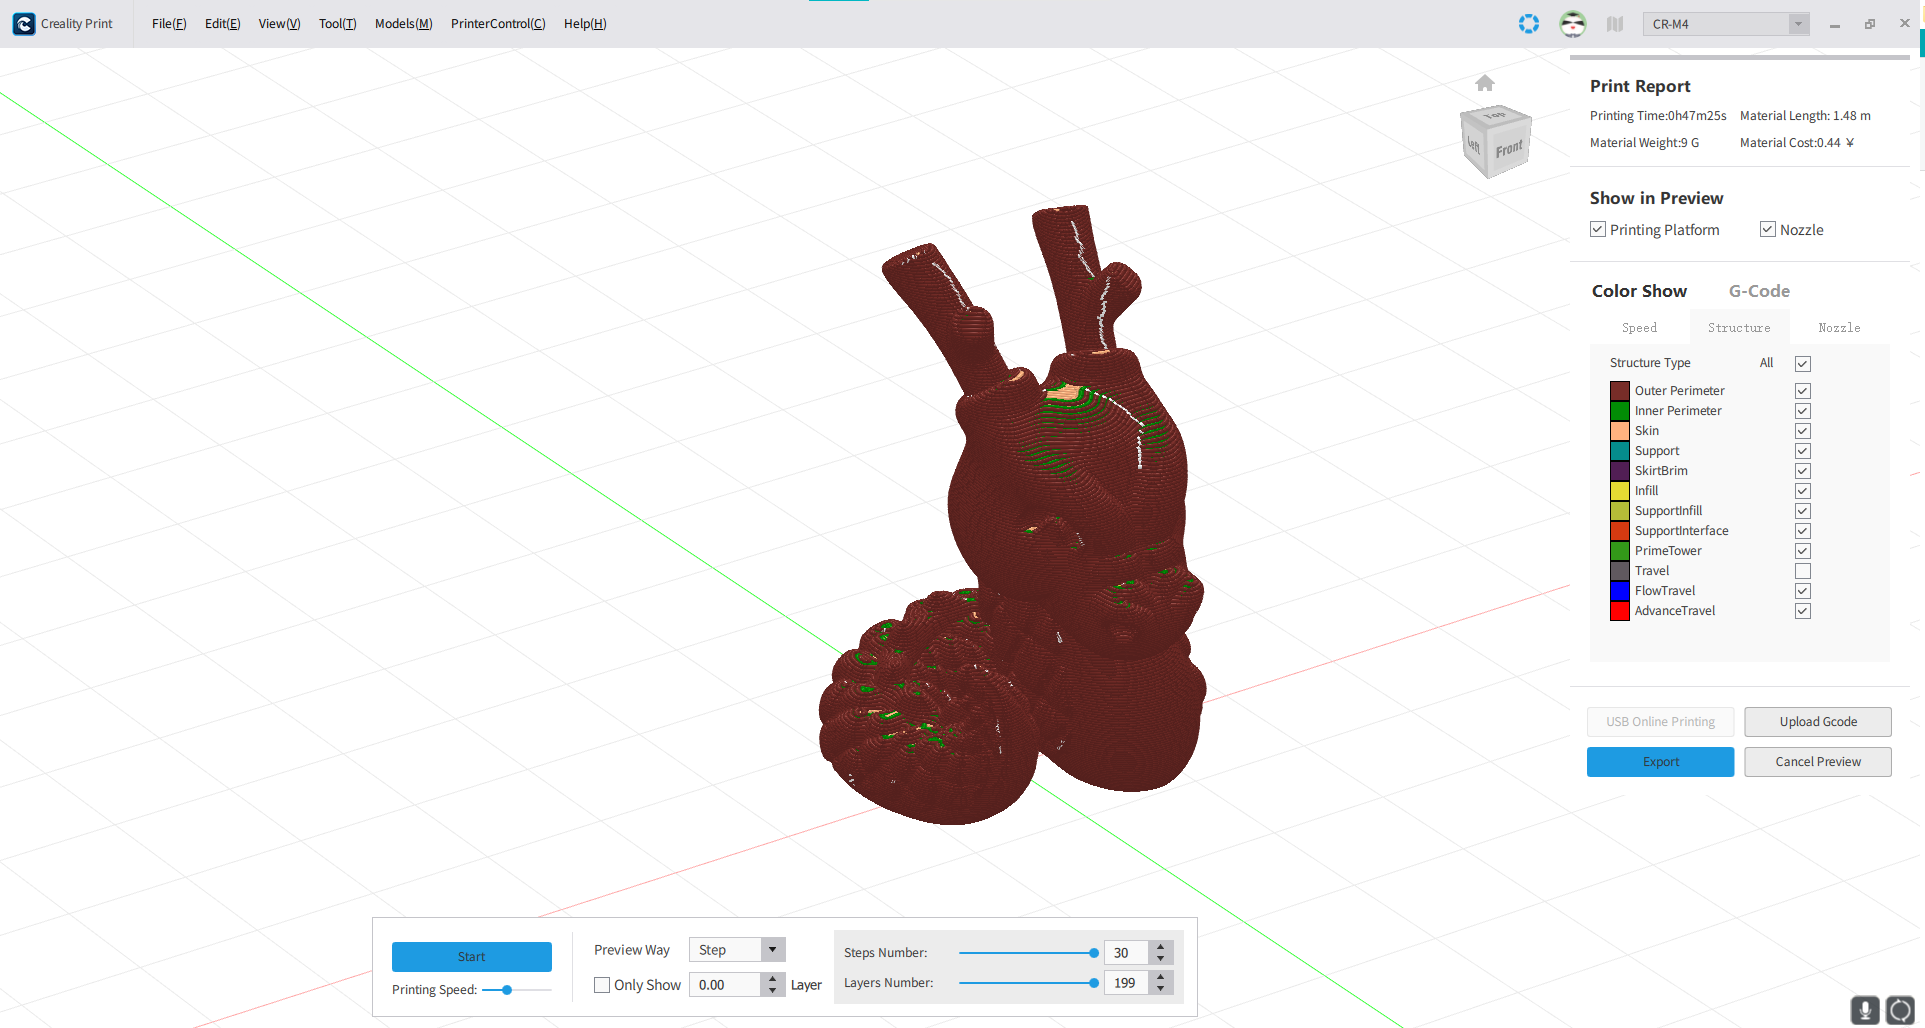
The CR-M4 comes with a copy of Creality Print, a slicer of its own design. The slicer is easy to use with lots of presets for filaments. It’s arranged a little differently than Cura or PrusaSlicer, but all the same functions are there.
Creality Print also gives you access to your printer remotely via LAN or Creality Cloud.
There are no built-in profiles for Cura or PrusaSlicer at this time – it’s still early as the machine is only available for pre-order – but you can easily run the CR-M4 using a CR-Max profile.
The Creality CR-M4 comes with a 500 gram sample of PLA, which will get you started. You’re going to need so much more filament, so check out our guide to the best filaments for 3D printing for suggestions.
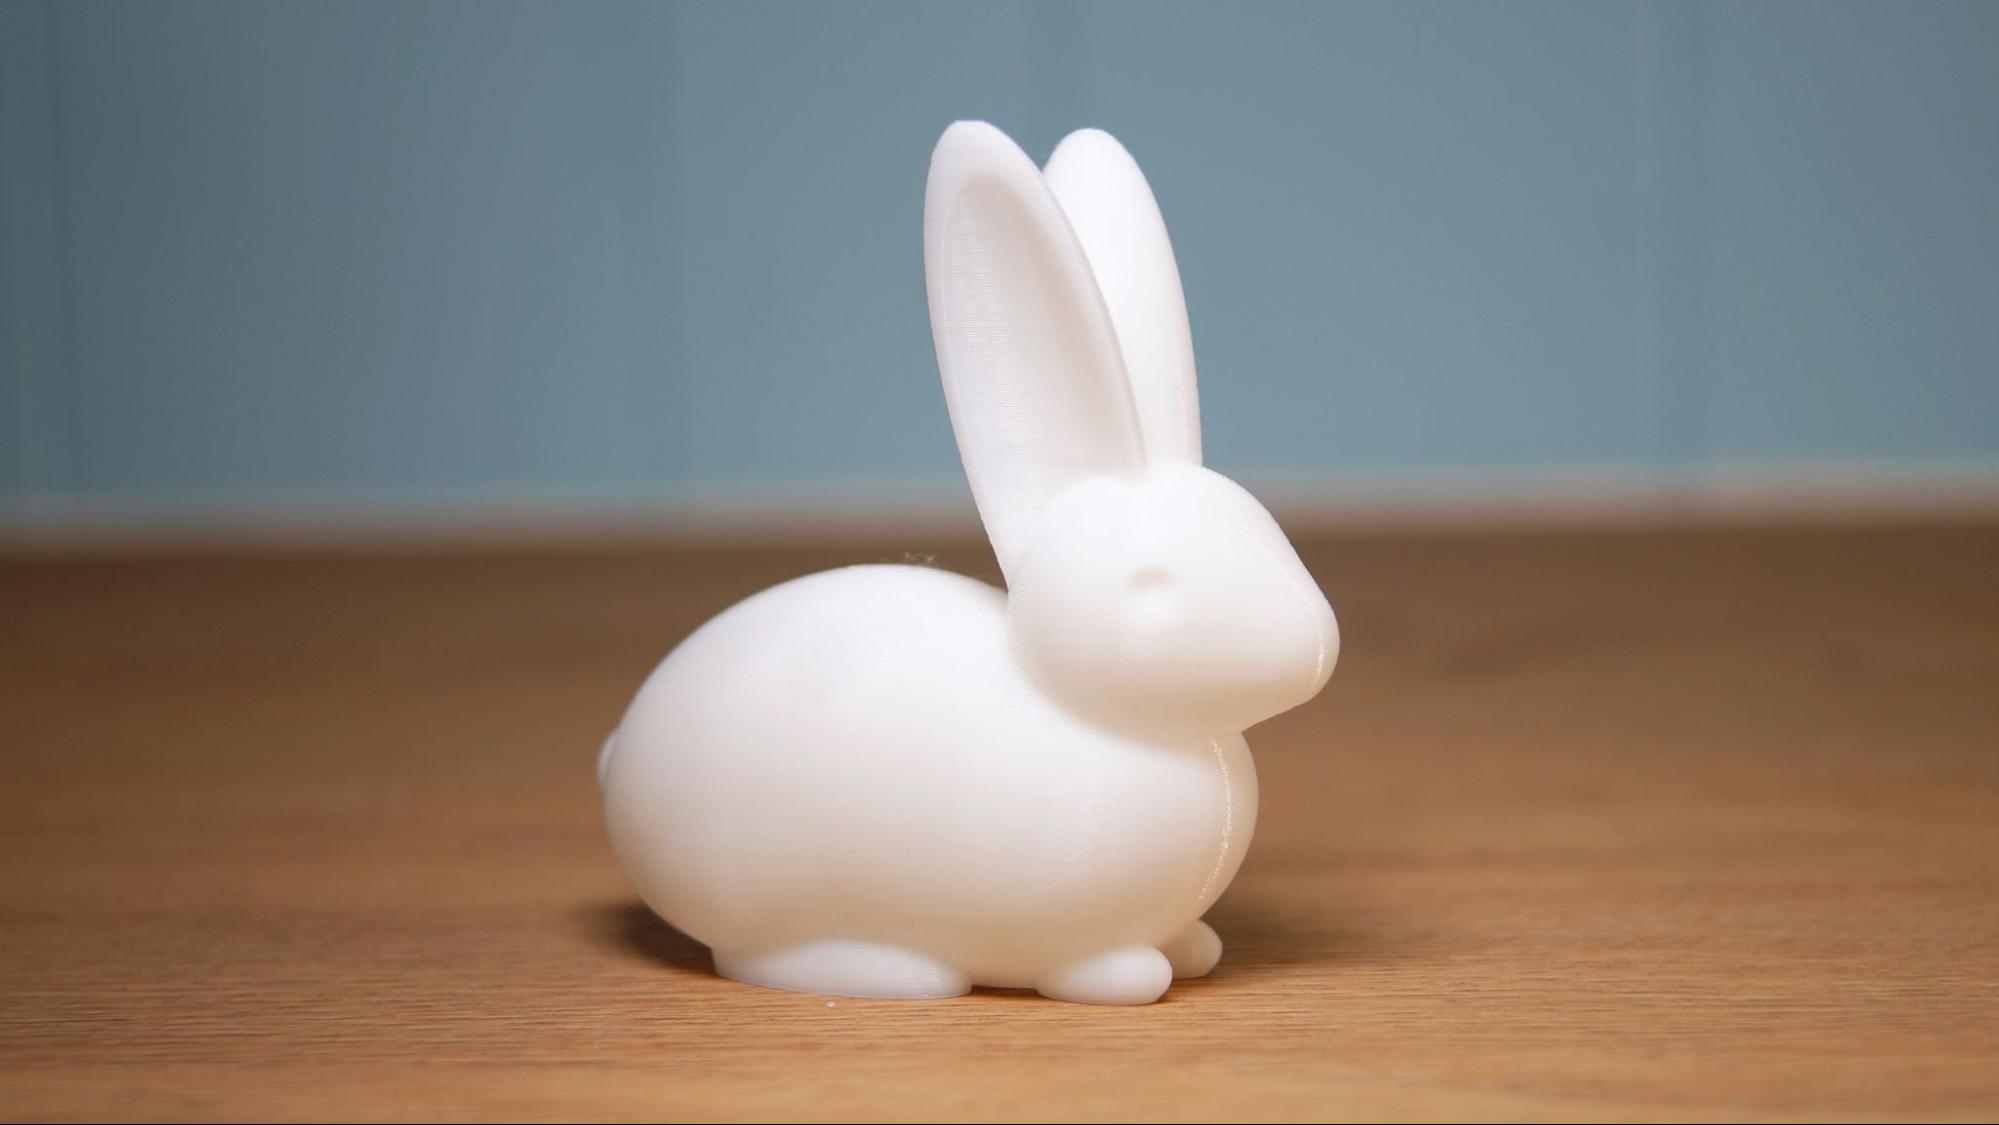
We started out with the sample PLA and printed the pre-sliced test print, a rabbit that’s come with Creality printers before. I’ve seen this bunny test print on other printers, and it's usually a bit rough with stringing between the ears. The CR-M4 printed the bunny very smoothly with clean ears, which gave me high hopes.
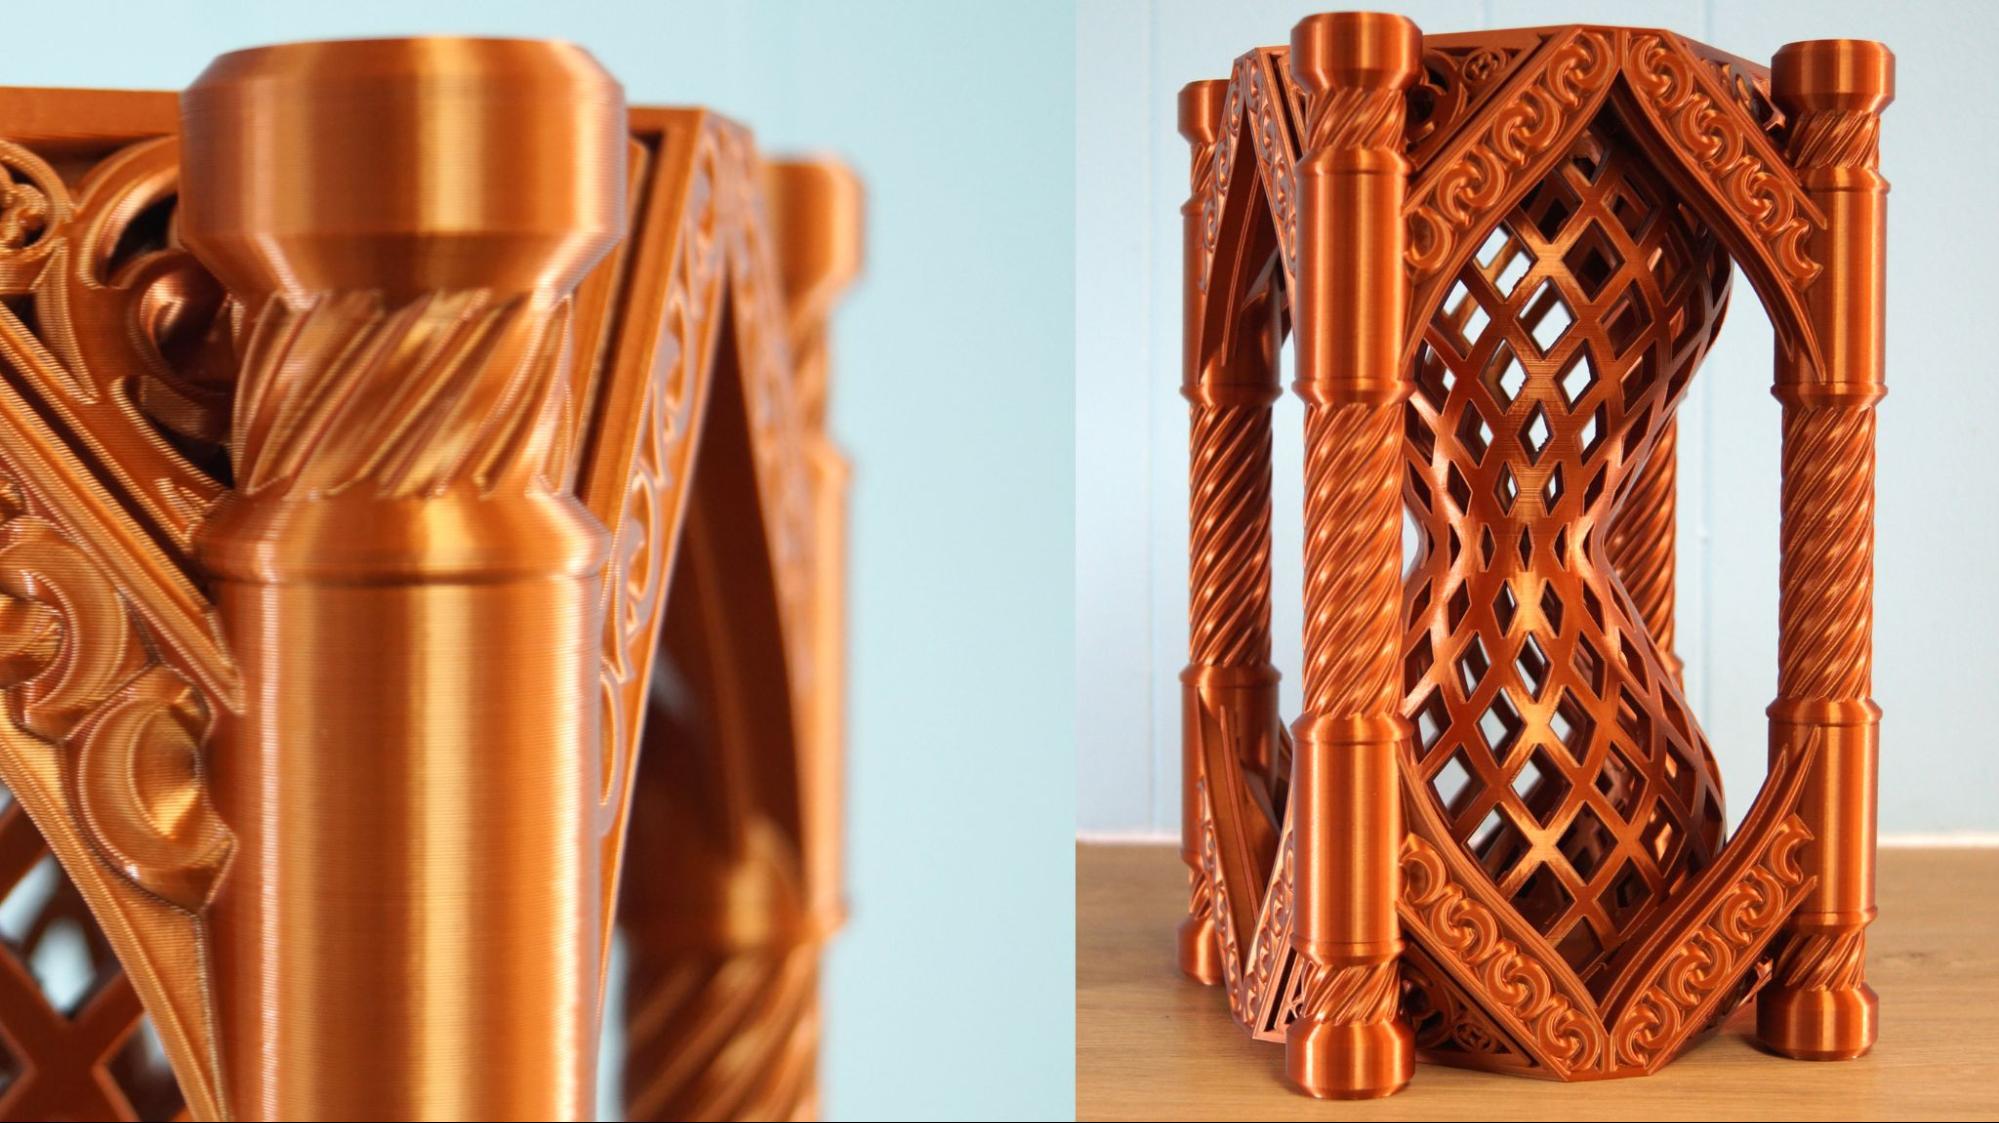
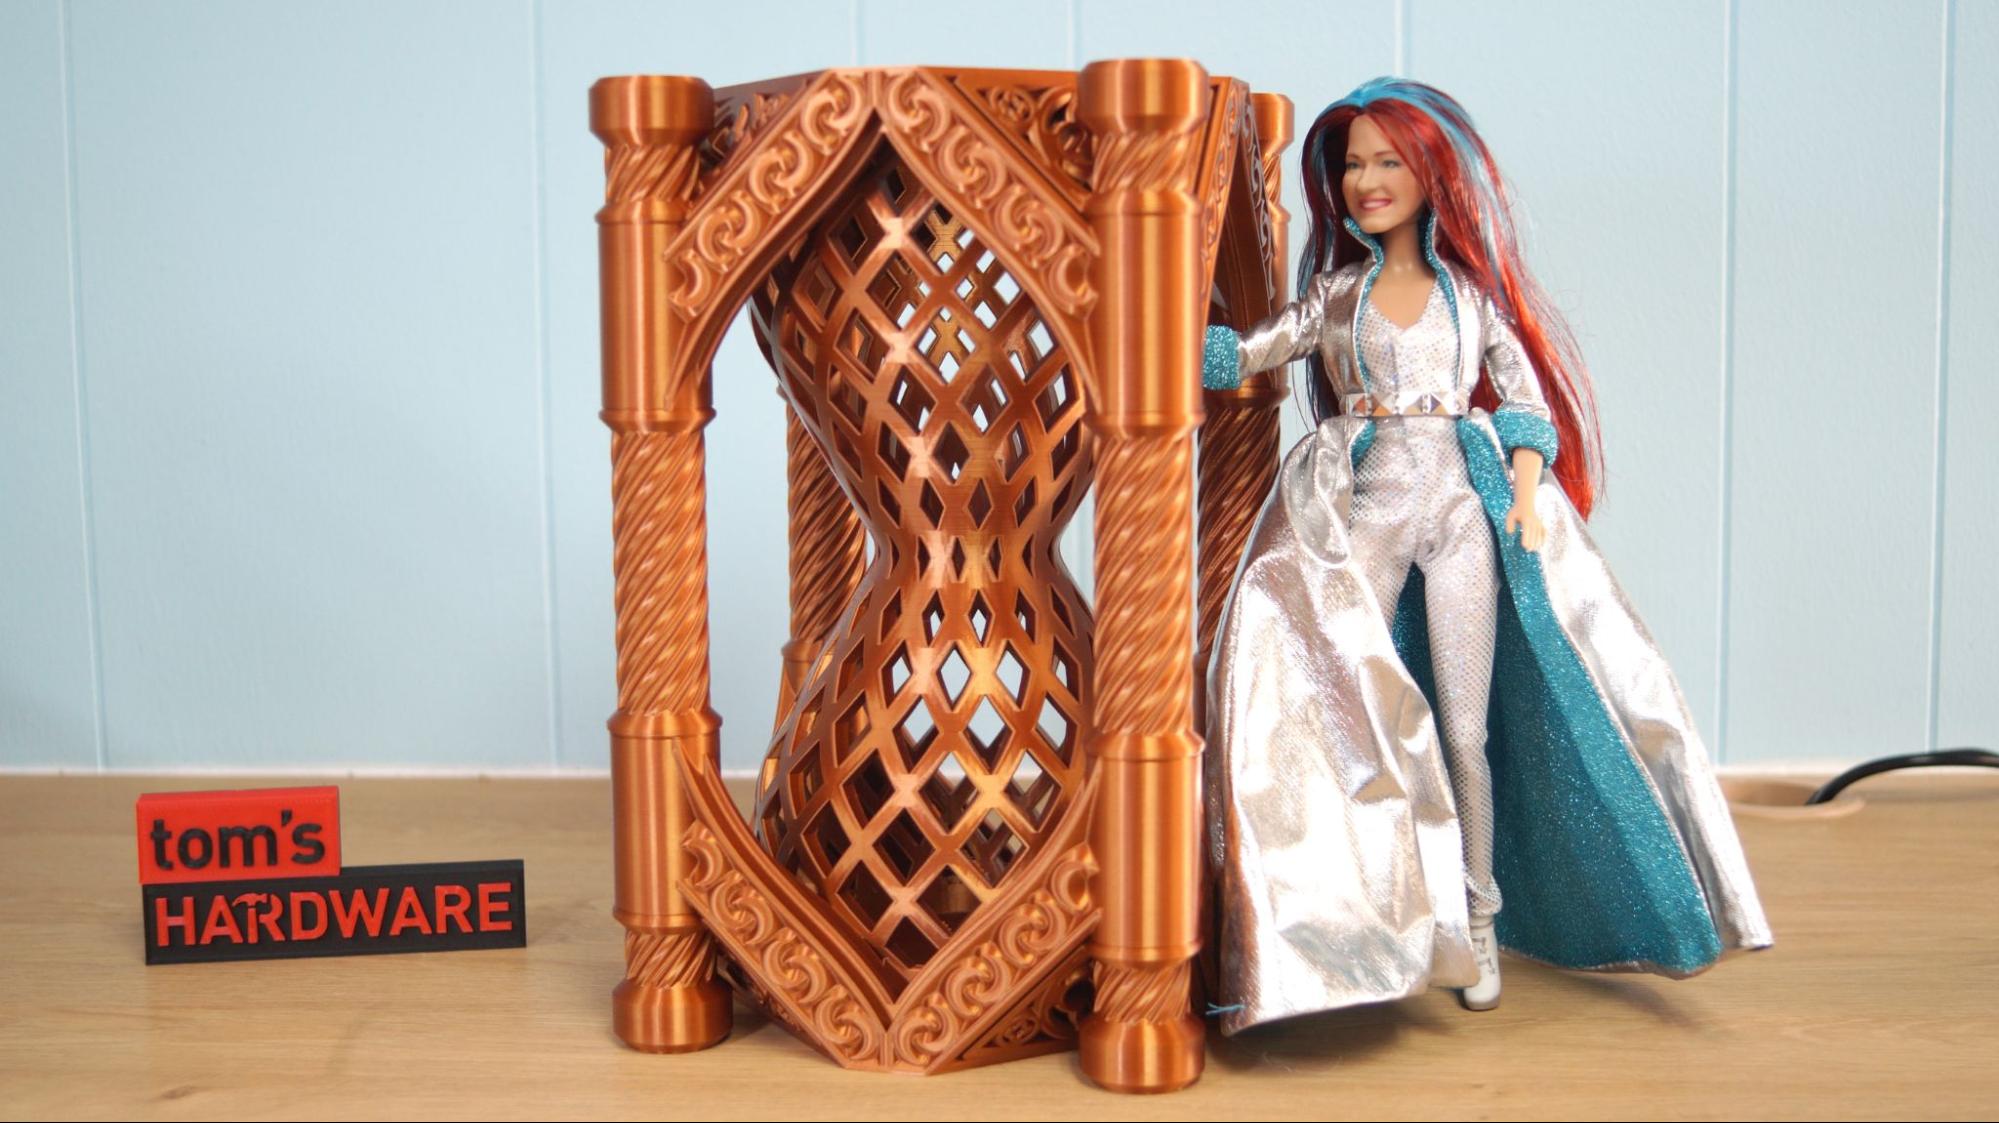
Next up, we had to go big. I printed this 12 inch tall Clockspring hourglass in Overture Silk PLA Copper. Since I only had one roll, I had to limit the size of the hour glass to 183% and 988 grams of filament. I could have squeezed out a larger print if I had stuck to a standard 0.2 mm layer height and 0.4 layer width. However, I was able to save two days of print time by using a “fake six” profile, which used a 0.28 mm layer height and 0.64 layer width.
We didn’t lose any details because the model was nearly twice its intended size. The walls were super smooth, and there was no stringing at all in the complex grid pattern. This print took 2 days, 16 hours and 48 minutes at a speed of 65 mm/s.
Bonus photo: it’s hard to show how big these prints are without something for scale, so here’s the Clockspring Hourglass with an 11.5-inch fashion doll.
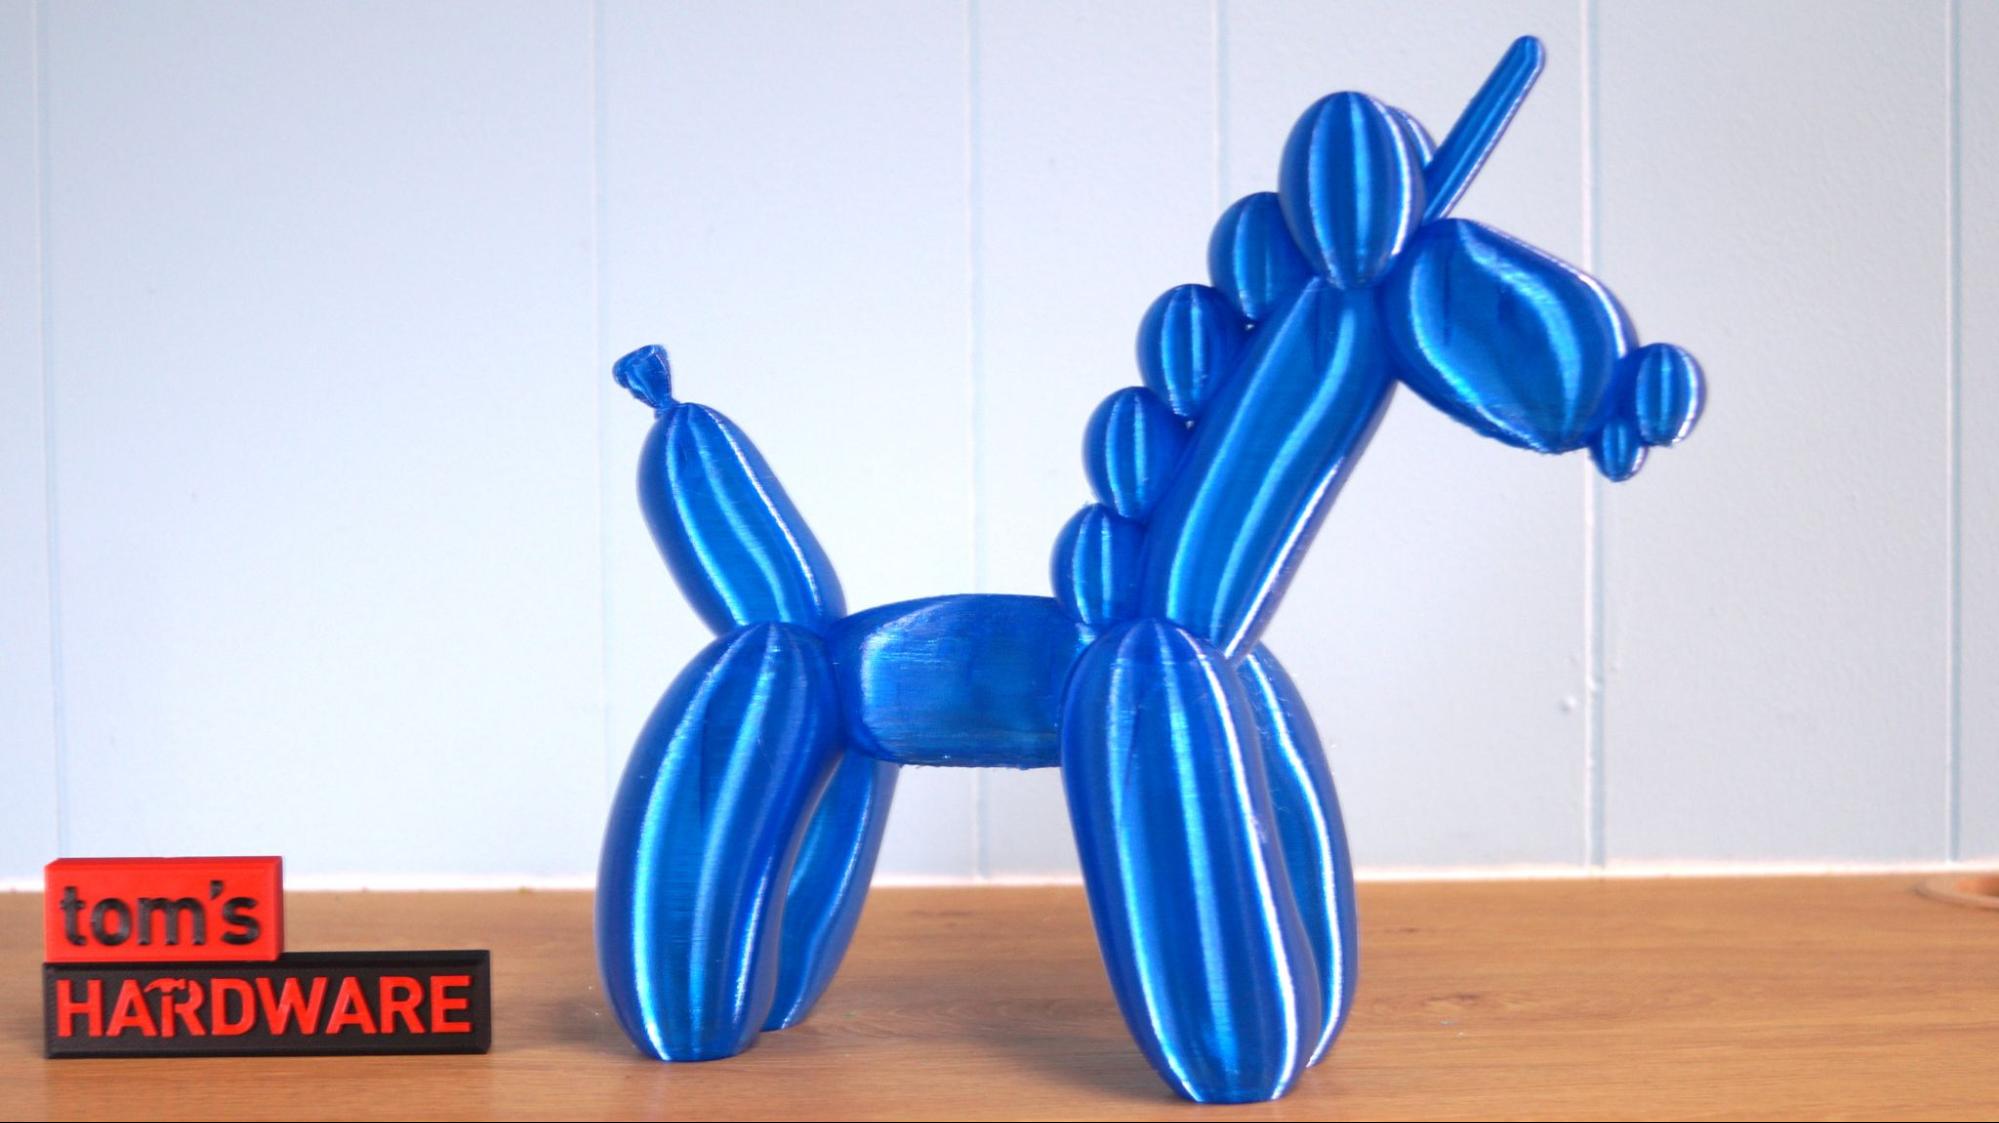
The CR-M4 is big enough to print life-sized balloon animals, and I immediately thought of Chelsey Creates Things and her recent run of adorable balloon animals. This PETG unicorn is a full 12 inches tall and is kept translucent by using only 2 walls and lightning infill.
The print was smooth without any hint of z wobble on the horn. The only rough patches on this print are rough patches from where the support was touching the belly and chin. One of the perks of lightning infill is it only forms where it is absolutely needed, like in the unicorn’s back, tail and head. I also used Cura’s experimental organic tree support and a “fake .6” nozzle setting, which used a .28mm layer height, .64 line width and a speed of 65 mm/s. The print burned up 378 grams of filament, but finished in only 24 hours and 38 minutes. This was printed in Translucent Blue ProtoMaker PETG.
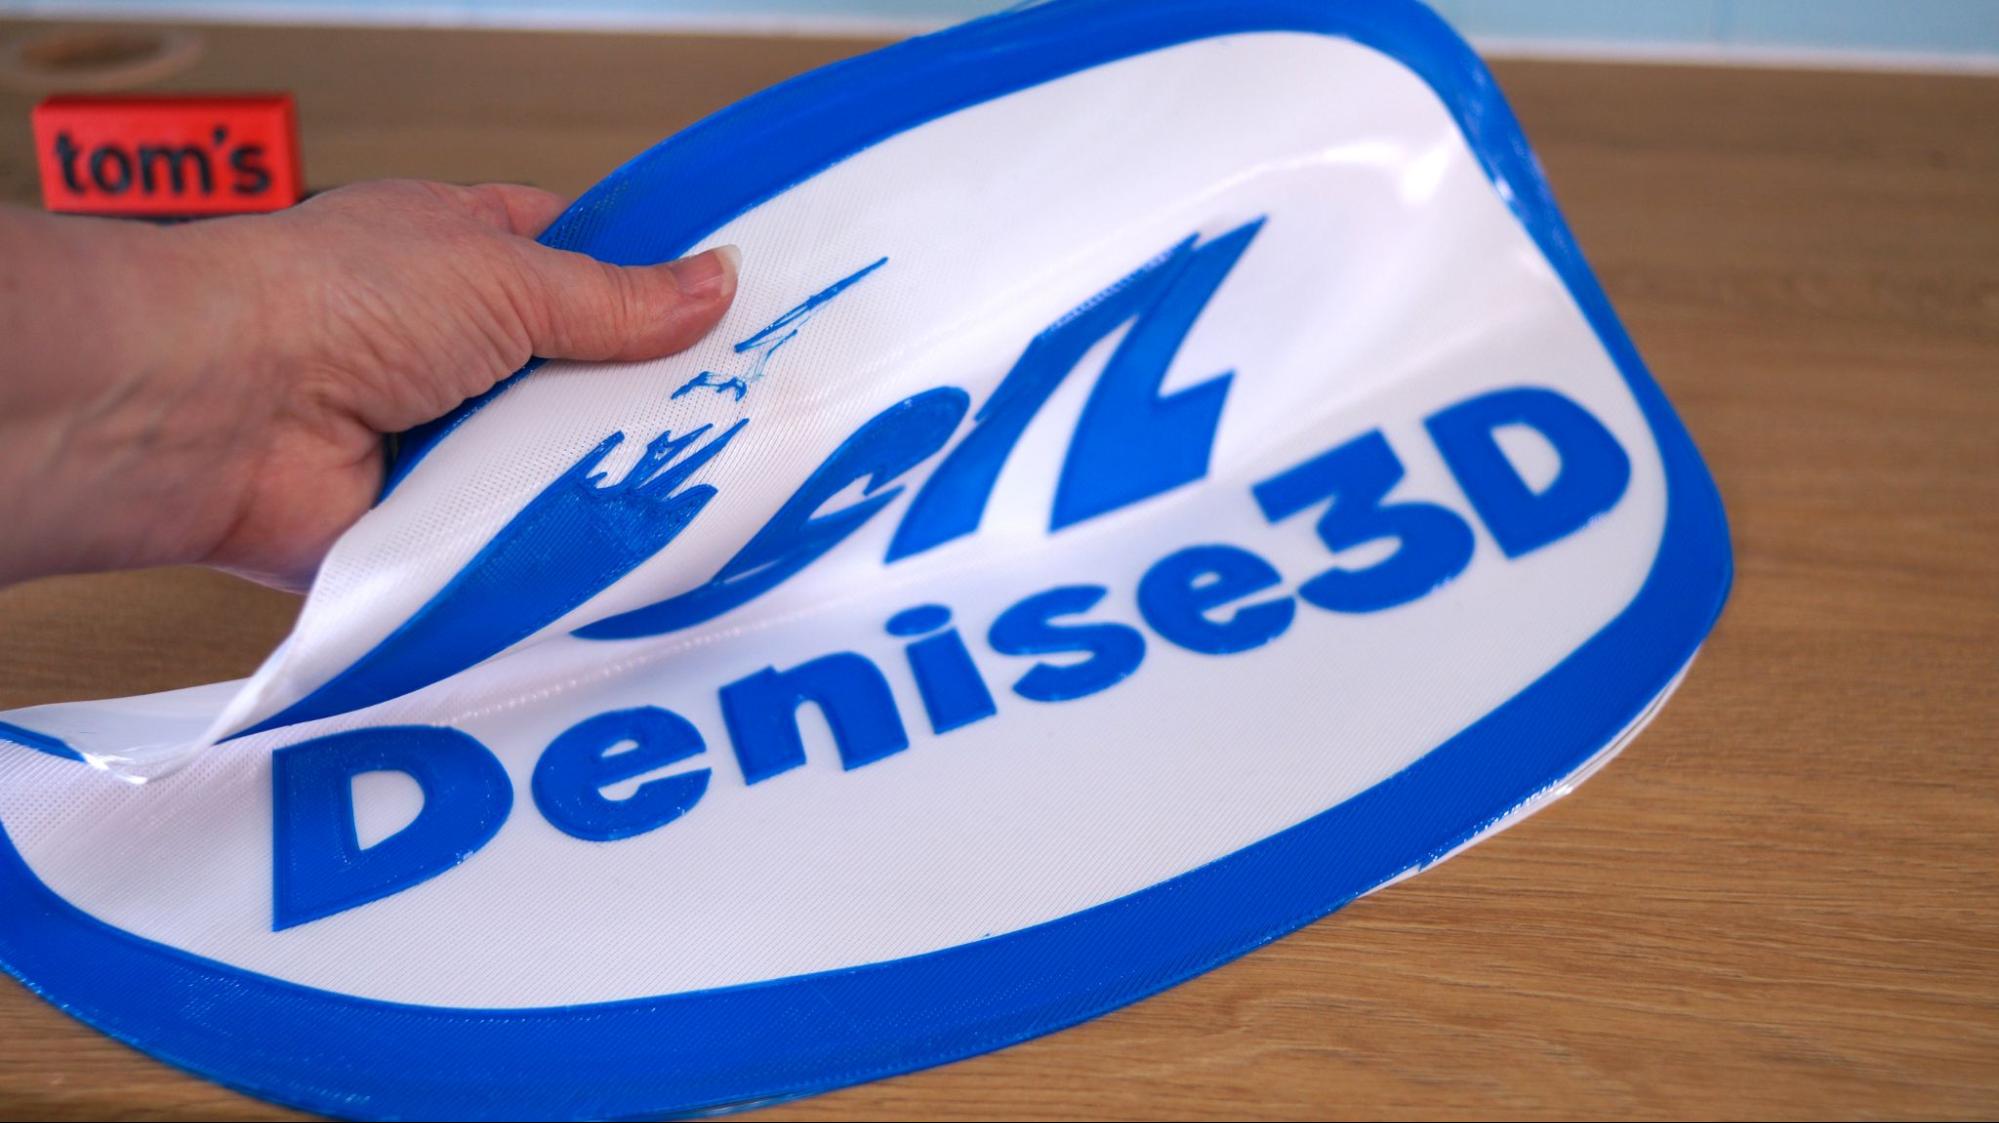
The CR-M4 has a Sprite direct drive, which handles soft materials like TPU incredibly well with just a few stray wisps that are easy to trim back. At the time of this review, I needed to make a banner with the logo of my personal blog. I used Tinkercad to recreate my logo in 3D and printed it across the entire bed. Because the CR-M4 doesn’t understand the filament swap command, I had to print it in two halves, the bottom in Inland White TPU, then the top in Zyltech Blue TPU.
The CR-M4 laid down perfectly smooth layers for this very thin print. There’s a bit of wisping on the “splash” portion of my logo, which are just a few dashes. This could be improved with more Z hop, but honestly, it’s not bad at all for stretchy TPU. This print took 7 hours and 55 minutes, with a layer height of .28 and a speed of 50 mm/s.
Bottom Line
The CR-M4 is a massive machine that prints really large things with excellent quality. It needs a lot of space, but once it’s set up it’s a breeze to use. I’m especially happy to ditch the micro SD cards and print remotely using a LAN.
A high flow hotend is a great addition for this printer, though it should have shipped with something bigger than a 0.4mm nozzle. It’s not compatible with E3D’s Volcano nozzles, so it’s frustrating to have to wait until Creality makes them available. I was able to cheat a little and push 0.6mm nozzle volumes through the 0.4mm nozzle, which saved me days of print time.
The $1099 price tag is a bit much for home use, but the robust build might be just what some serious makers are looking for. The Elegoo Neptune 3 Max produced equally clean prints, but feels a bit cheap in comparison and is notoriously hard to find on store shelves. It’s definitely more affordable at $470, especially if your interest is only in making large costume pieces for yourself. If you like a glass plate – and don’t mind the difficulties in removing items from it– then Anycubic Kobra Max, priced at $529, is also a worthwhile super sized machine with good quality.
MORE: Best 3D Printers
MORE: Best Resin 3D Printers
MORE: Best Filaments for 3D Printing

Denise Bertacchi is a Contributing Writer for Tom’s Hardware US, covering 3D printing. Denise has been crafting with PCs since she discovered Print Shop had clip art on her Apple IIe. She loves reviewing 3D printers because she can mix all her passions: printing, photography, and writing.
-
newtechldtech Can you please review multicolor 3D printers like the Bambu Lab X1-Carbon Combohttps://store.bambulab.com/products/x1-carbon-comboReply
