Gigabyte X299 Designare EX ATX Motherboard Review: Solid OC, Plus Thunderbolt 3
Why you can trust Tom's Hardware
Software & Firmware
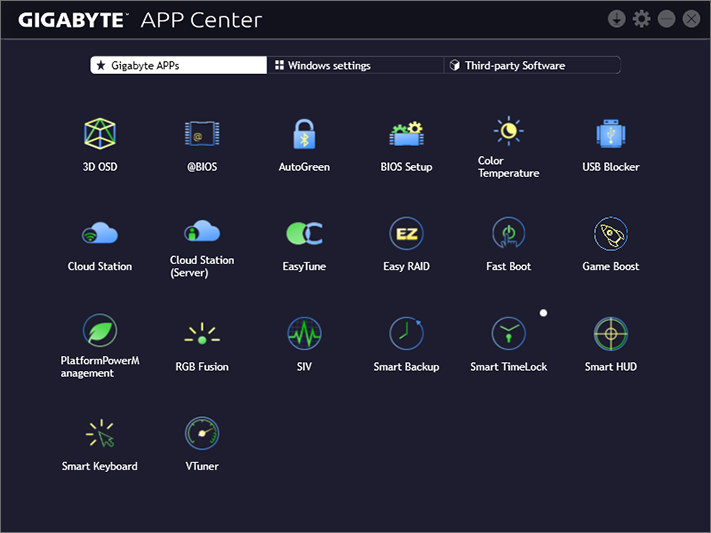
Gigabyte APP Center remains the launching point for most Gigabyte apps, which we described back in our X299 Aorus Gaming 7 Review. Differences in appearance are limited to the new default color scheme, and the board even has the same Creative SoundBlasterX 720° audio suite.
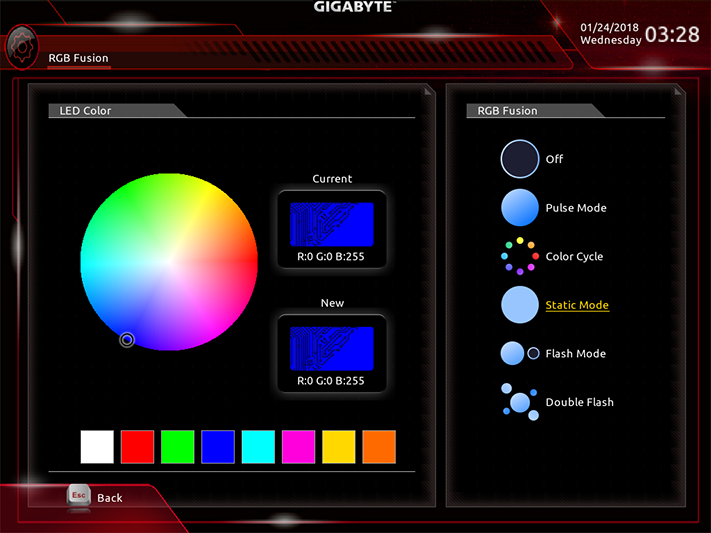
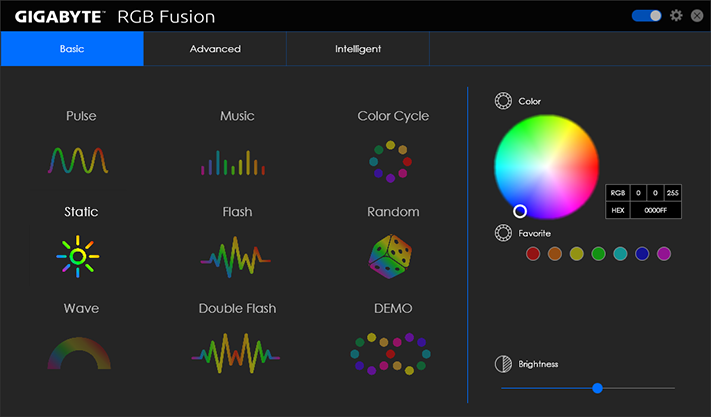
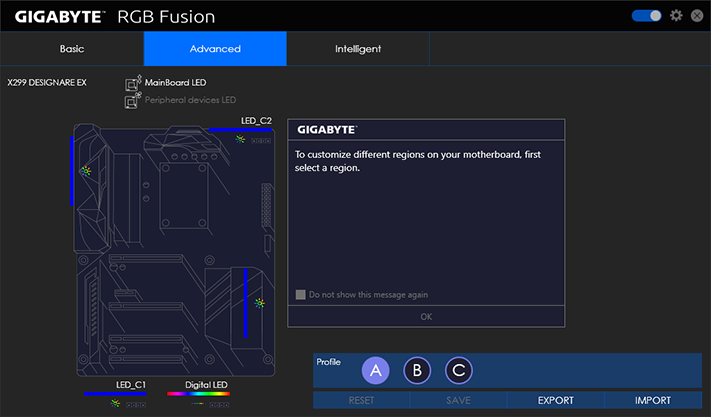
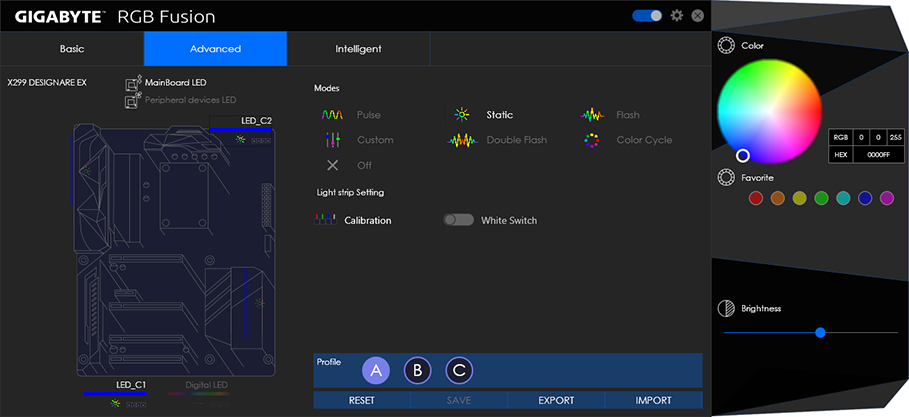
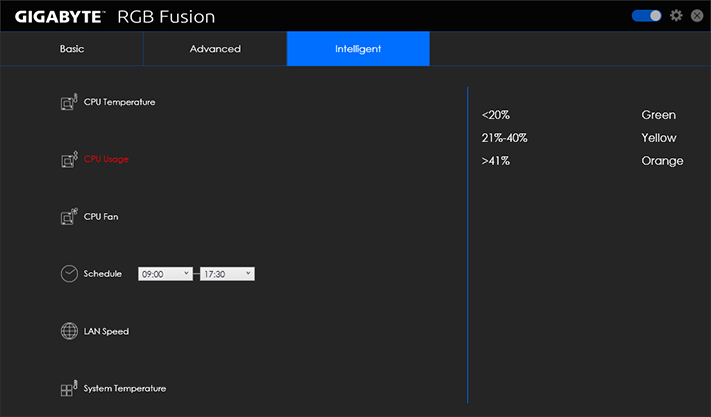
The layout hasn’t changed for Gigabyte’s RGB Fusion app, but we took a few screenshots anyway, since each board has its own set of lighting zones. Lacking any LEDs for the expansion or memory slots, the X299 Designare EX has only a single zone for onboard RGBs, and a second zone for its RGBW outputs. We didn’t have any compatible peripherals to test.
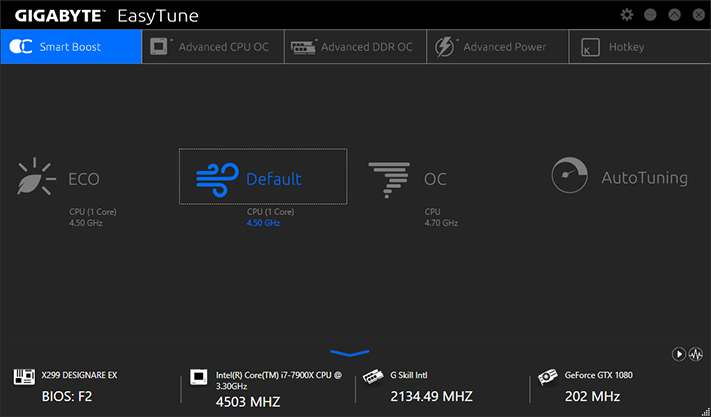
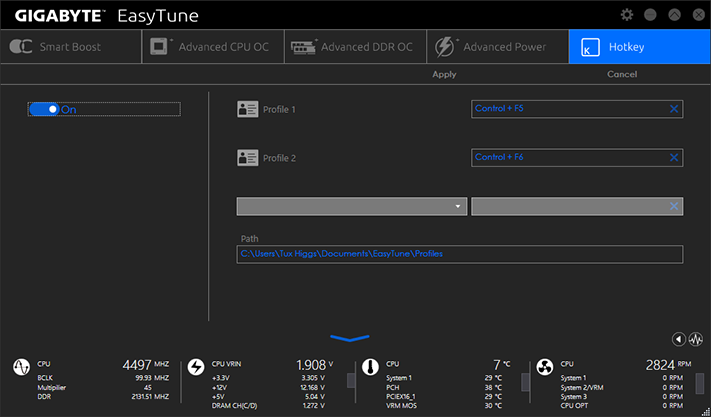
EasyTun remains familiar, and the good news is that the 4.7GHz O/C, which is programed into the board’s firmware, works well. The reason we won’t be reporting a 4.7GHz “max stable O/C” in our charts is that it uses a 1.25V setting, causing our CPU to reach its thermal limit and throttle back to 4.3GHz at 1.20V when running 12 threads of Prime95 small FFTs. Since most workloads aren’t so demanding as Prime95, most users can get a mostly consistent 4.7GHz setting using Gigabyte’s method.
That’s not to say there weren’t any hiccups. Switching to ECO mode when running Prime95 caused the PC to crash. And while ECO mode did work if set before staring the Prime95 workload, switching back to Default mode caused our CPU to “stick” at 4.5GHz and 1.25V CPU core. Once again it would throttle back under Prime95 small FFTs, reaching a full 472W power consumption (from the wall) before doing so! Rebooting corrected the issue.
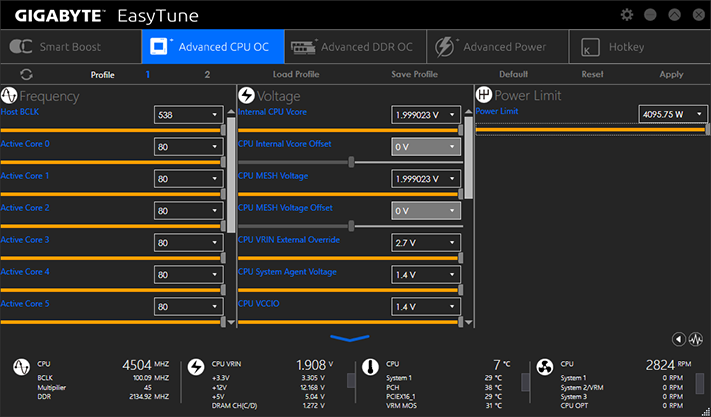
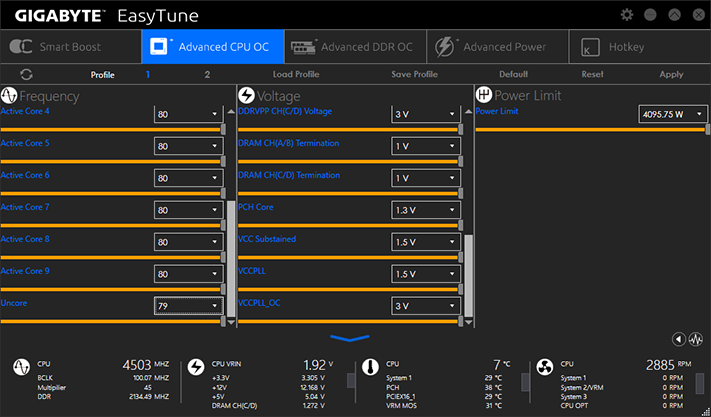
The Advanced CPU OC menu provides Windows access to the firmware’s full range of voltage and ratio settings. It works perfectly, at least within our ability to monitor changes (i.e., BCLK, CPU multiplier, CPU core voltage).
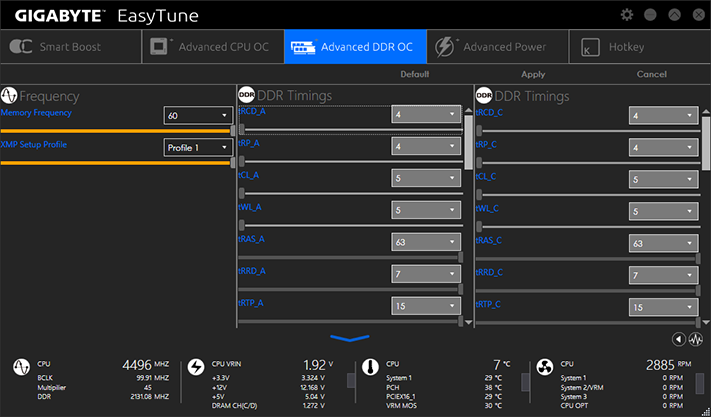
The DRAM ratio and XMP settings work too, but they require a reboot. DRAM timing menus are inaccessible.
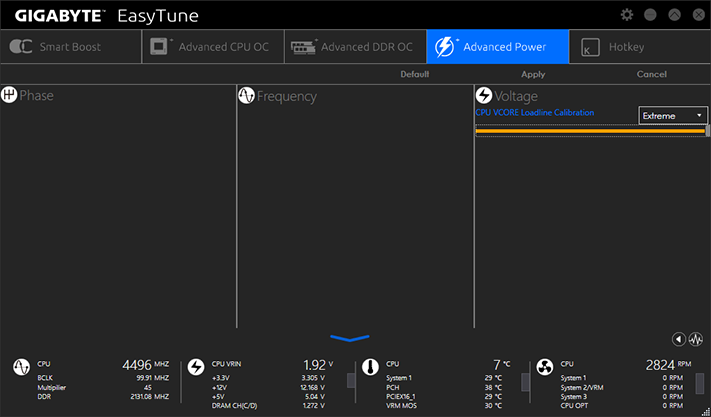
Advanced Power settings are limited to CPU VCORE Loadline Calibration, better known as “vdroop compensation” in overclocking circles.
Get Tom's Hardware's best news and in-depth reviews, straight to your inbox.
Users can also save Easytune overclocking configurations and assign hotkeys to enable these.
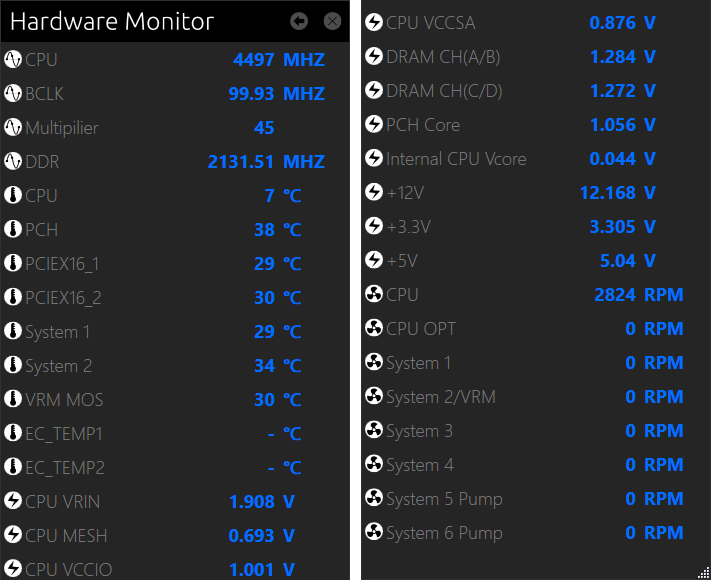
Clicking the little gear icon on the main EasyTune interface brings up the Hardware Monitor menu on the right edge of the screen, the image of which I split and placed side-by-side for easier viewing within this article’s format. Clicking the leftward arrow on the Hardware Monitor menu takes users to Gigabyte’s System Information Viewer fan-tuning app.
Firmware
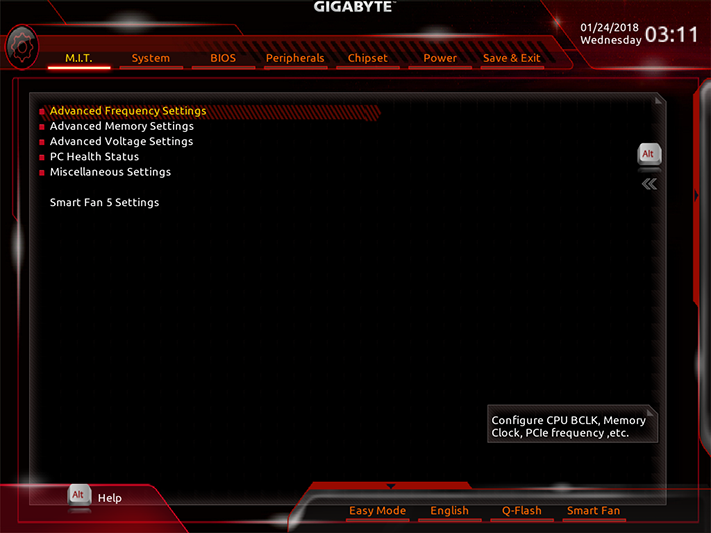
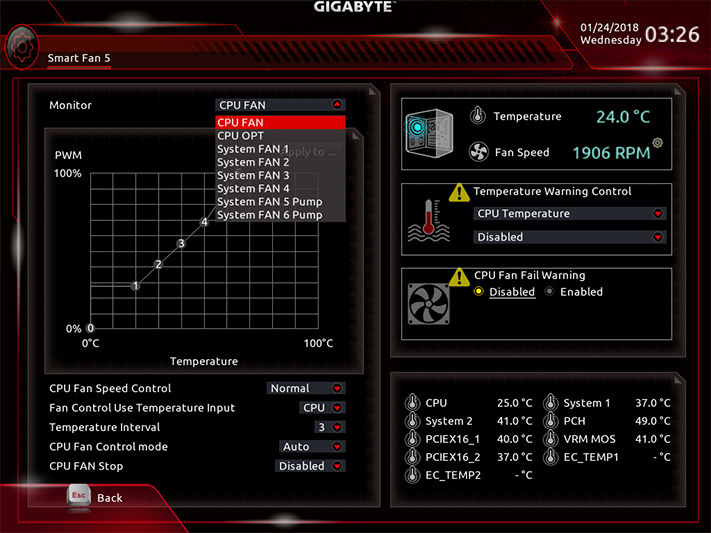
X299 Designare EX firmware opens to the M.I.T. menu of its Classic mode, providing submenu links for overclocking, system monitoring, and fan control.
Our super-tough validation test combines with the mediocre thermal interface of Intel’s Core i9-7900X to thermally constrain our overclock to 4.4GHz at 1.15V. Higher voltage is tolerated at lower clocks, but the additional voltage needed to sustain a higher clock causes our CPU to reach its thermal limit and throttle back. The X299 Designare EX is one of several boards we’ve tested to provide a stable-enough voltage to reach the CPU’s limit.
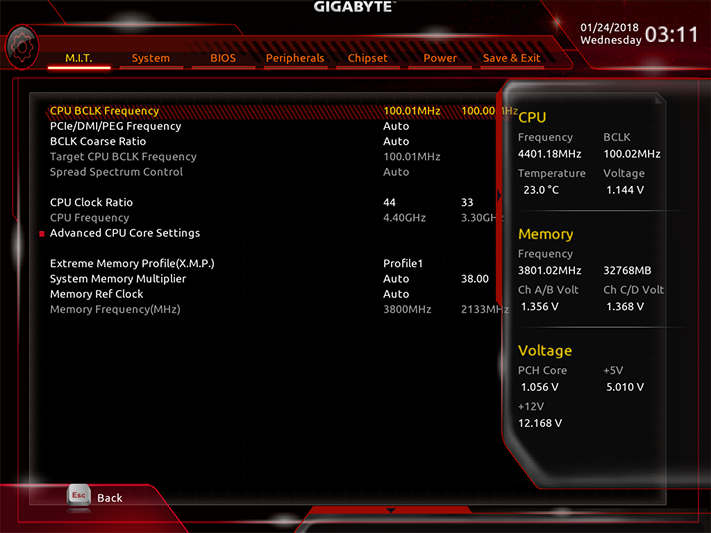
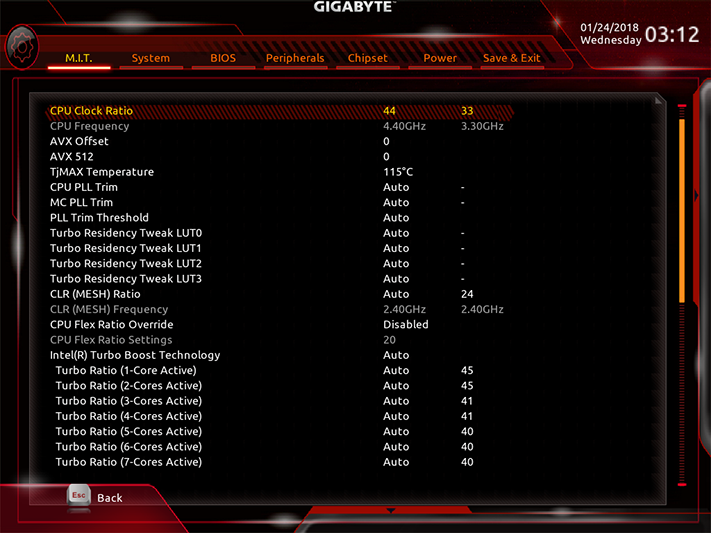
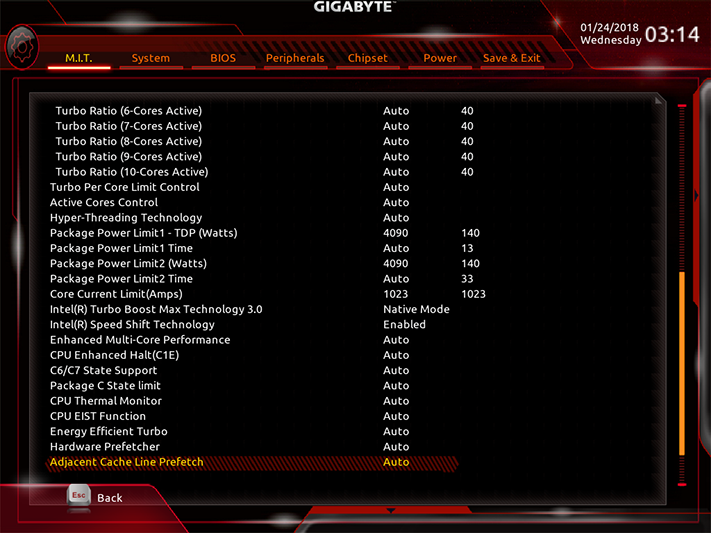
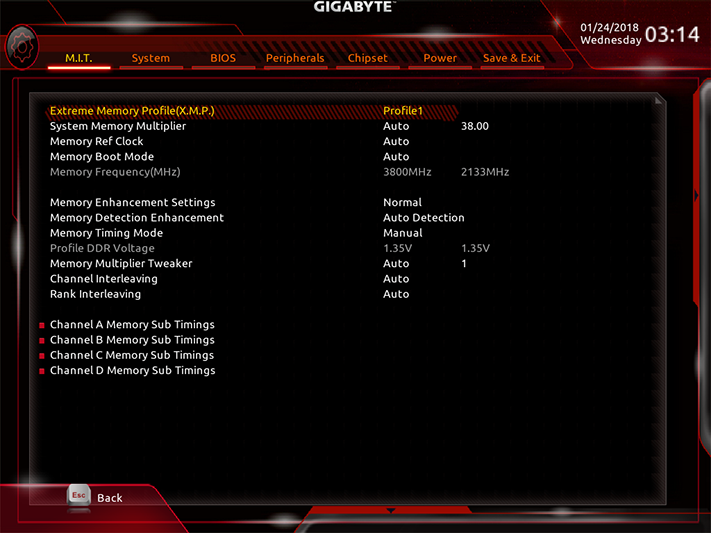
None of the LGA 2066 processor range supports the half-ratios needed to get our CPU to its rated DDR4-3866. The X299 Designare EX treats it as DDR4-3800, and a little extra tuning proved these settings stable up to a 102MHz BCLK (DDR4-3876).
Gigabyte’s “Memory Timing Modes” include a Manual mode that adjusts all channels together, and an Advanced Manual mode for per-channel configuration. Primary through tertiary timing adjustments are available, along with channel-to-channel settings.
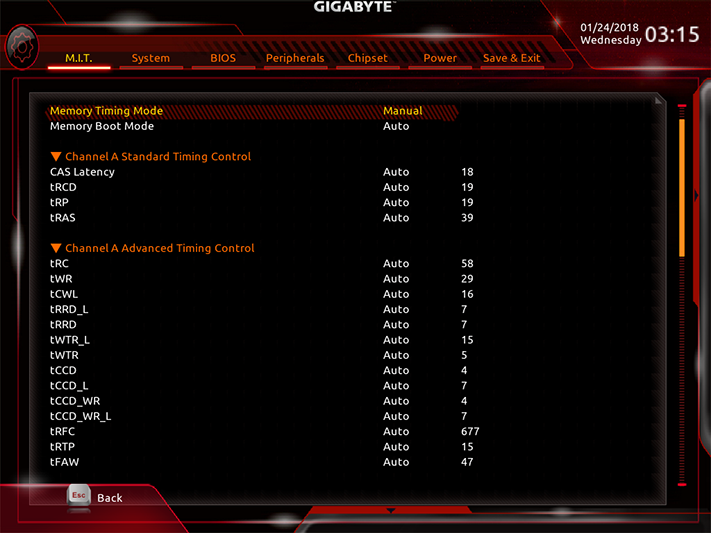
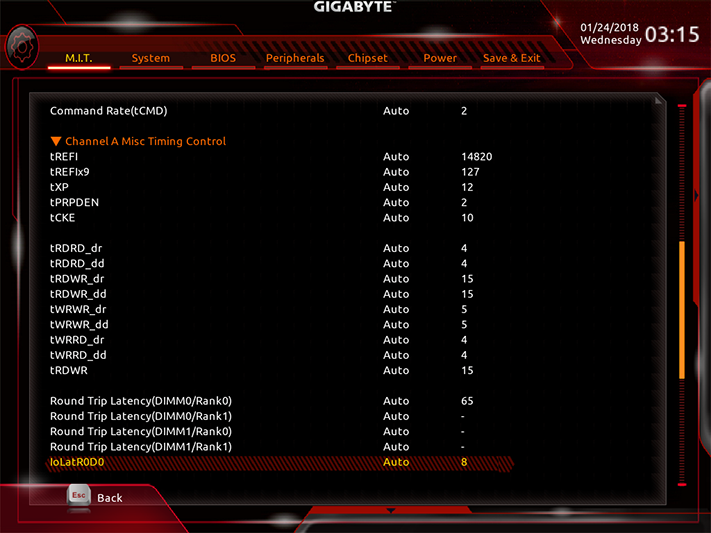
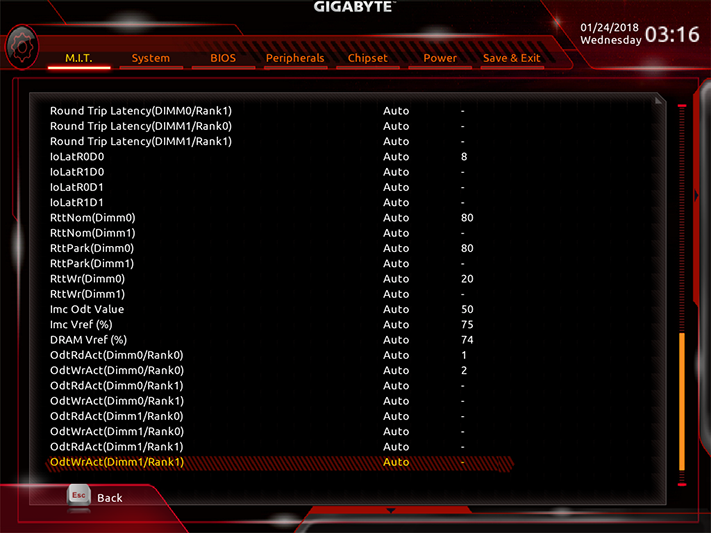
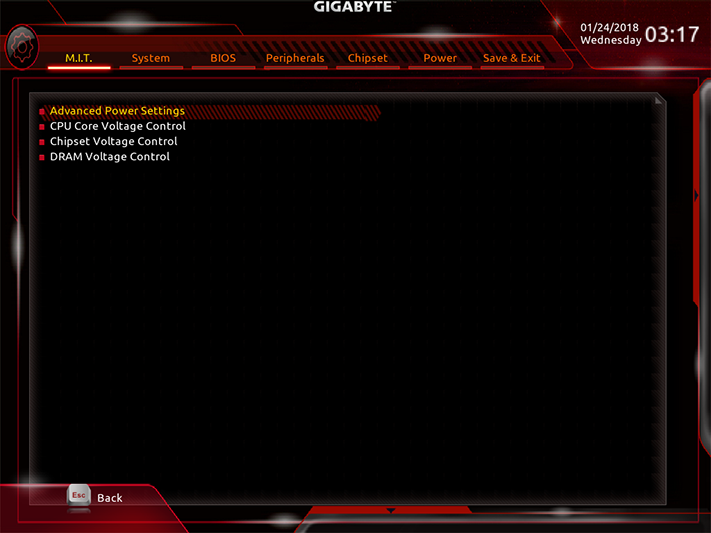
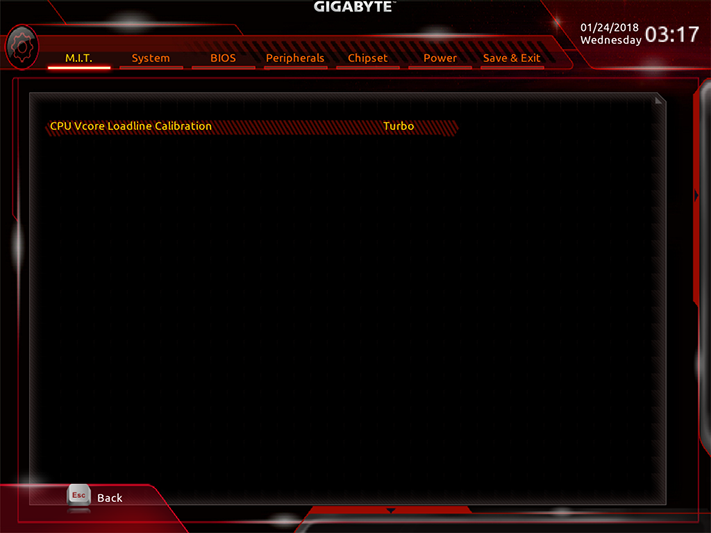
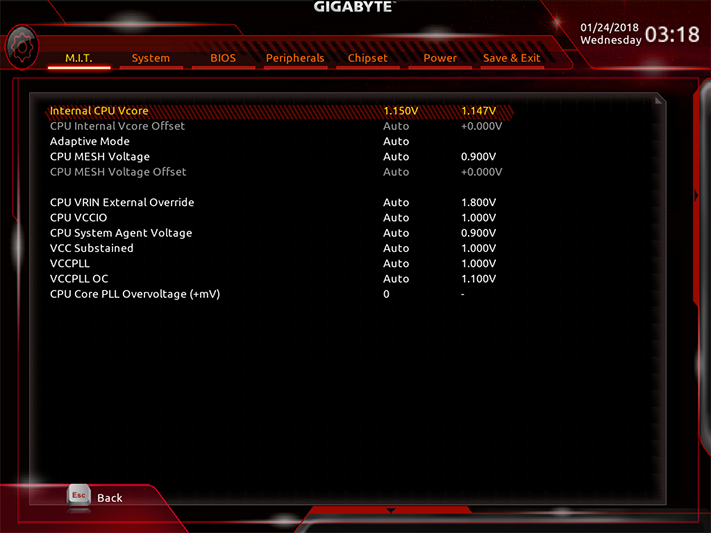
The Advanced Voltage Settings submenu is a launching point for another set of submenus to control CPU Loadline Calibration, CPU core voltage, Chipset, and DRAM voltages. Our CPU operated best using the firmware’s “Turbo” mode “Vcore Loadline Calibration” in conjunction with its 1.15V CPU core voltage setting.
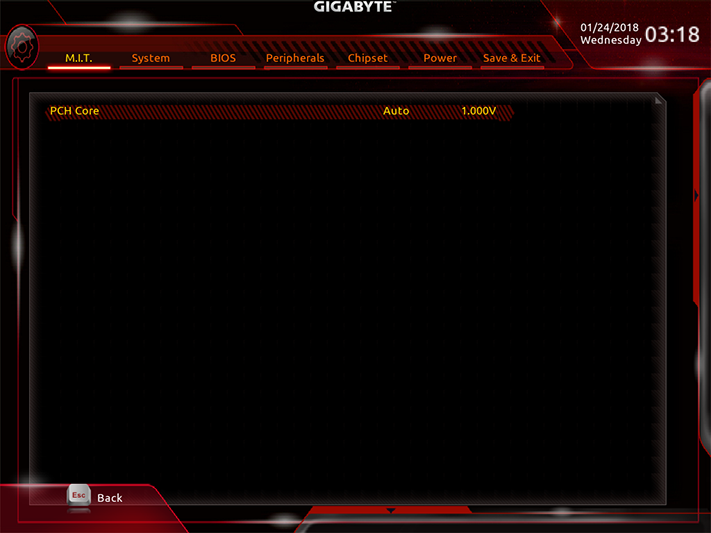
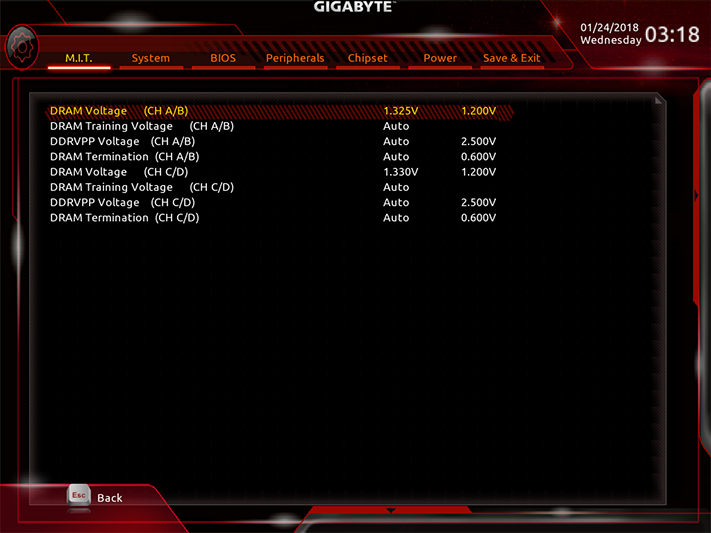
There was an approximate 5mV bias between the front and rear DRAM voltage regulators. Two channels operated at approximately 25mV above our setting, and the other two at around 20mV above our setting. Most motherboards push more voltage than a user manually sets, to ensure stability when used with the most-inflated RAM specs. Some memory manufacturers have responded to the inflated voltage by producing RAM with even more-inflated specs, thereby requiring the use of boards with over-spec voltage. Not willing to play those games, we check the slots with a voltmeter.
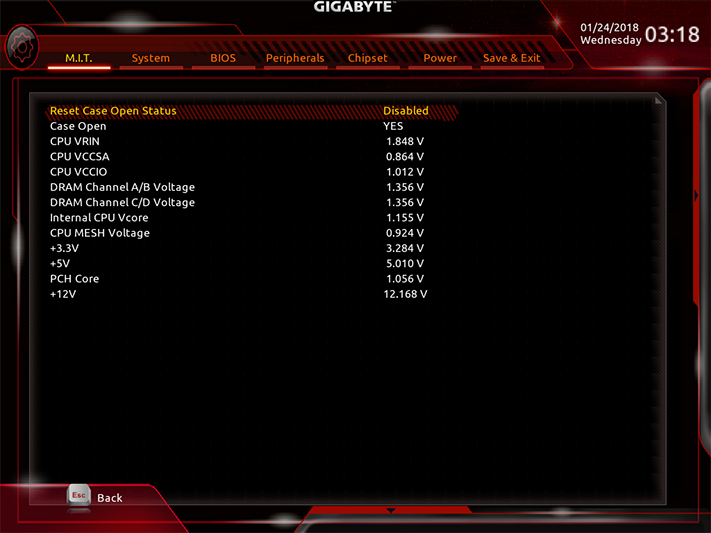
The X299 Designare EX’s PC Health Status menu shows our memory operating at 1.356V when using the 1.325V and 1.330V settings. There’s a slight error in that report, as the monitor appears to read DIMM voltage only in 12mV increments.
All eight fan headers can be switched between voltage and PWM speed control. Gigabyte says that the board supports one 3-amp pump, but it doesn’t say which of the two pump headers supports it.
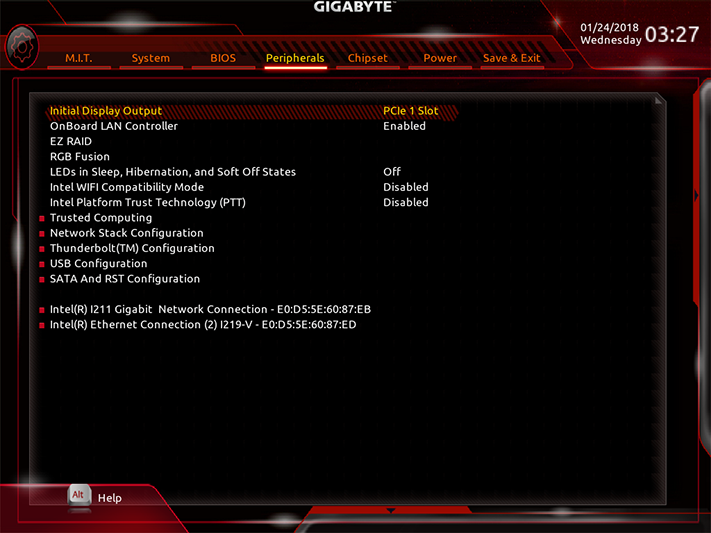
Found within the Peripherals menu, the firmware version of RGB Fusion allows only a single mode for all devices.
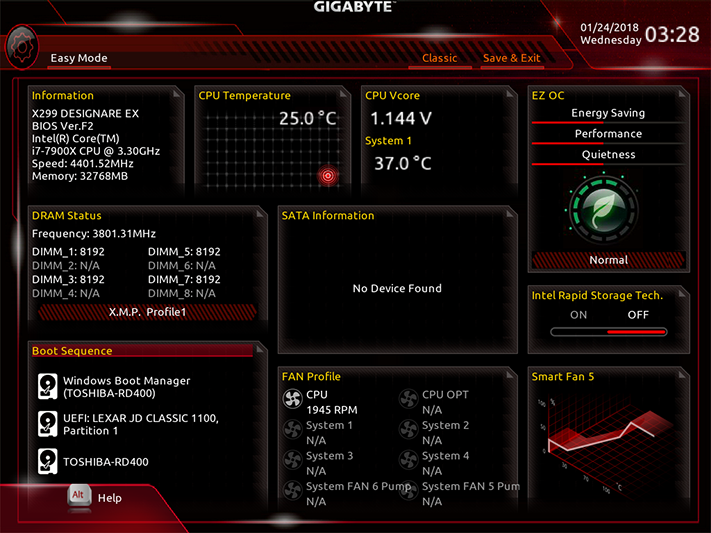
A popup menu at the bottom of the Classic Mode screen allows users to jump to Easy Mode, where basic settings such as XMP profile, boot order, and fans are still adjustable.
MORE: Best Motherboards
MORE: How To Choose A Motherboard
MORE: All Motherboard Content
-
AnimeMania I don't know a lot about computers, but I am totally confused by this motherboard's video inputs/outputs. I know that since this is a gaming motherboard, a graphics card with normal video ports would also be installed. DP IN wouldn't motherboards normally be DP Out, would you connect the video card's DP OUT to the Motherboard's DP IN and use Thunderbolt to display graphics? Where are the standards like HDMI, shouldn't you have some type of video out to test that the motherboard is functioning properly? Will all motherboards be heading towards these types of configurations?Reply -
erickmendes ThunderBolt 3: GIGABYTE is using Intel's new ThunderBolt 3 controller which offers two ThunderBolt 3 ports. The reason we have two DisplayPort input jacks on the rear IO is that ThunderBolt 3 requires a Display Port signal, so you would hook those up to your GPU if you want to use ThunderBolt 3. It has to be this way on every motherboard without integrated graphics, that's one reason you don't see ThunderBolt 3 on many X299 motherboards. The TB3 type-C ports double as USB and DP type-C ports, and the power delivery ICs should provide a lot of power.Reply
Read more: https://www.tweaktown.com/reviews/8483/gigabyte-x299-designare-ex-intel-motherboard-review/index11.html -
straifejacket gigabyte's own docs and config tool say the board can only do 8x/16x/8x, presumably because they needed some PCIe lanes for thunderbolt.Reply
what led you to the conclusion it supports 16x/16x/8x? -
Crashman Reply
You're thinking along the lines of boards that use the CPU's integrated graphics, such as the Z370 series. X299 uses certain Xeons as well as desktop CPUs based on re-specified Xeons, none of which have in integrated GPU. So you're wondering "Why then does it have video connectors?"20817759 said:I don't know a lot about computers, but I am totally confused by this motherboard's video inputs/outputs. I know that since this is a gaming motherboard, a graphics card with normal video ports would also be installed. DP IN wouldn't motherboards normally be DP Out, would you connect the video card's DP OUT to the Motherboard's DP IN and use Thunderbolt to display graphics? Where are the standards like HDMI, shouldn't you have some type of video out to test that the motherboard is functioning properly? Will all motherboards be heading towards these types of configurations?
Thunderbolt 3 supports video AND data transmission, but the onboard Thunderbolt 3 controller only transmits data. Gigabyte must then rely on the builder's choice of graphics card to make Thunderbolt 3 monitors and Thunderbolt 3 external drives/etc daisy chain together. And so it has graphics input, for your graphics card, and passes that signal through to the Thunderbolt ports. The next guy finishes that discussion.
Thanks for the description. I told him what he needed to know in order to understand what you were telling him. It was pretty easy, without need to link an external site ;)20817916 said:ThunderBolt 3: GIGABYTE is using Intel's new ThunderBolt 3 controller which offers two ThunderBolt 3 ports. The reason we have two DisplayPort input jacks on the rear IO is that ThunderBolt 3 requires a Display Port signal, so you would hook those up to your GPU if you want to use ThunderBolt 3. It has to be this way on every motherboard without integrated graphics, that's one reason you don't see ThunderBolt 3 on many X299 motherboards. The TB3 type-C ports double as USB and DP type-C ports, and the power delivery ICs should provide a lot of power.
I would like to thank you for pointing this out: I appended some data in the table, and then used the table to guide my discussion.20818226 said:gigabyte's own docs and config tool say the board can only do 8x/16x/8x, presumably because they needed some PCIe lanes for thunderbolt.
what led you to the conclusion it supports 16x/16x/8x?
But, I'd also like to point out that the board can do x8/x8/x8 on a 28-lane CPU. So, using Thunderbolt as an excuse for only being able to do x8/x16/x8 on a 44-lane CPU is rather weak: A 44 lane CPU has 16 more lanes than a 28-lane CPU, not 8. So thanks for your help, and shame on Gigabyte for not being forthright in its explanation. -
Saga Lout Sorry, Crashman. The Development Team are working on some Forum foibles and that sort of problem is coming to an end.Reply
