How To Build A $2,500 Gaming PC
Motherboard & Storage
Motherboard
Set the chassis aside, and take the MSI Z270 Gaming M5 motherboard out of its box. Use the anti-static bag as a cushion before you set the motherboard in your workspace. Begin by lifting the CPU socket’s tension arm by unhooking it from its clip and lifting it—along with the CPU clamp—straight up to expose the pins.
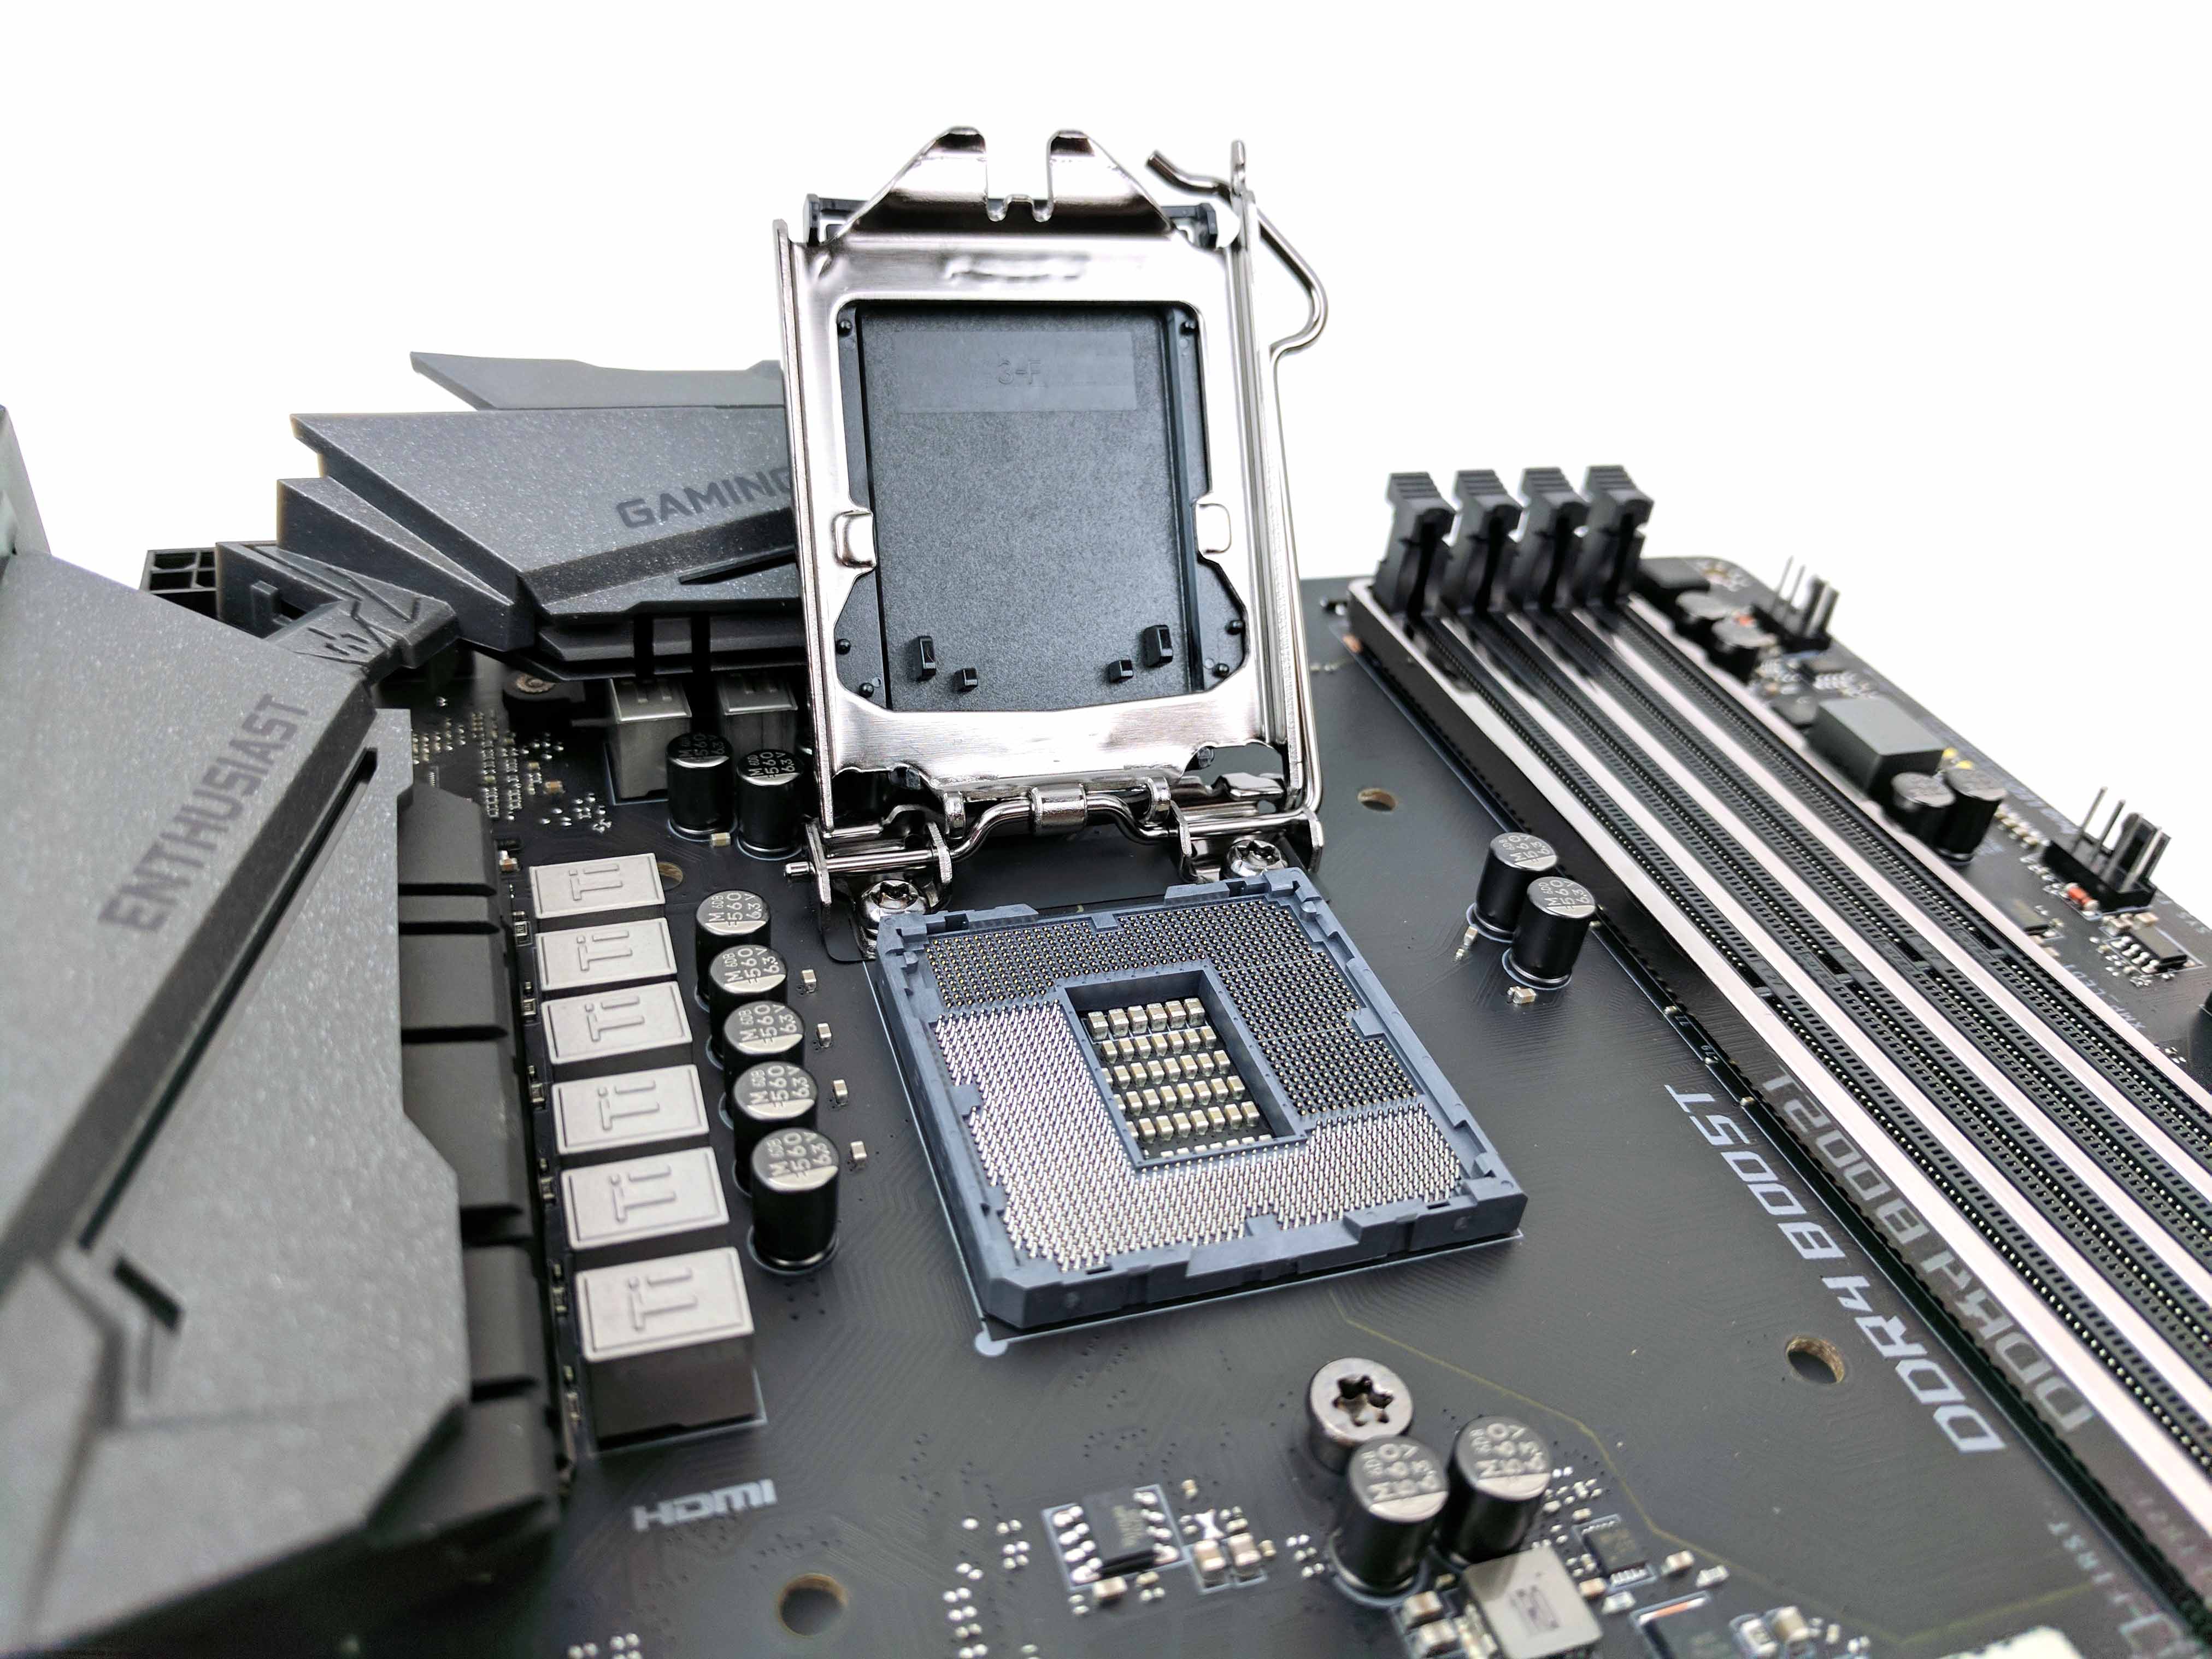
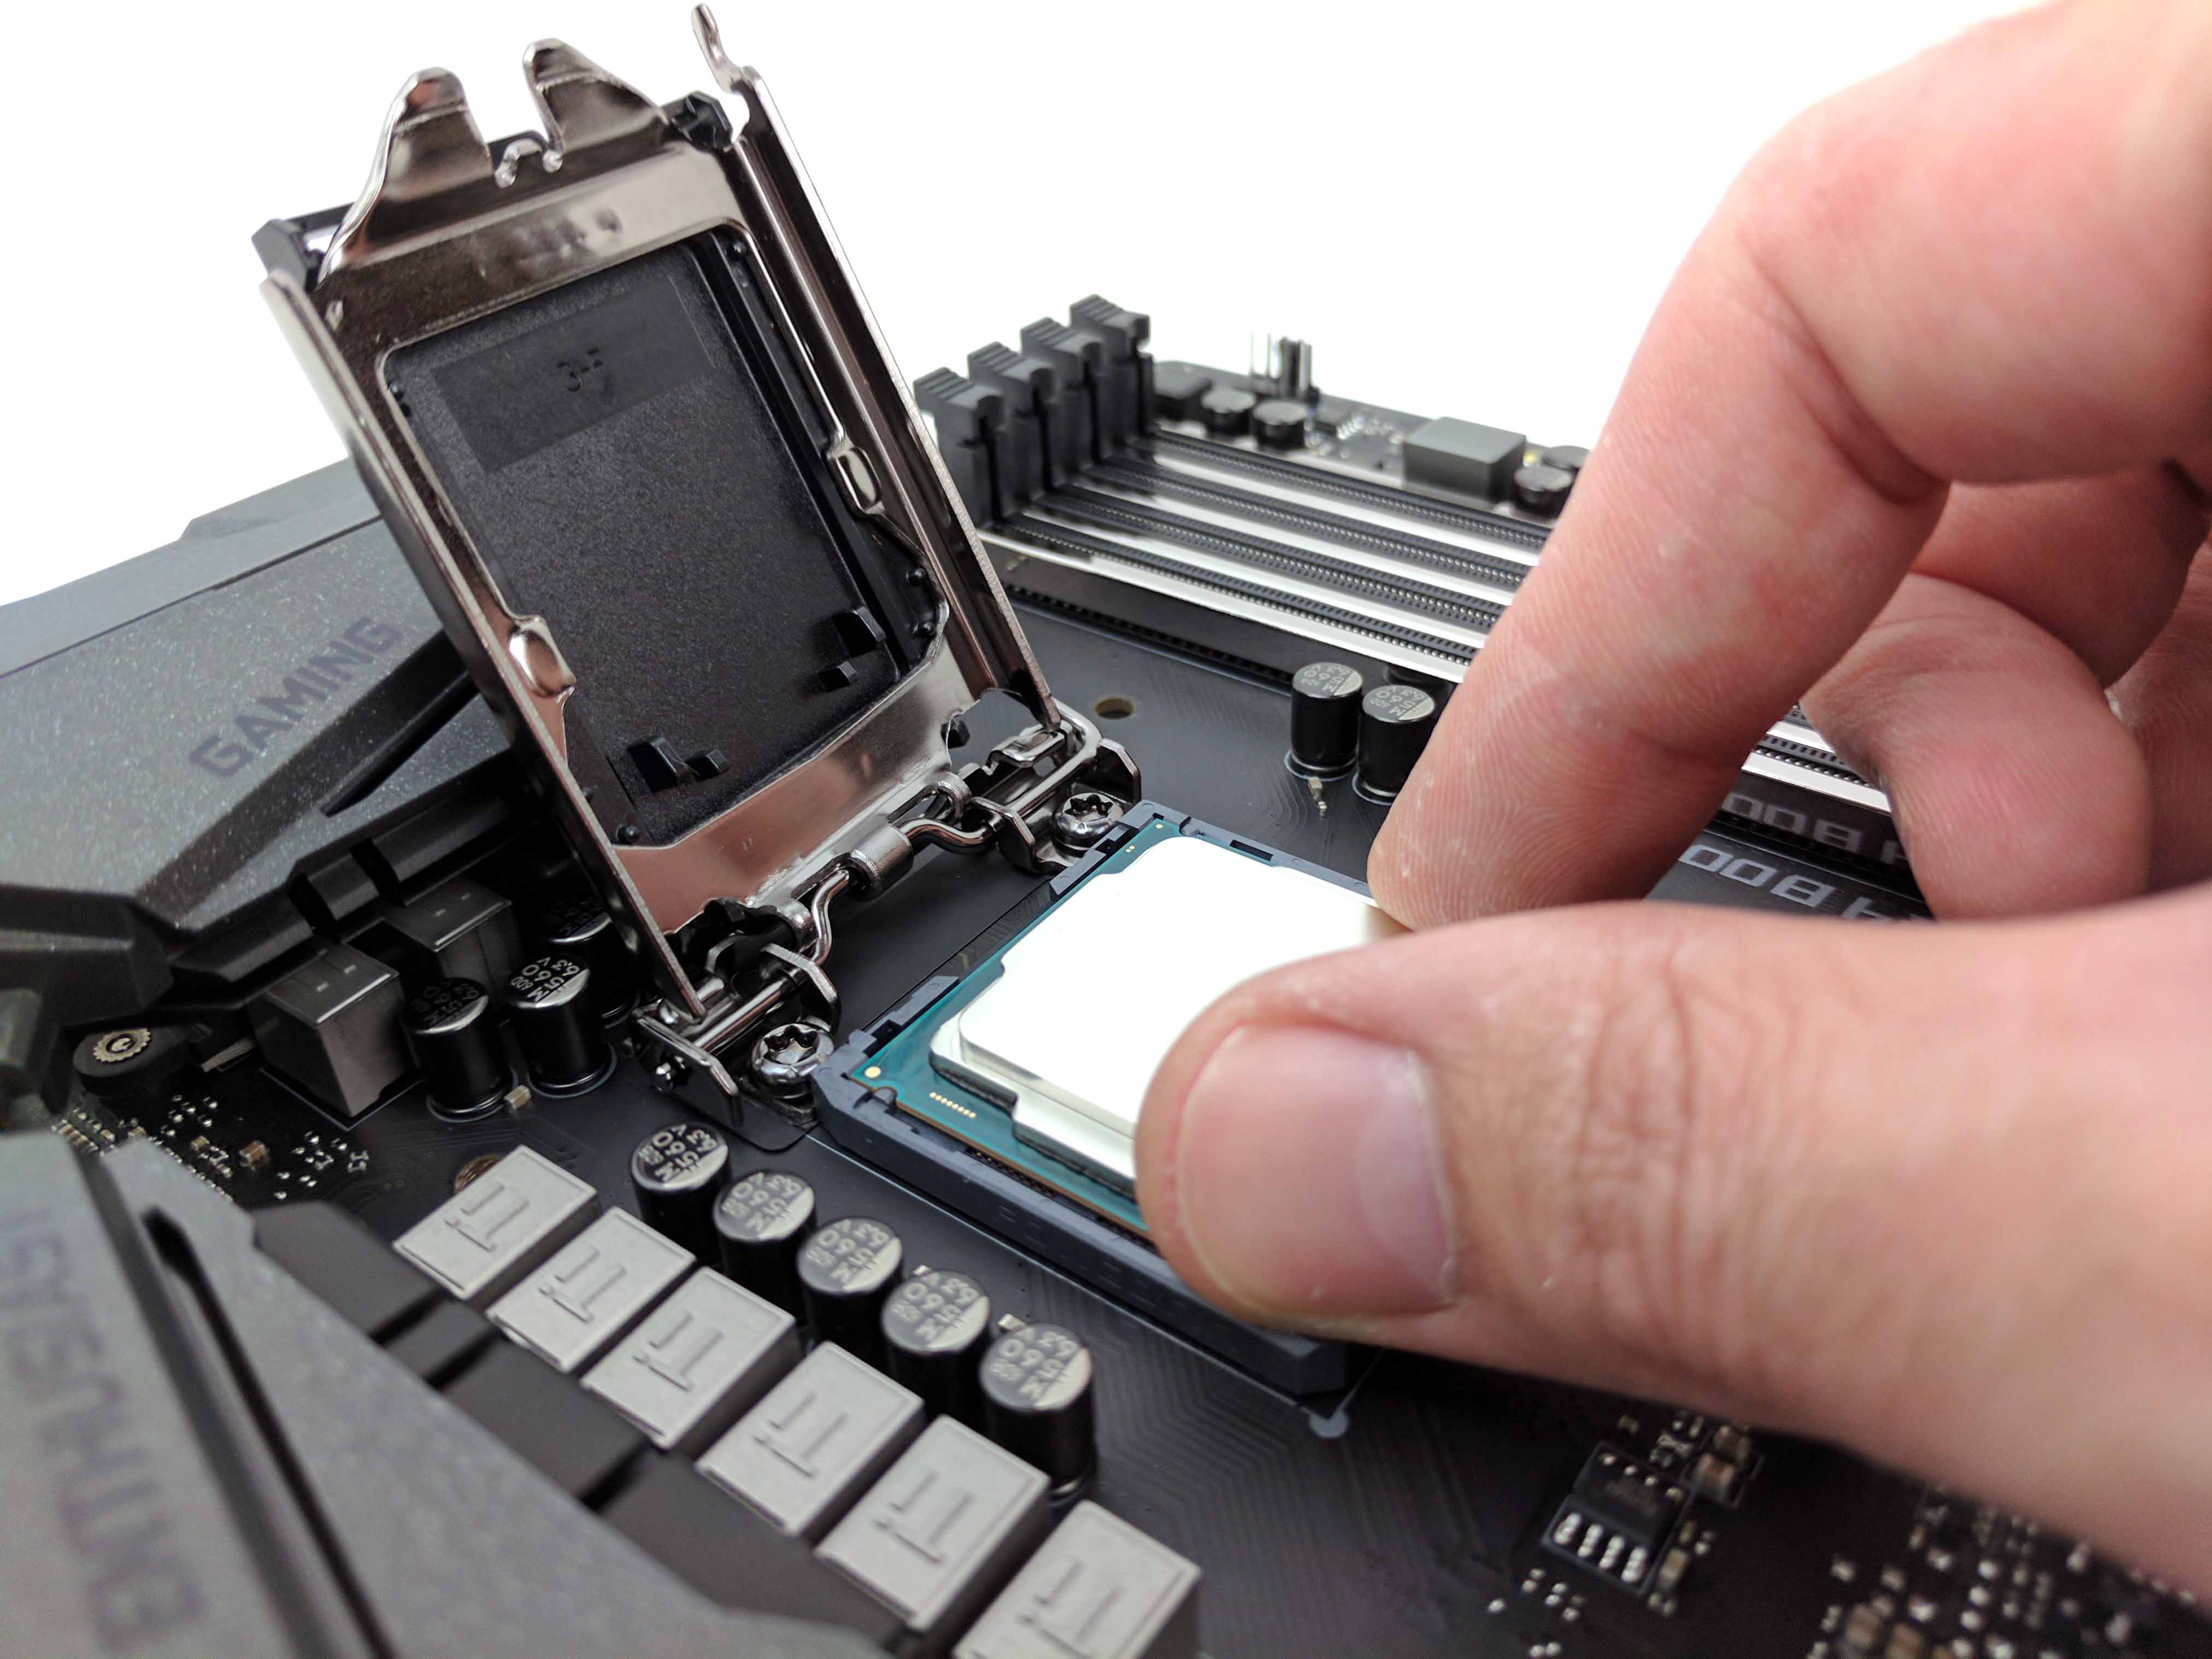
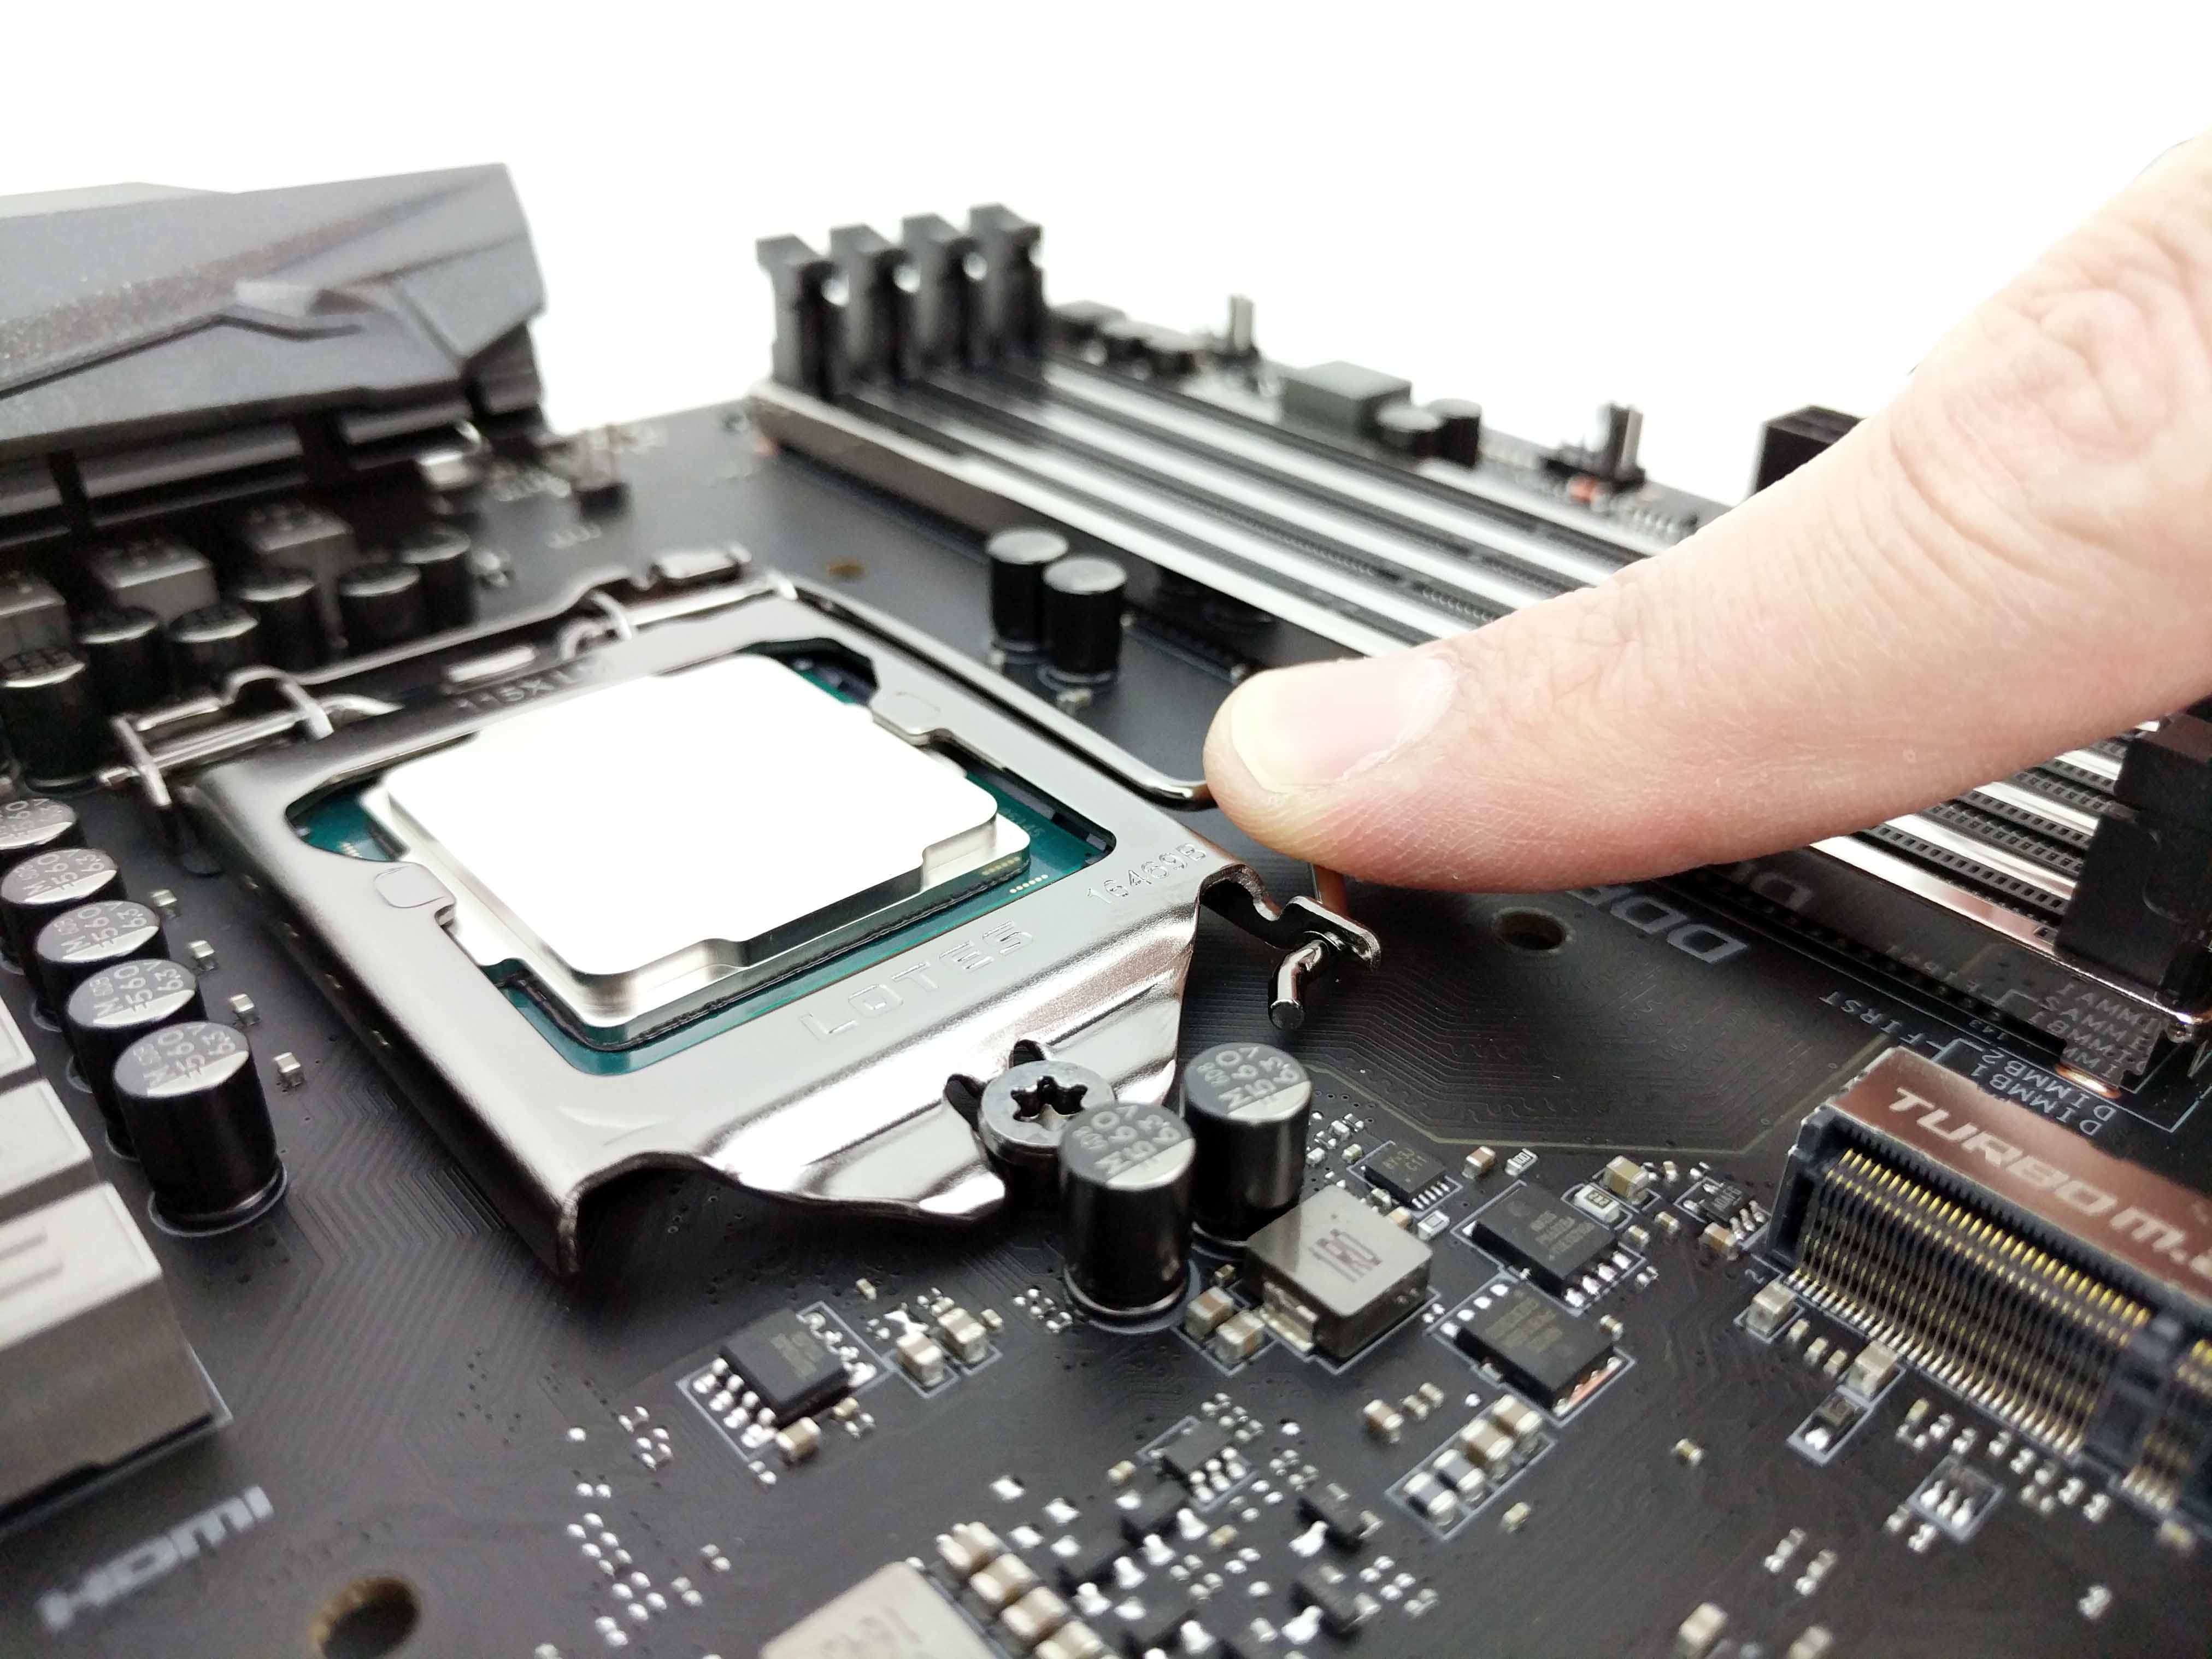
Remove the Intel Core i7-7700K from its box and protective plastic. Carefully lower the CPU into the socket with the notches on the edge of the processor and the socket lined up. Make sure to discharge any static with a wristband or by touching a metal (non-electronic) surface before handling the processor.
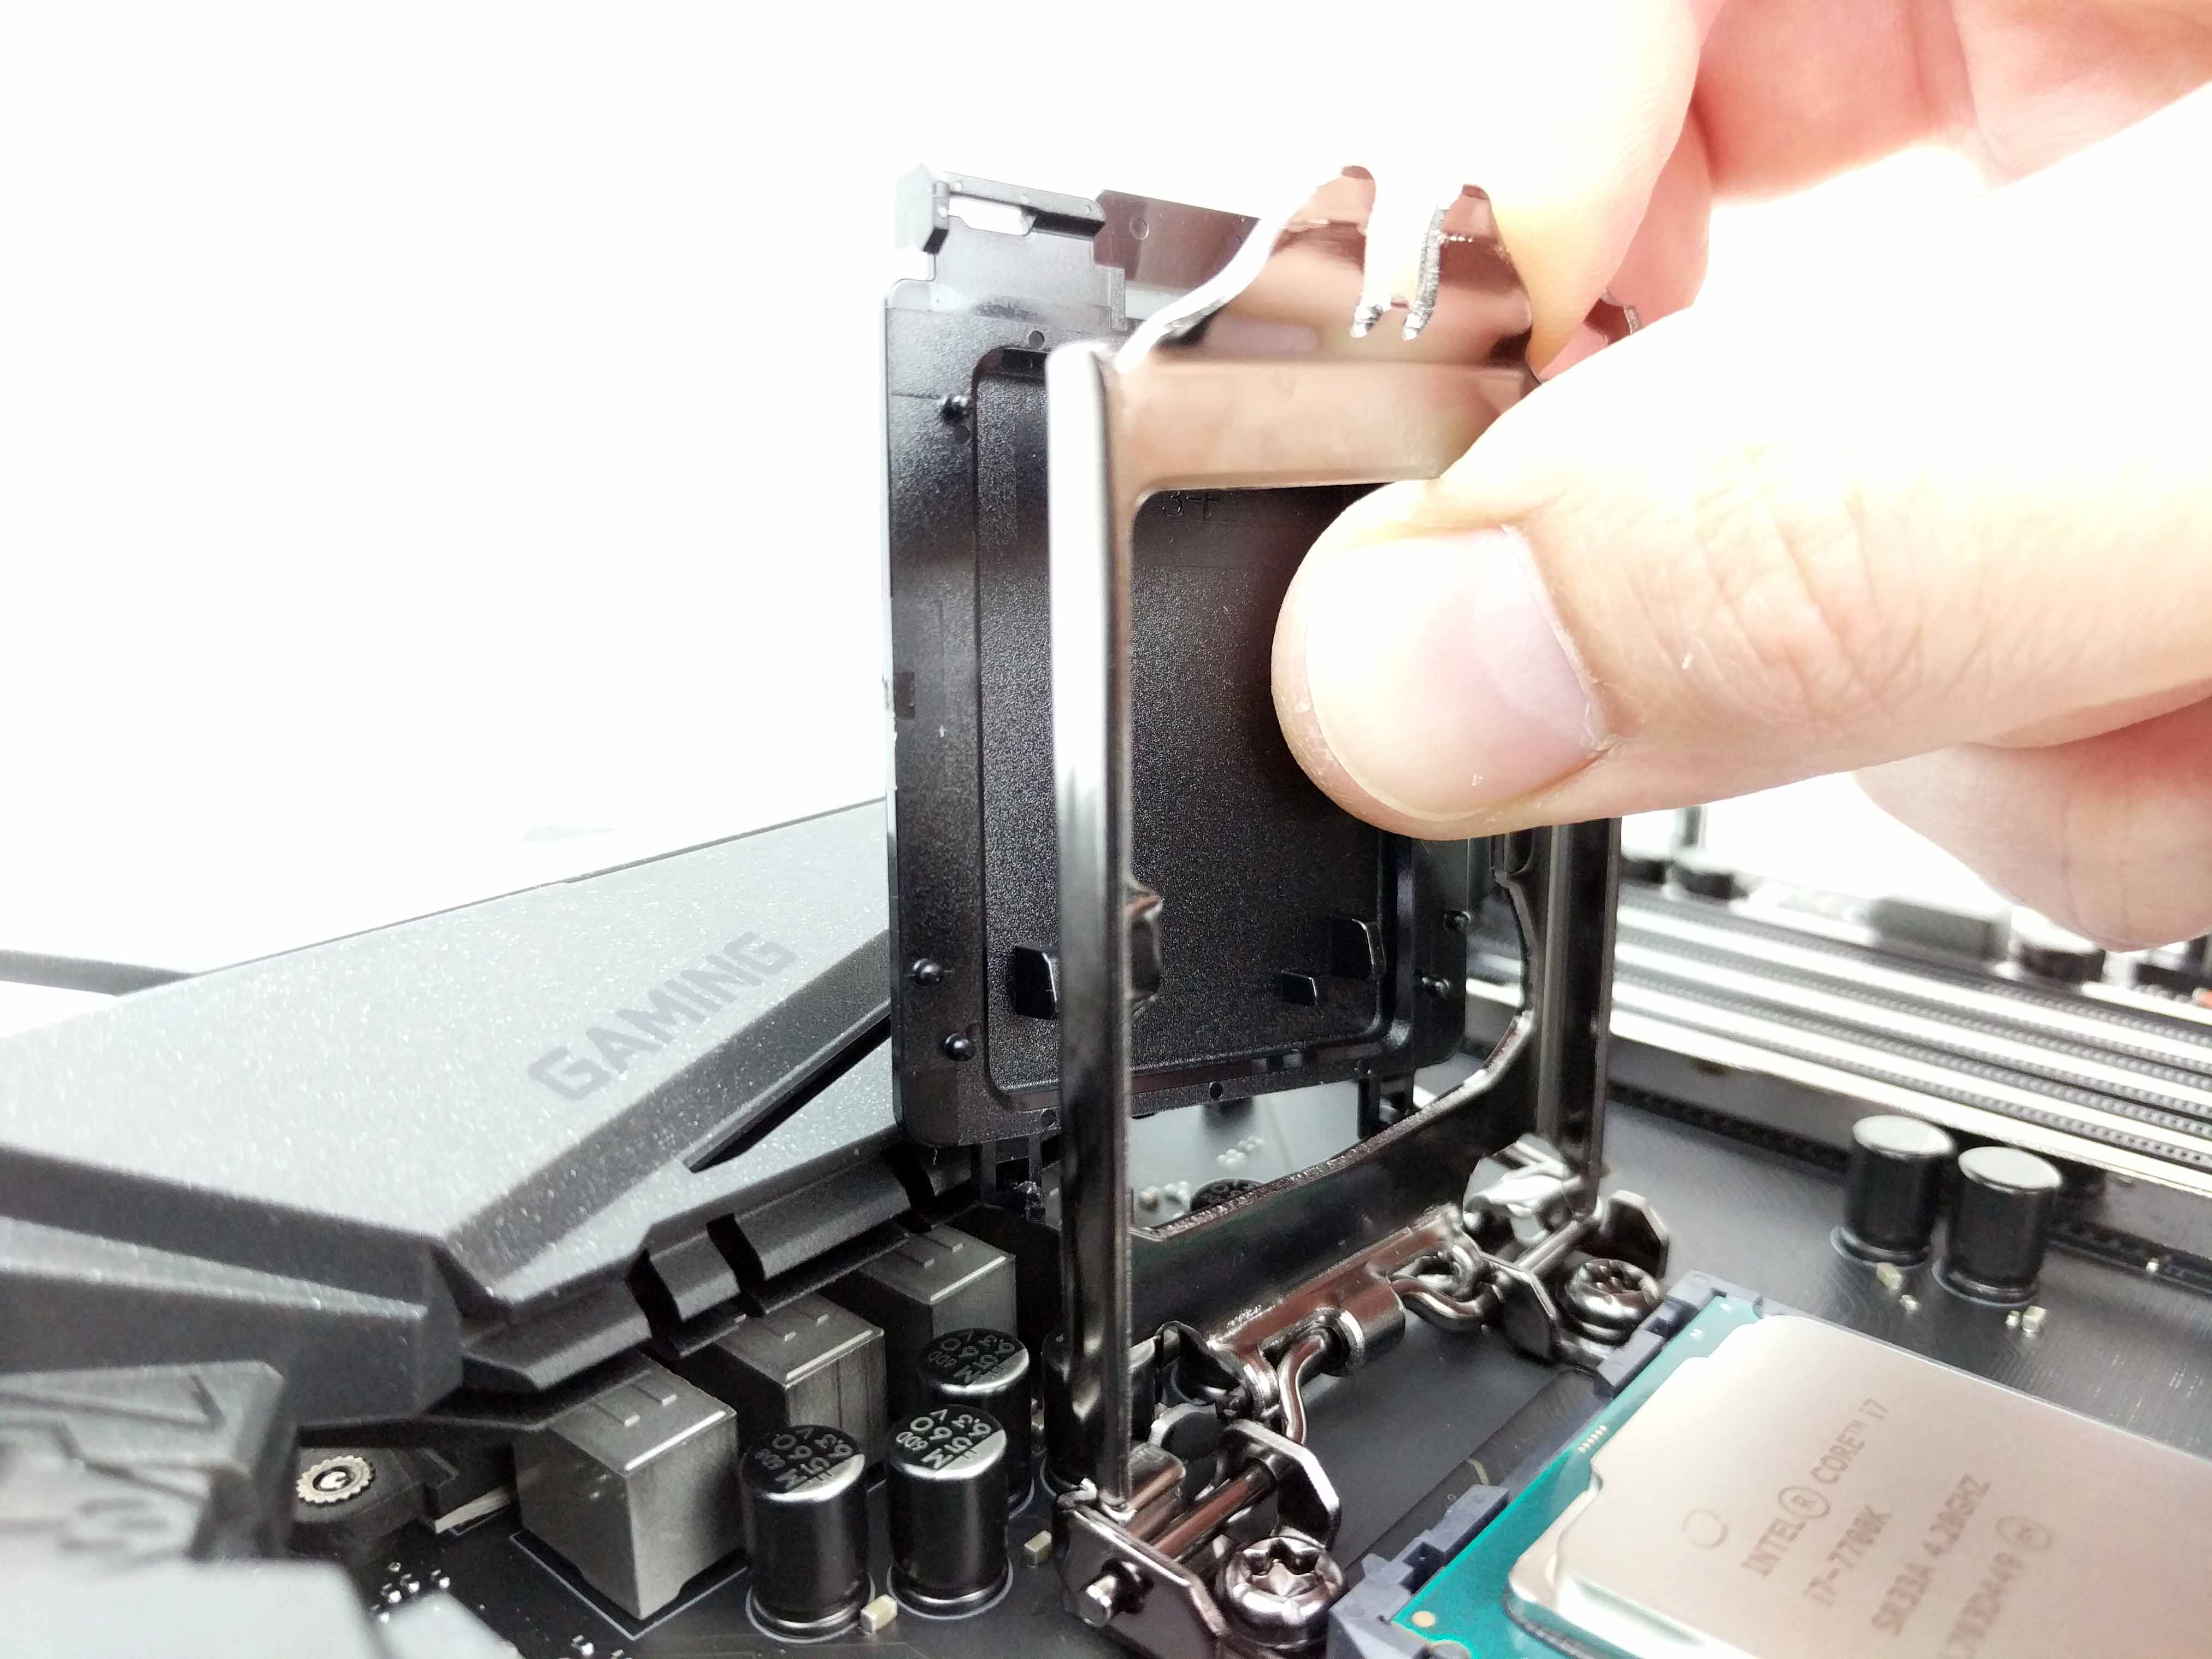
Punch out the black plastic cover on the CPU clamp and lower it into position over the processor. Lower the tension arm and hook it to its clip to secure the CPU to the motherboard.
Storage
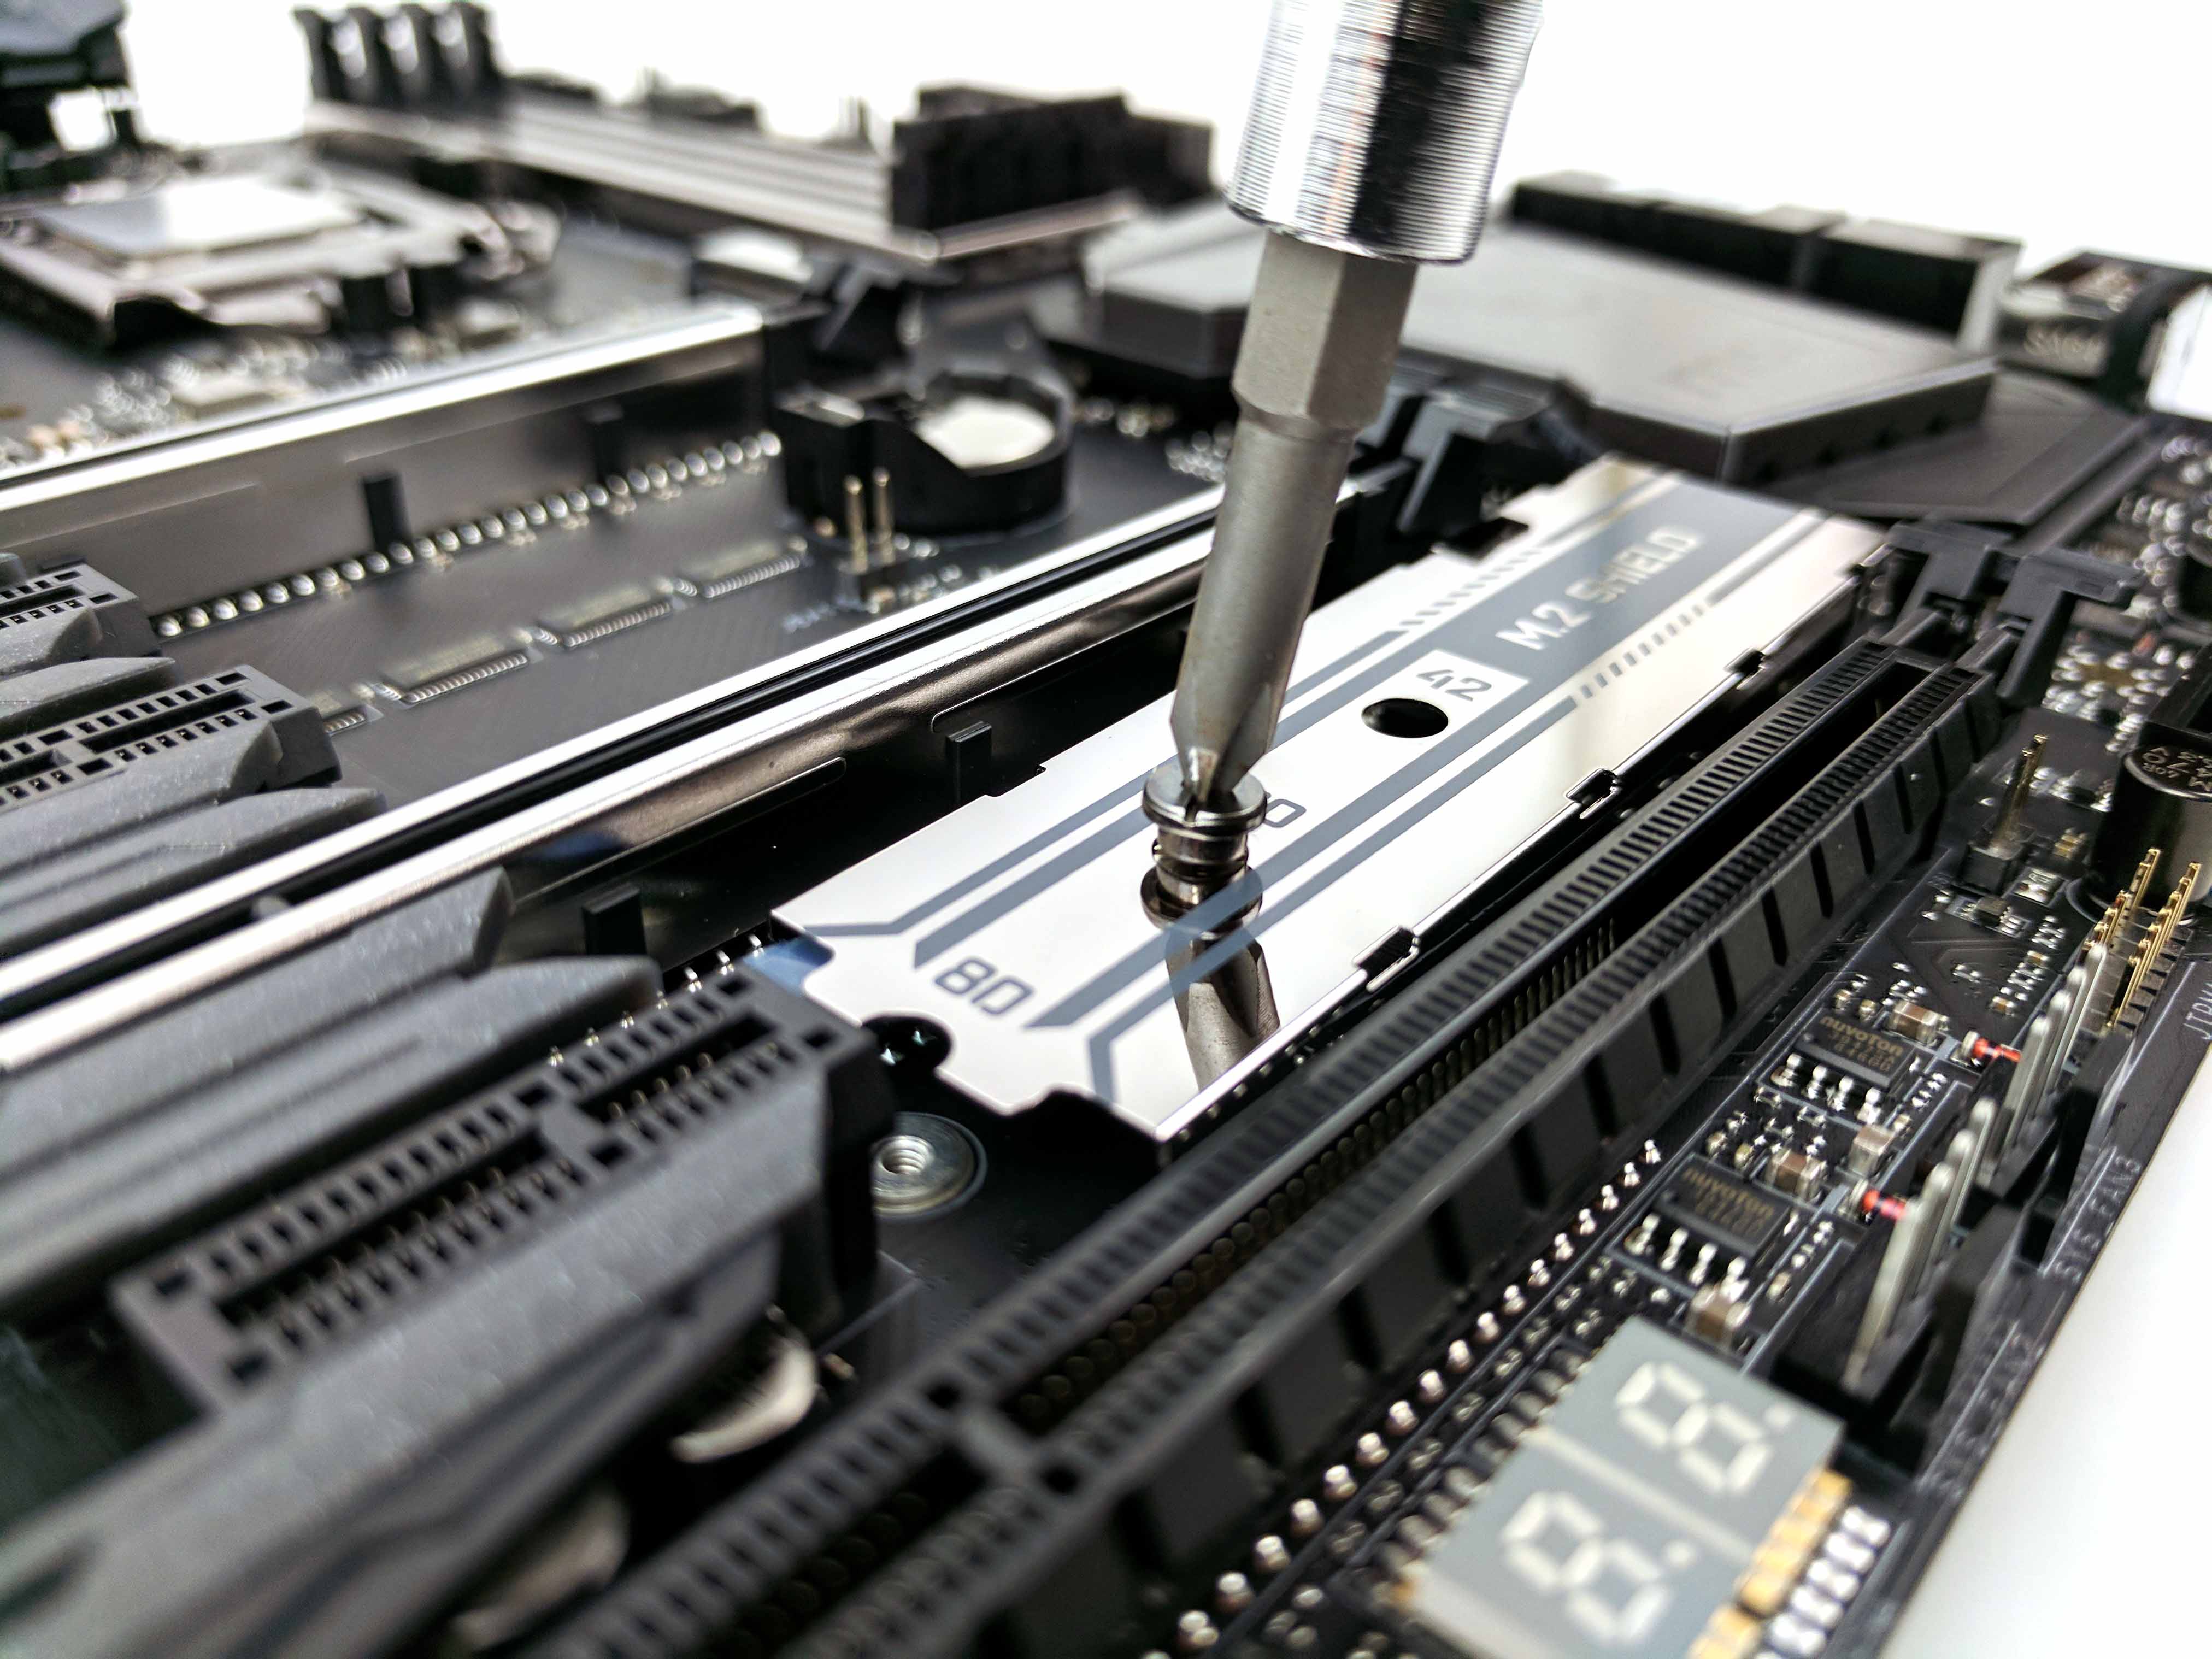
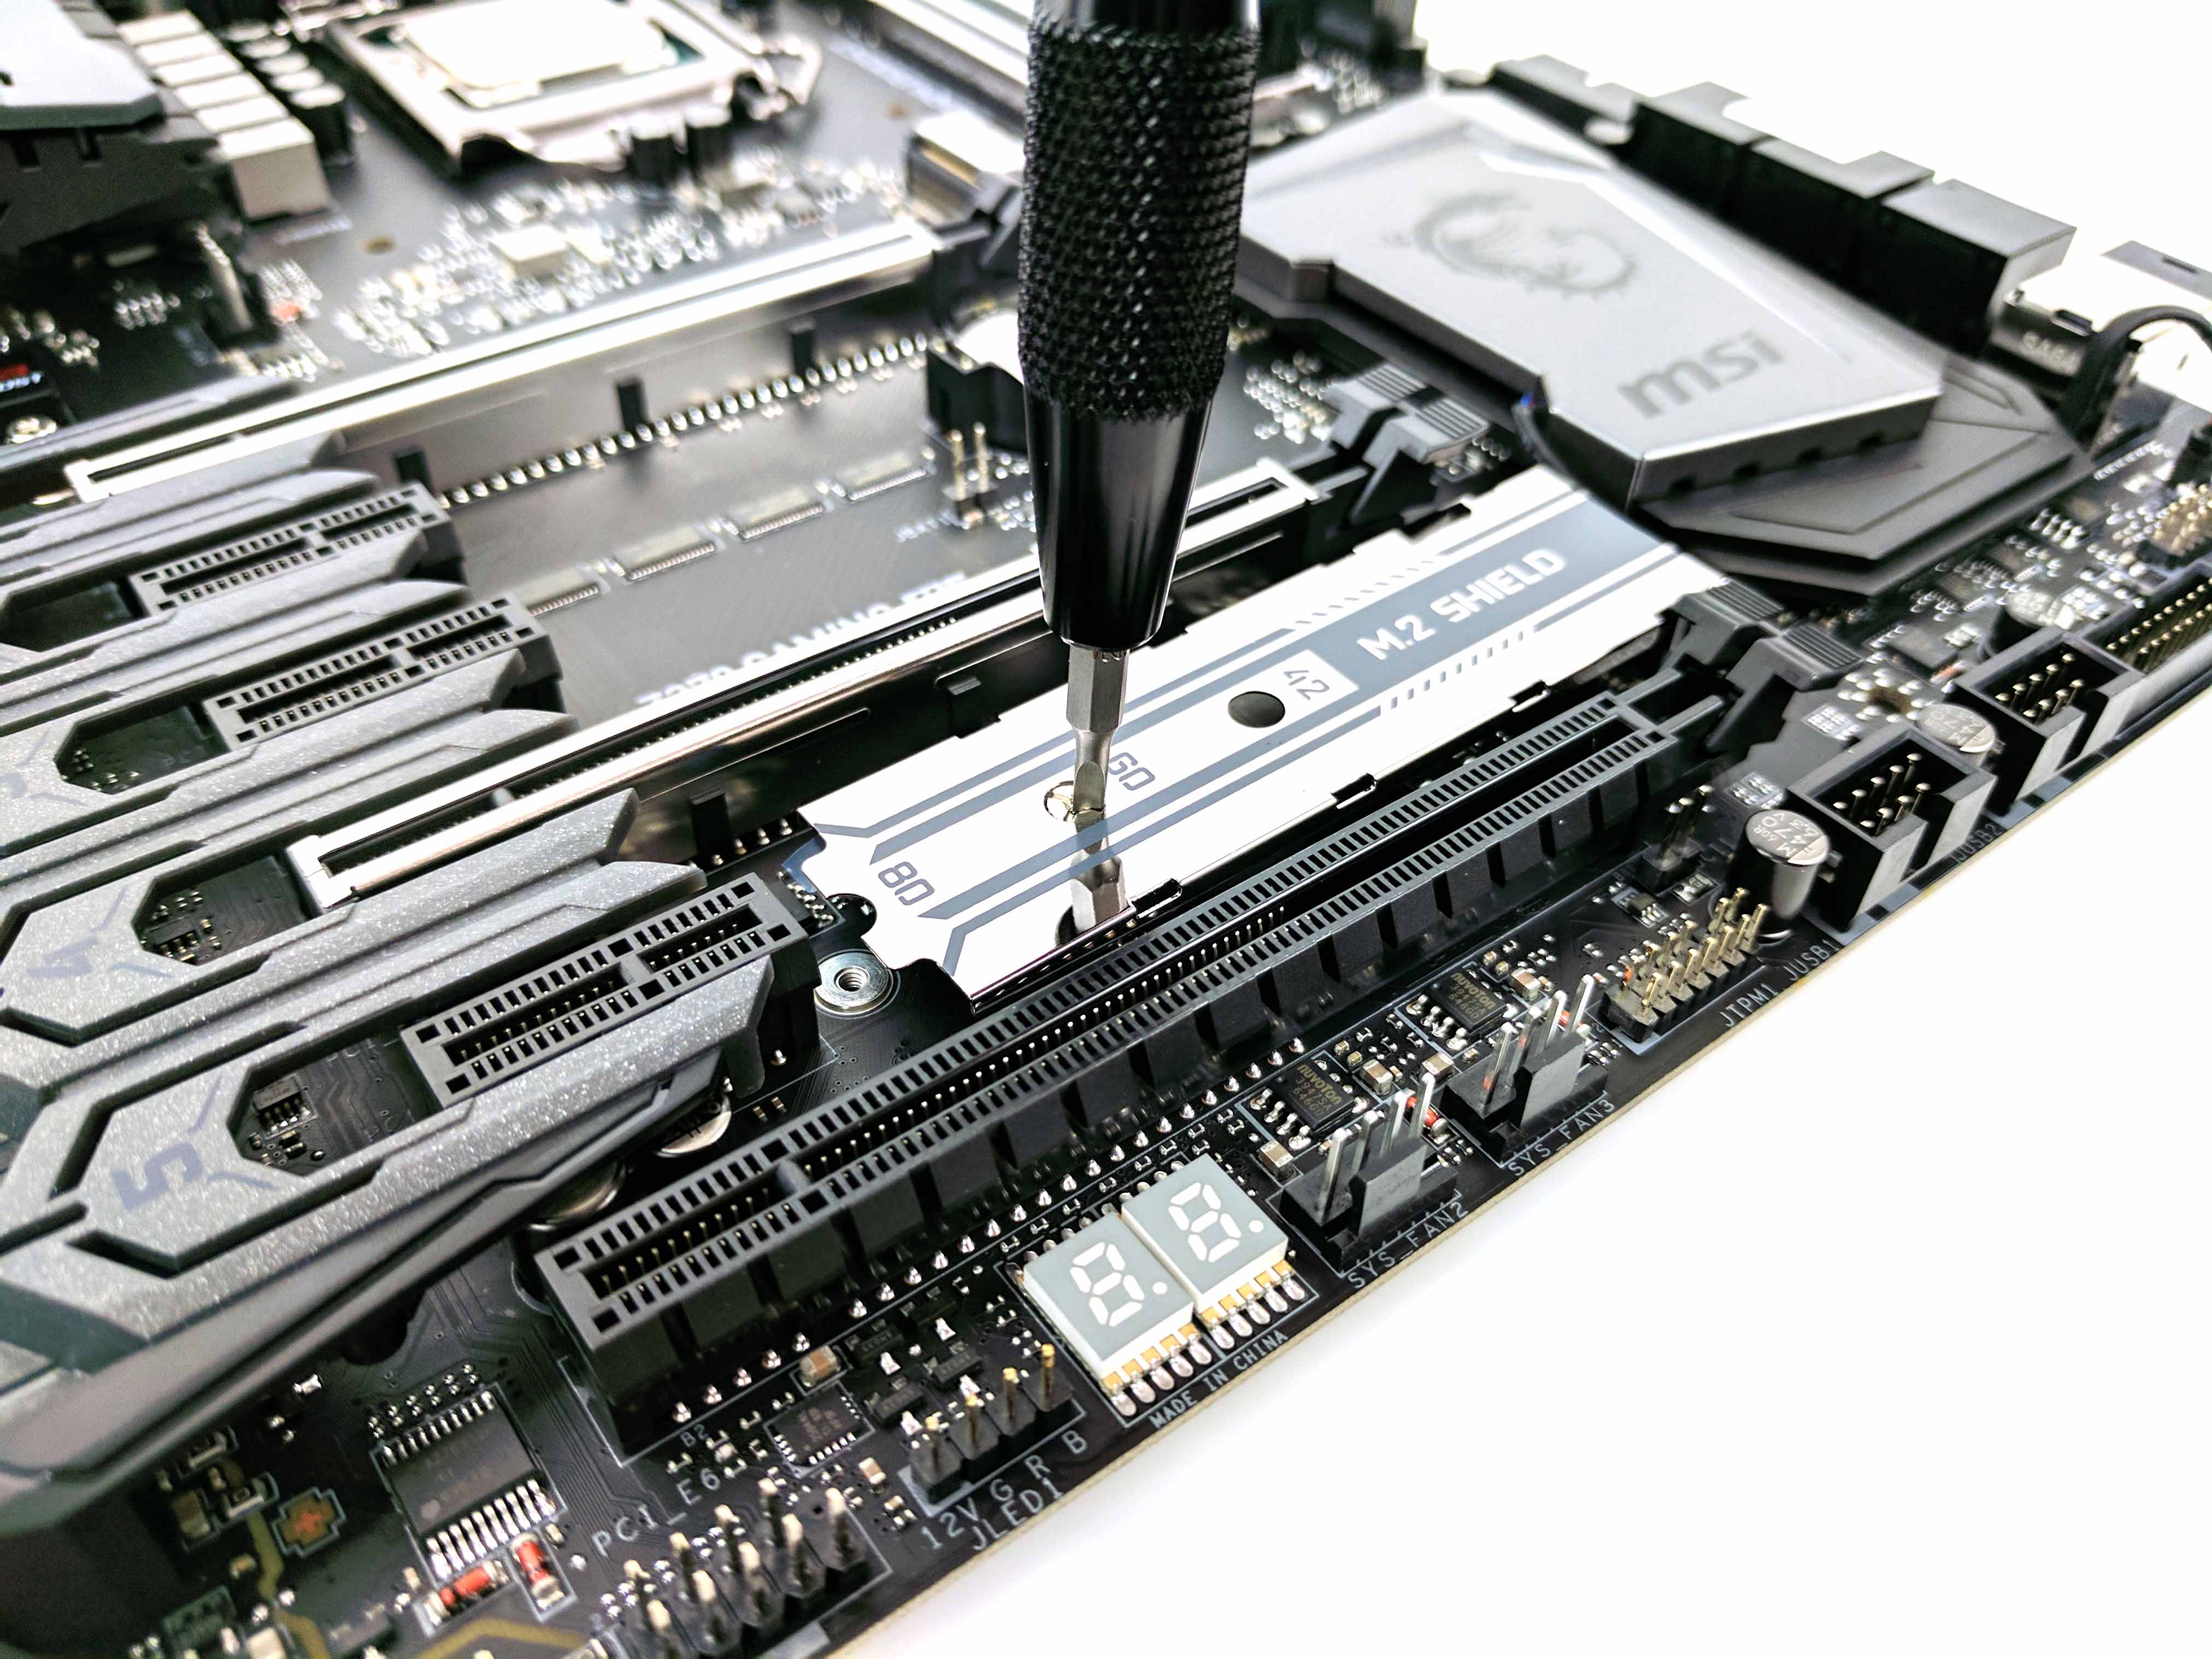
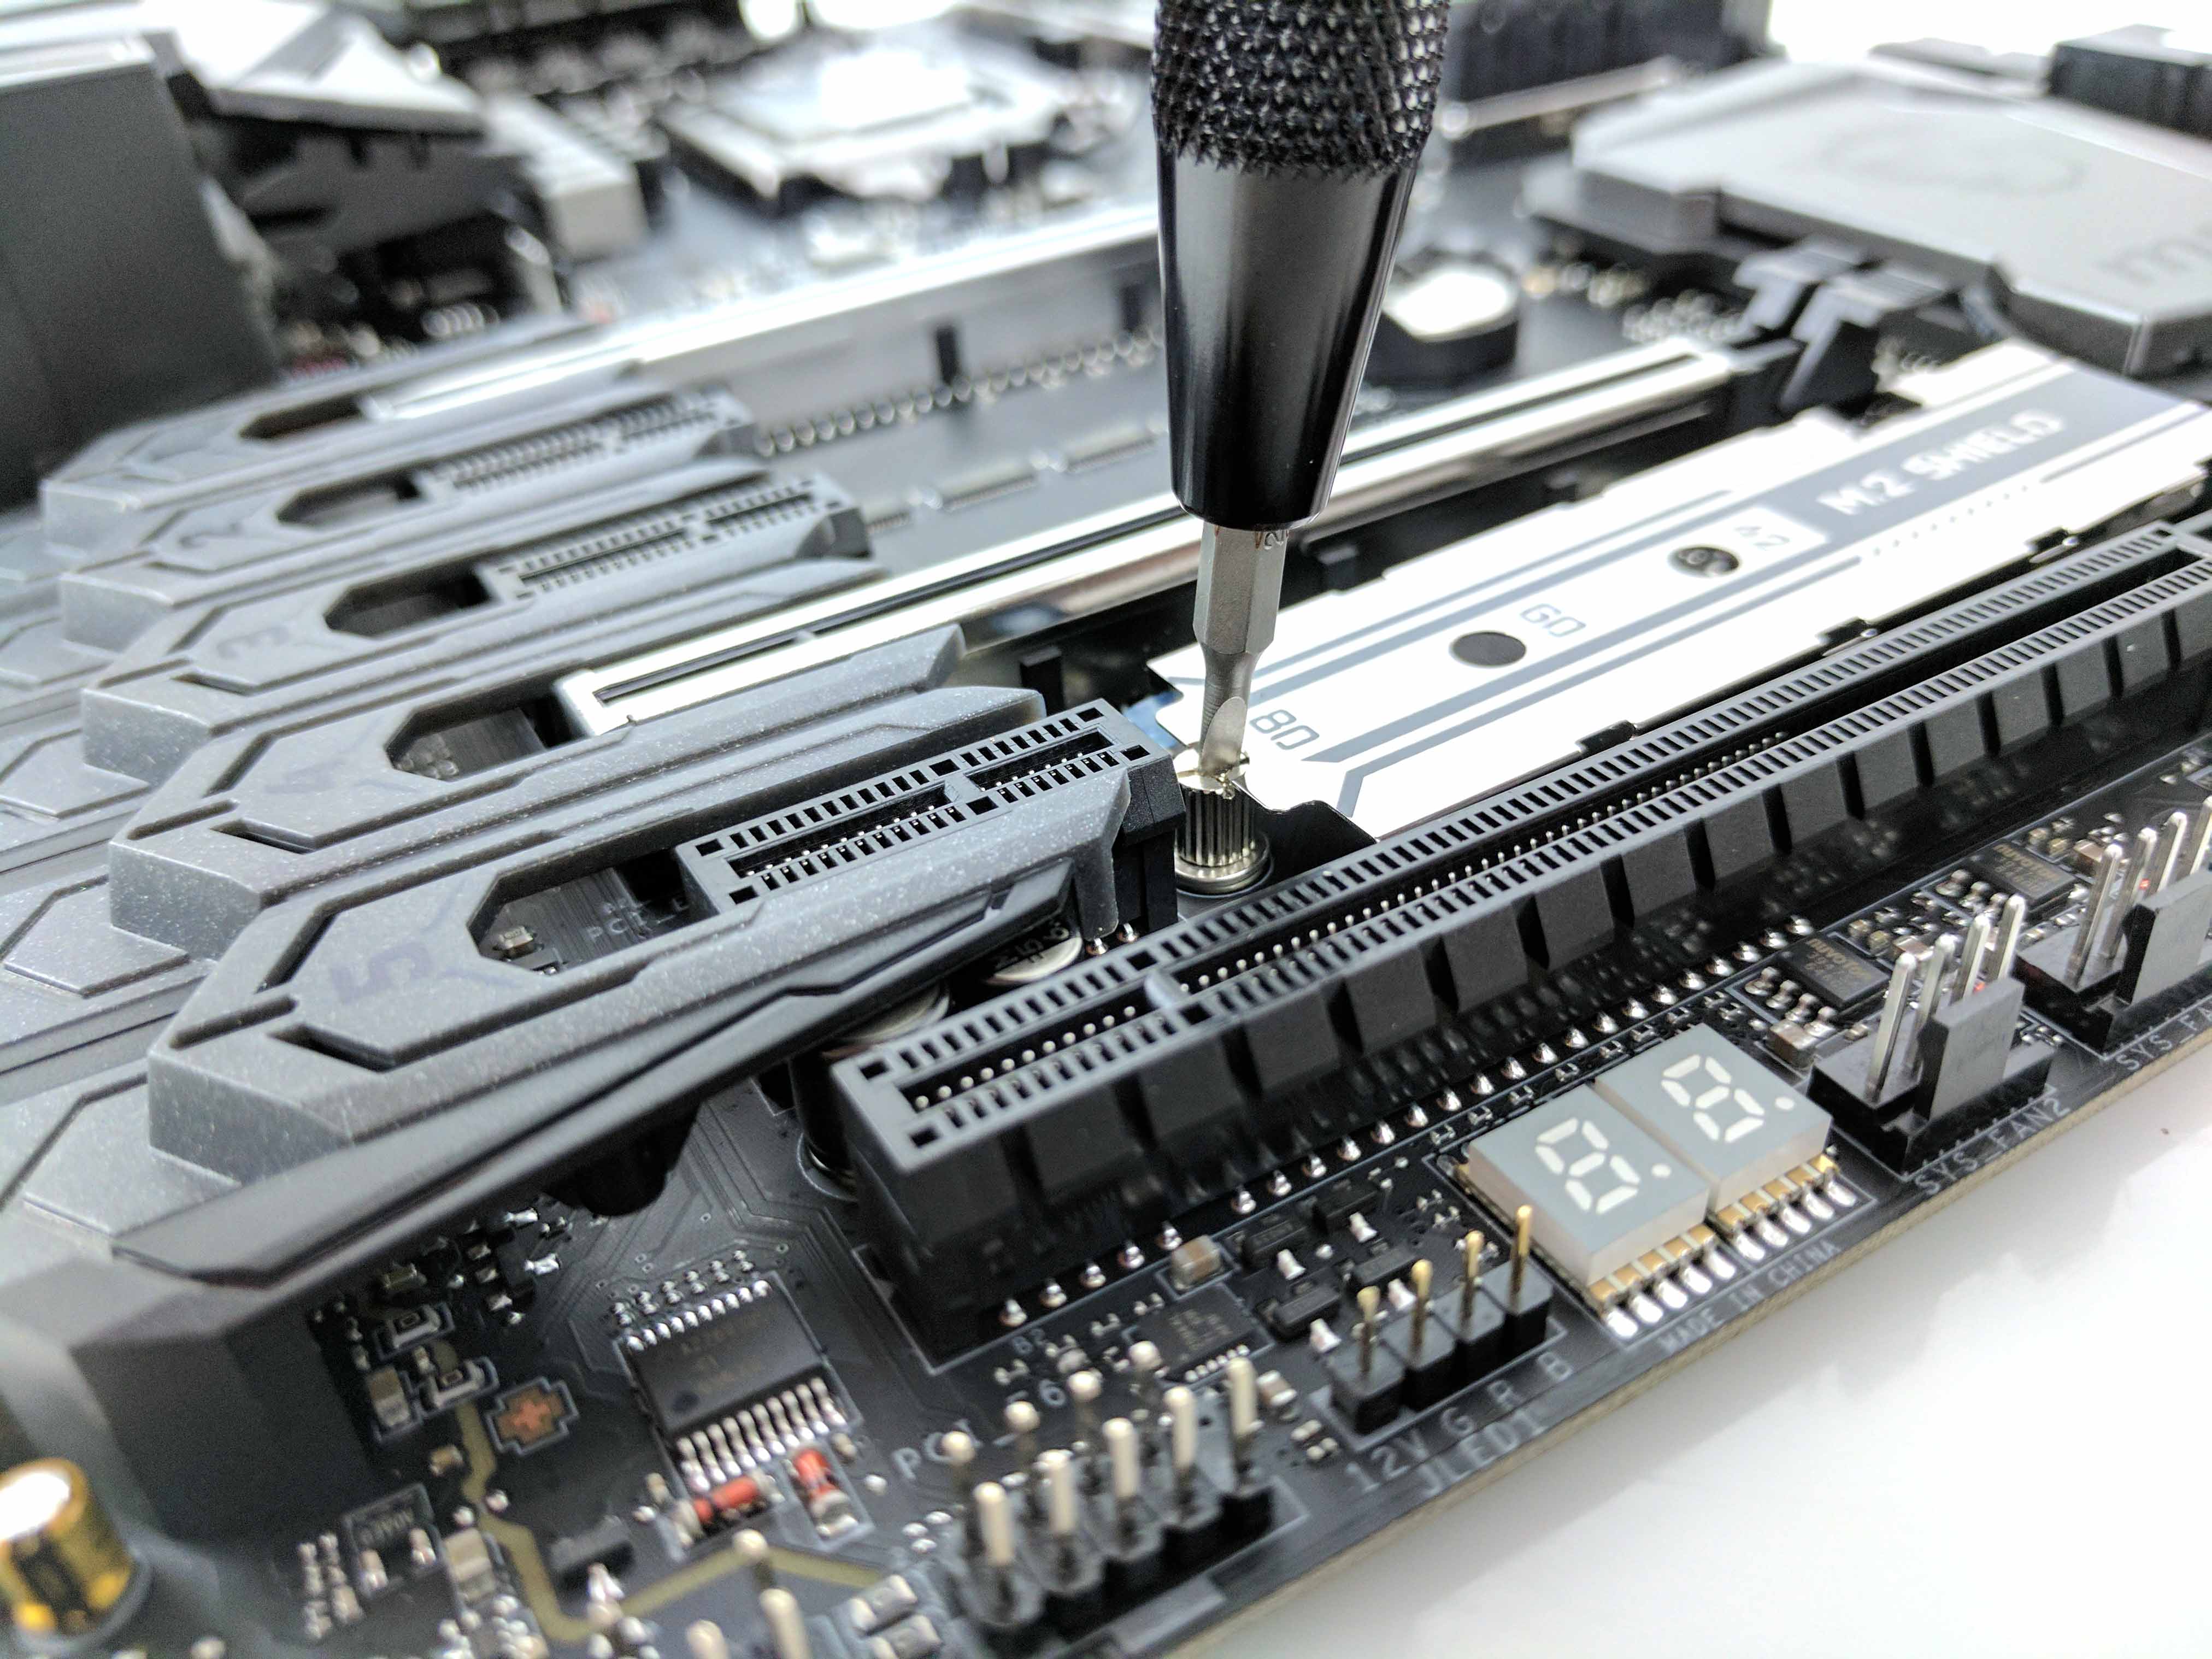
The lower M.2 slot of the motherboard features an M.2 shield, which is designed to help cool your solid-state storage. Remove the screw (Phillips head) that caps the mounting post, then use a thin flat-head screwdriver to loosen the post from the motherboard (see slide 2 in the album below). Lift the M.2 shield up (not too hard, it only raises so much) and remove the post from the 60mm thread. Move the post to furthest thread (80mm) and screw it in with your fingers. Lower the M.2 shield and finish tightening the post to the motherboard with the flat-head screwdriver (see last slide below).
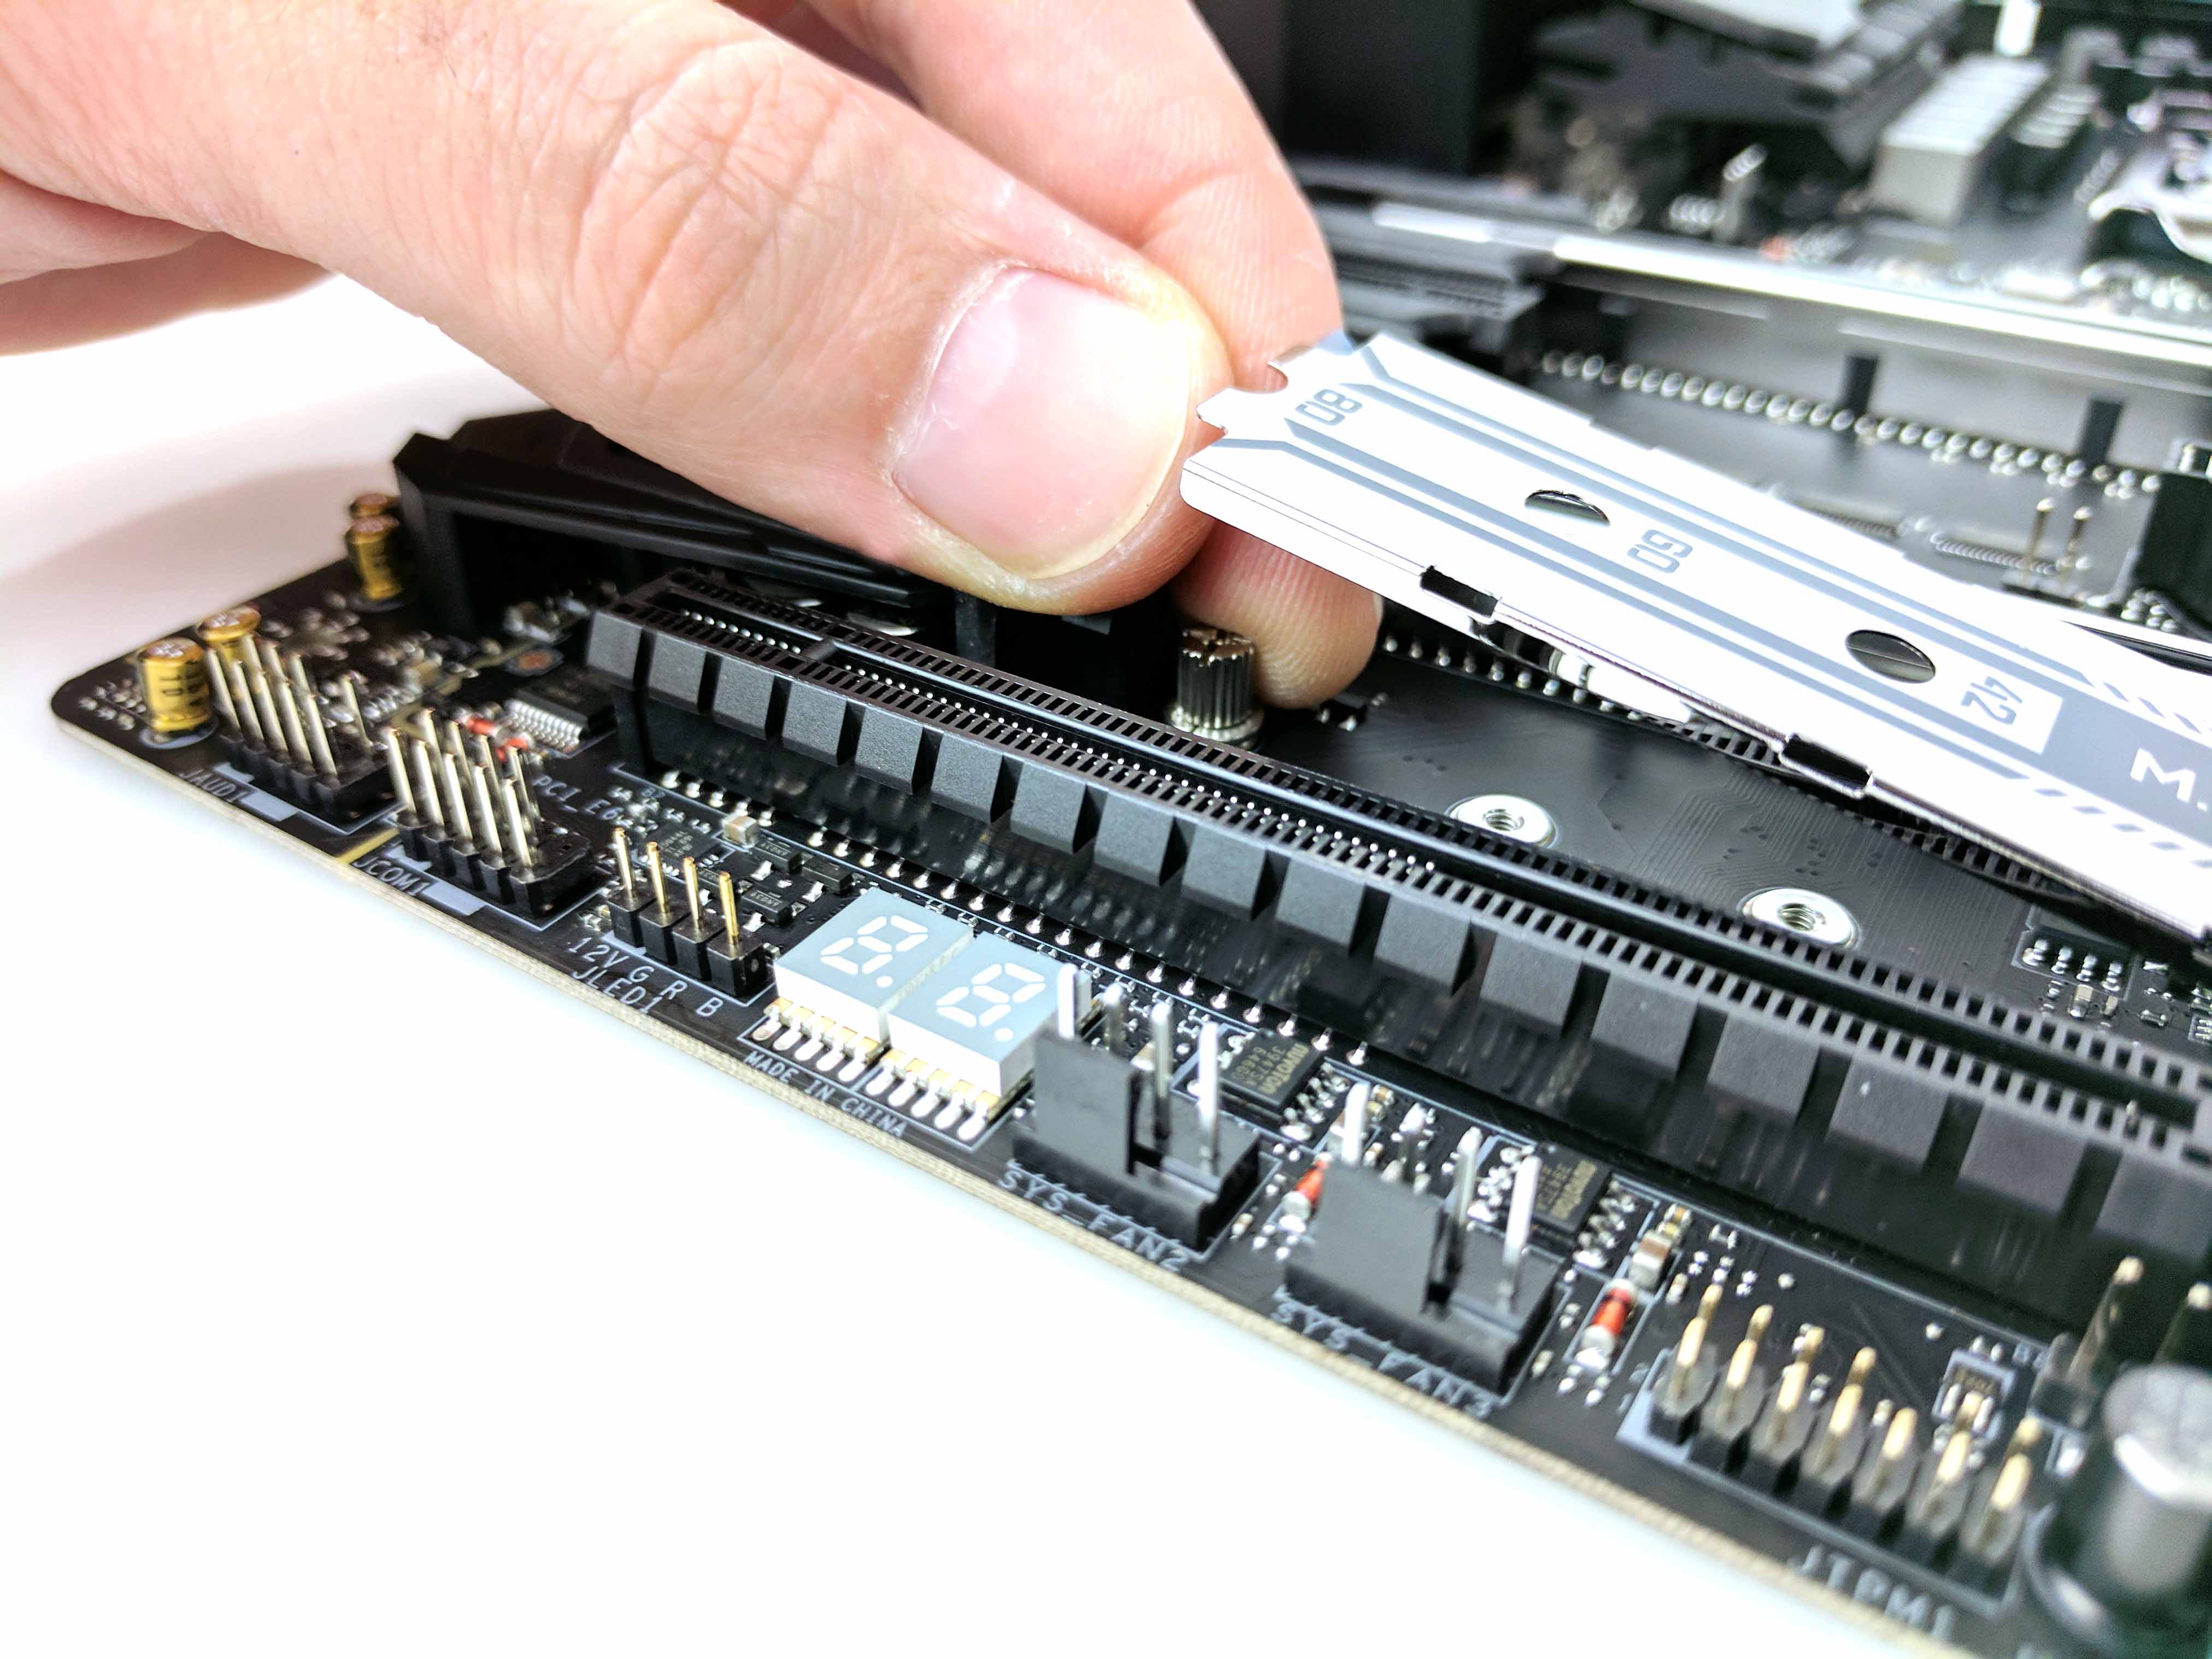
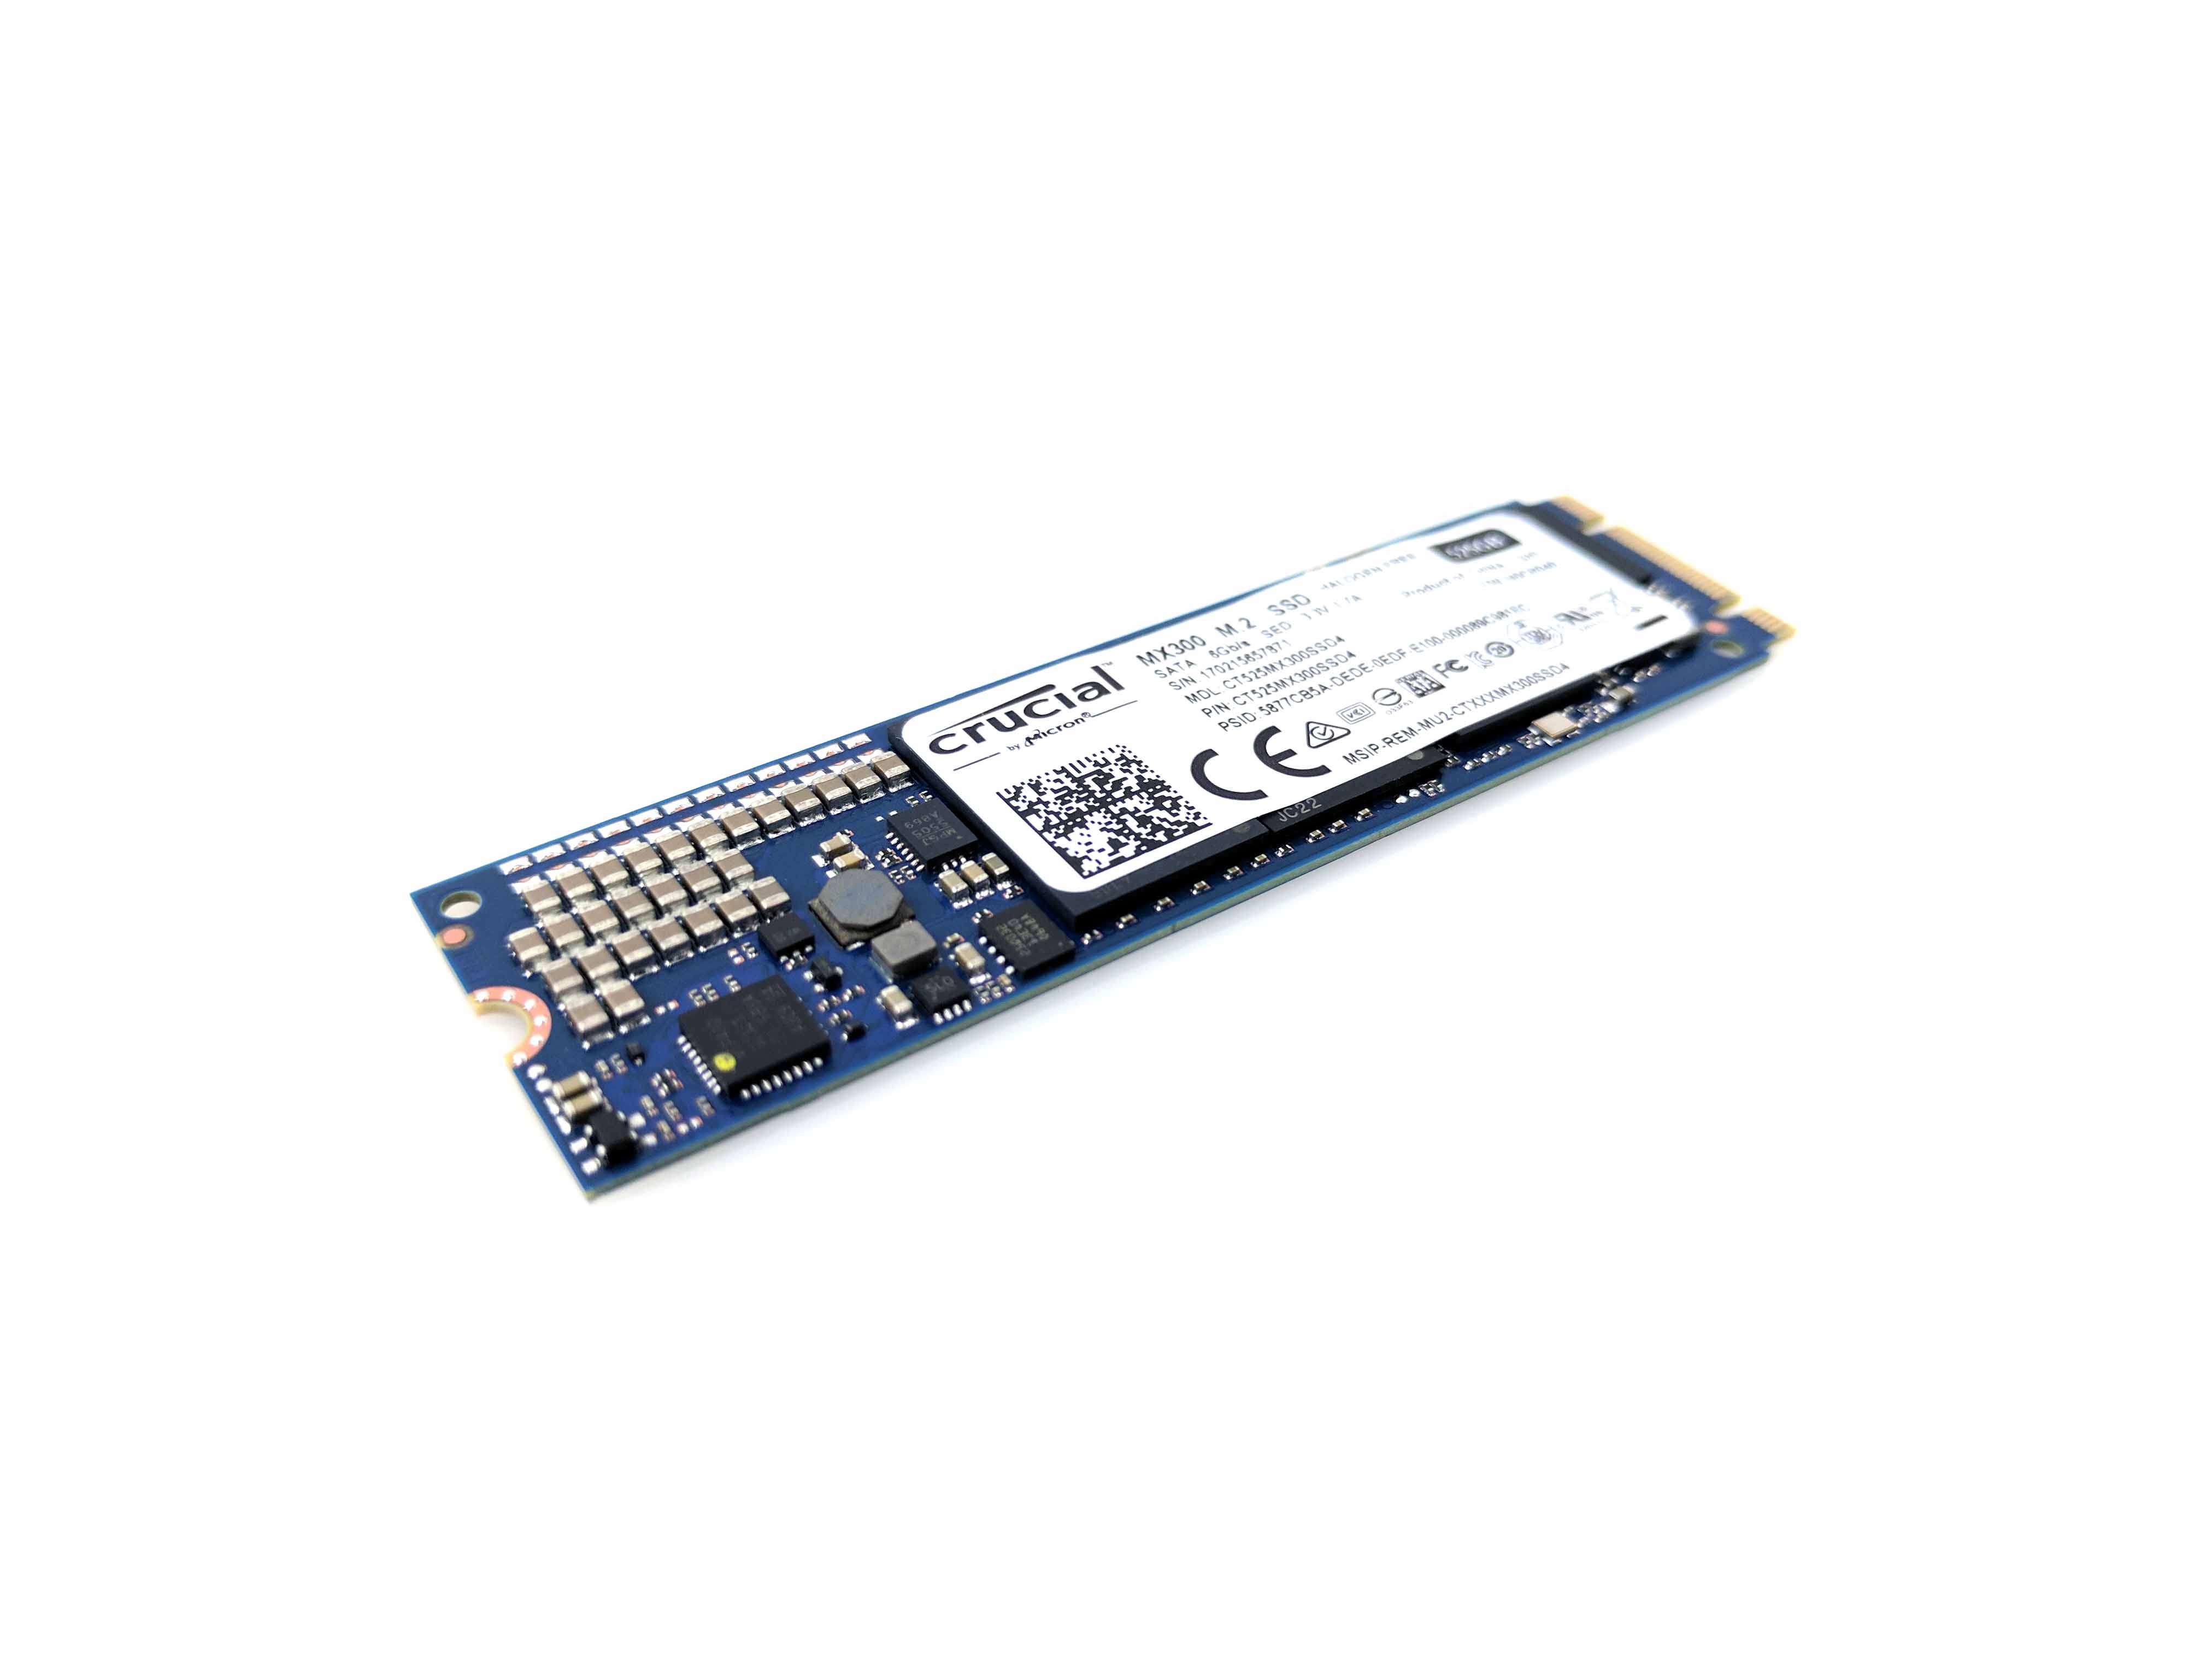
Remove the 525GB Crucial MX300 M.2 SATA SSD from its packaging. Raise the M.2 shield and slide the M.2 SSD into the socket (with the drive’s chips facing upward) and push it into the slot at an angle (about 45 degrees, at most; don’t put too much pressure on it).
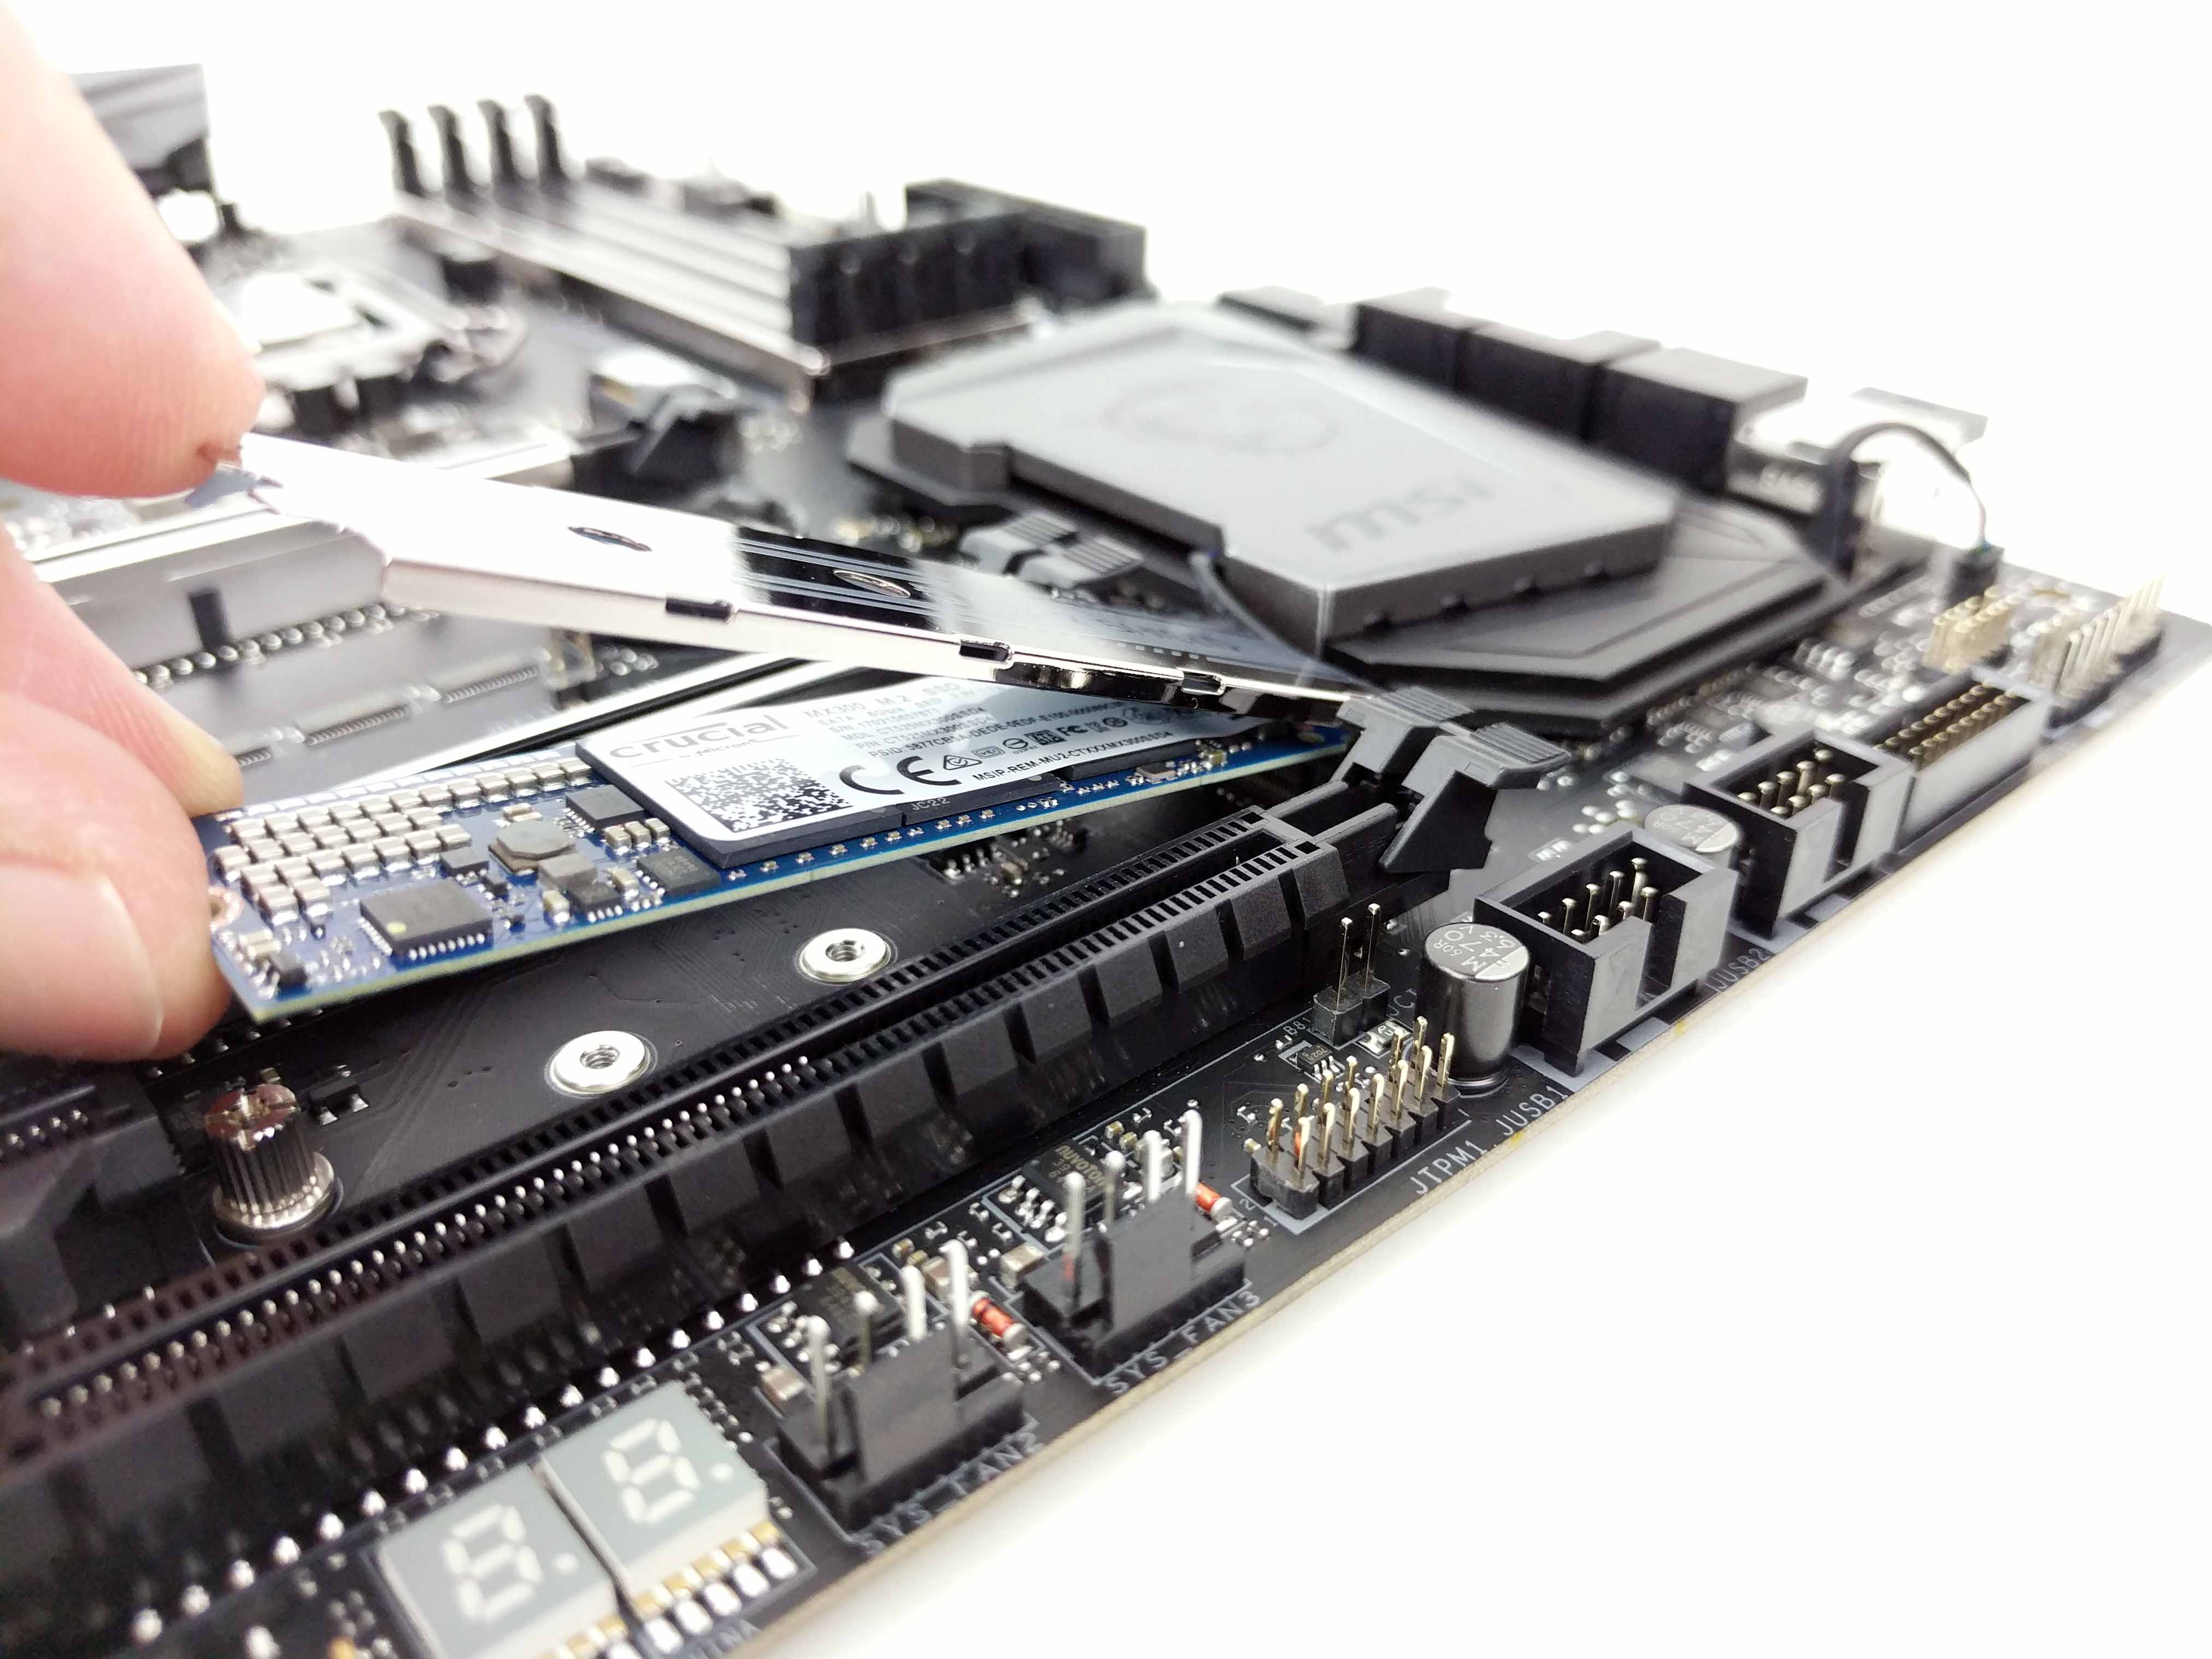
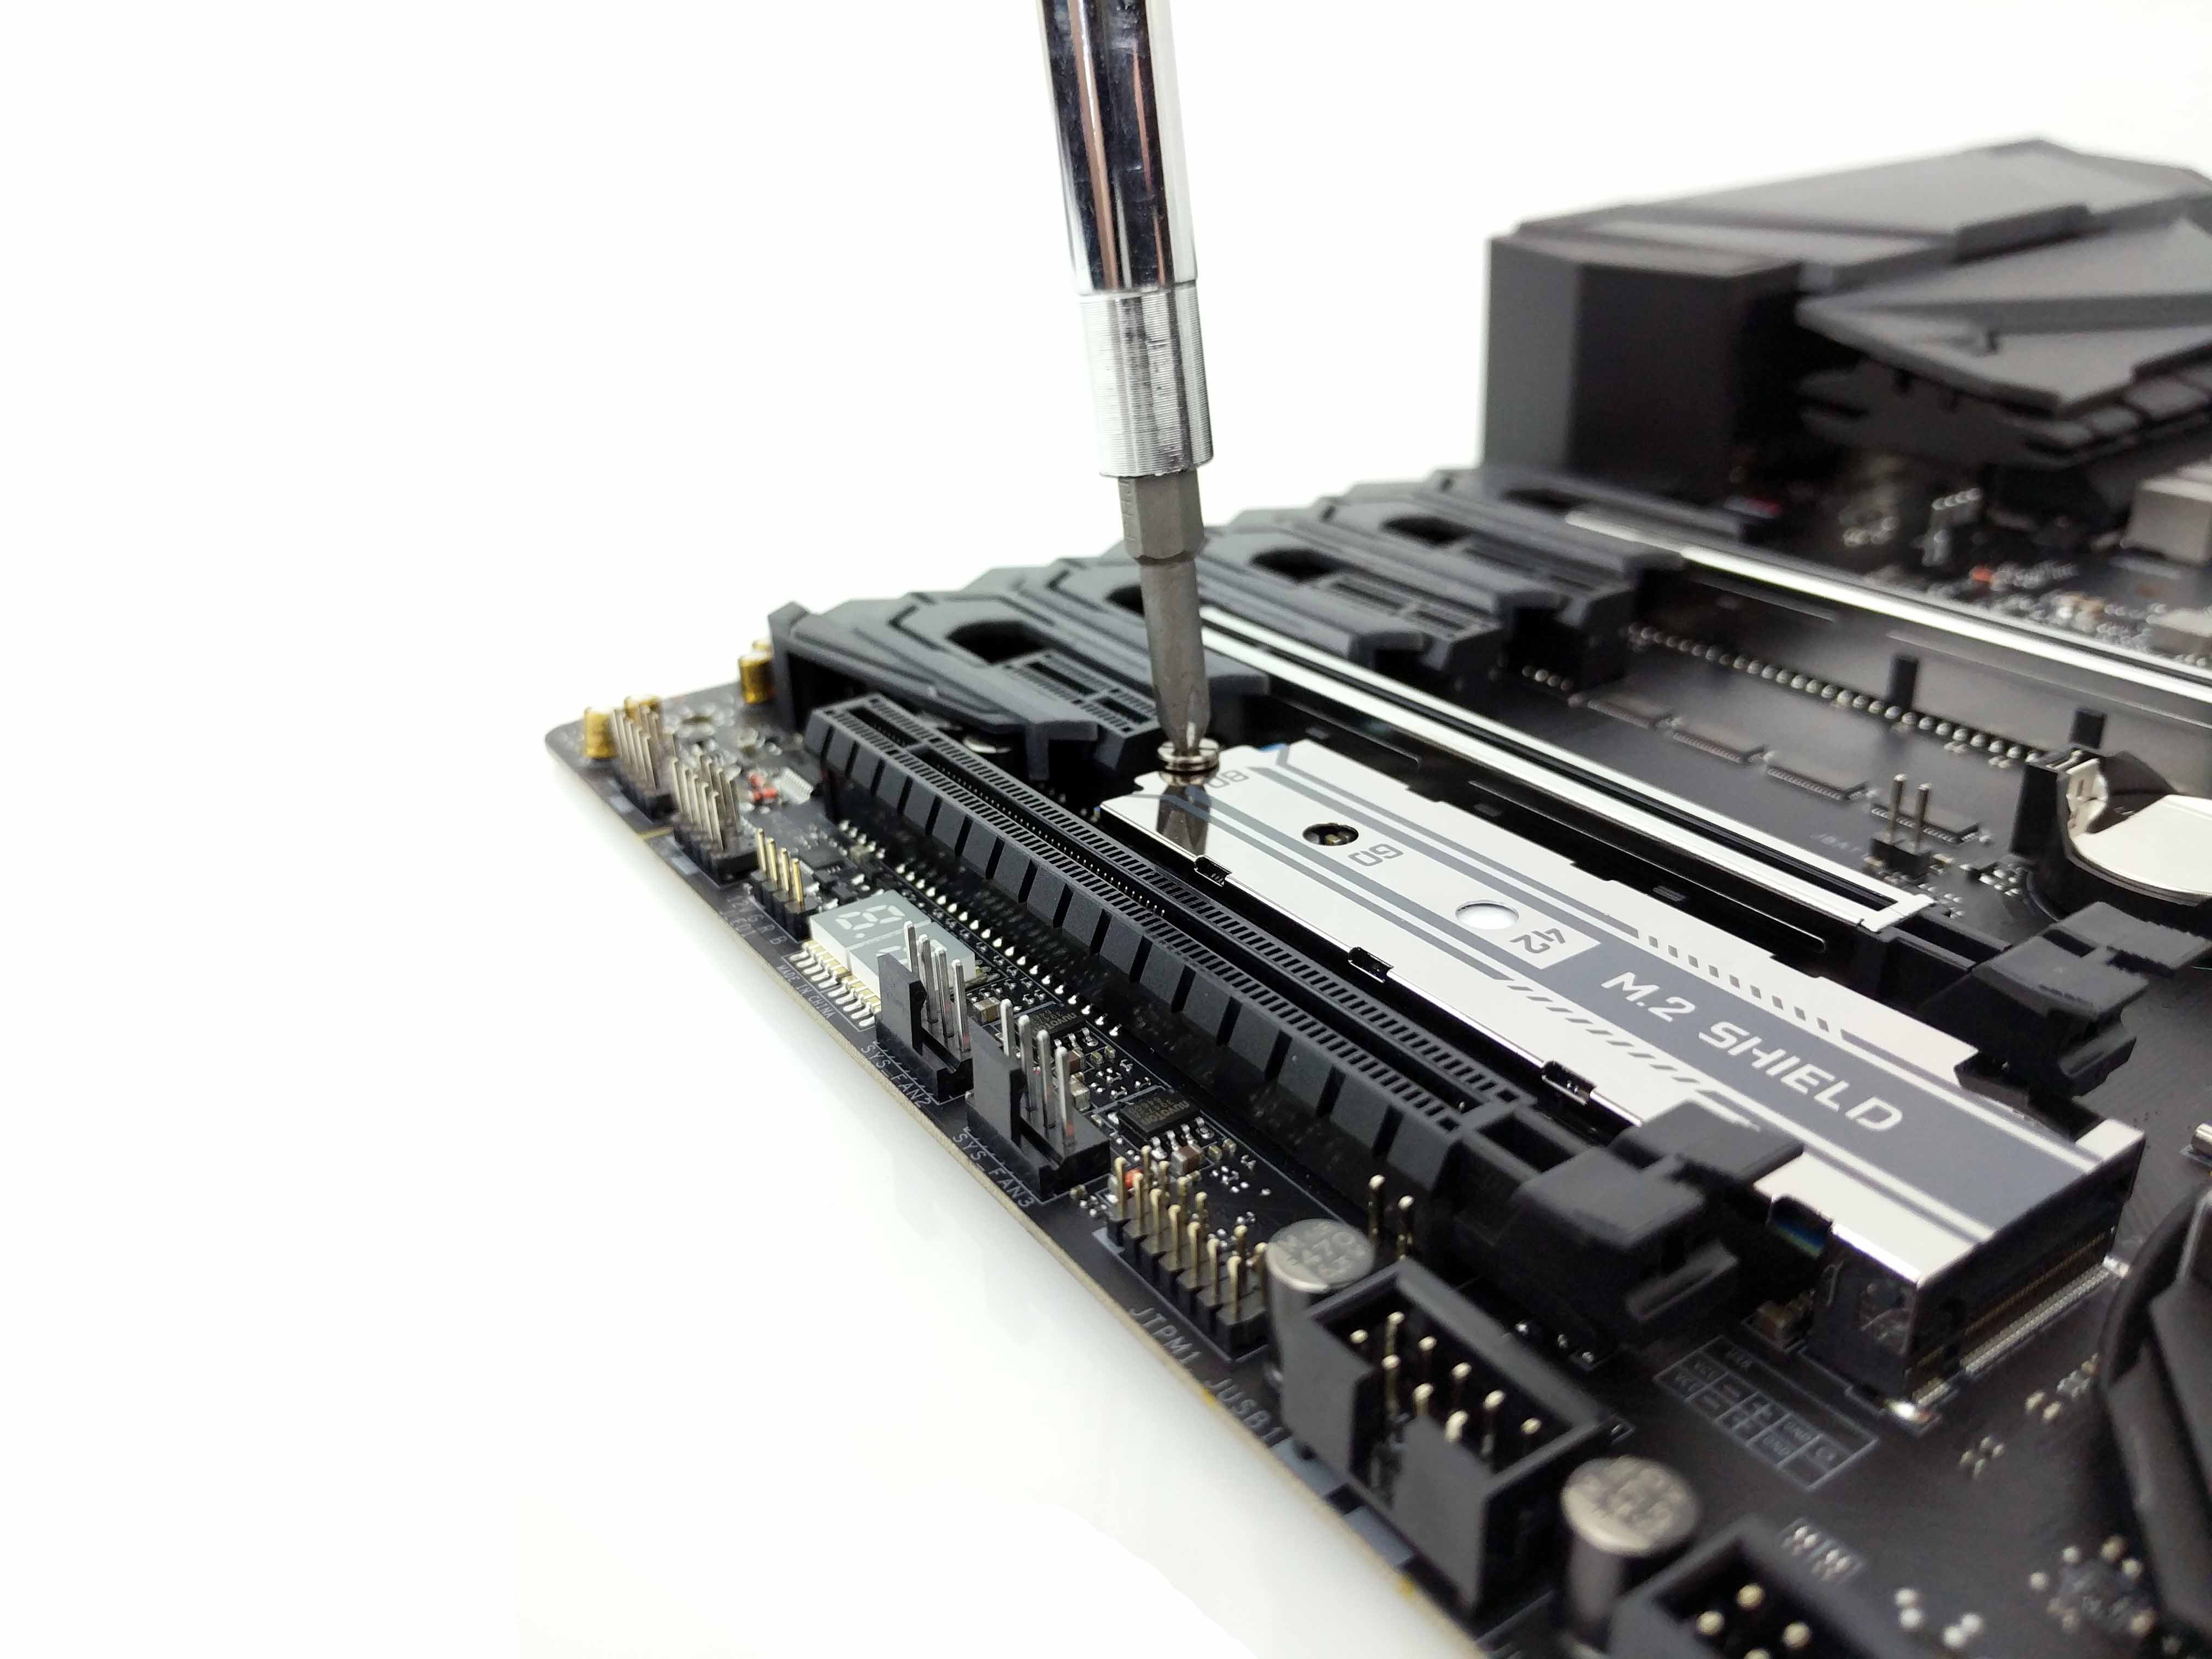
Peel off the blue plastic strip on the SSD-side of the M.2 shield. This will stick the plate to the SSD. Alternatively (and presumably for more heat dissipation), you can choose to remove the SSD label before installation so that the plate makes direct contact with the drive’s exposed chips. Lower the M.2 shield and the SSD down to the mounting post. Replace the screw (cap) to secure it to the motherboard.
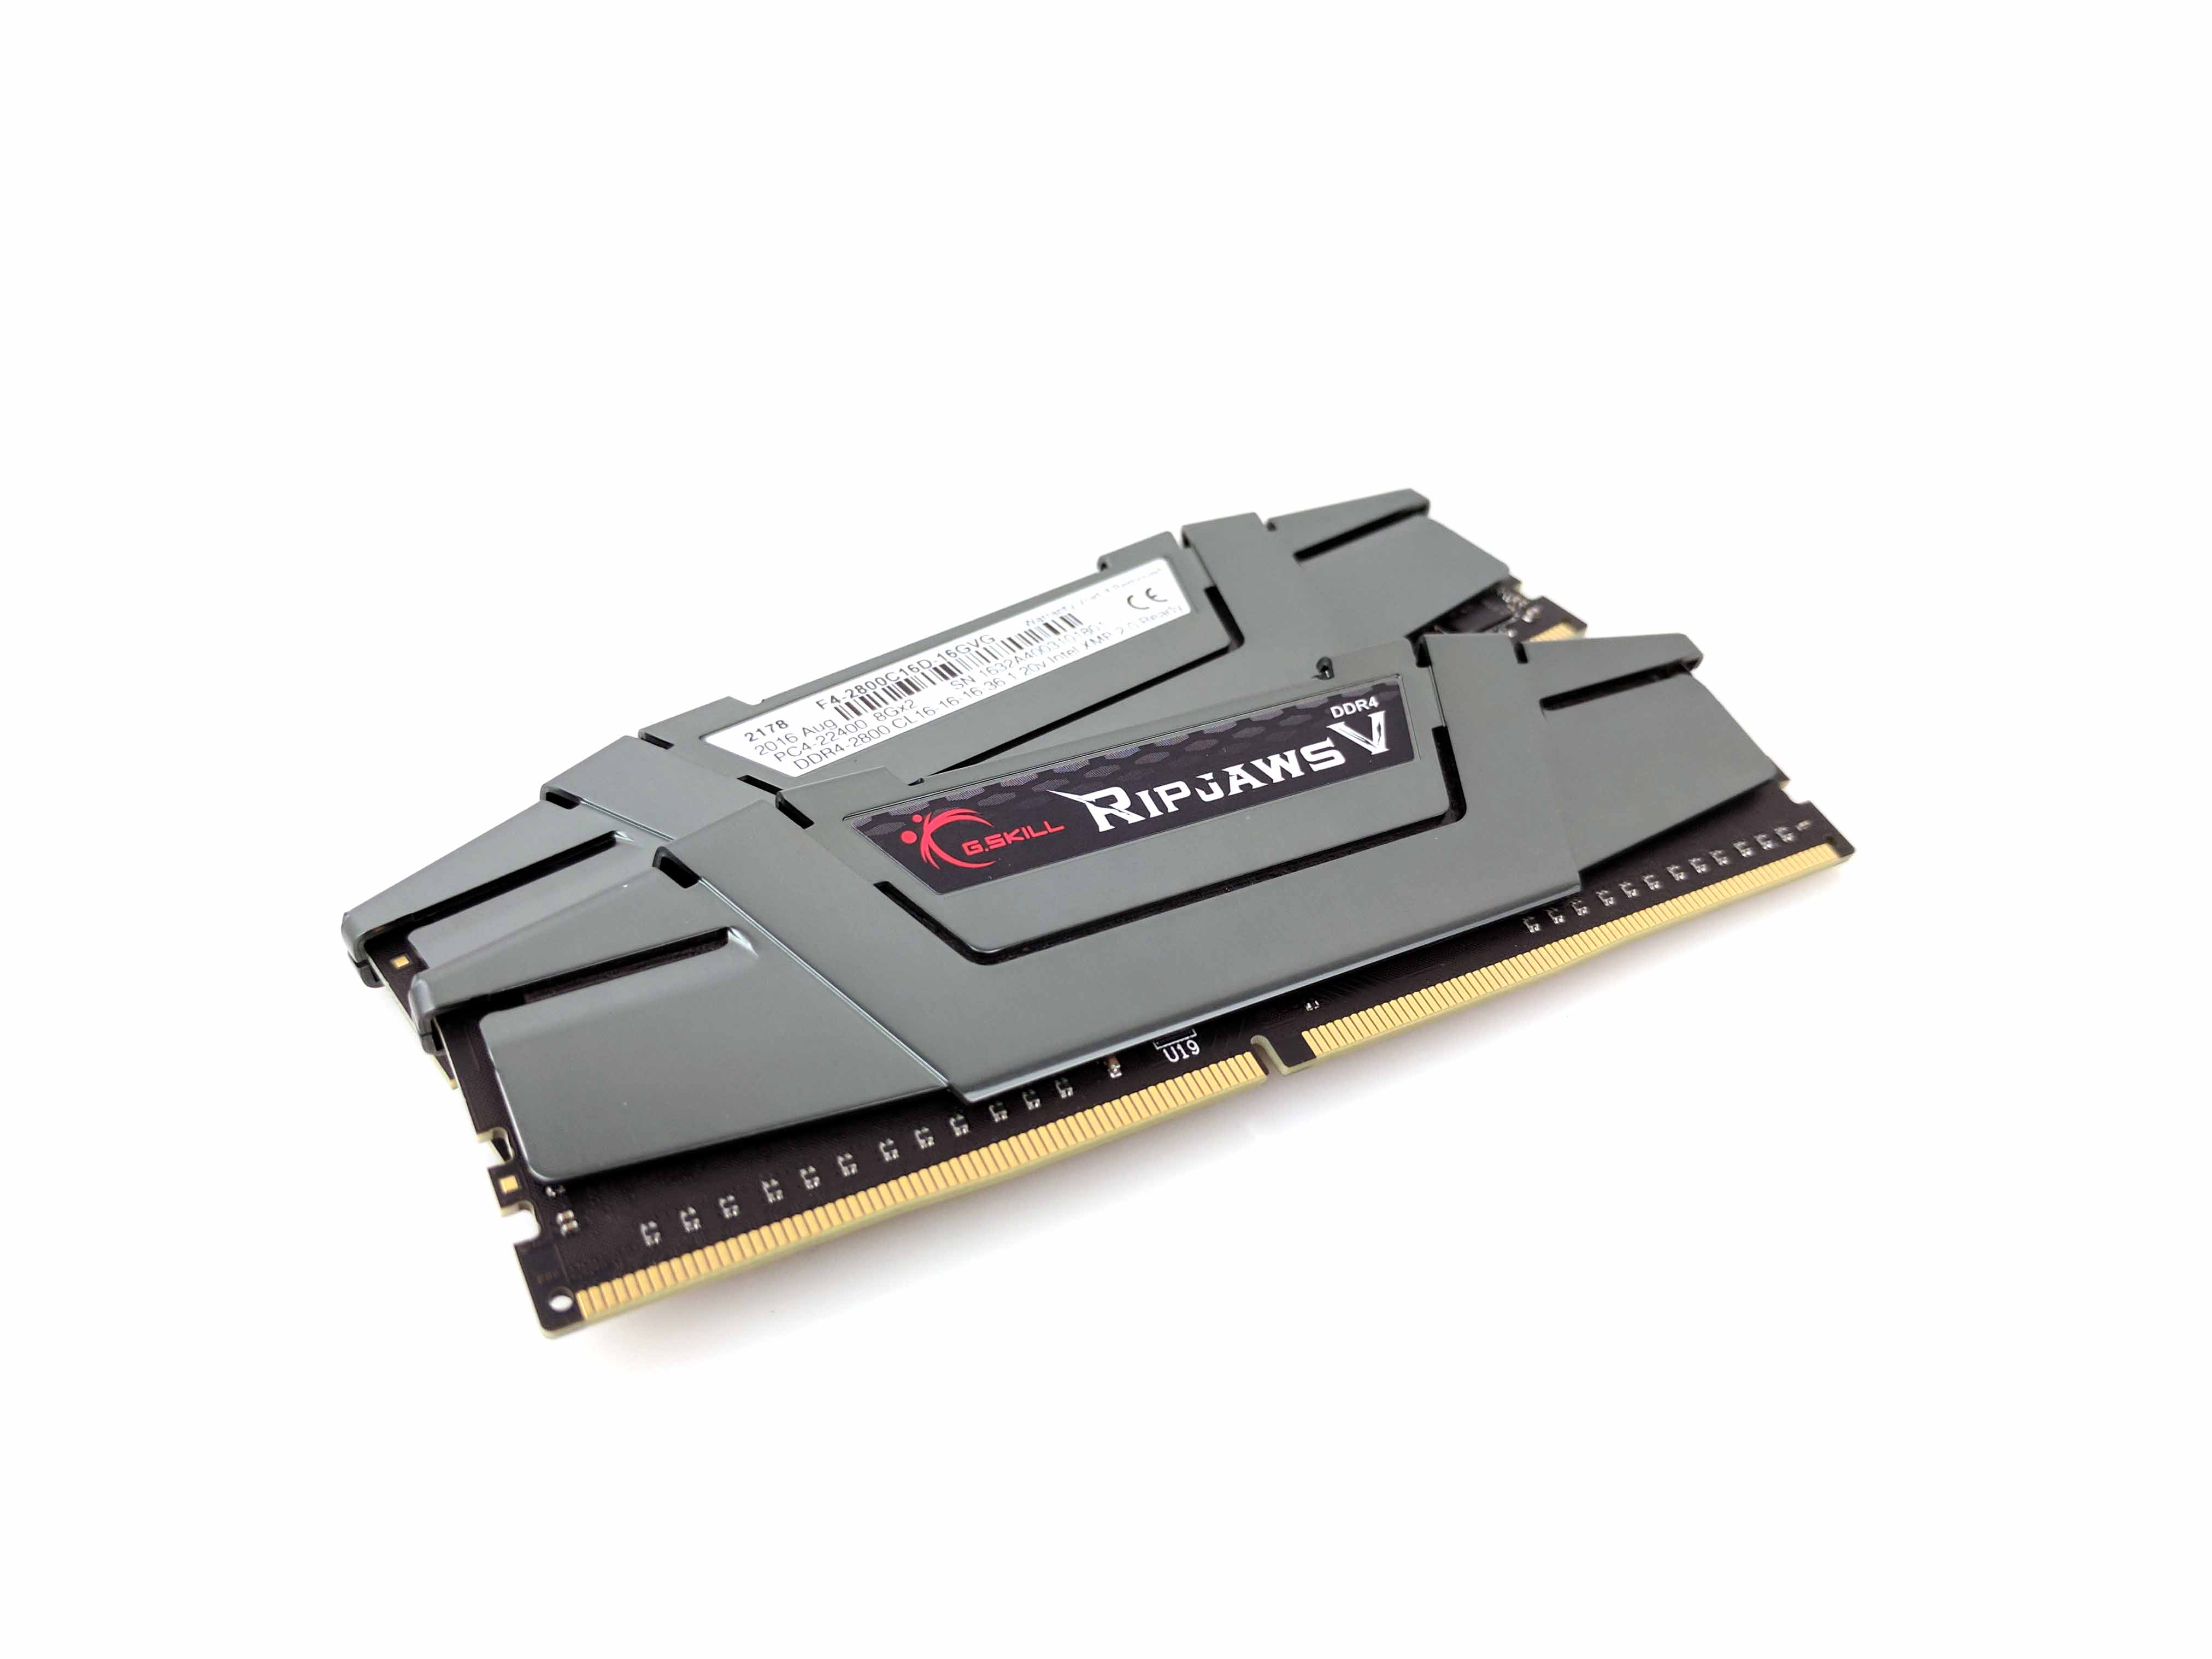
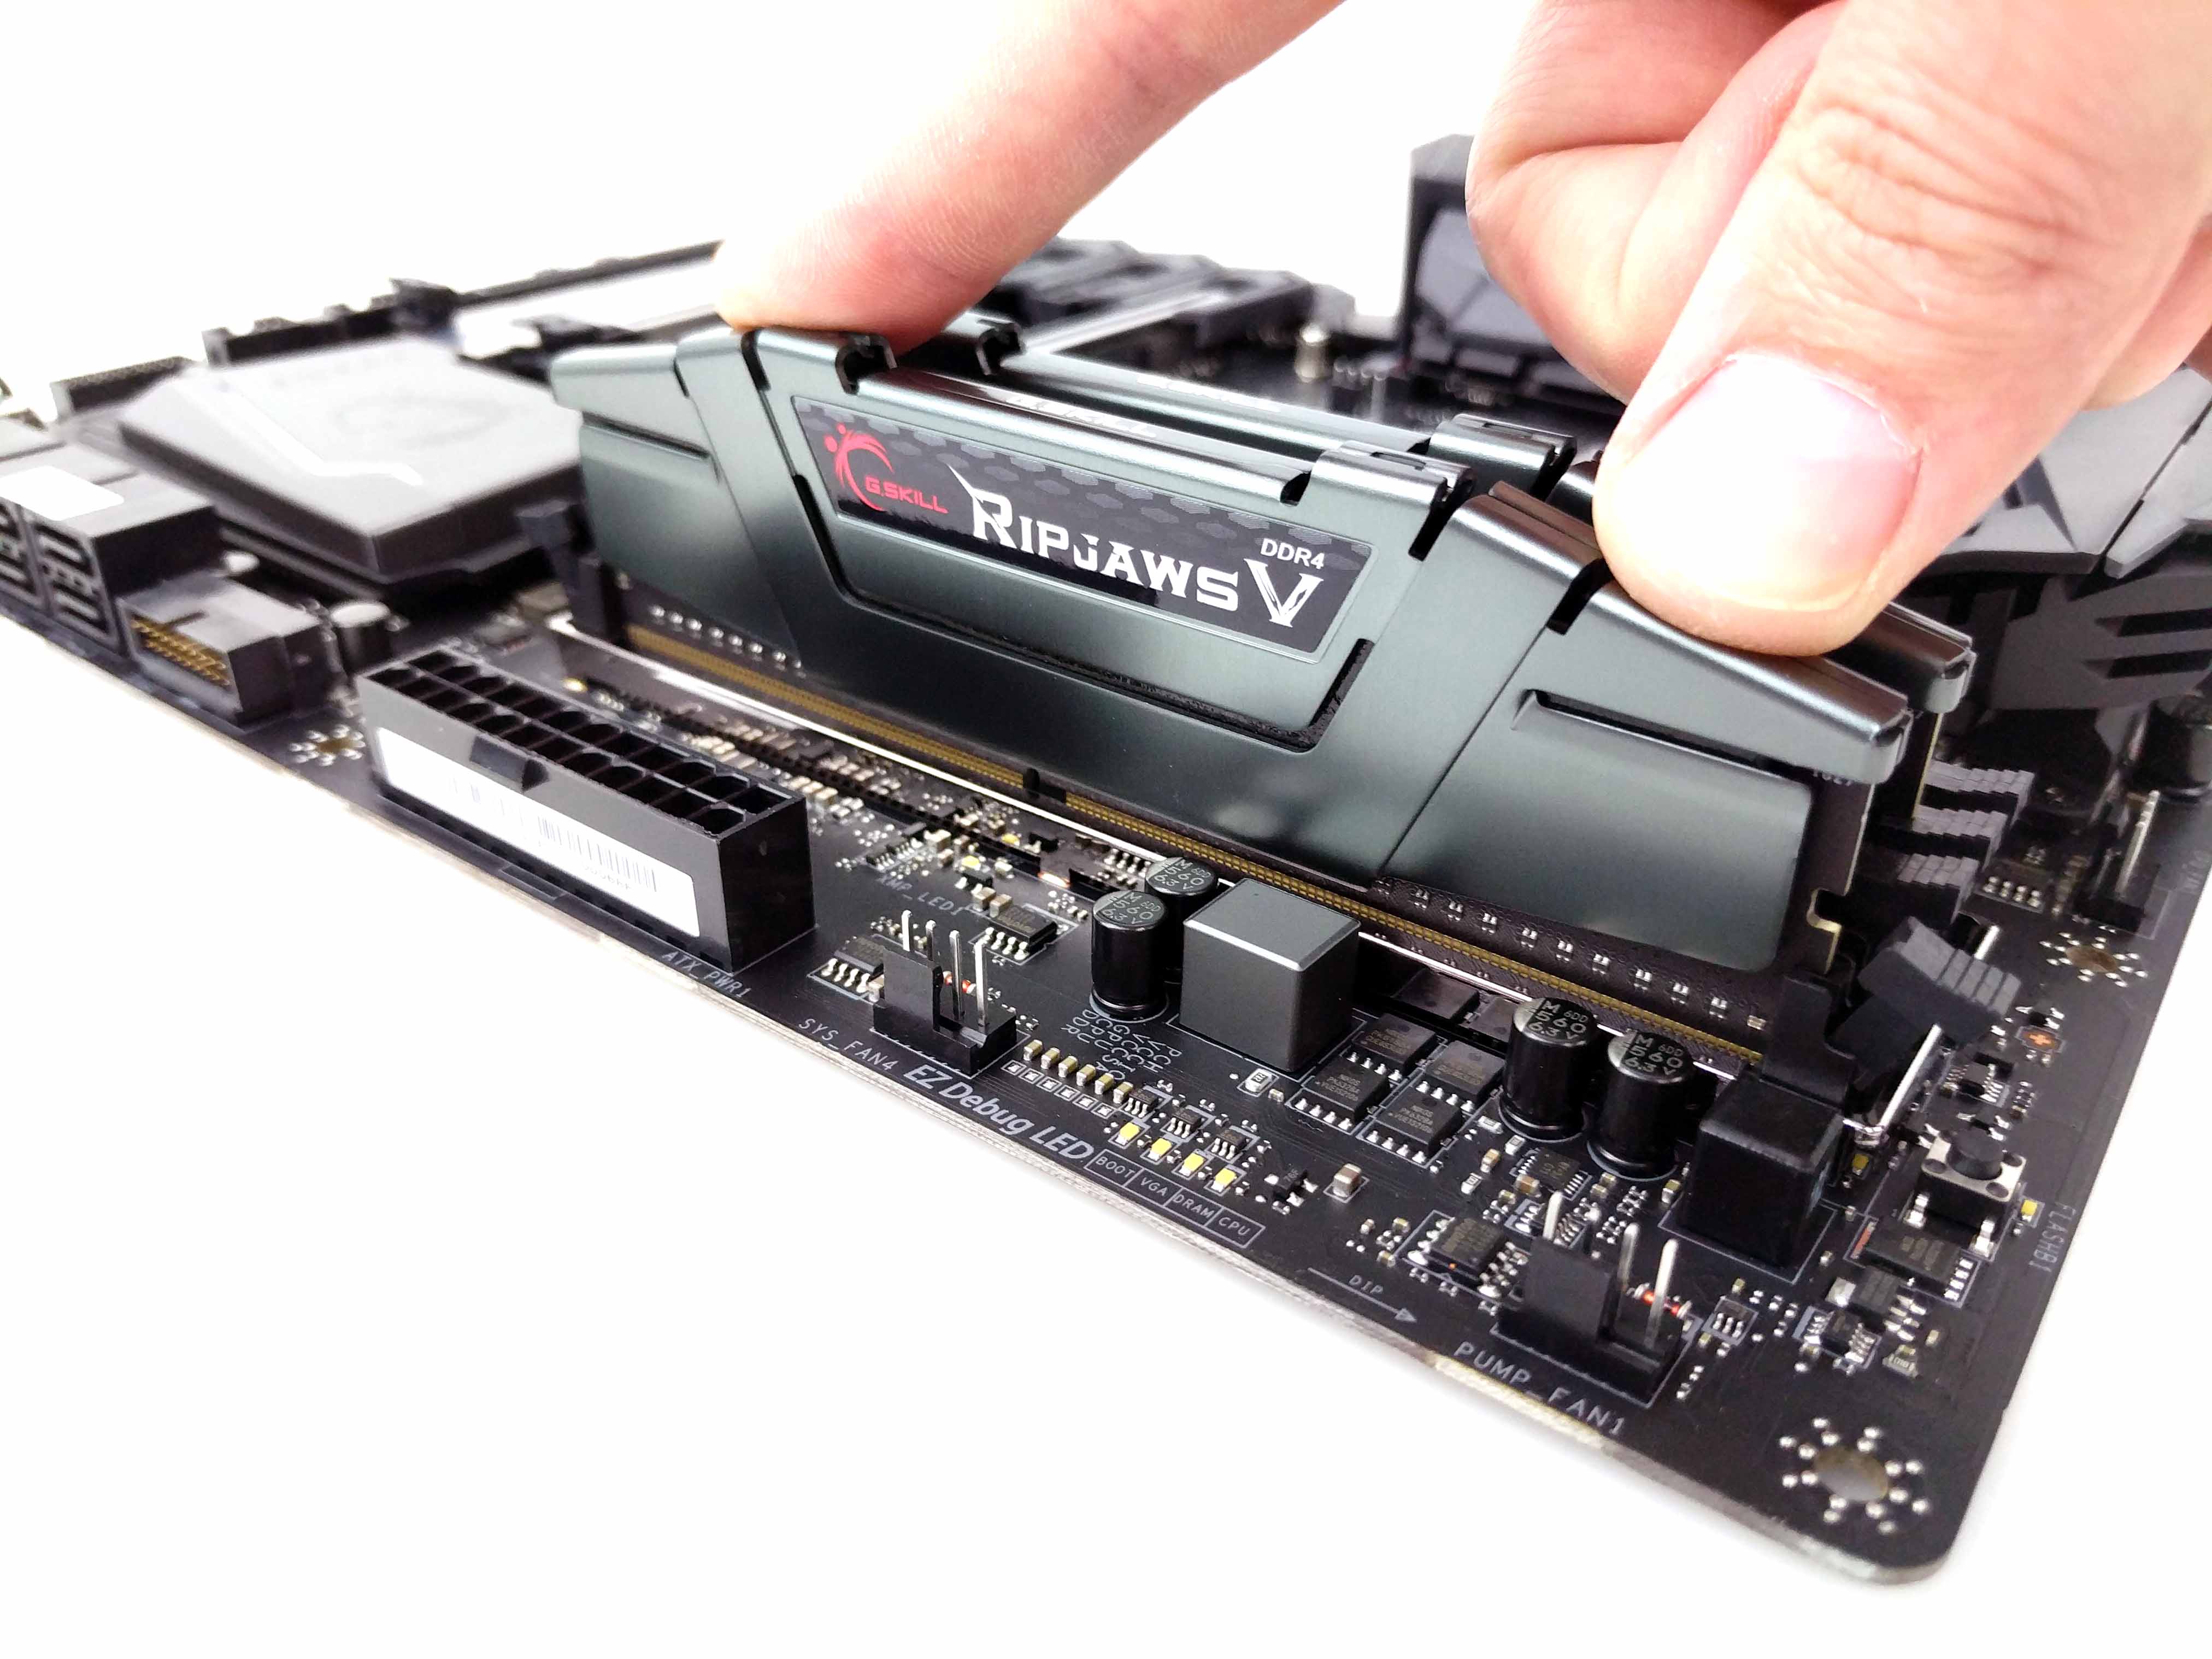
Remove the 16GB (2x8GB) kit of G.Skill Ripjaws V DDR4-2800 memory from its package. Unclip the locks on both sides of the second and fourth DIMM slots (from the left of the CPU) and line up the memory modules with the notches in the motherboard memory slot. Push down evenly, one at a time, until the modules click into place.
Get Tom's Hardware's best news and in-depth reviews, straight to your inbox.
MORE: Best Deals
MORE: How To Build A PC
MORE: All PC Builds Content
Current page: Motherboard & Storage
Prev Page How To Build A $2,500 Gaming PC Next Page Installing The ComponentsDerek Forrest was a contributing freelance writer for Tom's Hardware. He covered hardware news and reviews, focusing on gaming desktops and laptops.
