How To Build A $2,500 Gaming PC
How To Build A $2,500 Gaming PC
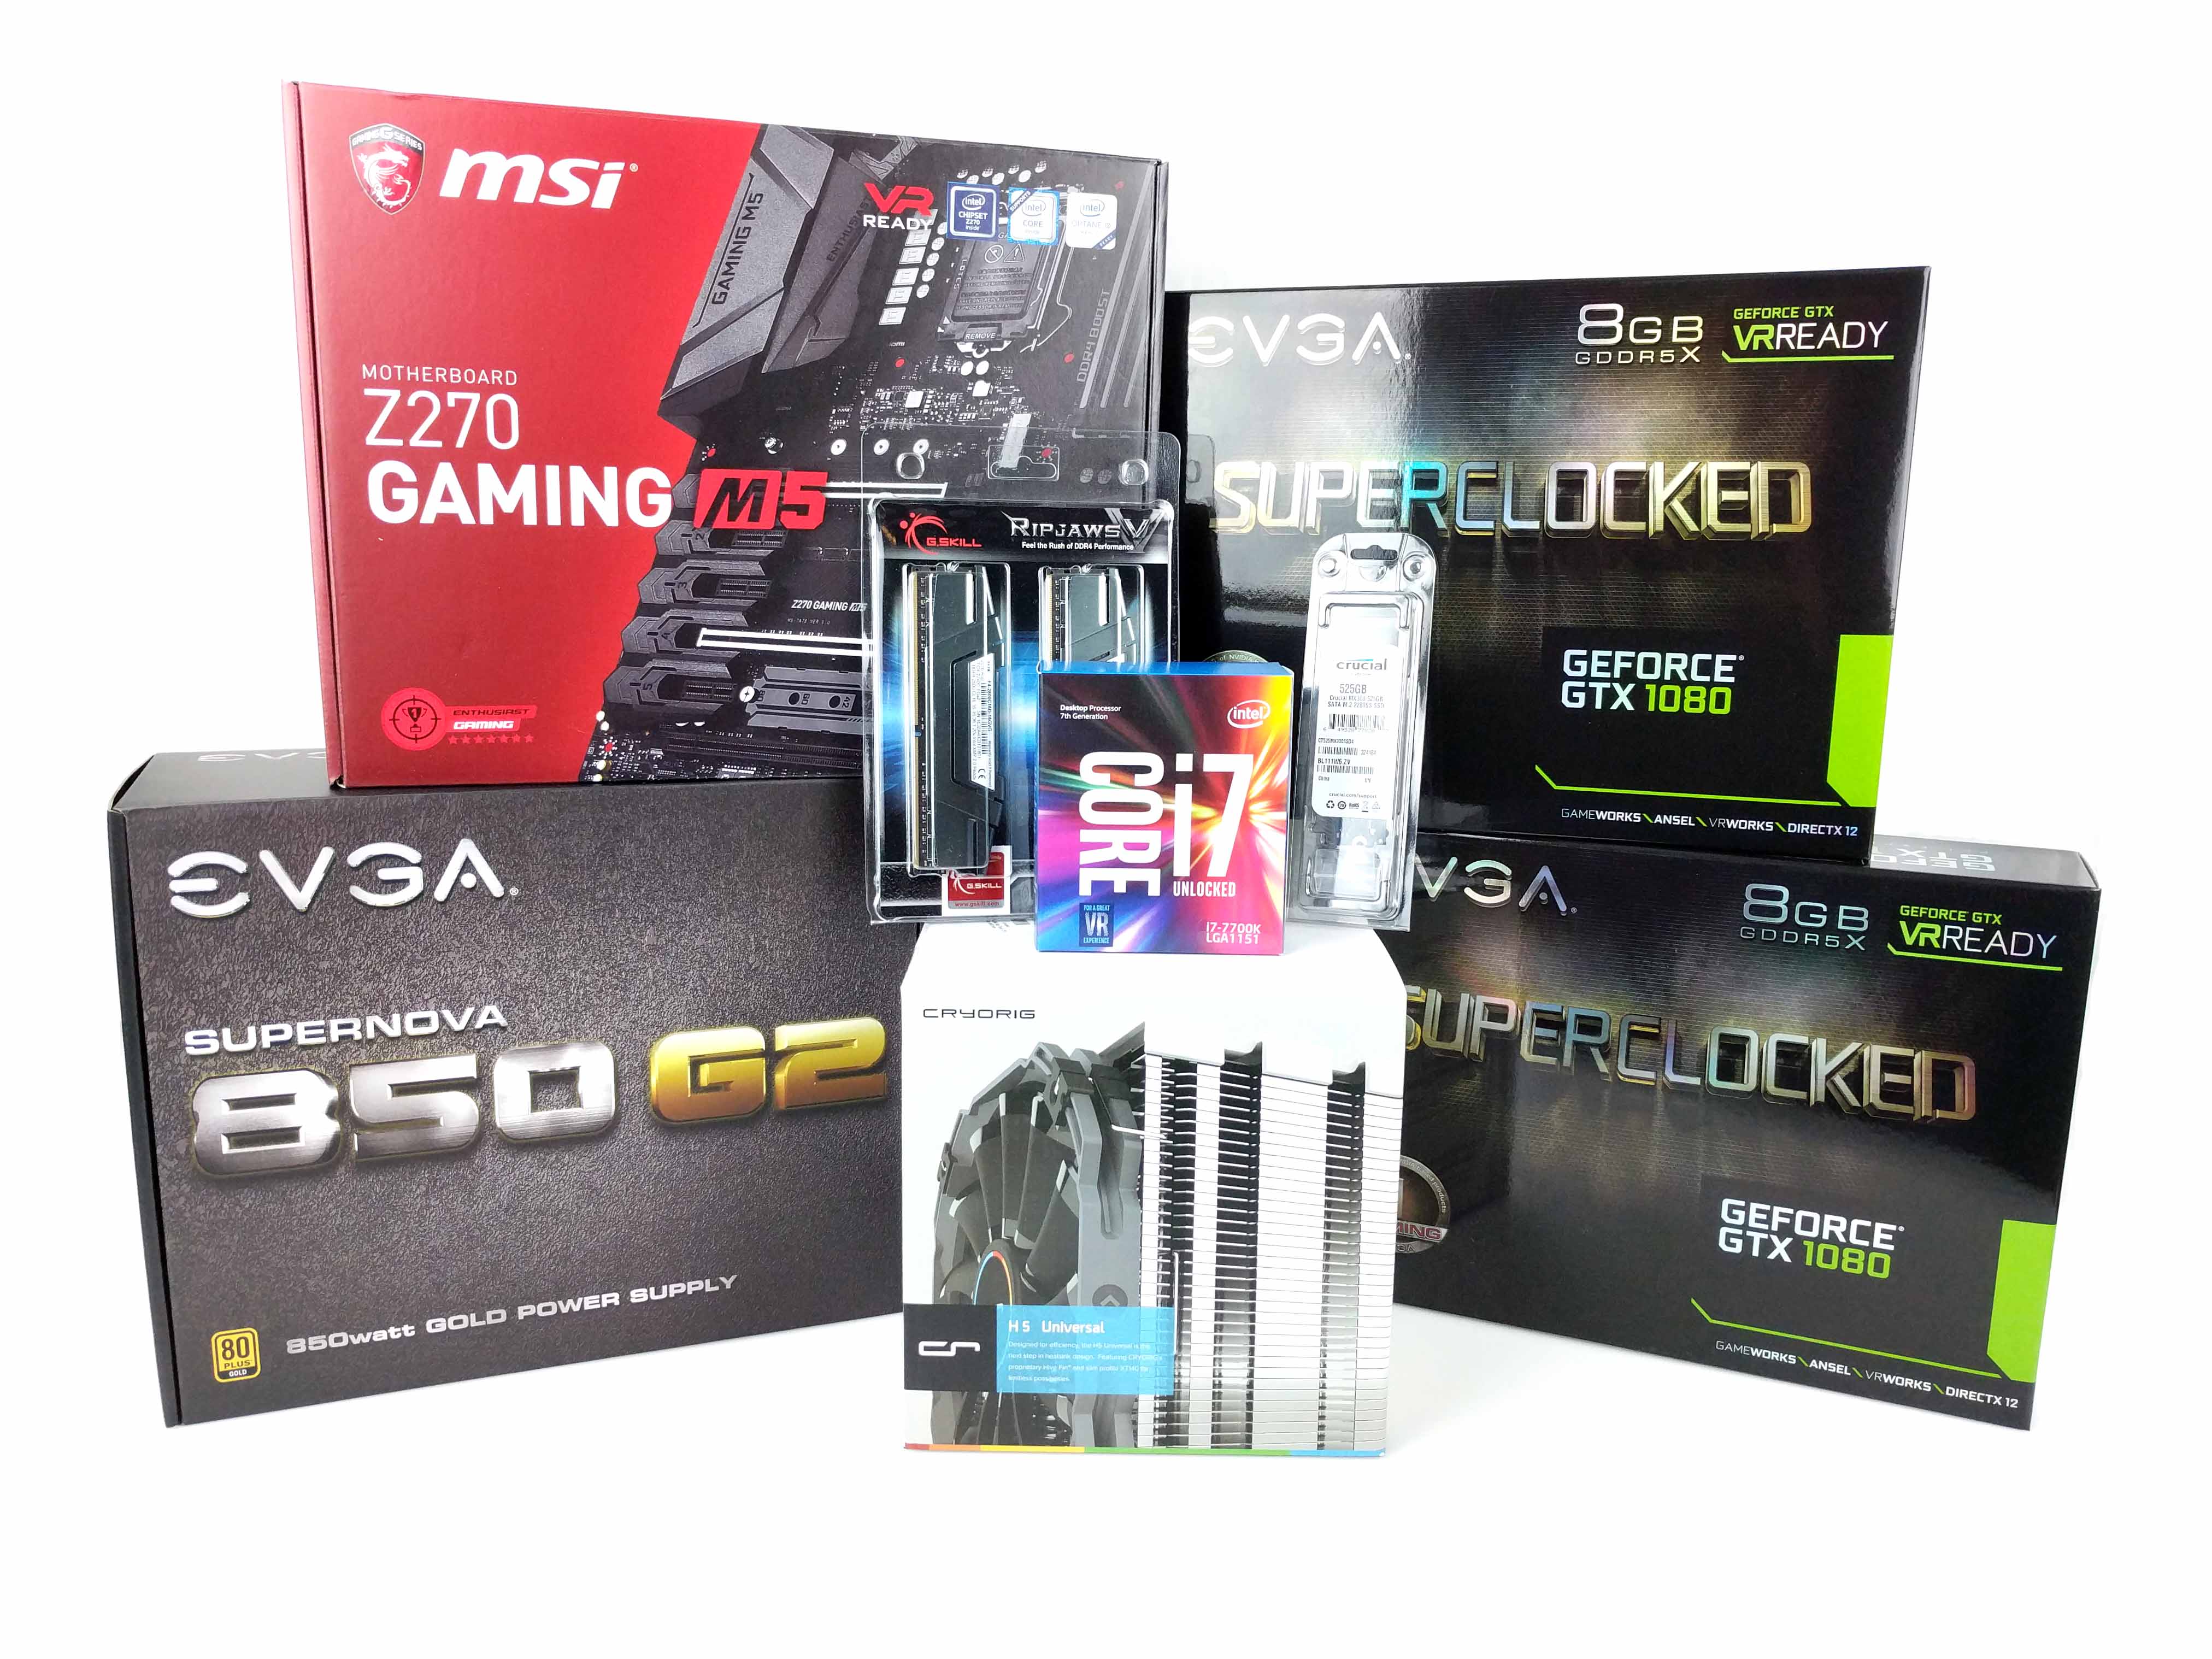
Our final entry in the Best Build series puts the budget at what we perceive to be the optimal level before the price to performance ratio starts to flatline. The $2500 “Glass House” is almost a complete rebuttal to a previous observation that our builds lacked windows. The Lian-Li PC-08WX ATX mid-tower case is all window (tempered glass, at least, and the entire left and front sides of the chassis), and it puts the primary components on full display.
An Intel Core i7-7700K is still the prime pick at this price point, and it’s cooled by another Cryorig CPU cooler (a popular choice in our series), namely the H5 Universal. A 525GB Crucial MX300 M.2 SATA SSD offers speedy load times, and a 16GB kit of G.Skill Ripjaws V DDR4-2800 can handle all the latest AAA games. All of this resides on an MSI Z270 Gaming M5 ATX motherboard, which also hosts two EVGA GeForce GTX 1080 Superclocked Gaming ACX 3.0 graphics cards in SLI. We're using an EVGA 850 G2 80 Plus Gold Certified PSU that has plenty of juice to keep the top-tier GPU setup powered, with some headroom to spare.
Specifications
| "The Glass House" by G-Unit1111 | |
|---|---|
| Case | Lian Li PC-O8WX |
| Cooling | Cryorig H5 Universal CR-H5A |
| CPU | Core i7-7700K |
| Graphics | EVGA GTX 1080 |
| Graphics | EVGA GTX 1080 |
| Memory | G.SKILL Ripjaws V Series 16GB (2 x 8GB) F4-2800C16D-16GVG |
| Motherboard | Z270 Gaming M5 |
| PSU | Supernova 850 watt G2 80 Plus Gold |
| Storage | 950 Pro 512GB |
Time to assemble the Best $2,500 PC Build.
Case
Be extra careful removing this case from its box. The Lian-Li 08WX has its tempered glass panels in a separate box from the main assembly, and it's quite heavy. Put those aside until the very end (don’t even take them out yet). Remove the case from the packaging (the side panel might come off, so be careful) and set the chassis upright in your workspace.
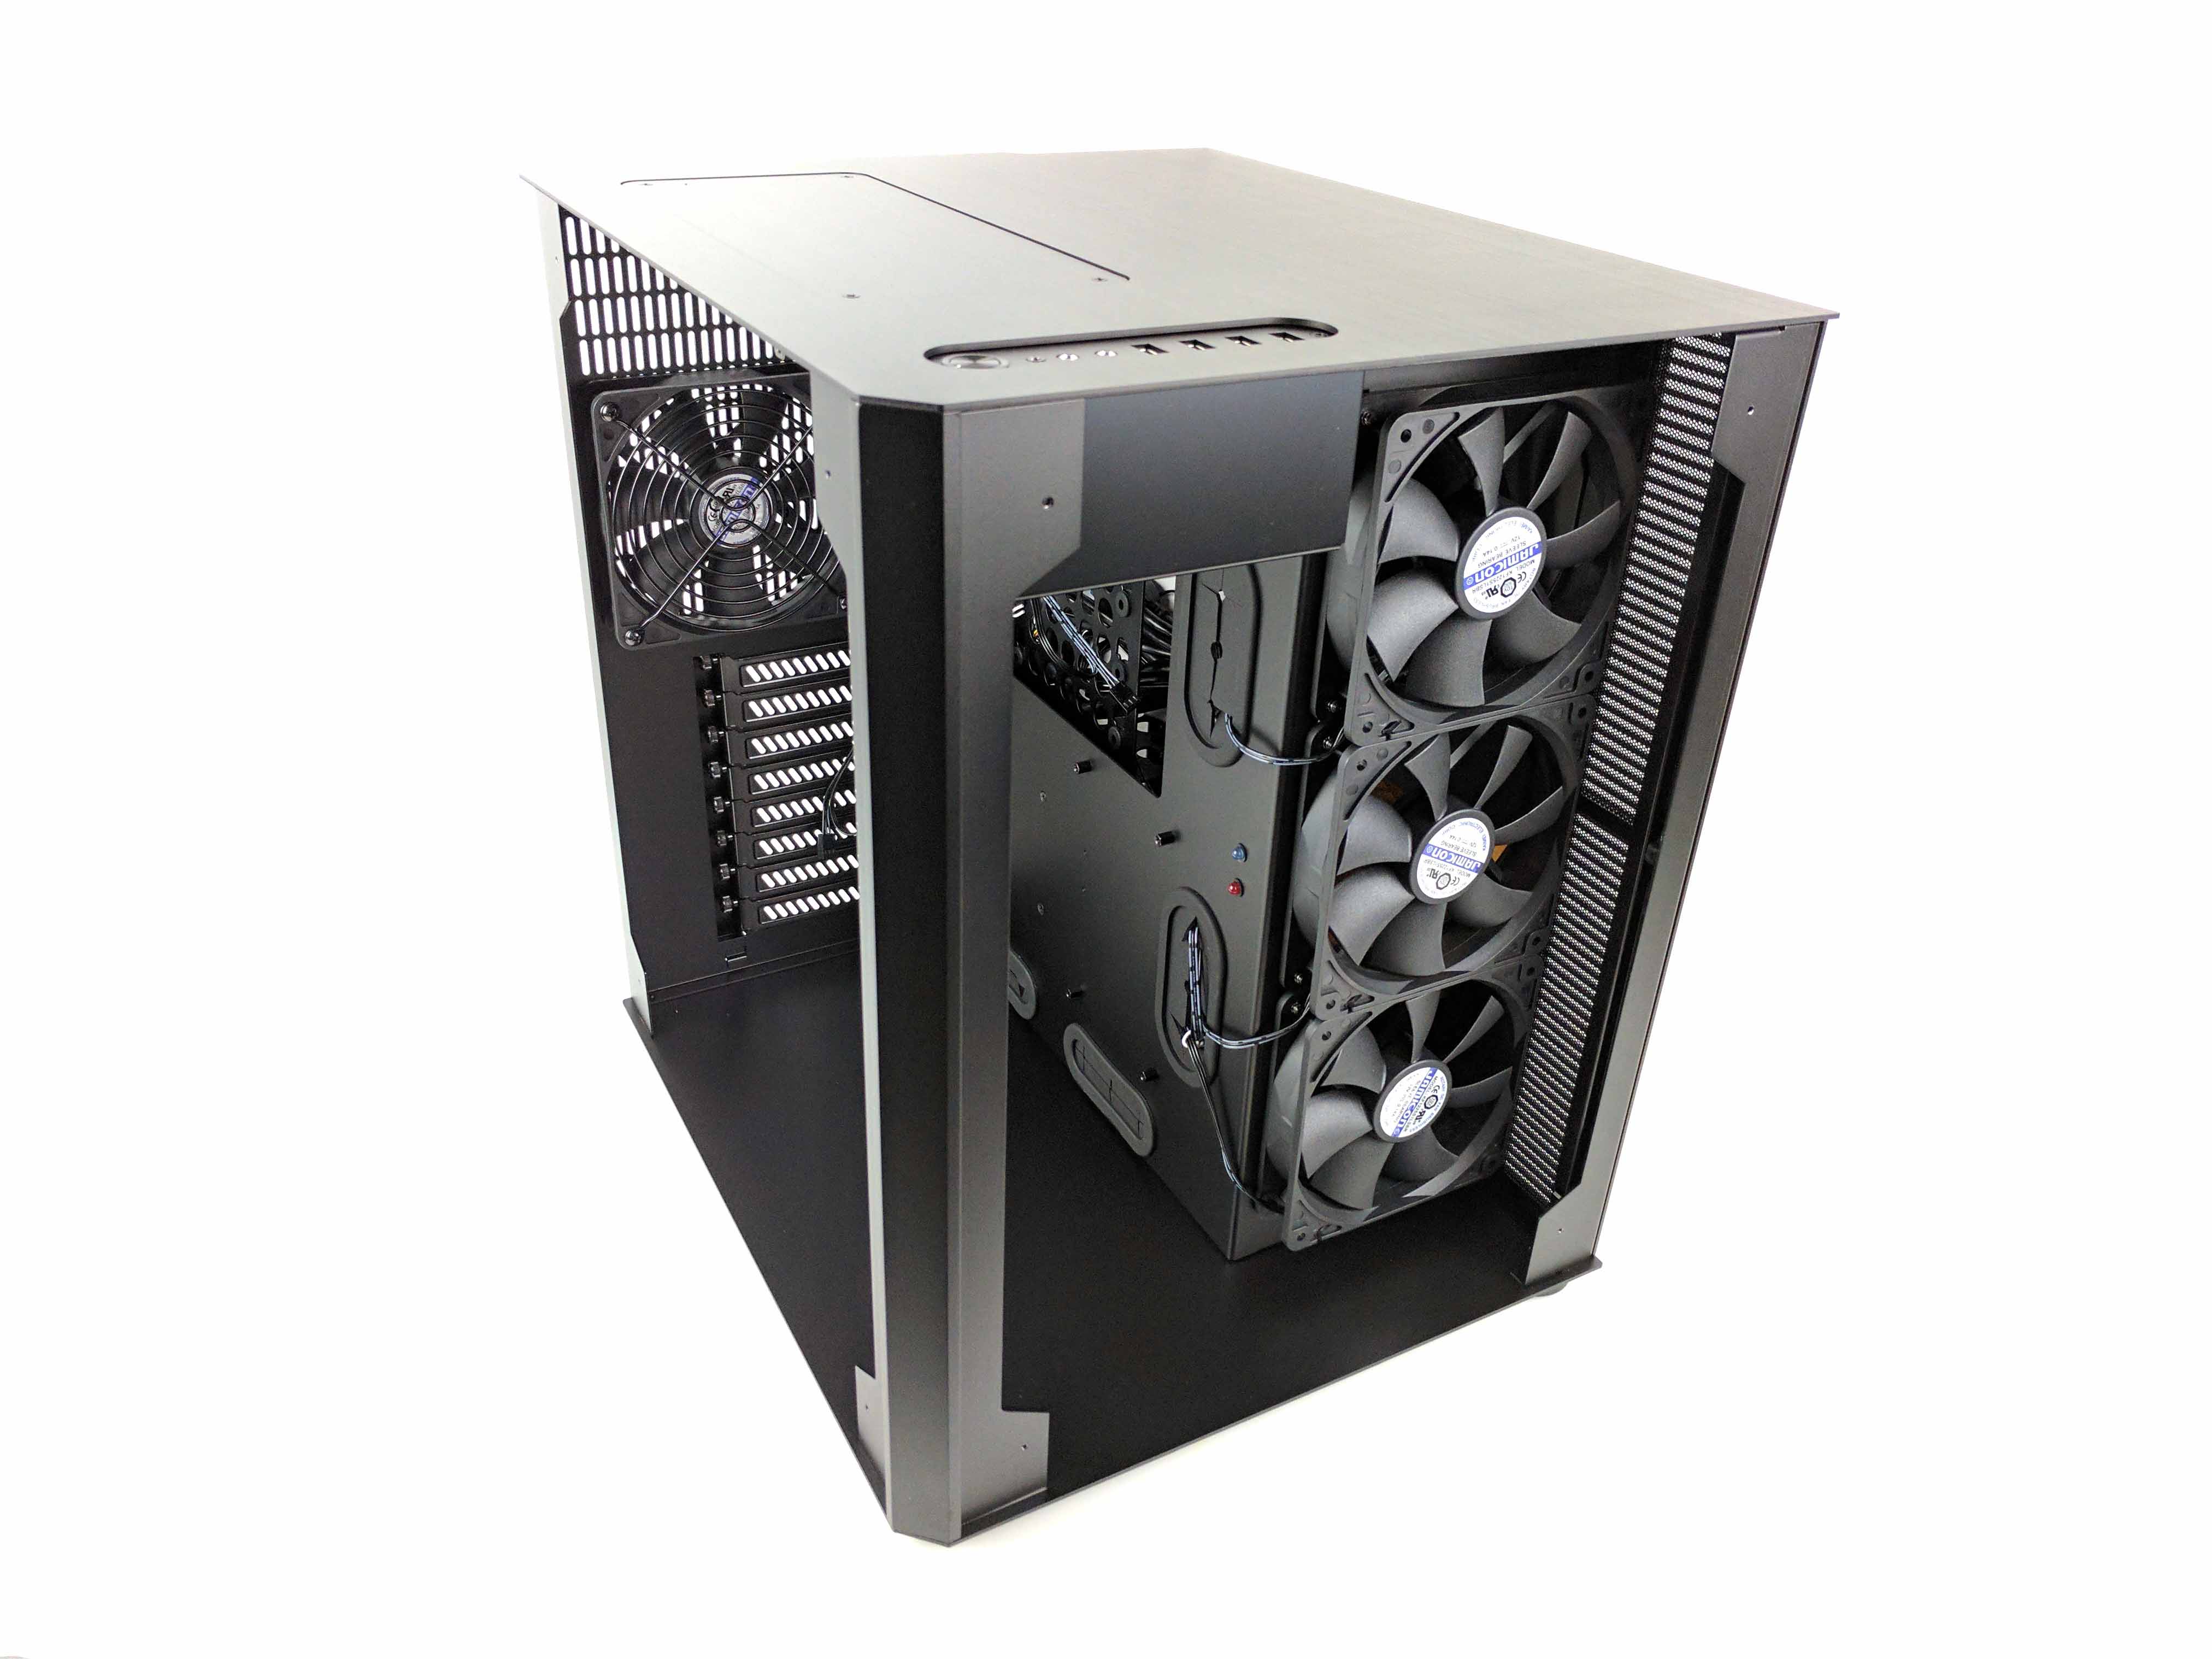
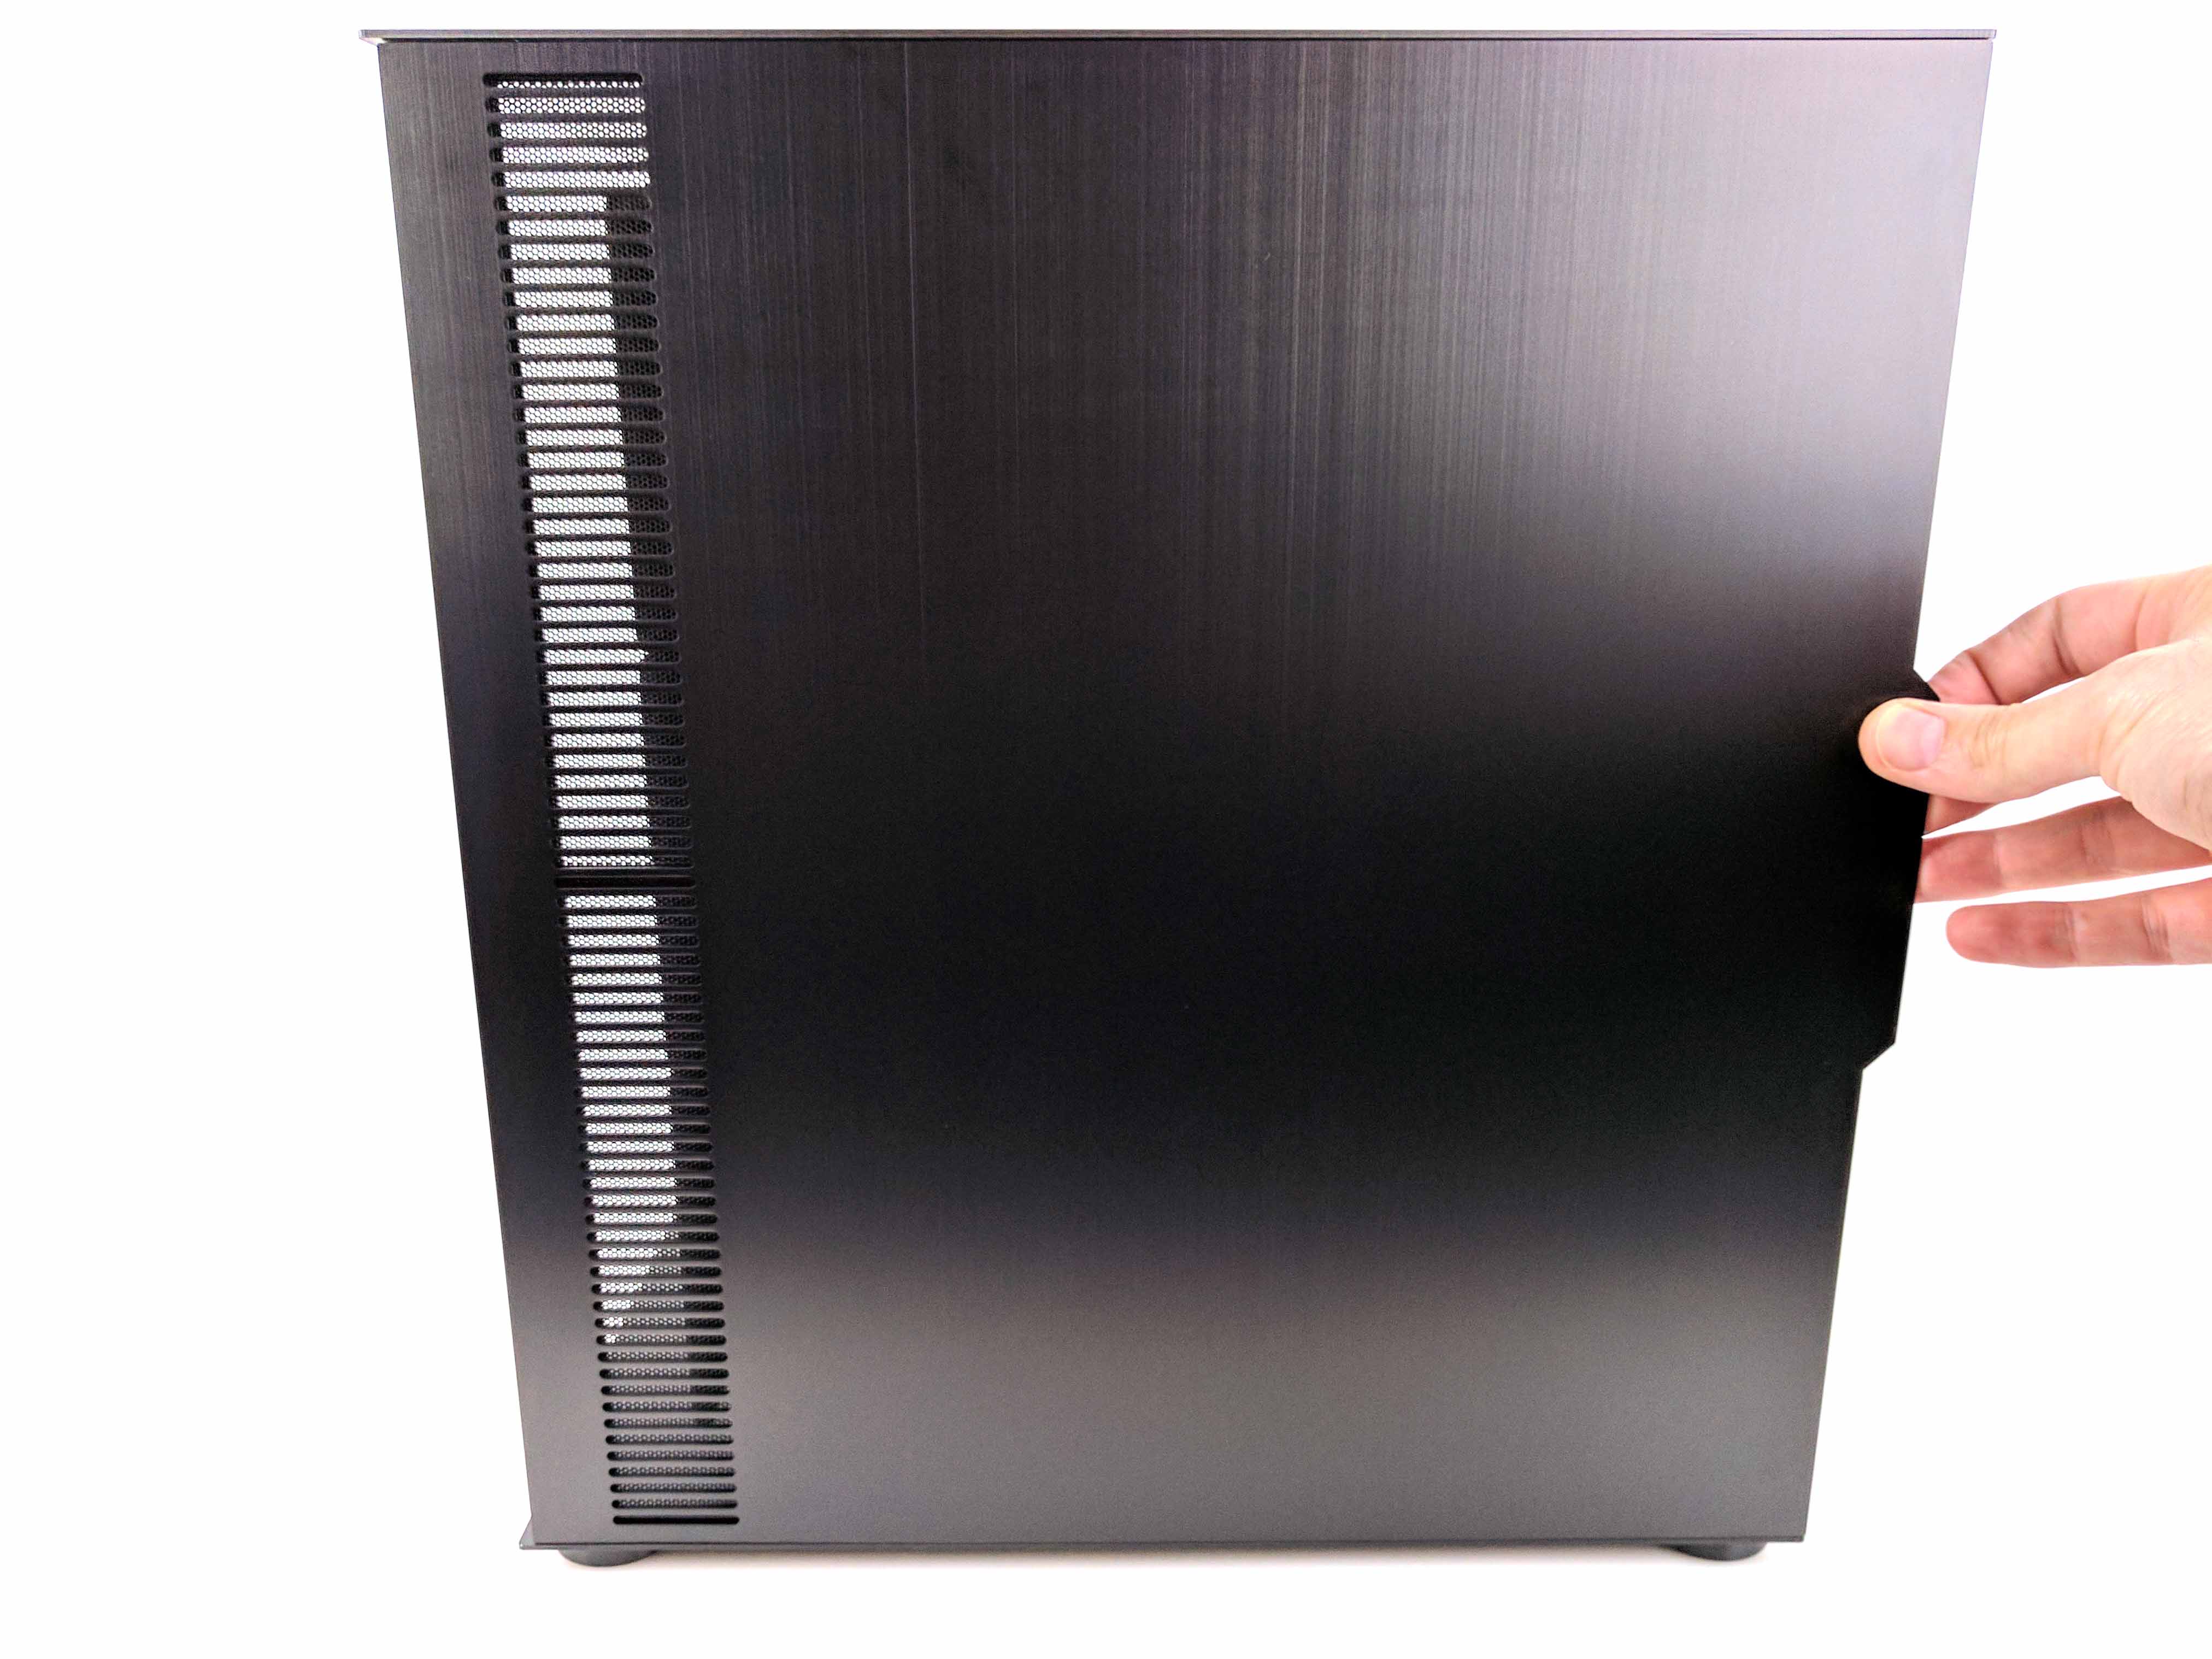
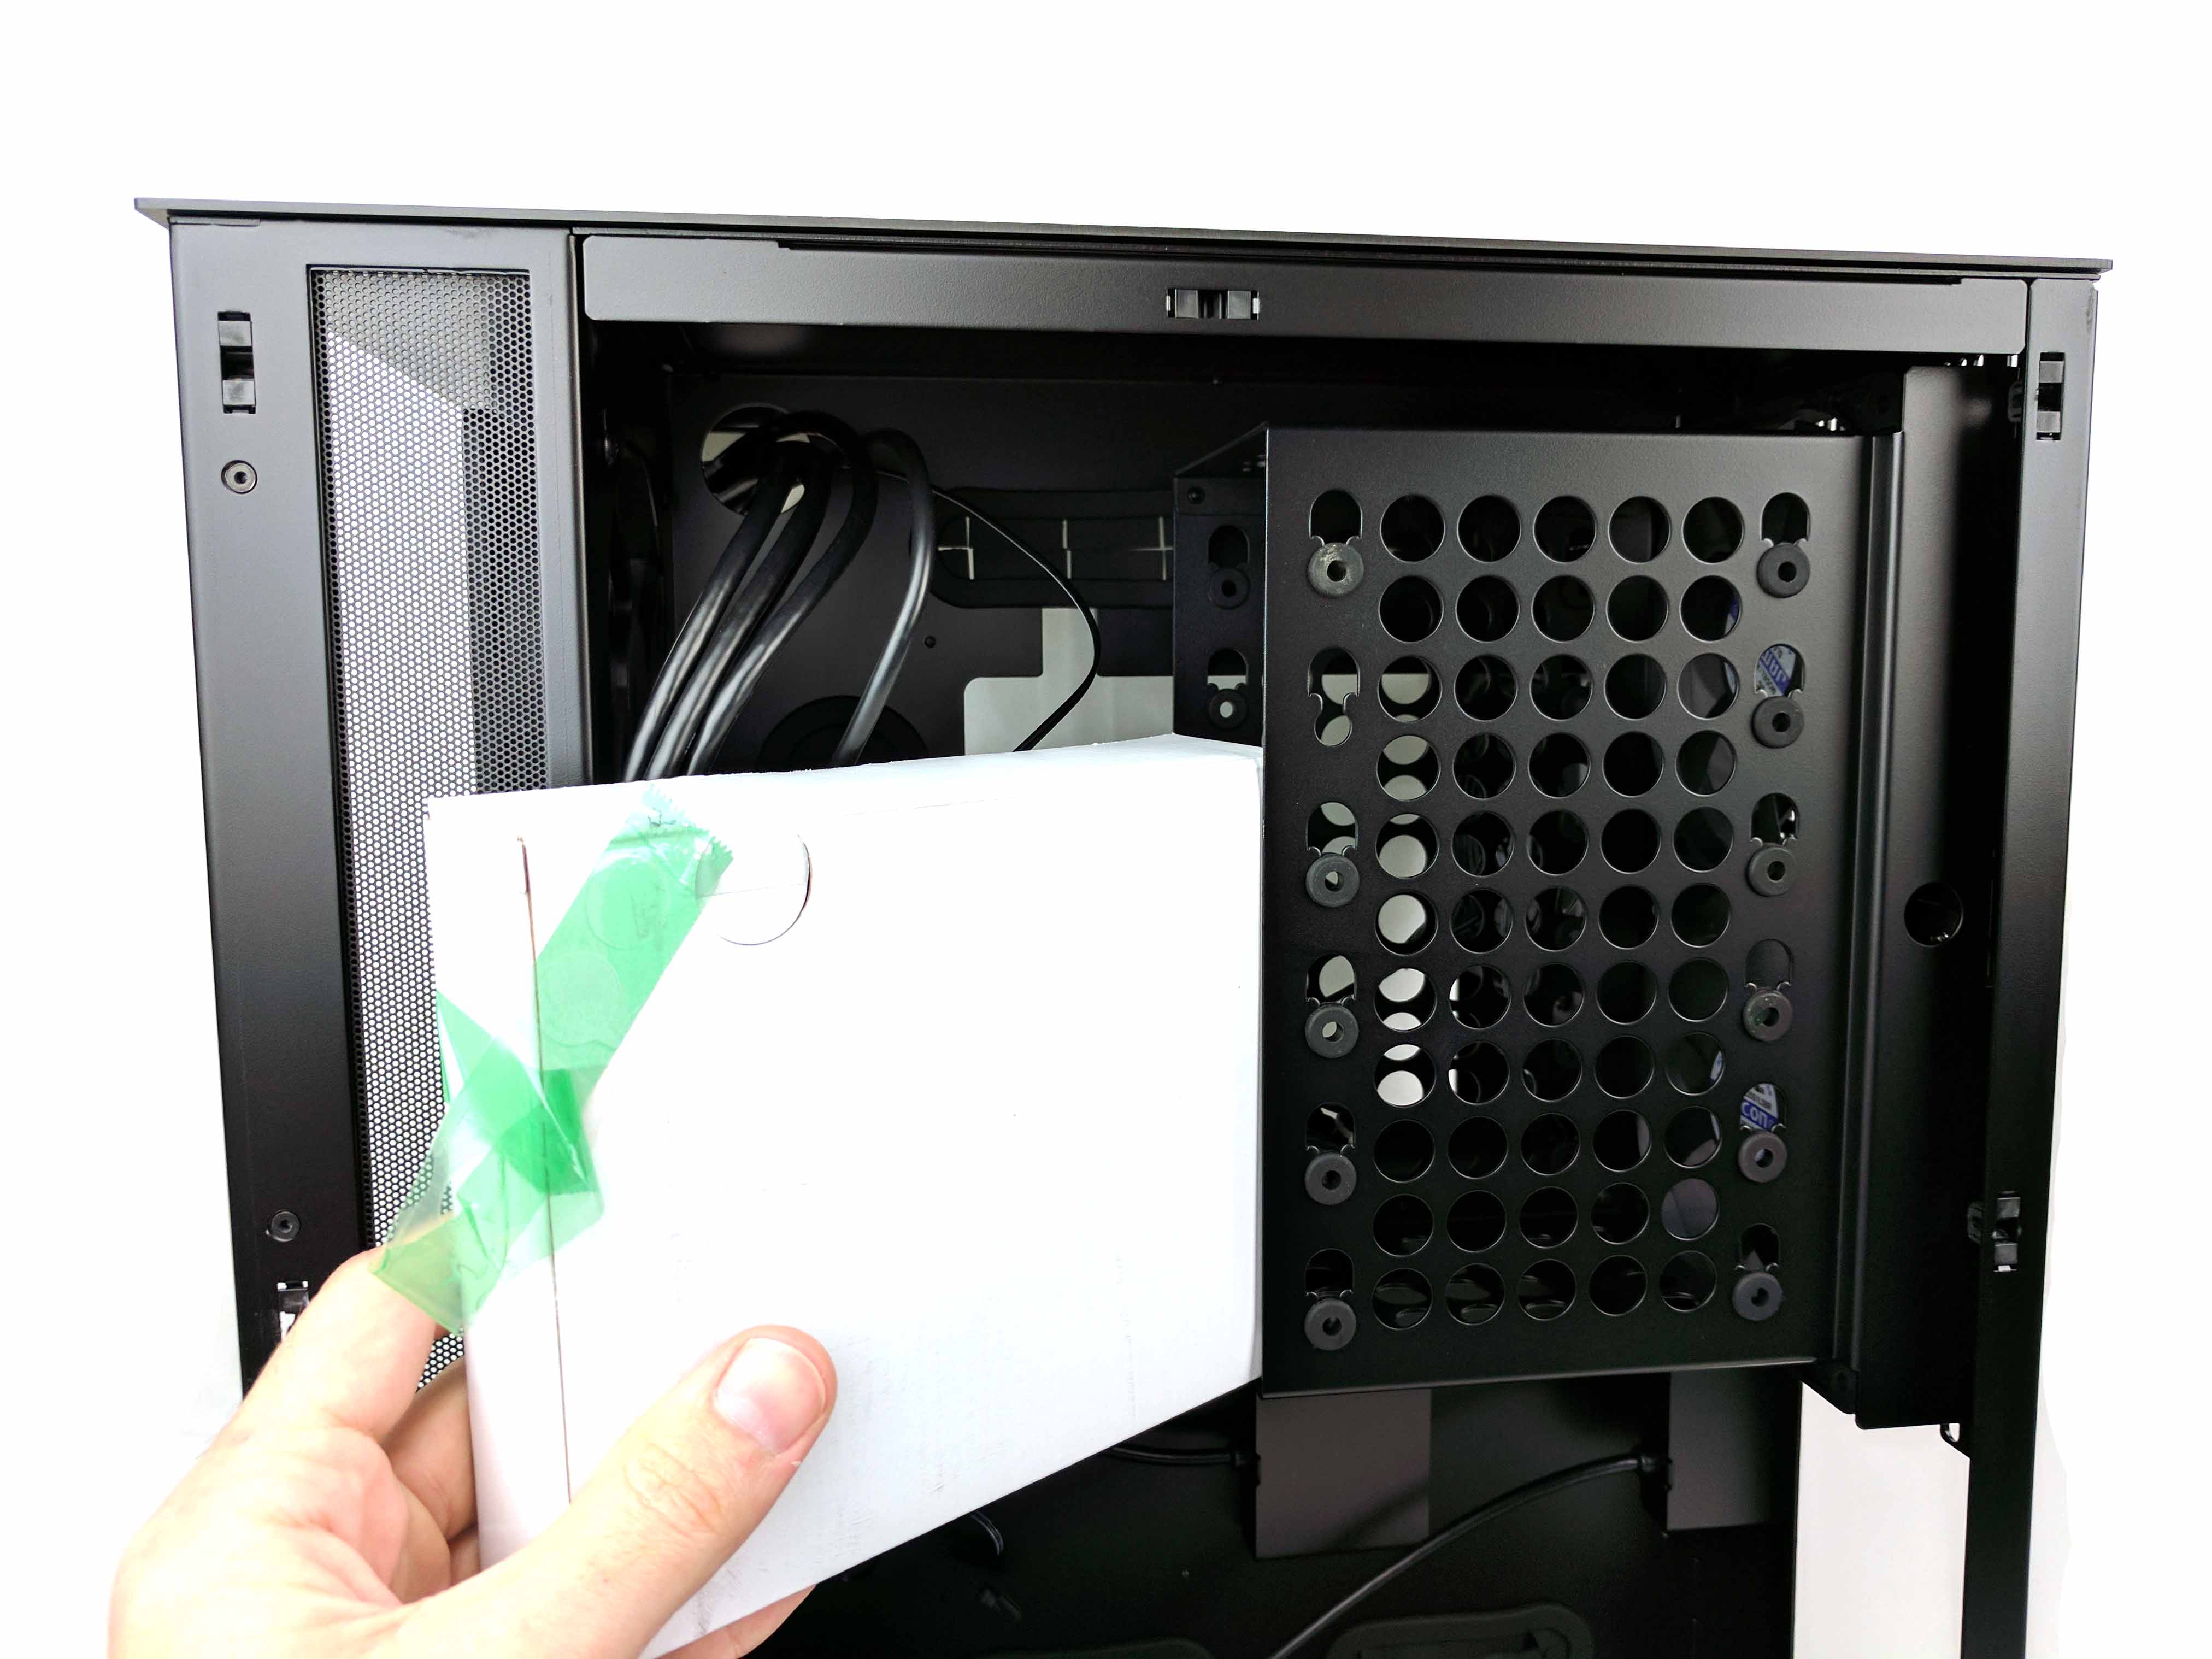
Take off the right side panel (which houses the drive bays, PSU mount, and internal cabling) by lifting up on the rear edge of the panel (there’s a tab), and set it aside. Similarly, the top panel of the case also comes off, but there’s no requirement for us to do so, because it just provides access to a dust filter. Remove the hardware box and other materials (that big orange paper) from the case. The box is in the drive bay and held down by green tape. All of these steps are reflected in the album of photos above.
Fans
There are five fan cables located in the right side bay: two in the rear, three in the front. These run through the portholes of the case. The rear fan cables are hanging where the motherboard will be mounted, and you can access them from the main chamber of the case.
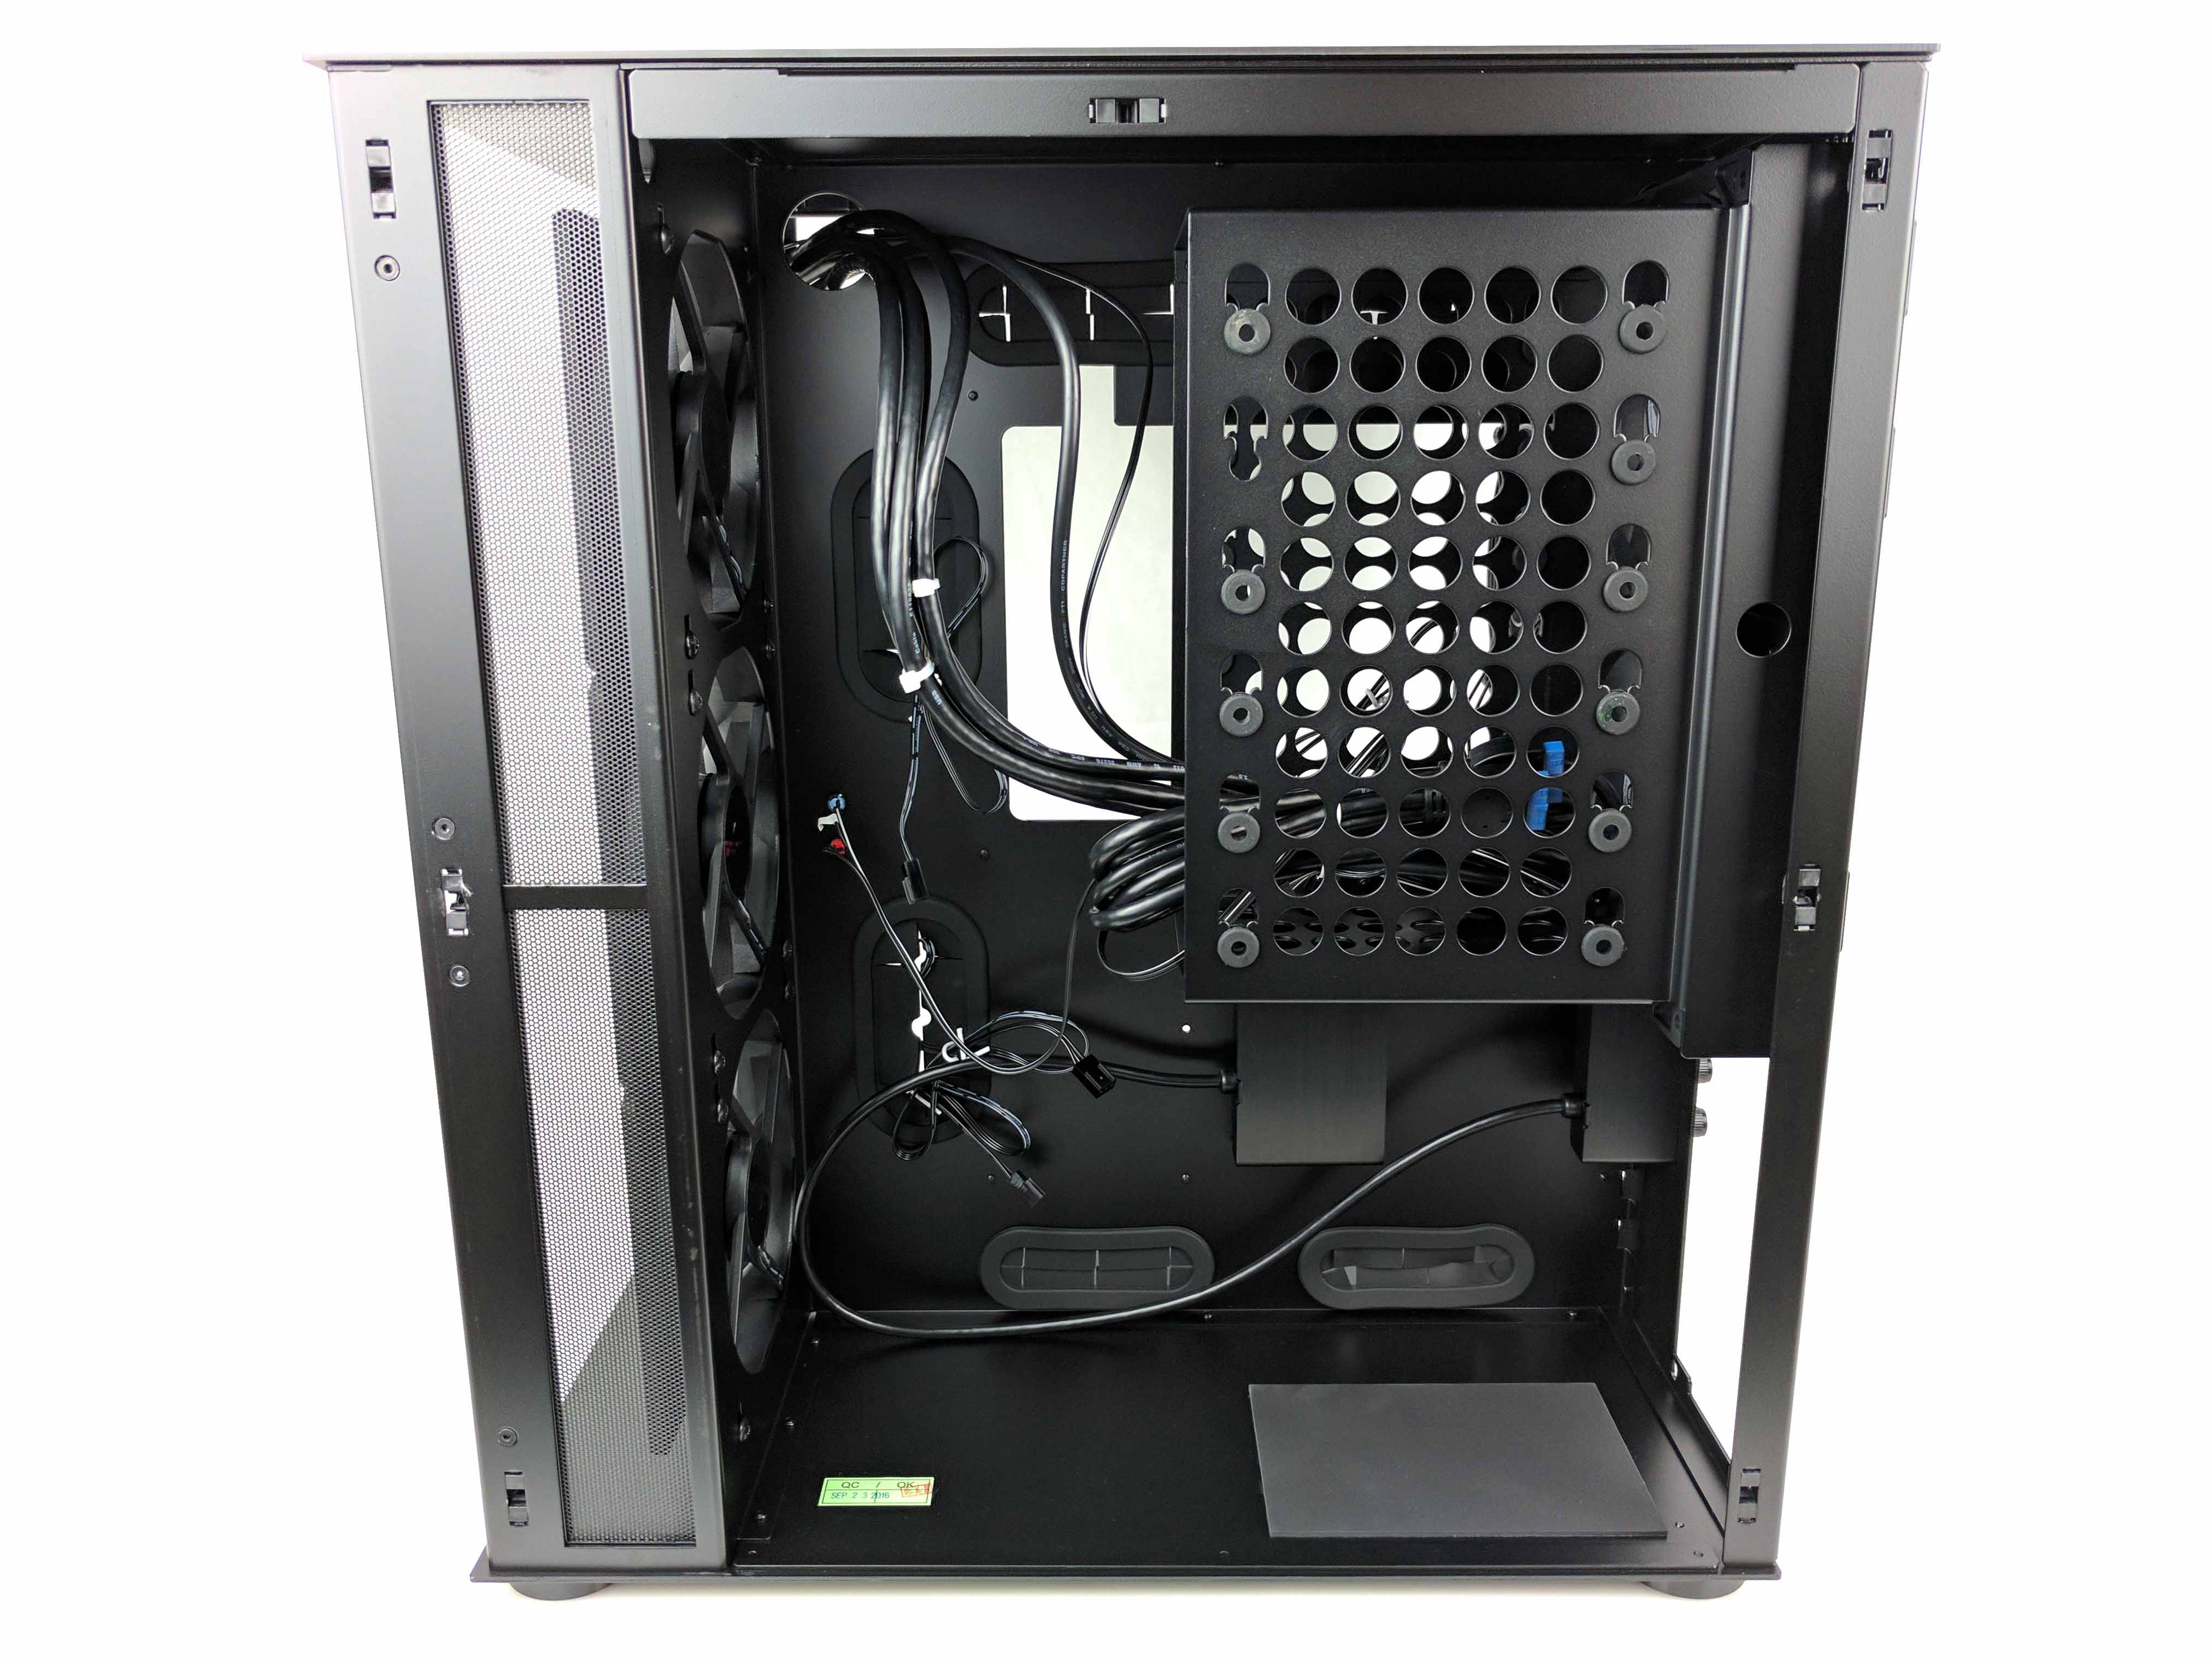
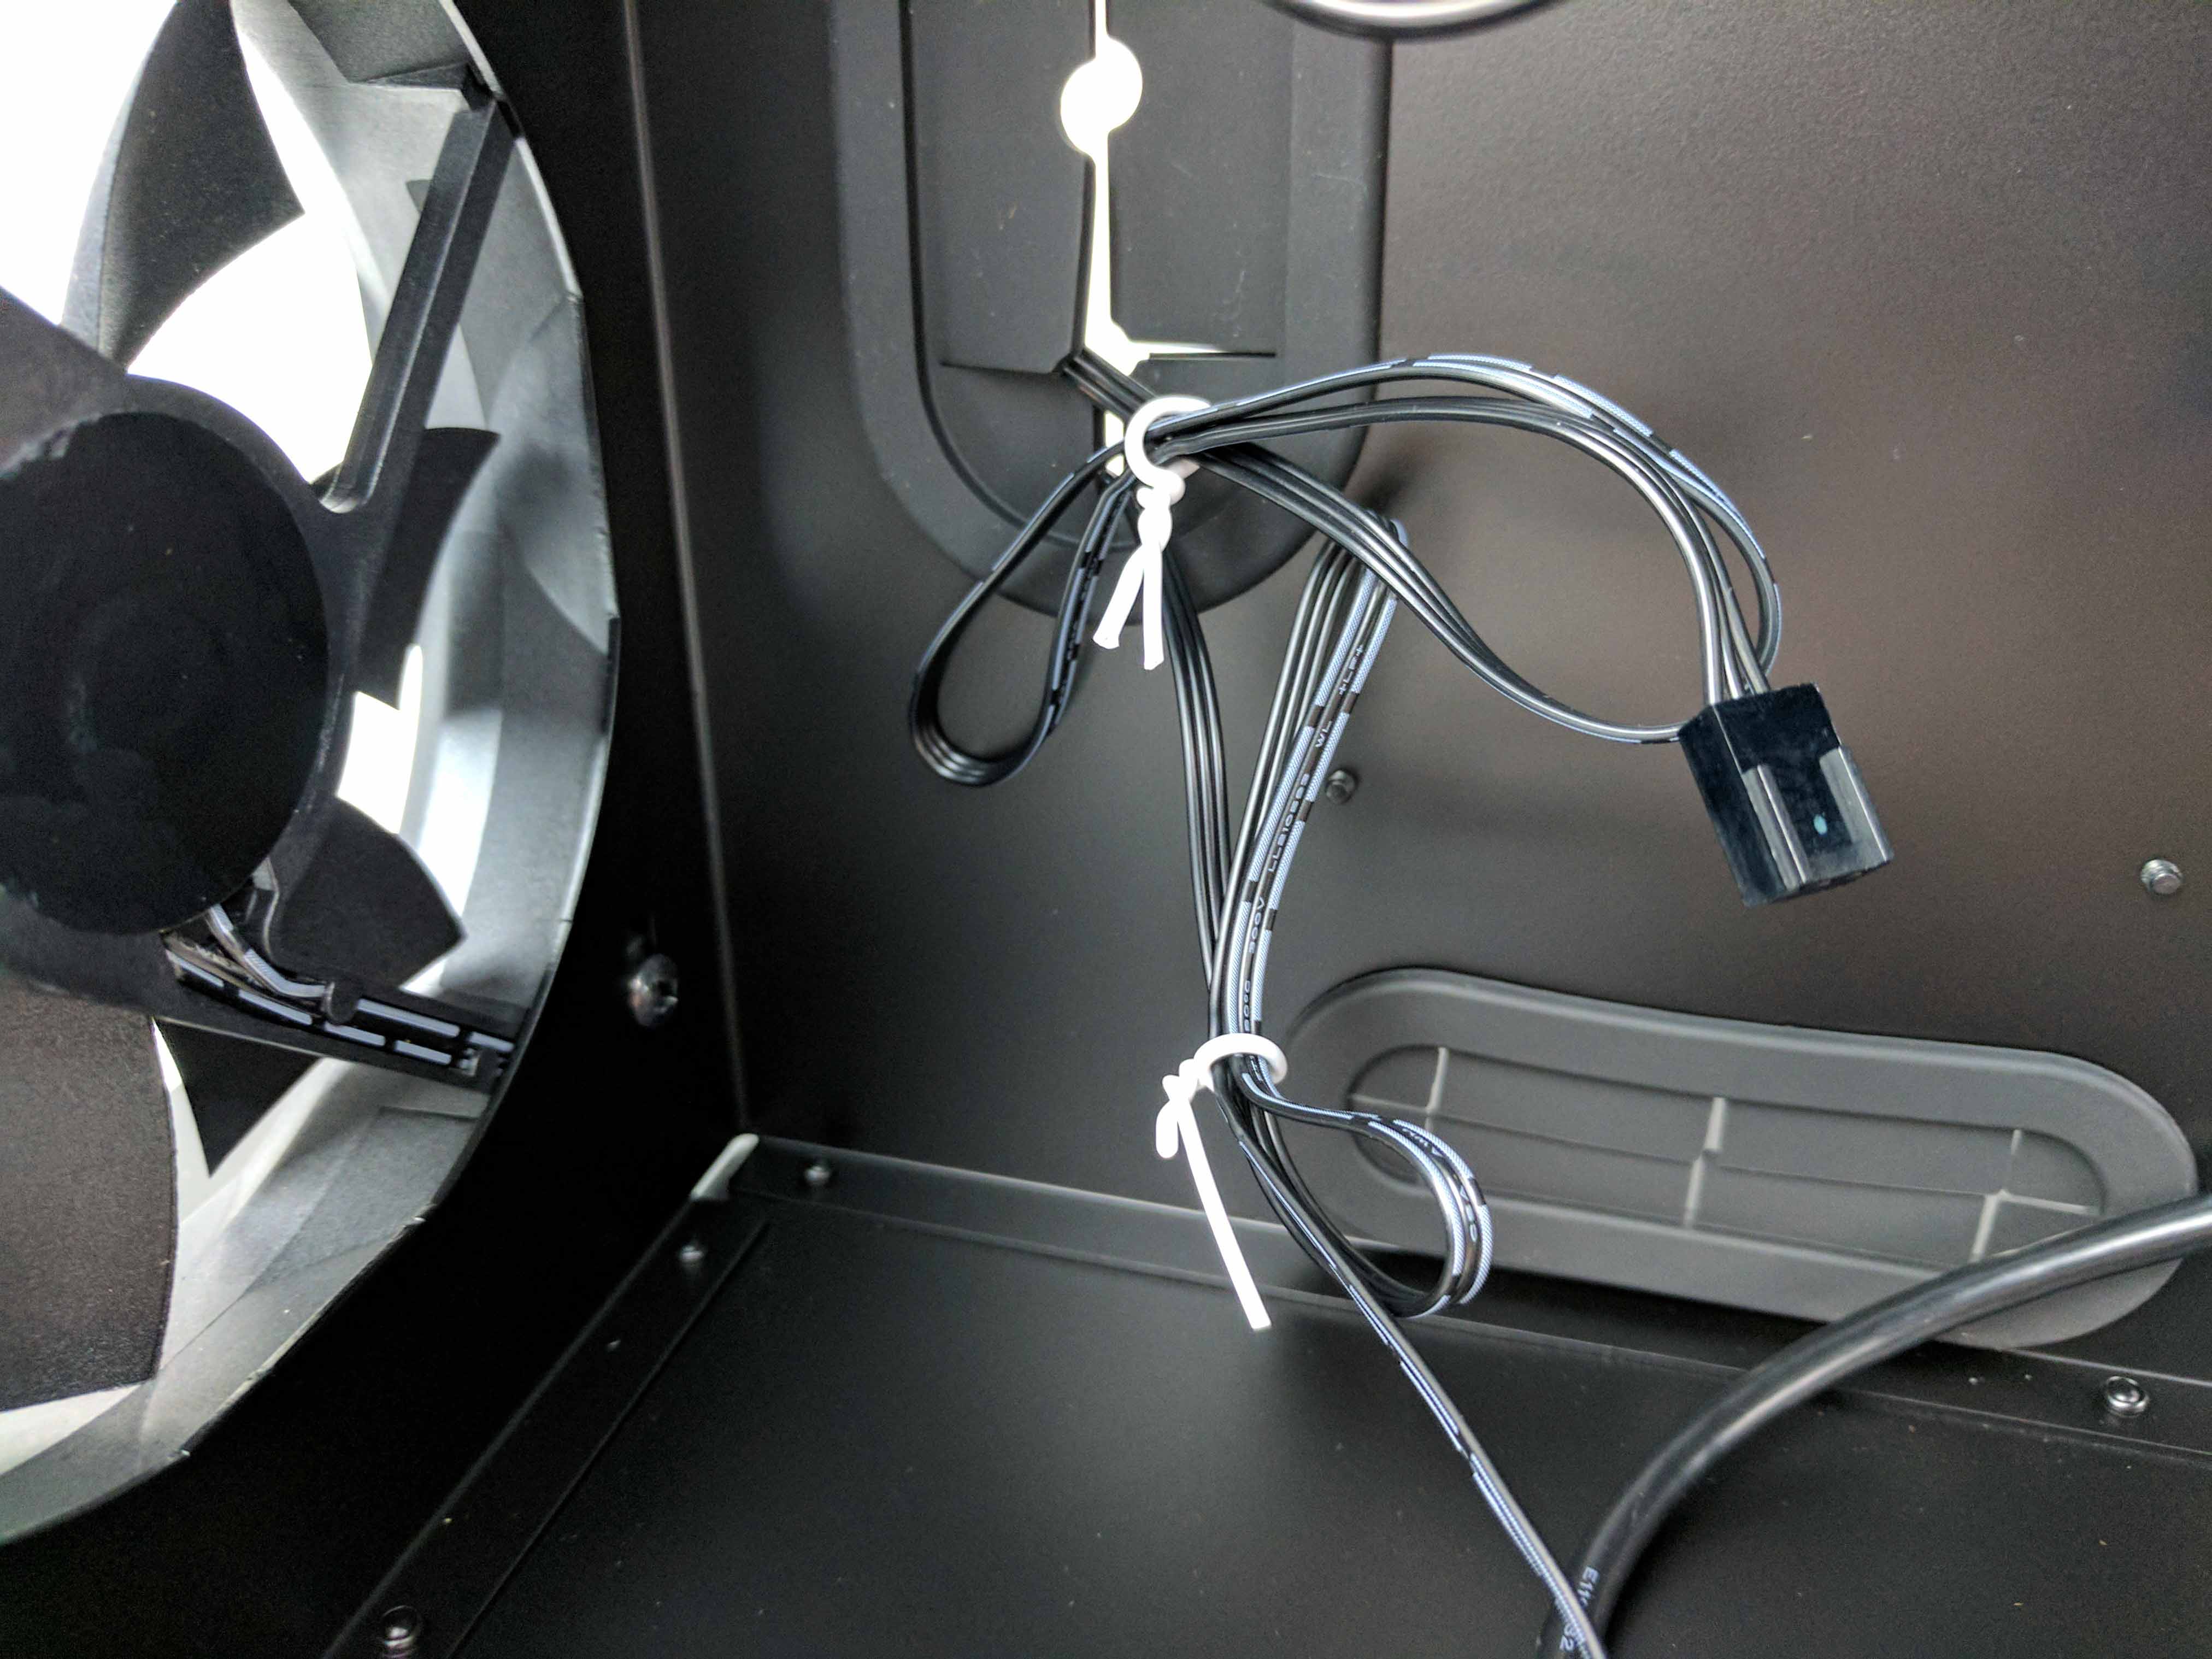
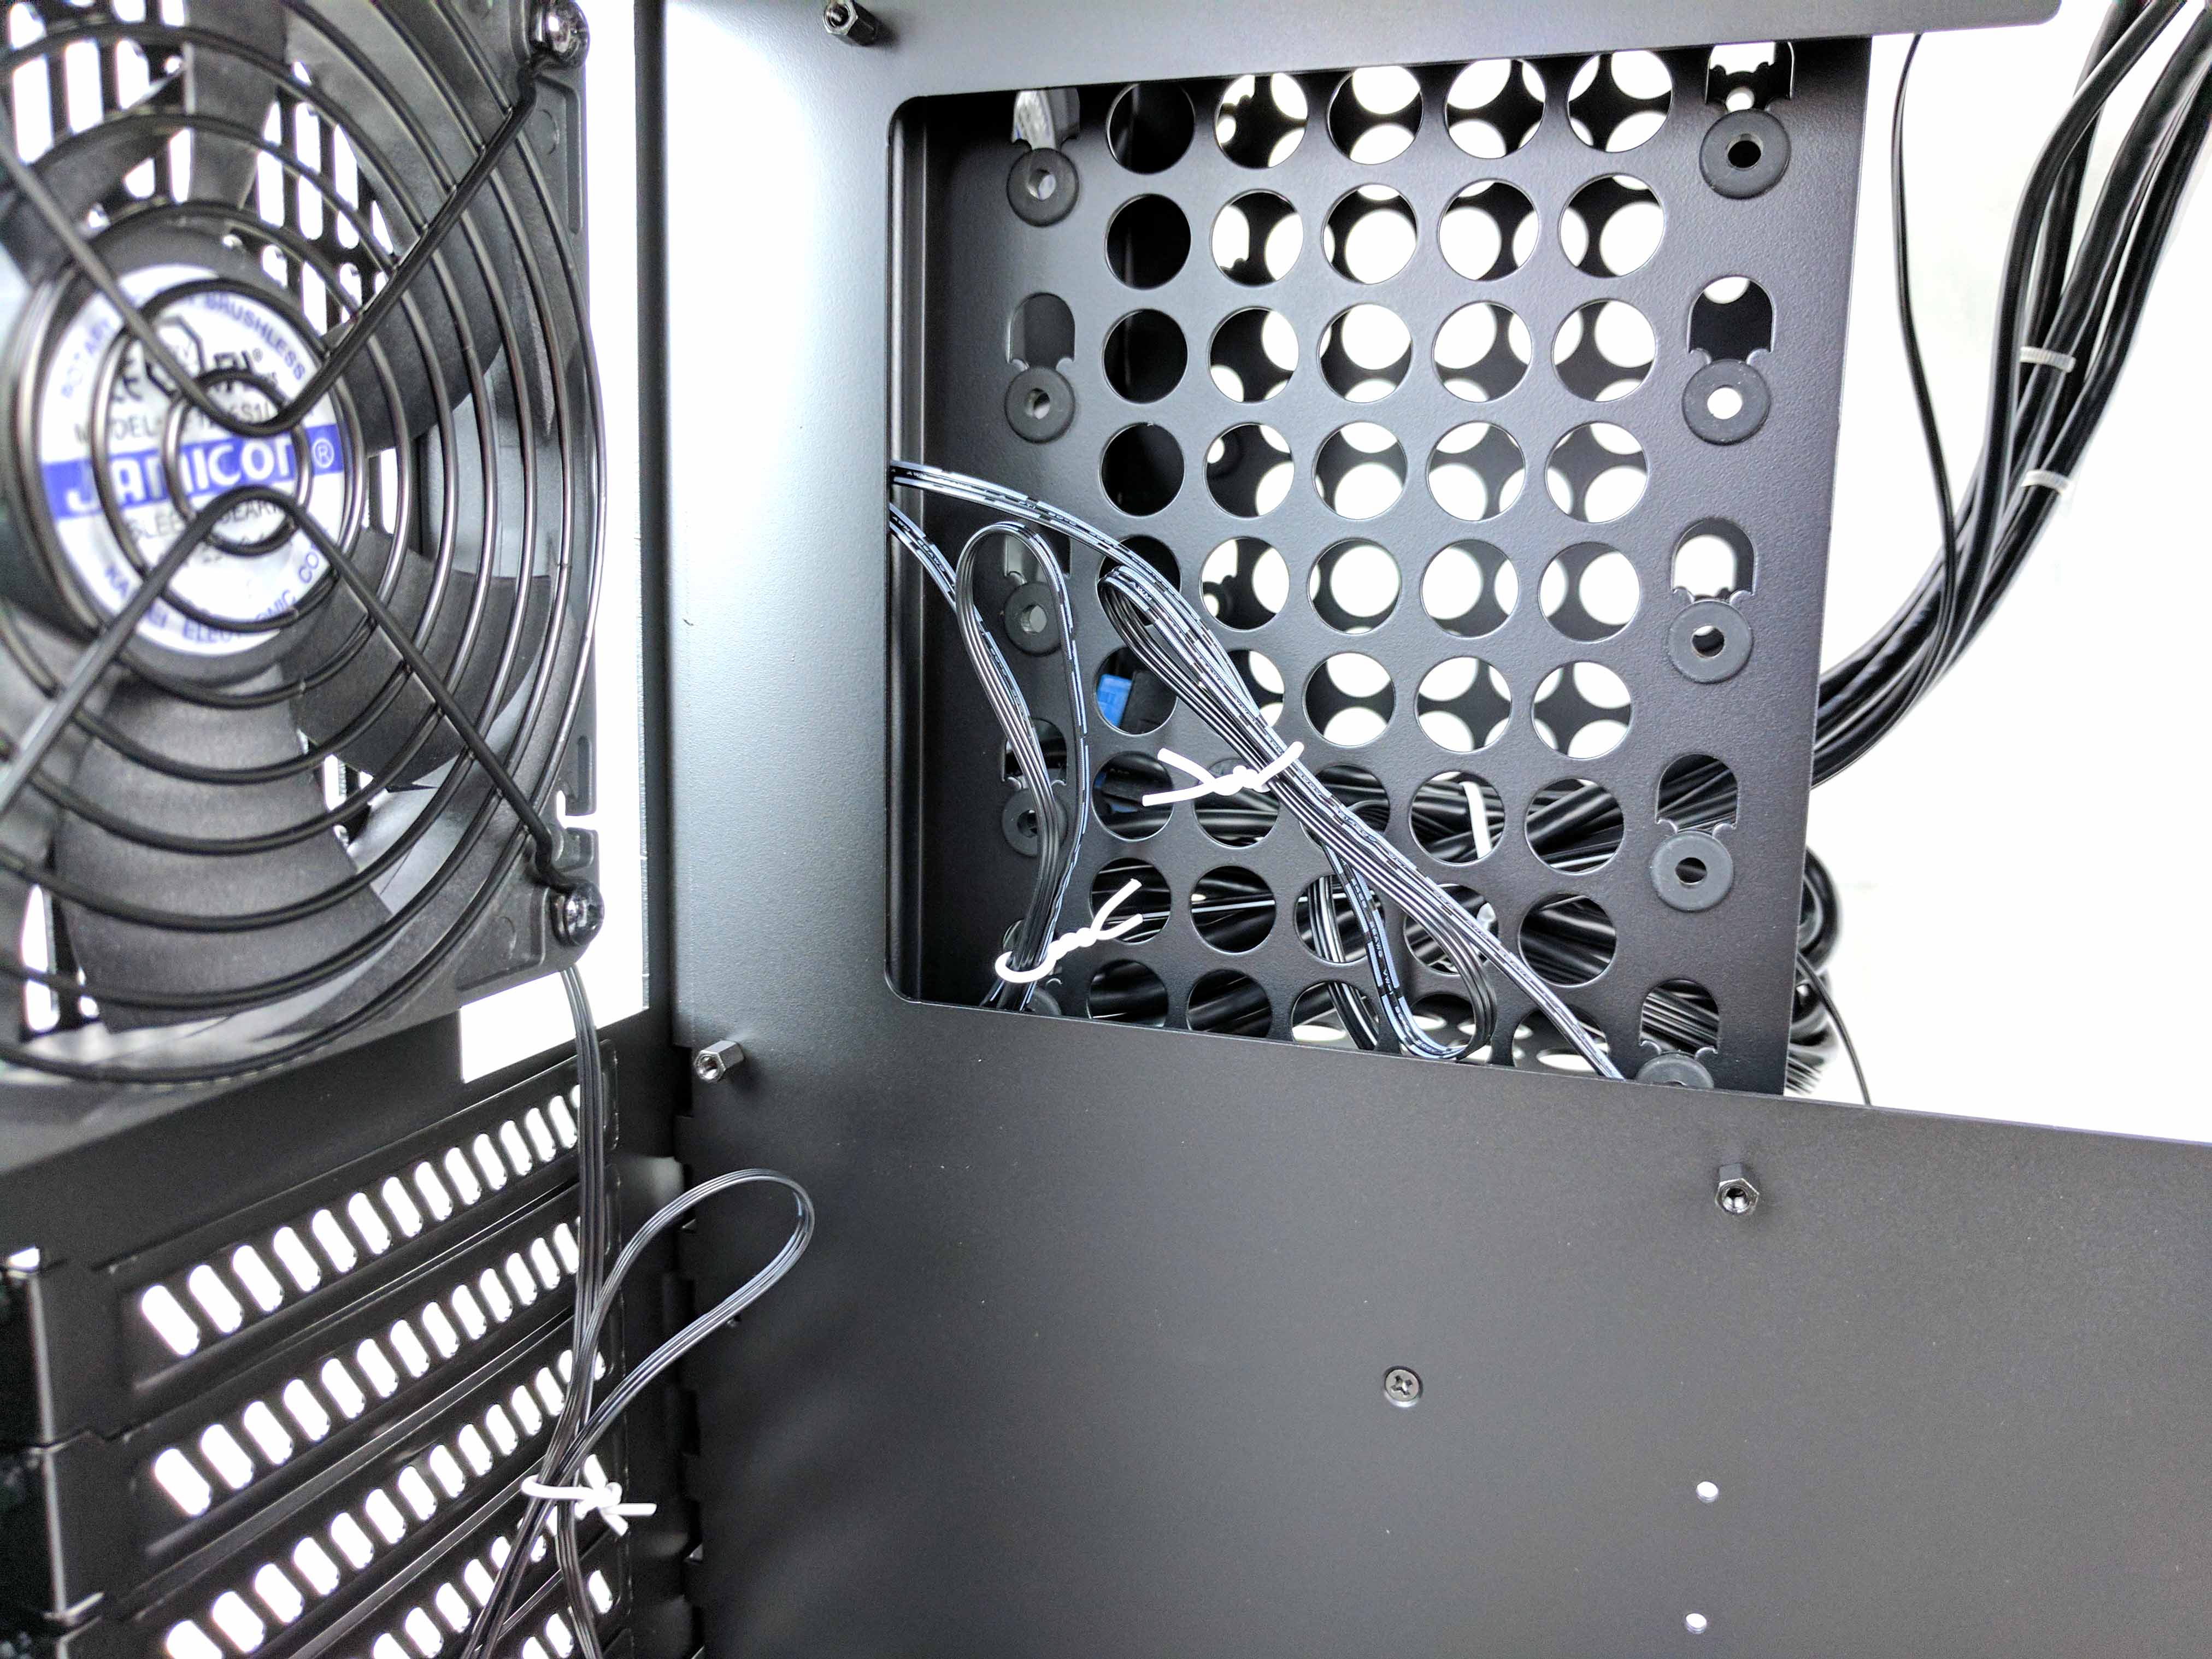
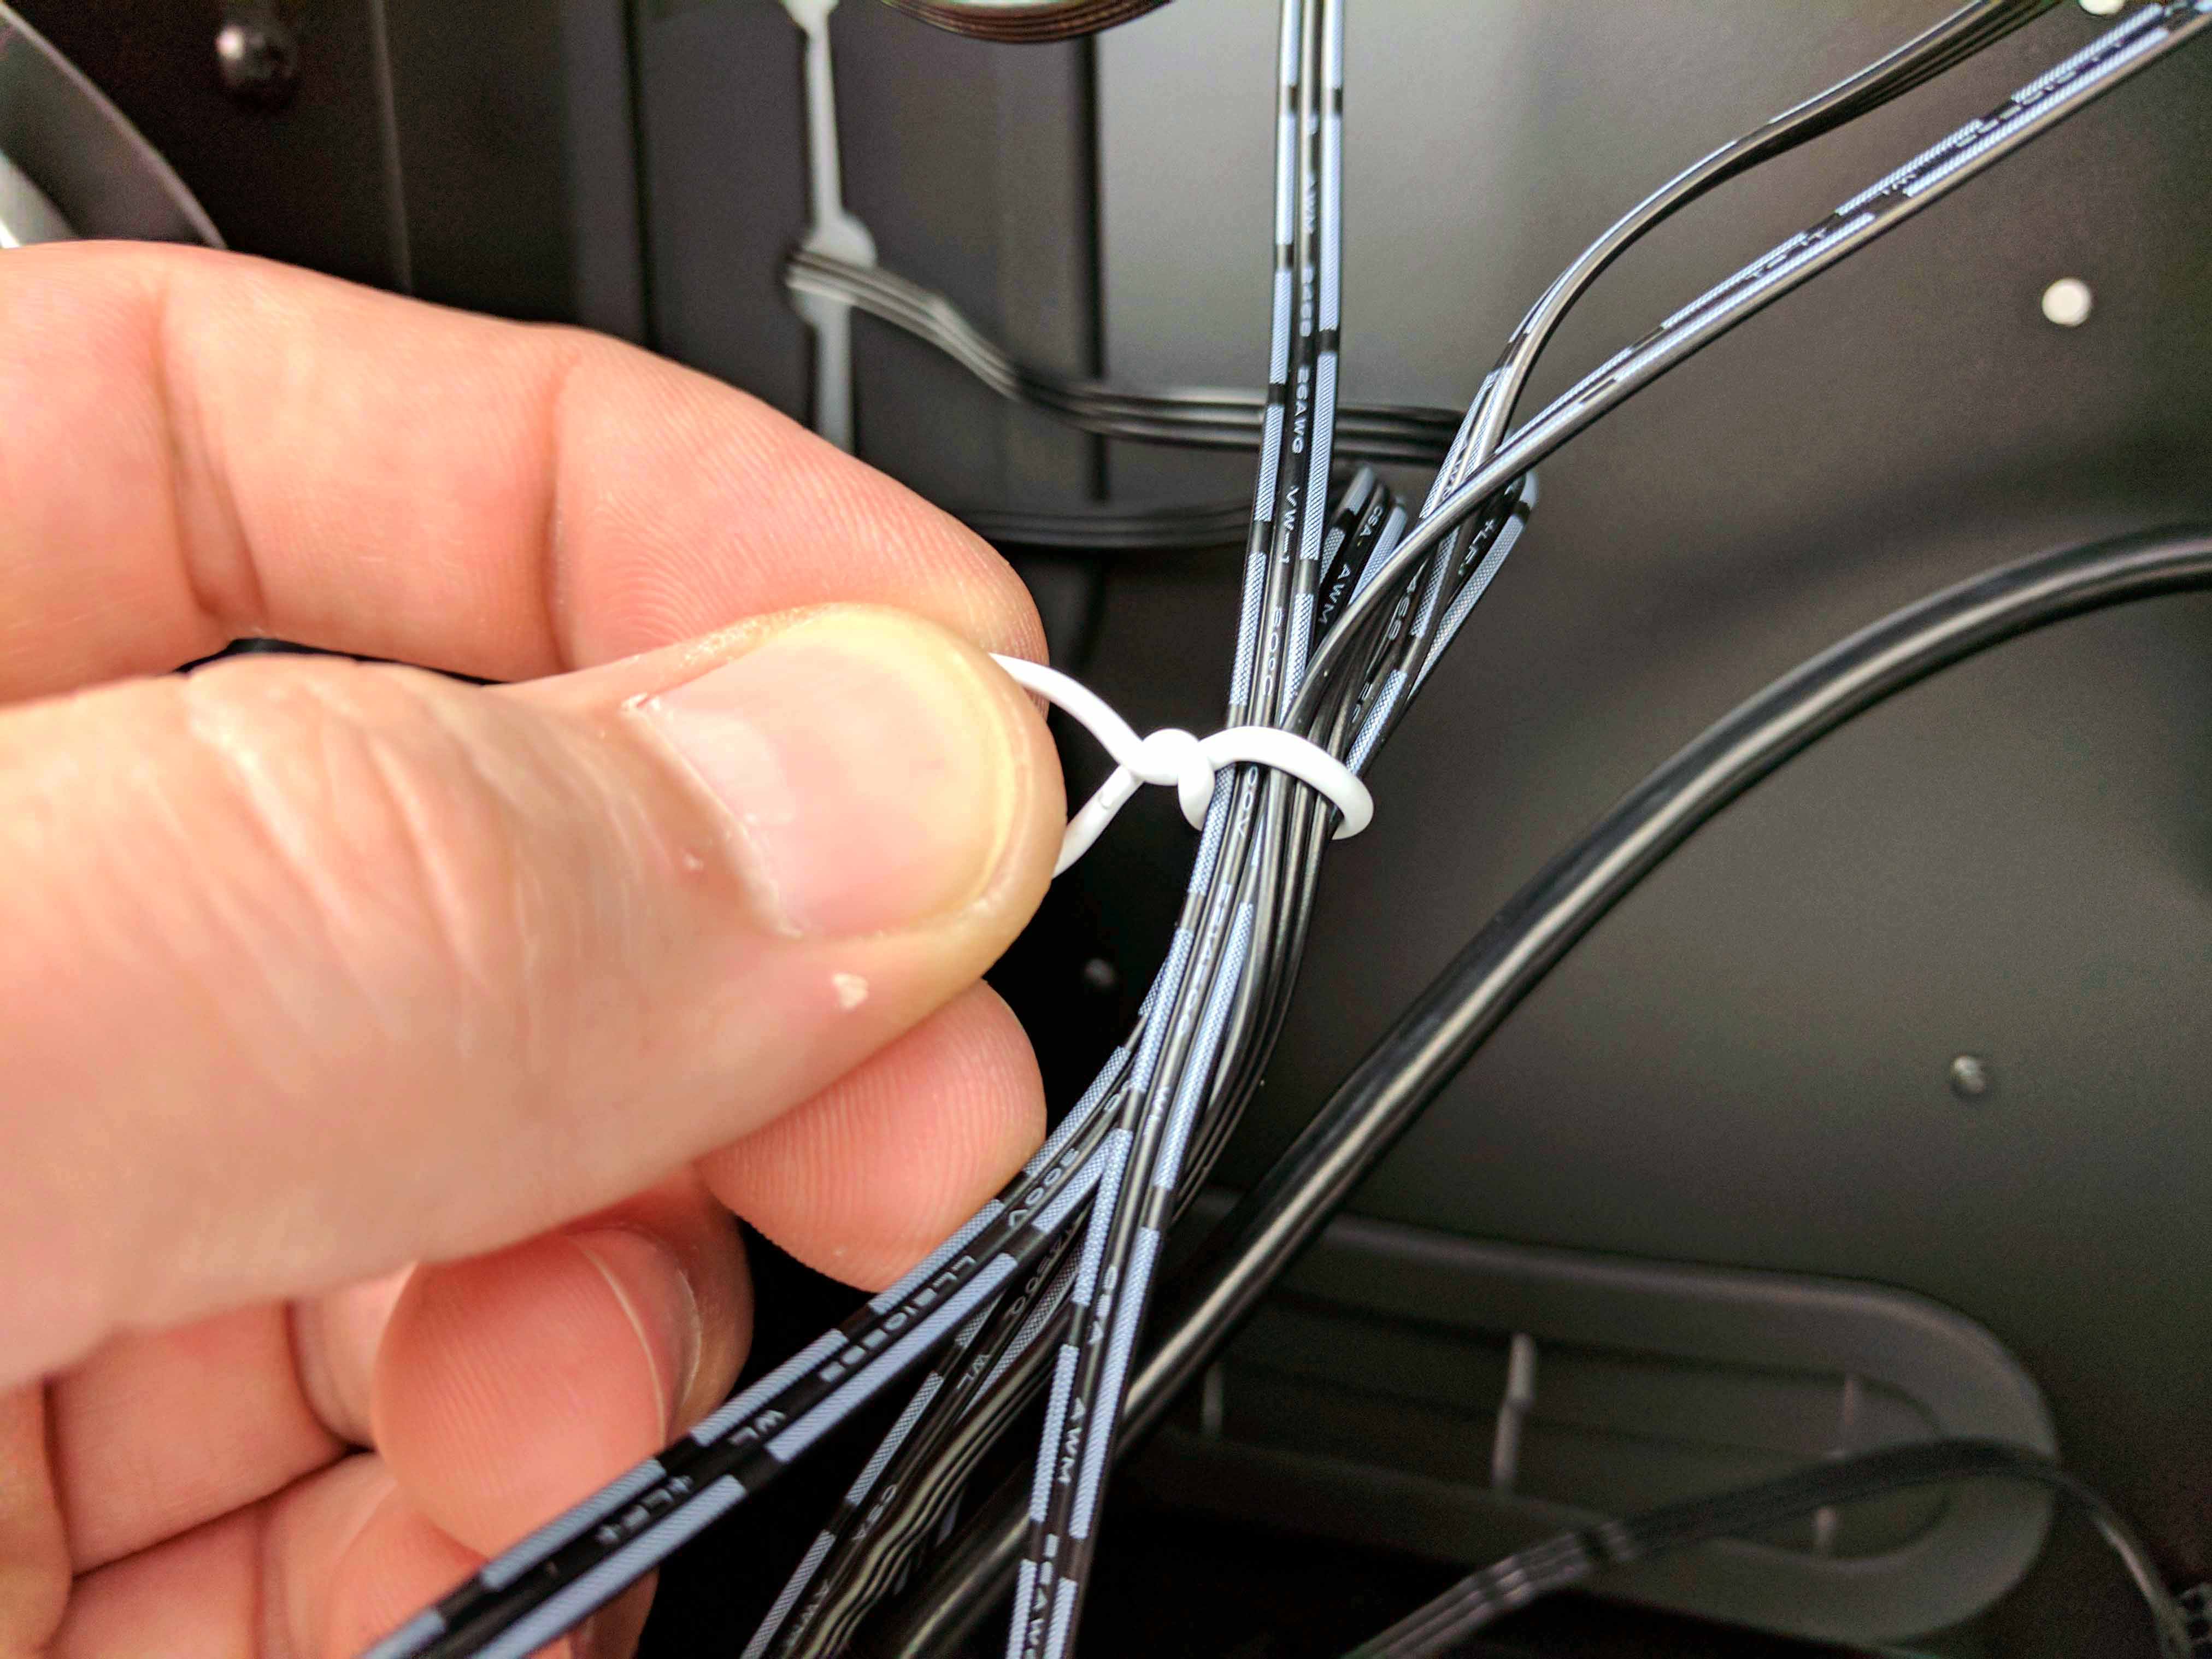
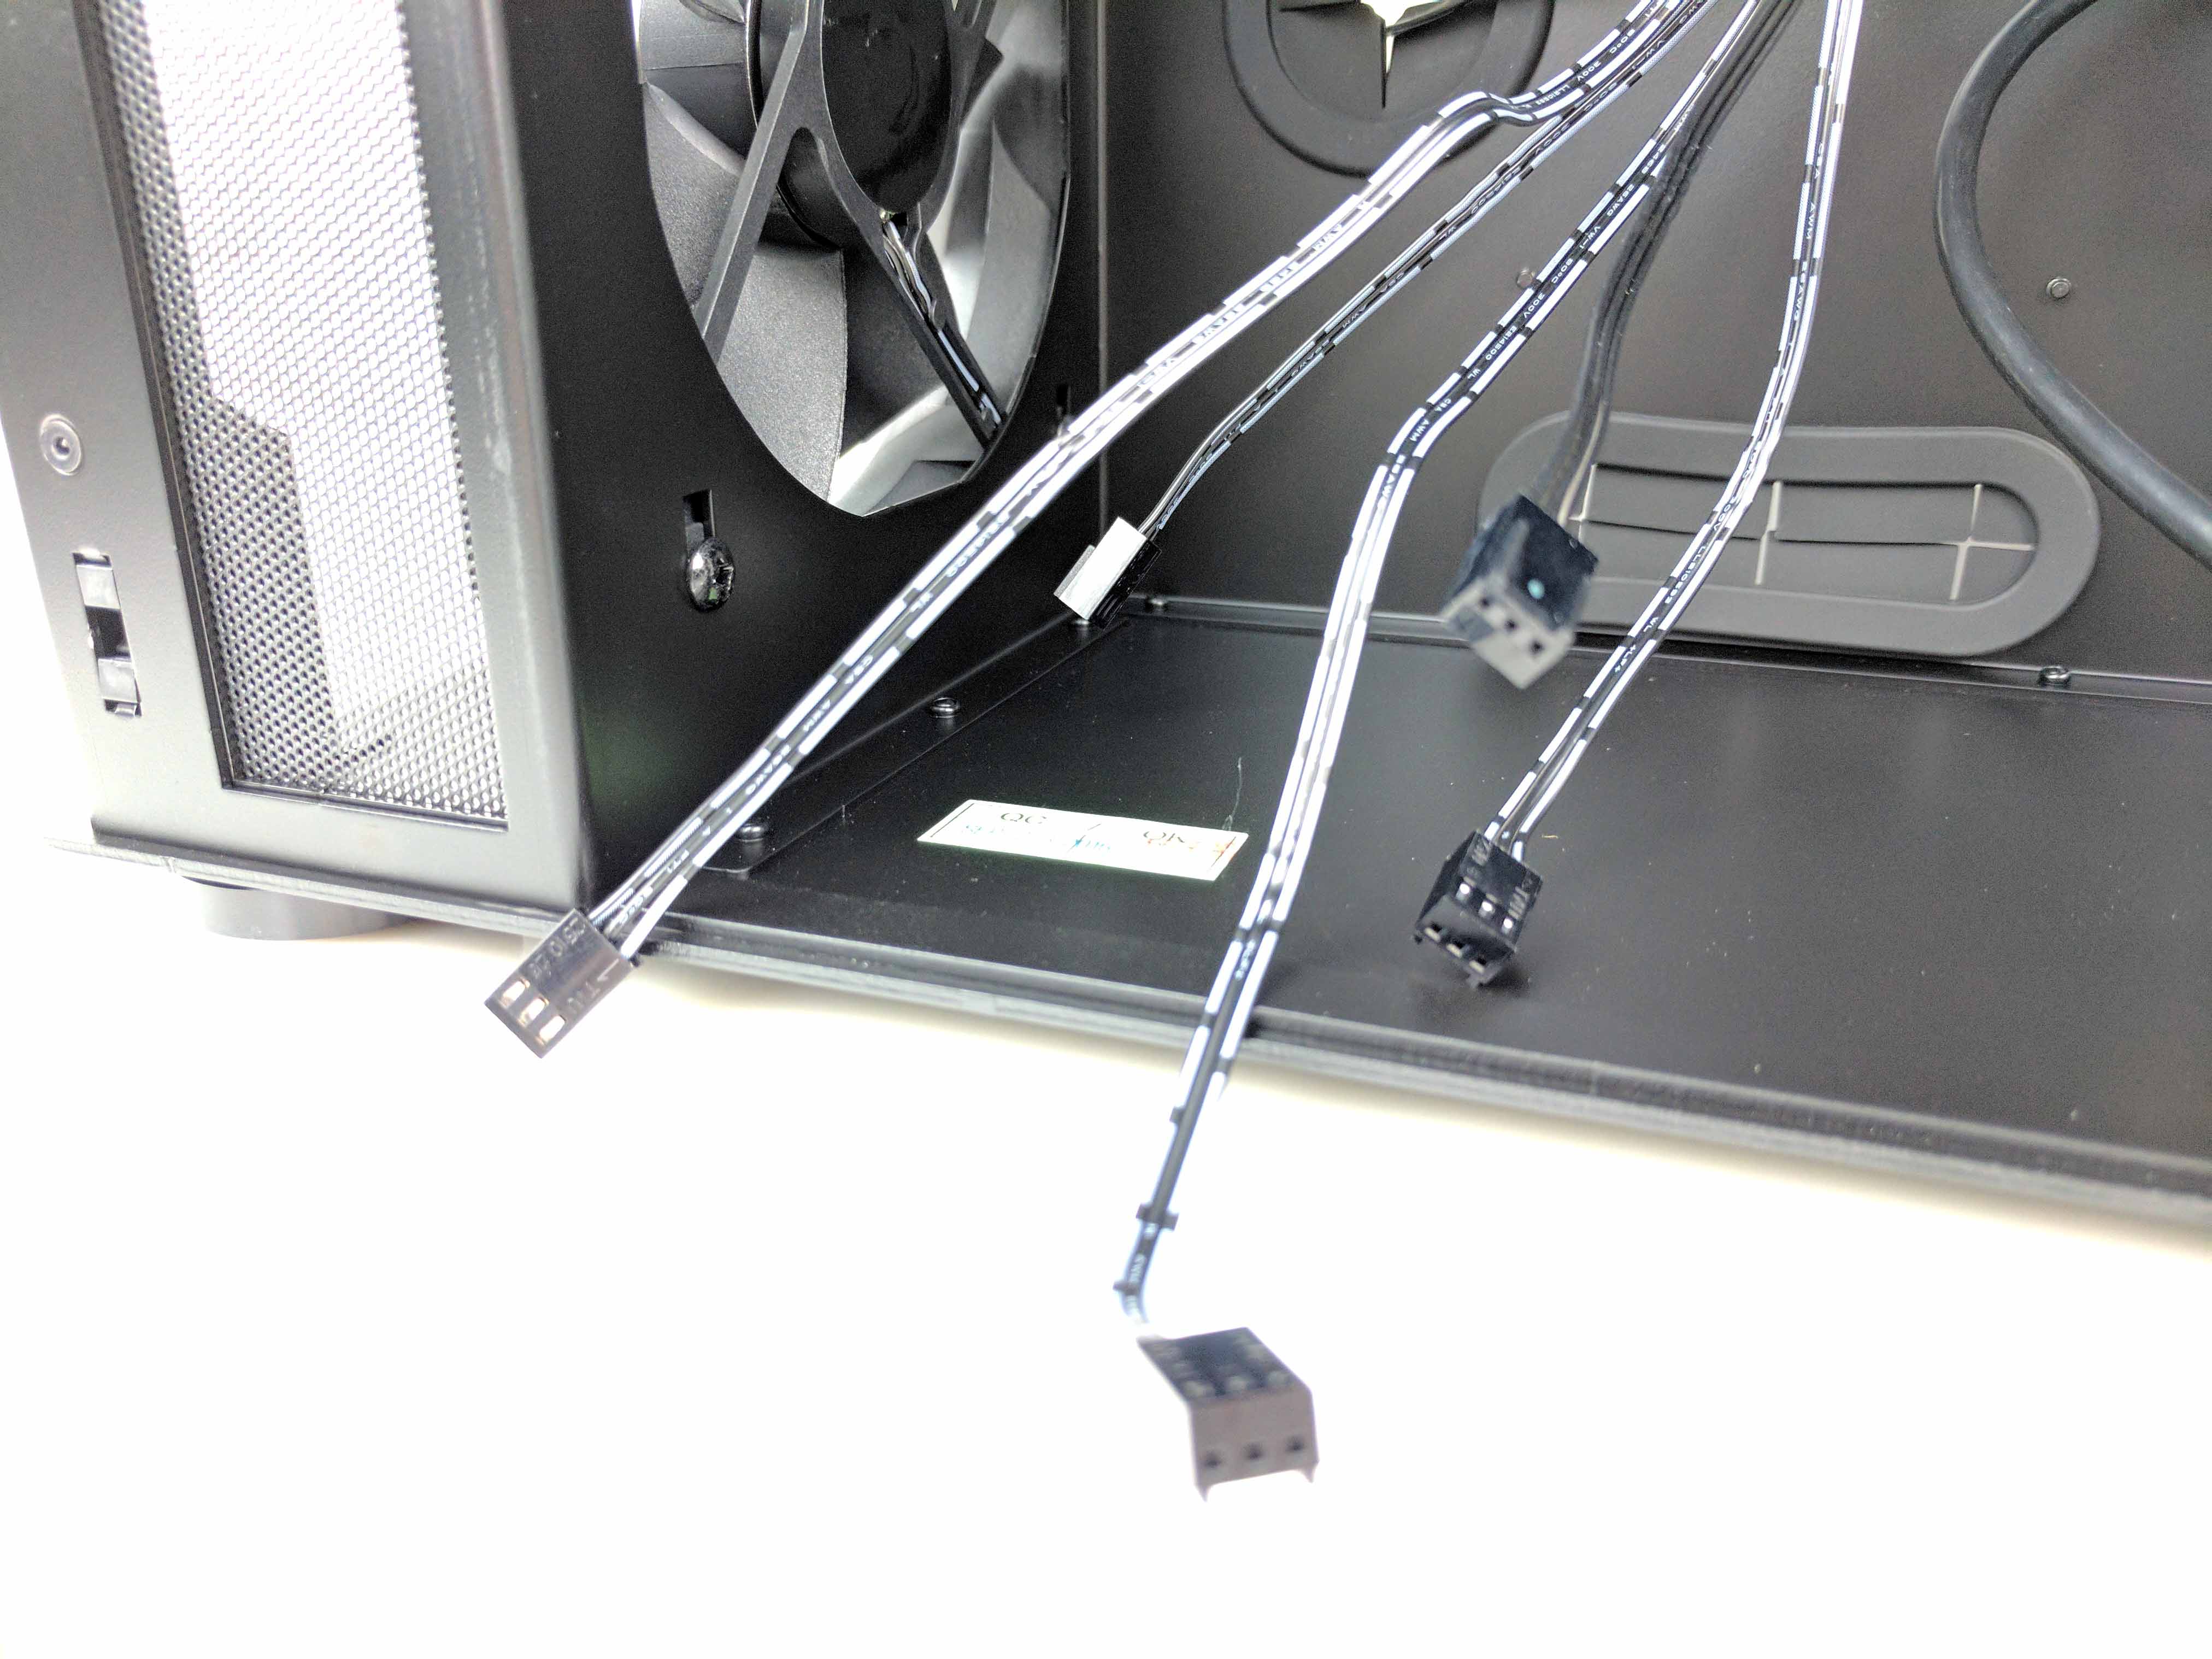
Untie all of the five case fan cables in the drive chamber (excluding the cable of the rear fan in the main chamber), save the tie wraps, and run them into each other as neatly as possible. Tie the cables together with one of the white tie wraps, and let them rest at the bottom of the case in the drive chamber.
Get Tom's Hardware's best news and in-depth reviews, straight to your inbox.
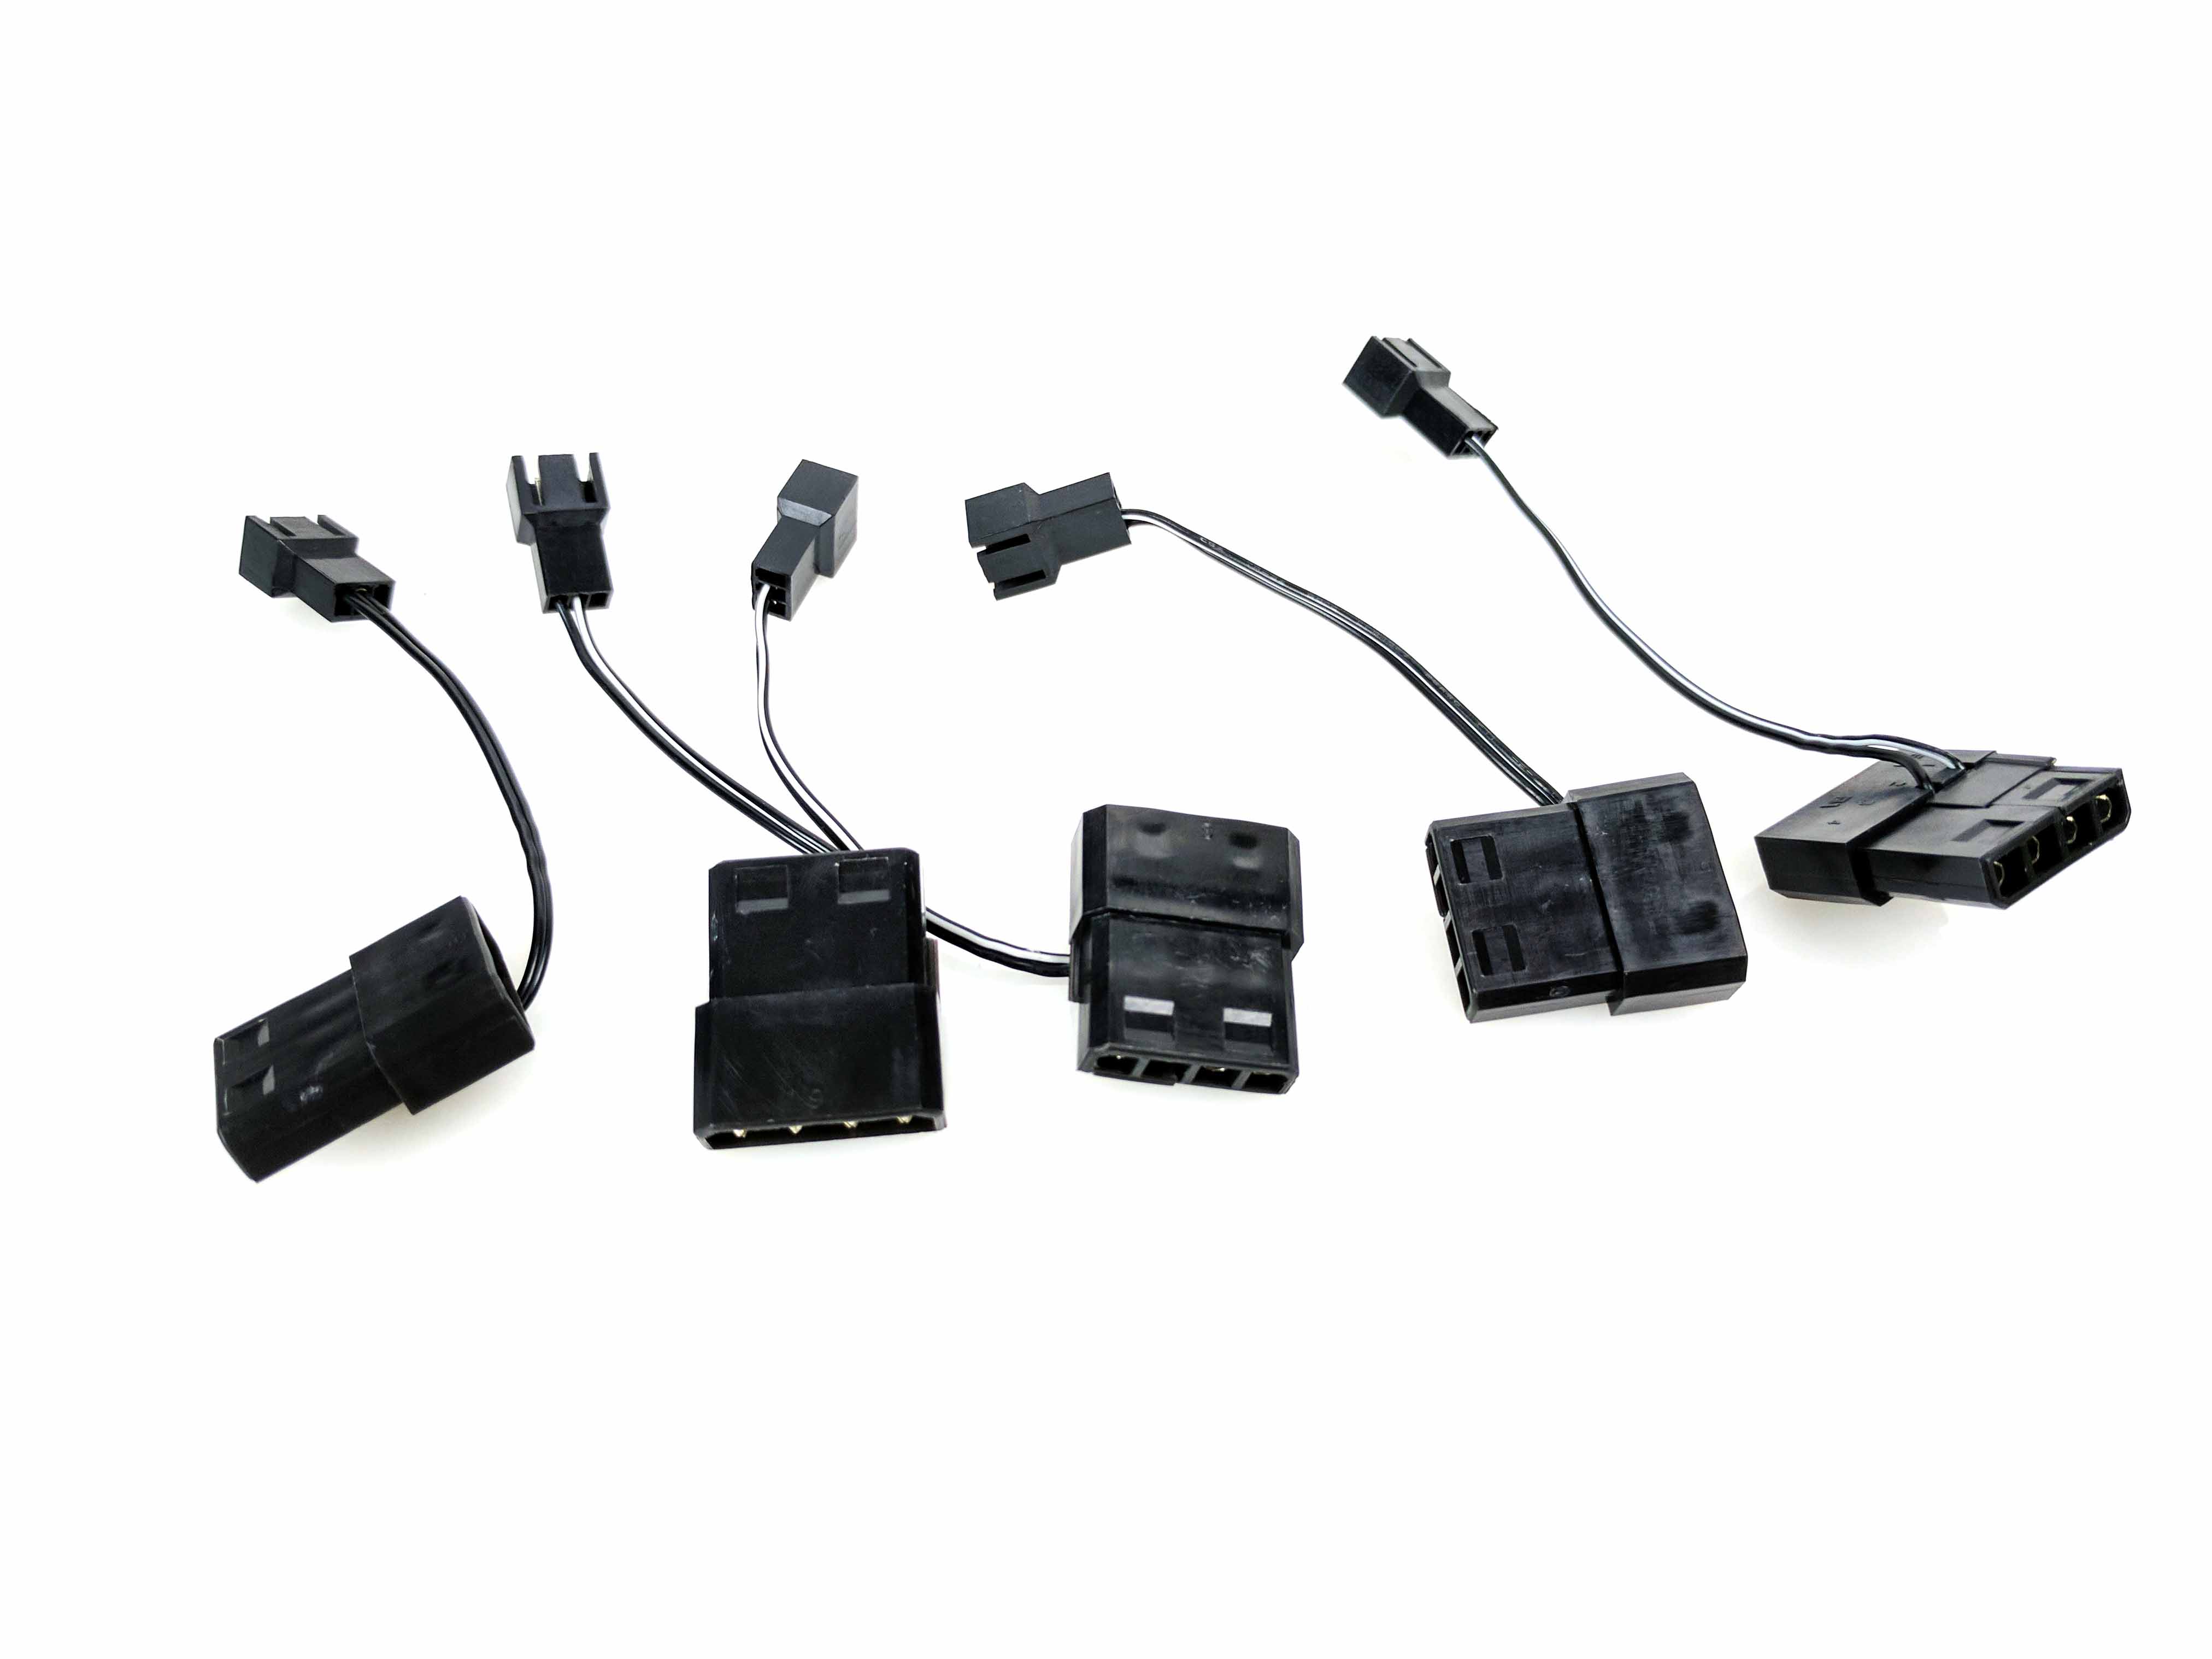
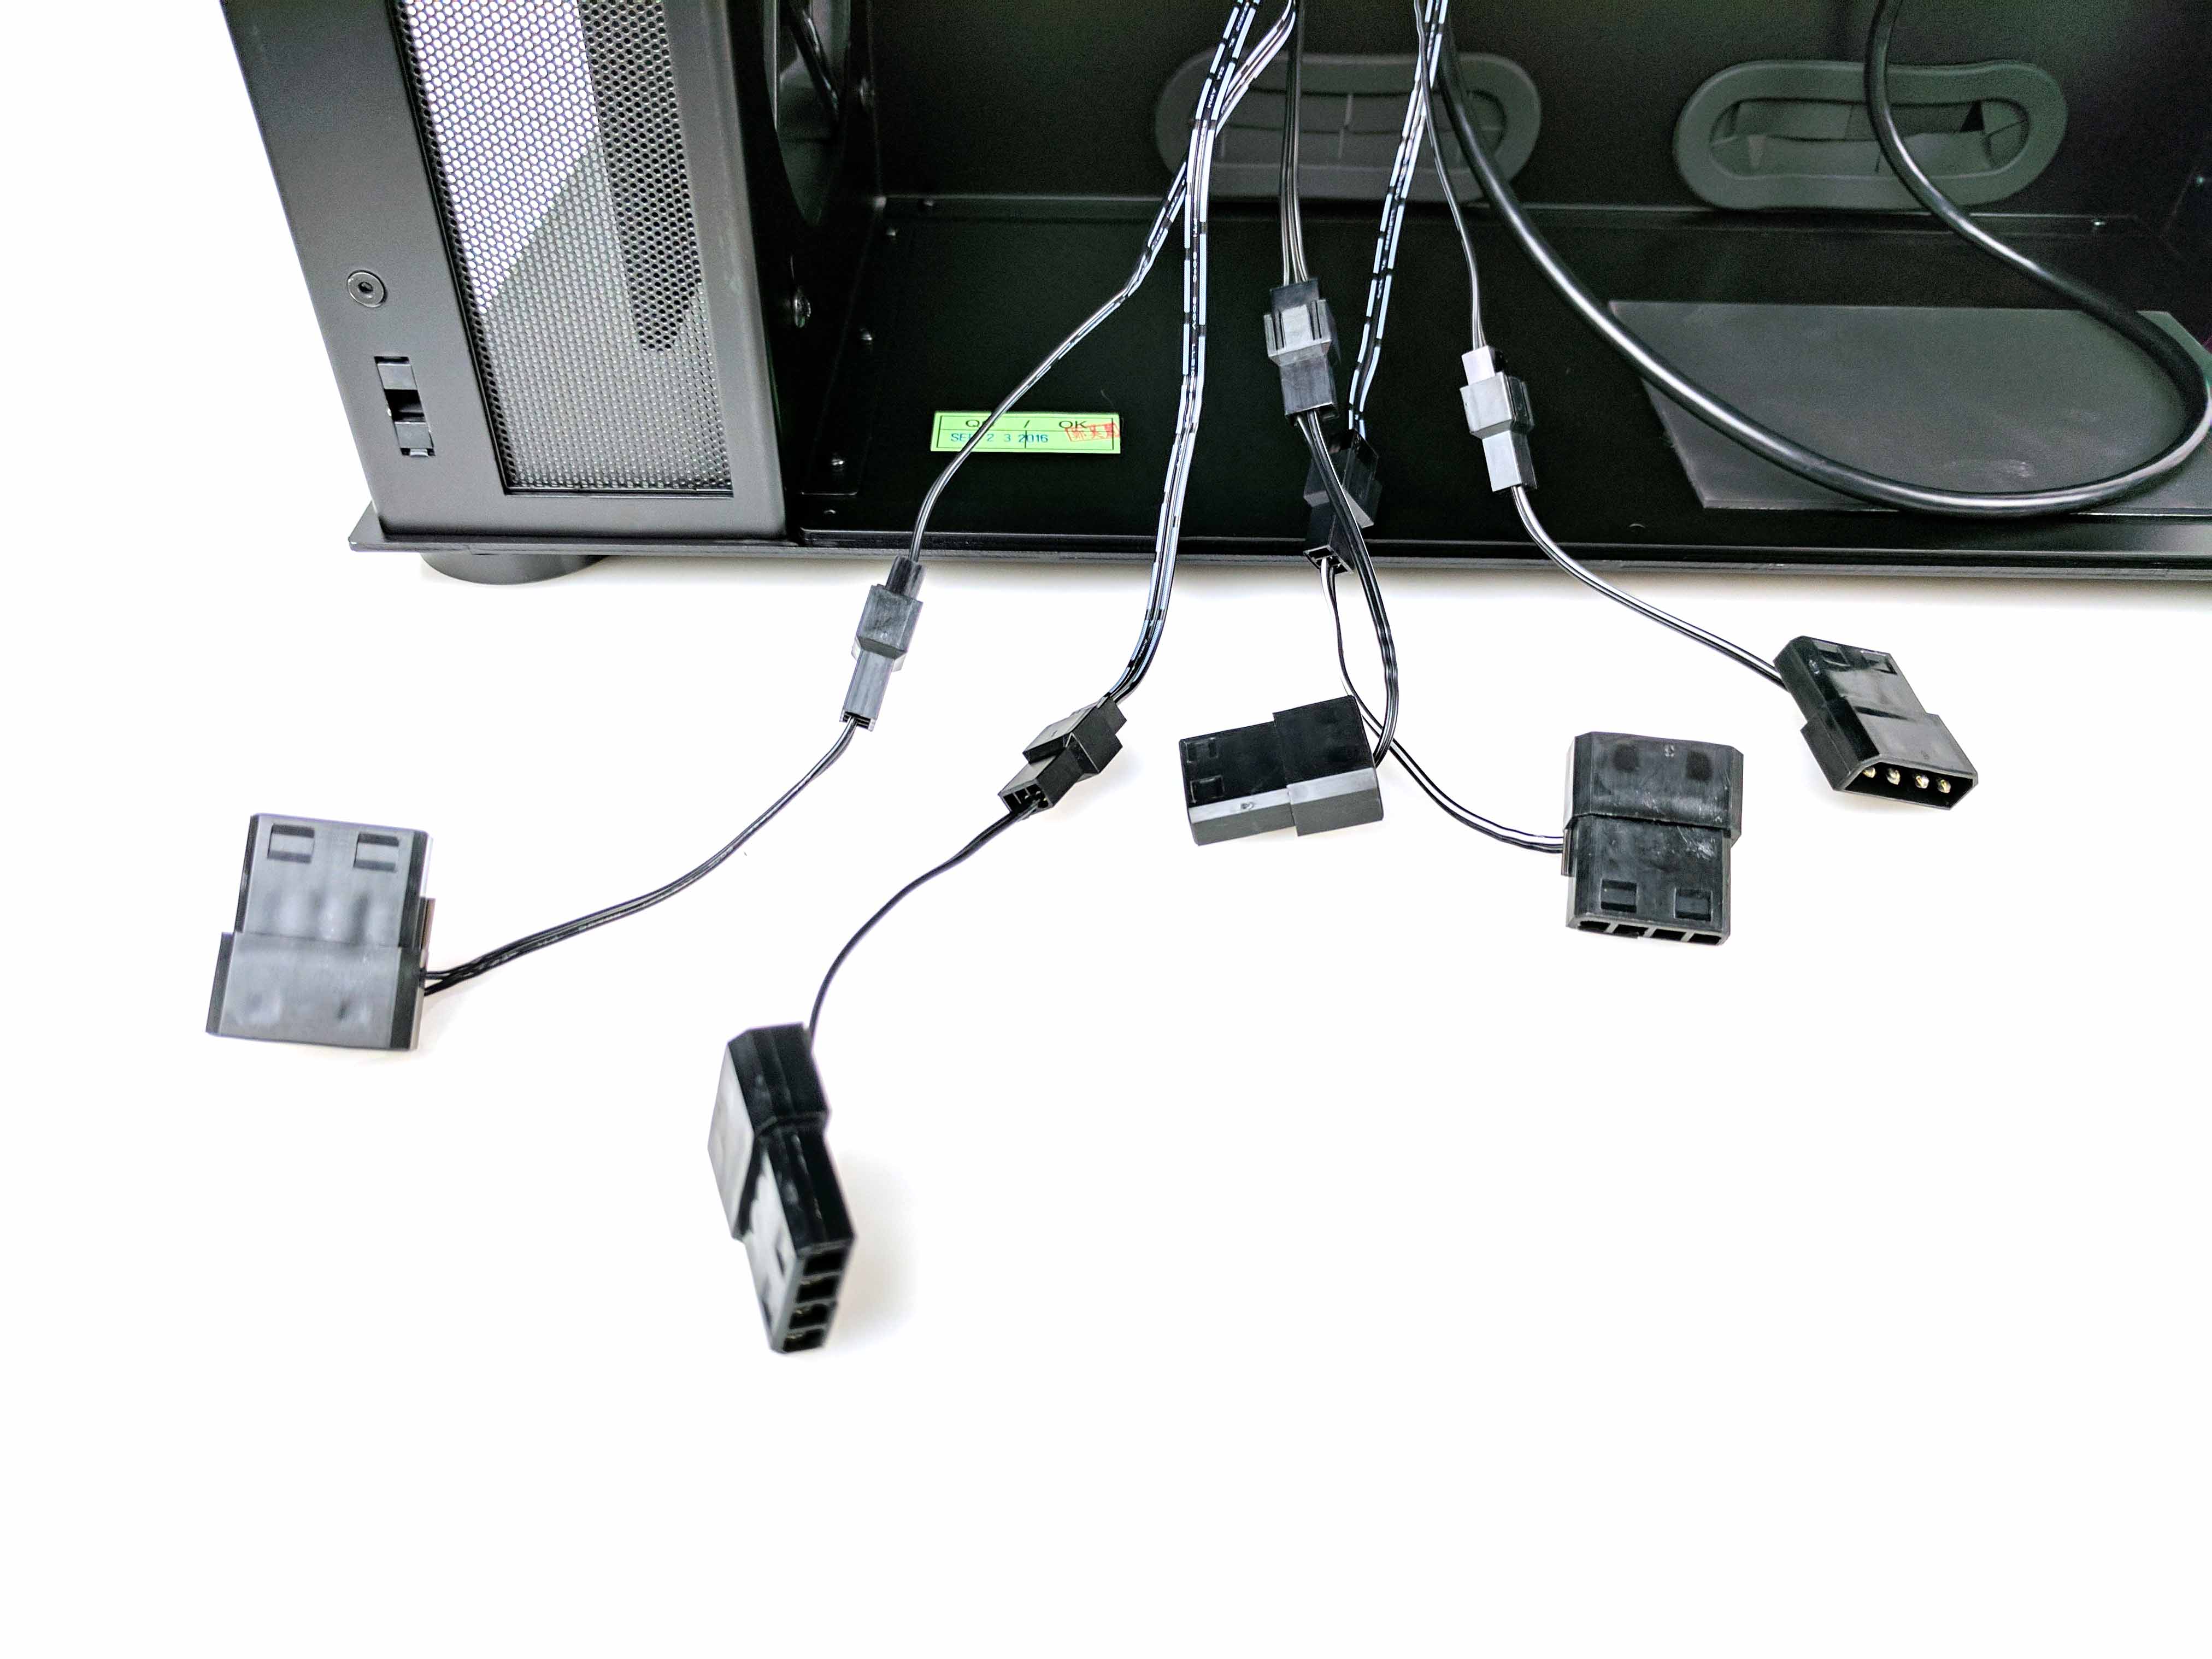
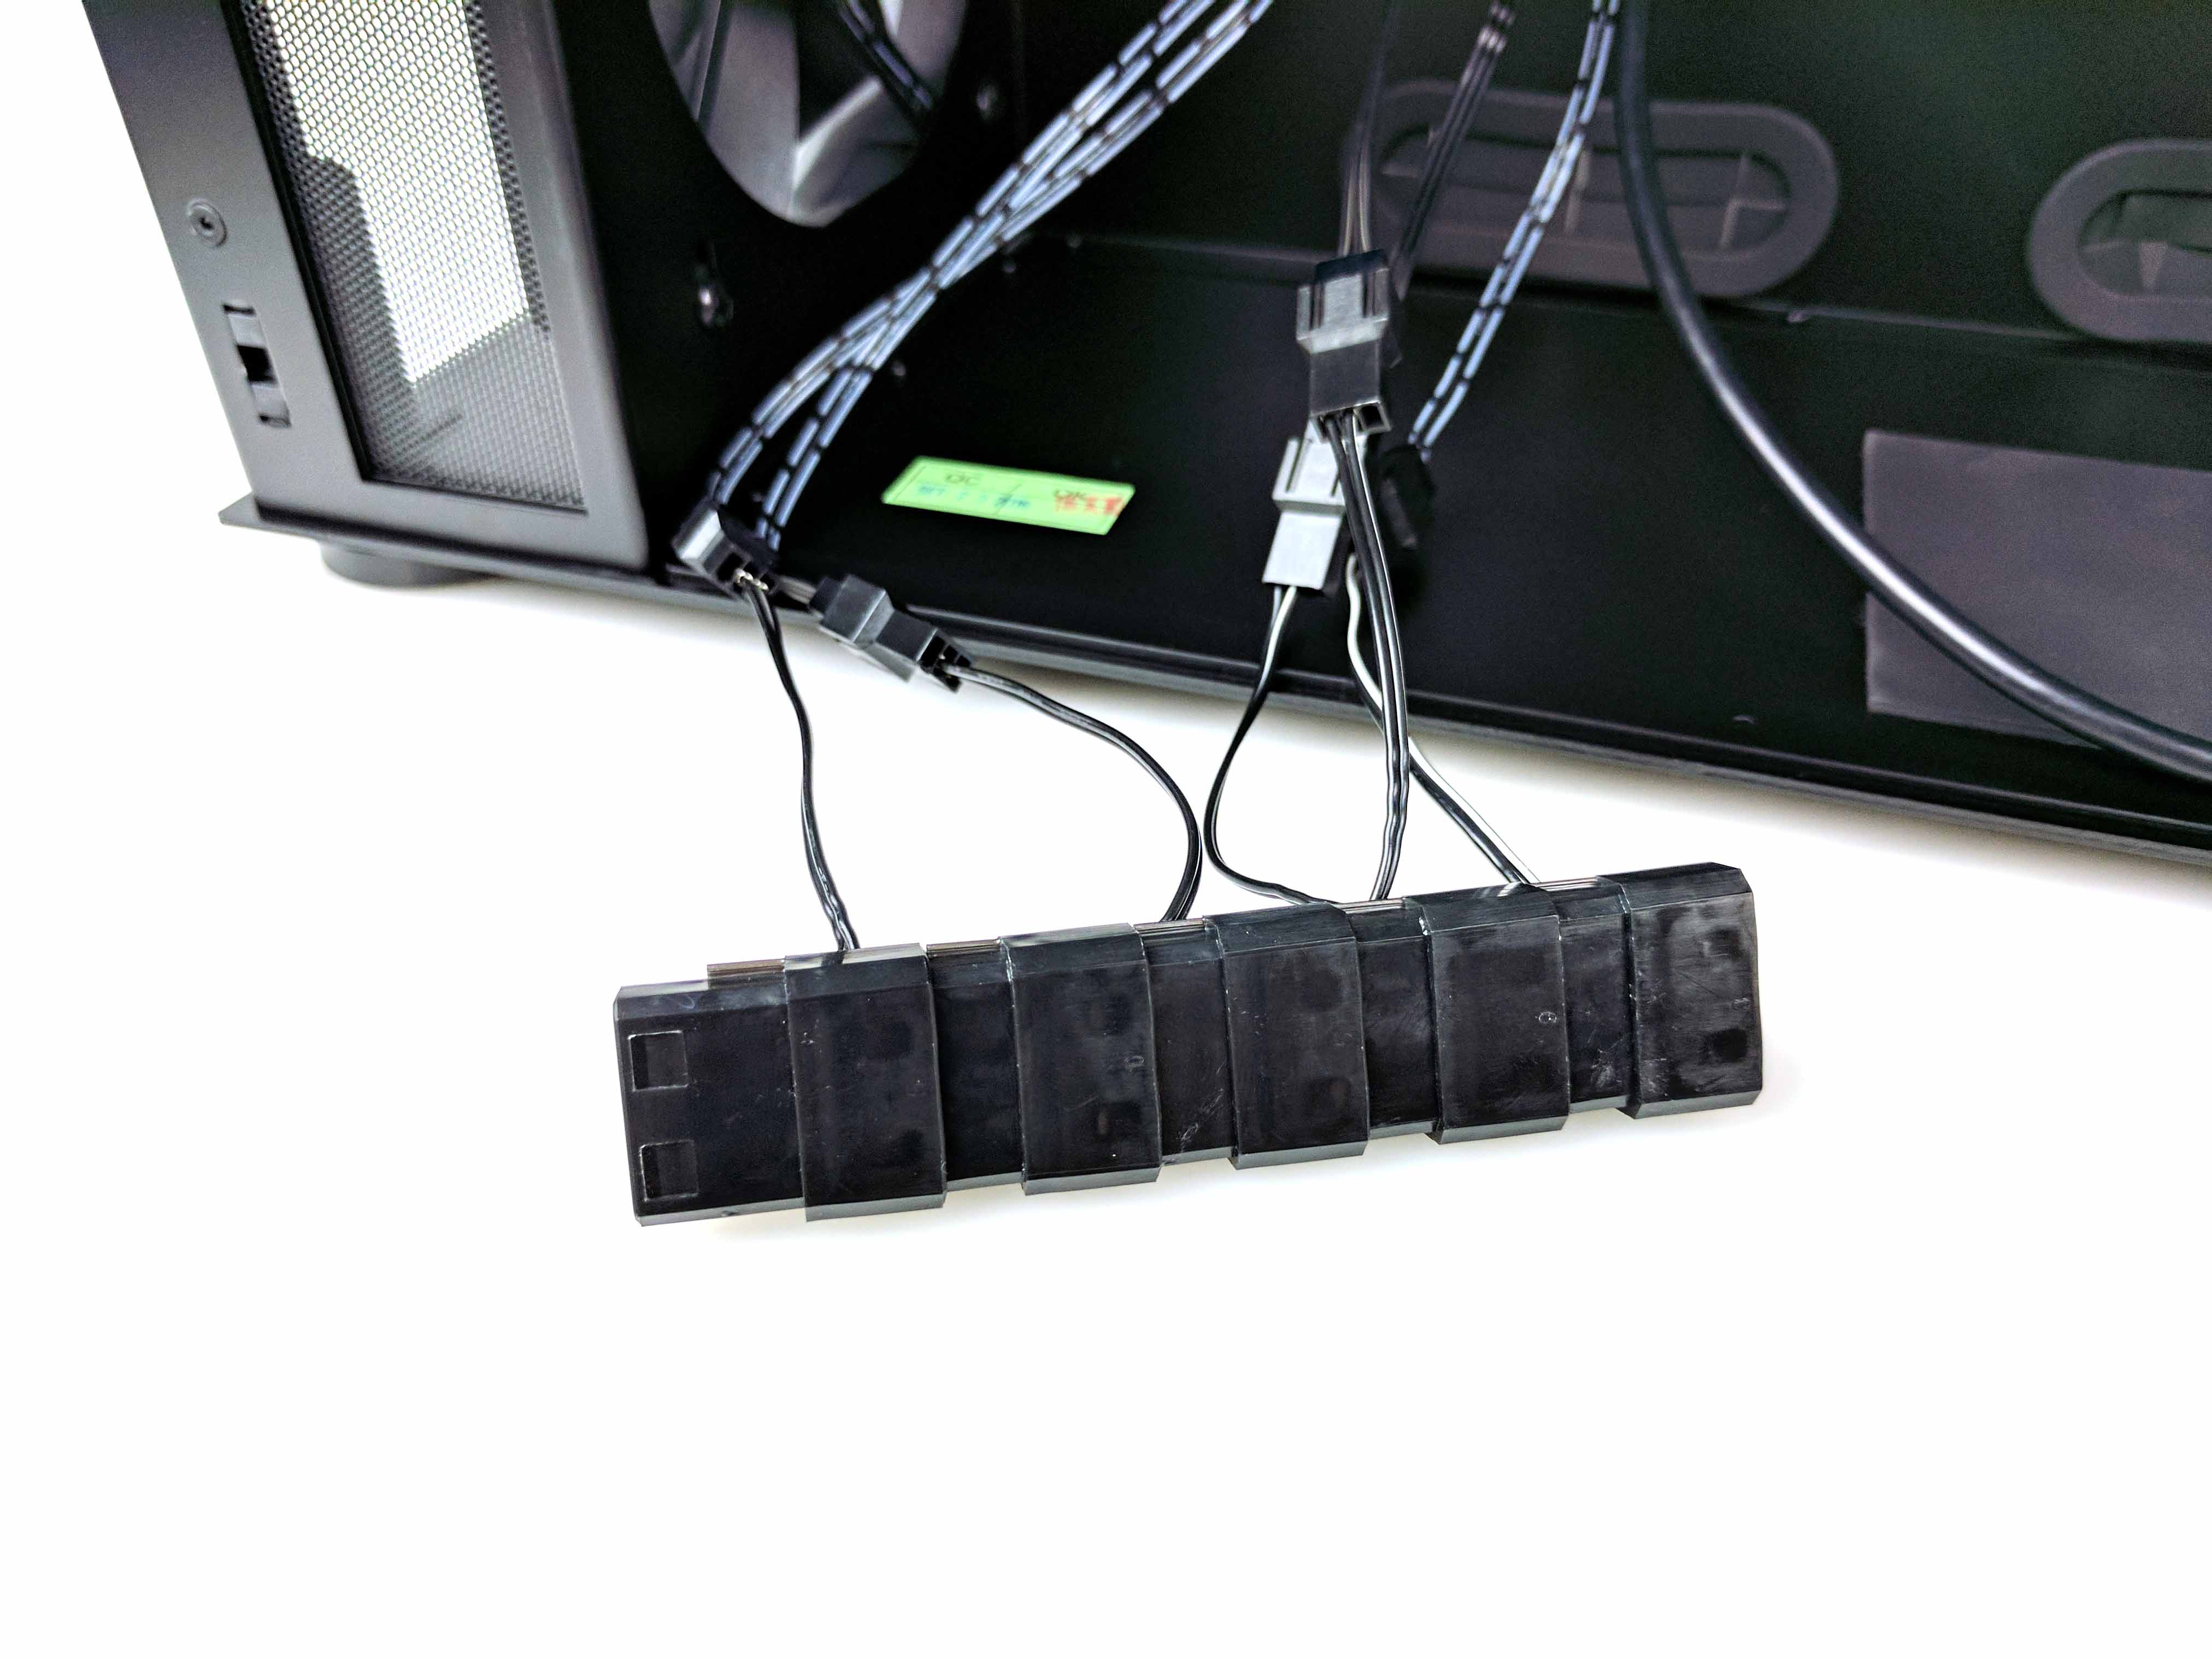
Get five molex-to-fan adapters from the hardware box (see the first picture above). Attach one to each of the five fan cables with the 3-pin connector. Then plug all of the molex connectors into each other as clean as you can. Let the molex chain sit at the bottom of the case for now.
Lighting
The Lian-Li 08WX case comes with RGB LED strips, and there’s a controller built right into the case. However, to reach the controller (mounted just under the 3.5” drive bay) and feed the wires to the main chamber of the case (where the flashy lights would surely go), we have to run the extension cables from it rather early in the building process.
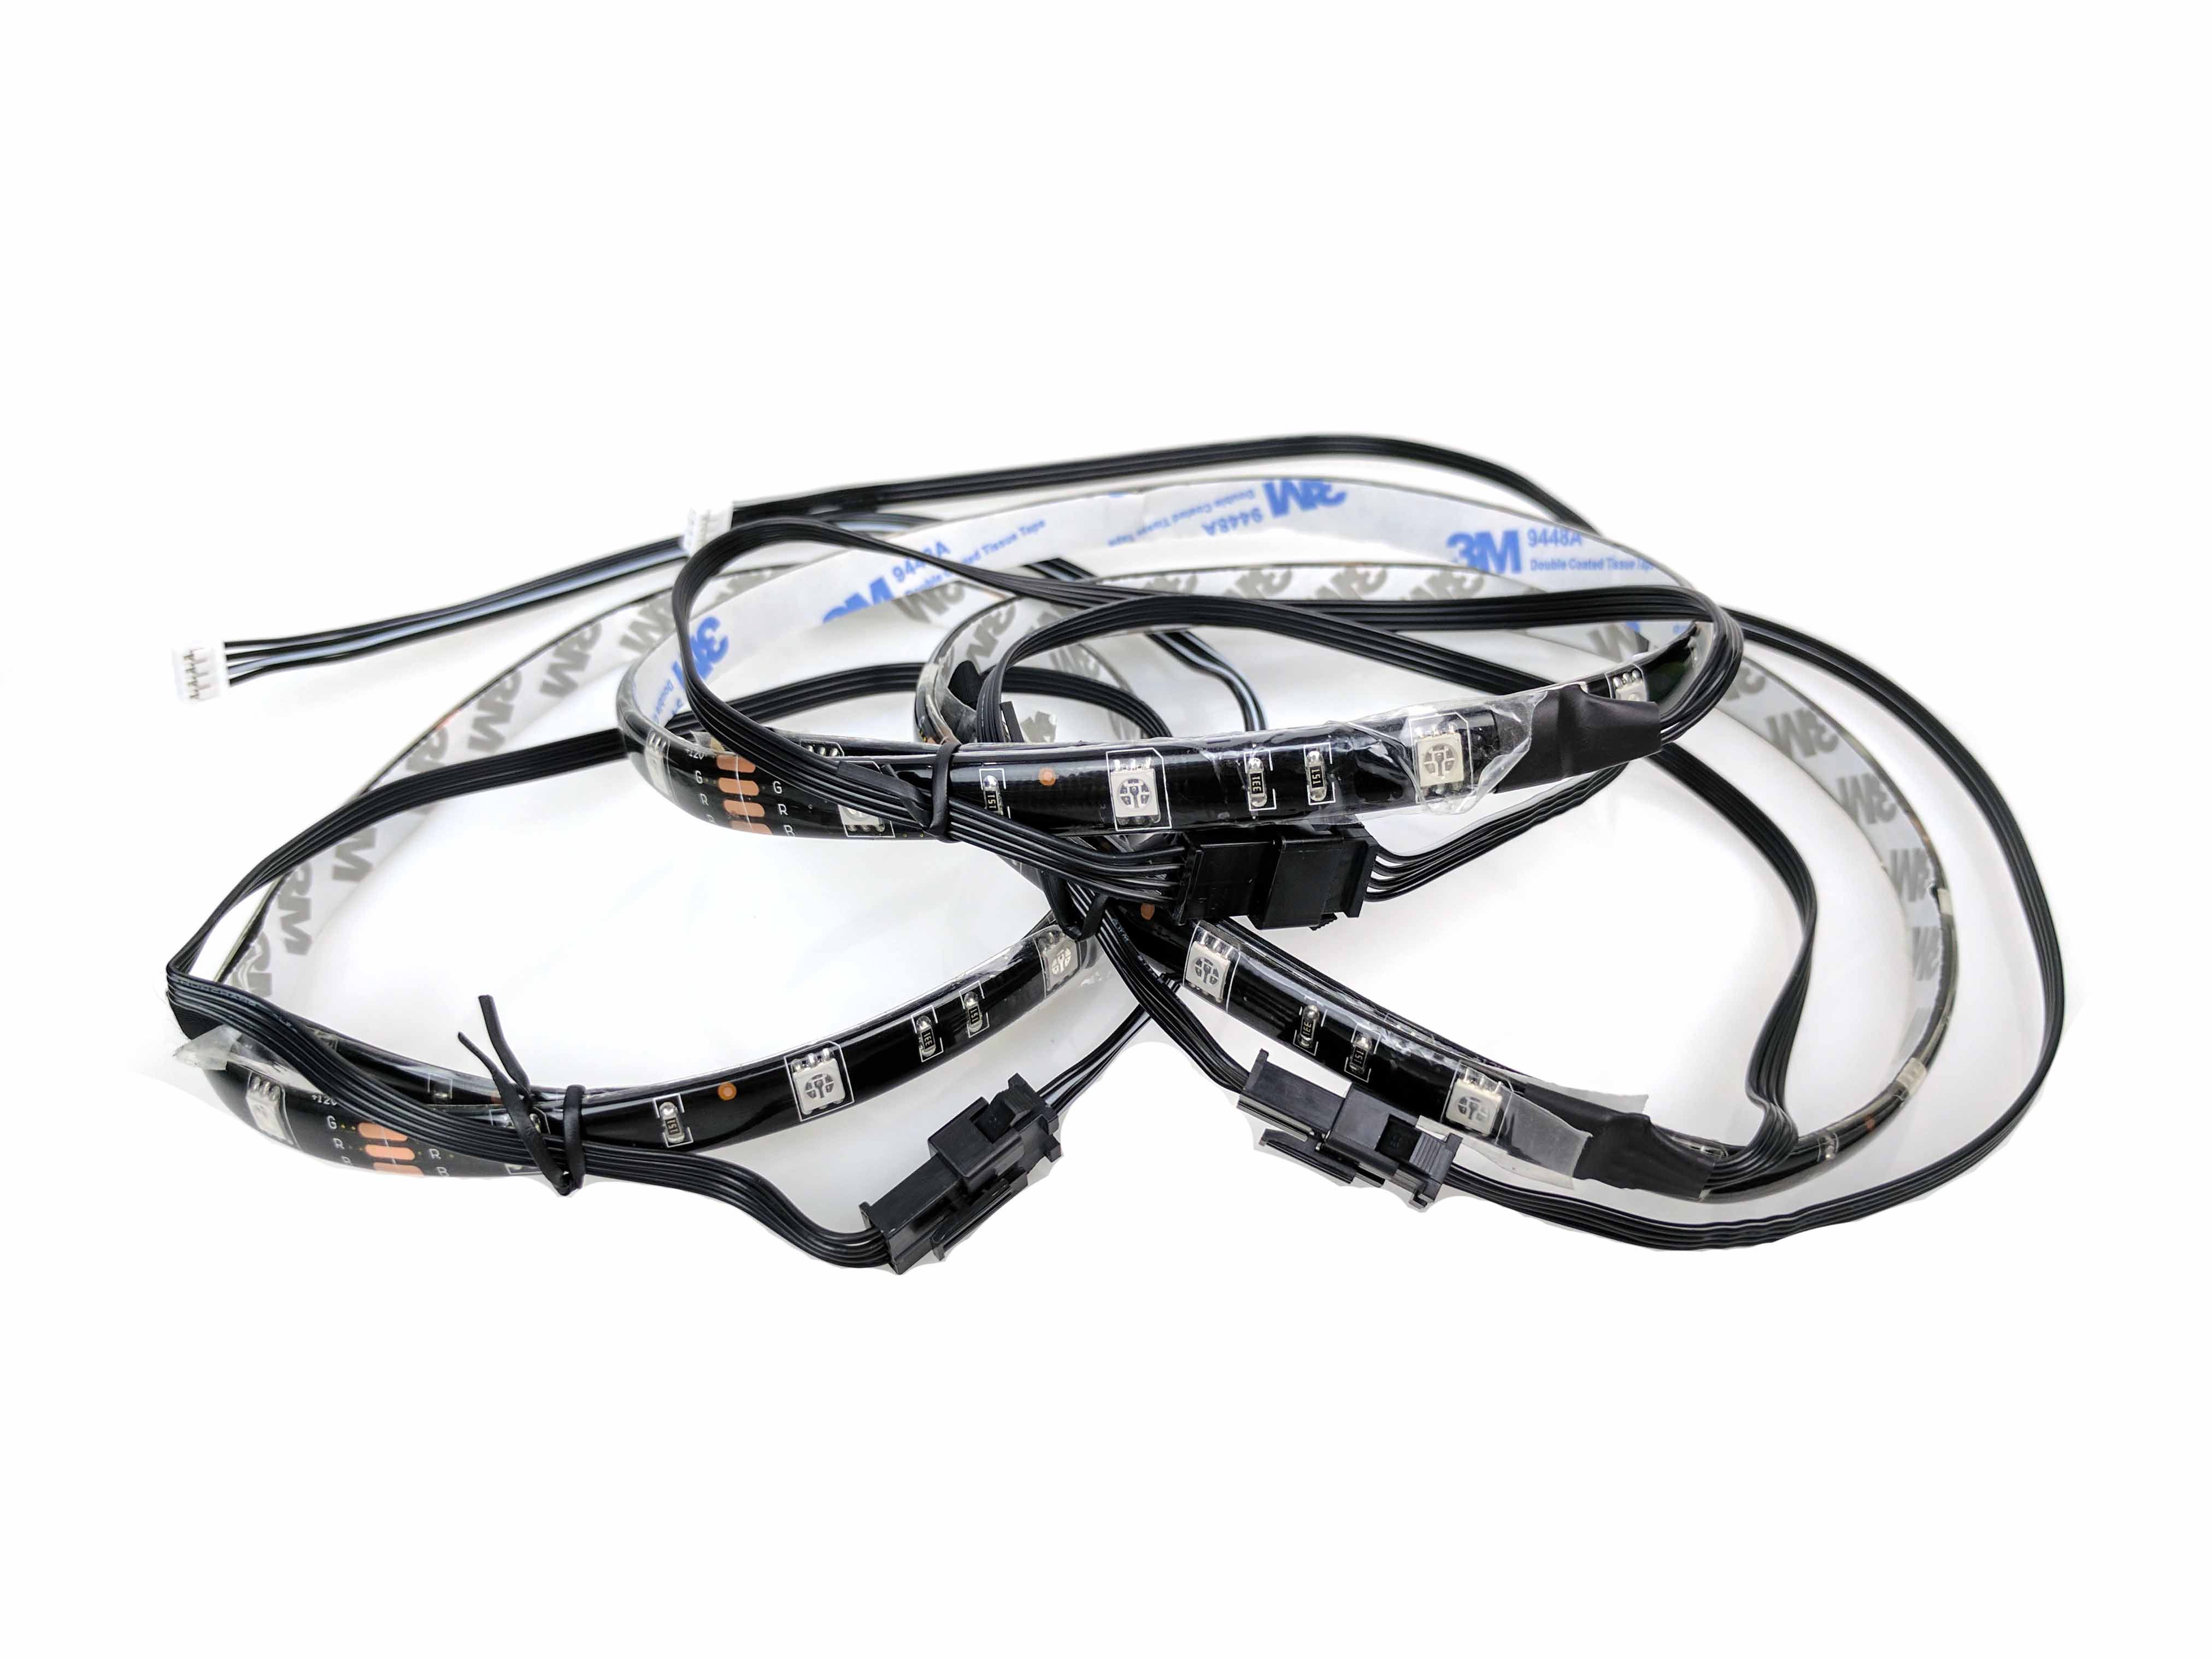
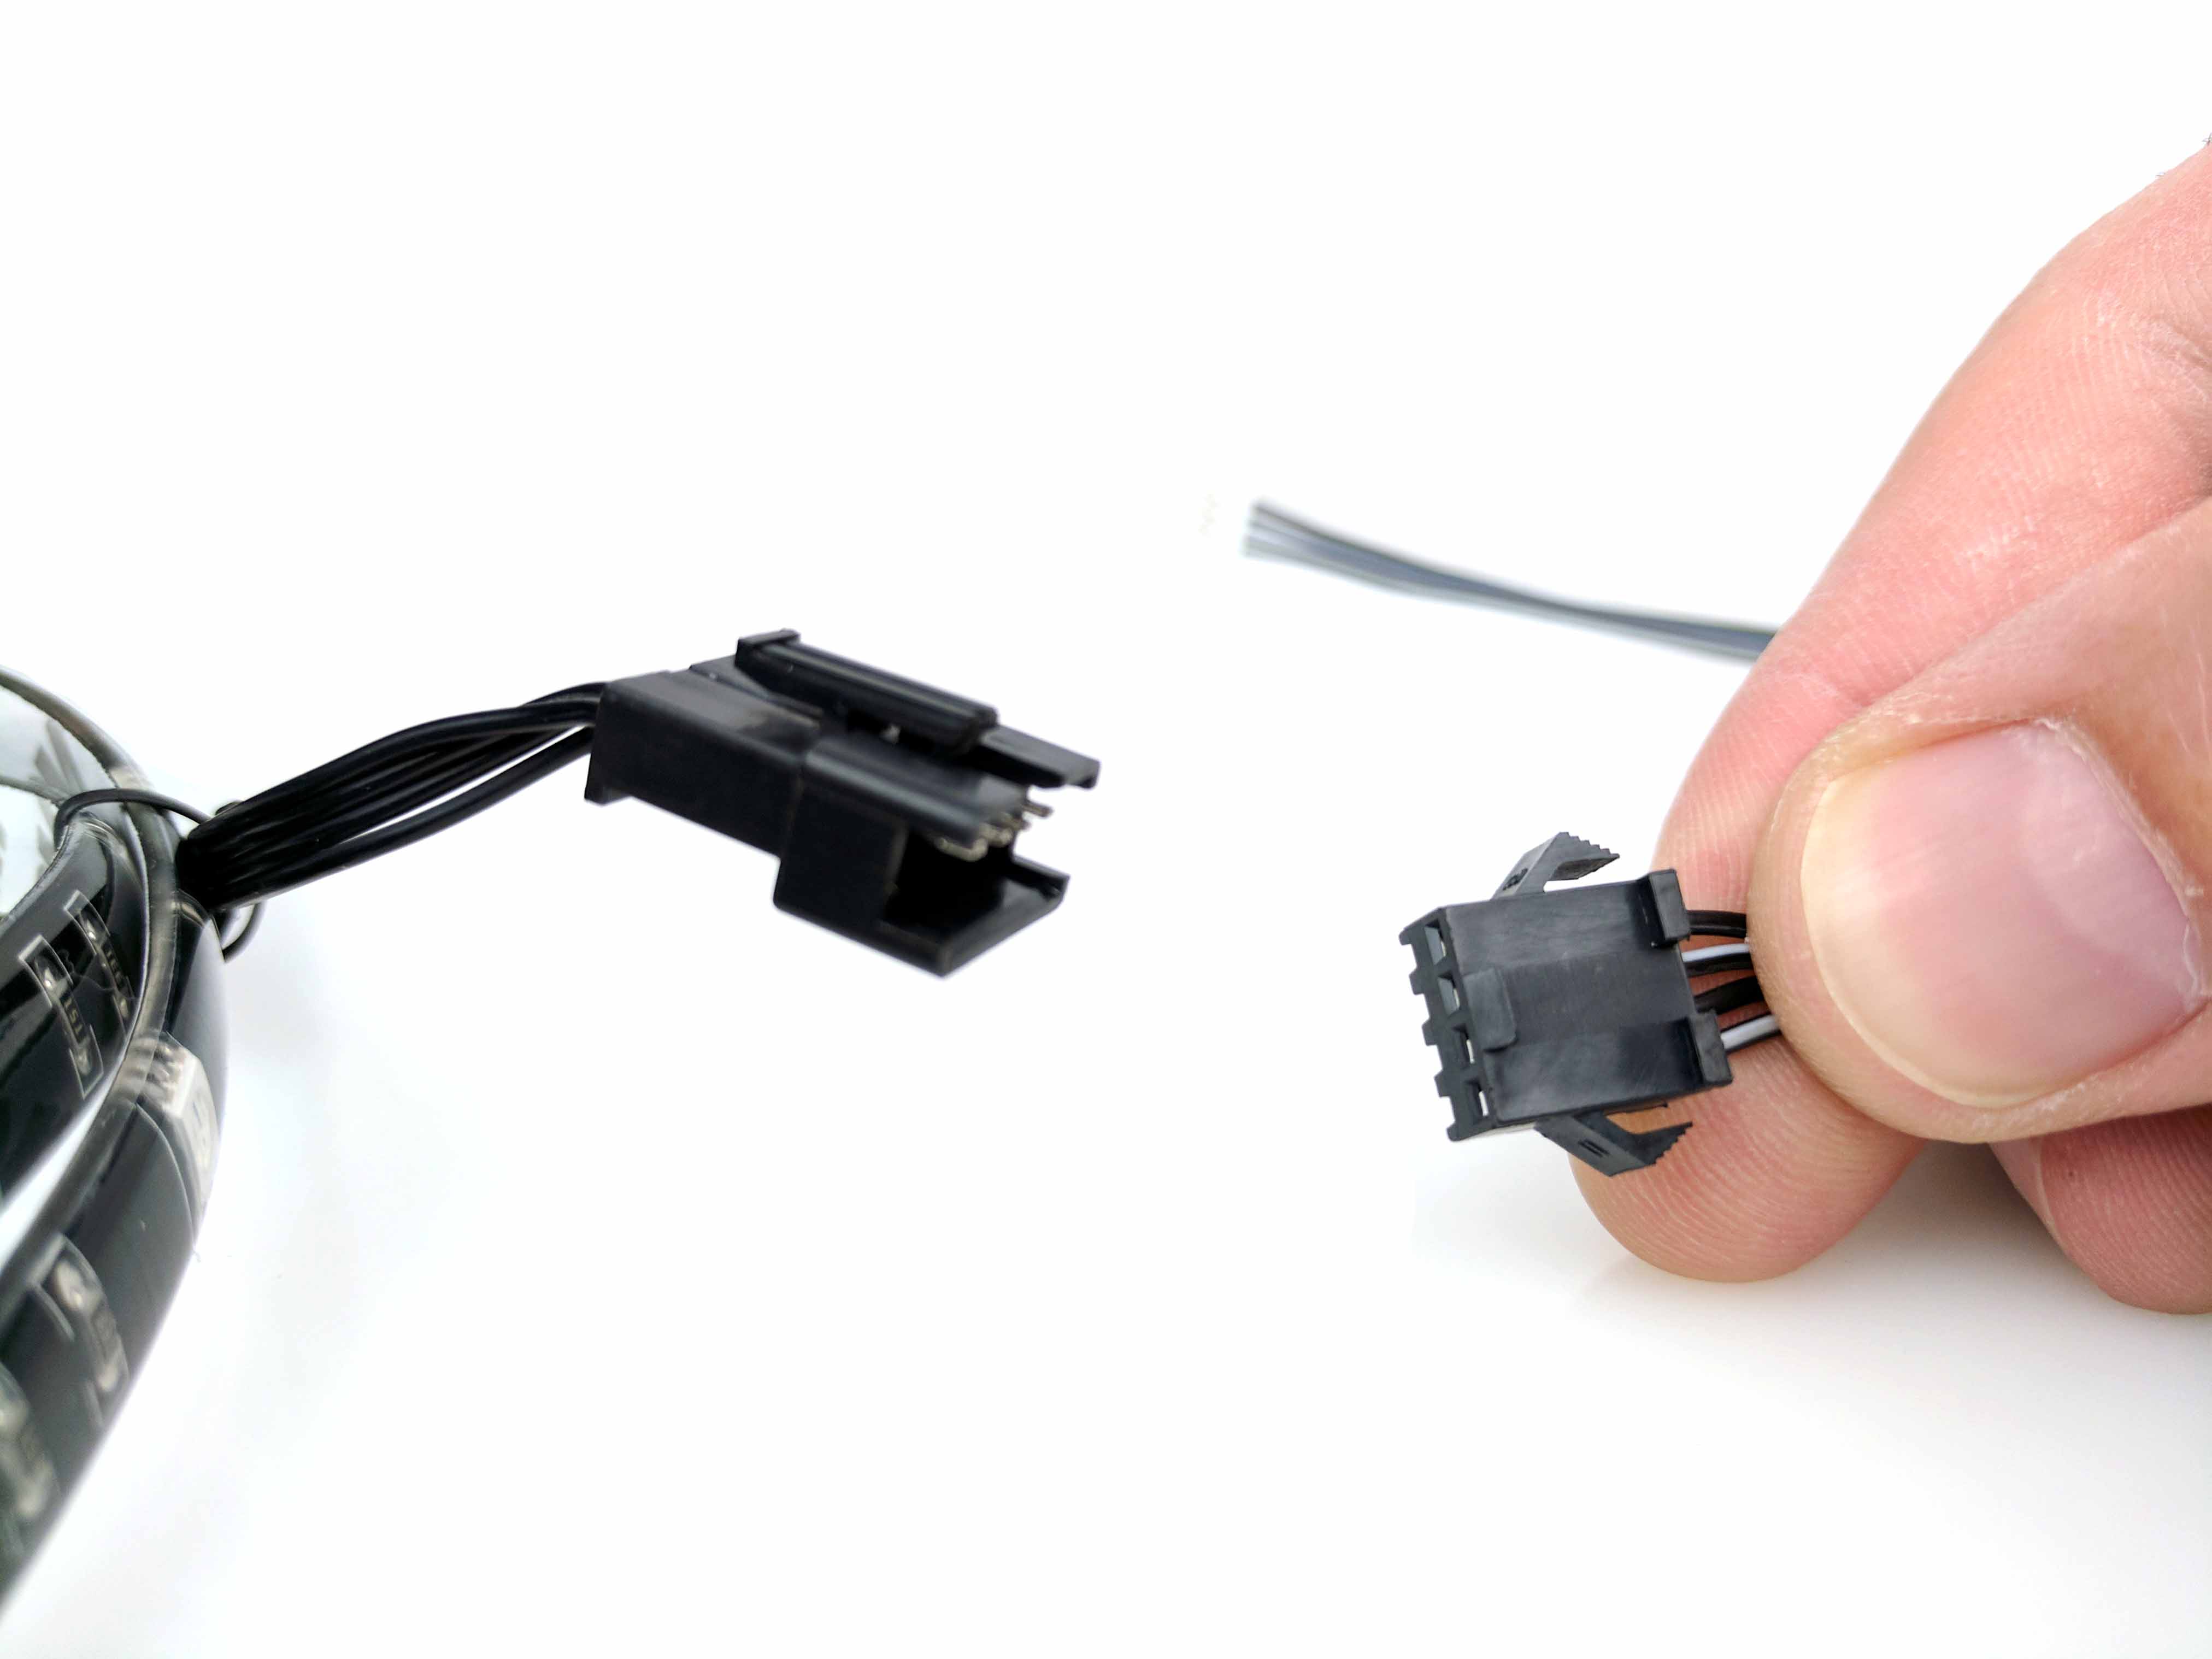
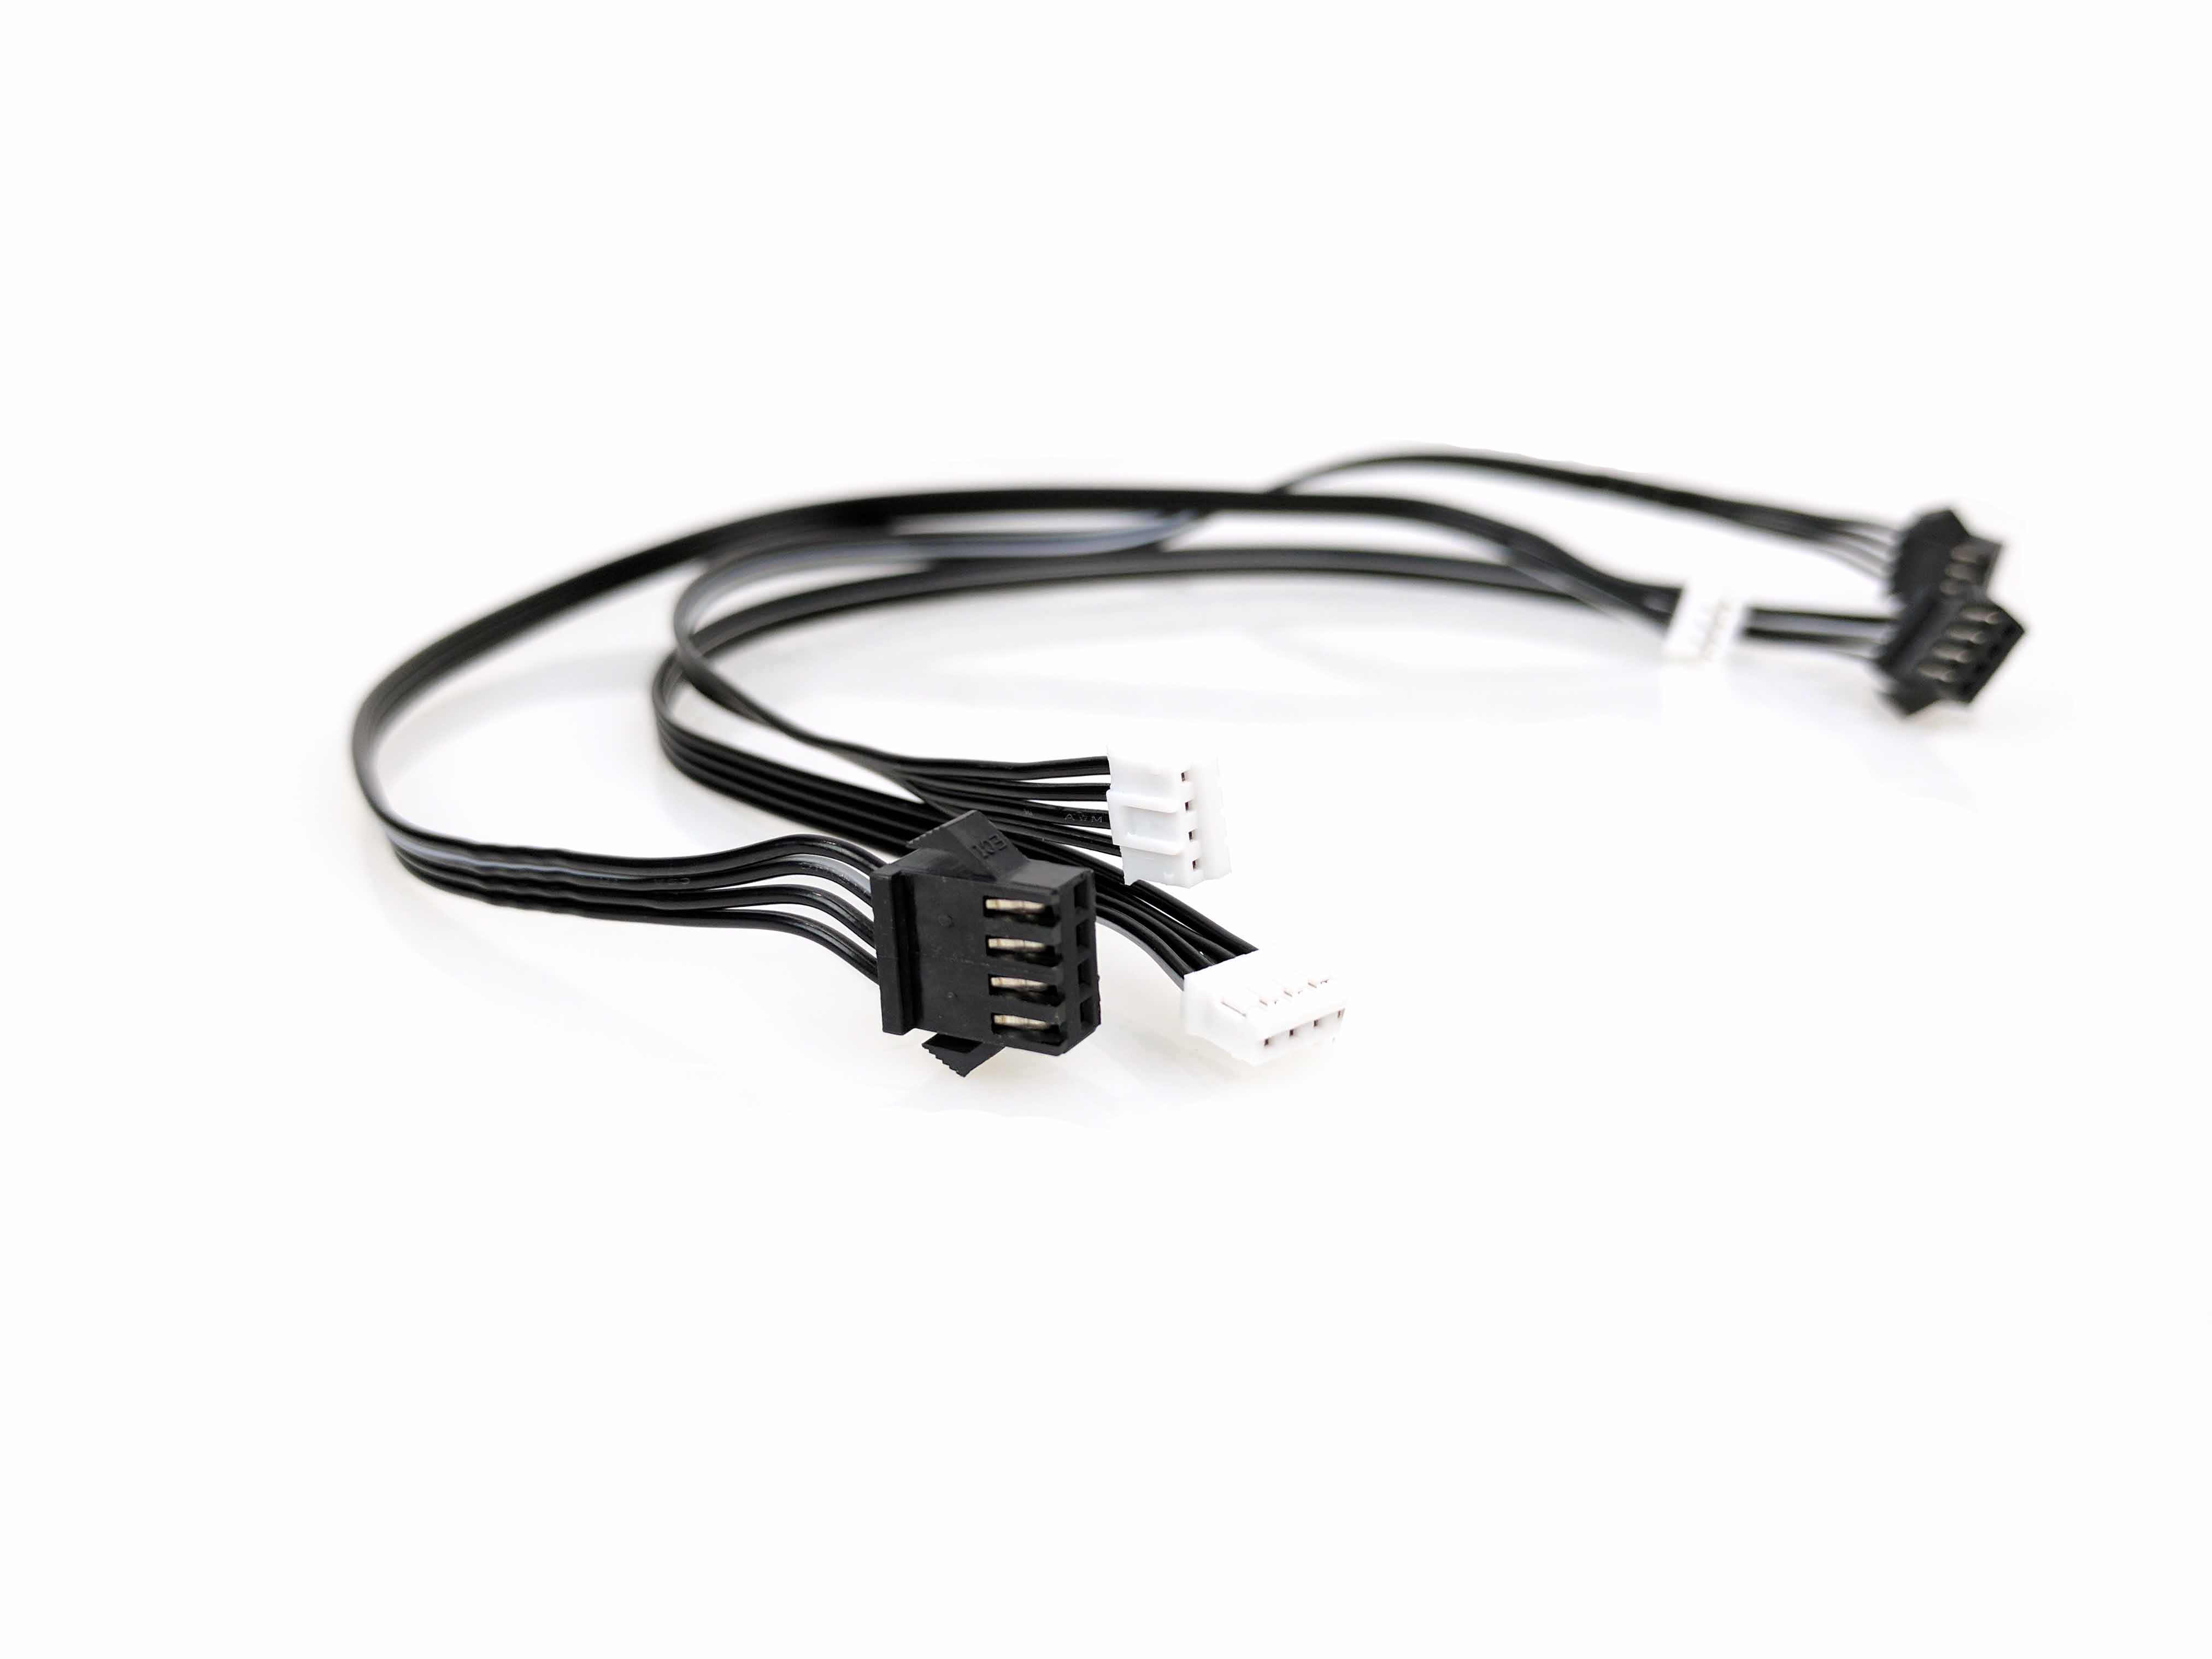
Take the three RGB LED strips that come with the case, remove the extensions (wires without lights—see the 2nd and 3rd pictures below)) on each length of lights, and set aside the RGB LEDs for later. Plug the three extensions into the RGB LED controller using the white leads (4th picture below). Feed the wires straight down and tie them to the RGB controller cable with one of the white tie wraps.
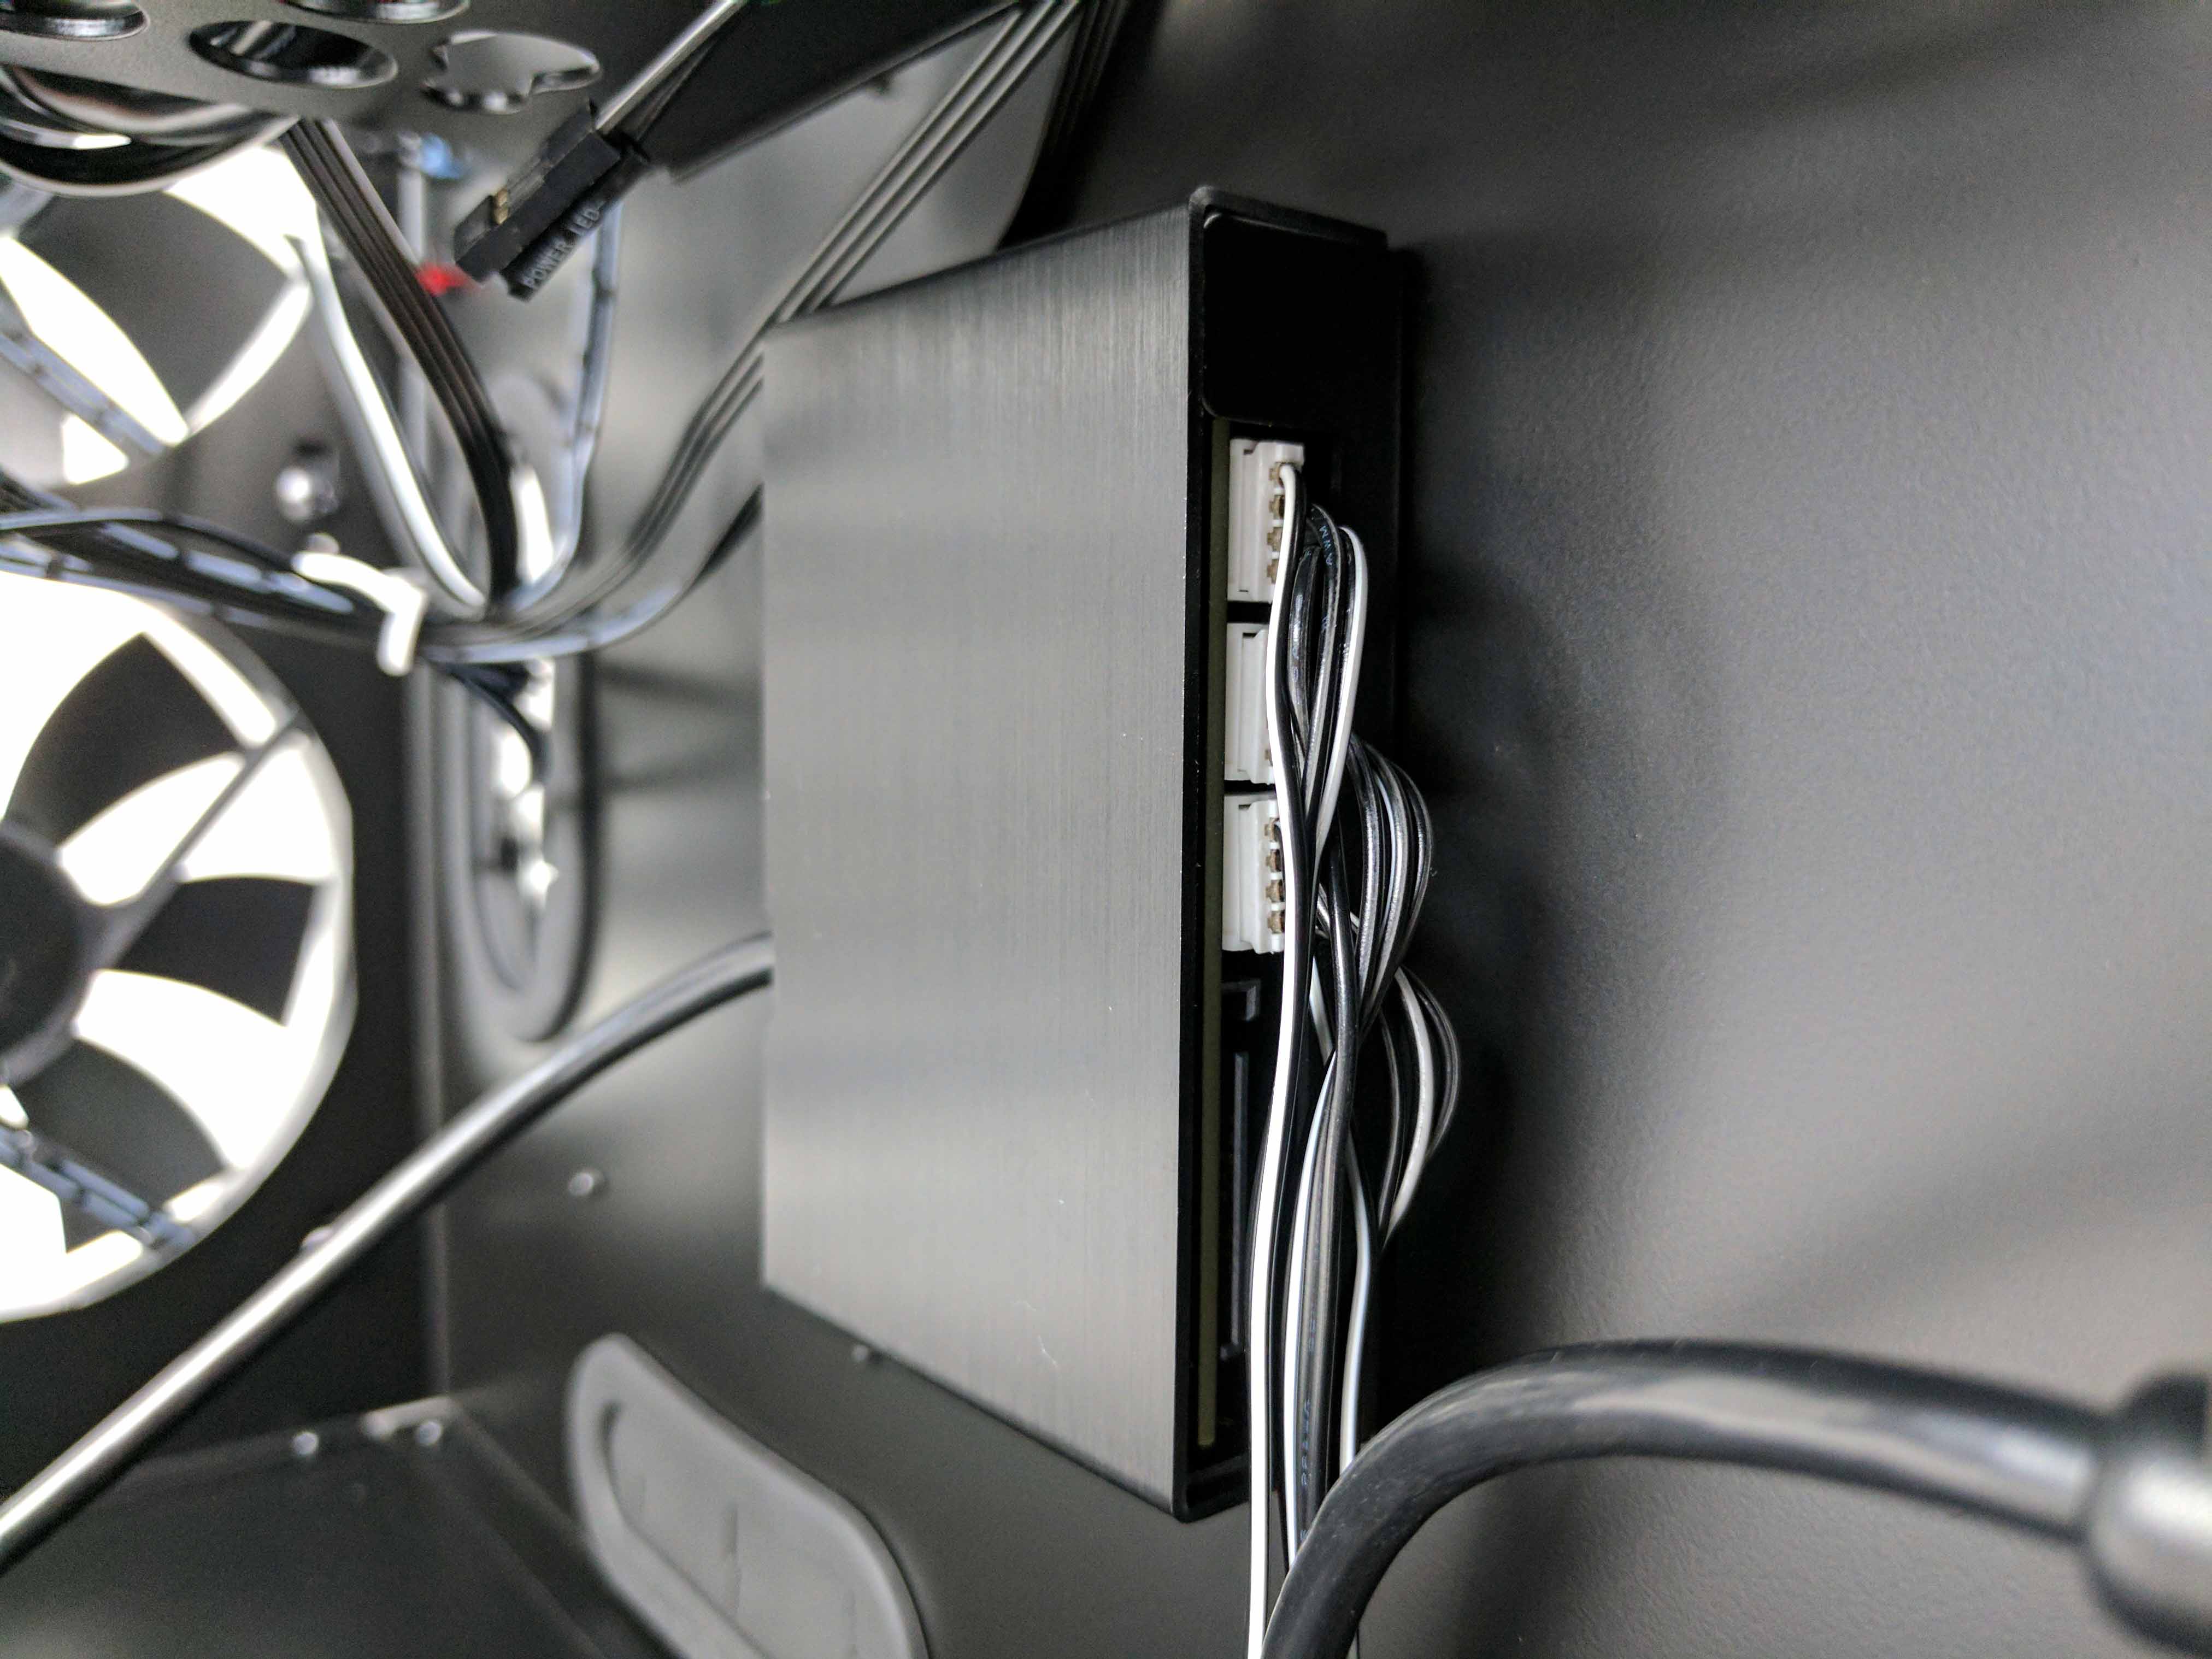
Feed the black ends of the extensions into the hole on the bottom right of the drive chamber and into the main chamber of the case (see first picture in the album below). Adjust the RGB controller cable so that it rests along the edge of the case (out of the way of the PSU bay and port holes in the chassis).
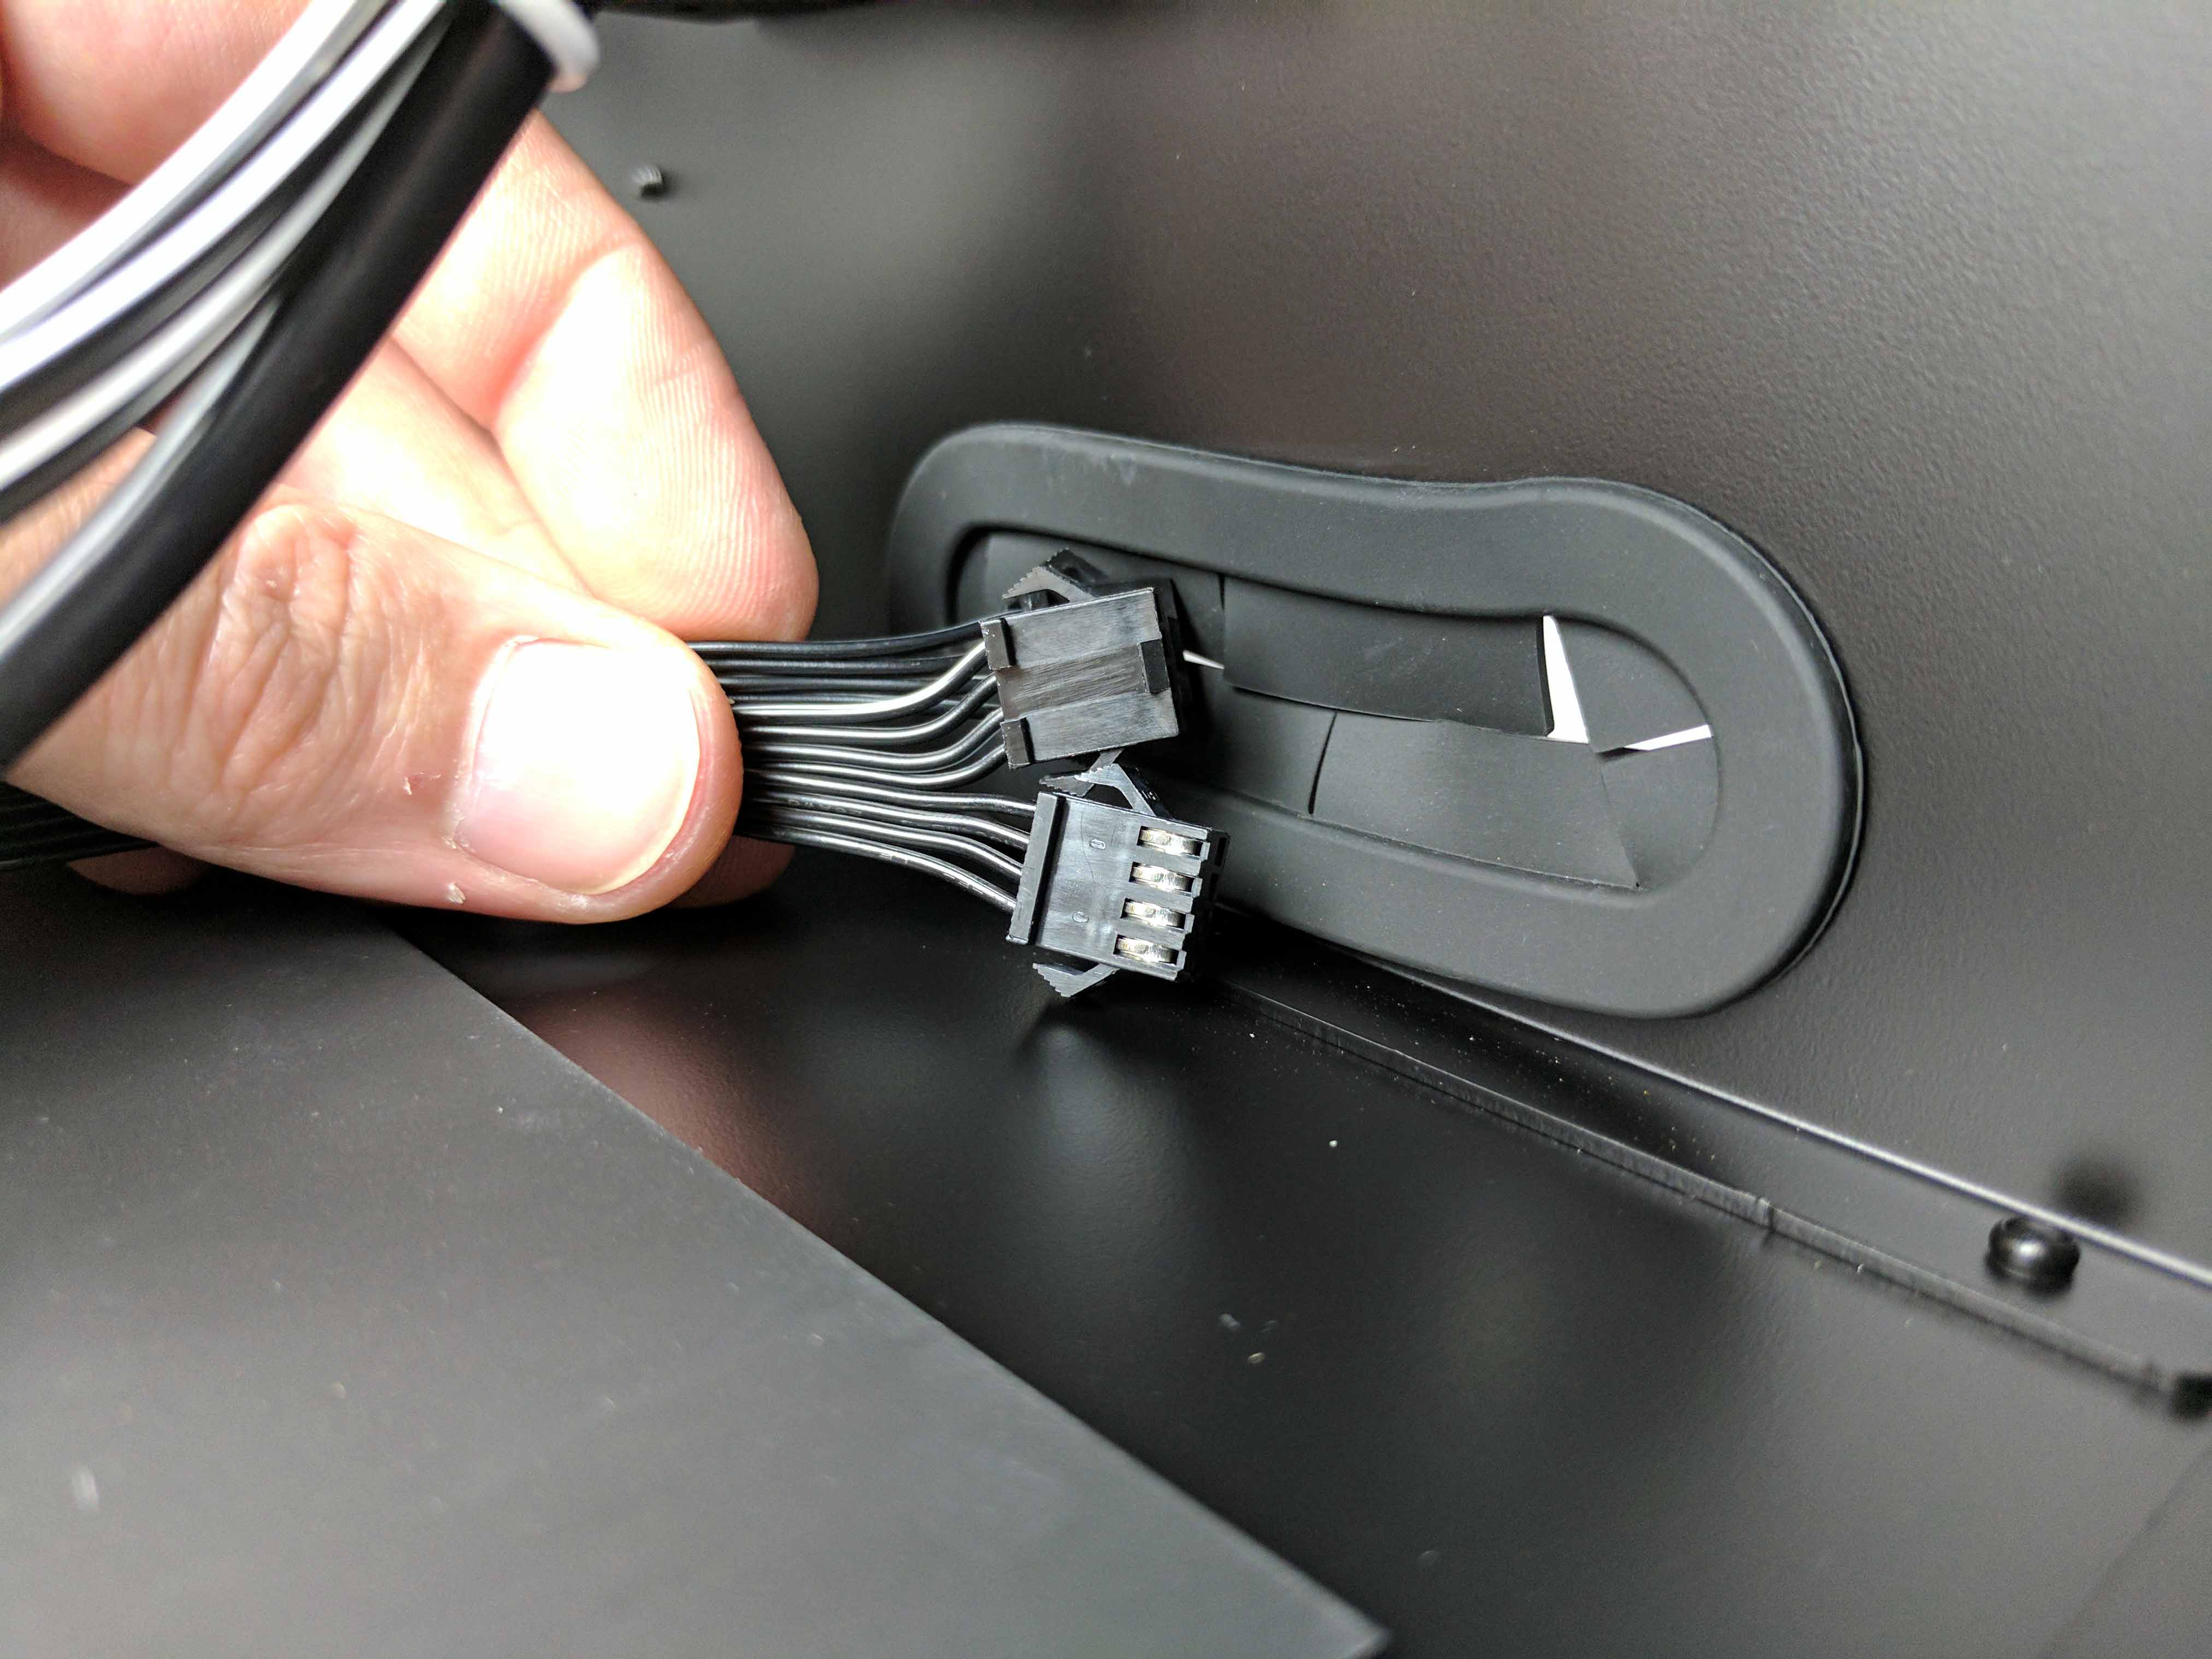
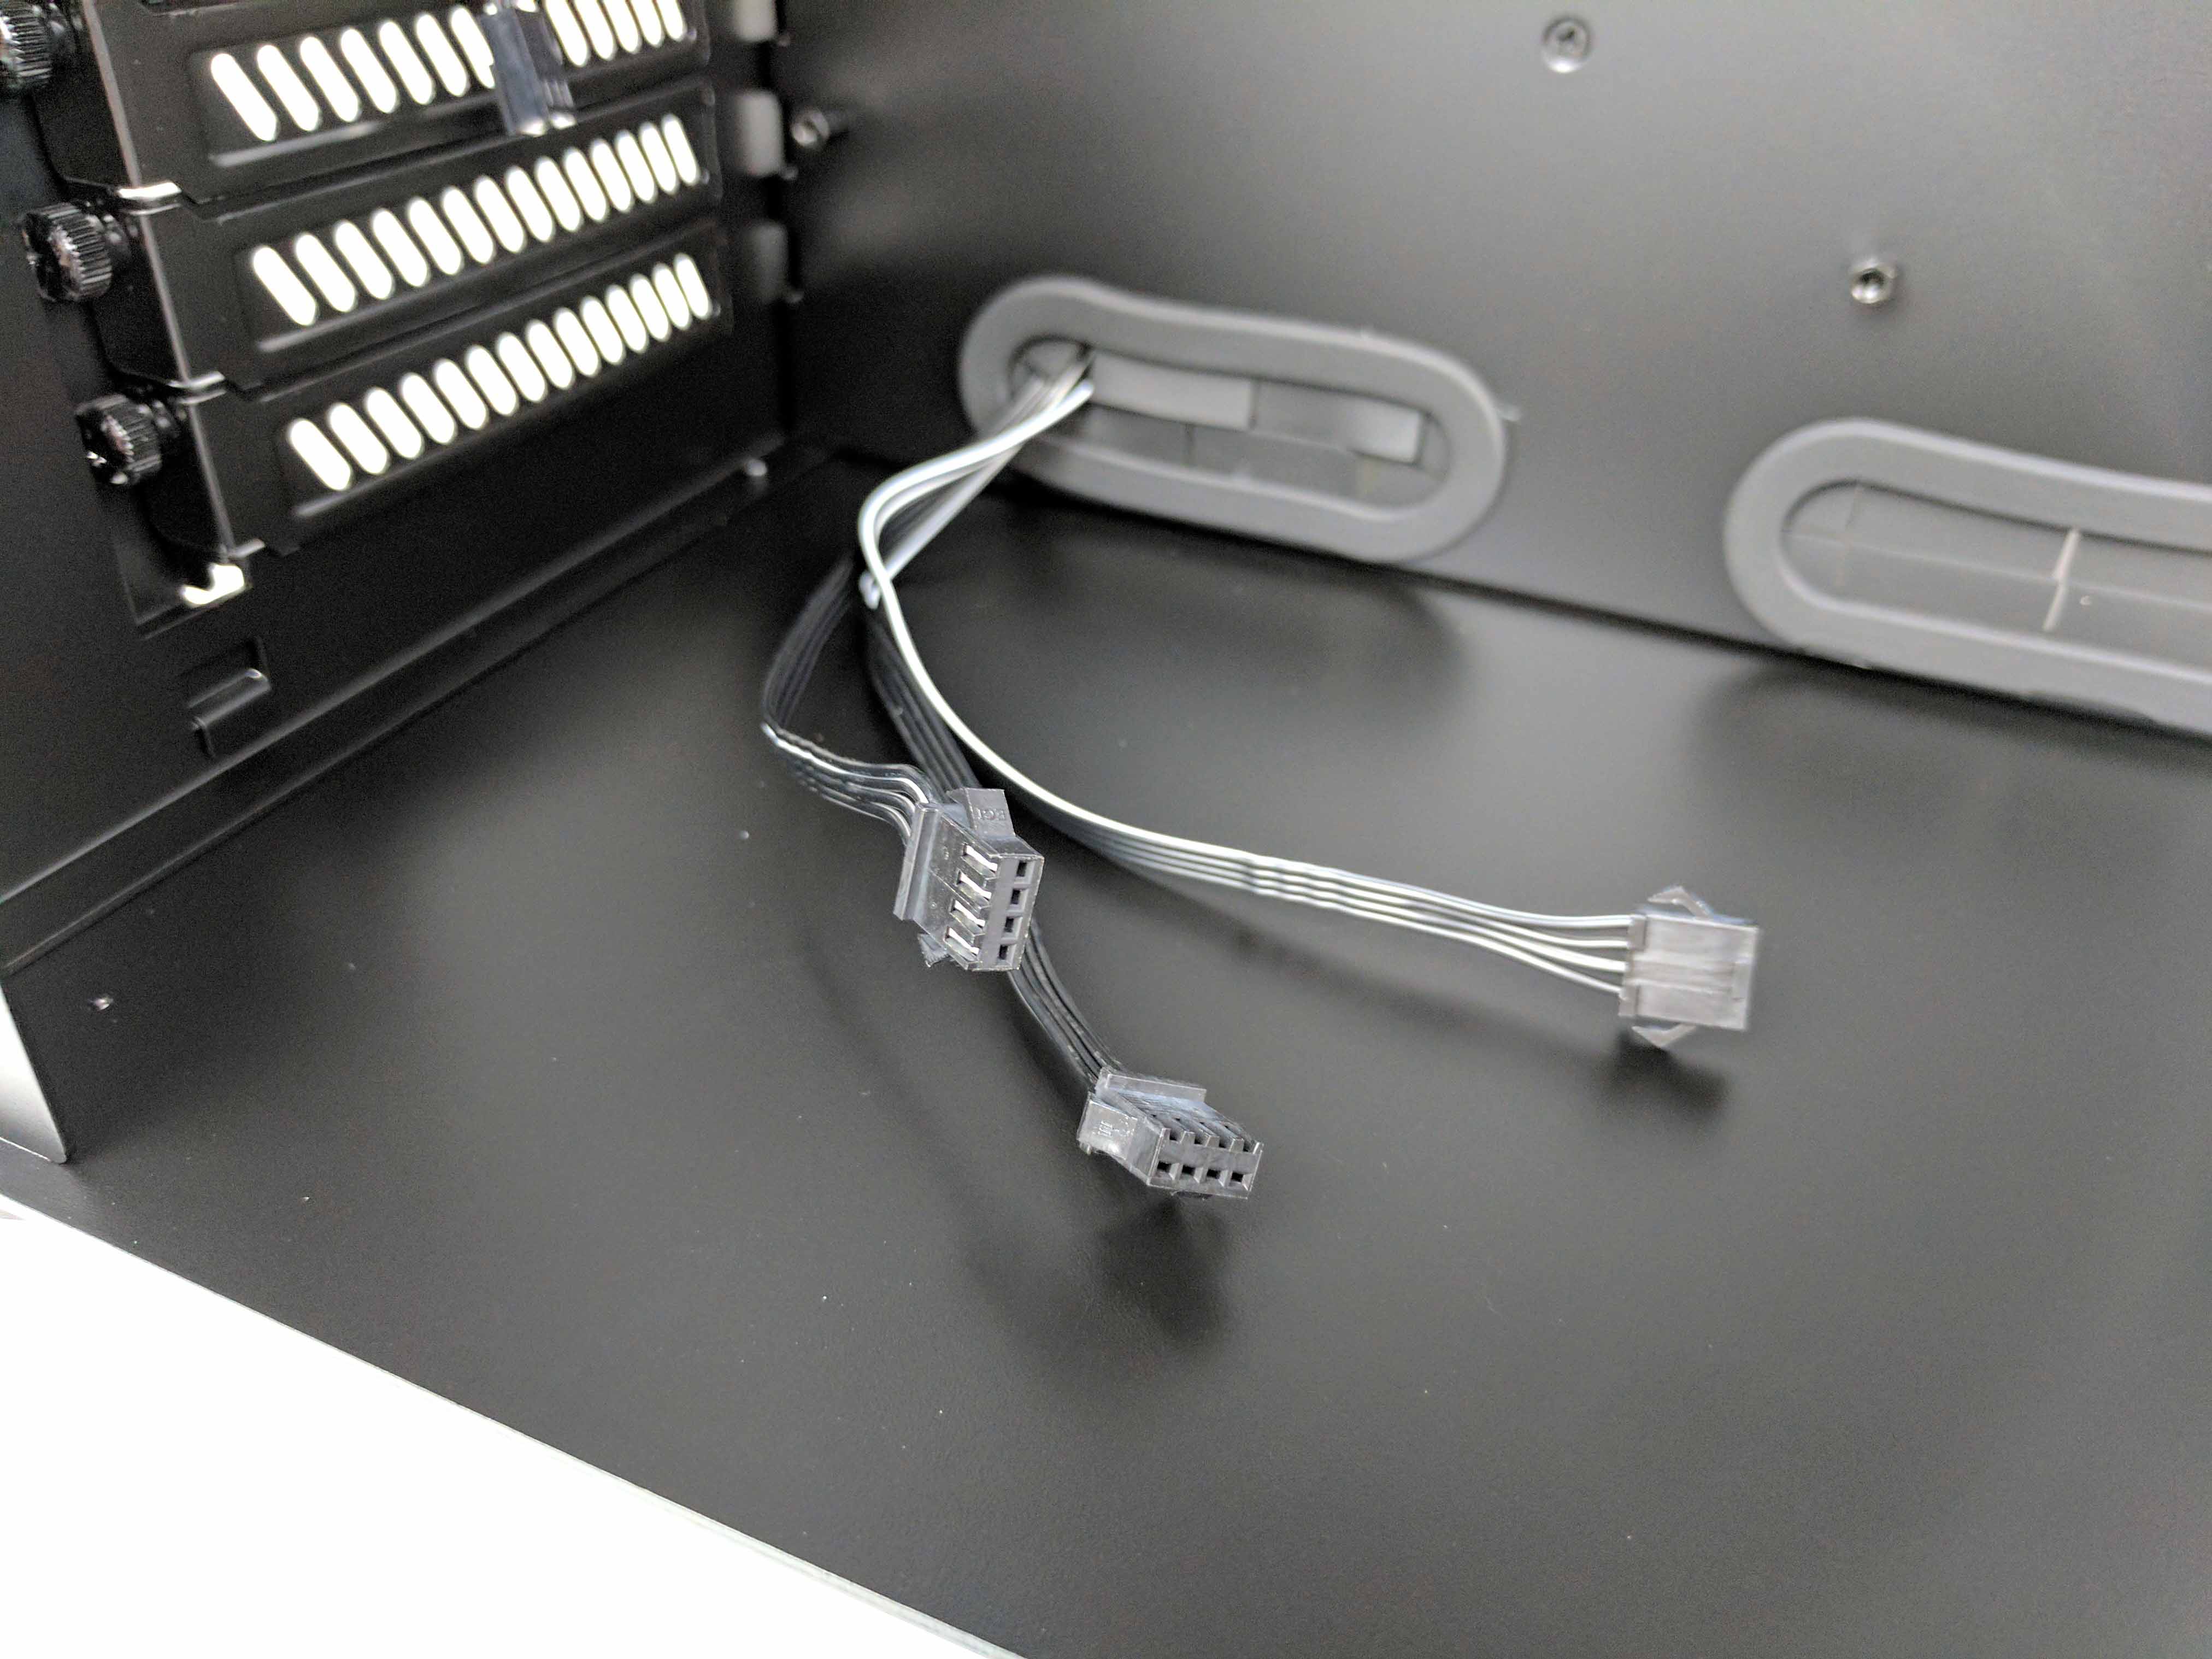
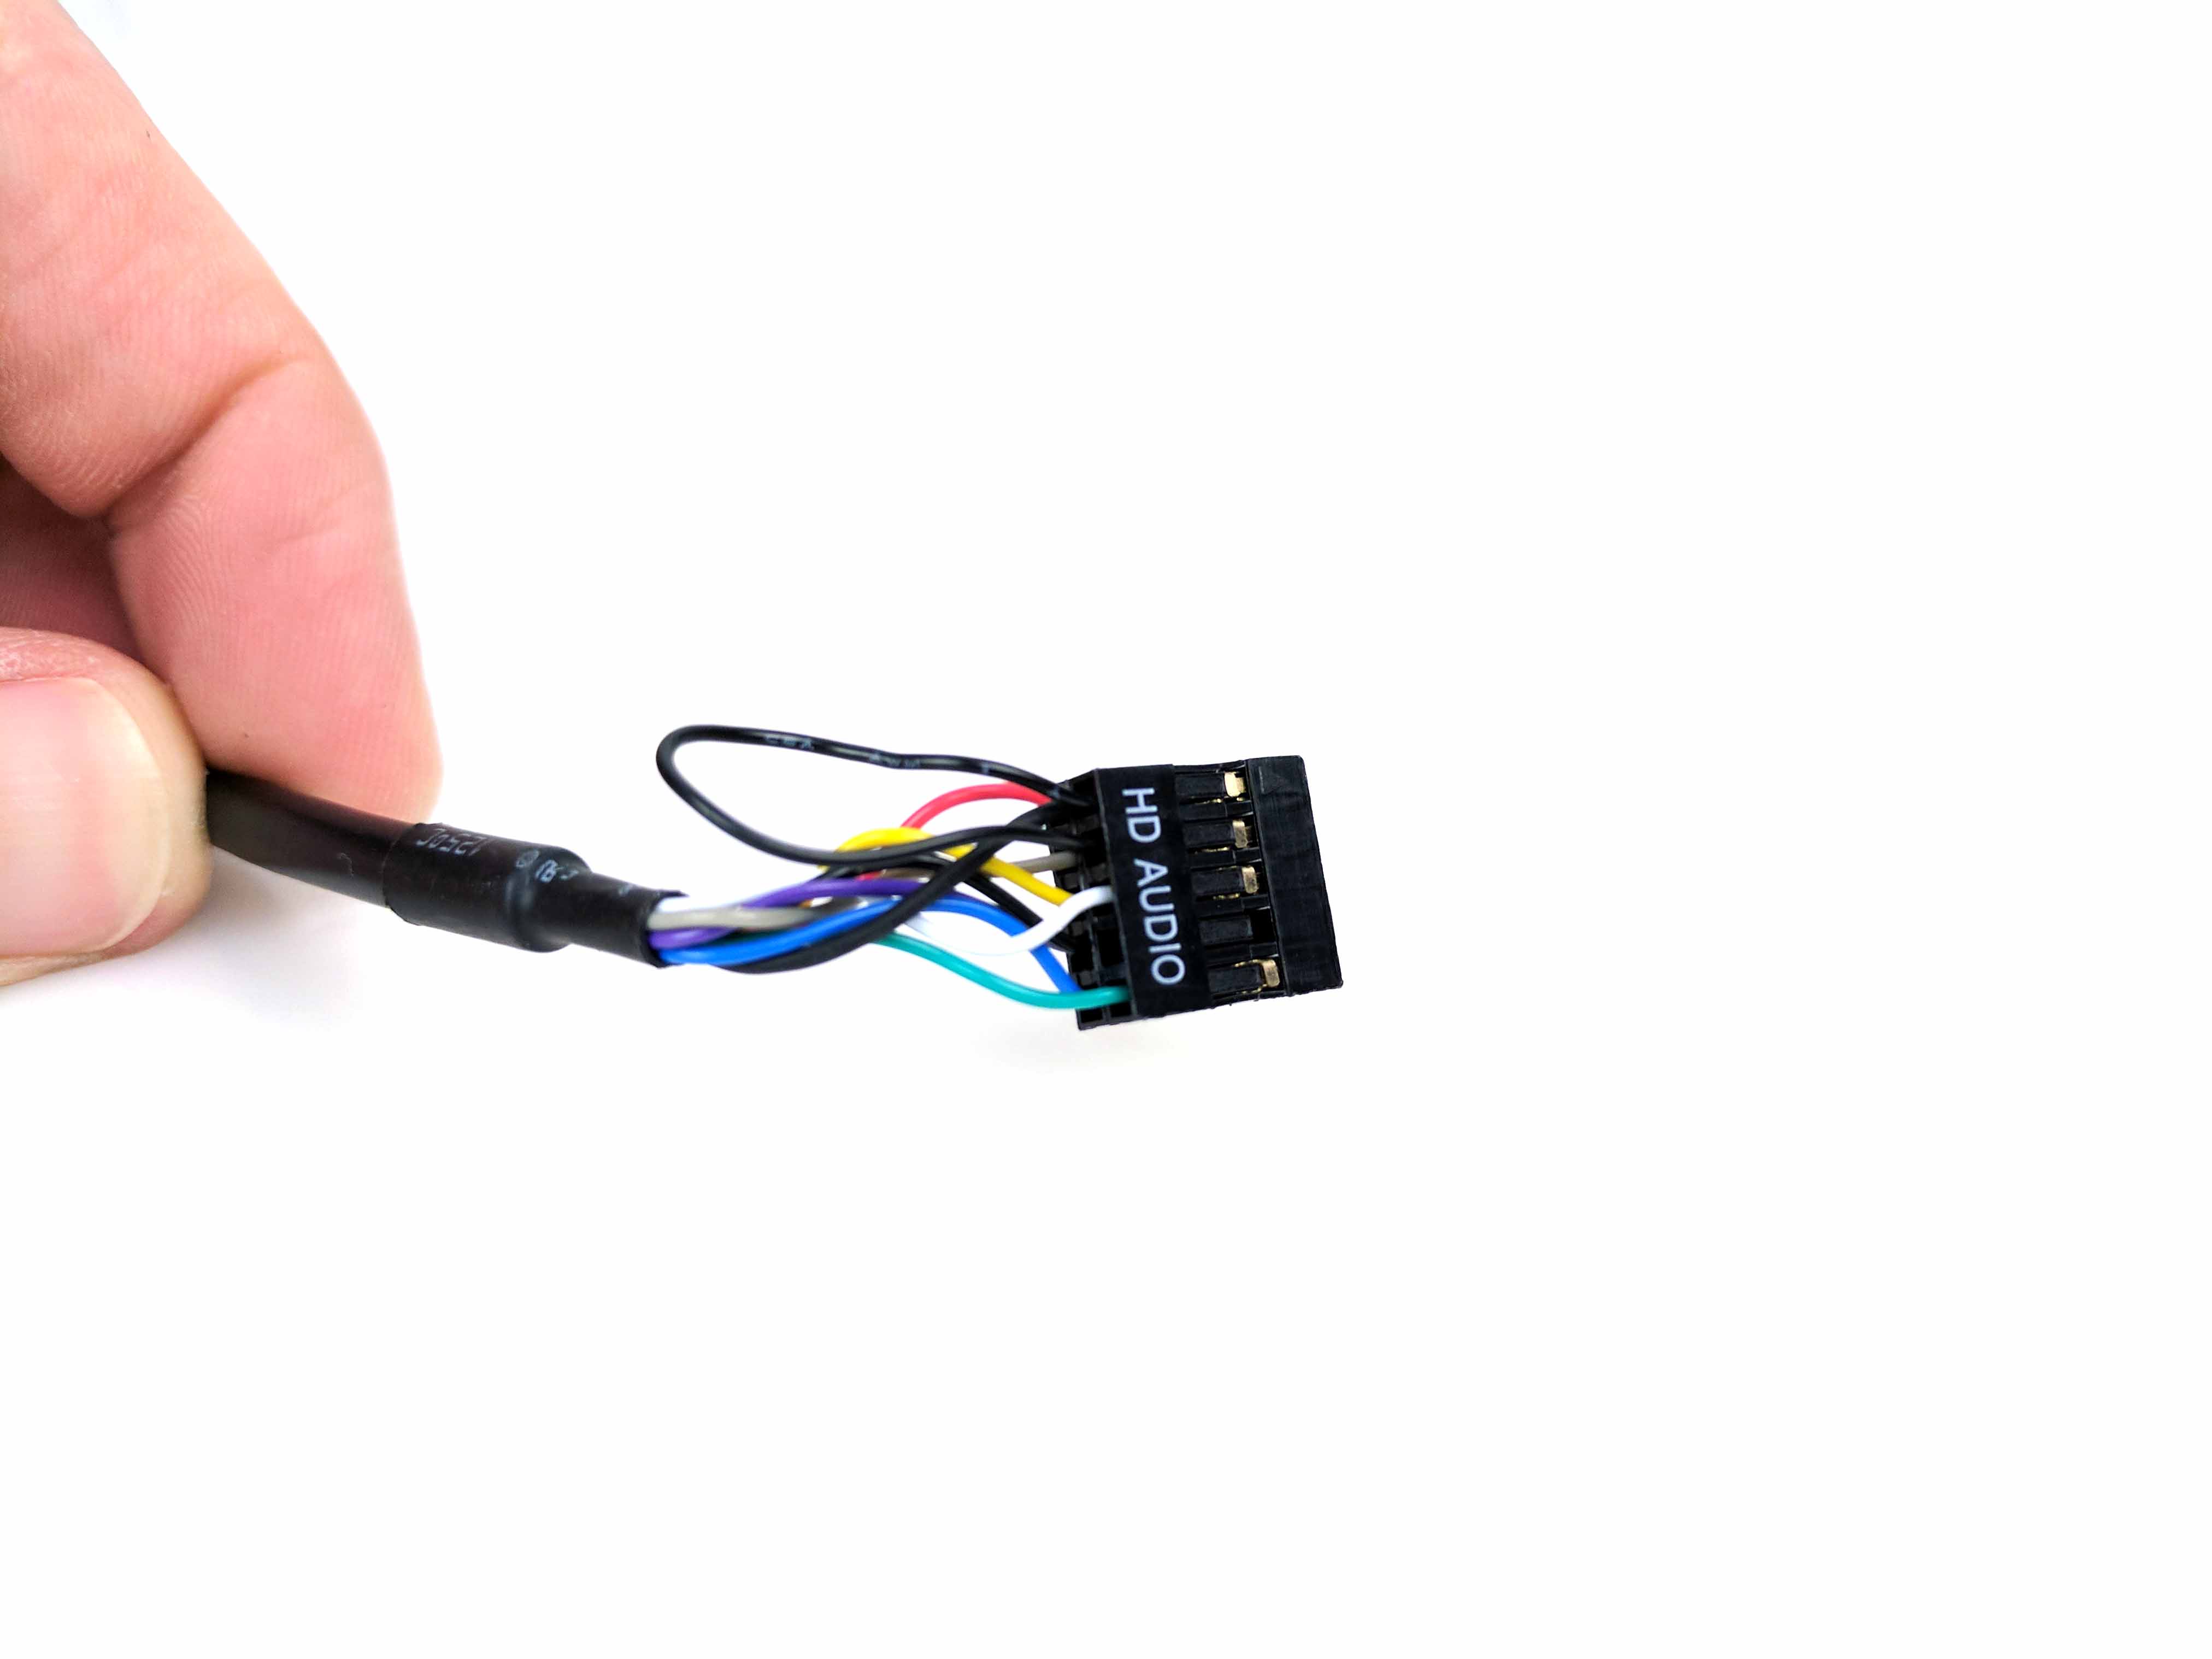
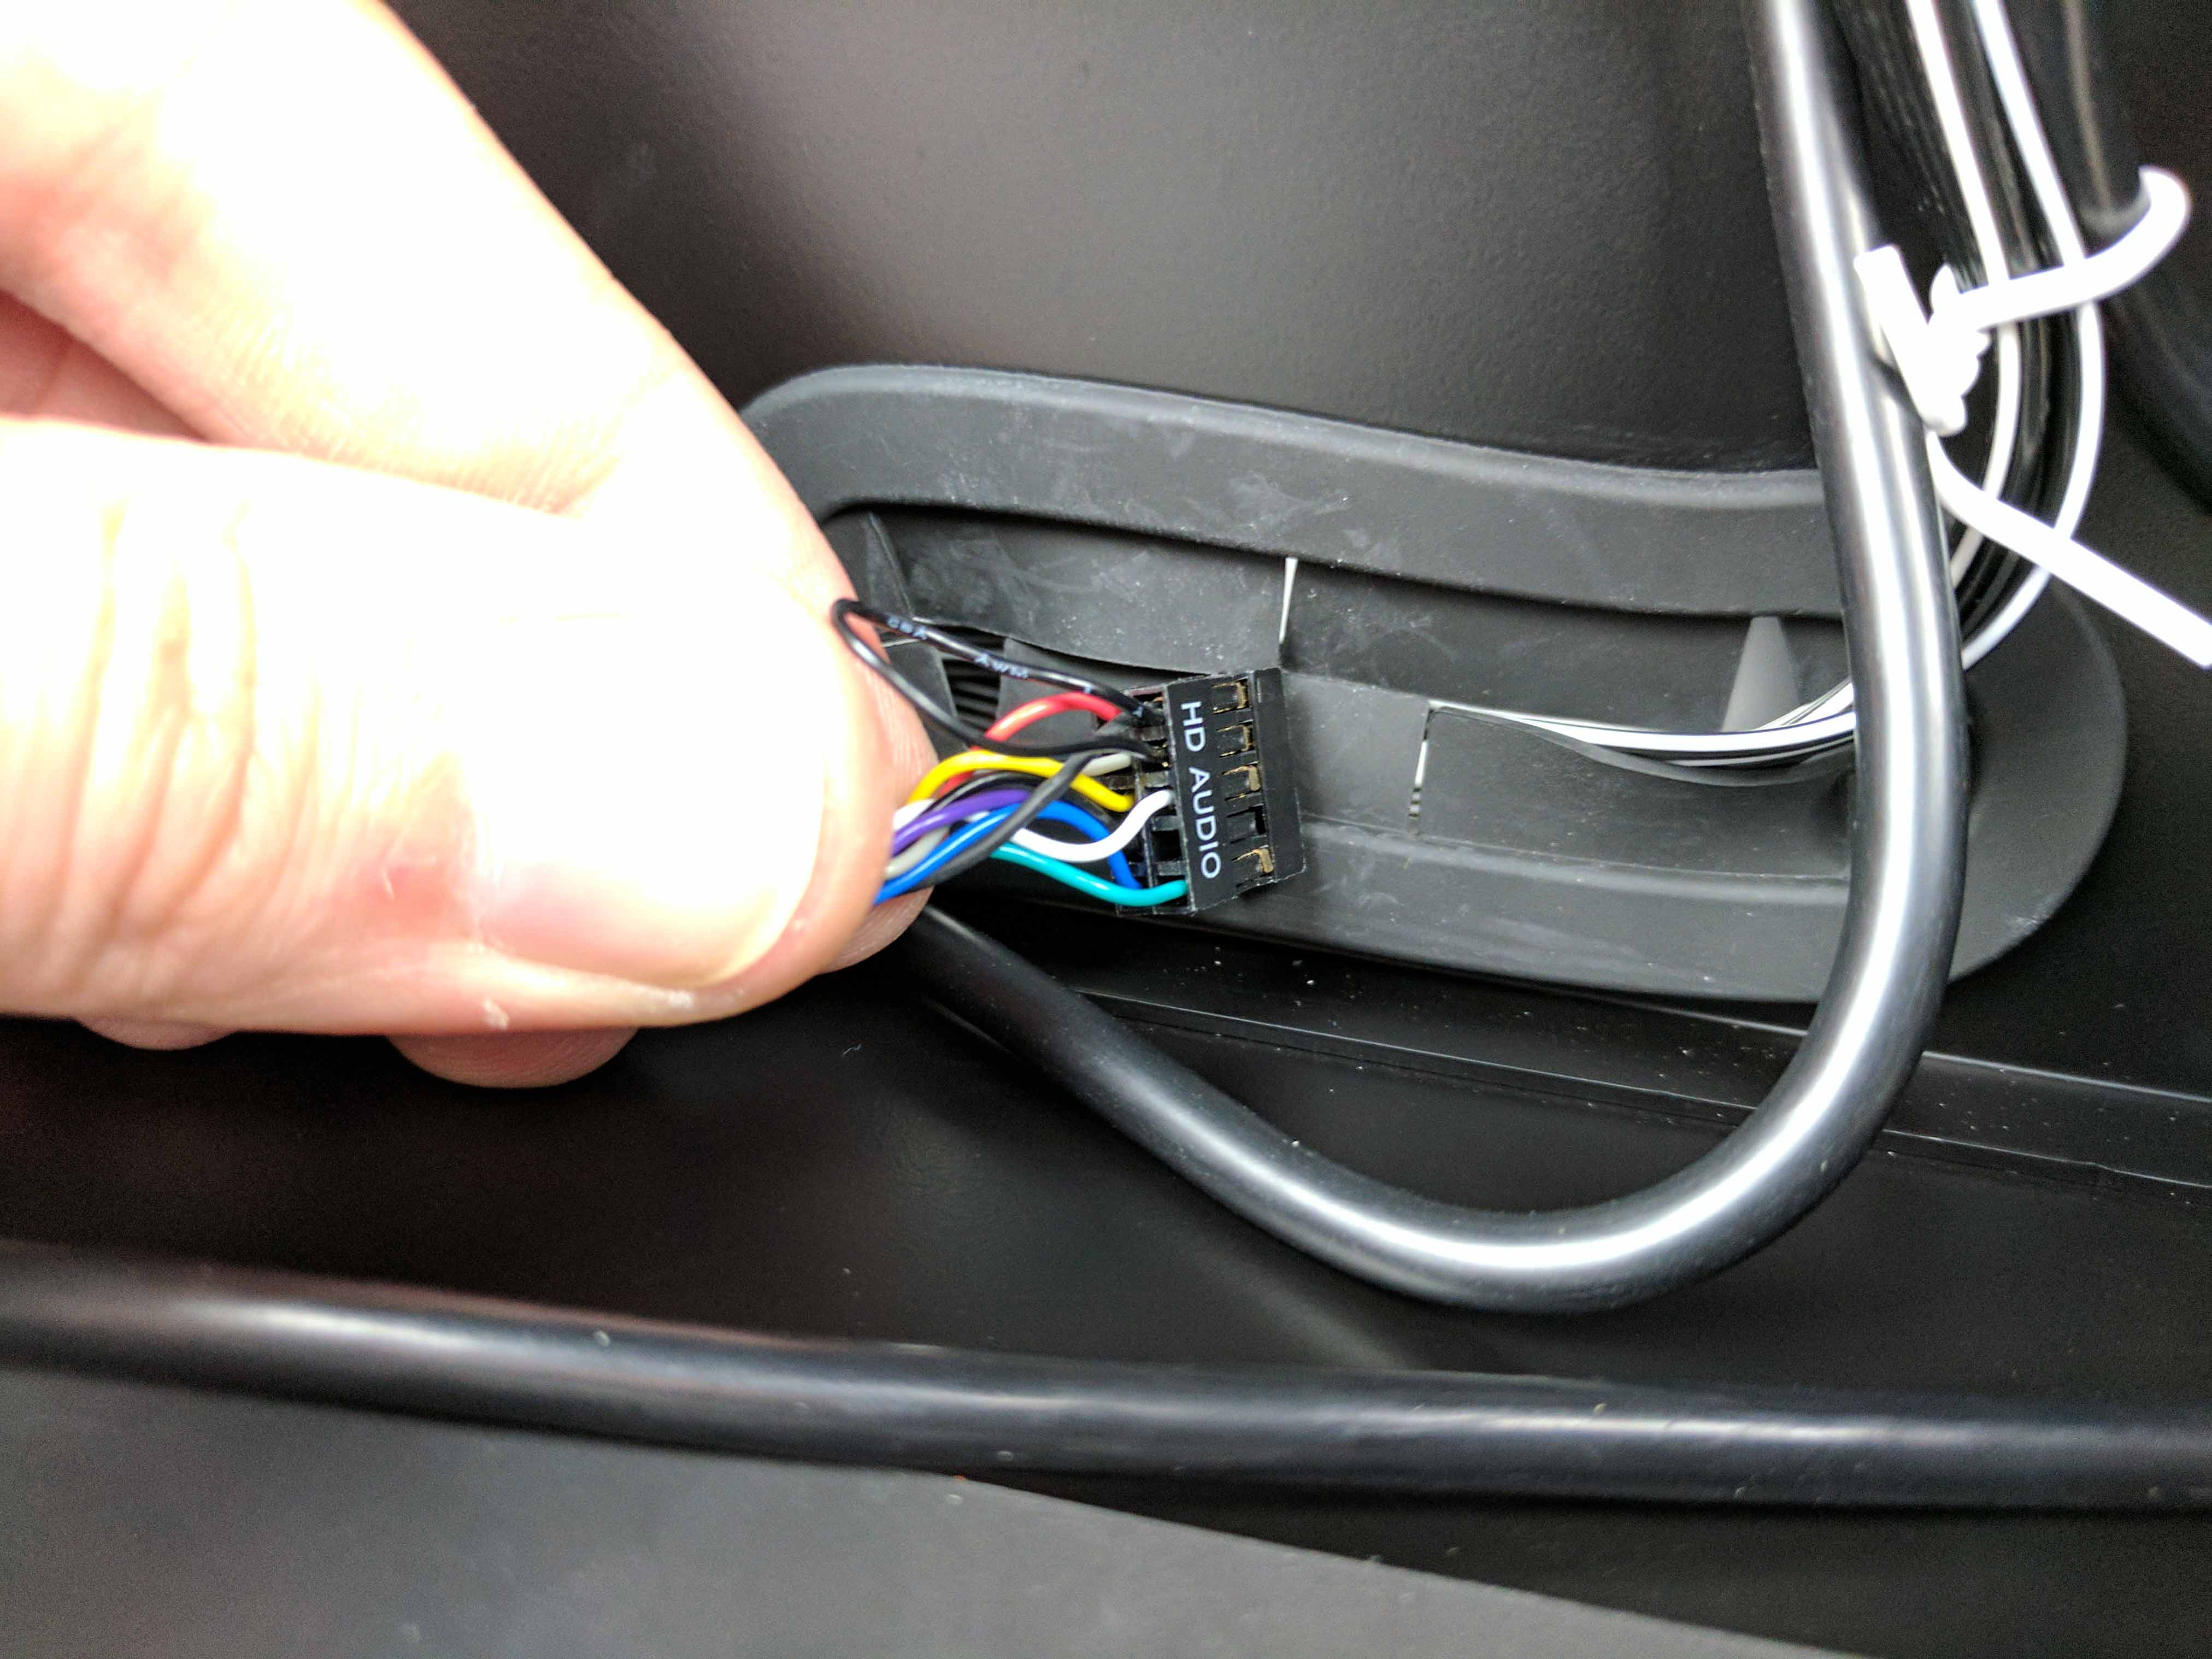
Untie the case’s internal HD Audio, front panel I/O, and USB 3.0 cables. Separate the audio wire and feed it above the RGB controller and down to the same hole as the LED extensions (bottom right of drive chamber), behind the existing cables. Feed it through the hole in the chassis and let it hang with the LED wires for the time being.
MORE: Best Deals
MORE: How To Build A PC
MORE: All PC Builds Content
Derek Forrest was a contributing freelance writer for Tom's Hardware. He covered hardware news and reviews, focusing on gaming desktops and laptops.
