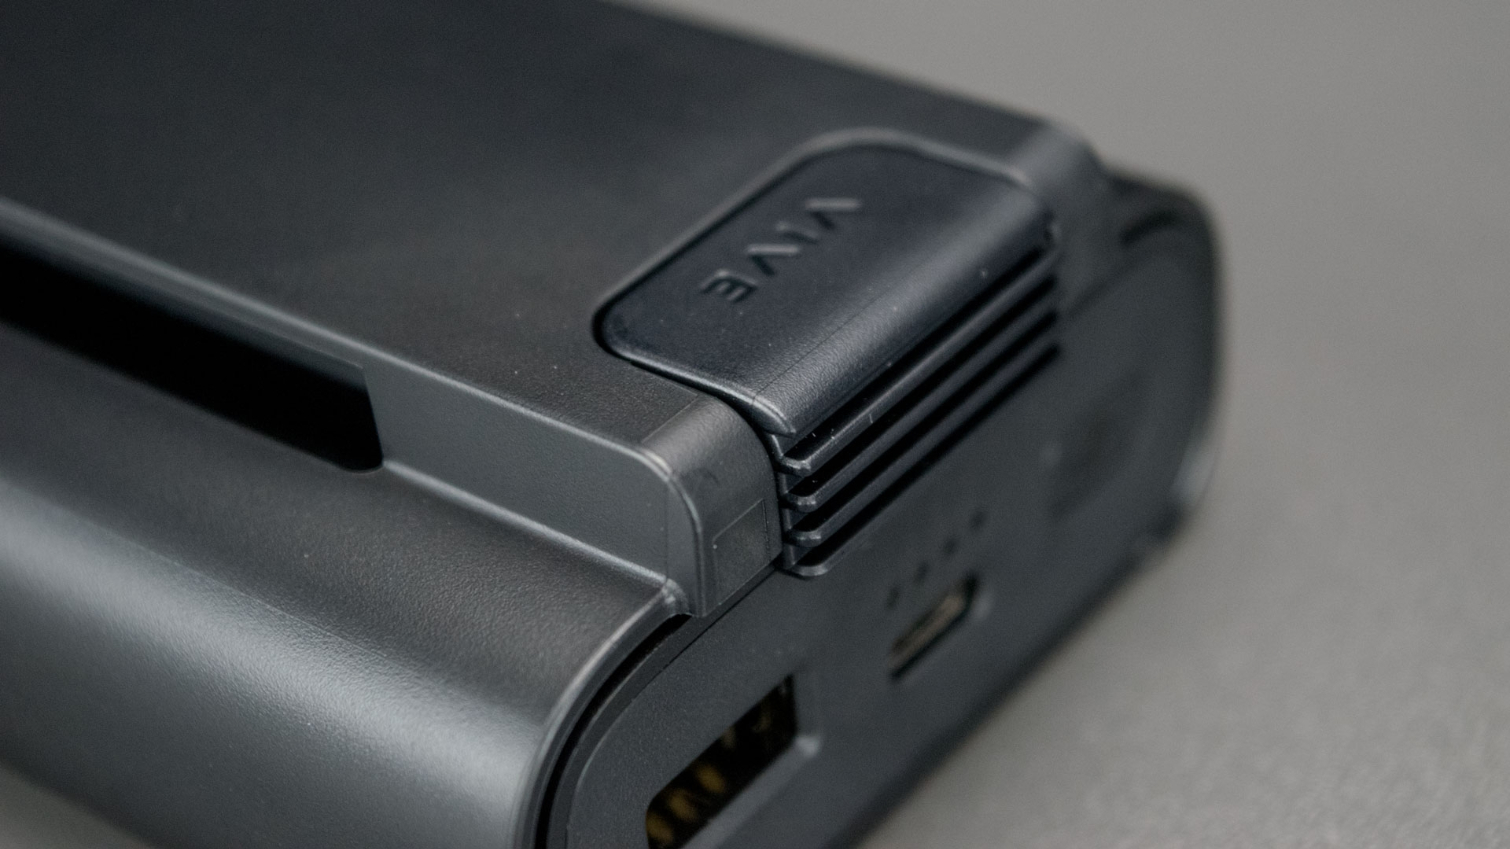
Tom's Hardware Verdict
The Vive Wireless Adapter upgrade kit is a fantastic upgrade that existing Vive owners should strongly consider, but compatibility issues with AMD hardware (and the company's own Vive Pro) hold it back.
Pros
- +
No tripping hazards
- +
Less risk of equipment damage
- +
Unobstructed movement
Cons
- -
Short battery life
- -
Compatibility issues with Ryzen, Vive Pro
Why you can trust Tom's Hardware
Removing the Tether From the VR Experience
On its own, HTC Vive, with its room-scale VR capability, offers an immersive VR experience that transports you into virtual worlds. However, there’s an ever-present cable you must keep track of that keeps you tethered to the real world. The Vive Wireless Adapter solves that problem and allows you to forget about the physical world and experience VR without worrying about stepping on or tripping over a wire.
The freedom that the Vive Wireless Adapter offers makes the VR headset feel like a whole new product. It is wonderfully freeing to play a game like Sword Master VR, where you’re constantly spinning around to engage opponents that sneak up on your flank, or Space Pirate Trainer, where you’re always moving frantically. VR is all about immersion, and to me, the tether cable dangling at my feet has always been the biggest distraction from the virtual world.
The wireless kit gives you the freedom to step into a new world and ditch the physical anchor that keeps you tied to reality, and there’s no question that once you cut the cord, you won’t want to go back to a wired VR experience. The problem is, the wireless system doesn’t always work the way it should.
We absolutely love the untethered VR experience and would love to recommend it to anyone. However, right now, this product isn't right for everyone, because it struggles with compatibility issues, particularly with Ryzen systems.
We experienced several problems with the Vive Wireless Adapter when it was connected to a Ryzen-powered system, including but not limited to signal drops that resulted in blank frames, complete loss of image signal and noticeable latency. Performance was strong on two Intel-powered systems we tried, but after a software update, we also experienced problems connecting to the Vive Pro from these computers. In other words, if you use a Ryzen-powered computer or connect to a Vive Pro rather than a regular Vive, you may want to wait for updates.
Wireless Vive Adapter Specs
| Dimensions | 7.87 x 3.81 x 1.59 inches (200 x 96.65 x 40.43mm) |
| Weight | Adapter: 125gBattery: 230g |
| Battery Life | Up to 2.5 hours |
| Common Interfaces | For Vive: HDMI, USB, DCFor Vive Pro: Proprietary single portFor battery: USB |
The Technology Behind the Wireless Vive Adapter
HTC’s Vive Wireless Adapter is the product of a three-way collaboration between HTC, DisplayLink and Intel.
DisplayLink created the video compression technology that enables the transmission, which it first introduced to the world at CES 2017. DisplayLink’s solution can handle data transmissions up to 24Gb/s, which is approximately four times the bandwidth needed to drive a Vive headset. Theoretically, it should provide ample bandwidth to scale up to future high-resolution headsets. Indeed, DisplayLink said the technology could scale to support dual 4K displays at up to 120Hz, which means it could be adapted to support other headsets, such as the Pimax 5K+ or Pimax 8K ultra-wide headsets.
Get Tom's Hardware's best news and in-depth reviews, straight to your inbox.
Intel also played a critical role in developing the Vive Wireless Adapter. The company adapted its WiGig technology to enable wireless communication from the host PC to the untethered headset. Intel introduced WiGig at IDF 2014 and touted it as a wireless peripheral dock of sorts, but the technology failed to gain traction in that market. With the emergence of VR headsets, Intel saw an opportunity to revive the development of its high-bandwidth wireless data transmission solution.
Setting up the Vive Wireless Adapter
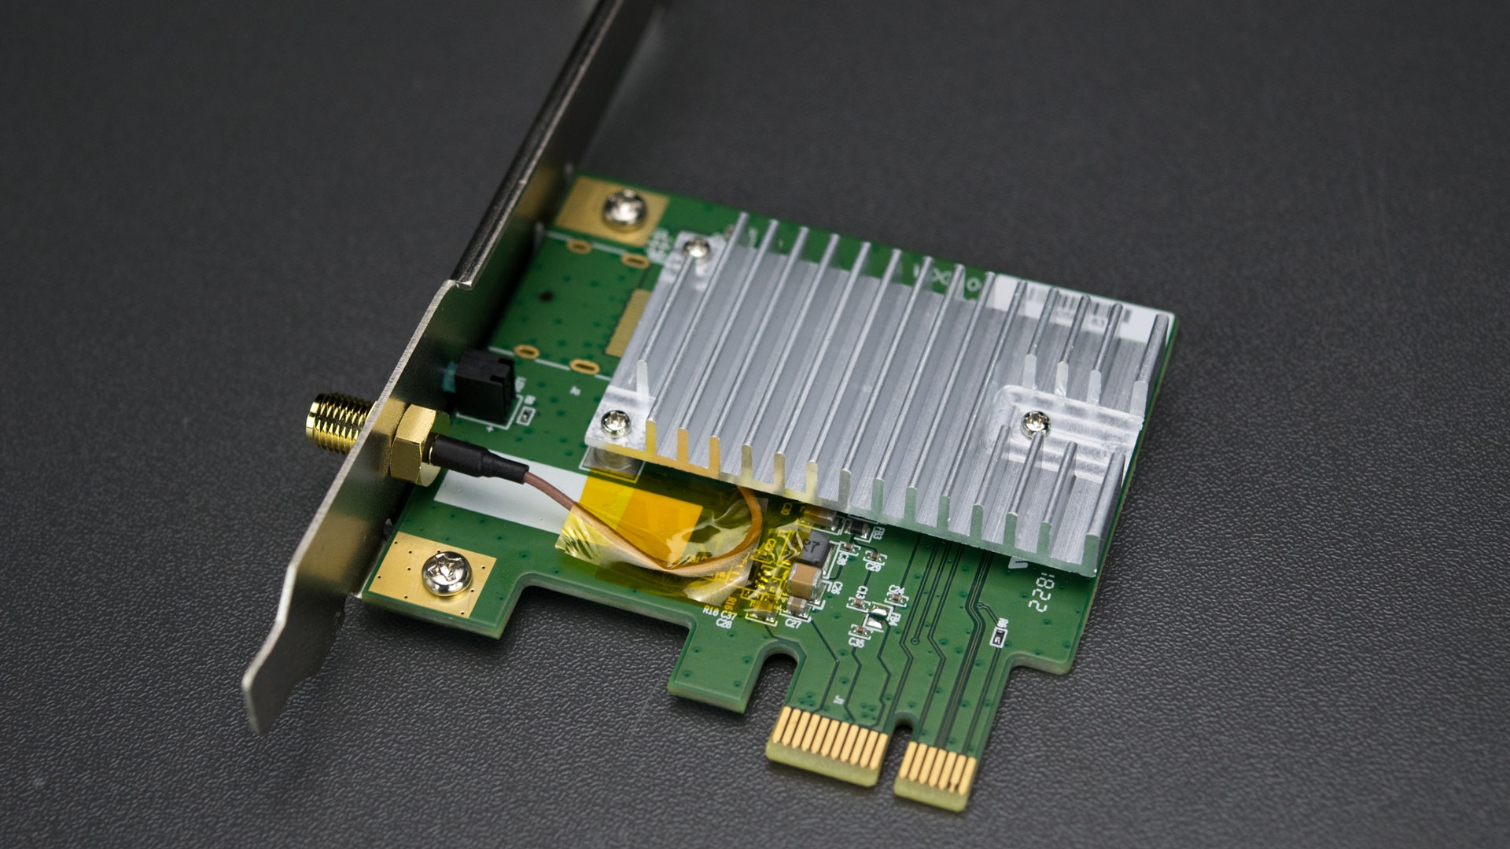
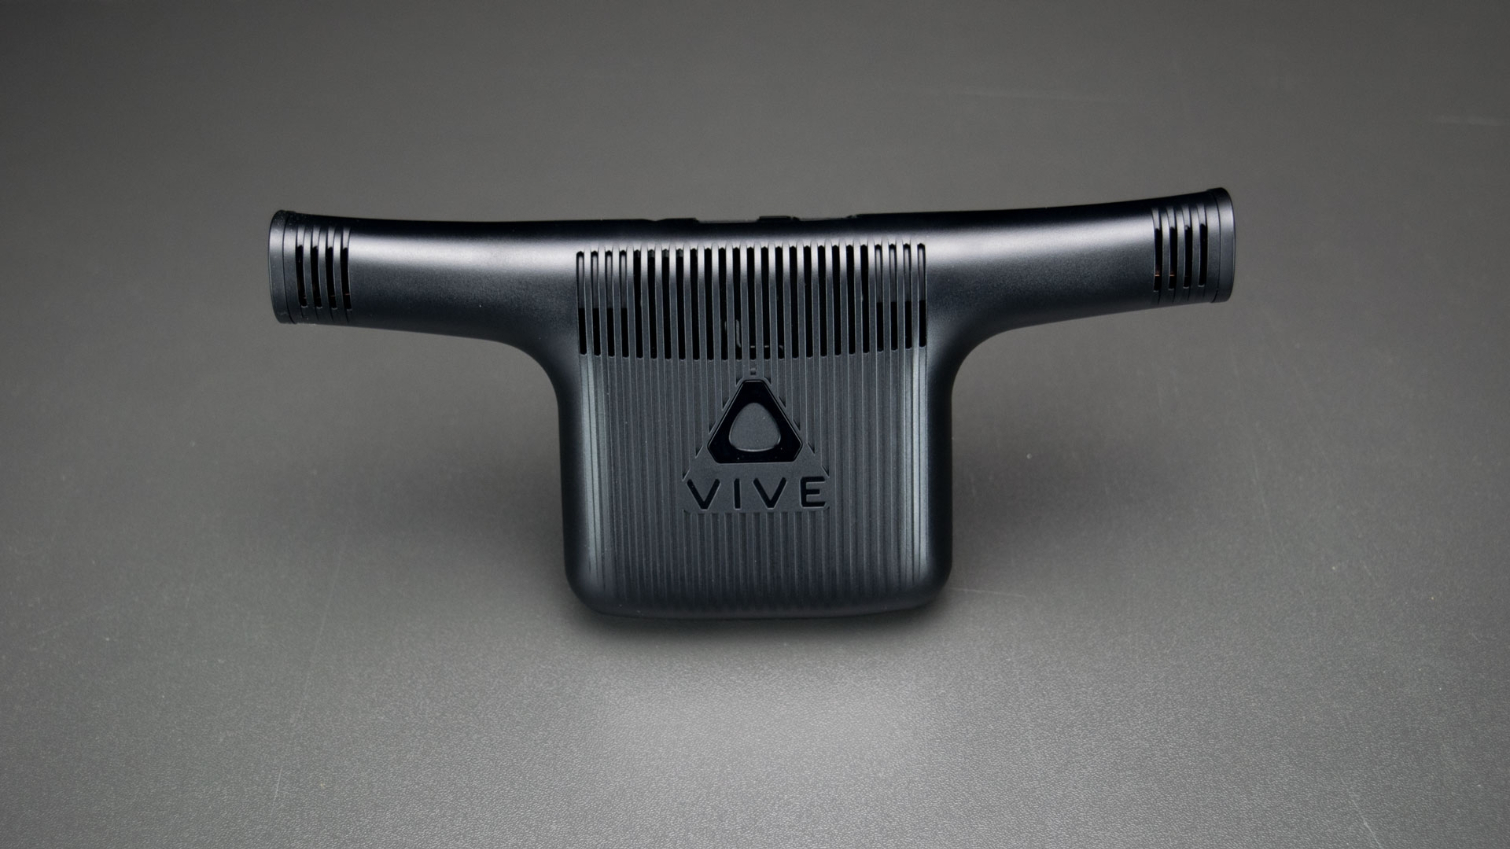
HTC’s wireless upgrade kit is a four-part solution, which includes a receiver that you attach to the headset, a WiGig PCIe card to install in your computer, a WiGig wireless Link Box and an external battery pack to power the device.
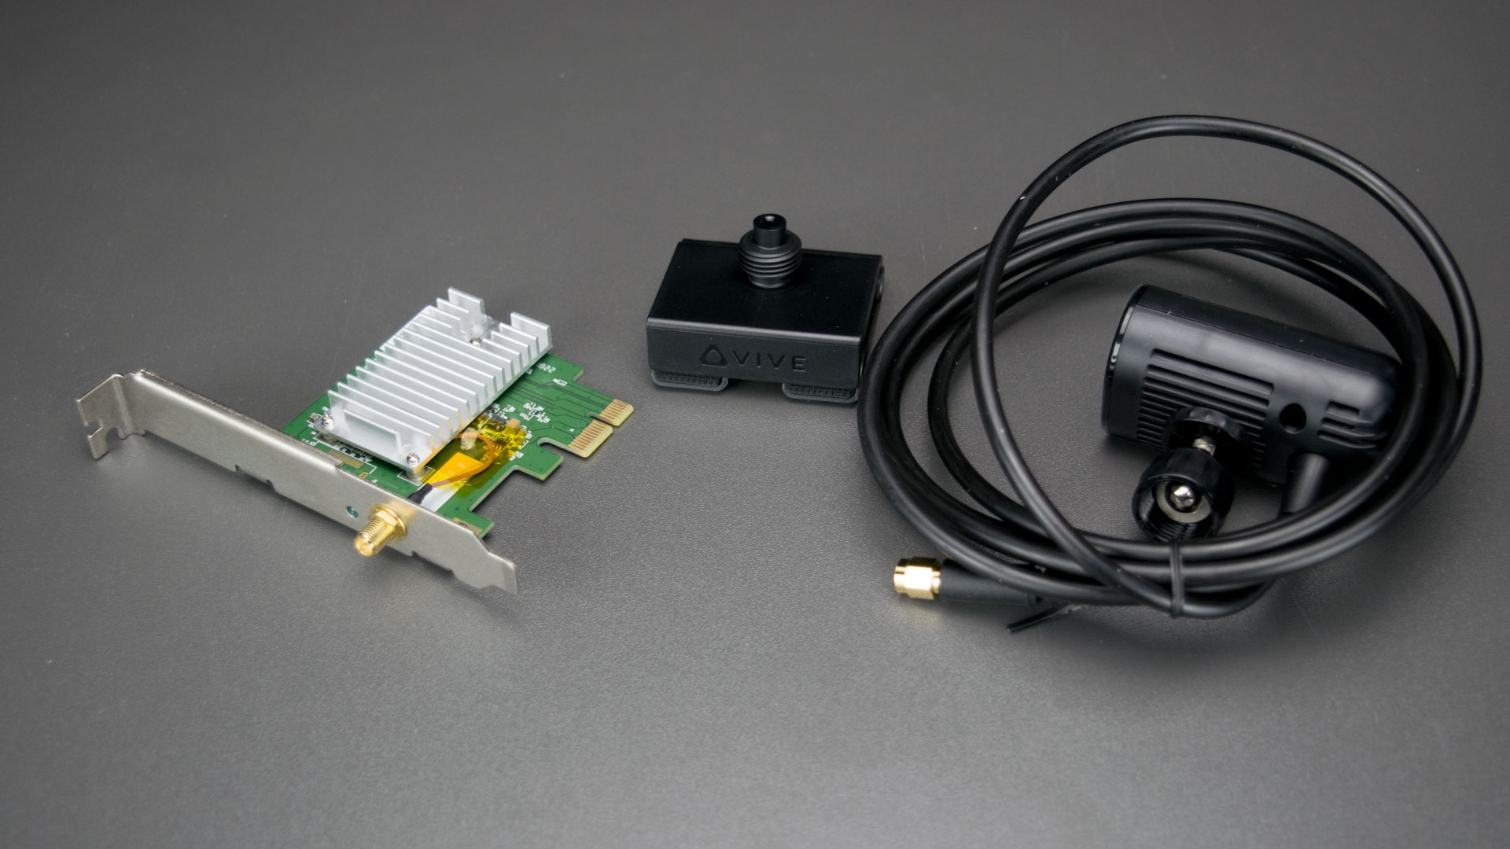
HTC’s instructions, which you can find here, suggest installing the WiGig card first. The expansion card features a PCIe x1 interface, which should make it compatible with any PCIe slot in your motherboard as long as it supports PCIe Gen3. HTC noted that some motherboards might have compatibility issues and suggests trying a different slot if that occurs.
With the expansion card installed, attach the wireless Link Box tether to the thread on the back of the card, and position the camera to look over your play area. The camera features a standard ¼ thread so that you can attach it to a tripod, or you can use the included mount, which can attach to any LCD monitor.
Receiver Attachment
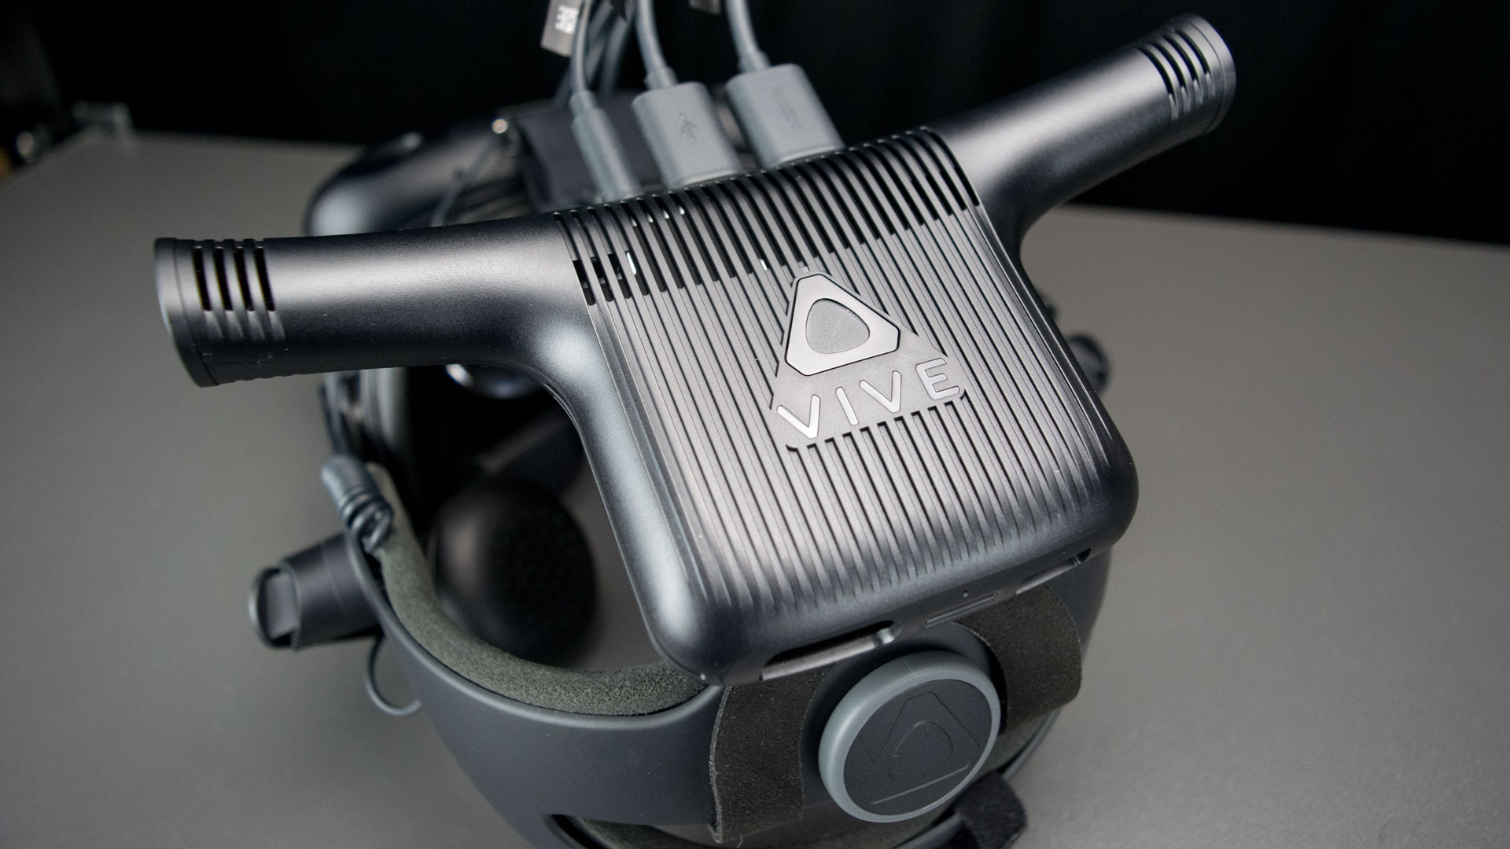
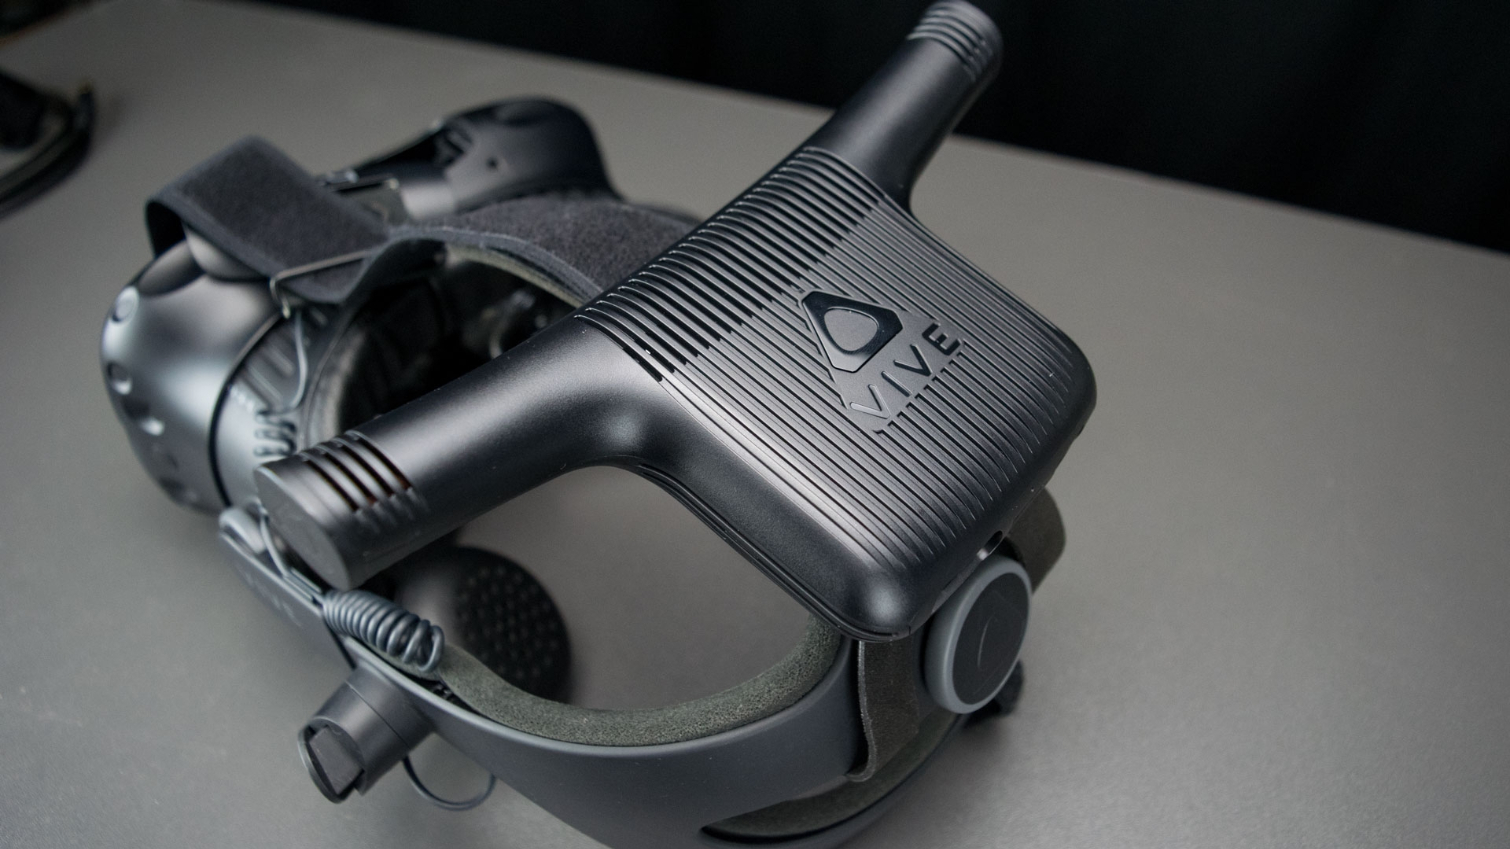
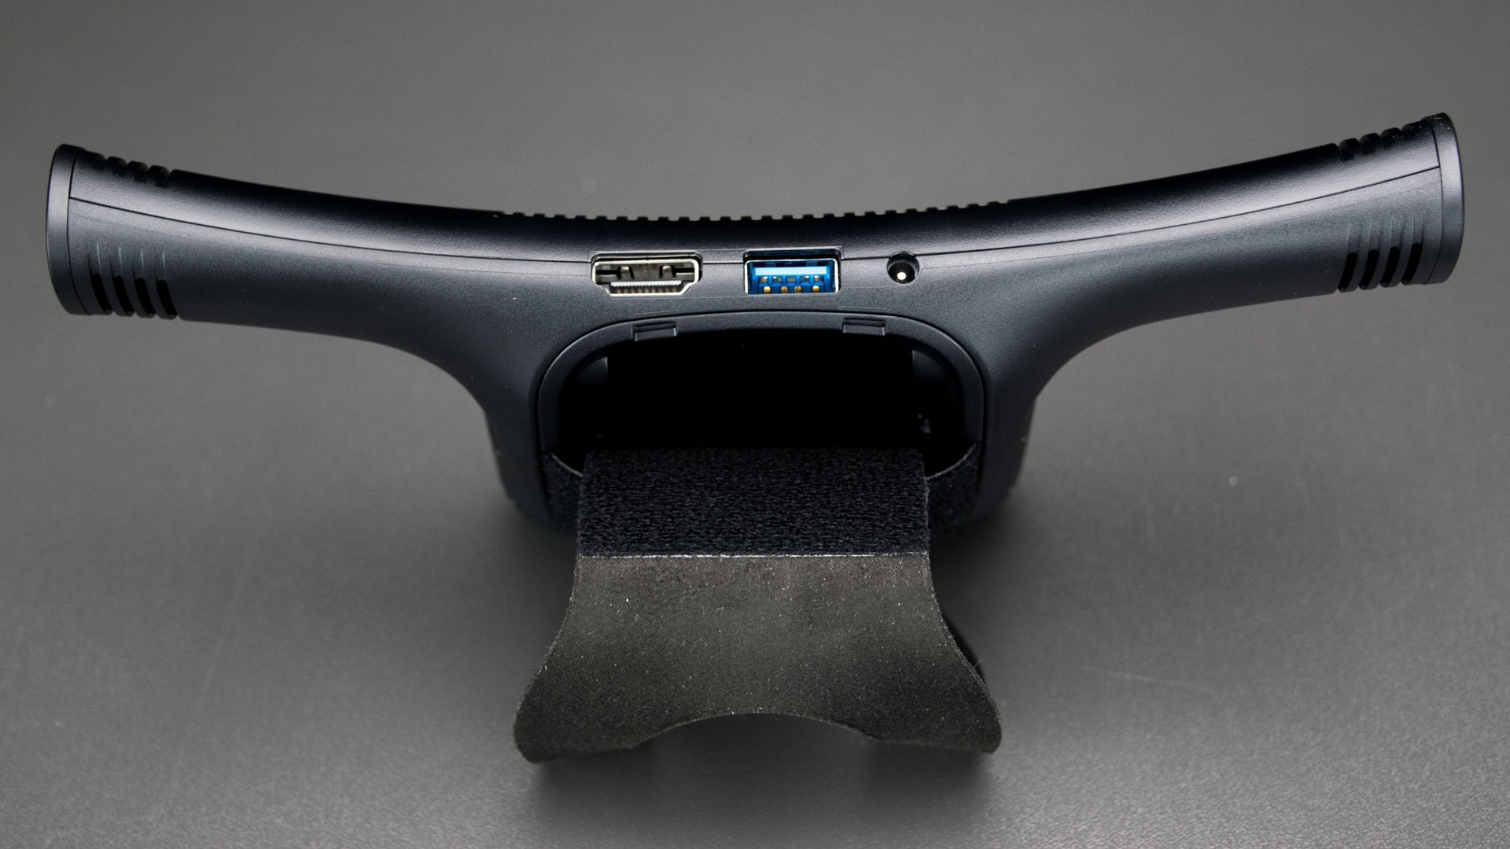
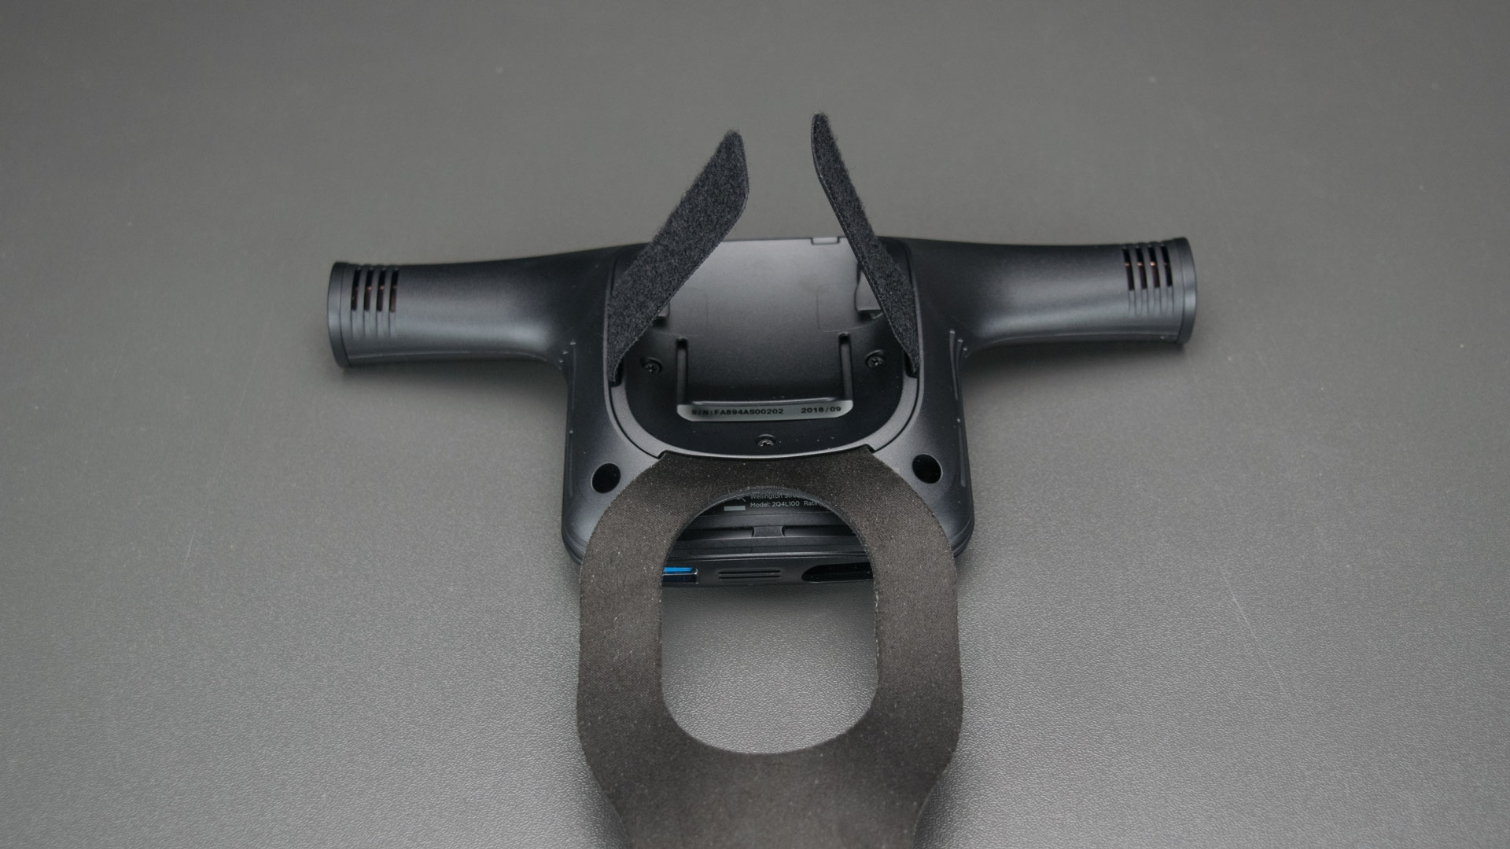
The wireless receiver features two large antennas, which protrude from each side of the device. On the top, you’ll find a power button shaped like the Vive logo and an LED status light. The bottom of the receiver features touch fastener straps and a leather strap that wraps around the rear of the Vive’s head strap to secure it in place.
The wireless adapter includes a 12-inch-long tether cable to replace the 10-foot tether that comes with the Vive. The shorter cable attaches to the top of the wireless adapter and stretches across the top strap to the Vive headset. HTC left enough slack in the cables so that you can still adjust the fasteners on the top strap.
To remove the old cable, slide the port cover towards the front of the headset until it separates from the device and carefully remove one plug at a time. When you replace the cable, make sure to place the USB cord in the central port, not the accessory port on the side.
Vive & Vive Pro Support
HTC designed the Vive Wireless adapter to support the original Vive headset and the Vive Pro. The company ensured that the receiver device would work with the fabric head strap or the Deluxe Audio Head Strap for the original Vive without any additional accessories, but you do need additional parts to hook it up to a Vive Pro (more on that in the next section).
There are two slots on the bottom of the wireless adapter that hooks onto the rigid section of the Deluxe strap. The receiver also includes a hook that enables you to hang the receiver on the cable routing loop on the stock Vive’s fabric strap.
Vive Pro Owners Need More Parts
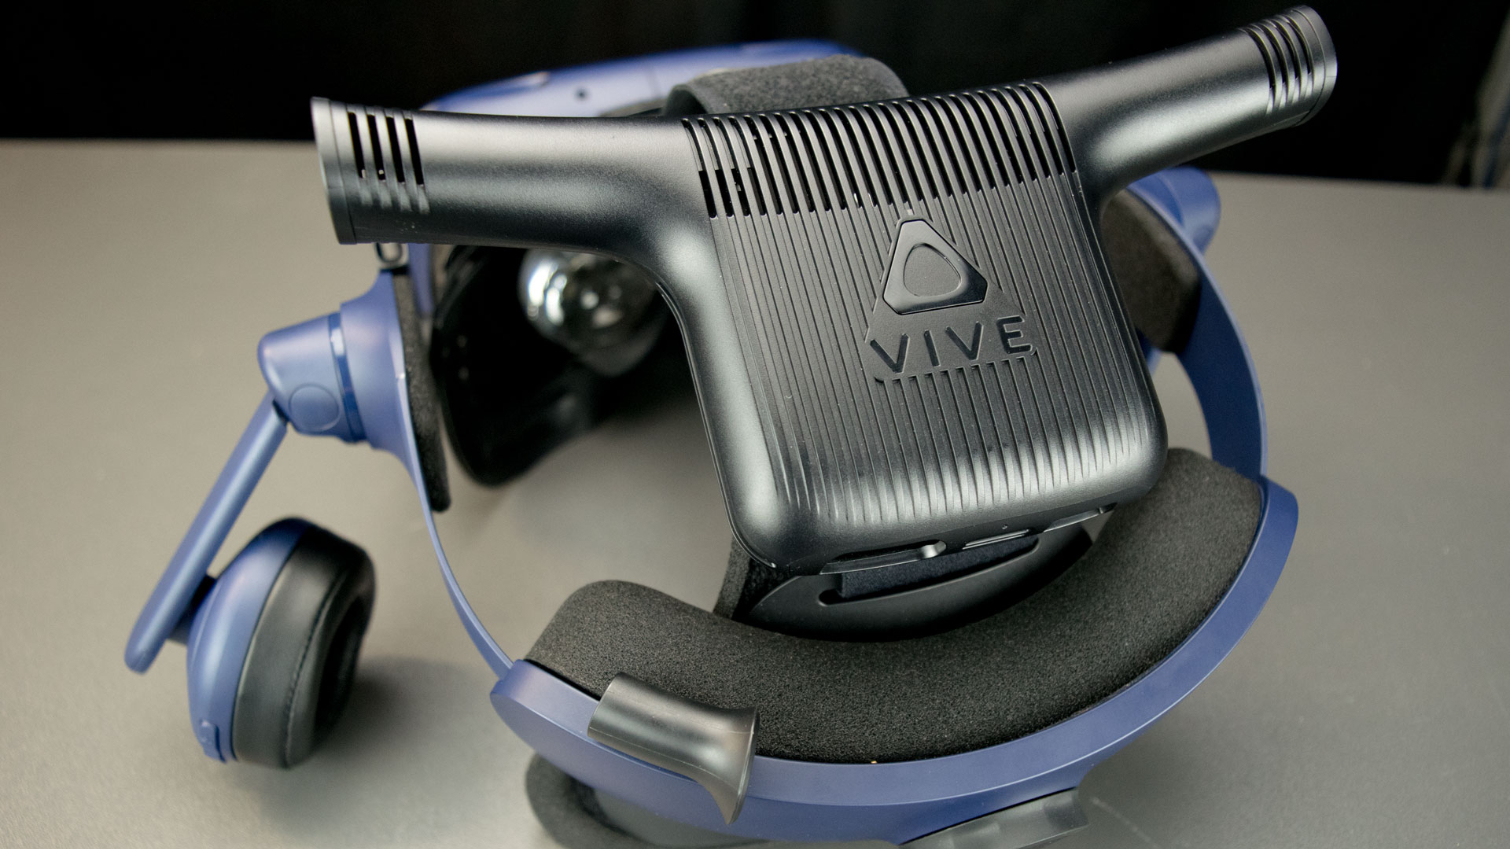
If you have a Vive Pro, the setup process is slightly different, a little bit more involved and more expensive.The Vive Pro requires an additional purchase on top of the adapter. The $60 Vive Pro Attach Kit includes a short Vive Pro cable, a cushion for the rear of the head strap and a replacement for the bottom section of the Vive Wireless adapter.
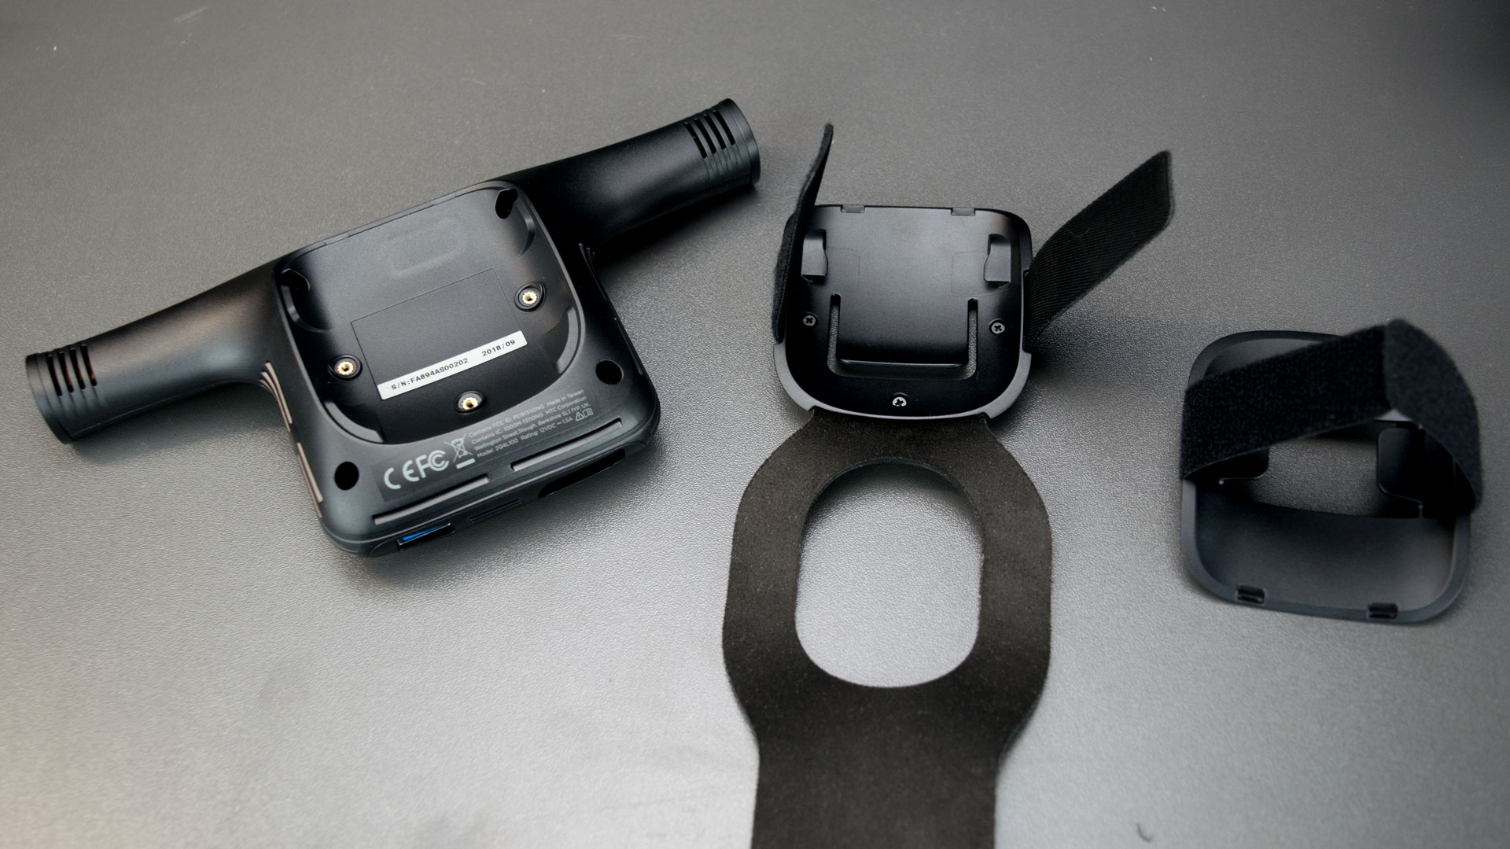
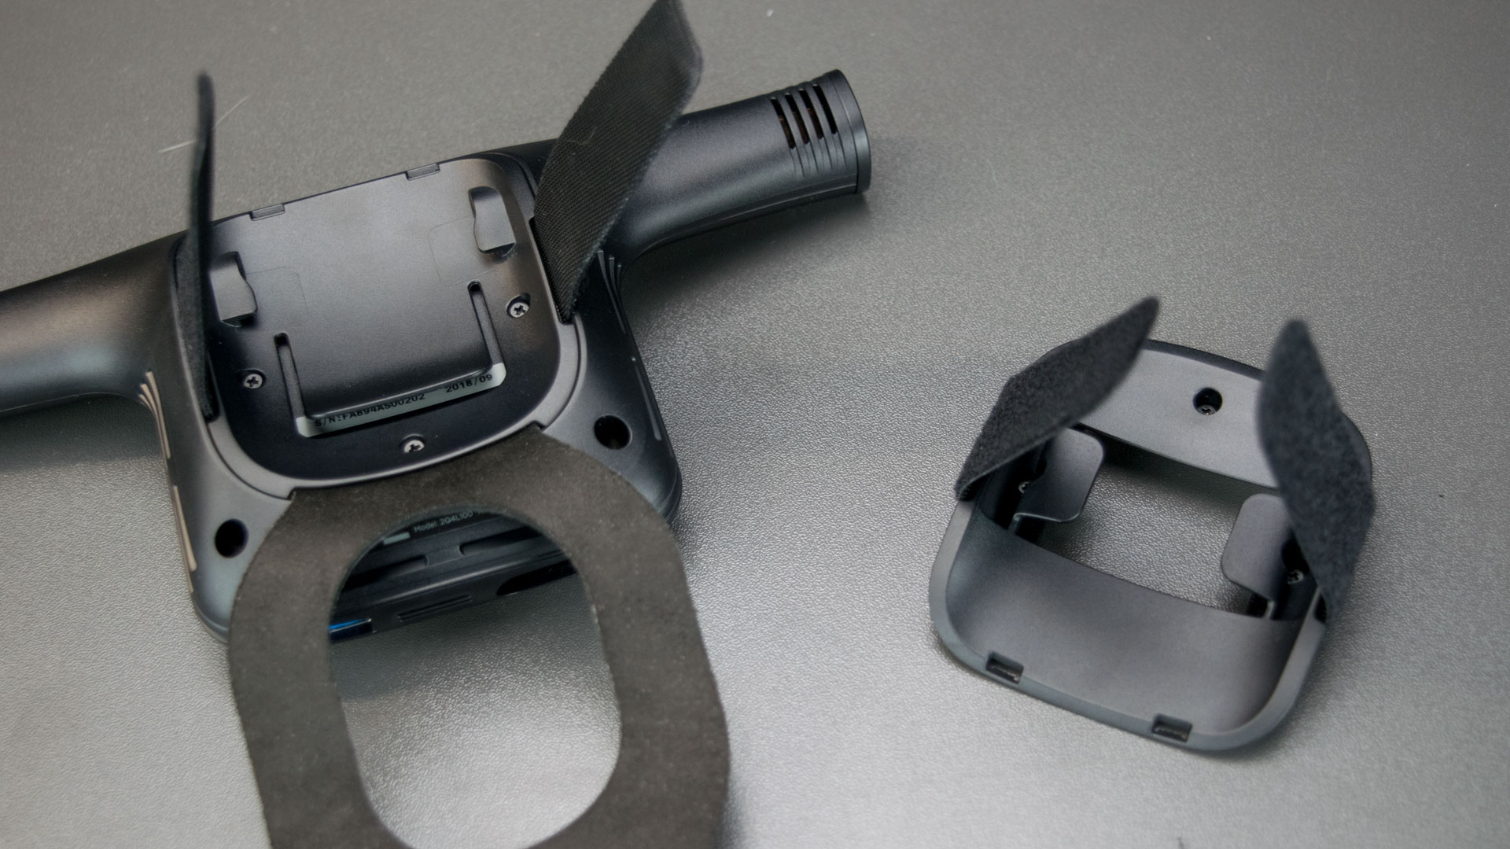
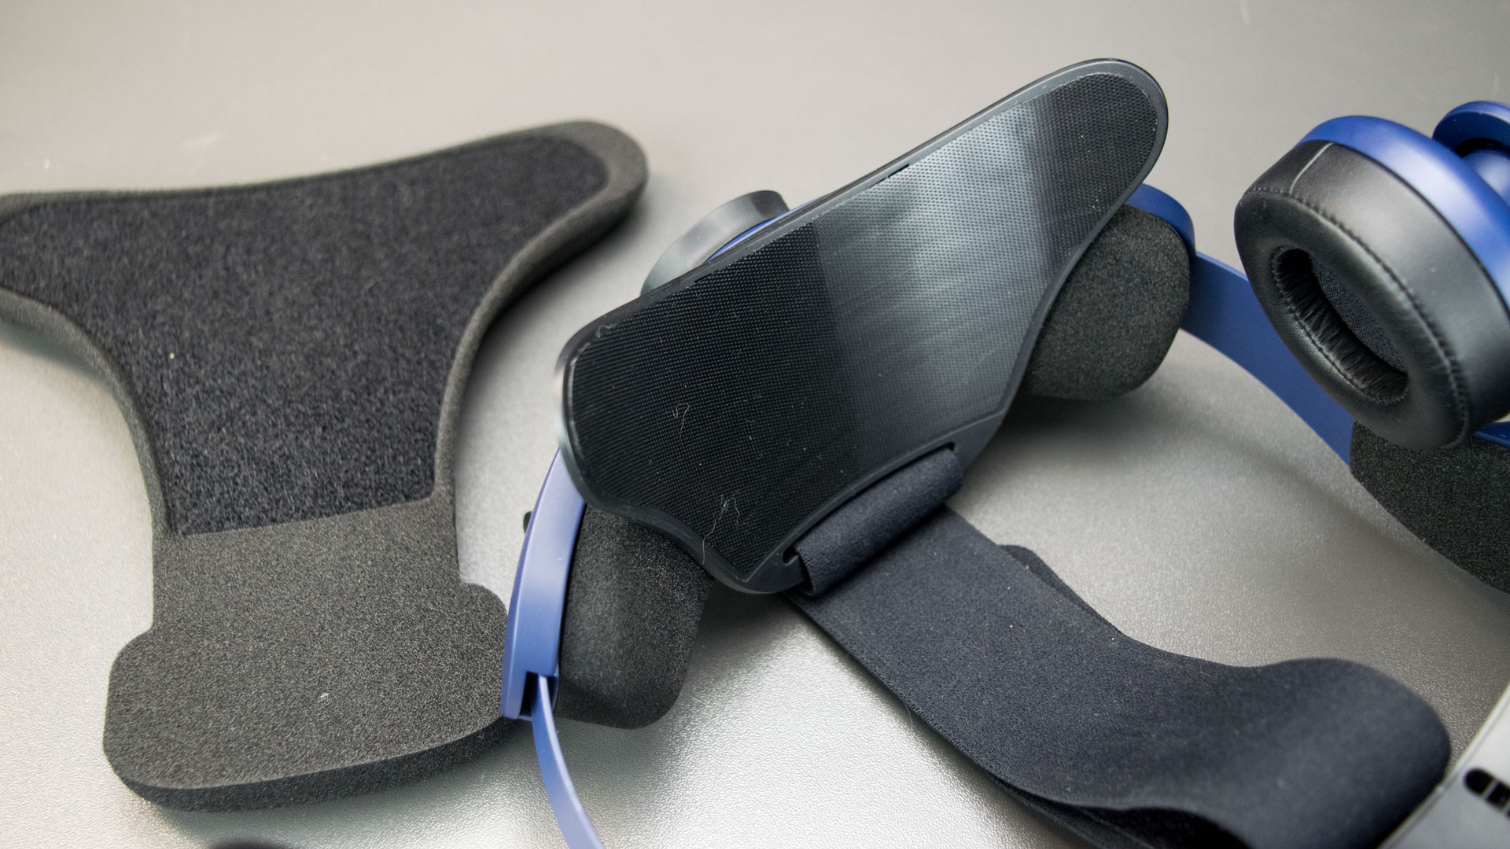
The new bottom section features a different style of hook and fastener strap, which are compatible with the Vive Pro’s rigid strap. You must remove the original plate, which is held with three screws, and replace it with the Vive Pro-compatible part.
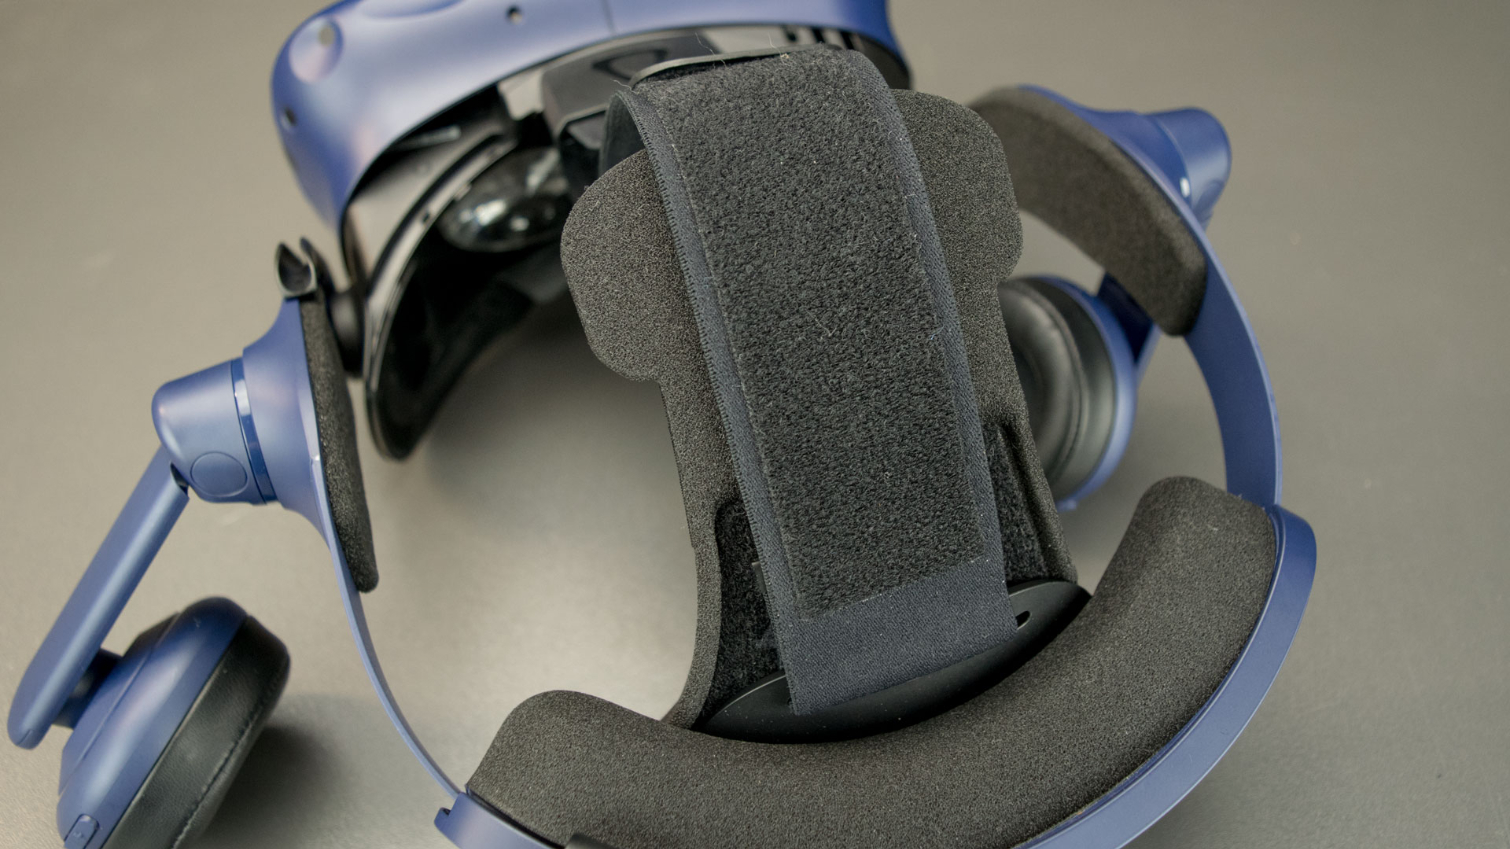
The Vive Pro upgrade kit also includes a foam piece that should be used to replace the triangular section found on the Vive Pro's rear. Implementing the cushion adds support to the overhead strap and gives you a place to secure the wireless adapter. It also provides a barrier between your head and the receiver, which can get hot during extended use.
The Vive Wireless Adapter features a set of ports on the top for the original Vive’s 3-in-1 tether cable, which allows the short tether to stretch across the top of your head. The Vive Pro’s single cable connects to the bottom of the wireless adapter, and the cable runs along the side of the head strap like the stock Vive Pro tether cable.
External Battery Pack
The Vive Wireless Adapter gets its power from a lithium-ion battery, but HTC didn’t cram the cells into the wireless receiver. Instead, HTC opted for an external battery source, which has pros and cons. Leaving the battery cells out keeps the weight down, which is especially important for a head-mounted device. But a head-mount option would have been nice to have in order to condense the setup into one piece.
It’s easy to forget about the battery pack when you pull the headset off, which could lead to damage to the cable, battery pack, or wireless receiver. Moreover, using a tethered battery pack to untether your headset from the battery pack’s USB cable seems somewhat counterintuitive and at least a little bit ironic.
The Vive wireless adapter’s battery pack is a standard HTC PowerBank with Qualcomm Quick Charge 3.0 compatibility, which slips into a plastic holster that you can attach to your belt or your pocket. The tethered battery doesn’t really get in the way, but it does limit your wardrobe options. The pack weighs 230g, which is more than enough to bring your pants to the ground while you’re playing if you don’t have a belt on. Don’t expect to use a wireless Vive headset with sweatpants or PJs on.
The included PowerBank holds enough juice to keep the Vive running for close to 2.5 hours, and after blowing through a battery, I would welcome a much larger pack. HTC does offer extra PowerBanks, and I recommend picking up at least one, so you always have a charged pack ready.
Vive Wireless Utility
The Vive Wireless Adapter requires an app to function. The Vive Wireless utility enables you to pair your transmitter with a receiver, while the software monitors the signal strength of the transmission. The software installation also includes the drivers that enable the WiGig and DisplayLink hardware in the wireless adapter.
MORE: Best Virtual Reality Headsets
MORE: All Virtual Reality Content
MORE: Virtual Reality Basics
- 1
- 2
Current page: Removing the Tether From the VR Experience
Next Page Wireless VR Is Fantastic When it WorksKevin Carbotte is a contributing writer for Tom's Hardware who primarily covers VR and AR hardware. He has been writing for us for more than four years.
-
shrapnel_indie Headline seems a little misleading to a degree...Reply
y. Performance was strong on two Intel-powered systems we tried, but after a software update, we also experienced problems connecting to the Vive Pro from these computers. In other words, if you use a Ryzen-powered computer or connect to a Vive Pro rather than a regular Vive, you may want to wait for updates.
This suggests its just more than AMD issues, which the headline does nothing to reflect.
Intel also played a critical role in developing the Vive Wireless Adapter. The company adapted its WiGig technology to enable wireless communication from the host PC to the untethered headset. Intel introduced WiGig at IDF 2014 and touted it as a wireless peripheral dock of sorts, but the technology failed to gain traction in that market. With the emergence of VR headsets, Intel saw an opportunity to revive the development of its high-bandwidth wireless data transmission solution.
This begs the question, based on the shenanigans that Intel has pulled lately as to "Did Intel play dirty in the firmware to ensure issues with AMD processors?" I can't say that they did, but it can make you wonder. They may not have, or may have... its circumstantial at least until someone examines the firmware closely. -
husker I have a Vive Pro and AMD system and the wireless adapter works great for me:Reply
Processor: AMD RYZEN 7 2700X
MB: MSI X470 GAMING M7 AC
Graphics: GIGABYTE Radeon RX VEGA 64XTX -
BaRoMeTrIc Reply21449847 said:Headline seems a little misleading to a degree...
y. Performance was strong on two Intel-powered systems we tried, but after a software update, we also experienced problems connecting to the Vive Pro from these computers. In other words, if you use a Ryzen-powered computer or connect to a Vive Pro rather than a regular Vive, you may want to wait for updates.
This suggests its just more than AMD issues, which the headline does nothing to reflect.
Intel also played a critical role in developing the Vive Wireless Adapter. The company adapted its WiGig technology to enable wireless communication from the host PC to the untethered headset. Intel introduced WiGig at IDF 2014 and touted it as a wireless peripheral dock of sorts, but the technology failed to gain traction in that market. With the emergence of VR headsets, Intel saw an opportunity to revive the development of its high-bandwidth wireless data transmission solution.
This begs the question, based on the shenanigans that Intel has pulled lately as to "Did Intel play dirty in the firmware to ensure issues with AMD processors?" I can't say that they did, but it can make you wonder. They may not have, or may have... its circumstantial at least until someone examines the firmware closely.
I'm sure it has more to do with Ryzens latency than an Intel conspiracy, or possibly a windows 10 issue with this adapter and ryzens systems -
shrapnel_indie Reply21450192 said:21449847 said:{...}
This begs the question, based on the shenanigans that Intel has pulled lately as to "Did Intel play dirty in the firmware to ensure issues with AMD processors?" I can't say that they did, but it can make you wonder. They may not have, or may have... its circumstantial at least until someone examines the firmware closely.
I'm sure it has more to do with Ryzens latency than an Intel conspiracy, or possibly a windows 10 issue with this adapter and ryzens systems
Yes, those are other possibilities. As I said, its circumstantial right now... and correlation does not always equal causation... too much not investigated/addressed to know what the true cause is at this time. -
quilciri Reply21449847 said:This begs the question, based on the shenanigans that Intel has pulled lately as to "Did Intel play dirty in the firmware to ensure issues with AMD processors?" I can't say that they did, but it can make you wonder. They may not have, or may have... its circumstantial at least until someone examines the firmware closely.
Can't speak about HTC, but It's certainly in Valve's best interest to make this work on as much hardware as possible, with as few hitches as possible. I also imagine Valve has enough money that they wouldn't care about the kickbacks. I *also* imagine Valve would come down pretty hard on HTC if they ever found out HTC did something like that.
#*&$* on the AMD compatibility...but the battery pack thing is hardly a problem...just put the battery pack on a belt and put the belt on over whatever you want to wear when you play. You could even paint the belt and pack yellow and pretend you're batman. -
Jeff Fx >and there’s no question that once you cut the cord, you won’t want to go back to a wired VR experience.Reply
I went back to wired from the TP Cast because of fuzzy video, and tracking glitches. I hoped this would be better, but it's being reported that there's no compression chip on the Vive wireless card, and that compression is being handled by the CPU, harming VR performance.
>The problem is, the wireless system doesn’t always work the way it should.
Which is why I'm sticking with wired until a wireless systems works as well as a wired installation. -
jimmysmitty Reply21449847 said:Headline seems a little misleading to a degree...
y. Performance was strong on two Intel-powered systems we tried, but after a software update, we also experienced problems connecting to the Vive Pro from these computers. In other words, if you use a Ryzen-powered computer or connect to a Vive Pro rather than a regular Vive, you may want to wait for updates.
This suggests its just more than AMD issues, which the headline does nothing to reflect.
Intel also played a critical role in developing the Vive Wireless Adapter. The company adapted its WiGig technology to enable wireless communication from the host PC to the untethered headset. Intel introduced WiGig at IDF 2014 and touted it as a wireless peripheral dock of sorts, but the technology failed to gain traction in that market. With the emergence of VR headsets, Intel saw an opportunity to revive the development of its high-bandwidth wireless data transmission solution.
This begs the question, based on the shenanigans that Intel has pulled lately as to "Did Intel play dirty in the firmware to ensure issues with AMD processors?" I can't say that they did, but it can make you wonder. They may not have, or may have... its circumstantial at least until someone examines the firmware closely.
Or it could be the fact that short of the PCIe x16 slot on their board all the other slots are PCIe 2.0. The article did state:
HTC’s instructions, which you can find here, suggest installing the WiGig card first. The expansion card features a PCIe x1 interface, which should make it compatible with any PCIe slot in your motherboard as long as it supports PCIe Gen3.
Per the manual from Asus the only slot that's PCIe 3.0 on that board is the top x16 slot. The rest are PCIe 2.0.
WiGig transmits at up to 7Gb/s while PCIe 2.0 x1 is limited to 5Gb/s. If the Vive is needing that bandwidth then that PCIe 2.0 limitation of the AMD chipsets will be an issue.
I guess it would depend on what slot he used for the X99 system as the only PCIe 2.0 slot is the x1 slot but all the PCIe x16 slots are 3.0. I think we need to see this tested with a newer Intel system and maybe a Threadripper system with PCIe 3.0.
Or it could just be a driver issue. -
ajkelly As a note, the claimed struggle with AMD isn't true for everyone. I'm running it perfectly fine on two different ryzen systems.Reply -
shrapnel_indie Reply21450380 said:21449847 said:Headline seems a little misleading to a degree...
y. Performance was strong on two Intel-powered systems we tried, but after a software update, we also experienced problems connecting to the Vive Pro from these computers. In other words, if you use a Ryzen-powered computer or connect to a Vive Pro rather than a regular Vive, you may want to wait for updates.
This suggests its just more than AMD issues, which the headline does nothing to reflect.
Intel also played a critical role in developing the Vive Wireless Adapter. The company adapted its WiGig technology to enable wireless communication from the host PC to the untethered headset. Intel introduced WiGig at IDF 2014 and touted it as a wireless peripheral dock of sorts, but the technology failed to gain traction in that market. With the emergence of VR headsets, Intel saw an opportunity to revive the development of its high-bandwidth wireless data transmission solution.
This begs the question, based on the shenanigans that Intel has pulled lately as to "Did Intel play dirty in the firmware to ensure issues with AMD processors?" I can't say that they did, but it can make you wonder. They may not have, or may have... its circumstantial at least until someone examines the firmware closely.
Or it could be the fact that short of the PCIe x16 slot on their board all the other slots are PCIe 2.0. The article did state:
HTC’s instructions, which you can find here, suggest installing the WiGig card first. The expansion card features a PCIe x1 interface, which should make it compatible with any PCIe slot in your motherboard as long as it supports PCIe Gen3.
Per the manual from Asus the only slot that's PCIe 3.0 on that board is the top x16 slot. The rest are PCIe 2.0.
WiGig transmits at up to 7Gb/s while PCIe 2.0 x1 is limited to 5Gb/s. If the Vive is needing that bandwidth then that PCIe 2.0 limitation of the AMD chipsets will be an issue.
I guess it would depend on what slot he used for the X99 system as the only PCIe 2.0 slot is the x1 slot but all the PCIe x16 slots are 3.0. I think we need to see this tested with a newer Intel system and maybe a Threadripper system with PCIe 3.0.
Or it could just be a driver issue.
Well, It sounds like an idea... a good one at that... The PCIe 2.0 vs 3.0 limitation may very well be the culprit in this case. Doesn't Zen+ and the 4xx chipsets bump up the count on PCIe 3.0 slots? (i.e. 2700 or 2700x) -
John Nemesh Yeah, maybe you guys need to look into the issues a bit more. I have a Ryzen 2700x system, Asus CH7 wifi motherboard, Asus ROG Strix Vega 64, and Vive Pro. The wireless kit works flawlessly for me. Some are speculating that it may be a problem with Nvidia on Ryzen systems causing the problem...but that would be something I would expect YOU to research before publishing an erroneous article with a misleading headline....Reply
