Why you can trust Tom's Hardware
We are using the following system for our case test bed:
| CPU | Intel Core i9-9900K |
| Motherboard | Asus Maximus XI Hero WiFi |
| Memory | Corsair Vengeance LPX 3000 MHz, 16 GB (2x 8GB) |
| Graphics | Nvidia GeForce RTX 2070 Super Founder's Edition |
| CPU Cooling | Noctua NH-U12S Chromax.Black |
| Row 5 - Cell 0 | Noctua NT-H2 Thermal Paste |
| Storage | Corsair Force Series MP510 NVMe SSD, 480GB |
| Power Supply | Corsair HX750i |
We’ve recently implemented a new testing setup for our cases, but I’m pulling the old setup out of the closet for the O11D Air Mini to give the fairest comparison. I no longer have all of the same components around, but the motherboard, CPU, memory, GPU, and power supply are all identical. The main difference in the setups is that I won’t be using the vertical GPU riser, as this sample didn’t come with one. I’m also using a slightly different Corsair AIO, and we’re using the included case fans instead of chucking in aftermarket spinners.
Motherboard Installation
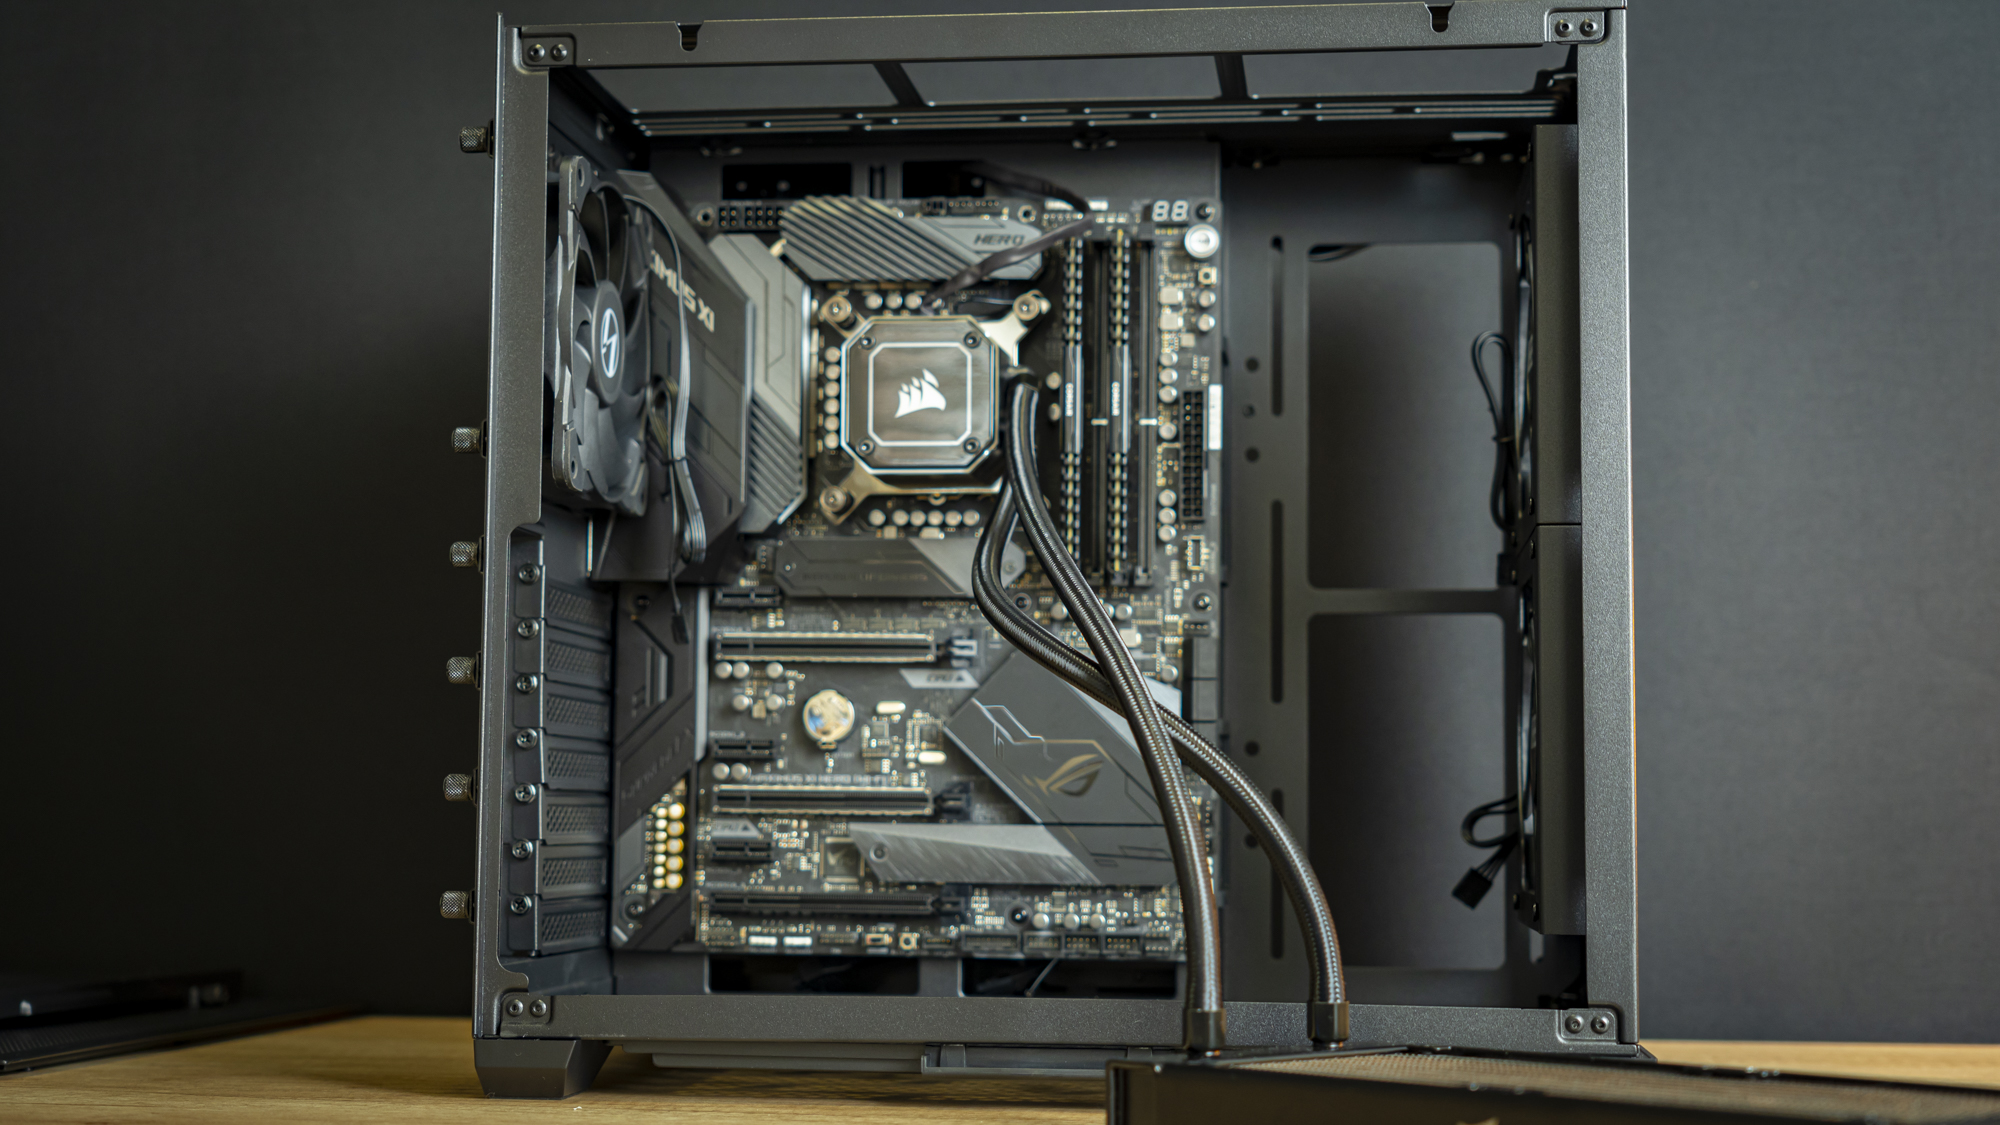
The first step in this build process is to install the motherboard. But because I’m too lazy to remove the hard drive cage at the back, I did install the AIO’s CPU block onto the motherboard first.
AIO Installation
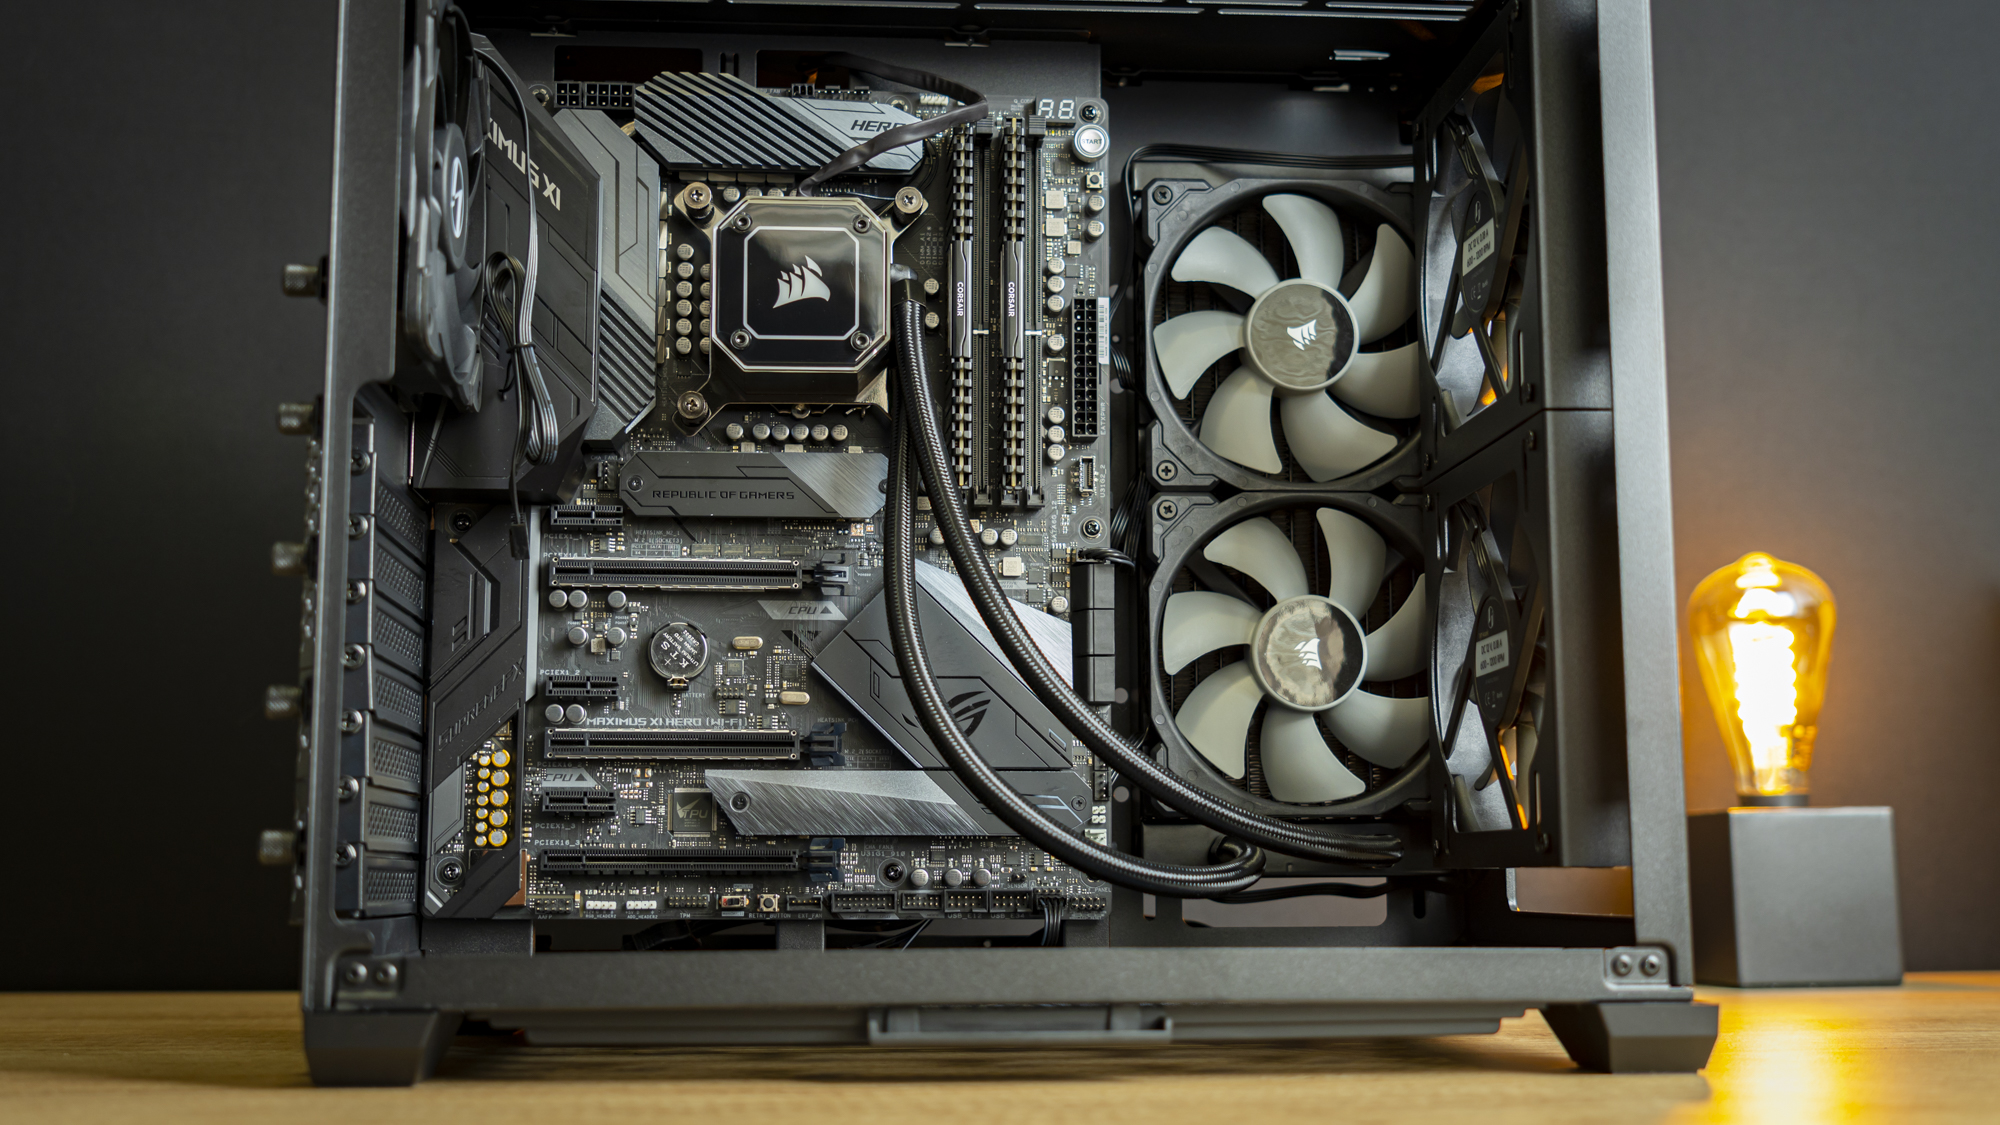
Then, I mounted the fans onto the cooler, and installed the AIO’s radiator in the side port. I opted to use this because it’s what I did in the build of the O11D Mini, though I could have mounted it in any of the other locations.
GPU Installation
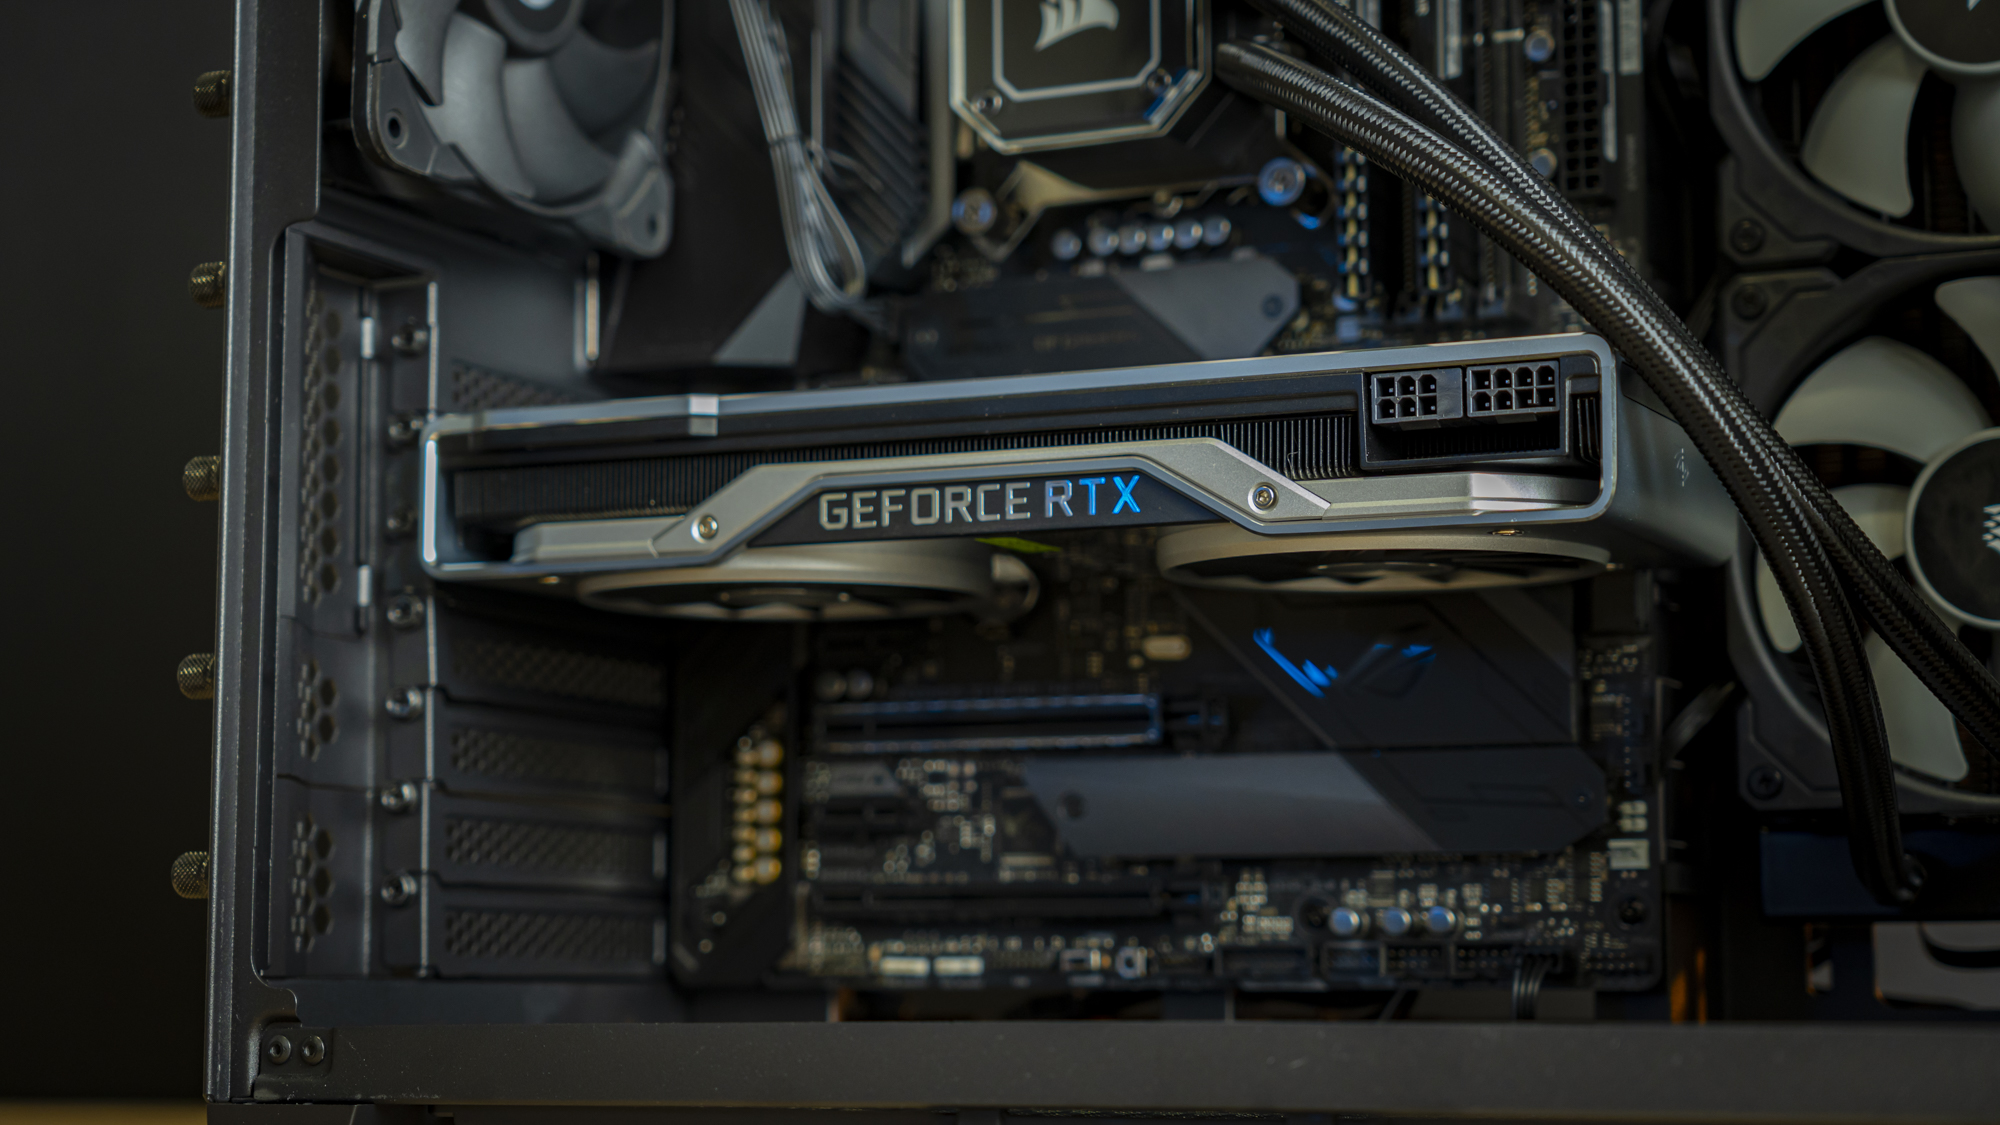
Then, I dropped the GPU into place. This case does have room for larger GPUs, and I could use our Zotac RTX 3080 Ti. But because the new ATX testing rig isn’t complete yet, and because I want to compare data to the first case, I’m using the FE RTX 2070 Super.
PSU Installation
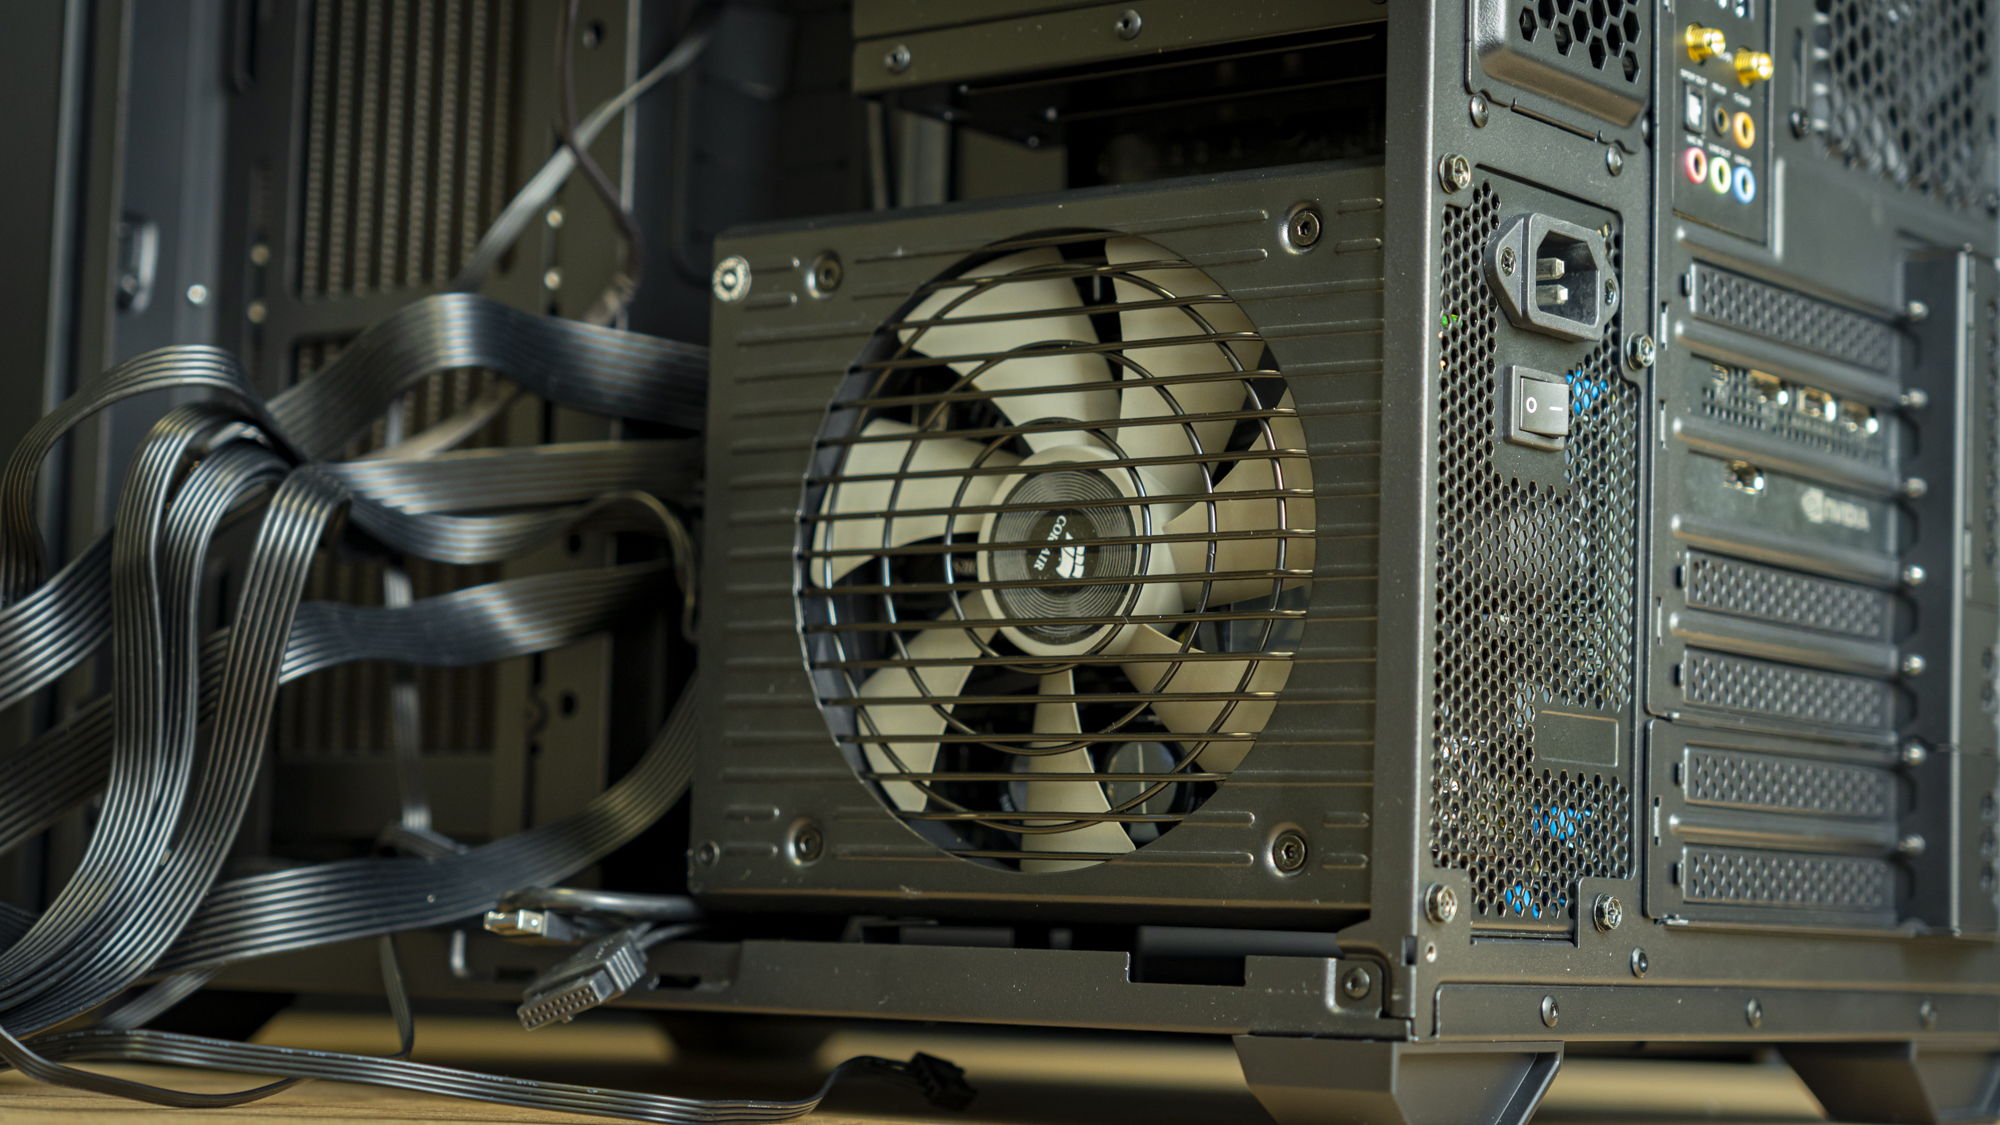
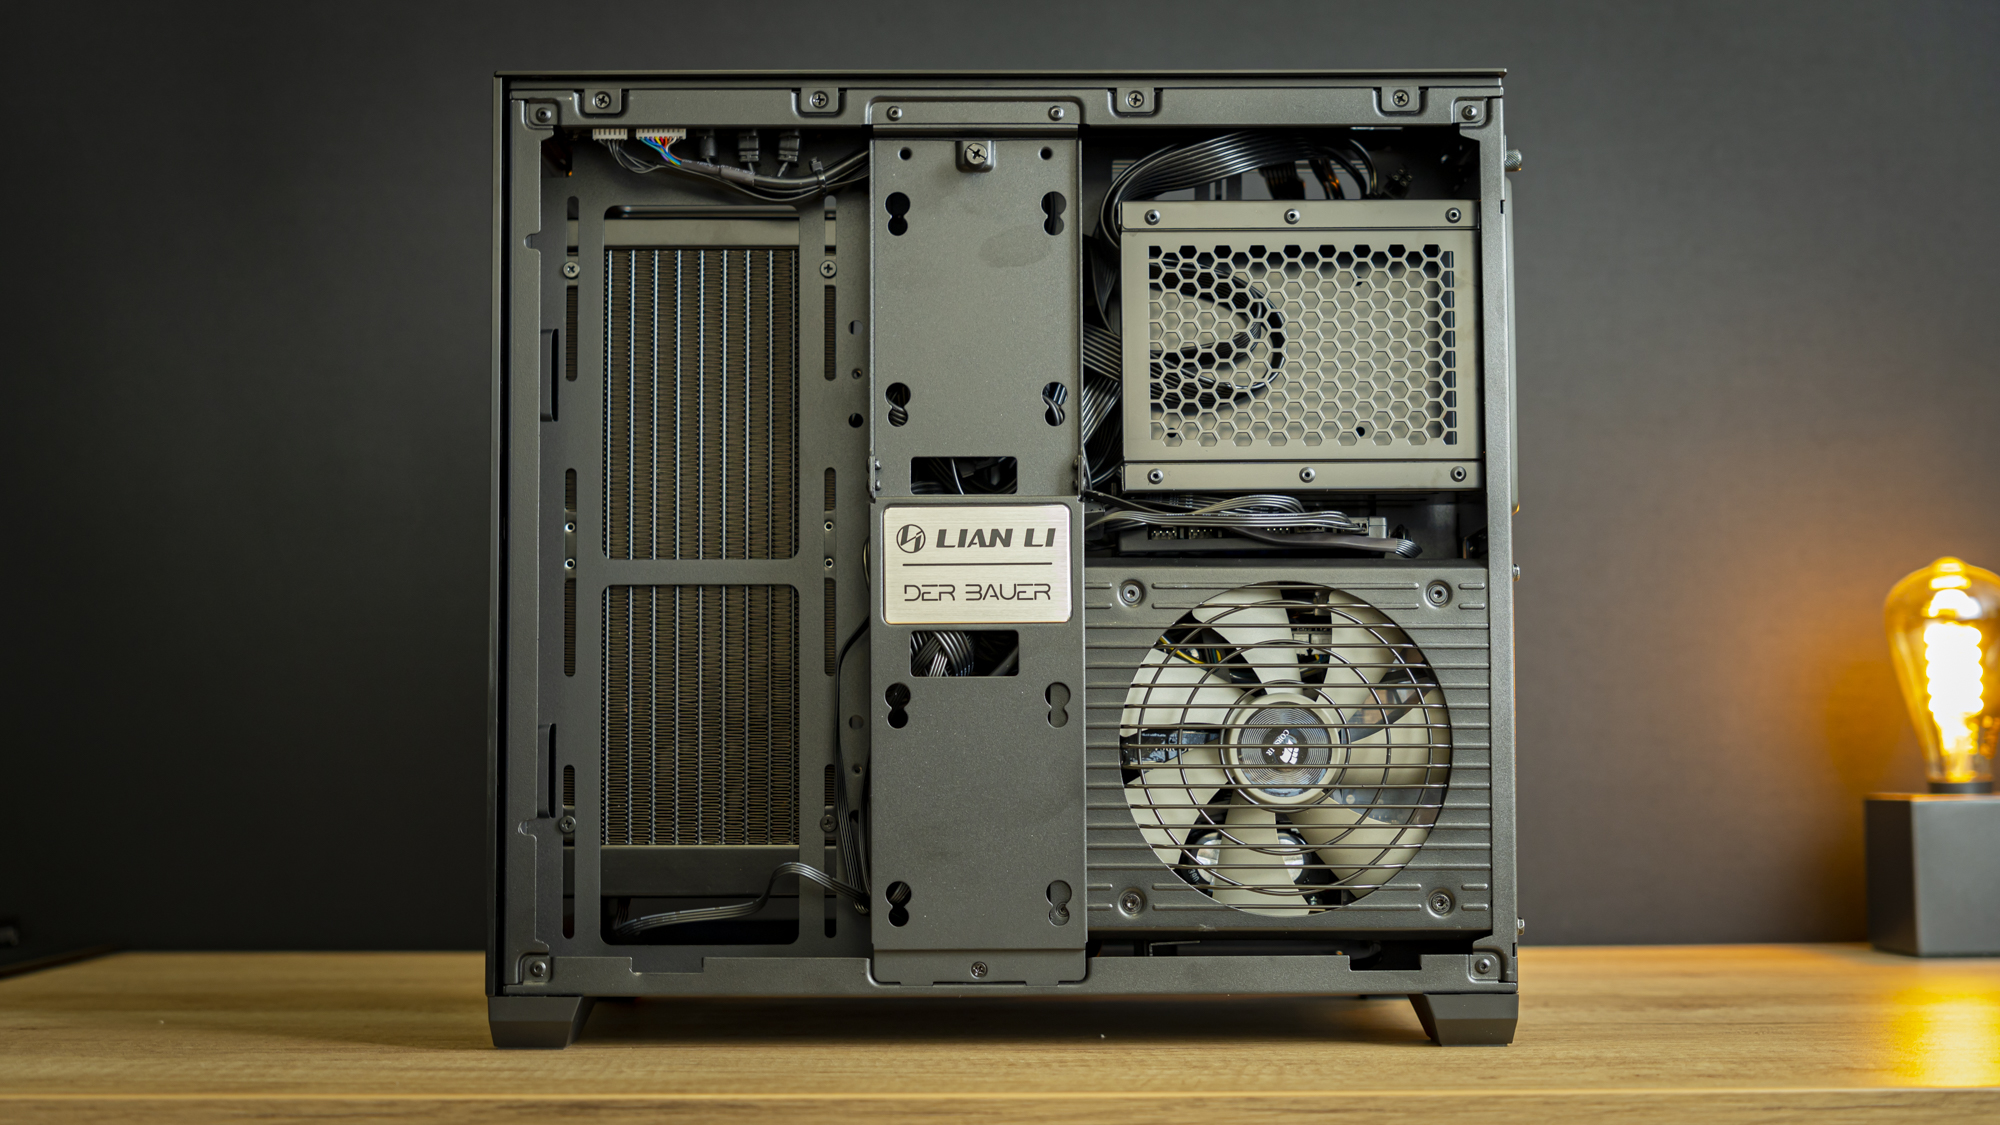
This is something that took me by surprise when building the system – I had expected the O11 Air Mini to only support SFF-L PSUs at the largest, but no: This case will happily house large ATX PSUs up to 200mm long. Now that’s a relief.
Cable Management in Classic, O11 Fashion
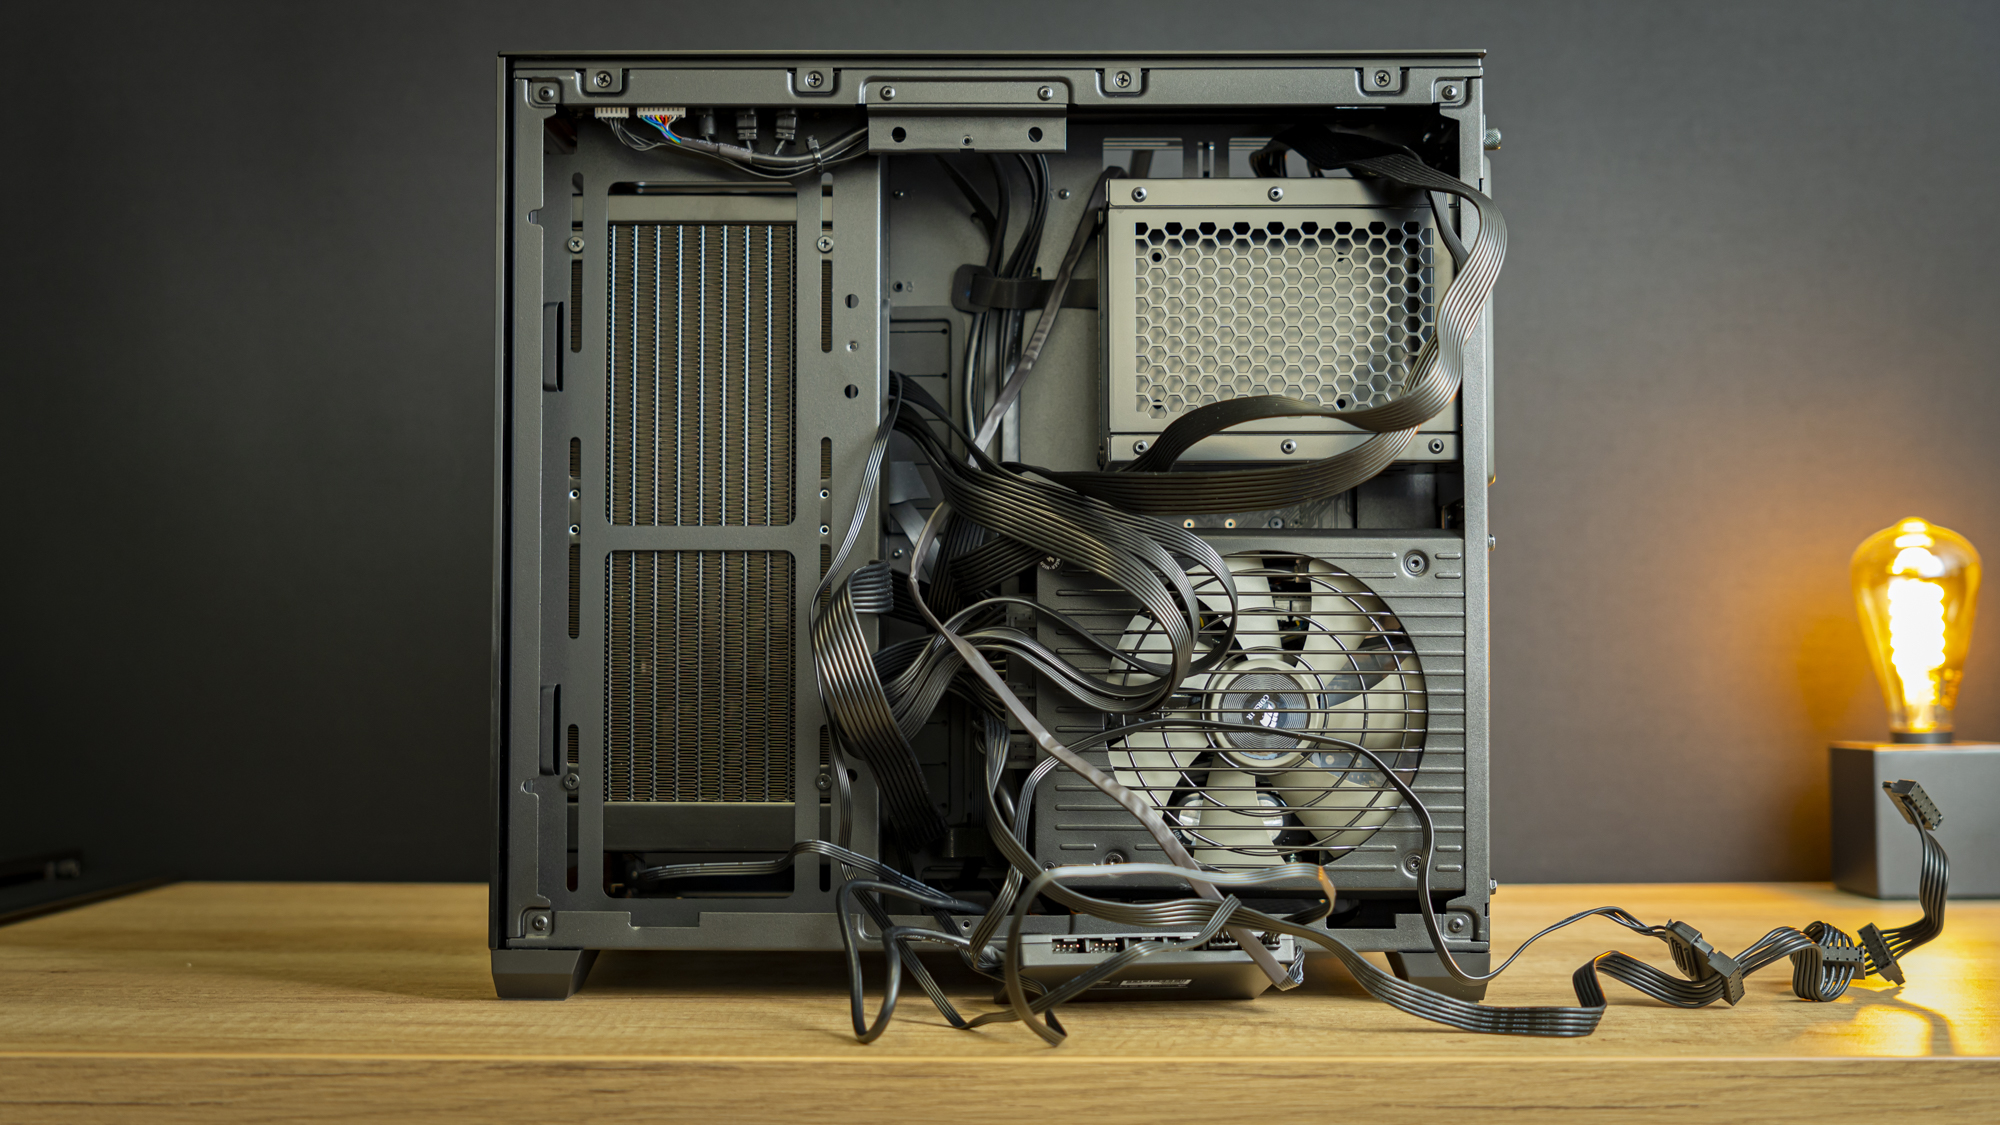
For cable management, I first plugged all the cables in, including the iCue hub that came with the Corsair liquid cooler, and then tidied up all the cables.
Get Tom's Hardware's best news and in-depth reviews, straight to your inbox.
And when I say tidy, I mean tidying them up in the classic O11 fashion: shoving them all into the case without a second thought and hiding my mess with the cover.
A Quick Note on the Side Radiator
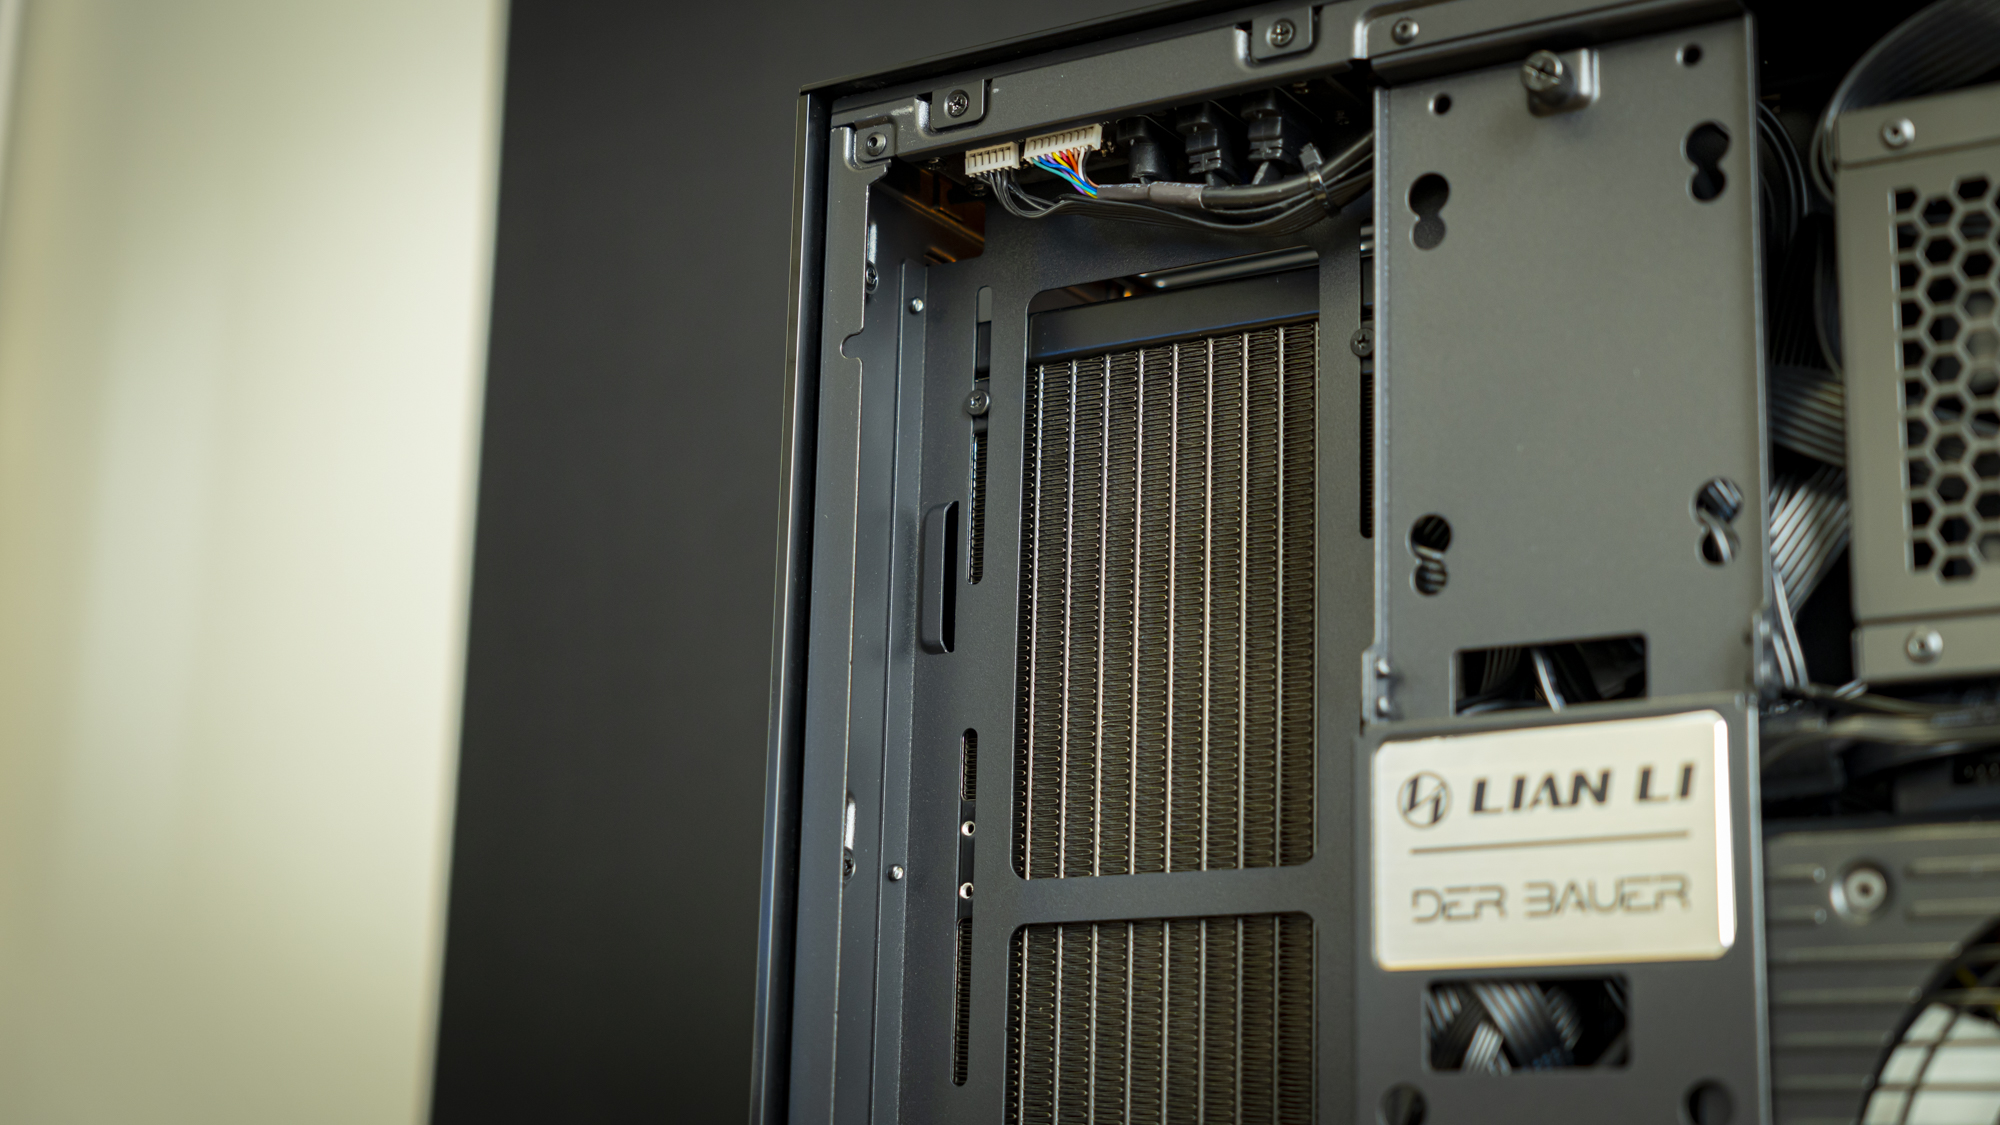
If you haven’t spotted it yet, I’ve made a mistake in my build process. Although the 240mm radiator fits, with the fans, entirely into the side slot in the main chamber without colliding with the included intake fans, this is not the best way to mount it as it wouldn’t effectively exhaust the air out the side, instead warming up the secondary chamber.
There is plenty of space for the radiator or fans to fit on the other side, in the secondary chamber. So, I undid the radiator and mounted it correctly, to better exhaust out the side panel.
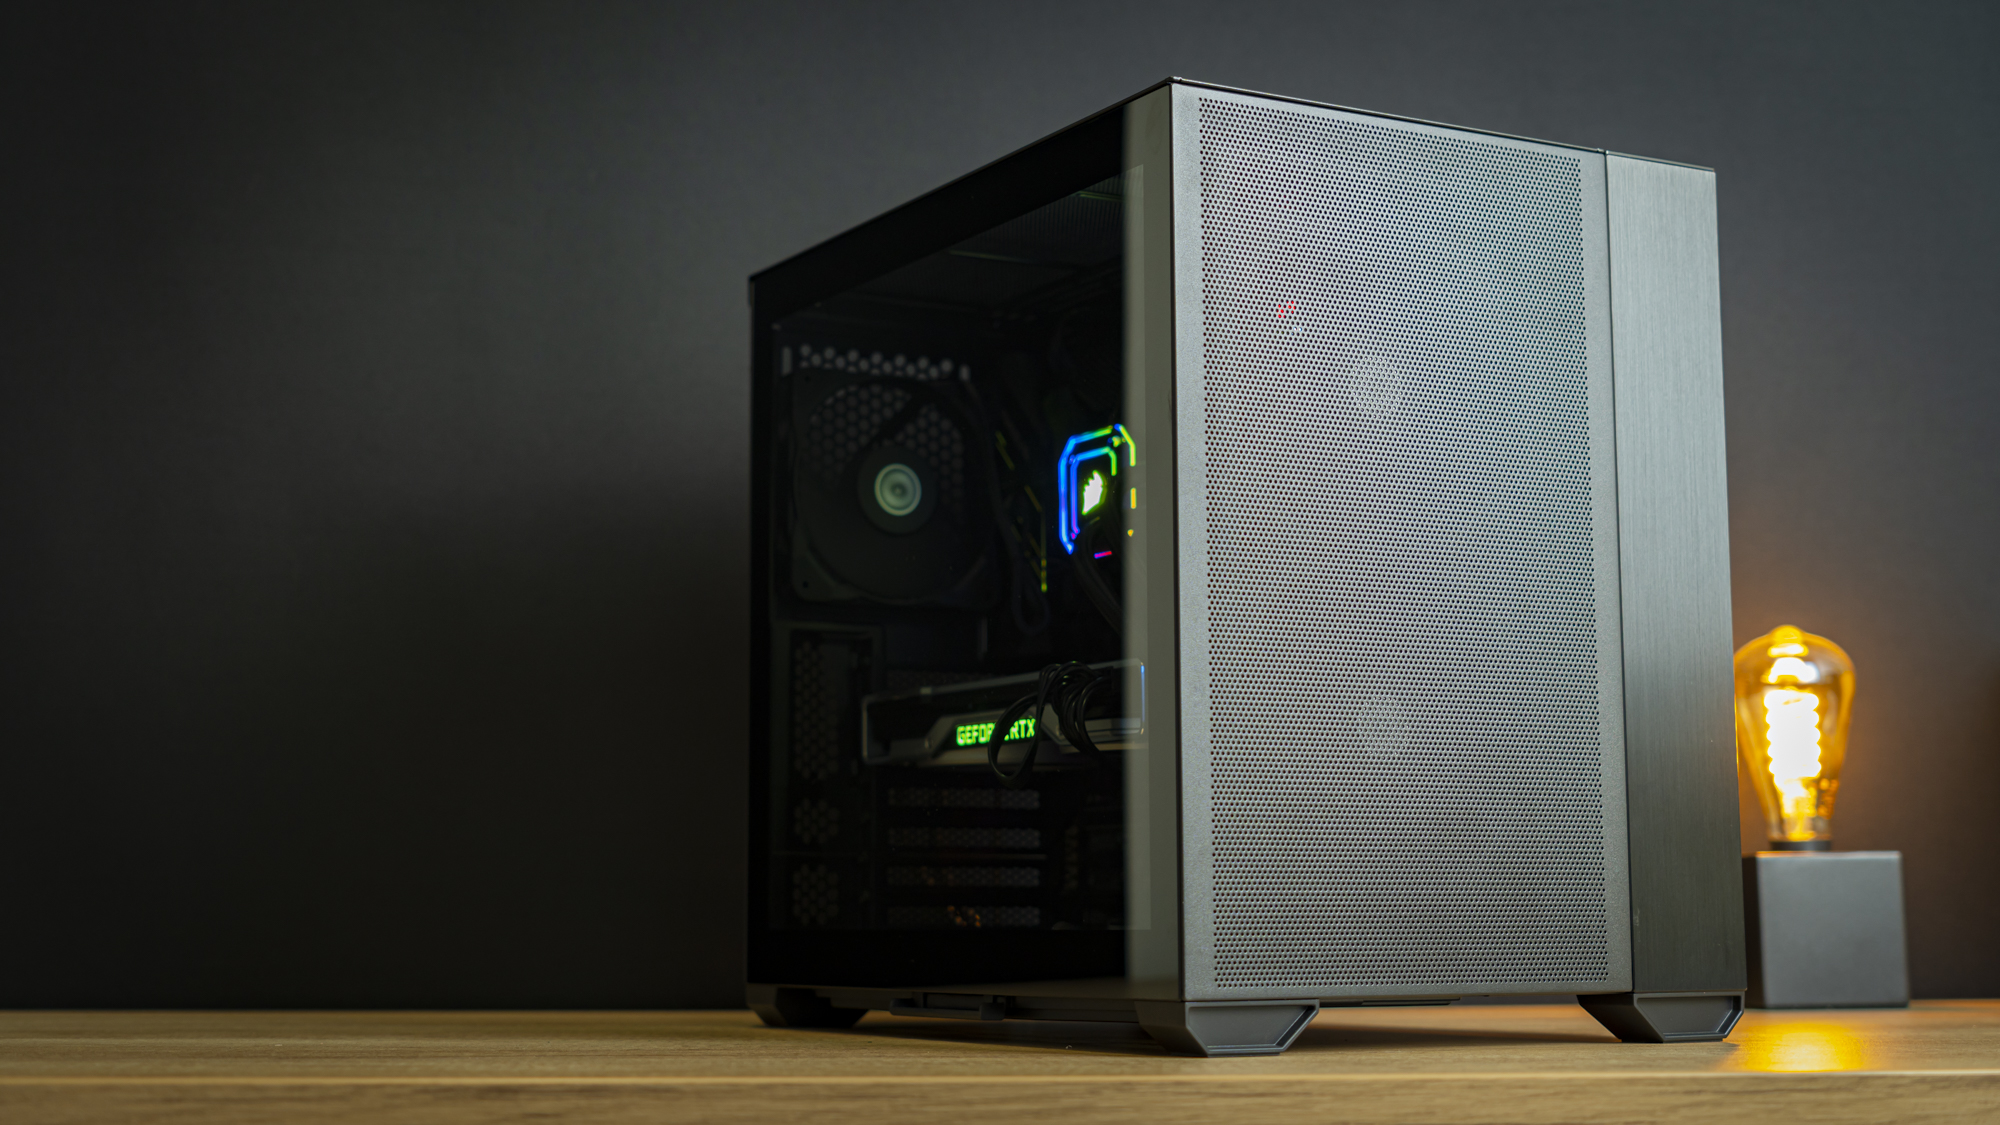
Build Complete
With that, the build was complete. I’m really digging the tidy mesh front panel. I didn’t think I’d like it more than the pretty glass, but it’s a much more sophisticated look than glossy glass.
Current page: Hardware Installation
Prev Page Features and Specifications Next Page Testing and ConclusionNiels Broekhuijsen is a Contributing Writer for Tom's Hardware US. He reviews cases, water cooling and pc builds.
-
Phaaze88 OMG. This one is awesome(to me).Reply
Mesh
Smaller footprint than the H500P Mesh I'm using
NH-D15S fits
ATX psu isolated from the main compartment
280mm gpu cooler can be mounted in the front
*drools -
vinay2070 I guess its totally subjective. I would rather have the psu at the bottom and have a slimmer case over wider footprint.Reply -
SkyBill40 I definitely like the look and size of this one. While I like my old (and still current) case, this one would allow me to move my newly built system from my existing floor standing ATX mid tower and place it into this one on top of my desk. No more dog hair getting into my filters. it also fits my DRP4 and a full sized ATX PSU, which is most excellent. The price is reasonable, too.Reply
Looks like something for me to keep an eye out for once NewEgg has them available. -
Tex61 "...unless you have tall RAM that creates clarence issues. "Reply
We have clearance, Clarence. :)
