Pimp My Console
Xbox Case Mods
Next, for the Xbox Crowd...
Tools Needed:
- 1 Torx 20 screwdriver
- 1 Torx 10 screwdriver
- Nimble fingers.
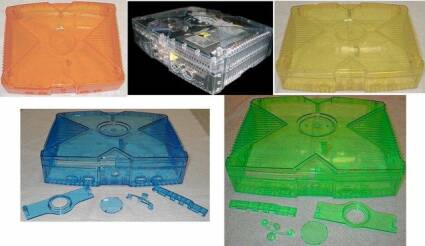
How to Remove: Turn your Xbox over and peel off the edges of the four rubber feet and both stickers on the back. You should see the screws. Use the Torx 20 to take them out, and remove the top. Next, switch to the Torx 10 and look around the DVD drive - the screws are in a reverse "L" pattern. Remove the bottom left screw, followed by the bottom right, and finally the top right one. You'll have to take out the connector from the back of the hard drive, so be gentle and pull out slowly - you can unhook the power cable to the right of the hard drive if you want to make things a little easier. Next, disconnect the two cables from the DVD drive. Now you can raise the whole tray with the DVD/ hard drive in it and put it aside. Next, you'll see a motherboard and a yellow wire in the bottom right corner, and an arrow pointing in one direction. Pull in the opposite direction and it will come out (most likely sad). Then just pull off the console face, using a little power if you need to. After that, remove the circuit board from the back (put the buttons on your new front panel BEFORE you apply the circuit-board) and fit it into your new front panel. Now reassemble the DVD/hard drive, reapply the screws and voila! Pimpin' Xbox.
Also from OriginalCase, you can put a little something extra, even for this stage of pimpin'. We're talking about changing the jewel!
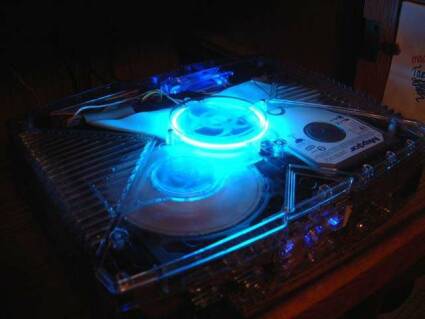
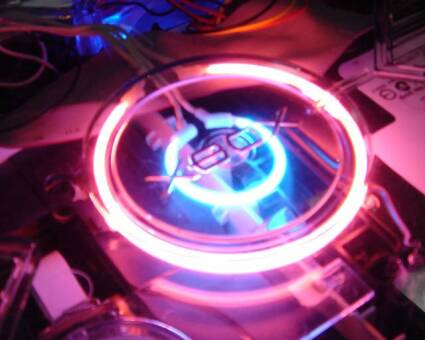
It's something that's one-of-a-kind, and it comes in yellow and green. There's also one available from GameFreax, just for the Jewel:
Usually, this will run from about $24 to $30, but some places do price-match. For just the glowing jewel alone, it's about $15.
You can also light the feet if you really want to, although this is more of a PC mod.
Get Tom's Hardware's best news and in-depth reviews, straight to your inbox.
Included in the kit are four LEDs, four feet, a PCI switch plate/switch and pads to hold the new feet in place.


