HTC Vive Setup Procedure
Plug In The HMD
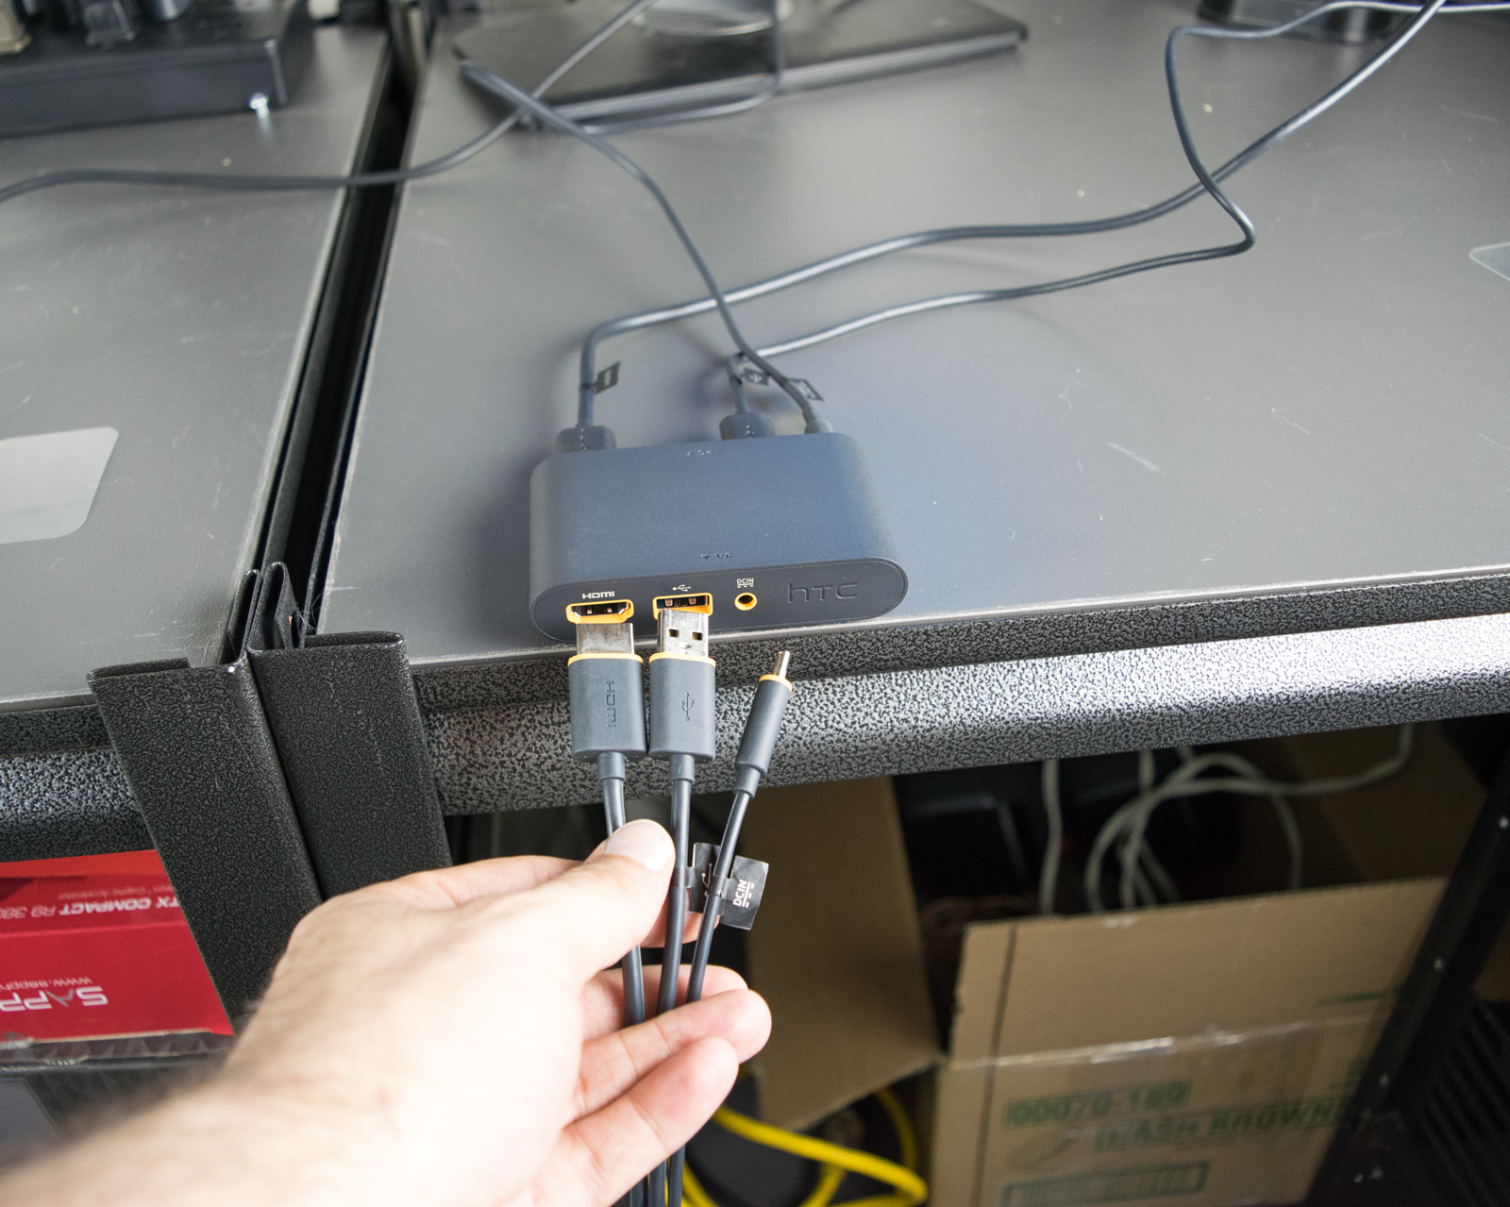
Once you have the Link Box plugged in, you can connect the HMD to it. The Vive headset includes the aforementioned 15 foot-long tether cable that carries data and power between the HMD and the computer. The end of the 3-in-1 cable features a power cable, USB, and HDMI port that correspond to the ports on the Link Box.
Order is important here: Plug the power cord in first, followed by the USB cord, and then the HDMI cable. If you plug in the Vive cables in the incorrect order, the HMD may not initialize properly in Steam VR.
MORE: Best Virtual Reality HMDs
MORE: Virtual Reality Peripherals And Accessories
Turn On The Vive Controllers
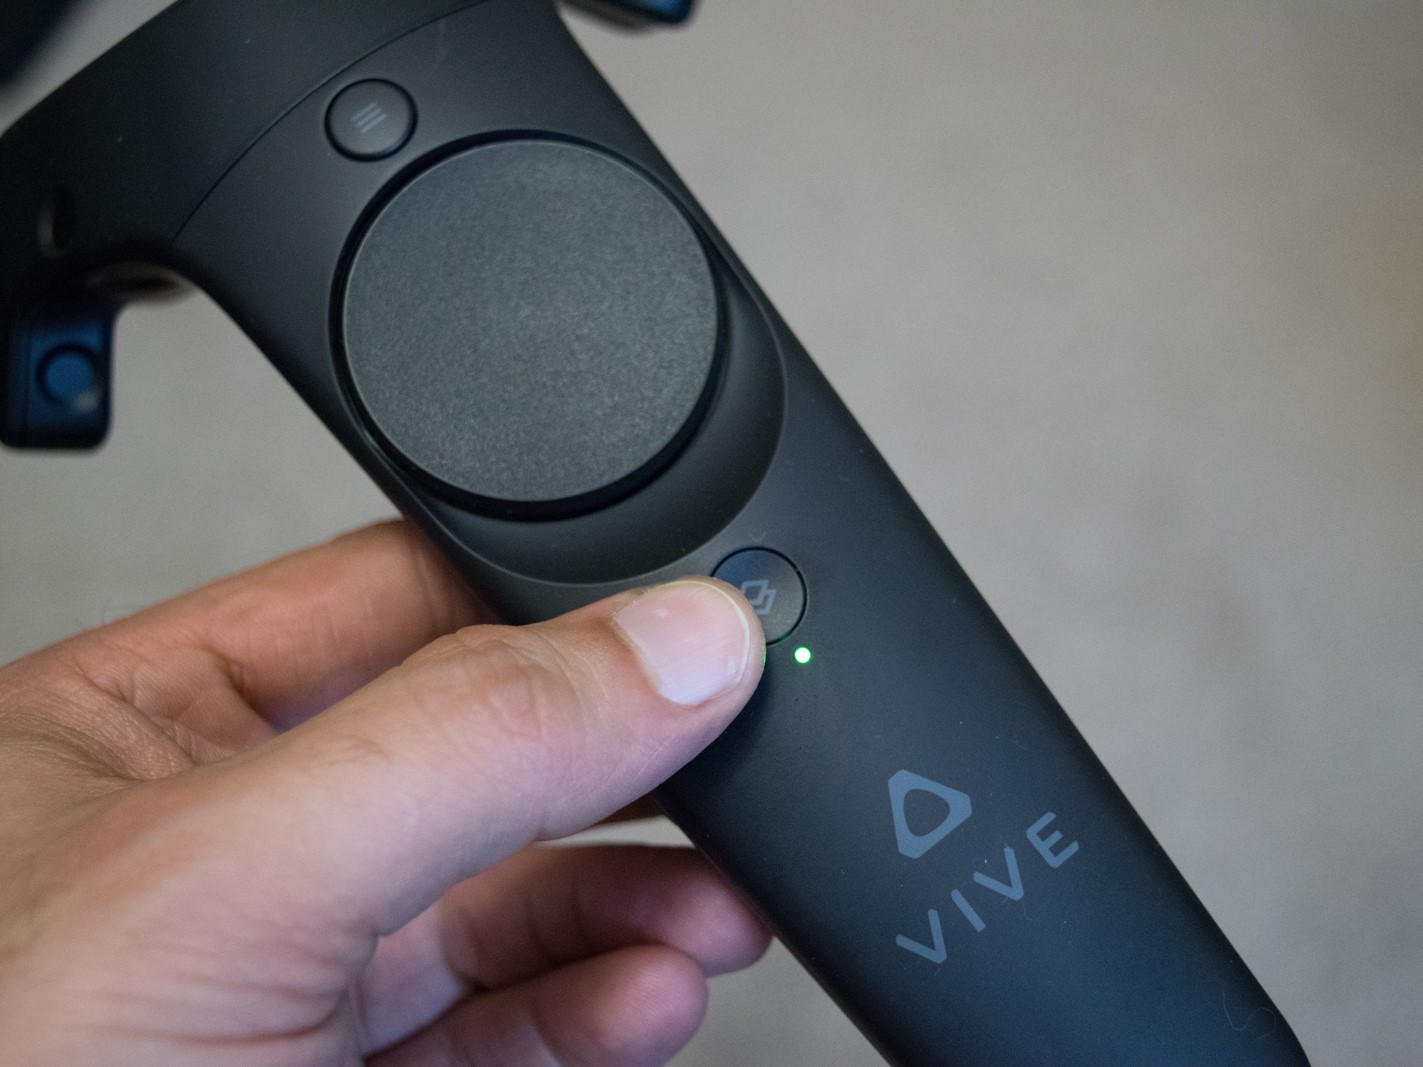
The Vive controllers come from the factory paired to your headset, and they should ship with a partial charge. All you have to do is press the button below the trackpad on each controller to turn them on.
Make sure that both the HMD and the controllers are within the range of the IR light pattern from the Base Stations when you turn on the controllers. You may have to move the HMD to wake it up before the controllers connect properly.
If you’ve already installed SteamVR, the client should open and detect your hardware. If not, you should get a prompt indicating that Steam detected a VR HMD and wants you to install the SteamVR client.
Get Tom's Hardware's best news and in-depth reviews, straight to your inbox.
MORE: Best Virtual Reality HMDs
MORE: Virtual Reality Peripherals And Accessories
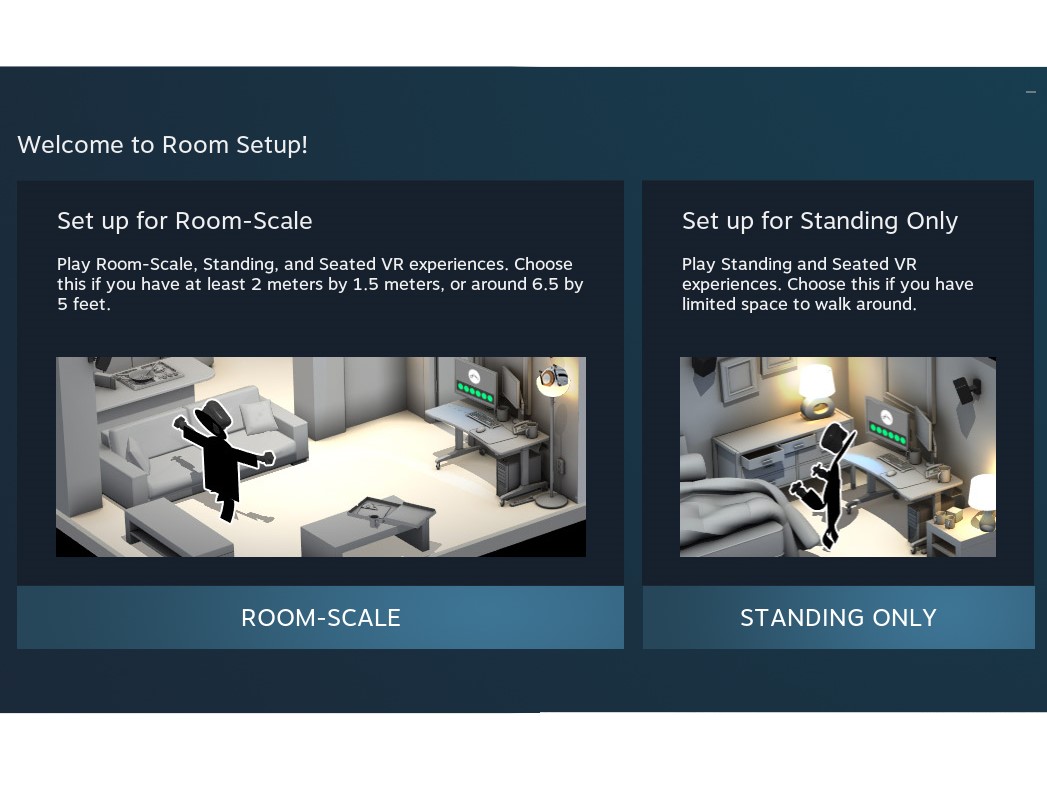
SteamVR Setup: Room-Scale Or Standing Only?
When you start the SteamVR setup process, you choose which configuration you wish to use, room scale or standing only. Room scale lets you walk around in VR, and it's certainly preferable, but SteamVR and the Vive hardware also support standing-only configurations. Basically, if you can stretch your arms out and spin around without hitting anything, then you have space to use a Vive.
If you have enough space for room-scale, always choose that option, because it also supports standing and seated experiences without the need for recalibration.
MORE: Best Virtual Reality HMDs
MORE: Virtual Reality Peripherals And Accessories
Establish Tracking
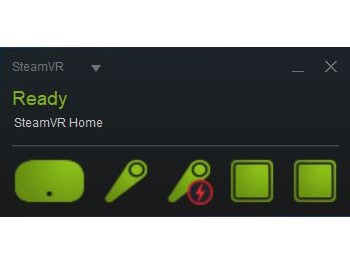
Regardless which of the two options you choose (room scale or standing only), the software must establish a baseline tracking calibration. Hold the controllers and the headset within the range of the two Base Stations. The icons for the HMD and controller will light up when SteamVR detects the hardware.
If the icons don’t light up at this stage, ensure that the line of sight to each Base Station is clear and that you have ample charge in the controllers.
Once SteamVR establishes tracking, the setup process for room scale and standing only VR diverge from each other.
MORE: Best Virtual Reality HMDs
MORE: Virtual Reality Peripherals And Accessories
Room-Scale Setup: Locate Your Monitor
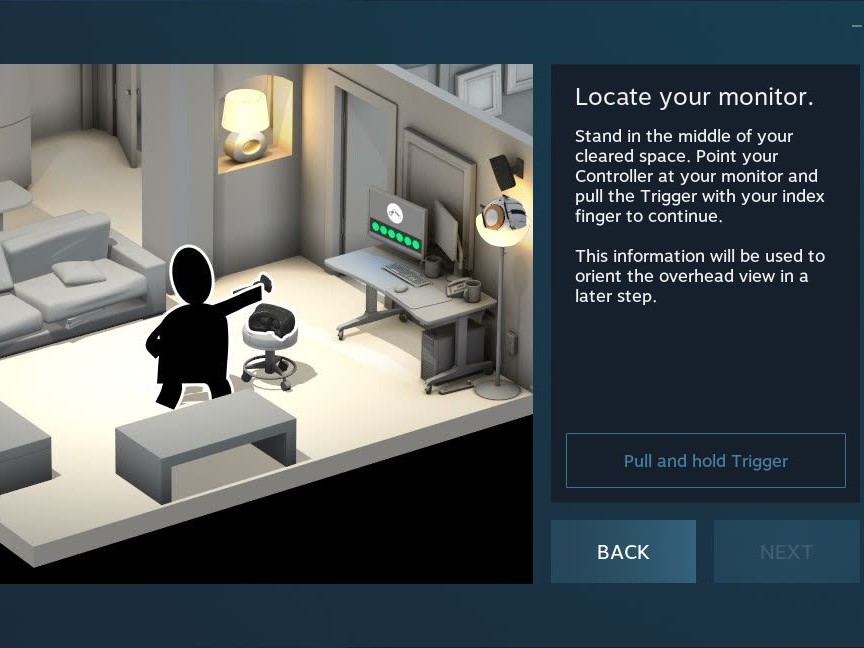
In the room-scale setup process, you must indicate the location of your monitor in relation to your play space before you can map out the size of your safe zone. This step sounds silly, but it actually accomplishes two things: It marks the center point of your play space and informs the default orientation for games to launch.
This step is somewhat misleading, though. Valve assumes that your display is next to your computer, but if, for example, your PC is in the living room and you’re using your TV as a display, you may need to point towards your computer so that your tether cable is behind you when you’re playing. Don’t get too close to your screen, though, lest you smash a Vive controller into your TV.
To calibrate, stand in the center of your play space with one of your Vive controllers in hand. Point the controller towards your monitor (or PC) then pull and hold the trigger down until the bar on the screen fills up.
MORE: Best Virtual Reality HMDs
MORE: Virtual Reality Peripherals And Accessories
Room-Scale Setup: Calibrate The Floor Position
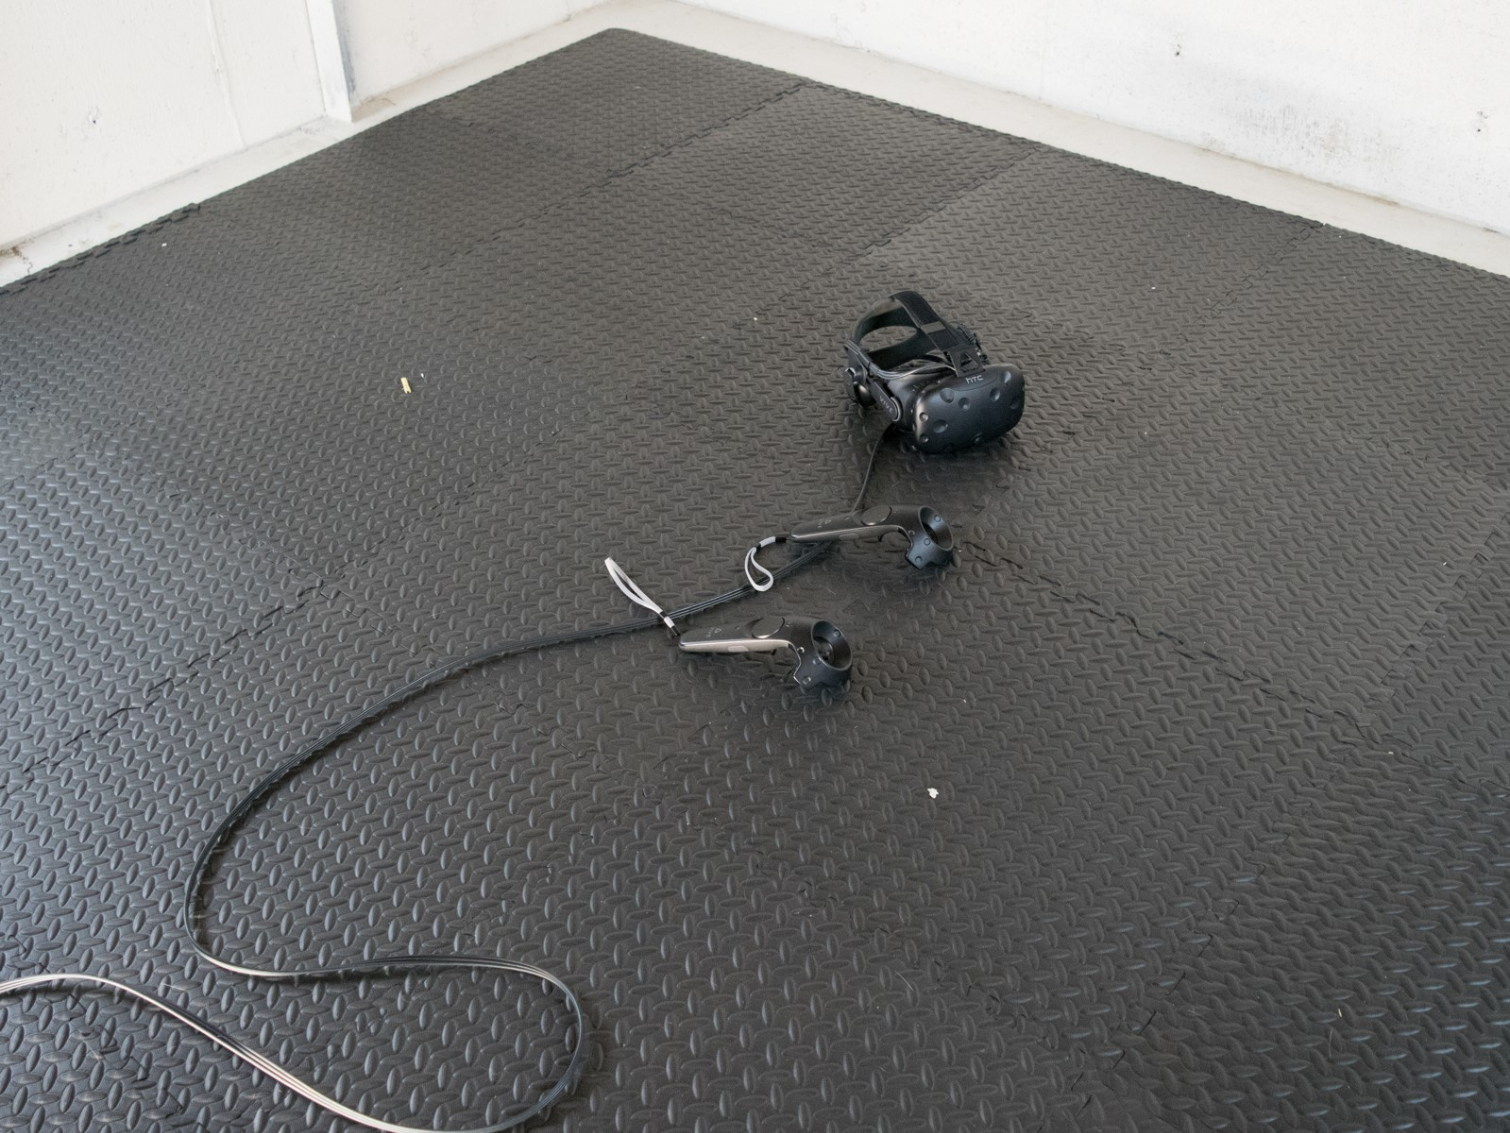
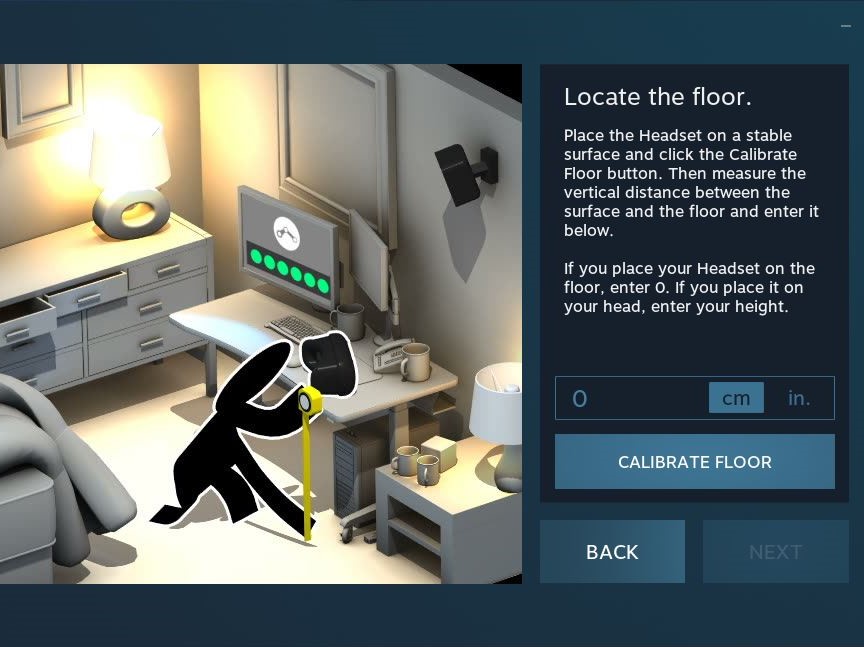
Once you’ve established the Vive’s orientation, set the virtual floor height to match the real world. To do so, place the Vive HMD and the two controllers in the center of your desired play space, make sure that your body isn’t obstructing the view from either Base Station, and click the Calibrate Floor button with your mouse.
If the calibration fails, ensure that the Base Stations are configured correctly (optical vs. cable sync, as described previously) and that they can see each other. The calibration may fail if your room is too bright, or if there’s a reflective surface in the room. It may help to turn off the lights. If you have windows in that room, close the blinds or pull the shade.
MORE: Best Virtual Reality HMDs
MORE: Virtual Reality Peripherals And Accessories
Room-Scale Setup: Chaperone Barriers
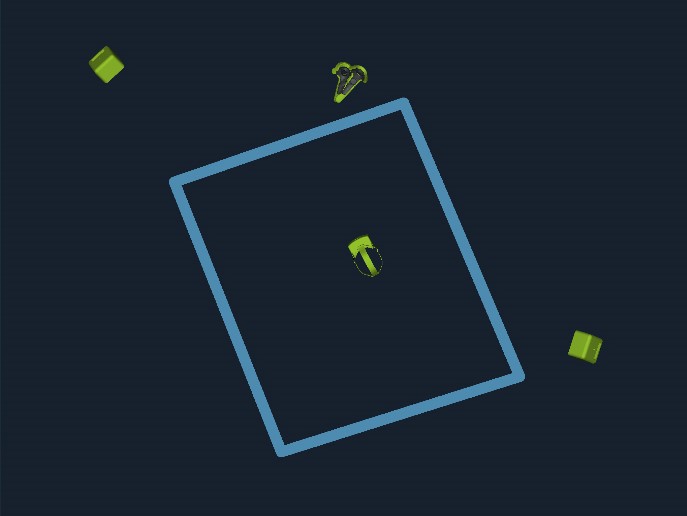
With the floor height and the monitor direction established, you can proceed to map your safe play area. The HTC Vive includes a feature called the Chaperone that highlights the barriers of your safe play space within VR. For the Chaperone system to work, set the location of the virtual walls.
There are two ways to establish your Chaperone fence. The default process involves tracing the edges of your place space with a Vive wand controller. That works well if you want to trace an obscure shape for a safe zone around your furniture, but if you have a wide open space, you can speed up the process by switching to the advanced setup. With the advanced setup, just point out the corners of your safe zone, and SteamVR will figure out the rest.
MORE: Best Virtual Reality HMDs
MORE: Virtual Reality Peripherals And Accessories
Standing-Only Setup: Calibrate Center
The standing-only setup is quite different from the room-scale setup. Once you’ve established tracking, you'll calibrate the center position of your play volume, but not with the controller. Instead, you use the headset.
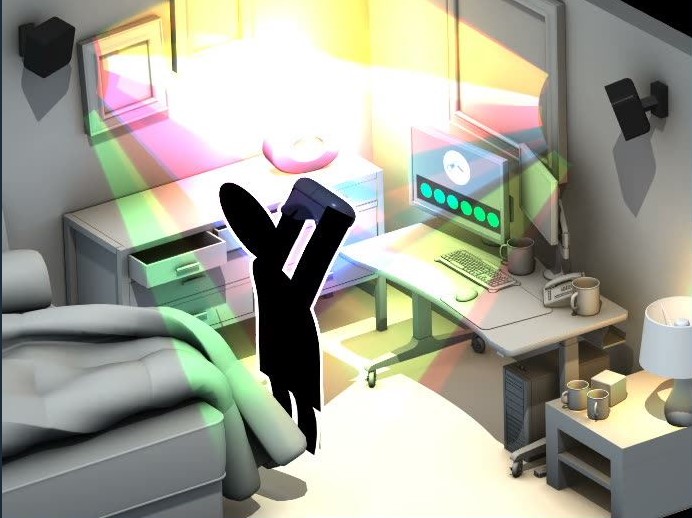
Stand in the center of your play area with the HMD in your hands while facing the direction you wish to make your default playing position. If you plan to play seated games, face your monitor during the calibration. For motion control games, you may want to set your default orientation to face away from your display to avoid potentially damaging it--it's all too easy to swing your controller outside of your play space when you're involved in an action-packed game.
Once you’re in position, press the Calibrate Center button with your mouse, or pull the trigger on one of the Vive controllers to lock in your orientation. It’s important to keep the HMD as still as possible during this process, because setup will fail if the headset moves around during calibration.
MORE: Best Virtual Reality HMDs
MORE: Virtual Reality Peripherals And Accessories
Standing Only Setup: Floor Calibration
The floor calibration process for standing-only setups is the same as the room-scale process, if your Base Stations can see the headset and controllers when they're on the floor. Place your hardware on the ground in the center of your space and click the Calibrate Floor button to lock in your floor height.
Valve added an extra feature to the standing-only floor calibration process that lets you set the floor height manually in case your Base Stations don’t have a clear line of sight to the floor. Place the headset on a sturdy surface, hit the Calibrate Floor button, and enter how many inches or centimeters it is from the floor.
MORE: Best Virtual Reality HMDs
MORE: Virtual Reality Peripherals And Accessories
Configure SteamVR Settings
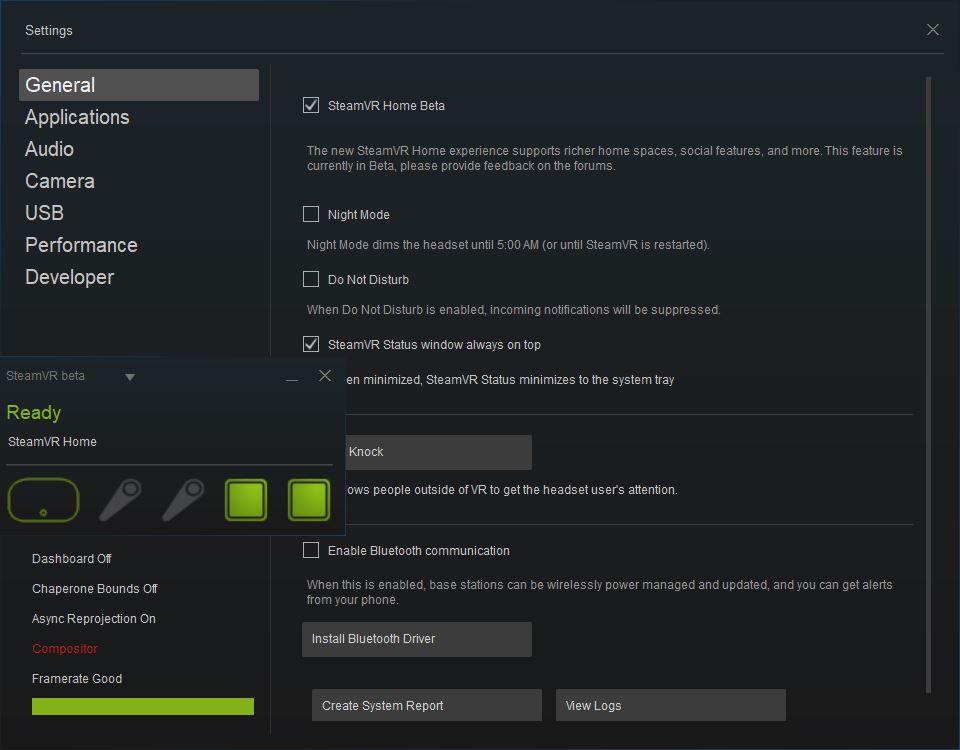
Once you have your play space configured, SteamVR will bring you to a short tutorial environment to teach you how to use your controllers and interact with virtual reality. After the orientation, you're free to start playing VR games, but you may want to run through the Settings menu first.
There you’ll find toggles to enable Bluetooth communication for wireless firmware updates and Base Station power control. You can also enable the Vive’s front-mounted camera, which is disabled by default. The Settings menu also lets you adjust your audio device preferences.
To access the SteamVR settings, click on the drop-down arrow in the top left corner of the SteamVR client window and select Settings.
MORE: Best Virtual Reality HMDs
MORE: Virtual Reality Peripherals And Accessories
Kevin Carbotte is a contributing writer for Tom's Hardware who primarily covers VR and AR hardware. He has been writing for us for more than four years.
-
gergguy It's a strange time to have a setup guide for the HTC Vive. After the huge discount of the Rift/Touch bundle (here in the states at least), there should be a large amount of people setting up their new Oculus Rifts right about now. I'm not a fan boy or anything, I'm just sayin'.Reply -
Dustin_45 Do not buy! Mine broke after 7 months, and I've hand a horrible experience thus far with their support team. I have proof of p7rchase, yet in one example of their terrible support process, they want 48 hours to "verify the security of my account". I've spoken with so called supervisors and it just gets worse. It took a week of numerous hours following up to finally be able to send it in. I've spoken with a handful of ppl that have had similar experiences, and heard of many more. The content doesn't warrant a $700 purchase, that's another major issue. Lastly, it's a serious pain to setup, even though it should be very simple. Save yourself the headache and do not buy!!!!!Reply -
vinay2070 When playing in room scale VR, the actual space we get is very small compared to the in game space. How do we get to walk continuously in the game and not hit the obstacles in real world(assuming the minimum is just 5X6.5)?? Can somebody point to a video that explains this? Thanks.Reply -
computerguy72 Dustin_45... The vive is great and has been getting much better via drivers and accessories. Bizarre highly uncommon experience you have relayed. Mine still works perfectly. Between supersampling and better drivers the quality is a lot better too. Vinay2070 - Lots of locomotion techniques in games they vary. However one that is typical is where you point to a spot in VR with the controller and teleport to it. Lots of other methods as well.Reply -
Davil Don't know why this article is necessary, the setup guide is pretty simple. Had mine since the release and it's still working great.Reply -
DbD2 Lol, that's a silly guide in that the only people that have a custom room just to put a vive in are professionals and they know perfectly well how to set it up.Reply
The actual setup of the vive is more along the lines of:
1) decide you fancy a play on the vive.
2) pick a room in the house you think you can get the most floor space in (lounge, dining room, etc)
3) drag all the furniture out of the room or into the corners at least.
4) get the base stations, try to work out where you can put them that doesn't involve drilling holes in walls as this is just a temp setup.
5) get out your duct tape and try to tape the base stations to something in the corners of the room.
6) Realise this isn't going to work well, swear at HTC for not giving the vive base stations sensible bases for anything but a permanent install.
7) Find some planks of wood, screw base stations into wood, duct tape larger and easier to work with planks of wood to something. Wonder why HTC couldn't have provided this in the first place being as the vive cost big $$$.
8) Unplug your whole desktop, drag the whole lot downstairs, plug it in.
9) Wonder how you will get the vive to work as your graphics card has one HDMI output and both the vive and the TV want to use it.
10) Fiddle around will silly converter cables until eventually you get them both talking at once.
11) Turn on vive.
12) Go through setup procedure.
13) Finish it, realise you've done it the wrong way around so the cable is always infront of you tripping you up not behind. Redo the setup again.
14) Get a quick play, then see the kids, their friends and their friends friends all wanting a go.
15) Realise the room is nothing like clear enough for kids swinging their arms around. Take all the breakables off the walls.
16) Spend several hours giving everyone a go - taking on/off headsets, fighting with the extra cable's caused by having to have separate headphones, and the vive software which needs restarted fairly regularly between games.
17) Collapse somewhat uncomfortably onto whatever chair's you have left to sit on (the rest being stacked out the way somewhere).
18) Play for a day.
19) Realise you've got to return the room to use-able again or wife will kill you, so take the whole lot apart, take the pc back upstairs plug it all in again, put all the furniture and breakables back.
20) Put vive away having been reminded of the pain having the thing out is to people with a normal house that doesn't come with a "VR room". -
pegnose Man, what r u complaining?Reply
@5: you can use virtually any tripod, telescope stick, and whatnot
@6: if they get moved, your tracking quality goes down - same with Oculus from some point
@8: I am living in a single room apartment and have no issues whatsoever ;)
@9: MiniDP cable for the connector box? also, there actually are graphics cards with 2 HDMI connectors (mostly from ASUS) - also same with the Rift
@13: shoot, another 5 minutes; what a waste of life time for getting room scale tracking
@14: oh, you have kids. your decision, I guess.
@15: see above
@16: must be something wrong with your PC, software is just robust
@17: yawn
@19: I really pity you; al the trouble and no fun. Sucks to be you.
@20: yeah, people with a house really have a hard time ;)
