Homegrown Mod Manifesto: How To Build A UV PC
Assembling The Final Product
Now that we have all of the prep work out of the way, it is time to put everything together. This is a little more tedious than usual because of all of the extra planning involved, and we still don't know if it is going to be worth it in the end.
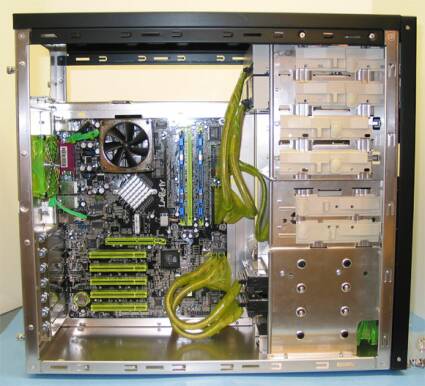
We next install all of our drives, followed by the insertion of the motherboard tray, into the case. We then use the rounded UV reactive IDE and floppy cables to determine the best way to route them within the case and what kind of effect we will get. Our choice of 10" rounded UV reactive cables appears to be a good fit for the case. With longer cables, we could hide more of the cables inside the case, but that wasn't the effect we were going for here, as we wanted to see the cables. So, we will take a look at possible strategies for making them look good inside the case.
We test cabling strategies for the rounded UV reactive cables within the case.
Get Tom's Hardware's best news and in-depth reviews, straight to your inbox.
Current page: Assembling The Final Product
Prev Page Mounting The Switch In The Drive Bezel, Continued Next Page Assembling The Final Product, Continued