Homegrown Mod Manifesto: How To Build A UV PC
Lights Out And Here We Go!
As the saying goes, "the proof of the pudding is in the eating," and the THG UV PC is no different. We are finally at the point where we could determine whether all of our planning and hard work was worth it. Now it's time to turn out the lights and see what we have created.
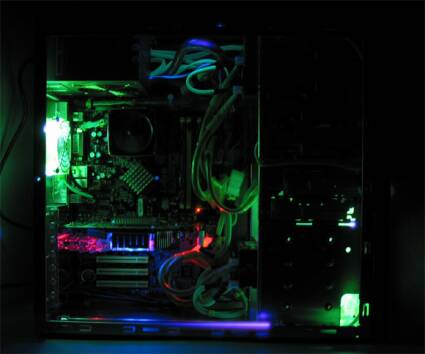
After turning out the lights we are not disappointed with the results. It looks good! And this is just a starting point for some of the many options that are possible in creating a UV PC.
After our initial testing there were a few things that we realized. First, UV cold cathode lamps for PCs don't put out enough light, and when you are trying to take a picture of it, the image quality is not the best. Still, we were able to capture the basic idea. The Aerocool UV lighted fans are very overpowering when used in an all UV configuration such as this. While they still look good, they were a lot brighter than we thought they would be.
In order to get the UV reactive products to show up better, we might have to consider adding two more UV lights or find some brighter UV lights.
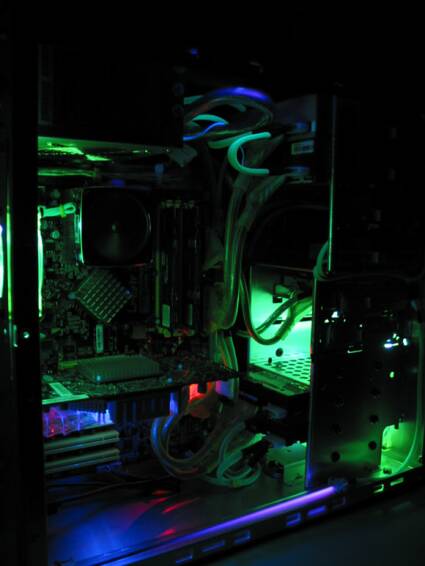
From this angle, we get a better look at the front of the PC. As you can see, the UV reactive IDE cables are not as UV reactive as we would have liked. Is this a bi-product of not enough light or of the cables themselves? You can also see the "overpowering" effect of the lighting in the Aerocool front-mounted fans. The overall effect in this case is pretty cool, however.
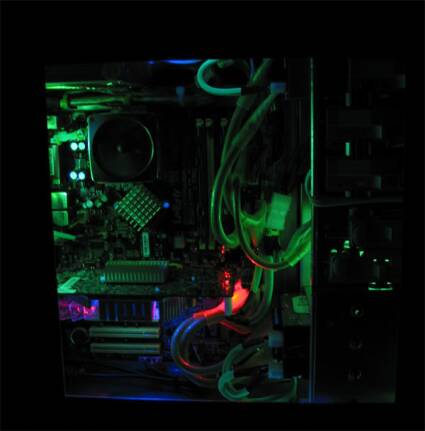
We put the side panel back on the case with the window, which improves the overall appearance of the case as more of the lighting is directed into the inside of case creating reflections and enhancing the lighting effect. This made the results look considerably better.
A picture of the THG UV PC with the windowed side panel back on the case. With the side panel now in place the "UV look" of the PC improves even more.
Get Tom's Hardware's best news and in-depth reviews, straight to your inbox.
Current page: Lights Out And Here We Go!
Prev Page Assembling The Final Product, Continued Next Page Final Thoughts

