Tom's Hardware Verdict
The Anycubic Kobra 3 is a very good bedslinger with multicolor capabilities, hampered by a half-baked proprietary slicer.
Pros
- +
Fast
- +
Input Shaping
- +
High Flow Hotend
- +
Four Color “ACE”
Cons
- -
Wasteful filament purge
- -
Nozzle height can’t be adjusted from the printer
Why you can trust Tom's Hardware
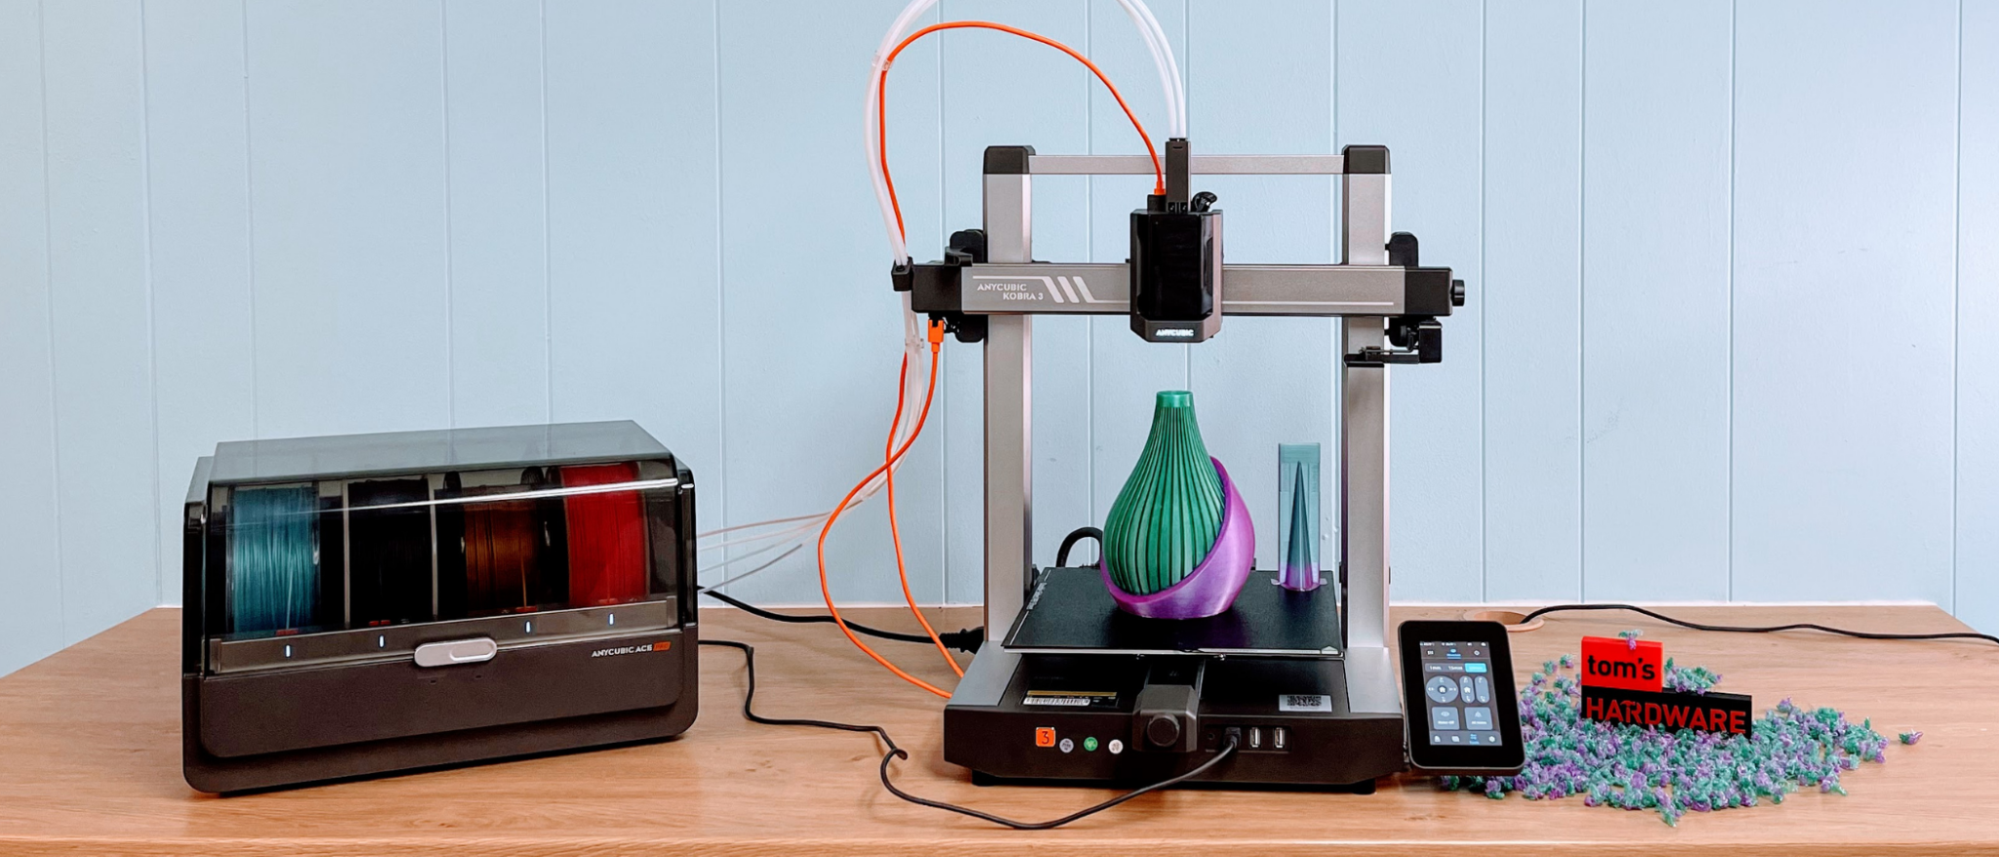
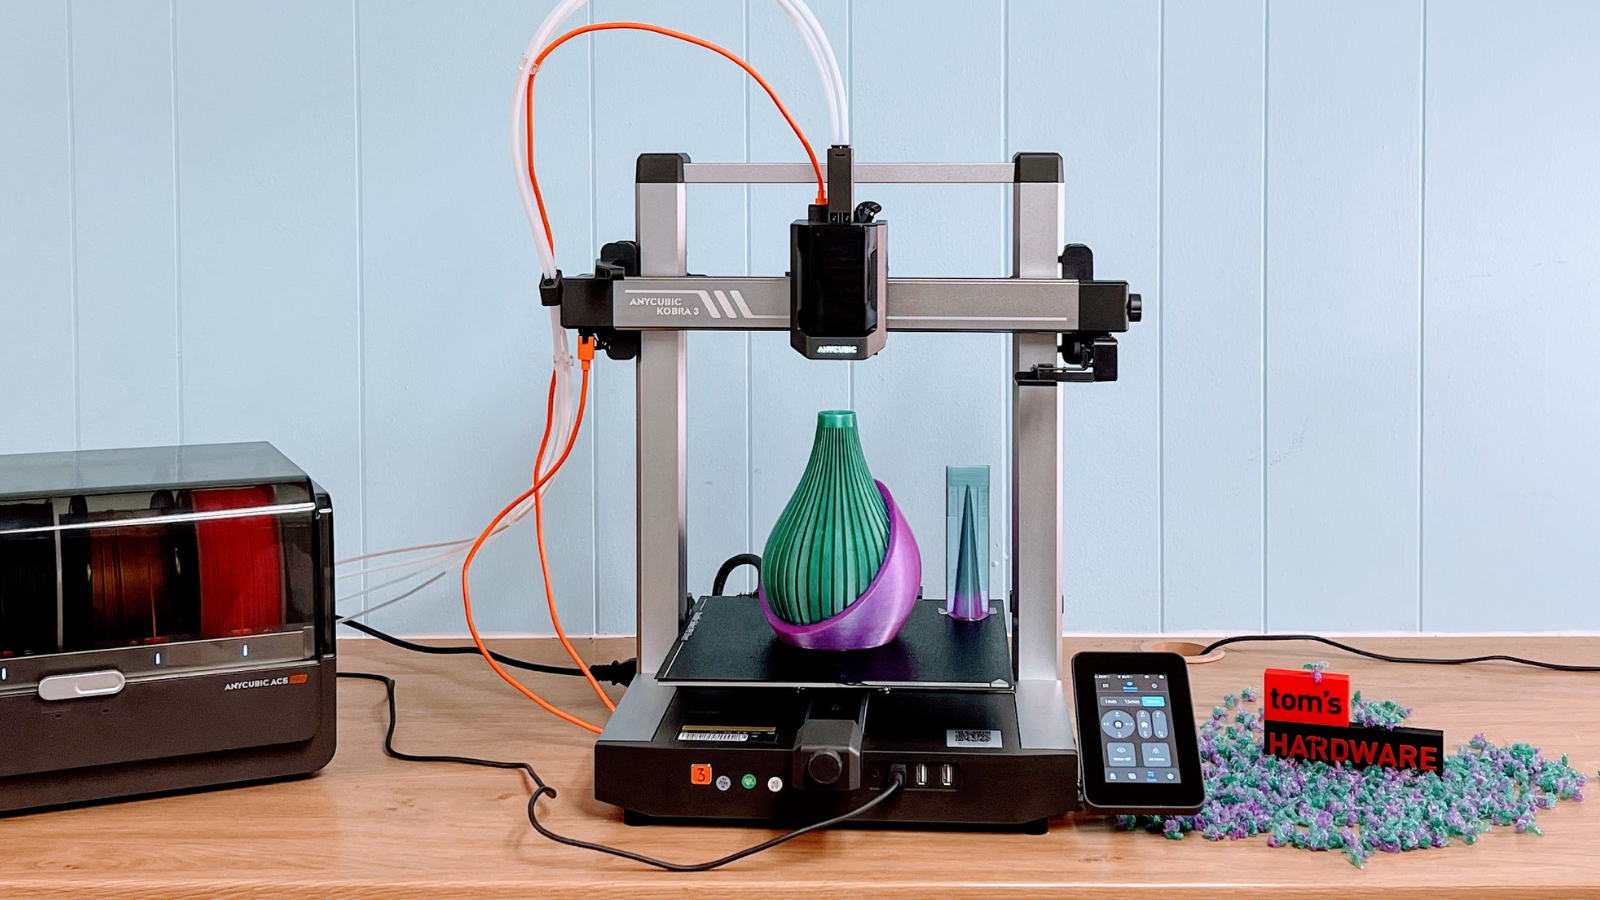
Anycubic has caught up to Bambu Lab’s multicolor system with a speedy four-color bed slinger of its own, the Kobra 3. Though many 3D printer companies have been teasing four-color AMS-like systems, Anycubic is the first to get their machine in customers’ eager hands.
The Kobra 3 with optional ACE (Anycubic Color Engine) retails for $549, which is only ten dollars less than the competing Bambu Lab A1 Combo. Of course, the Kobra 3 combo is currently on sale for $449, making it quite the bargain – but should you bite?
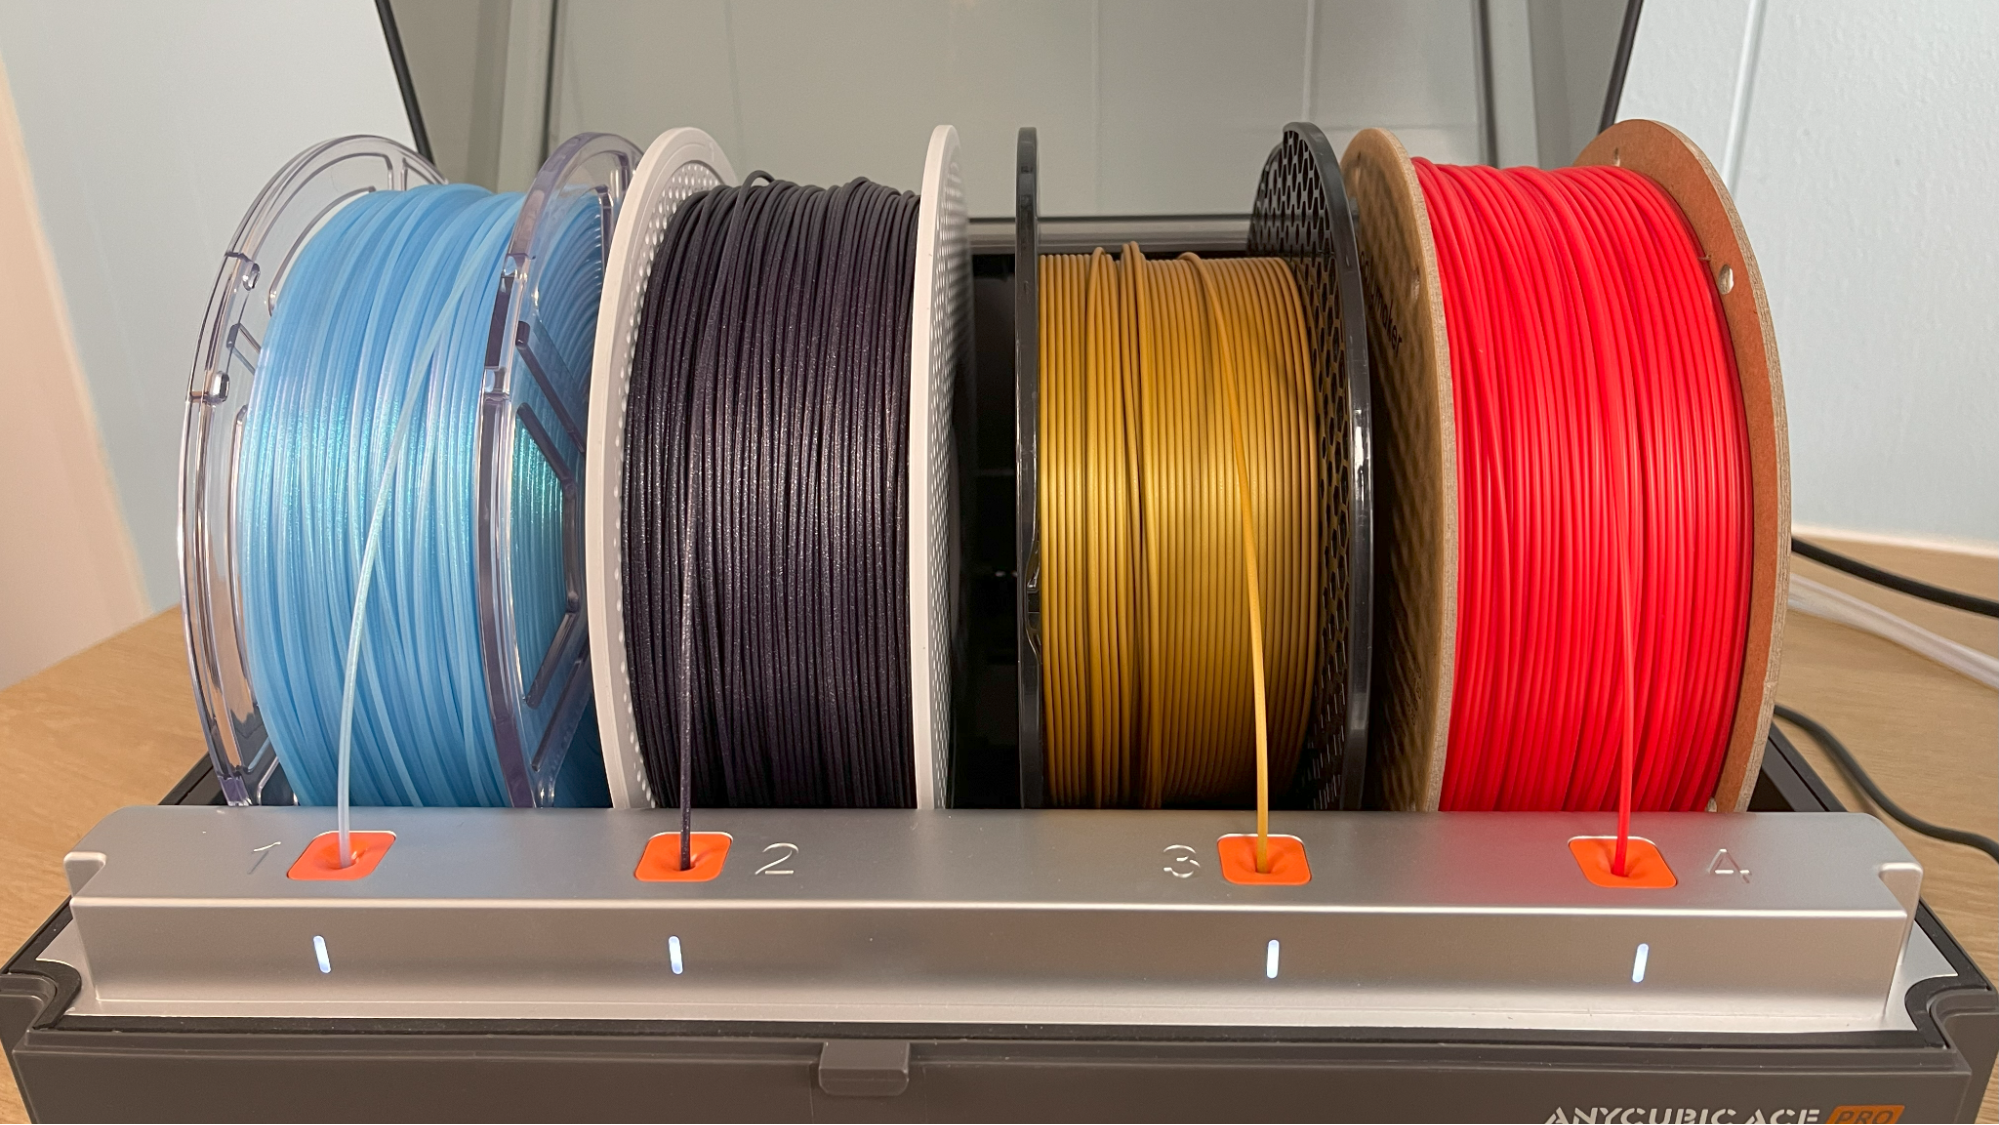
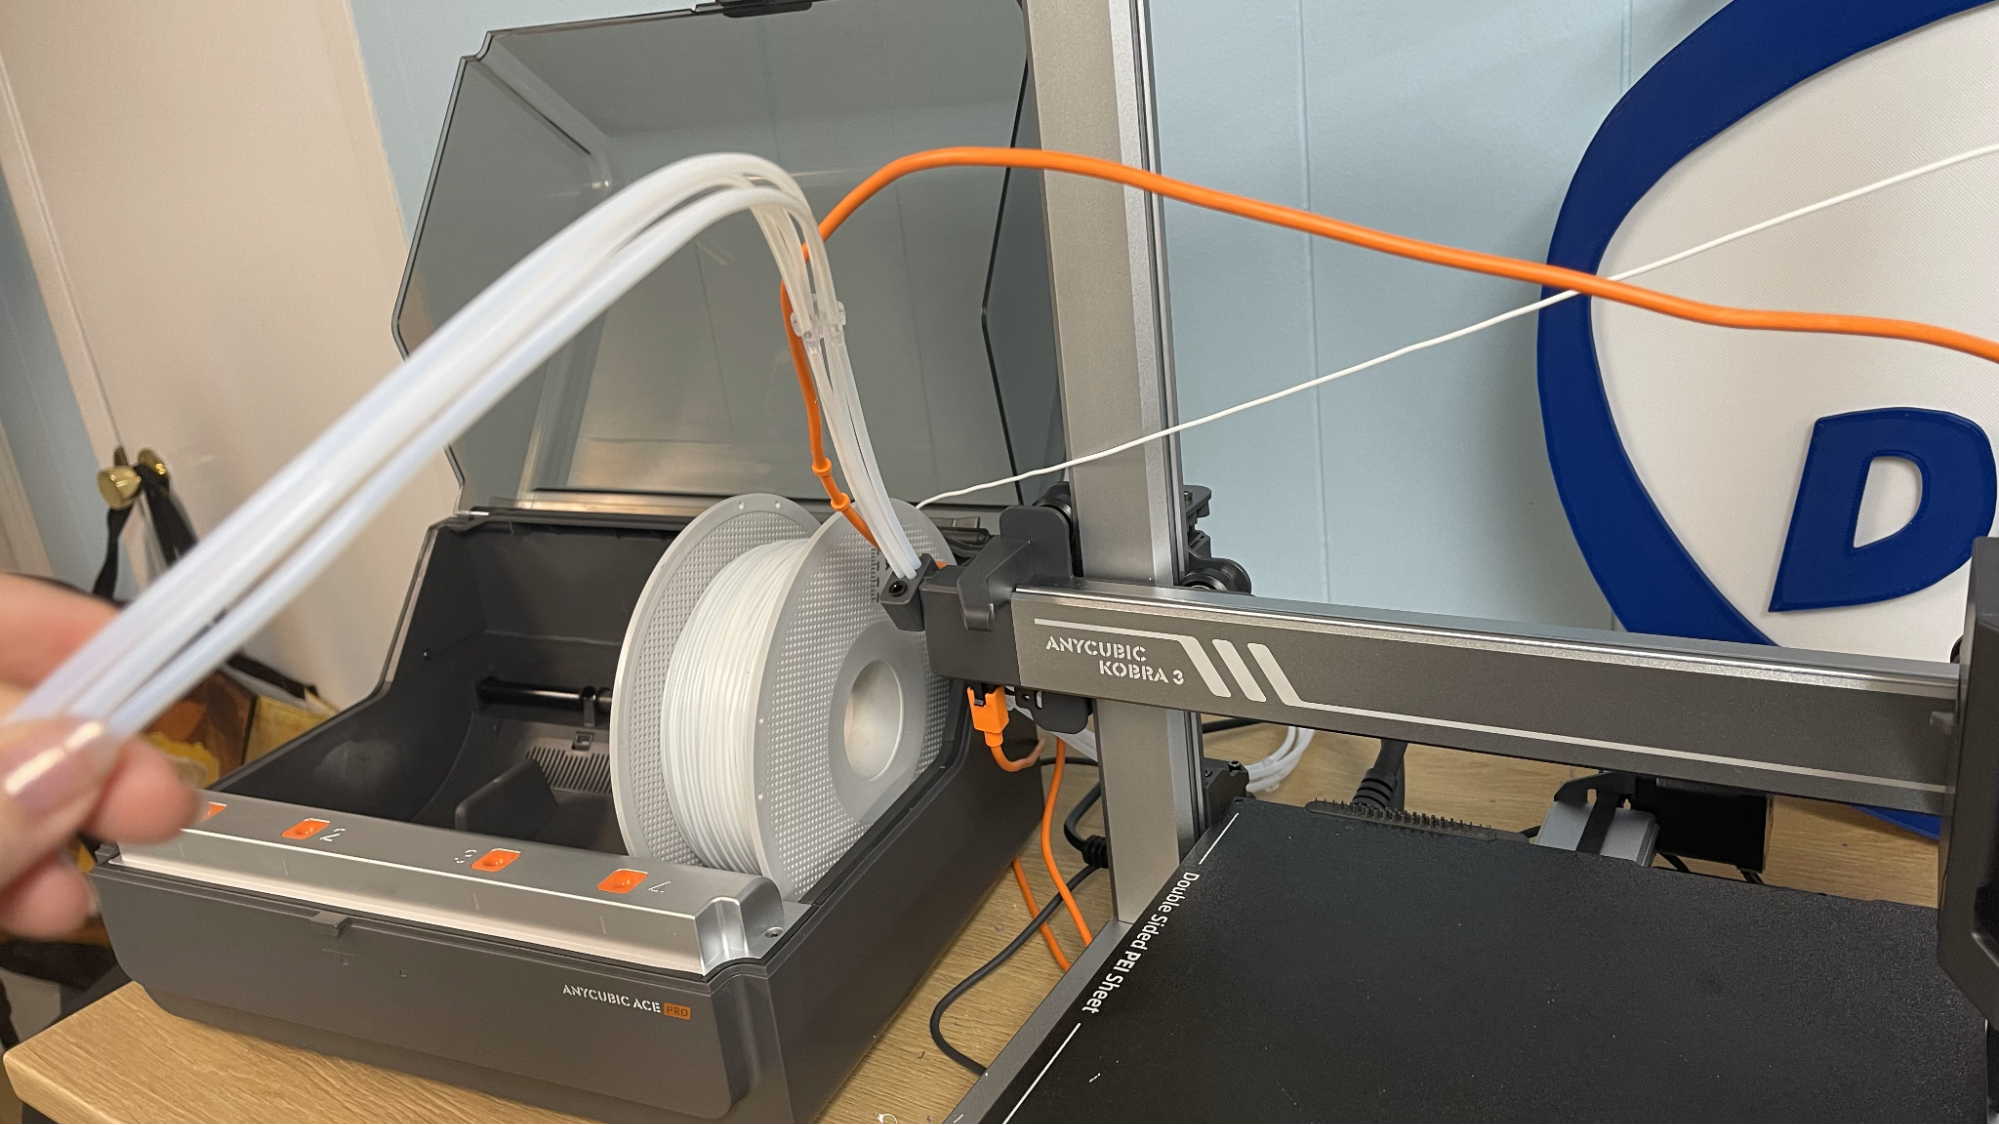
Mechanically, the Kobra 3 is on par with the Bambu Lab A1. Its print volume is a few millimeters smaller, while its speed is a hair faster. It also has auto bed leveling and input shaping, with an onboard accelerometer. Like the A1, the ACE filament holder has a dedicated Bowden tube for each spool of filament, with a switching hub mounted directly on the printer. This eliminates places to catch and snag, which can be a problem with Bambu’s original AMS. The ACE has the added perk of being a heated filament drier, with automatic settings for many types of filament – even TPU, though TPU can’t run through the ACE without tangling.
The biggest problem with the Kobra 3 is the slicer, which launched without any means to tune the waste purge flung from the printer while swapping colors. Like Bambu Lab machines, the Kobra 3 cuts filament before retracting it, which creates sizable squiggles of wasted filament to be expelled before a new color is loaded. Bambu Studio and 3rd party Orca Slicer allow the user to tone down these over generous purge amounts - Anycubic Slicer does not. It also lacks the ability to use a “purge object,” which is an extra model made up entirely of filament that would have otherwise be wasted.
The waste problem could be solved with either an update to Anycubic Slicer or by making the Kobra 3 compatible with Bambu Studio and Orca Slicer. If you don’t mind wasting filament while waiting for an upgrade, then the Kobra 3 is a fine machine. But in my books, this flaw keeps the Kobra 3 off our list of the best 3D printers.
Specifications: Anycubic Kobra 3
| Build Volume | 250 x 250 x 260mm (9.8 x 9.8 x 10.2 inches) |
| Material | PLA/PETG/TPU (up to 300 degrees) |
| Extruder Type | Direct Drive |
| Nozzle | .4mm High Flow |
| Build Platform | PEI Spring Steel, Heated |
| Bed Leveling | Inductive Auto Leveling with Smart Z |
| Filament Runout Sensor | Yes |
| Connectivity | USB, Wi-Fi, Cloud |
| Interface | 4.3-inch Touch Screen |
| Machine Footprint | 452.9 x 504.7 x 483mm (17.8 x 19.8 x 19.1 inches) |
| Machine Weight | 9.2 KG (20.2 pounds) |
Included in the box: Anycubic Kobra 3
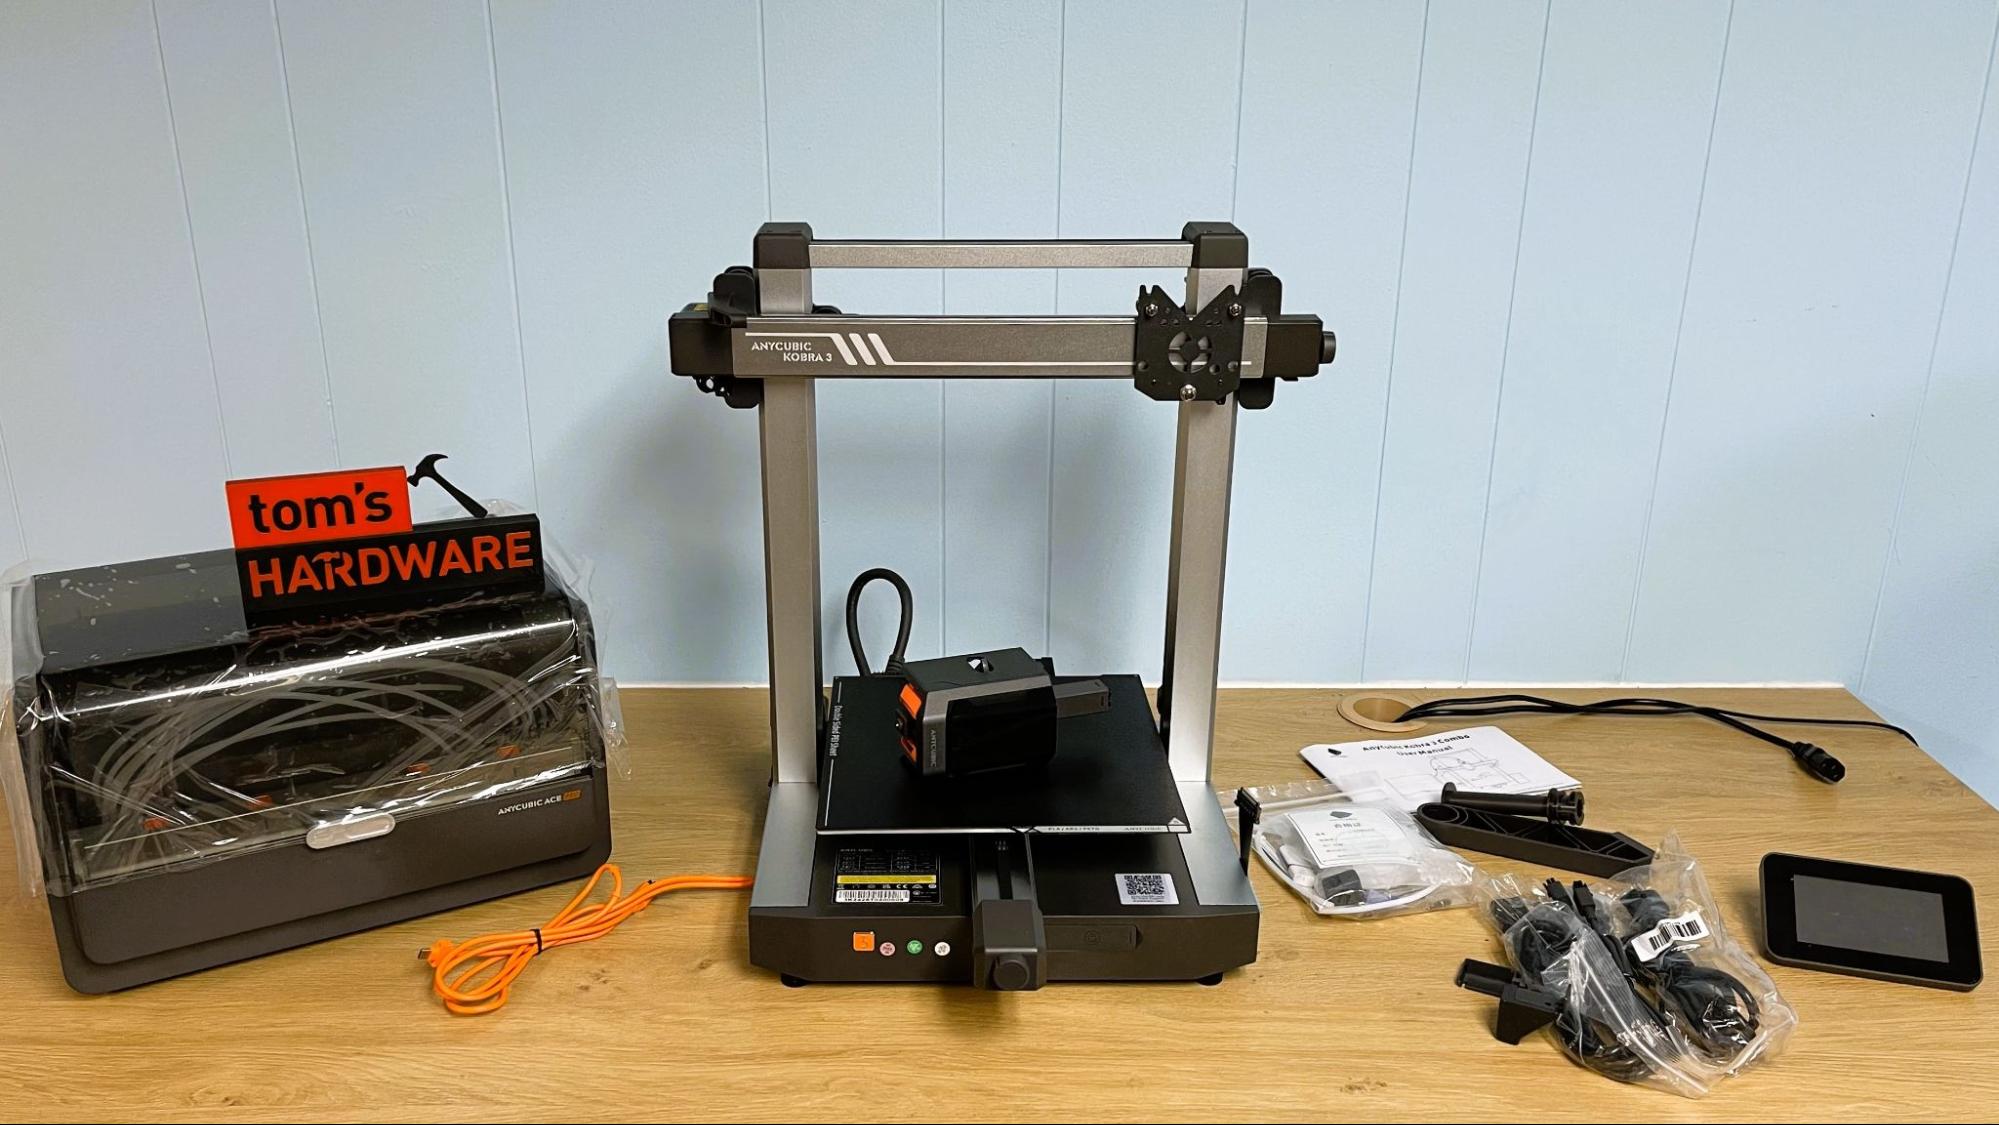
The Anycubic Kobra 3 comes with everything you need to get started: tools to build and maintain the printer, a spare nozzle, and a small sample of PLA.
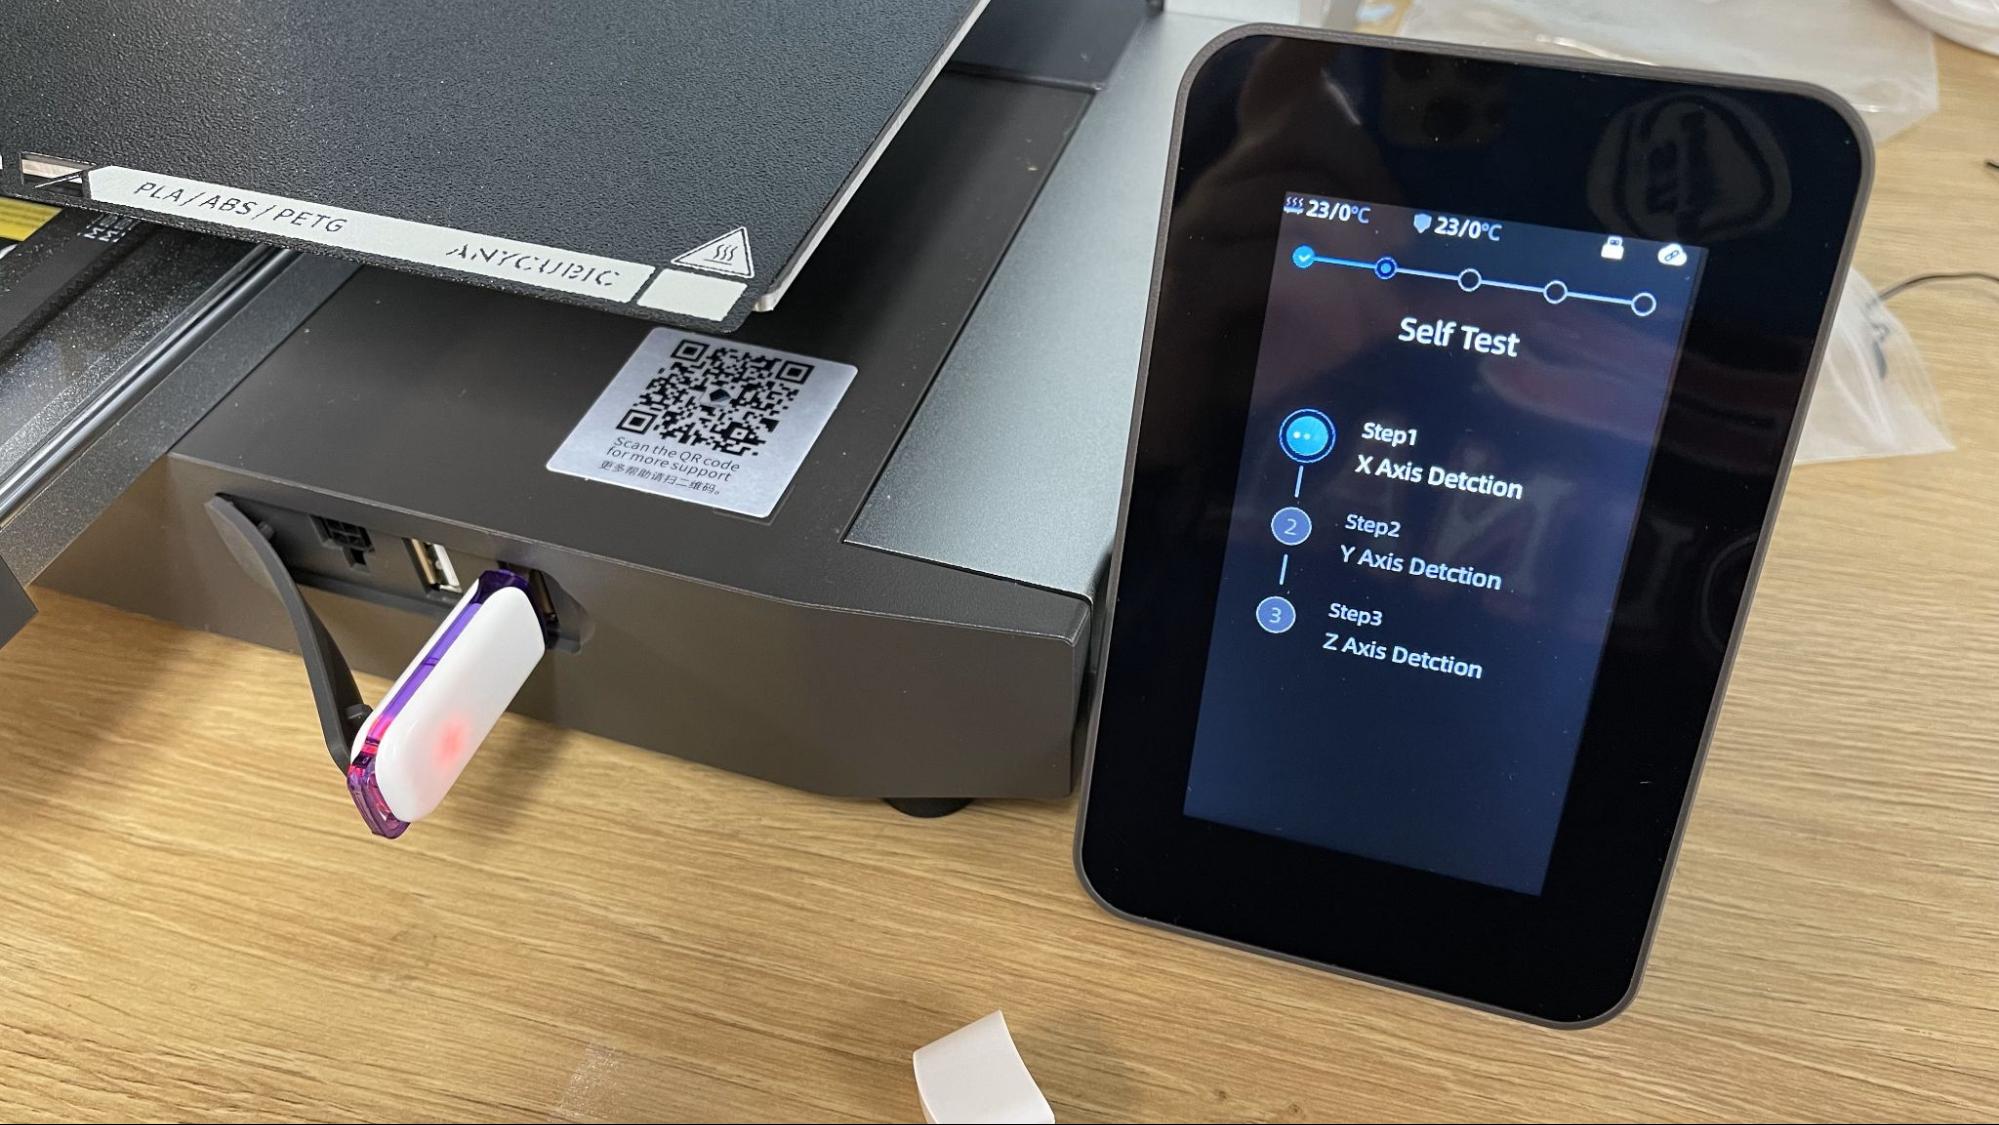
There’s a paper copy of the quick start guide to help you build the printer, plus a USB stick with the Anycubic Slicer, a few sample models, and a PDF copy of the manual.
Get Tom's Hardware's best news and in-depth reviews, straight to your inbox.
Assembling the Anycubic Kobra 3
I set up the Anycubic Kobra 3 in about 20 minutes. It ships mostly assembled, and you only need to mount the hotend and screen. Then you’ll need to plug in the cables and connect the tubes. The wiring wasn’t labeled, and the printed directions were not clear, so I managed to plug the cables into the wrong spots. The PDF directions are more up-to-date and note the colors of the cables.
Leveling the Anycubic Kobra 3
The Kobra 3 has updated its automatic bed leveling system so that it first cleans the nozzle on a wiper brush attached to the build plate, then physically taps the bed and finds the correct nozzle height. This is automatically done during setup, along with calibration for vibration compensation (aka Input Shaping) and PID tuning.
On my test unit, the nozzle height was not accurate and had to be adjusted in the slicer. There is no way to manually adjust the nozzle height on the printer itself, which is extremely awkward. I asked Anycubic if this function would be added and was told it would be included in a future firmware update.
Loading Filament in the Anycubic Kobra 3
The Anycubic Kobra 3 has a direct drive tool head with a reverse Bowden and a filament runout sensor tucked into the tool head.
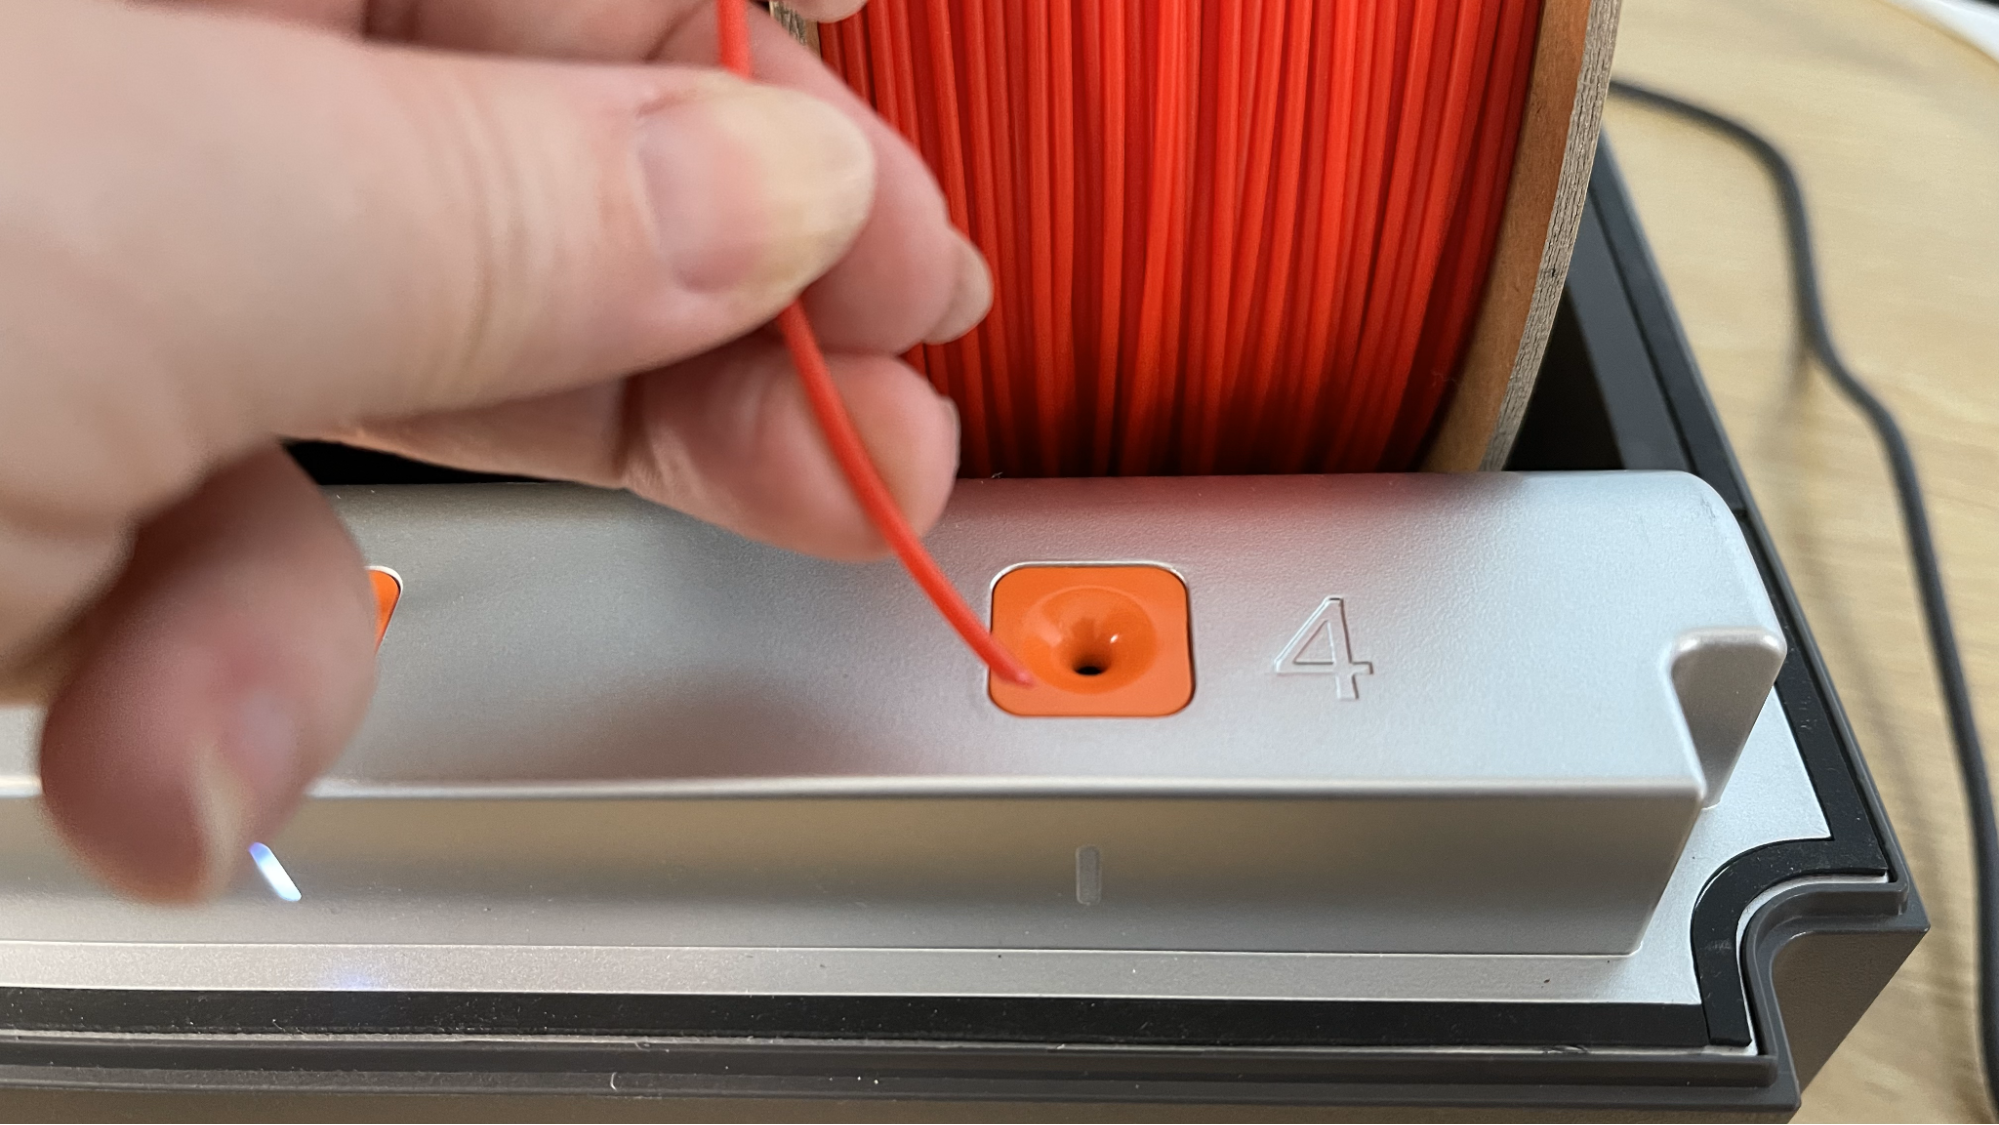
When using a single spool on the spool holder, you run the filament through the tube, and after pushing it into the tool head, the machine takes care of the rest. When using the ACE, spools are placed in the slots, and the filament is poked into the filament inlet a few centimeters. The machine’s gears will grab onto it quickly and feed it about halfway through the tubes. It will complete the journey once a print is started.
Anycubic brand filament has RFID tags to automatically identify the filament type and color. When using third-party filament, you can manually enter the filament information from the printer’s screen or from the slicer suite.
Design of the Anycubic Kobra 3
The Anycubic Kobra 3 looks entirely too similar to the competition. It gives up its signature black and blue design for a silver frame that merely screams “clone.” It still has the Anycubic swish, now white, on the top and an oddly incongruous orange cable that looks like it was swiped from another machine. The powerful fan is hidden behind a translucent cover, which does look rather modern.
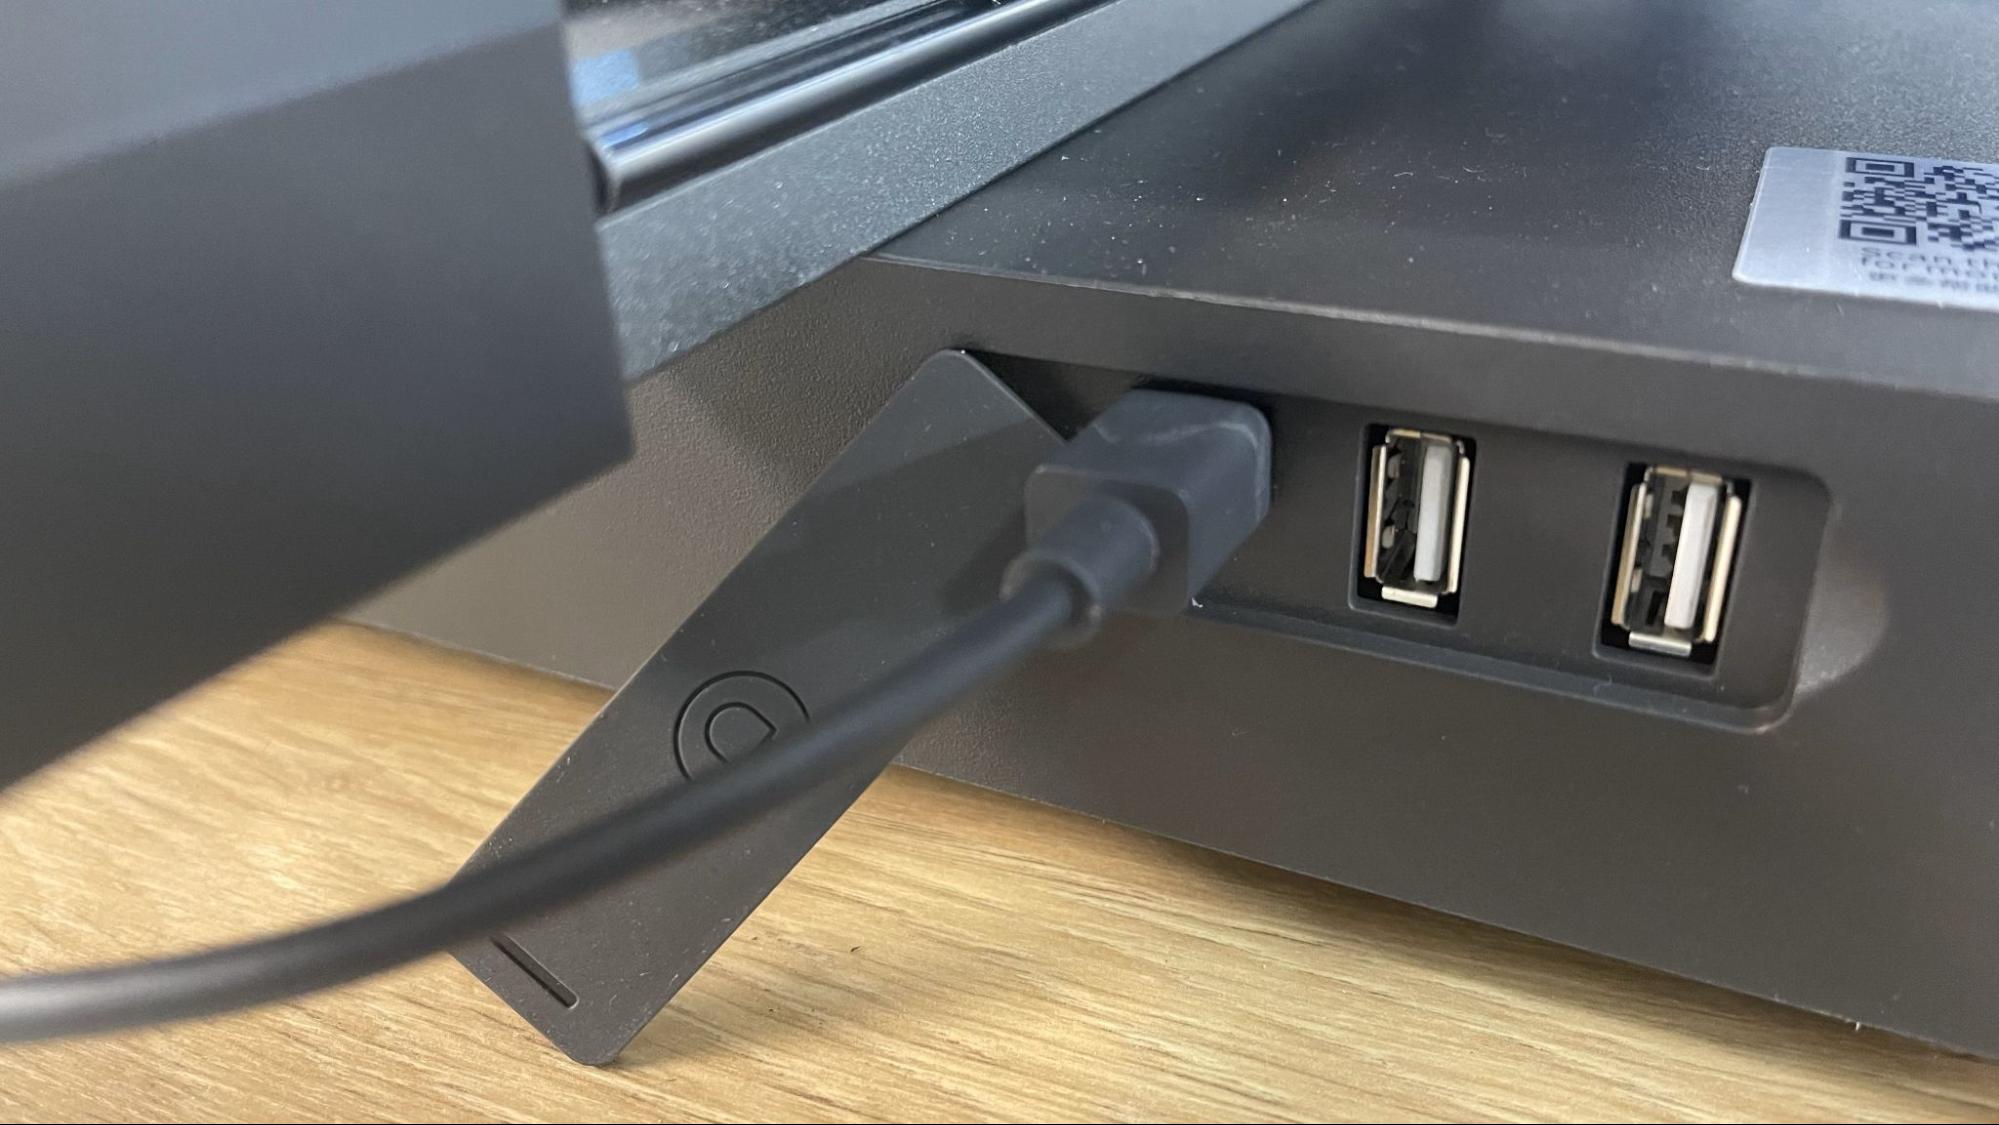
The front plate is marred by a rubber plug to cover the ACE cable and USB ports. I find this odd because the Kobra 3’s main selling point is the ACE, which means this cover is left dangling open all the time. I popped the flap off and threw it in a drawer.
The screen is bright and easy to use – it tilts to make reading easy at any angle.
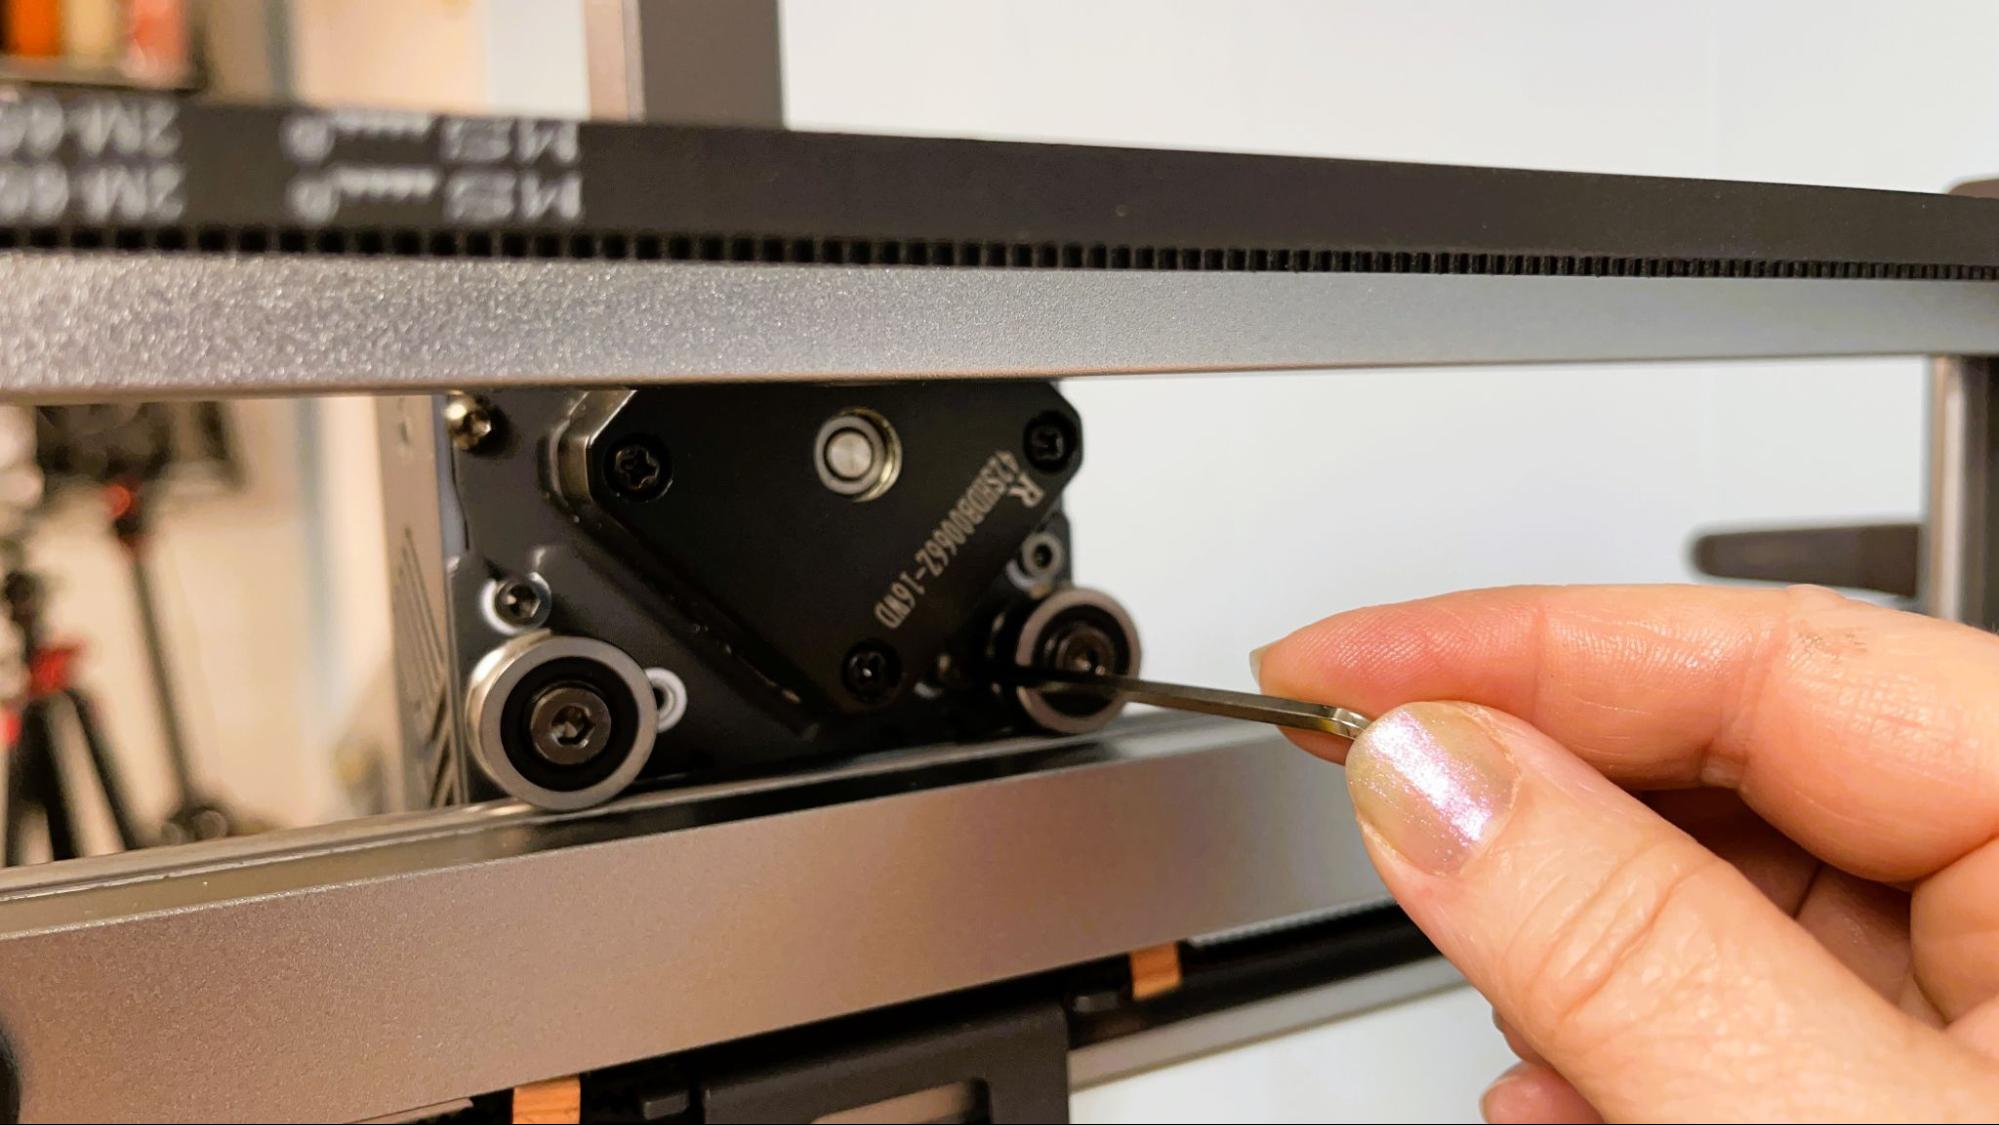
Like the Kobra 2, this machine has metal rails embedded into the X and Y axis. This is a mash-up of two popular motion systems: V slot wheels and Linear rods, and allows for smoother, faster movements while being more wear-resistant. The Kobra 3 still has the giant central cooling fan used in the previous versions. The breeze is directed downward into two ducts that point at the nozzle.
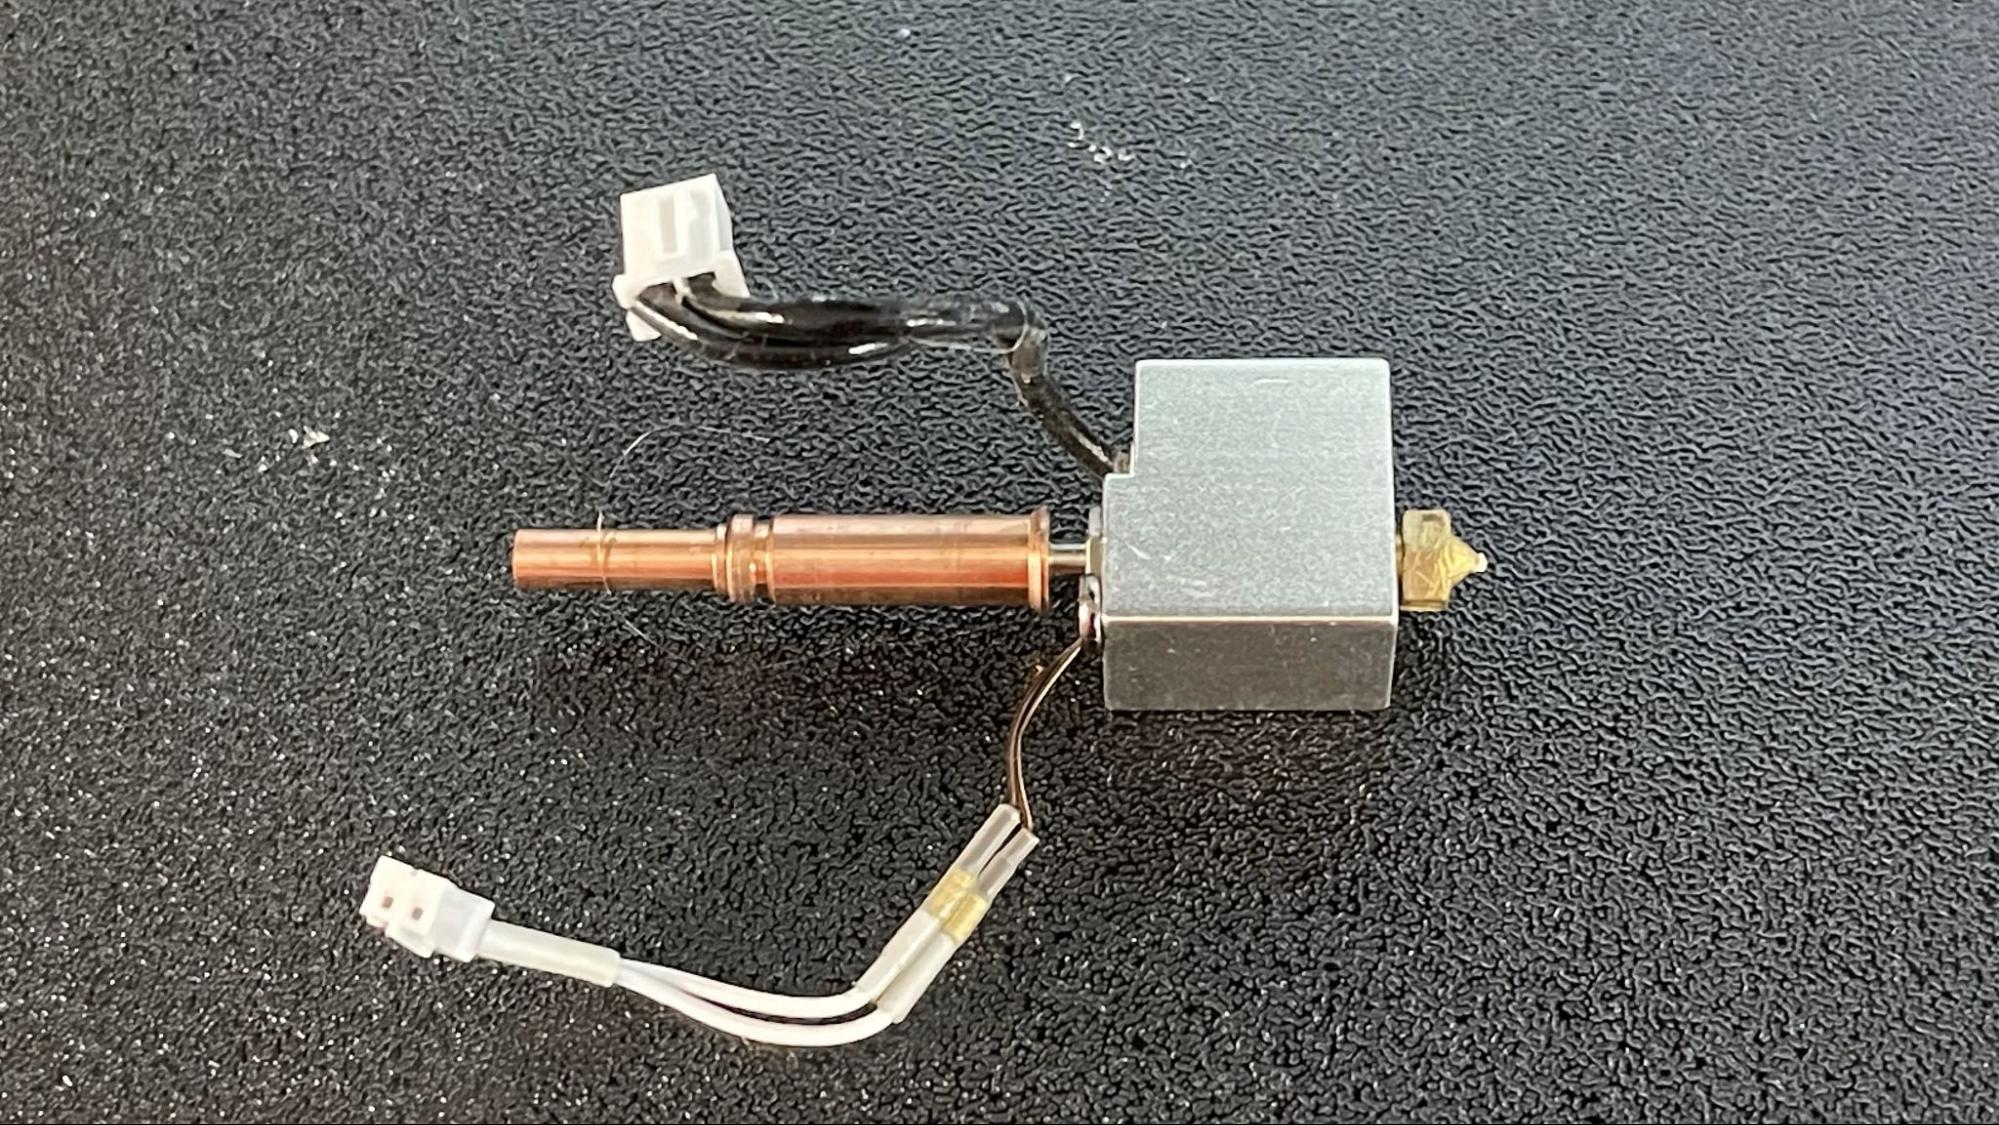
The printer has a quick-swap nozzle similar to what we see in the Bambu A1, which can be removed without tools. This is a one-piece nozzle inspired by E3D’s Revo. It is specially made by Anycubic, and replacements have not been posted to their store yet, so the price is unknown.
The ACE (Anycubic Color Engine) appears to be a mash-up of the Bambu Lab AMS box design and the “lite” AMS that comes with the Bambu Lab A1. Let me explain: the ACE has a similar box design where spools ride on rollers but has the less complicated dedicated spool to hotend tubing that we’ve seen on Bambu’s lite AMS. Though some may be disappointed that they can’t mount the box onto the printer, I feel this is the best of both worlds. Dedicated tubes for each spool means the filament only needs to be retracted a few inches from the tool head for color swaps, which is faster.
The machine also has sensors in the tool head-mounted buffer to detect nozzle clogs. When it runs into trouble, it will pause the print and alert you via the Anycubic app.
I tried several different brands of filament in the ACE successfully. Like the Bambu AMS, it can’t use small sample spools and some cardboard spools are too delicate to roll without fraying the edges.
The ACE is also a filament dryer, which is a big bonus and eliminates a rarely used gadget from your workbench. The box can dry more filaments than you’re able to print with the open frame Kobra 3, as you would need to put the printer in a tent to run ABS or nylon. It can also dry TPU, though it can not feed flexible materials without tangling it up in its gears. You can, however, use the box as a tableside spool holder for TPU if you bypass the Bowden tube. It’s awkward, but if you don’t feel like mounting the single spool holder, it’s a quick and dirty fix.
Preparing Files / Software
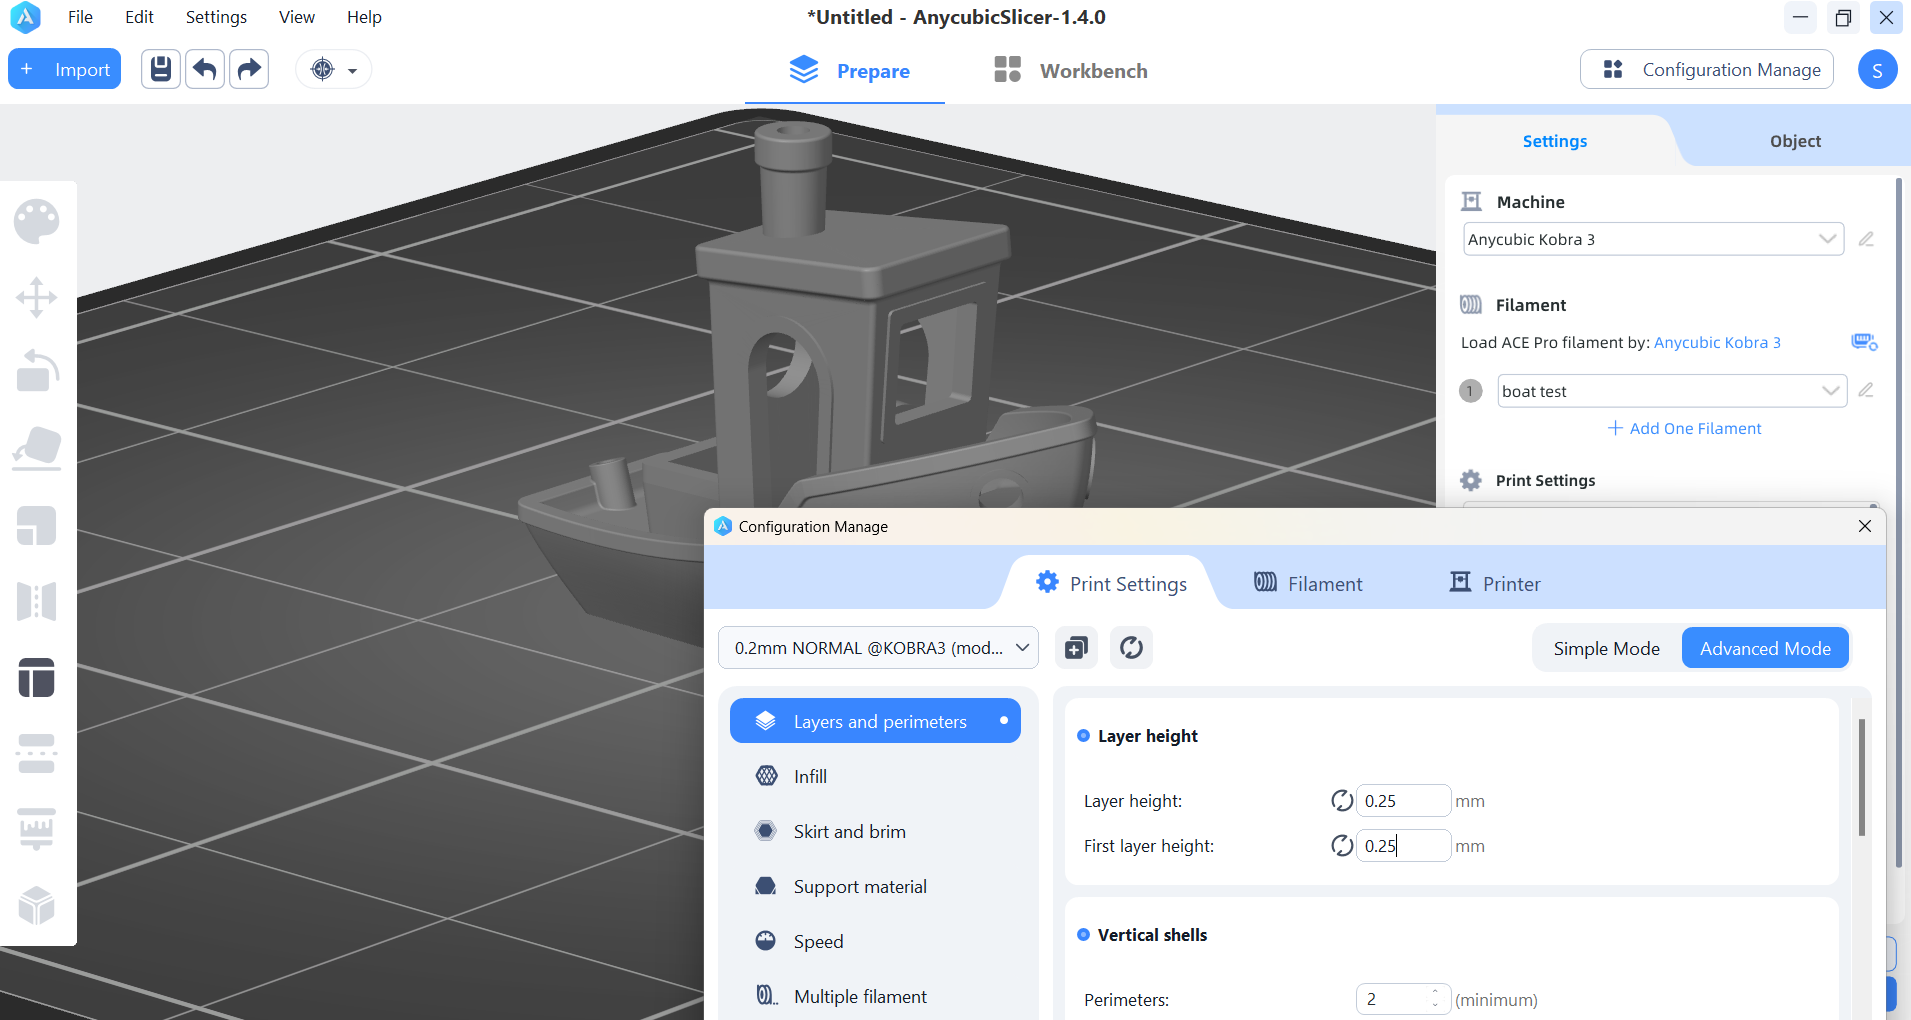
The Anycubic Kobra 3 came with a copy of Anycubic Slicer, which is based on the Prusa Slicer. The menus are arranged differently, so if you’re familiar with Prusa Slicer, you’ll have to poke around to find things.
The slicer is missing a few functions – namely, I could not find a way to tune the amount of filament purged between colors. Prusa Slicer was designed to work with the Prusa MMU, which does not have a filament cutter. Instead, it rapidly retracts filament between color changes or, in the case of Prusa’s XL Tool changer, puts each head on standby between colors.
I asked Anycubic if this function would be added later and was told it would be in a future firmware update. Yes, firmware.
Another issue is that the Anycubic Slicer does not understand Bambu’s .3mf files, which is how precolored files are saved by designers. This means that if you want to print in color, you will need to paint the colors in Anycubic Slicer yourself.
Printing on the Anycubic Kobra 3
My review unit came with four spools of Anycubic’s Pantone Color Institute PLA, but normally the machine will only come with one roll. To fill up that ACE, you’ll want to check out our guide to the best filaments for 3D printing for suggestions.
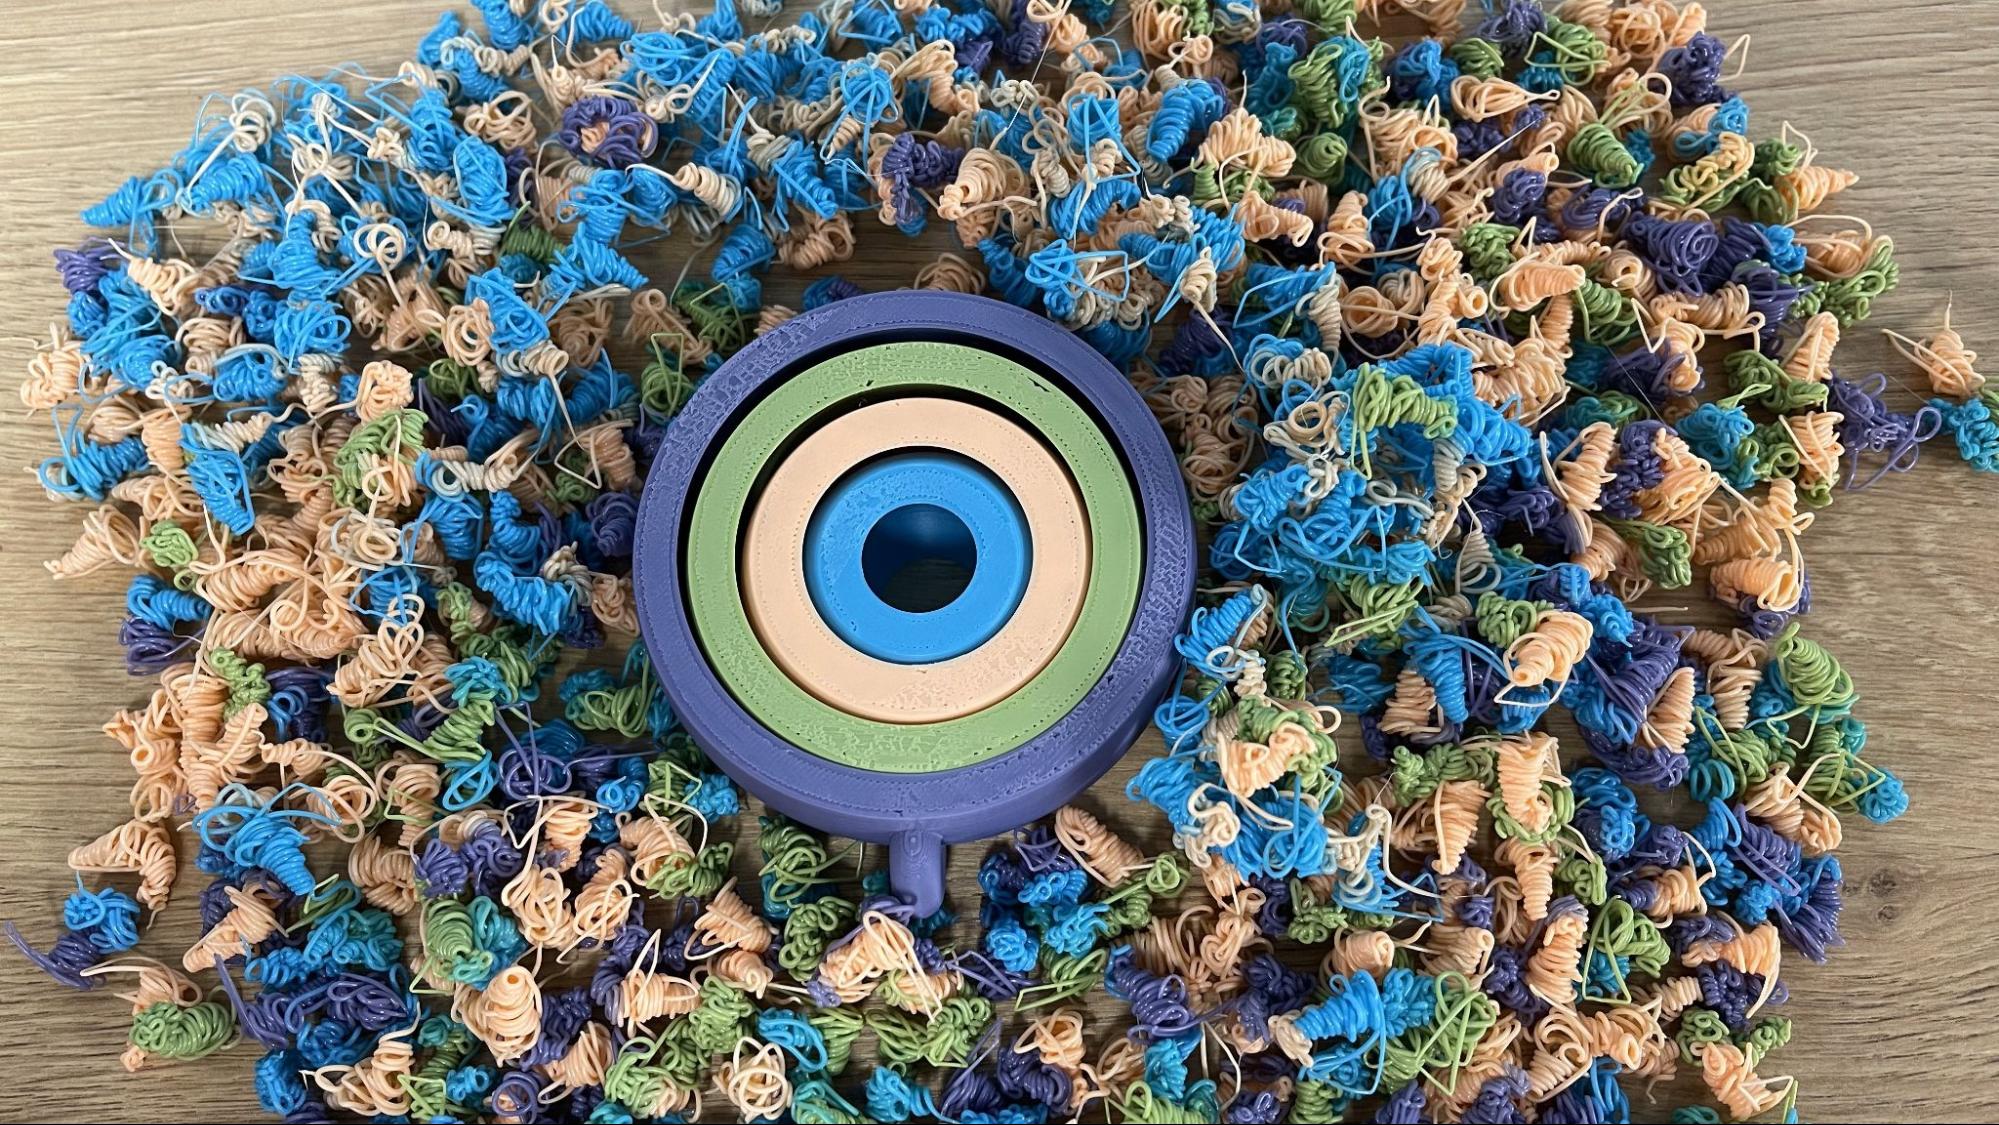
The Kobra 3 came with several test prints on the internal memory, and since I was eager to see the ACE in action, I loaded four colors of PLA and selected the presliced four-color fidget spinner. As you can see, the print had a poor quality bottom surface that indicated the nozzle was way too close to the bed. It also produced three times as much waste as print, with the print weighing 57 grams and the scrap coming out to 176 grams. The print took 10 hours and 37 minutes to print. The filament is Anycubic’s new Pantone PLA in Interstellar Violet, Spring Green, Peach Fuzz, and Tropical Turquoise. Peach Fuzz is Pantone’s 2024 Color of the Year.
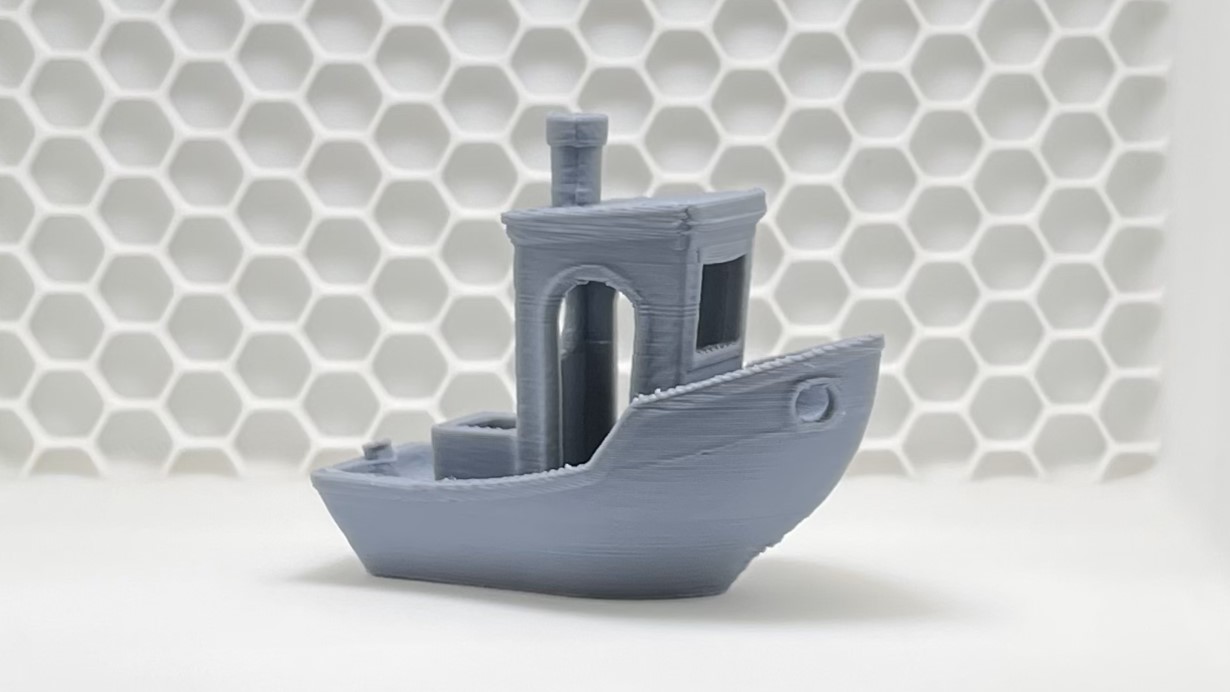
After fixing the nozzle height, I sliced a speed Benchy to see how the Kobra 3 stacks up on our list of the fastest 3D printers. It didn’t crack the top ten, which is odd considering its stats. This leads me to believe something hidden in the slicer is holding it back from its true speed.
A Speed Benchy needs to follow certain rules: 2 walls, 3 top and bottom layers, 10 % grid infill, a .25 layer height and .5 layer width, and also our treacherous Tom’s Hardware speed settings of 200-300 on the walls and flat out on acceleration.
This boat is a little rough, but its shape is well-defined, with no signs of ringing. This was printed in ordinary gray Inland PLA, so none of the defects are hidden.
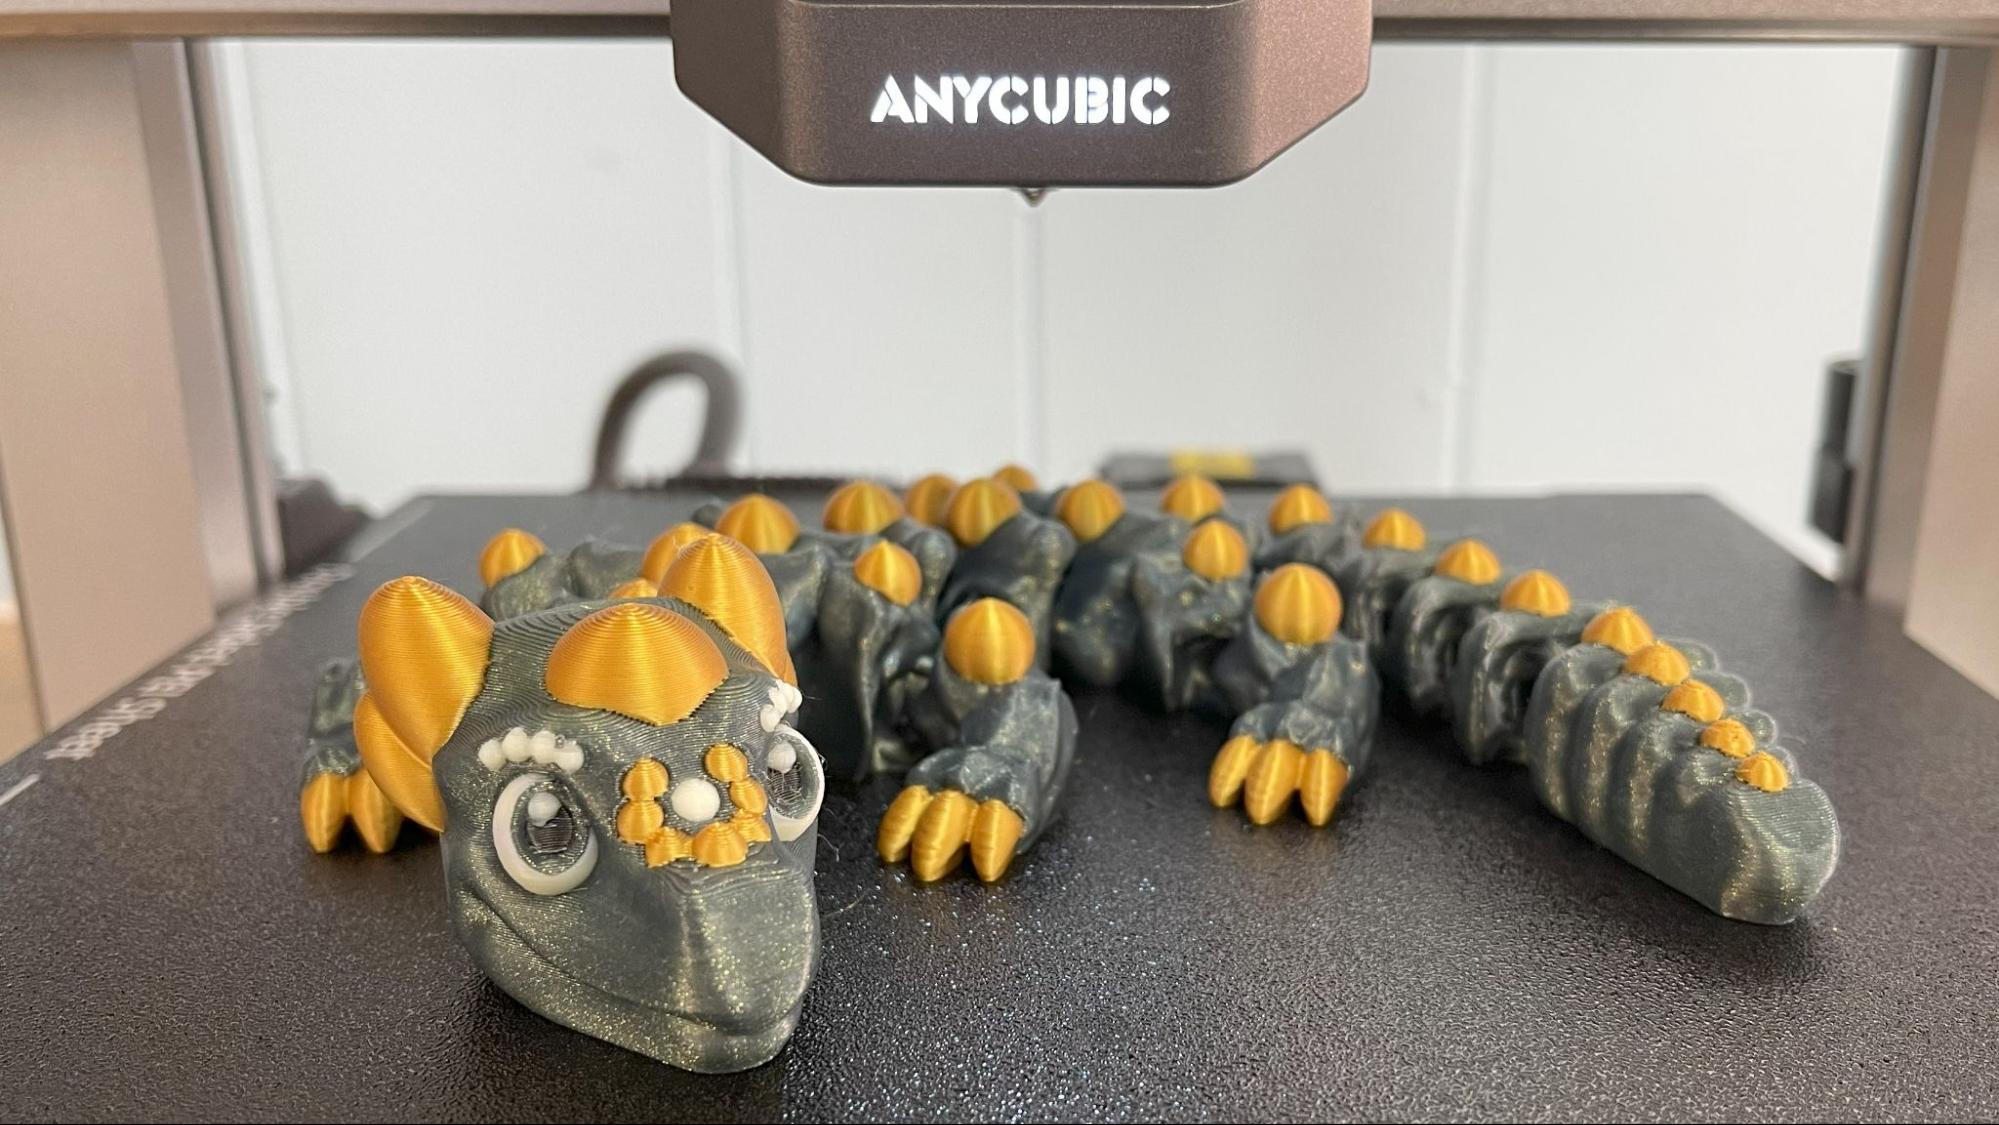
I printed a few dragons to see how the printer worked with a popular style of multicolor print. This took a respectable 9 hours and 21 minutes to print using a .2 layer height, but also wasted 146 grams of filament for a 99 gram print. The print is clean, smooth and about as perfect as can be. This is printed in Bambu Lab Galaxy Green PLA, Prusament Viva La Bronze and Creality High Speed White.
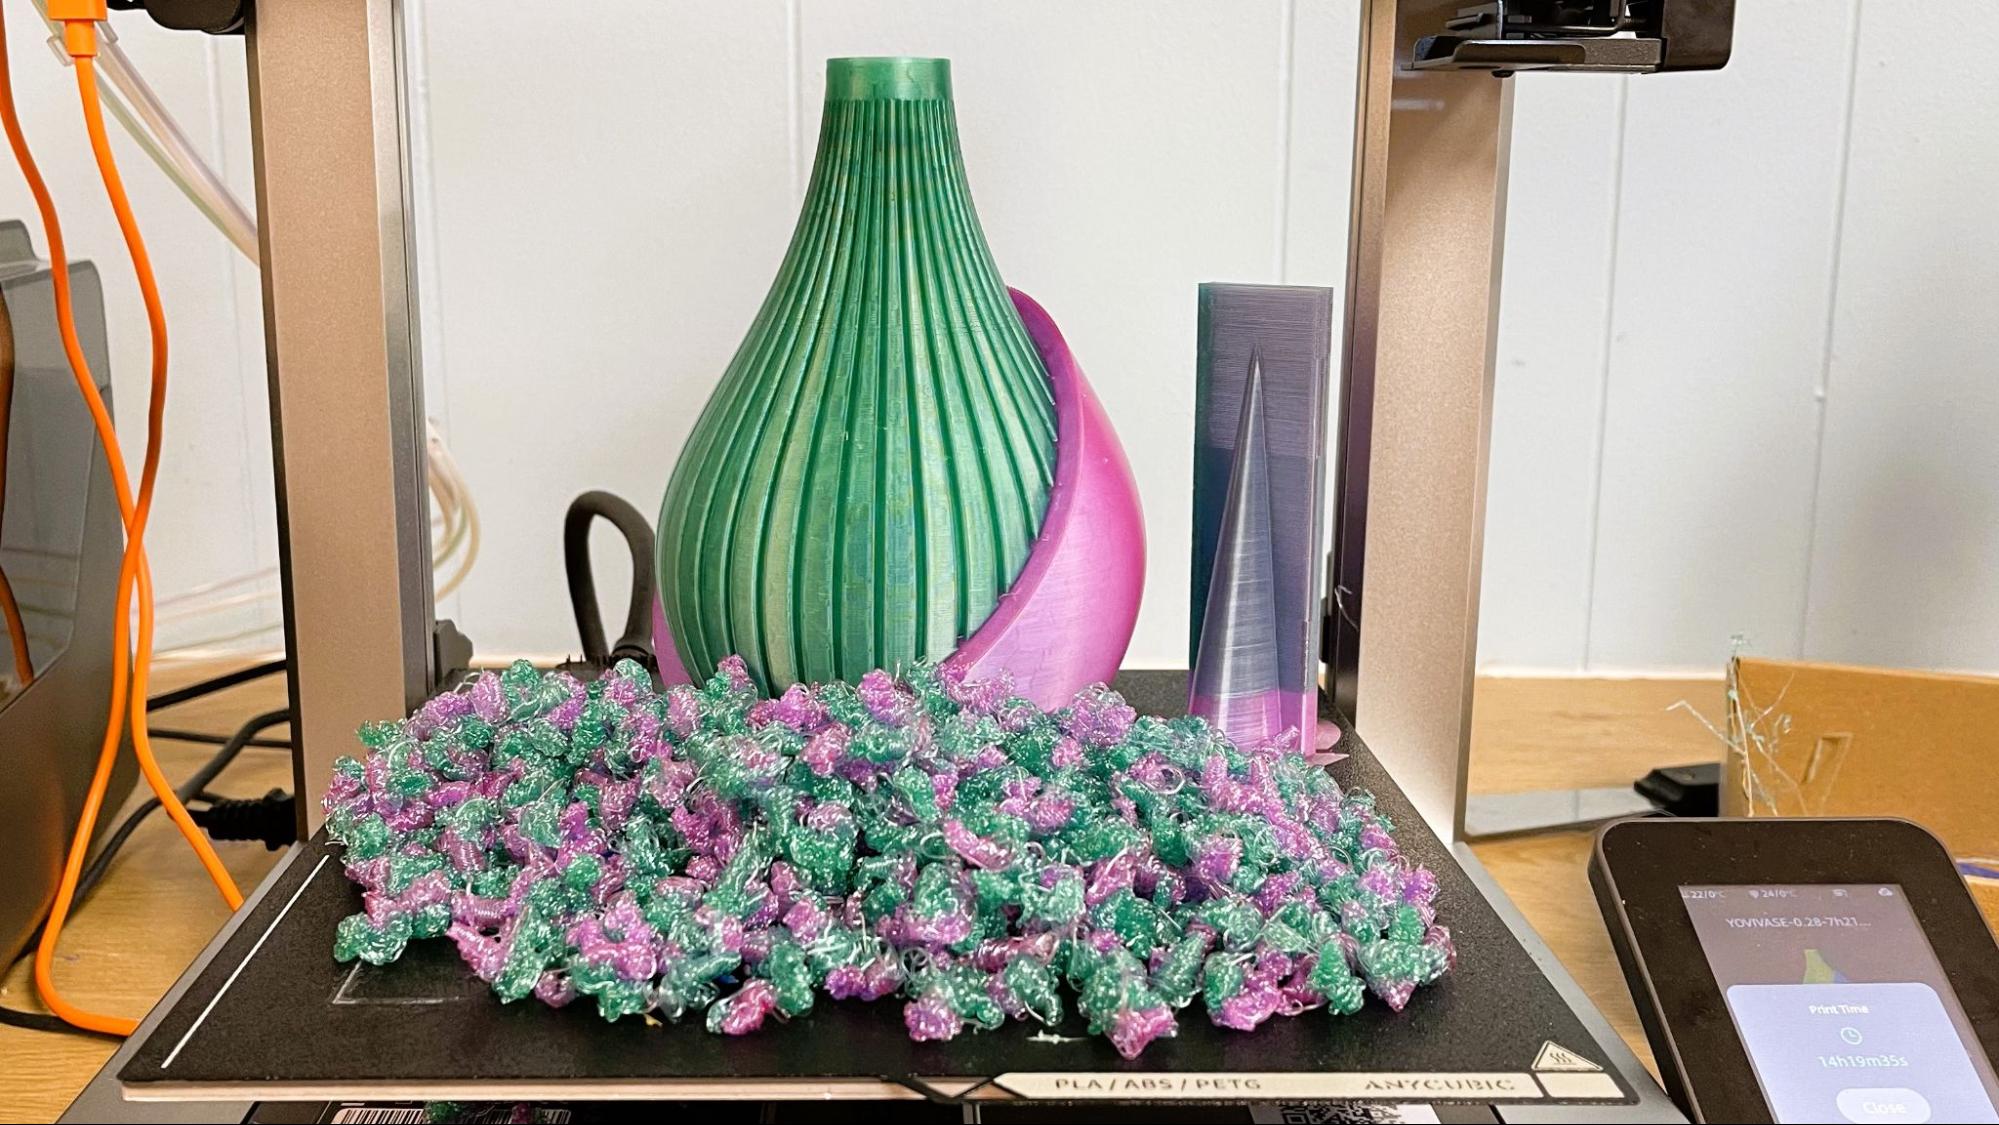
For PETG I printed a vase by Terra de Verdant. The default settings didn’t slow PETG down quite enough, so the color is a little streaky. The layers are nice and smooth and there wasn’t any stringing. This is printed in Greengate Emerald PETG and a transition roll of Greengate Purple Reign. Greengate is a premium filament, so I was rather sad to see 197 grams of wasted material compared to 185 grams of the vase itself. This took 14 hours and 19 minutes to print using a .2 layer height and Anycubic’s default settings.
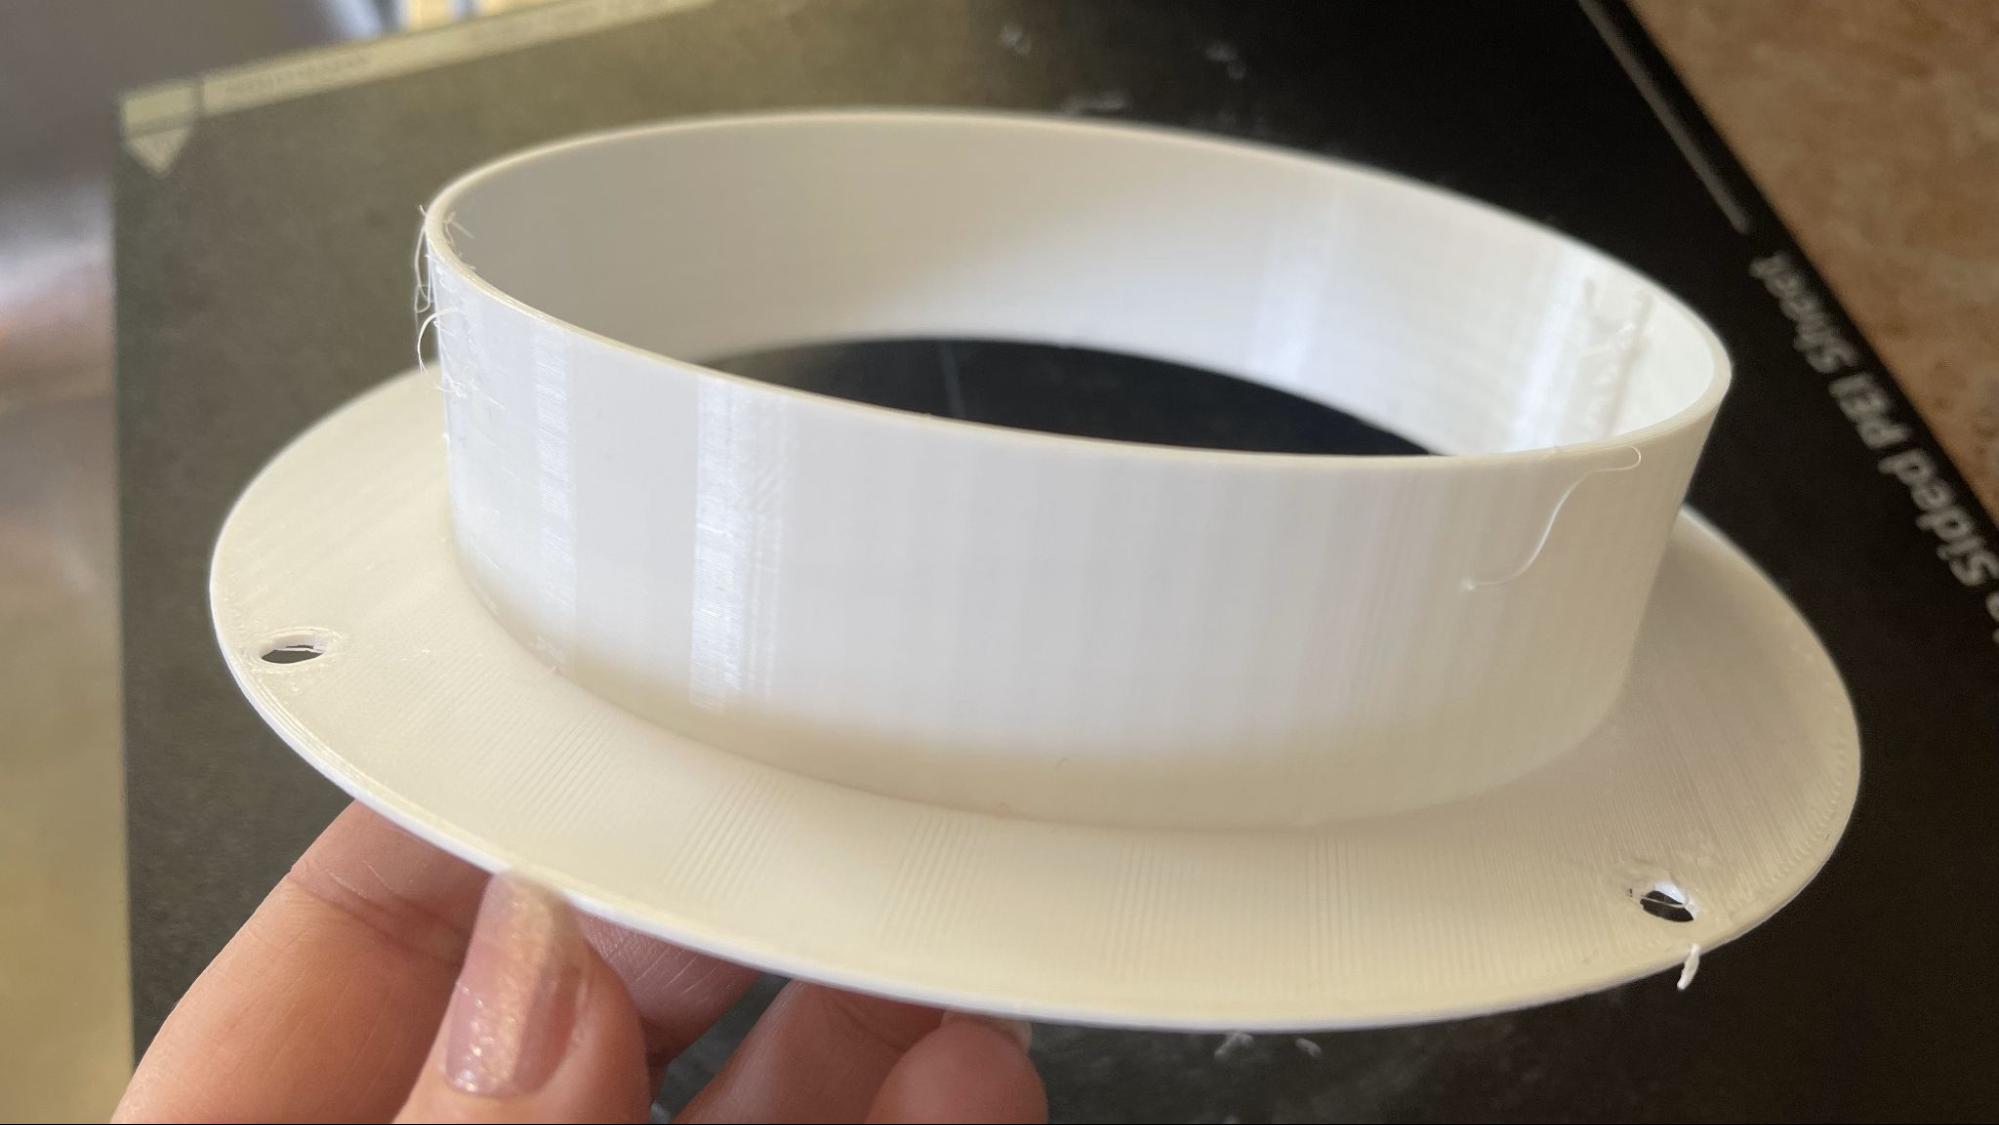
For TPU, I printed a gasket we needed for a car speaker installation. The default settings for TPU were, again, way too fast. It took several tries to get good layer adhesion, but eventually, I was able to lower the speed enough to get a good print. This is nice and strong but a little stringy. Thankfully, it’s a practical print, and I was able to trim the strings off and still use it. This took 2 hours and 31 minutes to print, using a .28 layer height and slowing the volumetric flow to 7 mm/s³. This is printed in Bambu Lab TPU.
Bottom Line
People have been eagerly waiting for competition to shake up the color 3D printing market, which could bring down the price and make multicolor systems more affordable. Anycubic is one to watch, but launching the Kobra 3 with a wasteful slicer is not going to win over people who are minding their budget.
The Kobra 3 is certainly a good 3D printer, with significant improvements over the Kobra 2. The machine has impressive speed, and the ACE material system runs smoothly. The added benefit of being a filament drier makes up for its huge footprint. I would be more willing to recommend this printer after the slicer is improved or profiles are released to make it compatible with Orca Slicer.
If you’re interested in a smaller format, super affordable color printer, check out the Bambu Lab A1 Mini Combo for $399, currently on sale for $349. Or if you want a color printer that has an enclosure for more finicky filaments, try the Bambu Lab P1S Combo for $949, and currently on sale for $849.
MORE: Best 3D Printers
MORE: Best Budget 3D Printers
MORE: Best Resin 3D Printers

Denise Bertacchi is a Contributing Writer for Tom’s Hardware US, covering 3D printing. Denise has been crafting with PCs since she discovered Print Shop had clip art on her Apple IIe. She loves reviewing 3D printers because she can mix all her passions: printing, photography, and writing.
