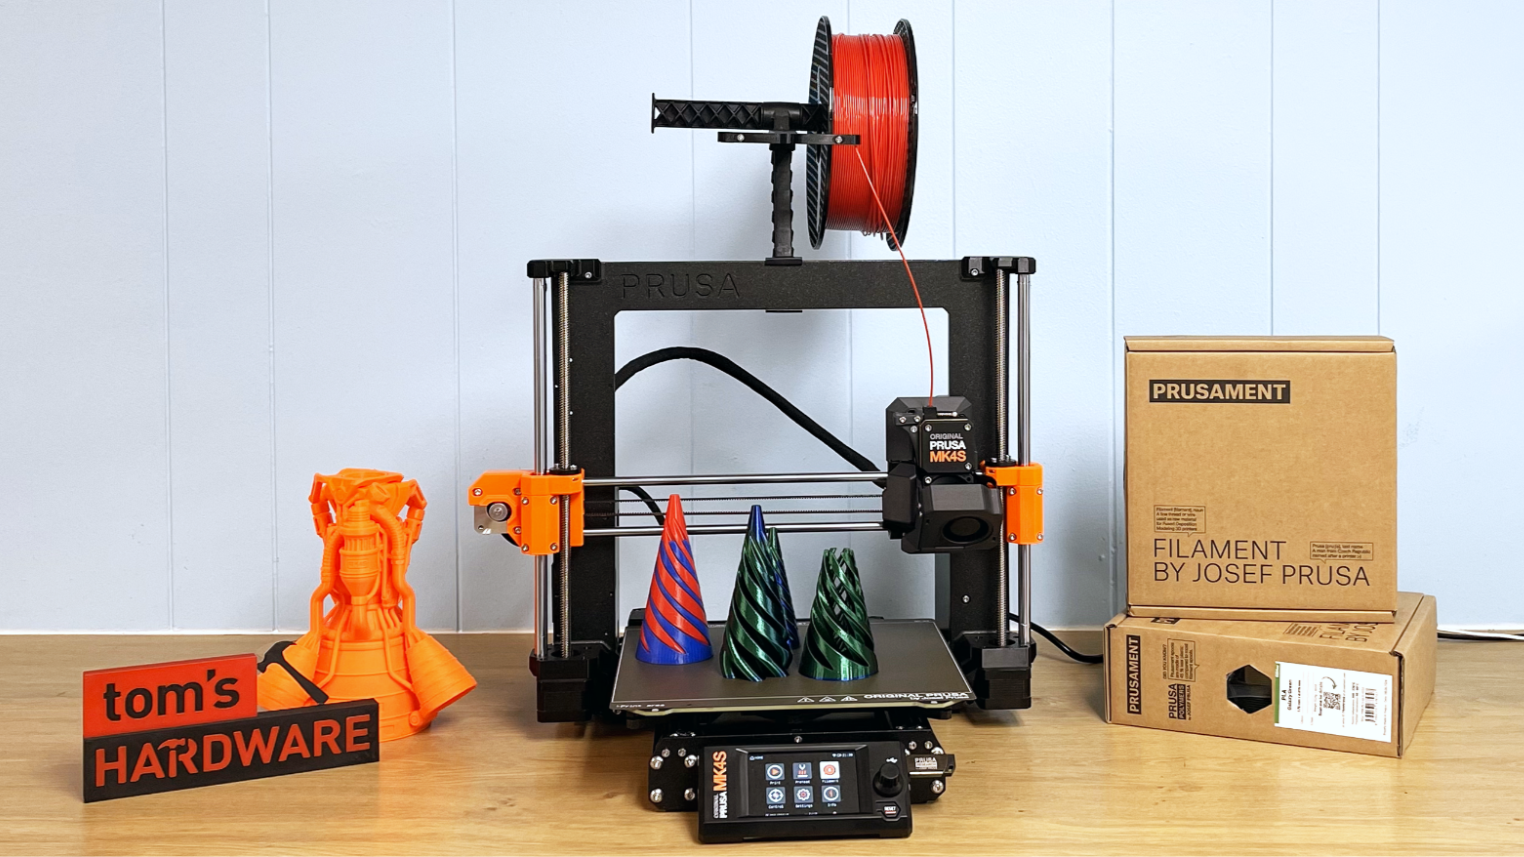
Tom's Hardware Verdict
Prusa added a Bondtech CHT nozzle to make the MK4S as fast as (and sometimes faster than) the competition from Bambu Lab. A new 360 fan freezes the filament into a more precise shape. Best of all, old MK4 machines can receive this upgrade as a $99 kit.
Pros
- +
High flow CHT Nozzle
- +
Perfect first layer
- +
PEI Steel flex plate
- +
Very quiet
- +
Fully assembled or DIY kit
Cons
- -
Expensive
Why you can trust Tom's Hardware
Lemme get right out and say it: The Prusa MK4S is pretty darn fast.
On paper, it doesn’t appear as fast as many of the competition’s printers, which boast higher acceleration speeds and slightly faster printing speeds. But this machine has a secret — a Bondtech CHT nozzle that increases Volumetric Flow. The new nozzle pushes ordinary Prusament PLA out with a volumetric flow of 24mm³, which is a 50% increase from the MK4 standard of 16mm³.
Bambu Lab, by comparison, has a volumetric flow of 21mm³ for its house brand of PLA and only 12mm³ for 3rd party filament. Volumetric flow is a setting in PrusaSlicer, Bambu Studio and OrcaSlicer that throttles print speed based on the capacity of the hotend. “High Speed” filament usually has a higher volumetric flow number, which for Bambu Lab is 18mm³.
On an interesting side note, by making a high-flow nozzle standard on its flagship printer, Prusa has avoided the need to tinker with “high-speed” filament. Prusament (Prusa's own filament brand) will remain the same.
Prusa Research has taken a linear approach to printer design and has worked on one machine, the i3, for over 12 years. What’s an i3, you ask? It’s their core model, currently known as the Original Prusa MK4. The first printer looks largely like the last printer because Josef Prusa doesn’t want his customers to get stuck with a pile of e-waste. His printers are upgradeable.
This means that if you just bought an MK4, you’re not going to groan and kick yourself for not waiting for this “S” model. You can have it in the form of a $99 upgrade. In fact, you can get a fair amount of improvement by simply buying the new high flow nozzle. But you’ll miss out on the coolest part of the new printer: the 360 fan. (Please forgive the dad joke.)
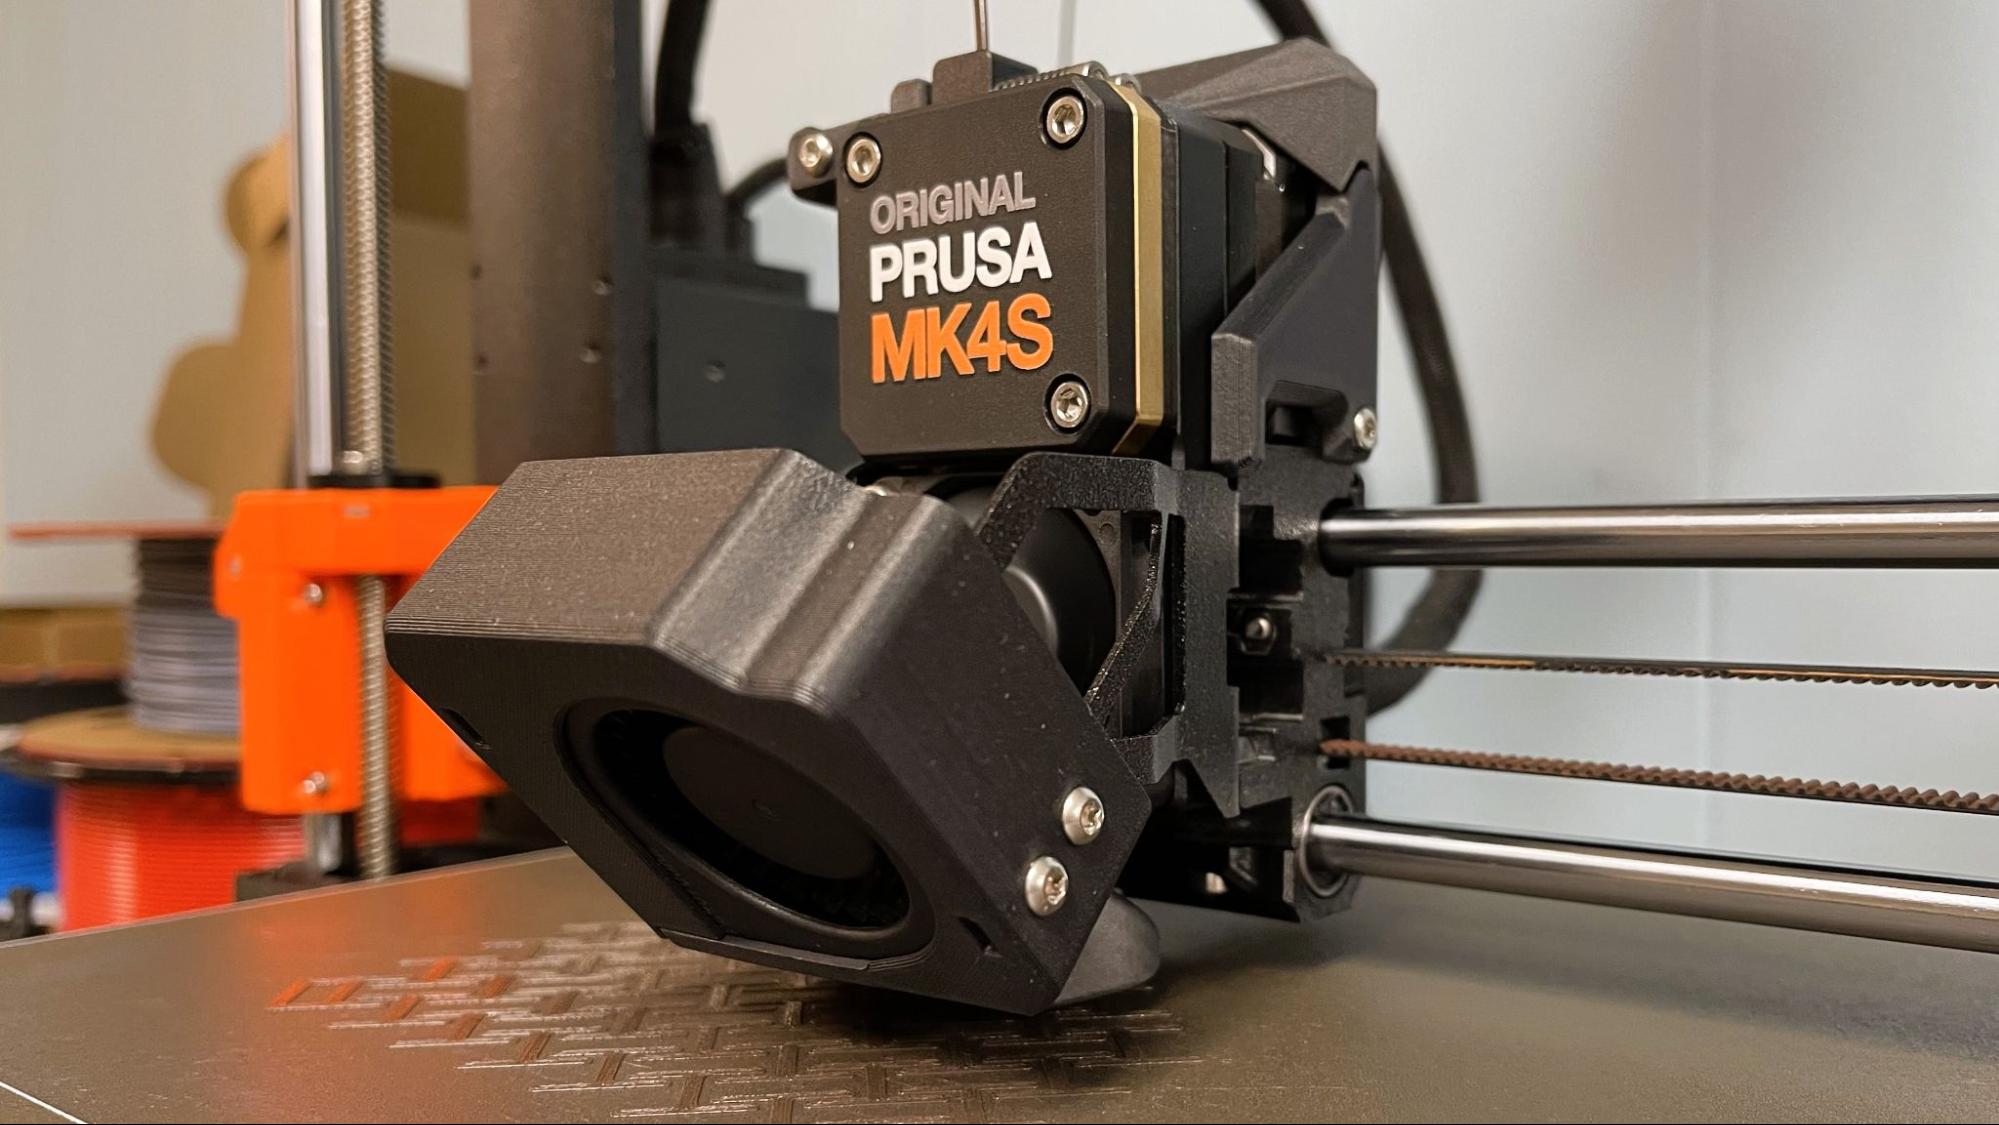
The most obvious improvement to the MK4S is the fan, which has been moved to the front and given a wraparound shroud that blasts the nozzle with quietly cool air. Yes, quiet. Unlike a lot of high-speed printers on the market today, the MK4S is quiet enough to share office space.
Get Tom's Hardware's best news and in-depth reviews, straight to your inbox.
A few of the MK4S upgrades are optional and will need to be purchased separately. Prusa Research knows its fanbase loves to tinker, so the MK4S board can accommodate a GPIO board so you can hack your Prusa to use lights, camera triggers and servos, and program them with gcode.
Another accessory is the accelerometer, which Prusa firmly believes is not needed since its factory settings are pretty darn good, but customers asked for one, so it's now available.
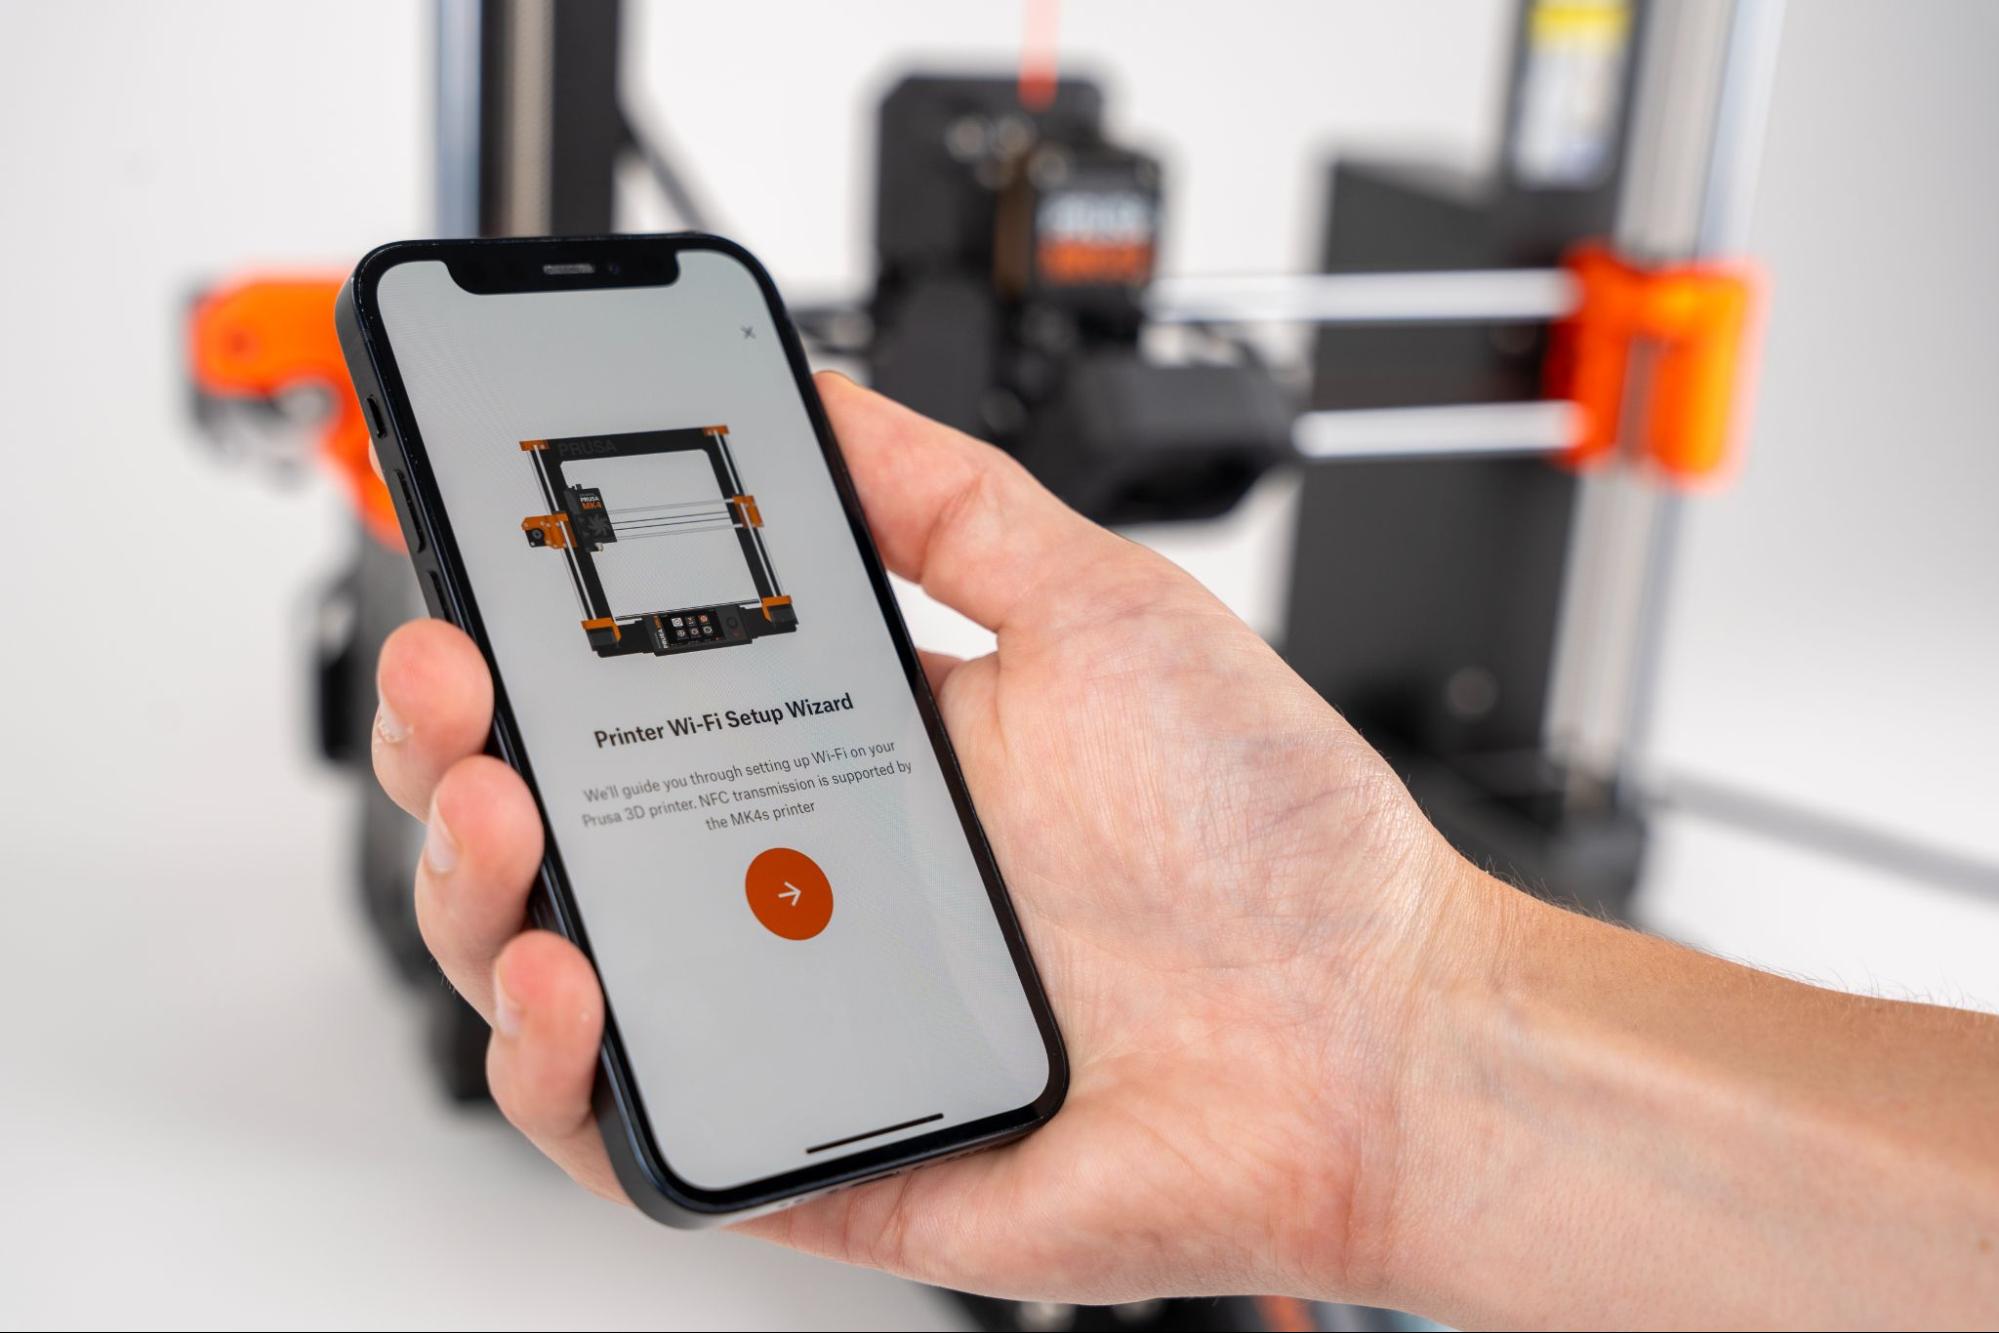
The new Prusa mobile app is available for all of their machines. It’s an interface for a greatly improved Prusa Connect and can help you monitor prints and even download files directly from Printables.com. The MK4S comes with an NFC antenna that makes getting your Prusa online a breeze. Older machines will still have to connect the old-fashioned way. The app is entirely optional for those who wish to keep their printers offline.
Once again, Prusa Research is not increasing the price of its flagship printer. The MK4S will be sold at a discount until stock runs out, then it will be retired. The MK4S will retail at $1,099, which, yes, is still a bit of an investment for a bed slinger. You can save money by going the DIY route and buying a kit for $799.
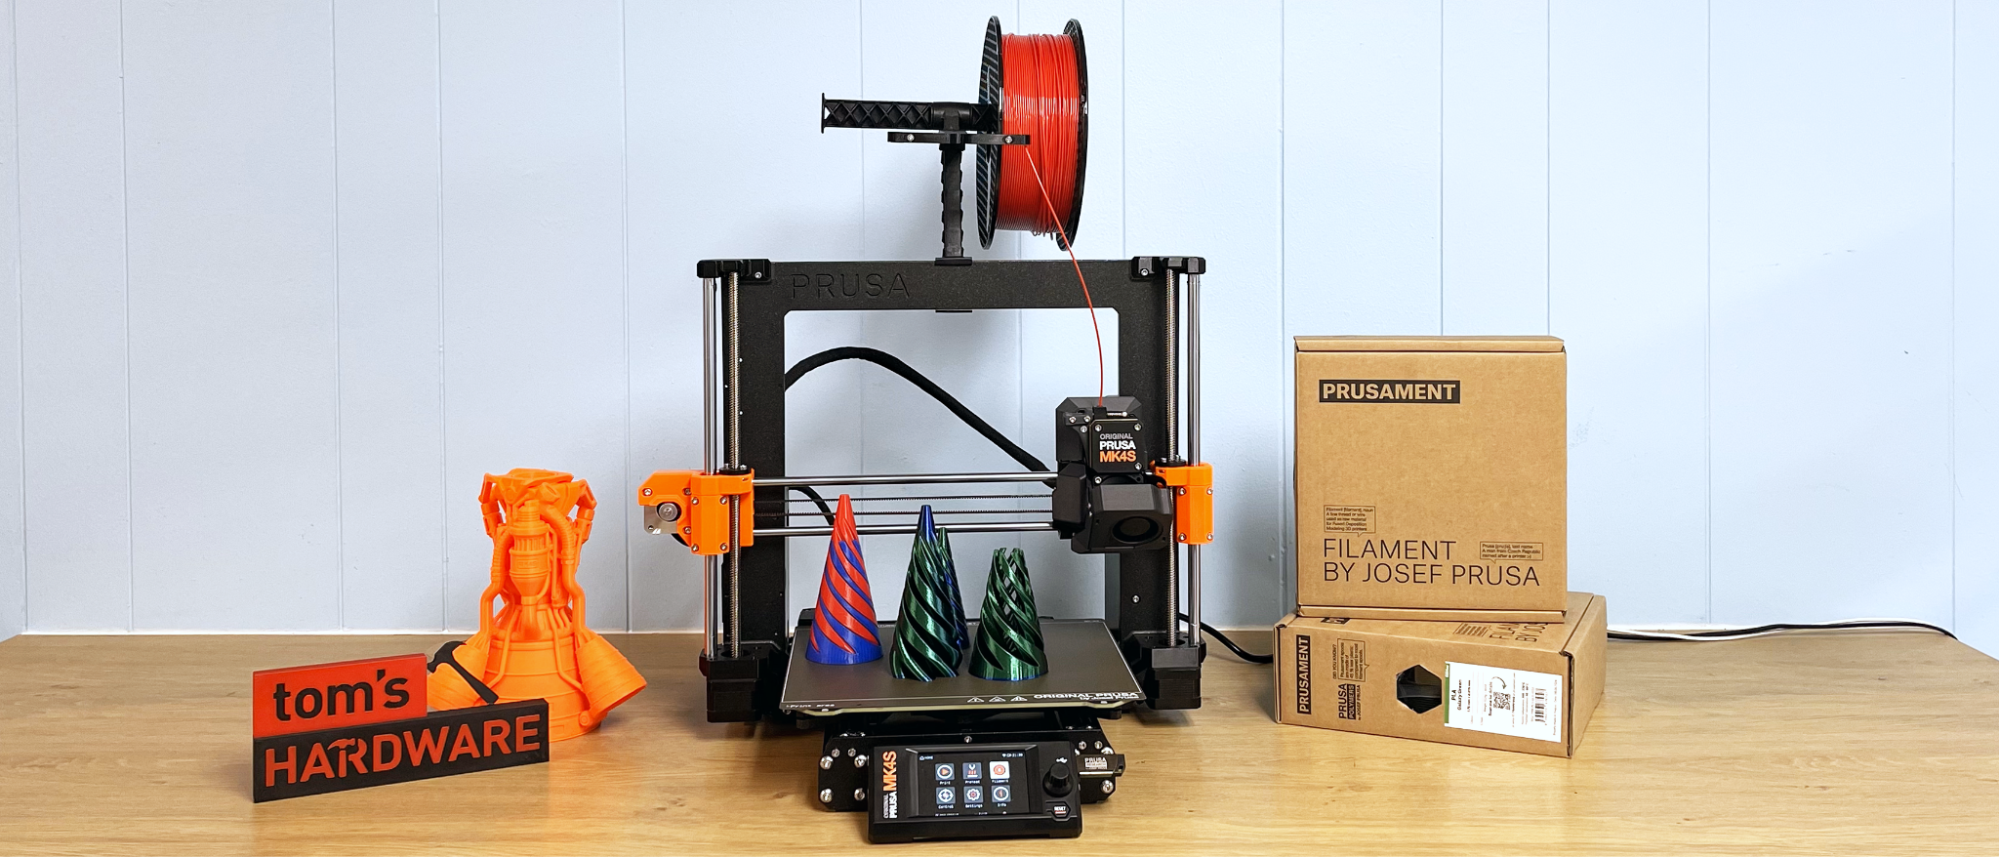
The Prusa Original MK4S is one of the best 3D printers we’ve ever tested and lives up to its reputation as a premium printer for makers of all experience levels.
Specifications: Original Prusa MK4S
| Build Volume | 250 x 210 x 220 mm (9.84 x 8.3 x 8.6 in) |
| Material | PLA/PETG/TPU (up to 300 degrees) |
| Extruder Type | Direct drive |
| Nozzle | .4mm (Bondtech CHT) |
| Build Platform | PEI spring steel flex plate |
| Bed Leveling | Automatic |
| Filament Runout Sensor | Yes |
| Connectivity | USB, LAN, Wi-Fi, App |
| Interface | Color touch screen with knob |
| Machine Footprint | 500 X 550 x 400 mm (19.6 x 21.6 x 15.7 in) |
| Machine Weight | 7.6 KG (16.75 lbs) |
Original Prusa MK4S: Included in the Box
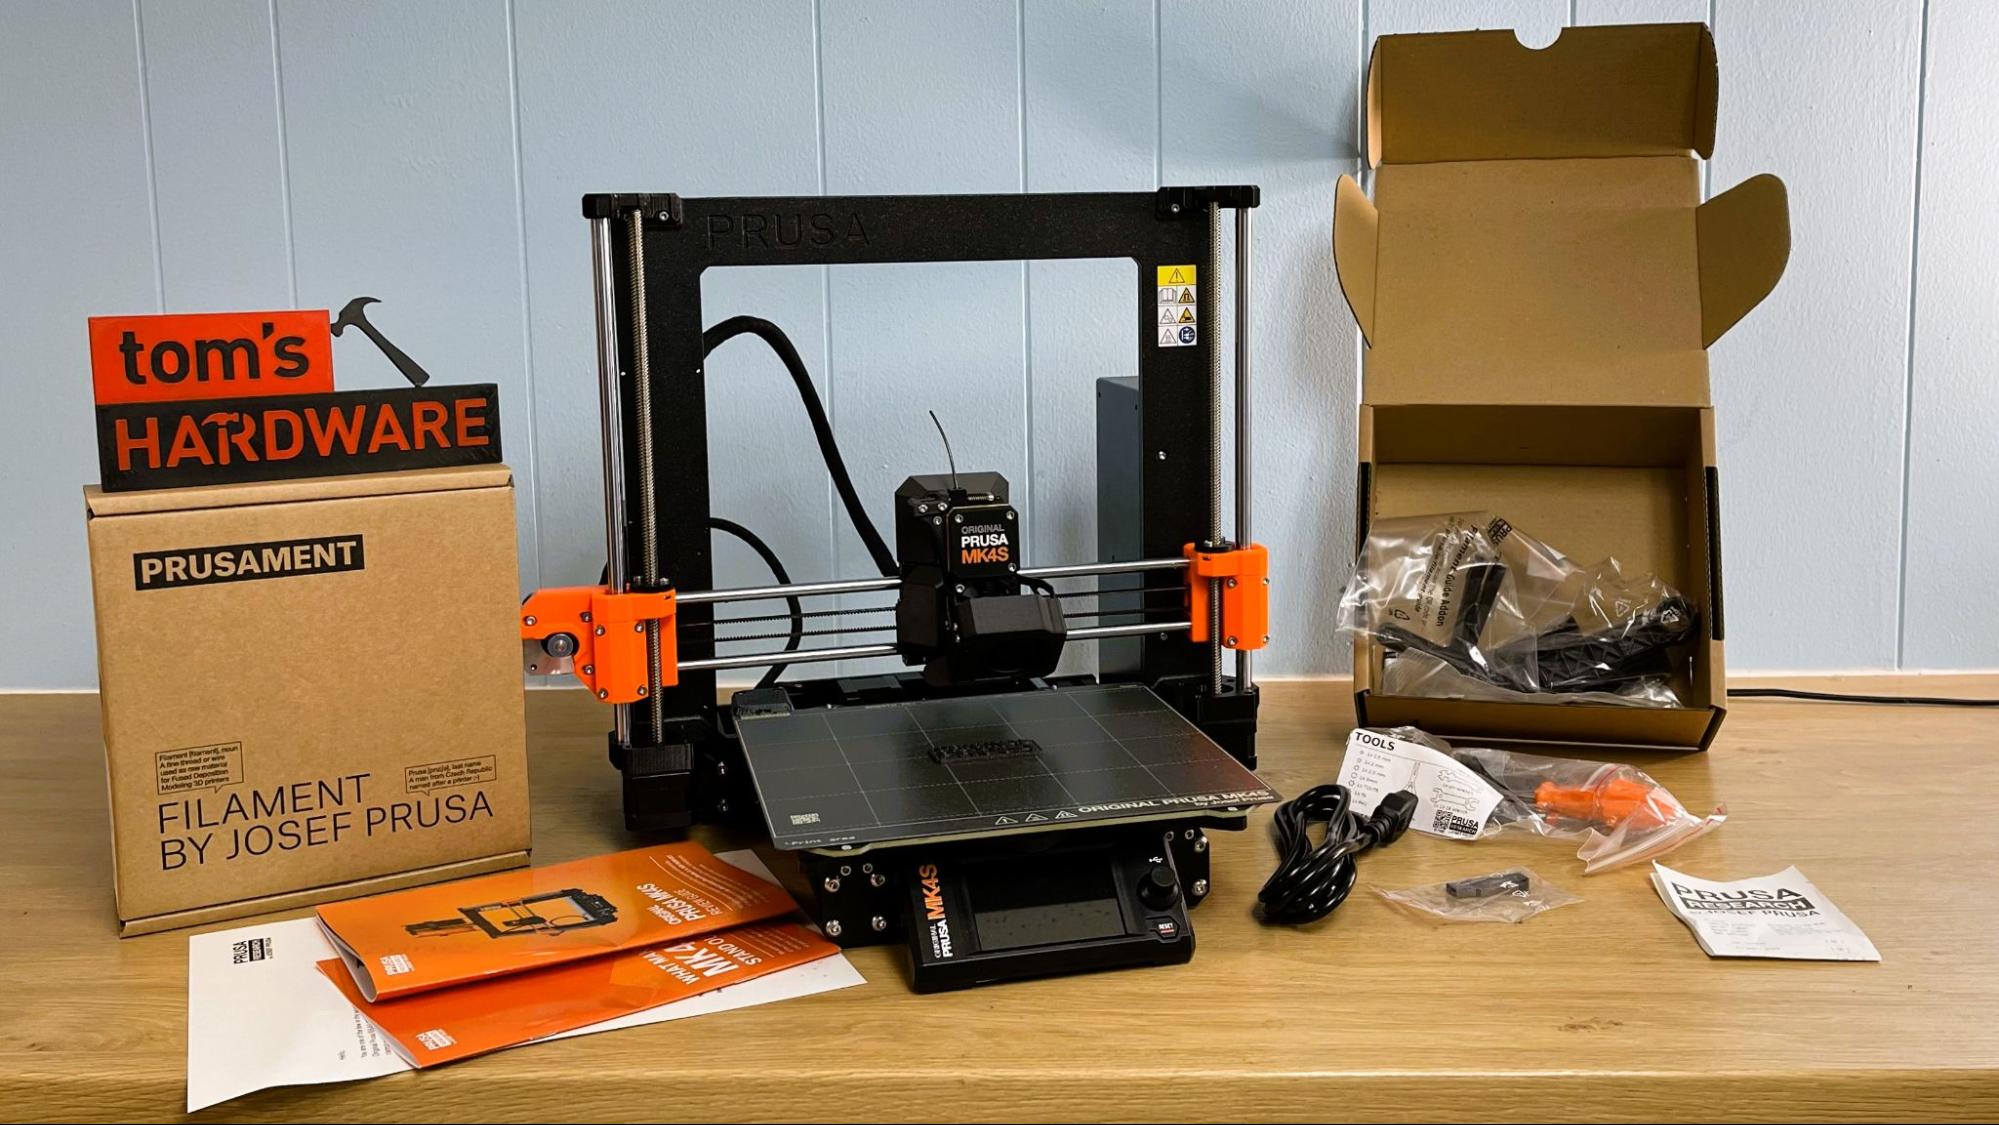
The Prusa Research MK4S we reviewed came fully assembled, except for the spool holder, which needs to be screwed together and mounted. It comes with the full tool kit you would get with the DIY version. You won’t need these right now, but hang on to them for future upgrades.
Besides tools, the printer comes with a full spool of Galaxy Black Prusament PLA, a USB Stick, a handbook on 3D printing with your new machine, stickers, and a bag of Gummy Bears. The USB stick contains several models, while PrusaSlicer is available for free download from the website.
We also received extra build plates for the review.
The MK4S has an optional accelerometer and GPIO board that can be purchased as accessories. Pricing for these were not available at the time of publication.
Design of the Original Prusa MK4S
The Original Prusa MK4S is a direct upgrade of the MK4 and looks pretty much like all previous i3 bed slingers made by Prusa. This is done on purpose so the company can offer upgrade kits to loyal customers who don’t want to throw out their old printers.
The MK4S has the same Prusa orange and black color scheme as the MK4, with an S added to the logo. The frame is a powder coated die-cast aluminum-alloy made in- house, and the screen housing is now injection molded, also made in-house. Part of the MK4S is now printed with PC Blend Carbon Fiber to add greater strength and temperature resistance. Josef Prusa has stated that he uses 3D-printed parts to prove his machines are up to the task.
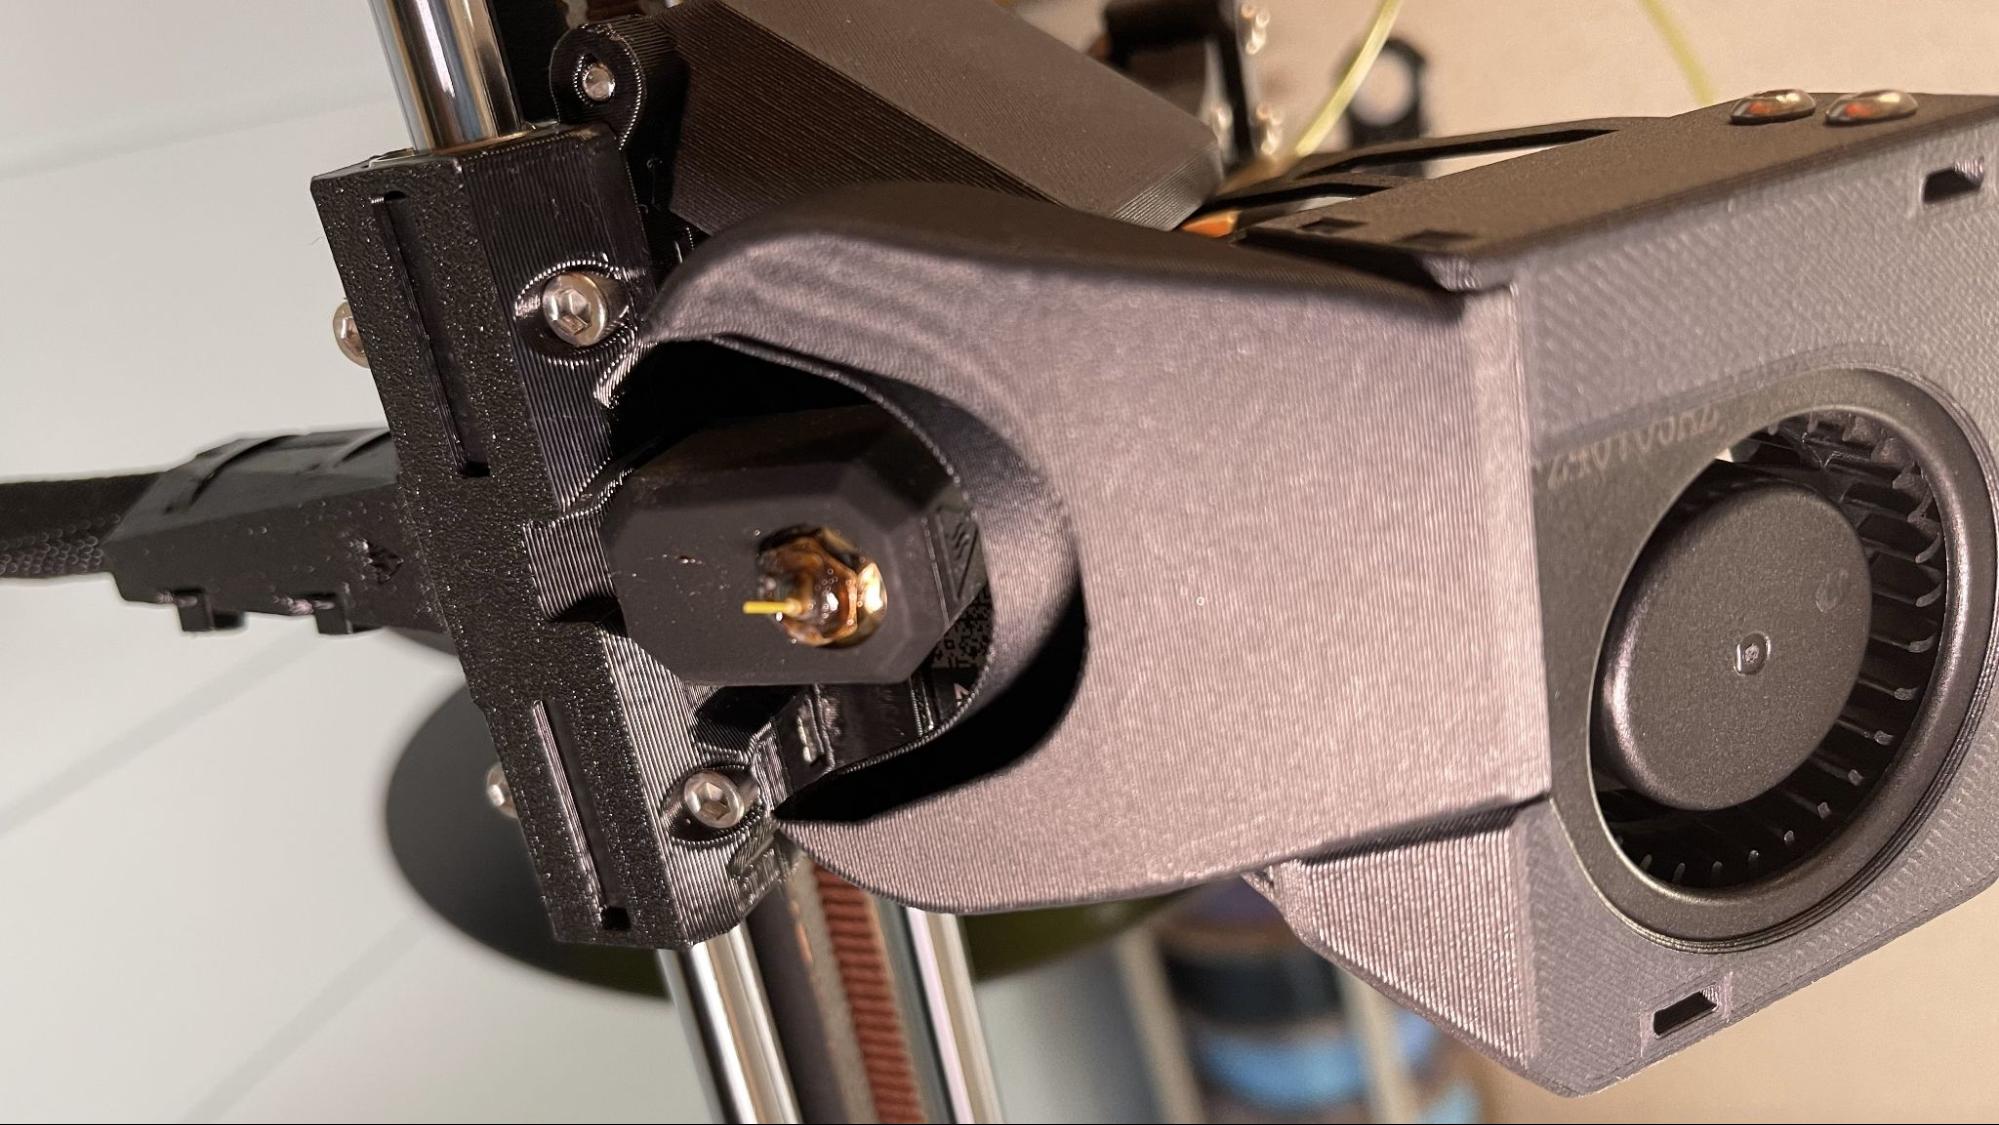
The tool head holds the most significant changes, with the hinge-mounted side fan now replaced with a turbine suspended in front at a 45-degree angle. The new fan has a “360” shroud to bathe the entire nozzle in cooling.
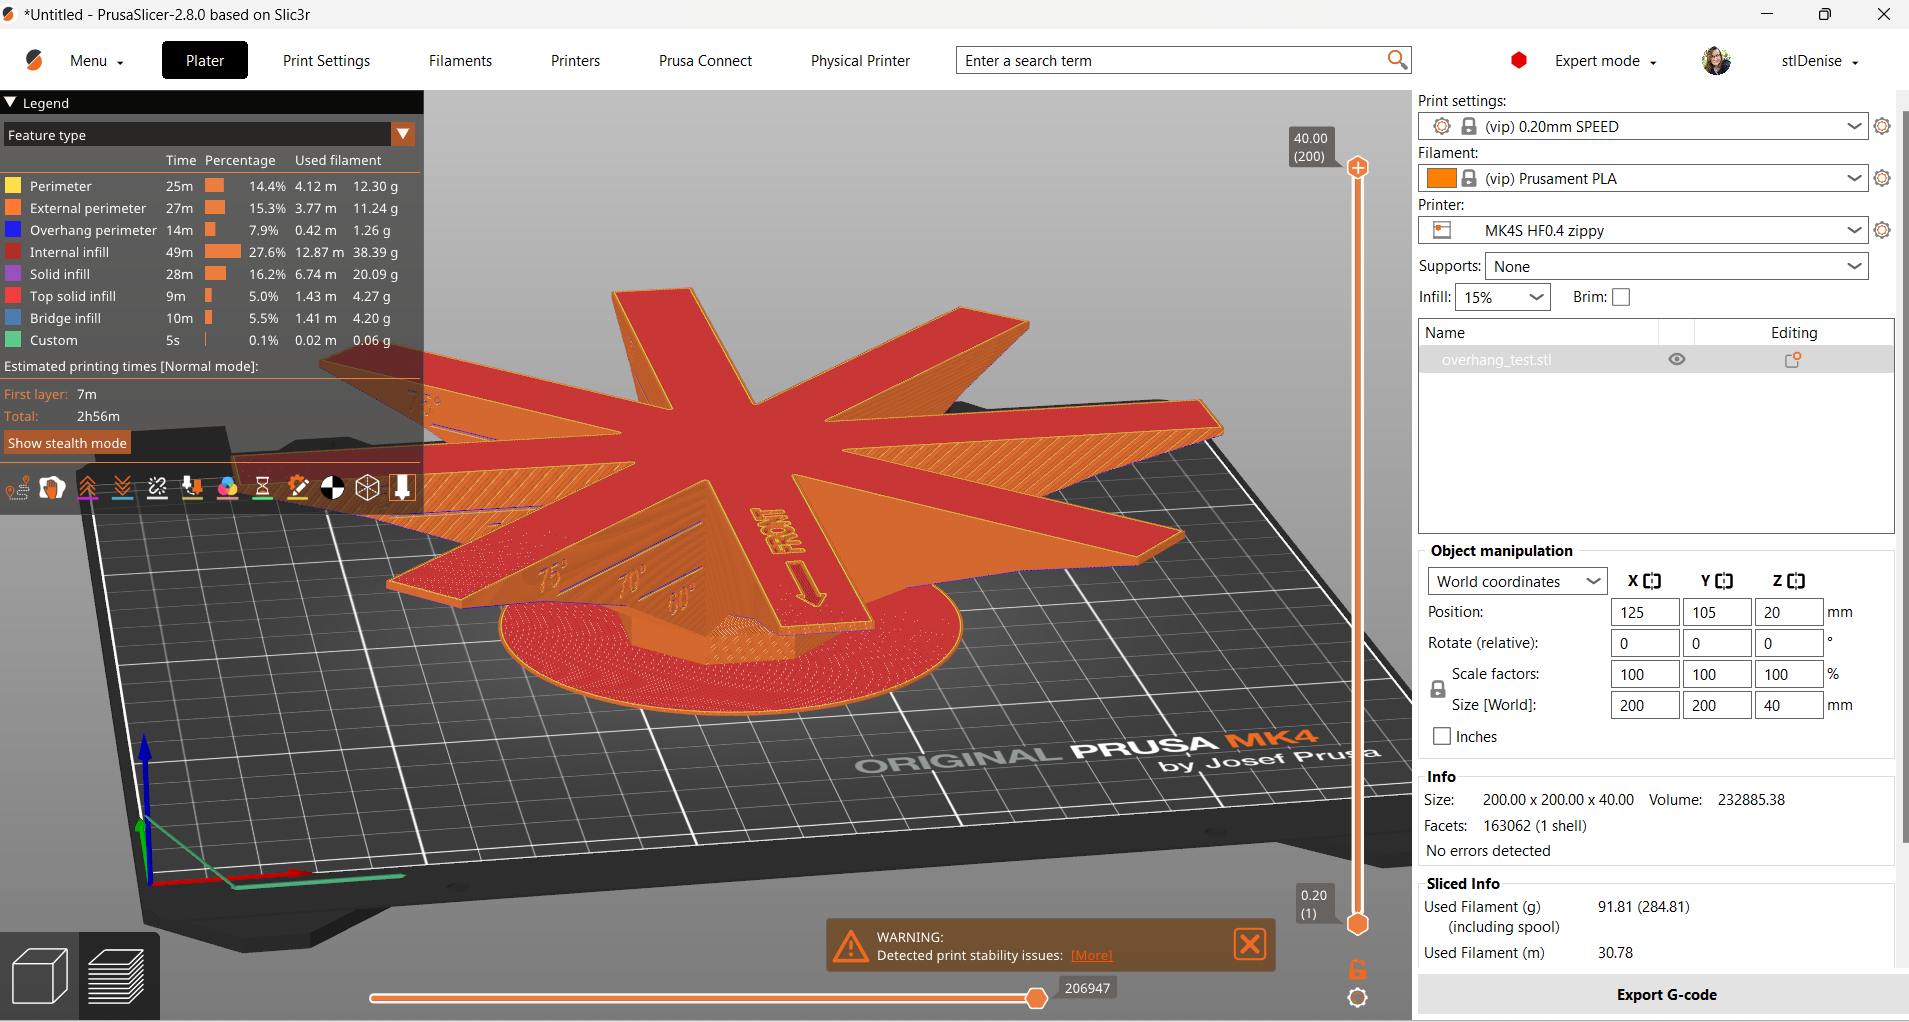
The fan normally runs at 70%, and is as quiet as the previous cooling fan. However, it’s powerful enough to allow the MK4S to print up to 75% overhangs, which then allows you to avoid needing supports in many cases.
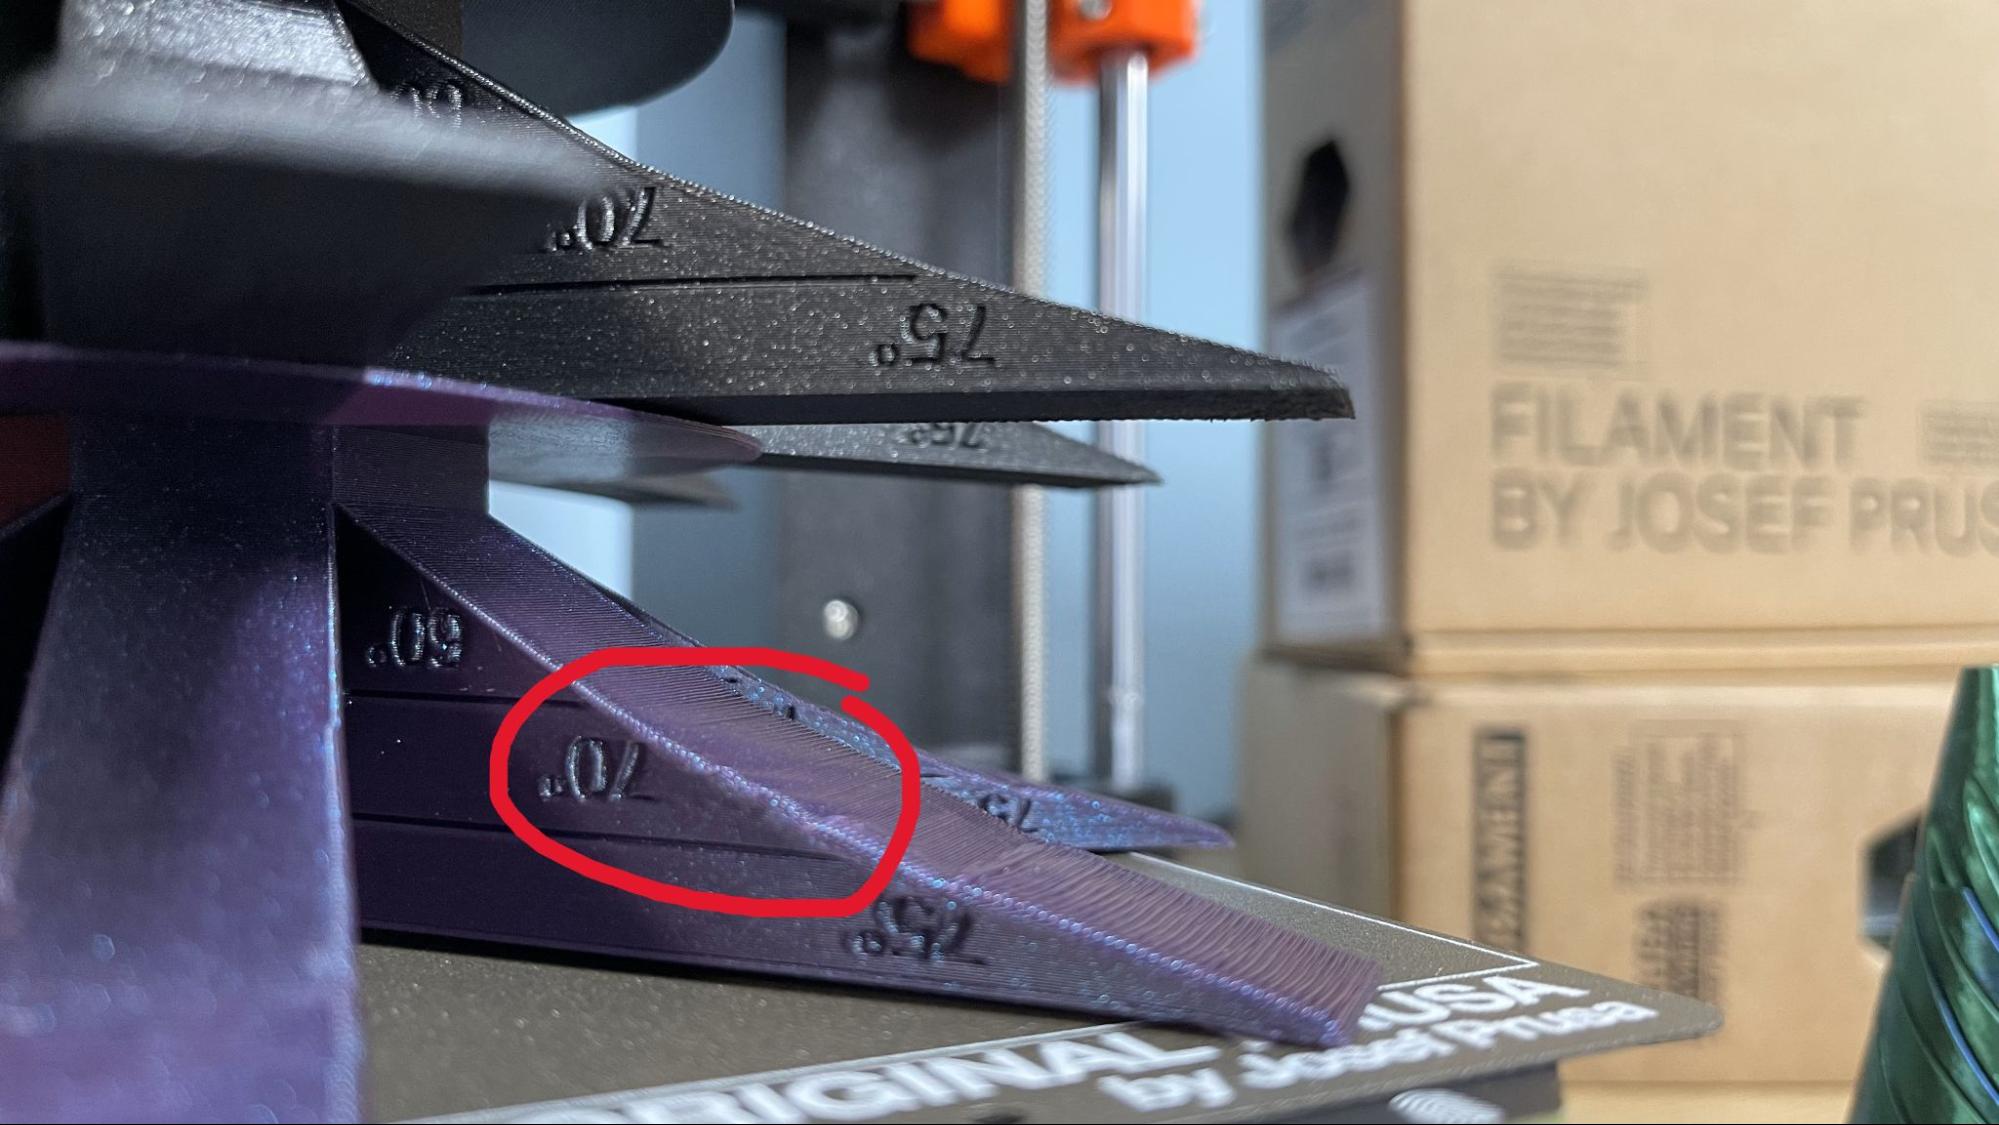
Prusa included a test model to show off the printer’s overhang ability. On the photo below, test models are printed in PLA and are shown upside down. The black print is off the MK4S and the purple was printed on a Bambu Lab A1. The MK4S is flawless, and the A1 had a slight ripple at the 70 degree mark.
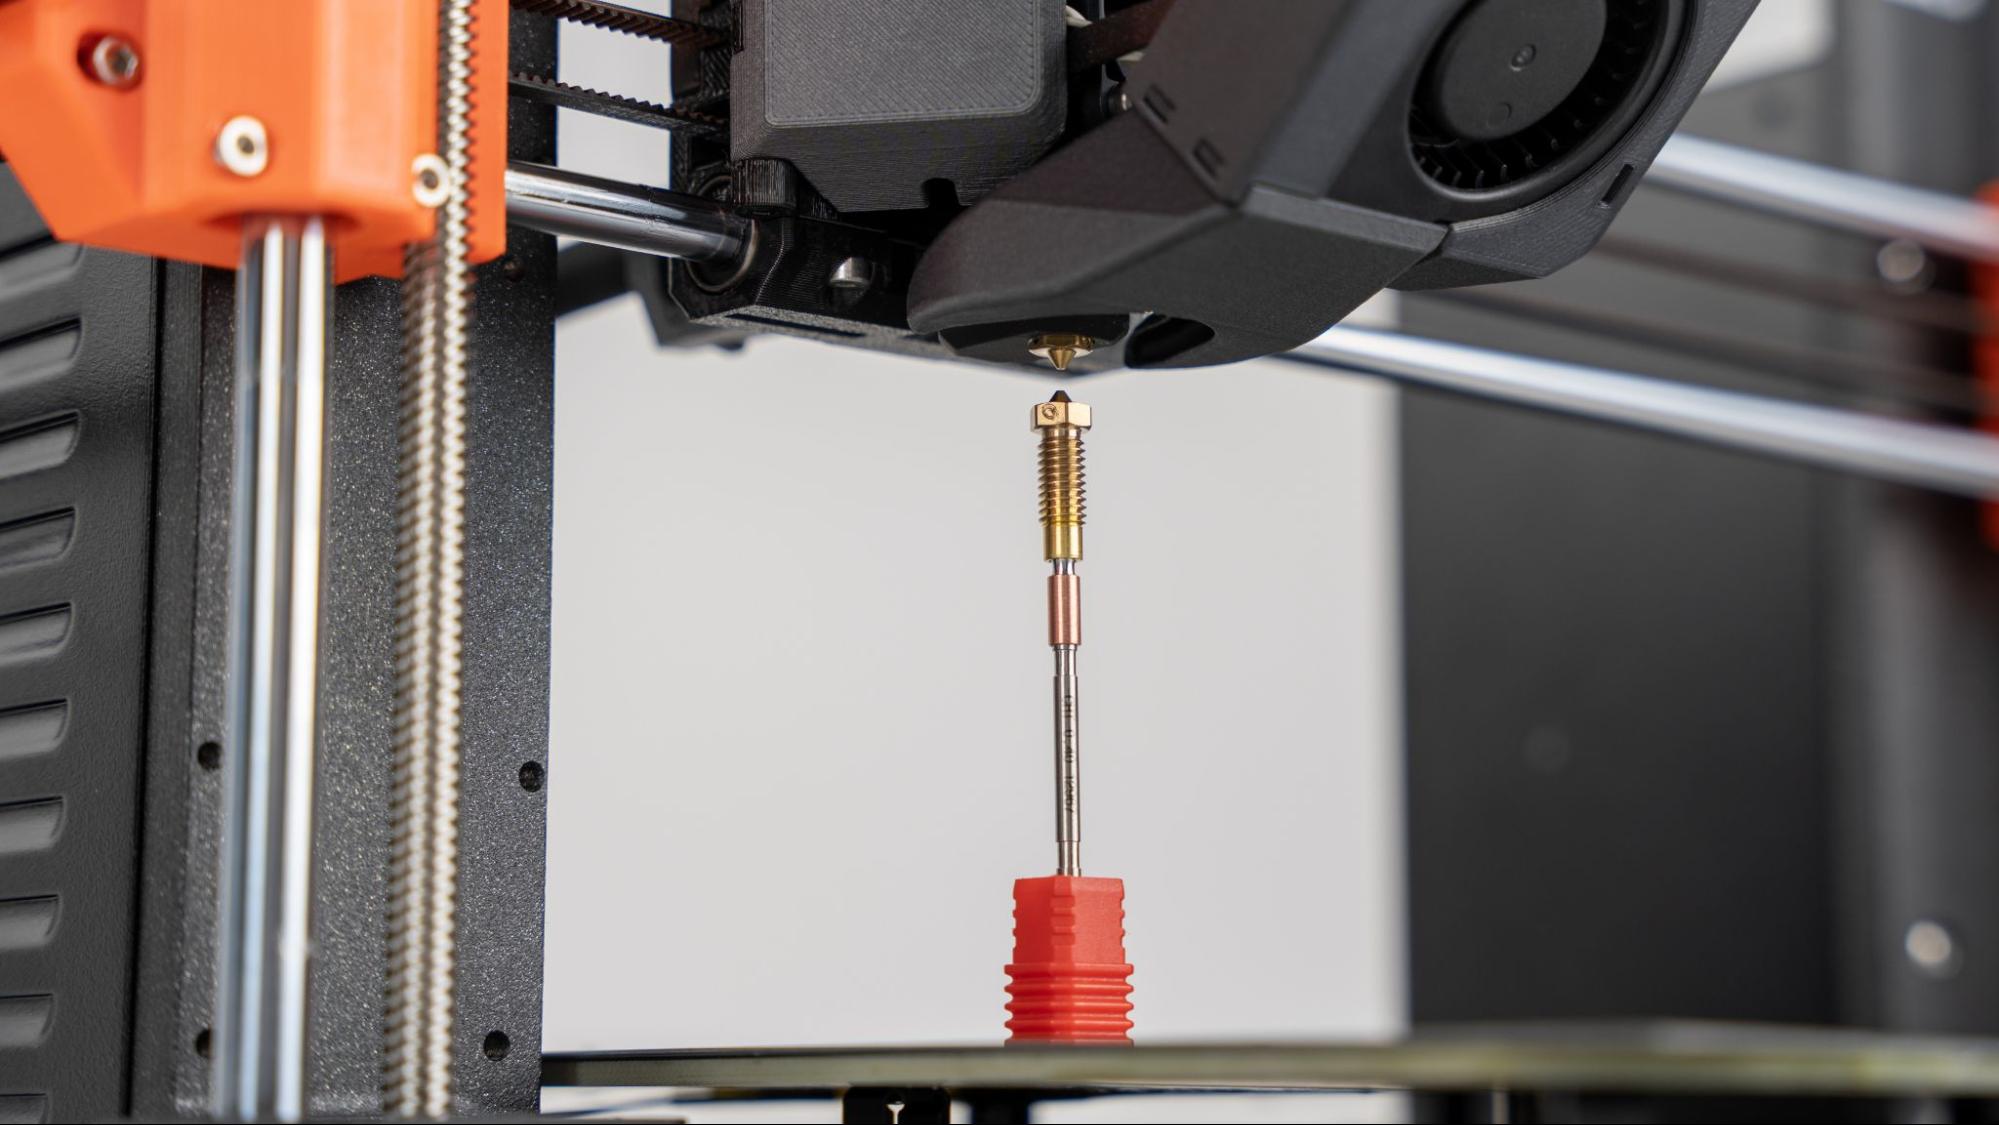
The nozzle itself is also new. It’s a custom-made high-flow CHT nozzle by Bondtech and increases the printer’s volumetric flow significantly. This allows the MK4S to print faster without needing to increase acceleration rates or compromise mechanical properties. It can print Prusament PLA with a 50% increase in flow and Prusament PETG at a 44% increase. This nozzle can also be used in an unmodified MK4 and the XL.
Pricing for the new nozzle was not available at the time of this review.
Like the MK4, bed leveling is fully automatic, with no manual adjustments. First layers go down perfectly smooth, thanks to a load cell sensor that has replaced the old PINDA probe. The sensor is connected to the nozzle, which allows the MK4S to physically tap the print surface for a more precise measurement. The sensor is also used to calculate Z height, and it does it so well that there is no need for human intervention. Of course, there’s still a live Z adjustment available in the menu should you need it. During testing, we did not.
The MK4S has built-in Wi-Fi and a NFC antenna. If you download the new Prusa App, you can get your printer online by tapping the phone to the printer. The app is completely optional.
Upgrades for MK4 Owners
Prusa is known for offering customers upgrade kits to prevent his machines from becoming obsolete. The MK4S is keeping with this tradition. Details on the upgrade kits were vague, but I was told it would only cost $99 and would include the new fan, nozzle and some PC Carbon Fiber printed parts. Kits will start shipping at the end of August.
Prusa’s new app is a huge improvement over its previously neglected Prusa Connect system. The system was initially developed for print farms, and was clunky to set up and use. The app makes getting online easier for the average user and allows you to monitor prints away from your workshop.
You can download gcode directly from Printables.com, but there is no slicer attached to the app.
The app works with all Prusa printers and is completely optional.
Assembling the Original Prusa MK4S
The Prusa MK4S we reviewed came fully assembled and only needed to be unpacked. Simply pull it out of the box and plug it in. The only screws I needed were to mount the spool holder’s filament guide.
Every Prusa MK4S is given a thorough inspection before shipping. A checklist showing the parts inspected is included in the box. You’ll also find a sample print stuck to the bed from its factory test.
Note: If you purchased the DIY kit version of the MK4S, you’ll need to set aside around eight hours to assemble it, but you save $300.
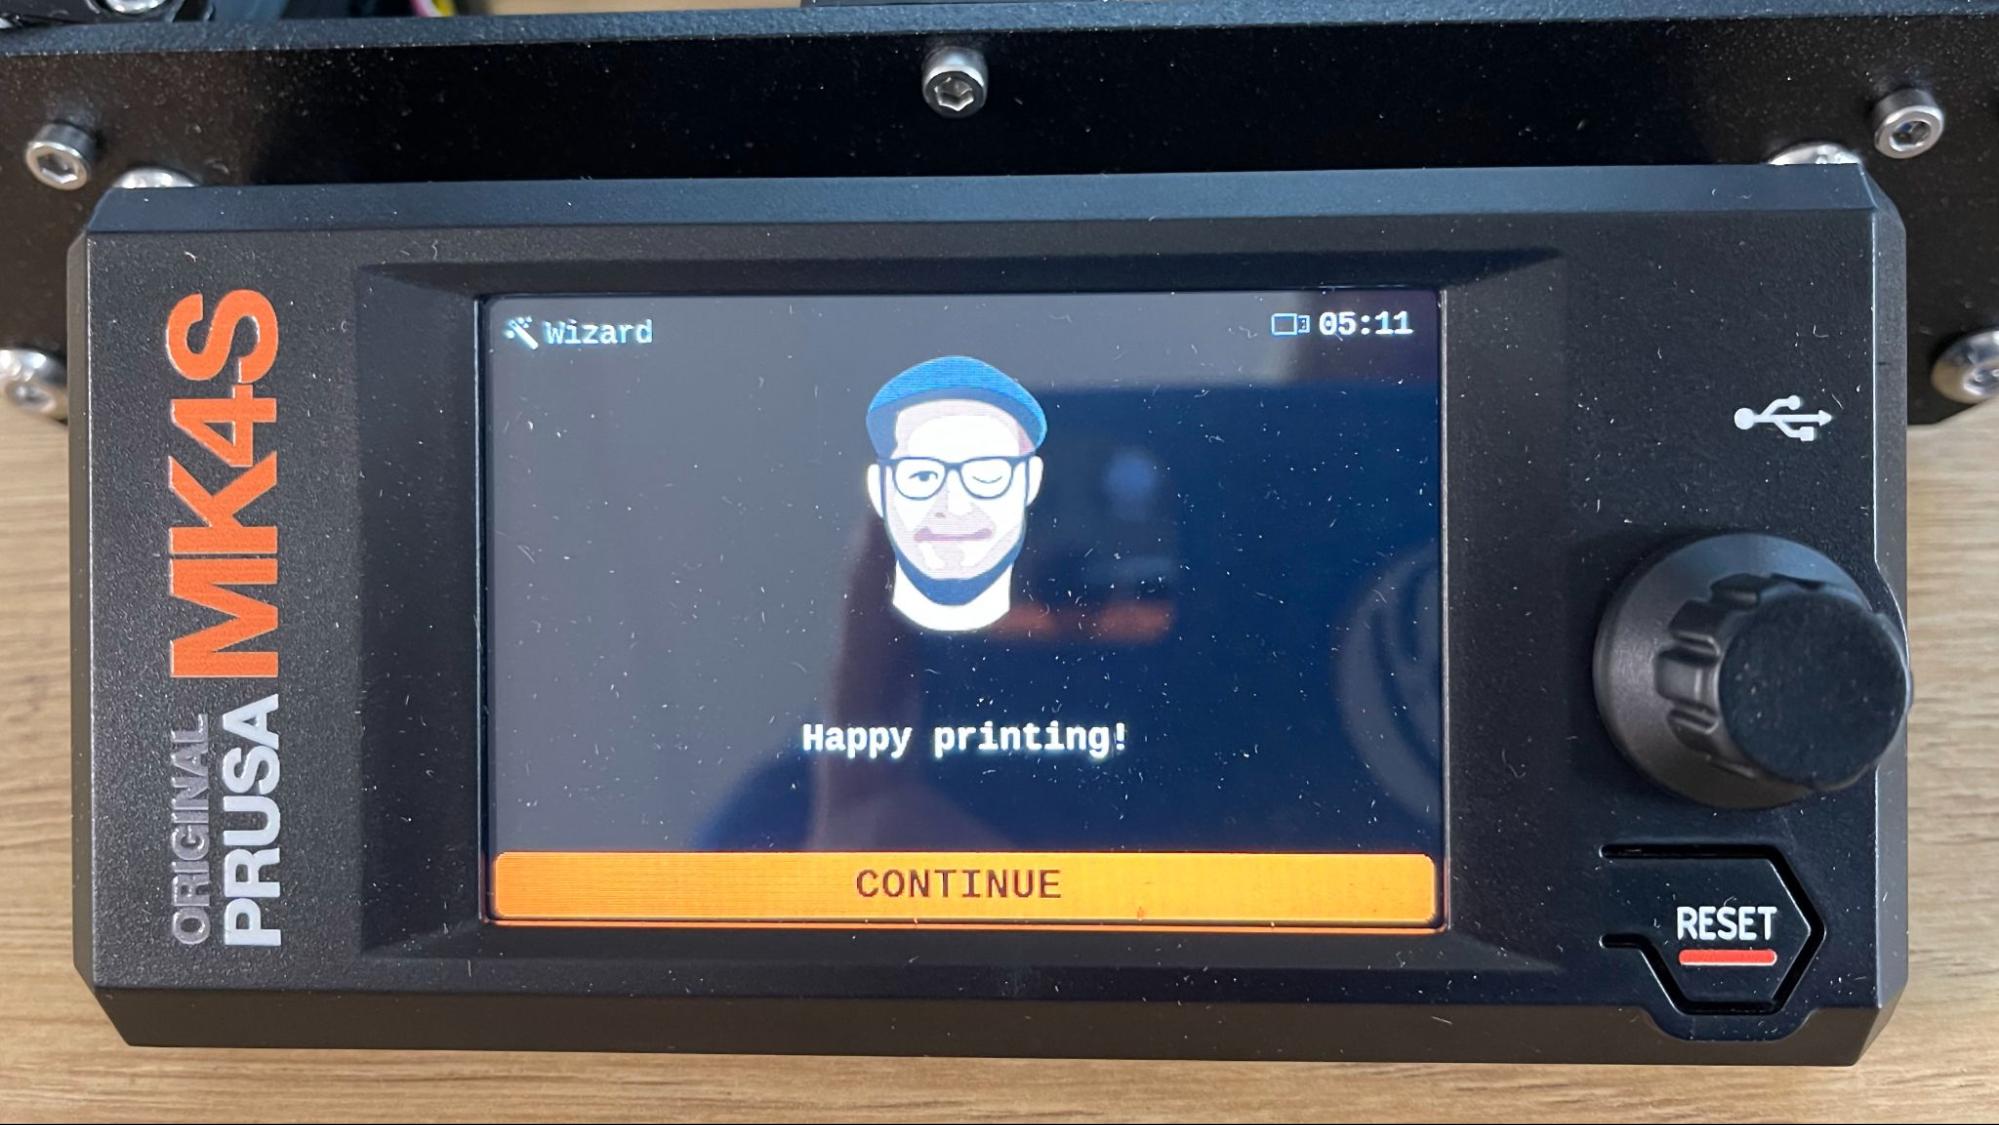
Once the machine is turned on, you’ll see a cartoon version of Josef Prusa to guide you through setup. The MK4S will run a few hardware checks, then walk you through loading your filament. Once the material is loaded, you can pick your first print from the USB card. It will perform a bed level check and set the Z height before printing (and without asking you for help).
Leveling the Original Prusa MK4S
Bed leveling is a no-brainer as the MK4S Is fully automatic. There are no manual adjustments and no need for adjusting the Z offset. The printer uses a load cell sensor connected to the nozzle, which physically taps the print surface for precise measurement.
The printer trams the bed and calculates the required z height before each print.
Loading Filament on the Original Prusa MK4S
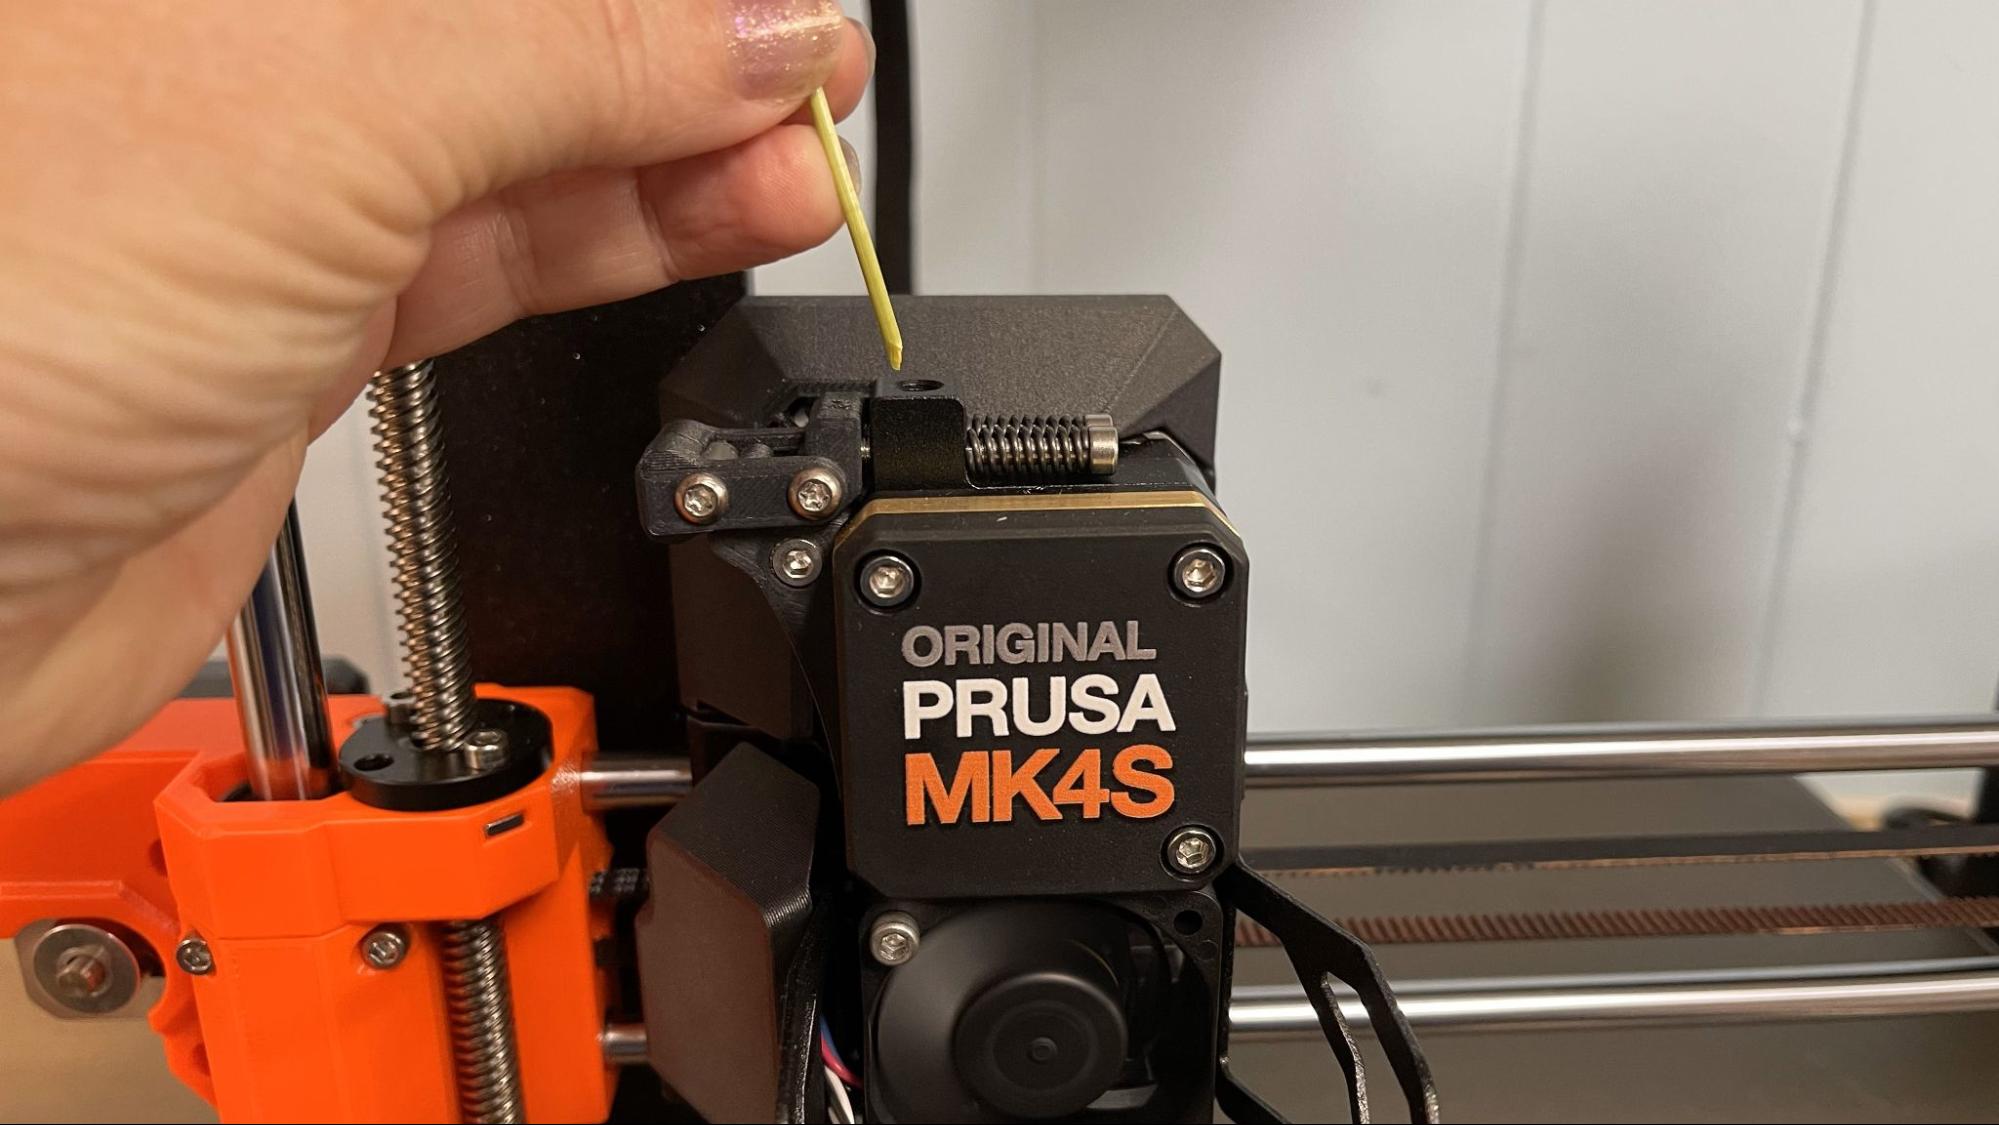
Loading filament is very simple. Simply place filament into the hole on the top of the extruder, and it will automatically detect it and pull it in. The screen will then ask what kind of material you’re using to set the temperature. Once it gets hot enough, it will pull the filament into the hotend and ask if the color has changed. If it has, you can say yes and move on. If the answer is no, it will purge more material.
To remove material, go to the Filament menu from the main screen and click unload. It will remember what material was last installed, determine if the filament is still there, and then heat it to the appropriate temperature. Once hot, it will retract the plastic until you can easily remove it.
Preparing Files / Software for Original Prusa MK4S
Prusa Research gave me profiles for the MK4S to use with PrusaSlicer, one of the most popular free slicers. I noticed immediately that speed settings were only slightly increased and acceleration was the same.
OrcaSlicer has a profile for the MK4 that can be tweaked, but Cura only has a profile for the much slower MK3.
Printing on the Original Prusa MK4S
The fully assembled MK4S comes with a 1 KG roll of Prusament PLA Galaxy Black. If you want more colors and materials like silks and multicolor filaments, you should check out our guide to the best filaments for 3D printing for suggestions.
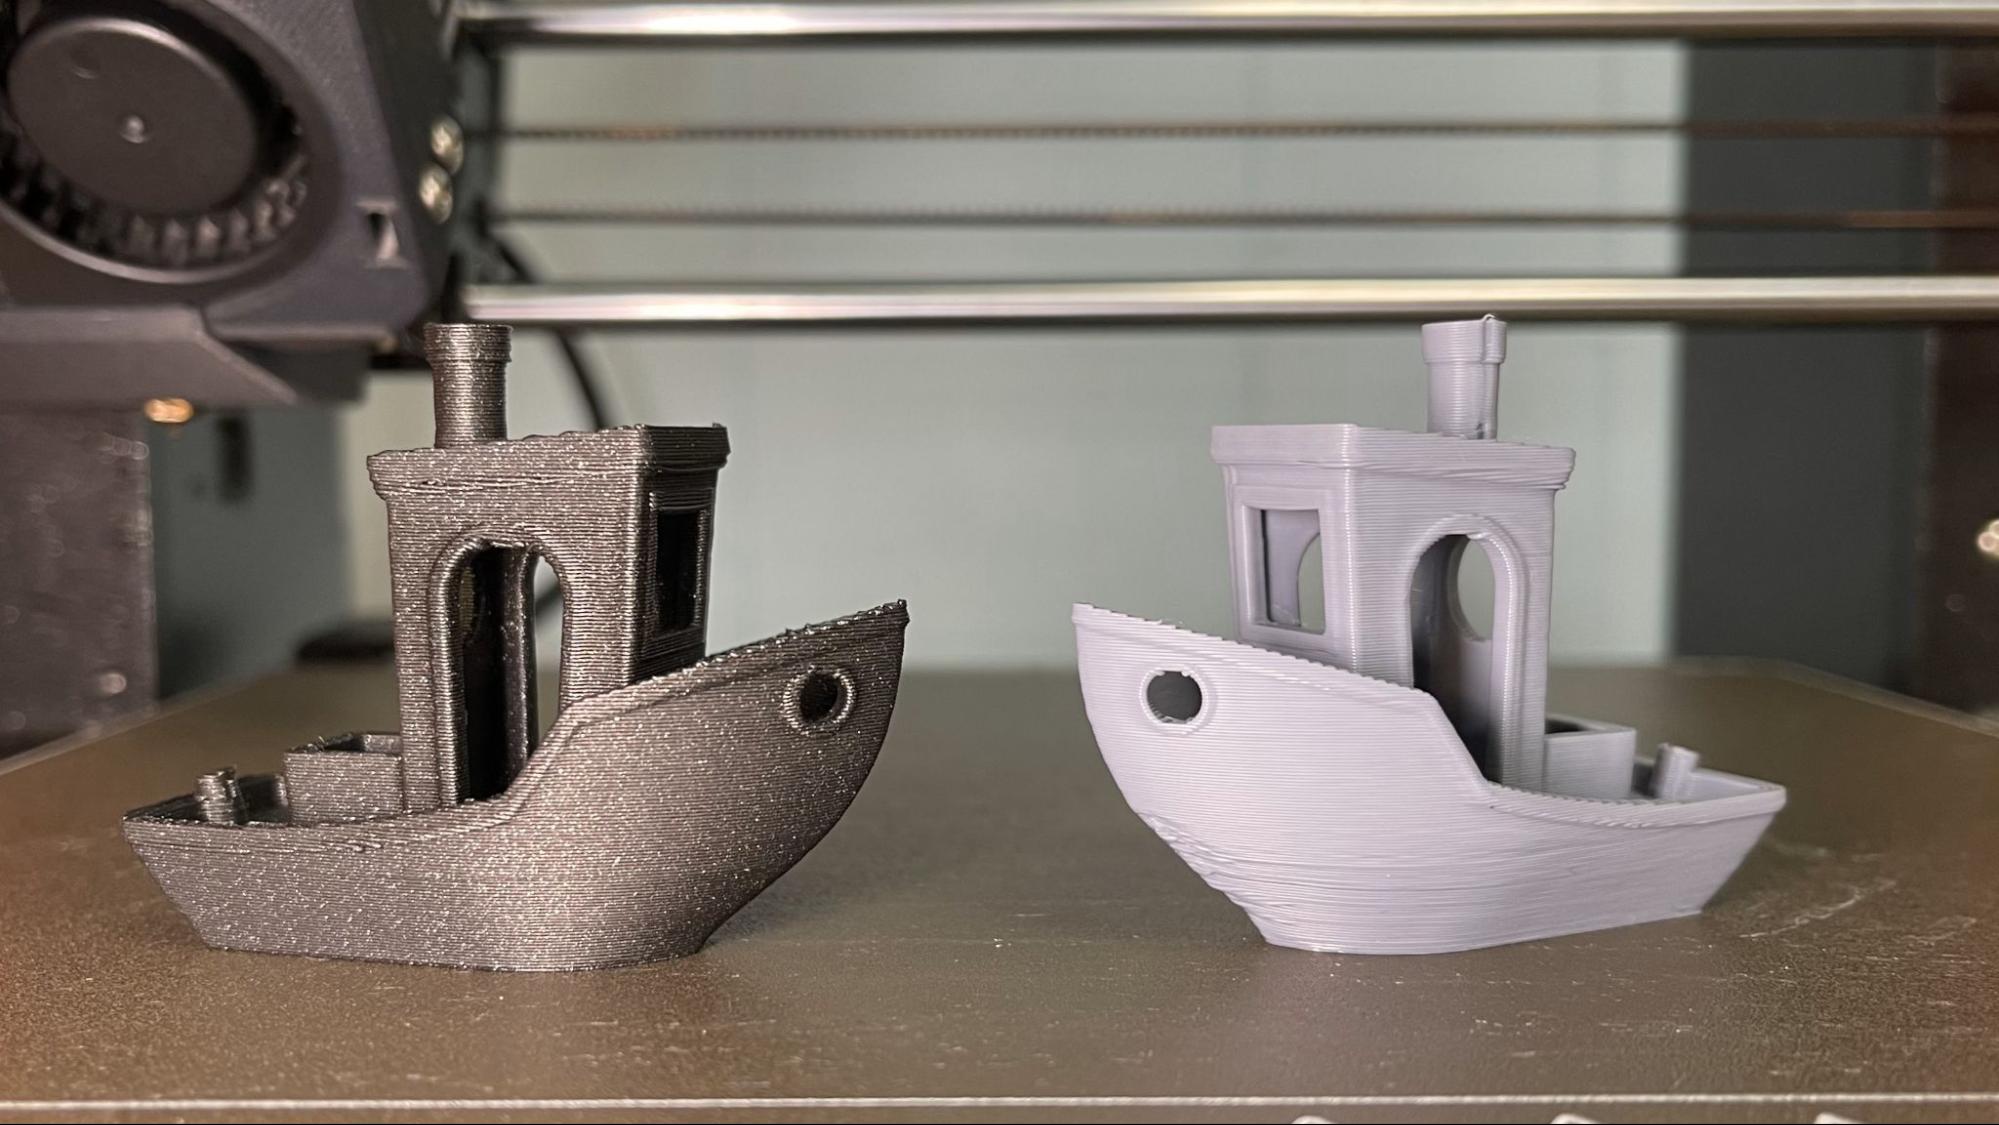
The USB stick has several pre-sliced models to show what the MK4S can do. This includes an eight-minute “Bonker’s Benchy” and a 14-minute Speed Boat Race Benchy. Both models use some slicer sleight of hand that I can’t quite reproduce, even after studying the gcode. The Bonker’s Benchy only uses one wall, and the Speed Boat uses standard settings for walls and layer heights. However, both boats have greatly increased the acceleration settings (from 4000 to 7000mm/s), which makes me believe the official slicer profiles have been set with a conservative limit to emphasize precision and perhaps prevent wear and tear on the machine.
A Speed Benchy needs to follow certain rules: 2 walls, 3 top and bottom layers, 10% grid infill, a .25 layer height and .5 layer width. Like some of the newer fast printers, this machine is faster than my default settings of 300mm/s. The MK4S was only able to print a 19-minute Benchy when I sliced it myself using standard settings, which shows that speed tests don’t paint the whole picture. You can check out how all the other printers have done on our list of the fastest 3D printers.
On the left is a perfect “Bonker’s Benchy” in Prusament Galaxy Black, sliced by Prusa Research and only taking eight minutes to print. On the right is my 19-minute Speed Boat, printed in ordinary gray Inland PLA, so none of the defects are hidden. You can see the layers are still pretty neat in the middle, but the cooling isn’t quite up to snuff on the bow, and it’s a little rough on the bottom.
I don’t know what Prusa Research did to get their fast boat so clean, but I can tell you it’s not part of the standard profile.
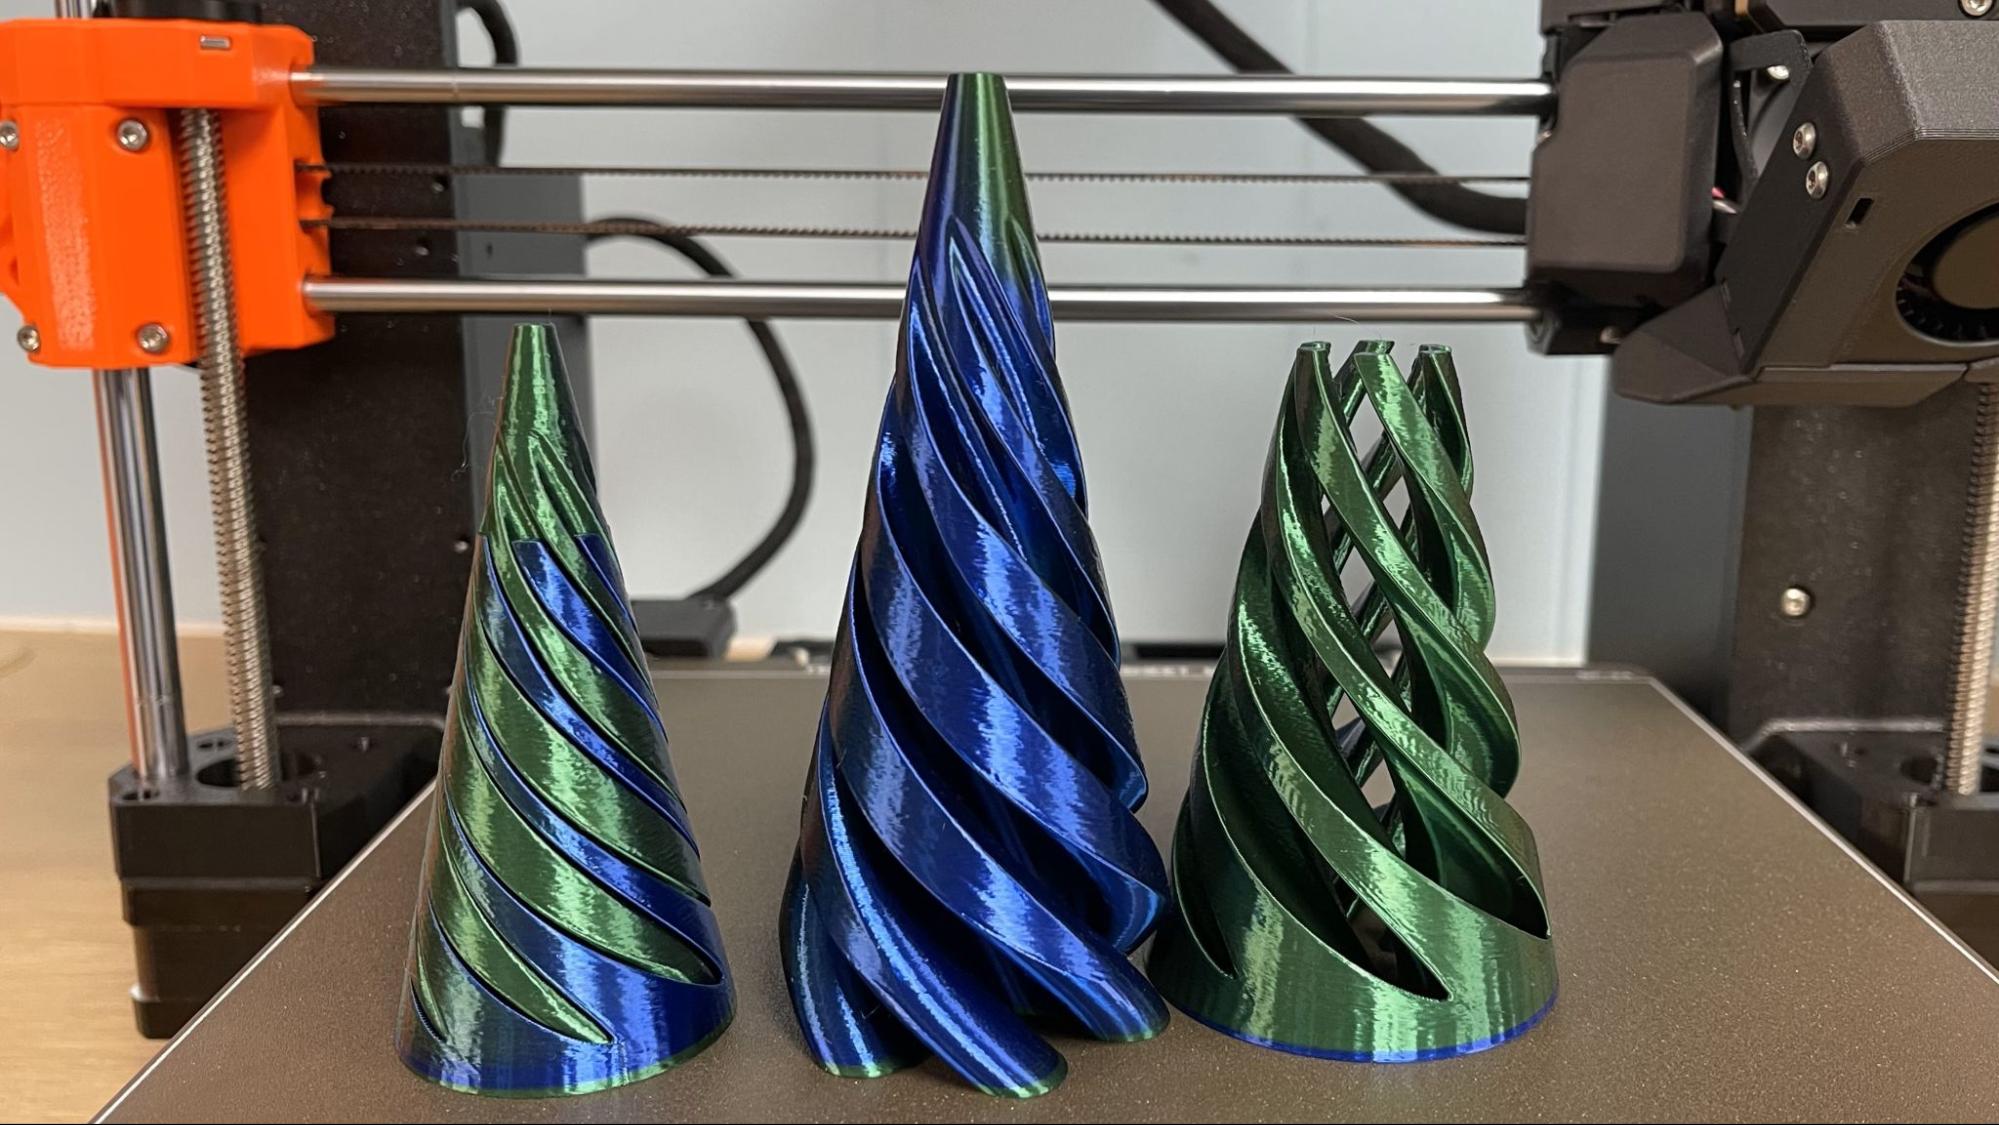
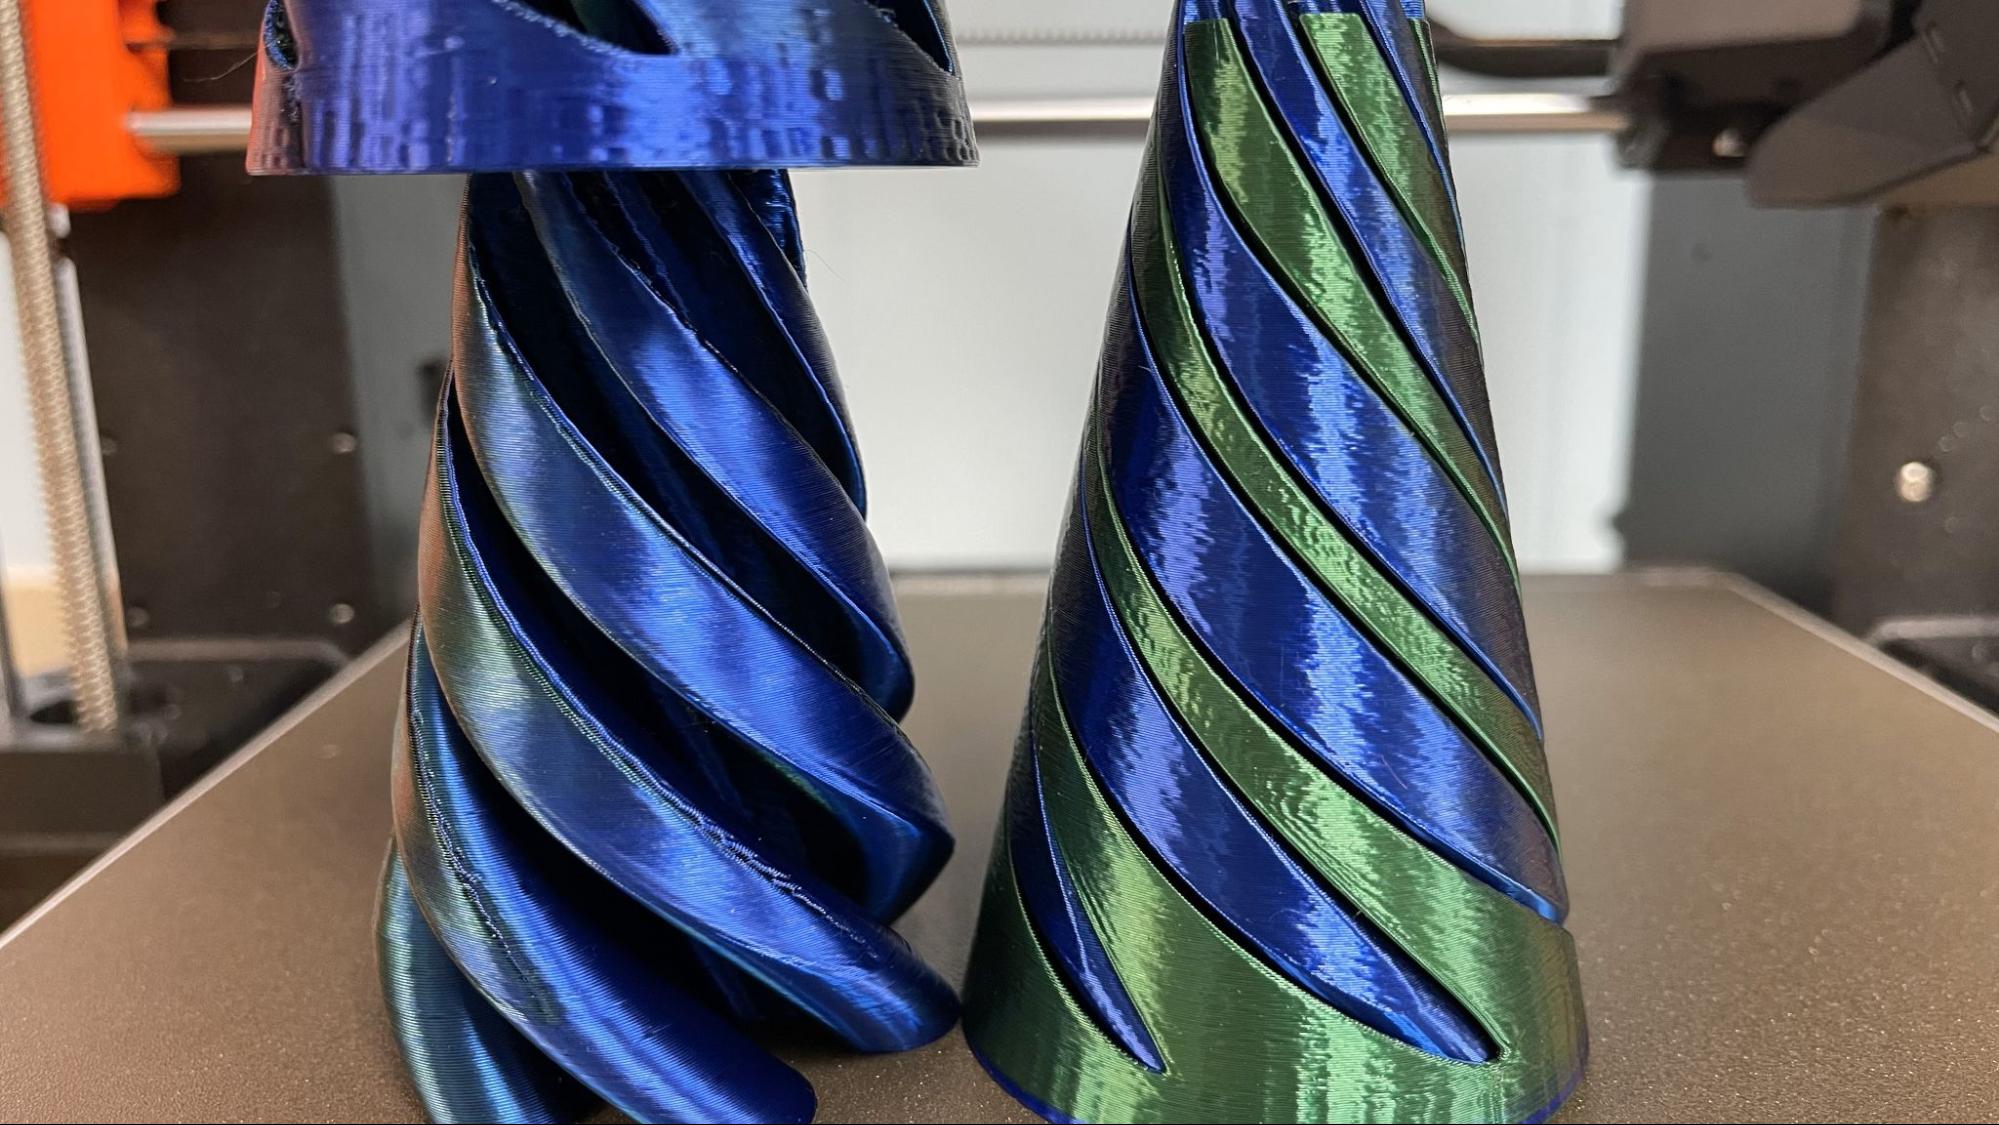
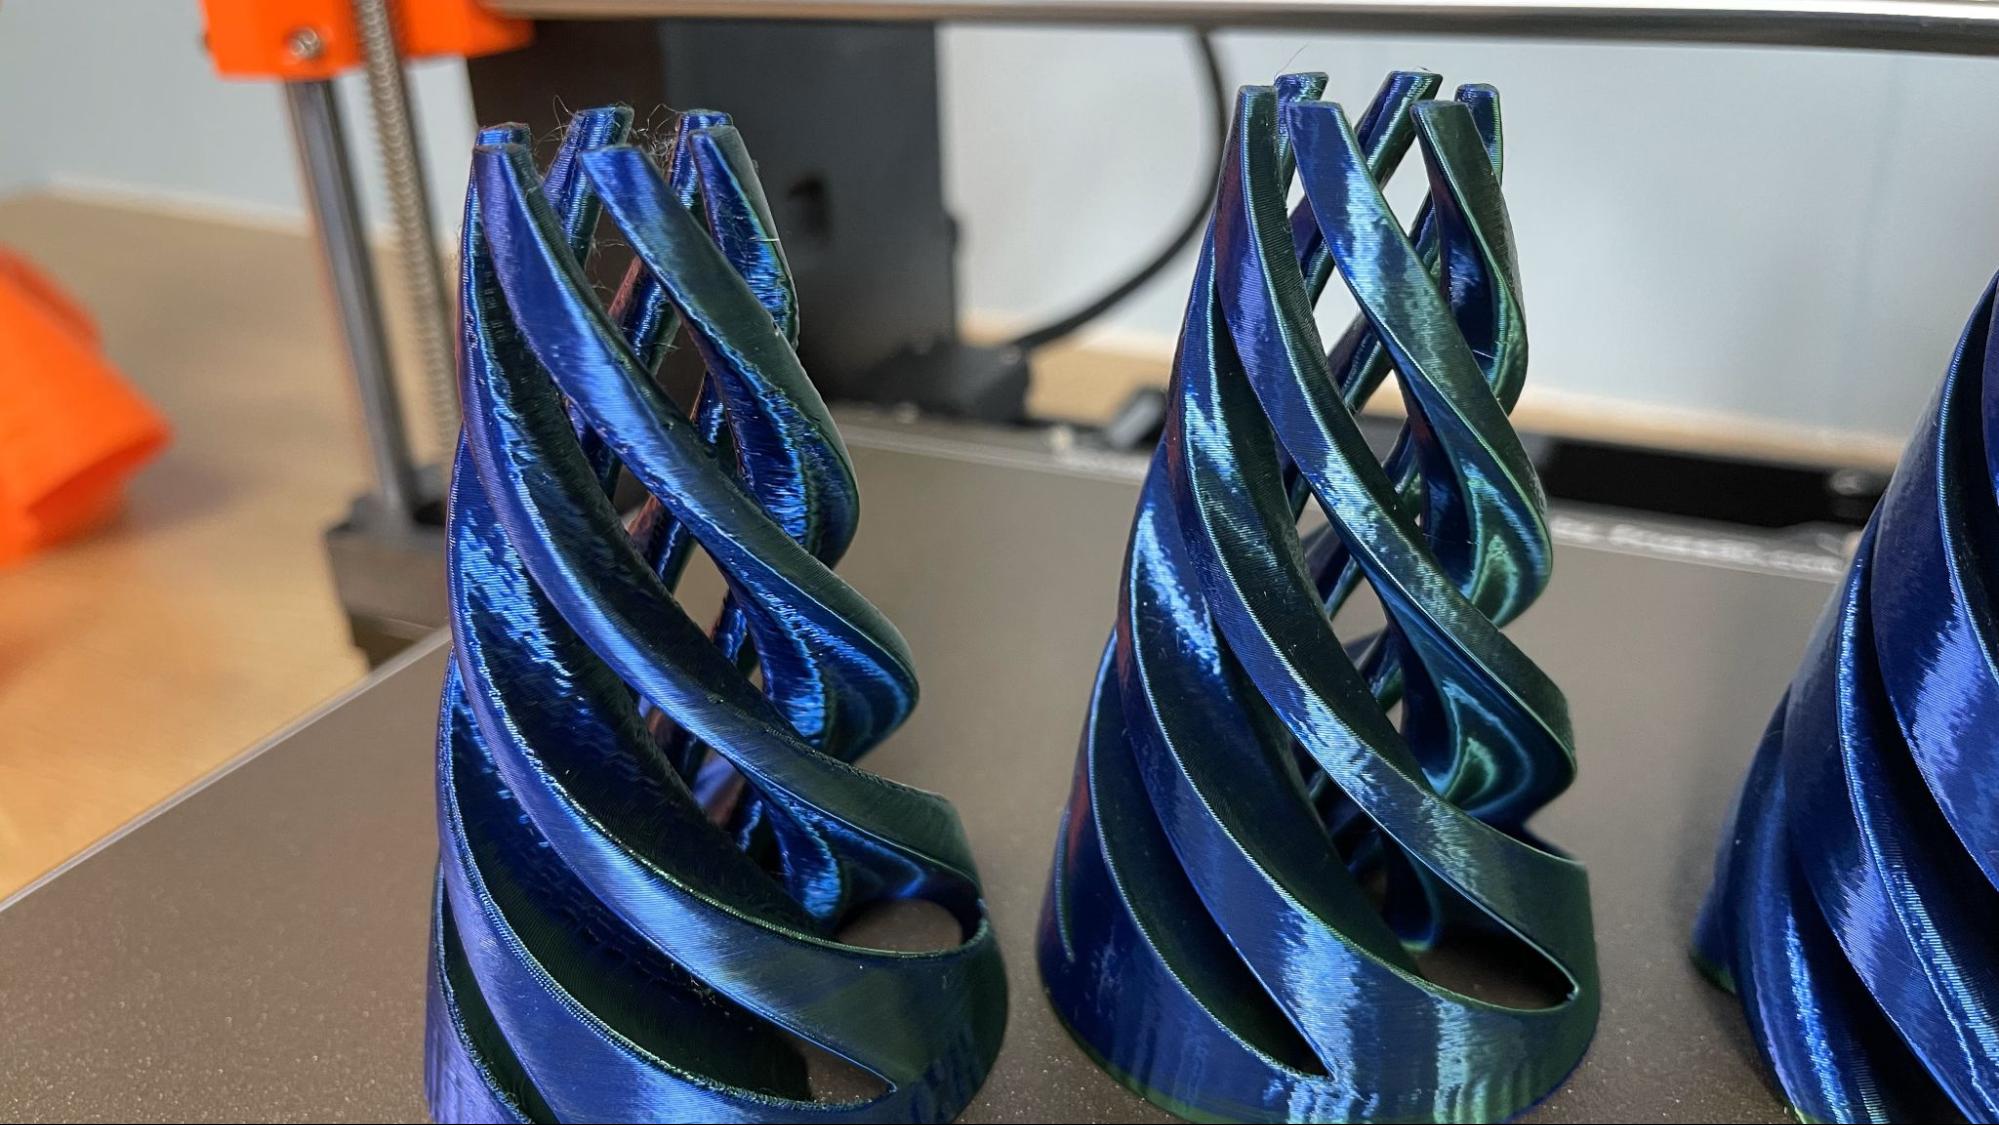
I wanted to see if the MK4S was really more precise than my Bambu Lab P1P. I printed this cone puzzle, using the same spool of Matterhacker Quantum Silk PLA. The model has two interlocking parts that are printed separately. You can see the print in action on Joel Telling’s 3D Printing Nerd YouTube channel here.
The MK4S printed the puzzle smoother, shiner, and 24 minutes faster.
Both printers used a .20 mm layer height, 10% lightning infill.
The MK4S took about two hours and 59 minutes, and it was three hours and 23 minutes for the P1P to print. The Prusa used its “.20 speed setting” and the Bambu used its standard setting. The Bambu has faster speeds on the walls (avg 200/300 mm/s) and uses an average 6000mm/s² acceleration. The Prusa uses 250/200mm/s on the walls and an average 4000mm/s² acceleration. The difference is the flow, which is 24mm/s³ for Prusa, while the Bambu used 12mm/s³.
| Header Cell - Column 0 | Print Time | Speed Setting | Flow |
|---|---|---|---|
| Pruse MK4S | 2:59:00 | .20 speed setting | 24mm/s³ |
| Bambu Lab P1P | 3:23:00 | standard | 12mm/s³ |
Here’s a comparison of the P1P’s print and the MK4S. The silk has lost some of its shine and the inside edge is so rough the parts will not fit together. I would need to reprint this either slower or with some sizing compensation to get it to work.
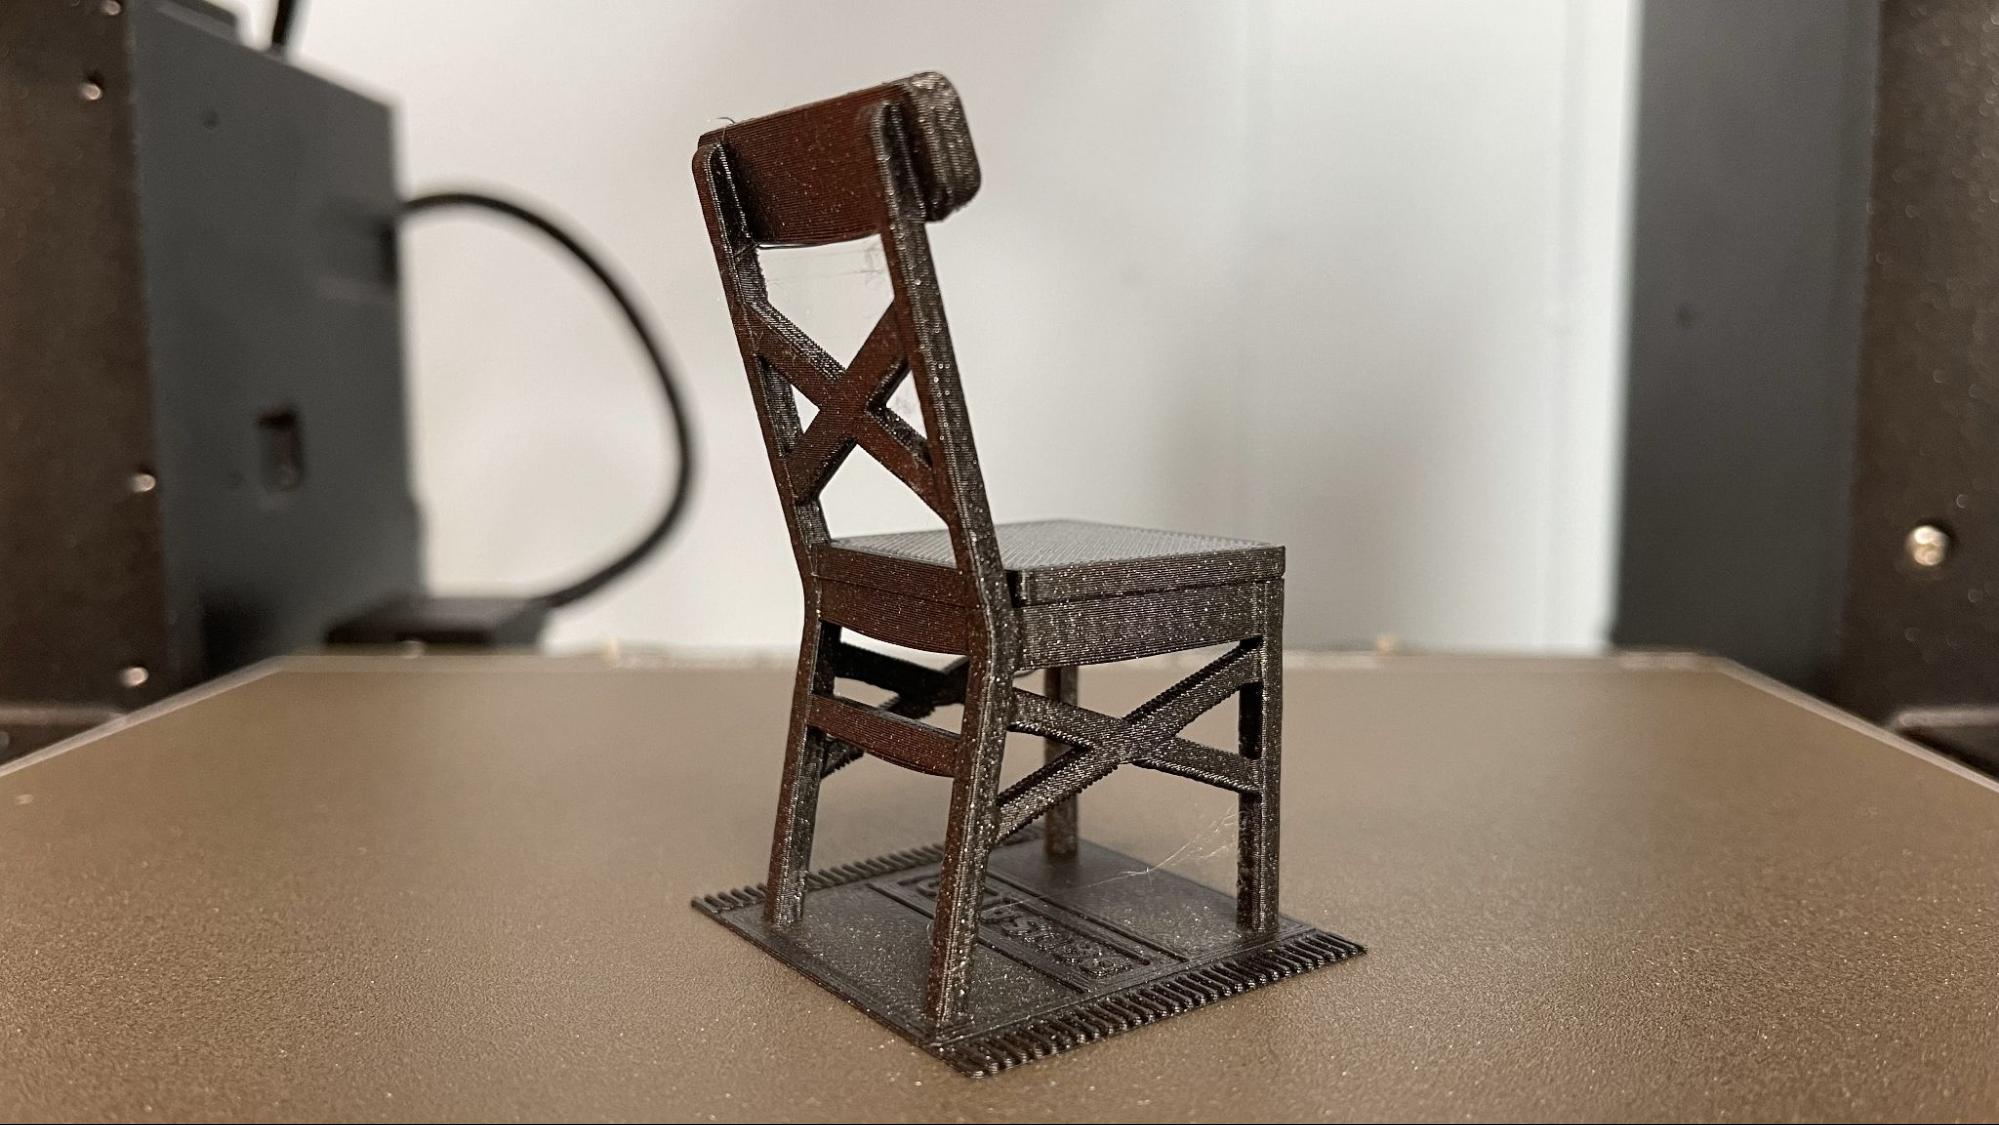
This sample print (pictured below) from Prusa shows how well the MK4S can print overhangs. This is using Galaxy Black Prusament and a .20mm layer high and standard settings. It took 43 minutes to print. There’s just a little wisp along the bottom leg, but otherwise the print is clean.
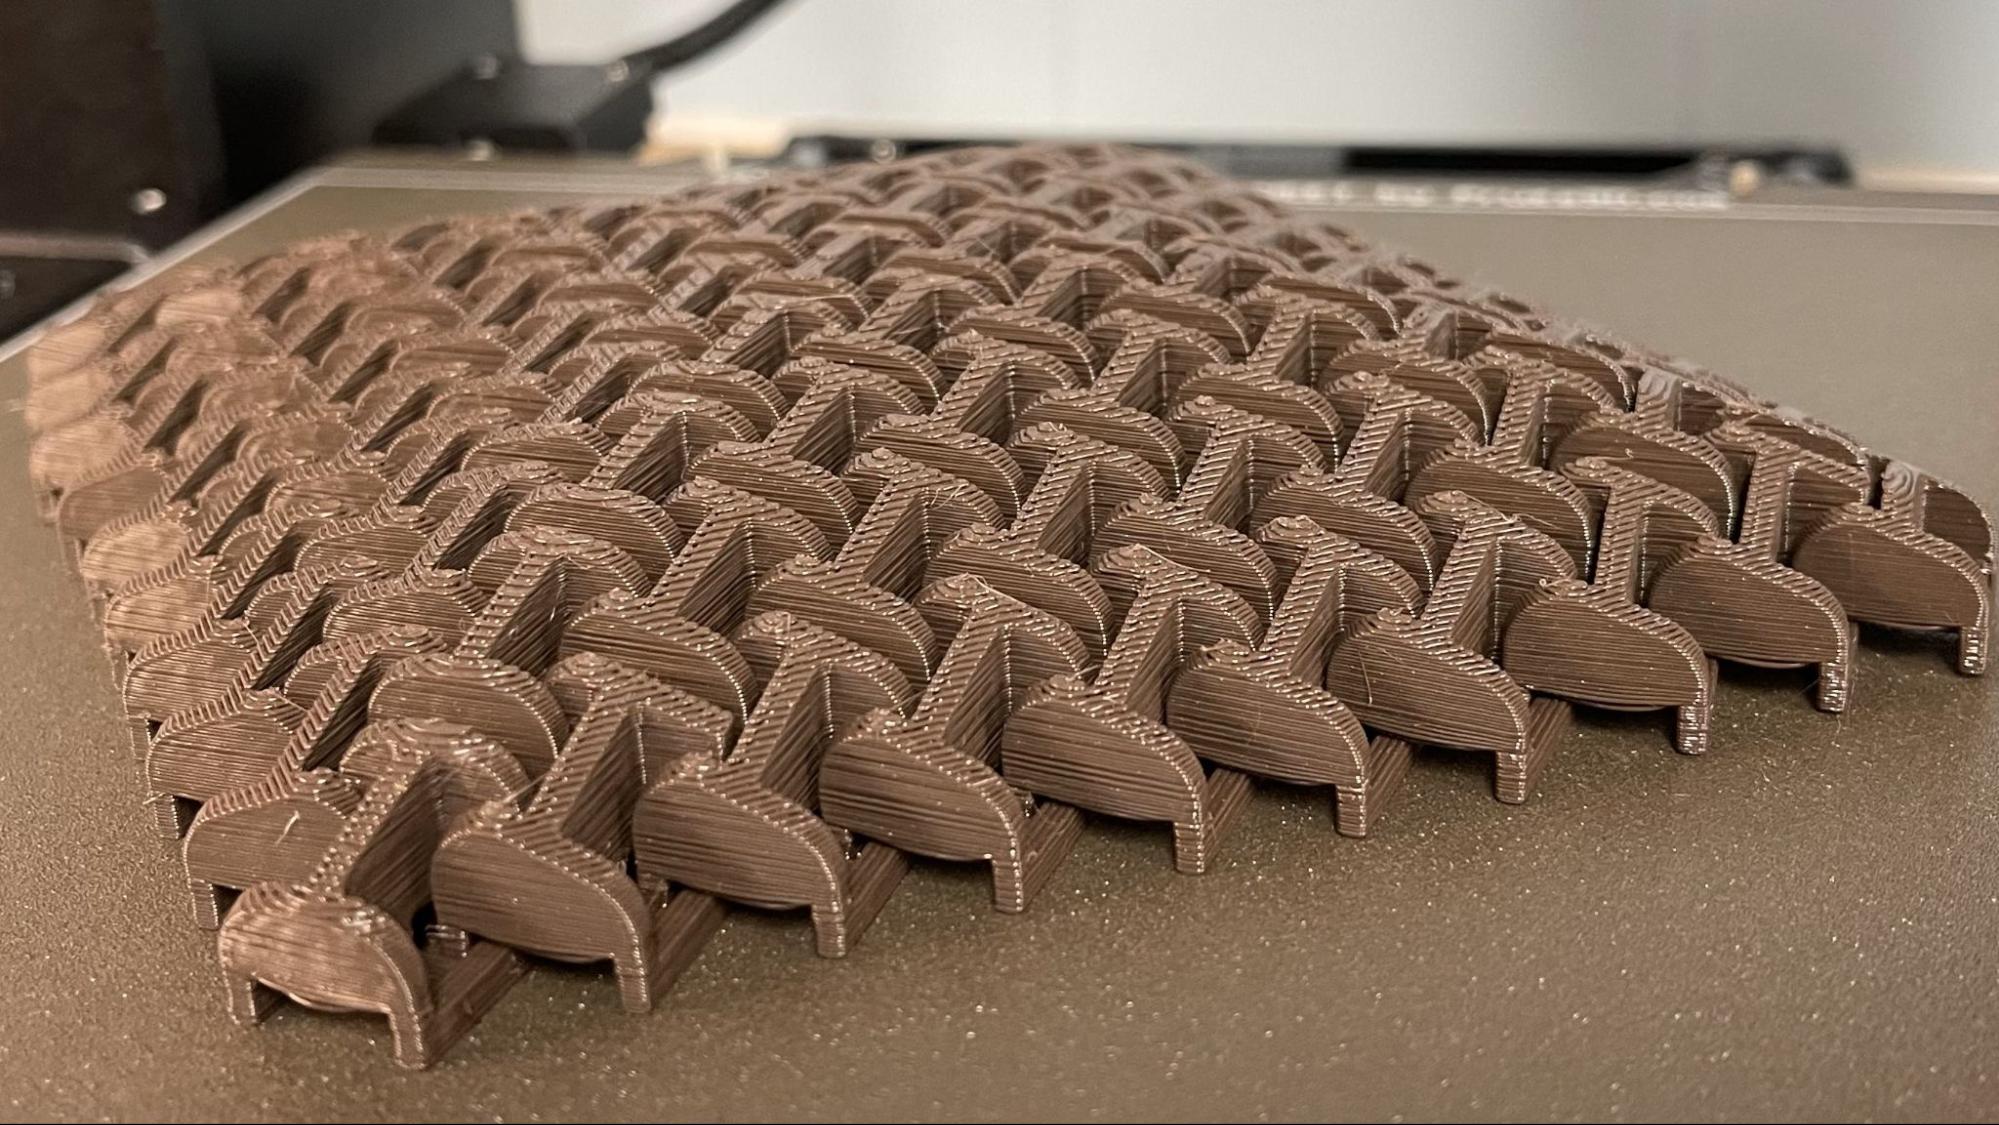
For PETG, I ran this “beanless bean bag” from ForgeCore, called the Airless Cornhole Bag. It’s printed in recycled Prusament PETG, which is a mix of all the leftover PETG scraps in the Prusa factory. You never know what color you’ll get, and today, it was chocolate brown. The print is similar to chain mail and printed quite clean and flexible with no wisps. I did slow the first layer down to 30mm/s, used a standard PETG profile and the .28 mm draft settings. It weighs over 200g and took four hours and 46 minutes to print.
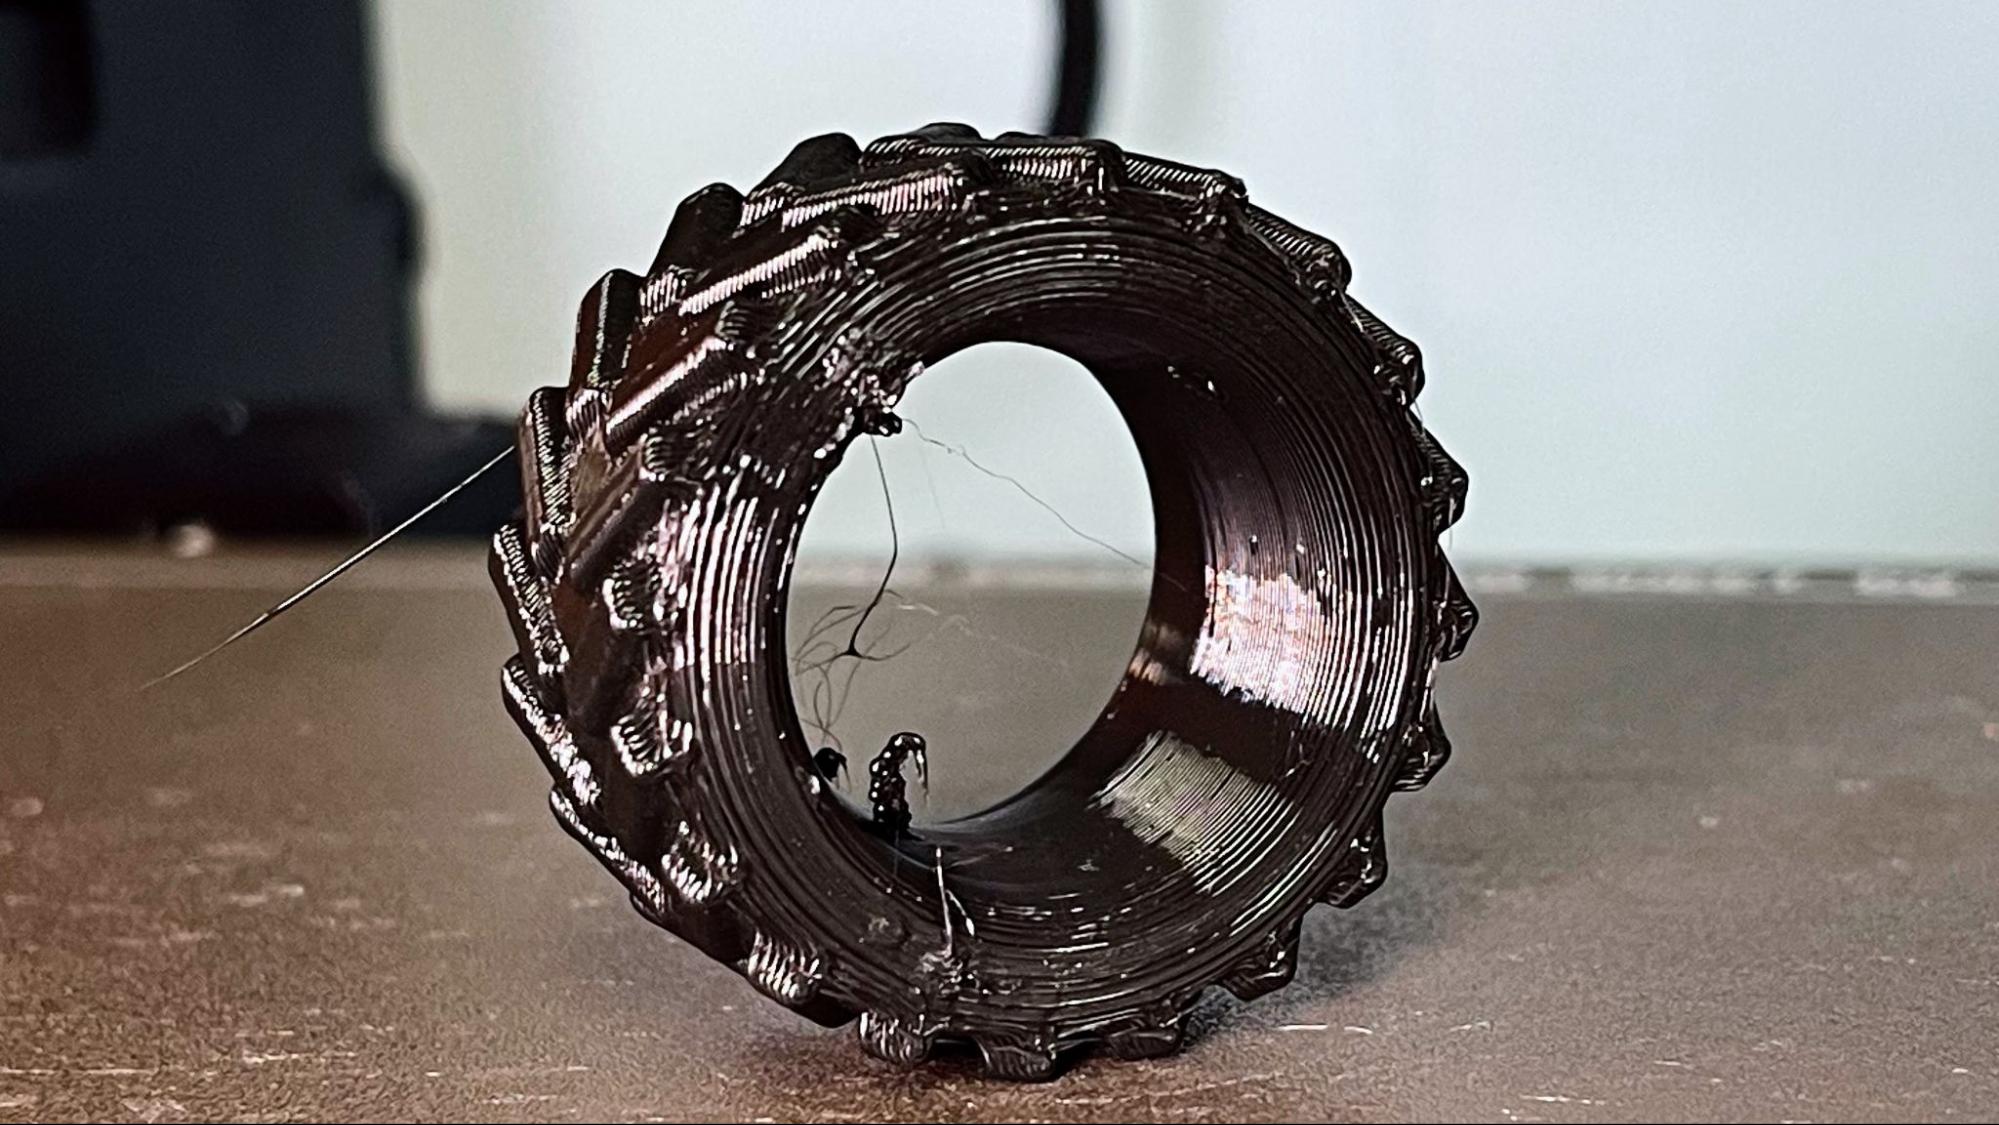
For TPU, I printed a toy tire that’s 40mm in diameter. The MK4S doesn’t have a setting for TPU, so I used the PLA profile and dropped the volumetric flow down to 12mm/s³. There are a few goobers, especially where the print starts and stops, but this will clean up pretty easily with clippers. Printed at a .25 layer height in 28 minutes with Fiberlogy FiberFlex 40D.
Bottom Line
The Prusa Original MK4S is a great machine, and the improvements in quality are noticeable. It has a reputation for reliability, is very upgradeable and is backed by both a loyal fan base and excellent customer service. However, this printer is made in Europe to exacting standards, and that will cost you.
Retailing at $1,099 for a pre-assembled machine and $799 for a DIY kit, the Prusa MK4S is not a budget machine, but it is definitely the best machine a beginner could start on. It’s perfect for makers who need a reliable workhorse and anyone who wants a tool, not a project.
If you already have an MK4, it’s well worth your time and money to get an upgrade kit. If you don’t have a newer Prusa, this might be a good time to do a little bargain hunting and pick up an MK4 kit – and perhaps an upgrade kit – while it’s still in stock.
If you like speedy bedslingers, but want something less expensive, check out the Bambu Lab A1, which is on sale for $339 for the stand-alone product (and $489 with the AMS system). If you’re in the market for speed on a budget, then go for the Creality Ender 3 KE, which is now on sale for $249.
MORE: Best 3D Printers
MORE: Best Budget 3D Printers
MORE: Best Resin 3D Printers

Denise Bertacchi is a Contributing Writer for Tom’s Hardware US, covering 3D printing. Denise has been crafting with PCs since she discovered Print Shop had clip art on her Apple IIe. She loves reviewing 3D printers because she can mix all her passions: printing, photography, and writing.
-
edzieba It's worth noting that for around the price of the "4S" upgrade kit, you can similarly add a CHT nozzle to the Bambu Lab printers (e.g. the official E3D Obxidian nozzles, or a Revo nozzle and the Biqu Banda Revo hotend replacement, or a generic hotend with an M6 thread). The Obxidian nozzle - the only one of these I've personally tested - can push some really absurd flowrates, I've gotten up to 35mm^3/s for some generic PLA out of the 0.4mm nozzle before flow artefacts started to occur, and 25mm^3/s for PETG.Reply
