Tom's Hardware Verdict
The Ender 3 V3 KE is fast and affordable, combining Creality’s vast ecosystem with ease of use and Klipper assisted speeds in one Open Source package.
Pros
- +
Klipper firmware
- +
Open Source
- +
Excellent Auto bed leveling
- +
Direct drive
- +
Affordable
Cons
- -
Accelerometer not included
- -
Creality’s KIipper interface is limited
Why you can trust Tom's Hardware
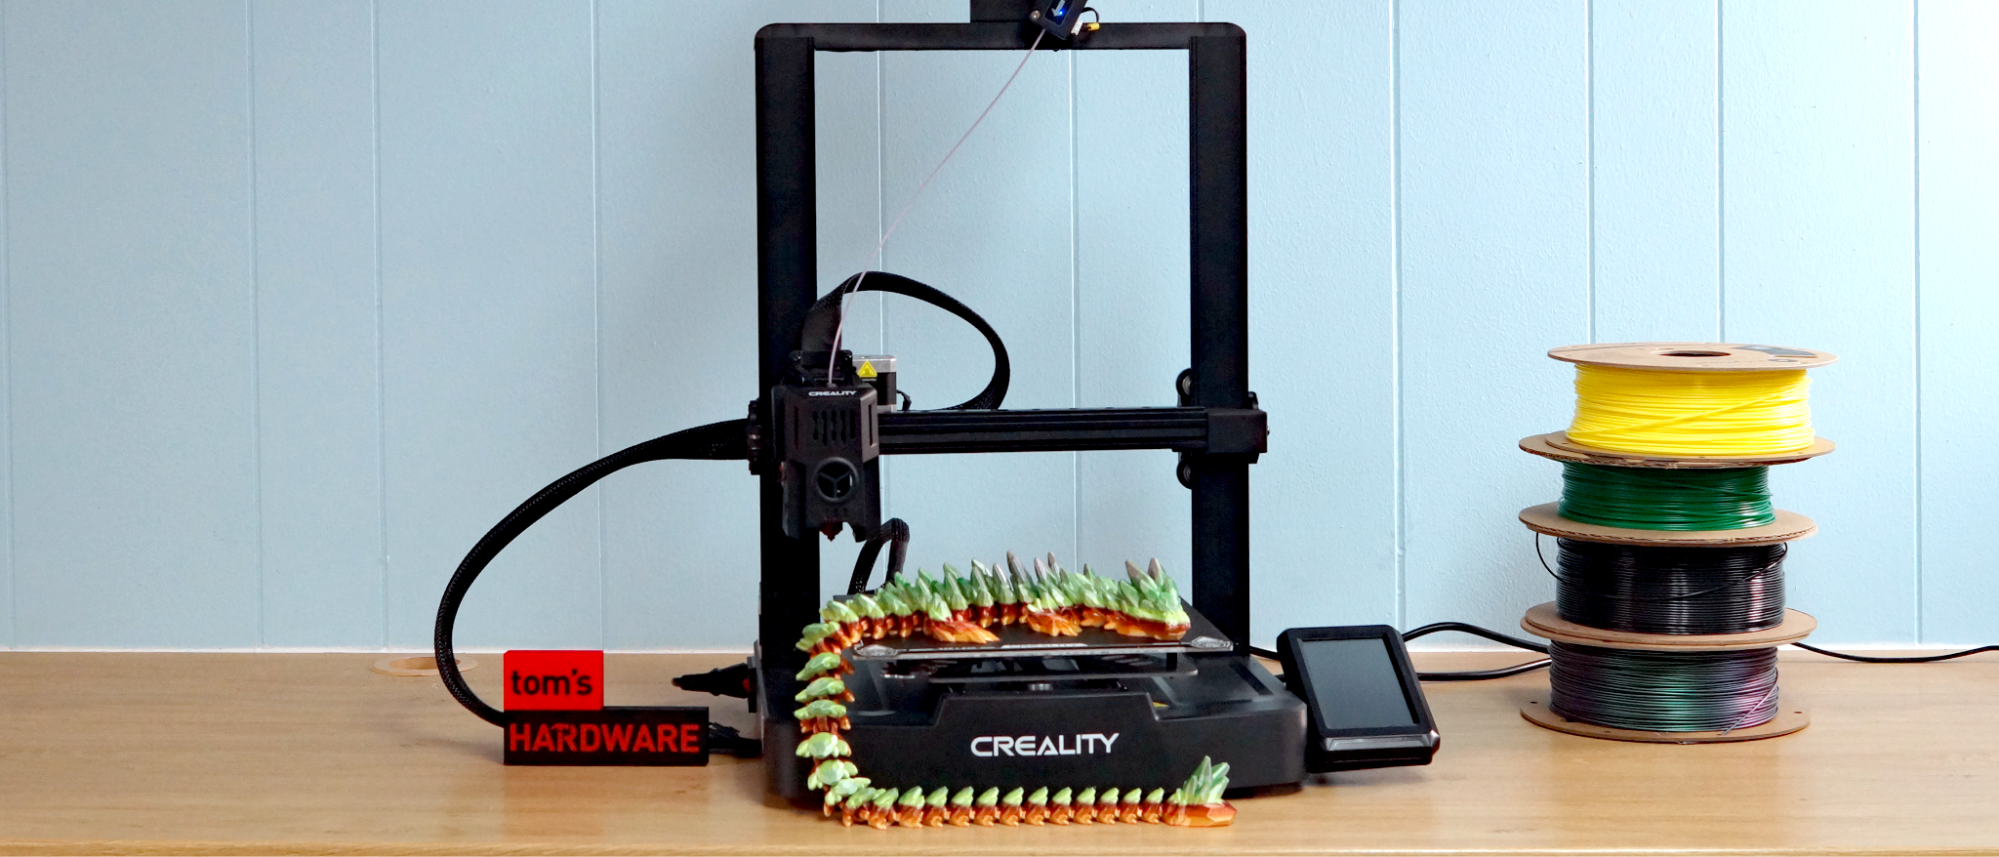
Creality’s Ender 3 V3 KE is currently the fastest beds slinger the prolific company makes thanks to its implementation of Klipper. The machine has a top speed of 500 mm/s with an acceleration max of 8000 mm/s², making it nearly as fast as the popular Creality K1. The printer is Open Source and users are free to install vanilla Klipper in order to unlock its full potential, if they so choose.
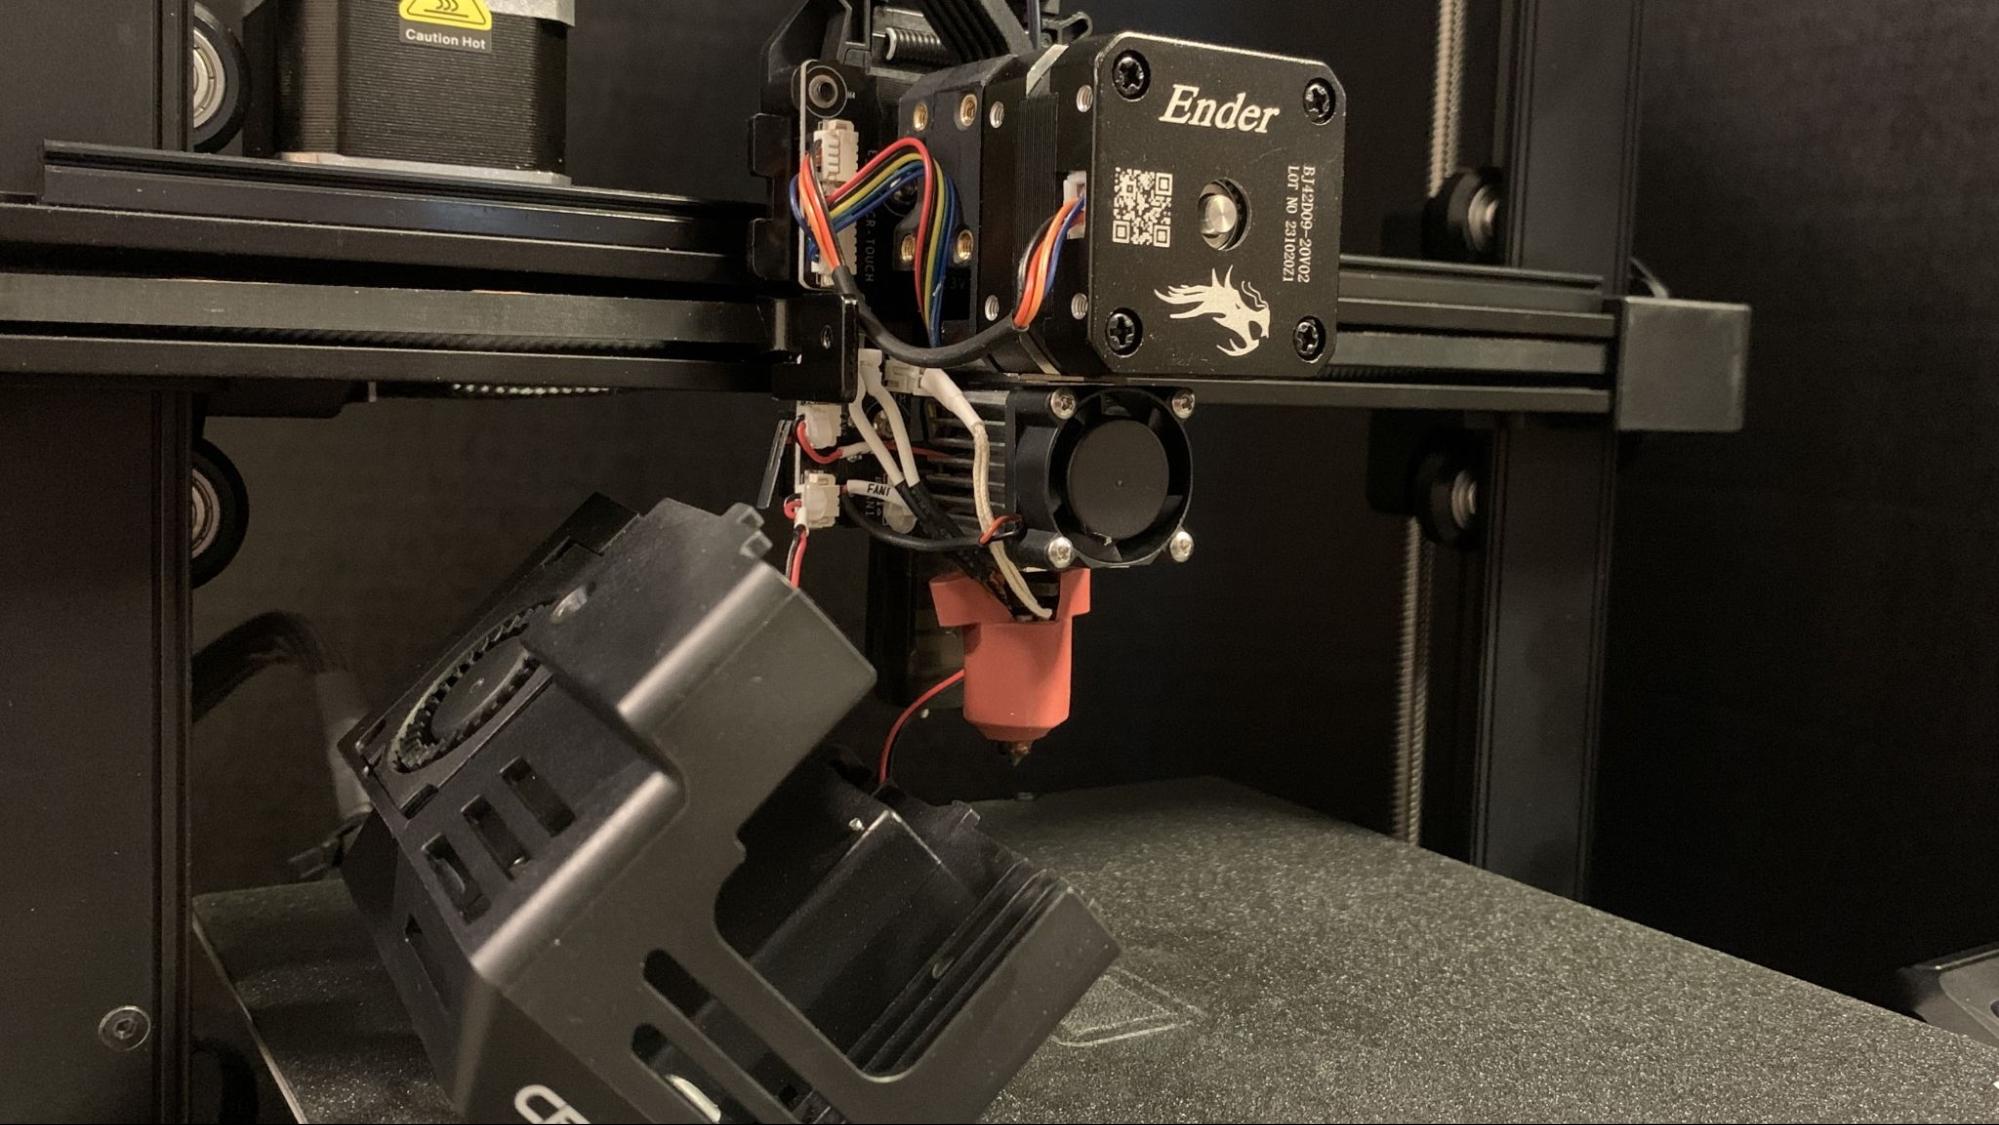
It has advanced auto leveling and can set its own Z height like the Creality CR10 SE, making it extremely easy to use and beginner-friendly. The tool head packs a one-two punch with the pairing of Creality’s best extruder and hotend: the S1’s Sprite extruder and the K1’s ceramic heated high flow hotend.
The KE shares a lot of parts with the more budget savvy Ender 3 V3 SE, and uses the same frame and base. Seeing the K1 hotend in yet another bedslinger gives me hope that Creality has settled on a new standard. Standardized parts are not only cheaper for the manufacturer, but easier for 3rd party retailers to keep in stock. This is a win-win for the customer who needs to find fresh nozzles and or repair and upgrade their printer.
Retailing at $299 and on sale for $279, the Ender 3 V3 KE is a feature packed speedster with a bargain price, making it one of the best budget 3D printers on the market.
Specifications: Ender 3 V3 KE
| Build Volume | 220 x 220 x 240 mm (8.6 x 8.6 x 9.5 inches) |
| Material | PLA/PETG/TPU (up to 300 degrees) |
| Extruder Type | Direct Drive |
| Nozzle | .4 high flow |
| Build Platform | PEI coated spring steel sheet, heated |
| Bed Leveling | Automatic + Z |
| Filament Runout Sensor | Yes |
| Connectivity | USB, Wi-Fi |
| Interface | 4.3” Touch Screen |
| Machine Footprint | 433 x 366 x 490 mm (17 x 14.4 x 19.3in) |
| Machine Weight | 7.8 KG (17.2 lbs) |
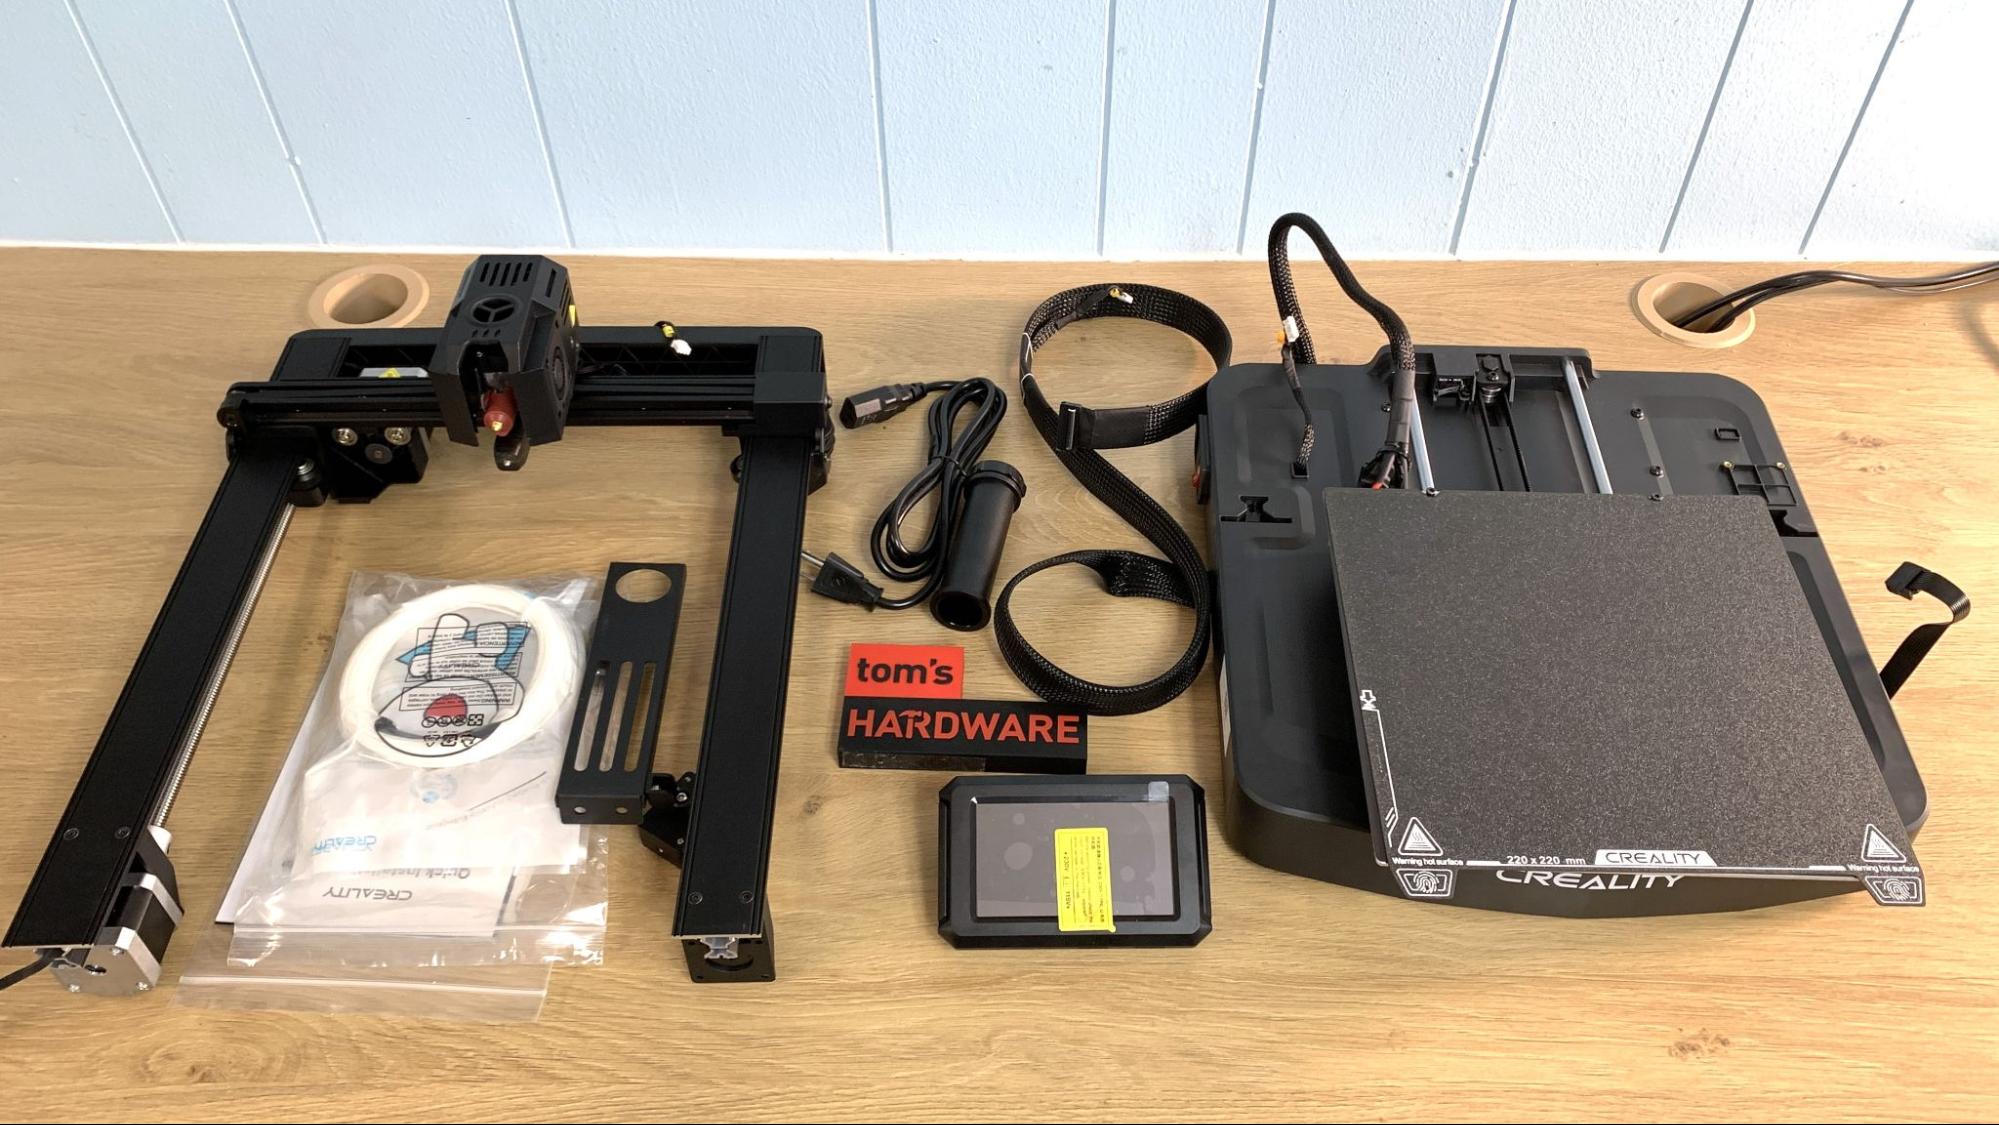
Creality Ender 3 V3 KE: Included in the box
The Ender 3 V3 KE comes with everything you need to get your printer set up. You get tools to build and maintain the printer, side cutters, a nozzle cleaner, a spare nozzle, and a USB thumb drive. You also get a small sample of white PLA to print your first model.
The USB thumb drive has a short video on assembling the printer, a PDF copy of the manual and a material settings guide. There’s also a copy of the custom slicer, Creality Print, and a pre-sliced Benchy test model.
Design of the Creality Ender 3 V3 KE
The Ender 3 V3 KE is simple and sleek, with a smooth black frame and a bold “Creality” logo painted on the front. Its build is largely identical to the budget SE, with the addition of linear rails on the X gantry and a high flow hot end. This keeps the printer inexpensive, but with enough added oomph to make sure the plastic flows quickly at high speed.
Get Tom's Hardware's best news and in-depth reviews, straight to your inbox.
The KE has Creality’s trouble-free and extremely grippy direct drive Sprite extruder, which is amazing for printing TPU. It’s been paired with a ceramic heated hot end borrowed from the K1 line and cooled with three fans – one for the core and two small fans tucked into the shroud to cool the plastic.
The machine is 90% pre-built, only needing a few screws to finish the assembly. The base has slots to hold the gantry in position while you tighten everything down – which also helps your printer stay nicely square.
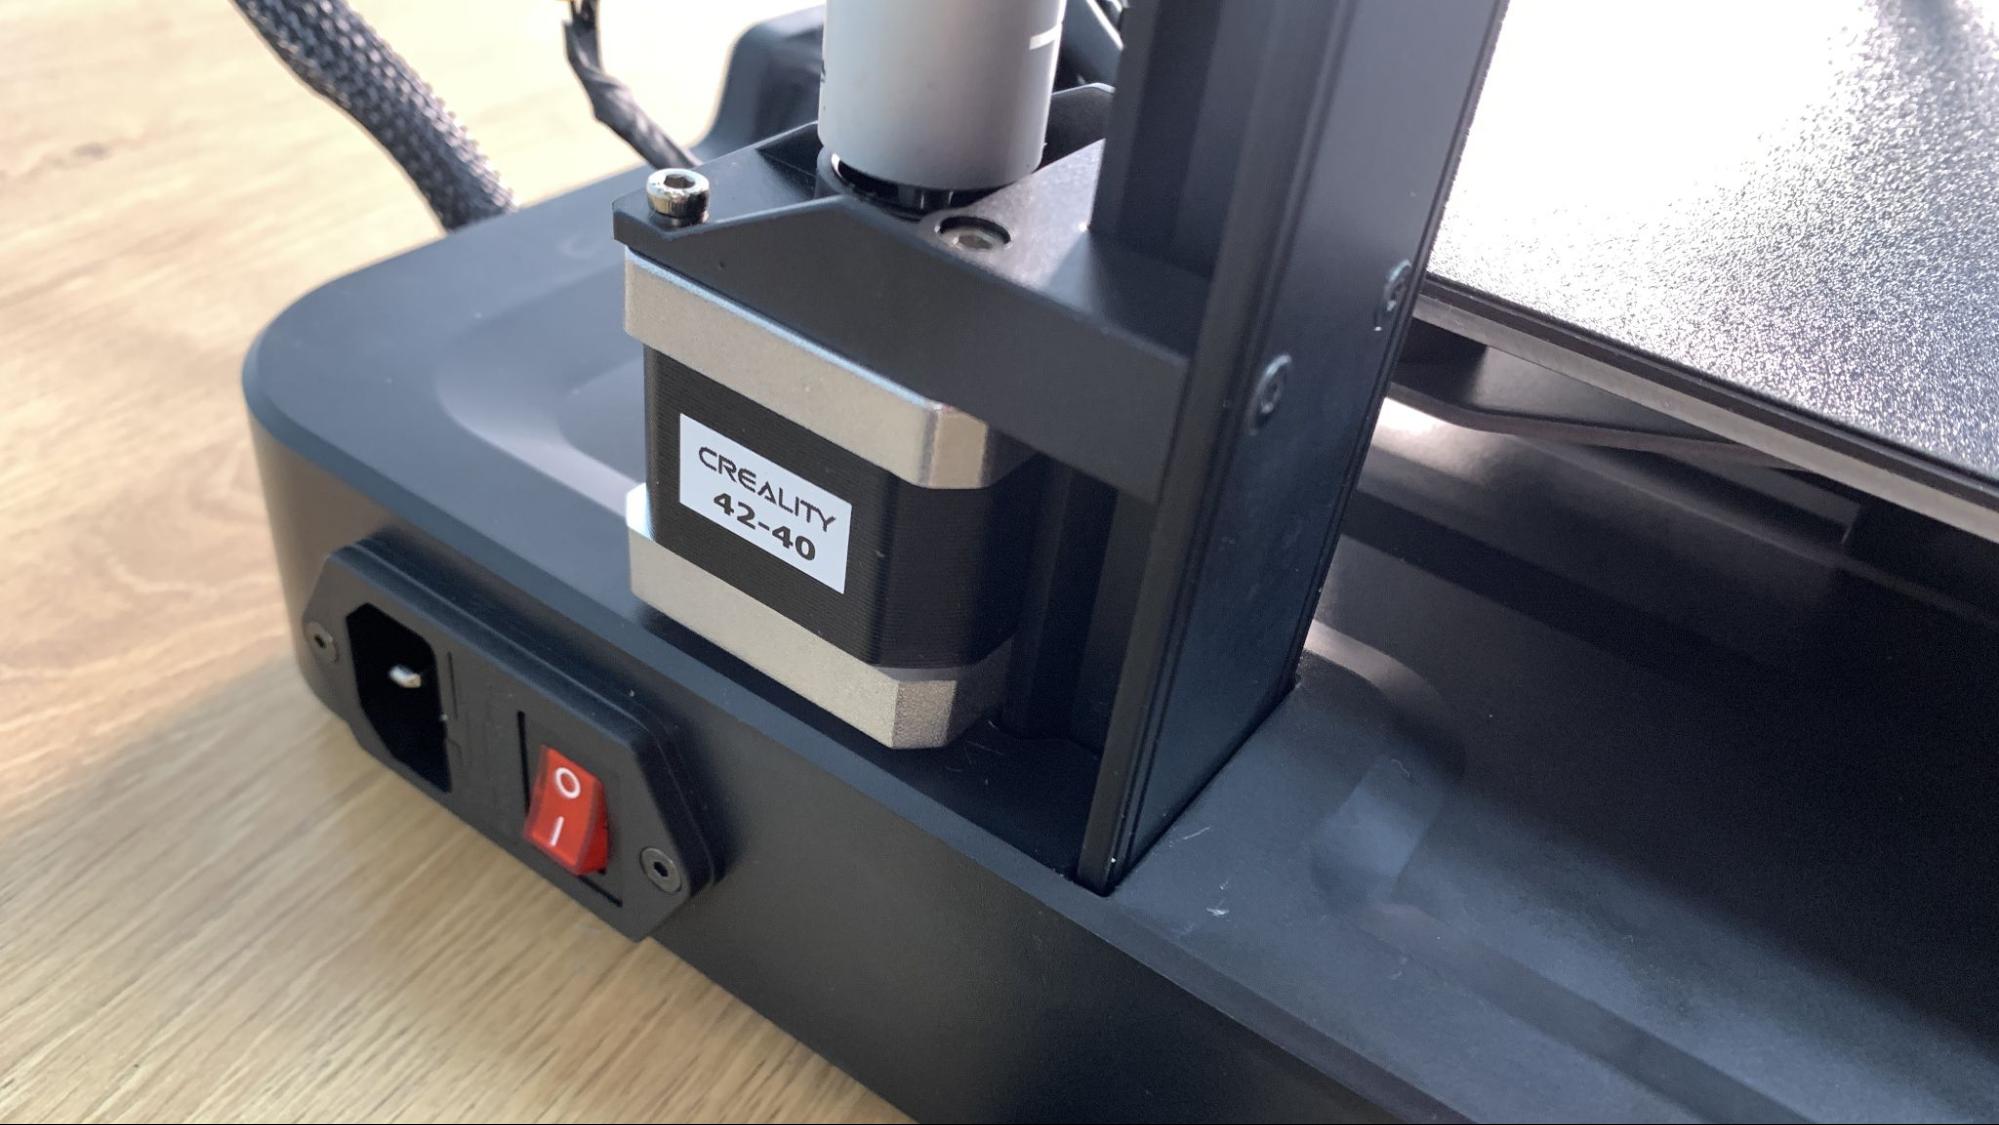
The KE has twin Z axes that are synced with a belt at the top and just one stepper motor, something we see quite a lot on modern Enders. It’s useful to keep tall prints steady, without the expense of an additional motor.
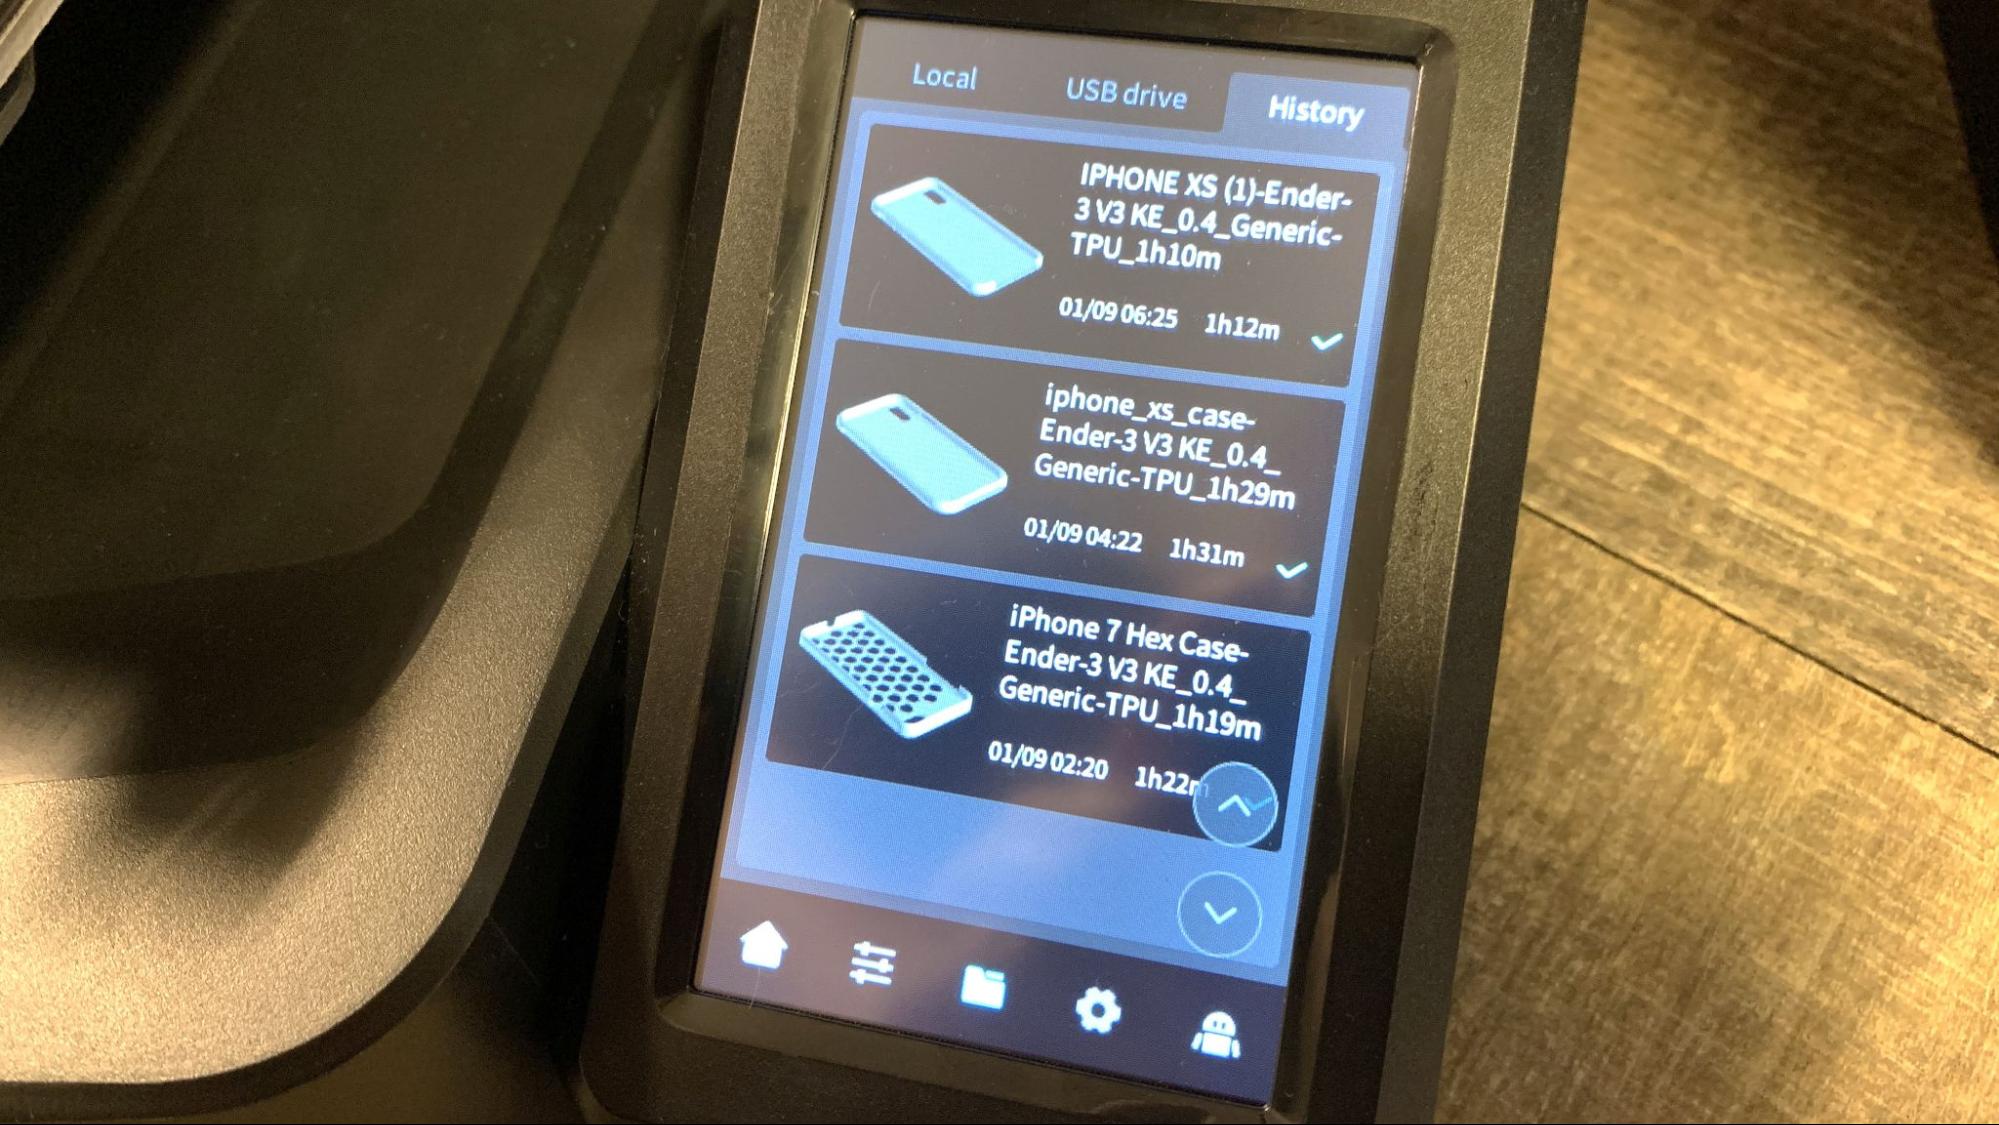
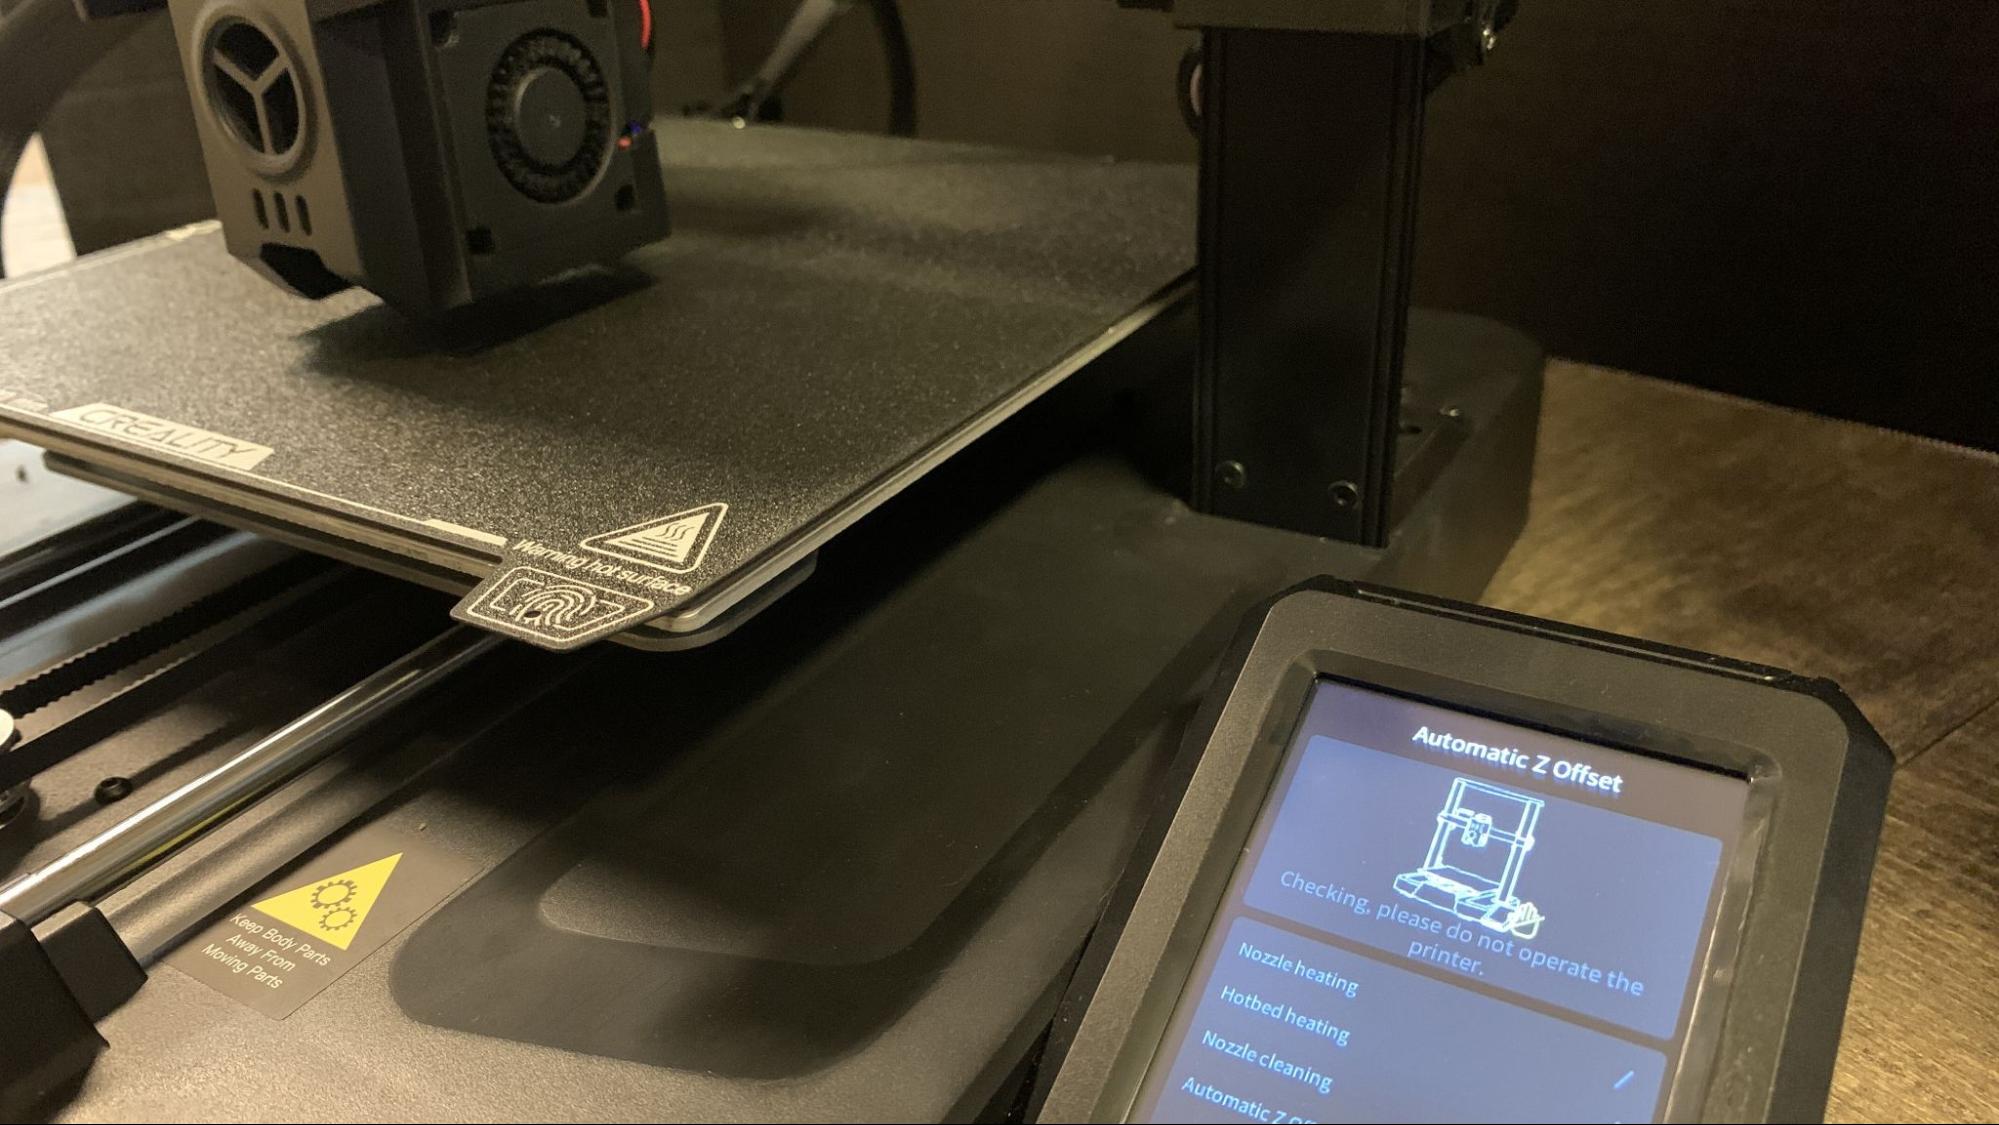
The Ender 3 V3 KE has a CR Touch for auto bed leveling with a strain gauge to let it set the Z height on its own. The bed is hard mounted on linear rods without any manual adjustment. Its LED touch screen has with the same Klipper style interface we’ve seen on the K1 and CR10SE.
It’s missing one important sensor: an accelerometer, or as Creality calls it, the Vibration Compensation Sensor, sold as a $12.50 extra. An accelerometer is vital for calibrating input shaping, which cancels out artifacts created by high speed printing. Instead, Creality has programmed a one-size fits all setting for the KE, which seems to have done a decent job of cleaning up our test prints. However, every printer is different, and working on different surfaces, so you might need this sensor if your printer needs tuning.
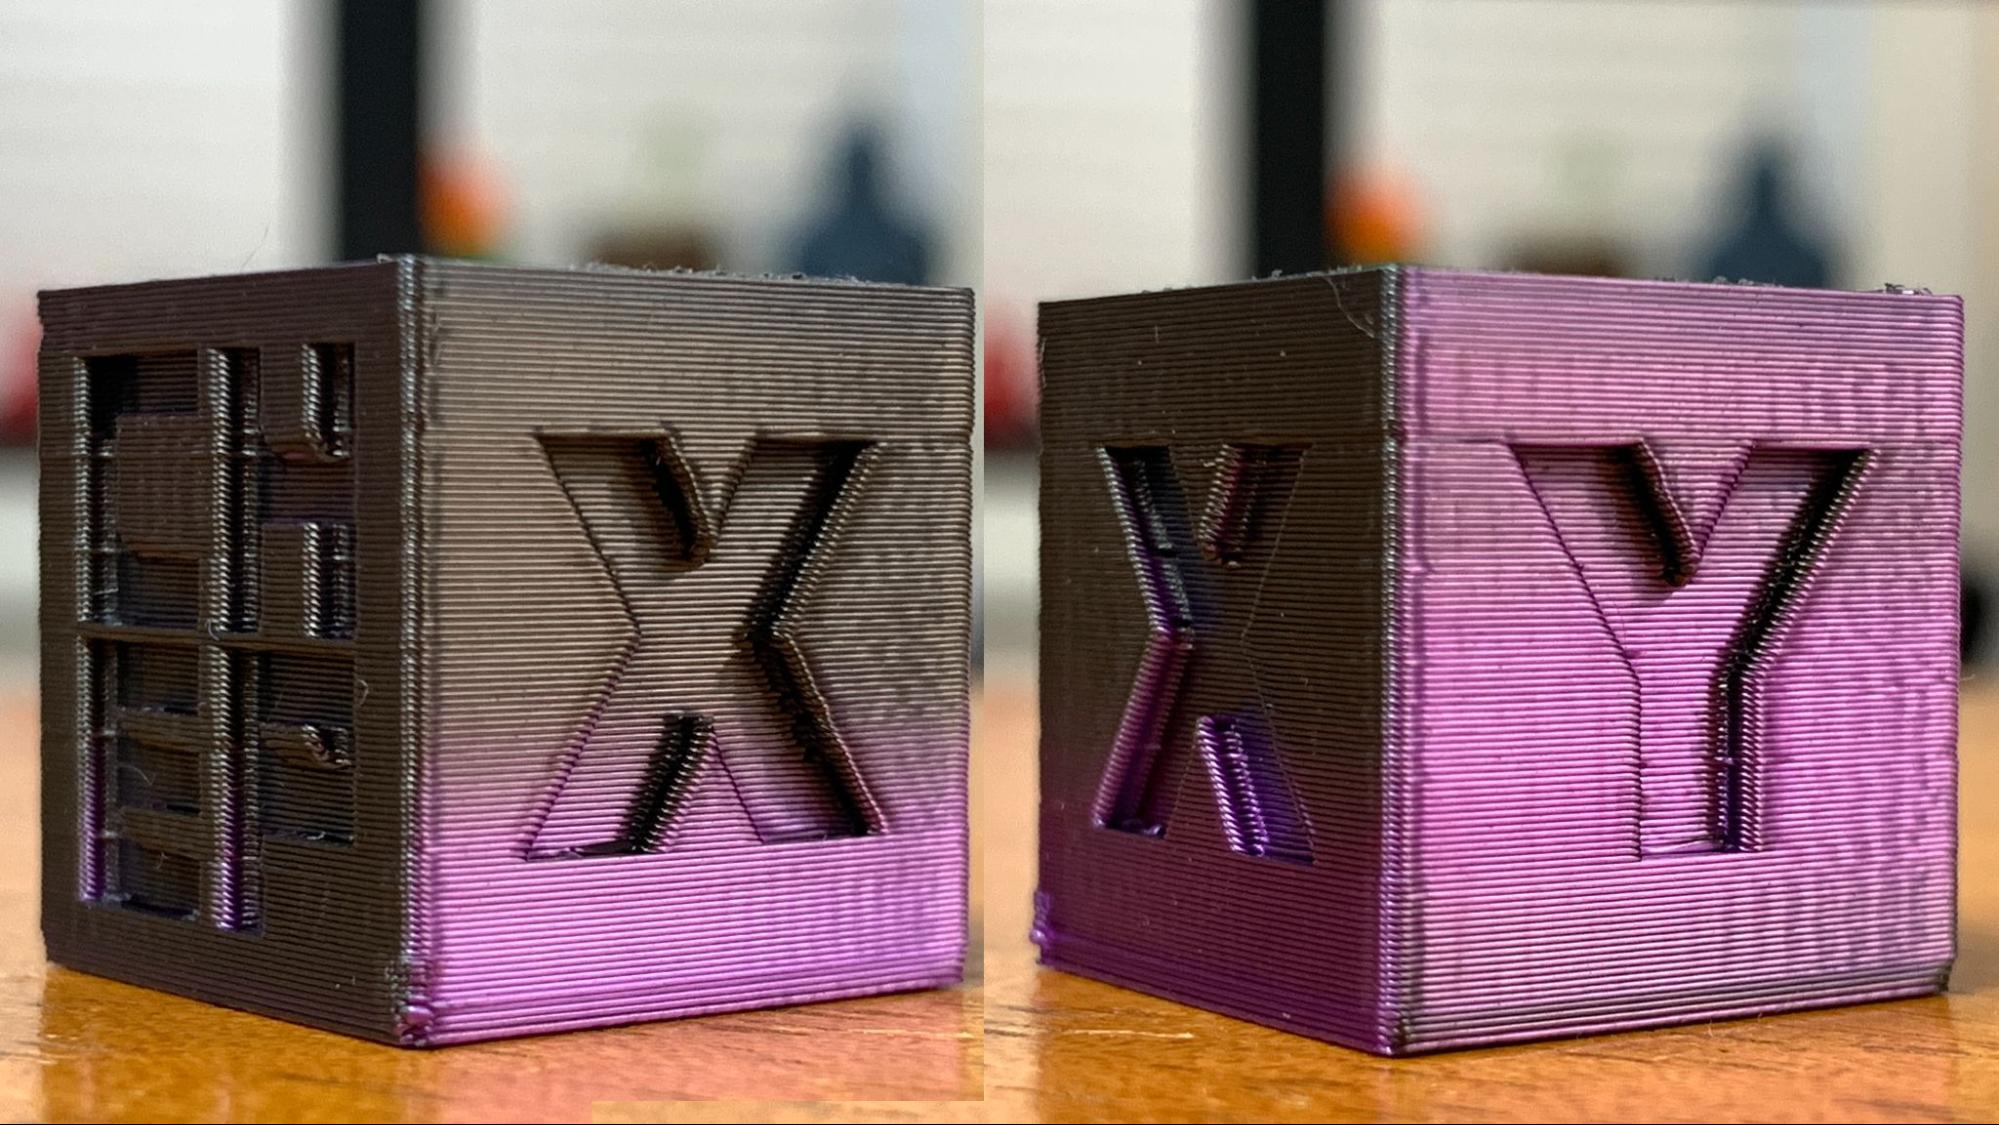
This CHEP calibration cube below was printed in SunLu’s dual color silk, which can really show flaws in the layers. You can see the Ender 3 V3 KE is well tuned on the X axis, while the Y has the tiniest bit of jitter. The corners are very clean and there aren’t any bad echos, so I wouldn’t worry about dialing this particular machine any further.
The build plate has one of our favorite upgrades – a spring steel sheet with a textured PEI coating. This does a good job at holding down prints and popping them off with a quick flex of the plate. It’s also a remarkable coating that doesn’t require glue stick when printing PETG or TPU.
Assembling the Creality Ender 3 V3 KE
The Creality Ender 3 V3 KE is mostly pre-assembled and comes together with a handful of neatly labeled bolts and screws. If you find video easier to follow than the paper manual, you can watch a good assembly video on the included USB thumb drive.
Assembly takes all of 15 minutes as the gantry only needs 3 screws per side and the tool head is pre-mounted. You’ll also have to screw on the spool holder and screen. Wiring is very simple as everything is already attached to the frame and only needs to be plugged in.
Last, flip the power supply switch to match your main household electric, which is 115V in the U.S.
Leveling the Creality Ender 3 V3 KE
The Ender 3 V3 KE comes with a CR Touch and an extra pressure sensor to set the Z height.
Leveling is done automatically during the setup phase, then can be done optionally before each print. You can also find leveling and setting the Z offset in the setting menu.
The bed is hard mounted, so there are no manual adjustment wheels. I didn’t have any issue with getting the Ender 3 Ve KE level and the auto Z height worked very well.
Loading Filament on the Creality Ender 3 V3 KE
To load filament, click the horizontal lines icon on the bottom of the main menu. Press Extrude/Retract on the top menu. Click length. The default length is 5mm, which is annoyingly short. Make it at least 20 mm for retracting and 50mm or more for extruding. Finally, click either
Retract to remove or Extrude to add filament.
If you’re loading filament, place your spool on the holder, thread the filament through the run out sensor near the holder, then down to the tool head. Push the filament in the hole at the top, and depress the lever to release the gears and feed the plastic in as far as it will go.
The printer will automatically heat up and finish the job.
Preparing Files / Software for Creality Ender 3 V3 KE
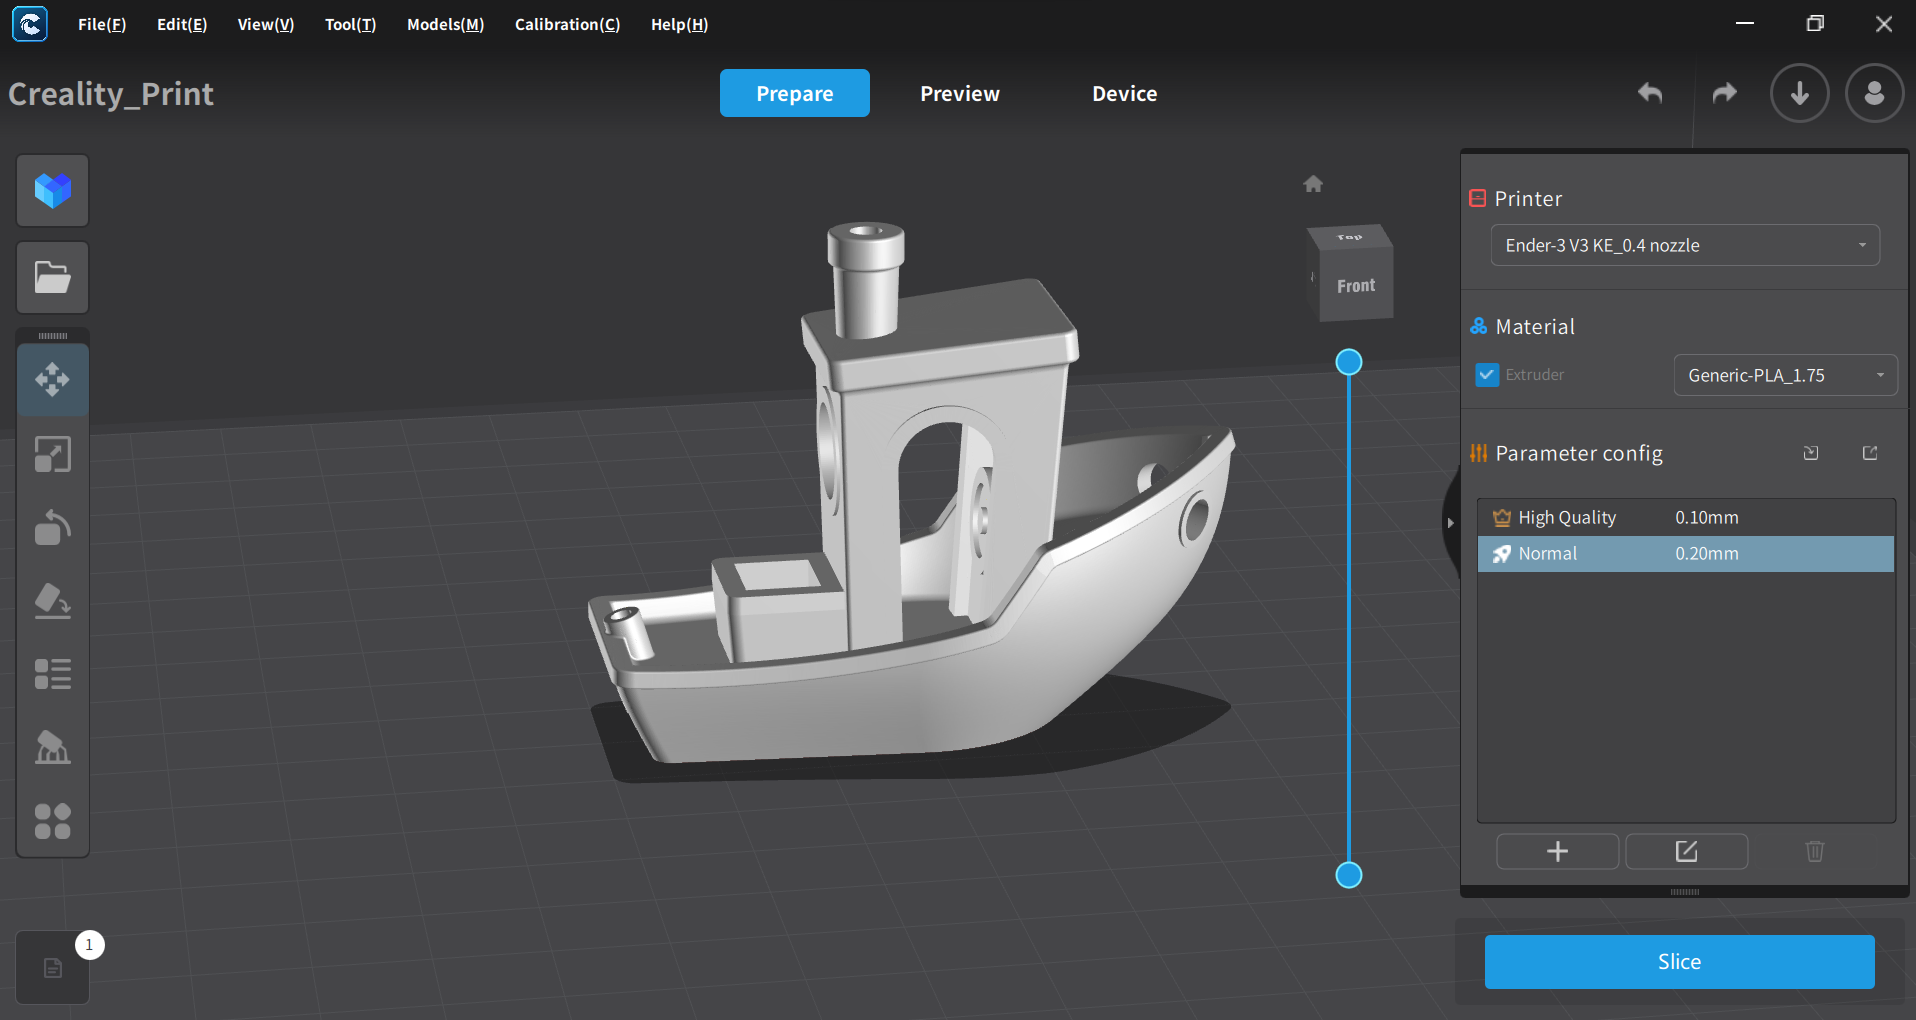
The Ender 3 V3 KE comes with a copy of Creality Print, a slicer that Creality has been perfecting for some time. It’s also compatible with Cura and PrusaSlicer, but you’ll need to build your own profile. You can base one off any Ender 3, though I would suggest downloading Creality’s slicer to copy the speed settings.
I did all of my test prints in Creality Print and continue to use it for any of the Creality machines in my workshop. It allows you to easily send files remotely using either Creality Cloud or your home LAN. If you don’t want to use the Cloud, you don’t have to. Files can be transferred via LAN or by USB stick.
Printing on the Creality Ender 3 V3 KE
The Creality Ender 3 V3 KE printed great right out of the box, but it only comes with a small sample coil of filament, so you’ll definitely want to check out our list of the best filaments for 3D printing.
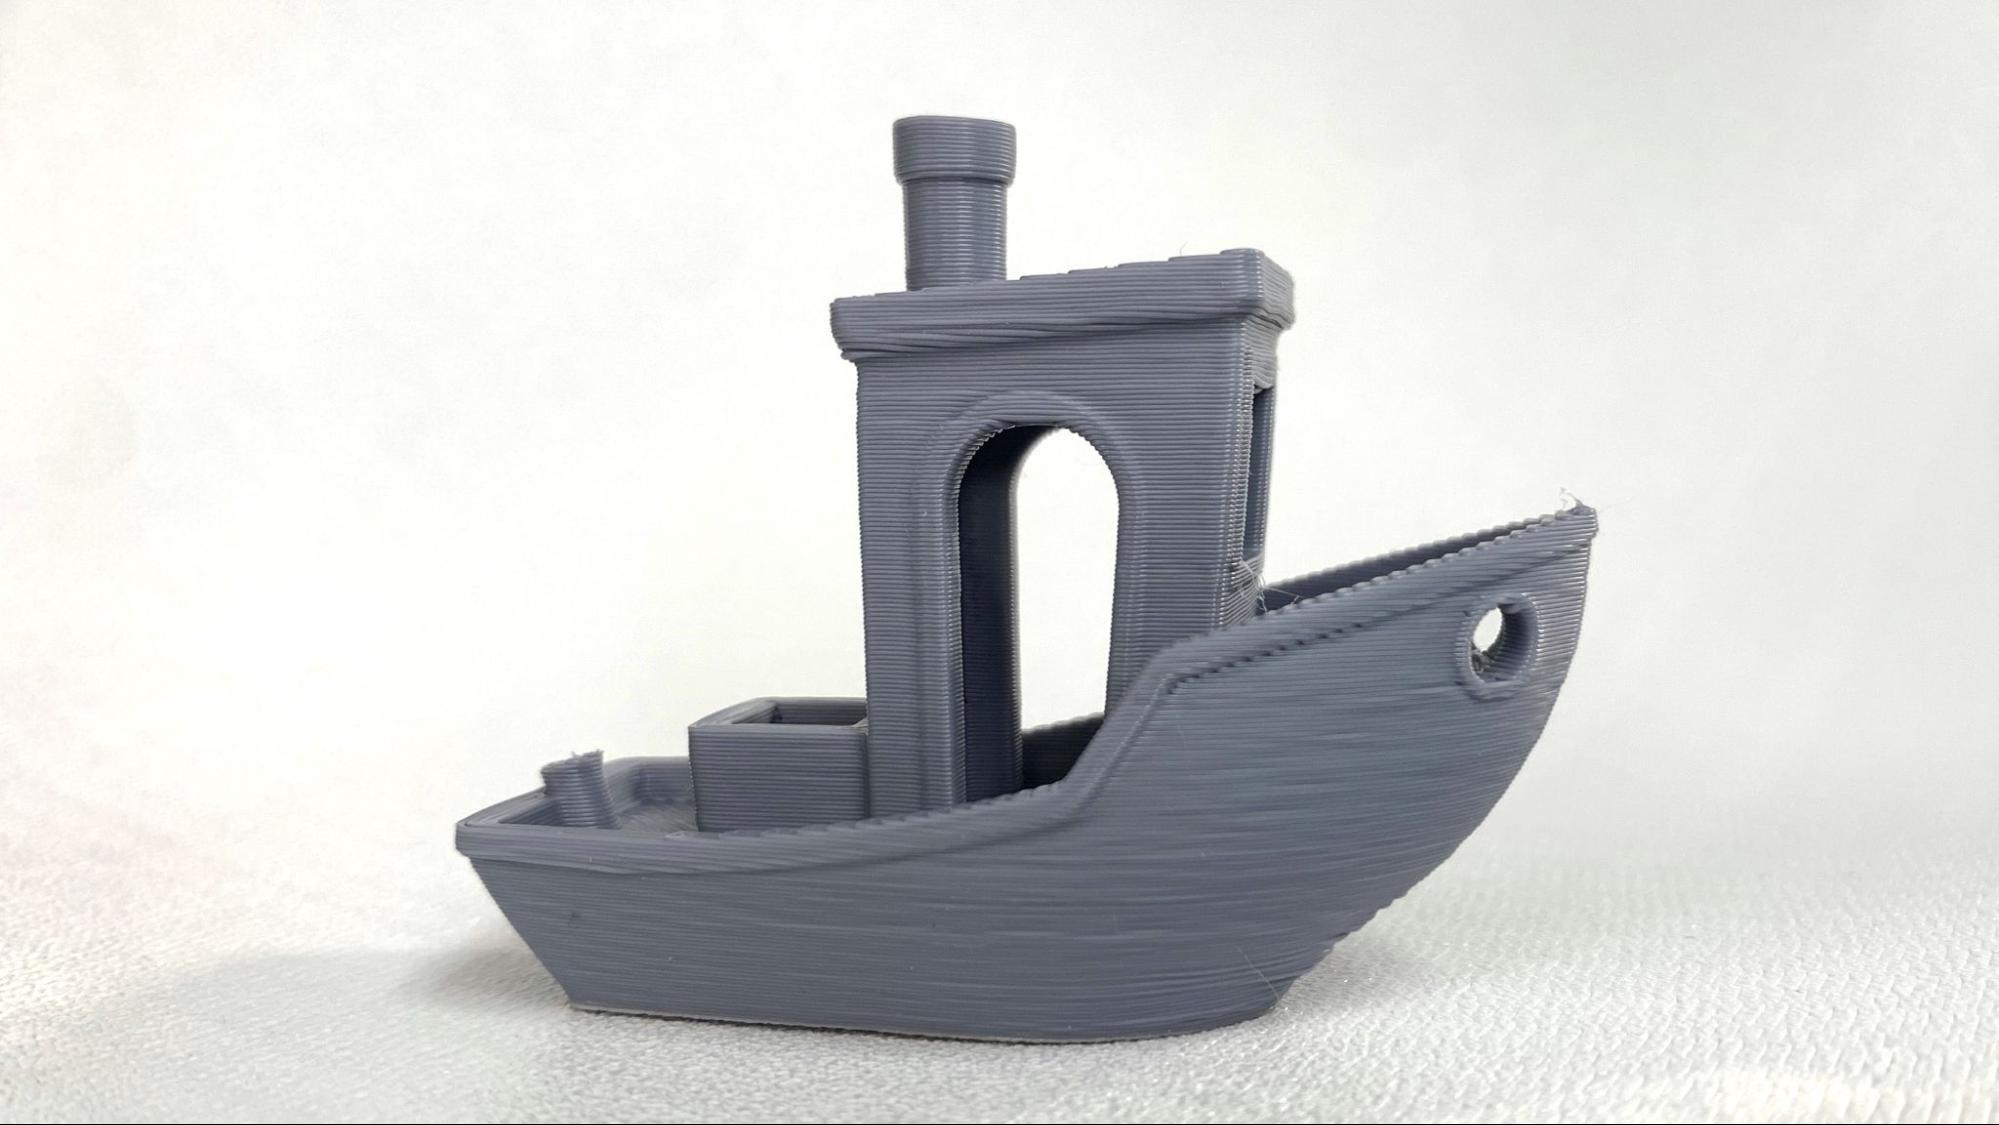
I skipped right to the speed tests, and printed this really fantastic Benchy in 19 minutes and 48 seconds. I used Speed Boat Rules (2 walls, 3 top and bottom layers, 10% grid infill, a .25 layer height and .5 layer width). The layers are smooth everywhere, with just a tiny bit of roughness, but there’s no ringing or layer shifts. This was printed in ordinary gray Inland PLA.
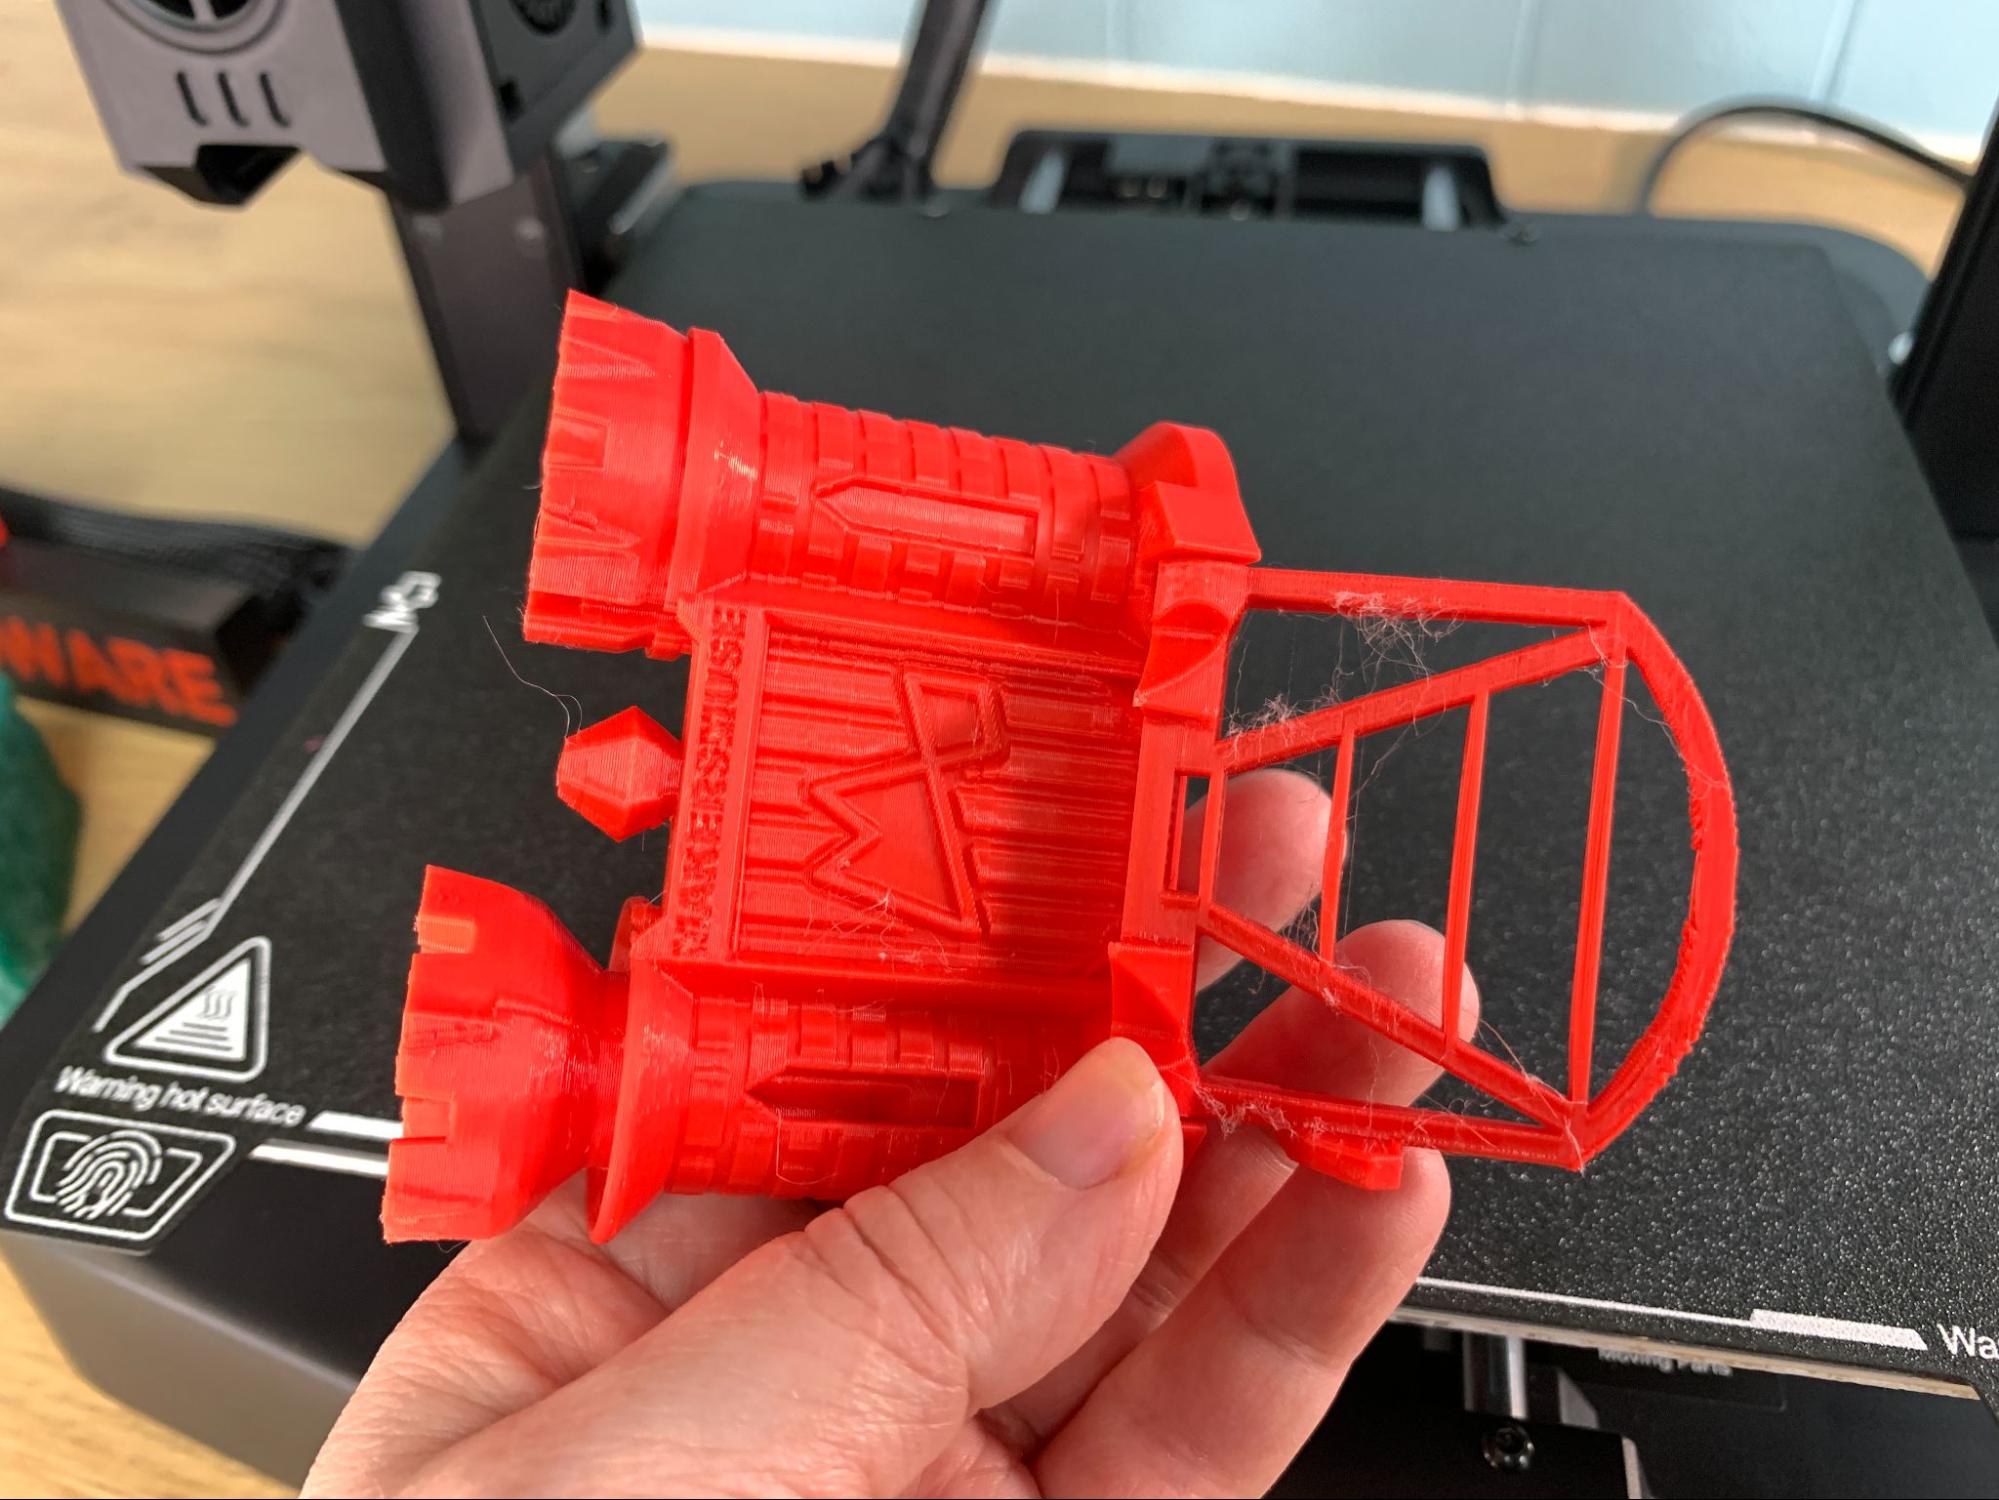
Maker’s Muse Clearance Castle in Creality’s Hyper Series Red PLA was a mixed bag. The print was clean and smooth, with perfect bridging and just a bit of wisps. The portcullis also welded itself shut, but the tower puzzle was loose enough to remove. This could be fixed with a bit of tuning. It printed in a brisk 1 hour and 57 minutes, using Creality Print’s default settings and a .2 layer height.
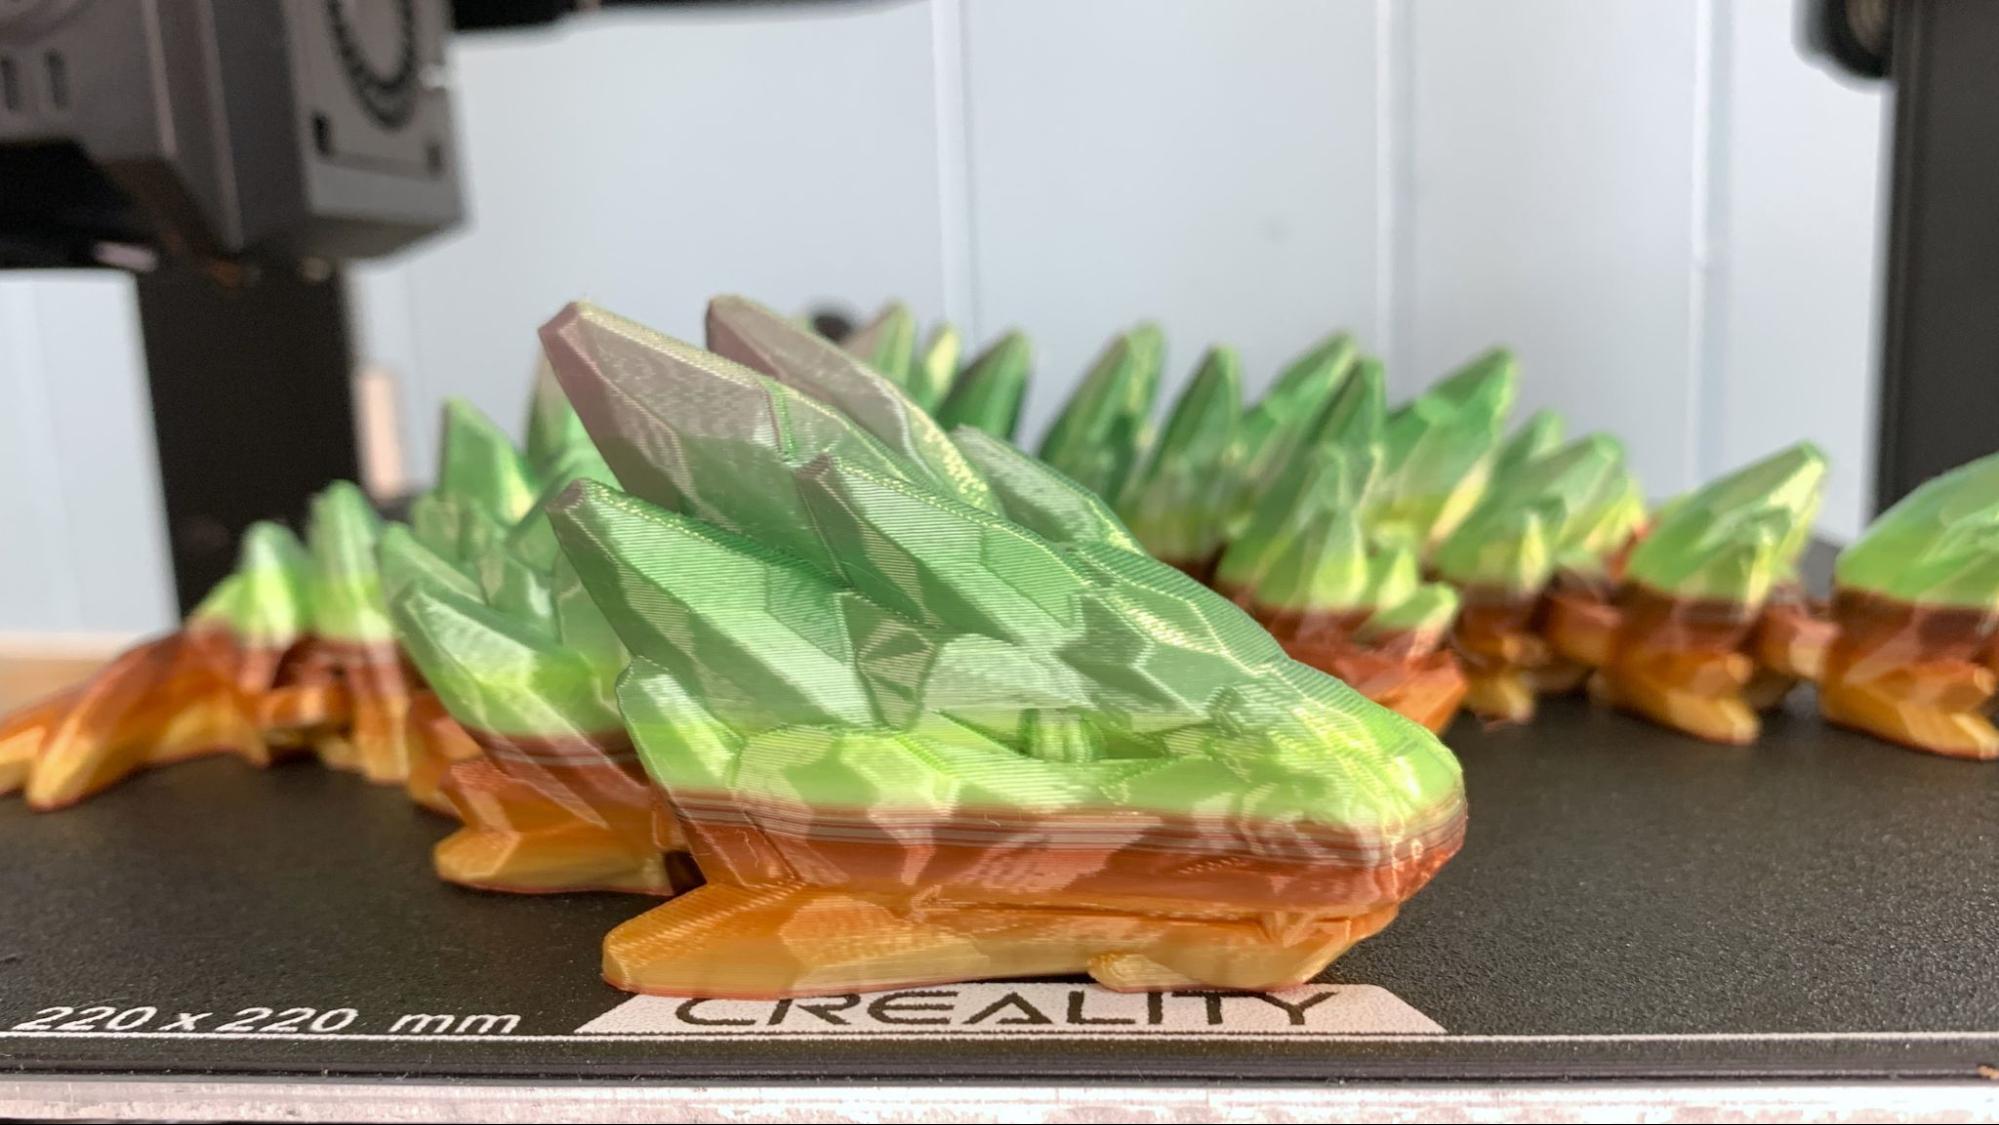
I wanted to see how fast the Ender 3 v3 KE could print a full sized dragon, so I put it to the test with a Cinderwing Gemstone articulated dragon using a .2 layer height, 10% lightning infill and four walls to beef up the strength. The result is gorgeous, smooth and exceptionally fast, taking only 10 hours and 25 minutes to print. This was printed with Zyltech Psychedelic Silk PLA.
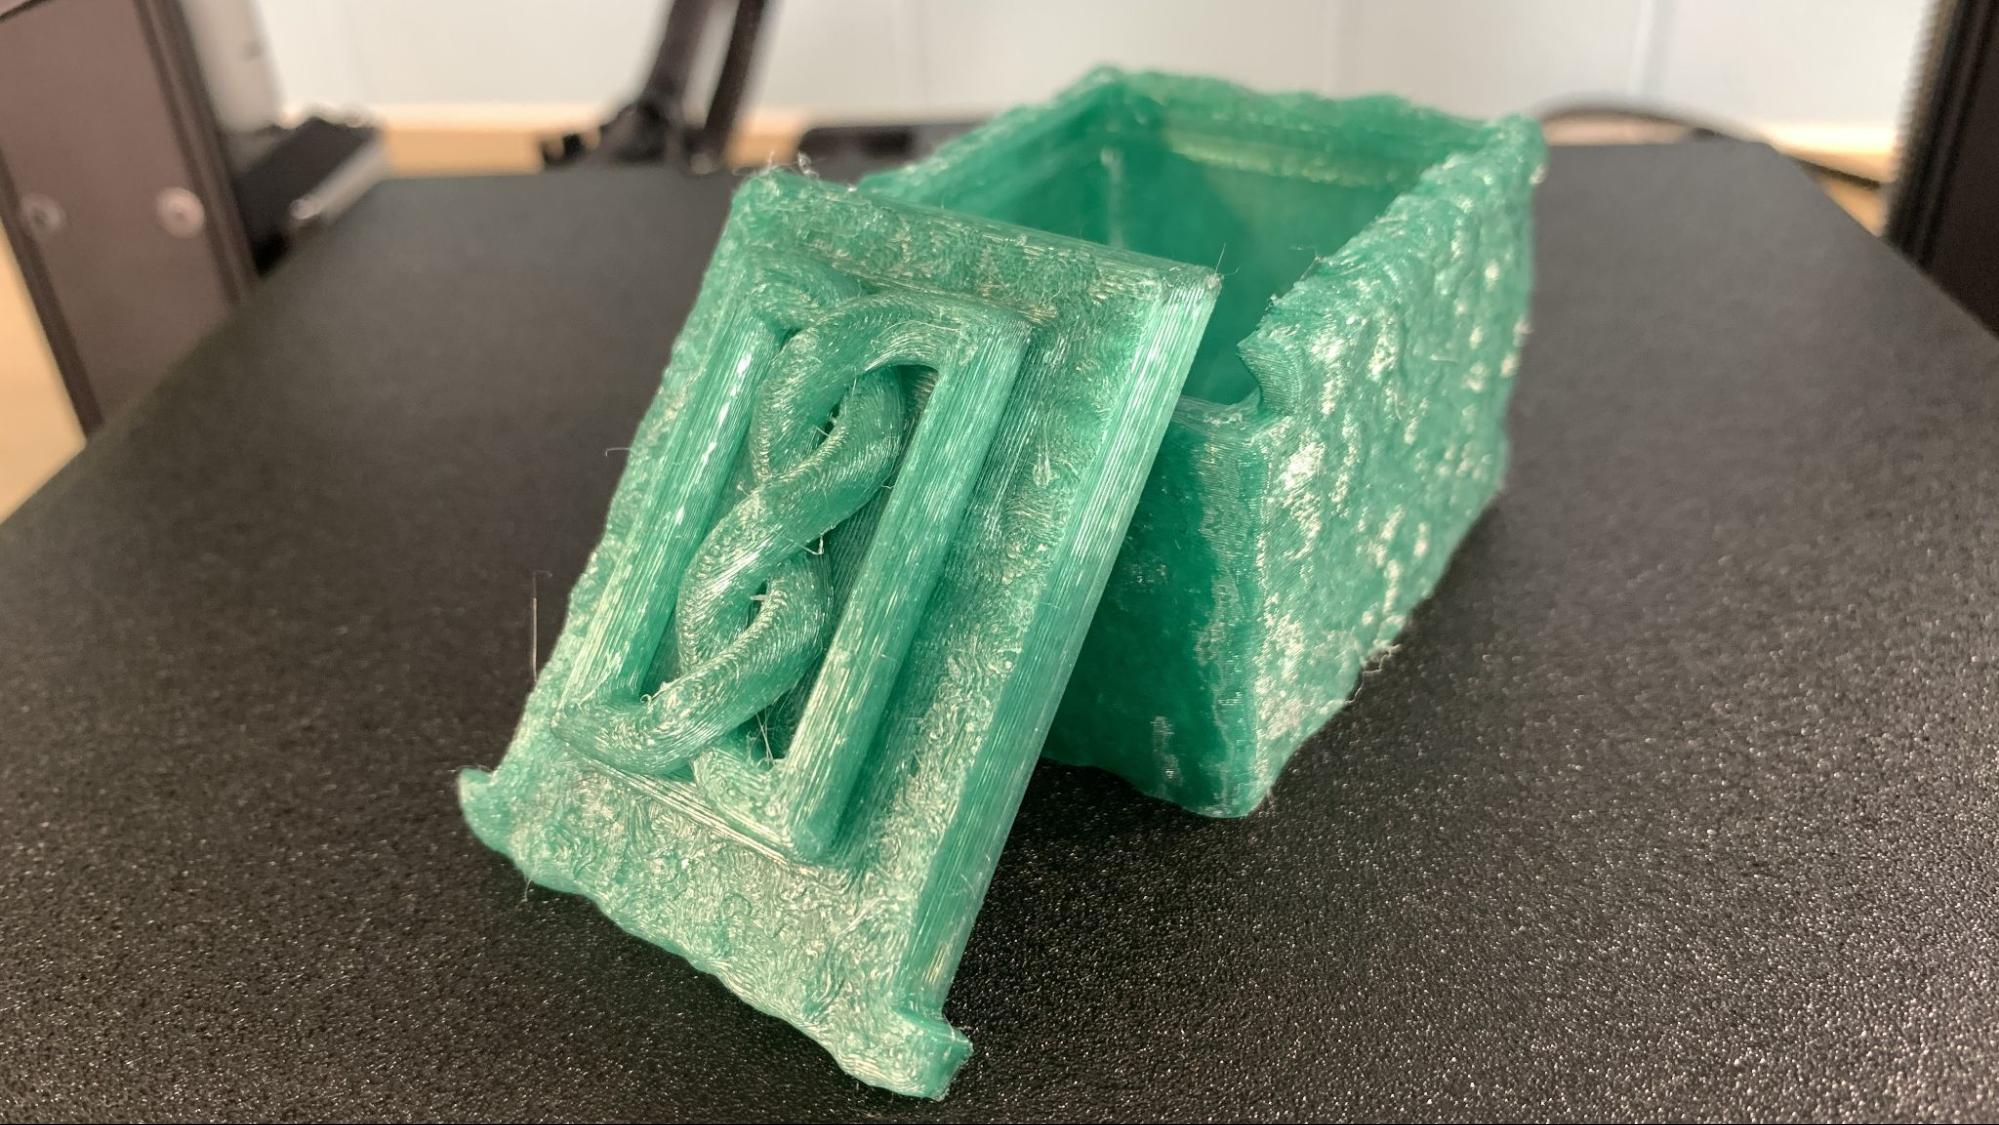
To test out PETG I broke out the GreenGate3D Emerald Recycled PETG. Recycled PETG performs quite well at high speed, but I kept to Creality Print’s defaults for PETG which reduces the max volumetric speed to 9mm/s. I printed it solid, with all walls, to eliminate infill and make it appear as stone-like as possible. This printed in 2 hours and 24 minutes. There’s some wisps, but otherwise it's a nice clean print with a smooth finish and no obvious layer lines. The mottled top layer is on purpose, as the design is mimicking a stone box.
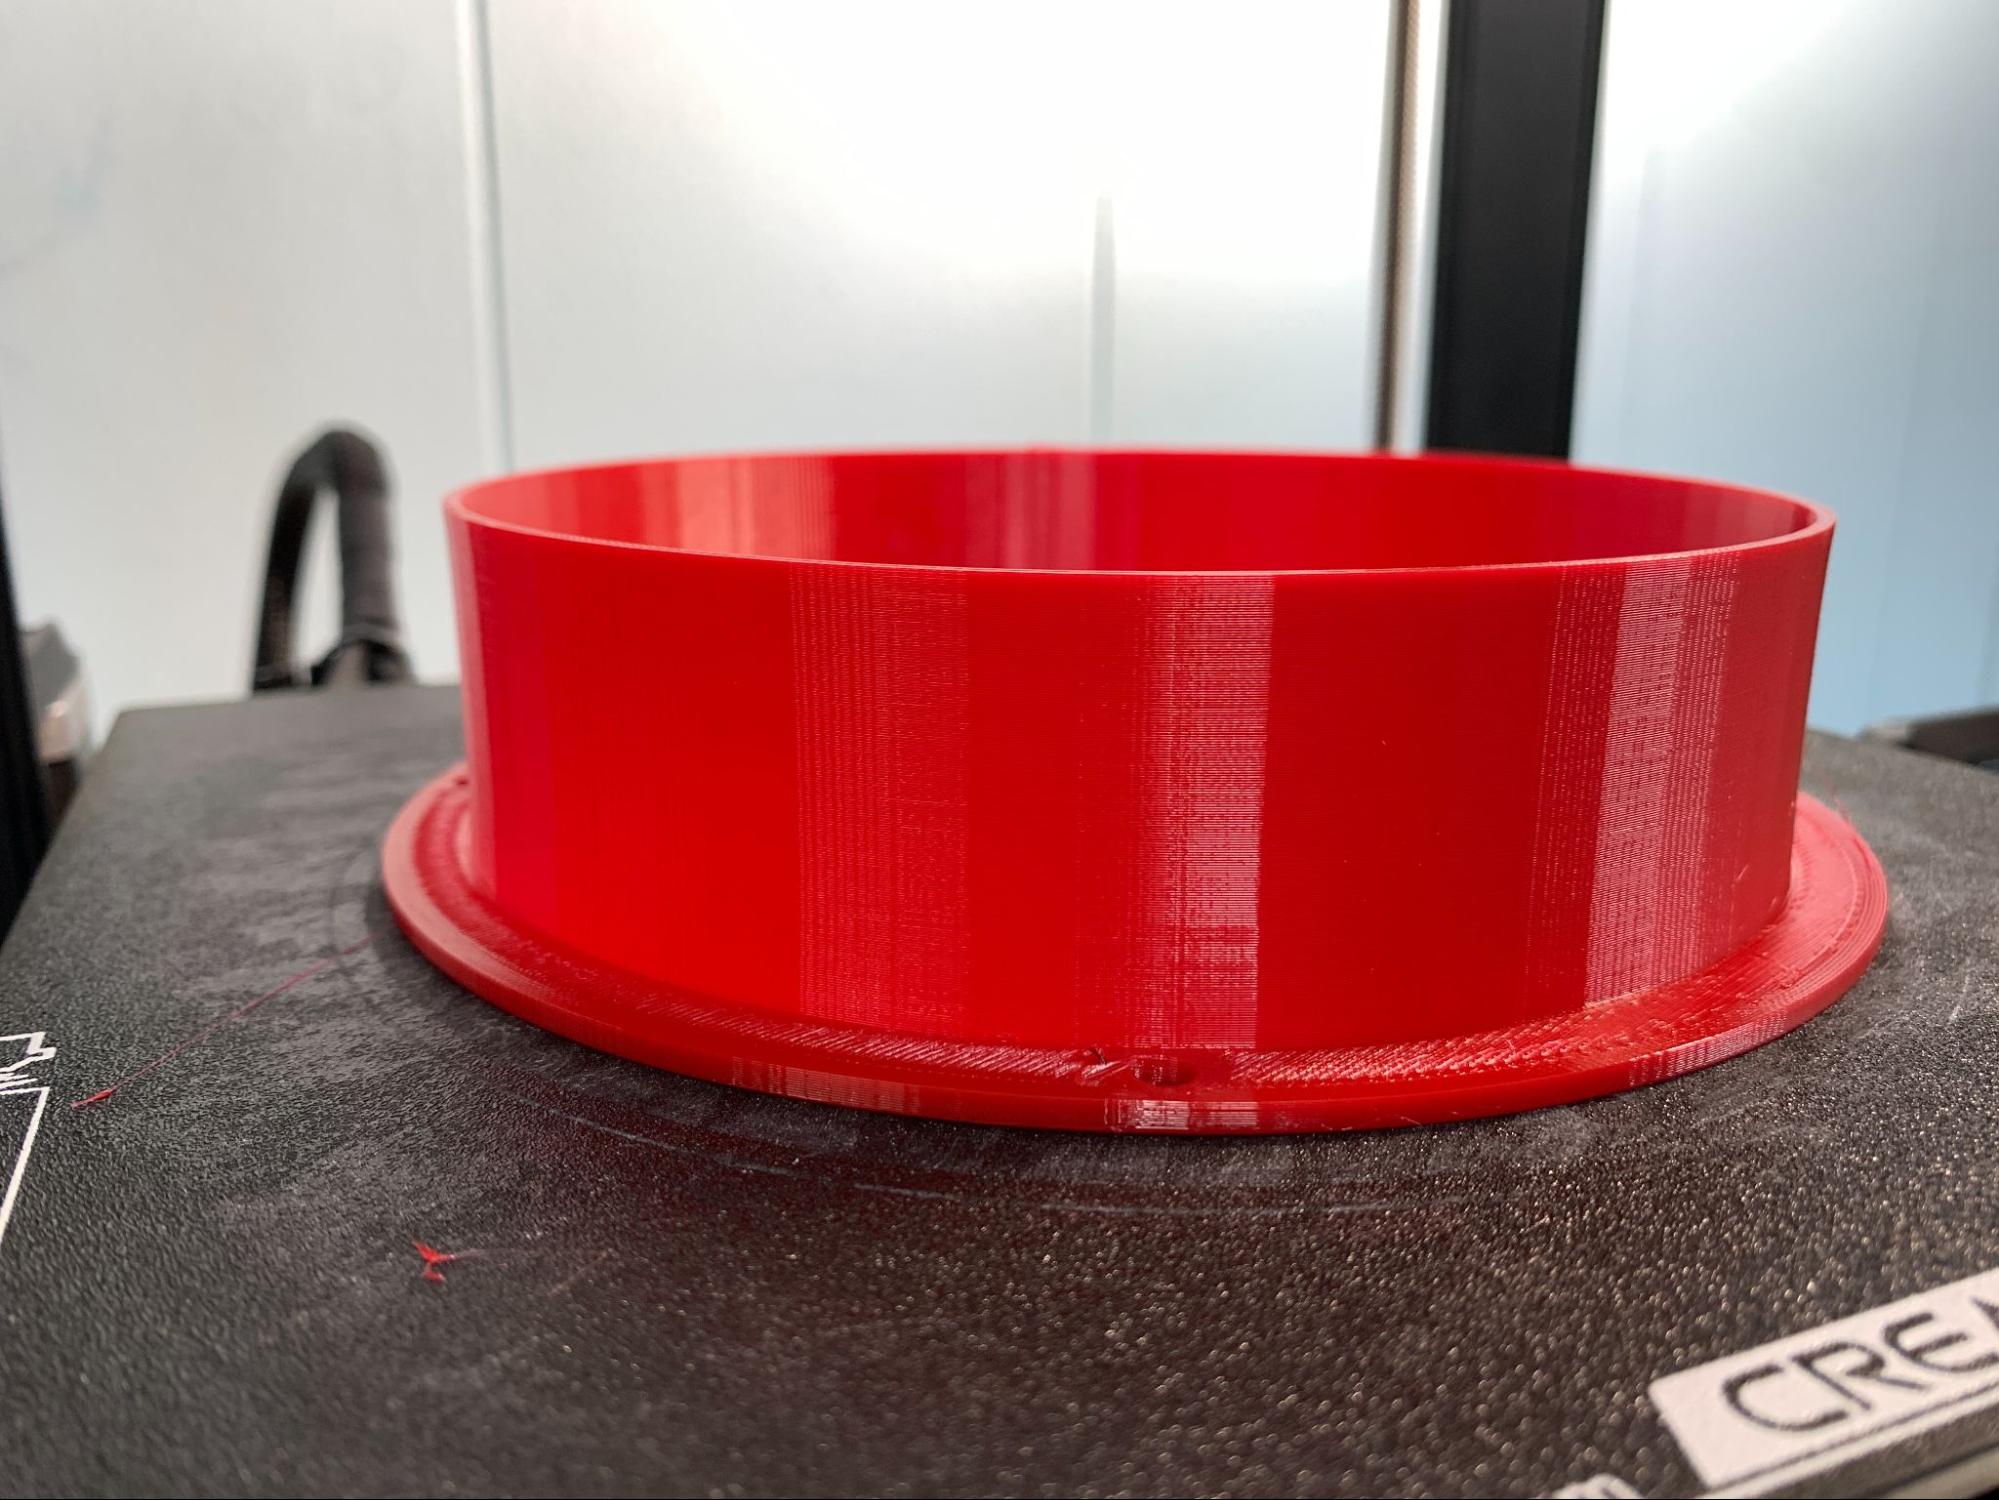
I needed a practical TPU print to help my husband as he installed new speakers in his car. I whipped up this rain shielding gasket in TinkerCad, and printed it in NinjaTek Cheetah. This took 4 hours and 51 minutes running at a casual 40 mm/s with a layer height of .2mm. The print is strong with clean layers and no messy wisps.
Bottom Line
The Ender 3 V3 KE is currently the fastest 3D printer in Creality’s Ender 3 line up, and with a price tag of $299, it lands a place as one of the Best Budget 3D Printers. It’s a very affordable alternative to more expensive Core XY machines. Its combination of Sprite extruder and high flow K1 hotend is the best of both worlds and proves to be very reliable.
It’s a wonderful balance of speed and ease. I would highly recommend the Ender 3 v3 KE to users new to the hobby or those looking for an inexpensive second or third machine. I also appreciate Creality’s willingness to keep this Ender Open Source, which not only respects the Ender’s RepRap roots, but is good for the 3D printing community at large.
If you’re looking for a 3D printer that also uses Kilpper firmware but with a few more perks, check out the Creality CR10SE, retailing for $445. Or take a look at the AnkerMake M5c, a printer with loads of speed and a convenient phone app, for $399. And if you want a true speed demon, the $599 Creality K1 can’t be beat. However, the Ender 3 v3 KE is significantly cheaper than these alternatives.
MORE: Best 3D Printers
MORE: Best Budget 3D Printers
MORE: Best Resin 3D Printers

Denise Bertacchi is a Contributing Writer for Tom’s Hardware US, covering 3D printing. Denise has been crafting with PCs since she discovered Print Shop had clip art on her Apple IIe. She loves reviewing 3D printers because she can mix all her passions: printing, photography, and writing.
-
JimmyFallin I got the other new Creality Ender, the CR-10 SE. 😜 Creality and their naming logic. Yes, the CR-10 SE is a Ender sized printer. Oh, they just released the faster new and proved core X-Z Ender V3 nothing else behind the V3 I just saw this on a live YouTube channel print a 13 minute benchy!!! https://www.youtube.com/live/mtvFkyduSCo?si=dTjZrh8-ih_pUGJRReply -
JimmyFallin Reply
I've bought 4 3d printers from Microcenter, great place to get them!!!RoLleRKoaSTeR said:Better price at MicroCenter
$259.00 -
dmitche31958 Just wait six months and this will be replaced with another model. How many models does Creality currently sell? 8? 10? 12? They come out with one every six months and yet they never stop selling the older models which are junk compared to the newer ones.Reply
