Tom's Hardware Verdict
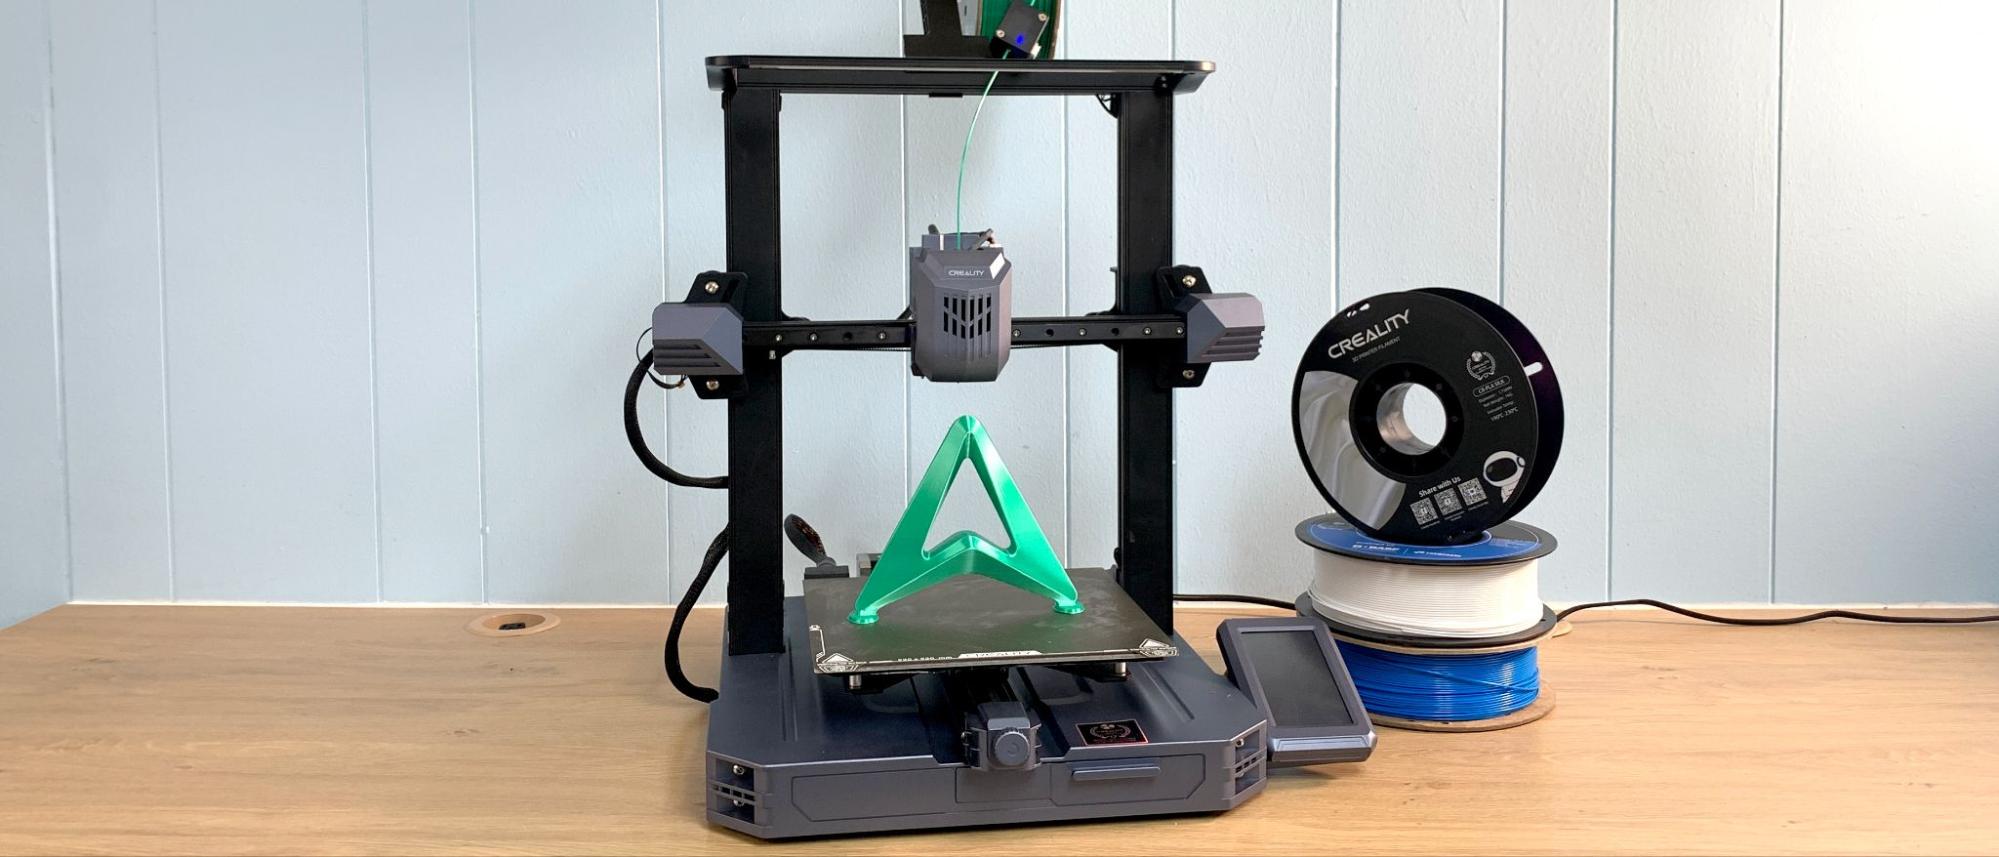
Creality’s latest CR10 SE feels misnamed, as it’s the size of an Ender 3. Otherwise, it’s a well-built and speedy machine that would look great in an office or family room with a competitive price.
Pros
- +
Excellent Auto bed leveling
- +
Easy assembly
- +
Direct drive
- +
Doesn’t require the Cloud
Cons
- -
Too small to wear the CR10 badge
Why you can trust Tom's Hardware
My first 3D printer was a CR10 S, a massive machine in its day, with a helmet sized build plate. I was excited to finally review a new CR10 and see how it had evolved over the years. This is not what I expected.
The CR10 SE is inexplicably not “CR10” size, but rather the size of a typical Ender 3 with a 220 x 220 build plate. It’s like Jumbo Shrimp…or a compact pickup truck. I asked Creality about this perplexing size issue and was told the CR printers are high-end models for serious hobbyists and entrepreneurs, while the Ender lineup is for beginner level machines.
The CR10 SE is certainly an advanced 3D printer and comes packed with features to provide a trouble free printing experience. It has a CR Touch and a pressure sensor to both level the bed and find the proper Z height automatically. It also has a built-in accelerometer to perform input shaping calibration, which is needed to cancel out high speed vibrations for smoother prints.
It’s also faster than CR10s of the past, thanks to sturdy construction, linear rails and Creality OS, which is a fork of Klipper. It’s capable of hitting a top speed of 600 mm/s, though that’s generally reserved for travel speeds. In practicality, it runs in the 200-300 mm/s range.
Retailing at $459, and currently on sale for $386, the CR10 SE is an excellent value for someone in the market for an easy to use 3D printer with both speed and polish.
Specifications: CR10 SE
| Build Volume | 220 x 220 x 260 mm (8.6 x 8.6 x 10 .4 inches) |
| Material | PLA/PETG/TPU (up to 300 degrees) |
| Extruder Type | Direct Drive |
| Nozzle | .4 K1 Hardened Steel |
| Build Platform | PEI spring steel sheet, heated |
| Bed Leveling | Automatic + Z |
| Filament Runout Sensor | Yes |
| Connectivity | USB, Wi-Fi |
| Interface | 4.3” touch screen |
| Machine Footprint | 490 x 470 x 625 mm (19.3 x 18.5 x 24.6in) |
| Machine Weight | 9.57 KG (21 lbs) |
Creality CR10 SE: Included in the box
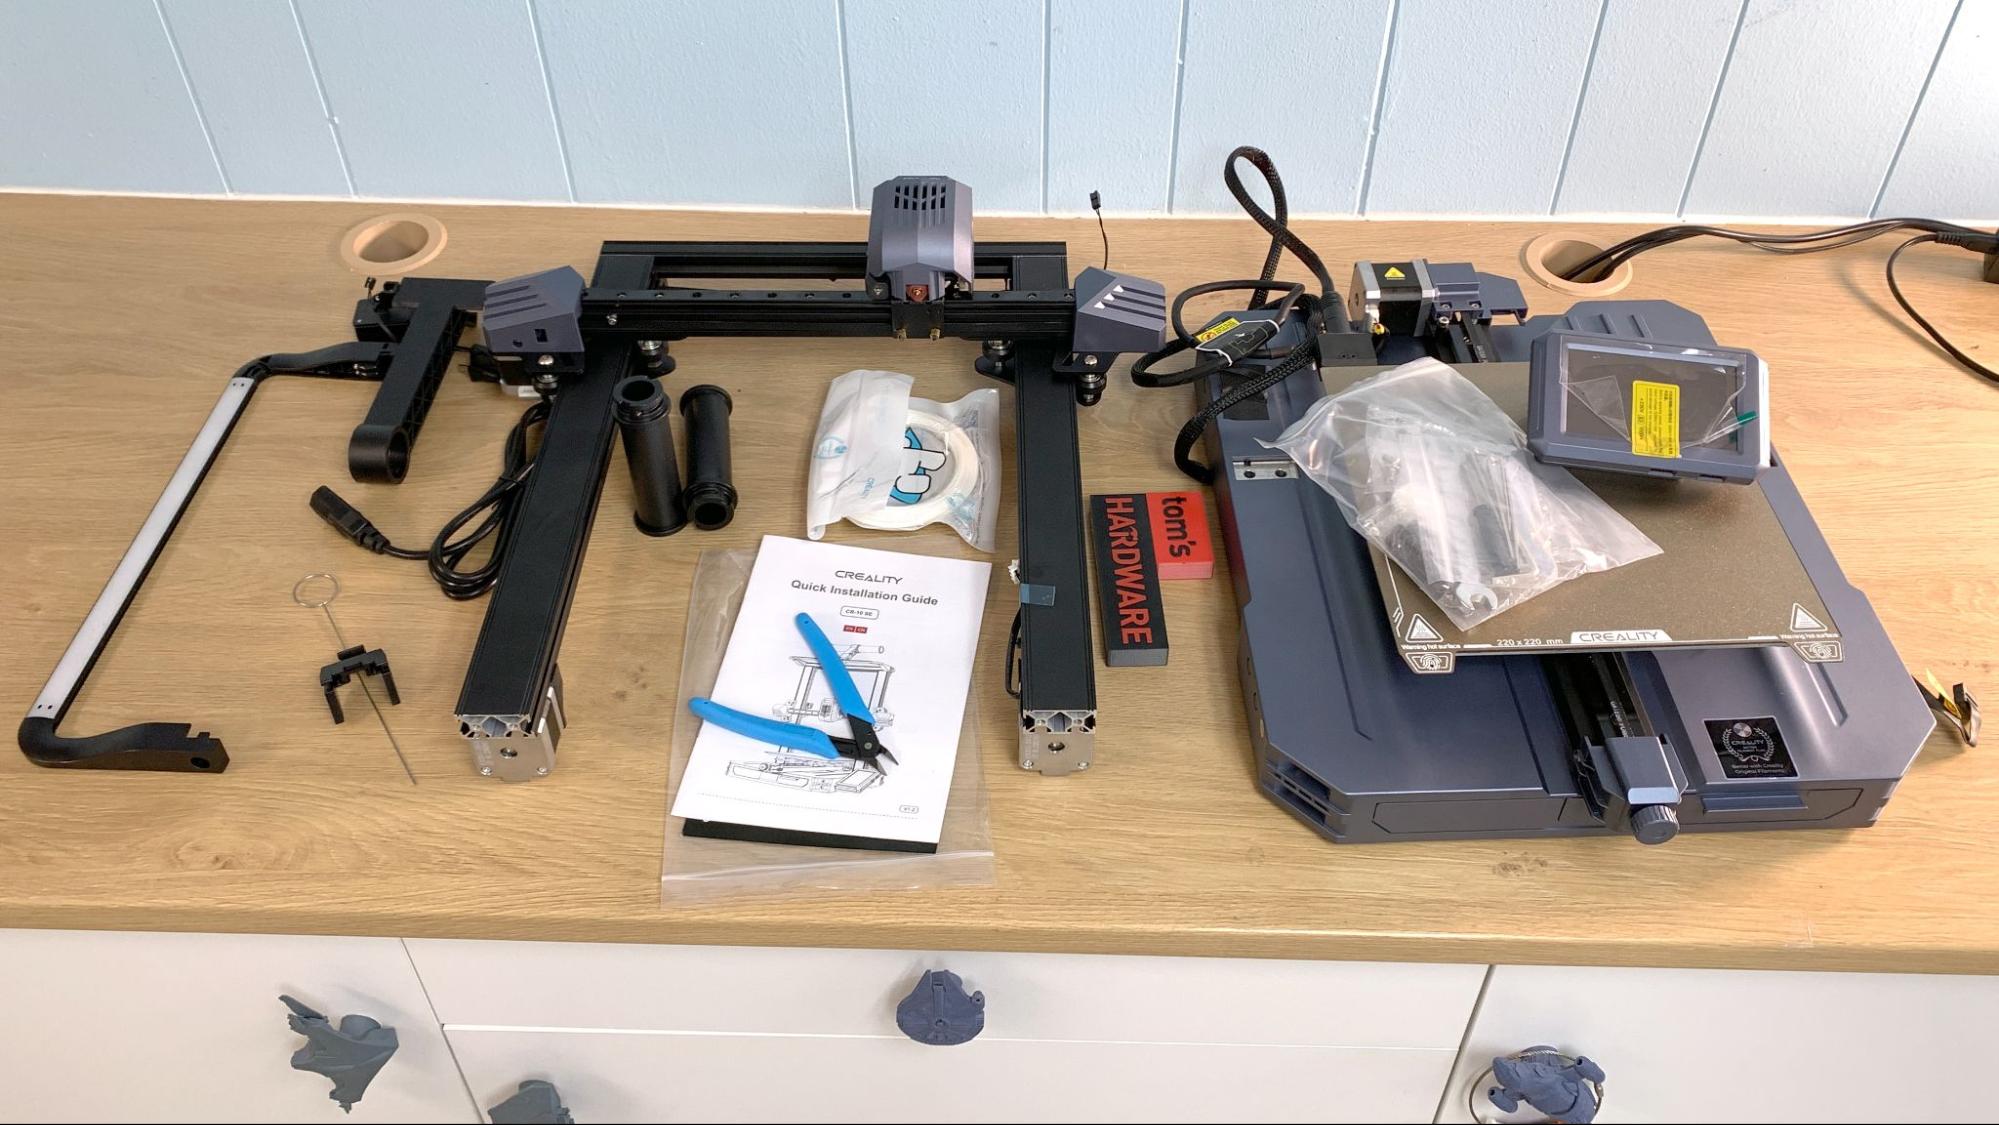
The CR10 SE comes with everything you need to get your printer set up. You get tools to build and maintain the printer, side cutters, a nozzle cleaner, and a USB thumb drive. You also get a small sample of white PLA to print your first model.
The included USB Flash drive has a short video on assembling the printer, a PDF copy of the manual and a material settings guide. There’s also a copy of the company’s custom slicer, Creality Print, and a few test prints, including a printable scraper to remove prints.
Get Tom's Hardware's best news and in-depth reviews, straight to your inbox.
Creality does not include an extra nozzle. However the hotend is equipped with a wear-resistant hardened steel nozzle.
Design of the Creality CR10 SE
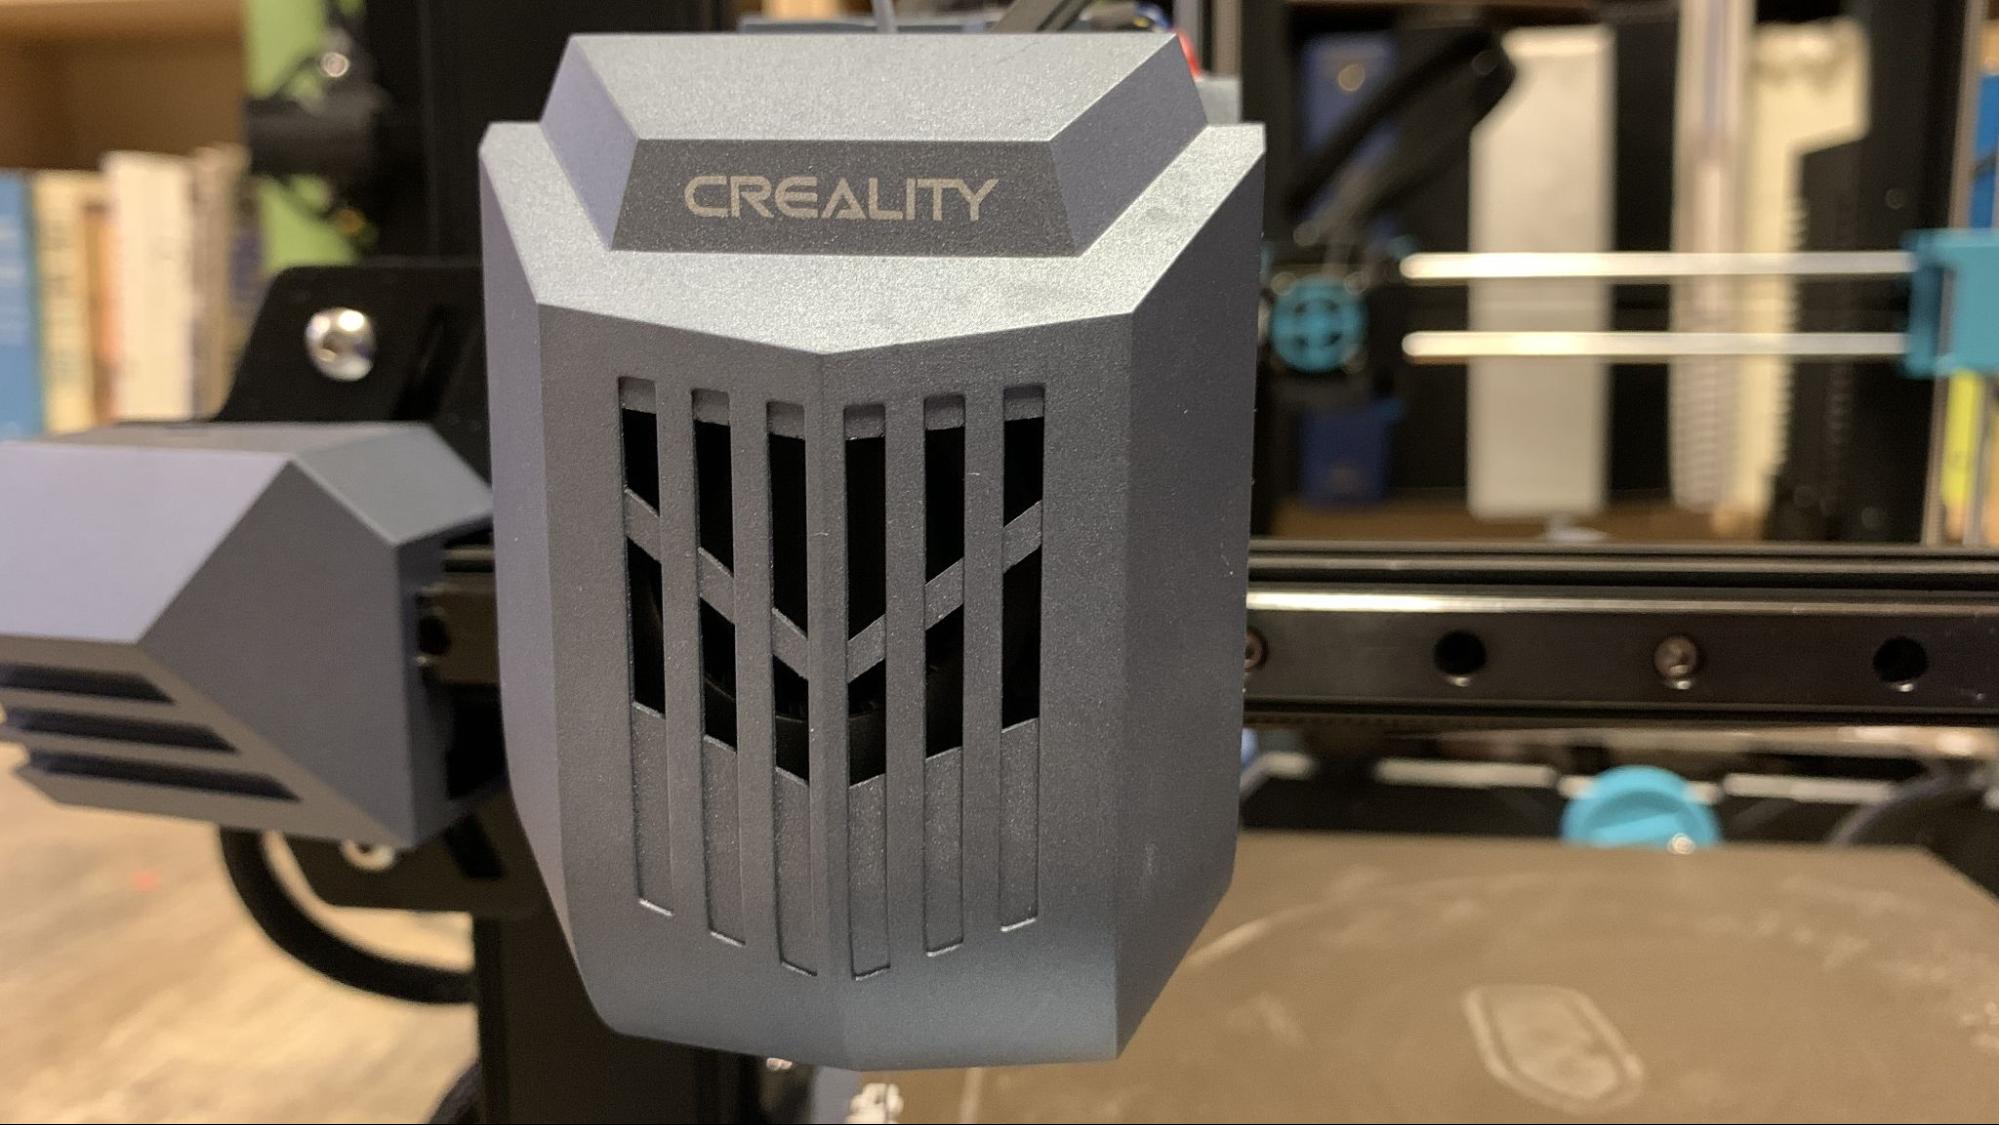
The CR10 SE is a very polished machine with a sleek black frame, gray accents and stylish hood. Branding is kept subtle, with just an elegant “Creality” painted on the tool head. It has a few luxury features that a busy maker can appreciate: a built-in light bar, a tool drawer and a double spool holder to carry an extra spool. The twin stepper motors are tucked behind the gantry, which gives it a slimmer looker.
As mentioned before, this machine is not what you expect with a CR10. It’s Ender 3 sized, with a 220 x 220 build plate, and bares a remarkable resemblance to the Ender 3 S1 Pro. That machine also didn’t fit the mold, as it was a pricey “luxury” Ender.
The CR10 SE has a beefy build, with a pair of Z axis rods with individual steppers, linked at the top with a belt. The X and Y axis are linear rails, which should give a smoother ride that requires very little maintenance.
It has Creality’s very reliable direct drive Sprite extruder, which has amazing grip when it comes to printing TPU. The extruder has a powerful front mounted fan with a three-way duct to cool freshly laid plastic, plus a smaller fan on the side to cool the heat sink. It has no trouble keeping up with the CR10 SE speed and much quieter than the curtain fans found on revival machines like Elegoo’s Neptune 4 Pro.
The hotend with its bi-metal heartbreak and high flow nozzle appear to be borrowed from the Creality K1. It can reach 300 degrees, which allows it to run hobby level filament hot and fast, and if you provide an enclosure, you can tinker with engineering grade filament like ABS.
In an interesting move, Creality equipped the hotend with a hardened steel nozzle – and no spares. Harden steel will last indefinitely with PLA and can really take a beating when fed gritty filament like glitter, glow in the dark and carbon fiber.
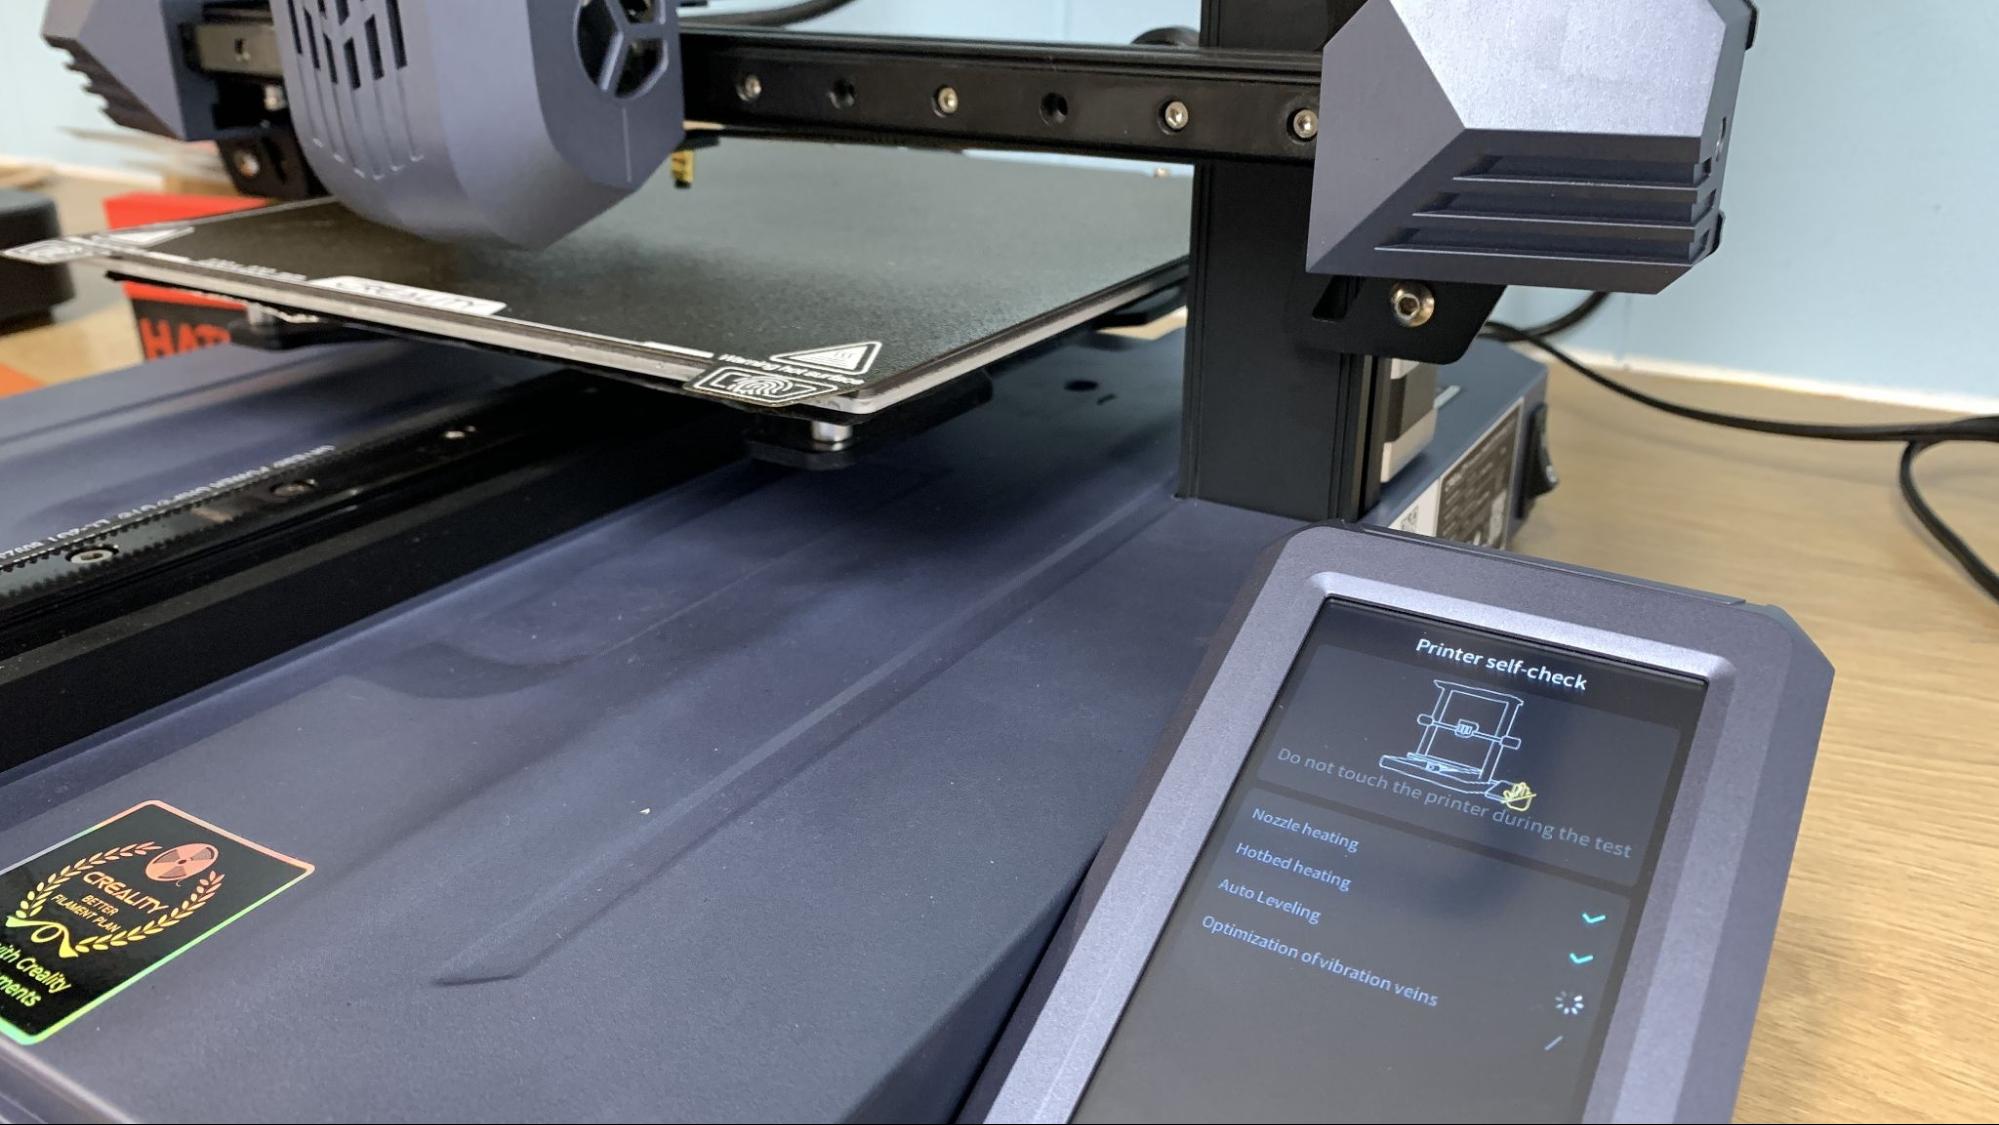
The tool head carries both a CR-Touch and a strain gauge. This allows the machine to level the bed by tapping the CR-Touch’s probe to the bed and fine tune the Z height with the sensor on the nozzle. I found this method to be very reliable and accurate.
The firmware is Creality OS, which is a fork of Klipper, giving it the ability to reach top speeds of 600 mm/s with an acceleration of 8000 mm/s². Unfortunately, it’s something of a “Klipper Lite” that doesn’t allow you full access to the settings and config file. And while a Klipper printer is pretty agnostic about webcams, Creality OS will only work with a Creality camera, which is optional. Creality OS does allow you to easily send files over your home Wi-Fi network and is extremely easy to set up.
The touch screen interface is inspired by Klipper pads, and gives you a temperature graph on the home screen, which feel very high-tech. However, the rest of the icons are vague, and you end up poking around to find things like the extruder and motor control.
A whole portion of the menu is dedicated to the optional Nebula Camera, which I wish they had included for testing. This camera allows you to monitor your prints, take time-lapse photos and has an AI powered “Spaghetti Detector”. The stats sheet also says there is an optional LiDAR attachment, though I can’t find it in the Creality store.
Assembling the Creality CR10 SE
The Creality CR10 SE is mostly pre-assembled and comes together with a handful of neatly labeled bolts and screws. If you find a video easier to follow than the paper manual, you can watch a good assembly video on the included SD card.
Assembly takes all of 15 minutes as the gantry only needs 3 screws per side and the tool head is pre-mounted. You’ll also have to screw on the spool holder and screen. Wiring is very simple as everything is already attached to the frame and only needs to be plugged in.
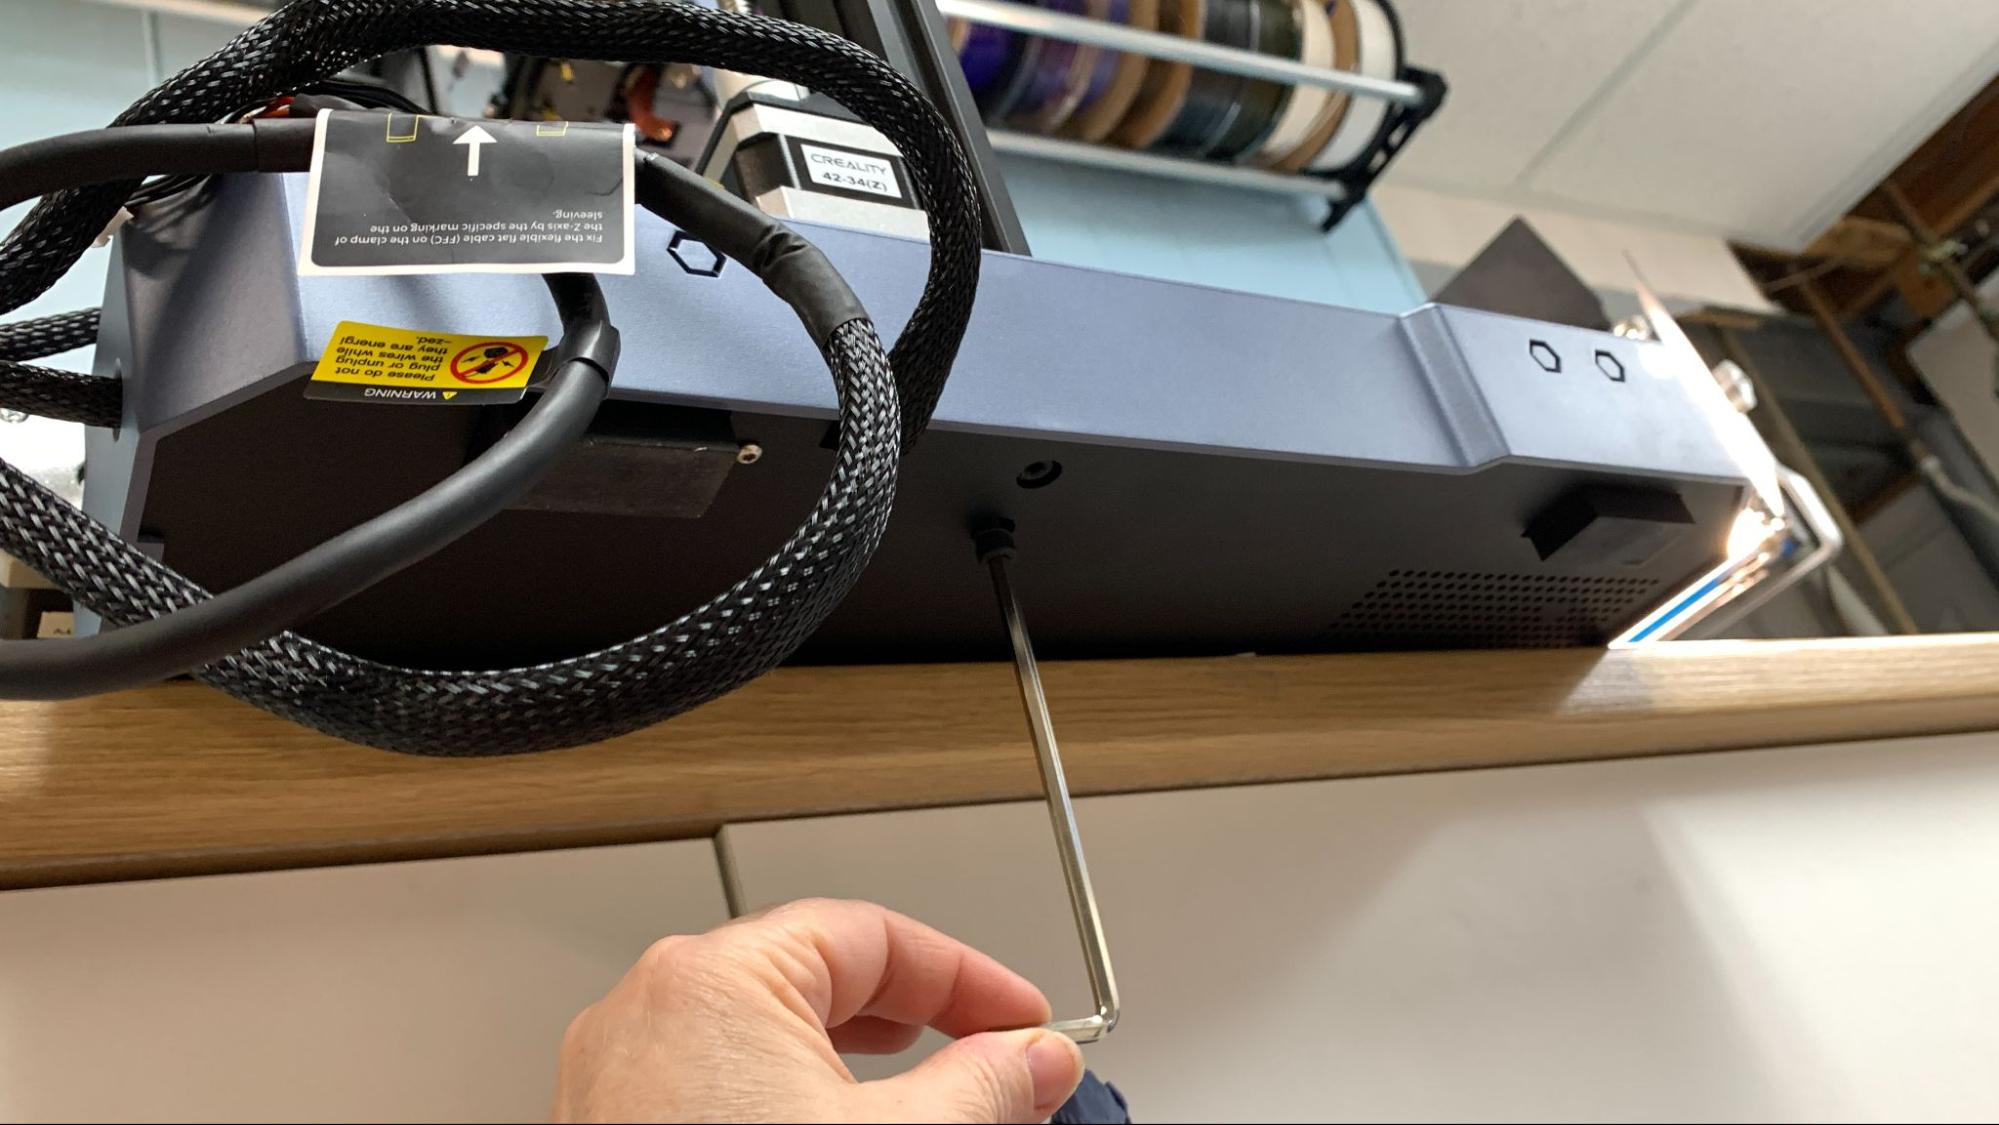
Last, flip the power supply switch to match your main household electric, which is 115V in the U.S.
Leveling the Creality CR10 SE
The CR10 SE comes with a CR Touch installed, plus pressure sensors in the tool head to set the Z height. Leveling is done automatically during the setup phase, then can be done optionally before each print.
The bed is hard mounted, so there are no manual adjustment wheels. I didn’t have any issue with getting the CR10 SE level.
Loading Filament on the Creality CR10 SE
To load filament, click the horizontal lines icon on the bottom of the main menu. Press Extrude/Retract on the top menu. Click length. The default length is 5mm, which is annoyingly short. Make it at least 20 mm for retracting and 50mm or more for extruding. Finally, click either
Retract to remove or Extrude to add filament.
If you’re loading filament, place your spool on the holder, thread the filament through the run out sensor near the holder, then down to the tool head. Push the filament in the hole at the top, and depress the lever to release the gears and feed the plastic in as far as it will go.
The printer will automatically heat up and finish the job.
Preparing Files / Software for Creality CR10 SE
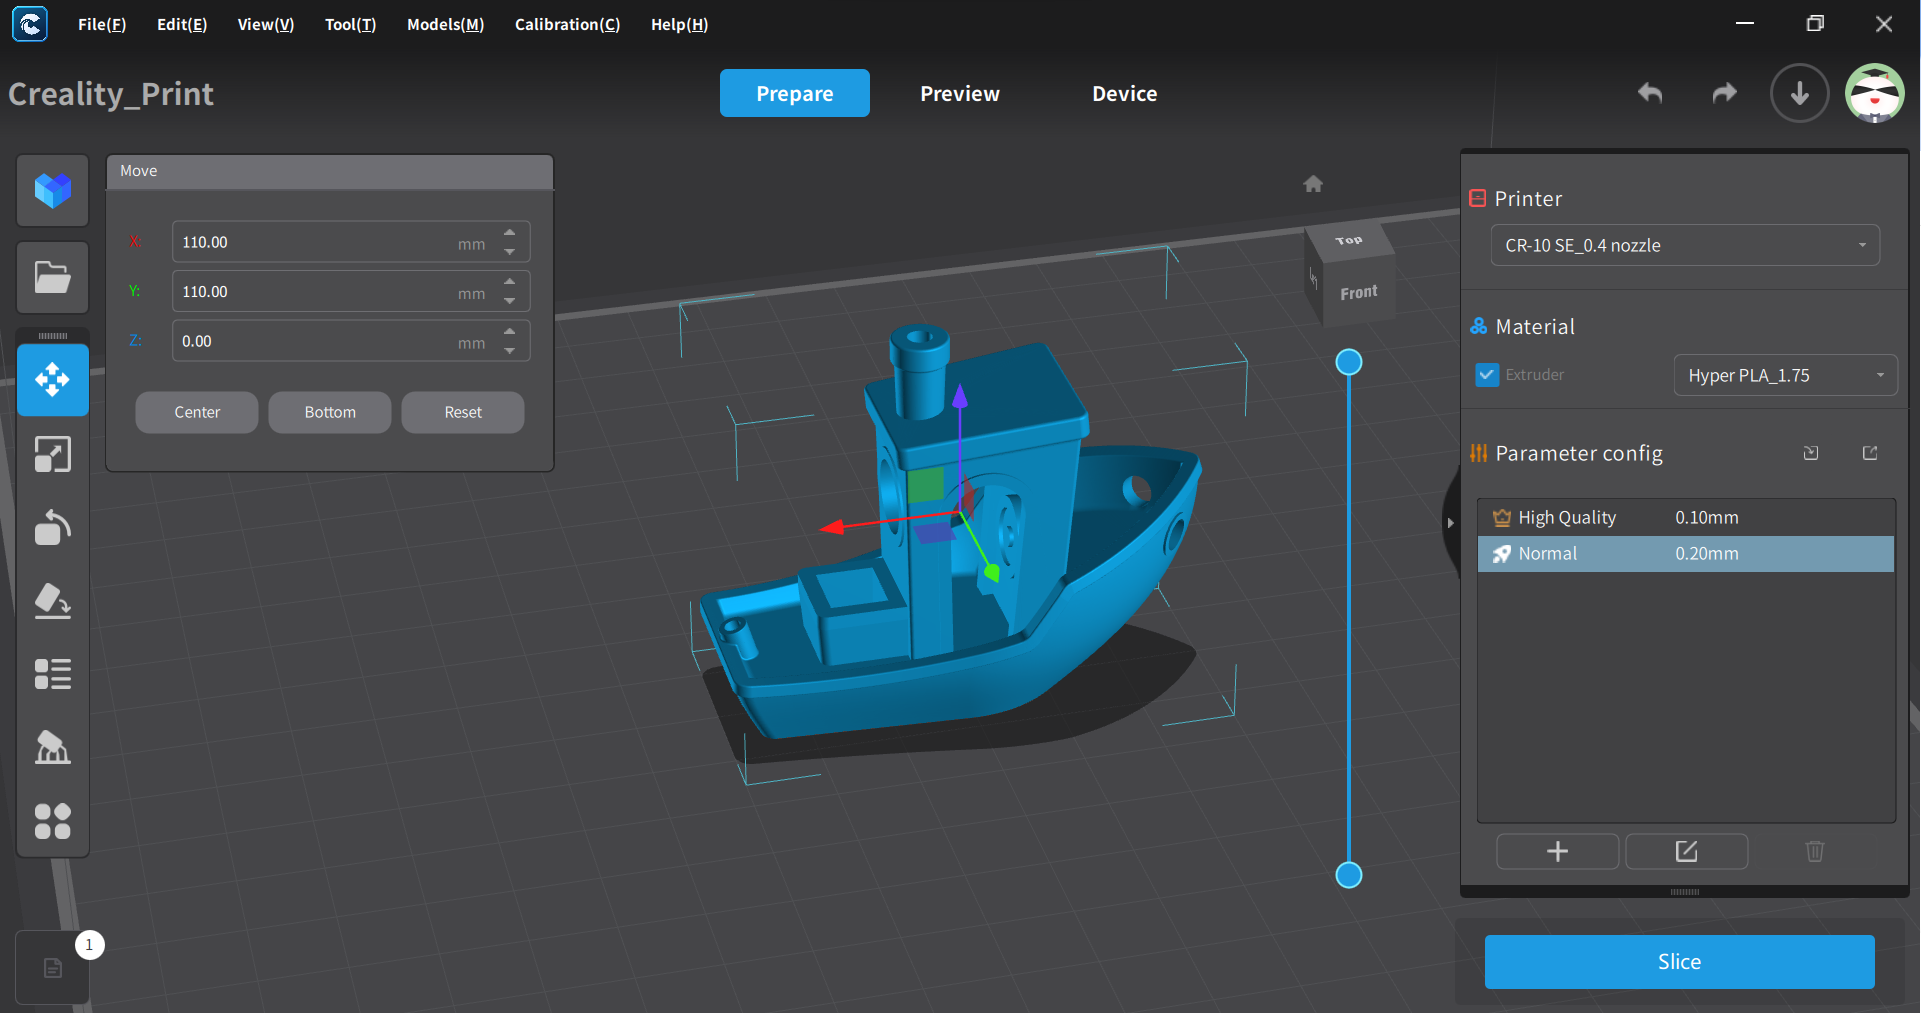
The CR10 SE comes with a copy of Creality Print, a slicer that Creality has been perfecting for some time. It’s also compatible with Cura and PrusaSlicer, but you’ll need to build your own profile. You can base one off any Ender 3, though I would suggest downloading Creality’s slicer to copy the speed settings.
Creality Slicer has come a long way, and is perfectly fine to use. They have turned Creality Cloud into a complete ecosystem that connects your printer, slicer and a library of files all together. Though I still think Creality Cloud is a bit too noisy and gamified, you might want to give it a try.
The nice thing is, if you don’t want to use the Cloud, you don’t have to. Files can be transferred via LAN or by USB stick.
Printing on the Creality CR10 SE
The Creality CR10 SE printed great right out of the box. My first print was a pre-sliced Benchy from the SD card, then I sliced the Maker’s Muse Calibration Castle. I took a pass on the sample PLA and used a roll of Creality Hyper Series PLA, which is formulated for high speed printing. A sample coil will only get you started, so you’ll definitely want to check out our list of the best filaments for 3D printing.
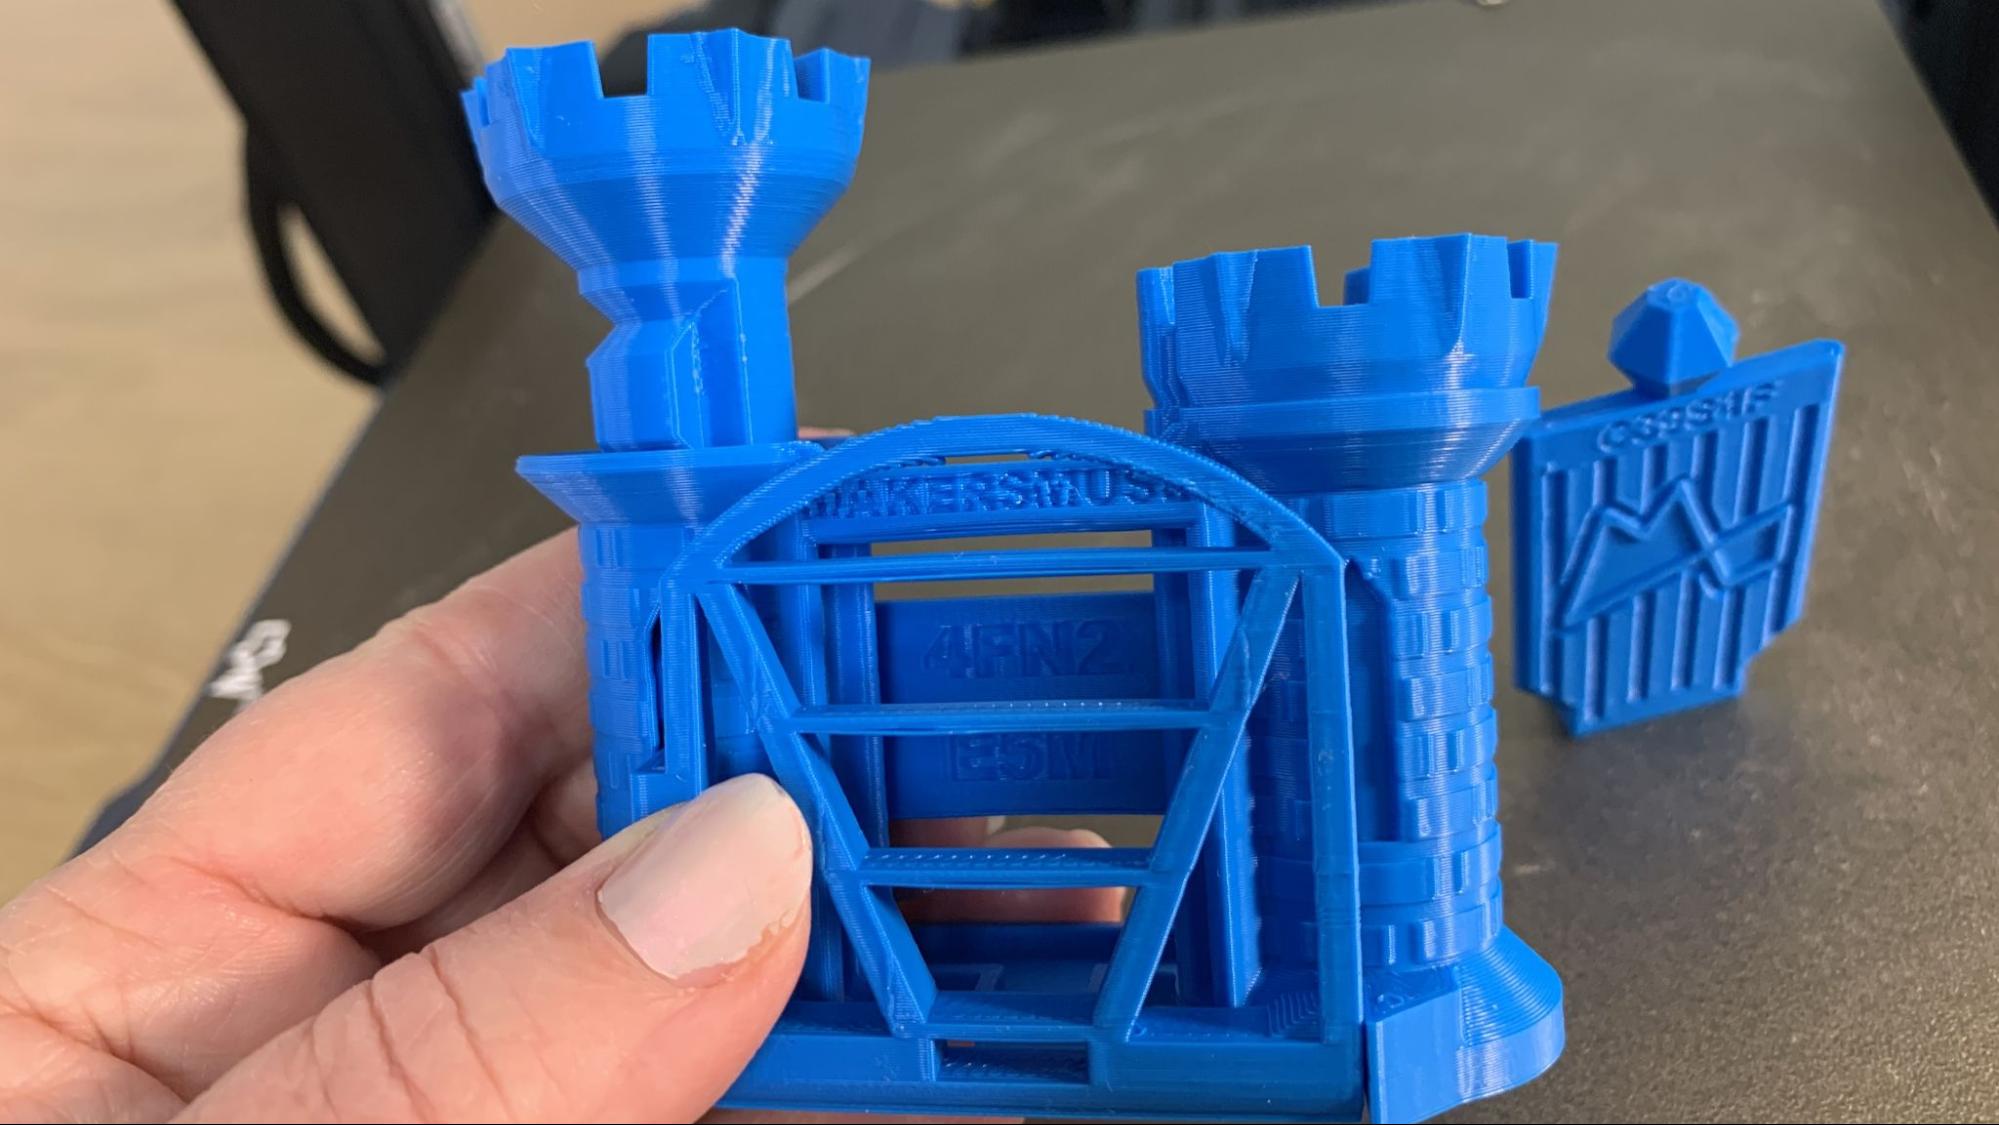
The Castle turned out fantastic, with excellent bridging and even layers. This printed in one hour and 57 minutes, using a .2 layer height and default settings around 200 mm/s.
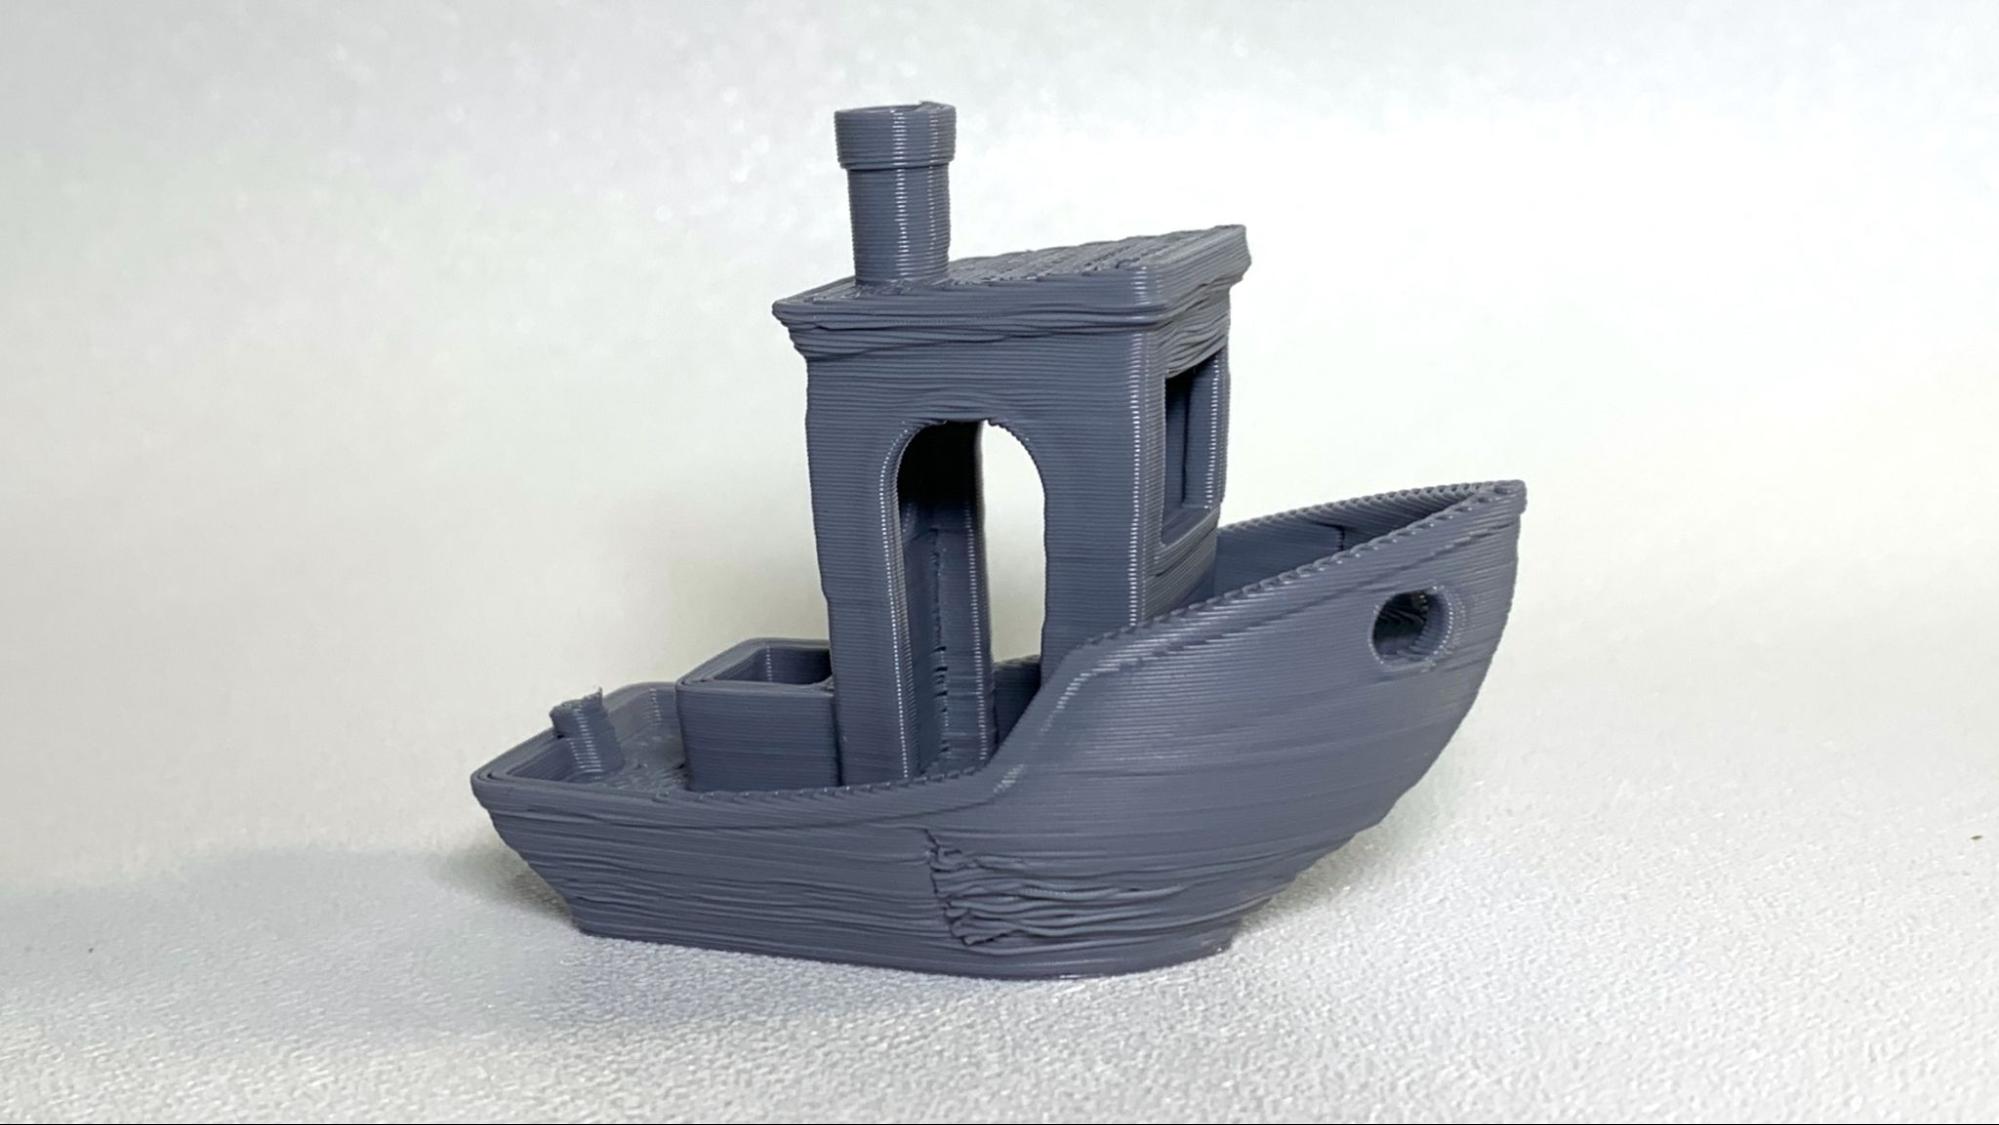
Next I printed a Benchy, using Speed Boat Rules (2 walls, 3 top and bottom layers, 10 % grid infill, a .25 layer height and .5 layer width) and our treacherous Tom’s Hardware speed settings of 200-300 on the walls and flat out on acceleration. The print won’t break our top speed record, but it did place in the top five with a sloppy 15 minute and 57 second boat. Remember – when racing a 3D Printer, it's more about printing a “Benchy Shaped Object” than real quality. This was printed in ordinary gray Inland PLA so none of the defects are hidden.
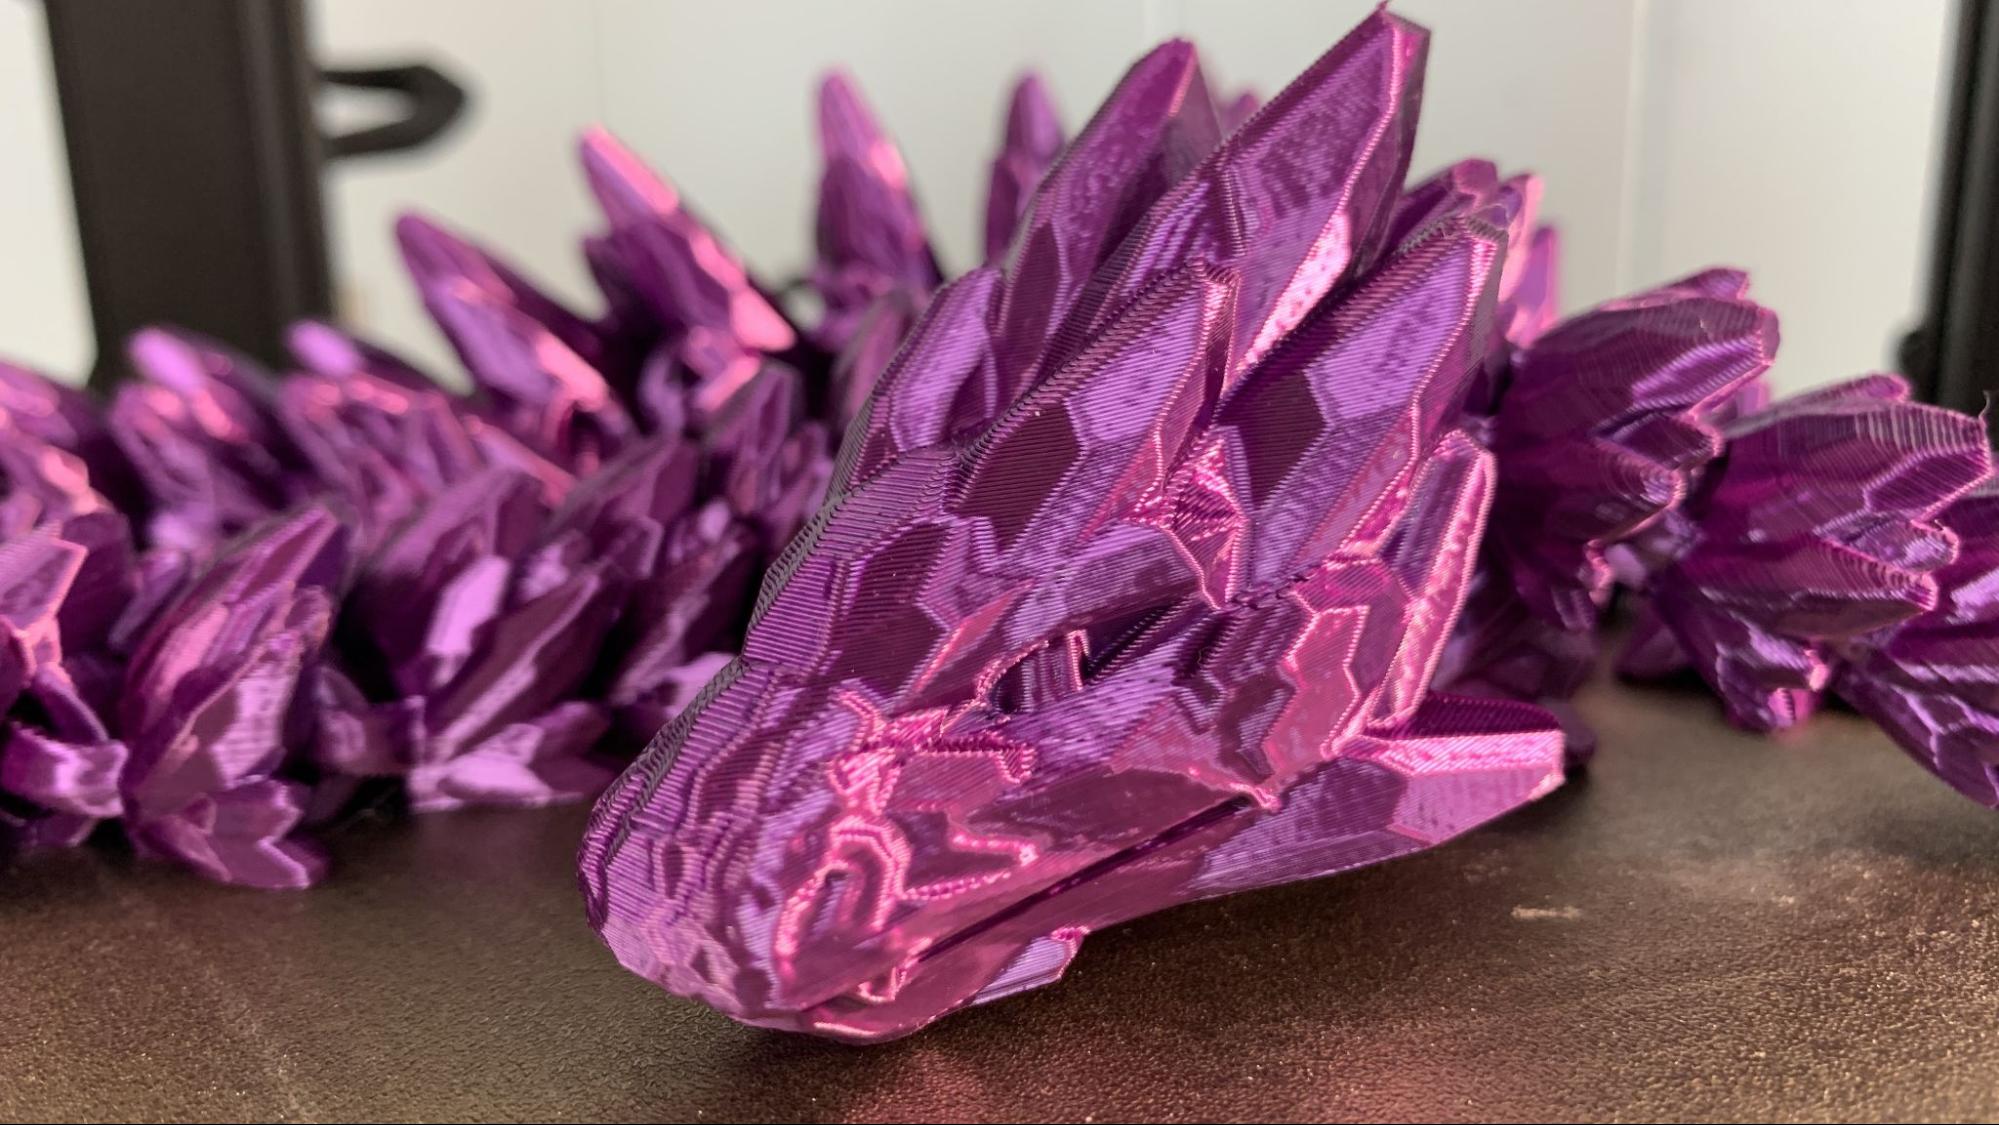
For the next print, I aimed for quality, and got it. This dragon was printed in Creality’s Purple CR-Silk and looks fantastic with a .2 layer height, a 10% gyroid infill and 50mm/s on the outer wall for quality with 300 on the inner wall for speed. This full sized dragon only took 13 hours and 42 minutes to print and has lusciously smooth layer lines, with no stringing or vibration artifacts.
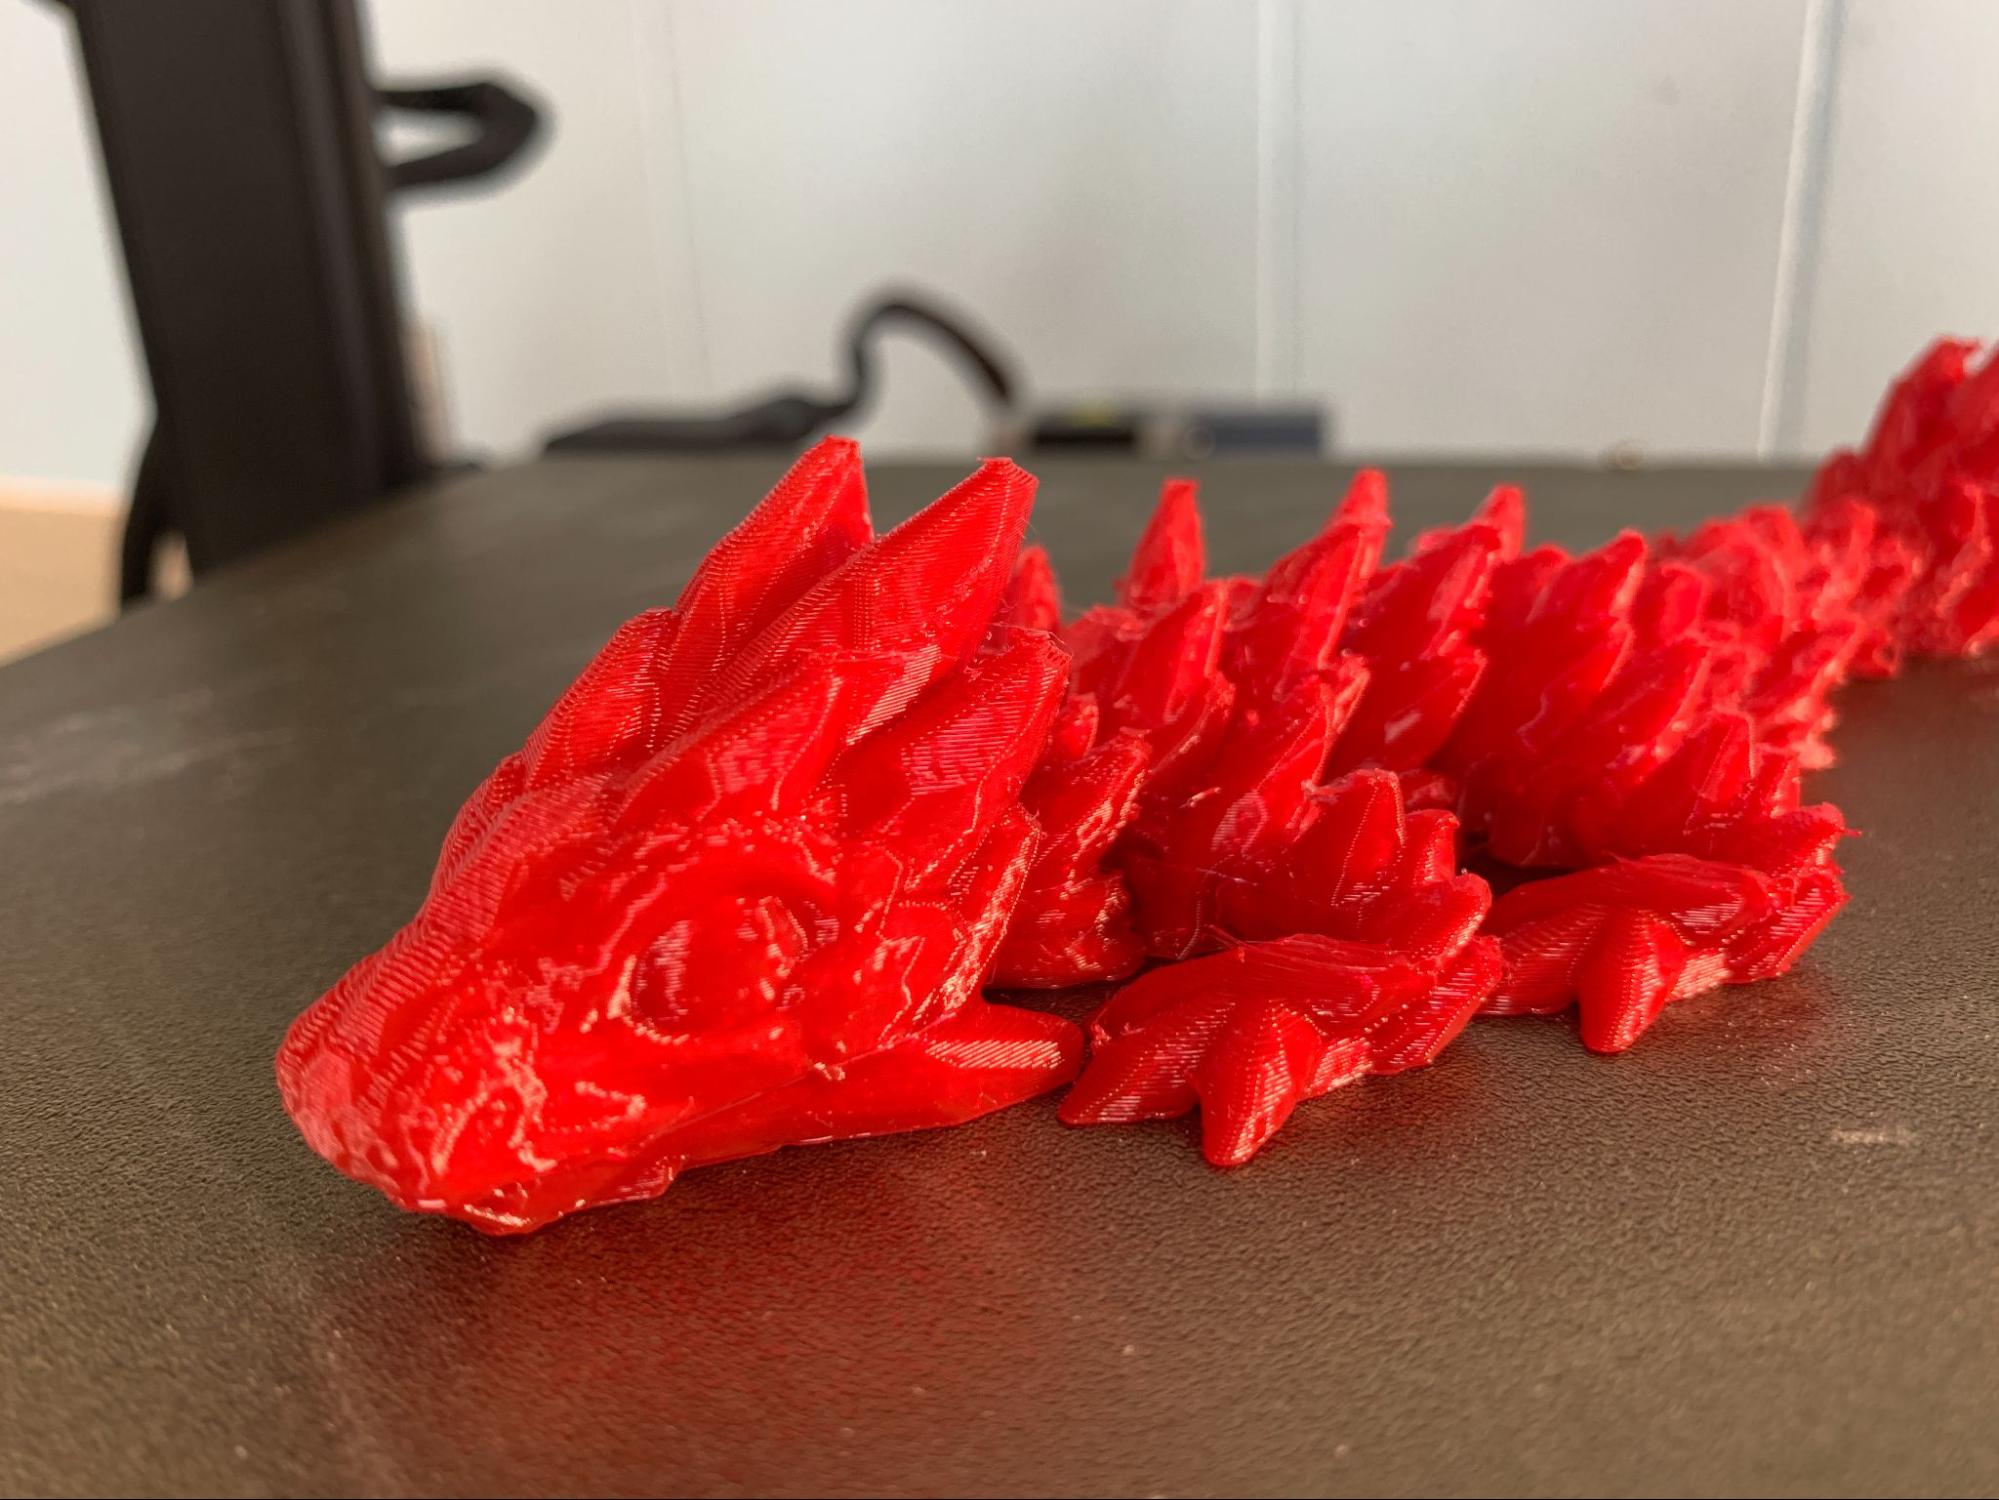
I’ve been wanting to see if dragons print well in TPU – after all, it is the year of the dragon. This baby dragon took 3 hours and 57 minutes to print using about half the flow rate, but the same over all settings as the silk PLA dragon. There was a bit of stringing, and the joints had to be wiggled quite a lot to get them loose. Overall, I think it was a successful print. I printed it in NinjaTek Cheetah, Fire Red.
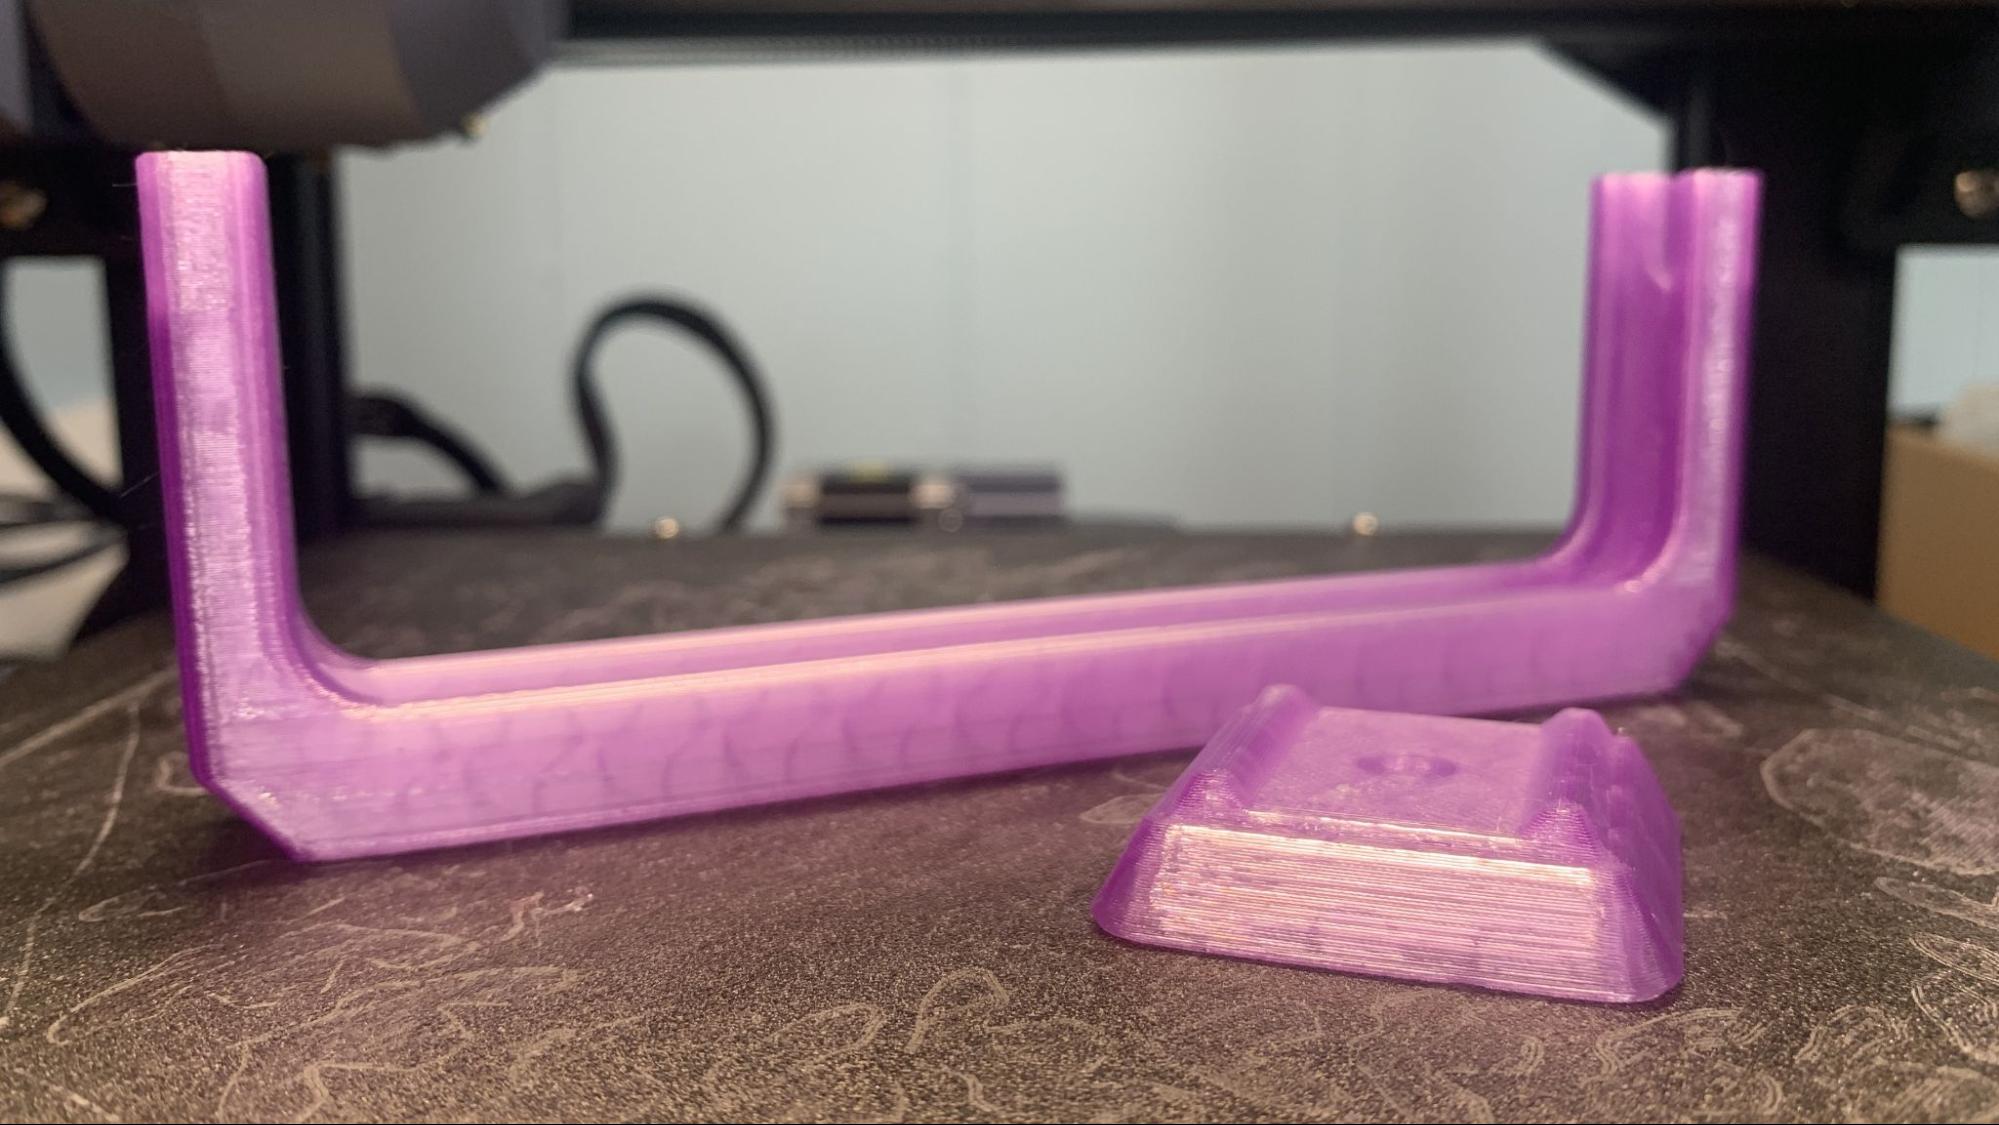
Last, I want to share a PETG print that I created myself in Tinkercad. I needed a new phone holder to shoot video, so I slapped some shapes together and created a simple mount for my tripod. PETG prints rapidly in the CR10 SE, so I was able to print several quick prototypes in one day. This took 1 hour and 59 minutes, using 2 walls and a 7% gyroid infill. The print is smooth, sturdy and a bit flexible. Printed in translucent purple PETG from Bambu Lab.
Bottom Line
The CR10 SE is the latest speedy bed slinger from Creality that I feel is misnamed. It has the quality of the CR line, but the size of an Ender, which I think is a little confusing. Whatever you call it, it’s an excellent printer with plenty of helpful features that make it fast and accurate. I just wish it were bigger, like a “real” CR10.
Creality OS is a very fast firmware inspired by Klipper and really lets this machine put down the plastic without vibration artifacts. This printer shows that bed slingers can hold their own against super fast Core XY machines, while being a bit quieter and easier to maintain. Being able to draw from the Creality ecosystem is a real plus, as this shares parts with the popular Ender and K1 lines.
Retailing at $459, and currently on sale for $386, the CR10 SE is a great choice for anyone looking for a stylish machine for the den, rec room or office. It’s not quite cheap enough or fast enough to overtake the best printers of 2024, but competition has been fierce!
If you’re looking for a superfast budget 3D printer with Klipper pre-installed, you can also check out the Sovol SV07, retailing for $339. Or take a look at the AnkerMake M5c, a printer with loads of speed and a convenient phone app for $399.
MORE: Best 3D Printers
MORE: Best Budget 3D Printers
MORE: Best Resin 3D Printers

Denise Bertacchi is a Contributing Writer for Tom’s Hardware US, covering 3D printing. Denise has been crafting with PCs since she discovered Print Shop had clip art on her Apple IIe. She loves reviewing 3D printers because she can mix all her passions: printing, photography, and writing.
