Tom's Hardware Verdict
Creality’s latest Ender 3 is a beginner’s dream with improvements previously thought of as luxuries while keeping the price extremely low.
Pros
- +
Affordable
- +
Easy assembly
- +
Excellent Auto bed leveling
- +
Direct drive
- +
Easy Interface
Cons
- -
PC coated plate
Why you can trust Tom's Hardware
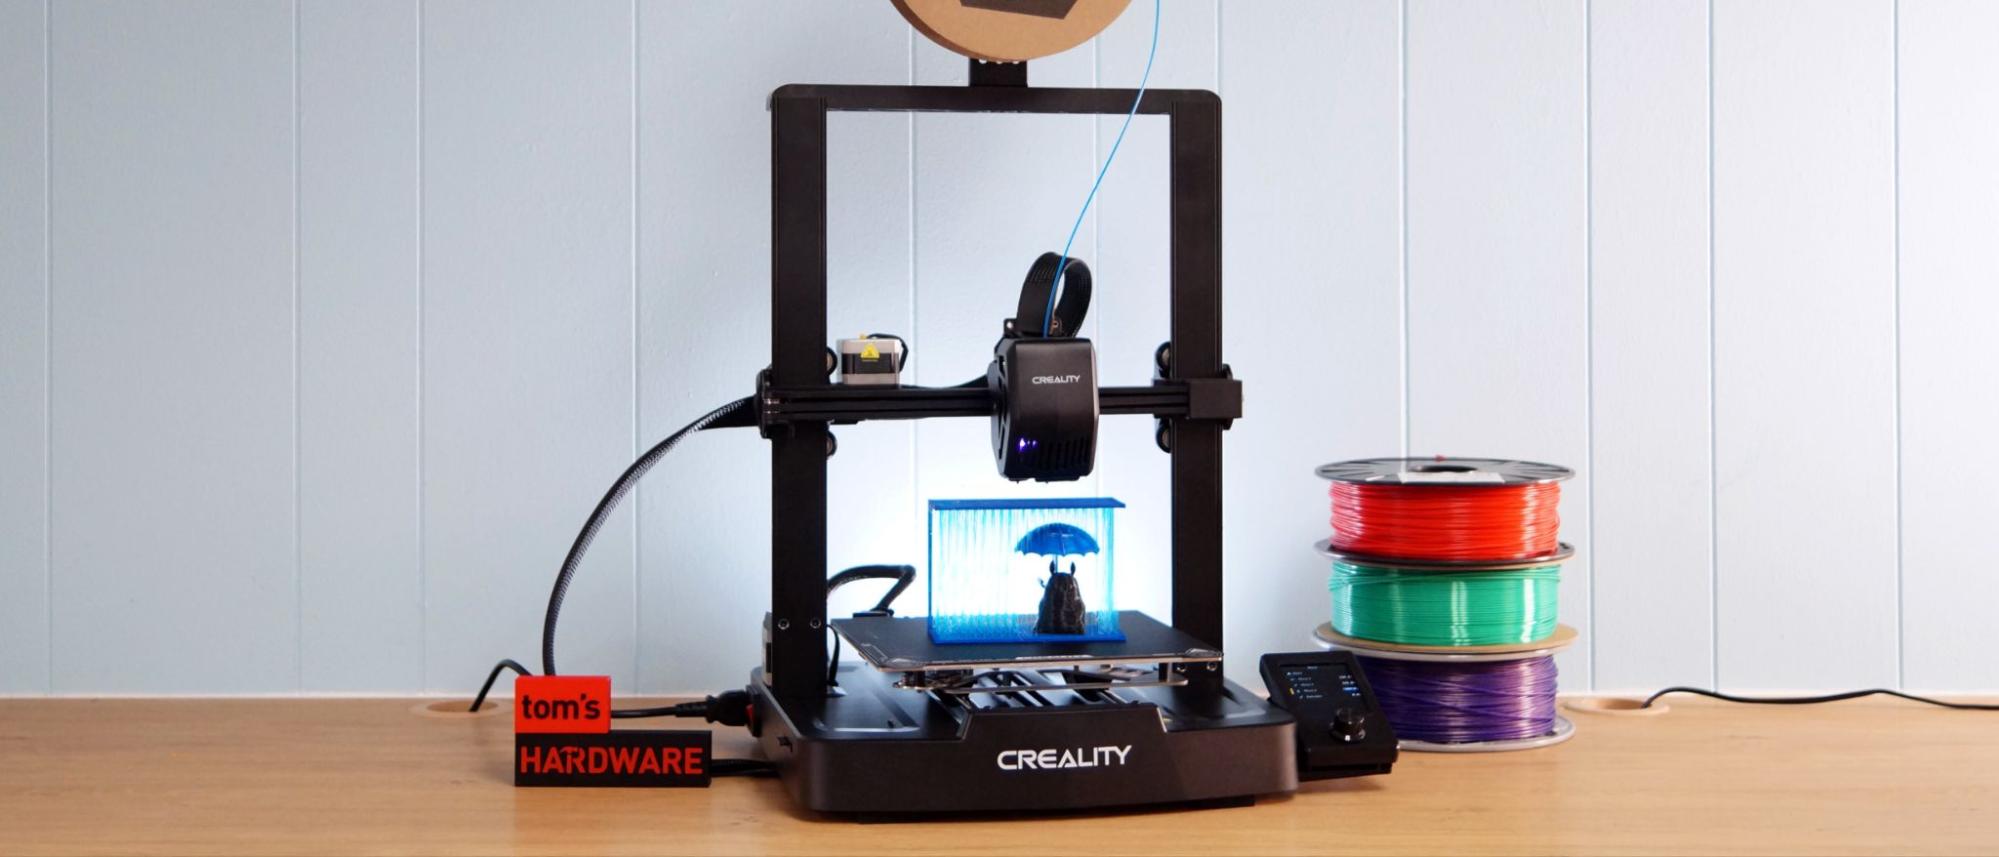
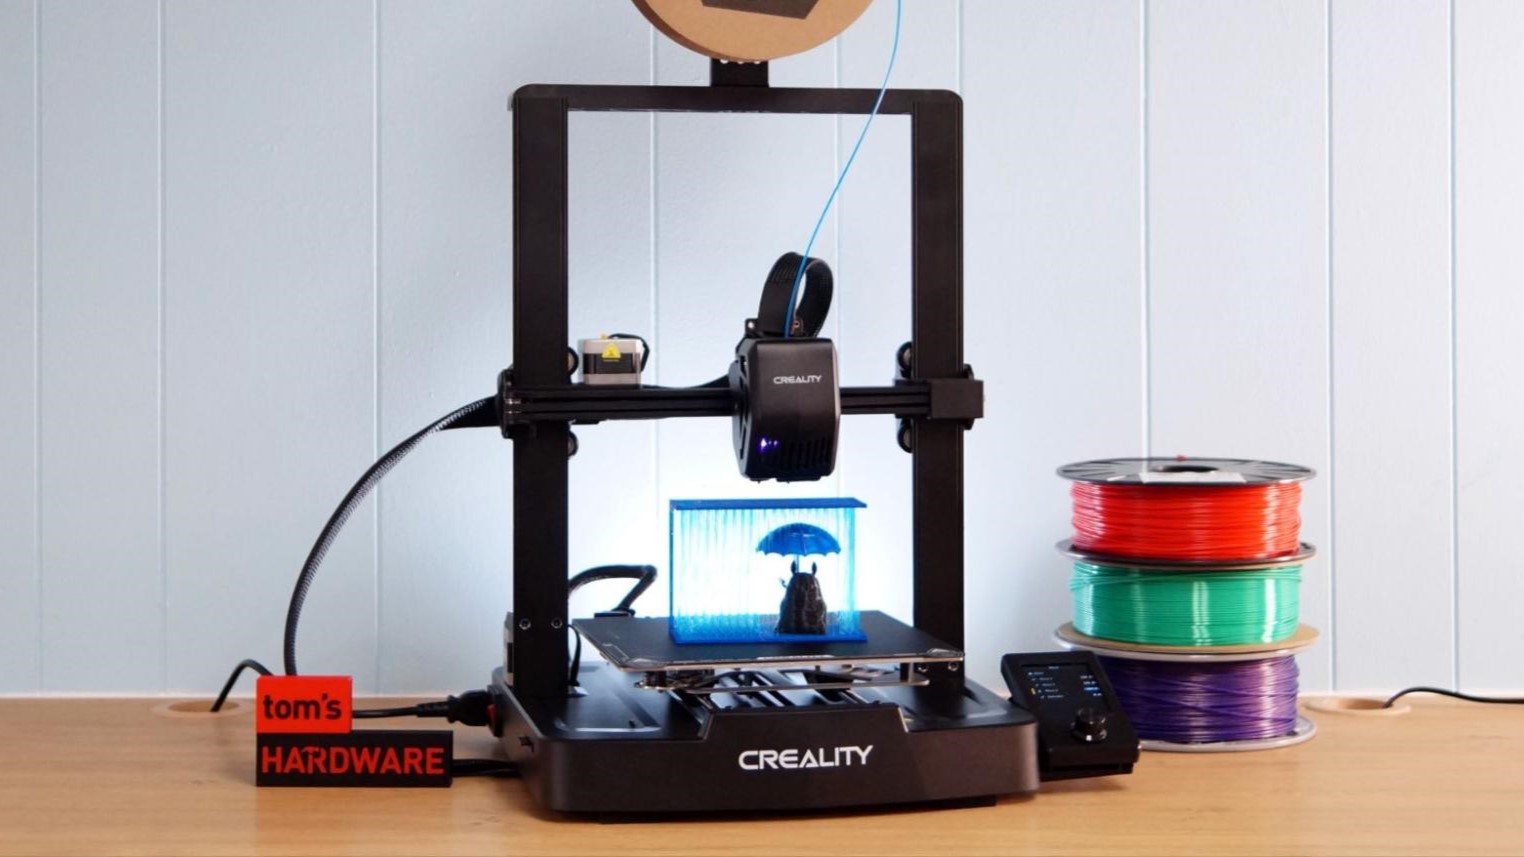
The Creality Ender 3 V3 SE is the latest incarnation of the budget friendly Ender 3 printer. It’s proof that even after making the new Core XY K1 it’s flagship model, the company hasn't abandoned its beginner-friendly origins. This machine is a great choice for beginners because, unlike older Ender 3 models, the V3 SE is simple to build, has deluxe features, and is easy to use with step-by-step instructions right on the screen.
Retailing at $199 and packed with features, the V3 SE is an incredible bargain that deserves a place among the best budget 3D printers and best 3D printers overall. A beginner’s dream, It has borrowed points from other great Creality machines, with advanced auto leveling taken from the K1 series and the S1’s extremely capable Sprite direct drive. The printer is faster than previous Enders at 250mm/s with the help of a sturdy build and linear rods on the Y axis. Its normal printing speed is around 150mm/s which allows the printer to use quieter fans.
Another surprise is something it’s missing: Wi-Fi. The Ender 3 V3 SE sticks to a traditional SD card for file transfer, so if you prefer to keep your machines off the internet or just like to keep things simple, this one is for you.
Specifications: Ender 3 V3 SE
| Build Volume | 220 x 220 x 250 mm (8.6 x 8.6 x 9.8 inches) |
| Material | PLA/PETG/TPU (up to 260 degrees) |
| Extruder Type | Direct Drive |
| Nozzle | .4 high flow |
| Build Platform | PC spring steel sheet, heated |
| Bed Leveling | Automatic |
| Filament Runout Sensor | Yes |
| Connectivity | SD card |
| Interface | 3.2" Color Screen with Knob |
| Machine Footprint | 349 x 364 x 490 mm (13.7 x 14.3 x 19.3in) |
| Machine Weight | 7.12 KG (15.7 lbs) |
Creality Ender 3 V3 SE: Included in the box
The Ender 3 V3 SE comes with everything you need to get your printer set up. You get tools to build and maintain the printer, side cutters, a metal scraper, a nozzle cleaner, a spare nozzle, and a full sized SD card with a USB adapter. You also get a small sample of white PLA to print your first model.
The SD card has a short video on assembling the printer, a PDF copy of the manual and a material settings guide. There’s also a copy of the custom slicer, Creality Print, and a cat model in both pre-sliced .gcode and .stl format.
Design of the Creality Ender 3 V3 SE
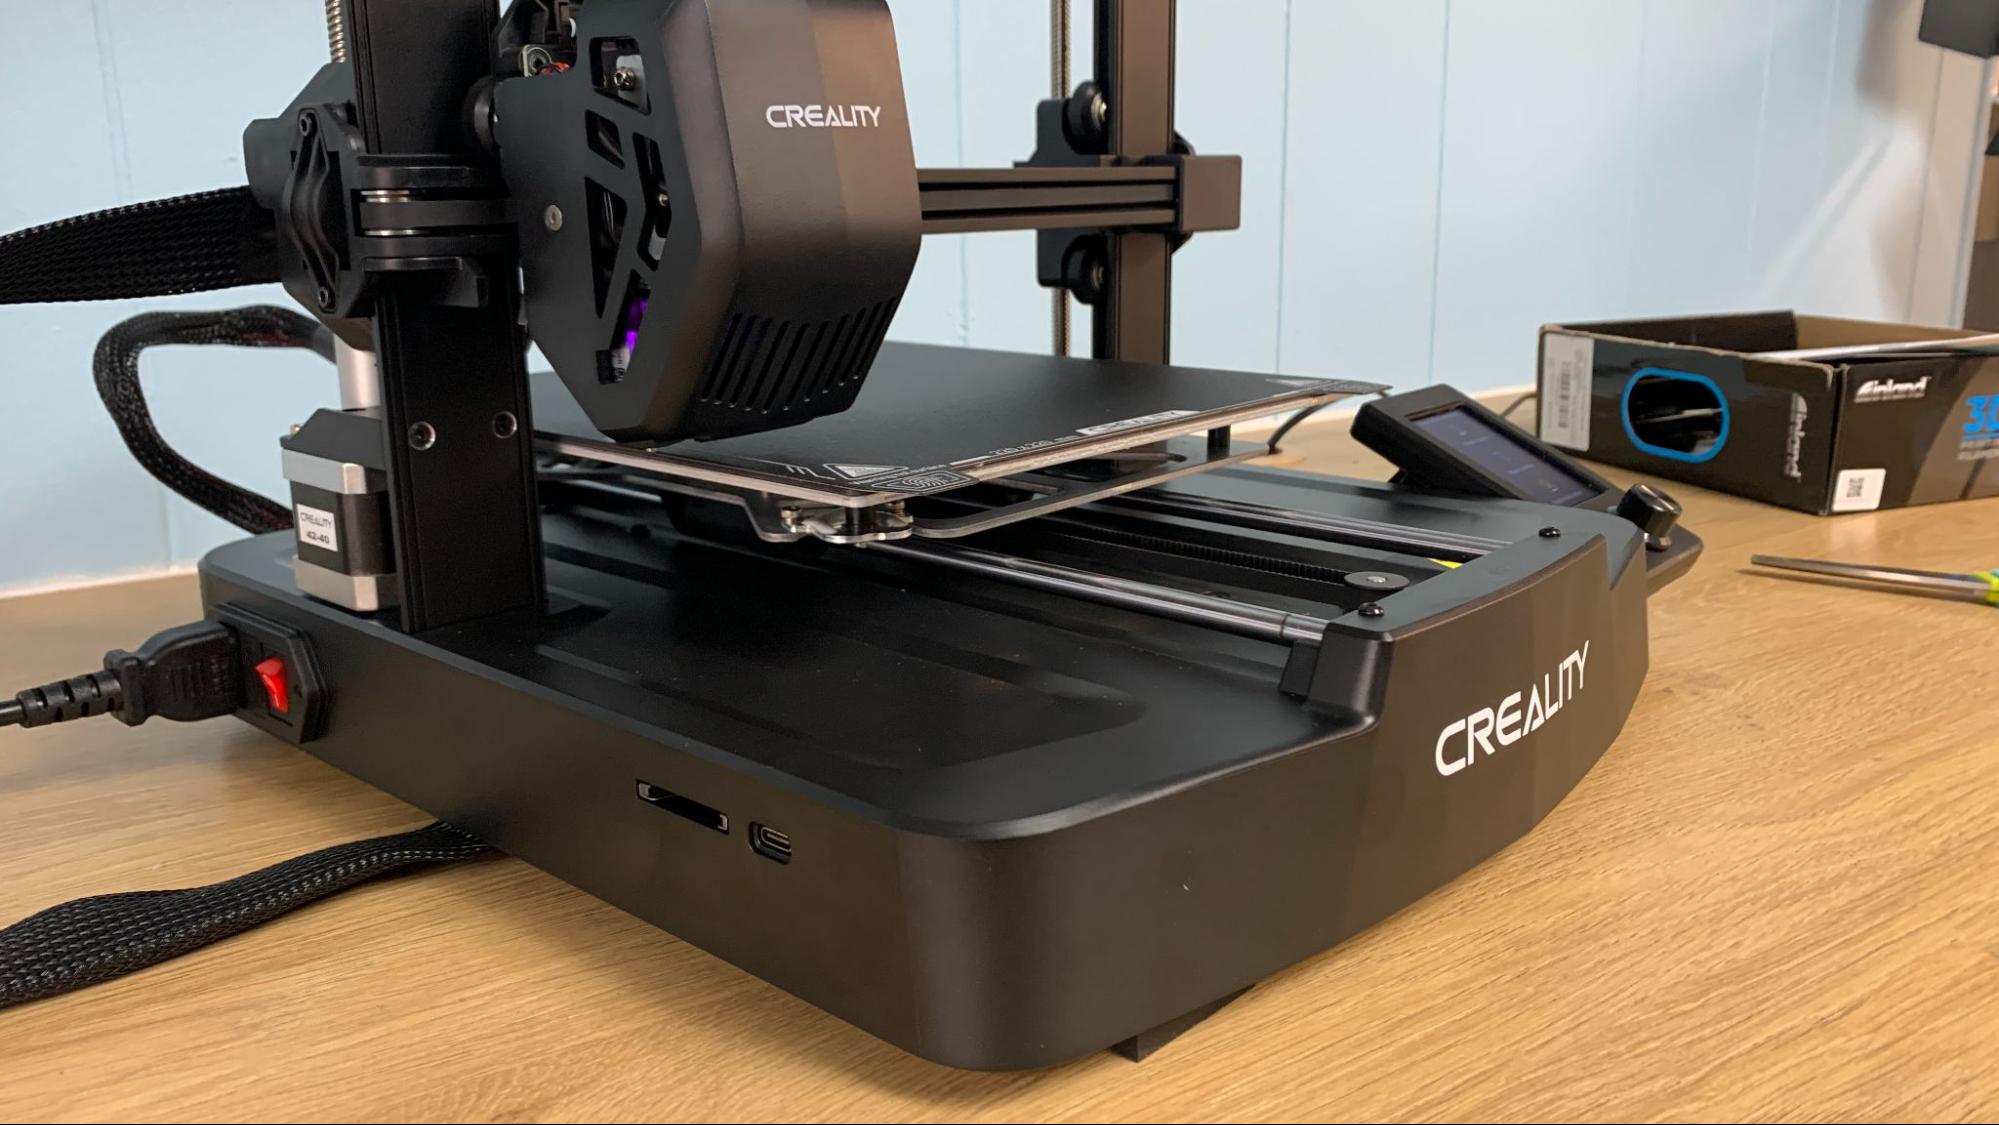
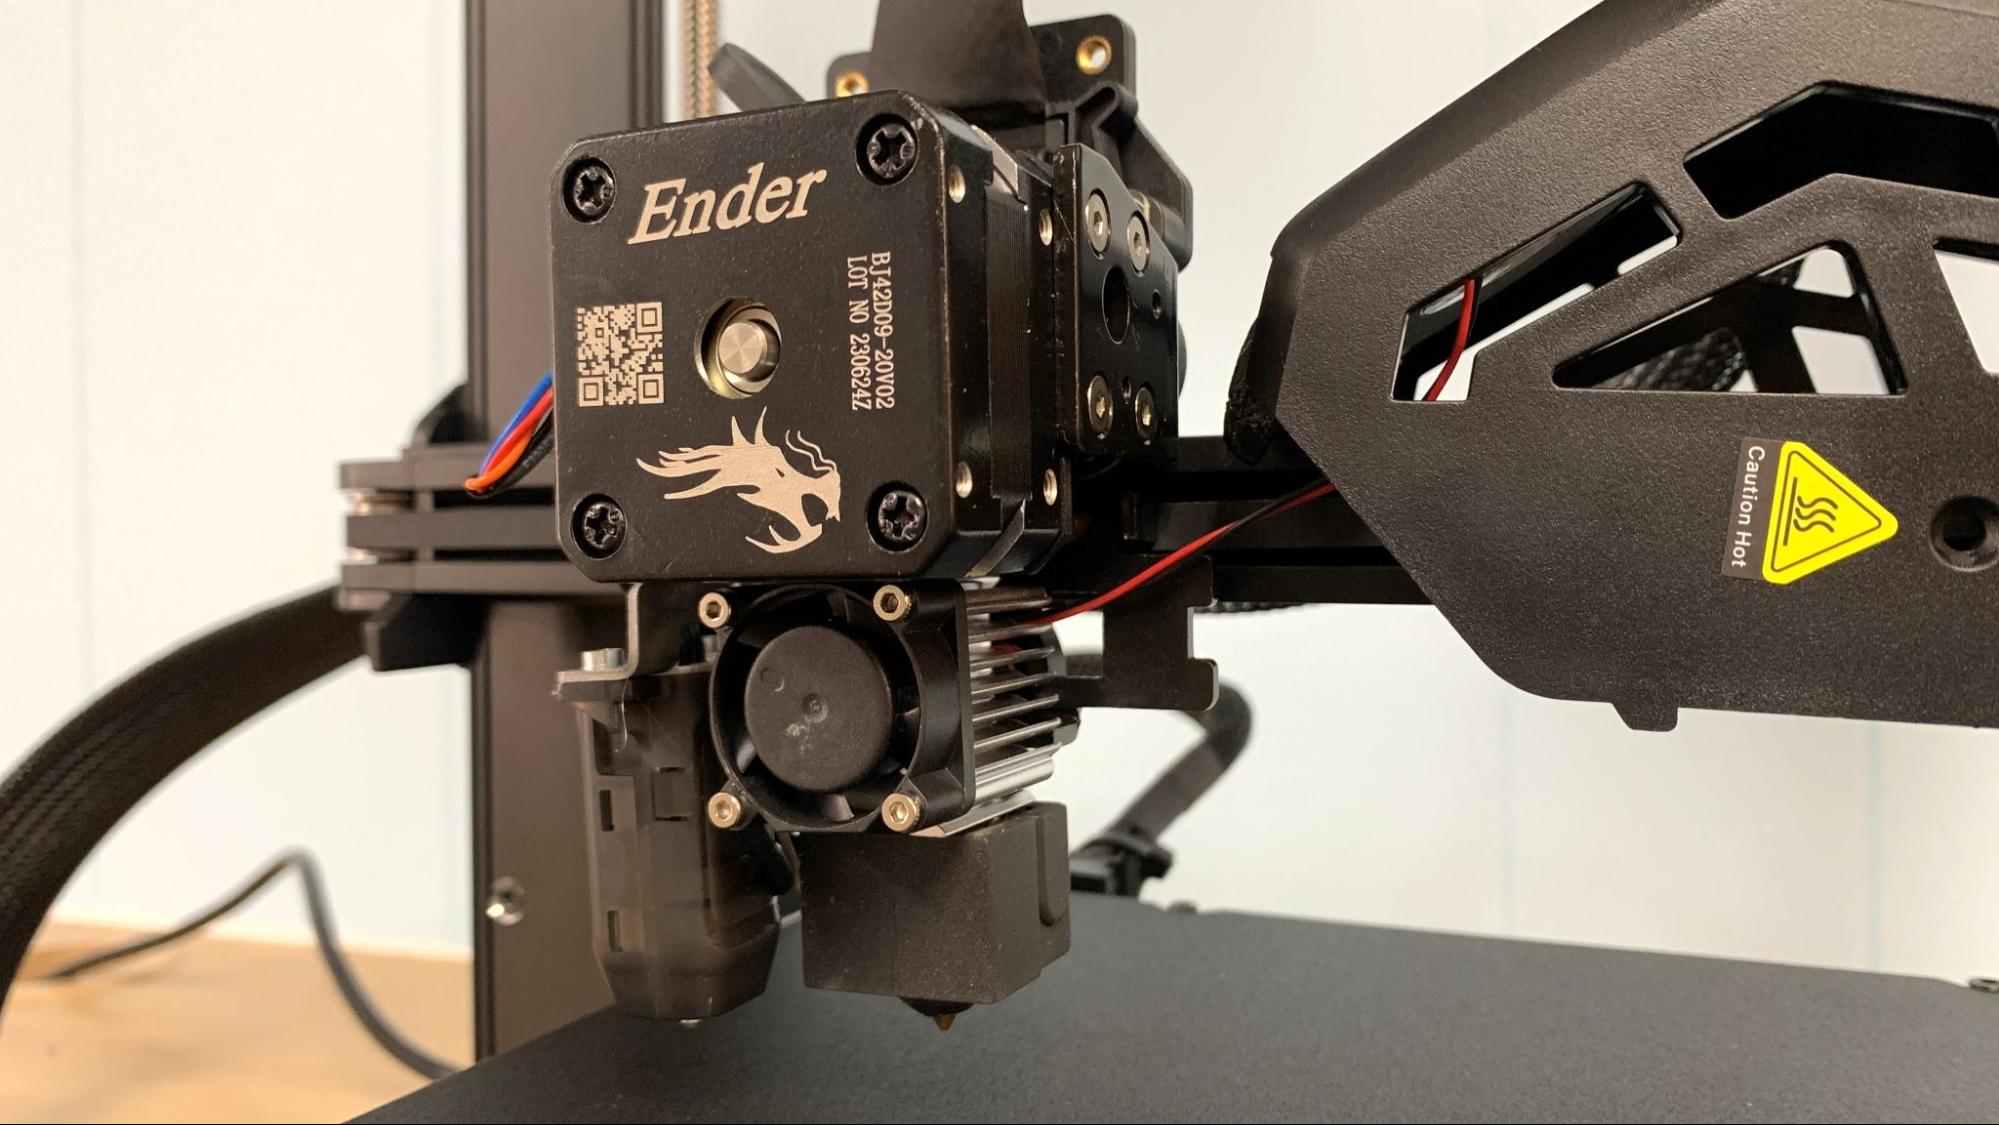
The Ender 3 V3 SE is more polished than its predecessors in the budget line up with a sleek plastic base and a smooth hood on the tool head. It has Creality’s direct drive Sprite extruder, which has amazing grip when it comes to printing TPU. The extruder has a small front mounted fan to blow on the hotend’s cooling blades, and a second fan tucked into the shroud with twin ducts directed at the nozzle. This is actually a better system than what we saw on the more expensive Ender 3 S1 Pro, which had oddly placed fans that blocked your view of the nozzle.
The machine is 90% pre-built, only needing a few screws to finish the assembly. The base has slots to hold the gantry in position while you tighten everything down – which also helps your printer stay nicely square.
Get Tom's Hardware's best news and in-depth reviews, straight to your inbox.
Like the S1, the Ender 3 V3 SE has a CR Touch for auto bed leveling, but the bed is hard mounted on linear rods with metal wheels. This is another improvement over more expensive previous models. It also borrows some tech from the K1 – a bed mounted sensor to assist with Z height adjustment to make leveling your printer completely hands free.
Unlike the Ender 3 V2, the V3 SE has dual Z axis synced with a belt at the top and just one stepper motor. This will help tall keep prints steady and even. Another huge improvement over all previous Ender machines is the LED screen interface. It’s still a knob driven affair, but the menu is simple and sensible to navigate.
Sadly, we’re back to the PC coated build plate, but at least this one isn’t as floppy as Creality’s old fridge magnet style build plates. The PC coating is backed with a metal plate, but it's still a bit too sticky and hard to clean for me.
Assembling the Creality Ender 3 V3 SE
The Creality Ender 3 V3 SE is mostly pre-assembled and comes together with a handful of neatly labeled bolts and screws. If you find video easier to follow than the paper manual, you can watch a good assembly video on the included SD card.
Assembly takes all of 15 minutes as the gantry only needs 3 screws per side and the tool head is pre-mounted. You’ll also have to screw on the spool holder and screen. Wiring is very simple as everything is already attached to the frame and only needs to be plugged in.
Last, flip the power supply switch to match your main household electric, which is 115V in the U.S.
Leveling the Creality Ender 3 V3 SE
The Ender 3 V3 SE comes with a CR Touch installed, plus pressure sensors in the bed to set the Z height. Leveling is as easy as pressing the big Level icon on the home screen. You’ll still want to check the first layer – my machine was a tad too close – but this can be done while watching your first print and adjusted on the fly.
To level the printer for the first time, select Level from the settings menu. The machine will immediately begin setting the Z height, with helpful icons lighting up to let you know what it’s doing along the way. Once the Z height is set, click ok to begin the leveling. It will warm up and tap 16 point across the bed and display a chart to let you know how much it's compensating at each point.
Loading Filament on the Creality Ender 3 V3 SE
To load filament click Prepare on the home screen. Then select “preheat” and your desired type of filament. It will display the temperature at the bottom of the screen. Press Extrude to load filament or Retract to remove. The machine will then guide you through the process with simple instructions and helpful graphics.
Preparing Files / Software for Creality Ender 3 V3 SE
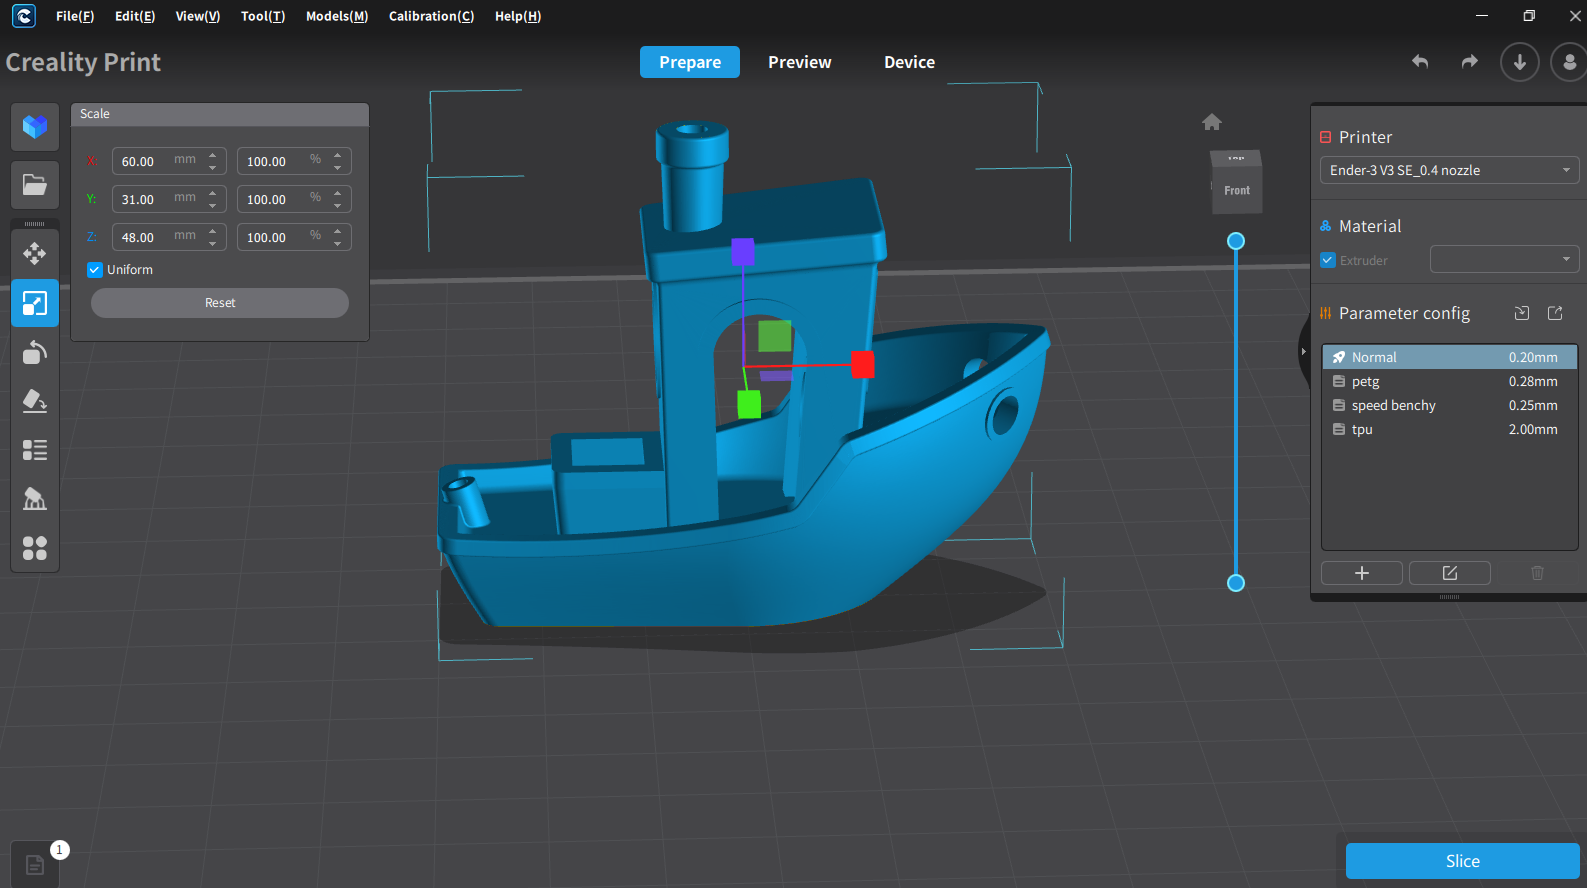
The Ender 3 V3 SE comes with a copy of Creality Print, a slicer that Creality has been perfecting for some time. It’s also compatible with Cura and PrusaSlicer, but you’ll need to build your own profile. You can base one off any previous Ender 3, though I would suggest downloading Creality’s slicer to copy the speed settings.
Printing on the Creality Ender 3 V3 SE
The Creality Ender 3 V3 SE printed great right out of the box. My first print was a pre-sliced Cat from the SD card using the sample PLA provided. It printed clean with just a bit of wisps between the ears, as expected.
The sample coil will only get you started, so you’ll definitely want to check out our list of the best filaments for 3D printing.
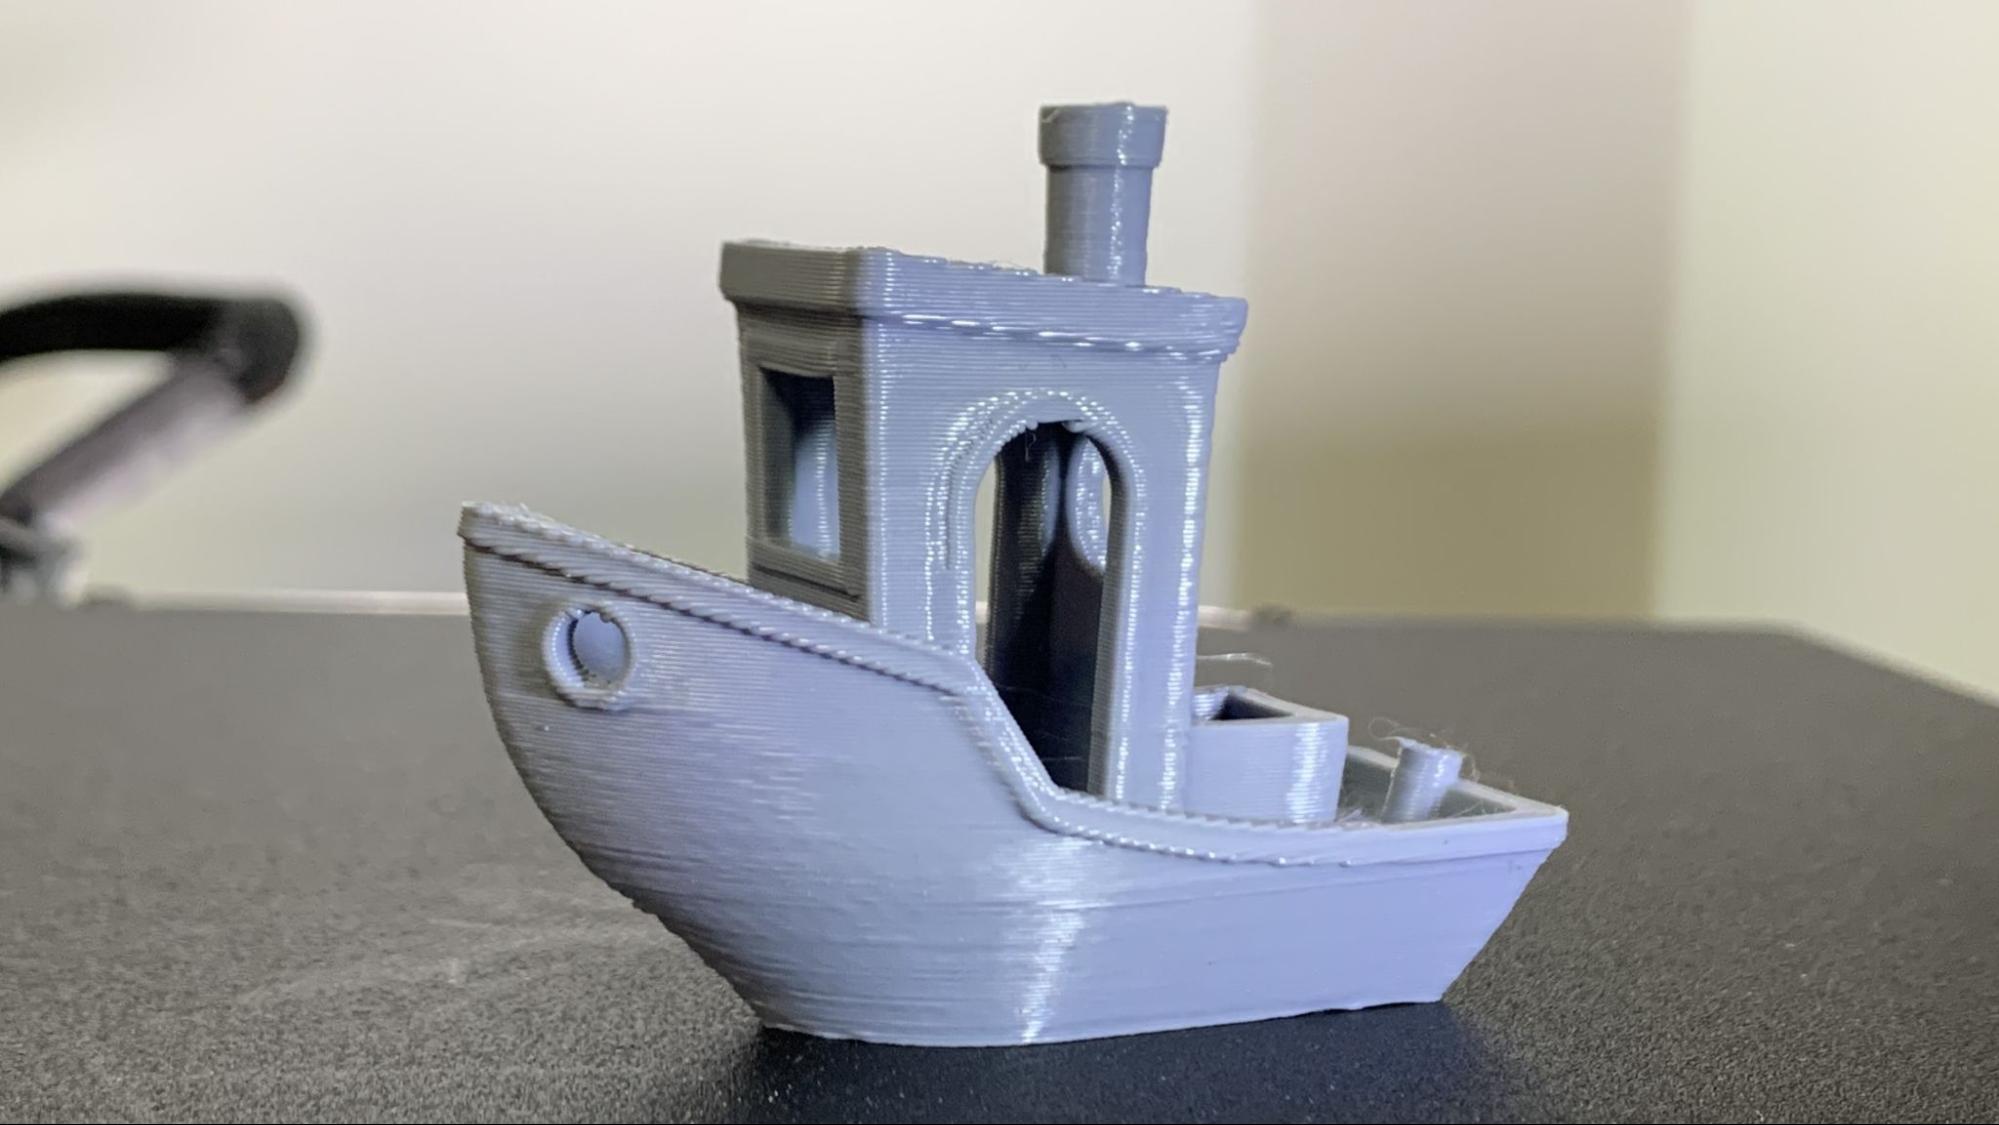
Next I printed a Benchy, using Speed Boat Rules (2 walls, 3 top and bottom layers, 10% grid infill, a .25 layer height and .5 layer width). The print won’t break any speed recorders, but still completed in a respectable 41 minutes because the Ender 3 V3 SE is has its acceleration rate limited to 2500 mm/s. The layers are smoooth everywhere except the bow of the ship, but there’s no ringing or layer shifts. This was printed in ordinary gray Inland PLA.
I printed 3D Print Bunny’s amazing string art illusion in ProtoPasta’s Cobalt Blue Translucent PLA. The print is a bit more wispy than I hoped for, but all the strings printed as expected. This could probably be improved by tuning the retraction setting or even drying the filament. This printed in 5 hours and 51 minutes at 180 mm/s and a .2 mm layer height.
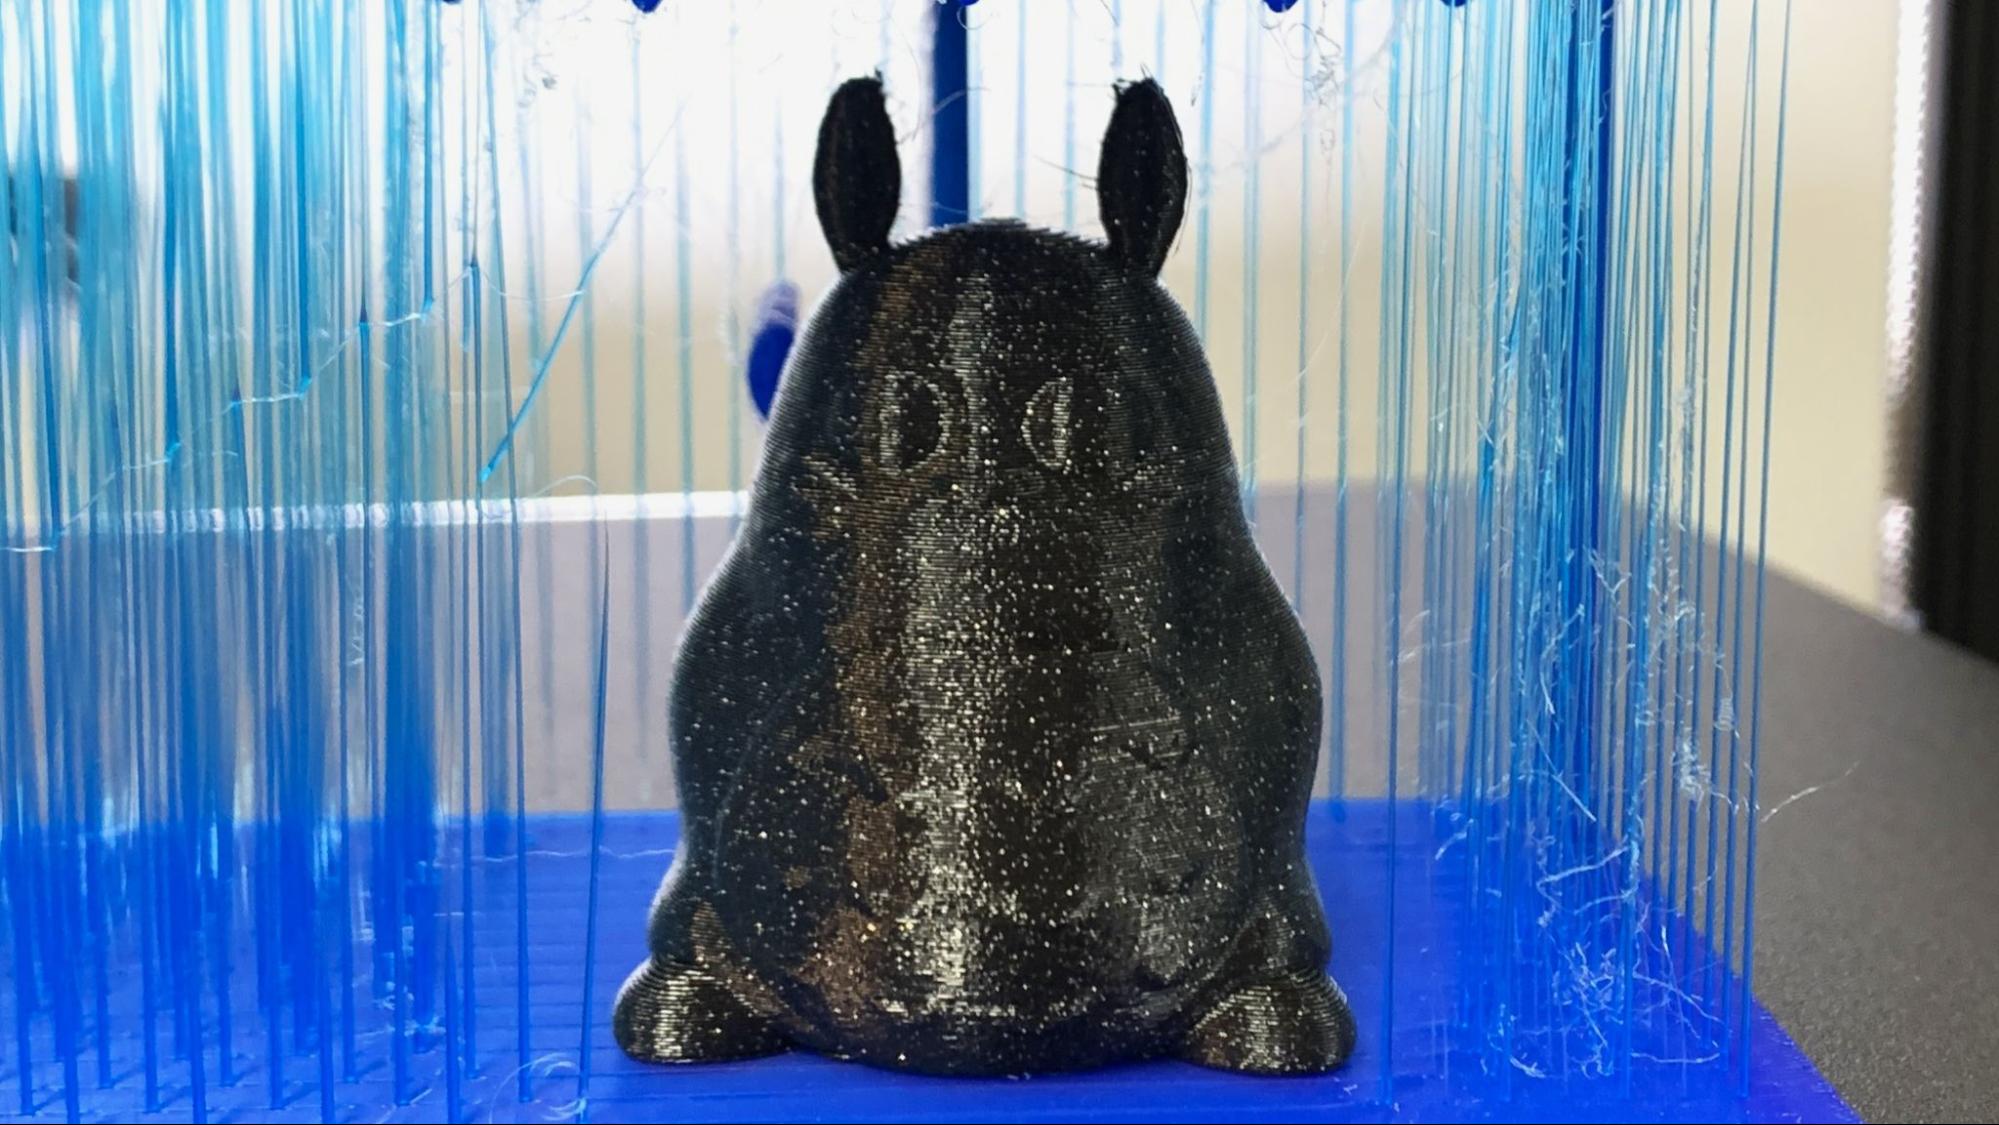
The rainy day print needed a character to stand under the umbrella, and who better than Totoro? I scaled the model down to 50% and printed in Empire Strikes Black PETG, also from ProtoPasta. It’s a bit wispy about the ears, but otherwise a nice clean print. It only took 51 minutes to print at 120 mm/s and a .2mm layer height.
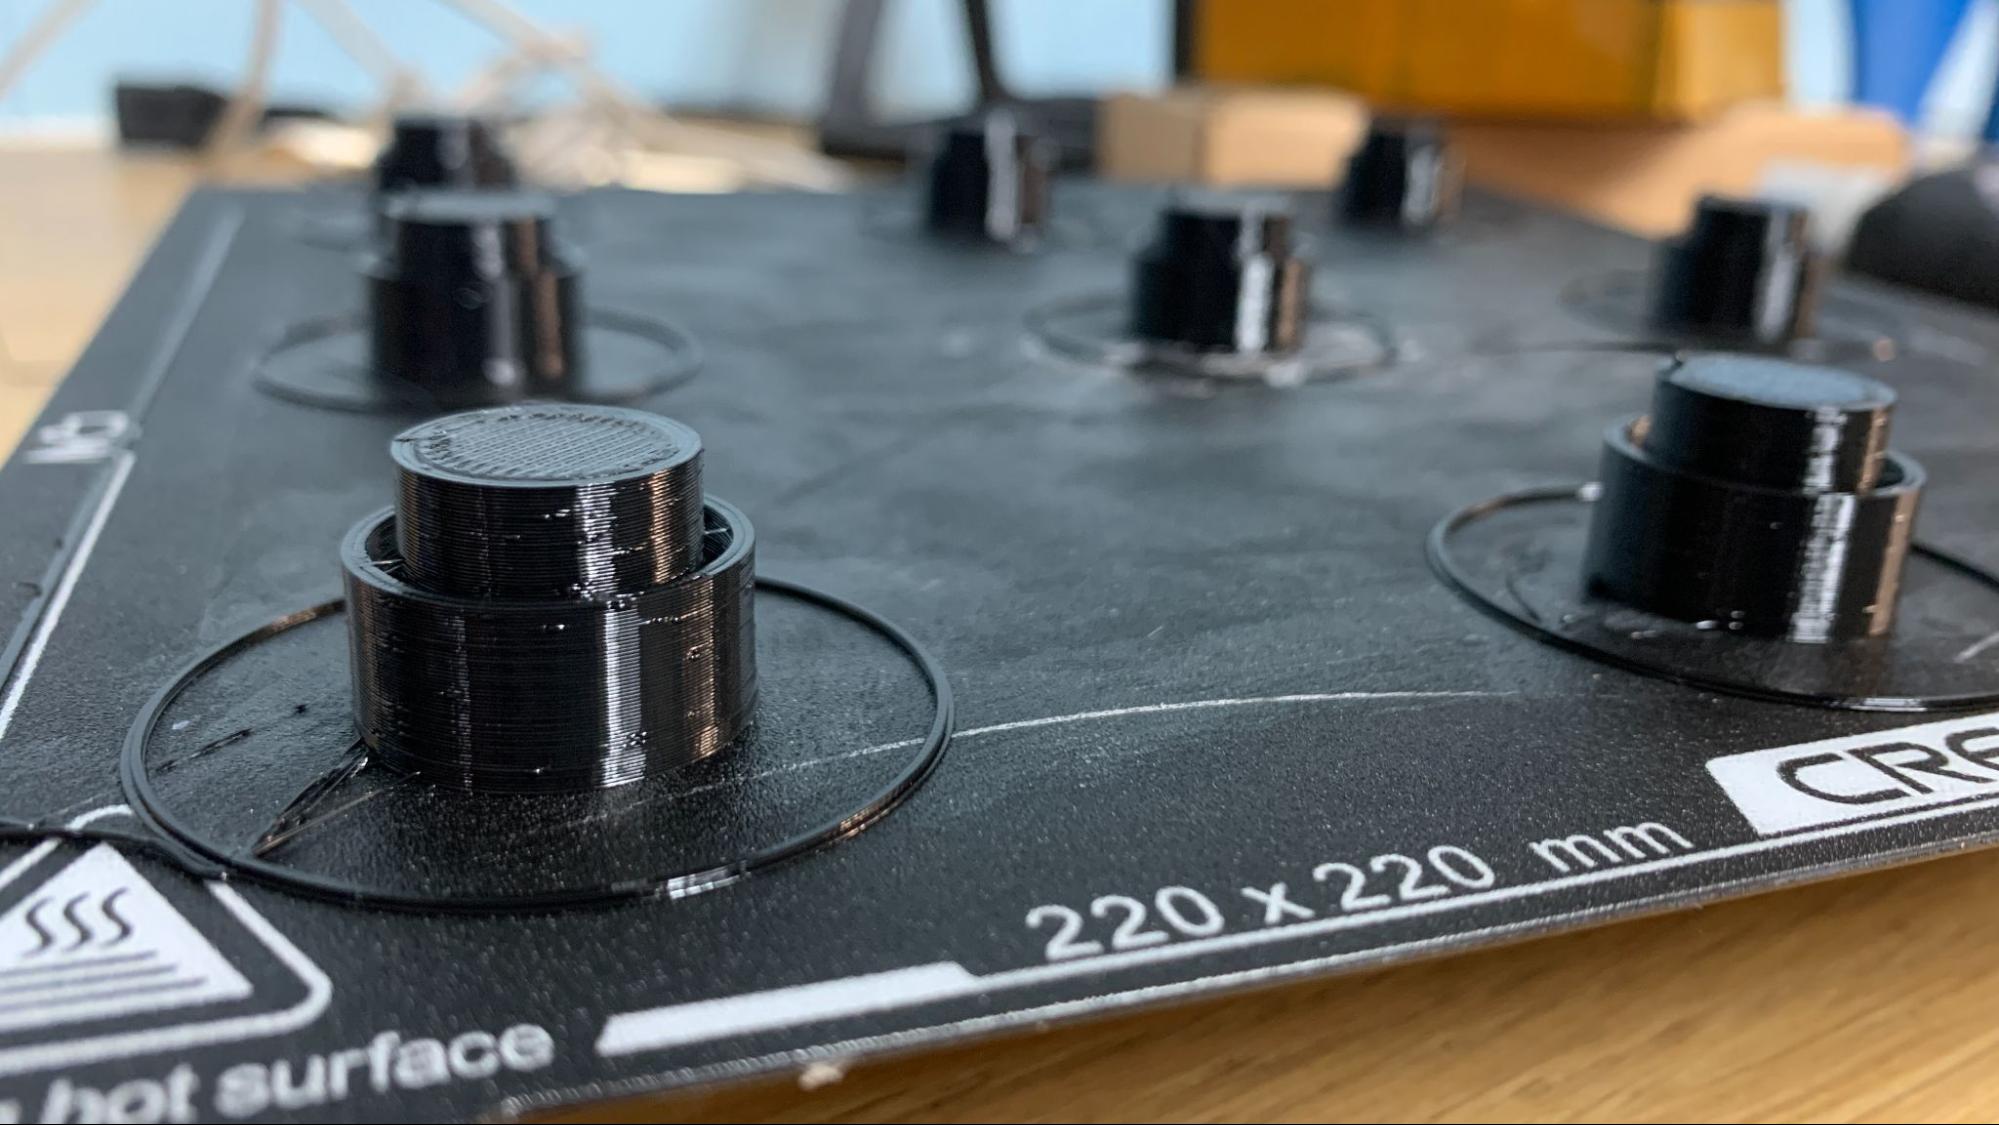
I needed a practical TPU print as I just installed new racks for filament storage. I modeled these caps in Tinkercad and printed them one at a time to prevent stringing between the pieces. The bumps are from the Z seam, which I set at random. This took 1 hour and 14 minutes running at 40mm/s with a layer height of .2mm.
Bottom Line
The Ender 3 V3 SE is the latest addition to the Ender 3 lineup and, at $199, underscores Creality's commitment to keeping 3D printers affordable. The inclusion of premium auto bed leveling and a modern LED interface helps set a new standard for “beginner” 3D printers. Its robust build ensures quality prints with increased speeds – at least when compared to previous Ender 3.
It’s not a true speedster like the K1, or the competition’s Klippered Neptune 4, but for those on a budget seeking a reliable and user-friendly experience, the Ender 3 V3 SE hits the mark. It’s sure to find a home with both beginners and experienced makers looking to set up a print farm.
If you’re looking for a superfast budget 3D printer with Klipper pre-installed, check out the Sovol SV07, retailing for $339. Or take a look at the AnkerMake M5c, a printer with loads of speed and a convenient phone app for $399.
MORE: Best 3D Printers
MORE: Best Budget 3D Printers
MORE: Best Resin 3D Printers

Denise Bertacchi is a Contributing Writer for Tom’s Hardware US, covering 3D printing. Denise has been crafting with PCs since she discovered Print Shop had clip art on her Apple IIe. She loves reviewing 3D printers because she can mix all her passions: printing, photography, and writing.
