Blue Shift: Building a Custom-Cooled PC in the Spectre III Case
A silent blue spectre of last-gen power.
Get Tom's Hardware's best news and in-depth reviews, straight to your inbox.
You are now subscribed
Your newsletter sign-up was successful
Filling
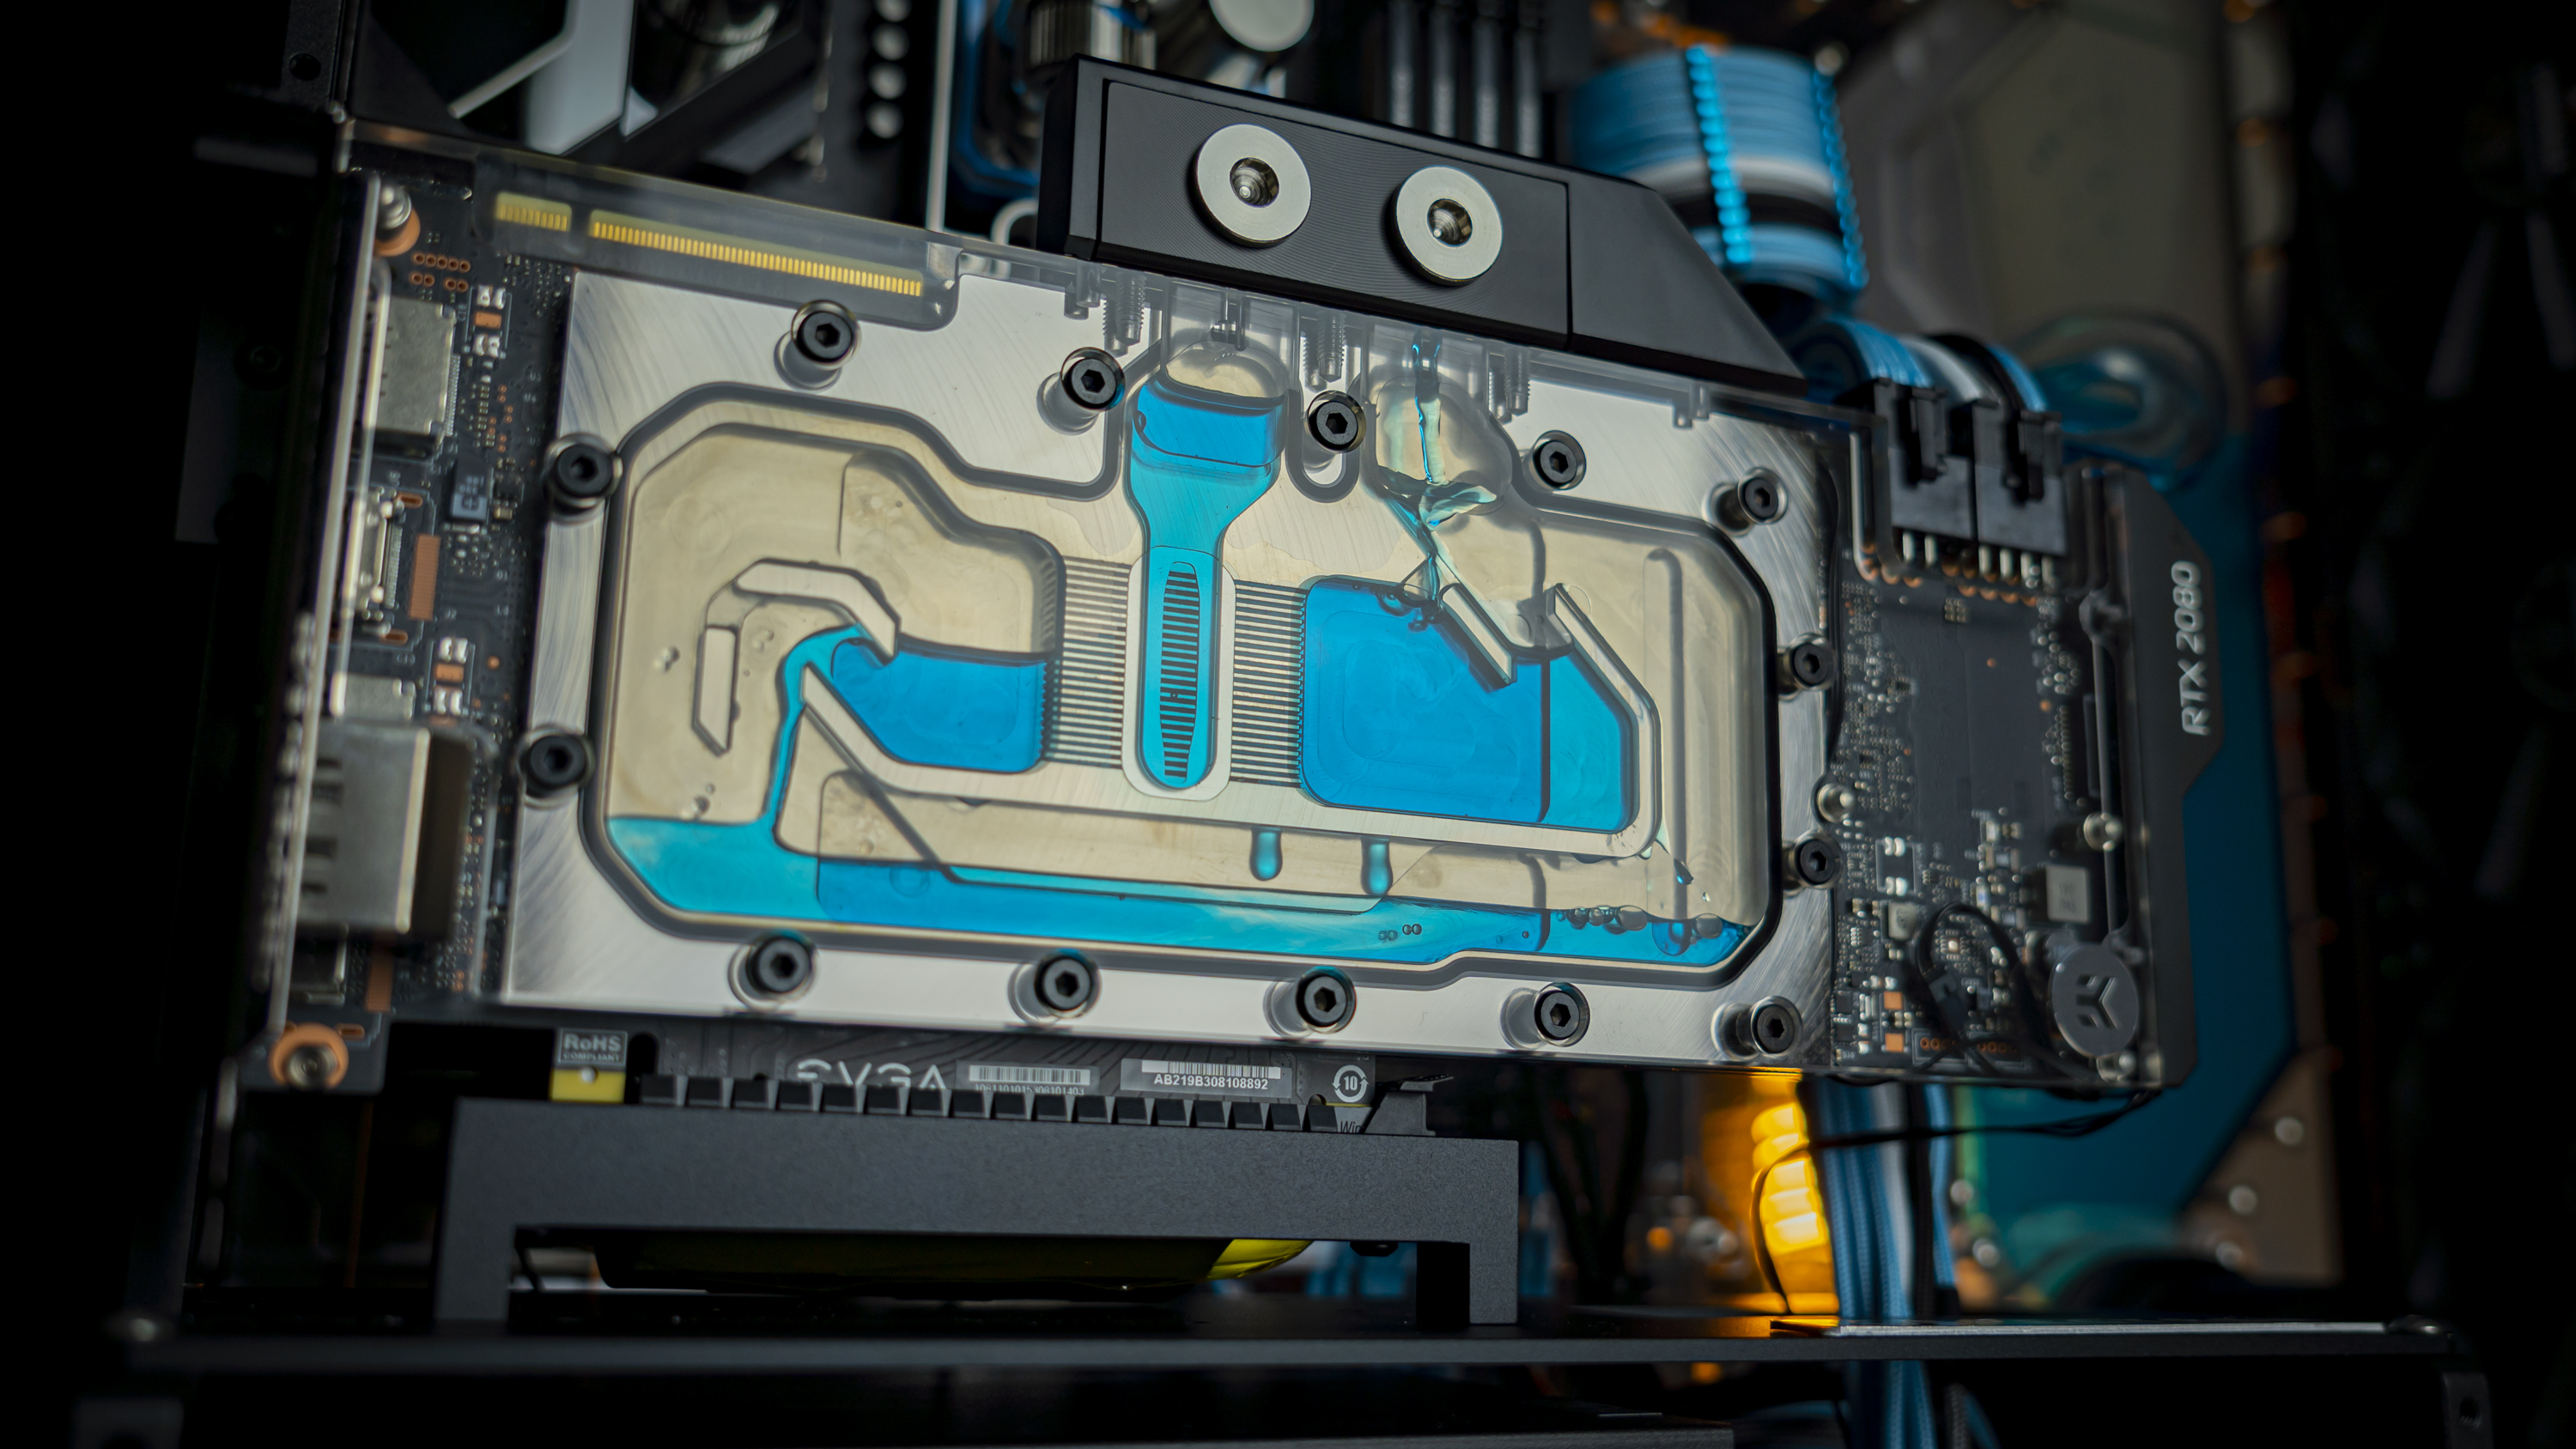
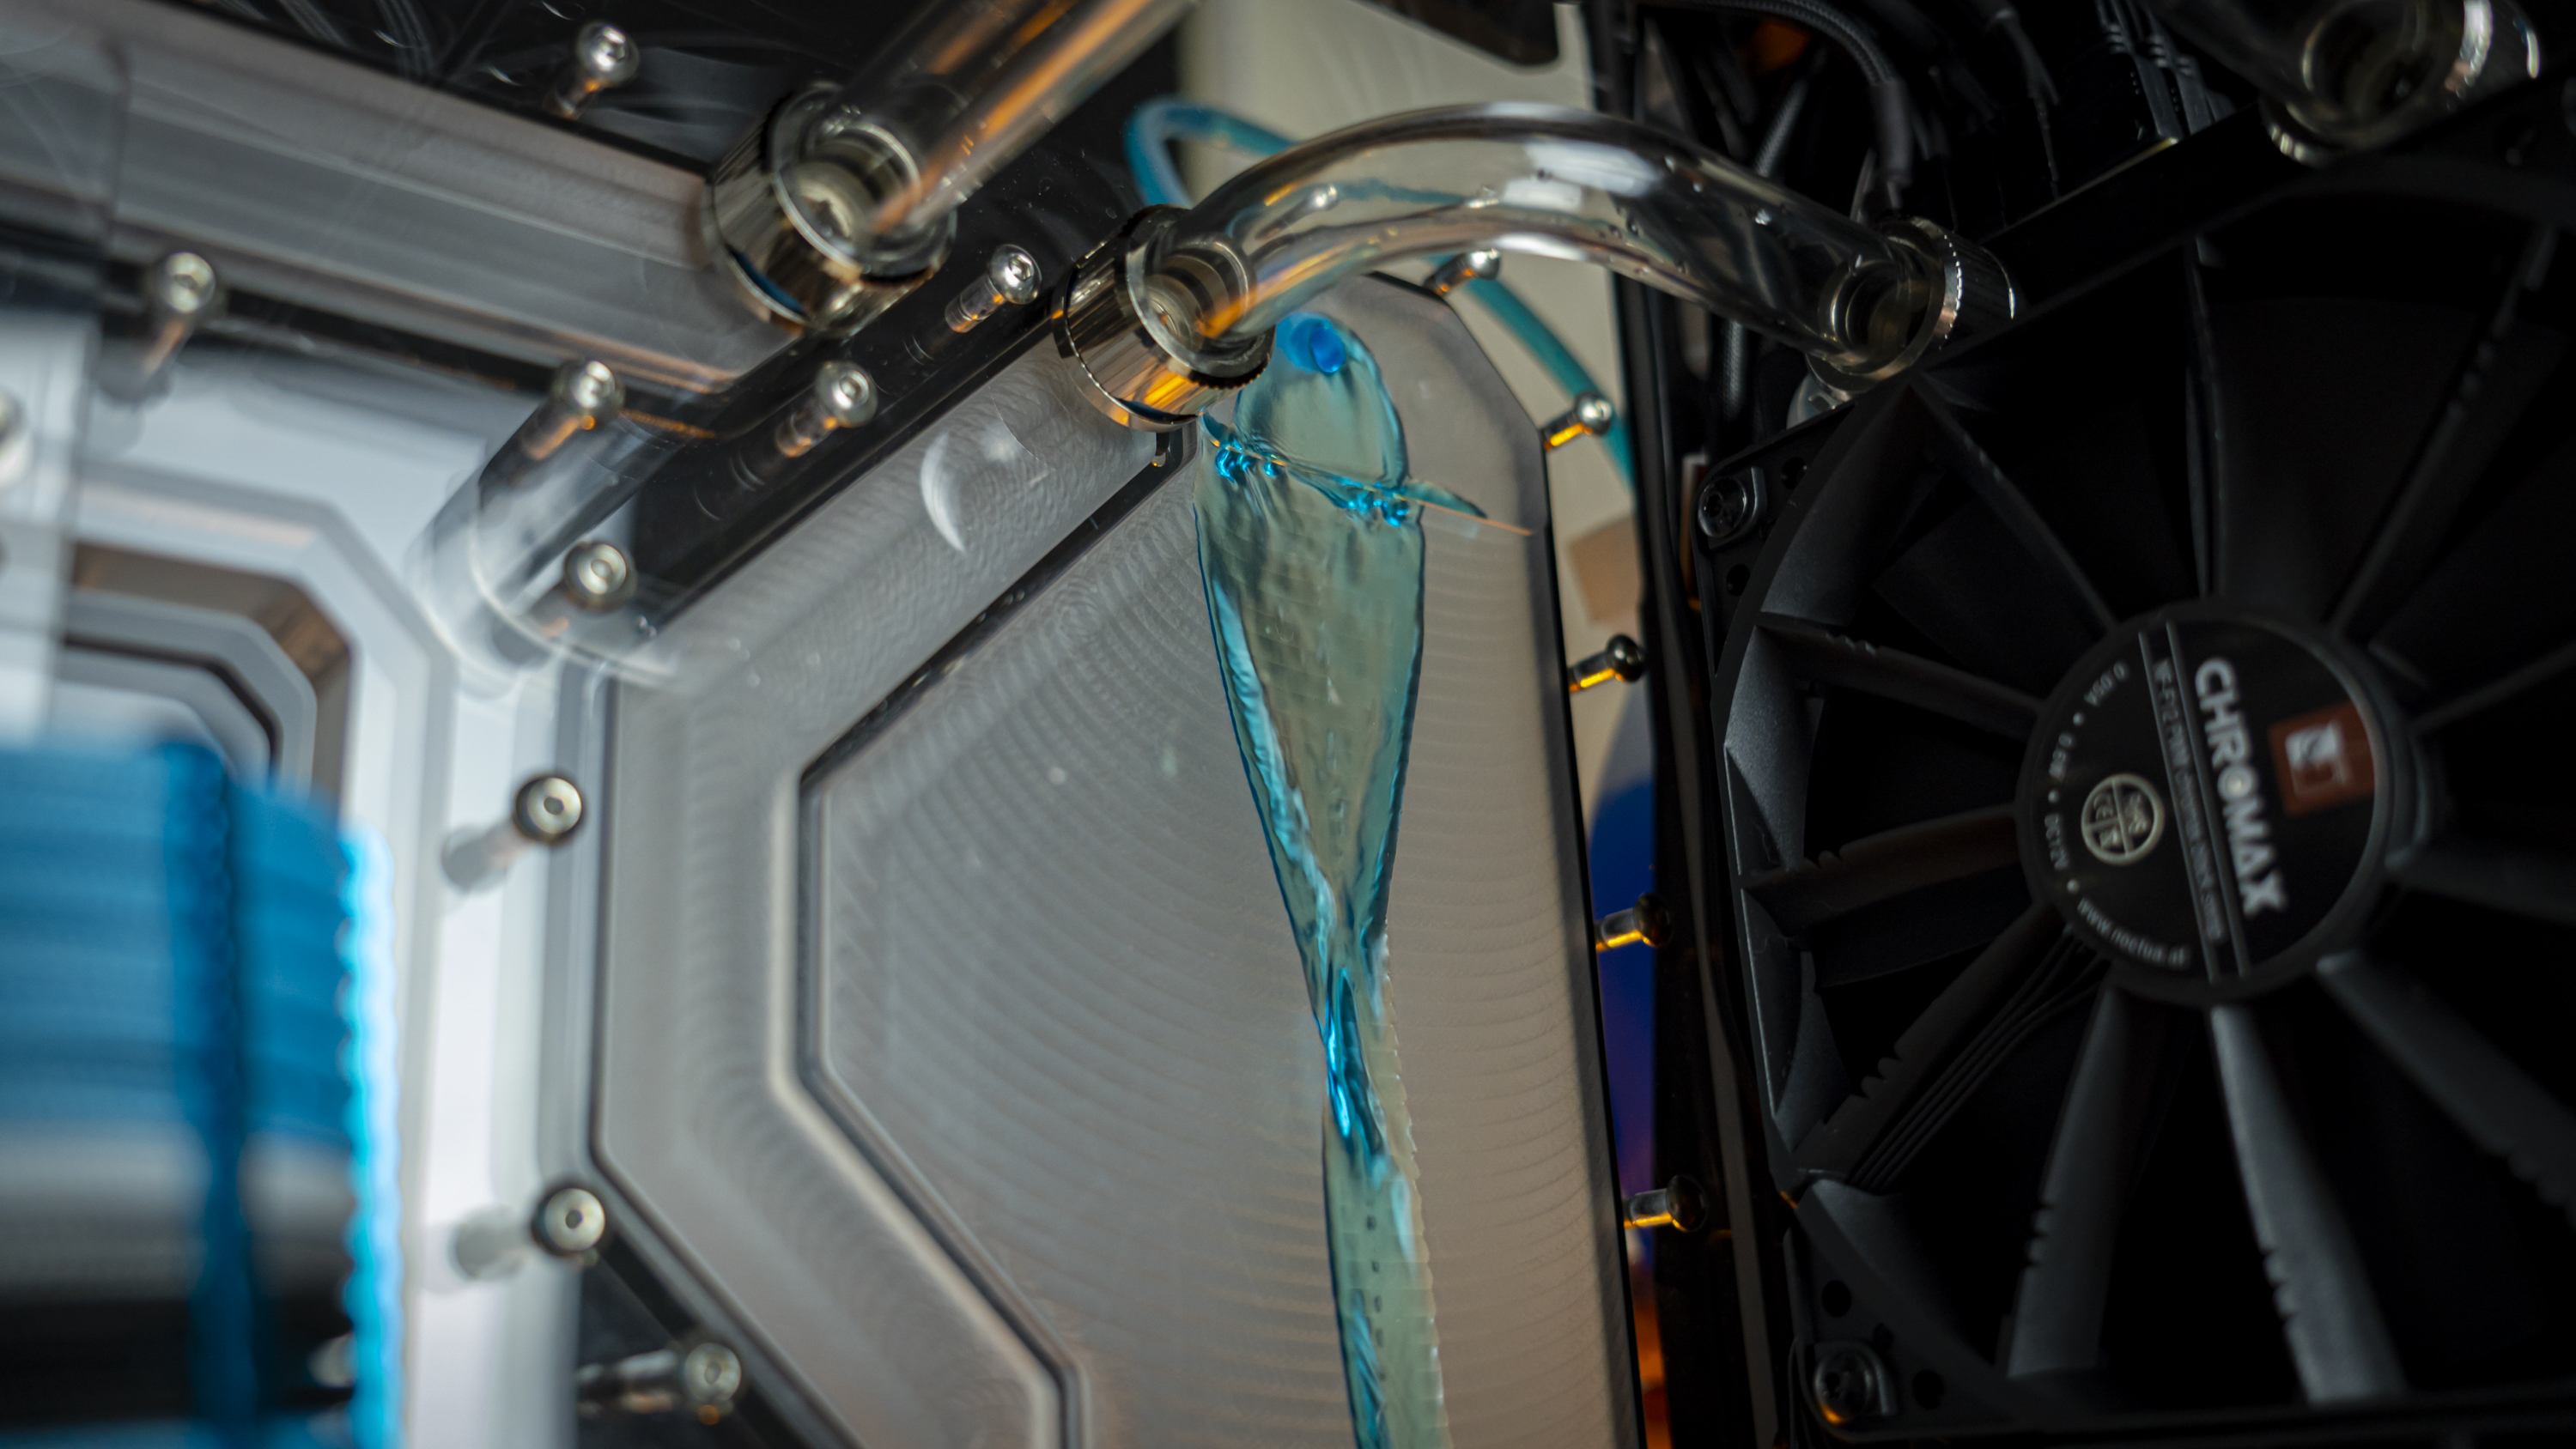
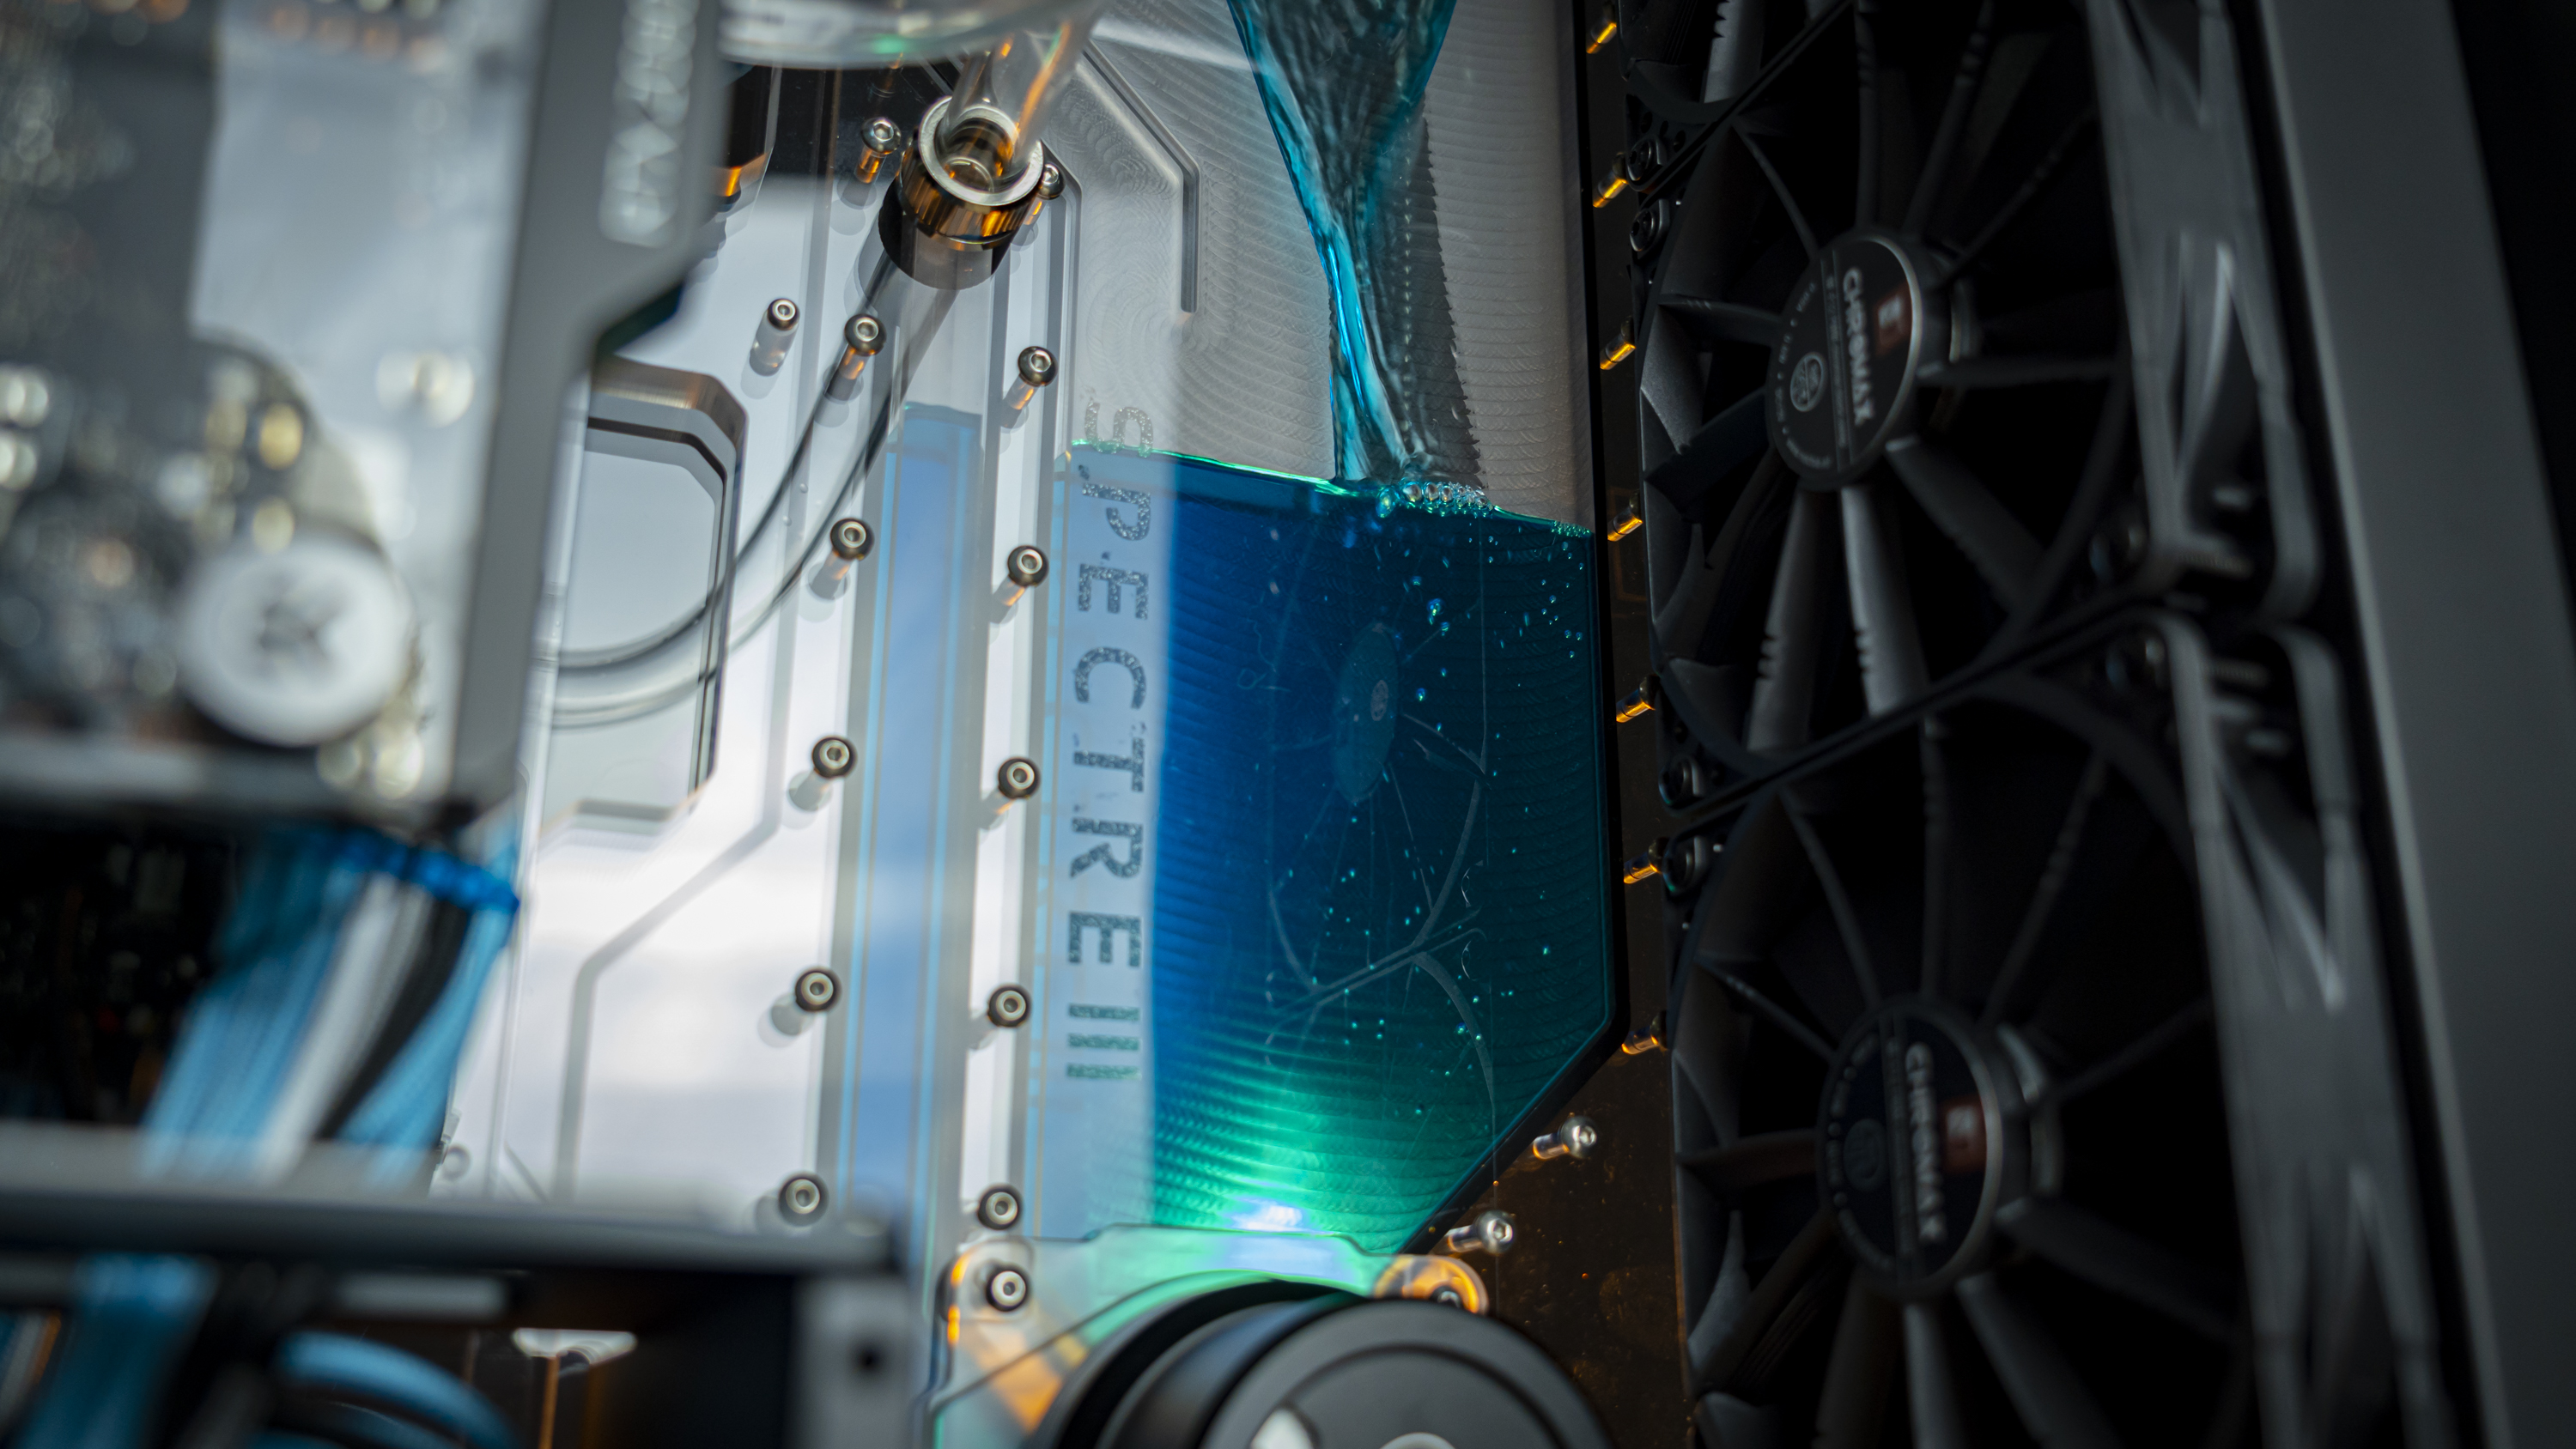


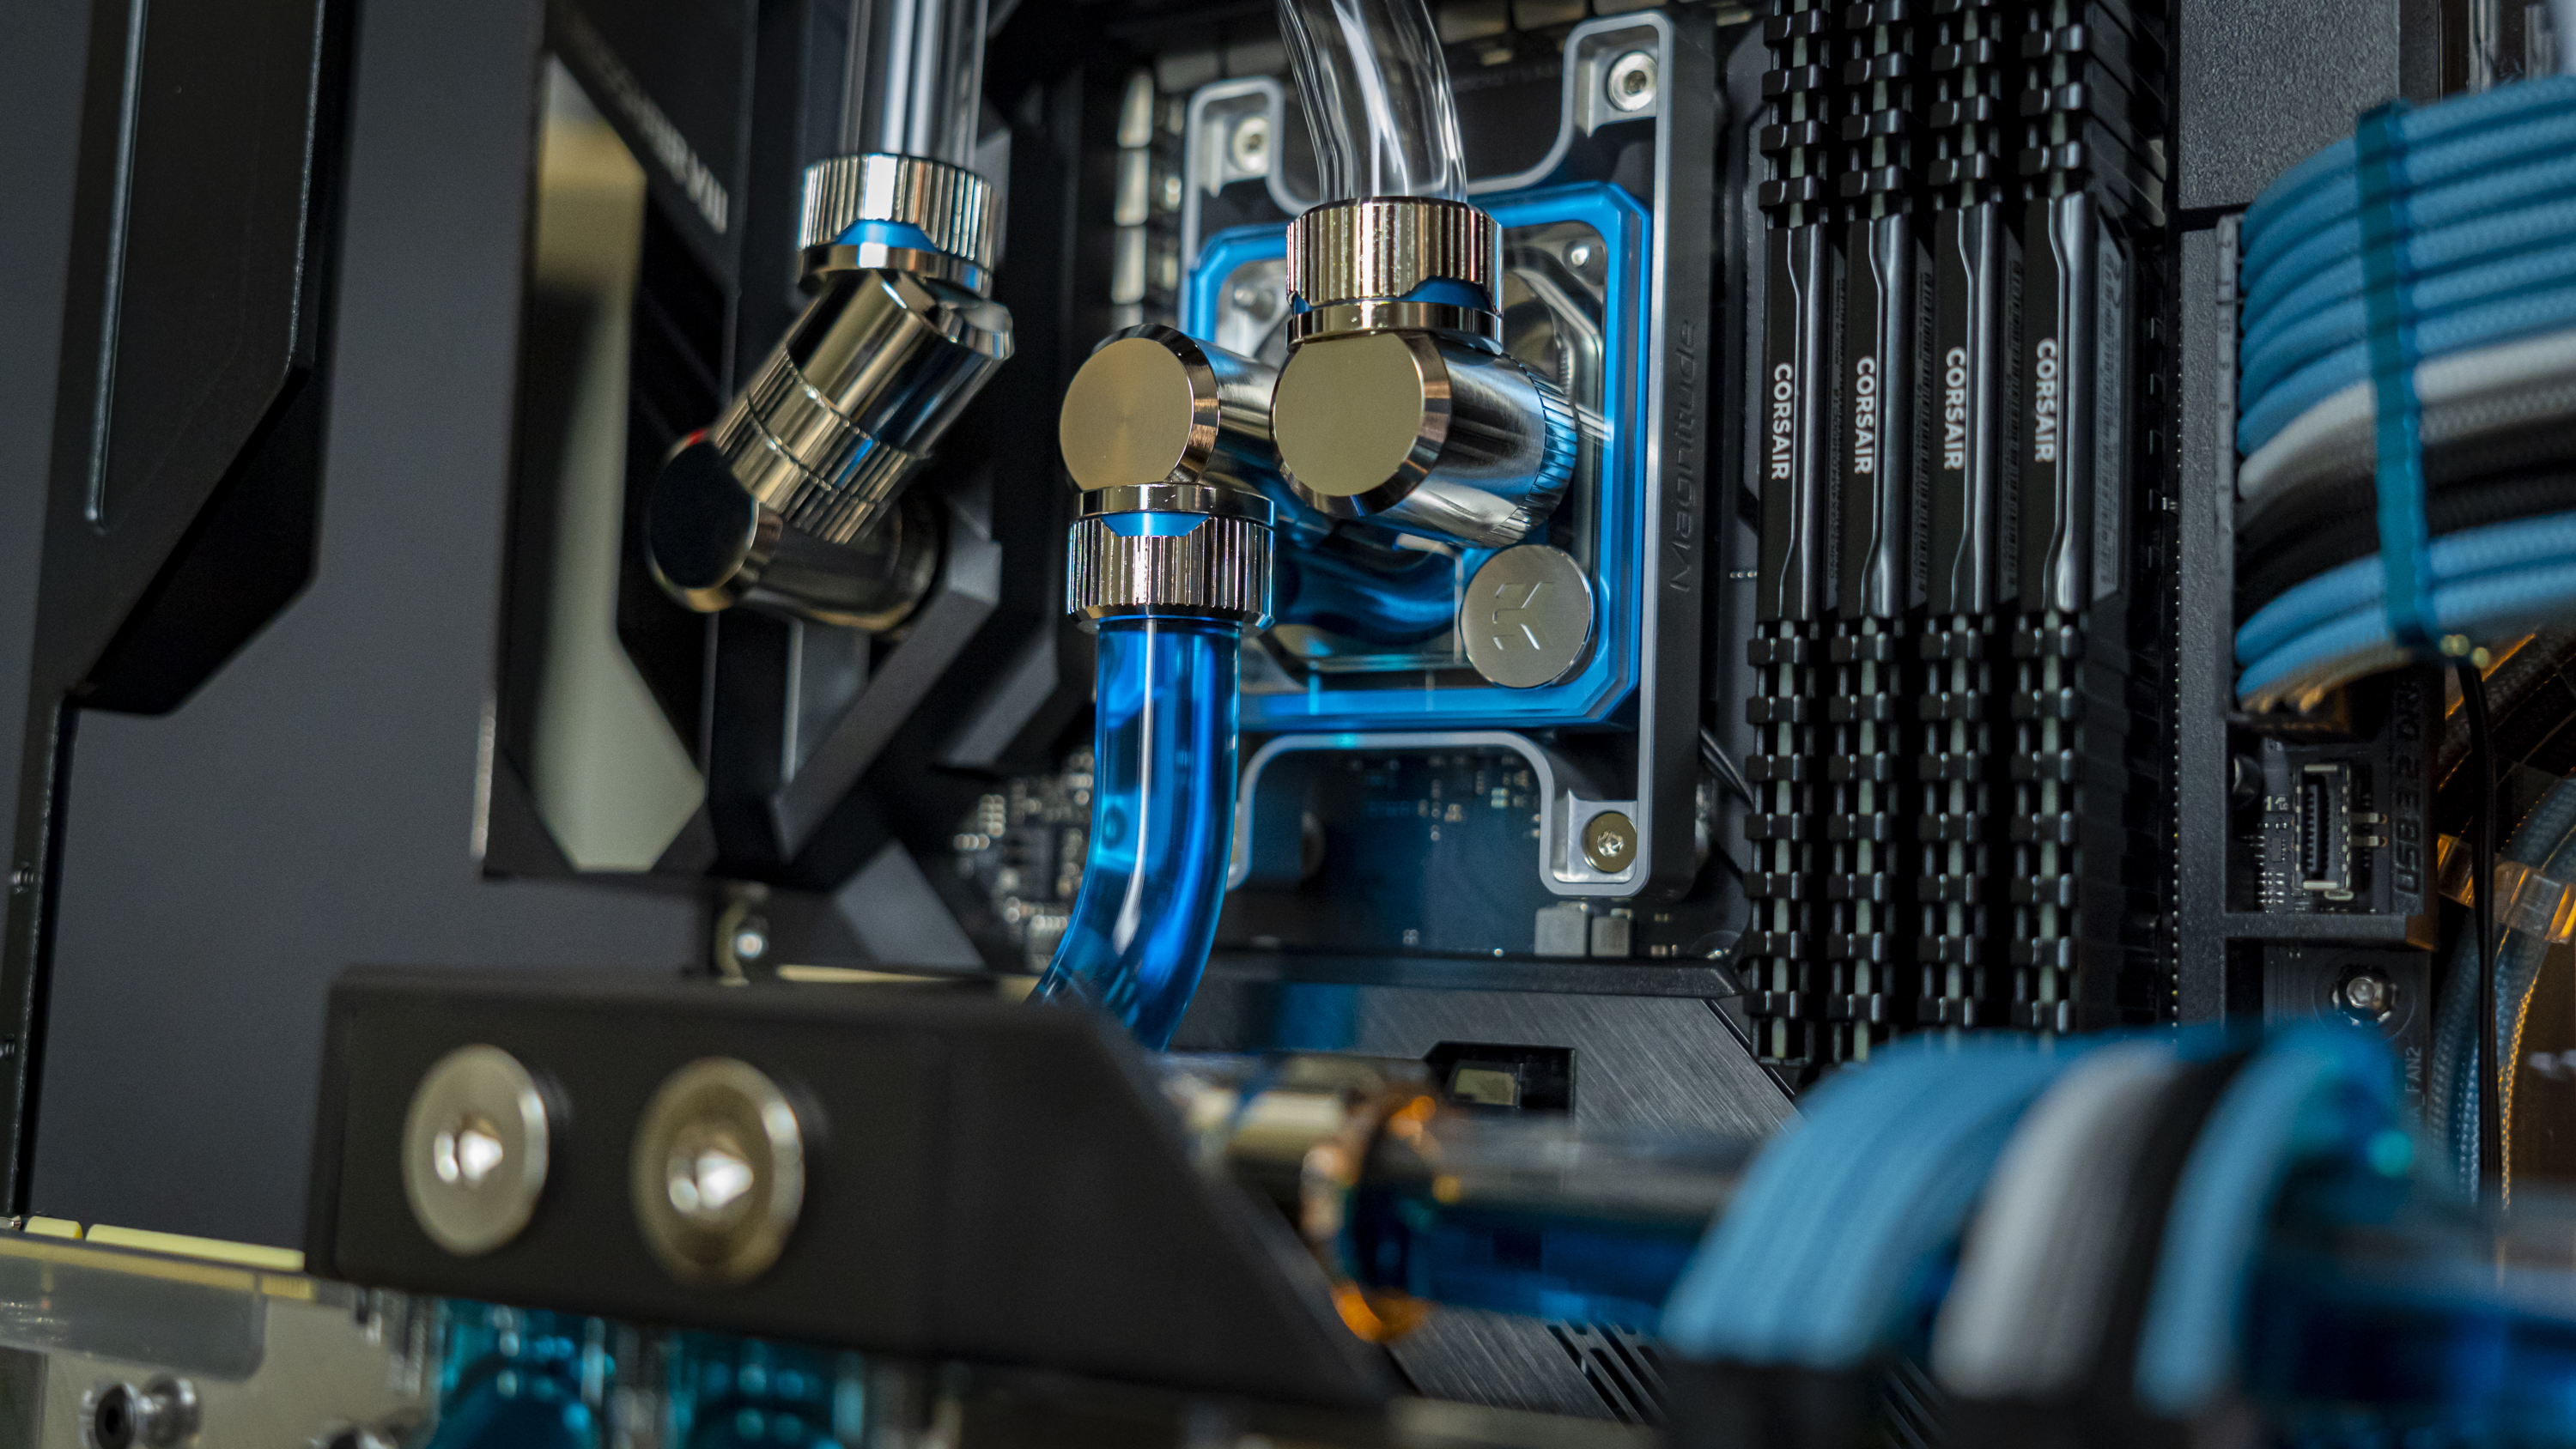
Filling the system was quite straightforward. I first got an external power supply jumped it, hooked it up to the pump, but kept it unplugged. Then, after I filled the reservoir up with fluid, I turned it on briefly until the reservoir ran empty. Then I filled up the reservoir again and turned on the pump again, cycling this until the loop was full.
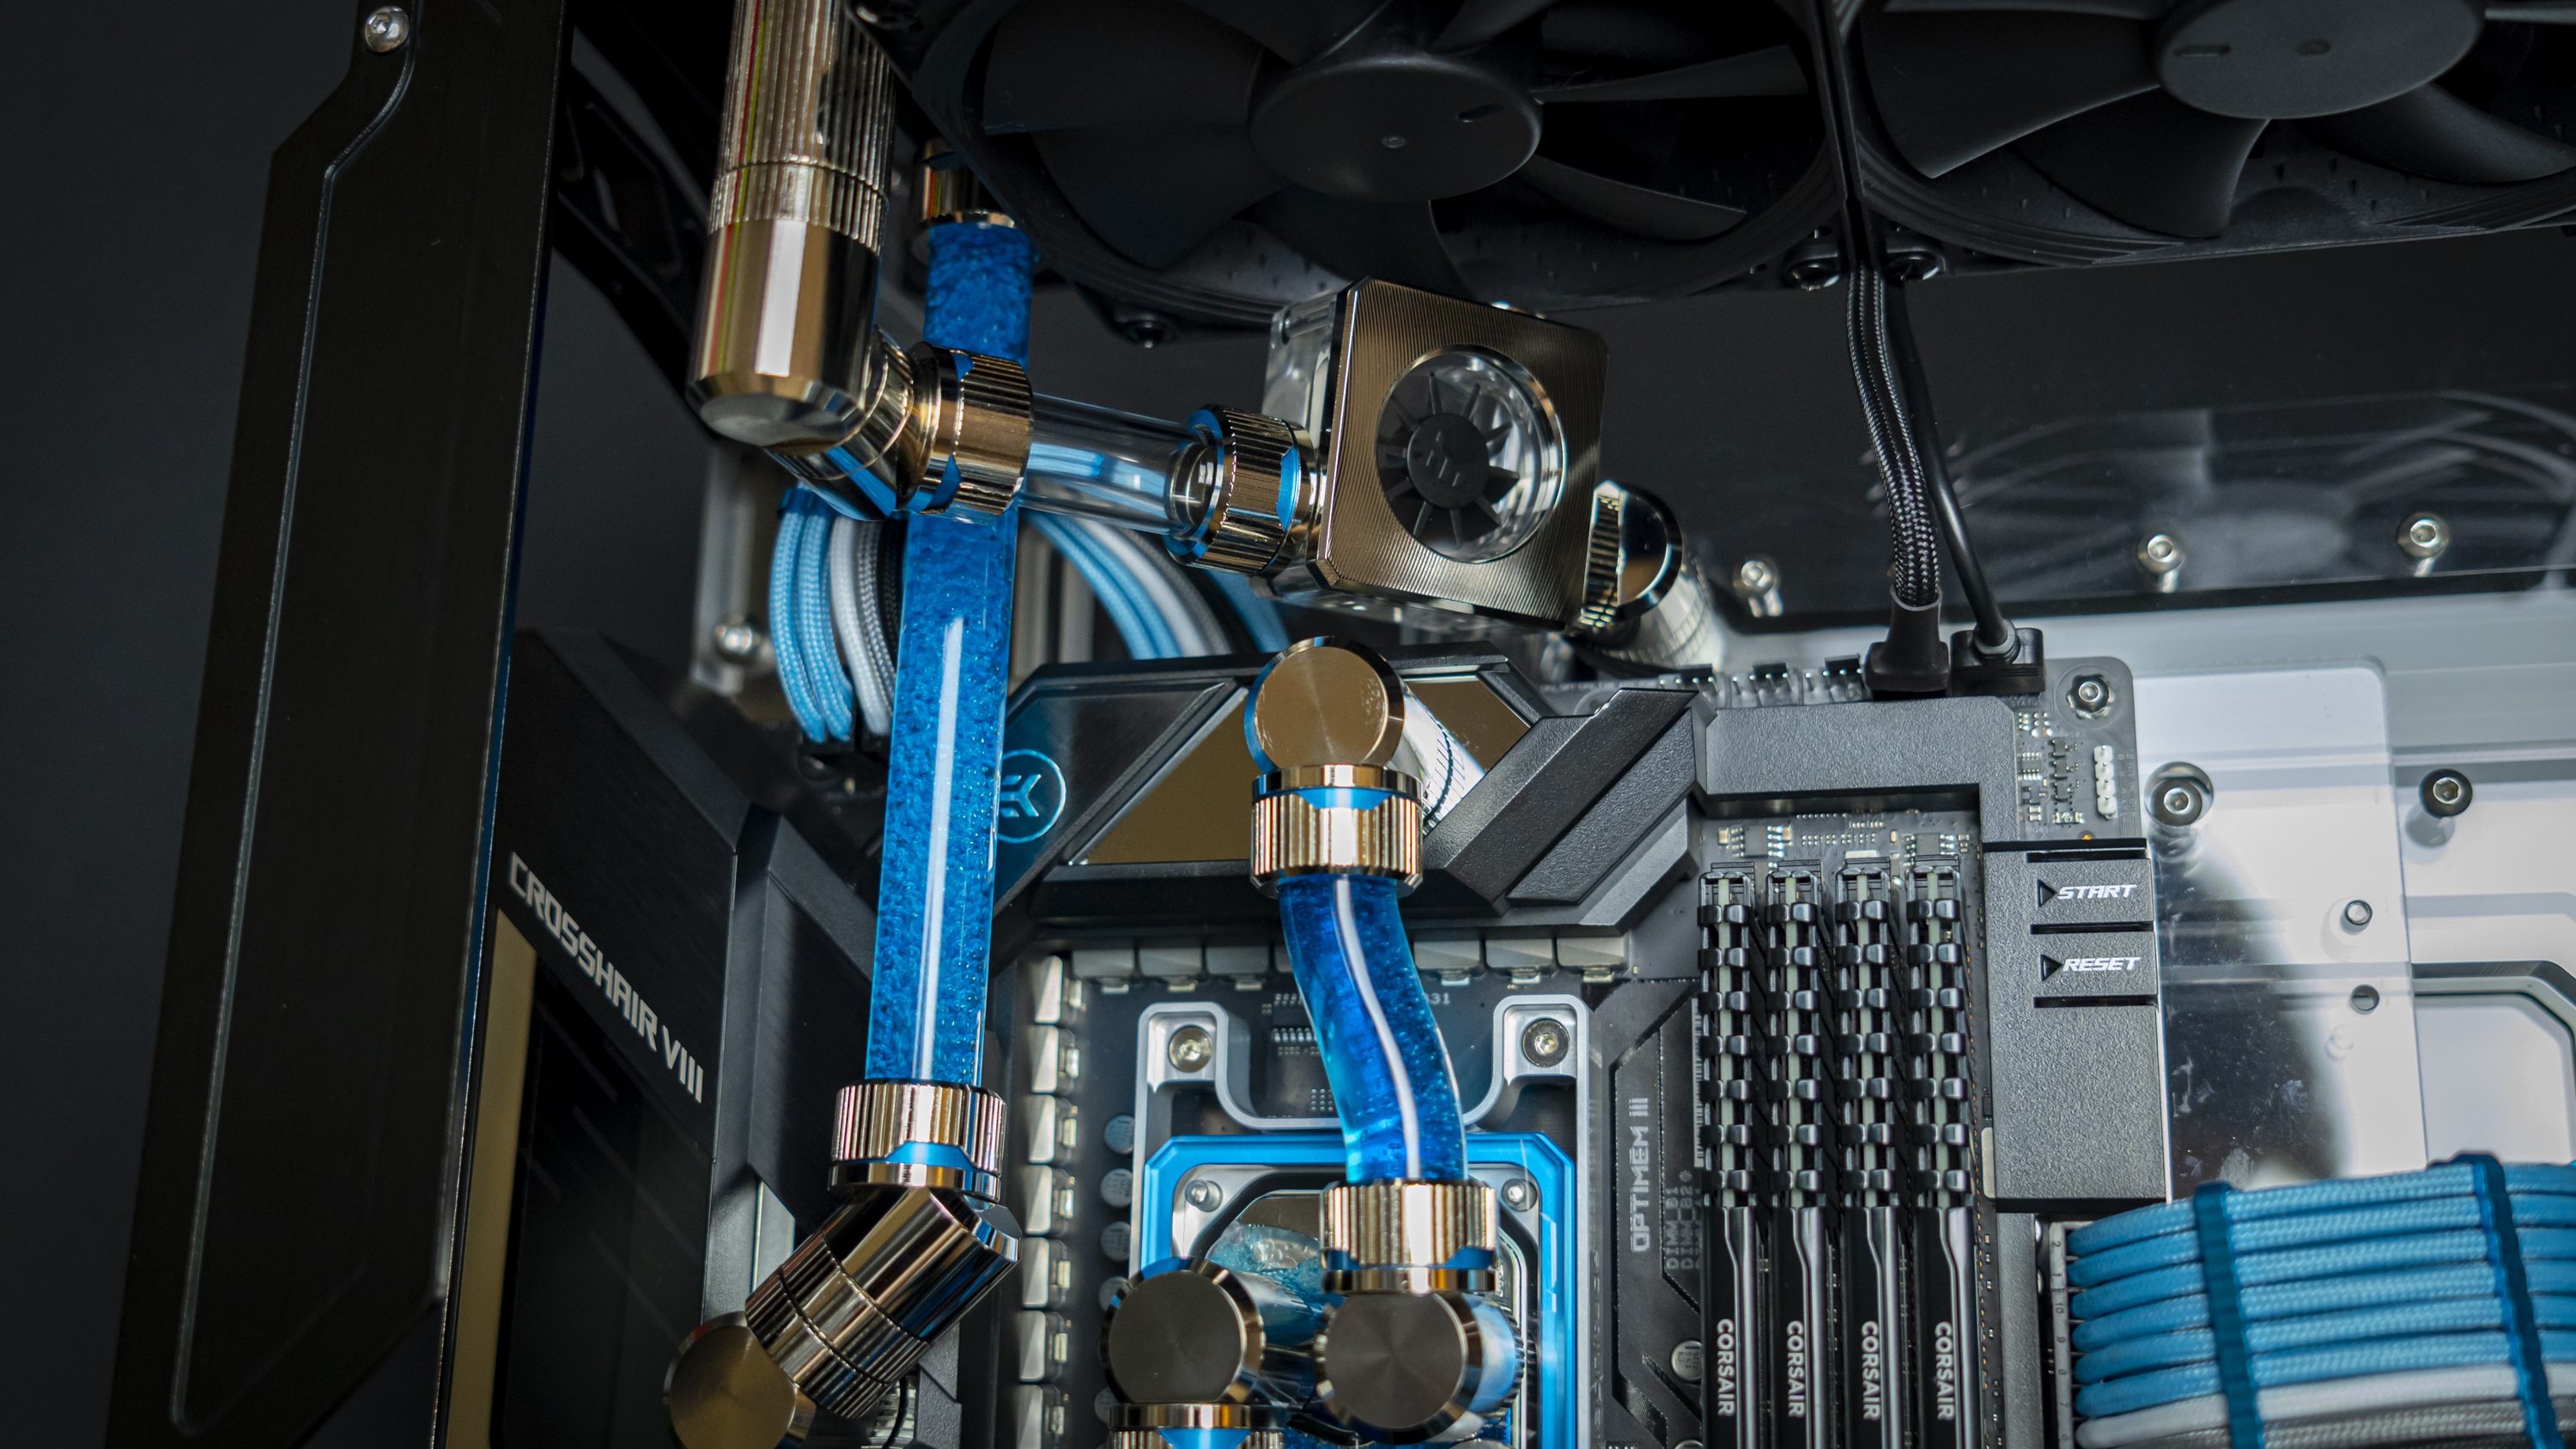
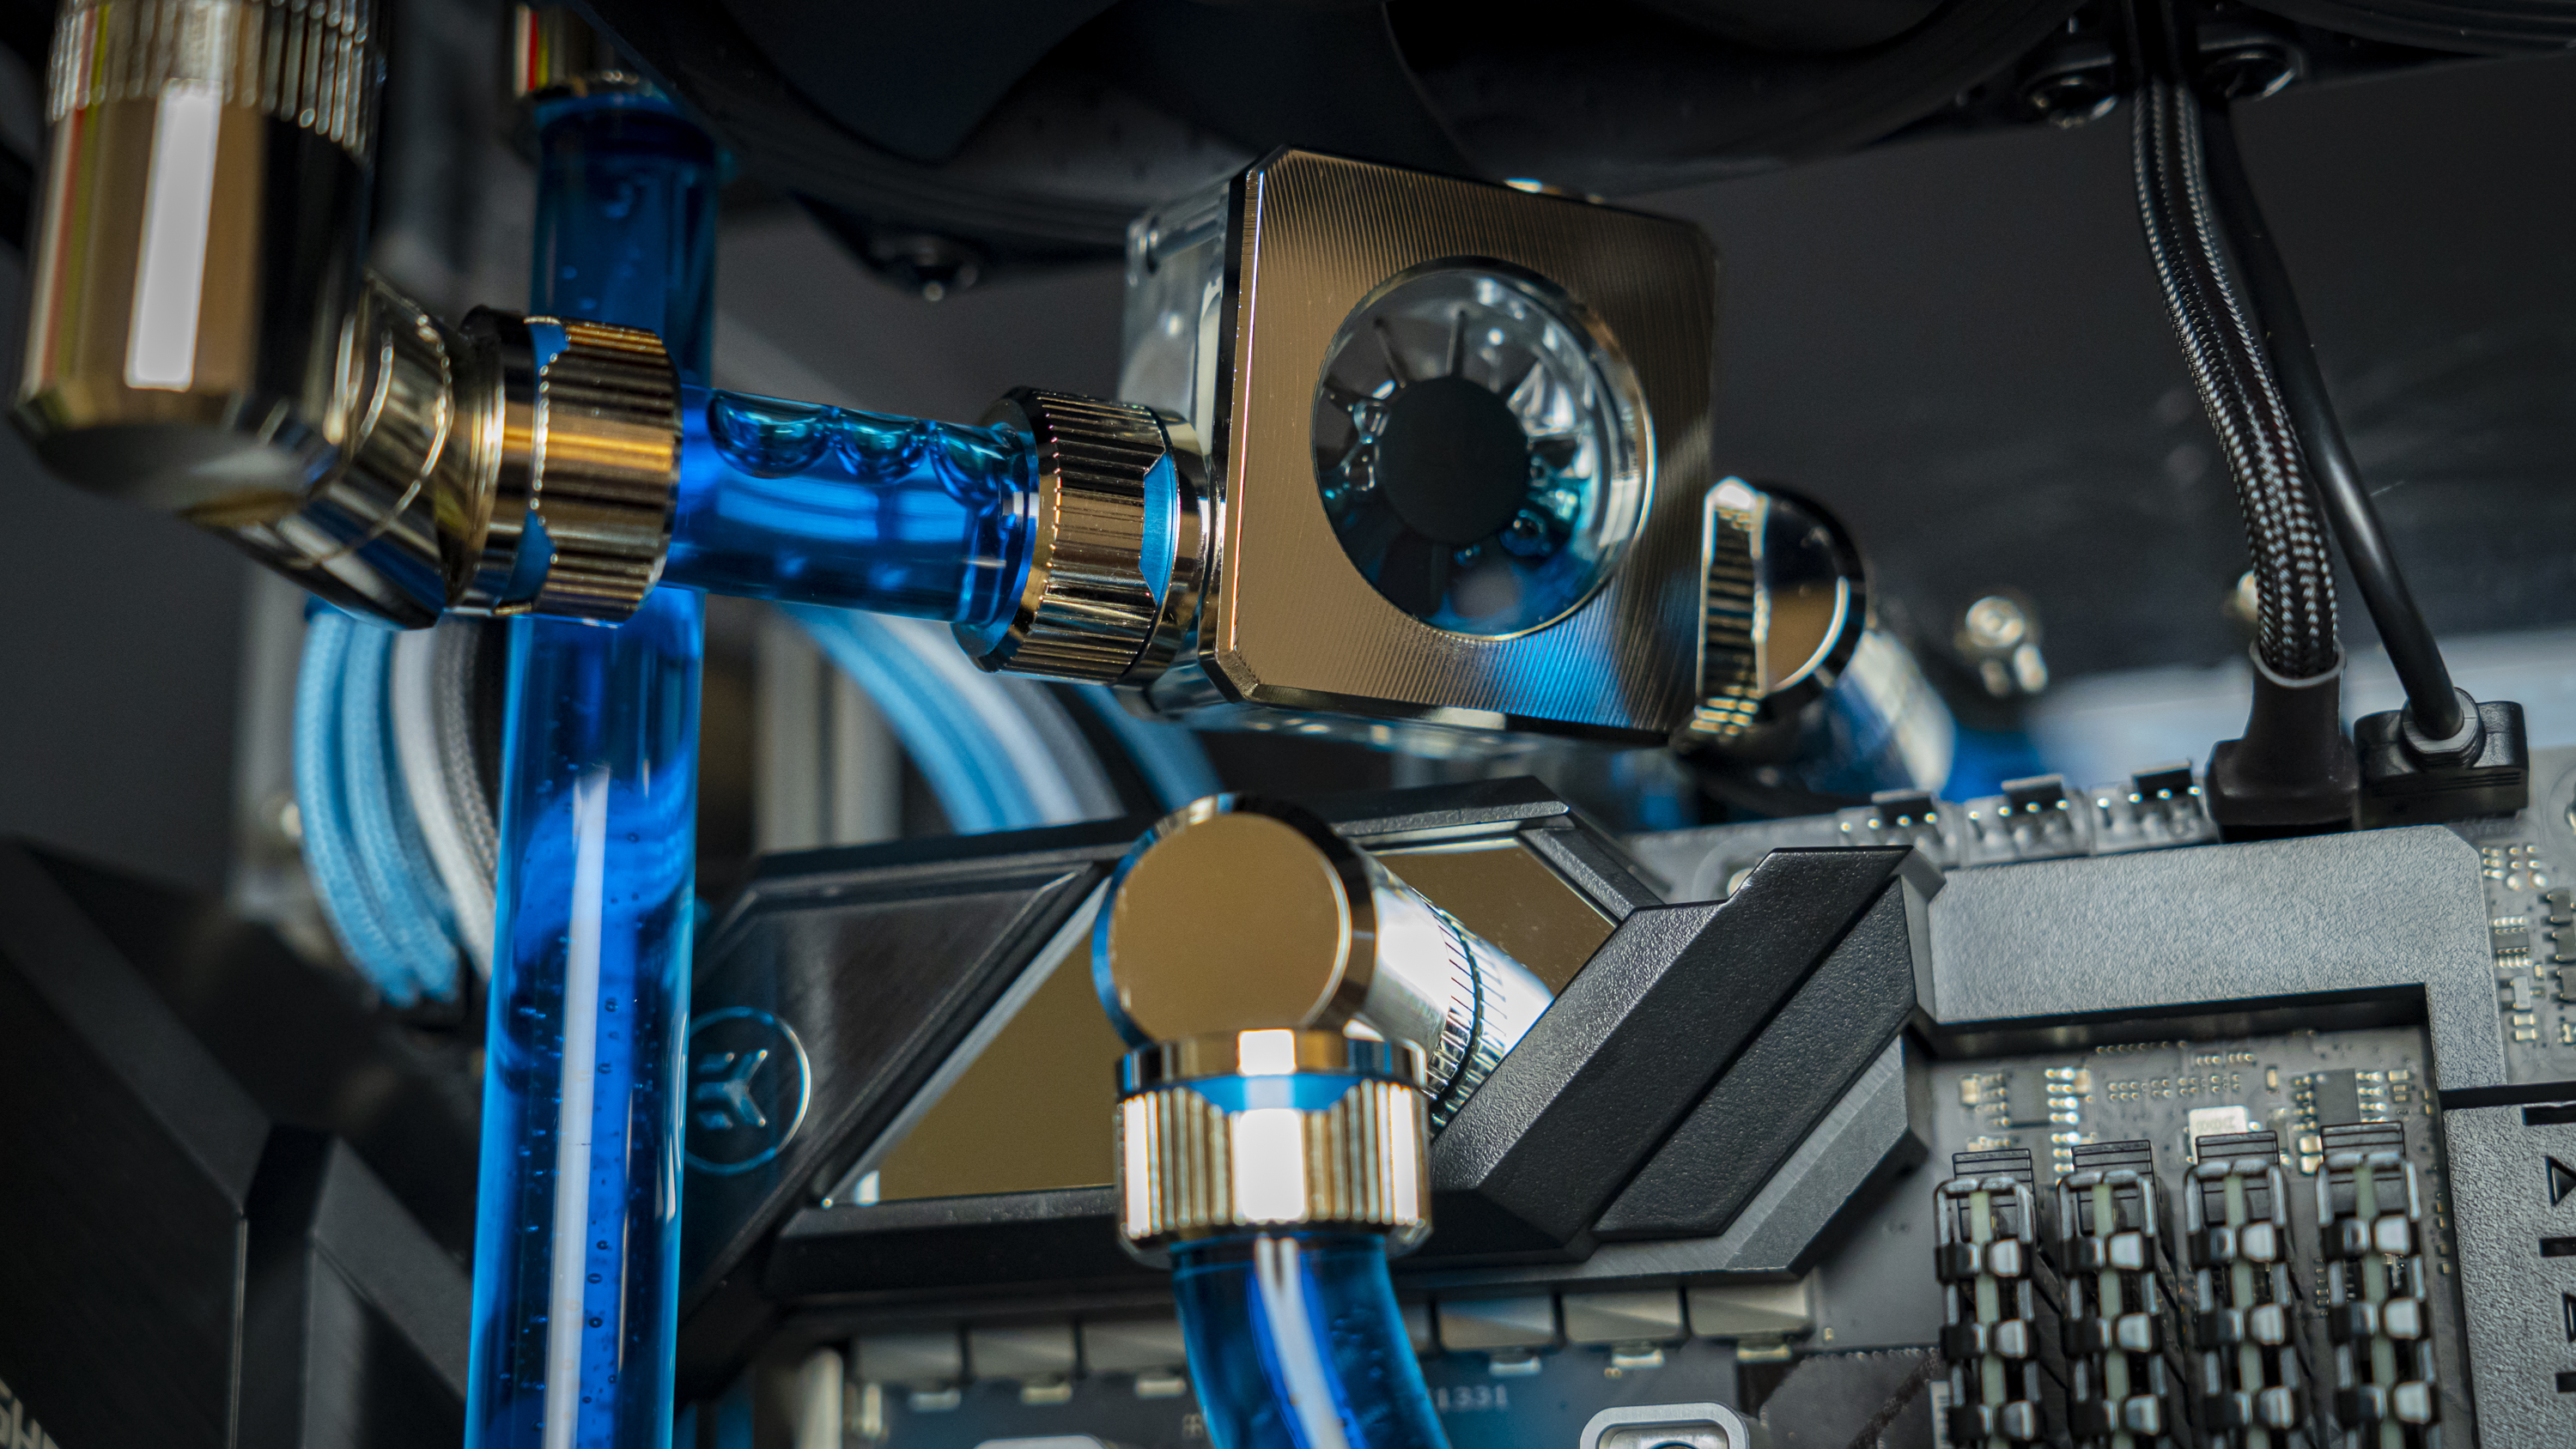
Because I’d run a pressure test before filling, I wasn’t afraid of switching to my main PSU and turning the PC on, nor did I feel the need to paper towels around the system in case of leaks – this loop was solid. That doesn’t mean you shouldn’t be prepared if attempting your own loop. Especially if you don’t have a second power supply and a pressure tester to make sure everything is working as expected before powering up your precious components.
Time for Some Pretty Pictures
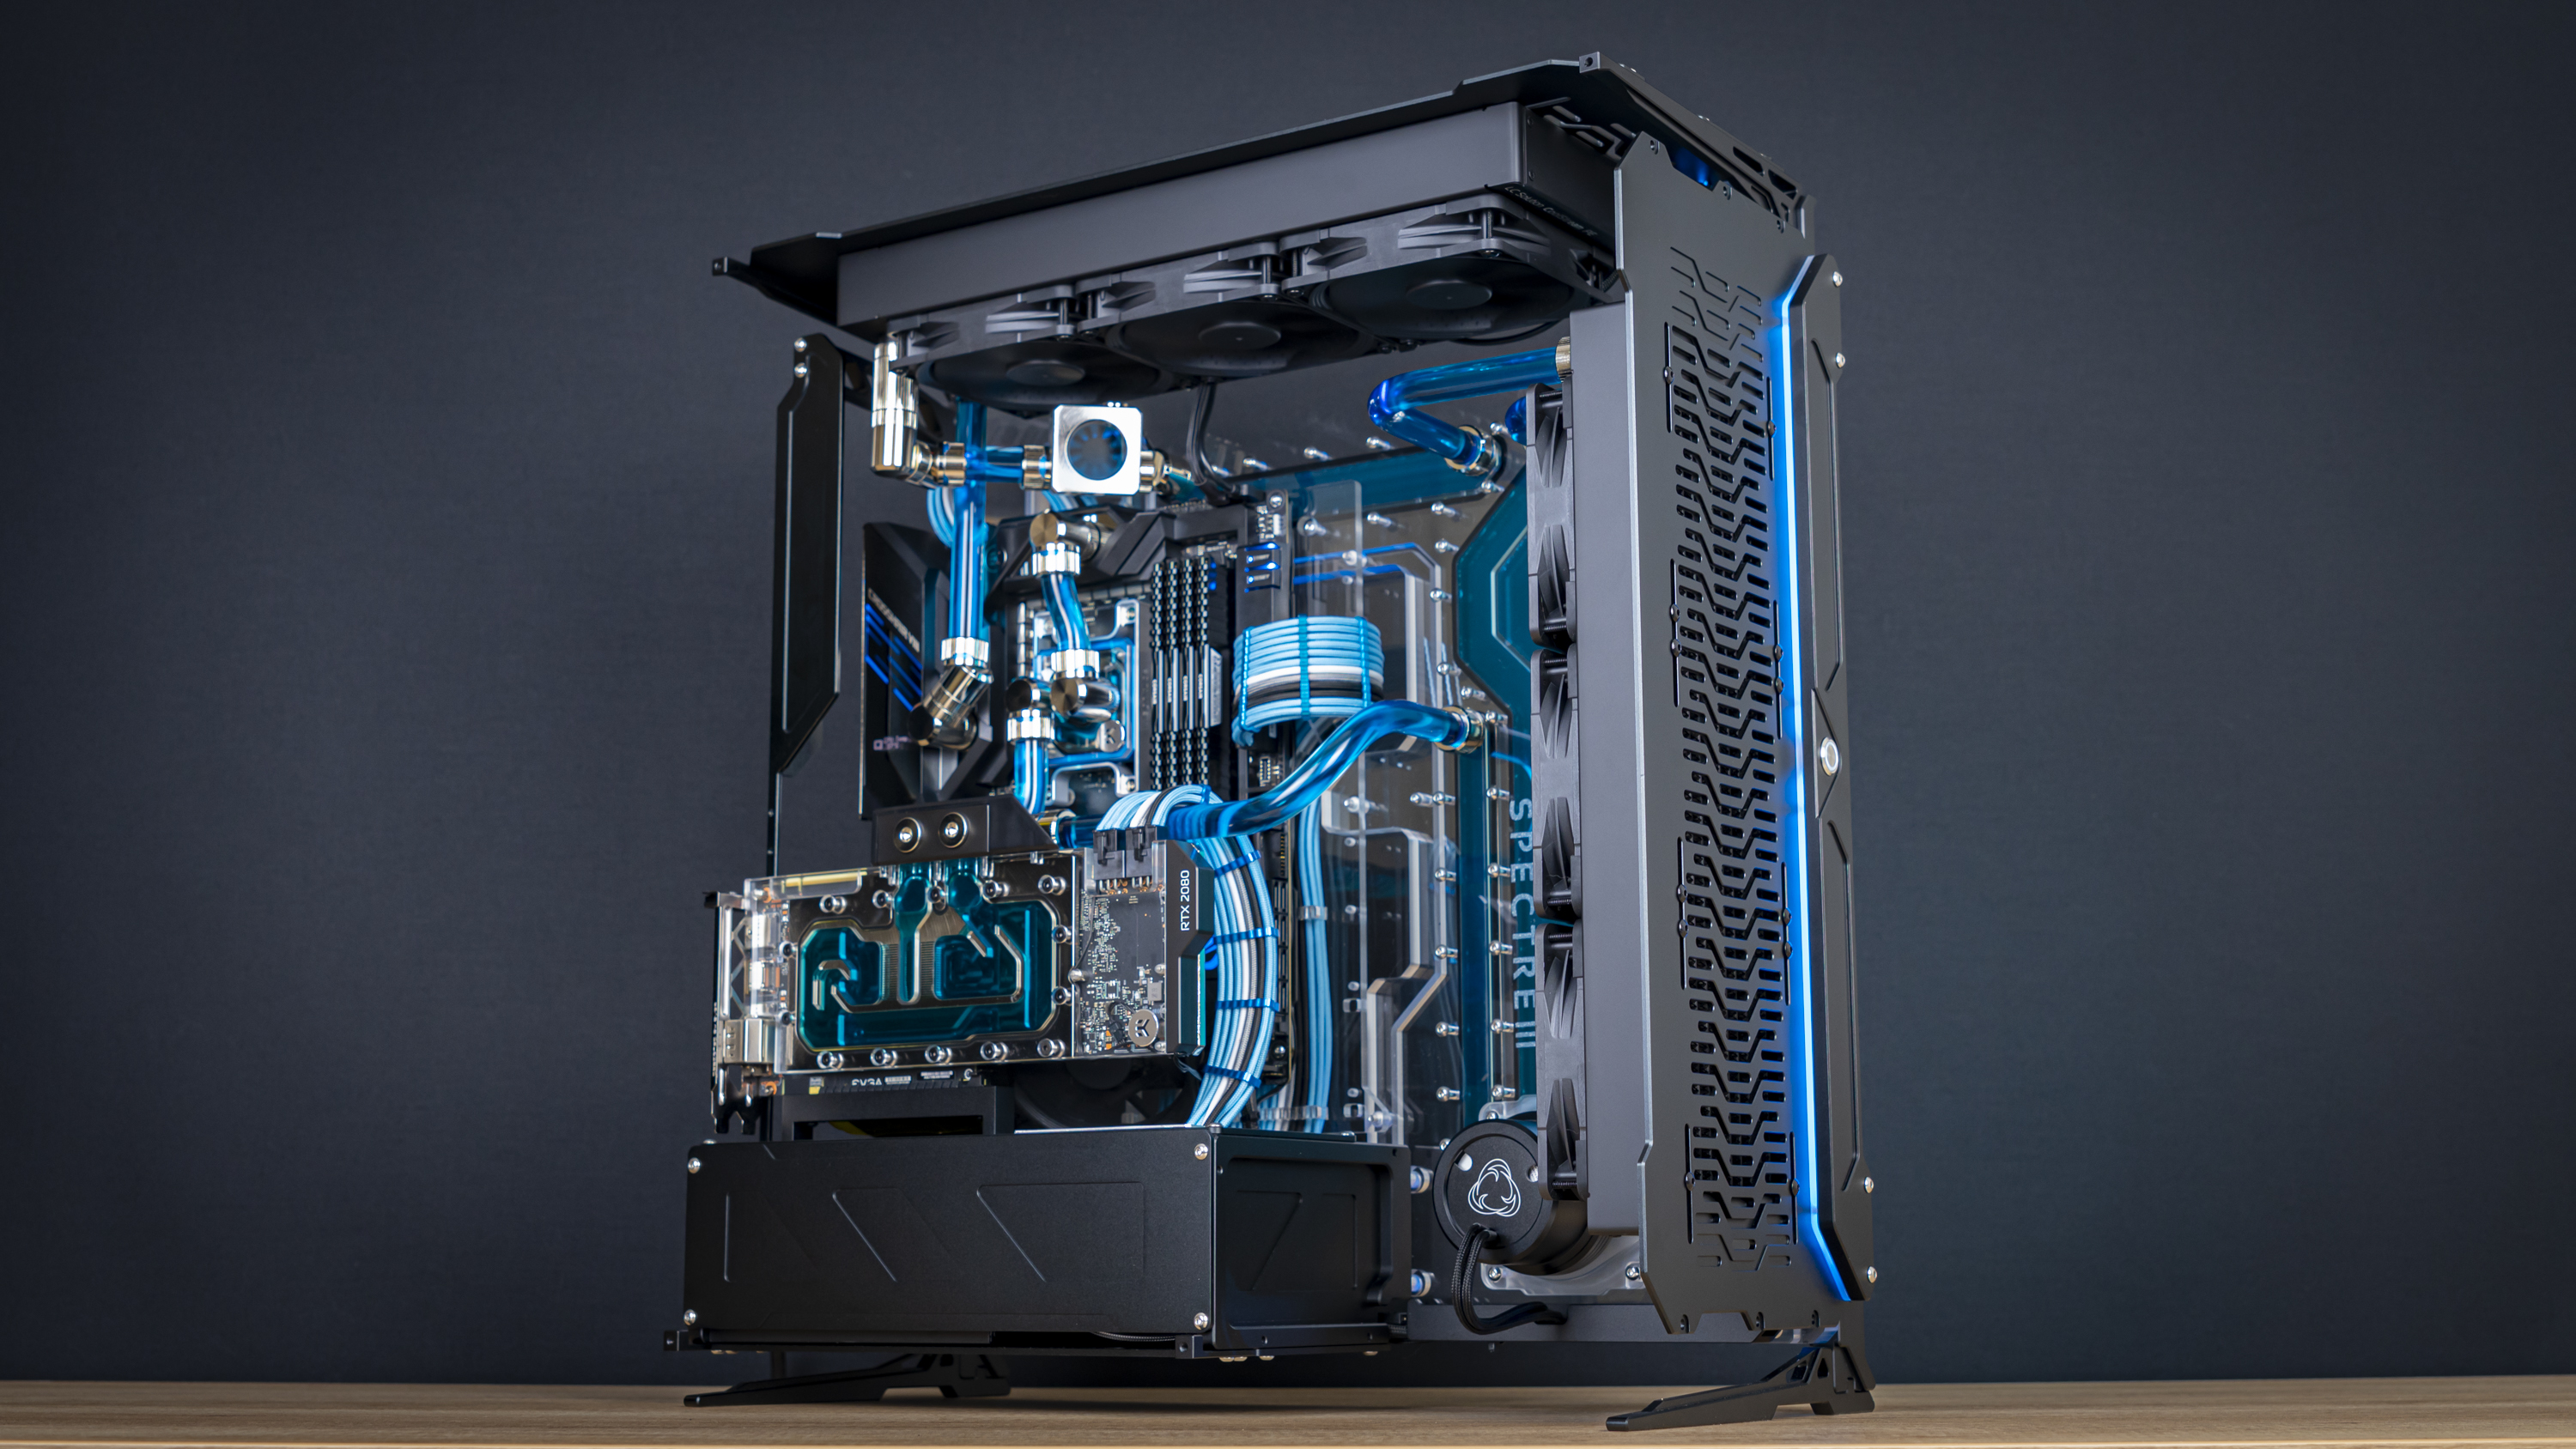
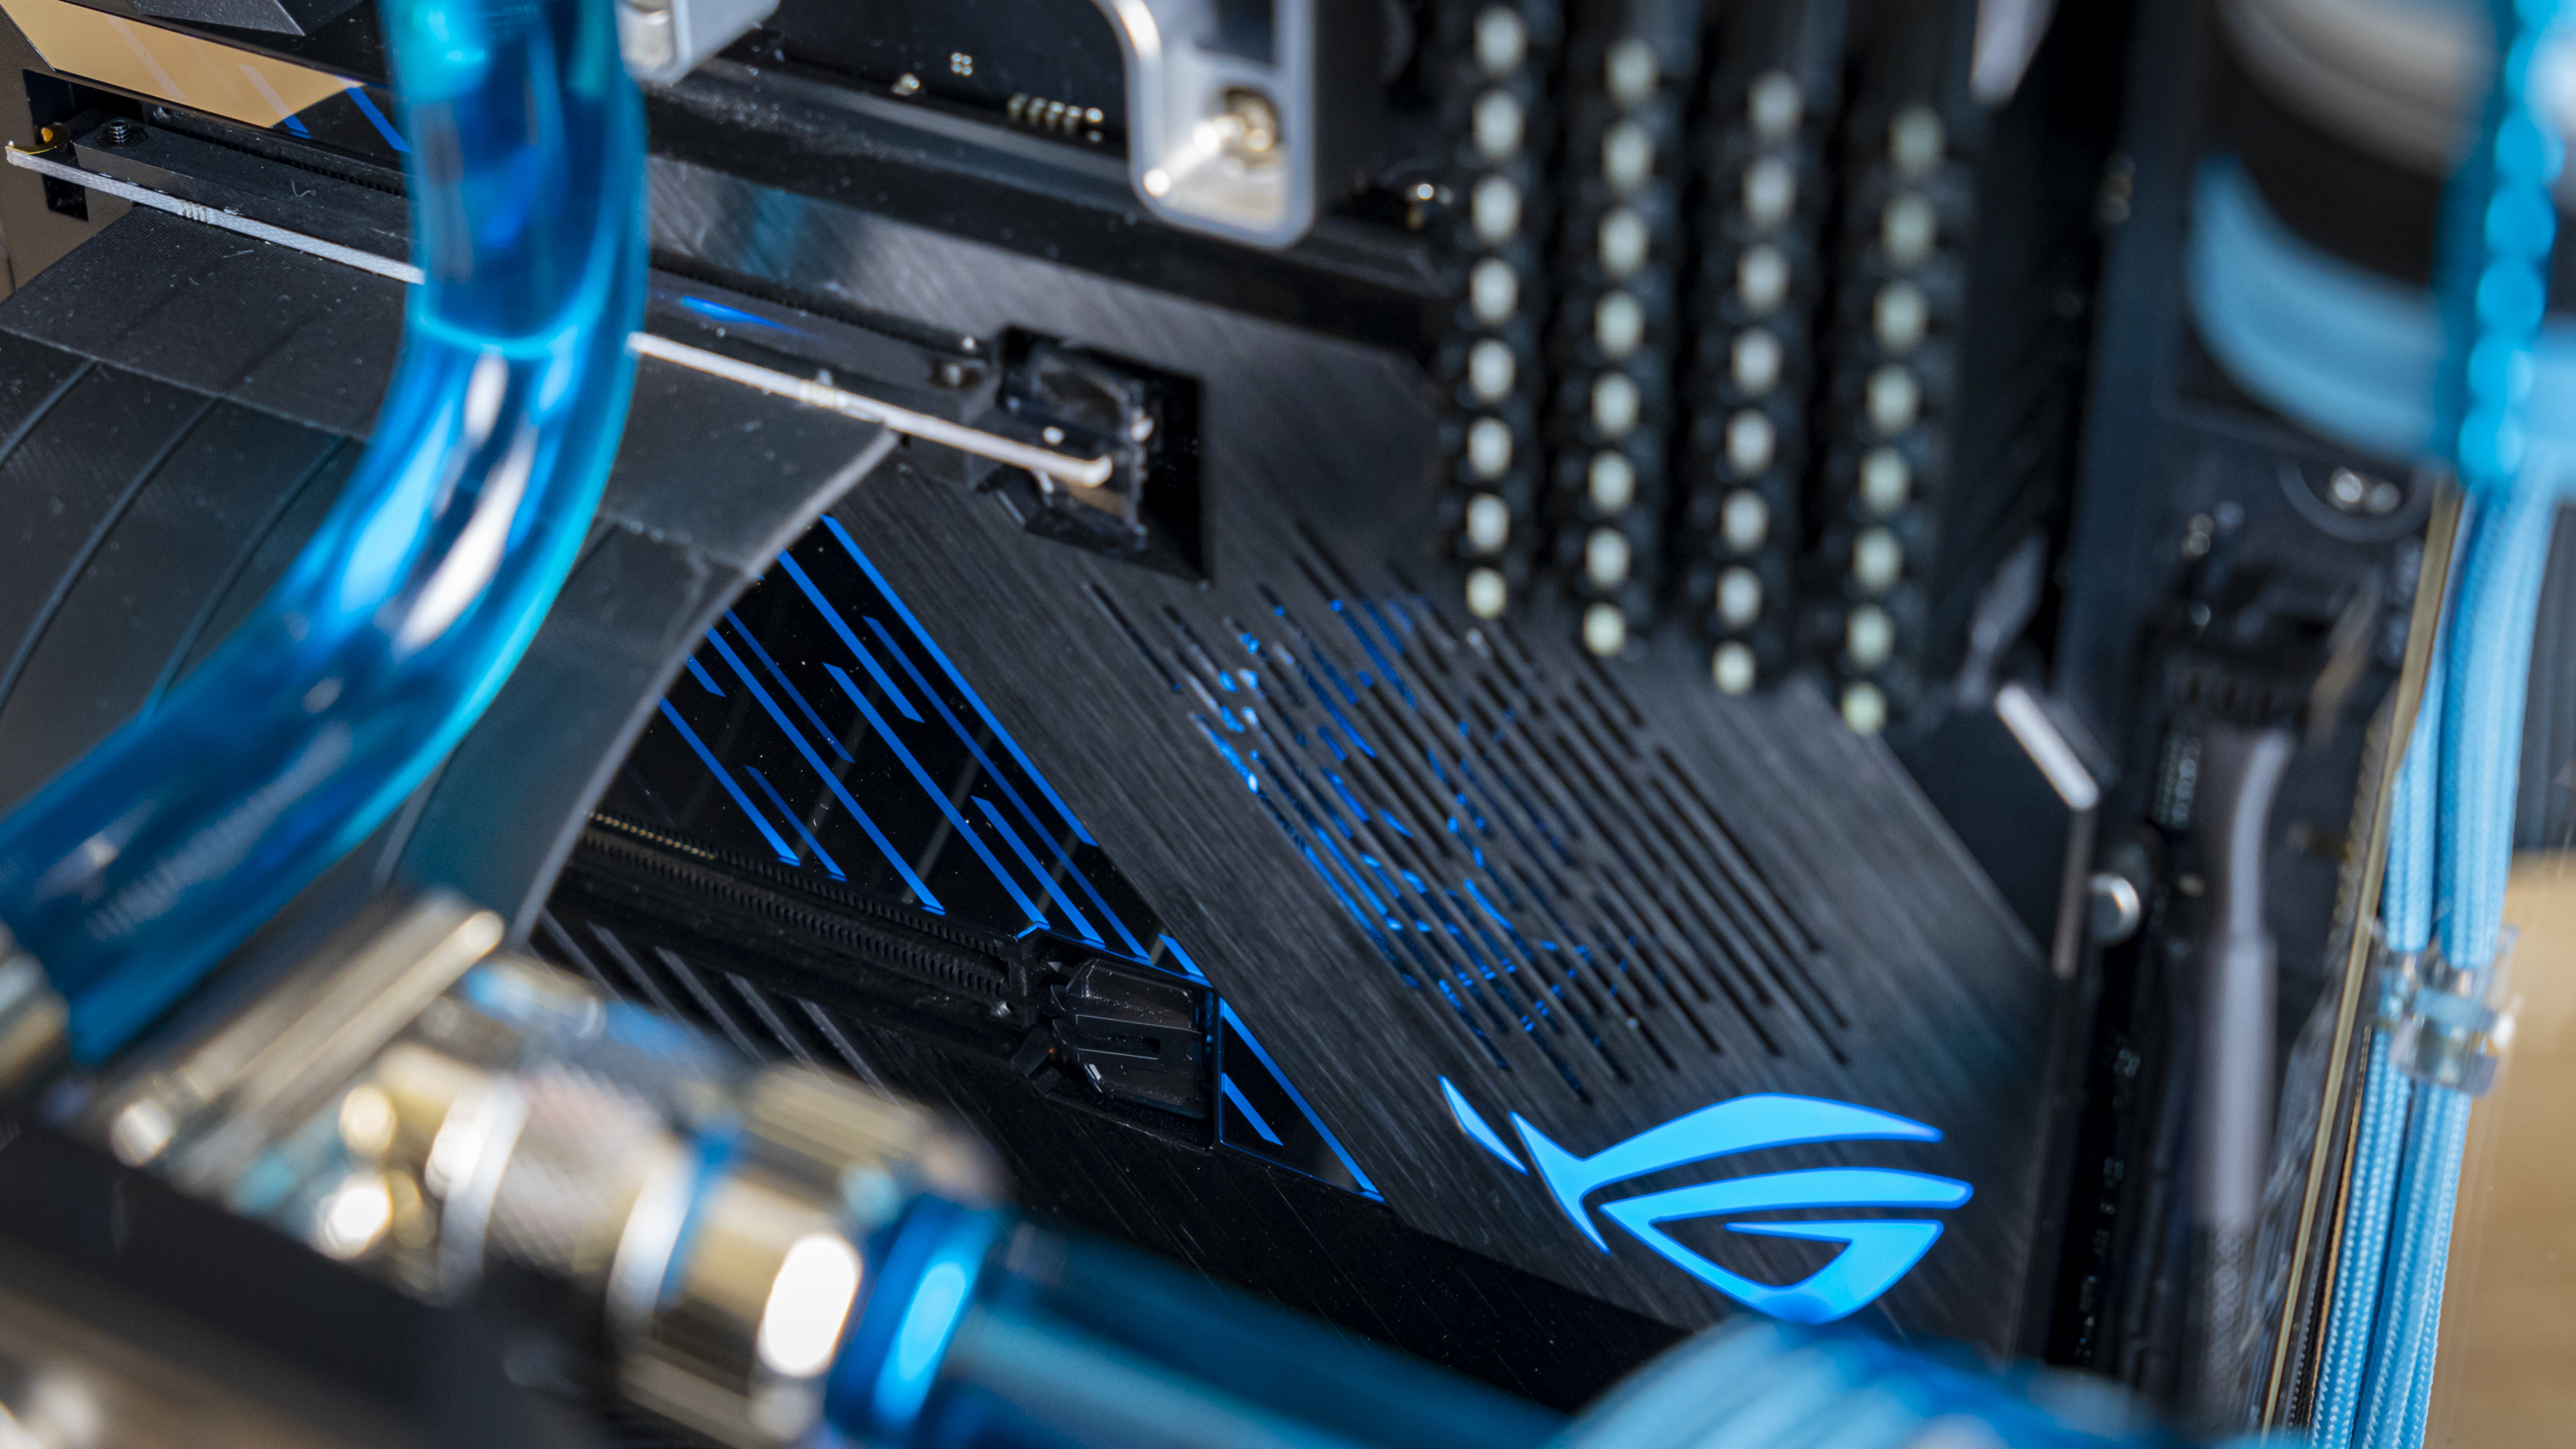
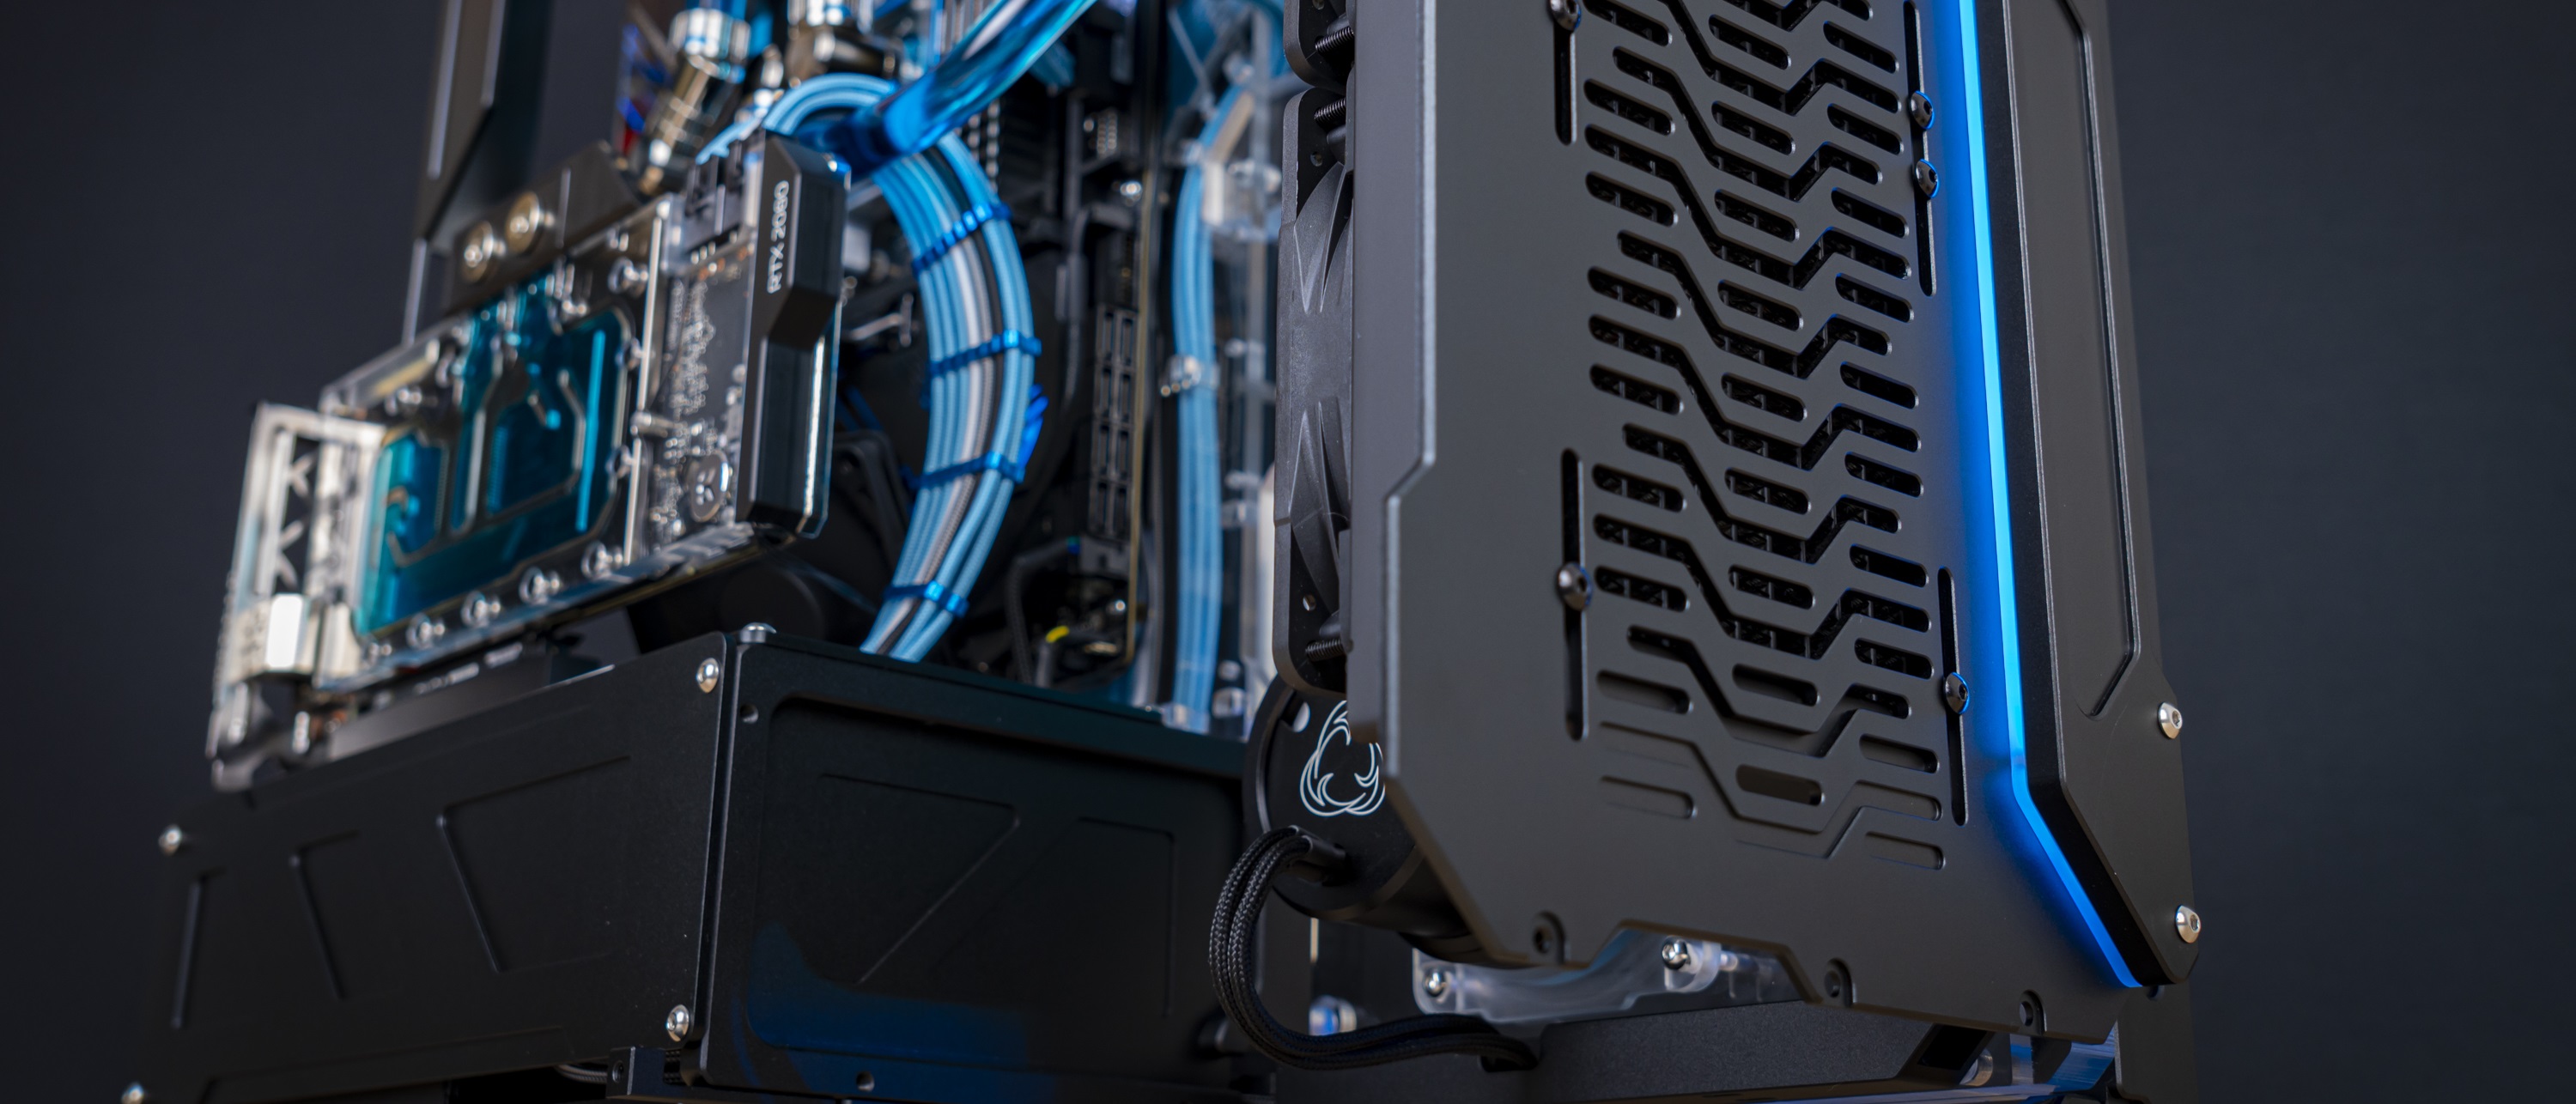
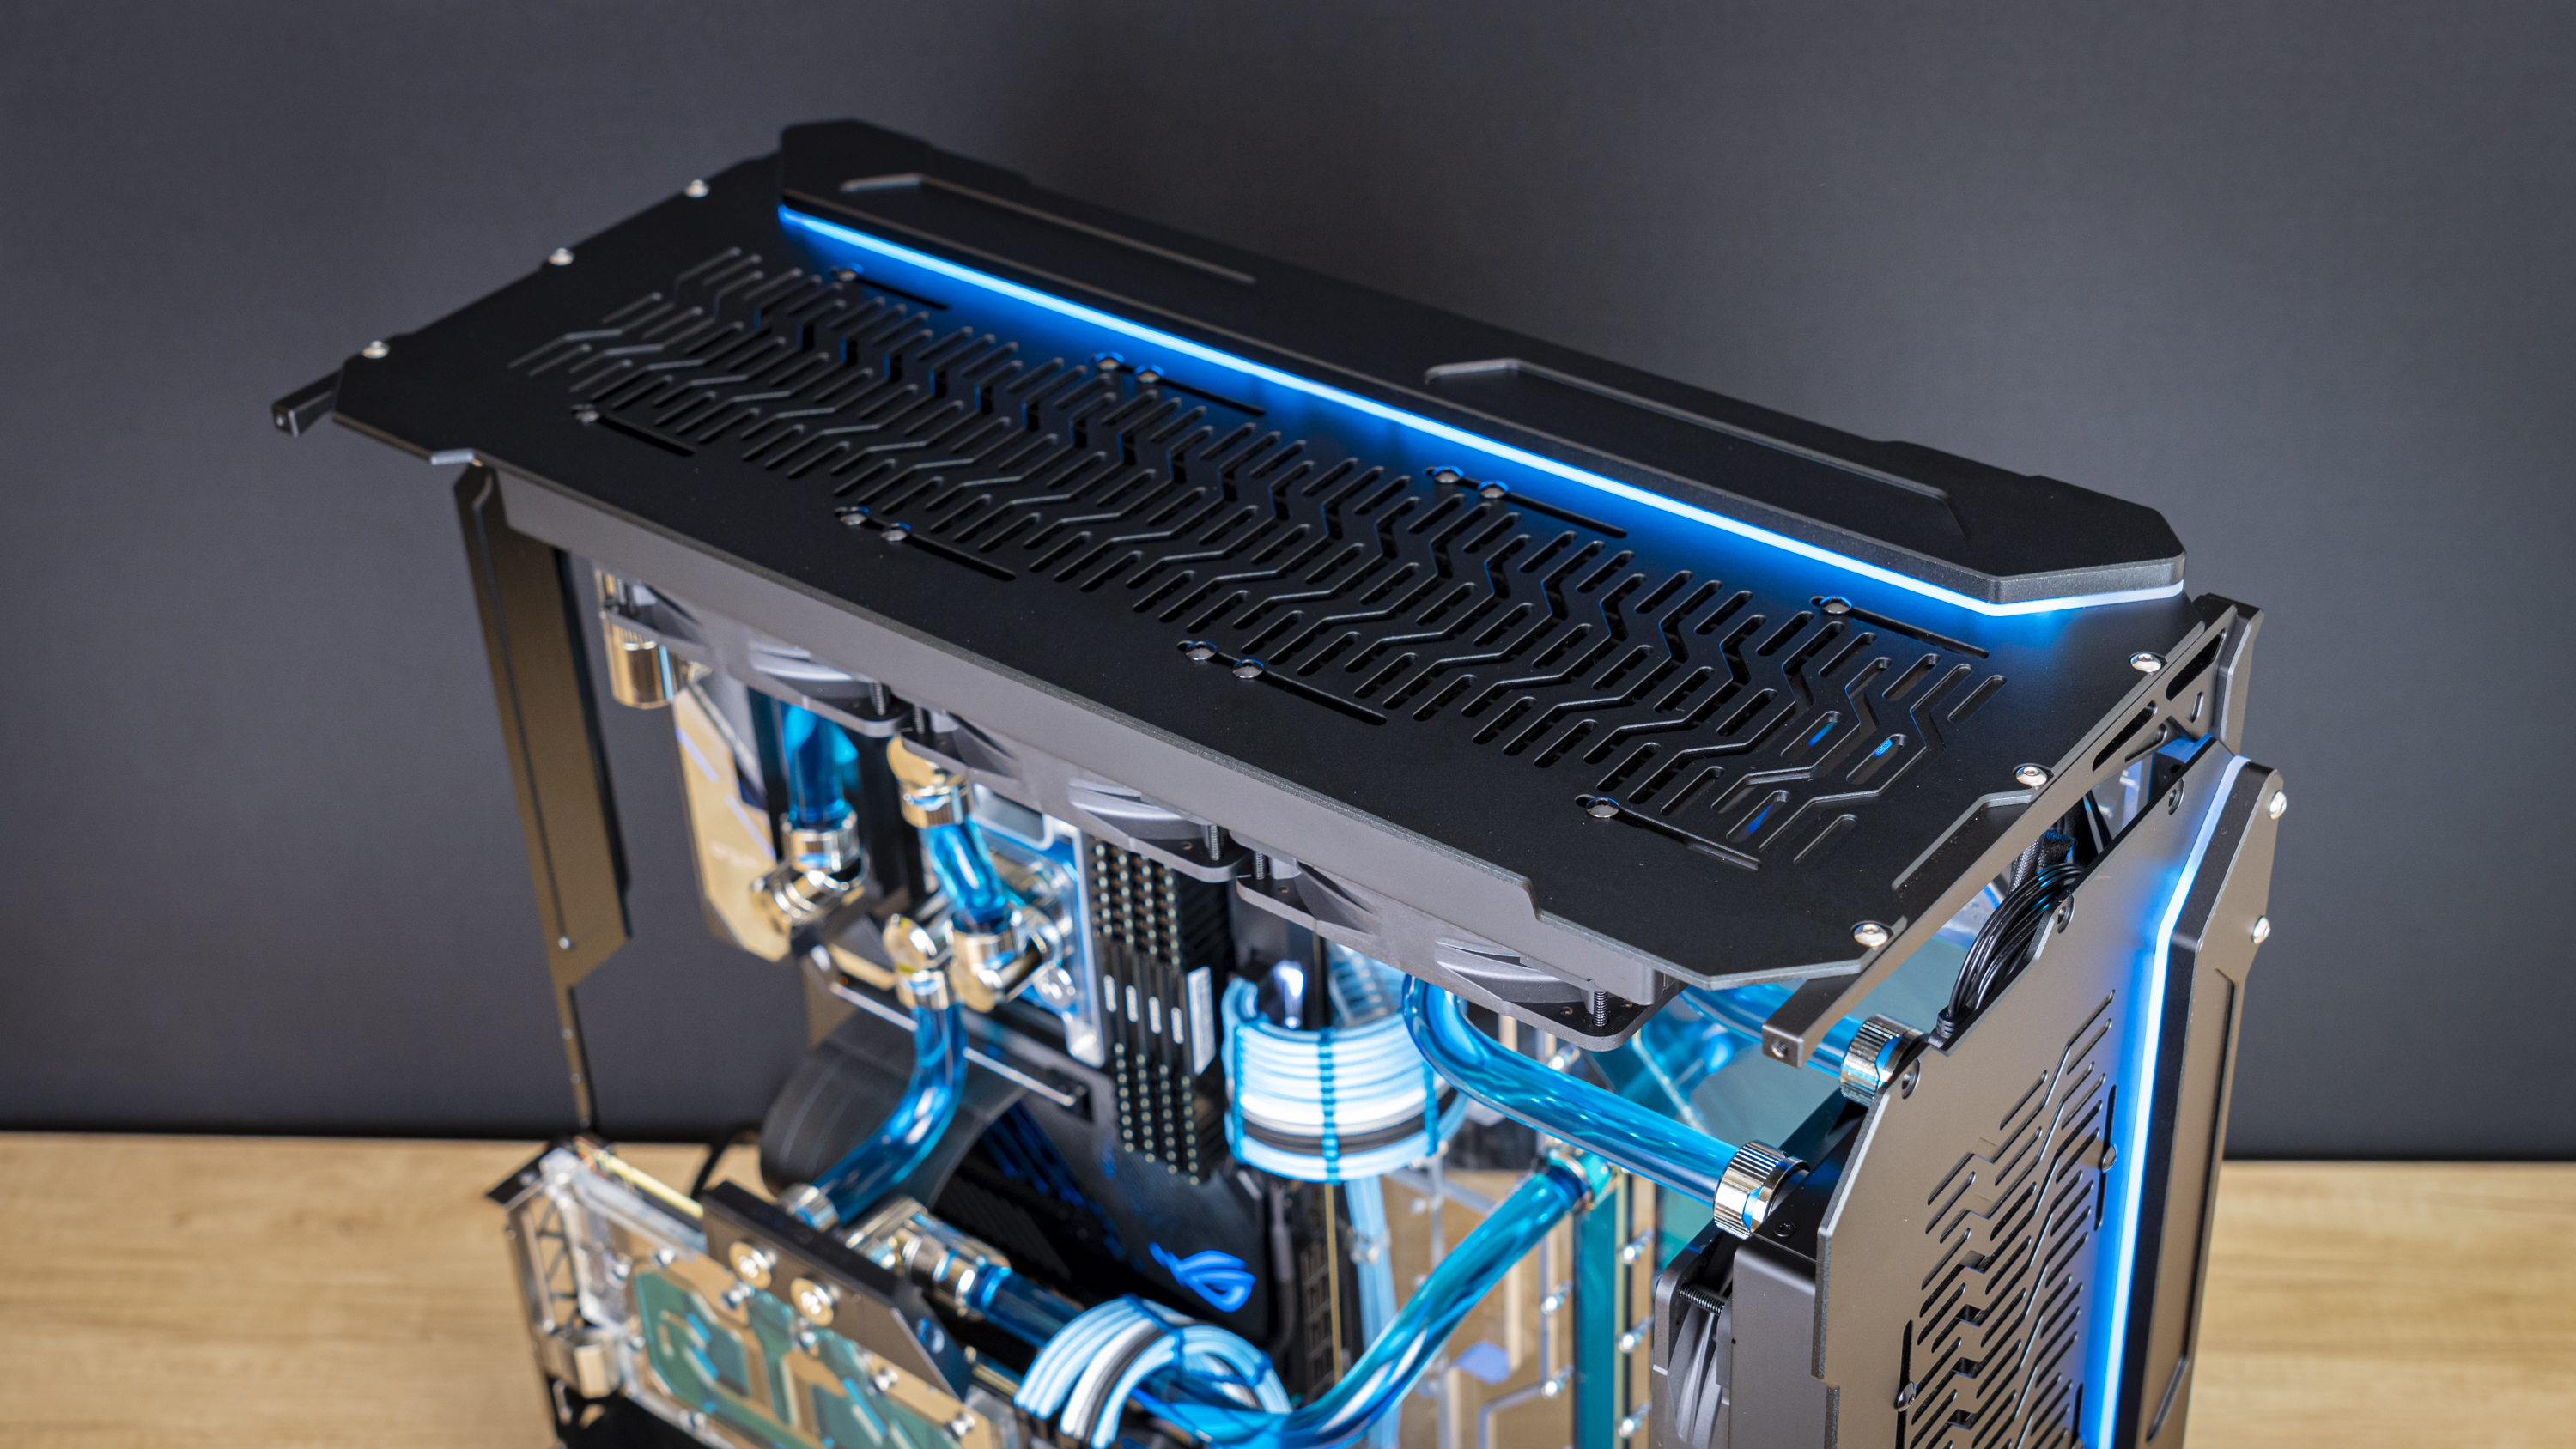
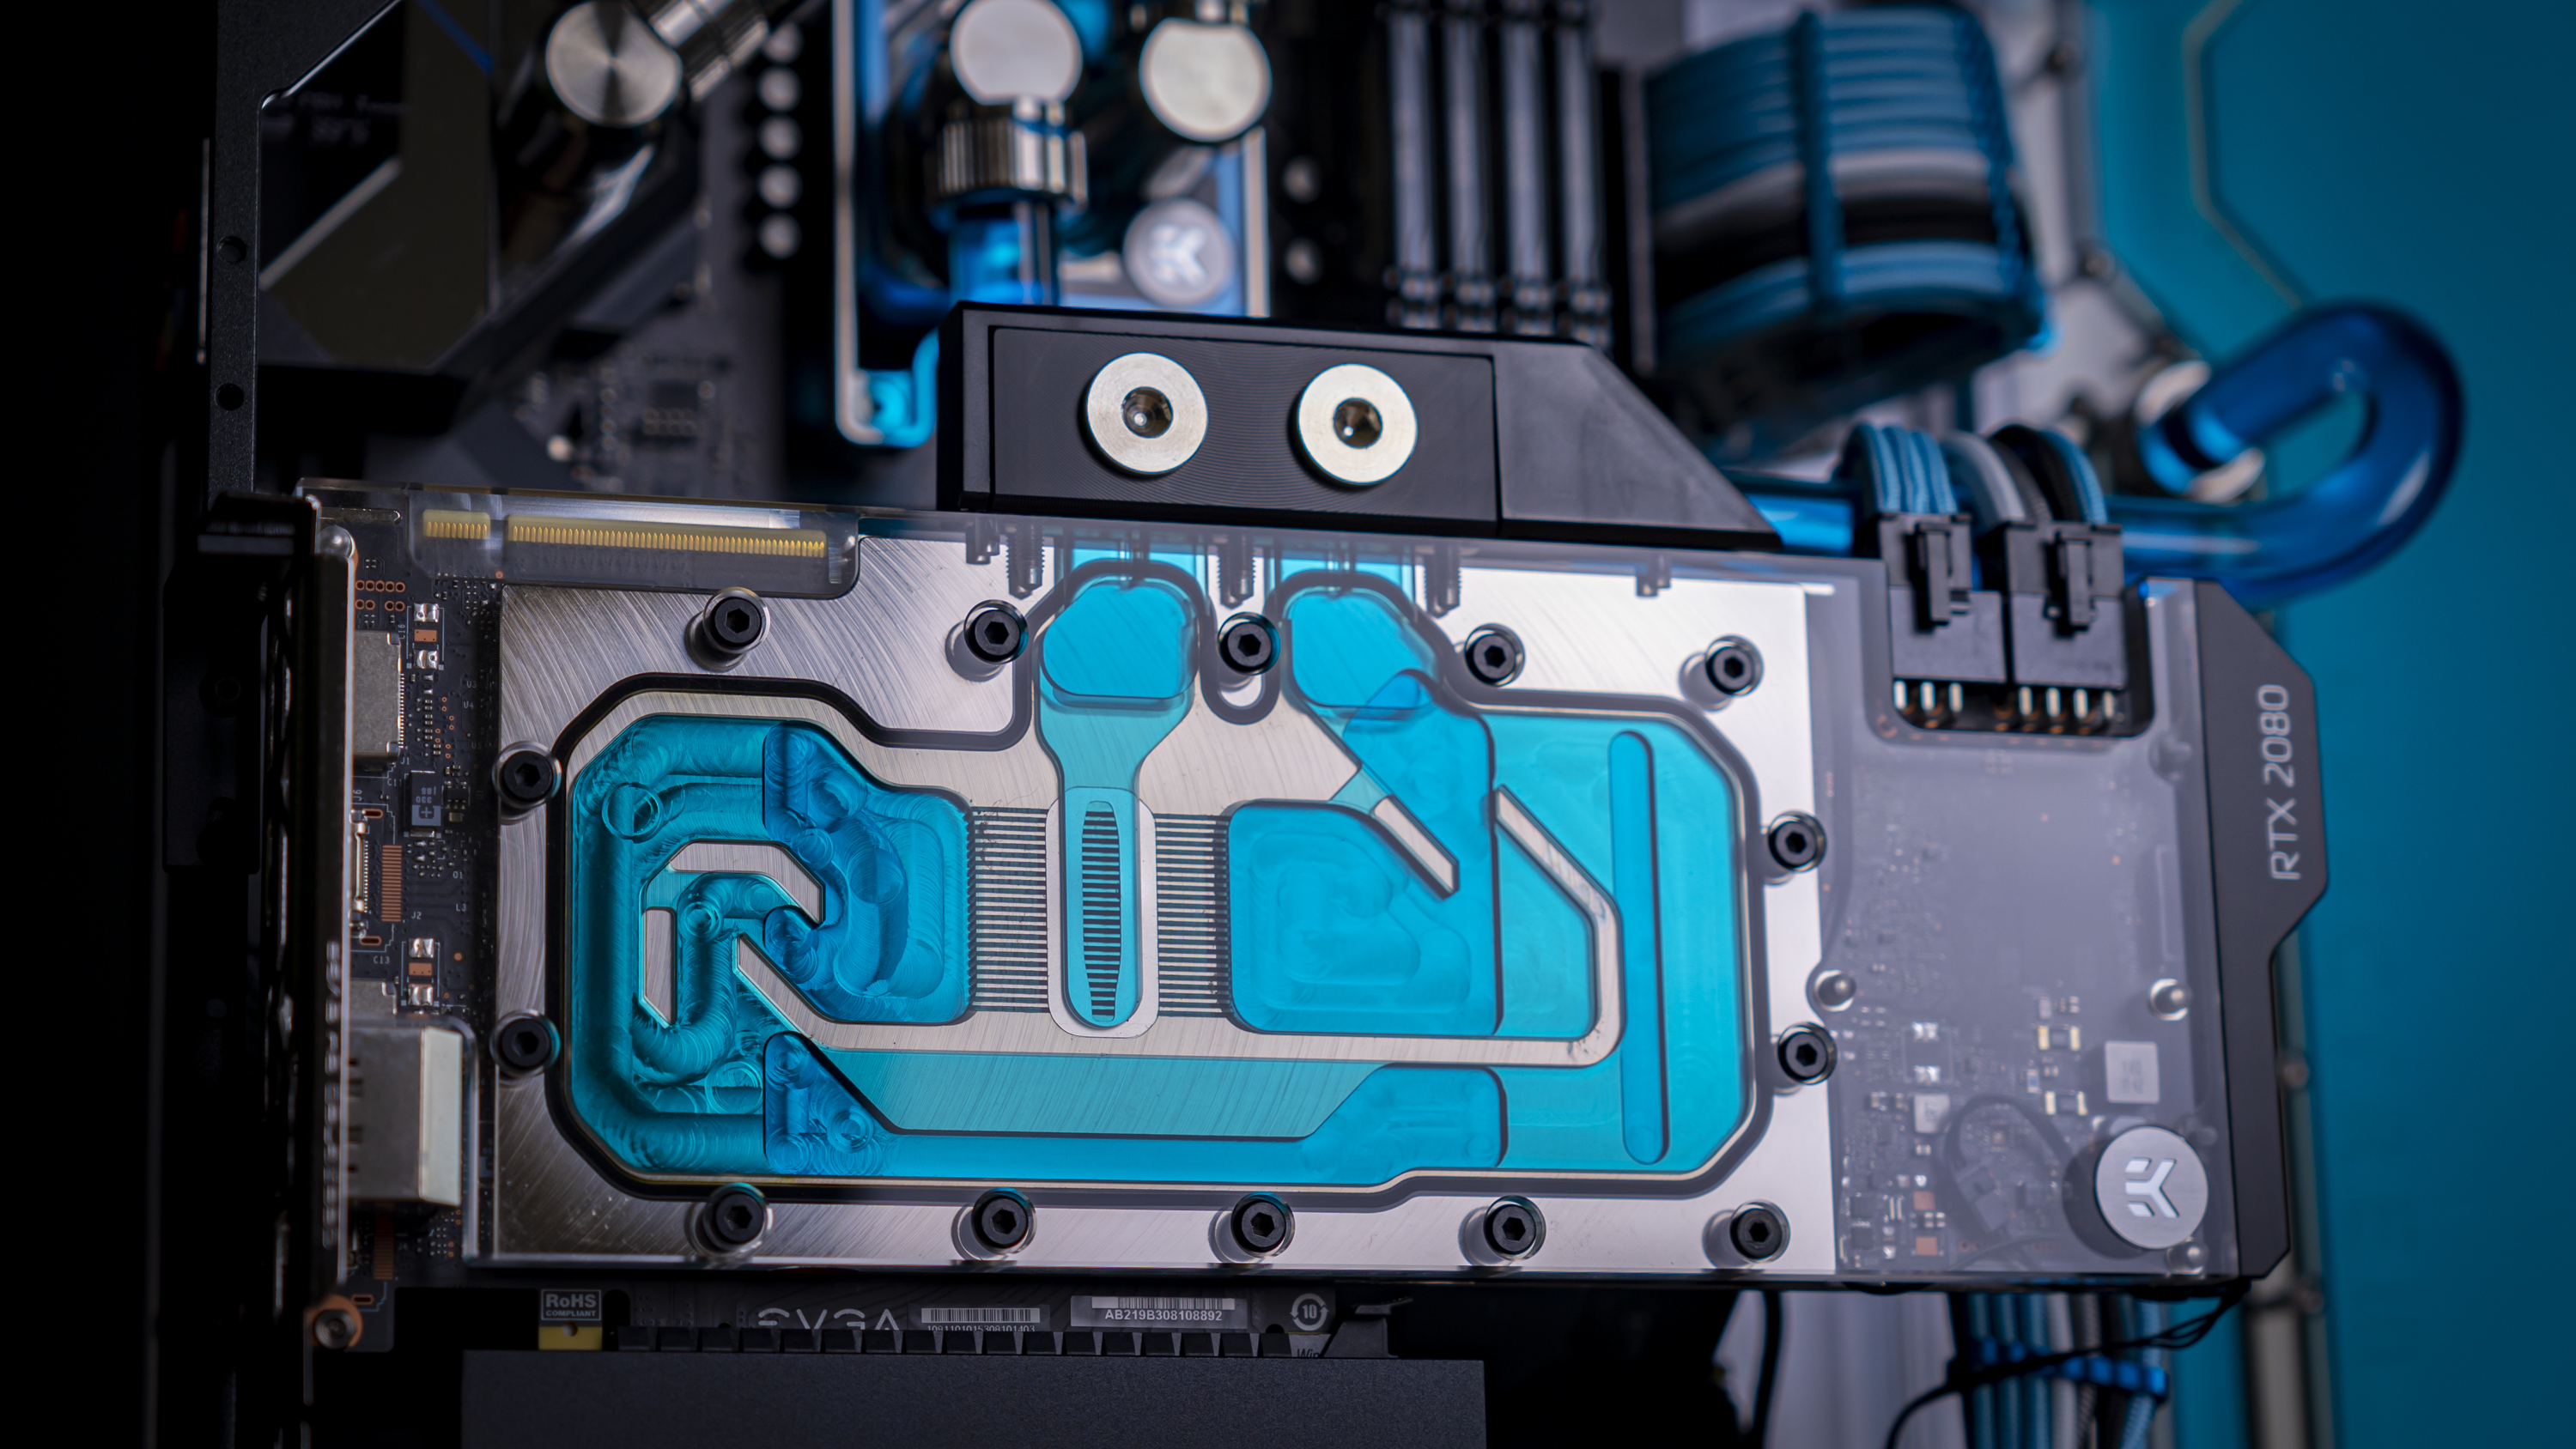
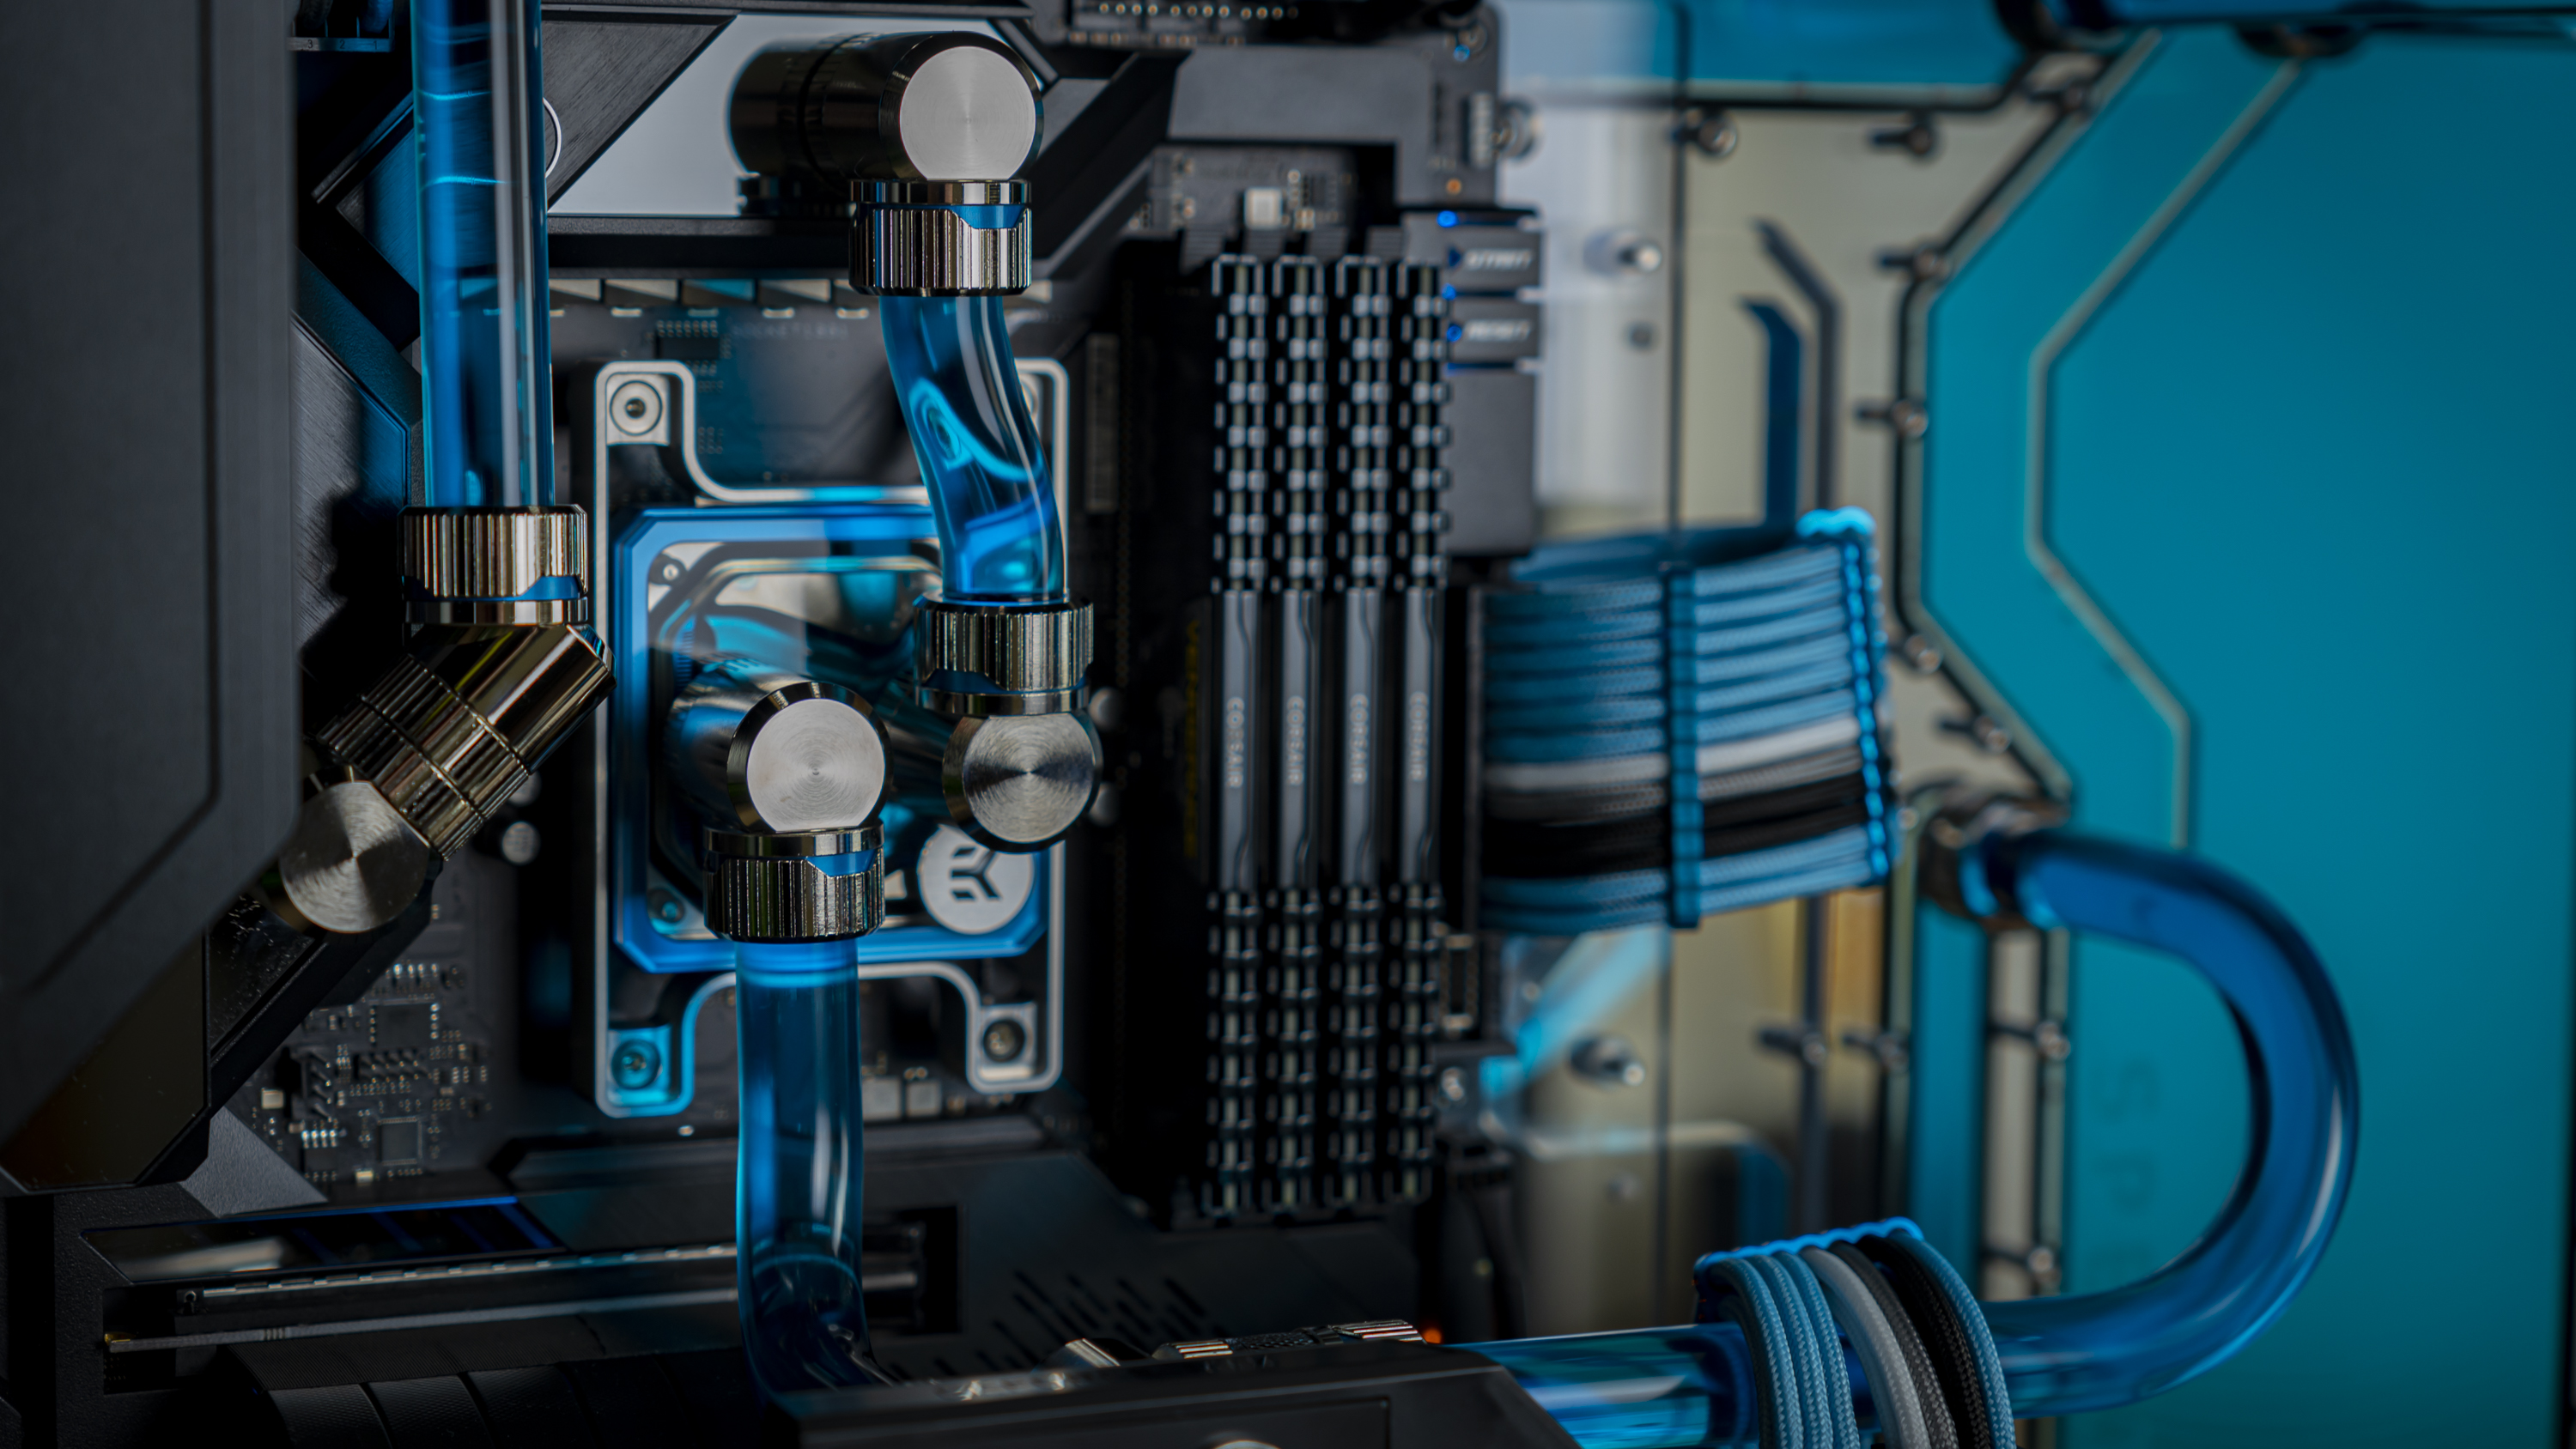
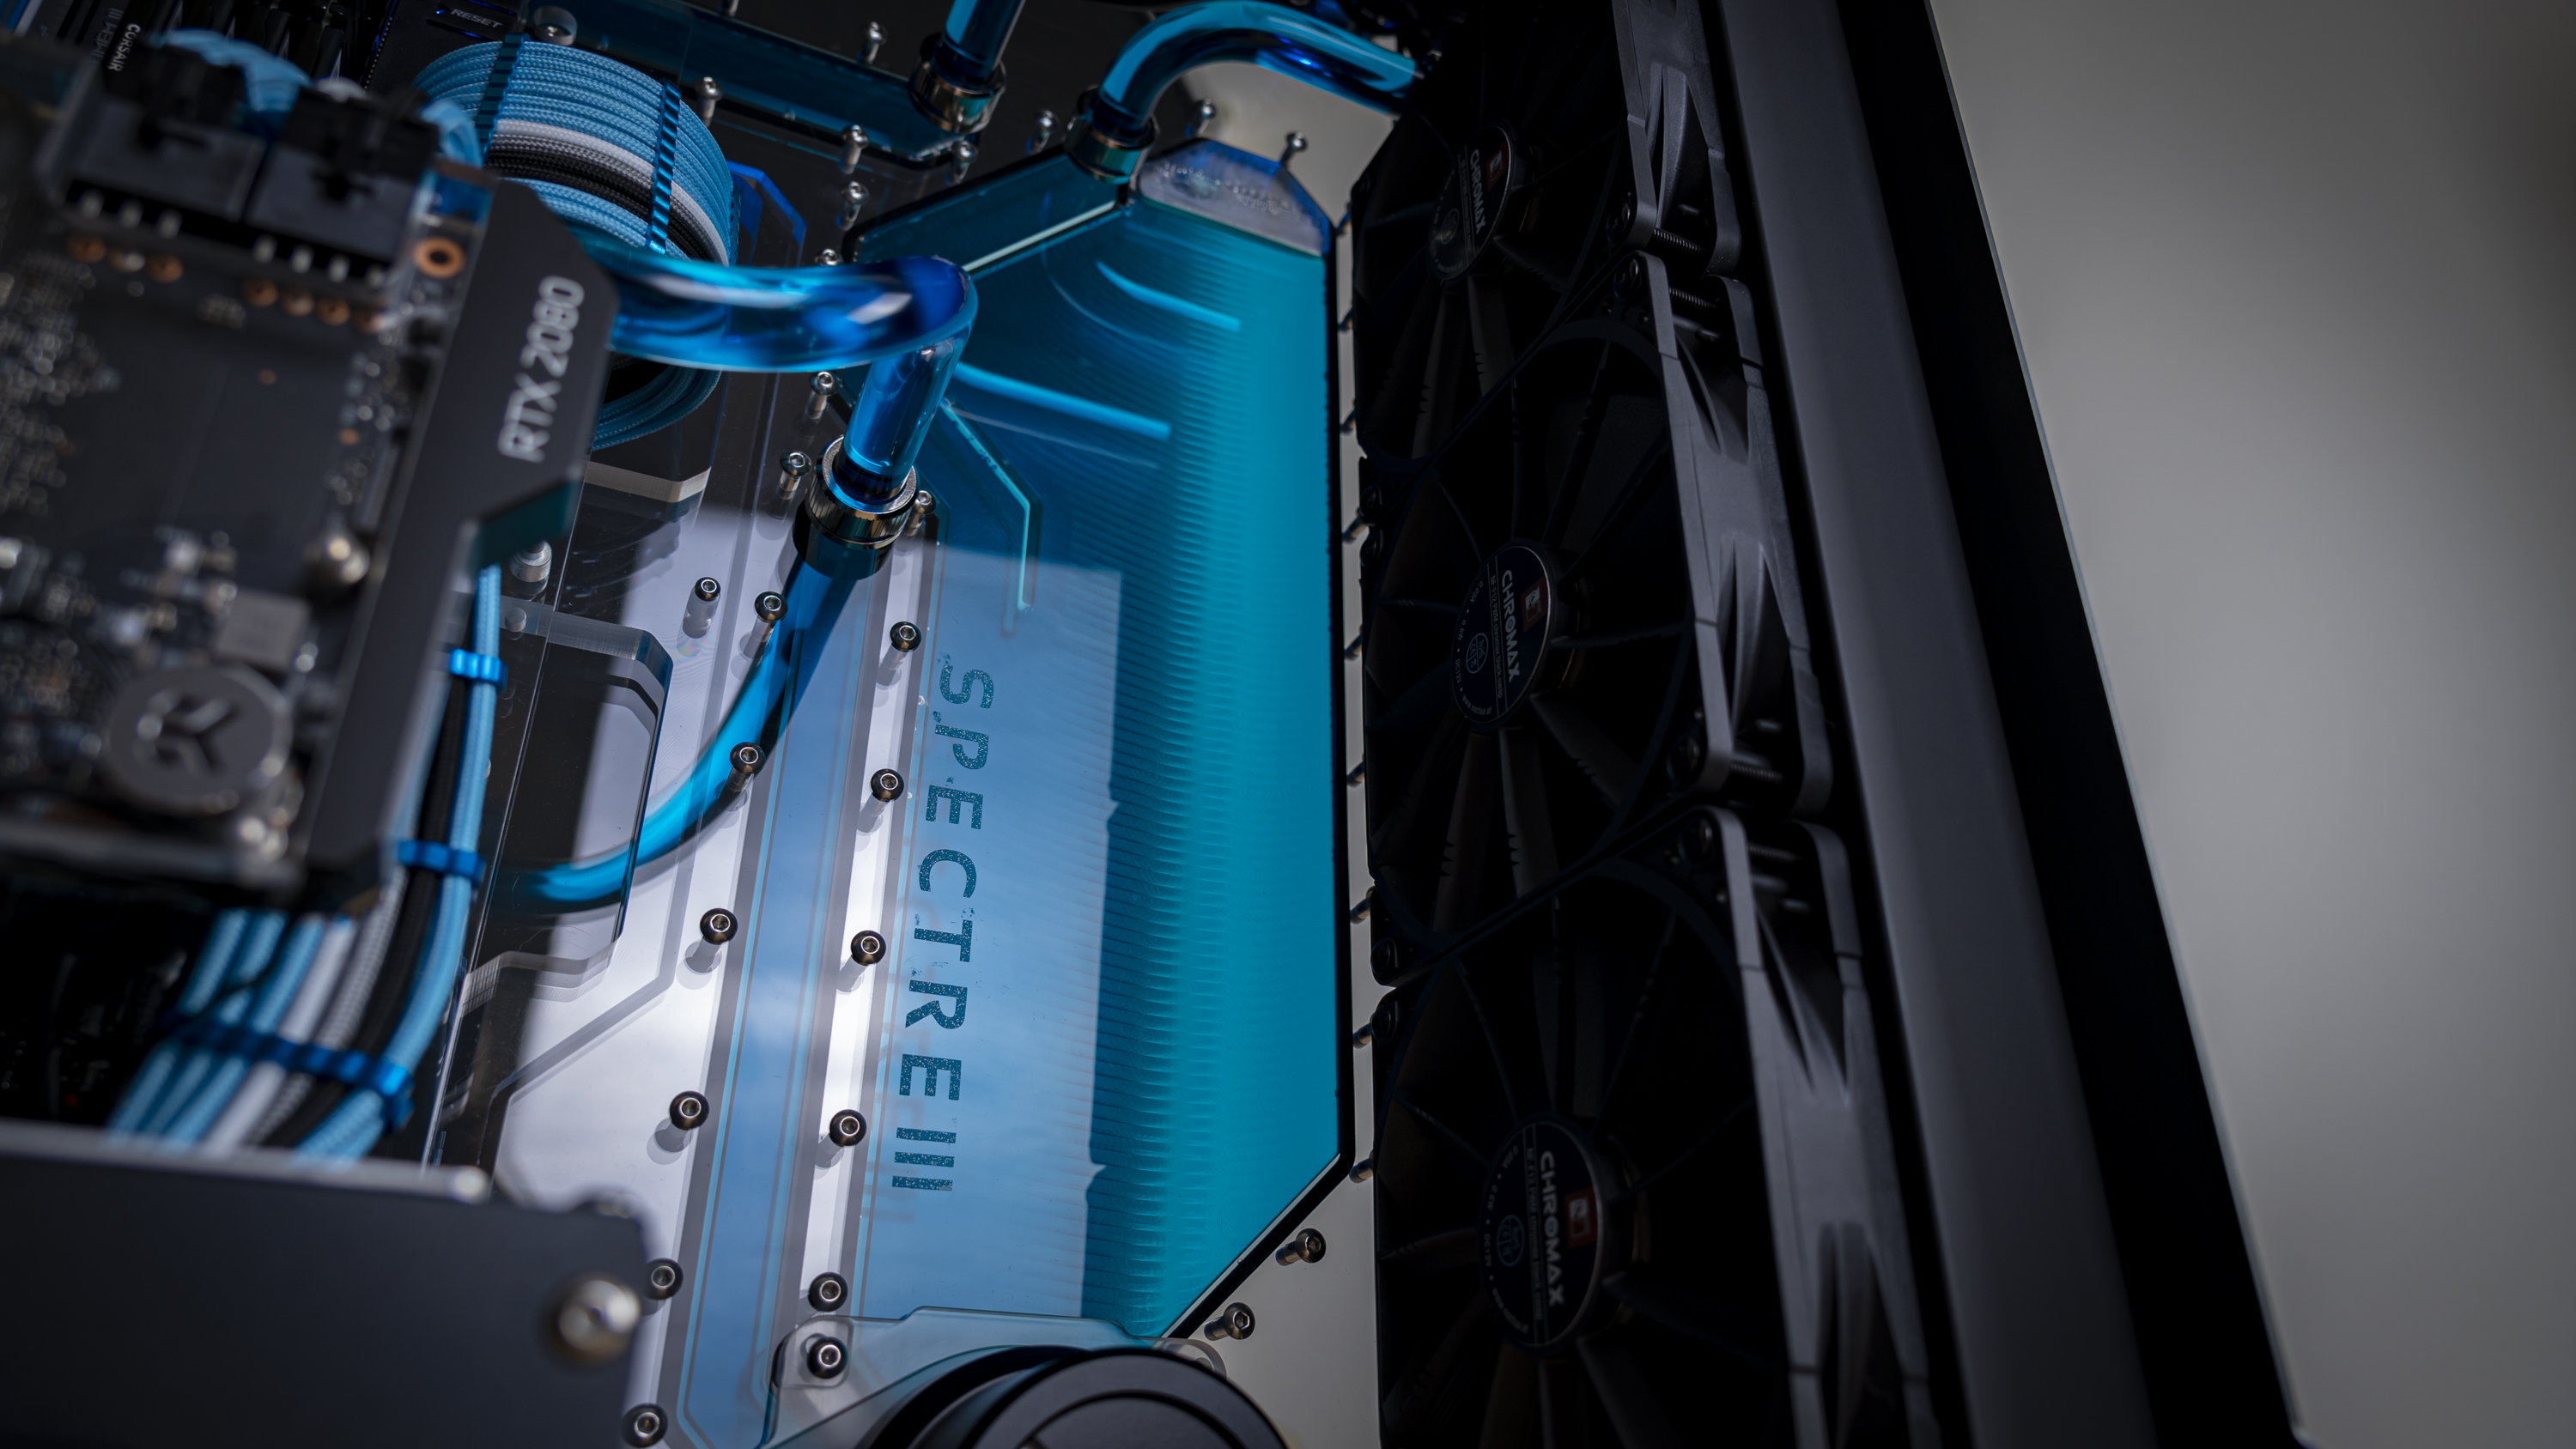
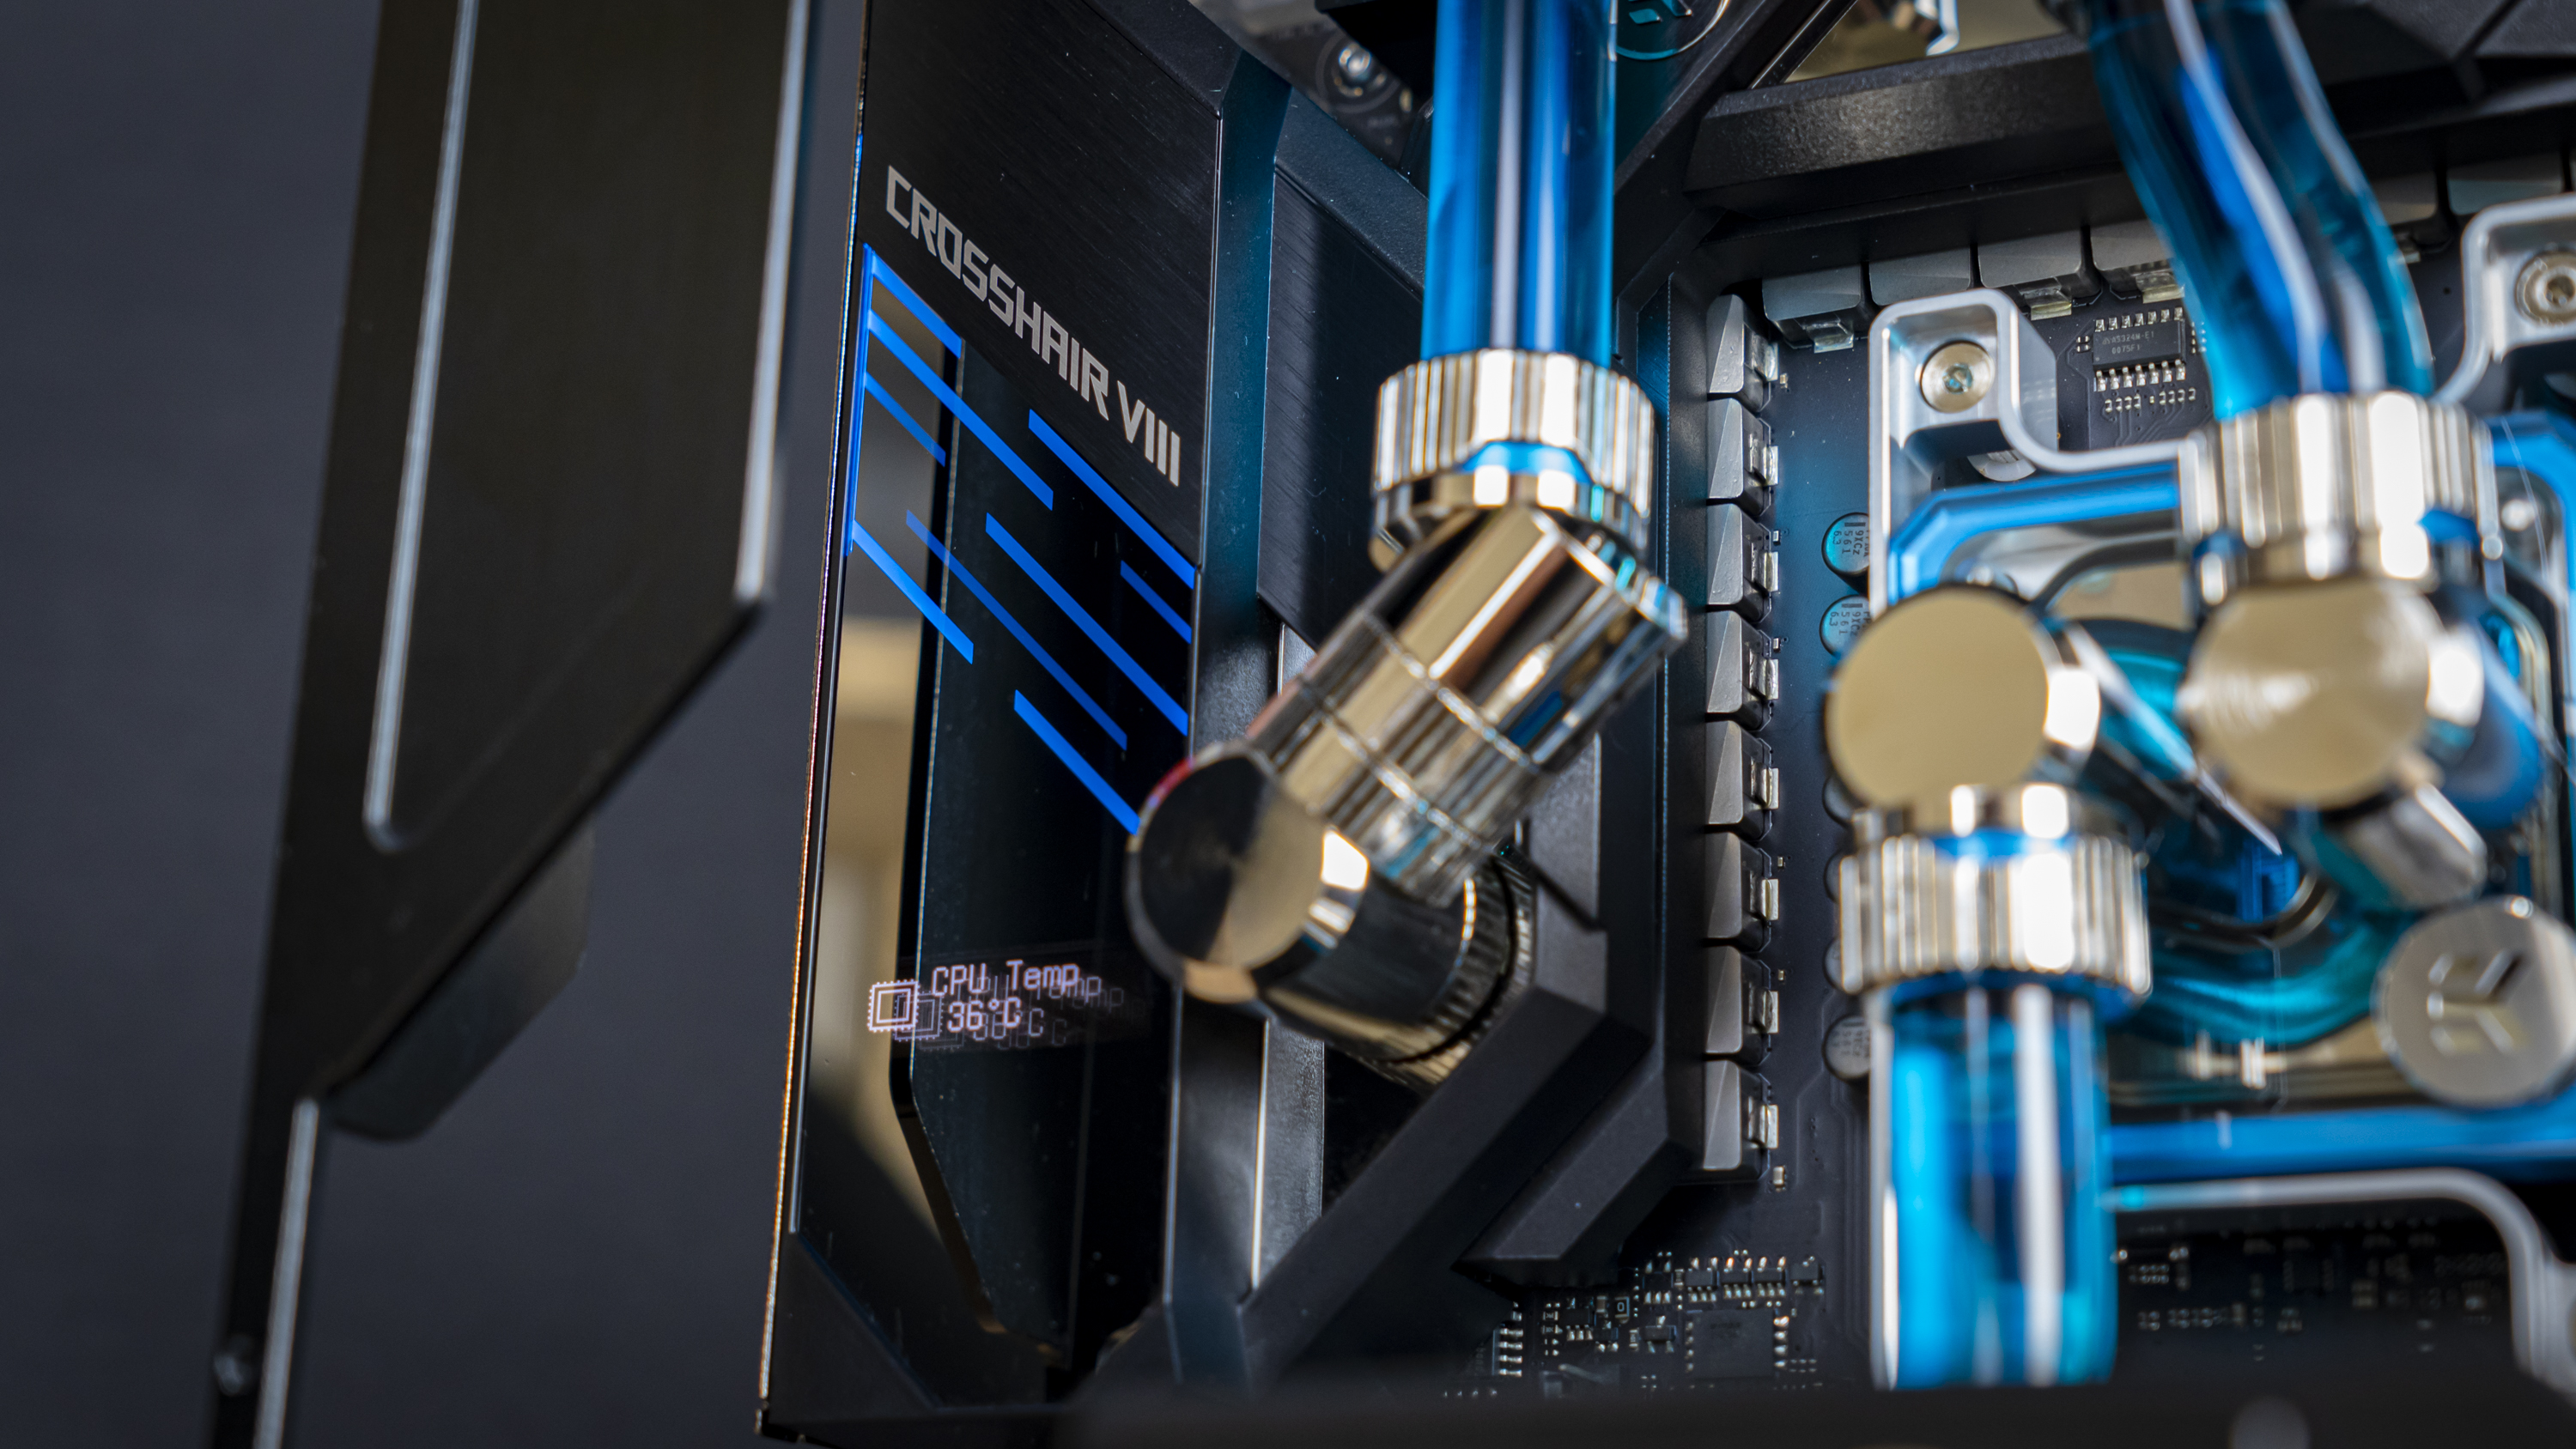
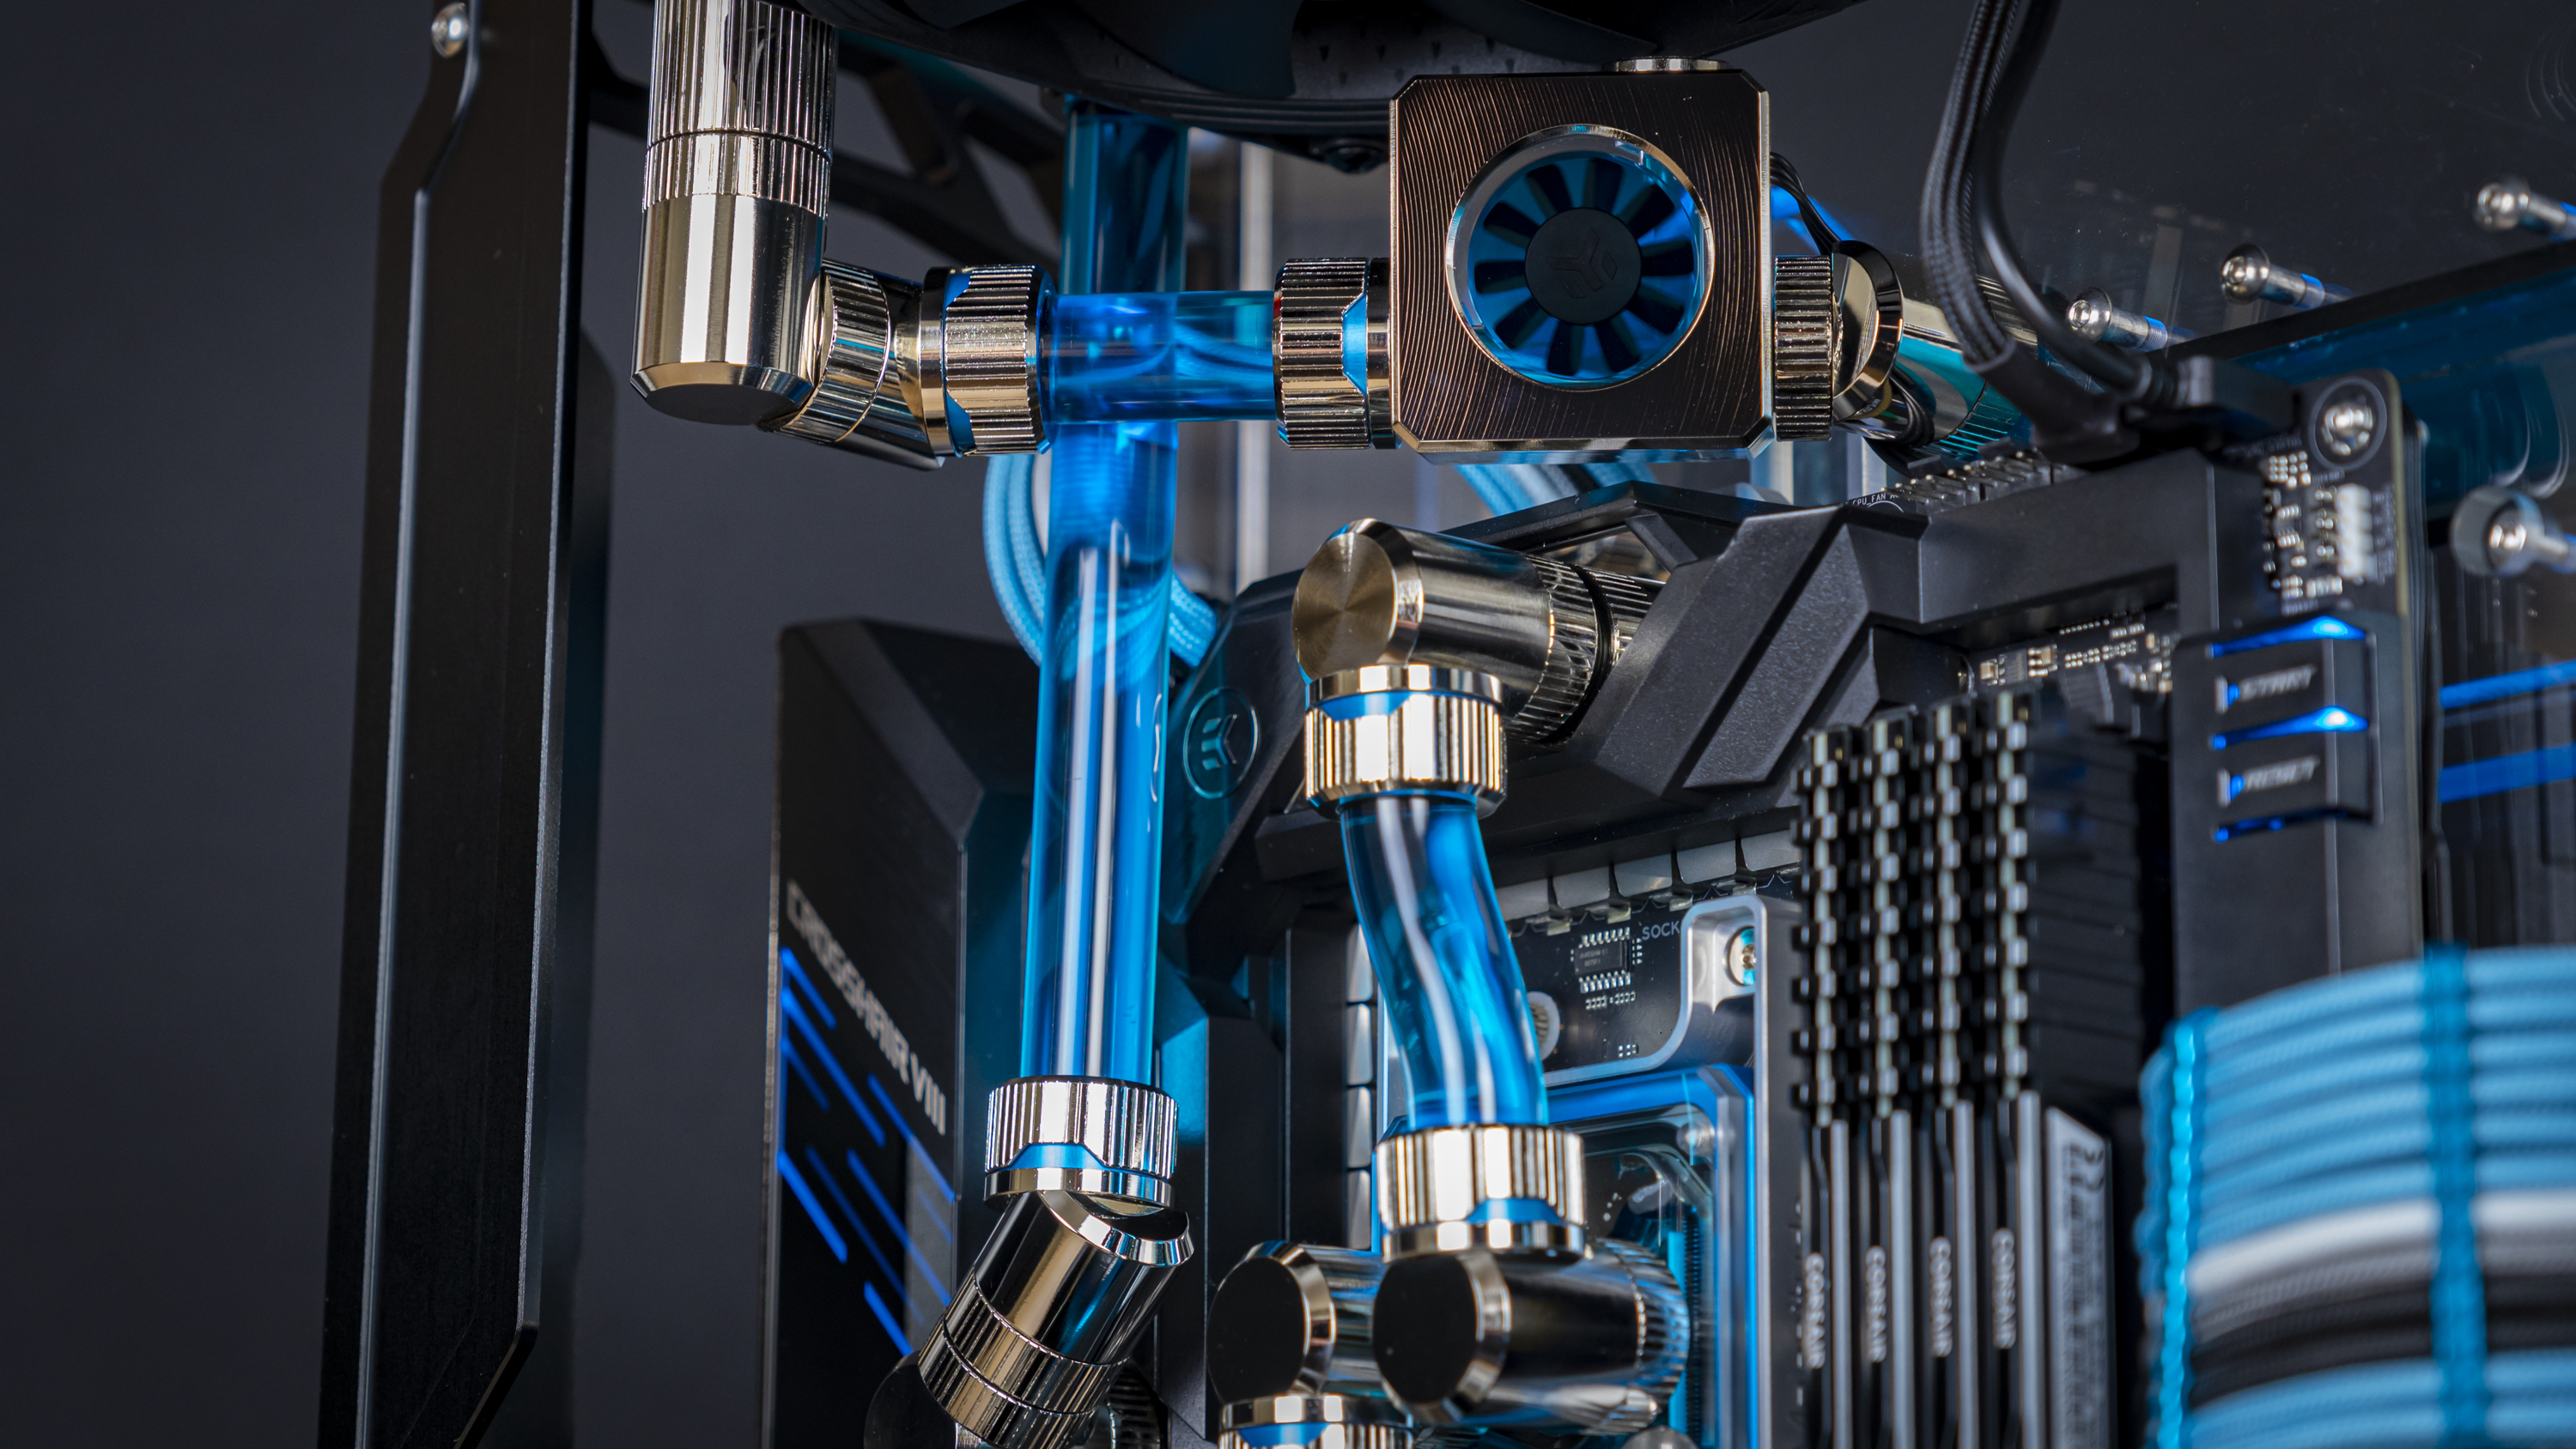
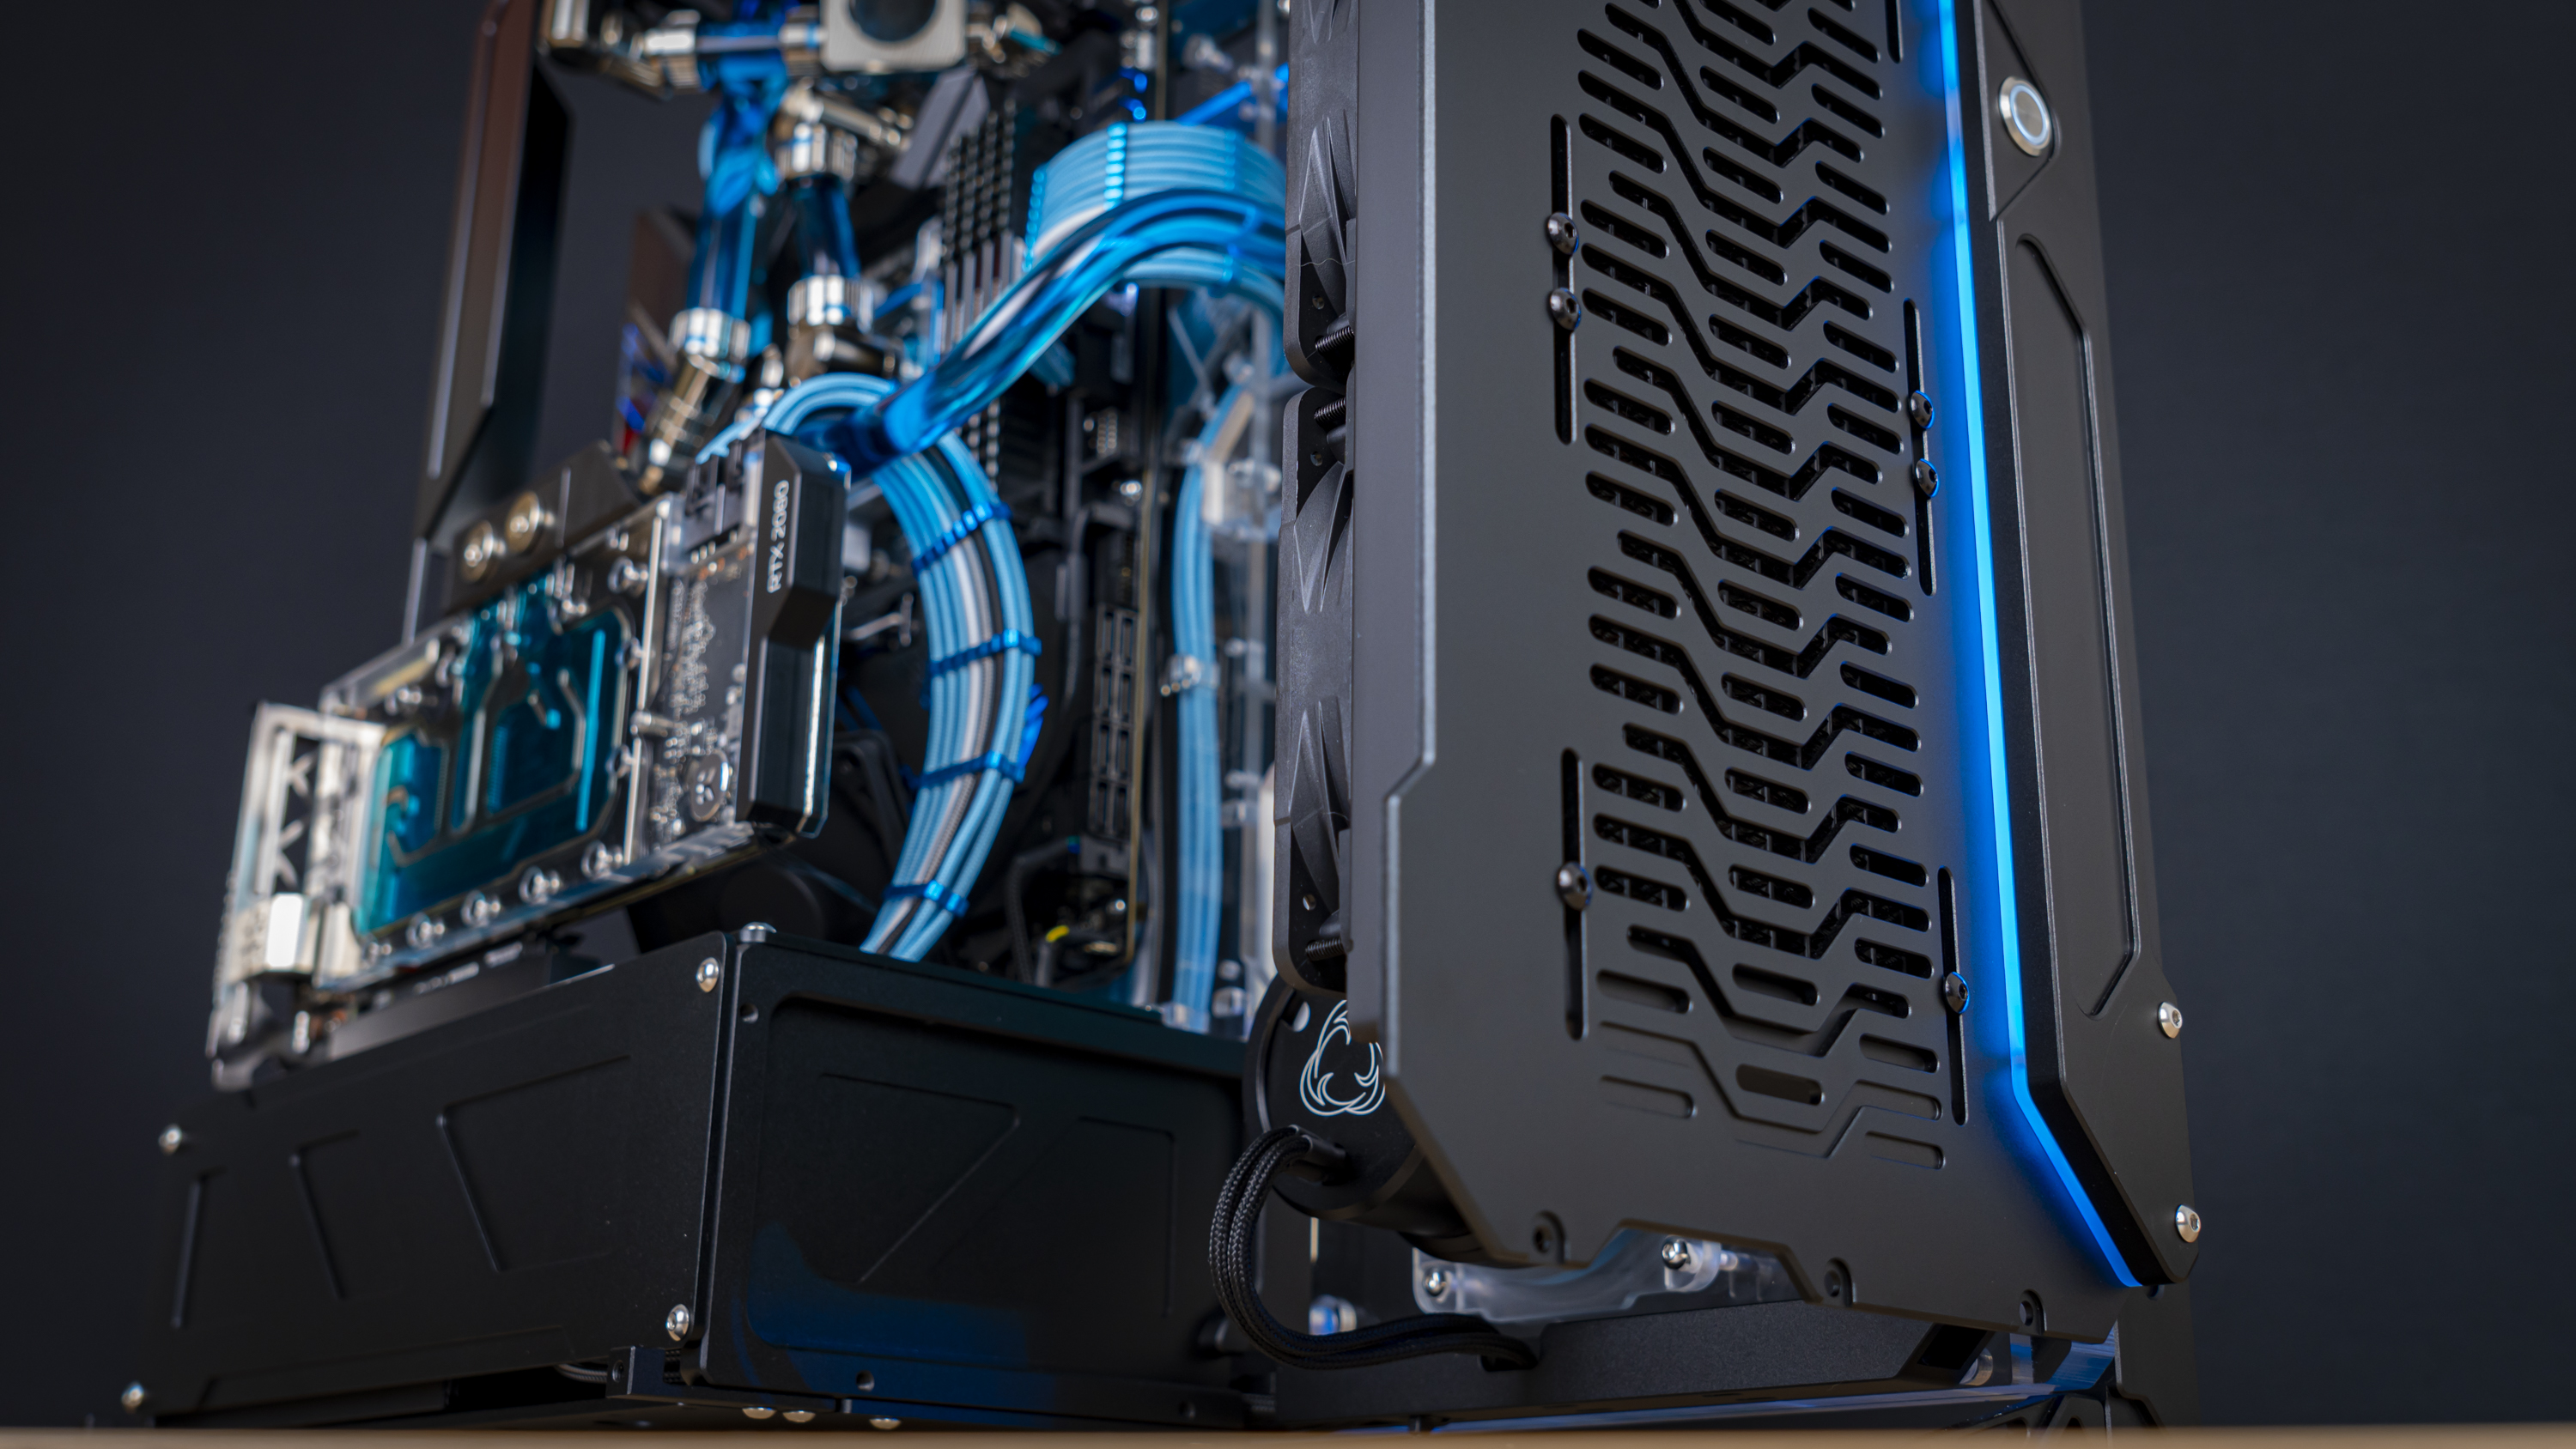
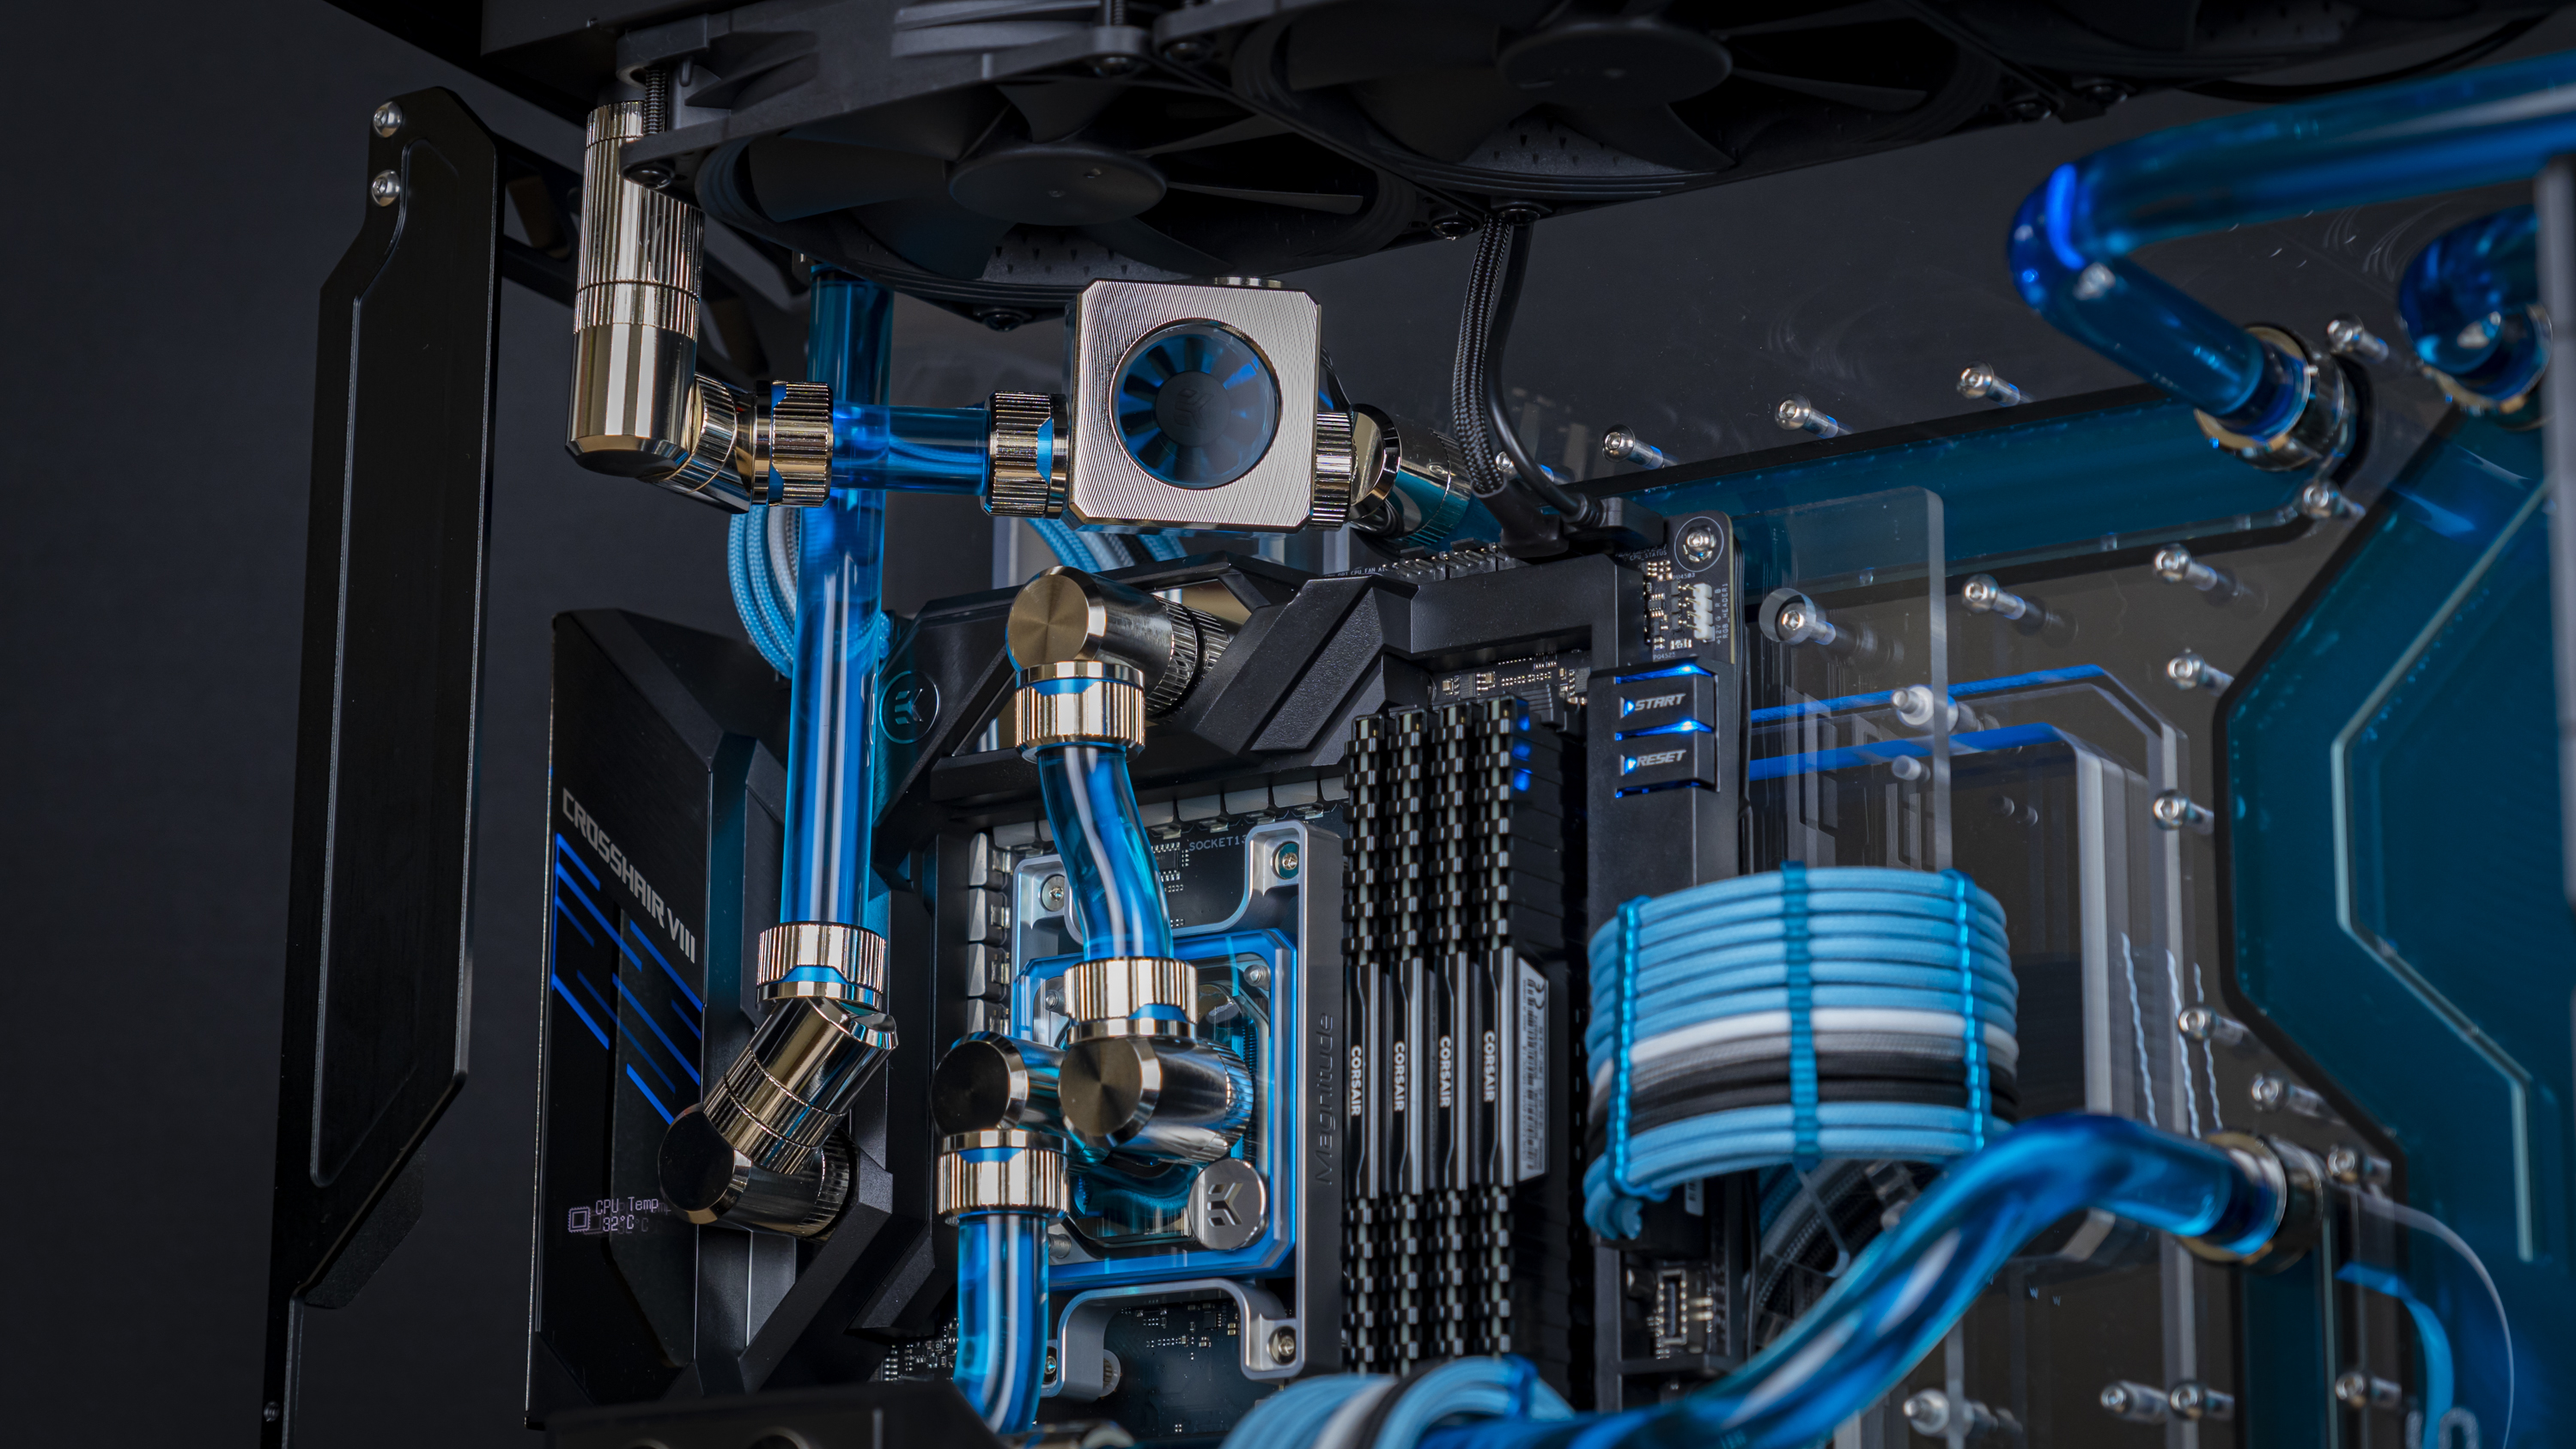
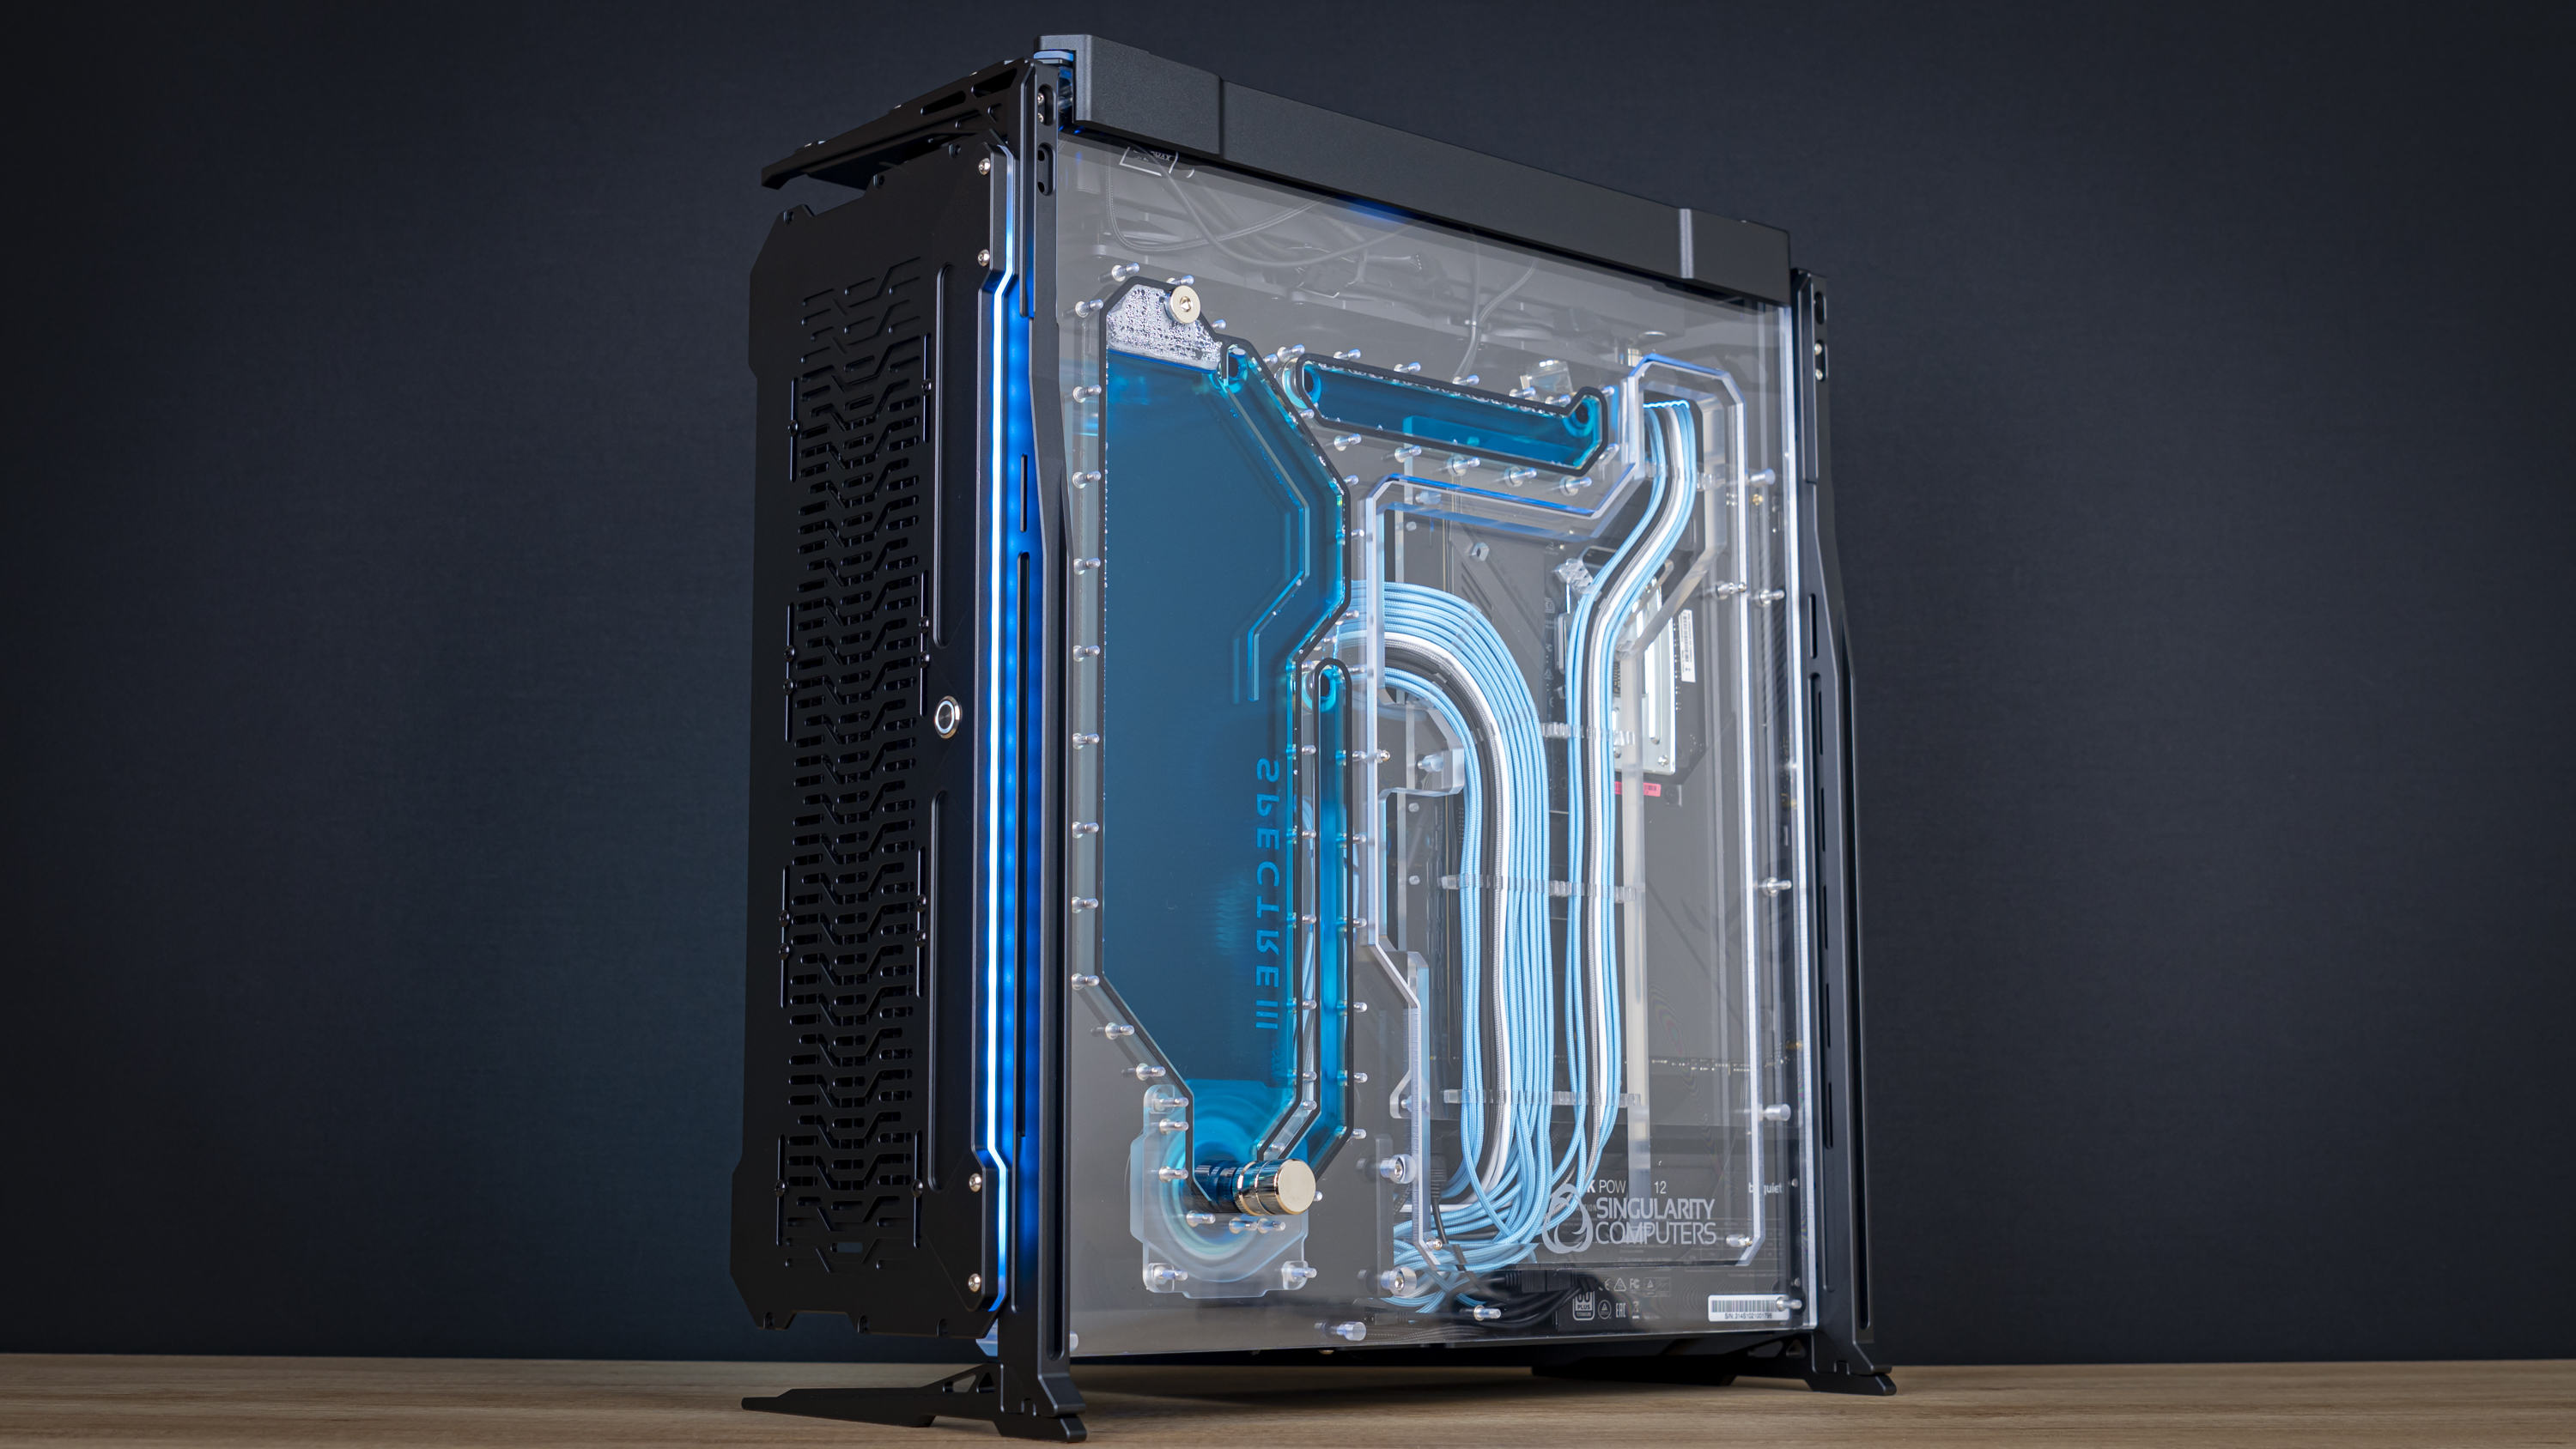
After setting up all the RGB the way it was best (most of it off, with just the case’s strips and motherboard effects on), and having given the system a few days to bleed most of the bubbles out, it was time for some pretty pictures.
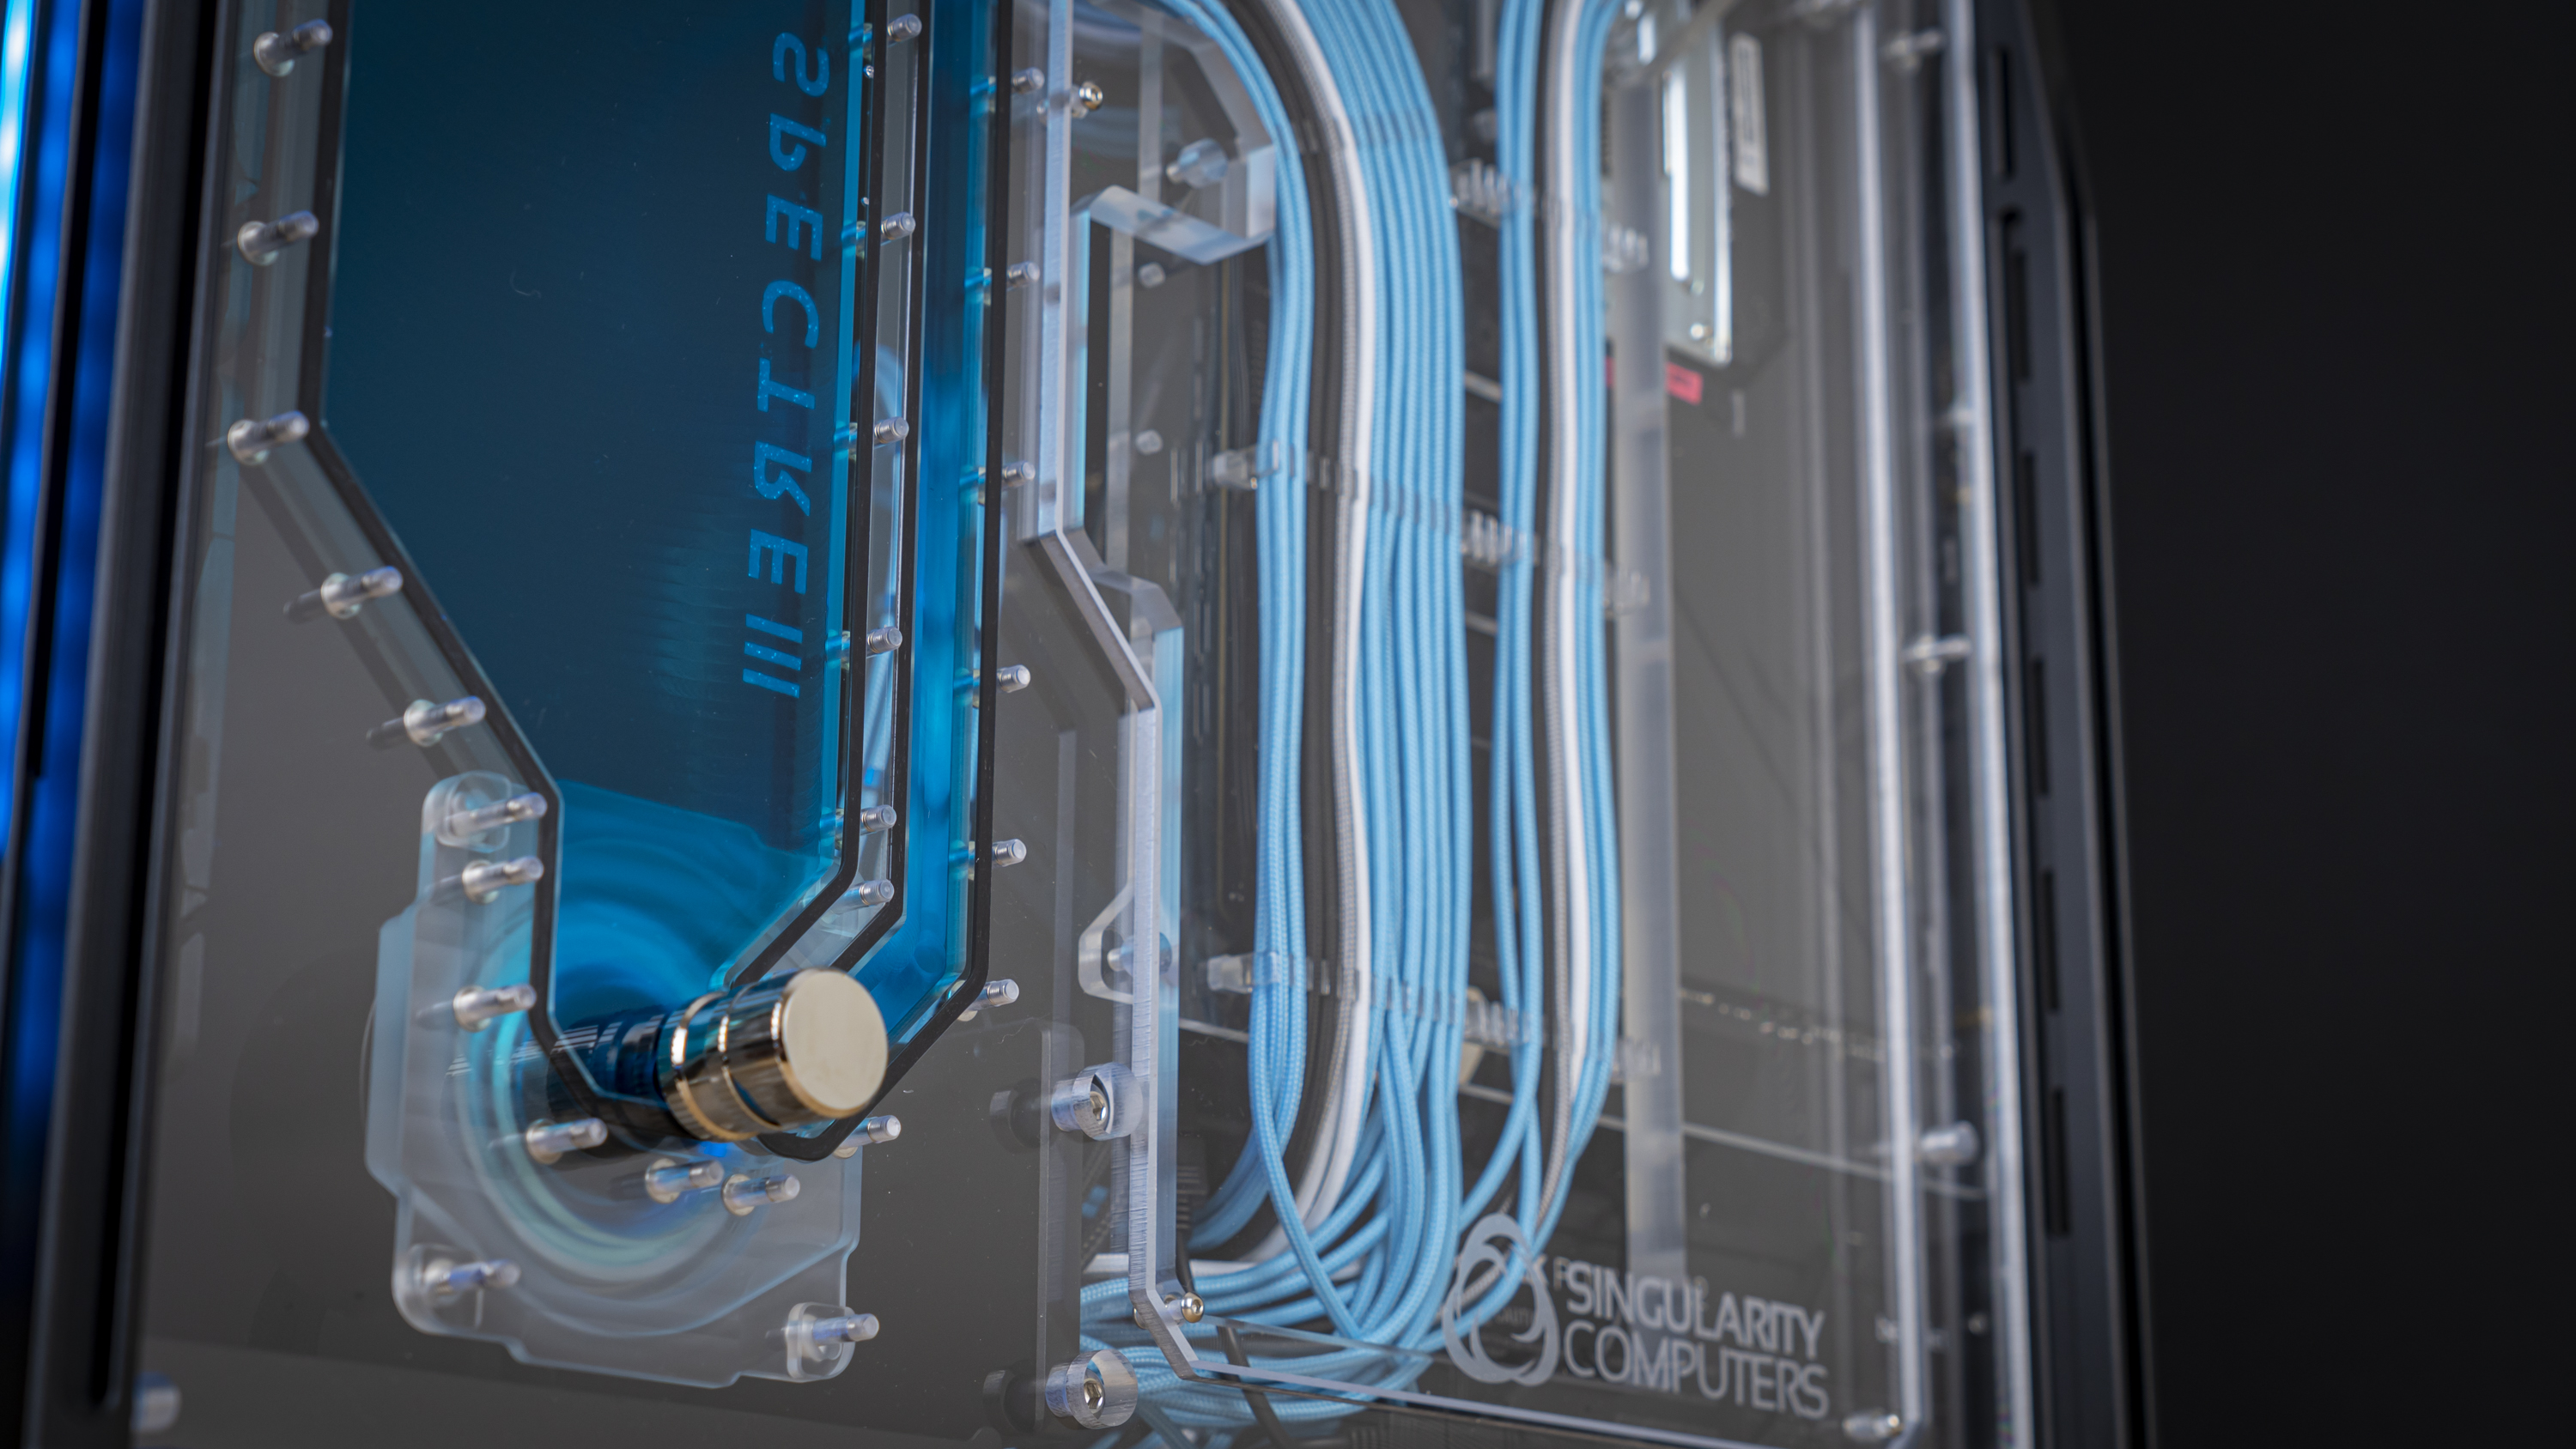

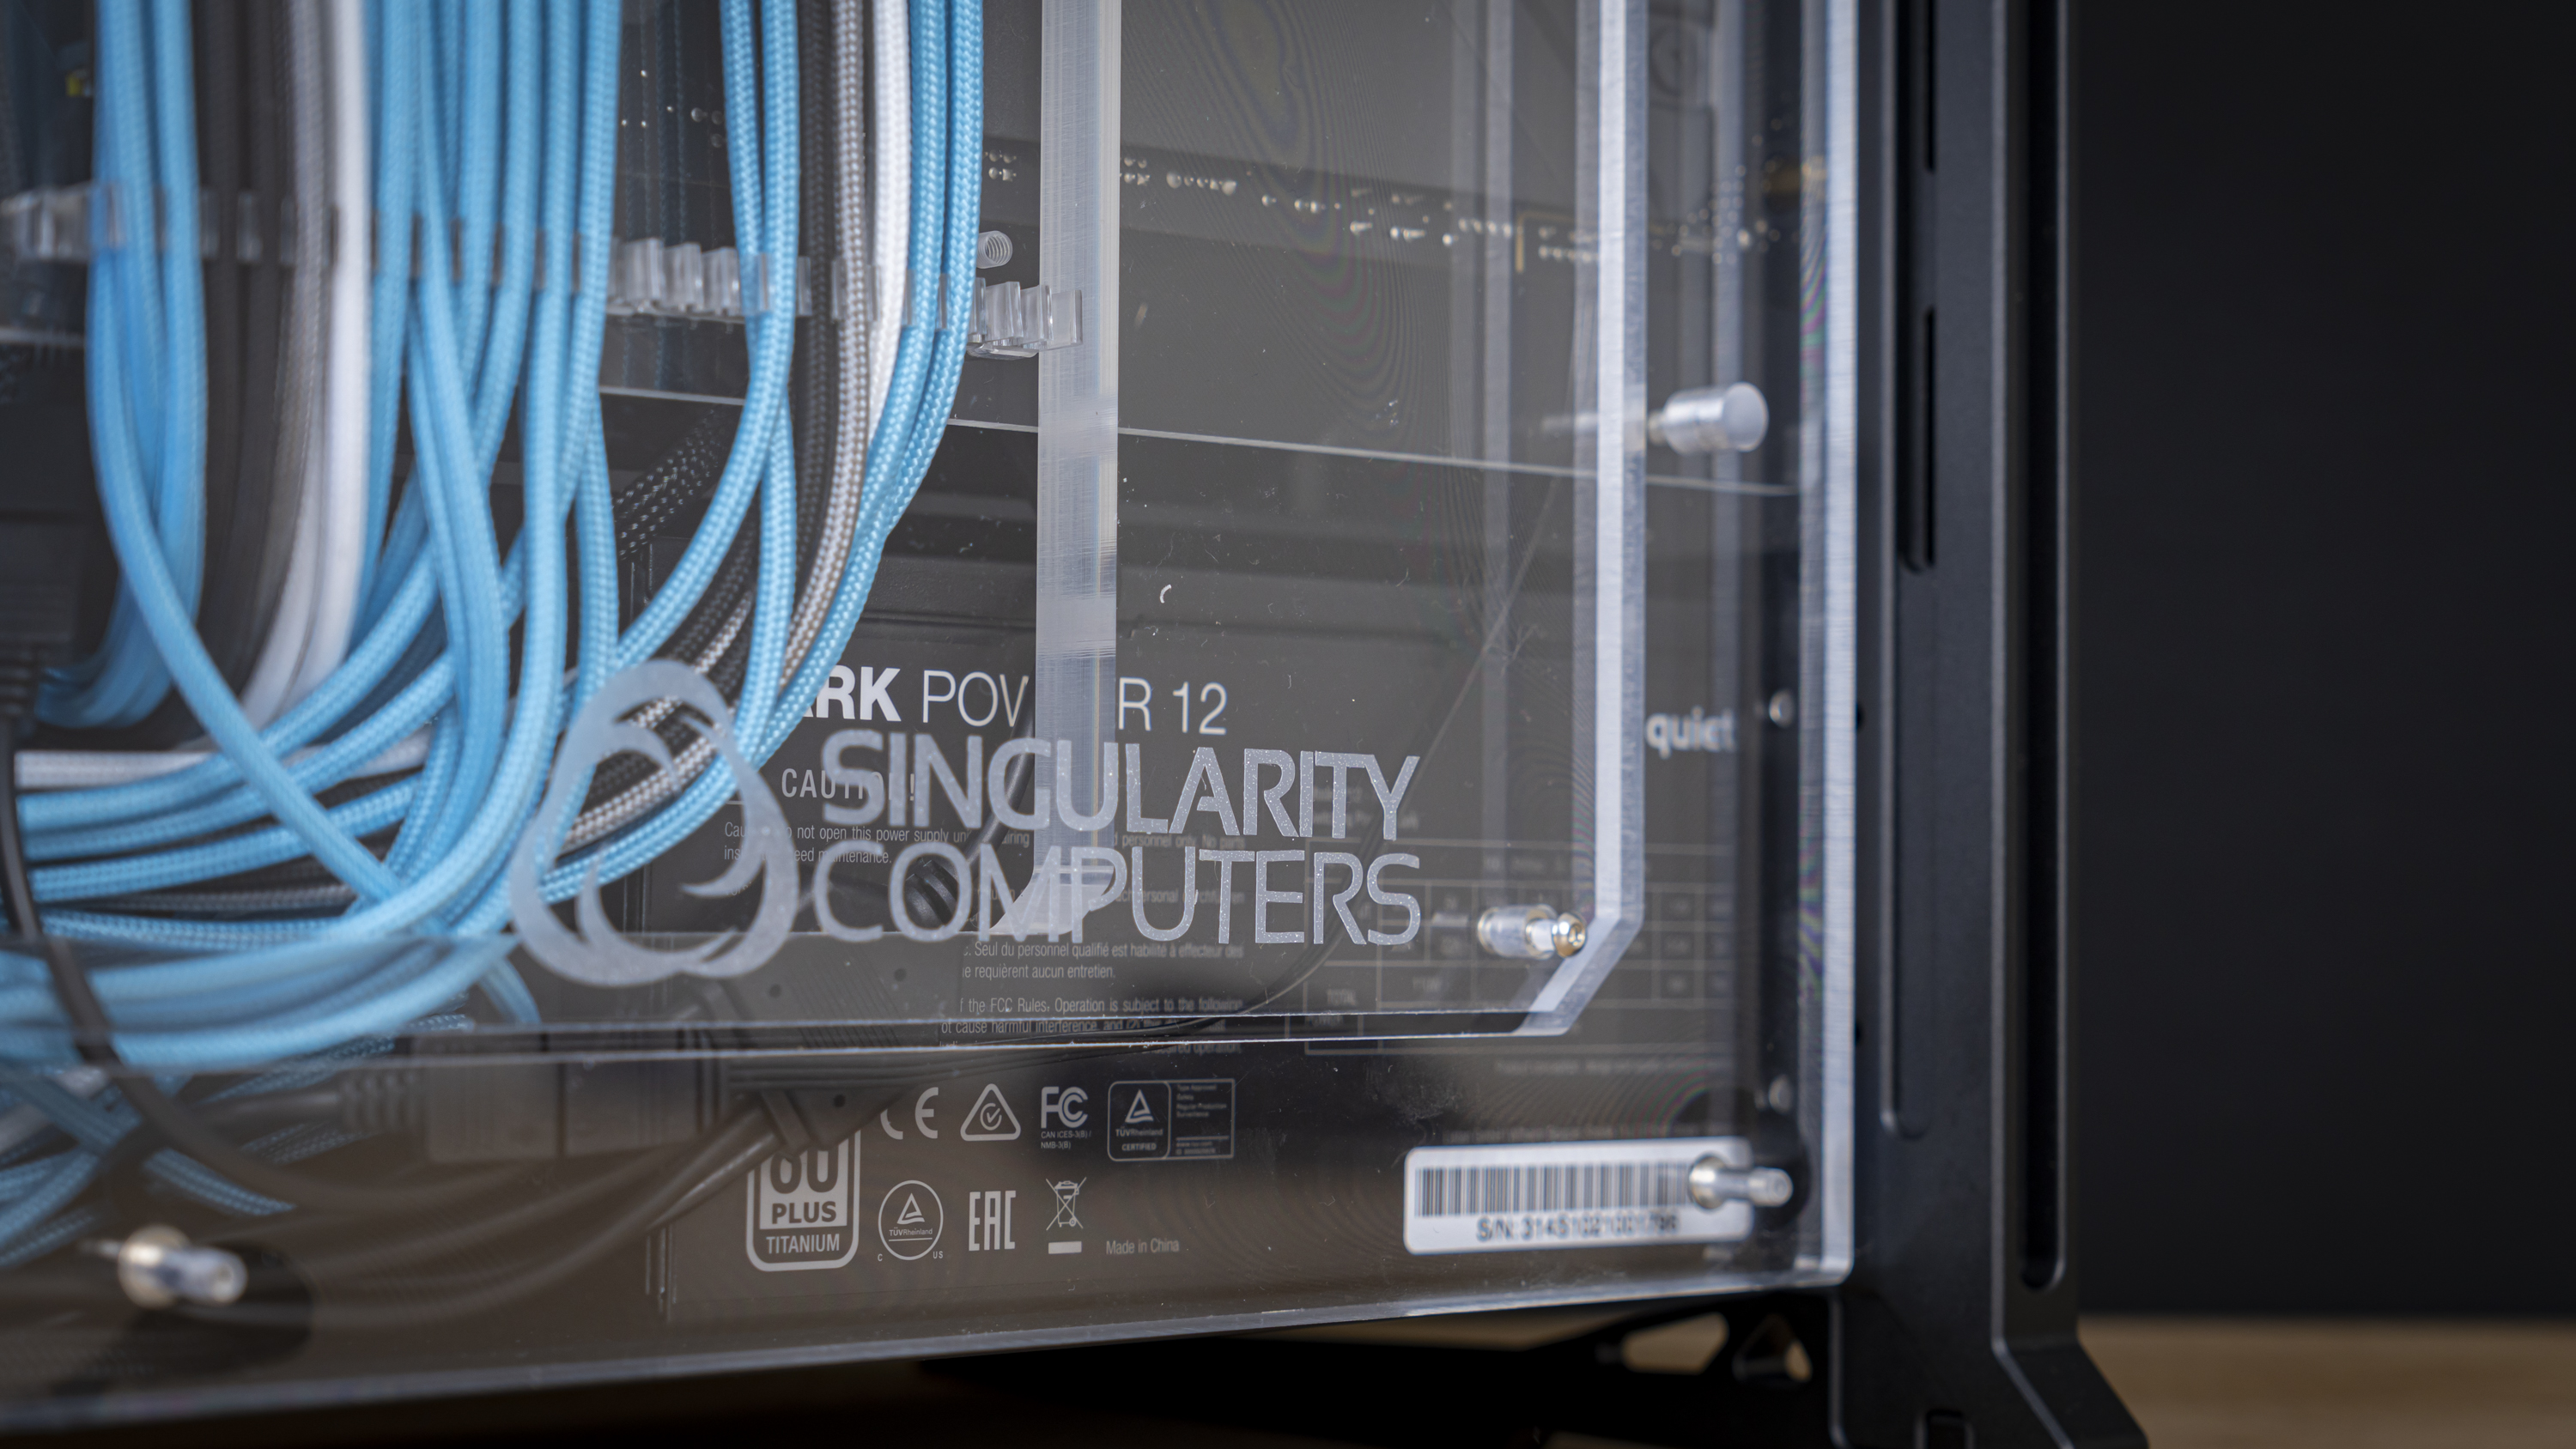
Tuning, Testing Thrermal and Acoustic Performance
With the last-gen hardware that’s in here, I doubt you’re much interested in the benchmark performance of a system like this. The Ryzen 9 3900X and RTX 2080 Super are well established at this point. What is interesting is cooling performance – just how quietly can you run this system?
Full disclosure: I’m someone who is happy to sacrifice optimal temperatures in favor of silent operation, which also means I’m not shy of running a system at a higher Delta-T than is generally preferred. So, I spent some time tuning the fan curves until I was happy with the acoustic performance and, then tested the system.
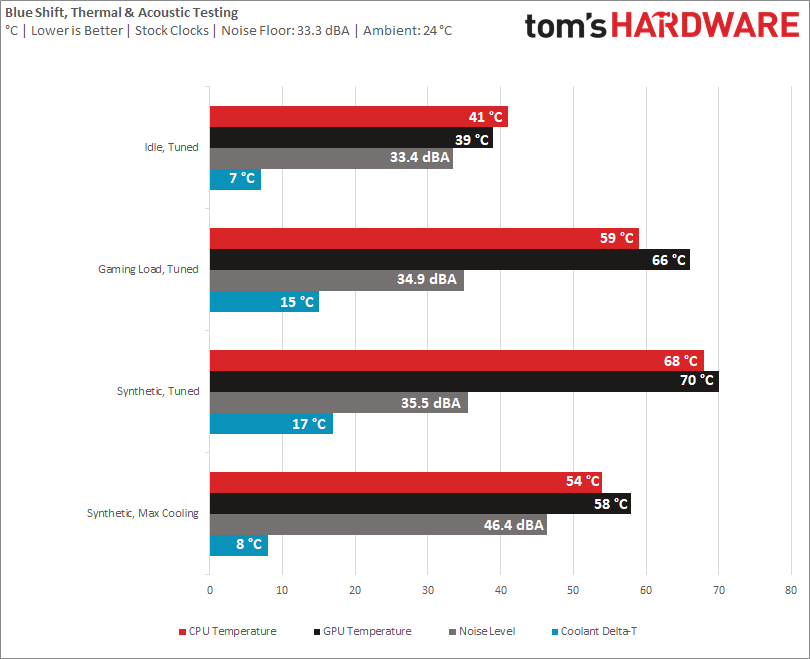
I tested the system in four scenarios: three with the tune, and one without. With the three tuned scenarios I run the system idle, under a gaming load (using Cyberpunk 2077), and with a synthetic load consisting of Furmark & Prime95 at smallest FFT’s. The Delta-T shown is the difference between ambient and the coolant temperature, with the fan curves based off the coolant temperature for control.
Then, just to showcase how much cooling power this loop has, I ran the pump & fans at full speed to record its temperatures, noise level and achieved Delta-T while running the same brutal synthetic workload.
Get Tom's Hardware's best news and in-depth reviews, straight to your inbox.
You’ll spot that acoustically, the system runs very, very quietly indeed--especially for an open case. It can run much louder, but with the noise floor of the room at 33.3 dBA, and a gaming noise level of just 34.9 dBA, the system is barely audible – the coil whine from the GPU, which isn’t even that loud on this sample, is louder than the cooling loop.
Of course, thermally, we could do better, but it’s important to keep in mind that there are a few factors that work against us here. The CPU isn’t delidded, nor are we using a tool like Der8auer’s OC bracket to improve CPU temperatures. I also run the pump at very low speeds, and bumping its speeds up can net almost a 5-degree improvement – at the cost of a bit more noise. And lastly, the GPU is running in a reverse-flow direction, meaning the coolant isn’t being pressed through the jet plate onto center of the GPU as it should, but flowing in from the sides of the fin array and out the inlet.
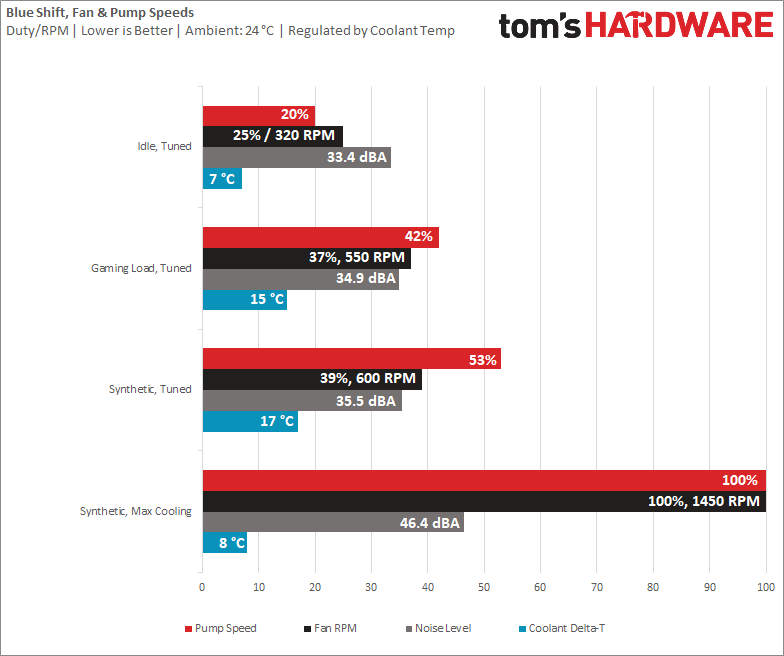
Meanwhile, above is the chart for the fan speeds resulting from the curves I set up. Yes, this system has its fans running at just 550 RPM while playing Cyberpunk 2077.
Clearly, there is plenty of cooling capacity left to add GPUs and heavy overclocks. This cooling loop is vastly over-dimensioned for the hardware that it’s cooling, but boy does that let you run it quietly.
So, Was it Safe to Disconnect the X570 Chipset Fan?
Remember that earlier on, I removed the motherboard’s shroud to disconnect the annoying little chipset fan? Well, as it turns out, I was reading out the wrong data originally to read out its temperature, so I cannot compare its temperature to how it used to run with its own fan.
I ran the system with the internal fan disconnected, and safe to say, passively cooled without much airflow provided by the liquid cooling loop, the X570 chipset ran a bit hot. A bit very hot, at up to a toasty 83 °C – and that’s under idle desktop use. That’s far too hot of course, and you bet I wasn’t going to try and run a game on top of this.
So, I placed a small black Noctua NF-A9x14 fan behind the graphics card, pointing up a bit at the shroud over the chipset, setting it up to run at a fixed speed of 1000 RPM – at this speed it wasn’t audible and provided a bit of airflow in the area, which would also help the SSDs and memory cool a bit.
The resulting chipset temperatures: 63 °C in desktop use, and about 68.5 °C in-game or under heavy loads. That’s not ideal, but perfectly acceptable and safe for long-term use. Considering the annoying whine from the old fan was now gone, I was very pleased with this result. I was also relieved that I didn’t need to tear the loop down and get the motherboard out to get the fan re-connected--that would have been a massive pain.
Conclusion
In the end, what this build shows, is that if you want a ridiculously high-end PC, and you’re not willing to drop well over 10 grand on a prebuilt, you can save plenty of money by doing the assembly yourself. It’s thrillingly fun, and while not without risk due to the sheer amount of acrylic involved, it is something that experienced and seasoned PC builders should be able to take on by themselves.
Well, maybe bring a friend for help with some parts -- just be sure to do a lot of homework to get every component detail, down to the length of the cables, planned out just right, and then put aside about a day (or four) for assembly, two if you work fast. But you won’t want to, because it’s far too enjoyable a job to just get over with, and you don’t want to rush and break something, or have to do major disassembly far down the line once you realize an early mistake.
That being said, don’t take that as an indication that I’m telling you to go out and buy the Singularity Computers Spectre III. It’s a brilliant chassis, and if you have the money, $1,400 is weirdly worth it for this case if you like its looks and want to build a custom cooling rig. But it’s still a lot of money – paired with a full custom loop, you’re easily looking at spending near $2500 - $3000 on just the case and cooling components if you take taxes into account – heck most of us build PCs for well less than that. Or at least we did back when you could buy GPUs without a scalper or a Shuffle involved.
But if you’re a liquid cooling enthusiast, you have the money to spare and want something like this, I can recommend the Singularity Computers Spectre III chassis, especially if you were considering a fully tricked-out pre-built system from the likes of Maingear or another high-end system builder. Just make sure you know what you’re getting yourself into, give yourself plenty of time – and unless you’re very experienced, don’t forget to pick up some extra tubing for all those failed bends.
Current page: Filling, Testing and Conclusion
Prev Page Building the Cooling Loop Next Page Parts ListNiels Broekhuijsen is a Contributing Writer for Tom's Hardware US. He reviews cases, water cooling and pc builds.
-
shunyata00 Love the color scheme. I designed that case for Singularity a few years back love seeing what people do with it. Very cool to see it on Tom's Hardware. Made my day.Reply
