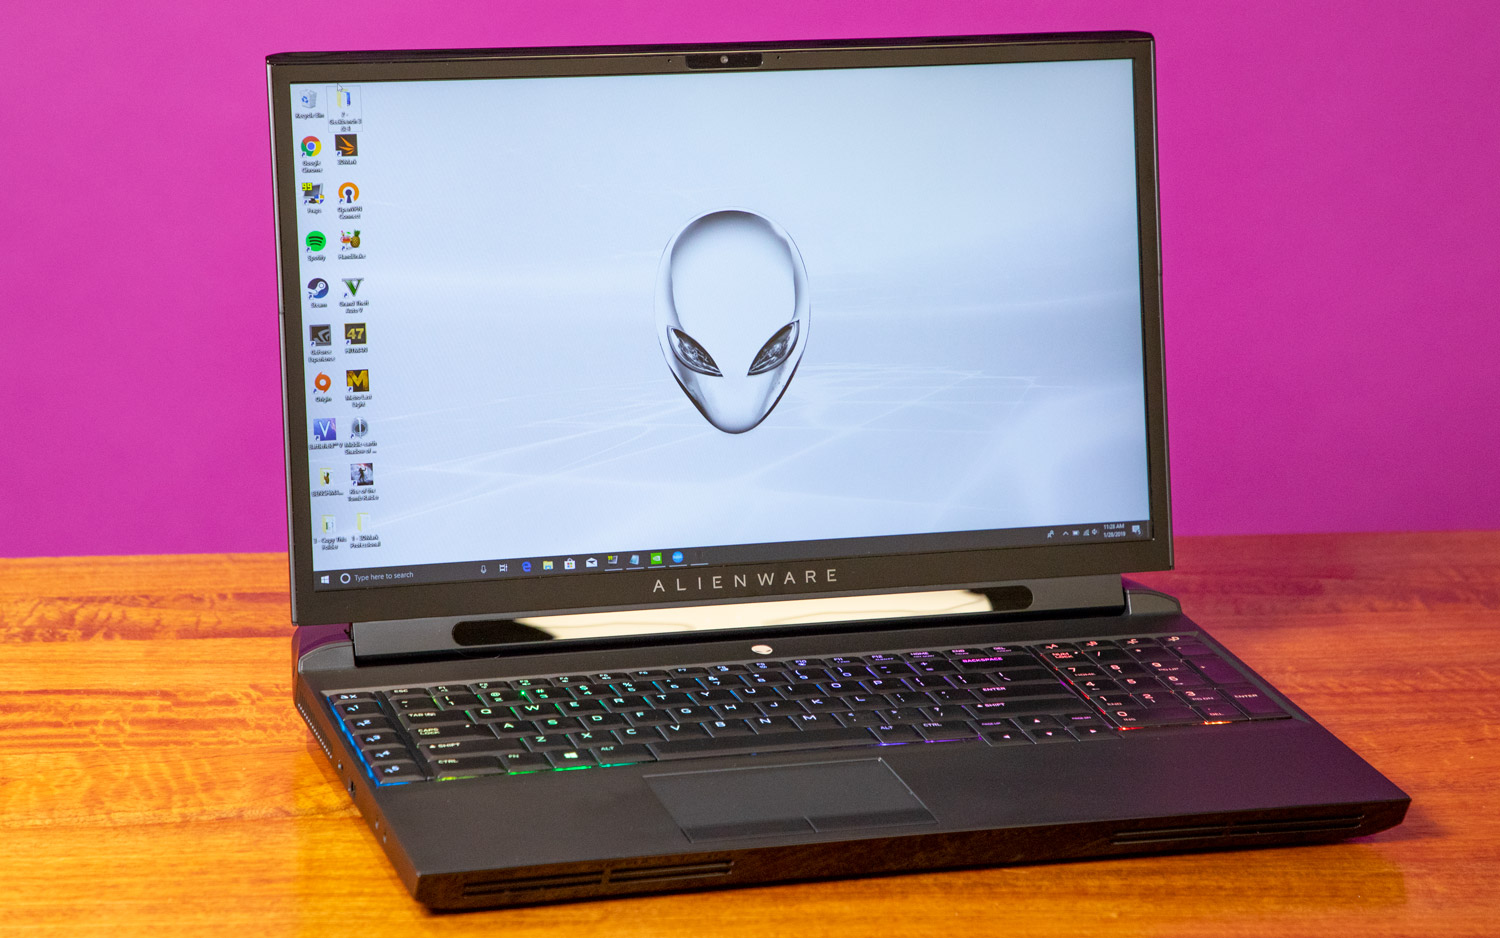
Alienware Autopsy: Dissecting the Area-51m Gaming Laptop
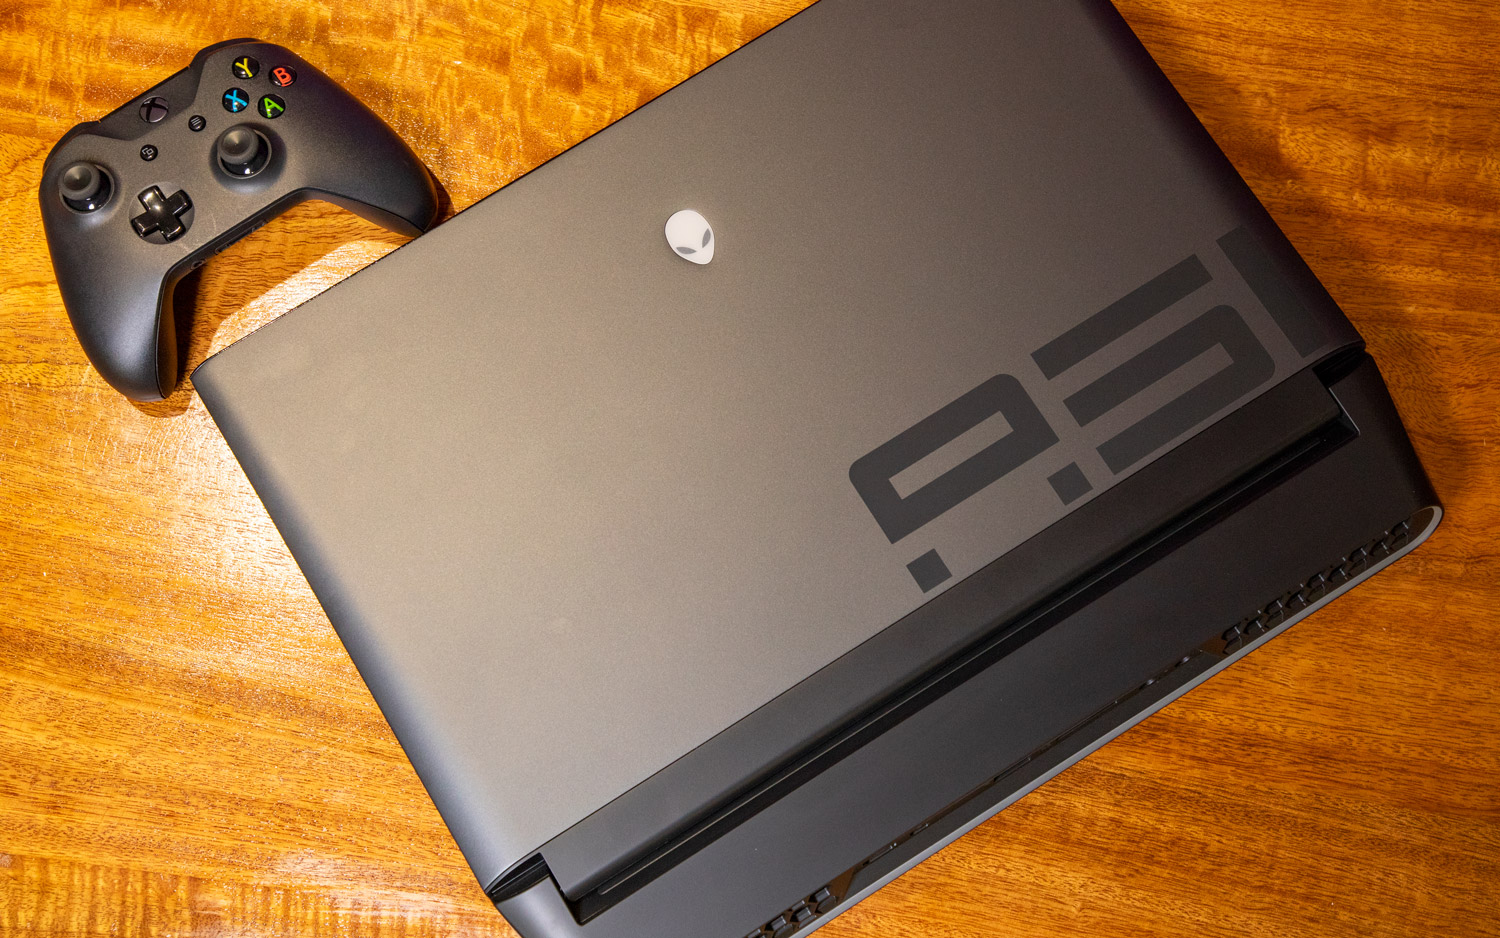
The Alienware Area-51m is the most upgradeable laptop we’ve seen in a long time, but getting to all the components isn’t as easy as just removing the bottom. To find out what’s involved in swapping out the CPU, GPU, storage and RAM, we grabbed our toolkit and tore the thing down.
In the service manual, Alienware’s parent company Dell recommends a Phillips head screwdriver, a flathead screwdriver and a plastic spudger for the job, though we didn’t find a need for the flathead. We did, however, find tweezers useful for removing small screws.
The preliminary steps are simple enough: Find a clean workspace, keep your screws in order, and make sure the system is off and that it’s unplugged before diving in.
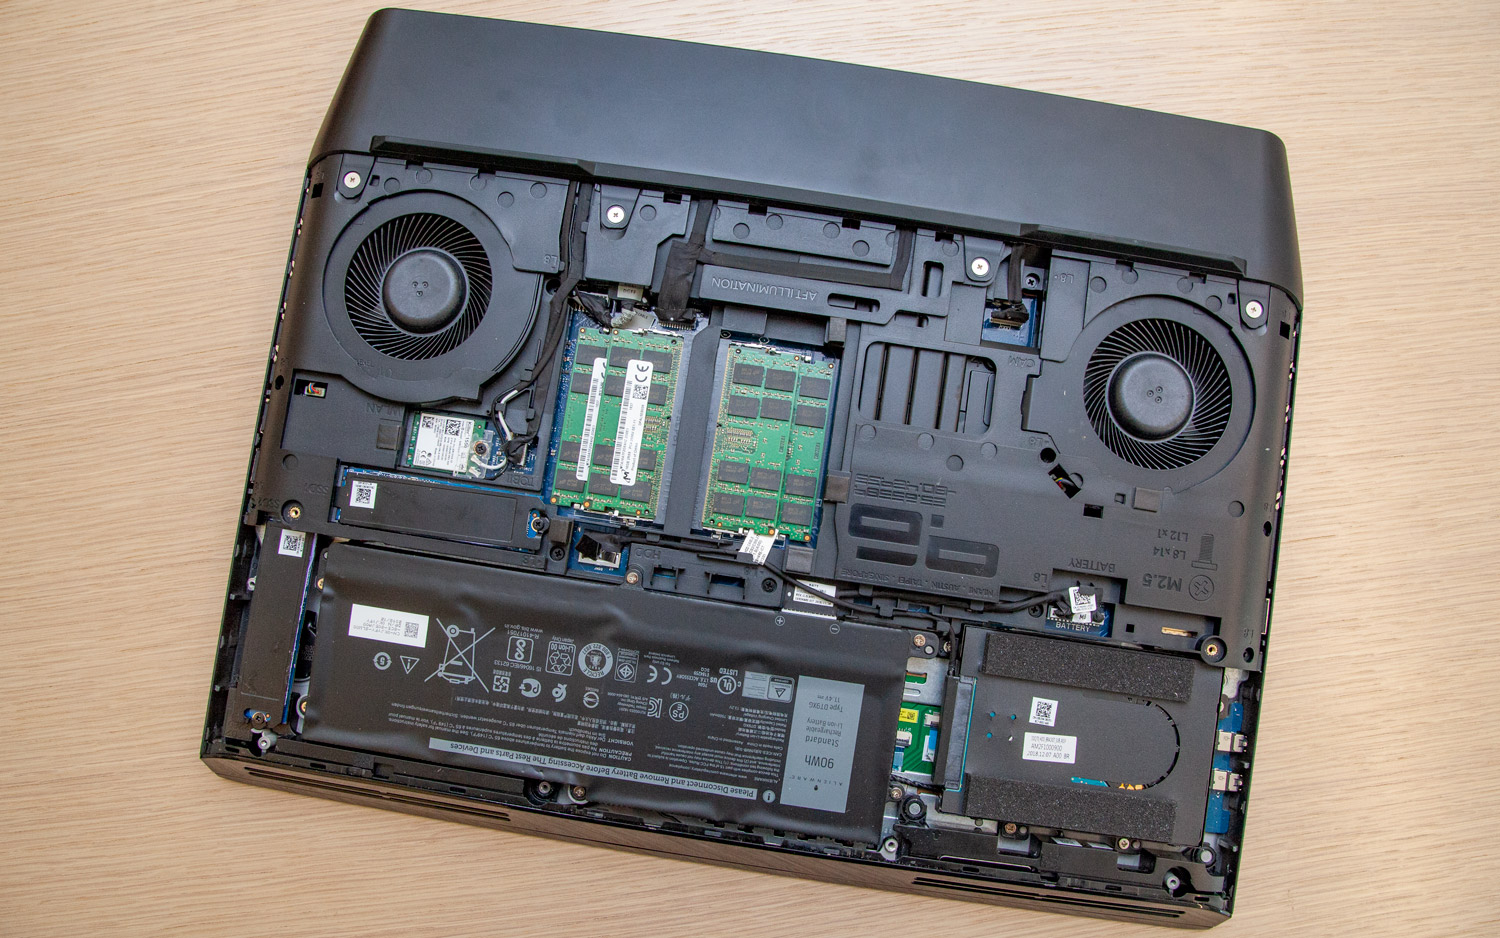
First, I took off the bottom cover. I loosened the six screws and then jimmied the base off with the spudger, and it lifted right off.
That revealed the first layer of internals. The RAM (all 64GB of it in four sticks) was instantly accessible, as was the 2.5-inch hard drive, battery and wireless card. But to remove the desktop-class CPU and the graphics card, I had to go deeper.
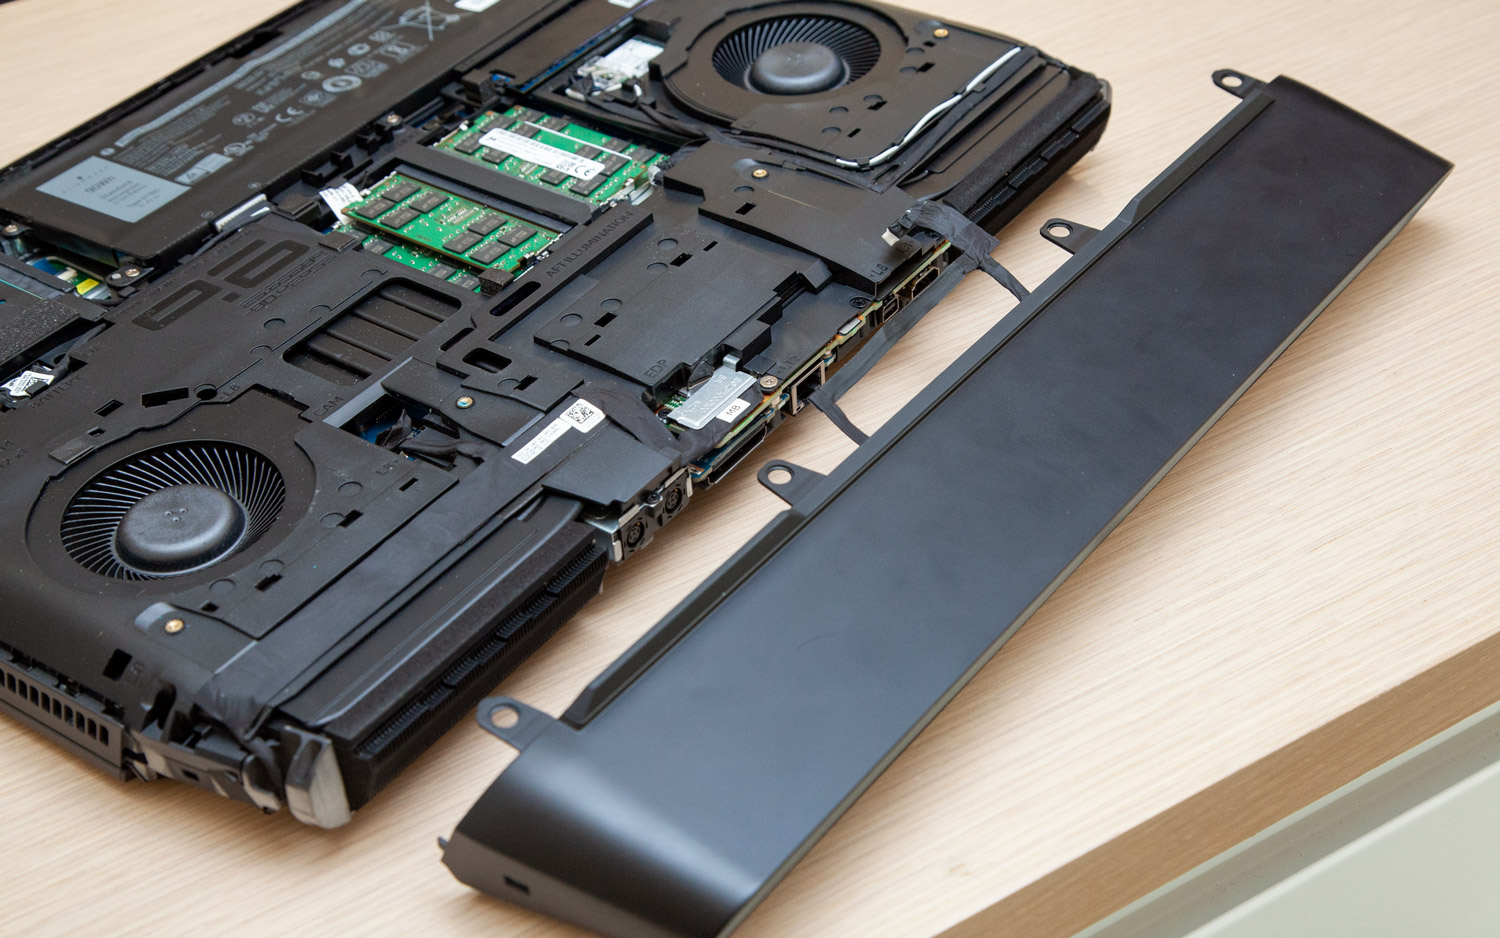
The primary obstacle is what Alienware calls the “computer base,” the black plastic shell that covers the motherboard and more of the components. But before that could come off, the rear I/O cover -- Alienware’s signature rear hump -- has to come off.
To do this, I first had to disconnect the cable that controls the light around the I/O ports, and then remove it (it has a light adhesive) from the laptop’s shell. Four screws hold the rear cover on bottom of the computer, and another two keep it attached at the back. Once those six screws were removed, I was able to push it right off and set it aside.
Get Tom's Hardware's best news and in-depth reviews, straight to your inbox.
Before removing the plastic base, a few other items have to be removed or disconnected. There’s the battery, which we first disconnected from the motherboard and then removed the six screws holding it down before taking it out of the laptop. After that, we had to take out the wireless card by removing it from the bracket (one screw) and disconnecting the antenna cables. This is also a good time to remove any SSDs that are in the way. The drive in the SSD1 slot needs to come off, as it’s on top of the computer base. The second one doesn’t need to to be removed yet.
Now, we’re ready to tackle the plastic interior base. Here’s the rub: There are several cables attached to it with adhesive, and it’s held down by more than 14 screws. These included the hard drive cable (which has some cable guides on the base), the Tobii eye tracking camera cable (connected to the system board), removing a screw that keeps the display-cable and an accompanying bracket attached to the rest of the computer, unplugging that from the board, as well as disconnecting the camera cable and peeling that off the base. After removing one longer silver screw that holds the plastic base to the deck, I then unscrewed the 14 black screws holding down the large plastic base at various points. Once those were out, the plastic base came off with just a pull, revealing more of the motherboard beneath.
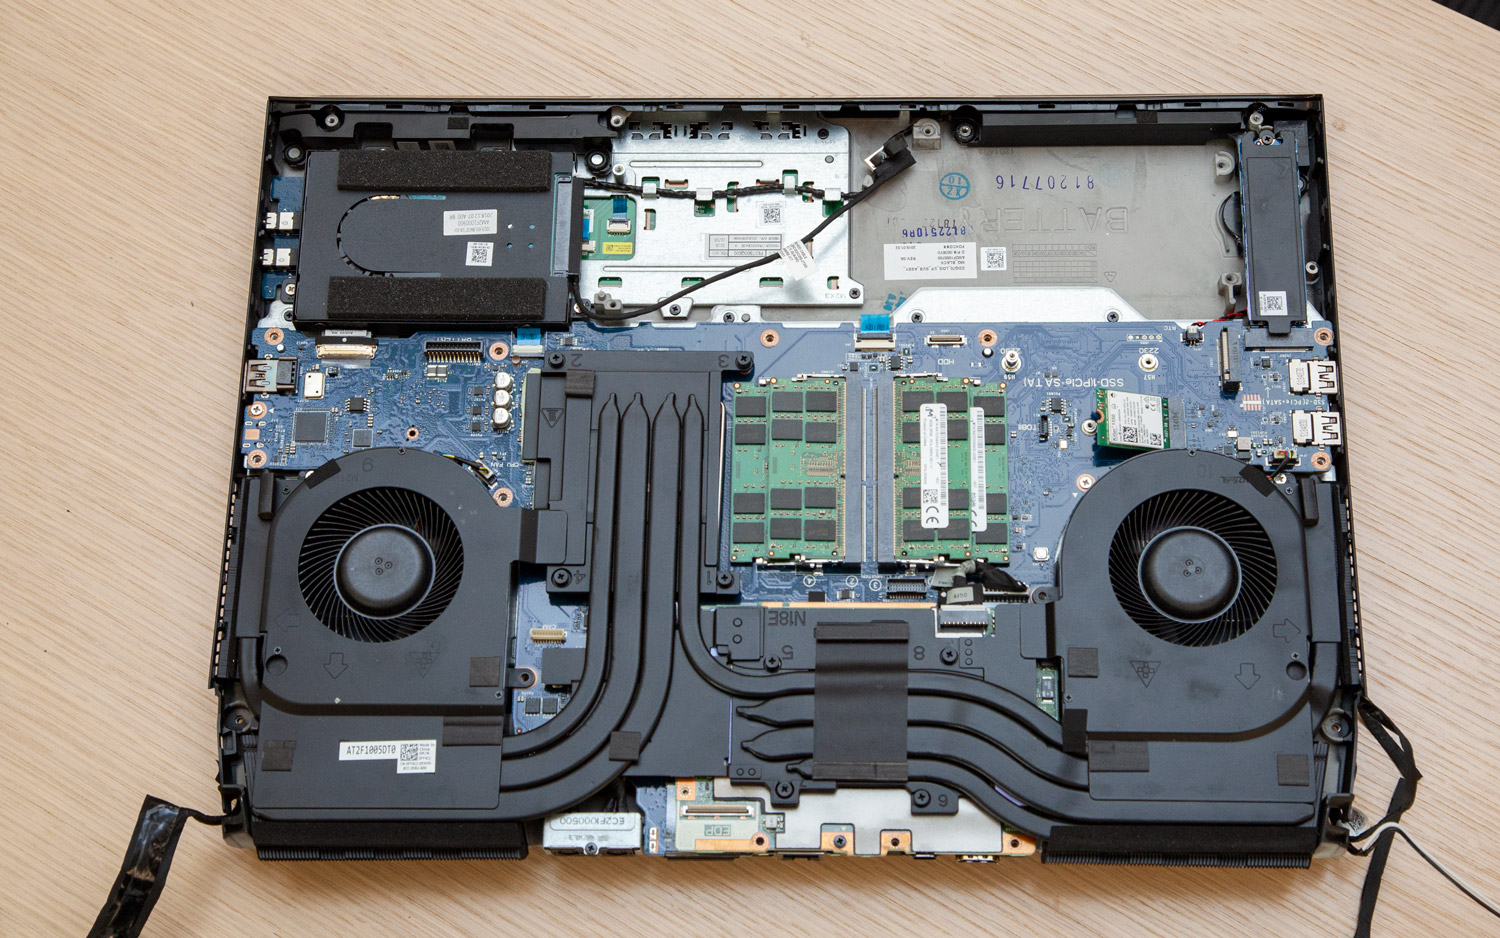
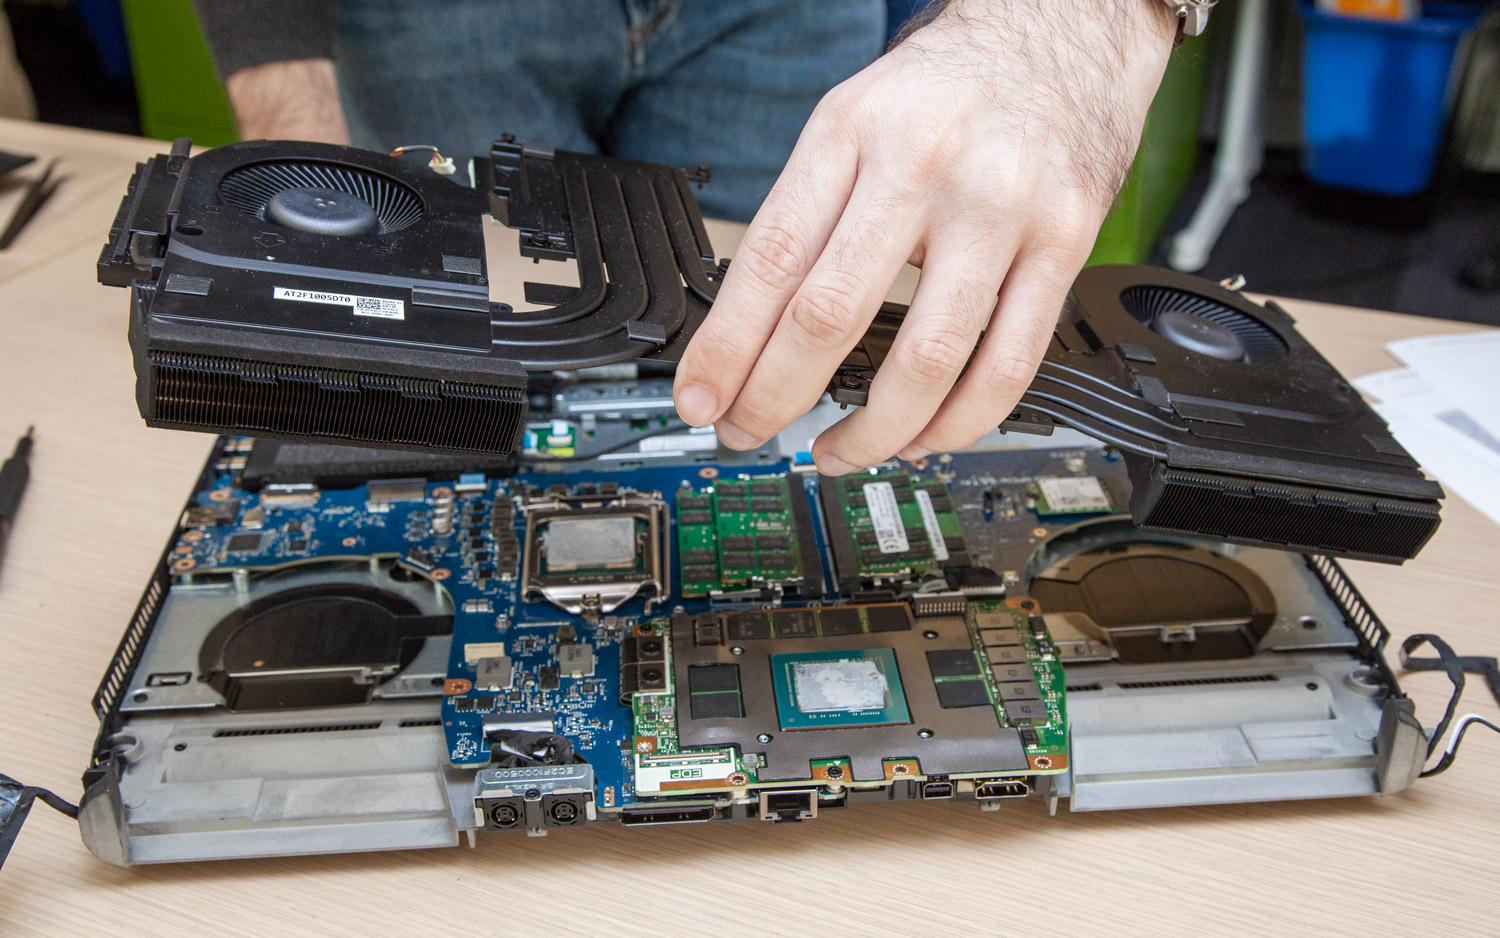
From here on out, disconnecting everything was easy in comparison. The CPU and GPU aren’t reachable yet, but we’re getting there. First I had to take off the heatsink, which is comprised of both heat pipes and the laptop’s pair of rather large fans. First, that meant disconnecting the two fan cables from the board, then loosening the screws that hold the heatsink down. There are eight screws on the metal heatsink itself that needed to be loosened. They’re numbered from one to eight and needed to be loosened in reverse order to ensure even pressure release.
Once that was done, the heatslink lifted right off the motherboard.
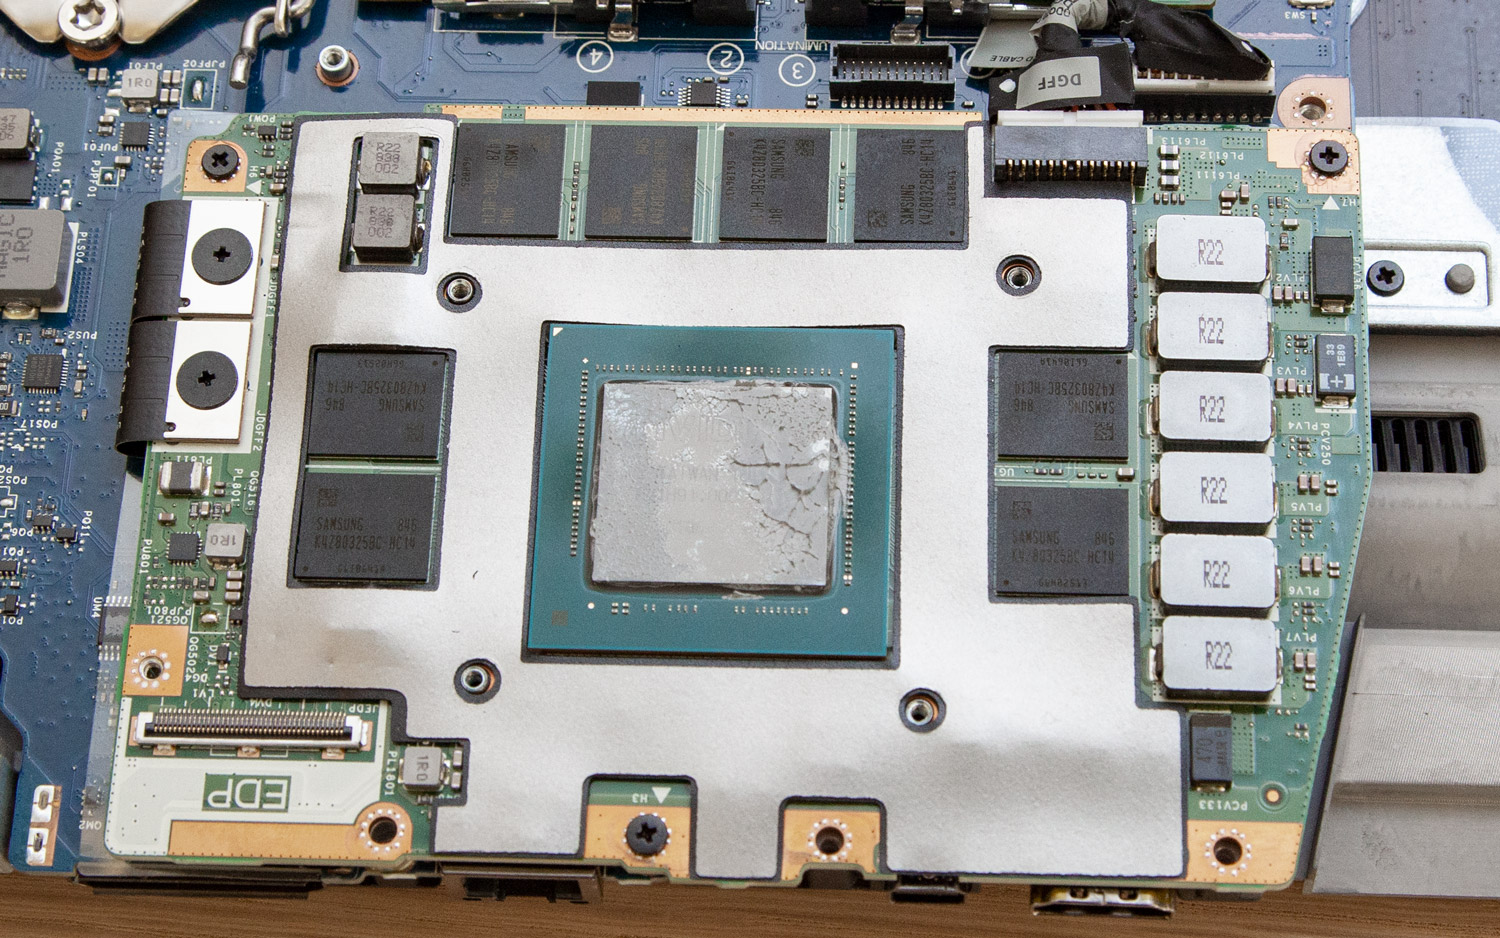
With that gone and set aside (did we mention you need a big work area?), I could finally see the CPU and graphics card.
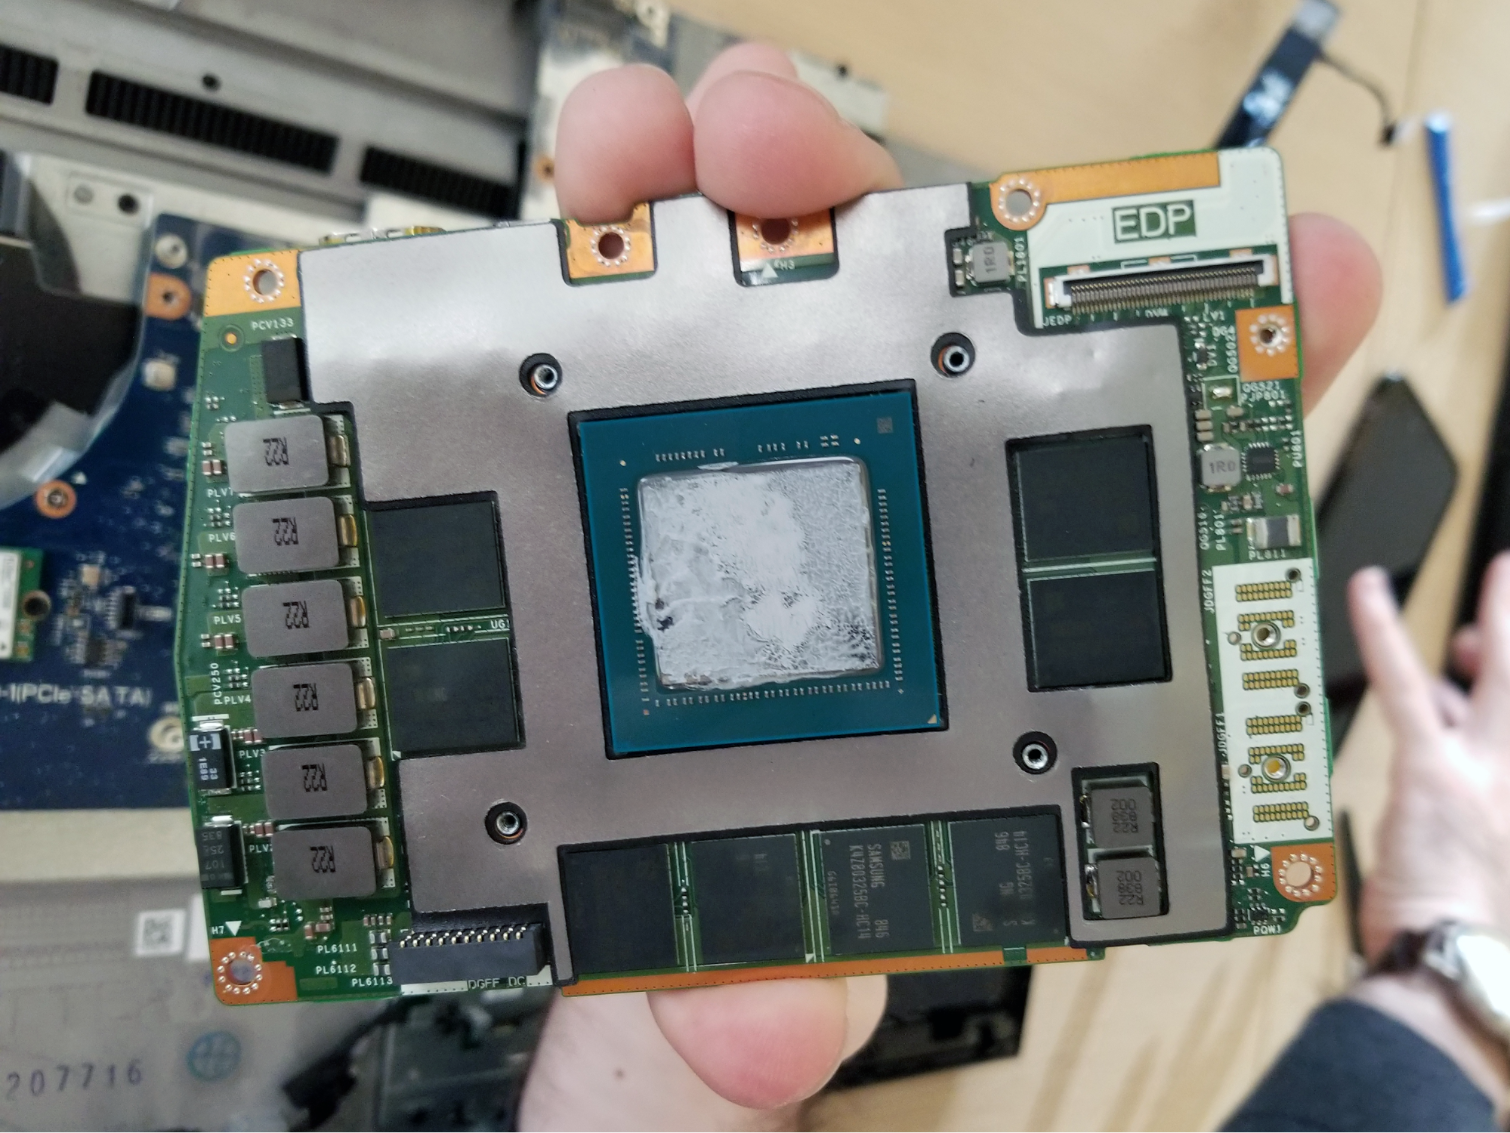
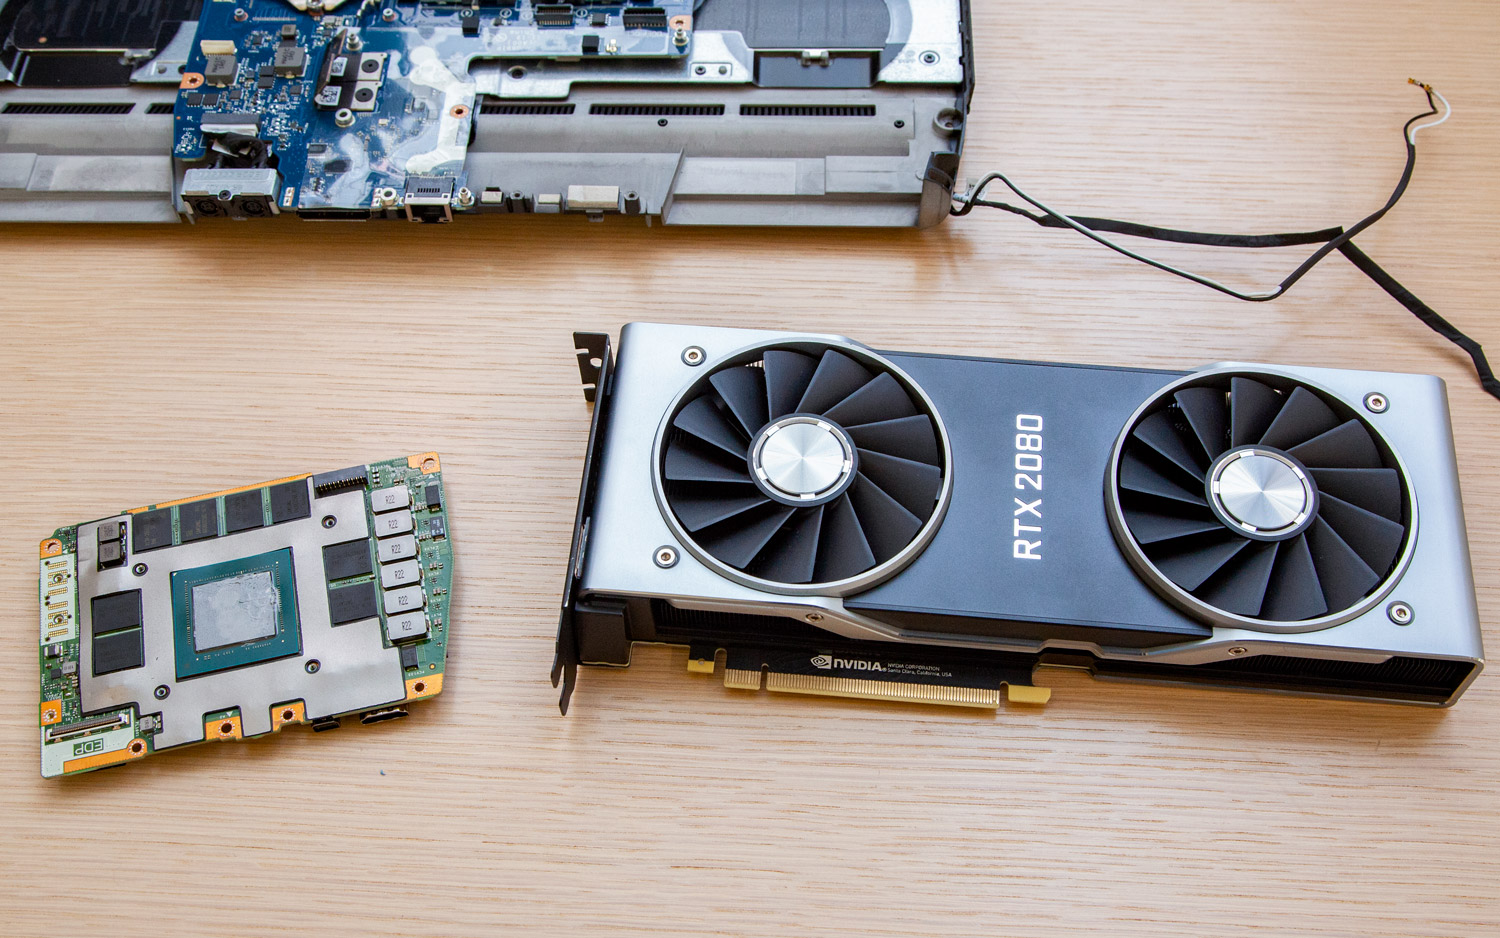
The GPU is on a proprietary module made by Alienware’s parent company Dell. You can’t buy a new one yet to actually make an upgrade, though Alienware told me these should be available by the end of the year.
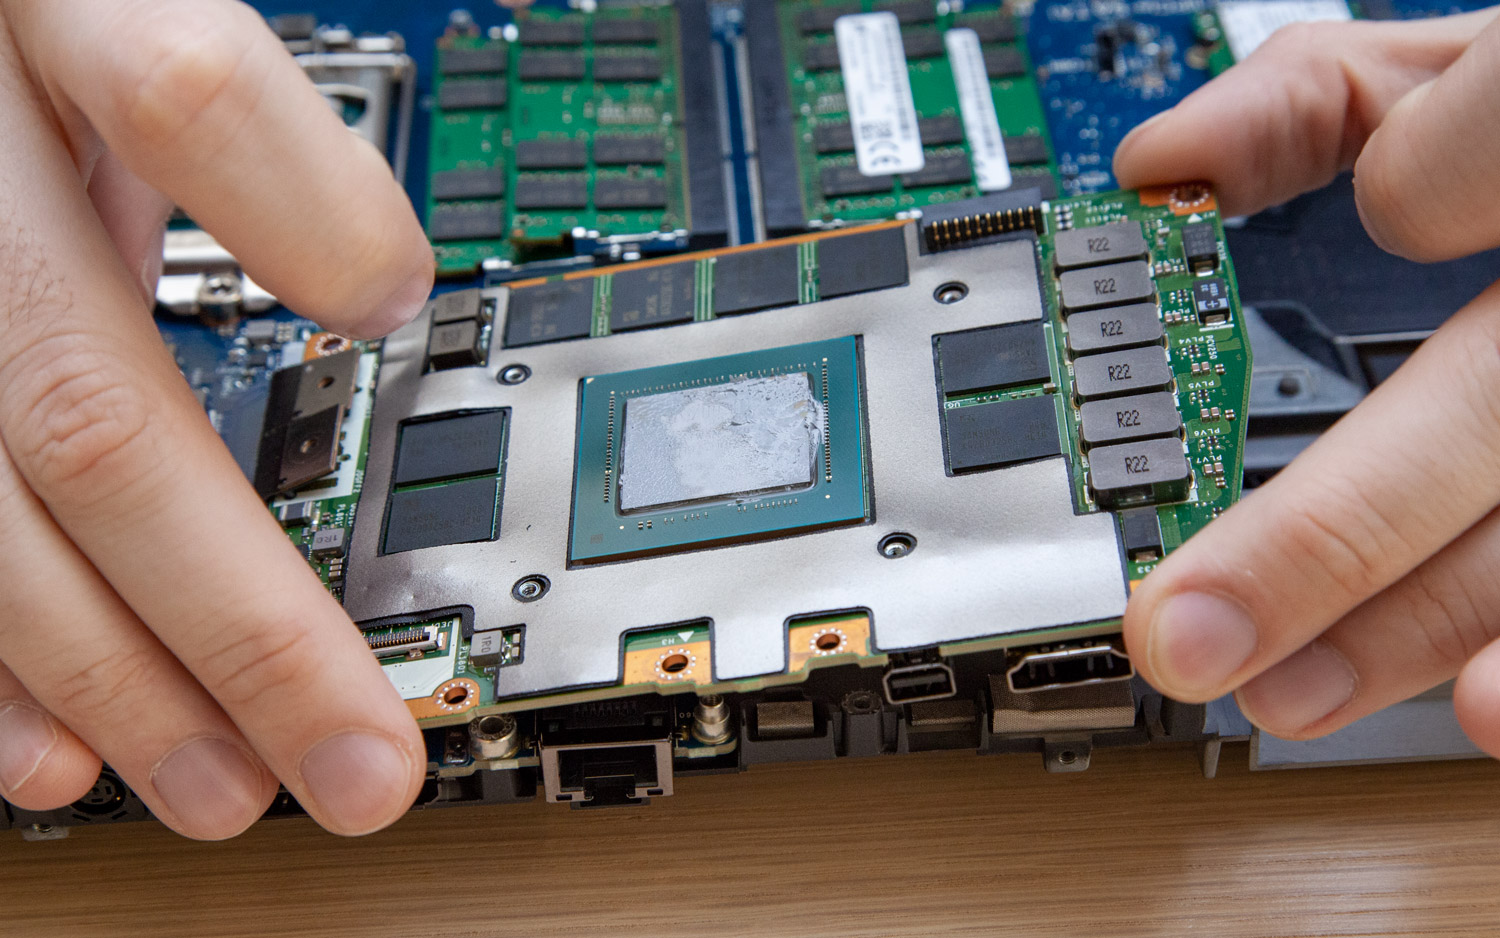
The GPU is secured by three screws, plus another two screws holding on a cable that connects to the board.
Additionally, you have to disconnect the power cable from both the board and the CPU. Then the graphics module just lifts up and off.
If you’re wondering about size, here’s what the the Nvidia GeForce RTX 2080 module in the Area-51m looks like compared to a desktop 2080.
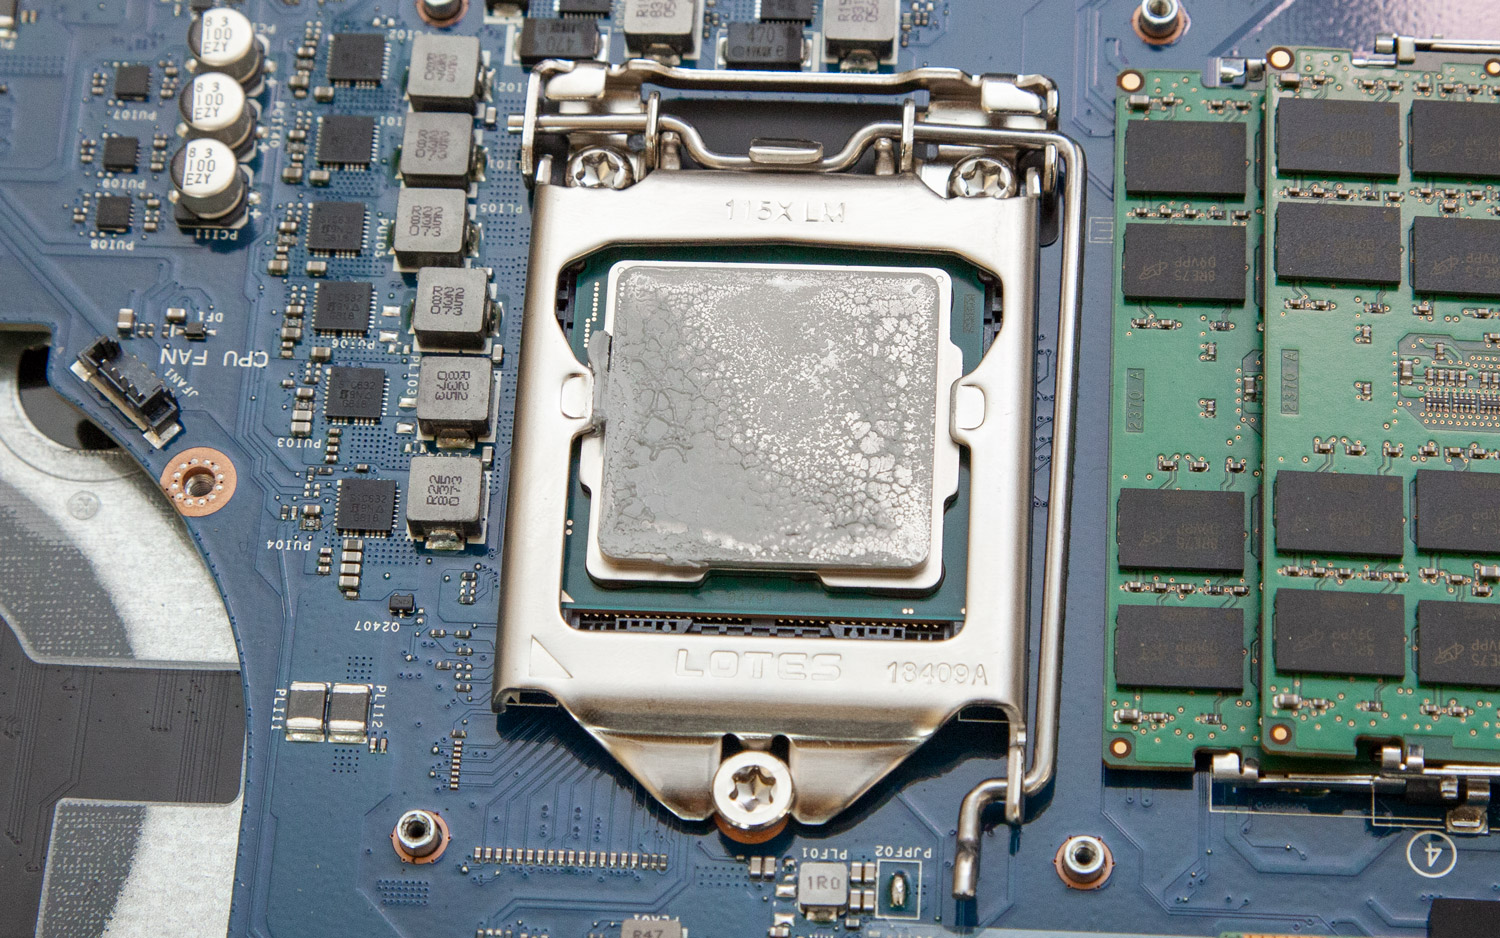
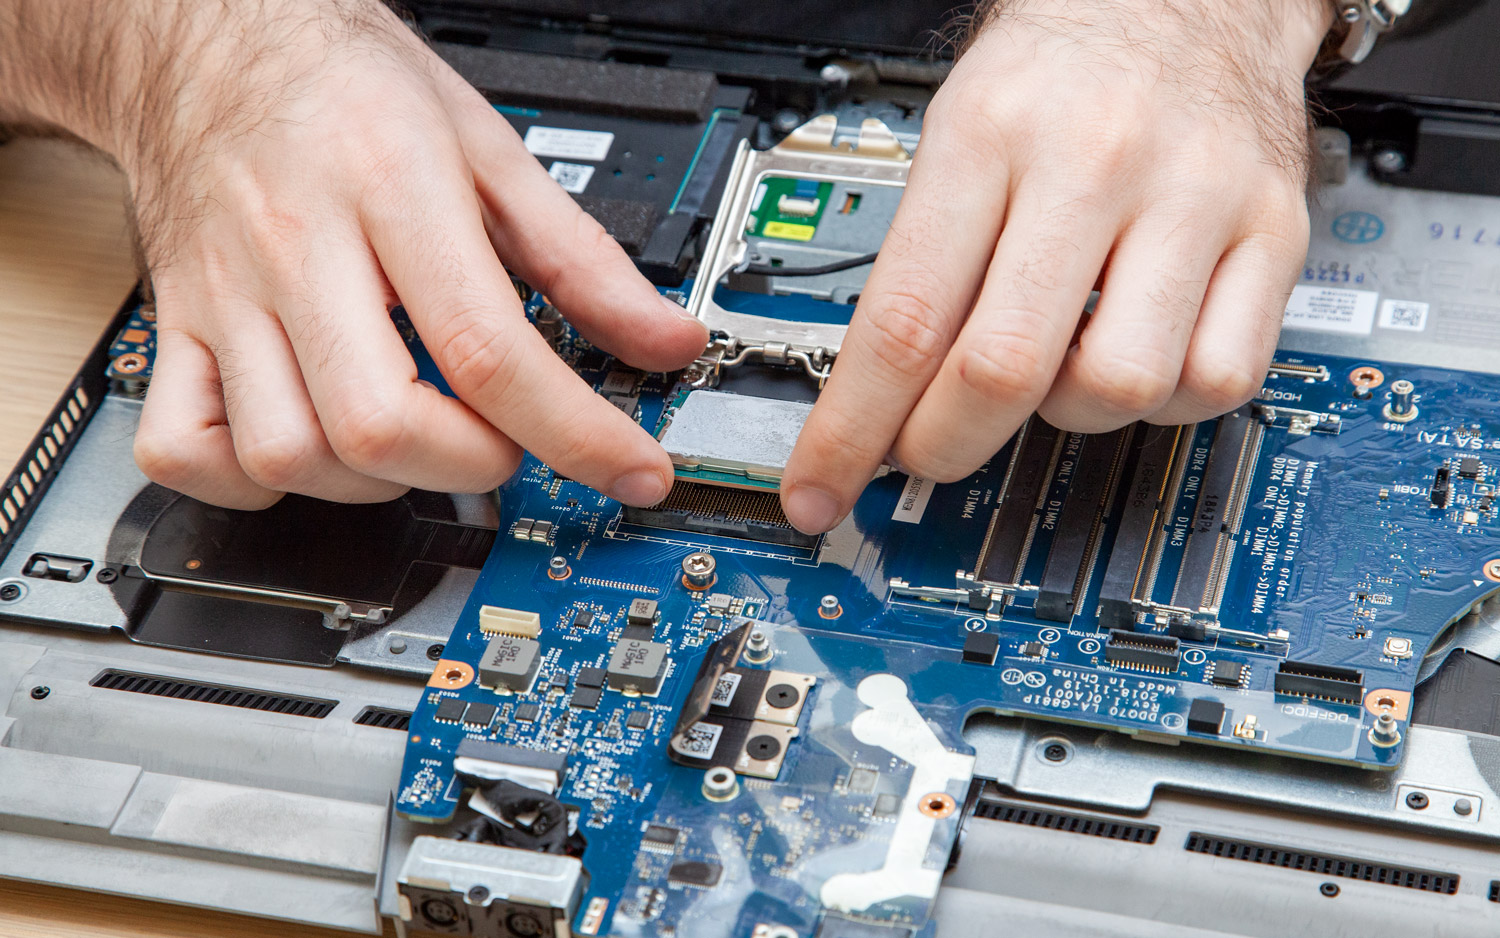
The CPU (in our case, a Core i9-9900K) is a desktop chip, so you can remove it just like any other CPU.
Simply press down on the lever and pull it back to open the cover, and then lift the processor out of the socket. Of course, you'll want to reapply the thermal paste on both the CPU and GPU when upgrading or reassembling the computer.
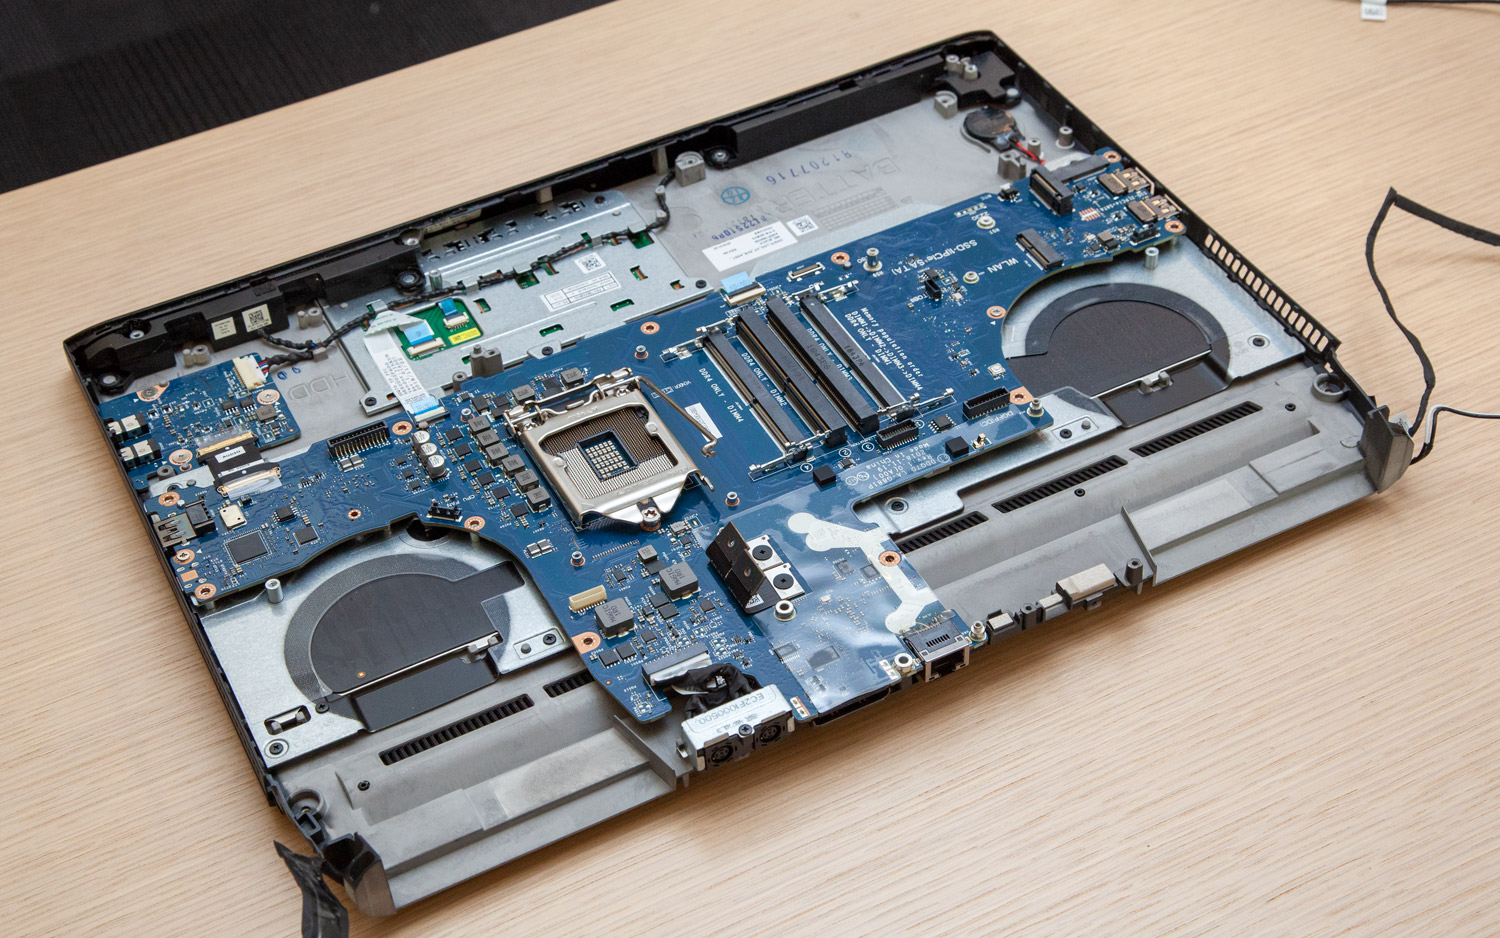
Just for the sake of completeness, I also pulled out the RAM, second SSD and the hard drive, exposing the entirety of the board.
At this point, there’s nothing else to take out, unless you care to replace the CMOS battery. I didn’t feel the need.
Putting the Area-51m back together was an exercise in patience, but if you organize your screws and carefully put the cables back in, you should have everything in working order in a half hour or so. Alienware told me that as long as you follow instructions and don’t break anything (or lose any screws), disassembly won’t void your warranty.
Indeed, this is the most upgradeable gaming notebook I’ve seen in a long time -- or maybe ever. While we’re still waiting for the actual GPU modules to be released, I can confirm that once you can buy them, the upgrade process just requires common tools and a little patience.
MORE: Best Gaming Laptops
MORE: Gaming Laptop Reviews
MORE: All Laptop Content
Photo Credit: Tom's Hardware

Andrew E. Freedman is a senior editor at Tom's Hardware focusing on laptops, desktops and gaming. He also keeps up with the latest news. A lover of all things gaming and tech, his previous work has shown up in Tom's Guide, Laptop Mag, Kotaku, PCMag and Complex, among others. Follow him on Threads @FreedmanAE and BlueSky @andrewfreedman.net. You can send him tips on Signal: andrewfreedman.01
-
acelaya35 As someone that works for an all Apple company, I LOVE this. I hate the fact that hardware in general is moving farther and farther away from user serviceability. Replacing the Voodoo Banshee in my Gateway machine with a GeForce 256 is what set me on this path to begin with. If that had never even been an option I have no idea where I would be today. This is great, and the fact that is coming from a high volume company like Dell, and not a boutique builder is even better. Dell could have turned Alienware into a label, like HP did with Voodoo but it's nice to see that they let that team stretch their legs a bit more. I'm not saying Alienware wasn't toned down by Dell but this project took some serious money to develop and bring to market, and Dell did it.Reply -
MetzMan007 Had Question for the ya. I just ordered my Area 51m, but i ordered it with OUT a spinning 2.5inch drive, just with 2 x 512gb M2's. i was wondering if the 2.5inch drive bay would be able to fit the 5tb Seagate 15mm drive, i am guessing it would not be able to fit into the 9.5MM HDD cage but do you think it would actually fit into the drive bay. or would it better just to go with a 2 TB standard SSD. Just trying to plan ahead.Reply -
AndrewFreedman Reply21752867 said:Had Question for the ya. I just ordered my Area 51m, but i ordered it with OUT a spinning 2.5inch drive, just with 2 x 512gb M2's. i was wondering if the 2.5inch drive bay would be able to fit the 5tb Seagate 15mm drive, i am guessing it would not be able to fit into the 9.5MM HDD cage but do you think it would actually fit into the drive bay. or would it better just to go with a 2 TB standard SSD. Just trying to plan ahead.
I don't think it's gonna fit in there. Everything is in its spot, and that thicker drive will probably take up too much room. -
melvis72 Reminds me of day when I had my XPS M1730 and switched the video card from the GTX 8800 SLI to the GTX 9800 SLI.Reply
