Asus TUF X470-Plus Gaming Review: Attractive Value
Why you can trust Tom's Hardware
UEFI: Asus' Ace in the Alliance
We half expected a watered-down UEFI experience with this product, given the target audience and limited voltage phase design, but the Asus TUF X470-Plus Gaming graces us with all of the Asus magic that helps elevate the company's products to the higher tier. Again, deviating from the red / black schemes of yore, the TUF implementation looks and feels like a new rendition of Asus innovation. We won’t dive too deep into the specifics, but we’ll highlight some of the features that make Asus' UEFIs desirable.
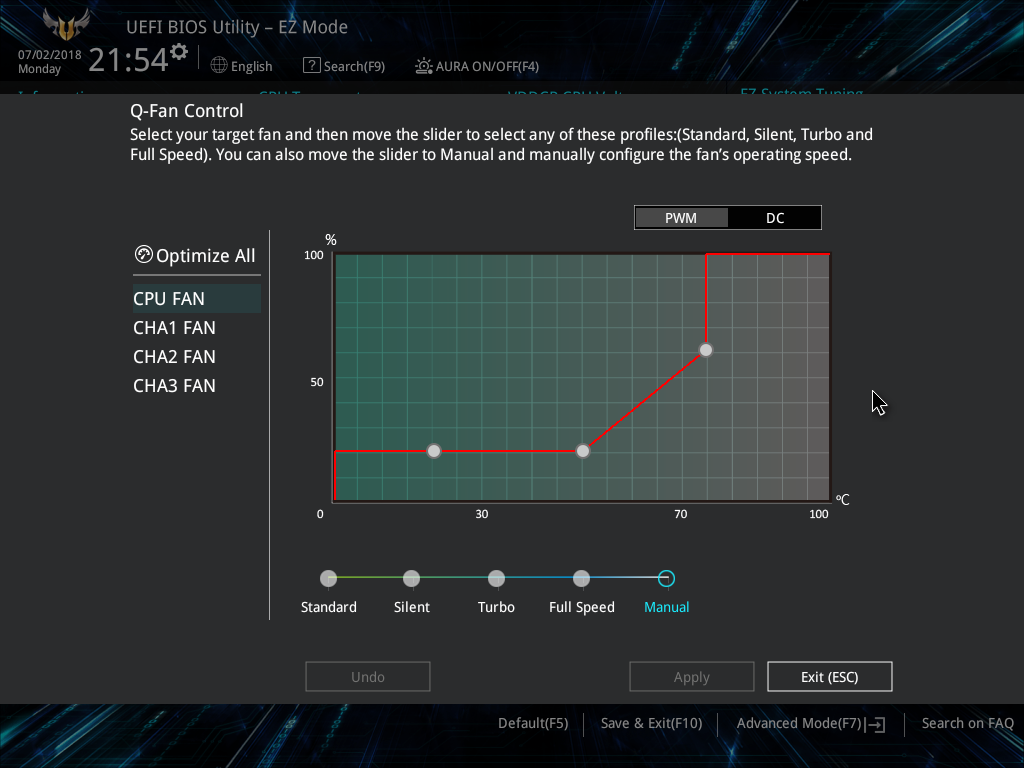
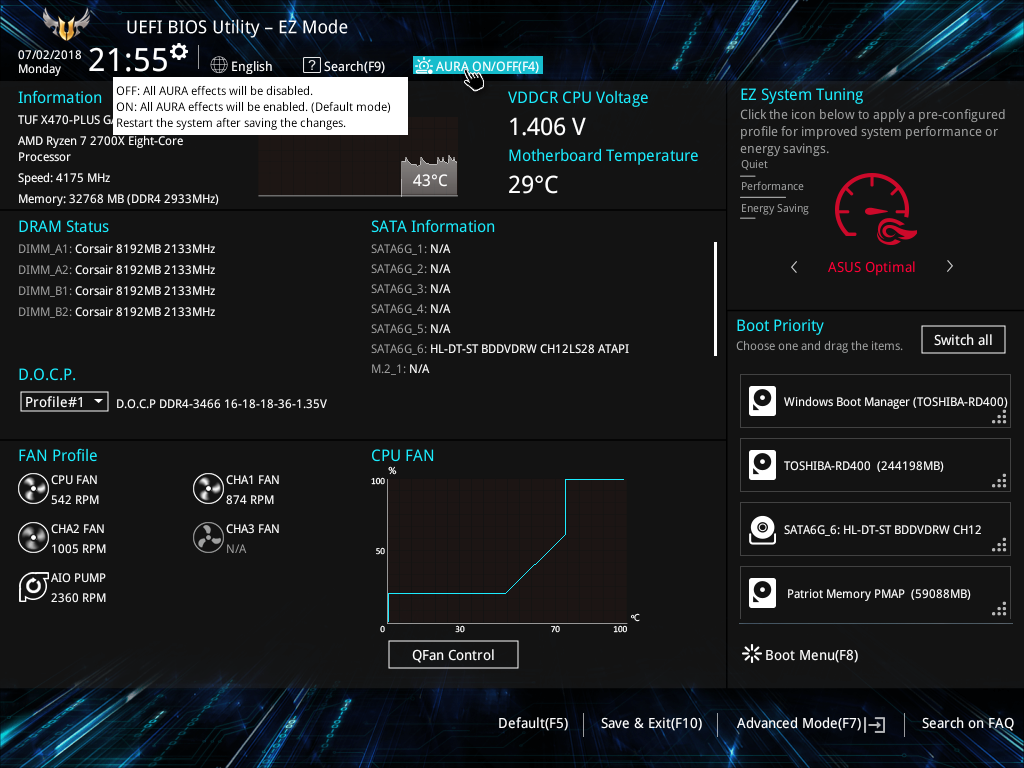
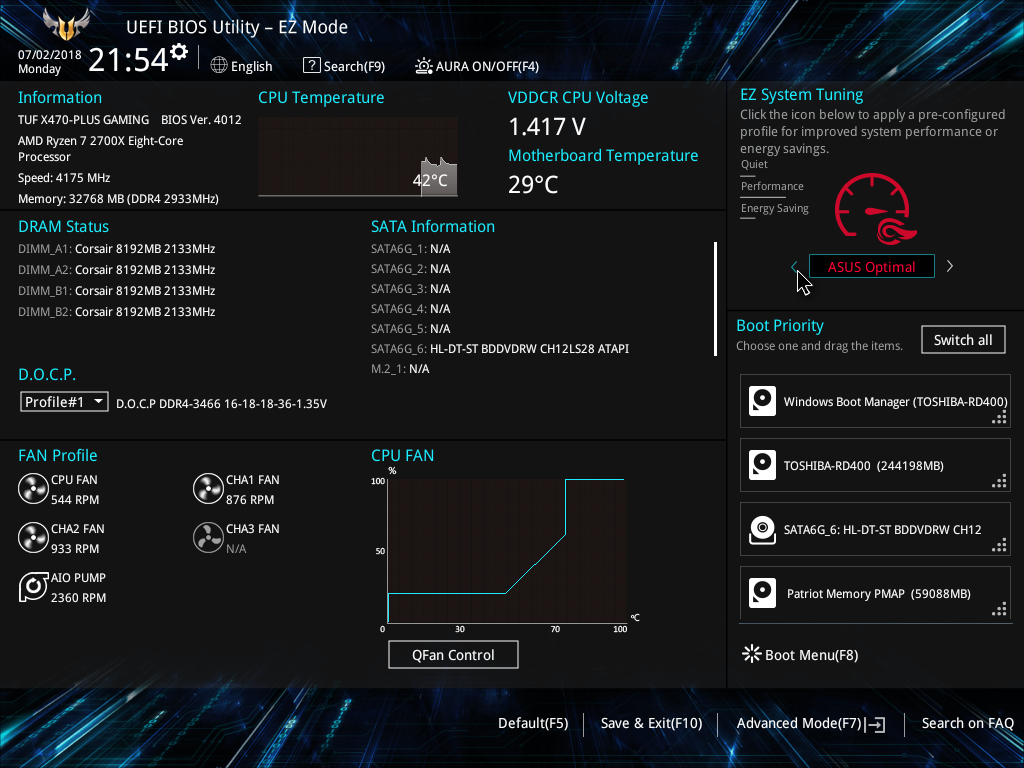
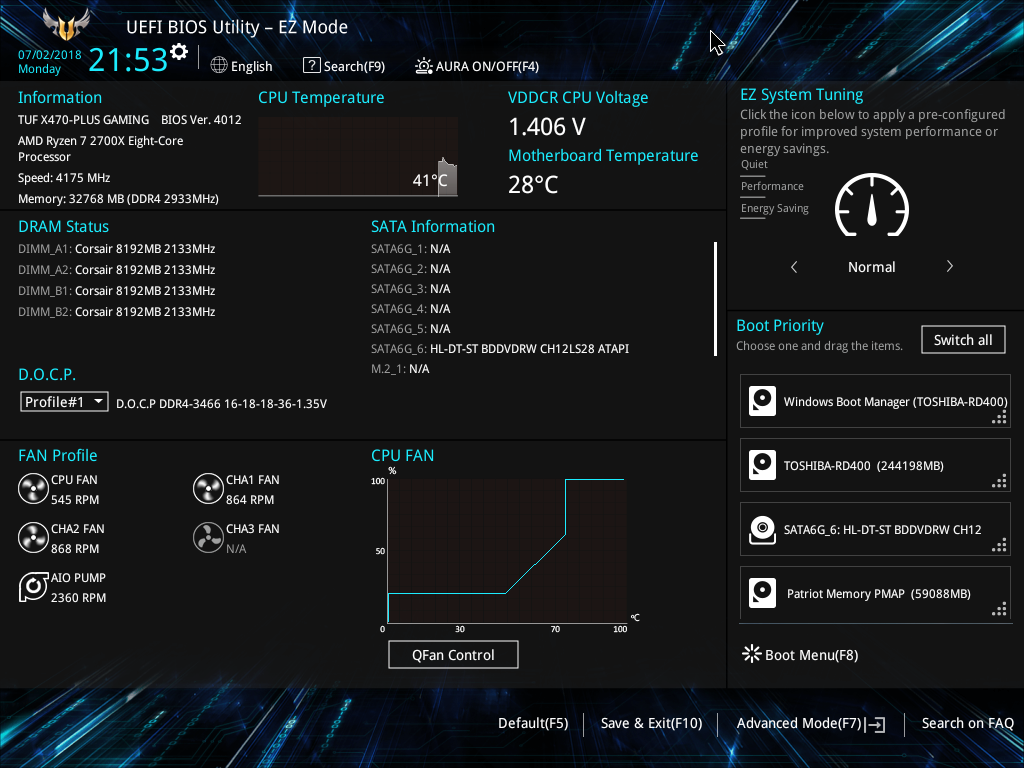
The EzMode is the first stop after smashing F2, and we are greeted by a general status view of the system’s processor, DIMMs, fans, boot order and various profiles for different tunable parameters. The top left contains the EZ system tuning, which is limited to either Normal or ASUS Optimal on this product. Clicking on the QFan button towards the lower center brings us to a modal menu where we can use pre-configured fan profiles or manually change the PWM or DC states, depending on the temperature of the thermal sensors.
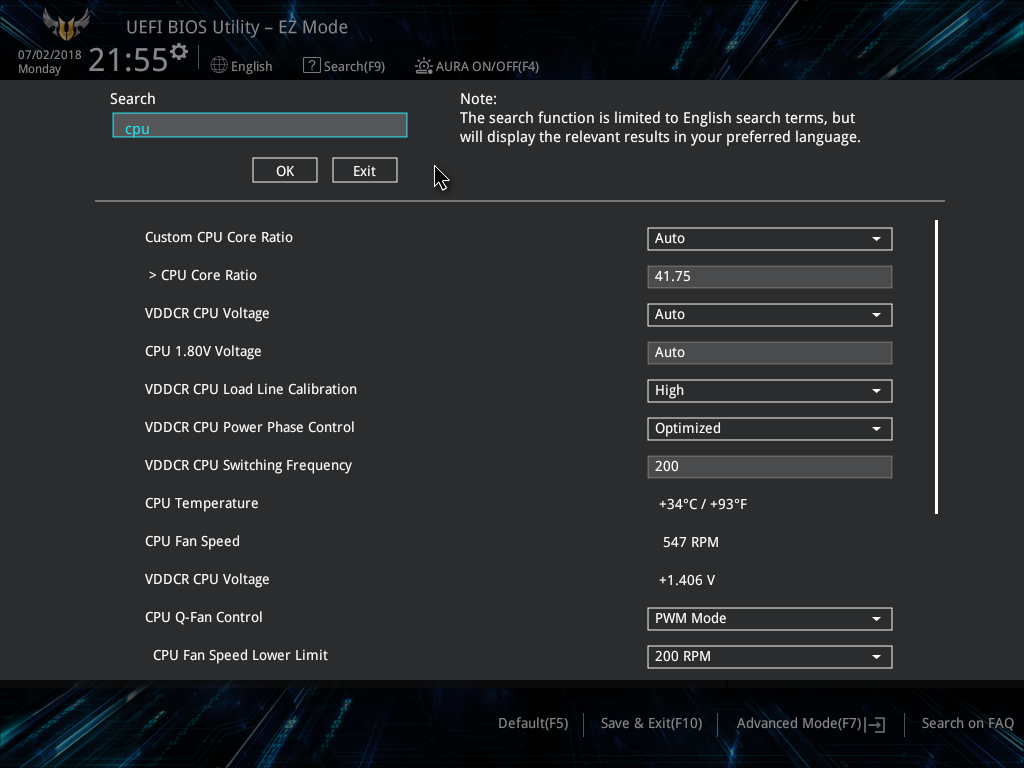
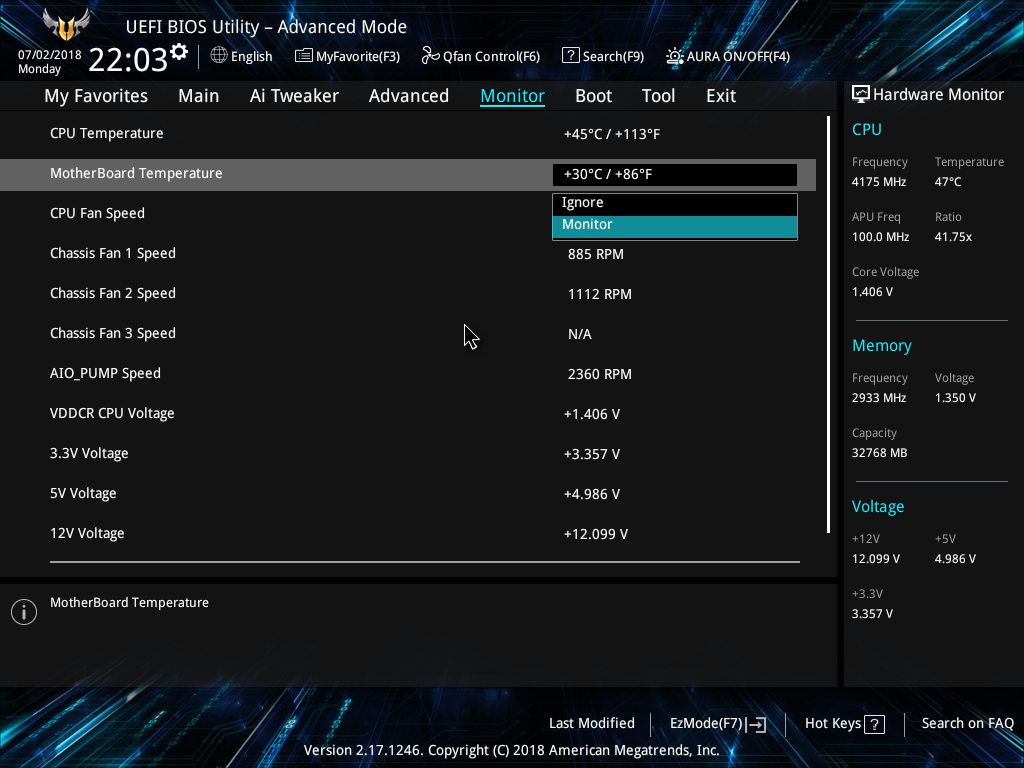
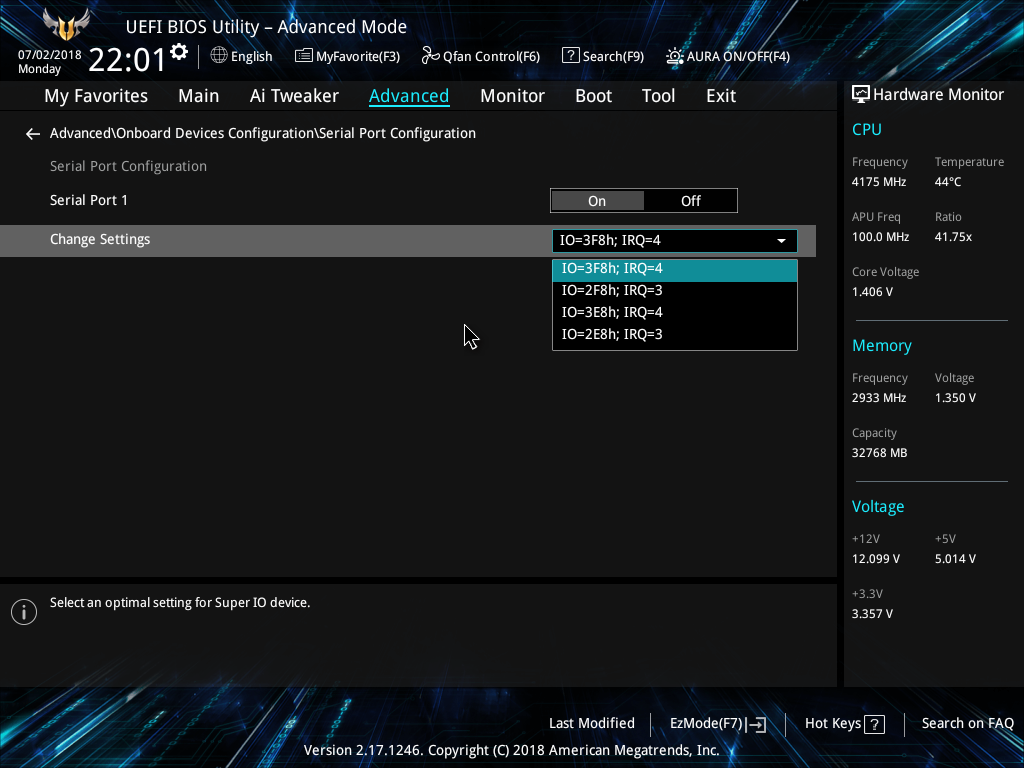
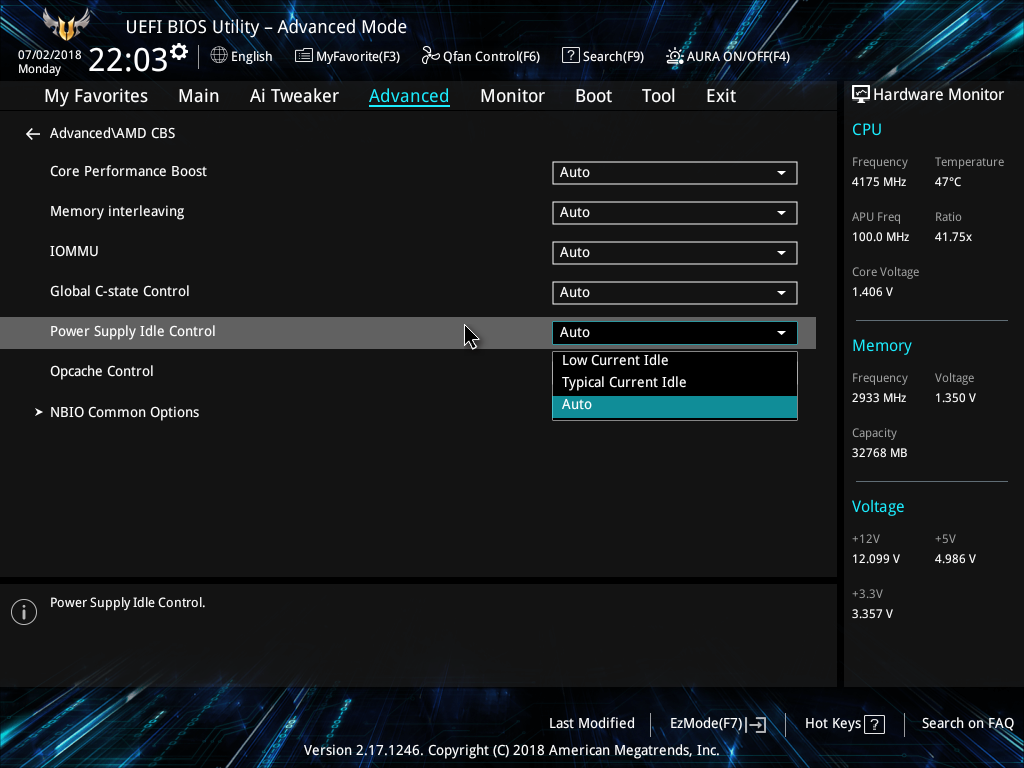
Finding a specific feature that is listed in a tutorial somewhere is difficult sometimes, so using the included Search menu proved to be a handy feature for some quick adjustments. Beyond that, the main menu gives you a toggle for Aura Sync, prompting you to hit F7 for Advanced Mode, if you haven’t already clicked it. (We sure did).
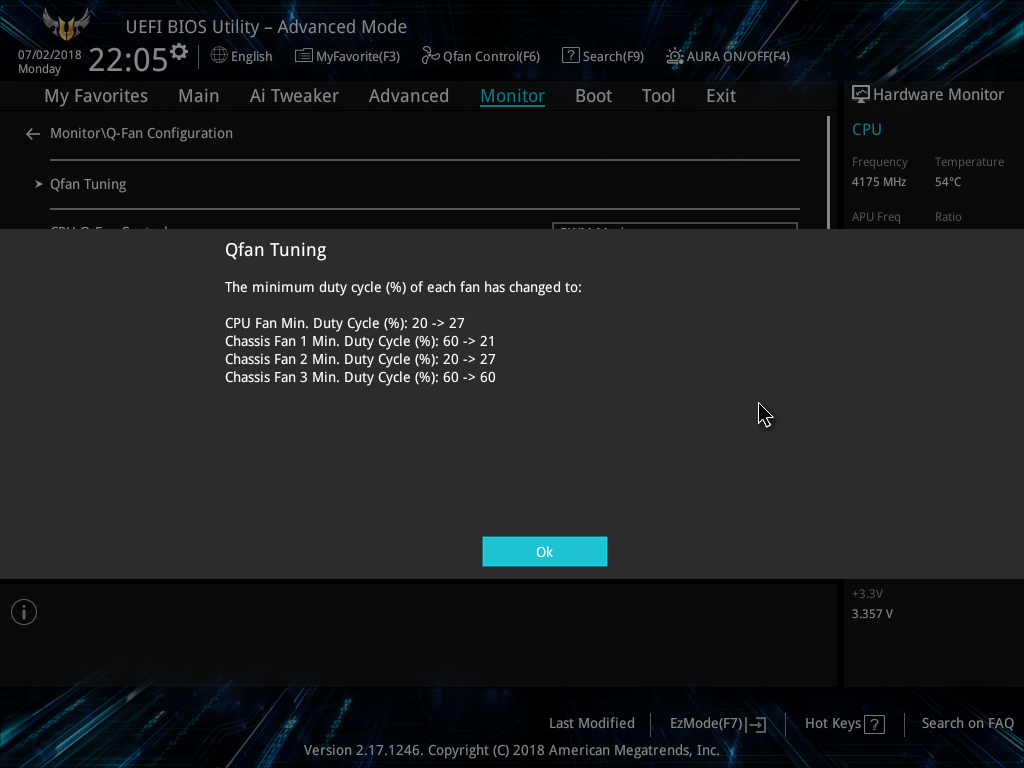
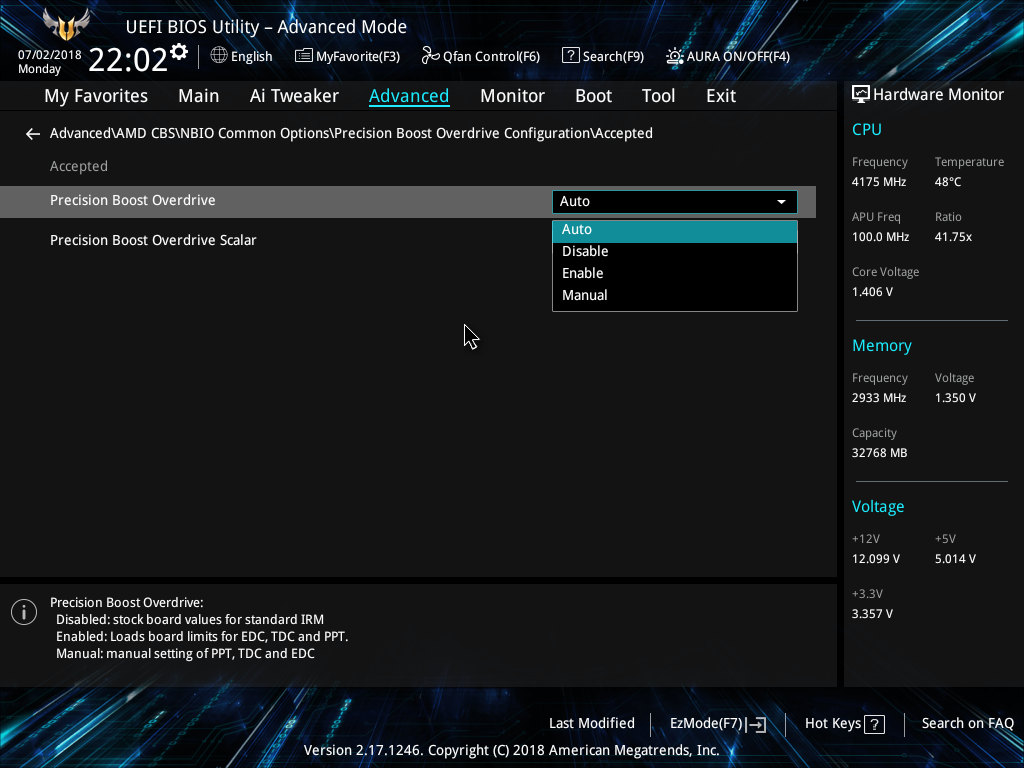
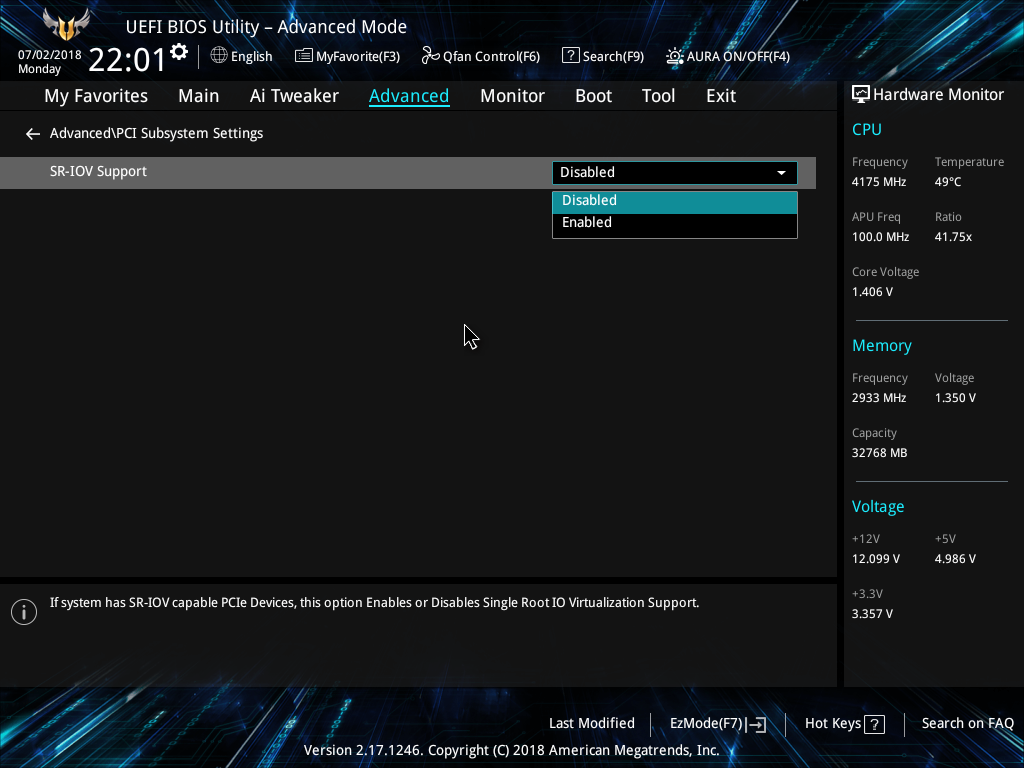
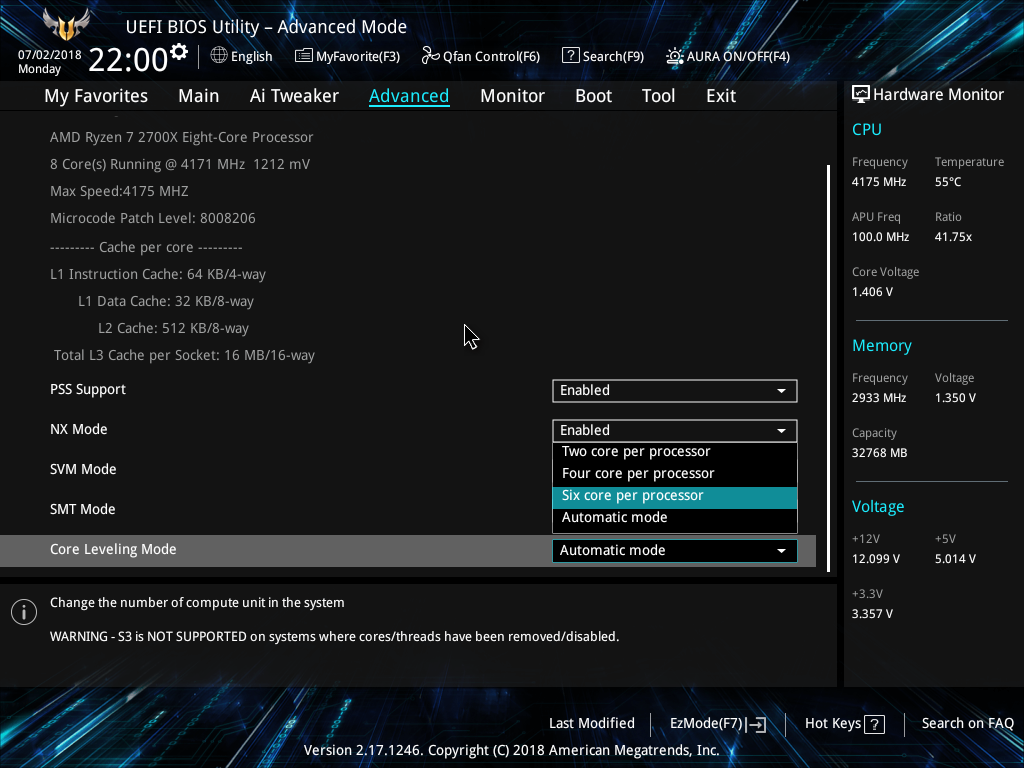
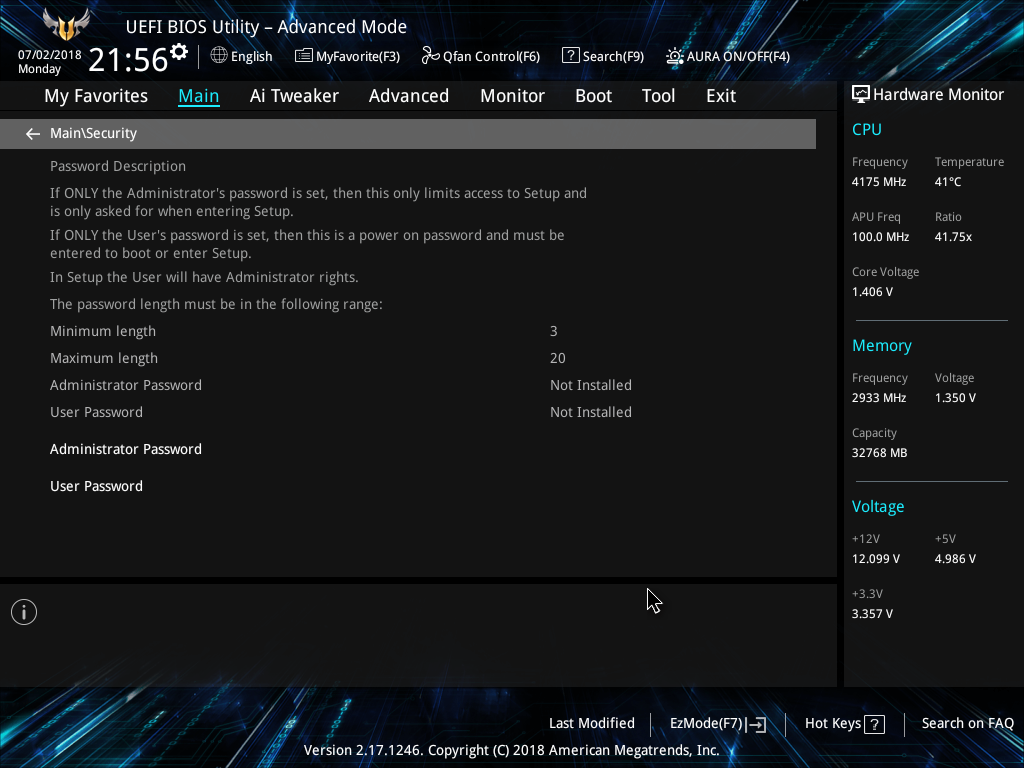
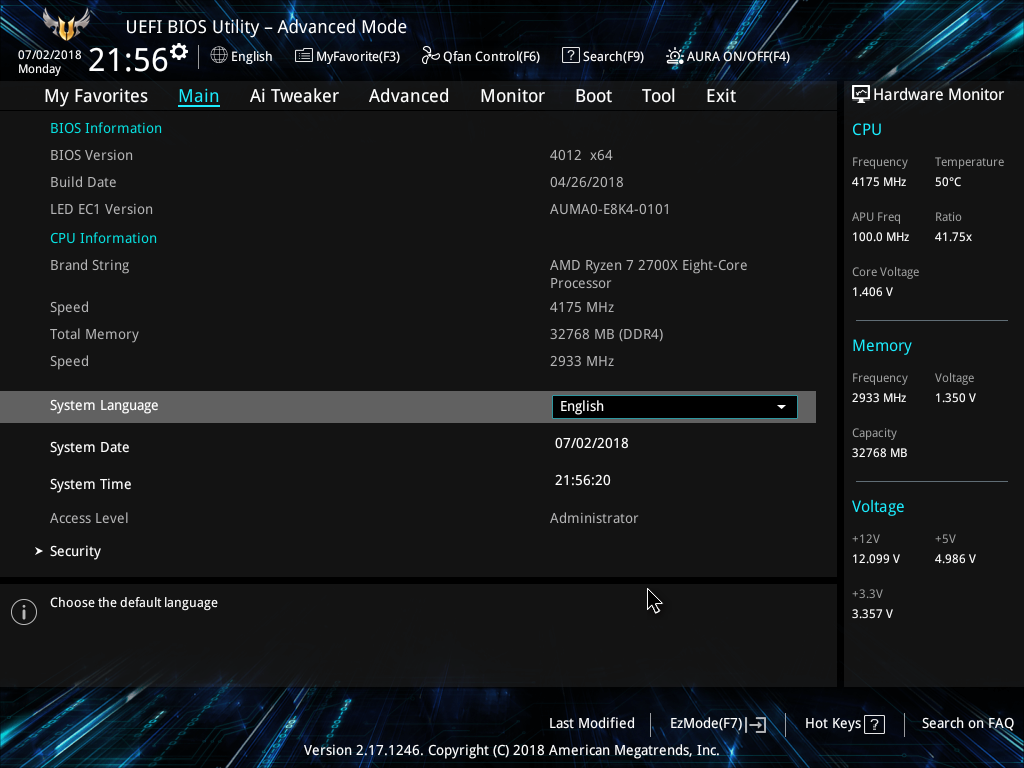
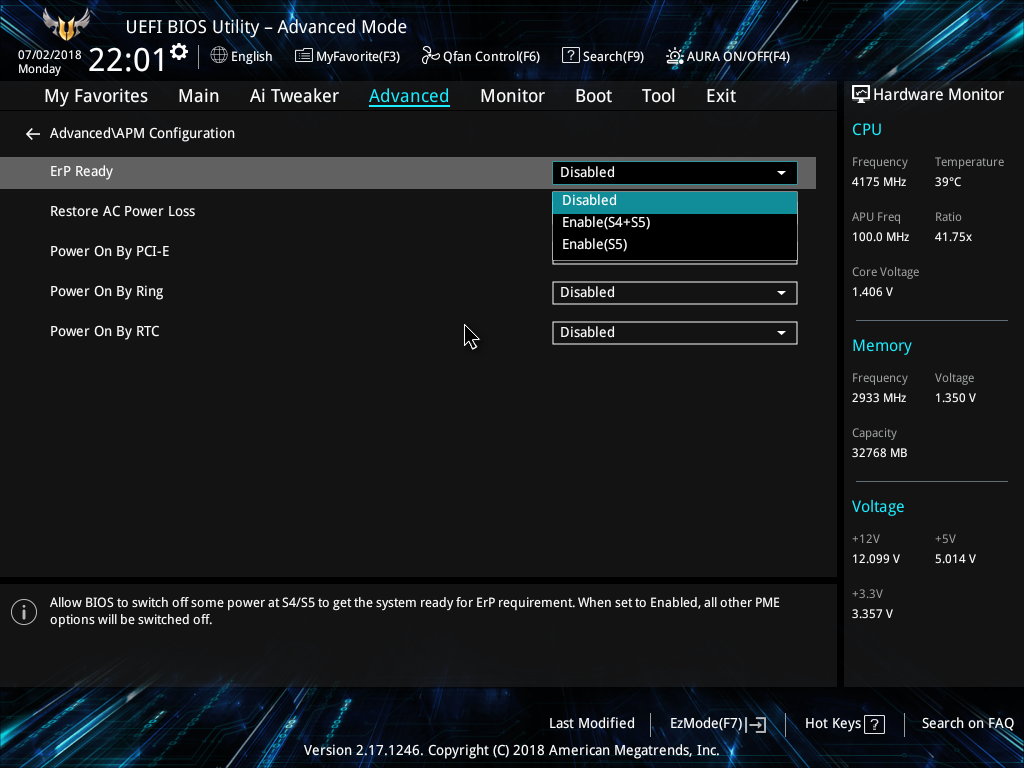
The Advanced Main menu contains basic items, and we went ahead and grabbed a screen to show you what “security” means. Hopping over to the Advanced Menu, users can select processor-specific features, such as SMT mode, core leveling, precision boost overdrive, and other onboard settings that aren’t governed by the Ai Tweaker. Let us know in the comments if we should spend a little more time talking about these settings in future articles.
The monitor menu gives a text-centric readout of each of the sensors enabled on the board, and prompts several options for the builder as features are installed. Qfan has a nifty feature to tune the system’s PWM fans for optimal minimum duty cycles that can be applied to the fan curves.
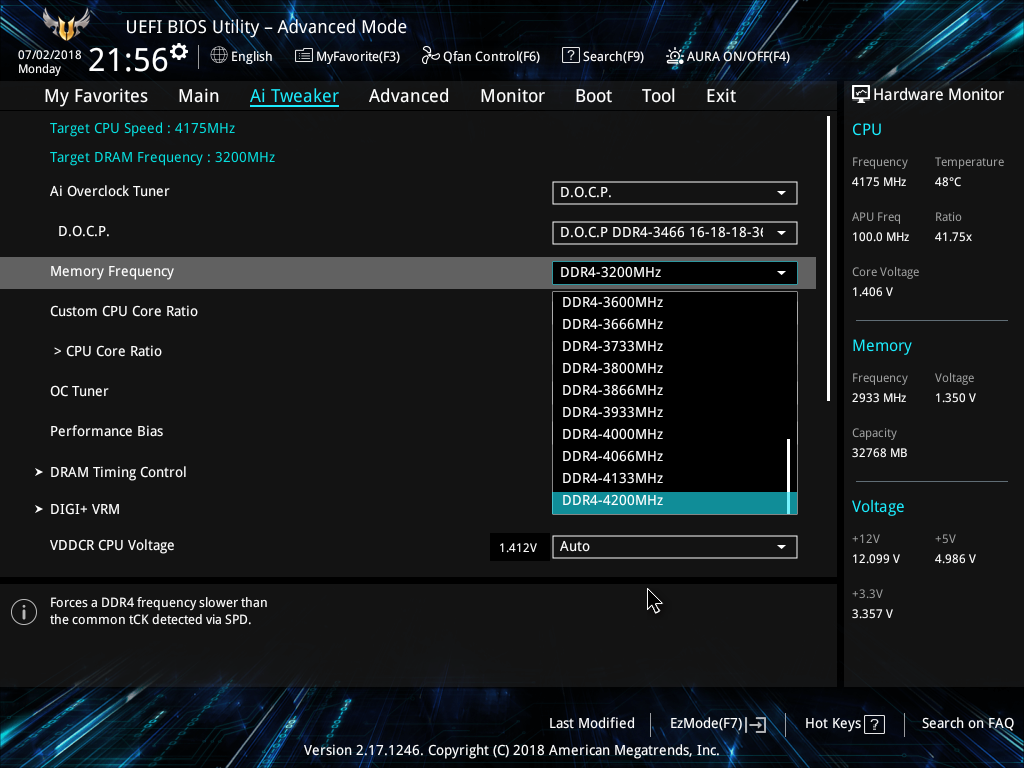
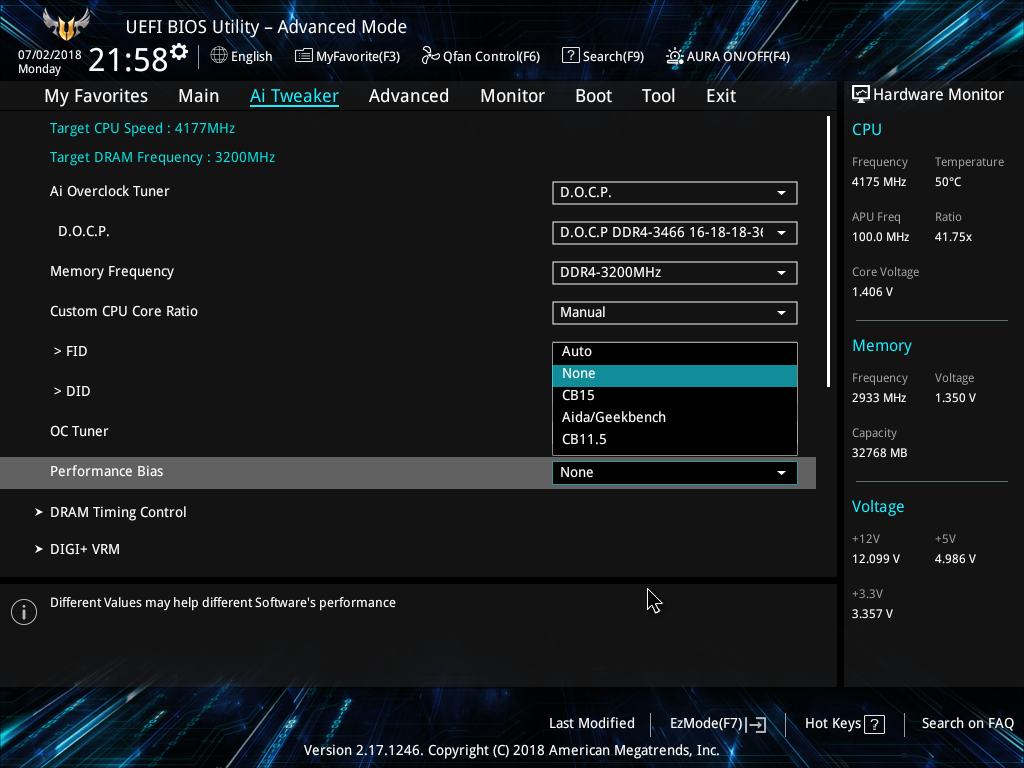
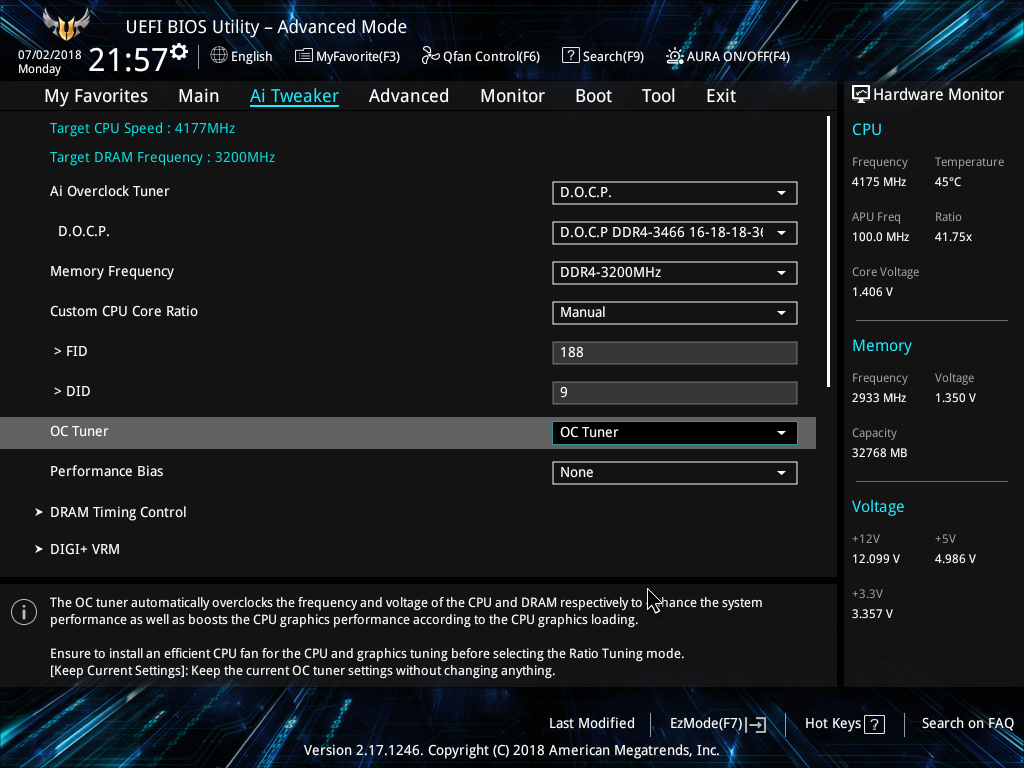
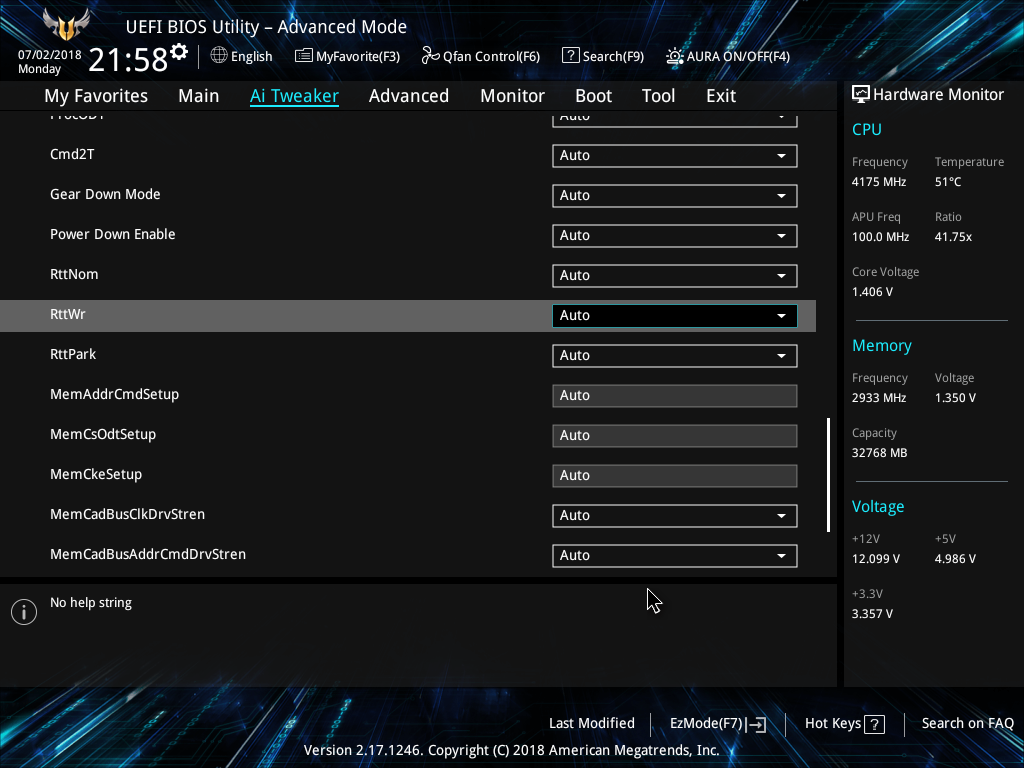
On to Ai Tweaker. As we’ll discuss in the overclocking section, this is where tuners will drill down to squeeze every last millivolt out of their regulators, although most probably won’t dive too deep. The options are there, however. First, we’ll set our D.O.C.P. setting. This Asus-specific feature pulls the XMP profile (an Intel-specific feature) out of SPD out of the memory module and sets the appropriate fields in the UEFI for the memory configuration.
From there, you can simply pick the memory frequency that fits your needs. But keep in mind that this is a hit-or-miss process, and your choices might not be successful. OC Tuner is available for users that want to let Asus figure out the ideal overclock for a processor, and Performance Bias is still around to keep us reviewers on our toes when testing. (We made sure it was disabled).
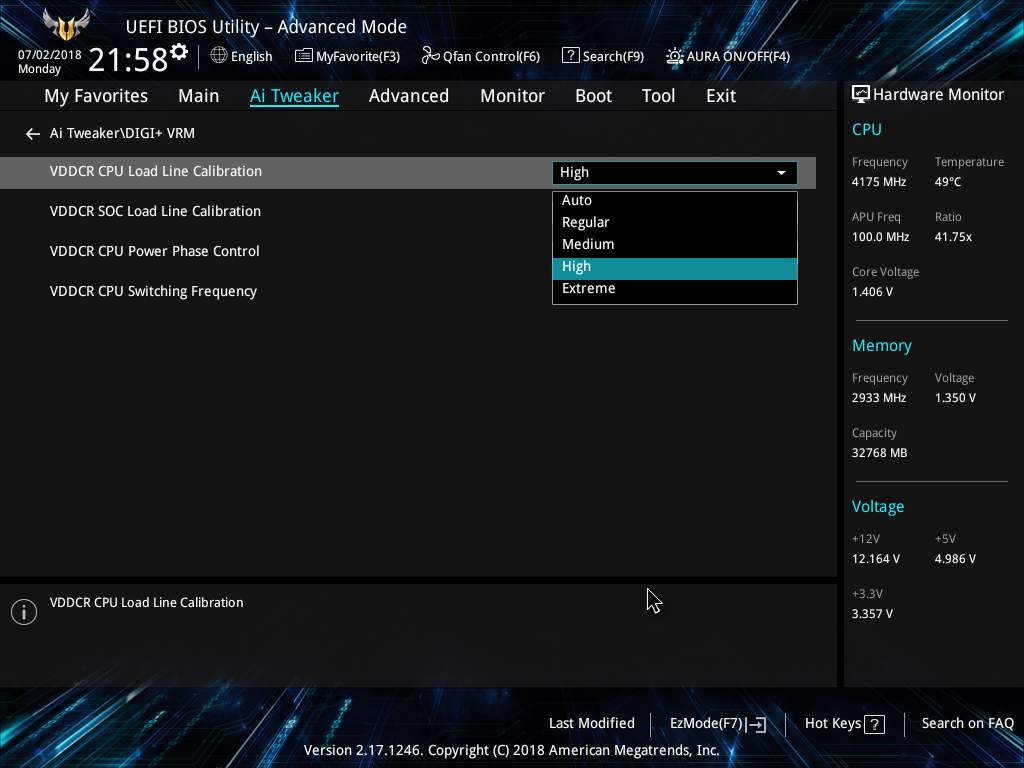
DIGI+ VRM is also around, for users to adjust load lines and phases for more tuning. But for some reason, the information for these settings is a little sparse. For general purposes, elevating the severity of the setting decreases the value of the load line between the regulator and the processor.
Get Tom's Hardware's best news and in-depth reviews, straight to your inbox.
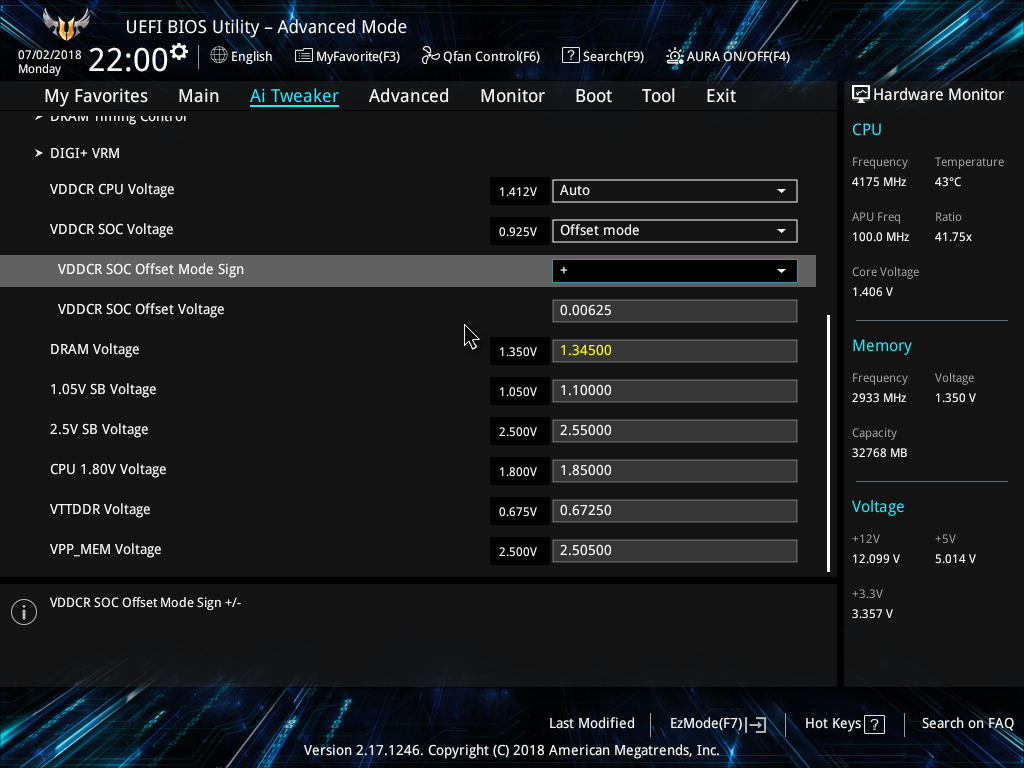
An excellent feature that makes its way into the UEFI is the ability to adjust voltages, either through an offset or through direct settings. The latter has very small step sizes compared to most budget boards.
The fact that the Asus UEFI is largely unchanged from its more expensive sibling boards is a great value.The company even goes the extra step to make the UEFI more visually similar to the motherboard itself, which we’ve knocked Gigabyte for in the past. As underappreciated the UEFI can be, this reviewer gives Asus an A+ in effort and execution here. 10 out of 10, would OC.
MORE: Best Motherboards
MORE: How To Choose A Motherboard
MORE: All Motherboard Content
Current page: UEFI: Asus' Ace in the Alliance
Prev Page TL;DR and Product Description Next Page Test Configuration & Benchmark Results-
Soda-88 So you're telling me that a motherboard with far more inefficient VRM due to lack of phases (31W higher consumption than Gaming 7 in Prime/Furmark) is a good overclocking board? Have you measured the VRM temperatures at all?Reply
This motherboard is a ticking timebomb if you plan on running 8 core CPU at high utilization.
Another thing regarding this motherboard in particular is that it shares the same VRM design with $75 ASUS motherboards (with addition of better capacitors, which in no way redeems the inadequacy of VRM in general).
Prime X470 Pro VRM is quite significantly better (it's the same VRM as on Strix SKUs) and it comes at nearly the same price.
For more info watch this:
https://www.youtube.com/watch?v=pq0MLtjFS1A -
Calculatron I'm not sure how I feel about the TUF brand being re-purposed like this. I'm sure that it made sense to ASUS to use an existing, and popular, type of branding to cover a market segment. The marketing and accounting departments probably thought it was a win, and no doubt profits will reflect that. Let us hope that, in the future, there is room to create a class of no-nonsense overclocking boards.Reply -
TheTerk Reply
I don't know if you're trolling me, but I clearly state this in the overclocking section....21177573 said:So you're telling me that a motherboard with far more inefficient VRM due to lack of phases (31W higher consumption than Gaming 7 in Prime/Furmark) is a good overclocking board? Have you measured the VRM temperatures at all?
This motherboard is a ticking timebomb if you plan on running 8 core CPU at high utilization.
Another thing regarding this motherboard in particular is that it shares the same VRM design with $75 ASUS motherboards (with addition of better capacitors, which in no way redeems the inadequacy of VRM in general).
Prime X470 Pro VRM is quite significantly better (it's the same VRM as on Strix SKUs) and it comes at nearly the same price.
For more info watch this:
https://www.youtube.com/watch?v=pq0MLtjFS1A
At these settings our Vreg heatsinks were starting to reach 131 C, so you'll want to pick a board with higher phase counts and bigger heatsinks for prolonged overclocks.
-
Anheanz I purchased this mobo from my local Microcenter and it was DOA. It was promptly replaced with a Gigabyte x470 gaming 5Reply -
jpe1701 It seems like the vrms on the AMD boards are worse than Intel. At least the mid range and down anyways. I have the x370 taichi and the quality is fantastic though, the only thing lacking is the new agesa code bios update hasn't been released yet. All the other Asrock am4 motherboards have it.Reply