System Builder Marathon Q3 2014: Budget Gaming PC
Assembling Our Gaming Box
The build itself was rather simple, and almost everything went according to plan.
I prepped the case, noticing Rosewill didn’t skimp on its bundled hardware package. There were five sets of 3.5” drive rails, one of which was already installed and securing a dual-2.5” drive adapter. Four sets of clips were supplied for the three accessible 5.25” bays; the top location is already taken up by front-panel connectivity. And around back, the seven rear slots were all populated with removable mesh slot covers, rather than cheap break-out tabs. The 11 brass standoffs were a welcome sight, as was the 5 mm socket adapter for tightening them down with a Philips head screw driver. Rounding it all off was a short buzzer speaker and a small, but sufficient paper installation manual.
Fair consideration was also given to cooling. The bottom-mount power supply location is outfitted with a removable dust filter, and two of the three installed fans had connections for a three-pin motherboard header and a Molex plug. I used the Molex plugs, only requiring the motherboard to power the one rear 3-pin-only fan.
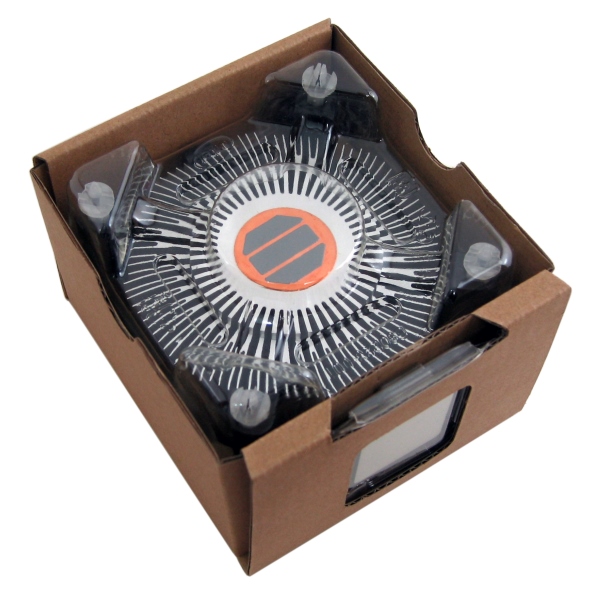
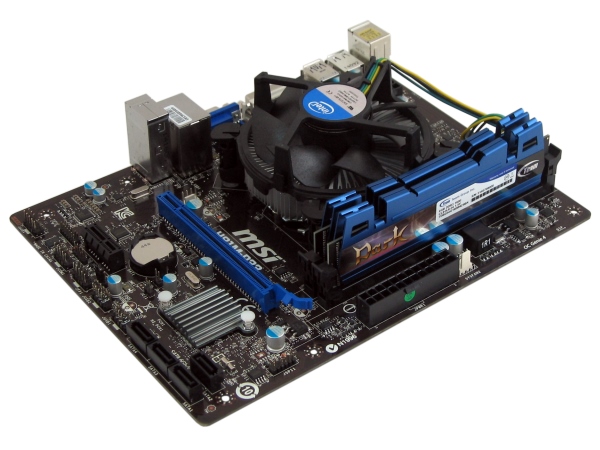
I installed the processor and bundled cooler, taking note of the heat sink’s copper slug. After installing the system RAM, it was time to start filling the case.
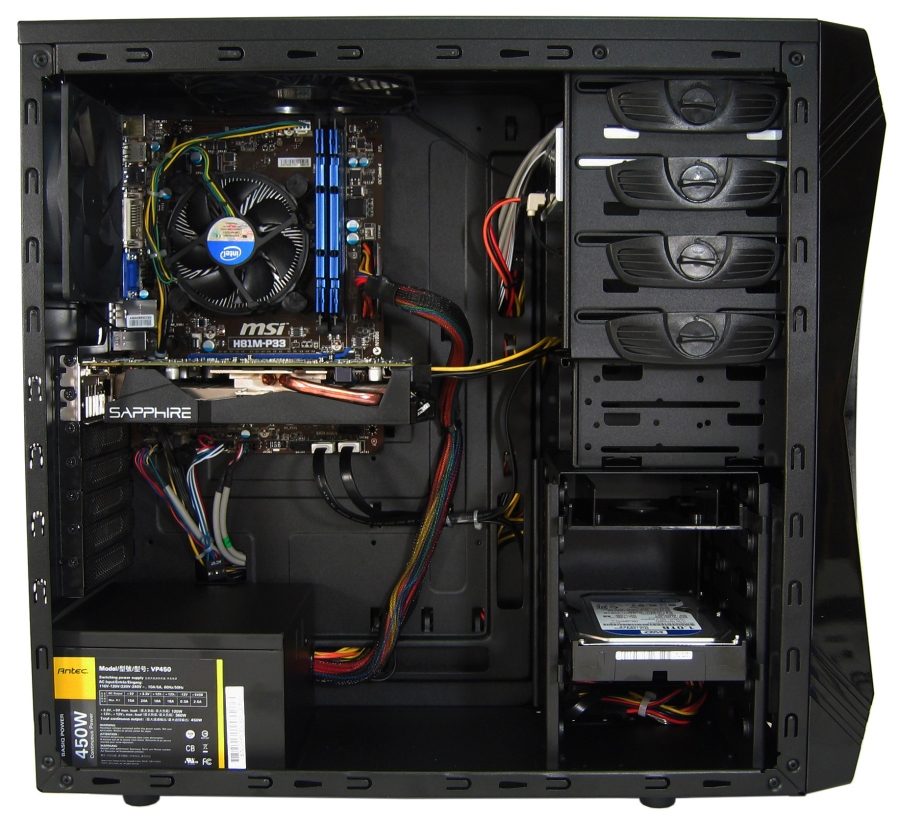
One issue I faced was that the Challenger is not fully compatible with small mATX motherboards. It only includes five of the six standoff locations our board required. And behind the lower-right hole, Rosewill instead locates a pressed-in space for tying down cables and wires. I had to exercise caution attaching the SATA cables, since that corner of the board didn't get any support. Thankfully there are only two expansion slots, and our graphics card fit snugly.
Otherwise, the build came together nicely. The wires and cables were plenty long, and cable management kept the interior tidy.
Get Tom's Hardware's best news and in-depth reviews, straight to your inbox.
Current page: Assembling Our Gaming Box
Prev Page Case, Power Supply And Optical Drive Next Page The Trials (And Tribulations) Of Overclocking-
g-unit1111 I would personally love to get a Pentium G3258 for my HTPC, it's only like $50 at Micro Center and the motherboard is $70 at Newegg. Hmm... decisions, decisions. :lol:Reply -
ScienceGuy3 What about the Frame Times? Isn't this processor notorious for bad frame times in heavily threaded games like BF4?Reply -
elbert Replyserves up to 30 A across its +12 V rails.
Its rated to serve up to 30 Amps but can do far more. Tests on this little gem shows it can output 22amps on each rail and maxes out around 38~39 Amps on both. Im paraphrasing a popular power supply testing site. Max wattage is about 553ish which is a good deal more than rated. This power supply can't be certified due to it lacks a circuit required but exceeds 80 percent efficiency. -
de5_Roy a lot of things went right for this build: amd introduced the full pitcairn/curacao gpu based r9 270 under 150w, needing single 6 pin pcie power connector, cryptocurrency craze was over and gfx card prices came down, hdd prices came down to sane levels, cpu-overhead-reducing gfx card drivers came out, intel released an unlocked dual core cpu and allowed o.c. bioses....Reply -
jdwii I'm just not sure for one they didn't show latency times. I'm pretty sure this build will suck for future gaming to such as GTA5.Reply
http://www.tomshardware.com/reviews/pentium-g3258-overclocking-performance,3849-5.html
When toms reviewed this CPU it was shown to have poor latency
For a 500$ build i would probably do a 6300+265 build. 600$ i would probably jump the build up to a I5+265 or 8320+270X. -
Onus No stuttering? Very interesting; looks like more testing might be needed, but perhaps settings can also be adjusted.Reply -
akula2 Since this CPU is super performer on various fronts (single core), so why not this config?Reply
Pentium G3258 - $69.97
NZXT Kraken X31 - $73.98
Asus MAXIMUS VII HERO - $203.99
G.Skill Trident X Series 16GB (2 x 8GB) DDR3-2133 - $184.99
Crucial M550 1TB 2.5" SSD - $447.98
Asus GeForce GTX 970 4GB STRIX - $349.99
NZXT Phantom 530 (White) - $121.98
EVGA 650W ATX12V - $64.99 (not sure about its power good signal value?)
Asus DRW-24B1ST/BLK/B/AS DVD/CD Writer - $16.99
Asus VG248QE Monitor - $264.99
D-Link DWA-171 802.11a/b/g/n/ac USB 2.0 - $29.27
Logitech MK550 w/Laser Mouse - $49.99
Corsair Vengeance 2100 - $79.99
Logitech Z506 155W 5.1ch - $69.99
Microsoft Windows 8.1 Professional (32/64-bit) - $170.99
Total: $2200
What you guys think? Usage? Racing Games at homes, audio/video encoding etc. I don't need K CPUs because I'm not in a hurry in this case.
Power source: 100% green aka Solar energy. -
alchemy69 Very similar to the system I just put together for myself except that I felt a 260X was more than enough power for the GPU and put the savings towards a small SSD for the boot drive.Reply


