Building An Intel-Based MicroATX Gaming PC On A Budget
Storage Installation
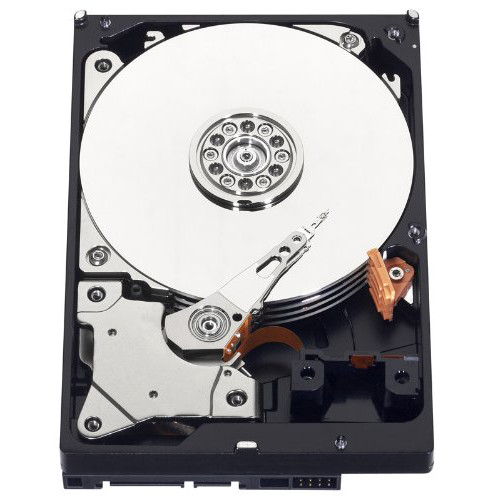
3.5” Cage: Hard Disks
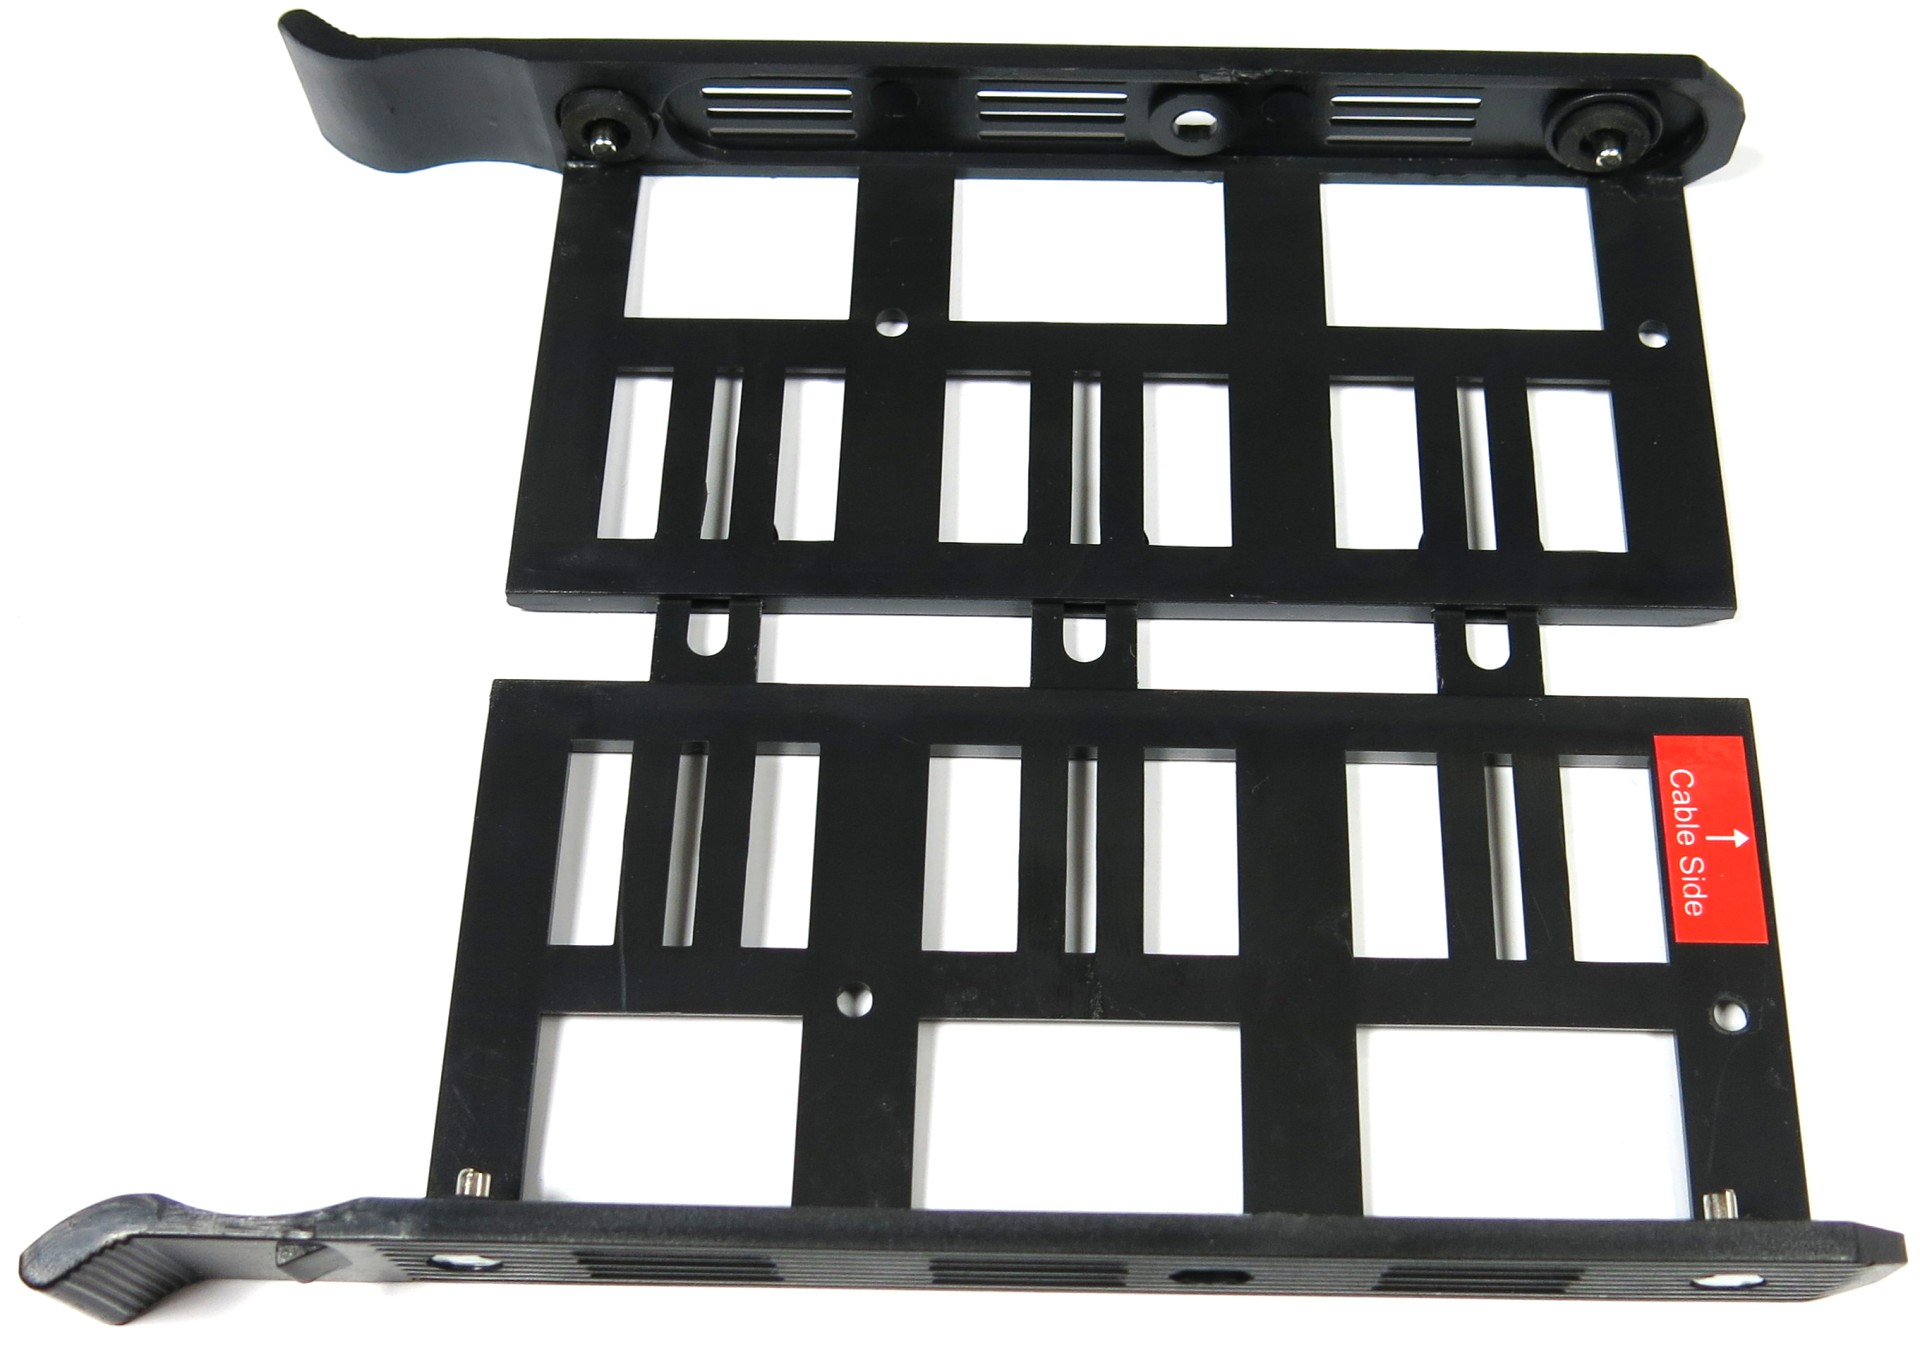
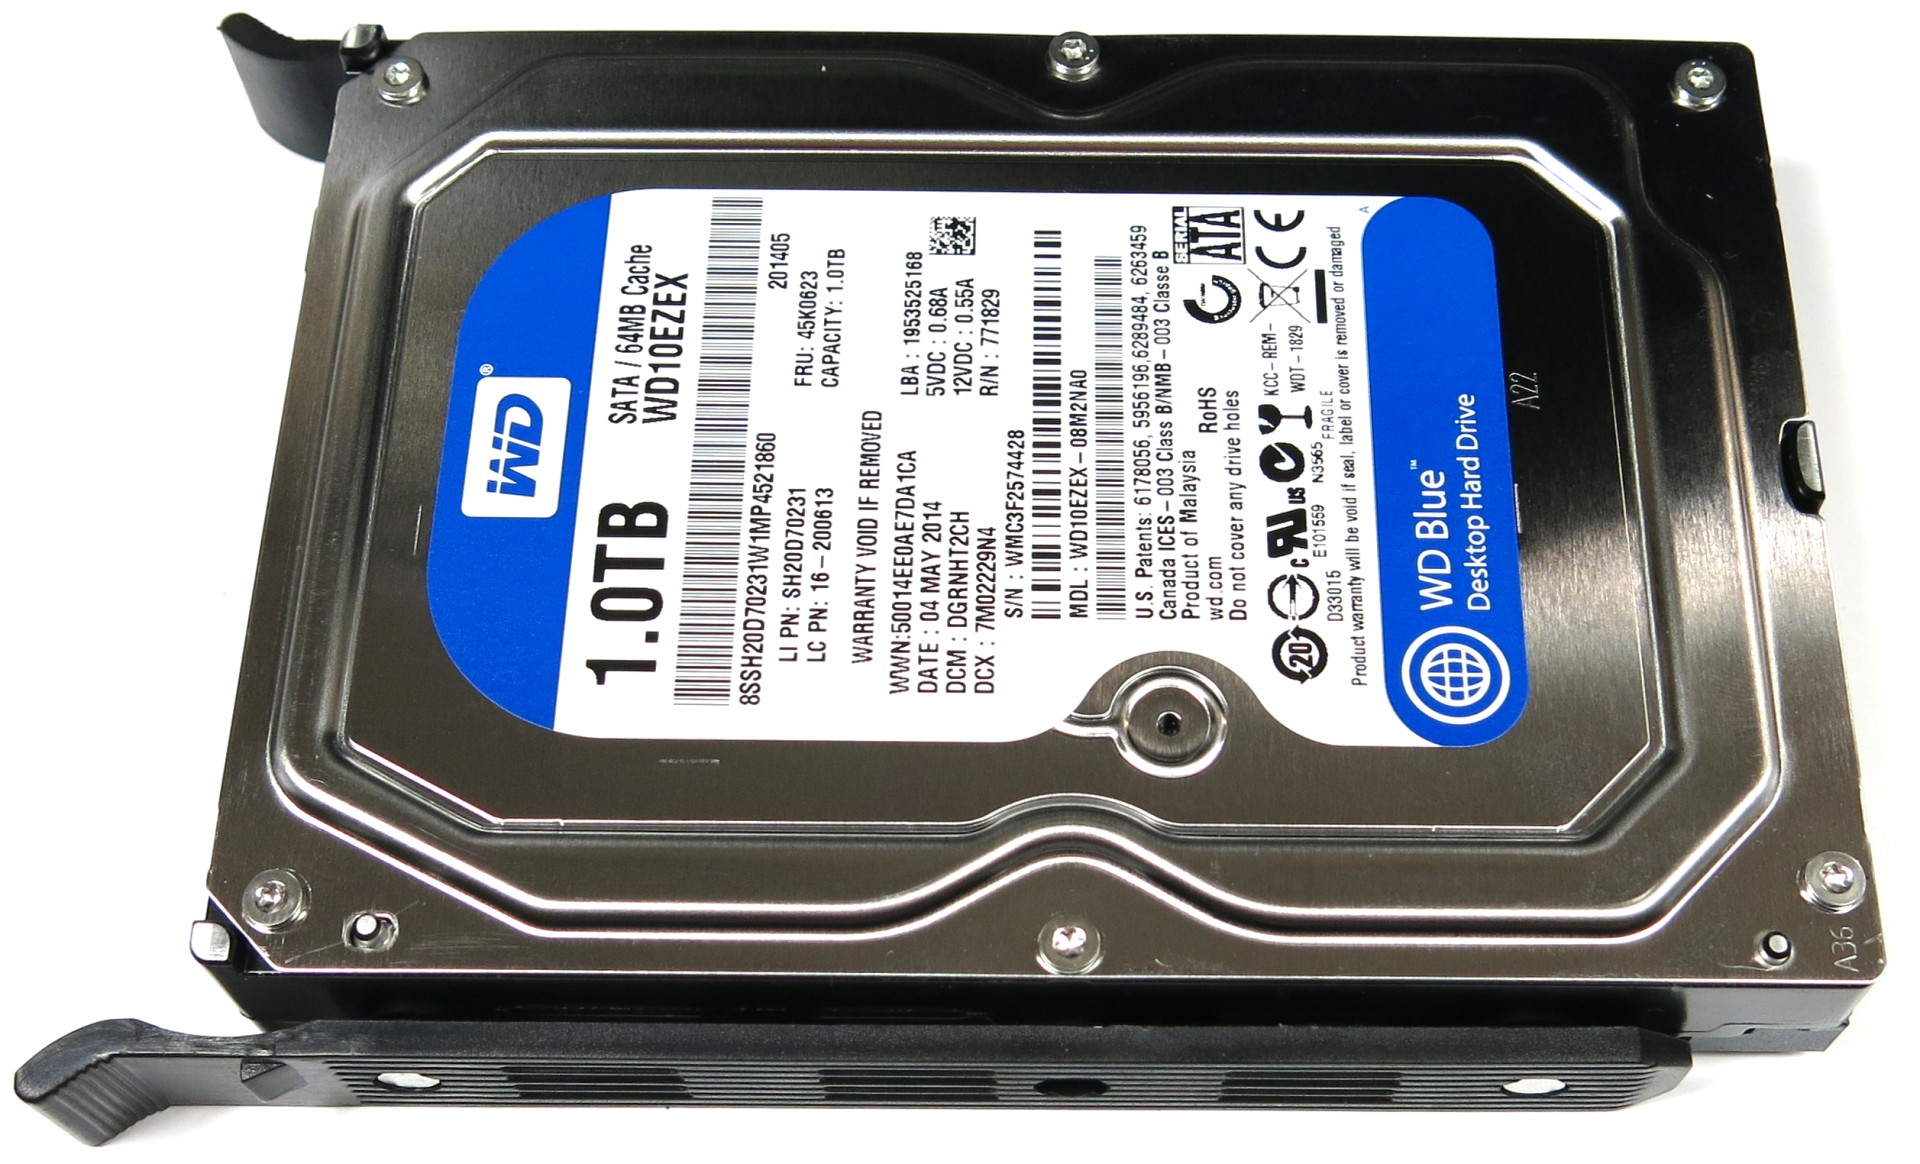
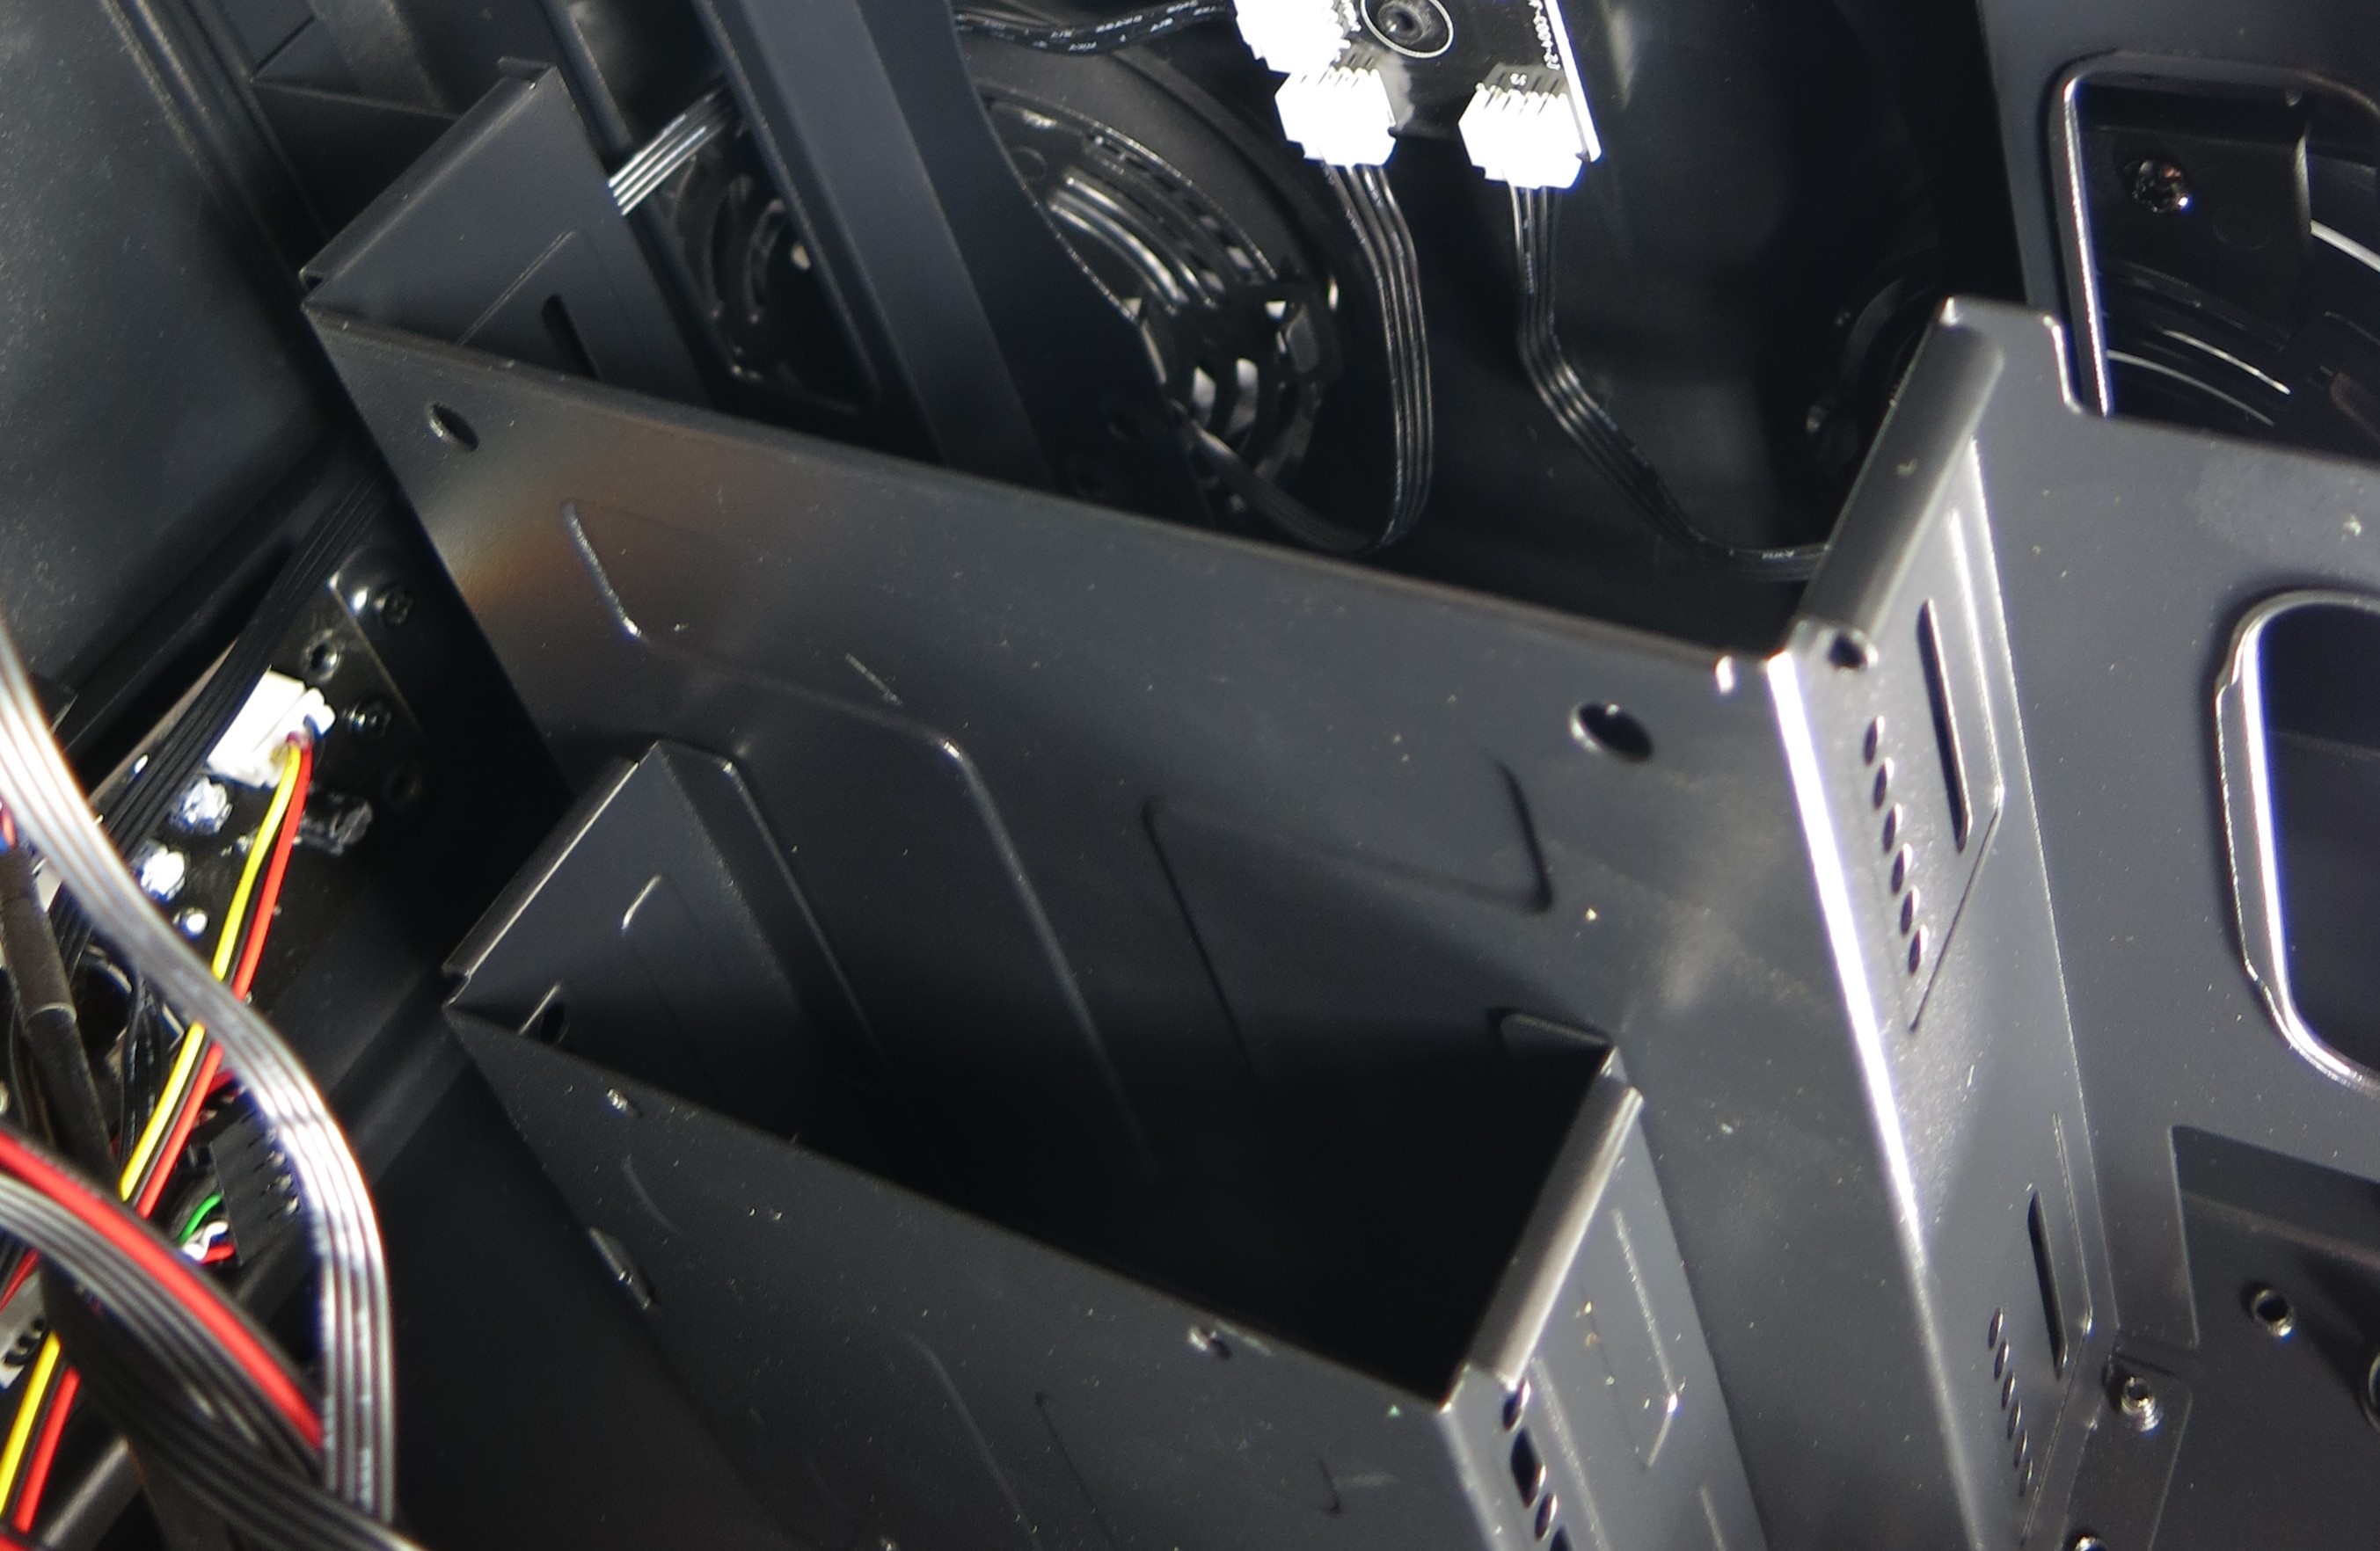
A maximum of two 3.5” hard disks can be mounted on frames and inserted into the cage. No tools are necessary. Deepcool came up with a nifty design for these.
Typically, the mounting frame has to be bent out of shape in order to insert a drive. Deepcool's frame, however, slides apart, whereupon the hard disk is inserted. Then the frame is collapsed, trapping the disk in place. From there, the complete assembly is inserted into the cage.
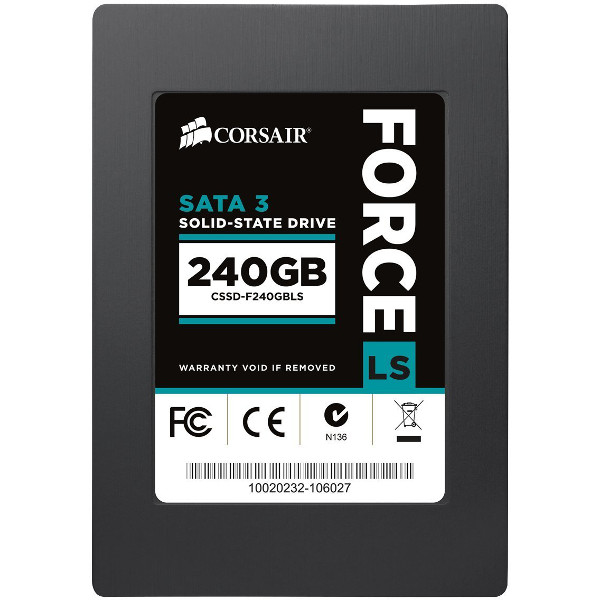
2.5” Drives (SSDs and HDDs)
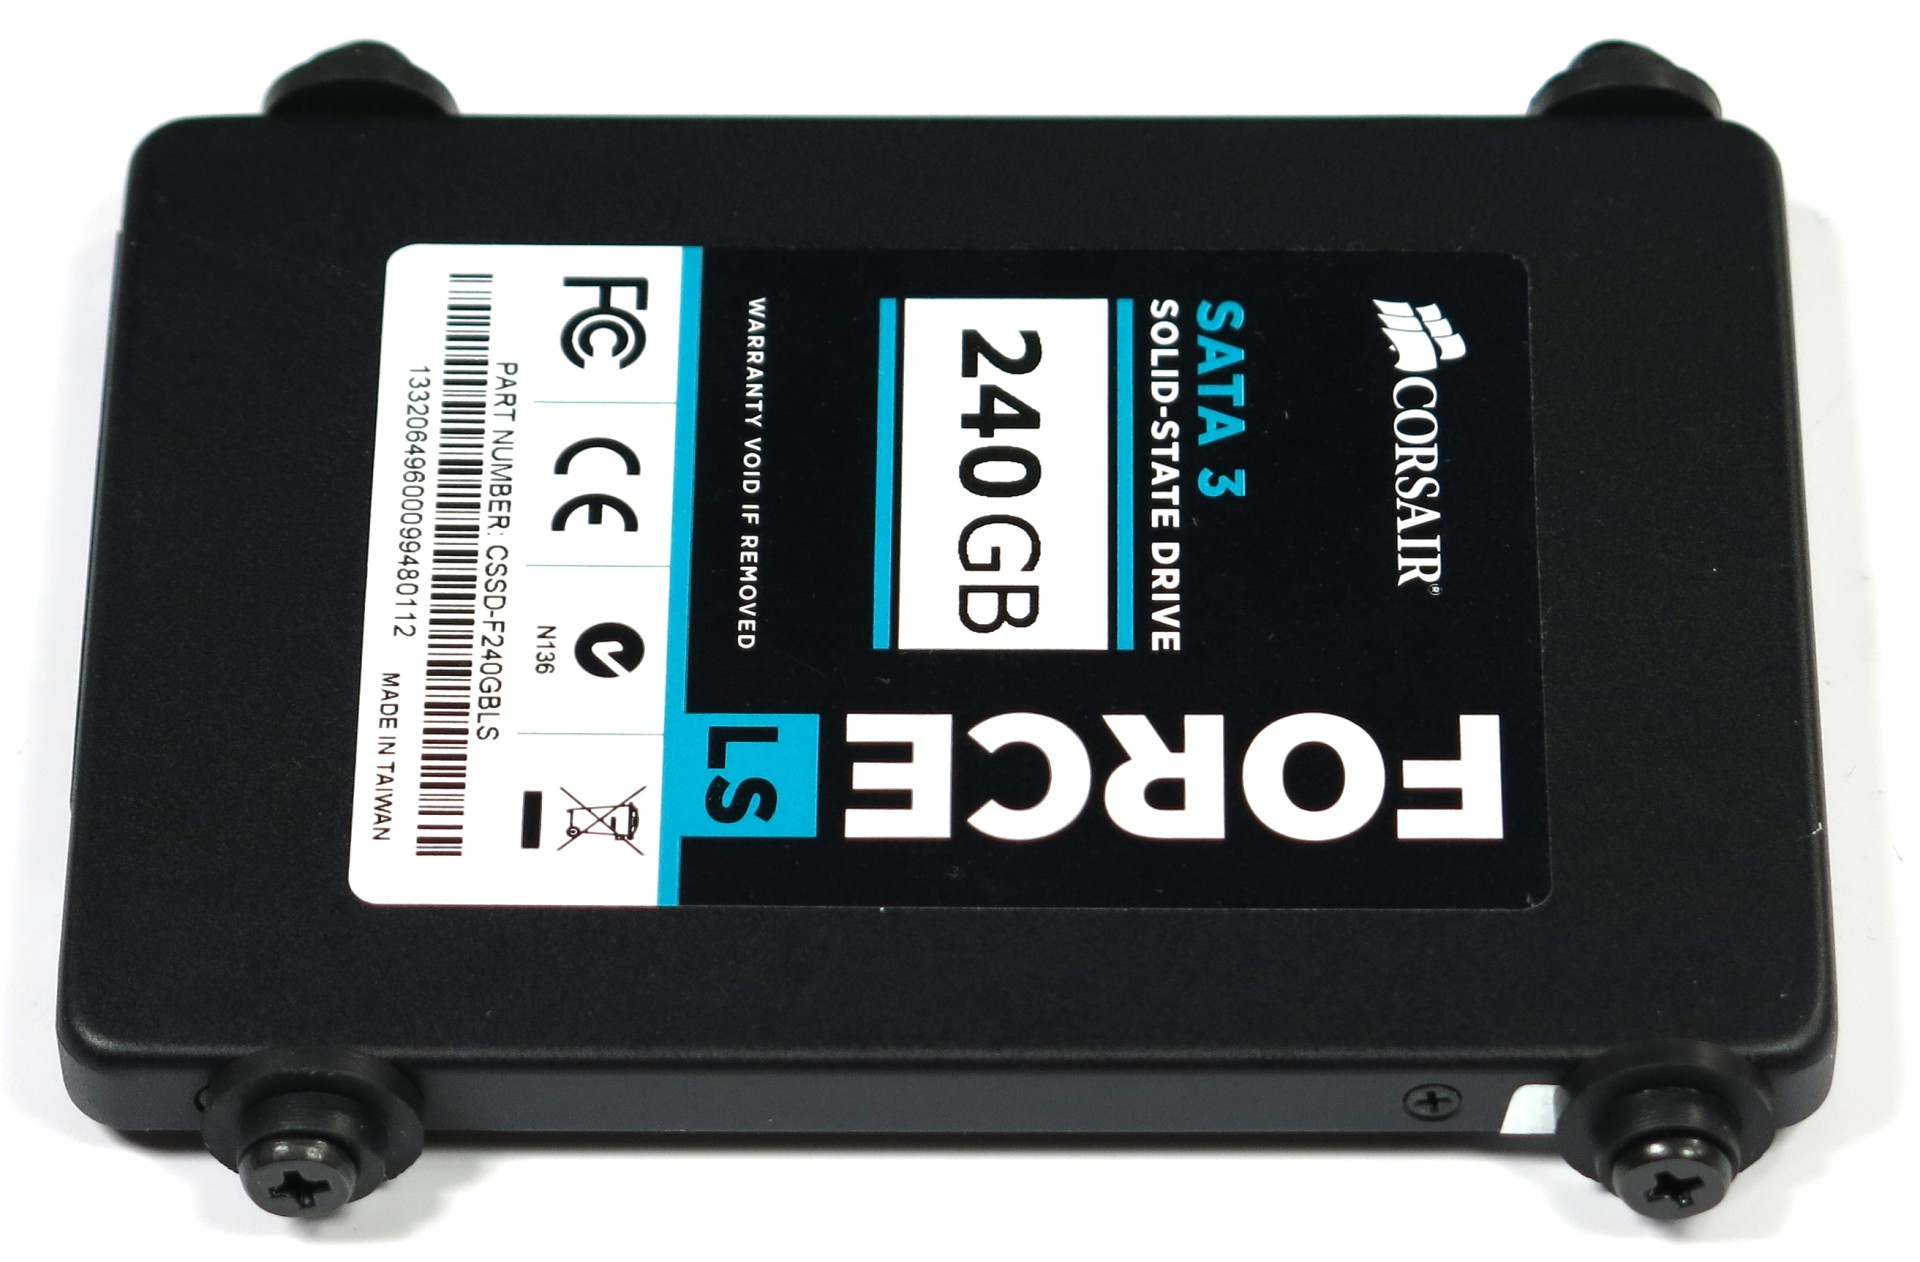
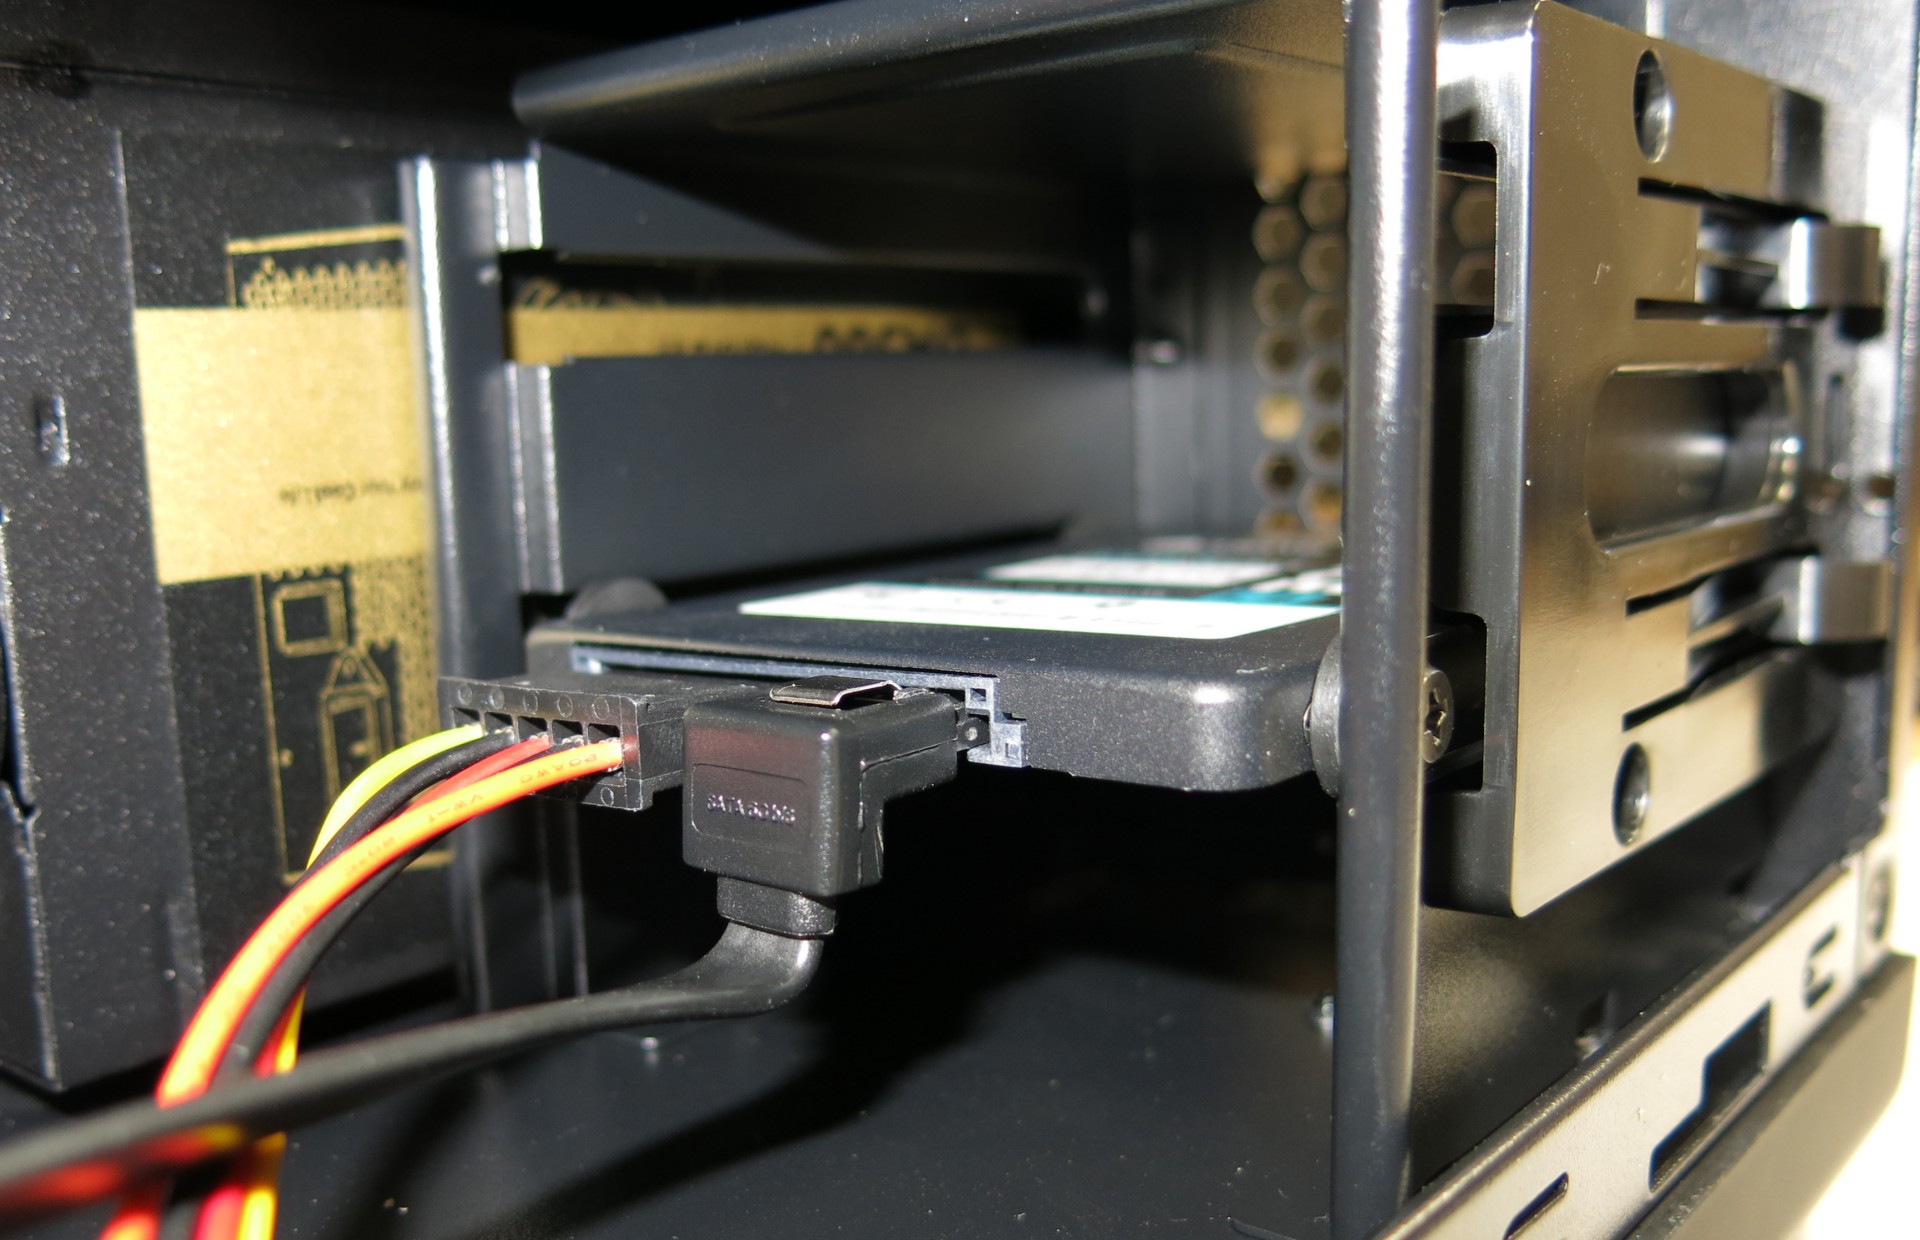
Deepcool also cam up with an innovative design for the 2.5” cage. First, four rubber standoffs are screwed into the SSD (or 2.5” hard disk). You don’t need a screwdriver, as there is very little friction.
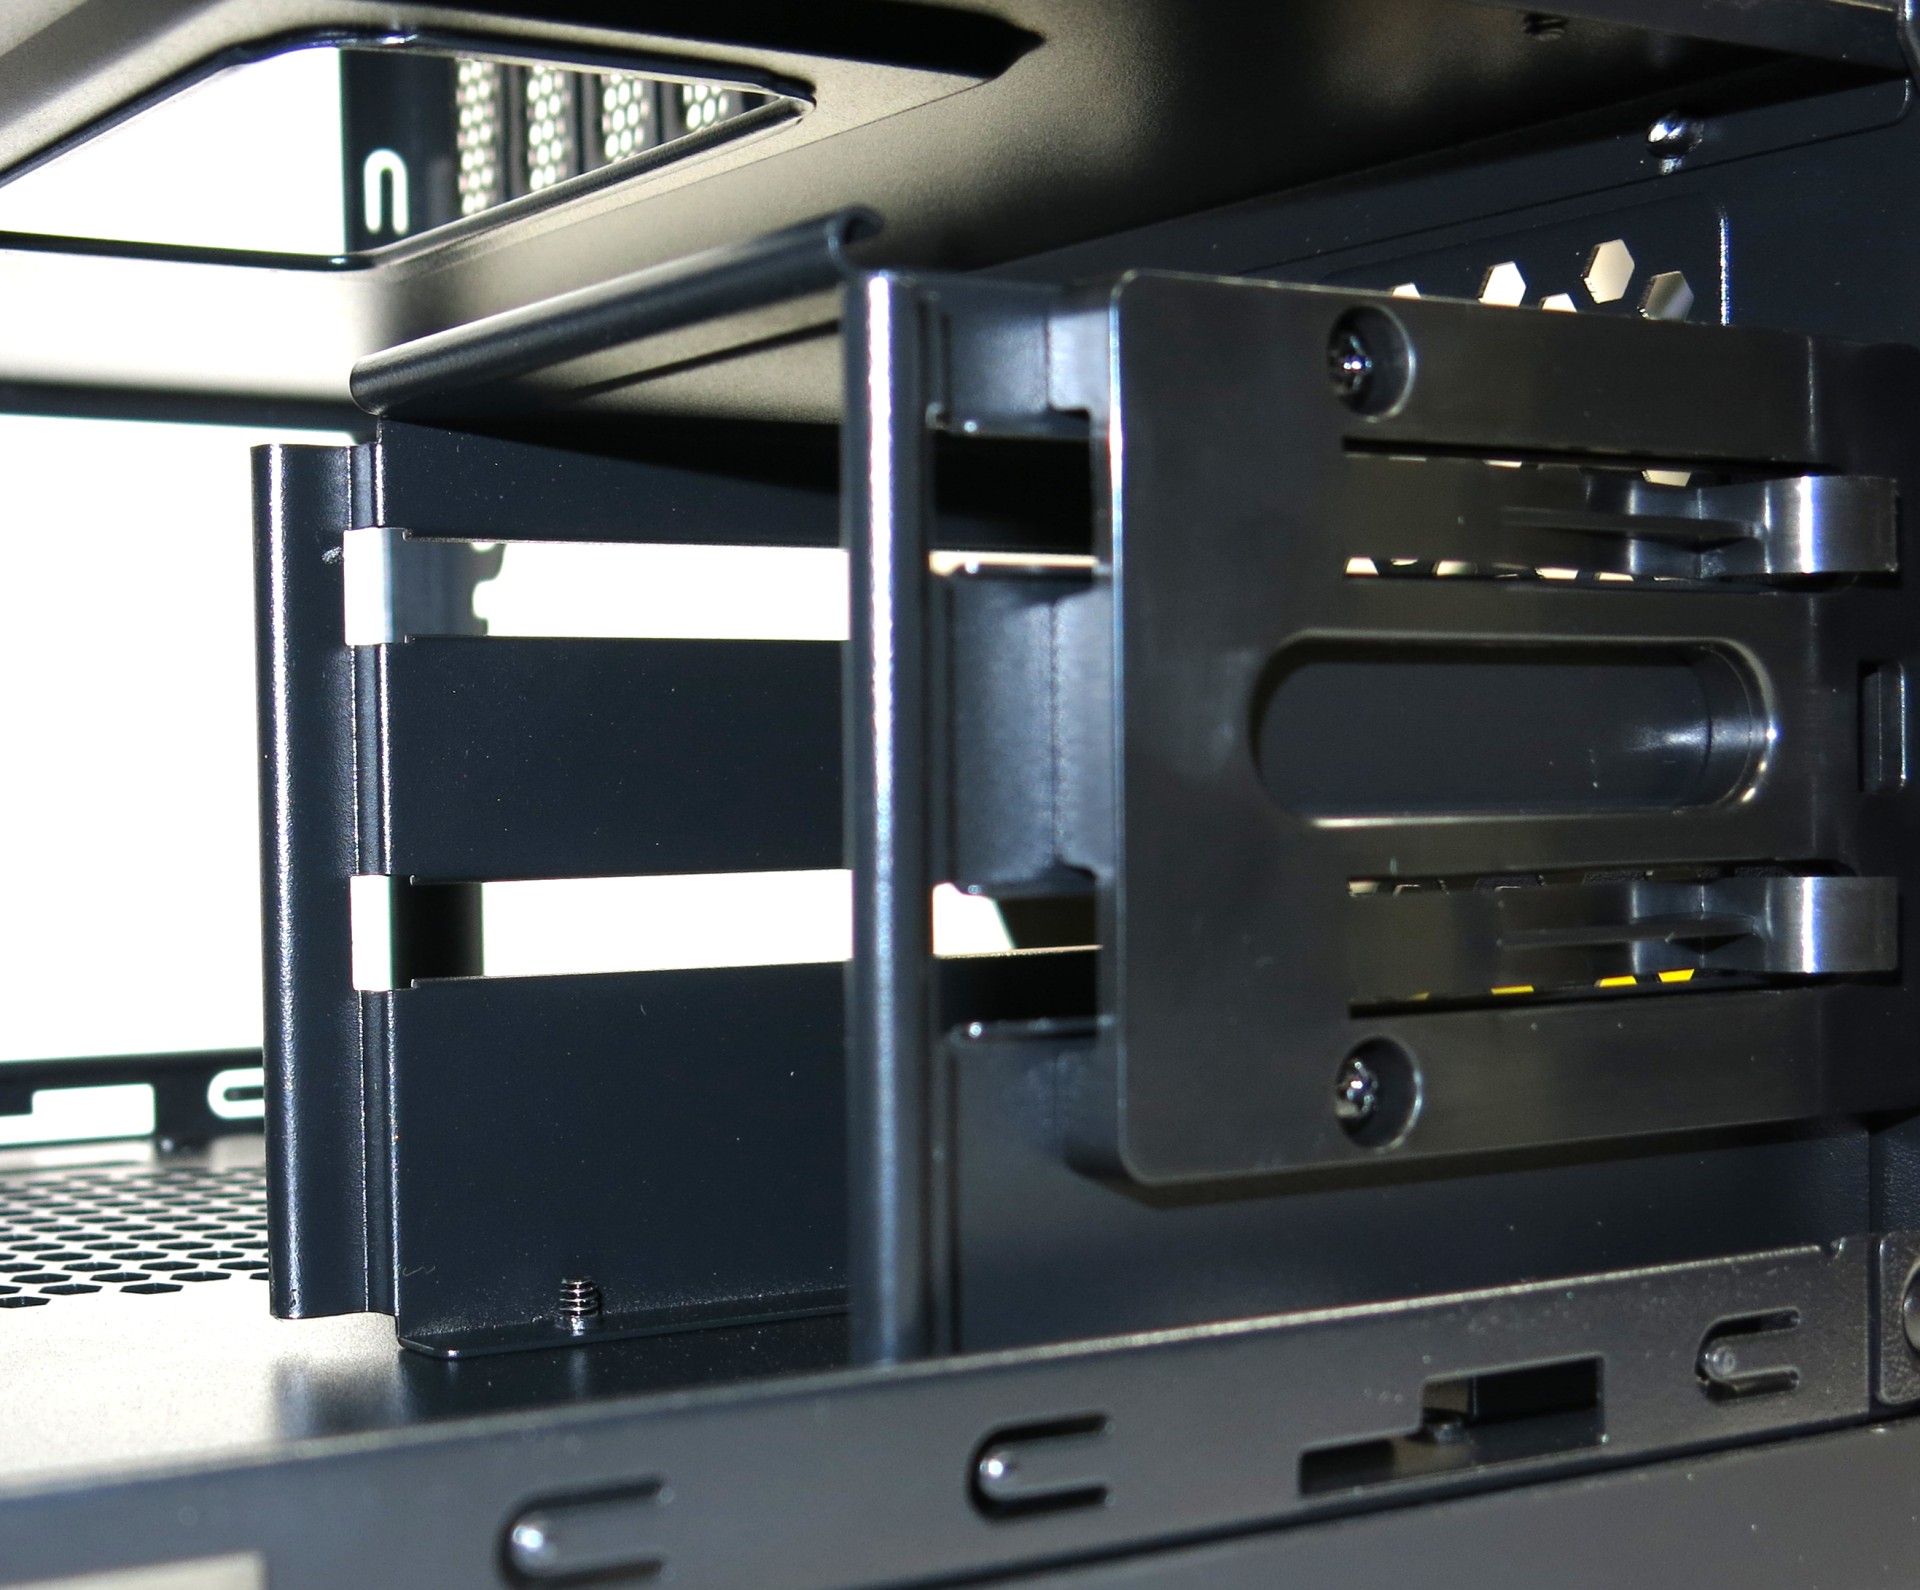
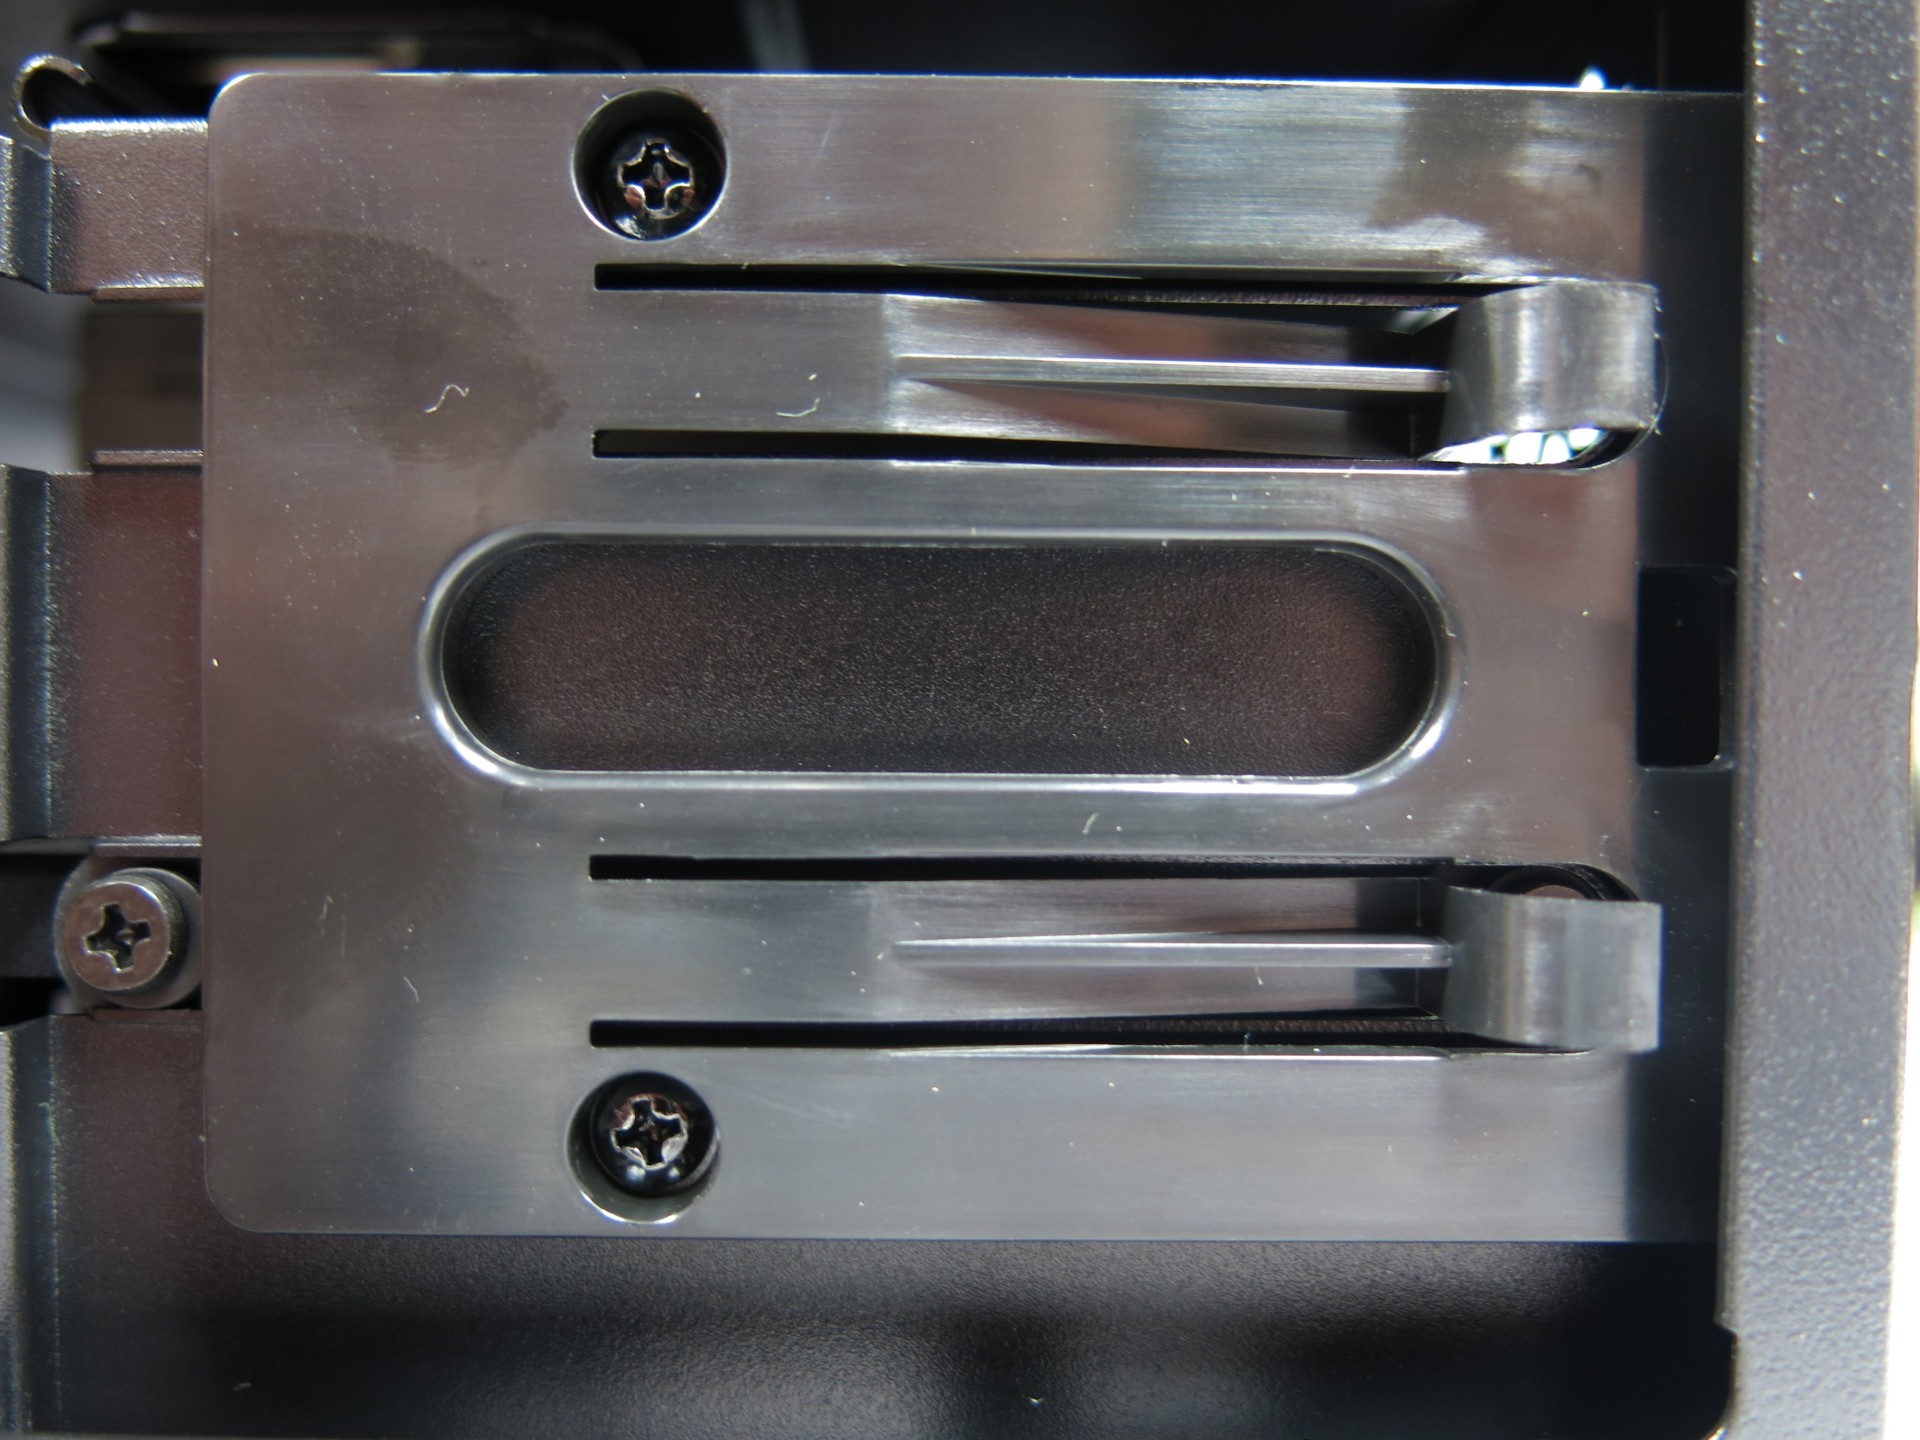
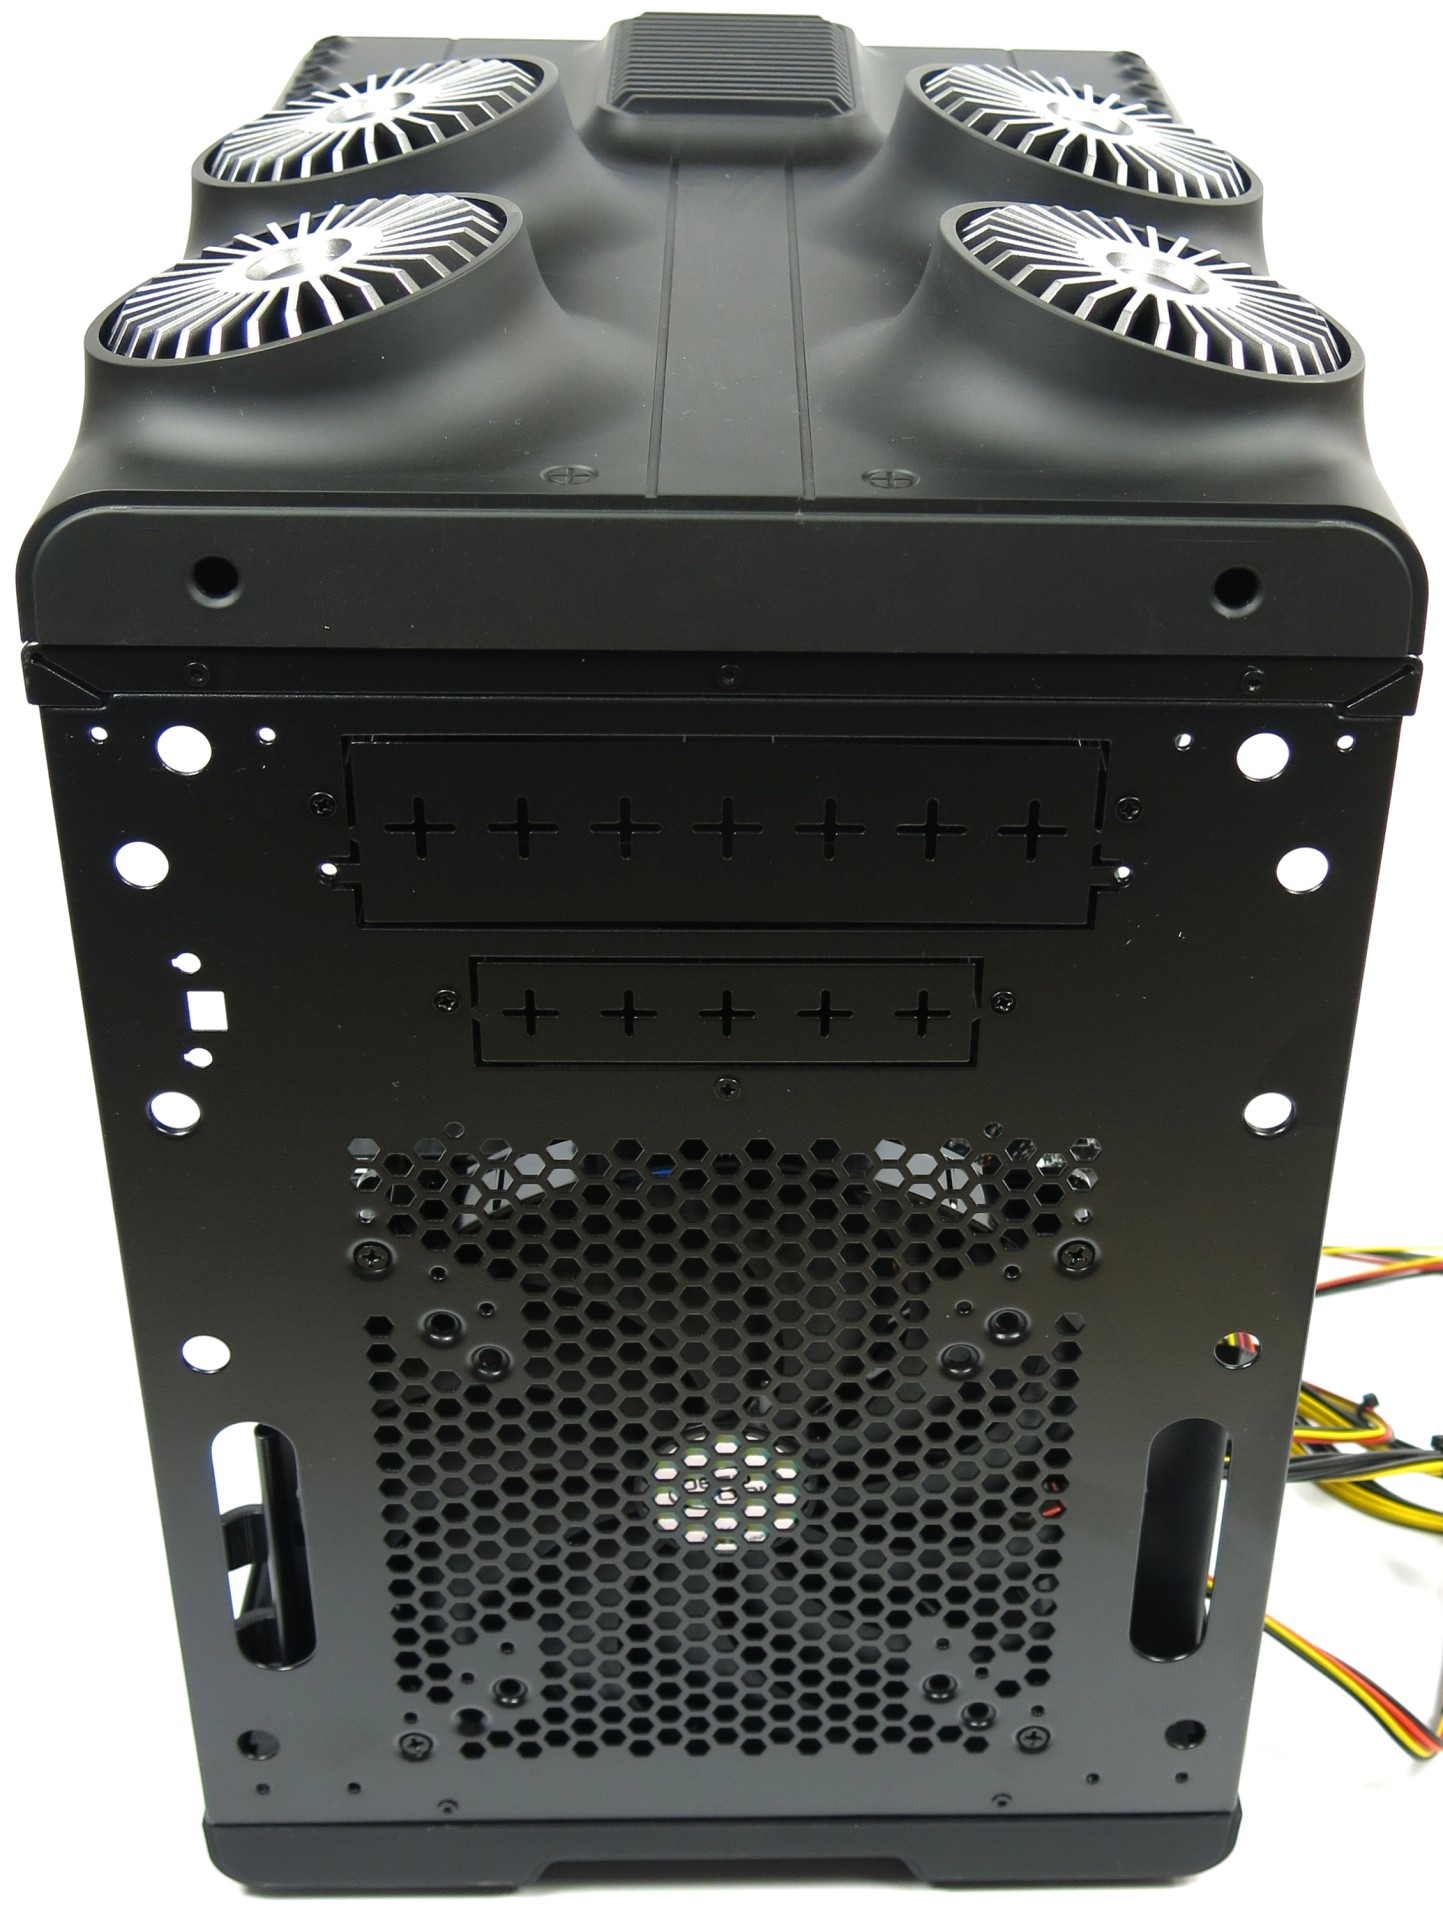
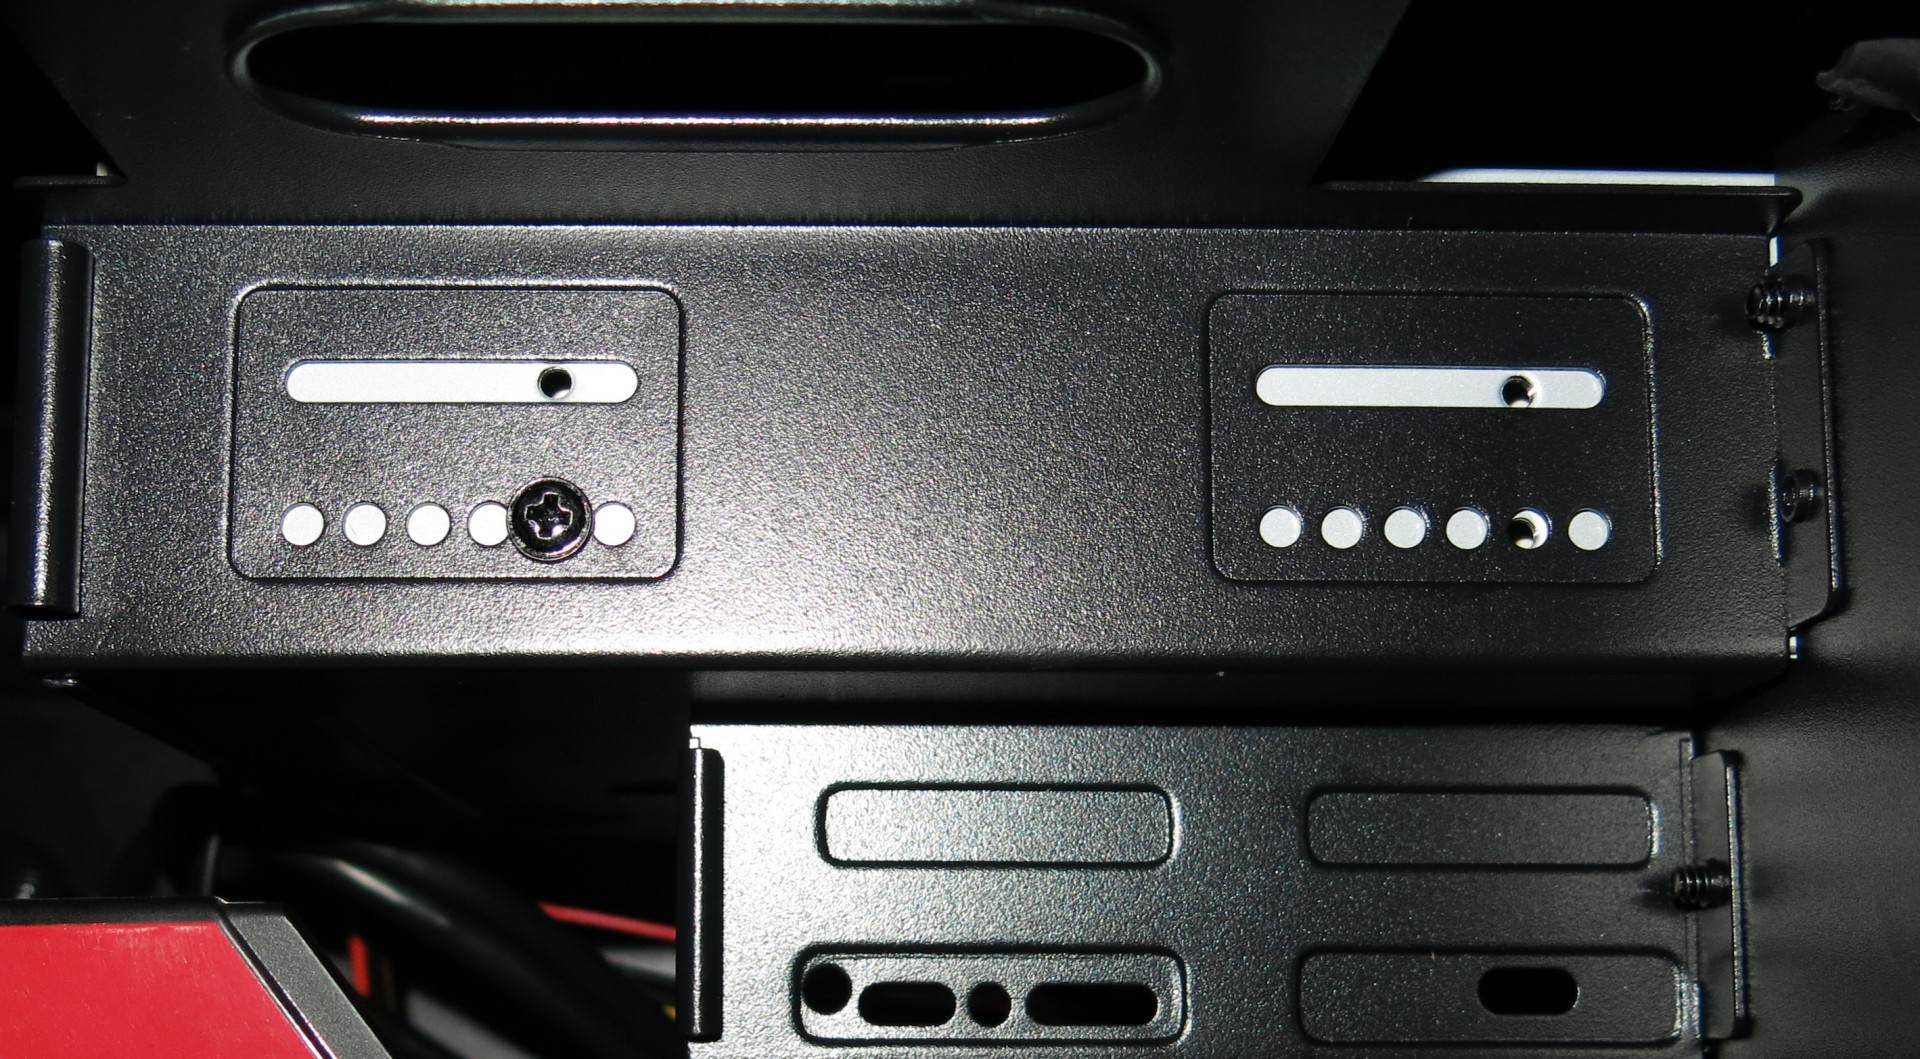
The SSD cage is at the bottom of the case, behind the PSU. It sports an interesting latch mechanism.
The latch allows you to clamp the SSD into place.
Slightly lift the lever if you want to remove the SSD again.
5.25” Bay: Optical Drive
In order to access the 5.25” bay, the front bezel has to be removed. While this may sound difficult, it isn’t. Just pull the bezel off. It grabs the sheet metal with four hooks.
Get Tom's Hardware's best news and in-depth reviews, straight to your inbox.
The 5.25” bay is right underneath the top cover, and the optical drive interferes with the optional top fan. You have to choose between one or the other.
Alas, the optical drive cannot be mounted without a tool. use one screw on each side, at minimum, to secure the optical drive.
Current page: Storage Installation
Prev Page Deepcool Maelstrom 120: Closed-Loop Liquid Cooling Next Page PSU Installation and Cabling
Igor Wallossek wrote a wide variety of hardware articles for Tom's Hardware, with a strong focus on technical analysis and in-depth reviews. His contributions have spanned a broad spectrum of PC components, including GPUs, CPUs, workstations, and PC builds. His insightful articles provide readers with detailed knowledge to make informed decisions in the ever-evolving tech landscape
-
bernie456 Anyone in their right might is not going to spend $100 on the case in a budget build, let alone one as ugly as that one.Reply -
pierrerock And this is why i would not buy a G3258 if i have to get a Z97 Board. I know H81 Boards can now overclock this CPU, but there is a lot of chances that this board would not have a bios recent enough for this CPU. and since you buy a G3258, there is little chance you have another LGA 1150 CPU in your sleeve to flash the bios.Reply
I would get a X4 760K with a better GPU instead of a G3258 with a more expensive motherboard... -
Ethan Feinhaus The only problem I have with this is that you're trying to describe a budget system with a water cooler. When one is building a budget system, there's no reason to have a water cooler when the stock cooler would function well enough.Reply -
Nestor Turizo Noob question: Isnt a stock, on air i5 for 200 usd aprox. a better option than a cheap processor + fancy cooler for 200+ usd?Reply -
pierrerock Reply14114978 said:Noob question: Isnt a stock, on air i5 for 200 usd aprox. a better option than a cheap processor + fancy cooler for 200+ usd?
Yeah a I5 would totally be better, but as for gaming, it would not push a 750 TI much more than a G3258 would. But you are right to think that a water cooling is not a good idea budget-wise -
lp231 Why isn't the total mentioned for this budget build? Also the price for the ram, aio cooler, optical drive are missing. I had to add those in by guessing the most acceptable price for those missing parts and total with what was price listed came out to almost $840. At that price, it's not a budget build. Budget build is suppose to be around $500 or less. $600 is consider a huge headroom.Reply
AIO $ 80, ODD $16 , RAM 8GB (2x4GB) $73
Most of these budget build makes no sense when there is no strict budget cap. Next time when there is another budget build and there is something that just got to have it, but cost like $100 more, let's up the price cap and still call it a budget build!
