Tom's Hardware Verdict
While its lighting options abound and aesthetics are unique, a high $159.99 (MSRP) makes the ML240P Mirage a tough sell compared to the better-cooling, budget-friendly MasterLiquid ML240R RGB.
Pros
- +
Elegant lighting effects using a clear pump top
- +
Threadripper support
- +
Cooler Master controller hub included
Cons
- -
Premium pricing
- -
Average thermal performance
Why you can trust Tom's Hardware
Features and Cooler Specifications
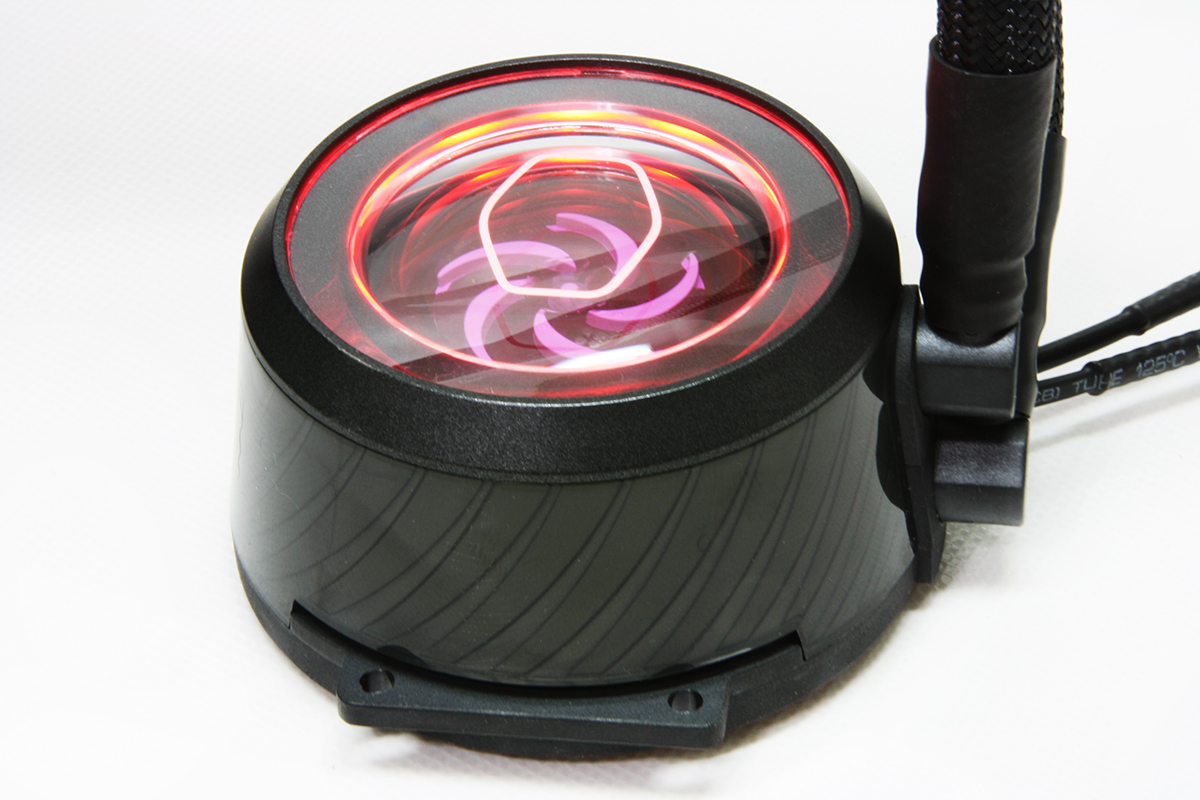
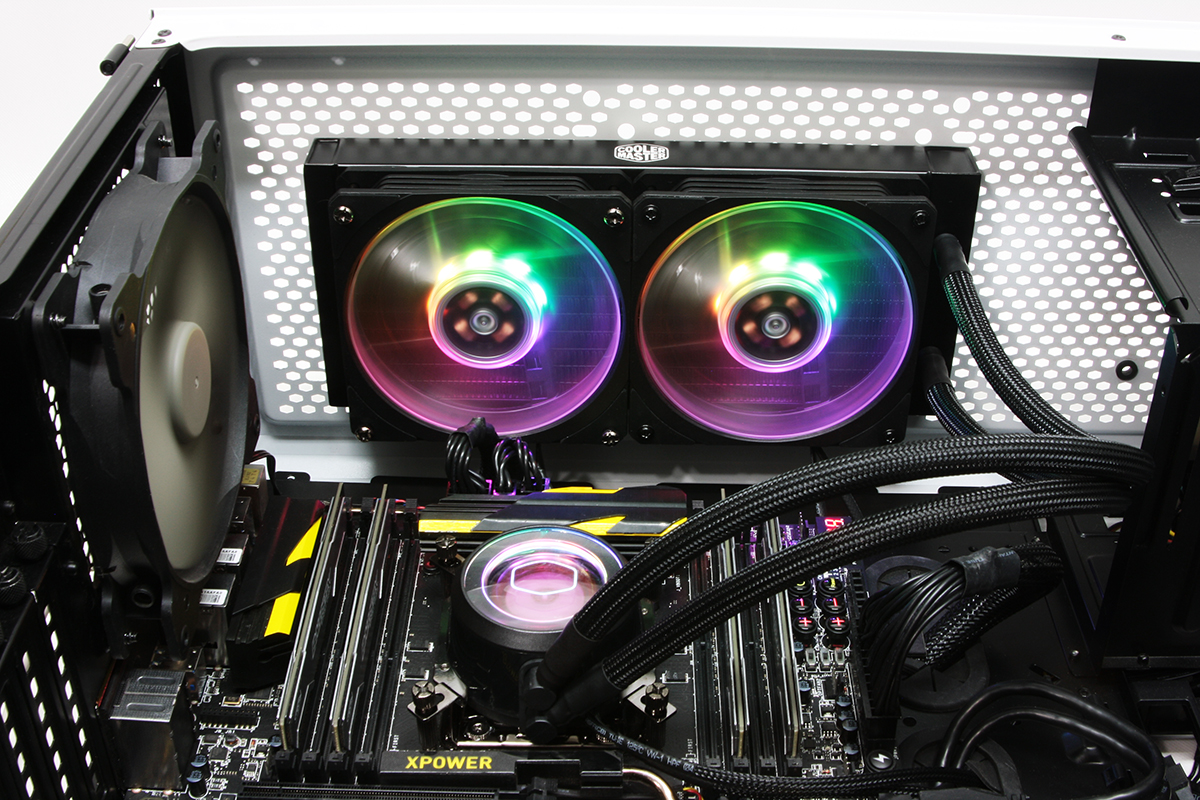
Cooler Master’s ML240P Mirage 240mm AIO cooler hits the shelves with a new addition to the typical RGB lighting treatment; a clear view into the soul of any liquid cooler – the pump impeller. The clear pump housing top allows a direct view of the impeller, bathed in addressable RGB, which accents the perimeter of the crystal-clear centerpiece to create a visual ‘mirage’ lighting effect.
That said, as pleasing as it is to see the inner workings of your liquid cooler, it isn’t quite enough to offset the price premium and underwhelming thermal performance when compared to other 240mm AIO units.
Specifications
| Thickness | 1.125" / 28.6mm (2.25" / 57.15mm w/fans) |
| Width | 4.75" / 120.7mm |
| Depth | 11.0" / 279.4mm |
| Pump Height | 1.75" / 44.5mm |
| Speed Controller | BIOS |
| Cooling Fans | (2) 120 x 25mm |
| Connectors | (1) SATA(2) 4-pin PWM(1) 3-pin PWM(3) 4-pin RGB |
| Weight | 43.7 oz / 1237g |
| Intel Sockets | 2066, 2011x, 1366, 115x, 775 |
| AMD Sockets | AM2(+), AM3(+) AM4, FM1, FM2(+), TR4 |
| Warranty | 5 years |
Features
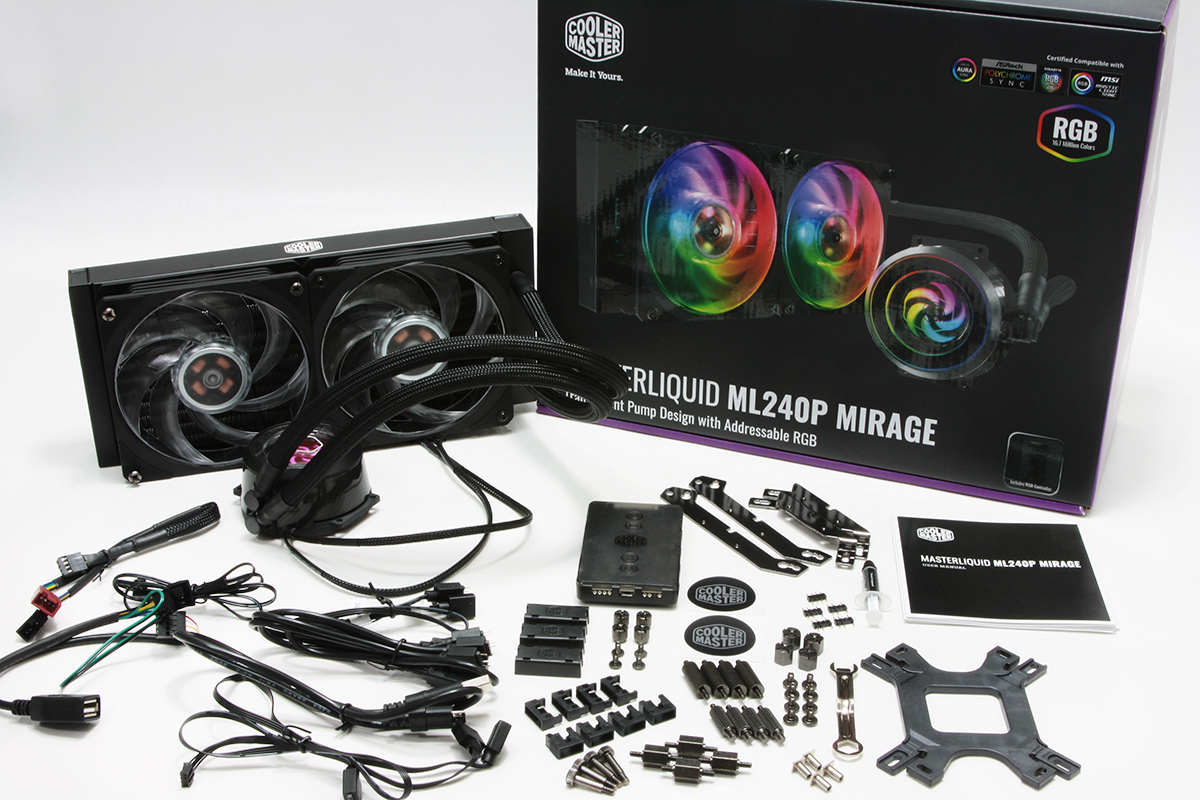
The ML240P Mirage comes bundled with mounting hardware for nearly every conceivable AMD and Intel desktop processor over the last decade, including AMD’s high-end desktop part (HEDT), Threadripper. Cabling for PWM fan control and RGB splitters is included, and Cooler Master also supports standard 4-pin RGB pinout in case you wish to utilize your motherboard’s lighting controller.
Cable management should be carefully considered during installation of the ML240P Mirage, as the unit has separate leads for both PWM control and addressable illumination (as do most RGB AIO units), which requires connectivity to SATA power as well as maintaining adequate case airflow.
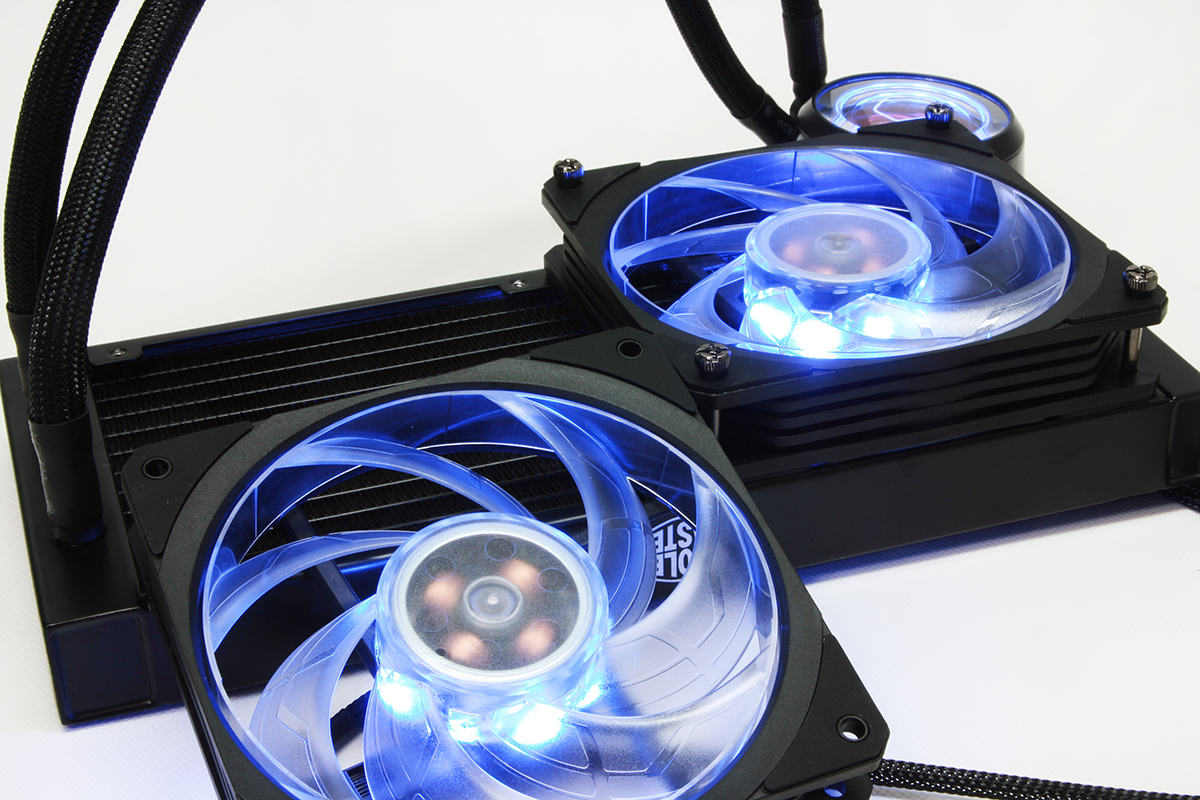
Cooler Master has introduced a pair of unique MasterFans for use on the ML240P Mirage; look closely and you’ll see that each fan is completely encircled by an interconnected blade ring. The addressable RGB (aRGB) fans are compatible with most motherboards using 3-pin aRGB headers, as well as the included Cooler Master aRGB lighting control module.
The highlight of the ML240P Mirage is the clear pump face, which exposes the internal impeller encased within. Addressable RGB lighting glows around the clear perimeter, offering the illusion of a faceted, cut rim. The lighting also serves to highlight and contrast against the impeller and coolant while the unit is in operation.
Molded mounting tabs allow for the included Intel and AMD mounting brackets to be secured to the pump housing during installation. A pair of 90-degree fittings swivel to offer adjustment as needed for clearance, while the coolant tubing is sleeved with nylon braid and tidily secured with heat shrink to prevent fraying.
Get Tom's Hardware's best news and in-depth reviews, straight to your inbox.
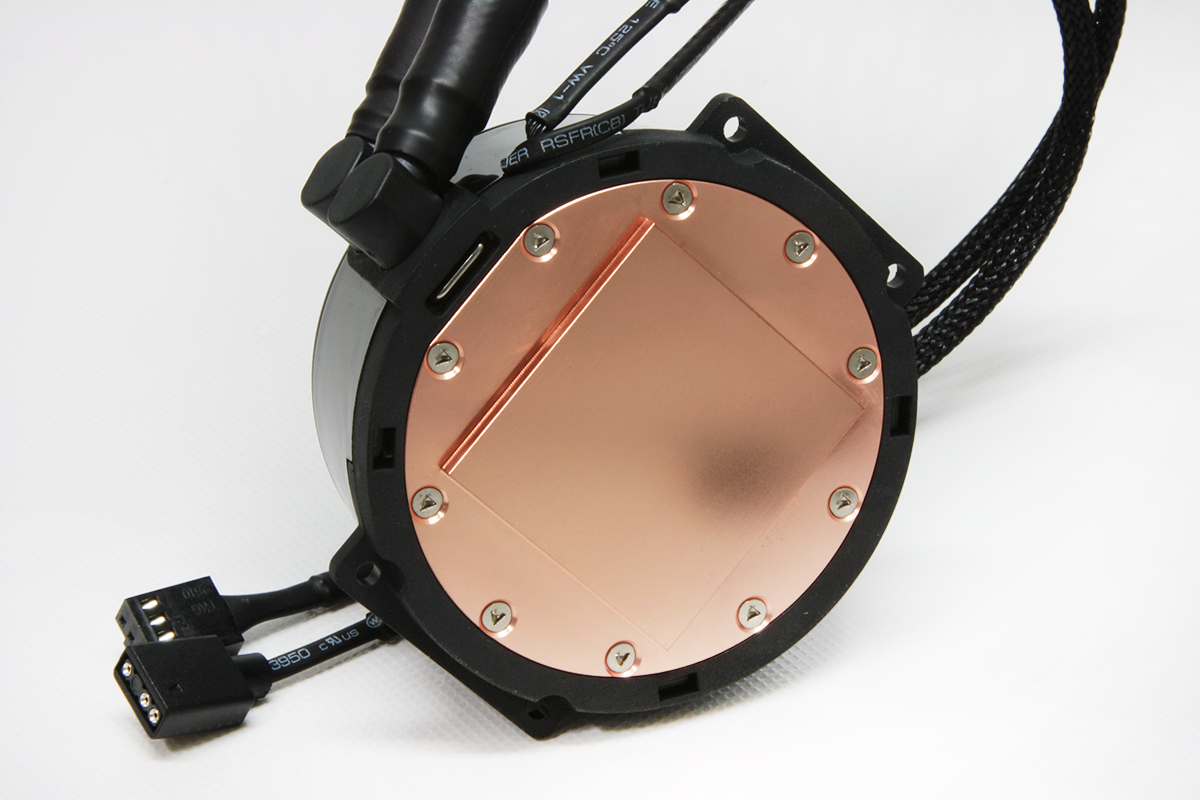
Rather than a flat piece of milled copper, the copper base of the ML240P Mirage prominently shows a raised, square IHS contact platform, which makes direct contact with your CPU of choice. Cooler Master intends for this enlarged copper base plate to allow for more-effective thermal transfer between the processor below and coolant within.
The ML240P pump is 4-pin PWM-capable and the aRGB splitter cable (included) allows direct connection to either motherboard RGB control or the included Cooler Master lighting controller.
Given that the Cooler Master MasterLiquid ML240P Mirage has a standard 240mm (2 x 120mm) spacing, we had no difficulty during installation. We did, though, need to pay very close attention to what some of the illustrated steps were intending to imply, especially the PWM and aRGB wiring diagram.
It’s important to ensure that the mounting brackets are installed and facing the correct direction during the install process. It’s easy to reverse their orientation while thinking you have the cooler properly set on the CPU socket. Reversing the brackets on some sockets causes the cooler not to make contact with the CPU even though it appears to be secured properly to the standoffs. We observed this on our Intel Socket 2011 v3 i7-5930k, and the installation manual makes it rather unclear as to which direction the brackets should face.
MORE: Best Motherboards
MORE: How To Choose A Motherboard
MORE: All Motherboard Content

Garrett Carver is a contributor for Tom’s Hardware, primarily covering thermal compound comparisons and CPU cooling reviews; both air and liquid, including multiple variations of each.
-
spyrosn2006 Guys, sorry, something doesn't click here.Reply
In the Corsair H100i Pro review, the acoustic performance for that AIO cooler is mediocre:
https://www.tomshardware.com/reviews/corsair-h100i-pro-cpu-cooler,5471-2.html
But in this review, we get the following acoustic performance chart for the same AIO:
(Note the H100i Pro at the bottom.)
Could you please point out what the correct value is? 24.8 dBA or 43.7 dBA? It paints the H100i Pro in a completely different color.
