Why you can trust Tom's Hardware
We are using the following system for today’s build:
| CPU | Intel Core i5-11600K |
| Motherboard | Asus ROG Strix Z590-I Gaming WiFi |
| Memory | G.Skill Trident Neo 16GB, 3600 MHz |
| Graphics | Zotac RTX 3080 Ti Amp Holo |
| CPU Cooling | Included 280mm Cooler Master AIO |
| Row 5 - Cell 0 | Noctua NT-H2 Thermal Paste |
| Storage | Corsair Force Series MP600 NVMe SSD, 480GB |
| Power Supply | Included 850W Cooler Master PSU |
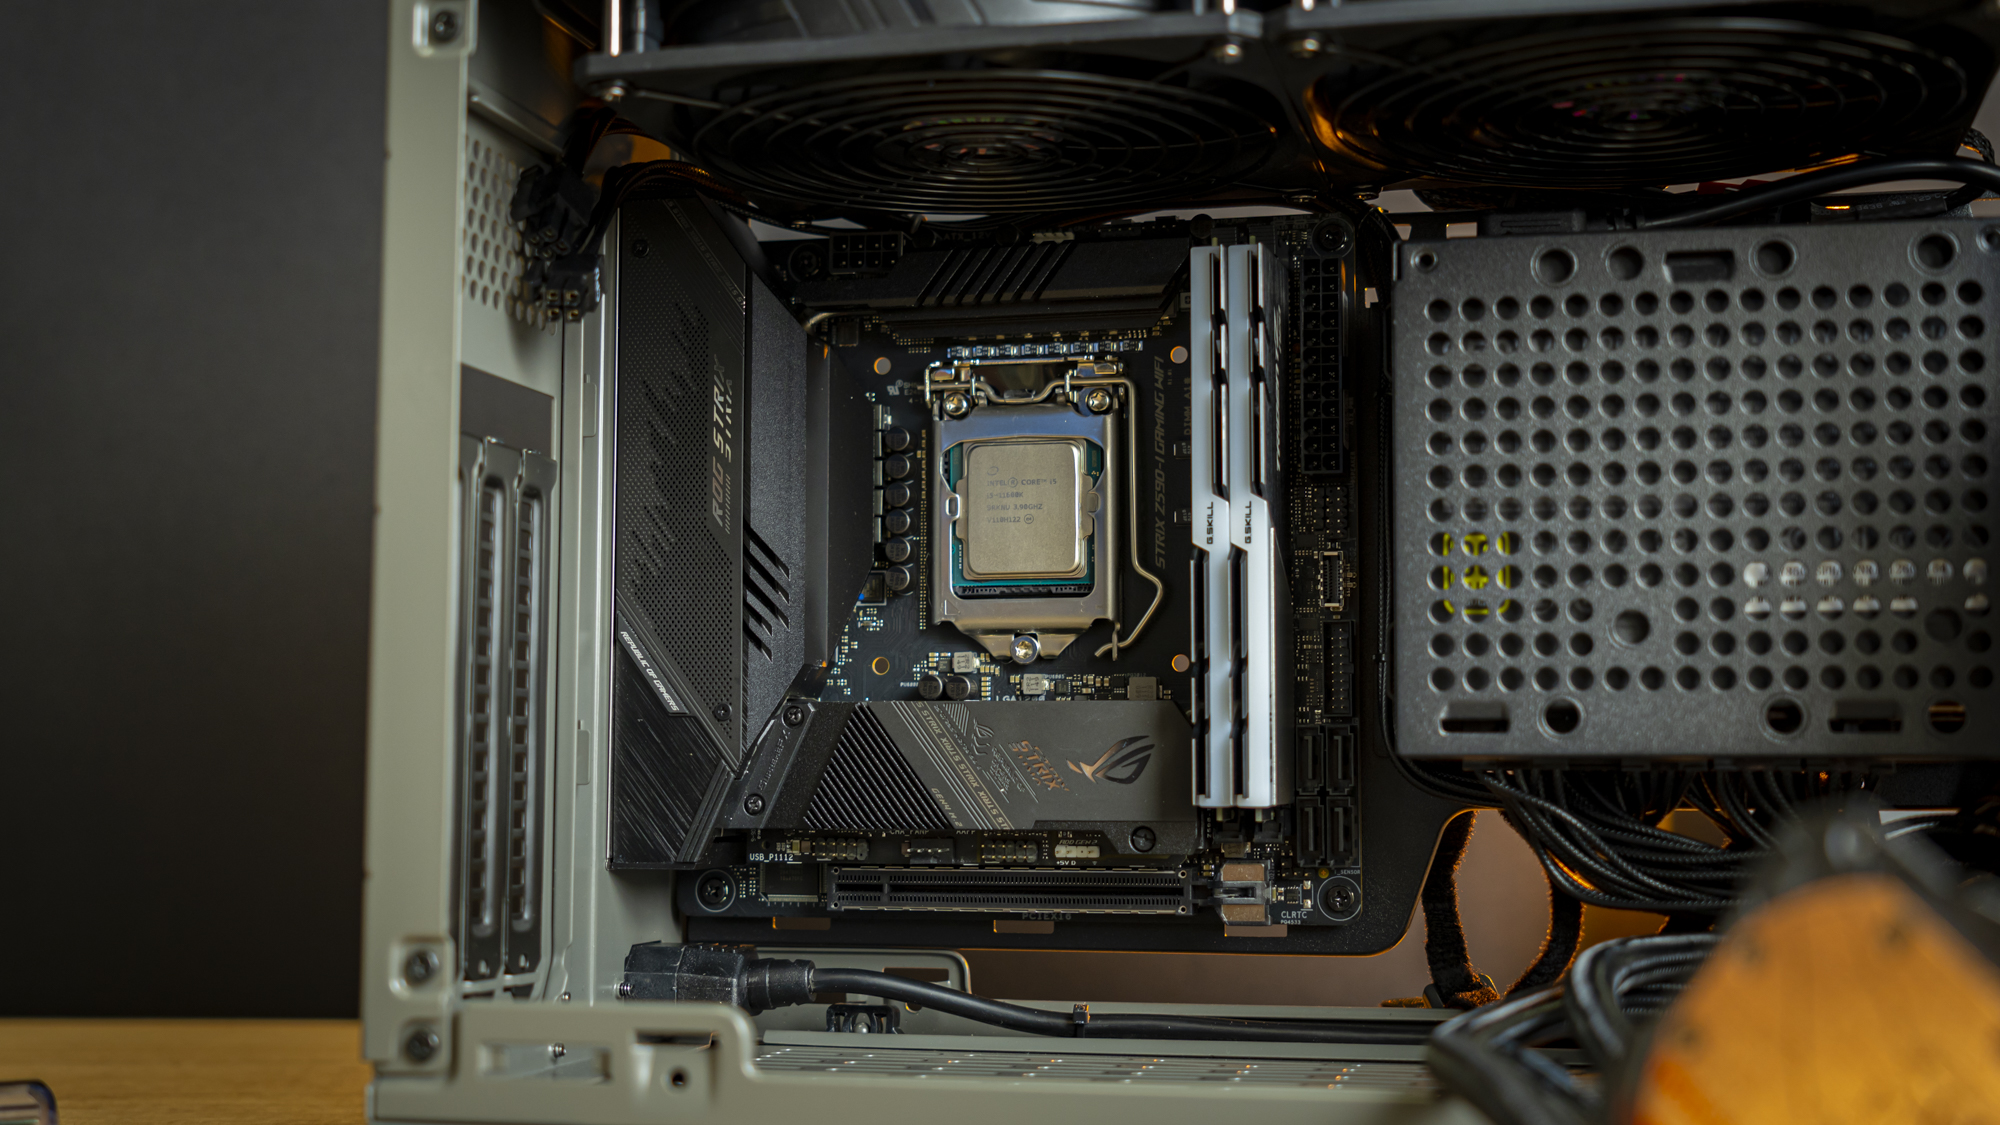
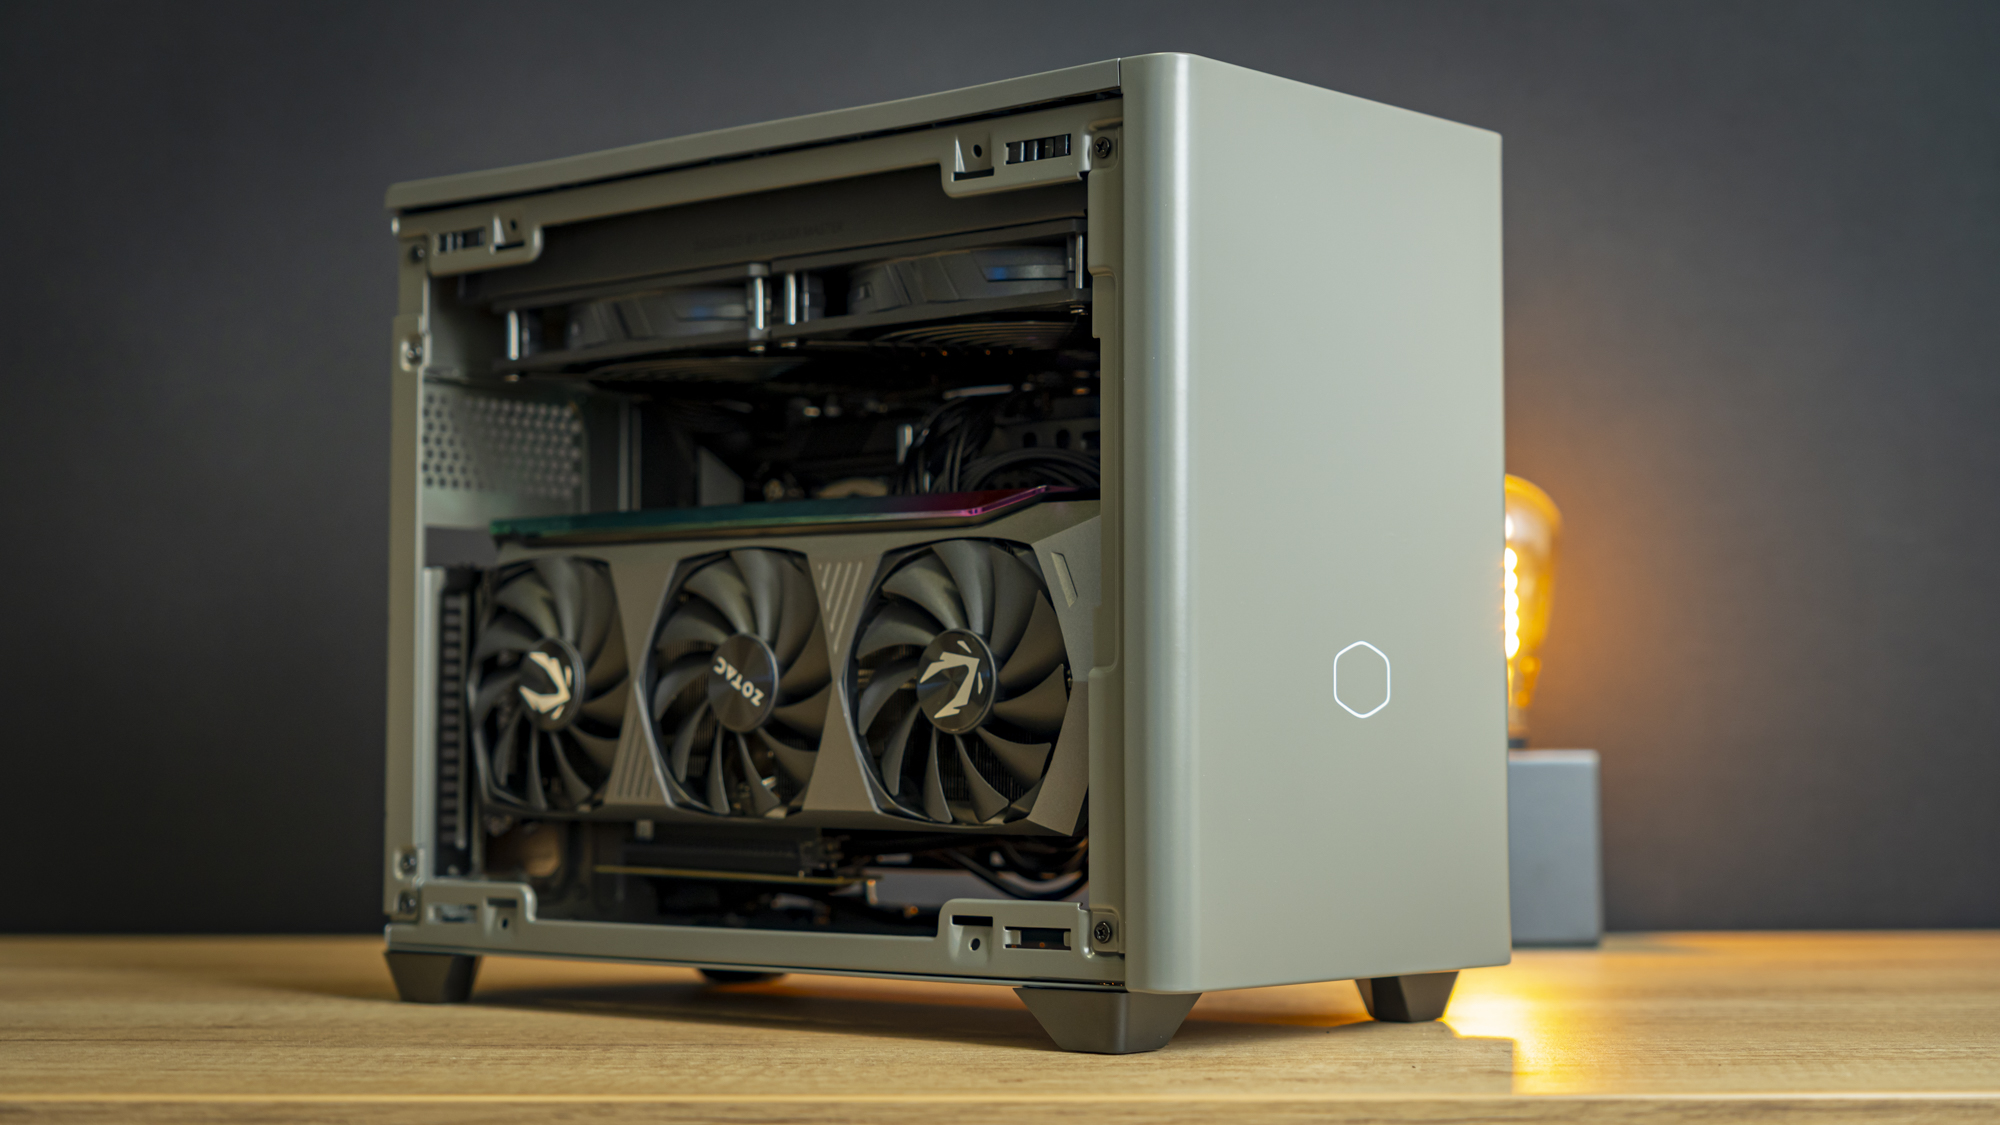
With this build, we’re using the new ITX case test setup based on the 11th-gen Intel Core i5-11600K processor, paired with an Asus Z590 ITX motherboard and a large, RTX 3080 Ti graphics card. That’s a lot of hardware to throw at an ITX case, but the NR200P Max shouldn’t have a problem with this.
Step 1: Motherboard Installation
Because the back of the motherboard tray has a large cutout, and the AIO’s hoses didn’t comfortably reach the socket with the motherboard outside the case, I decided to first drop the motherboard into place and then install the AIO. With the cable bundle undone, the motherboard slipped right into place.
Step 2: AIO Installation
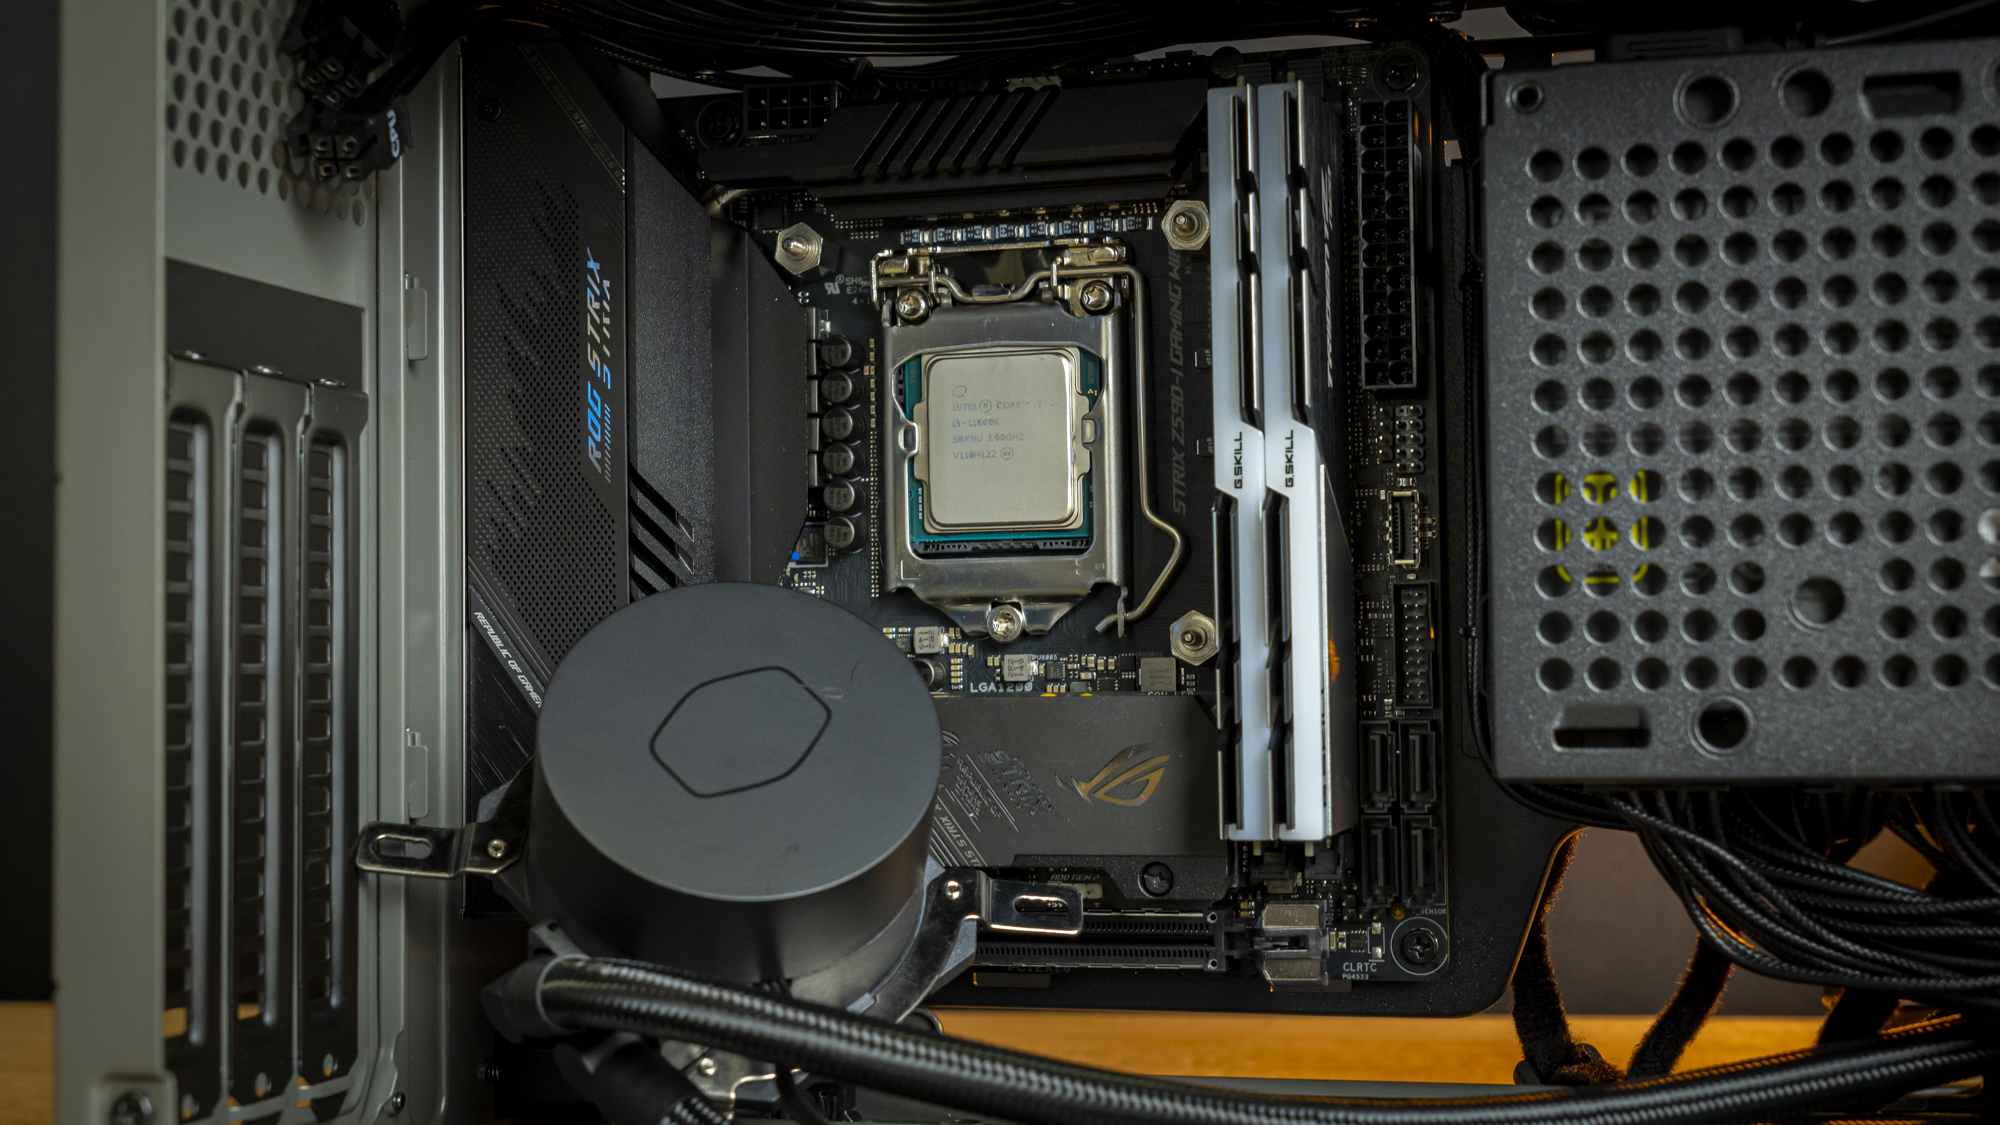
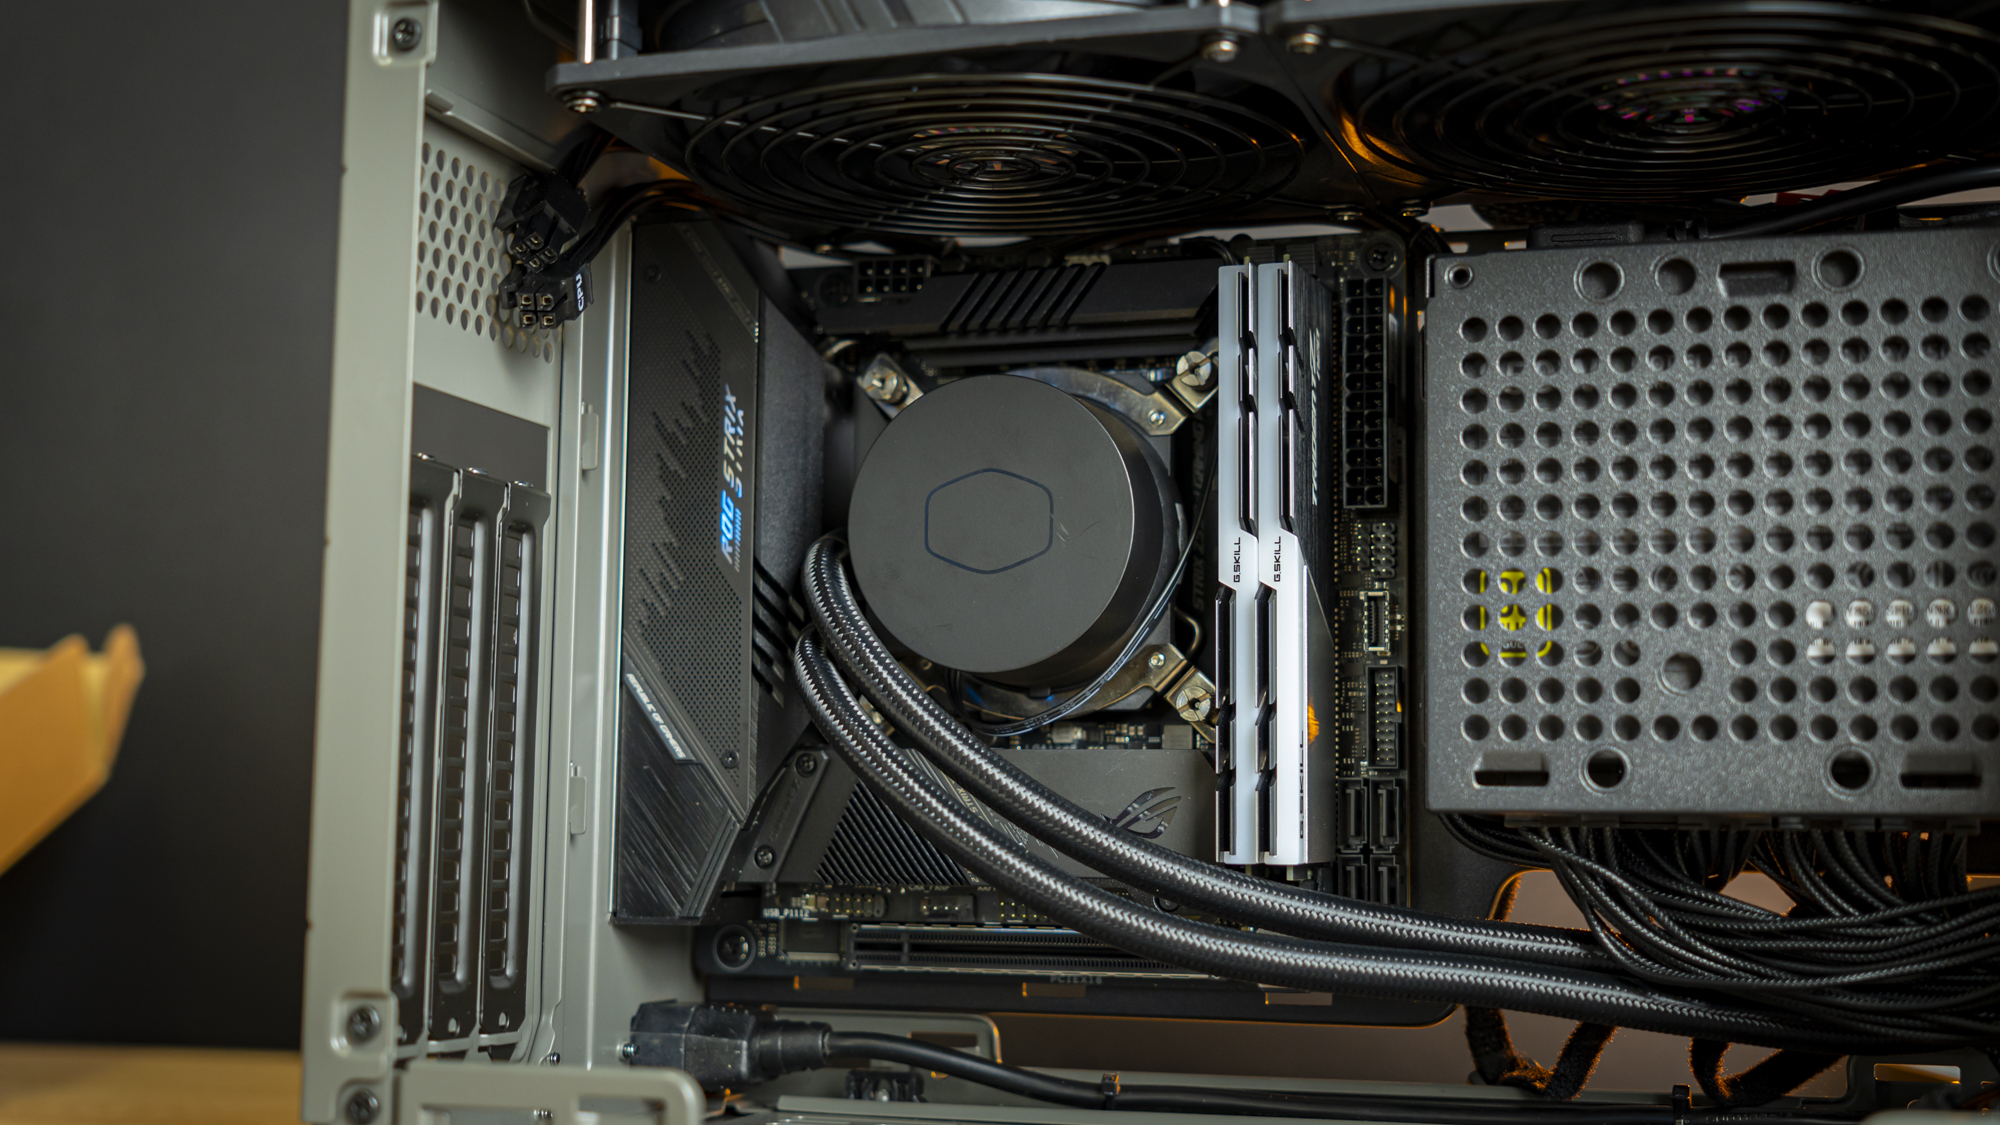
Then, I installed the AIO’s CPU block. First, I had to mount the brackets onto the pump to adapt it to the LGA1200 socket, then I placed the mounting bracket behind the socket and secured the lot into place. The only bummer I found in this whole process was that the pump cover had a couple scuffs on it, from the factory. A bit of a shame, but no big deal. Also, the 3-pin cable was a bit difficult to plug in at the top of the motherboard.
One of These Again?
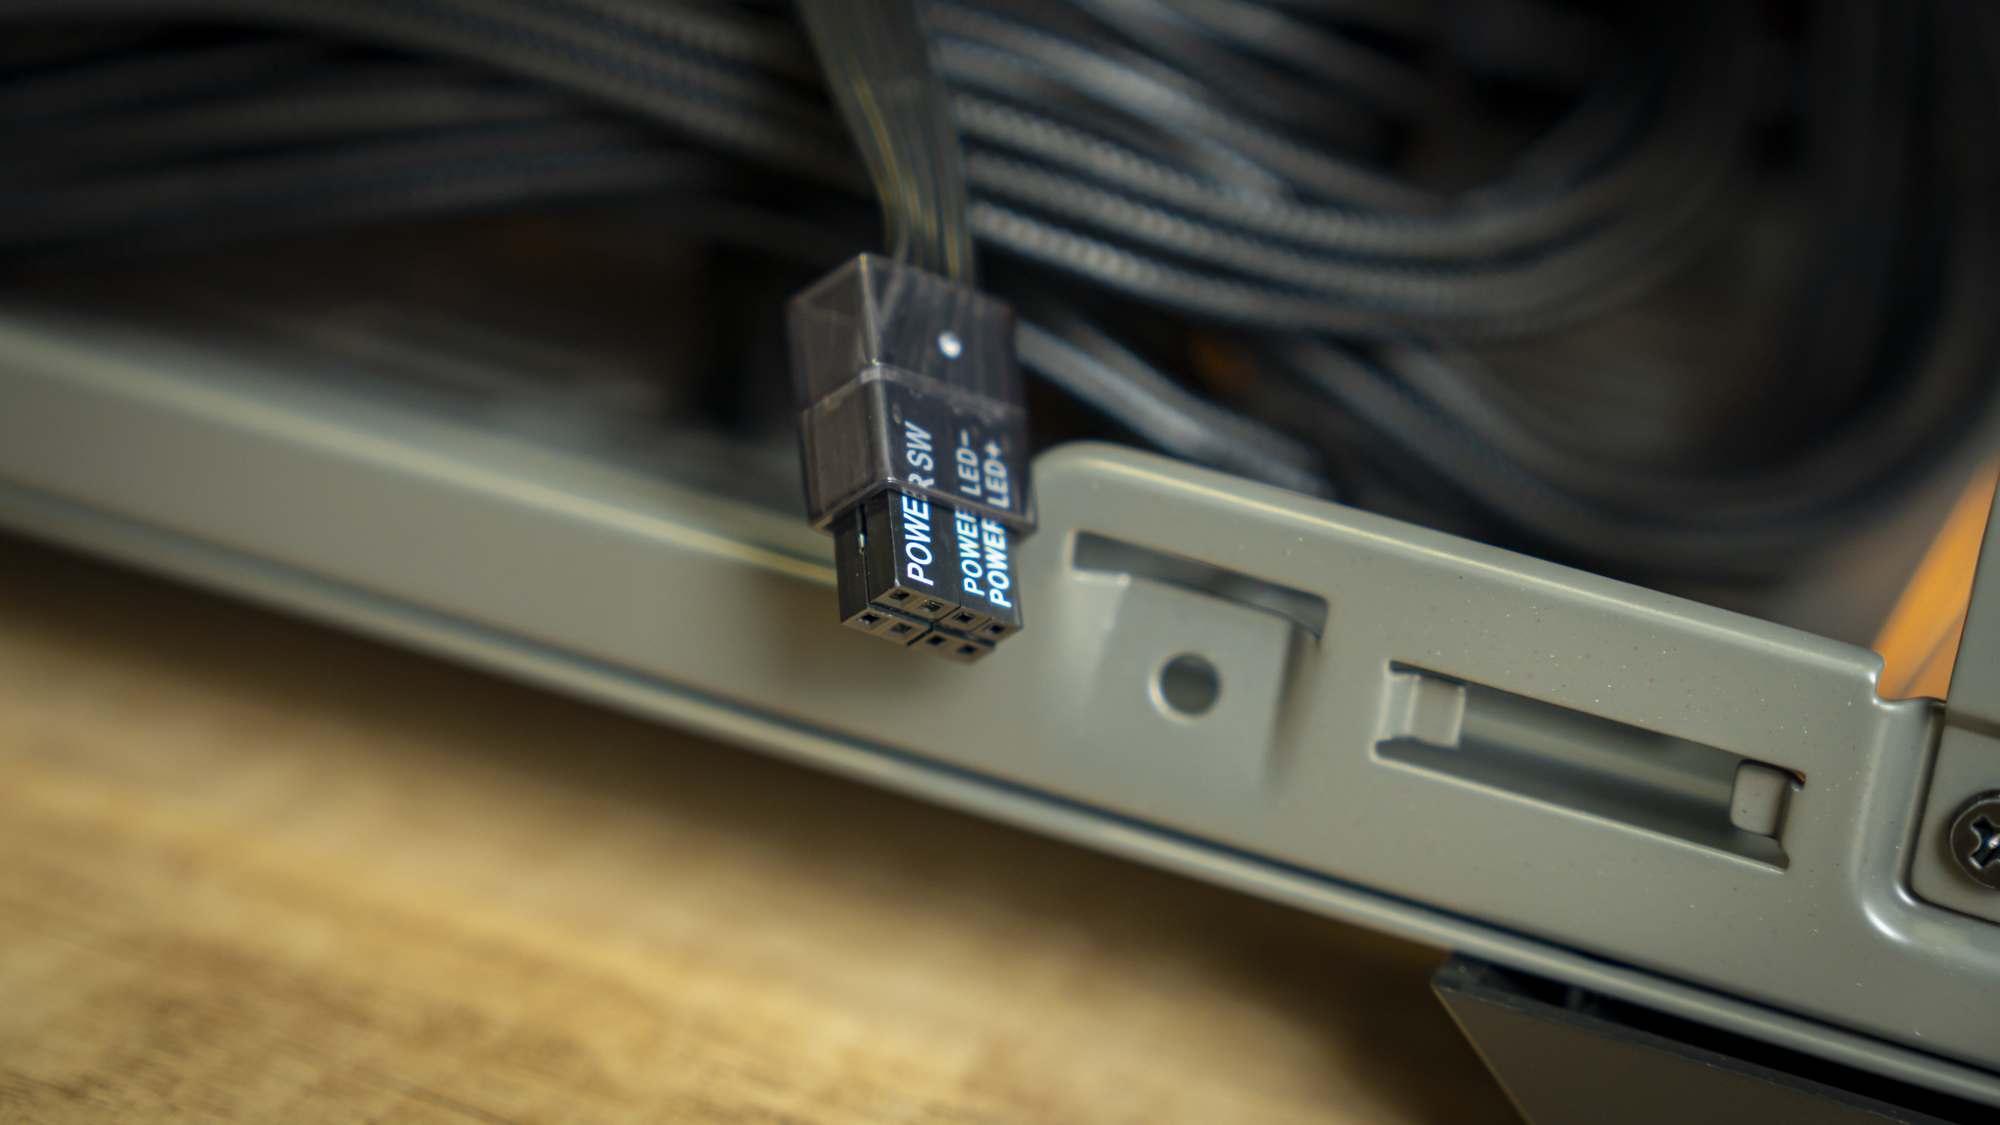
I first saw the combined front-panel connectors on Hyte’s Revolt 3 chassis just earlier this week, and low and behold, Cooler Master has done the same! This might be new to me, but it’s a great way of saving time and especially in a case this crammed, such a lifesaver: Connecting each of the tiny connectors would have been a major pain point in the build process. I want this on every case.
Step 3: Cable Management
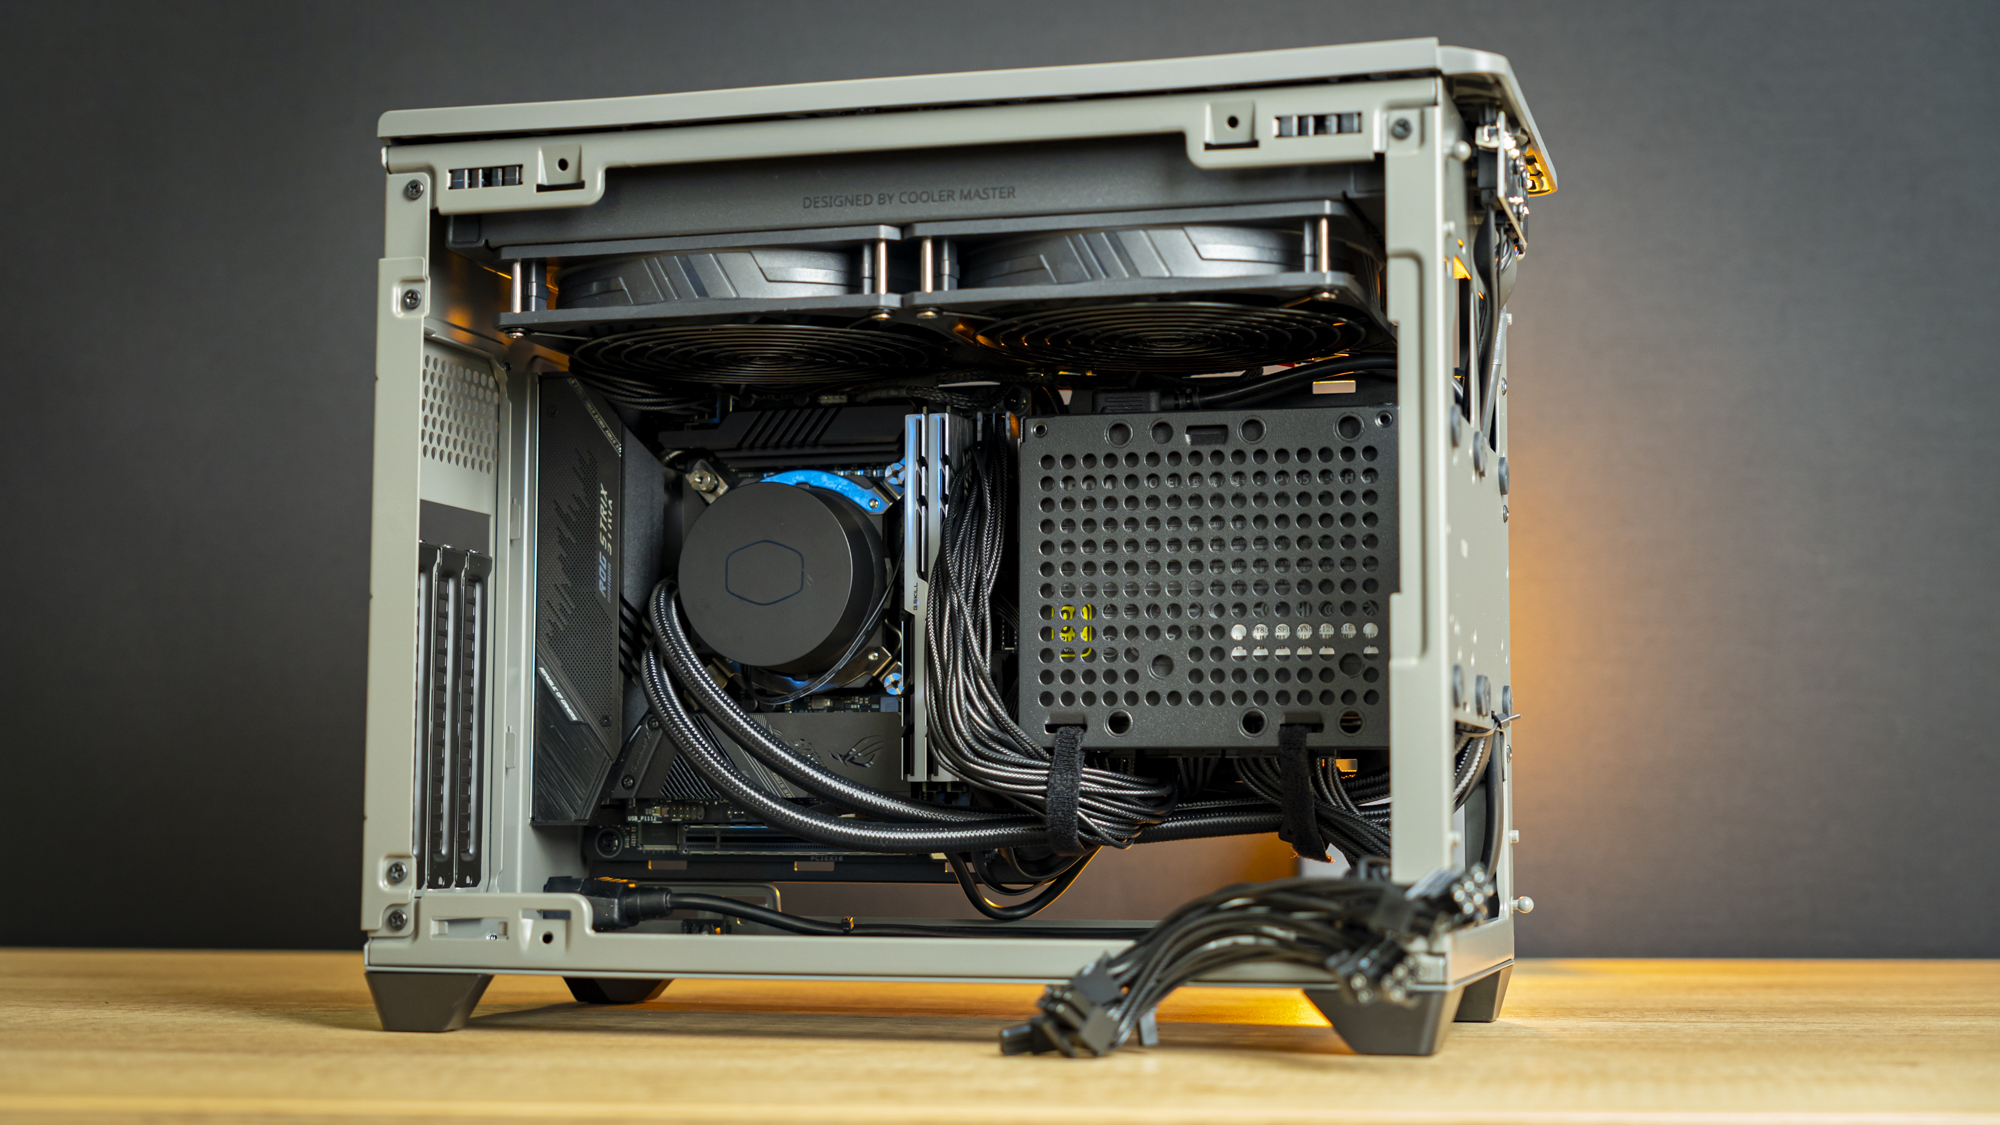
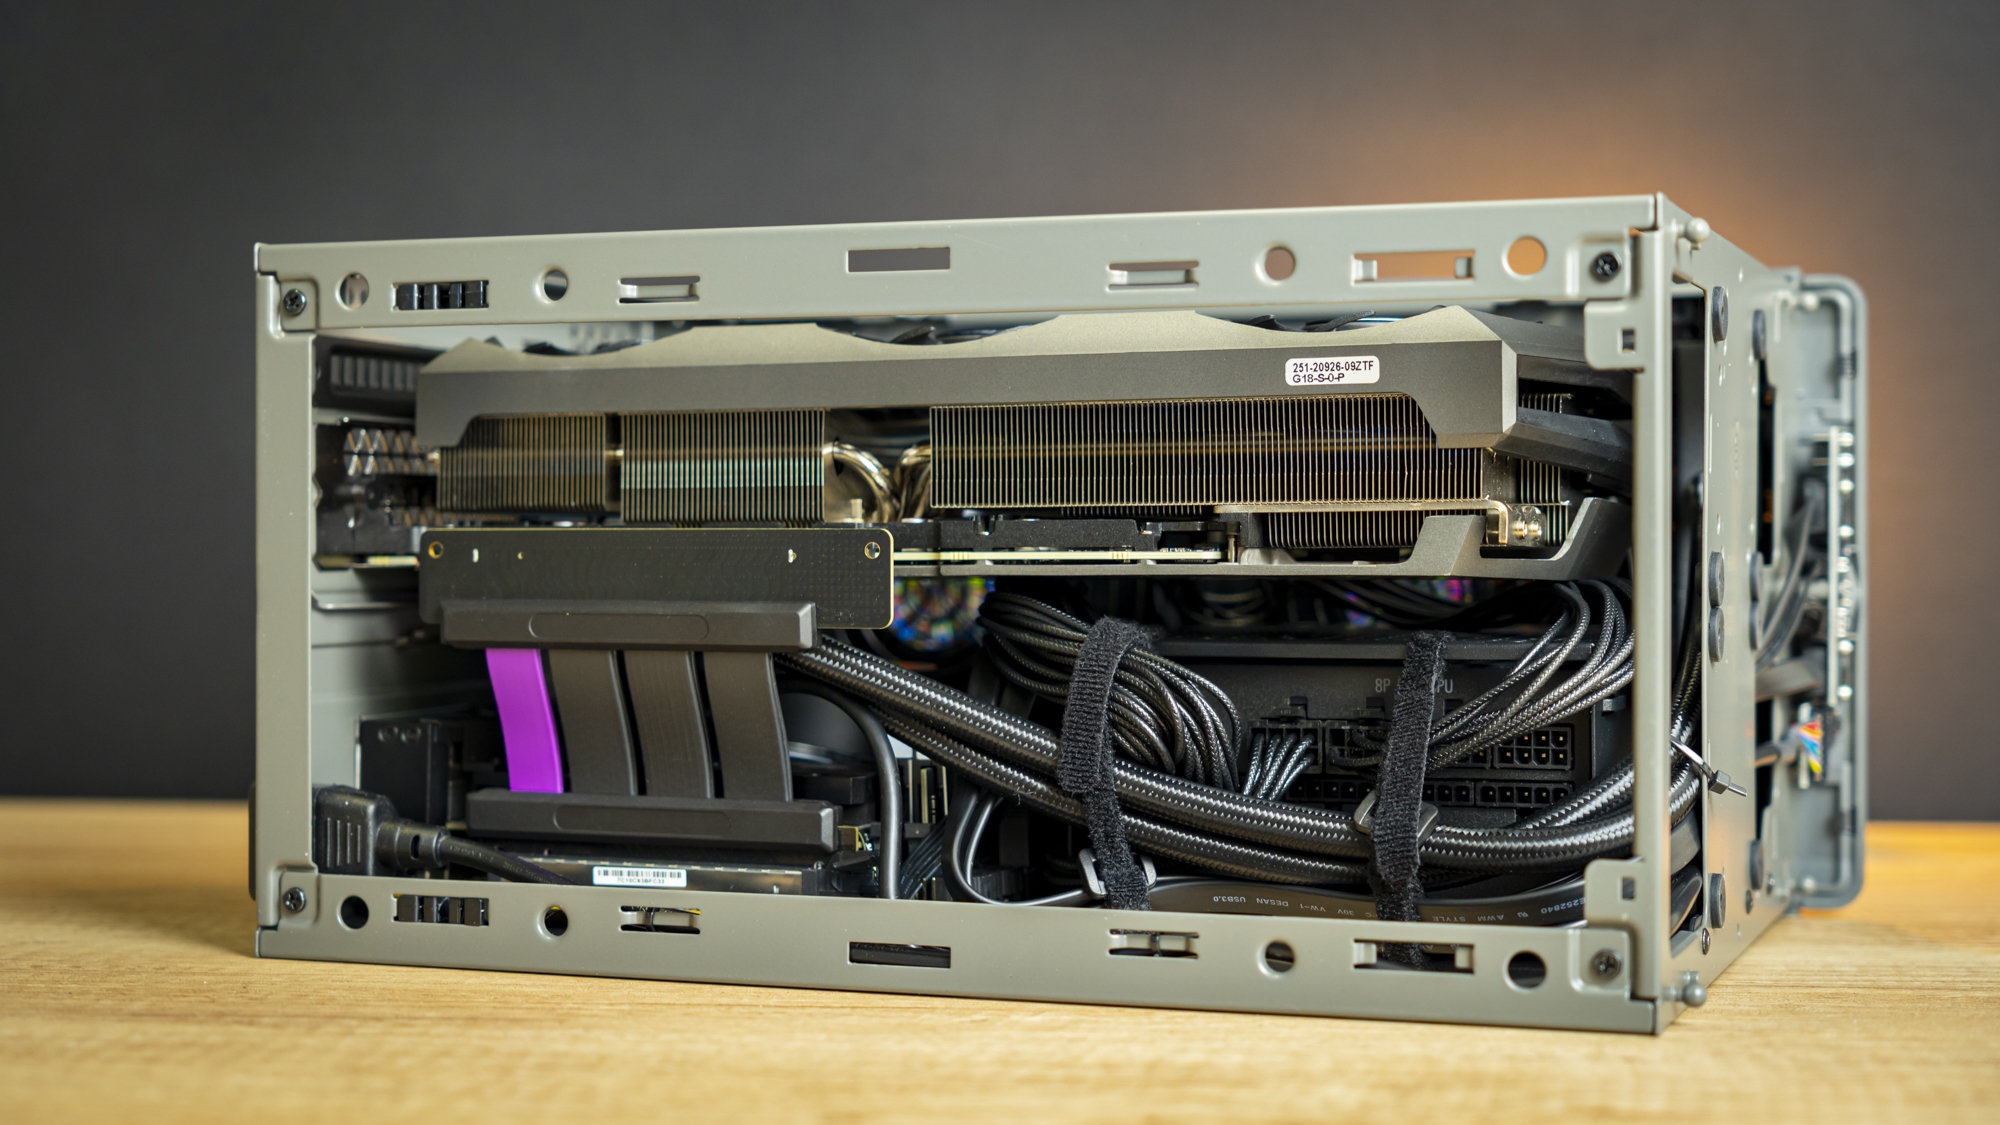
Next, it was time to do up all the cables. The only thing after that would be to install the GPU, which basically covers everything. So, I connected up all the power and IO cables, removed excess cabling (SATA and an extra PCIe power cable), and tucked them all into the designated Velcro straps. I’m actually impressed with the cable management here – for an ITX case, it’s eerily tidy. Well done, Cooler Master.
Step 4: GPU Installation
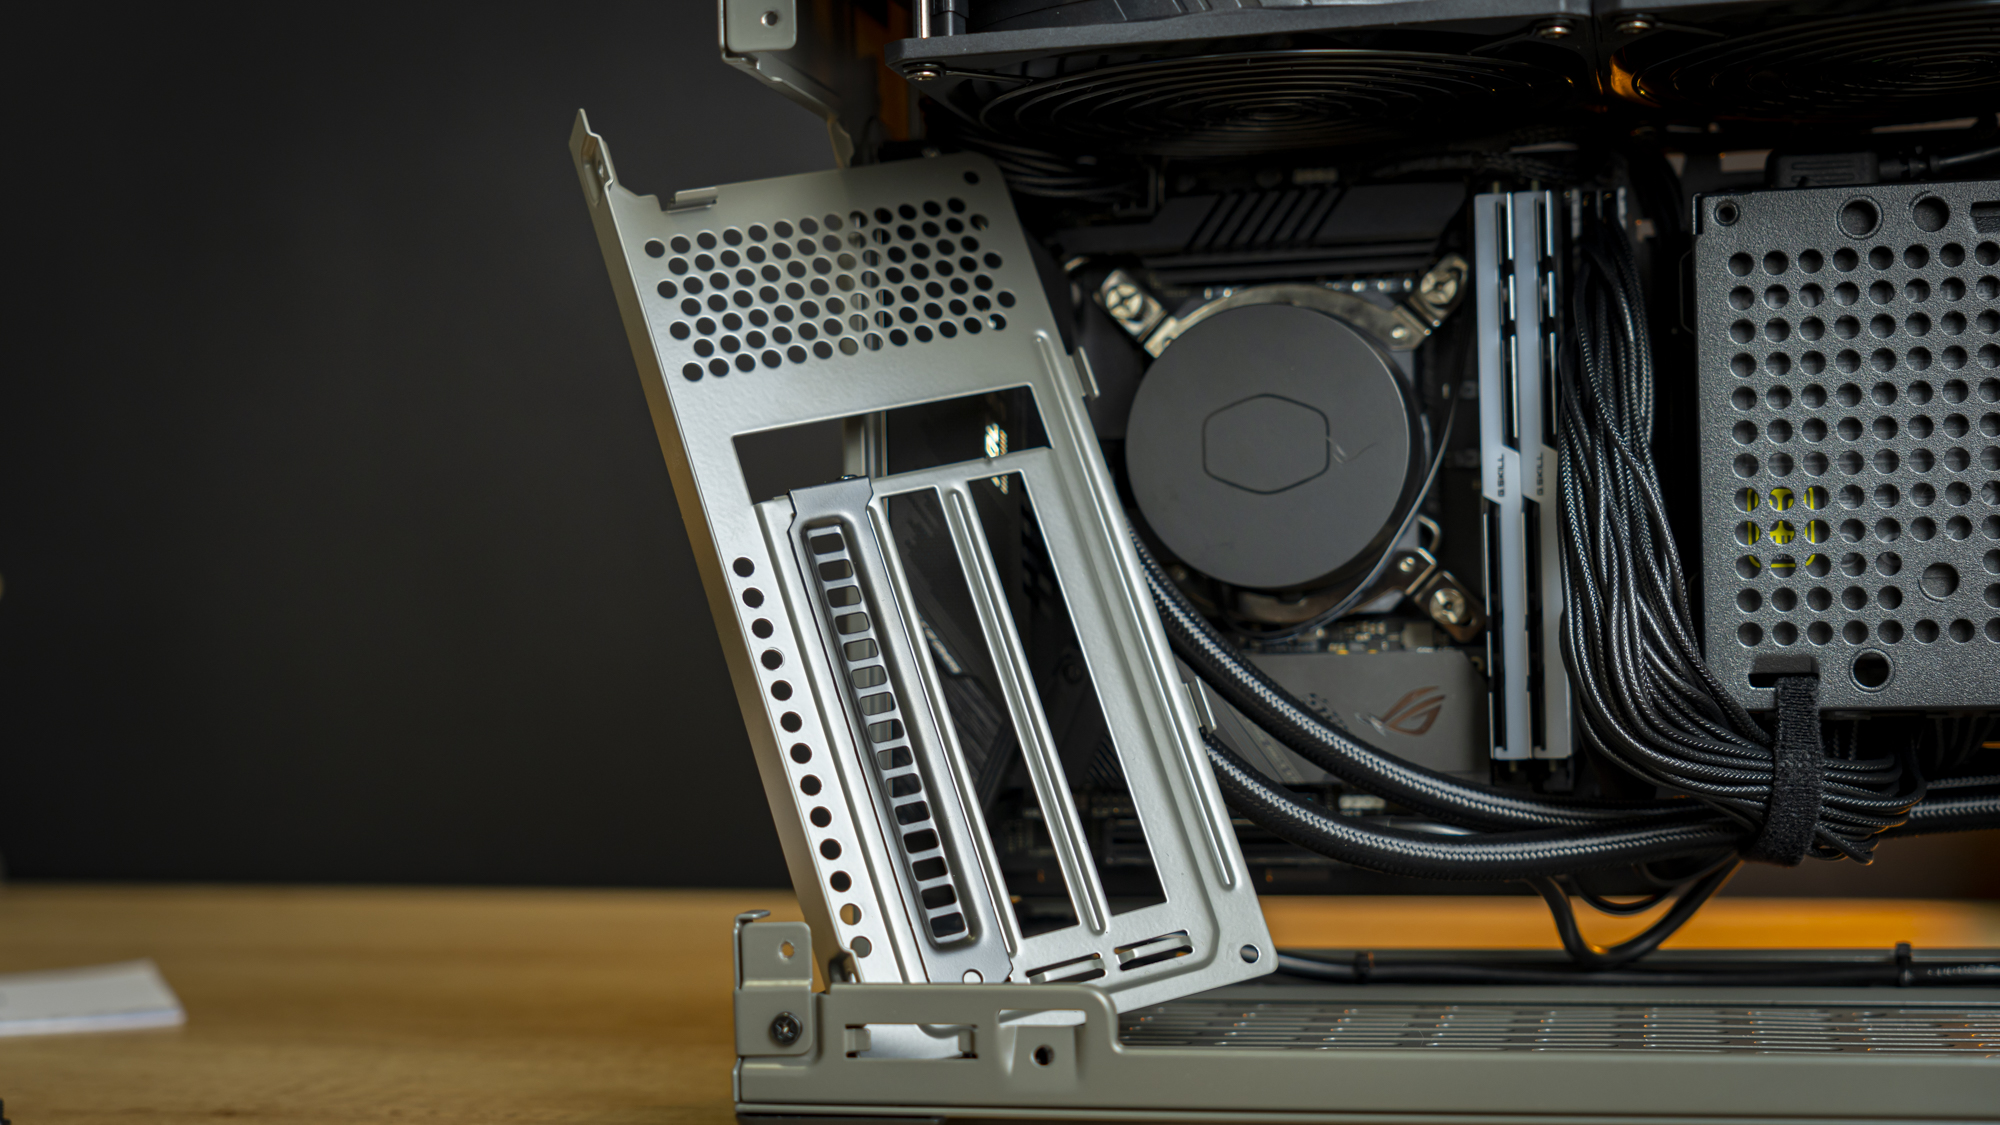
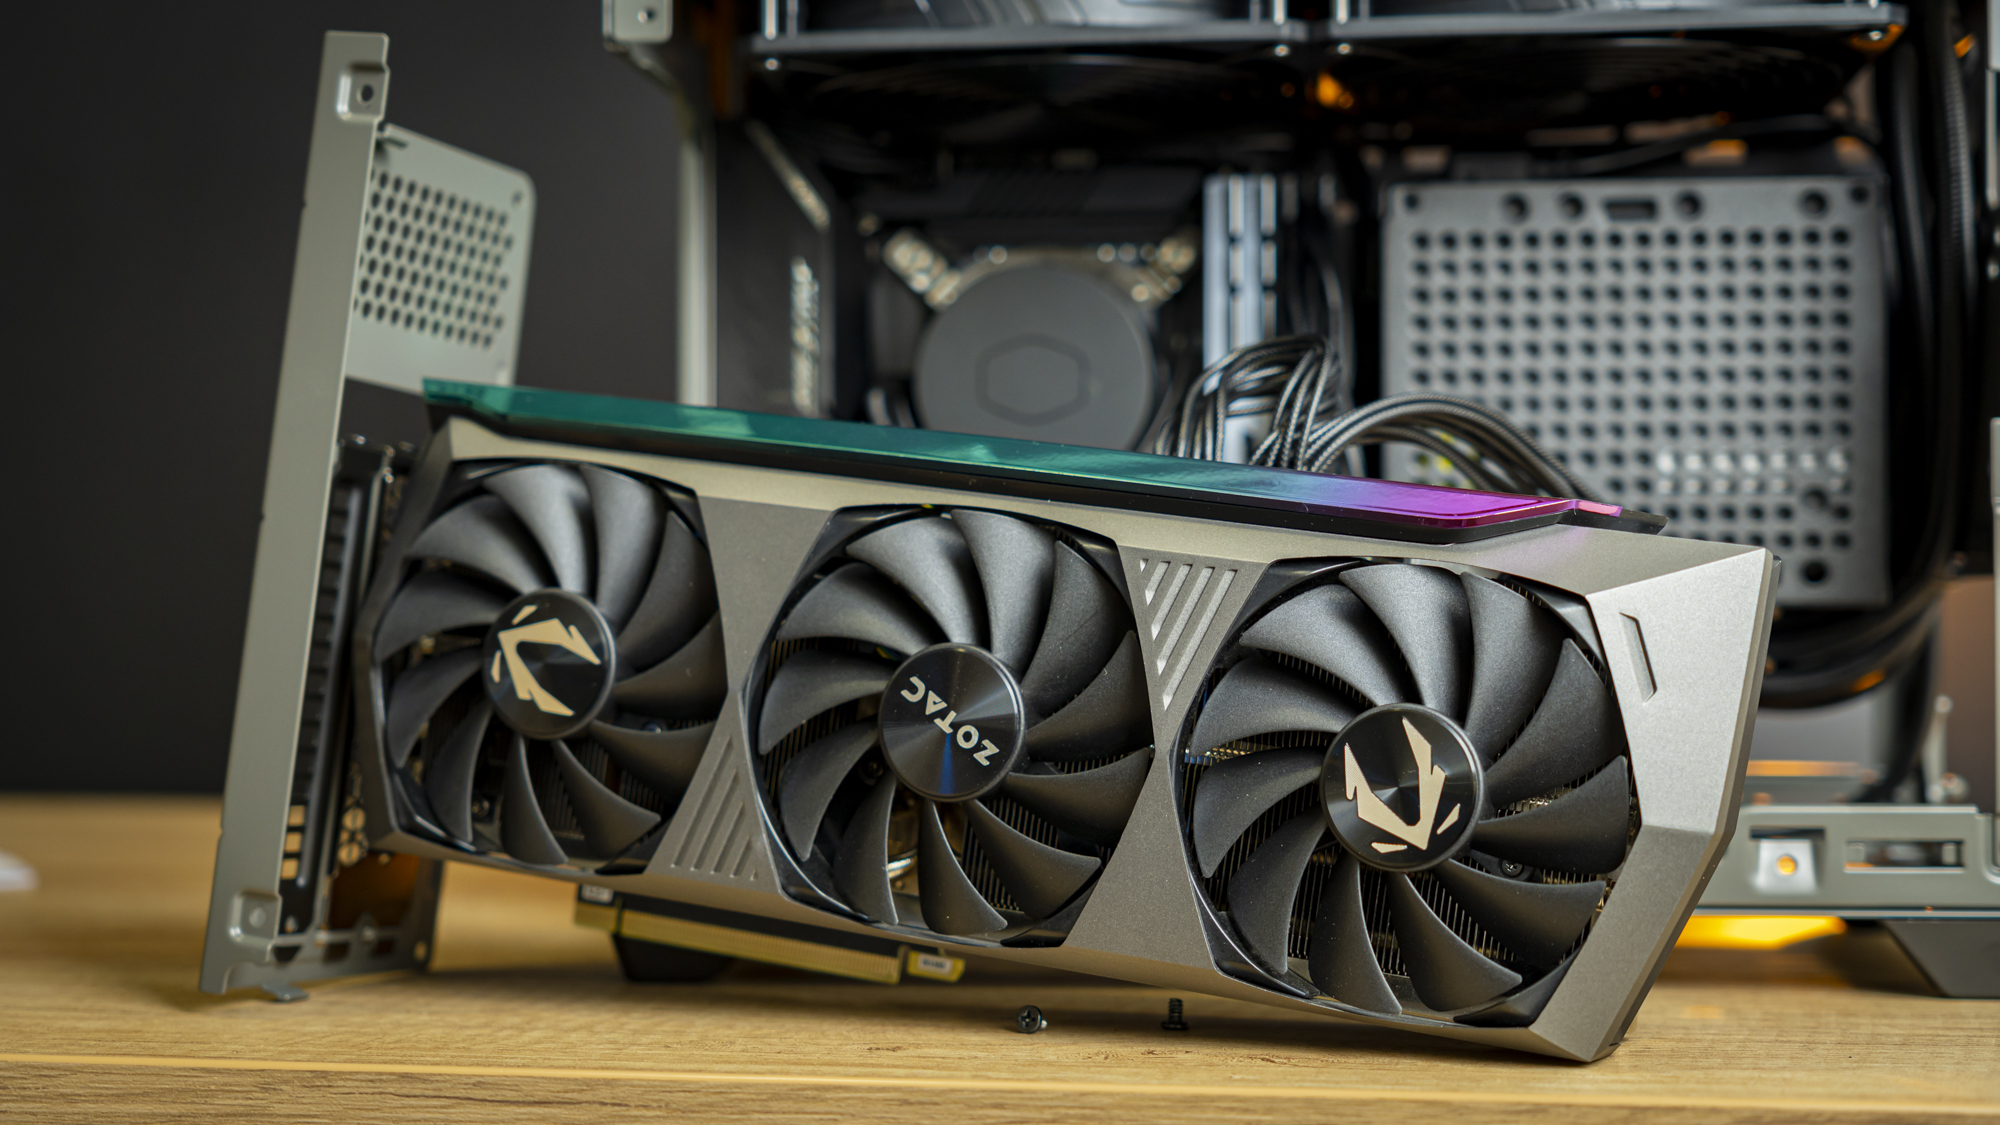
Next, it was time to tend to the graphics card. Now, you can install the GPU straight into the case. But because I’m using one of those absurdly big RTX 3080 Ti cards, for the purposes of illustration I’m removing the expansion slot plate for this part.
Get Tom's Hardware's best news and in-depth reviews, straight to your inbox.
That brings up one of the other nice things about the case: The plates of the internal structure are held together by Phillips-head screws. So if you need to remove something to ease installation, or you just want to for the sake of painting or some more extreme modding, taking the case apart is fairly easy.
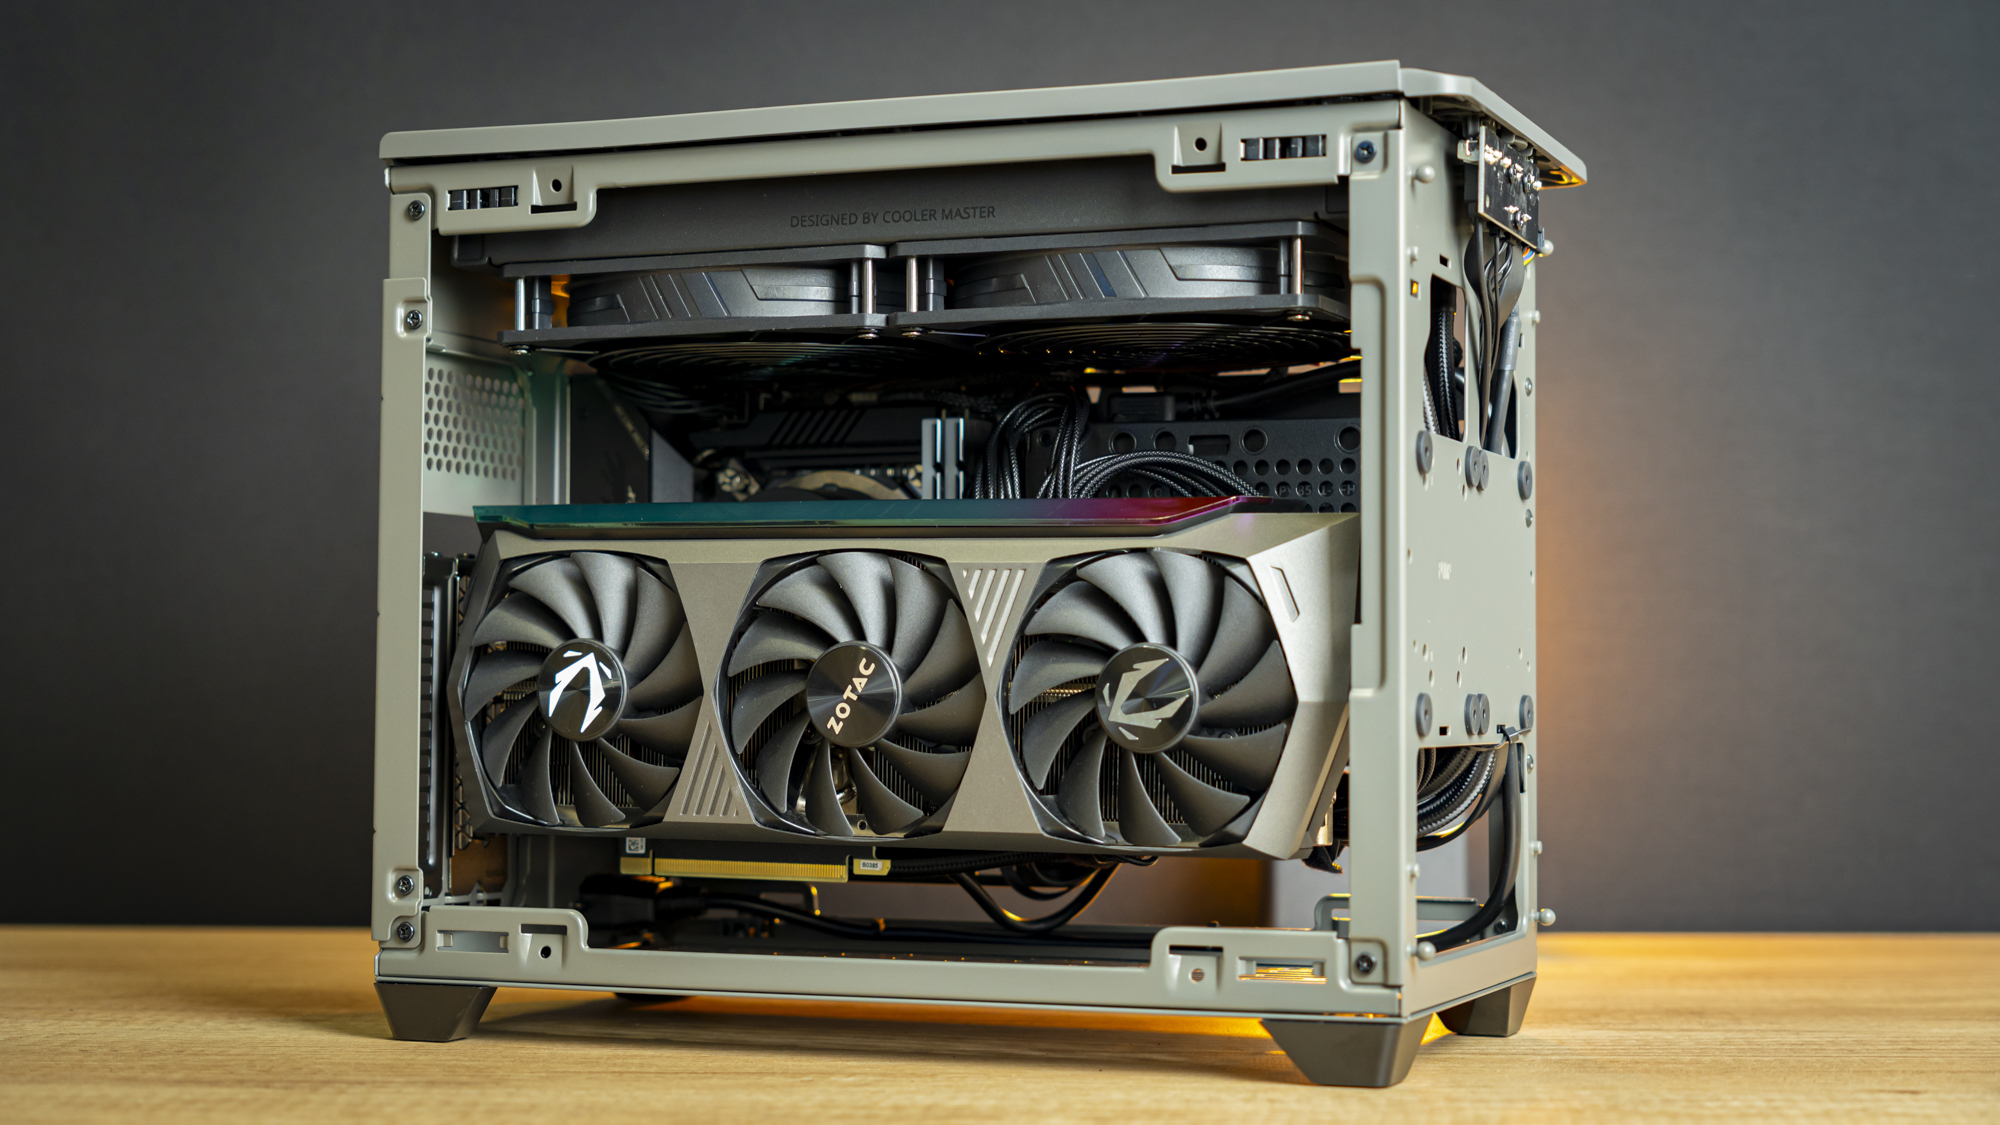
The GPU installs right onto the expansion slot plate, and then installs easily into the case. This is also an easy way to connect the PCIe power cables.
But, there is one step remaining – see the naked PCIe x16 connector at the bottom? I’m not sure why, but Cooler Master recommends that you remove the bottom of the case after installing the GPU, to install the riser cable. I’ve done that for the purposes of illustration. But even with the massive 3080 Ti here, it was fairly easy to install the riser cable first, then the GPU, without having to open up the bottom of the case.
It takes just one screw at the back, and the entire bottom slips right off, giving clean access into the NR200P Max’s belly. From here, installing the riser cable was a snap.
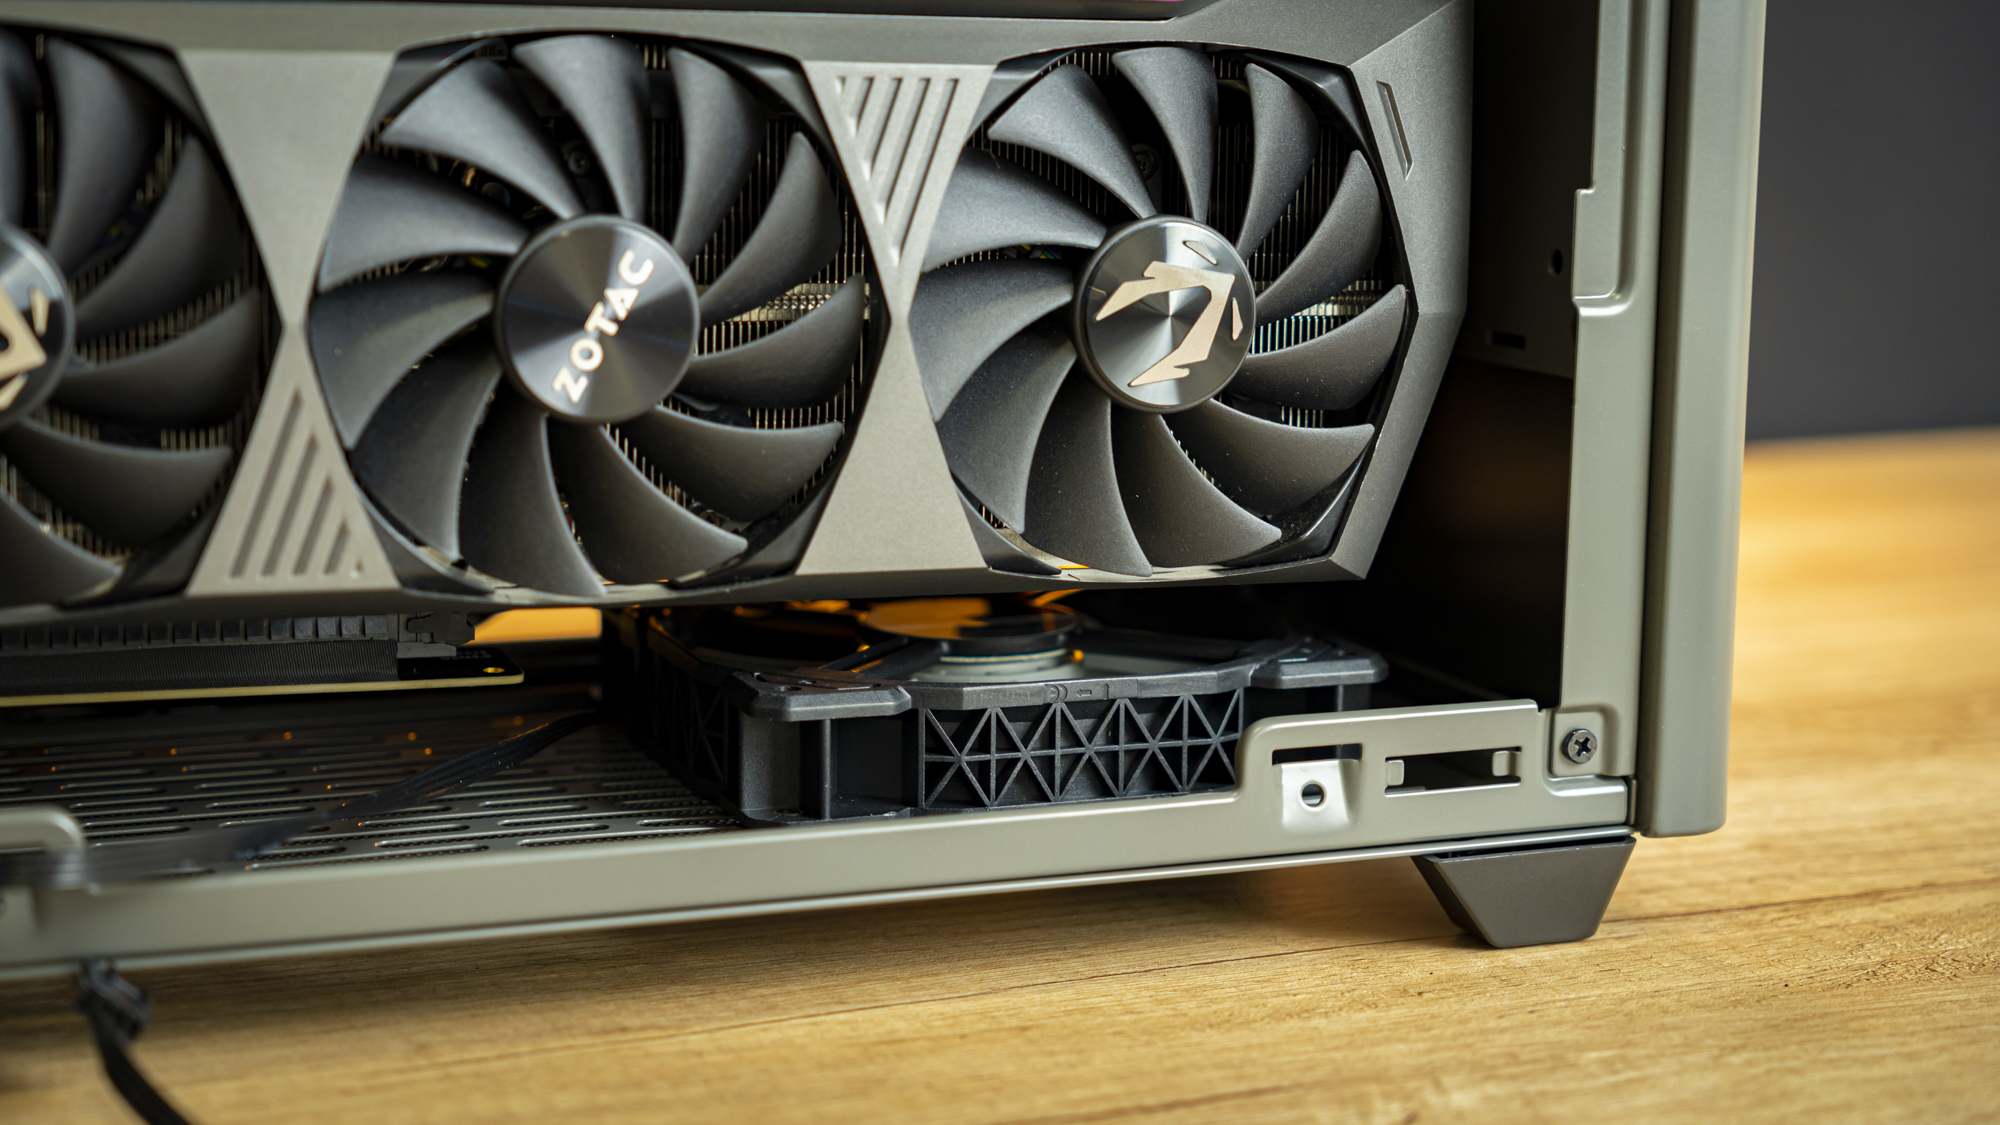
You’ll spot that there is room for a standard 120mm fan underneath the graphics card, but only a 15mm thick spinner underneath the riser cable.
Build Complete
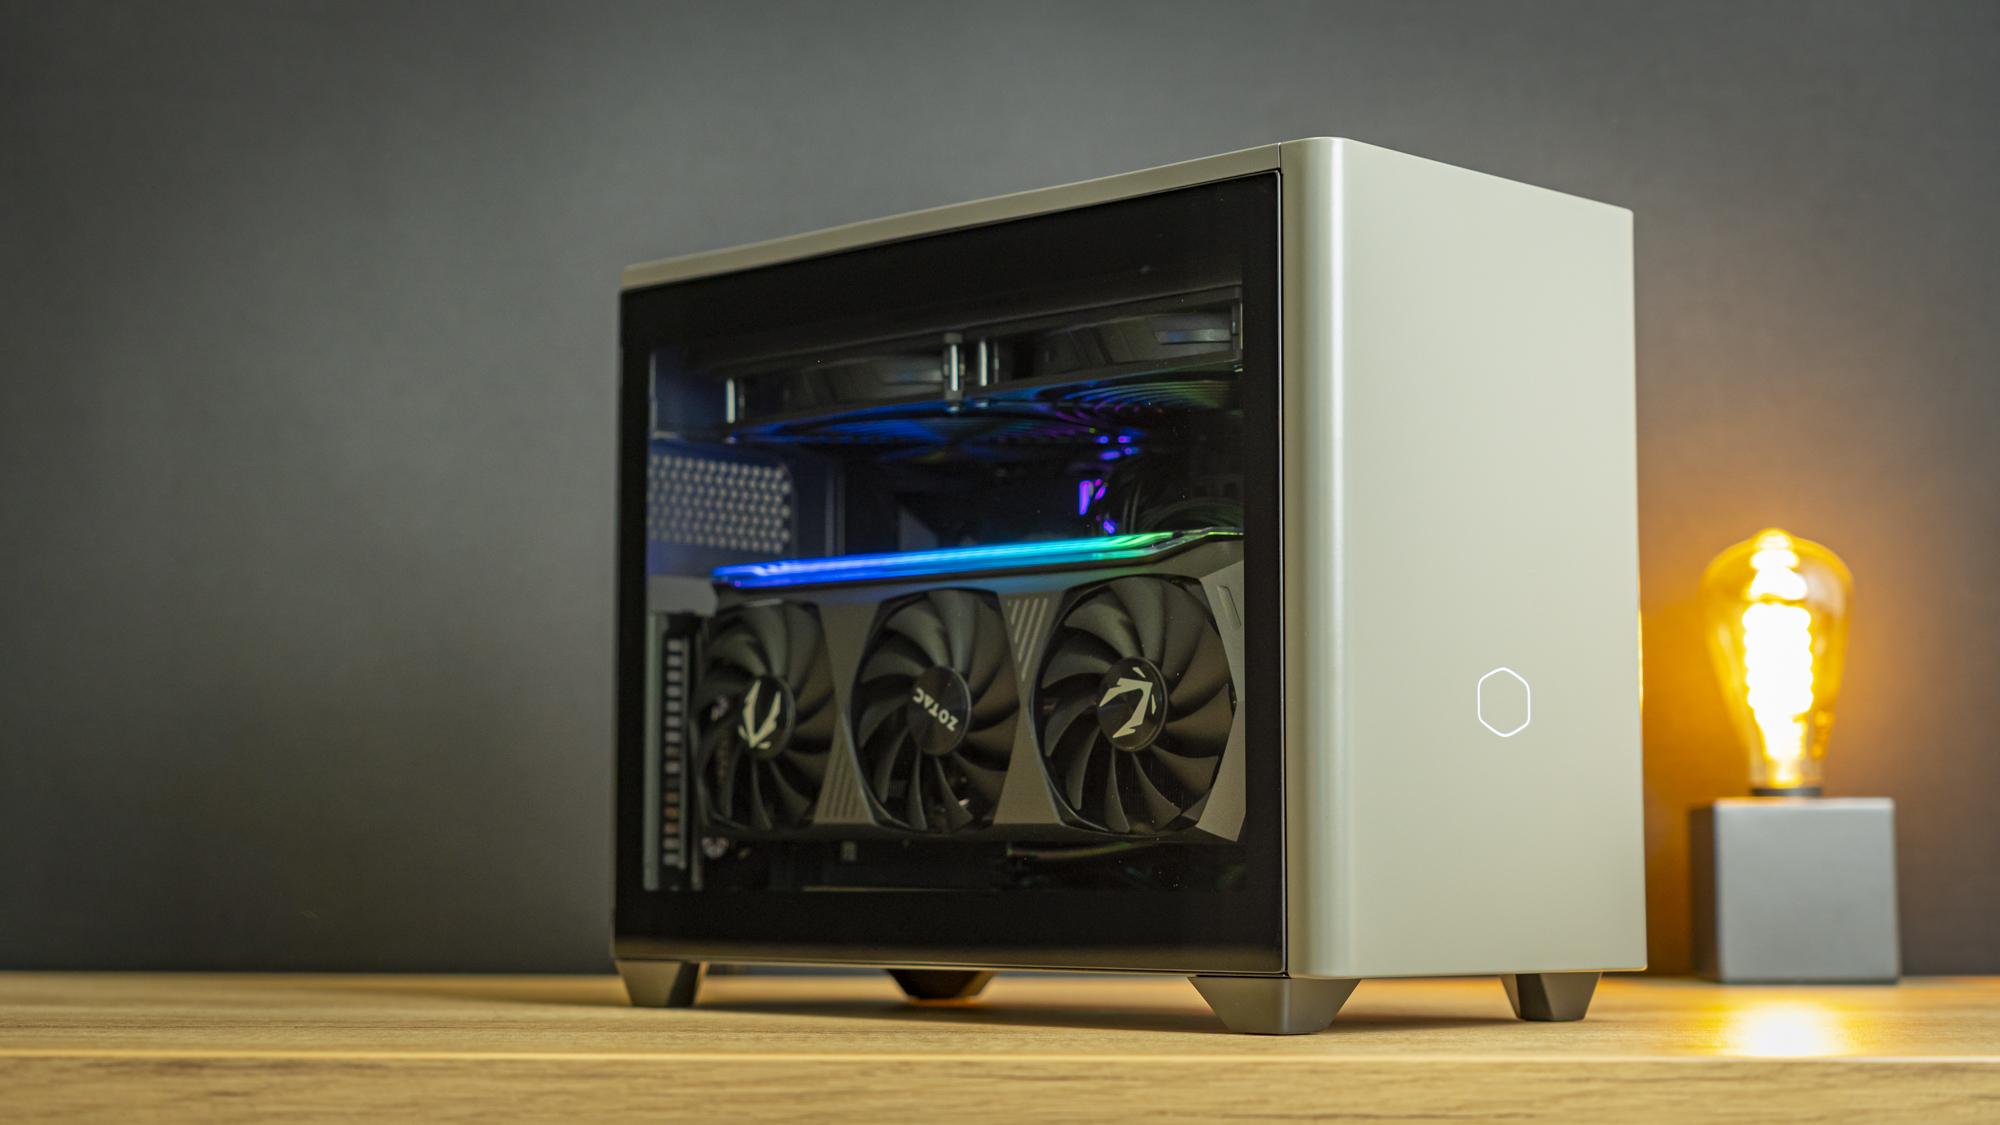
With that done, the build is complete. I gave the system a quick test run to make sure everything worked and then slapped all the paneling back on, of course using the glass panel for your viewing pleasure.
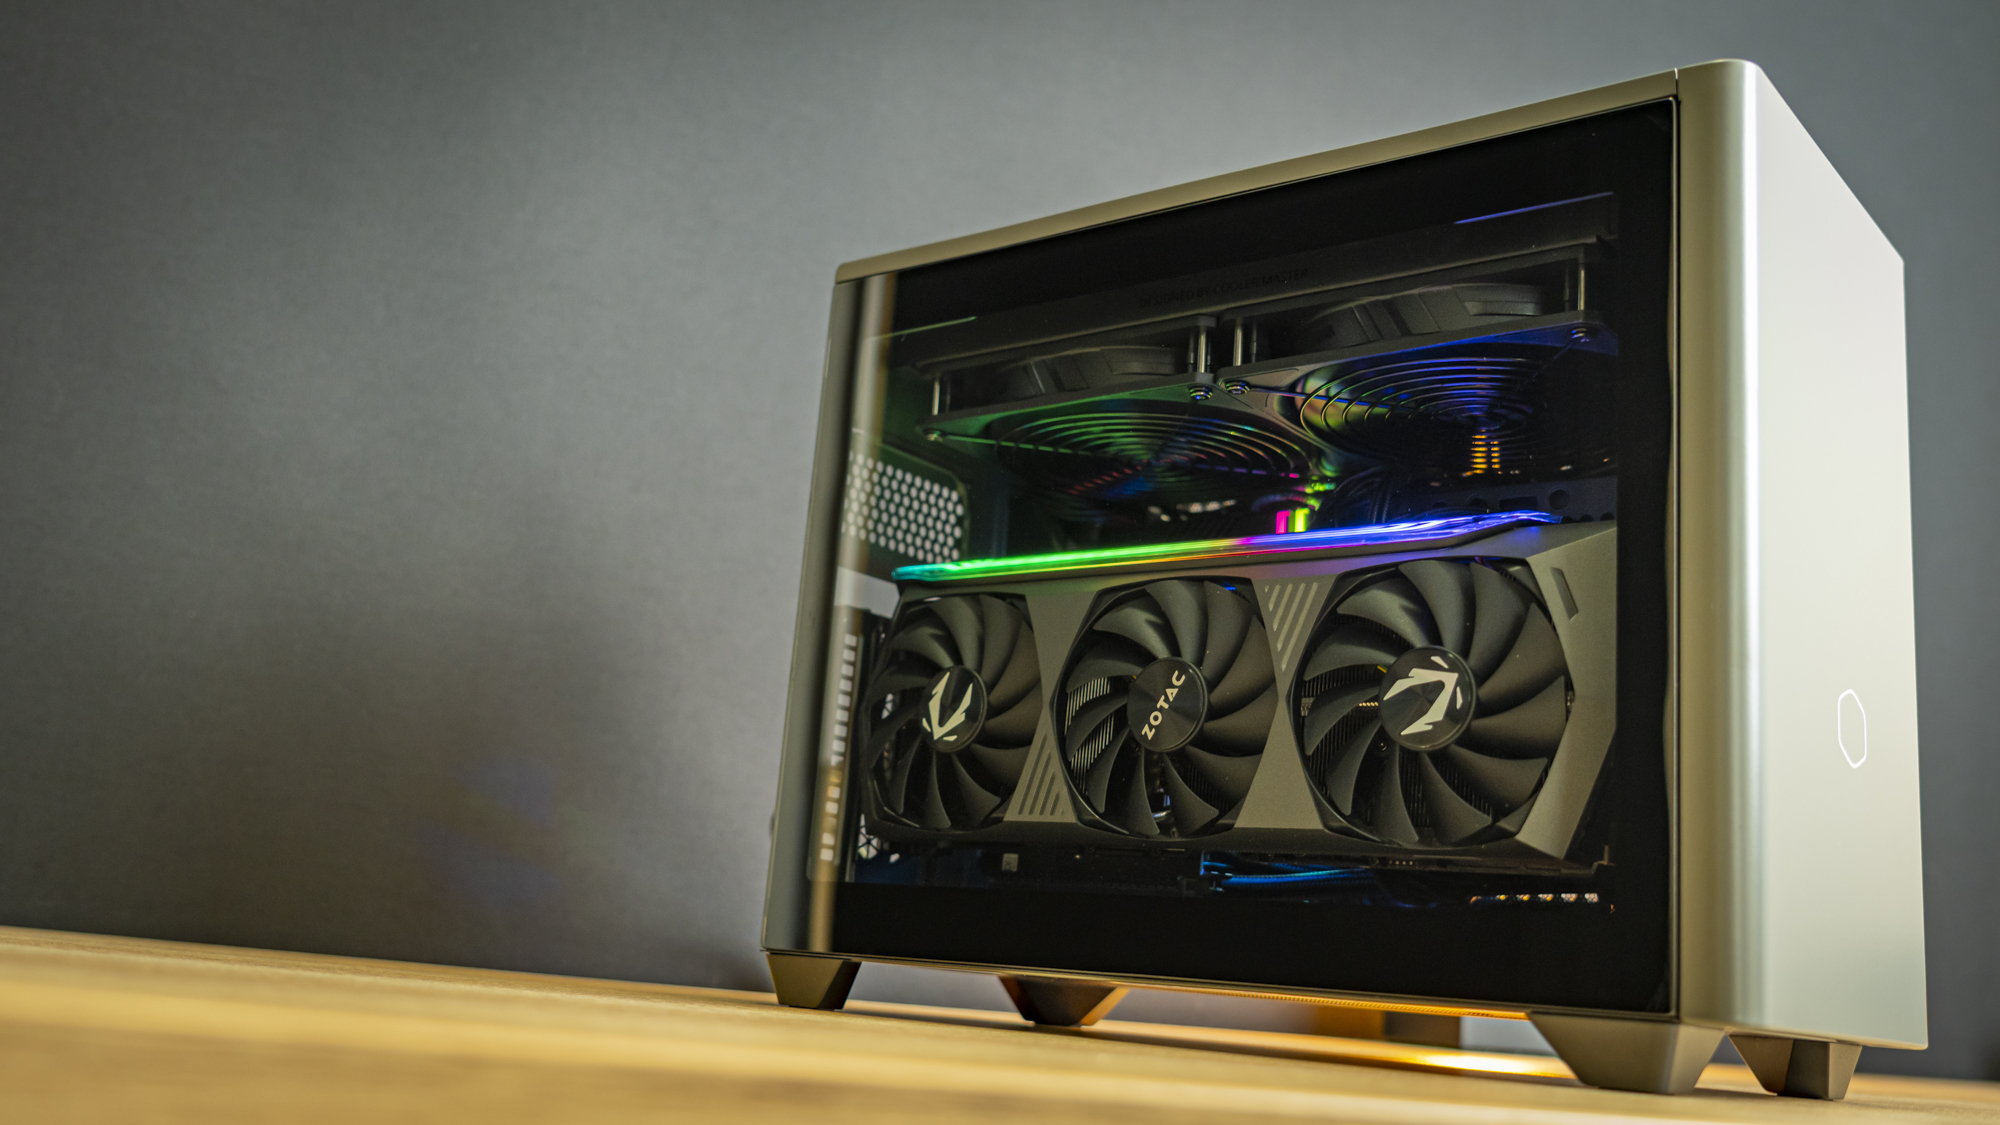
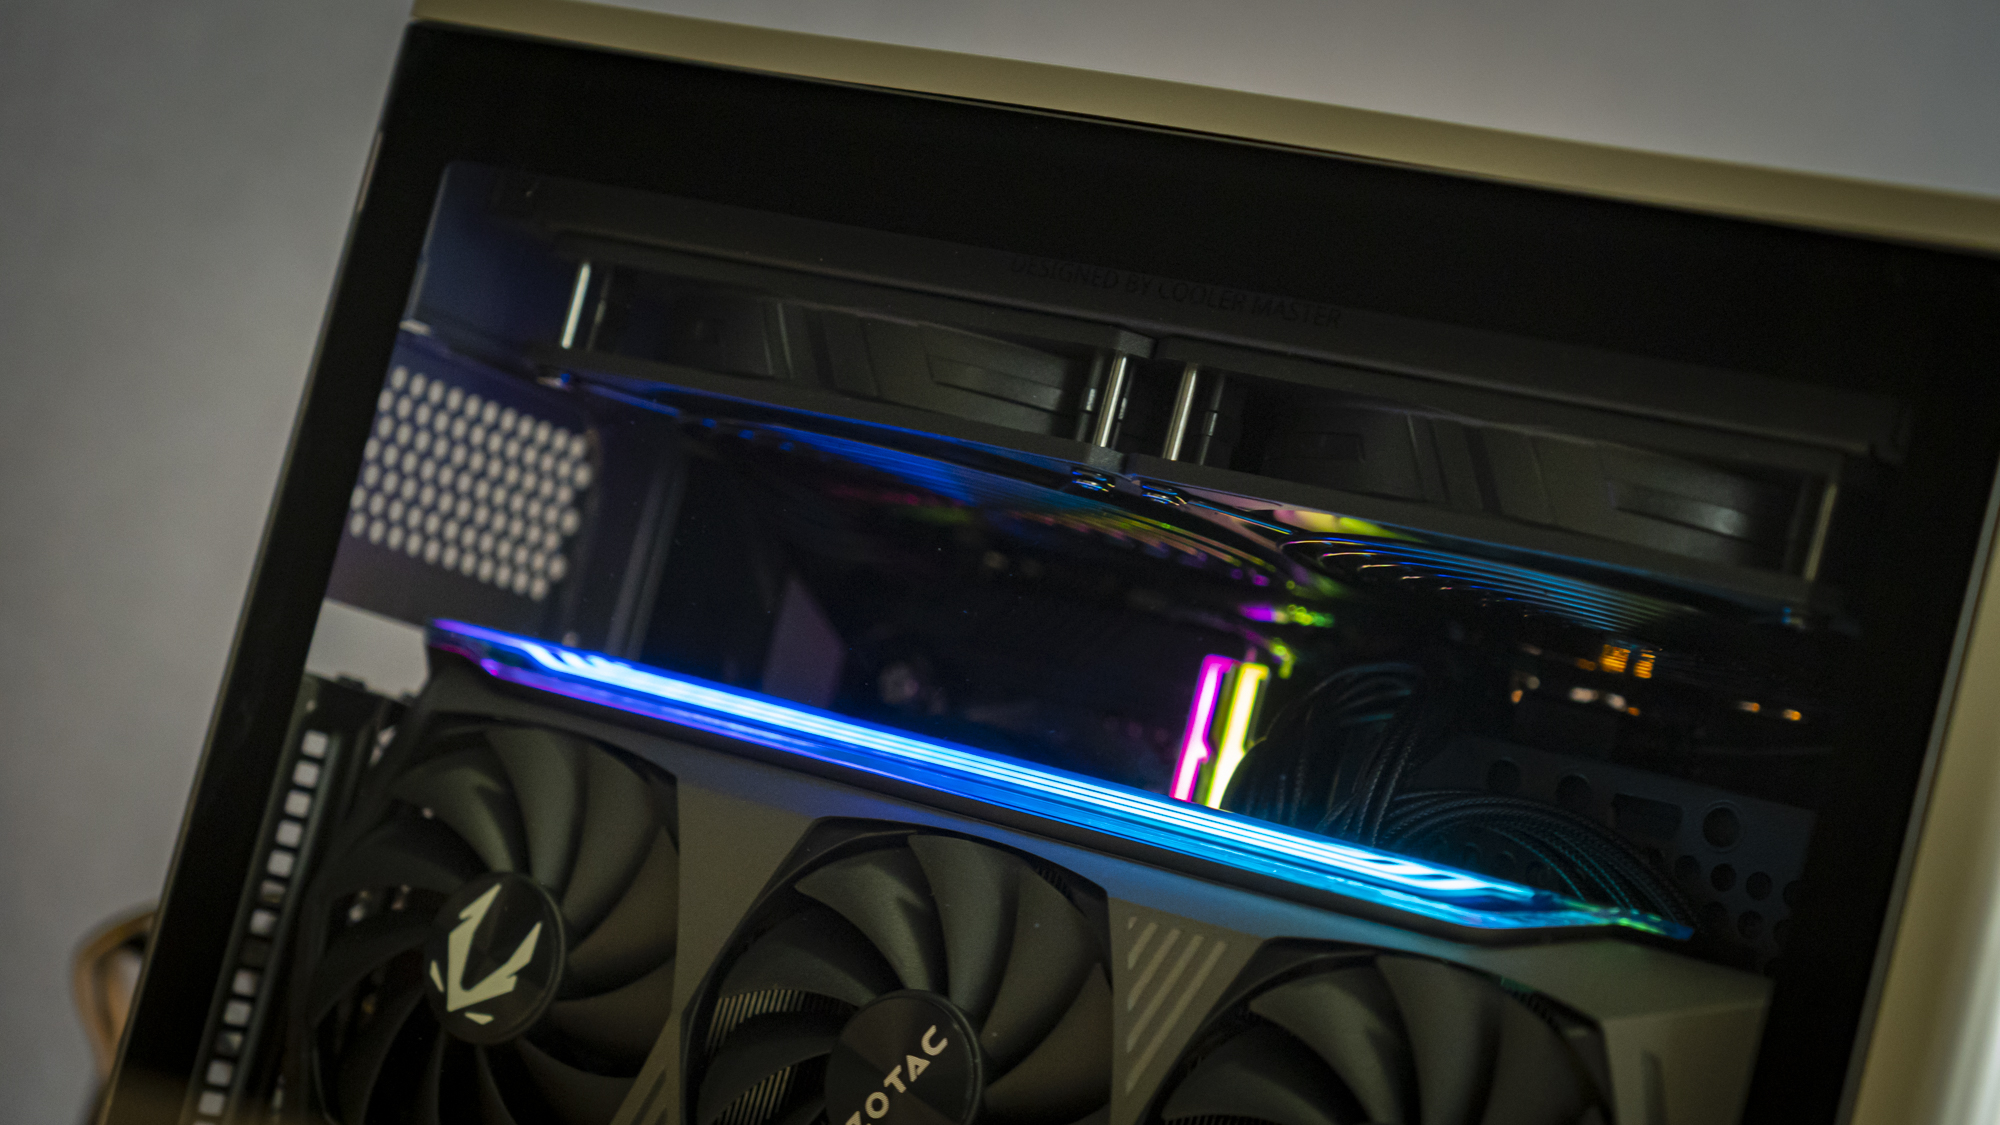
Alright, I admit, with the glass panel things just got a whole lot less boring. This isn’t going to help cooling one bit, but I’m liking what I see a lot more now.
All things considered, building a system in the NR200P wasn’t particularly difficult, just a little time consuming. Even though the AIO and PSU come pre-installed, with all the cables and tubing pre-routed, I took longer to install a system in here than in the Hyte Revolt 3 or Louqe Raw S1 – likely because it’s a bit cramped. But, I still managed within about 2.5 hours including photographing my steps along the way, which is nothing to complain about, especially if you consider the hardware that’s in here, packed into a volume of just 18.3 Liters.
Time for testing.
Current page: Hardware Installation
Prev Page Features and Specifications Next Page Testing and ConclusionNiels Broekhuijsen is a Contributing Writer for Tom's Hardware US. He reviews cases, water cooling and pc builds.
-
helper800 How am I supposed to pick an ITX case for my next build when there are so many options? The NR200p was already on the list, but the max comes with a preinstalled and routed 280mm AIO and 850w PSU... That would probably take my build time from my usual 3-5 hours (because cables must be perfect) to 1.5-2.5. I guess it comes down to being able to live with a CM AIO and PSU. Their AIO's are typically pretty great, but their PSU are a cluster. When it releases I hope it comes with a modern designed CM PSU. Also, another potential negative would be having to potentially return all the parts if only 1 / 3 have any issues, which is rough to say the least...Reply -
rchris Nice upgrade from the original NR200, but I'm disappointed they didn't add a USB3 Type C connector. The lack of that makes it seem outdated and is the reason I passed on the original.Reply -
PapaCrazy Price is ridiculous. With original NR200s going for less than $100, this is an increase of over 300%. Not seeing what justifies the new price, particularly since this is a mass-produced steel case.Reply -
kaz_abdin ReplyPapaCrazy said:Price is ridiculous. With original NR200s going for less than $100, this is an increase of over 300%. Not seeing what justifies the new price, particularly since this is a mass-produced steel case.
Given that the package comes with not just the case but an SFX PSU, AIO and a decent PICe riser cable, the price is pretty fair. Now just hoping I can pick this up somewhere in the UK.. -
digitalgriffin Case $100Reply
280 aio $125
850w middle ground sfx pay $100
$325. Not bad considering. But cooler master doesn't make good psus. -
Pollopesca Curious if this will ever be available without the PSU/cooler. I’m always warry of ITX cases that force you into their coolers/PSU. It tells me the engineers likely designed the case solely around their parts, so a cooler or PSU by another MFG might not fit. This could potentially be a problem should they eventually fail. That aside, if you already have a decent cooler/PSU, then this adds no value.Reply
