


Burning The Bootable CD
After the boot loader has been extracted, the next step is to burn the CD. This works with any burning software that supports the creation of bootable CDs. We chose Nero Burning ROM 6.3.
After starting Nero, select CD-ROM (Boot) .
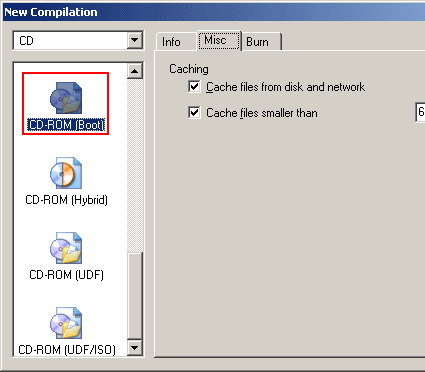
A bootable CD is selected as the project
Confirm the dialog box by clicking on on New . Next, in Nero Explorer, move the files from the directory C:\WIN_CD\CD to the CD root directory on the left-hand side.
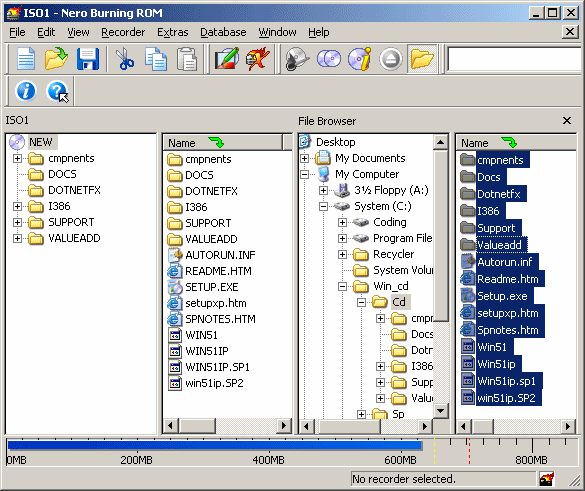
Just like a "normal" CD: the files are copied to the CD root directory
Click on the Burn button to open the Burn dialog. Here, you need to make some more important settings, otherwise the CD will not boot. The crucial settings are found in the Boot tab. The image file is selected by clicking on Browse ... . In the Open dialog box, make sure that File type is set to All Files , because our boot loader does not have the extension .IMA expected by Nero.
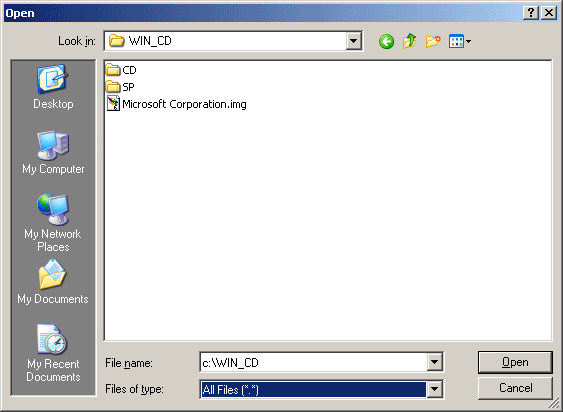
The image will only appear when All Files is selected