Tom's Hardware Verdict
The LDO Voron 0.1 is a super speedy kit printer that’s fun if you like building your own gear.
Pros
- +
Core XY
- +
Extremely fast
- +
Direct drive
- +
Dual gear extruder
- +
Quiet operation
- +
Customizable
- +
WiFi access
Cons
- -
No method for transferring files without WiFi
- -
Tiny
- -
Pricey
- -
Must build yourself
Why you can trust Tom's Hardware
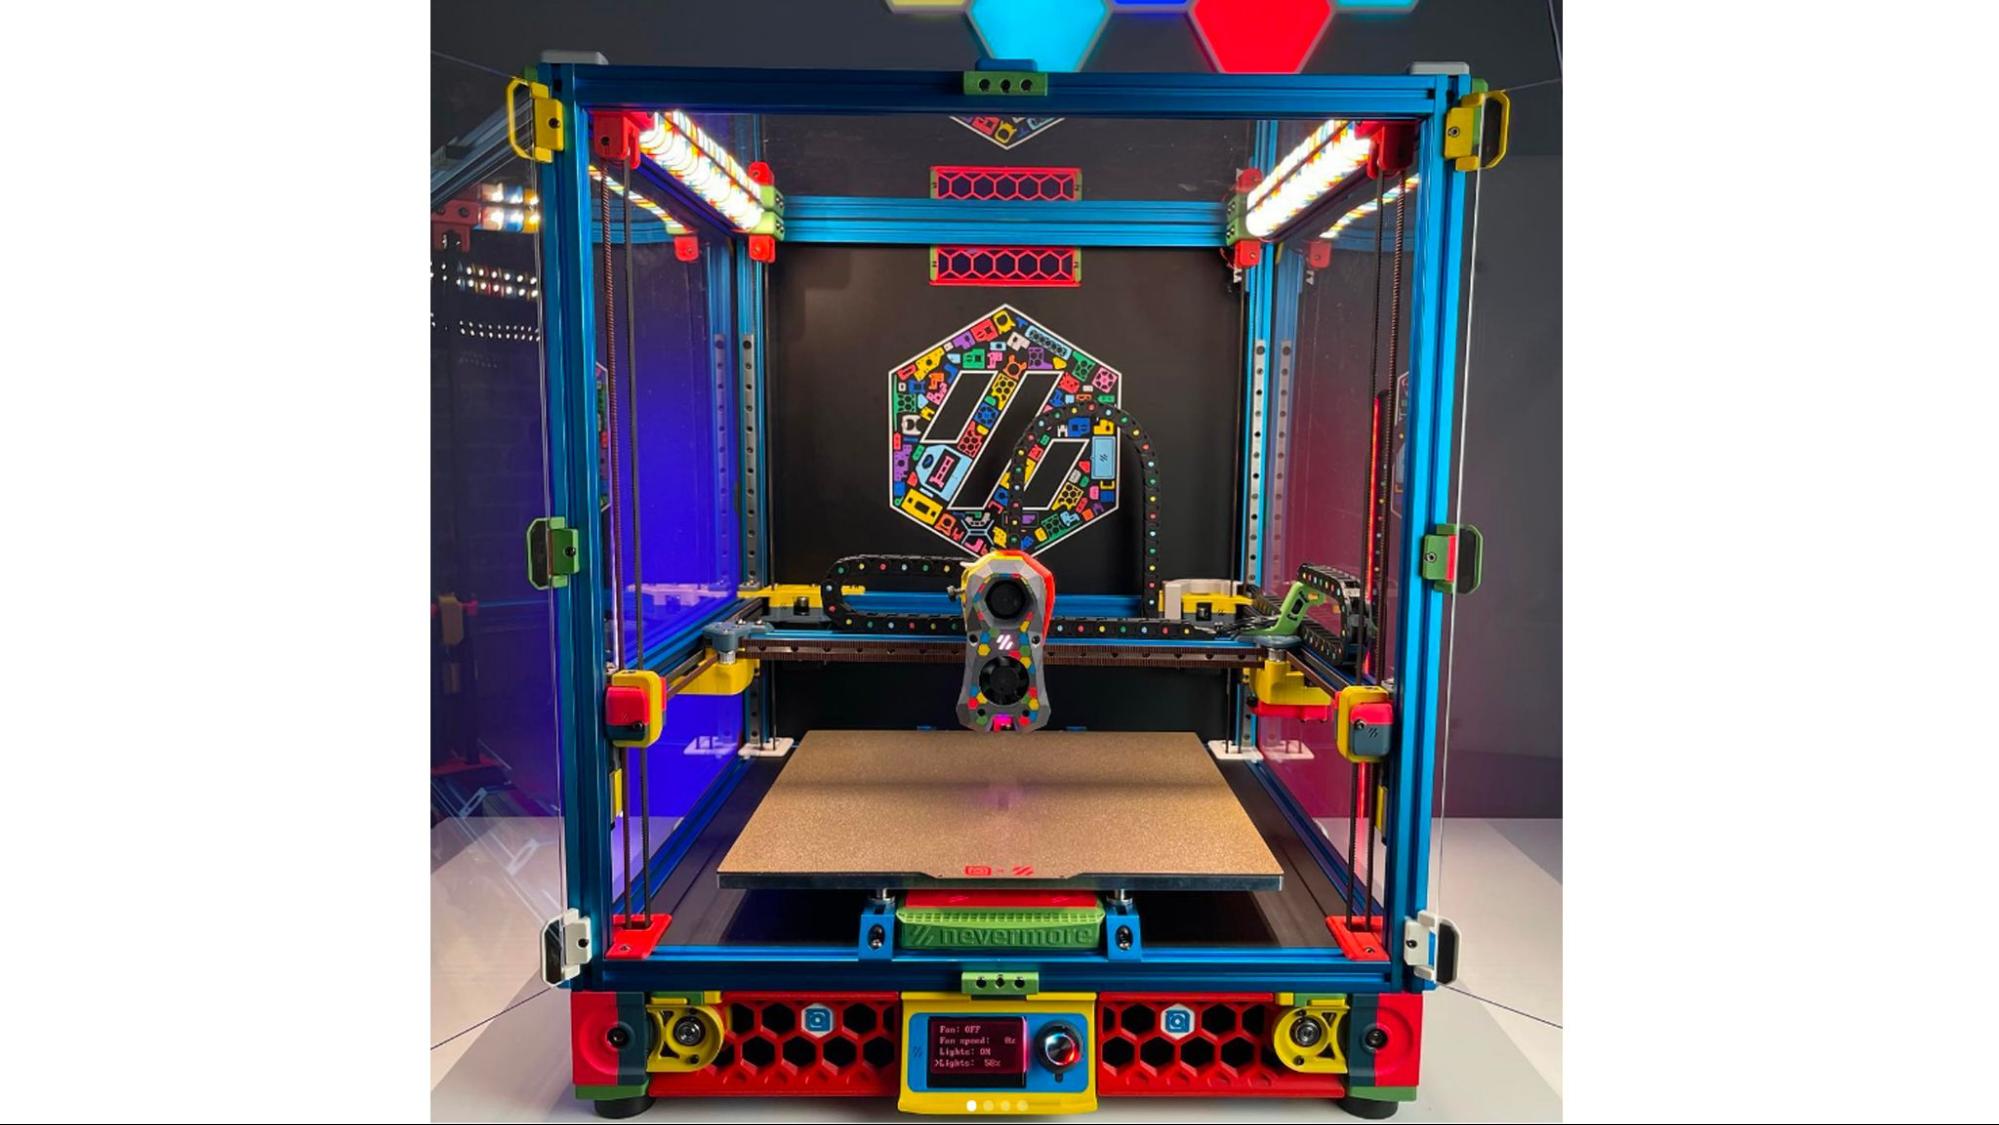
Printing a Voron is a dream project for many makers, requiring skill, time and a good chunk of change. Unlike regular 3D printers, Vorons are built by the user following Open Source blueprints provided free of charge by the volunteer Voron Design Team. These precision machines are meant to be fast, fun, quiet, and most importantly, reliable. They can be fully enclosed in order to print temperamental materials like ABS and Nylon.
Because Vorons are a community project rather than a for-profit product, they are infinitely customizable and unbeholden to the whims of a corporate bottom line. The Voron Design Team’s mission is to make affordable precision 3D printers with no compromises for quality. The end user gets to shop around for parts, and can choose where they want to skimp or splurge.
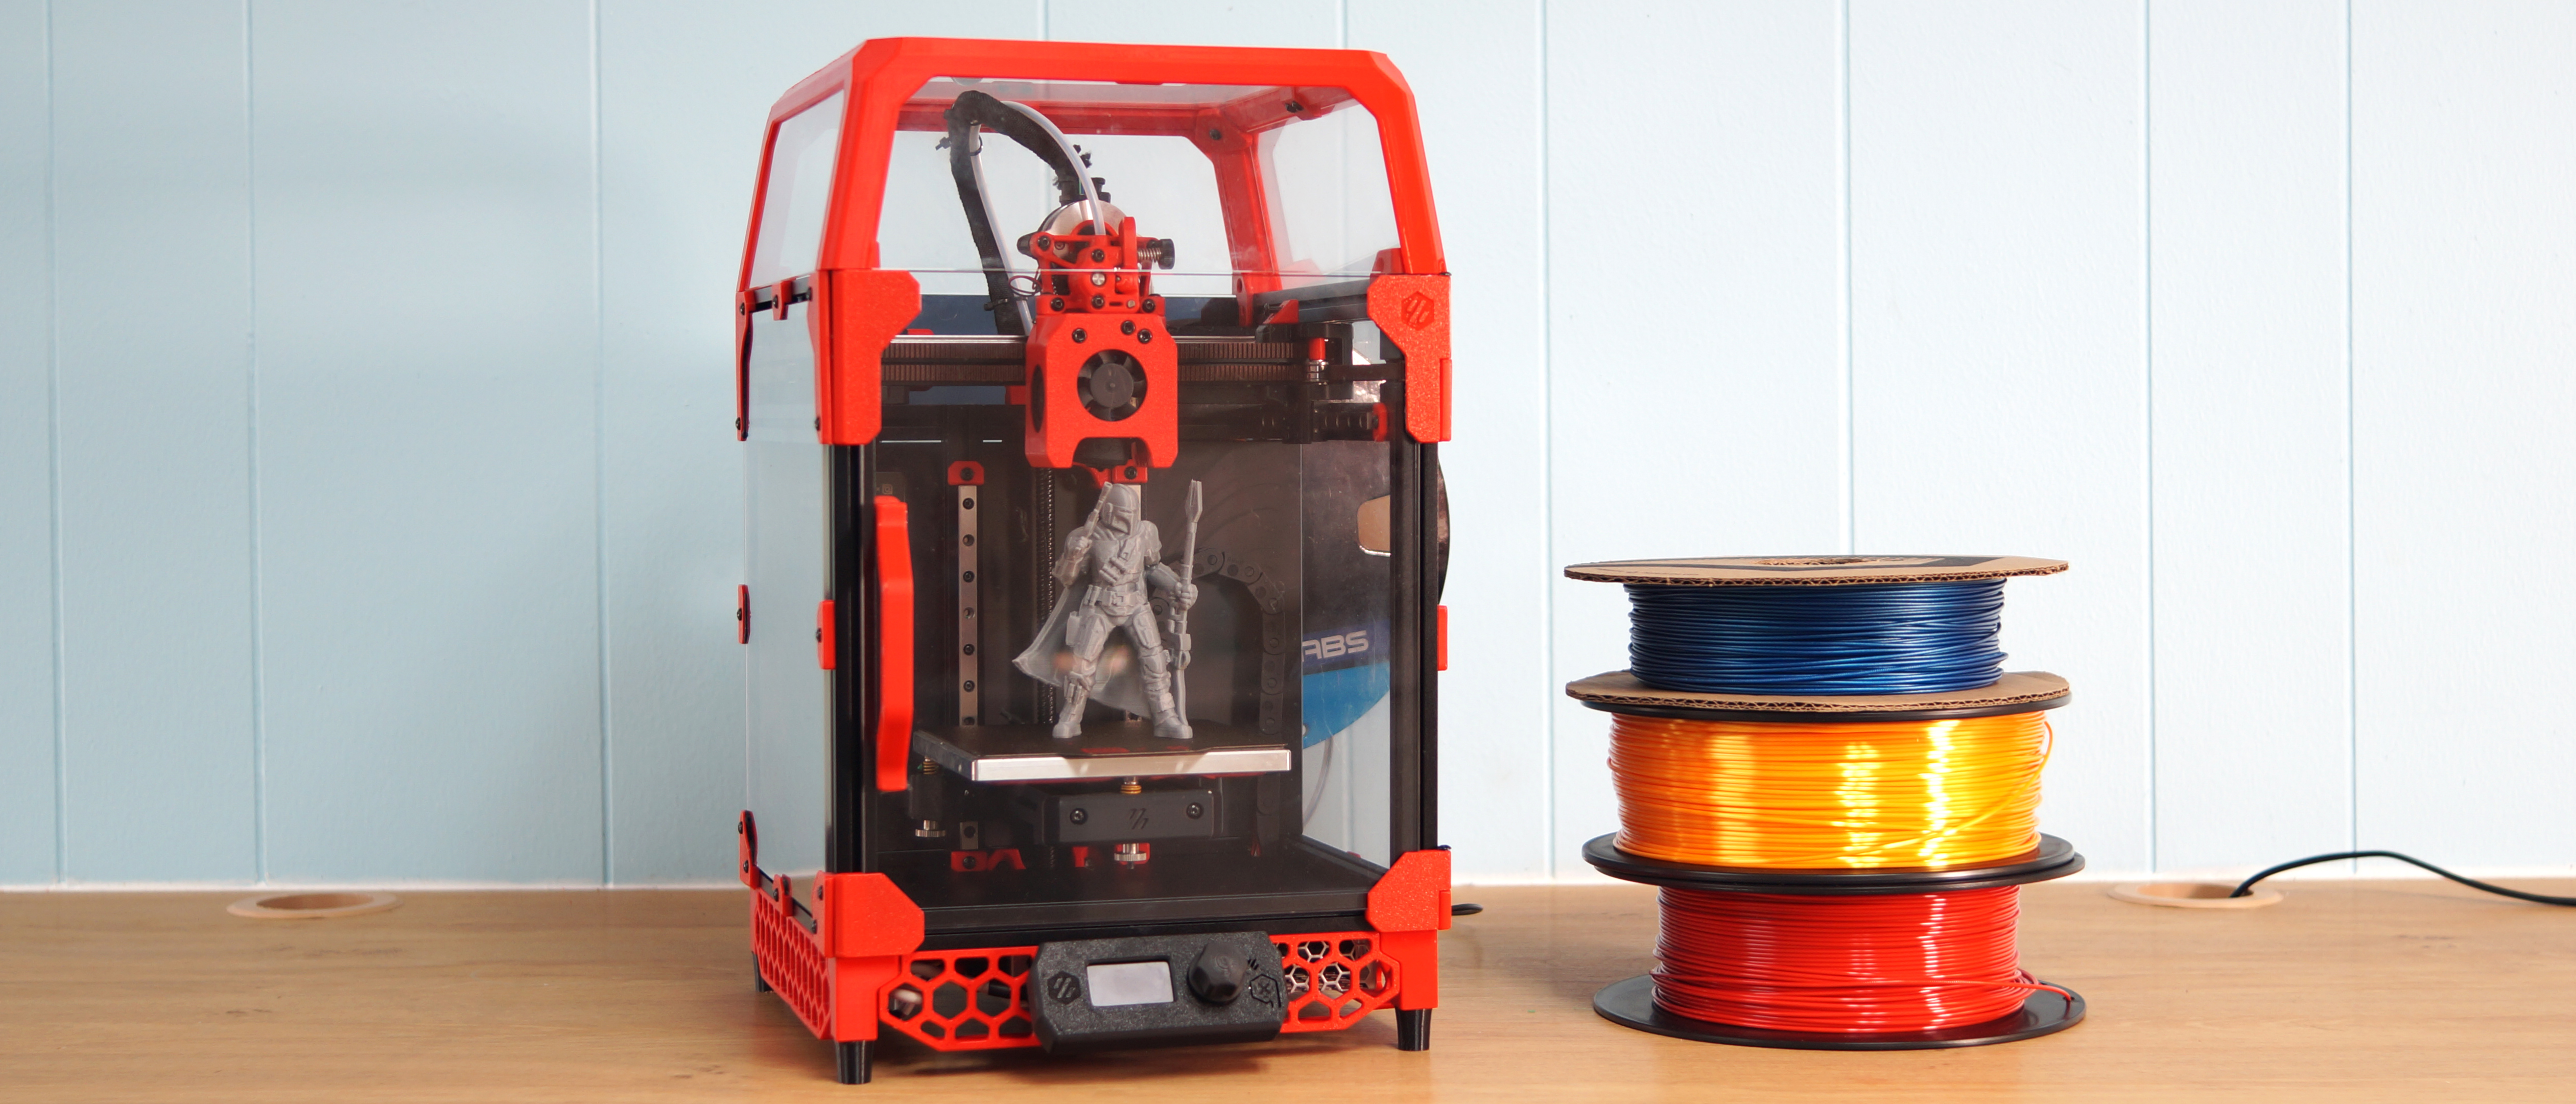
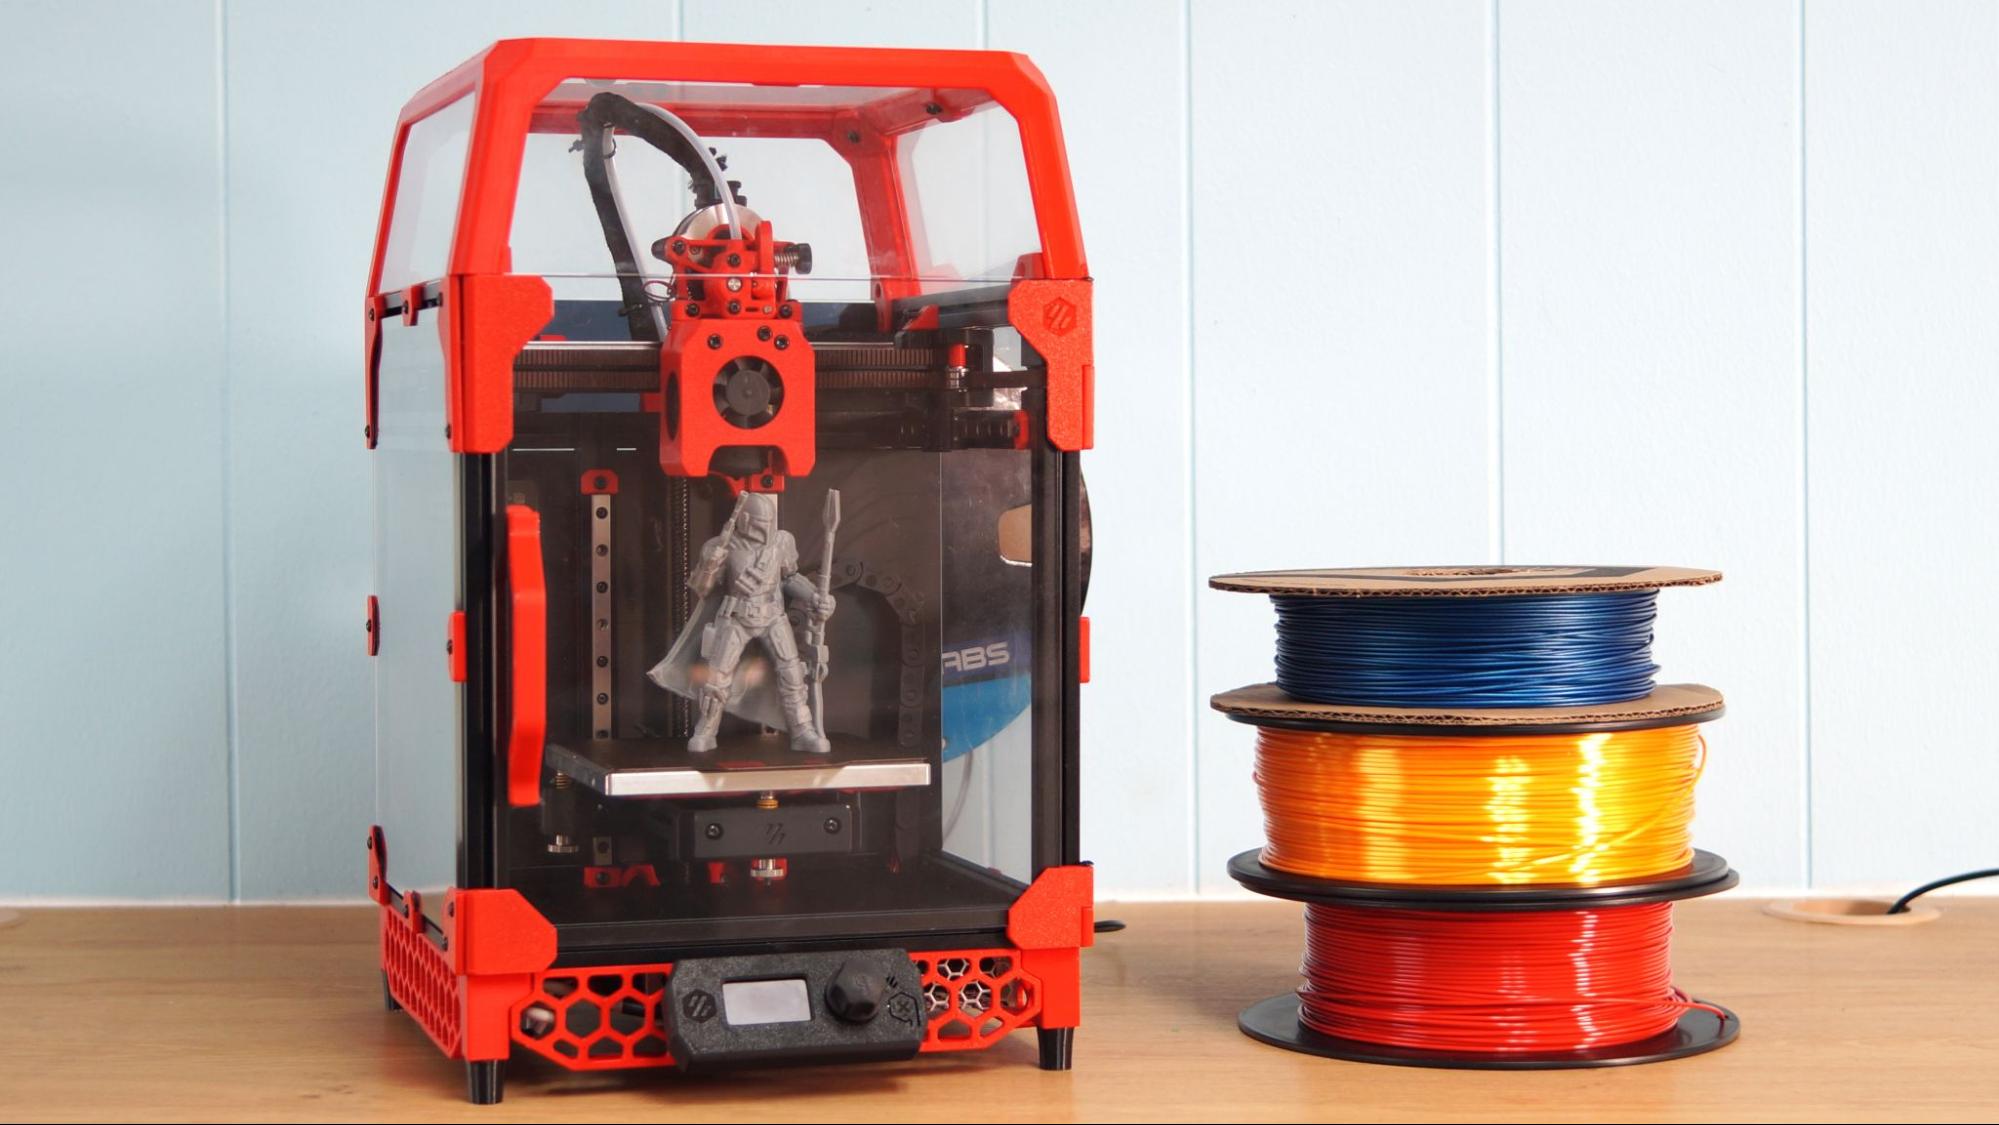
The printer we’re reviewing is the Voron 0.1, a small Core XY machine that is portable and fits on any desktop. Although you can source your own parts from a list found on the Voron Design website, our machine was built using the LDO Motors kit and provided by Matterhackers. This is a premium package with stainless steel rails and wires that are pre-cut and pre-assembled. The kit included an all metal Phaetus Dragonfly BMO Hotend.
Vorons are undoubtedly a project for advanced makers. In order to build one you need to have a 3D printer that can produce quality ABS or ASA parts. You also need to be handy with a soldering iron and have a basic understanding of electronics. Once it’s assembled, you have to install Klipper and tune the printer following directions online.
While it’s possible to purchase pre-printed parts – or even a whole machine – that’s not in the spirit of the Voron project. We took several weeks to print and build this machine before putting it to the test. Despite the small size it was able to print precision parts for two RC vehicles we’ll be racing at this year’s RepRap Festivals.
The LDO Voron 0.1 kit is $629 from Matterhackers. This price does not include a Raspberry Pi or the filament you need for parts. Matterhackers provided two rolls Pro Series ABS for this build and we scrounged around the workshop for a spare Raspberry Pi. We also added an optional display screen, which we purchased from Printed Solid. The complete price of this printer as shown is $805, assuming a retail price of the $45 for a Raspberry Pi 4 Model B.
Specifications: LDO Voron 0.1
Build Volume | 120 x 120 x 115 mm (4.7 x 4.7 x 4.5 inches) |
Material | PLA/PETG/TPU/ABS (up to 300 degrees) |
Extruder Type | Direct Drive |
Nozzle | .4mm V6 |
Build Platform | PEI spring steel sheet, heated |
Bed Leveling | Manual |
Filament Runout Sensor | No |
Connectivity | WiFi |
Interface | Headless, optional screen |
Machine Footprint | 250 x 360 x 365 mm (9.8" x 14.2" x 14.4") |
Machine Weight | 5.6 kg (12.5 lbs) |
LDO Voron 0.1: Included in the Box
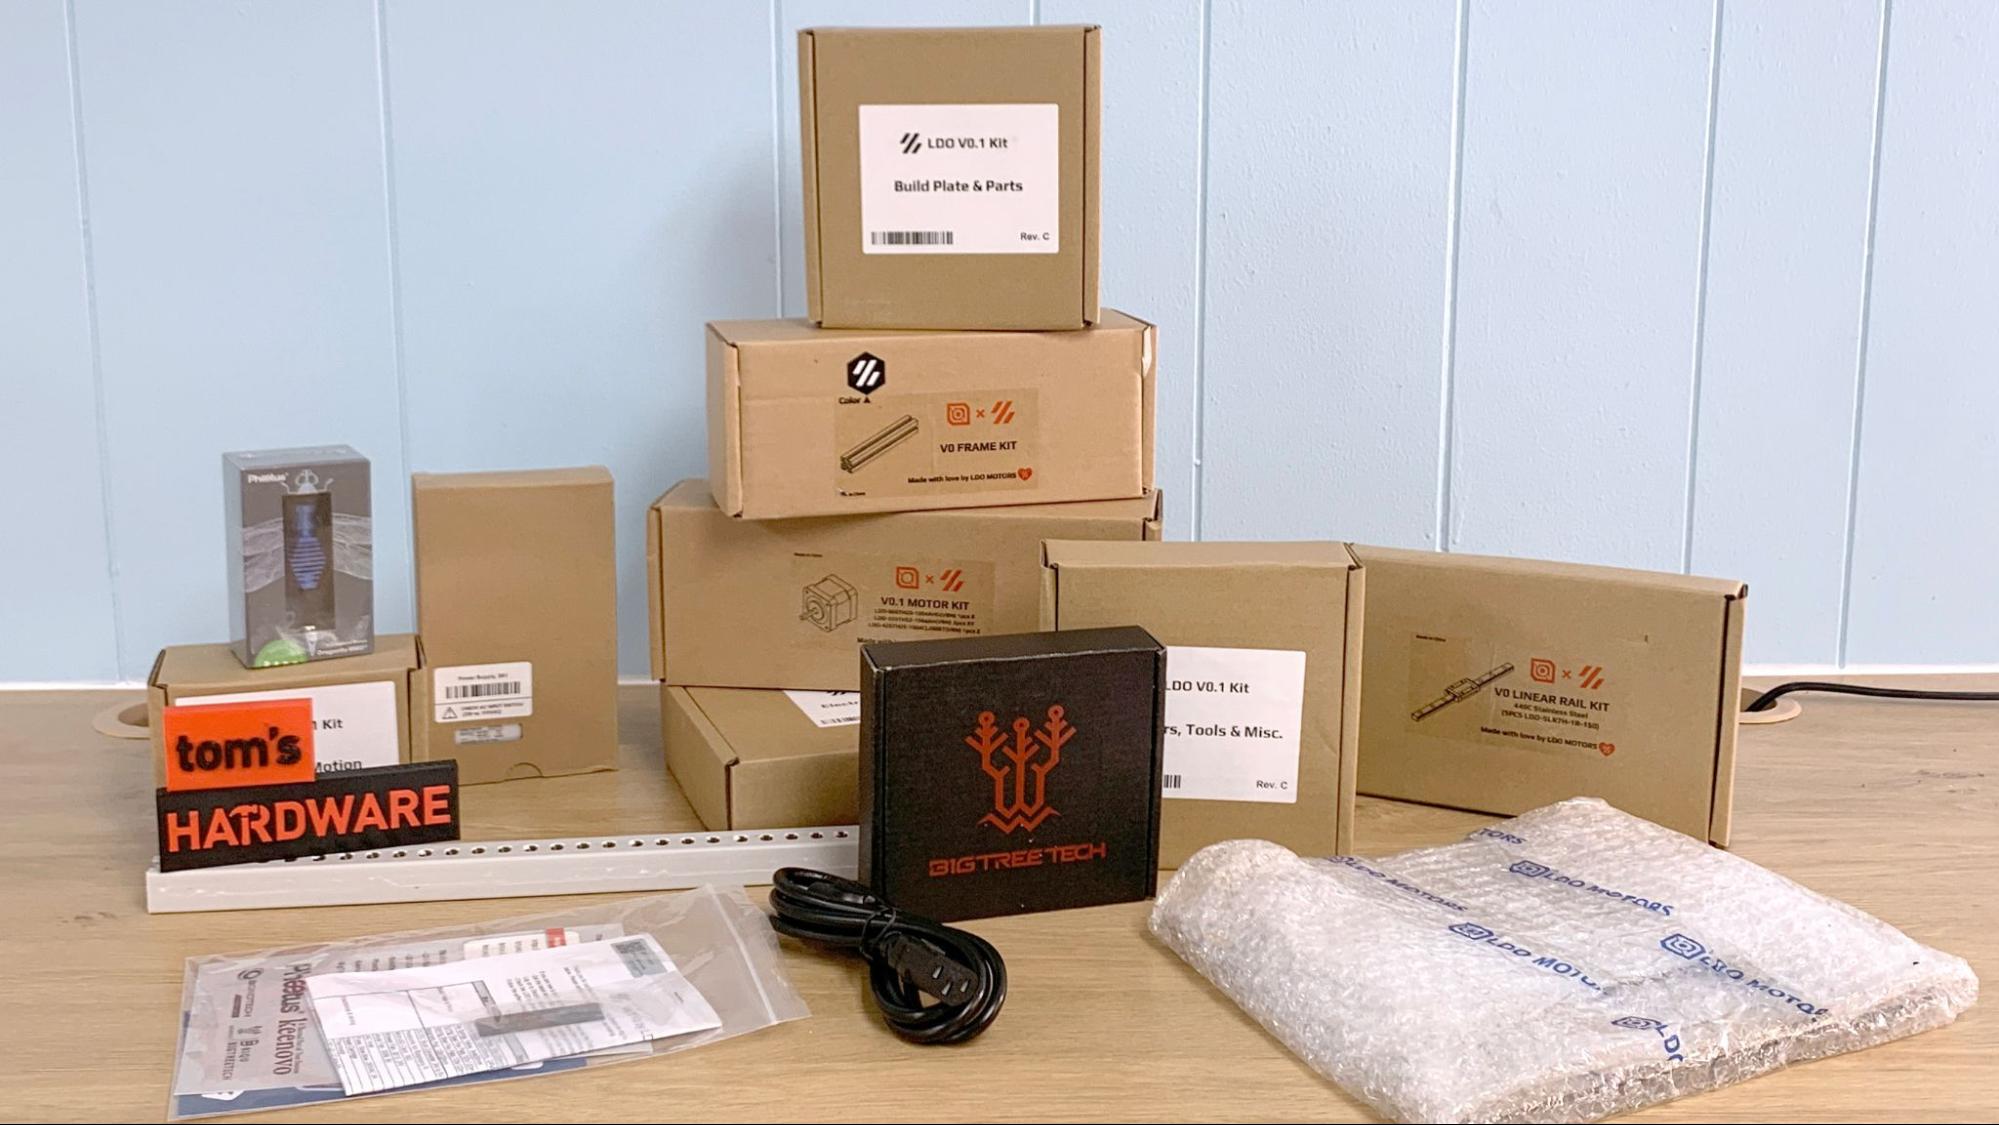
The LDO Voron 0.1 is a printer kit that arrives completely unassembled. This project is for advanced makers and only comes with a few basic tools for printer maintenance, such as hex keys and a wrench. It does include a soldering tip for brass heat set inserts.
Get Tom's Hardware's best news and in-depth reviews, straight to your inbox.
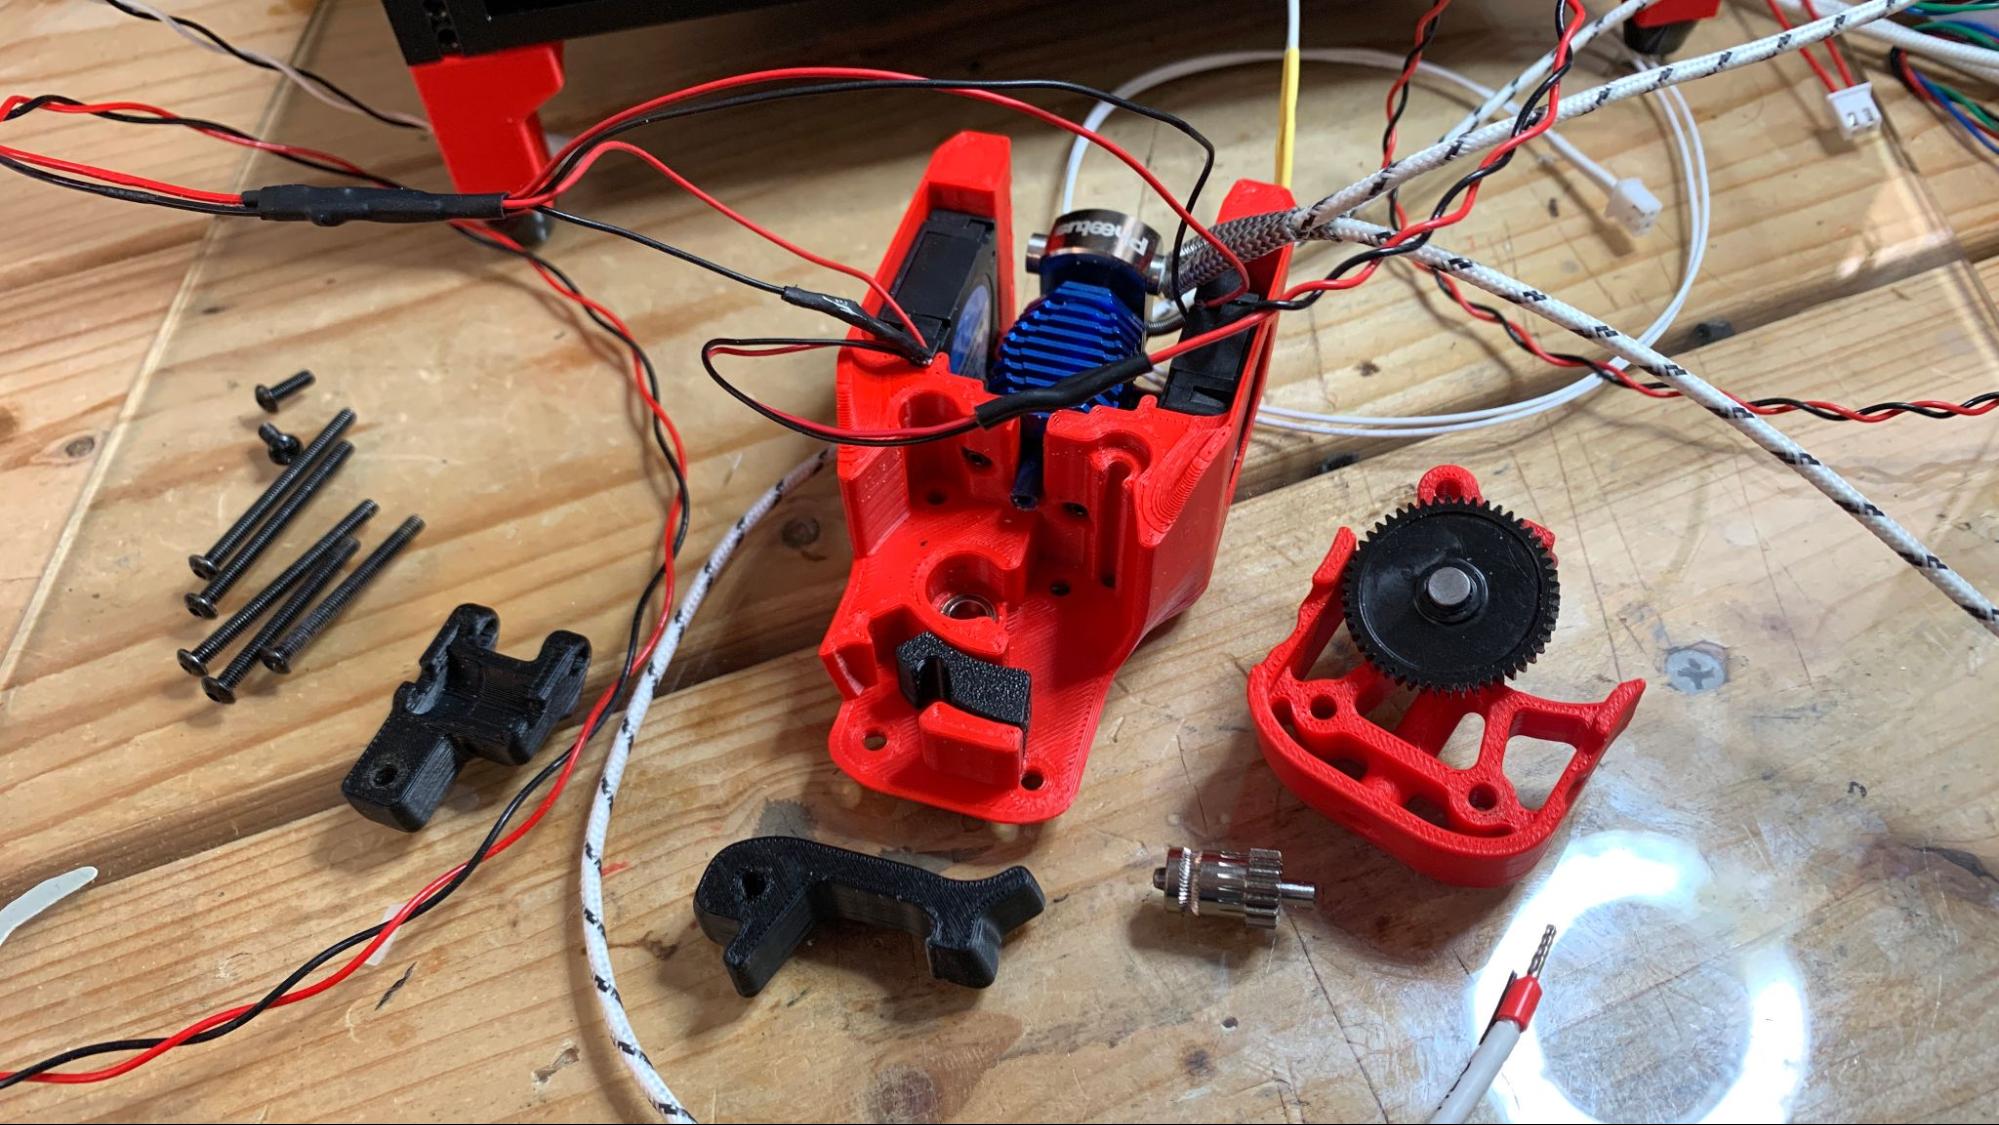
You get all the non-printed parts for making a 3D printer, like metal rails, stepper motors, screws, springs, fans, all electronics (minus the Raspberry Pi), wiring, and a Dragon Fly BMO hotend. You will need to provide your own Raspberry Pi (any Pi 3 or 4) and all the printed parts. Parts should be printed in ABS or ASA for heat resistance and will take around 2 spools of filament.
Build instructions are online at VoronDesign.com.
Design of the LDO Voron 0.1
Vorons are unlike any other FDM printers we’ve reviewed. These machines are made of 3D printed parts, off the shelf components and good ol’ sweat equity. You don’t “buy” a Voron; you make one. You choose what color and material your printer will be made from, as well as what hotend it will get and which build plate material you will use. Because Voron Design is an Open Source project, you can also choose to customize your printed parts with your own logo, design tweaks and upgrades.
The Voron 0 is the smallest printer from the design team, created as a tiny parts factory. Its lower price, when compared to the rest of the Voron family, also makes it an “entry level” machine for people who want to build the printer more for bragging rights than practical printing.
This is a belt driven Core XY machine, which promises extra speed and precision. Like the Bambu Lab P1P, the bed moves along the Z axis while the tool head zips around the X and Y at the top of the frame. More familiar Cartesian style printers, like the Ender 3 S1 Pro, have a tool head that moves on the X and Z axis and a bed that moves on Y.
We were able to run the Voron 0.1 without tuning at 150mm/s while achieving superior prints.
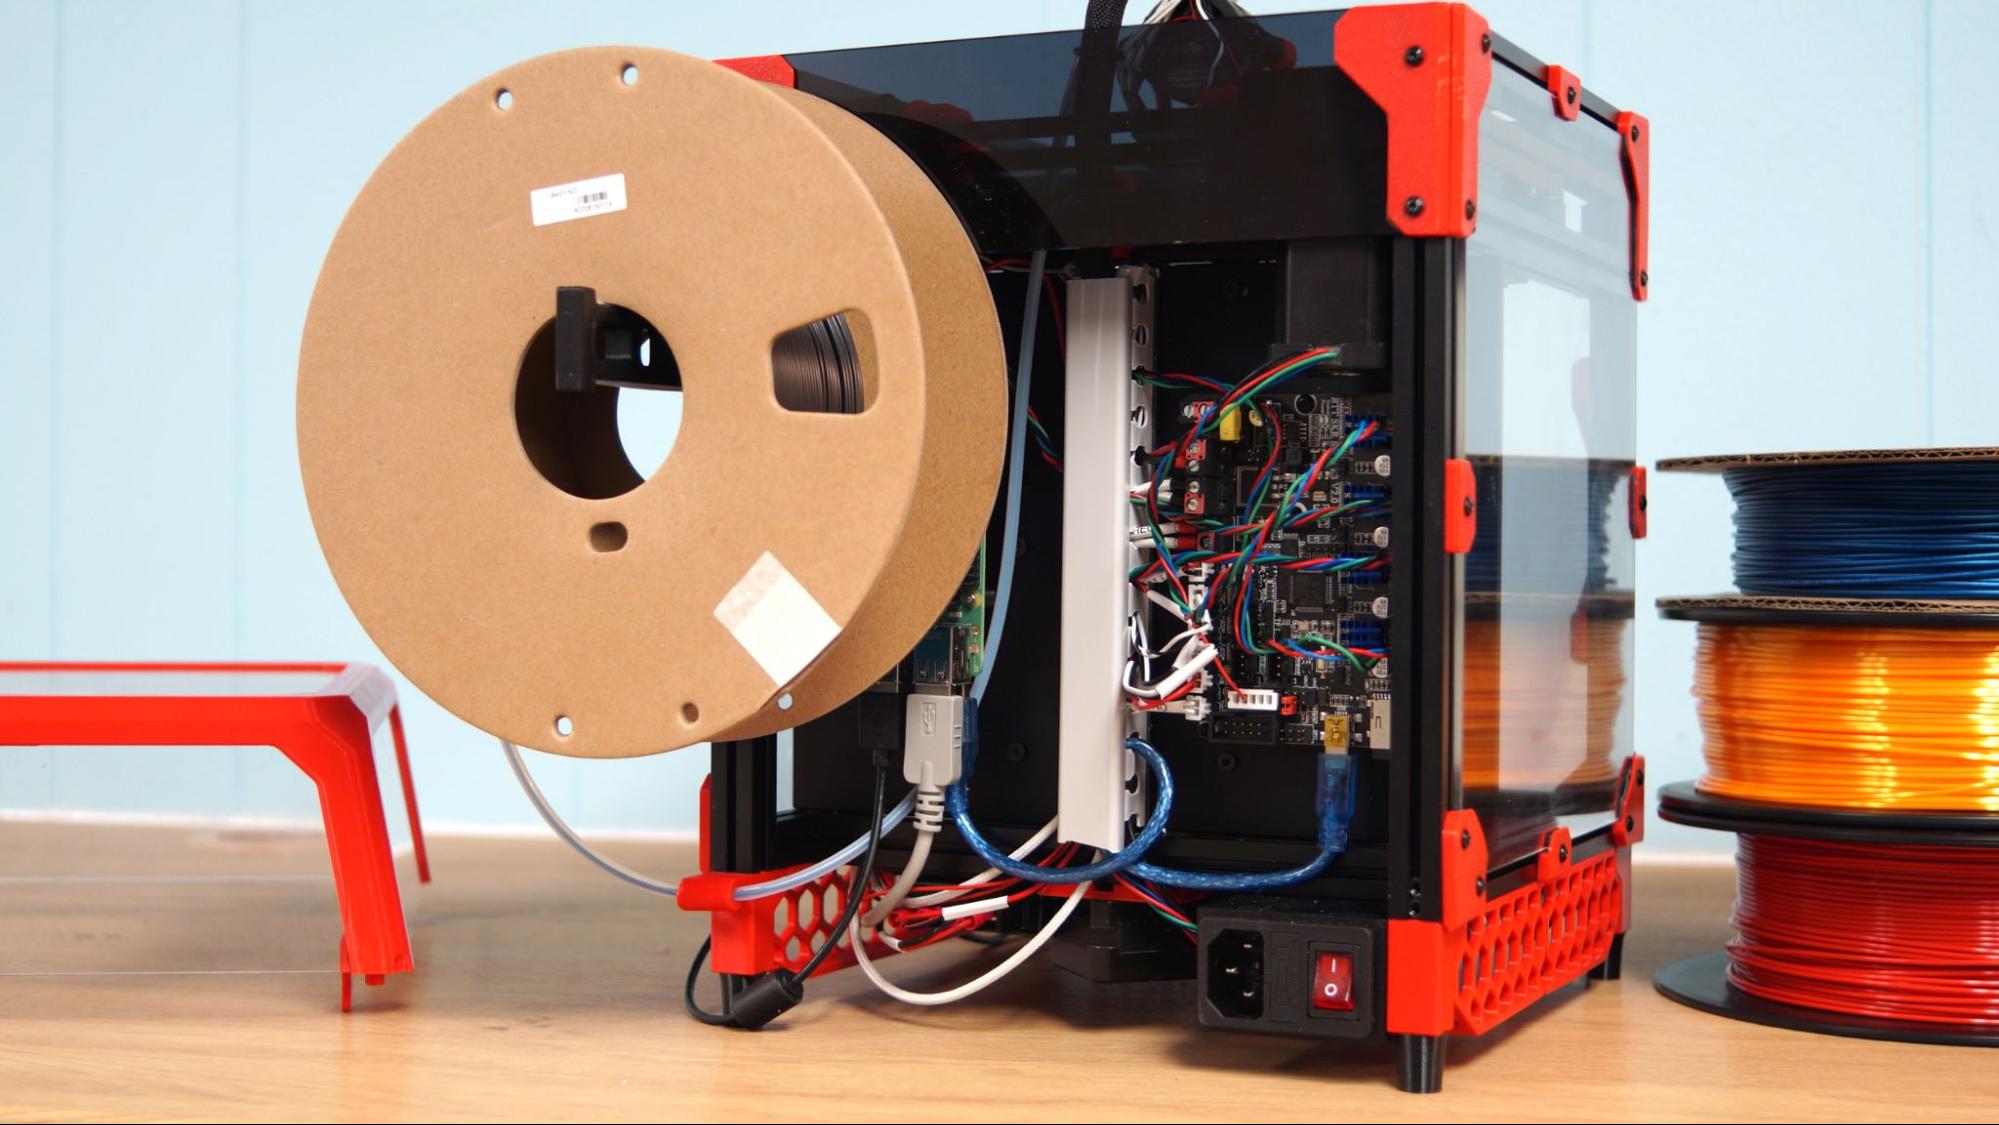
The printer is very bare bones. There’s no auto leveling, no buttons beyond a power switch, no SD card slot, no USB slot and no screen. It has a direct drive with an all metal hotend, a reverse Bowden to get filament from the rear mounted spool holder, through the back of the machine and into the enclosed space.
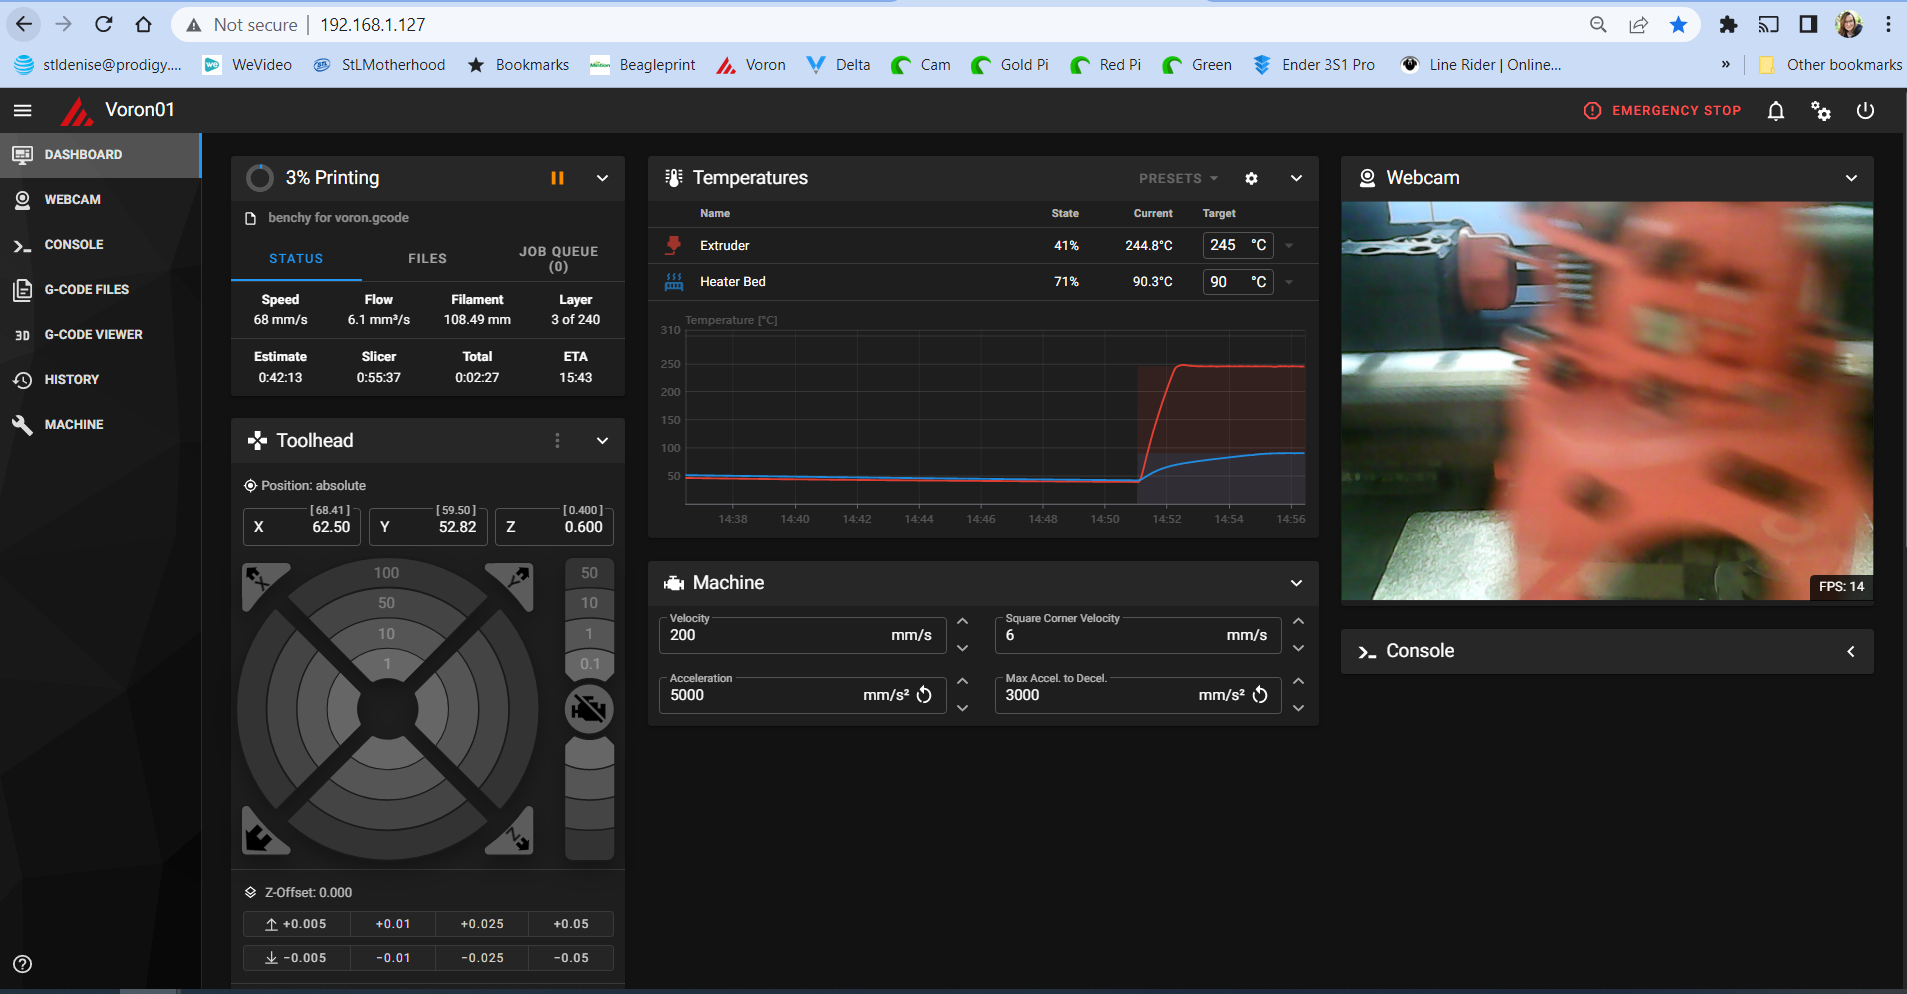
The Voron 0.1’s lack of a display, control buttons and file access is quite maddening. The machine is using a Raspberry Pi to run Klipper, which is tucked away inside the machine and is not accessible. The only way to get files to the printer and control any of its functions is through Mainsail, a web based interface. While this is fine in a home or workshop, it makes the printer difficult to use away from home base.
Also, trying to use Mainsail to load filament, level the bed or even stop a print in a hurry is impossible unless the machine is sitting right next to a computer. You could use Mainsail on a smart device, but it’s not really optimized for small screens.
We solved part of the problem by purchasing an optional LDO Motors Voron Display from Printed Solid. We found directions on how to print a case, install and configure the screen on Greg’s Maker Corner.
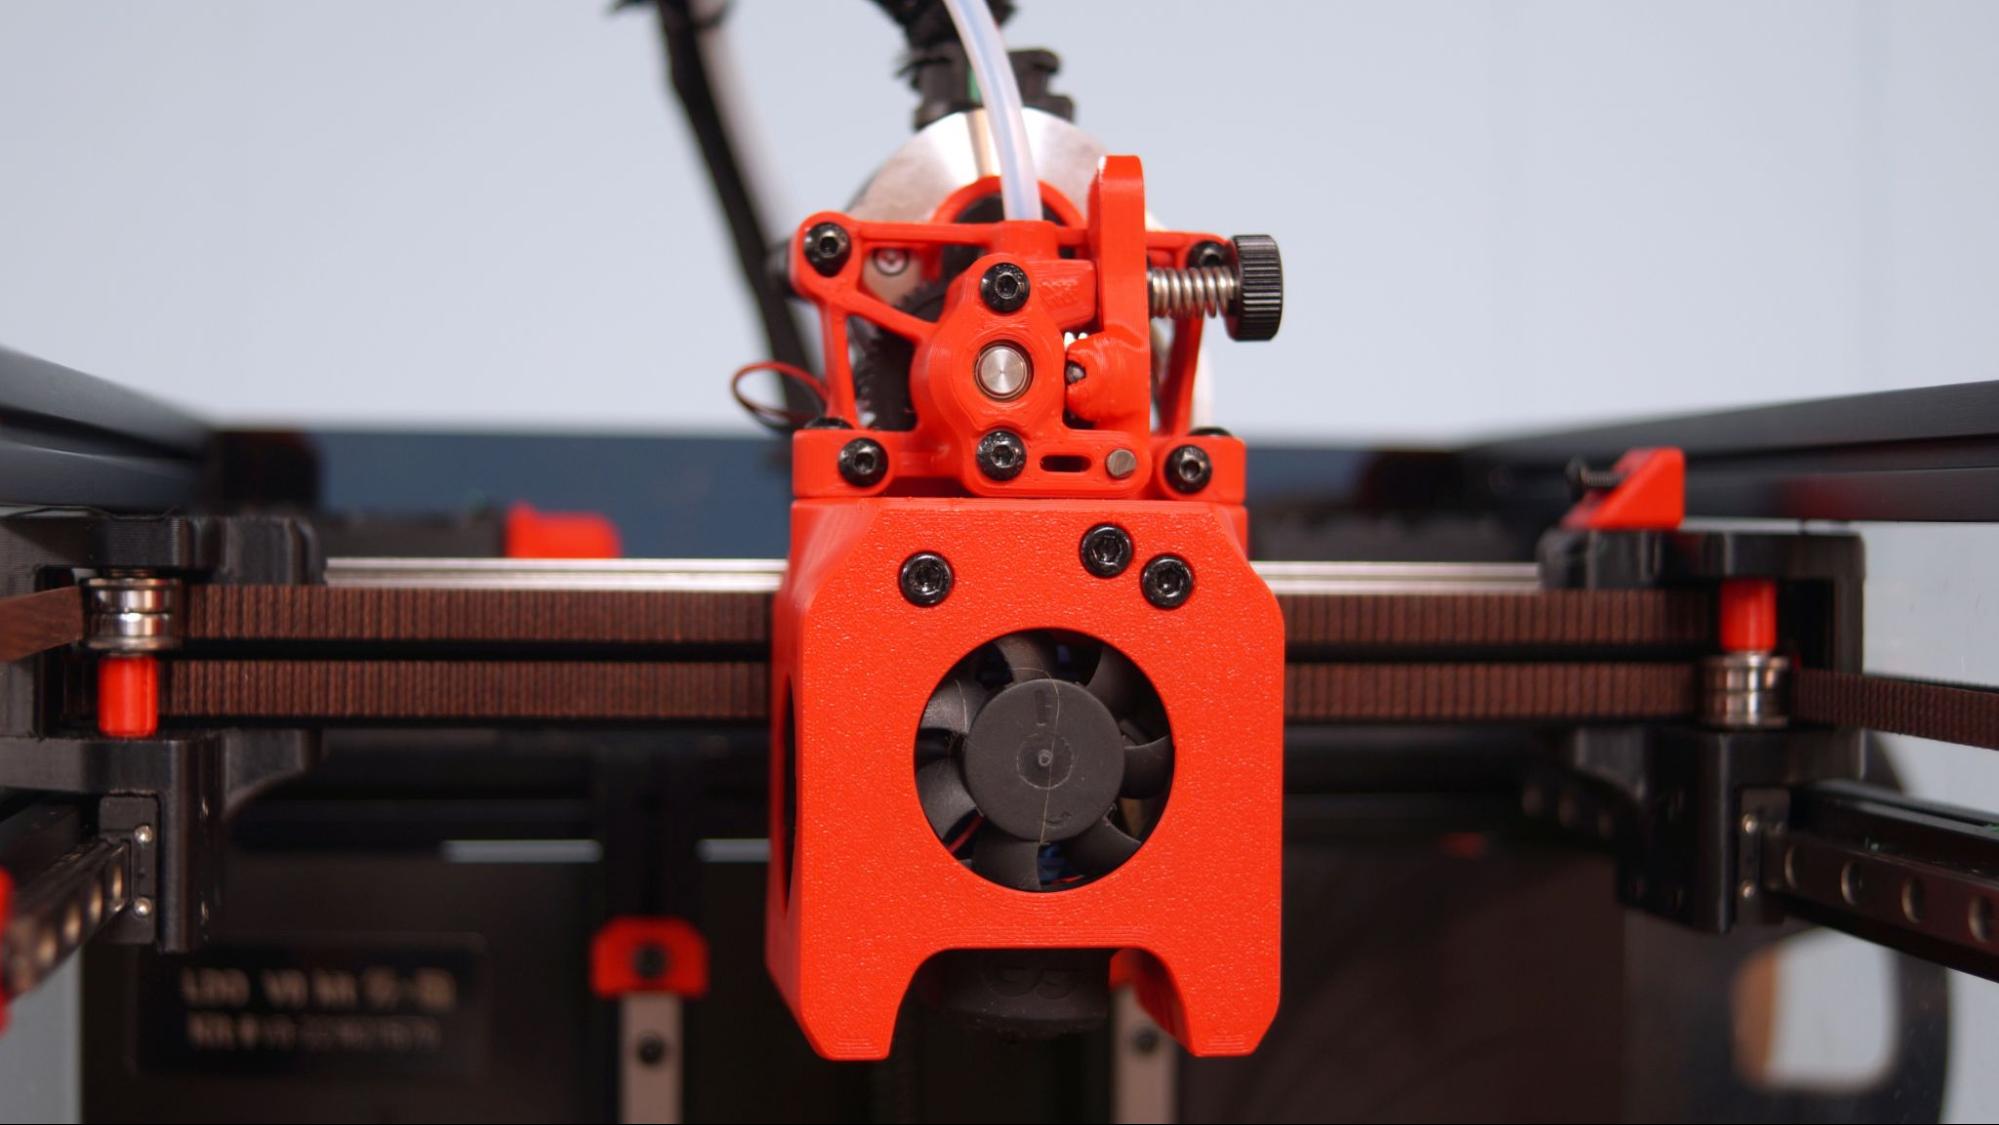
We chose black and red for our color scheme and opted for a Mini After Sherpa tool head, rather than the traditional Mini Afterburner. This is a more open design that’s easier to service and was a little easier to print. It still used the direct drive Phaetus Dragonfly BMO that came with the kit.
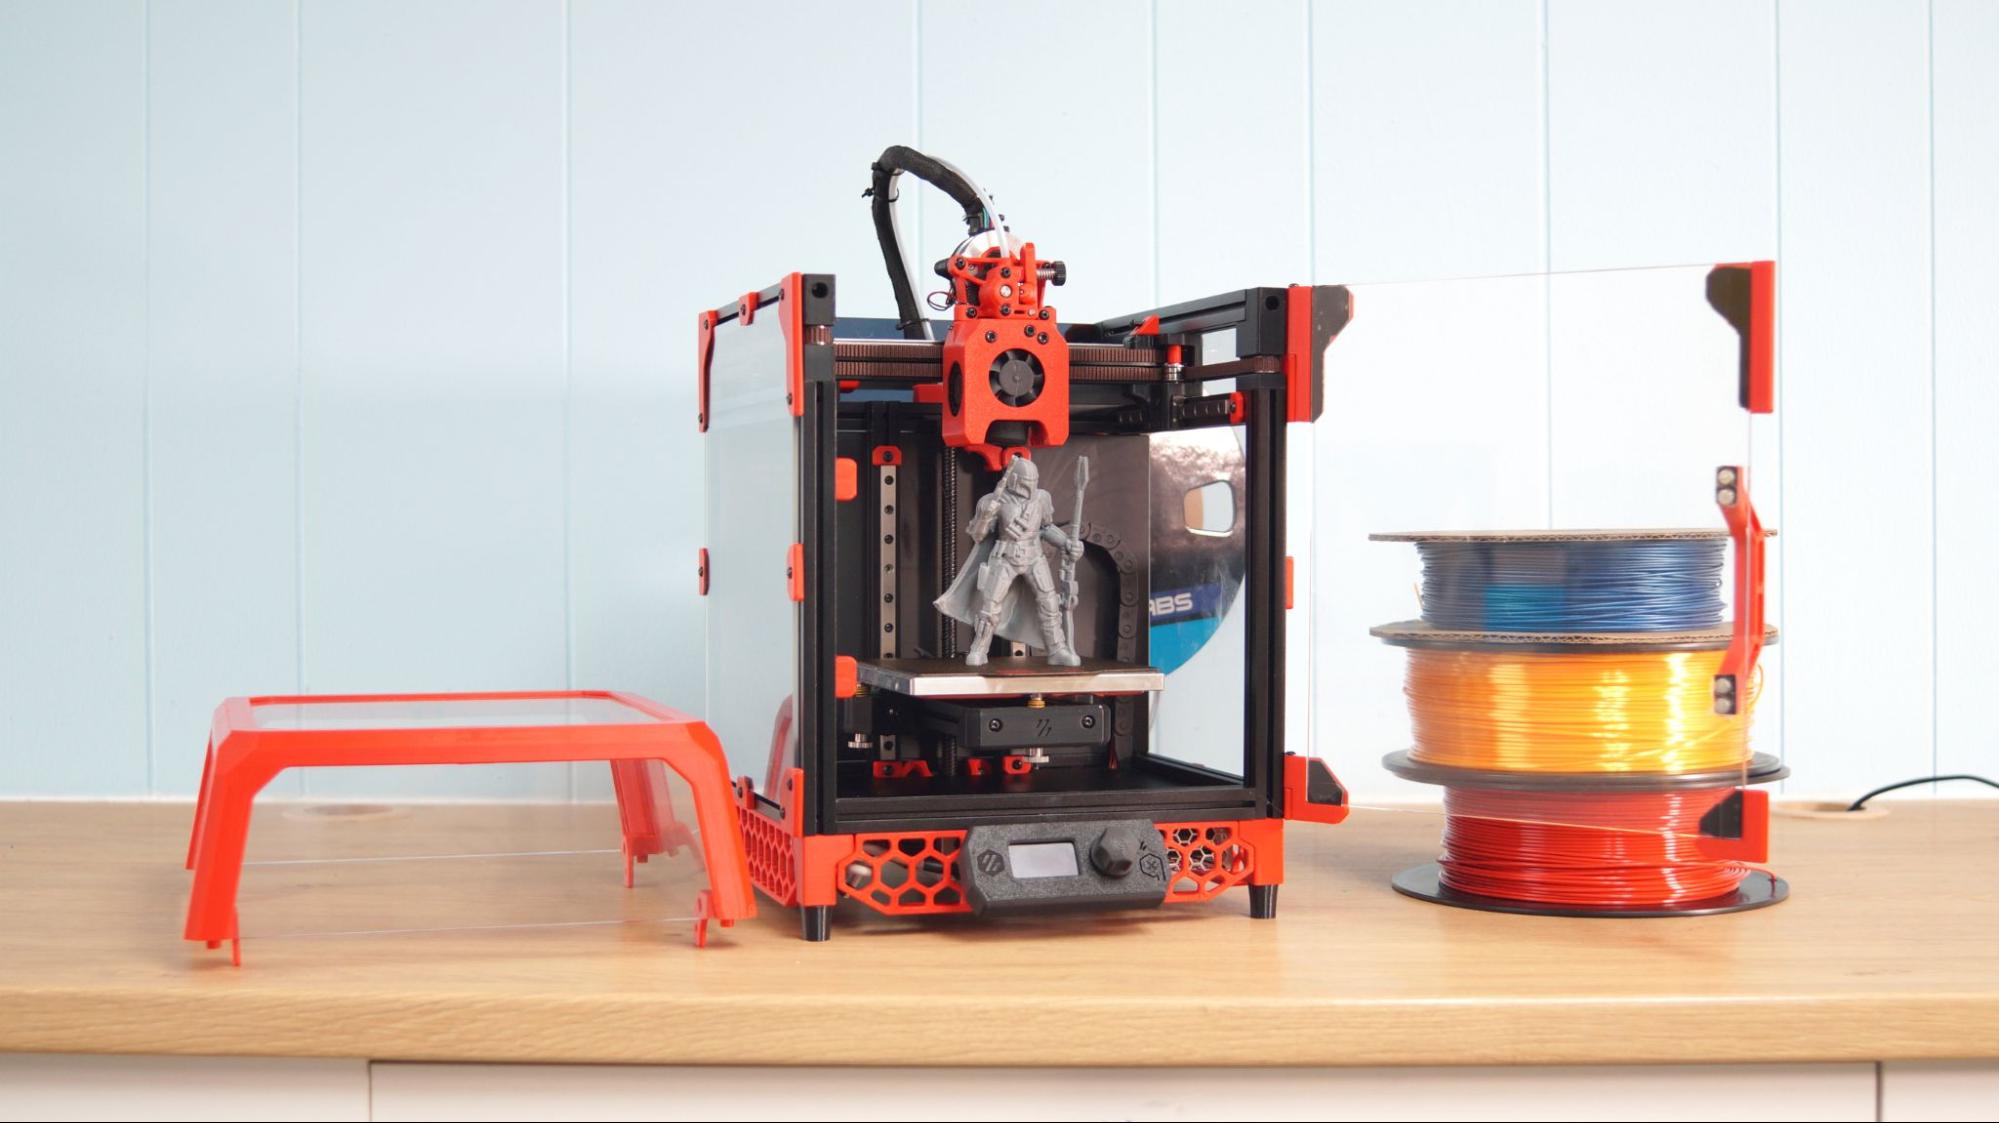
The kit came with precut acrylic panels to form two sides, a removable “top hat” and a door that snaps shut with a magnet. The back is a black acrylic panel to hide the electronics. The enclosure retains heat and prevents drafts, making ABS and Nylon easier to print.
The acrylic can be difficult to keep clean, especially while you’re setting the printer up and moving it around a lot. The top hat is removable to provide air flow while printing PLA, which doesn’t do well in a heated chamber. There is no heater or air filter inside the chamber.
The tiny 120x120 mm print bed is not the smallest we’ve worked with; those honors go to the ToyBox, but it’s surprisingly useful. We printed a lot of small parts for RC cars, as well as some toys and models. The kit came with two PEI coated flexible beds – a powder coated surface that gripped PLA well and a smooth PEI surface that was very good with ABS and Nylon.
Assembling the LDO Voron 0.1
Unlike other printers on the market, Vorons are a DIY project built from scratch. You can source your parts from a Bill of Materials provided by the designers or buy a kit from several different manufacturers. Our test printer came from Matterhackers, who sells a premium LDO Motors Kit. LDO is considered a superior kit for its high quality parts from LDO Motors, Bondtech and other well known brands. This kit also includes stainless steel rails, a Meanwell power supply, and a PCB wire duct.
All the wires are pre-crimped and marked, which is something you won’t find in cheaper kits. This can save you hours, if not days, of work. It also comes with T Nuts for the linear rails which don’t require printed spacers, another massive time and frustration saver.
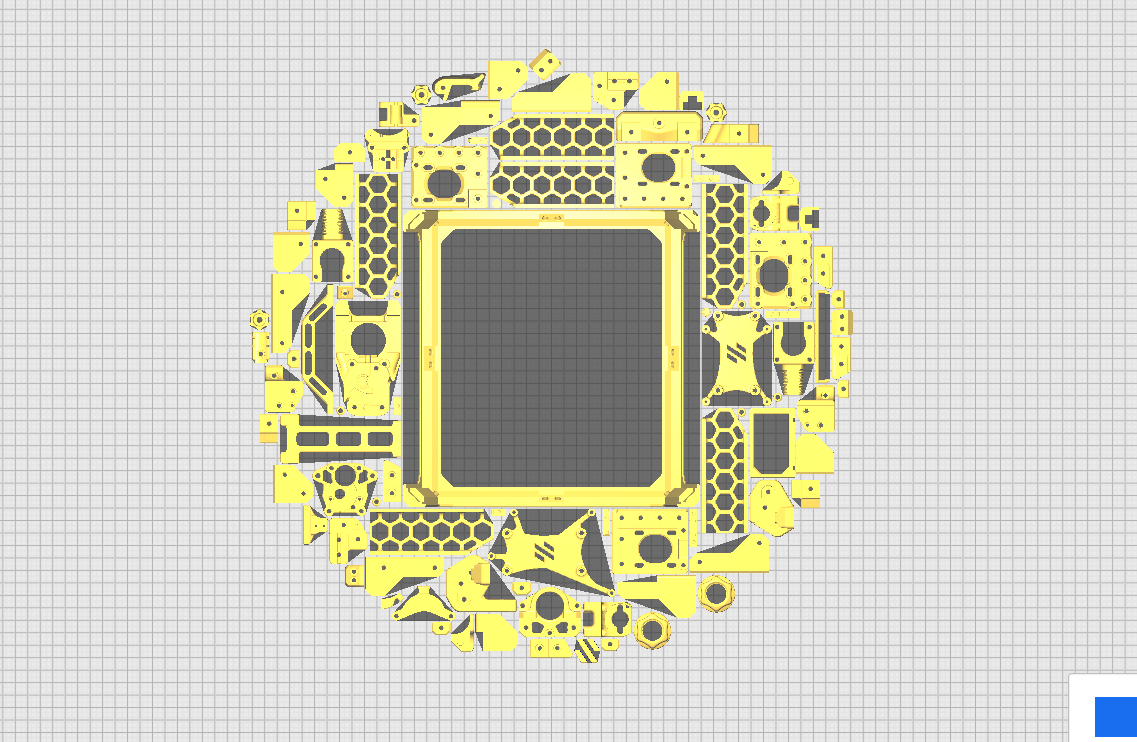
Building Voron 0.1 is a project that can take days of printing and assembly time, especially if you’re taking your time to make good-looking, functional parts. ABS or ASA is recommended for much of this build as PLA or even PETG will melt under the high temperatures of a Voron in action. Some of the parts further from the hotend and heated bed can be printed in PLA. Since we only had one enclosure – the Ender 3 S1 Pro camped out in a Creality tent for this build – we could speed up the print time by letting other printers work on more decorative parts. The Bambu Lab P1P printed the skirts, and the Anycubic Kobra Max printed the top hat in one piece.
It's also recommended to make each part very solid, with four walls and 40% infill at a minimum.
Complete assembly instructions are beyond the scope of this review. Directions for building this machine are available from VoronDesign.com. We relied heavily on tutorials from YouTuber Modbot and Klipper advice from Youtuber Nero 3D, who is a member of the Voron Design team.
Tuning the LDO Voron 0.1
Unlike other printers you’ll need to tune your Voron after it is built to get the best performance. Since the LDO Voron 0.1 is running Klipper, you can access your printer’s functions through the Mainsail interface on your PC. There are a number of tests you can run which are all outlined in the Klipper Manual.
One of the advantages of Klipper is being able to use Input Shaping and Pressure Advance tuning. Input Shaping compensates for the mechanical vibrations behind ringing and ghosting, while Pressure Advance tweaks the flow of filament during acceleration and deceleration movements. Directions for tuning your machine are included in the Klipper Manual but if you need easier to understand directions, check out Ellis’ Print Tuning Guide.
Leveling the LDO Voron 0.1
The Voron 0.1 doesn’t have auto bed leveling, but the surface area is so small that it’s not much of a problem. It has three adjustment screws under the build plate. If you haven’t installed a Klipper Screen, you’ll need to type a series of commands into Mainsail to move the tool head around the build plate.
The command is: Bed-Screws-Adjust to move the nozzle to hover over a bed screw. Then you slide a piece of paper under the nozzle and adjust the screw until you start to feel friction. Tap Adjusted to move the nozzle to the point and complete at least two passes around the bed. When you are happy with the position, tap Accept for each point.
Bed leveling is made simpler when a screen is installed as there is no need to type commands.
Loading Filament on the LDO Voron 0.1
Loading and unloading filament with Mainsail controls is a little complicated. You’ll need to warm up the extruder from the Temperatures menu – there are presets, but you’ll need to set them up yourself from the Interface Settings.
Push the filament into the Bowden tube until it reaches the hotend. Take the lid off, push the lever on the extruder to release tension, then push filament into the hotend.
Once the Extruder is over 180, you can click “load filament” in the Macros section, which will pull filament into the hotend. Put the Bowden tube back into the extruder, put the lid on and you’re done.
If you install the display screen you will have ordinary temperature and advance filament controls at your fingertips.
Preparing Files / Software for LDO Voron 0.1
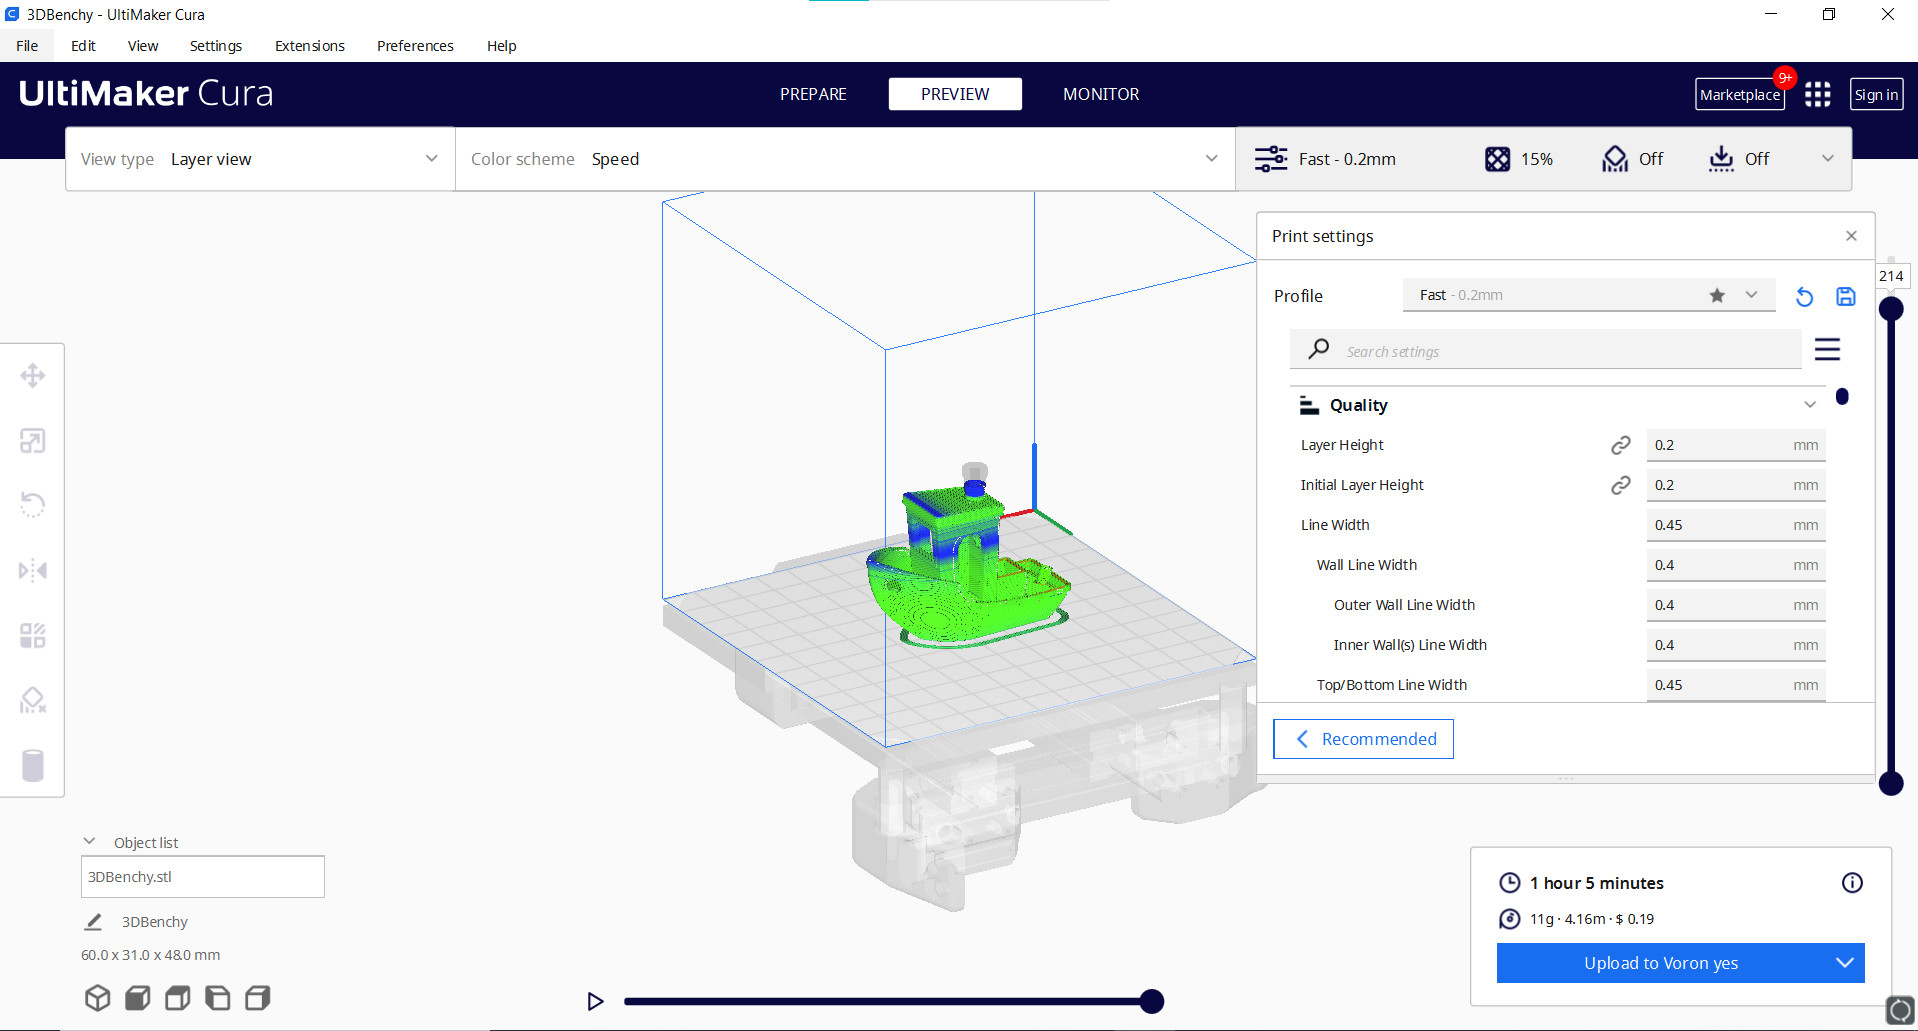
The Voron 0.1 doesn’t come with slicing software of its own, but there are plenty of free options that you can download from the internet. Cura, PrusaSlicer and Bambu Lab all have profiles for the Voron 0.1.
Files are sliced in the normal manner, saved, then loaded into Klipper’s Mainsail interface to upload to the printer. There’s a handy Klipper app called Moonraker that you can install on your Raspberry Pi that sends files directly from Cura to Mainsail, along with a thumbnail image.
Printing on the LDO Voron 0.1
After weeks of printing, reprinting, building, wiring and tuning, the Voron 0.1 was ready for its first test print. The kit doesn’t come with any filament, so you’ll definitely want to check our guide to the very best filaments here to stock up.
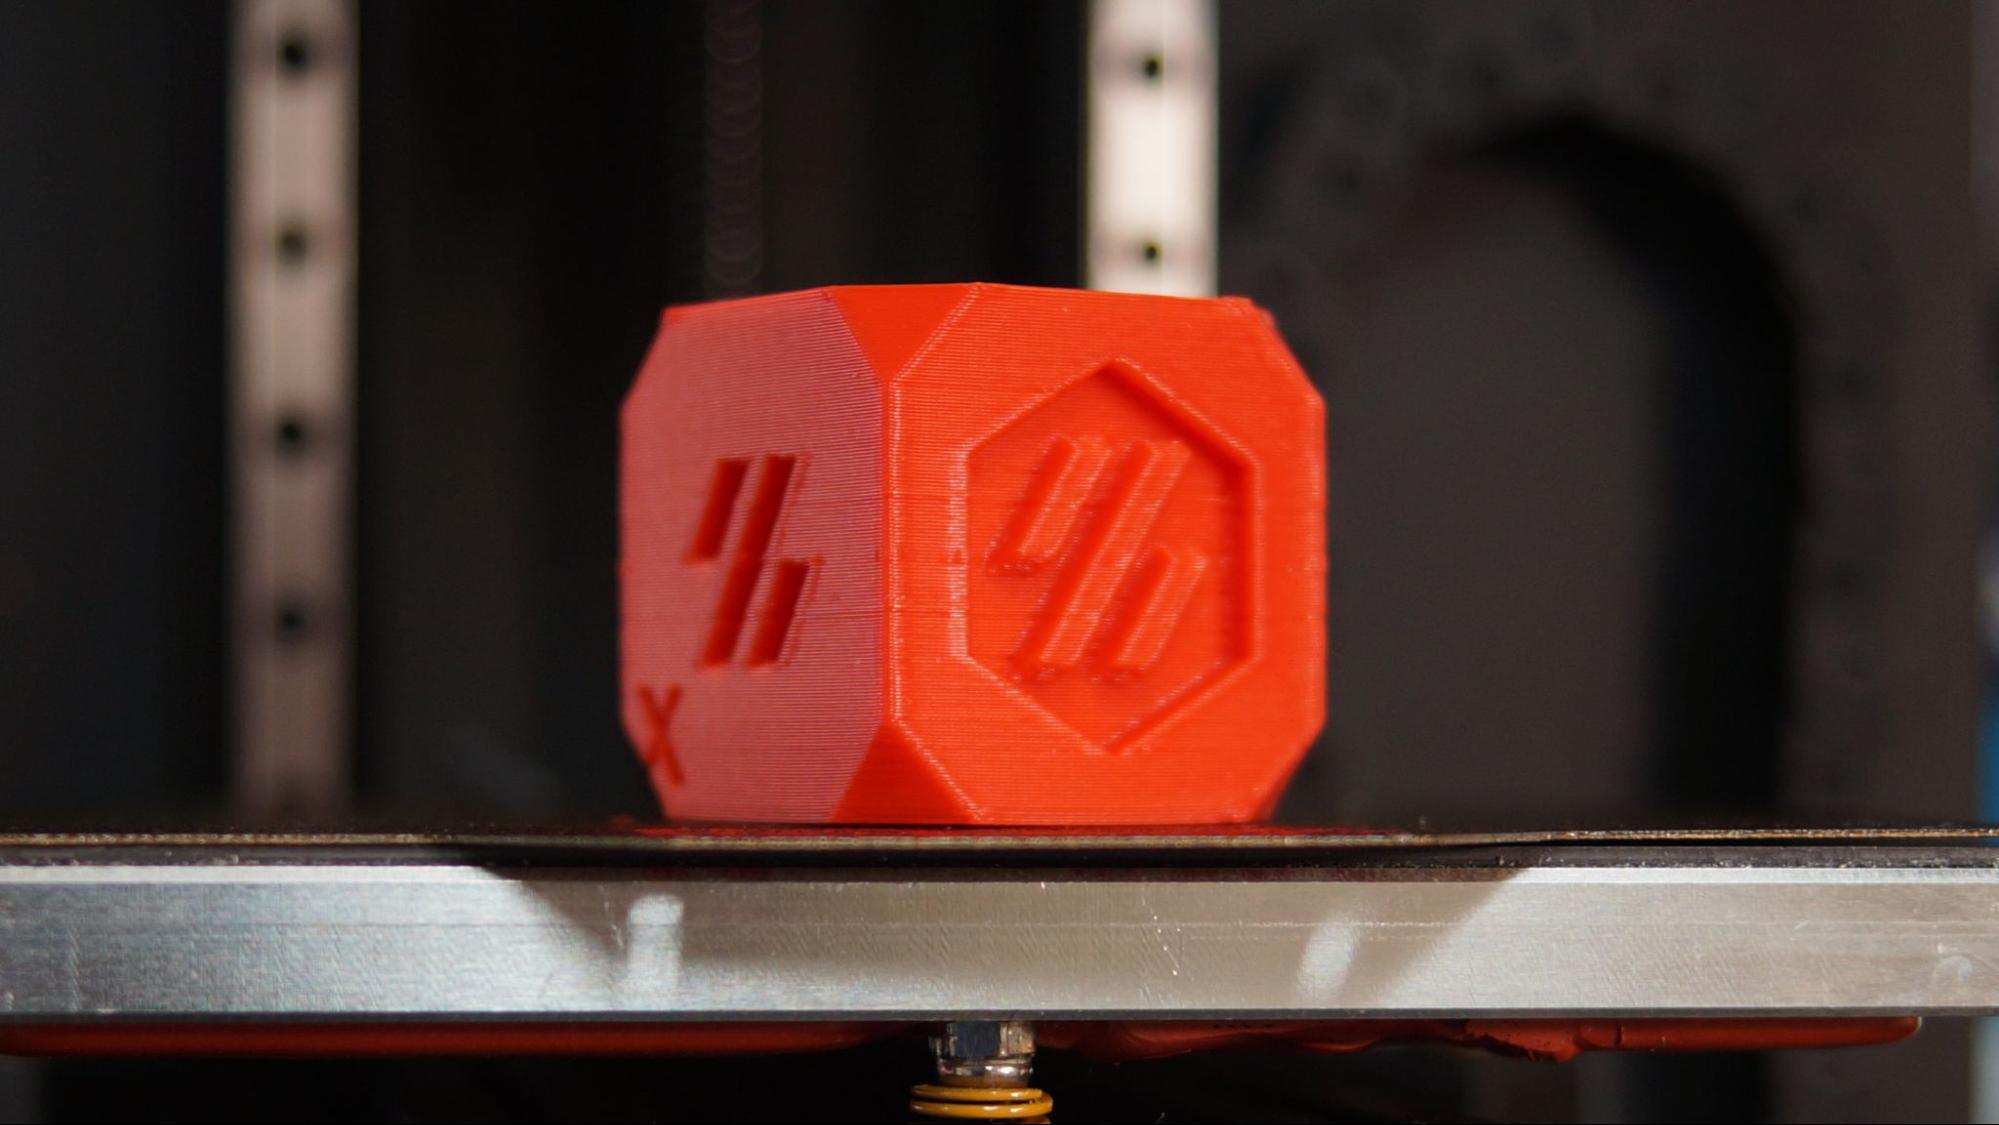
It’s tradition to start with the Voron Design Cube, which can be found on GitHub with the rest of the Voron files. The cube shows how well your printer is calibrated. The cube should measure 30x30x30mm and the upper hole can fit a standard 625 2rs bearing (if you have one). There’s bridging in the middle of the cube, overhangs in the lettering and of course you can check for ringing or ghosting in the print.
Our cube was printed in Matterhackers Pro Build Red ABS and turned out pretty dang nice without any tuning.
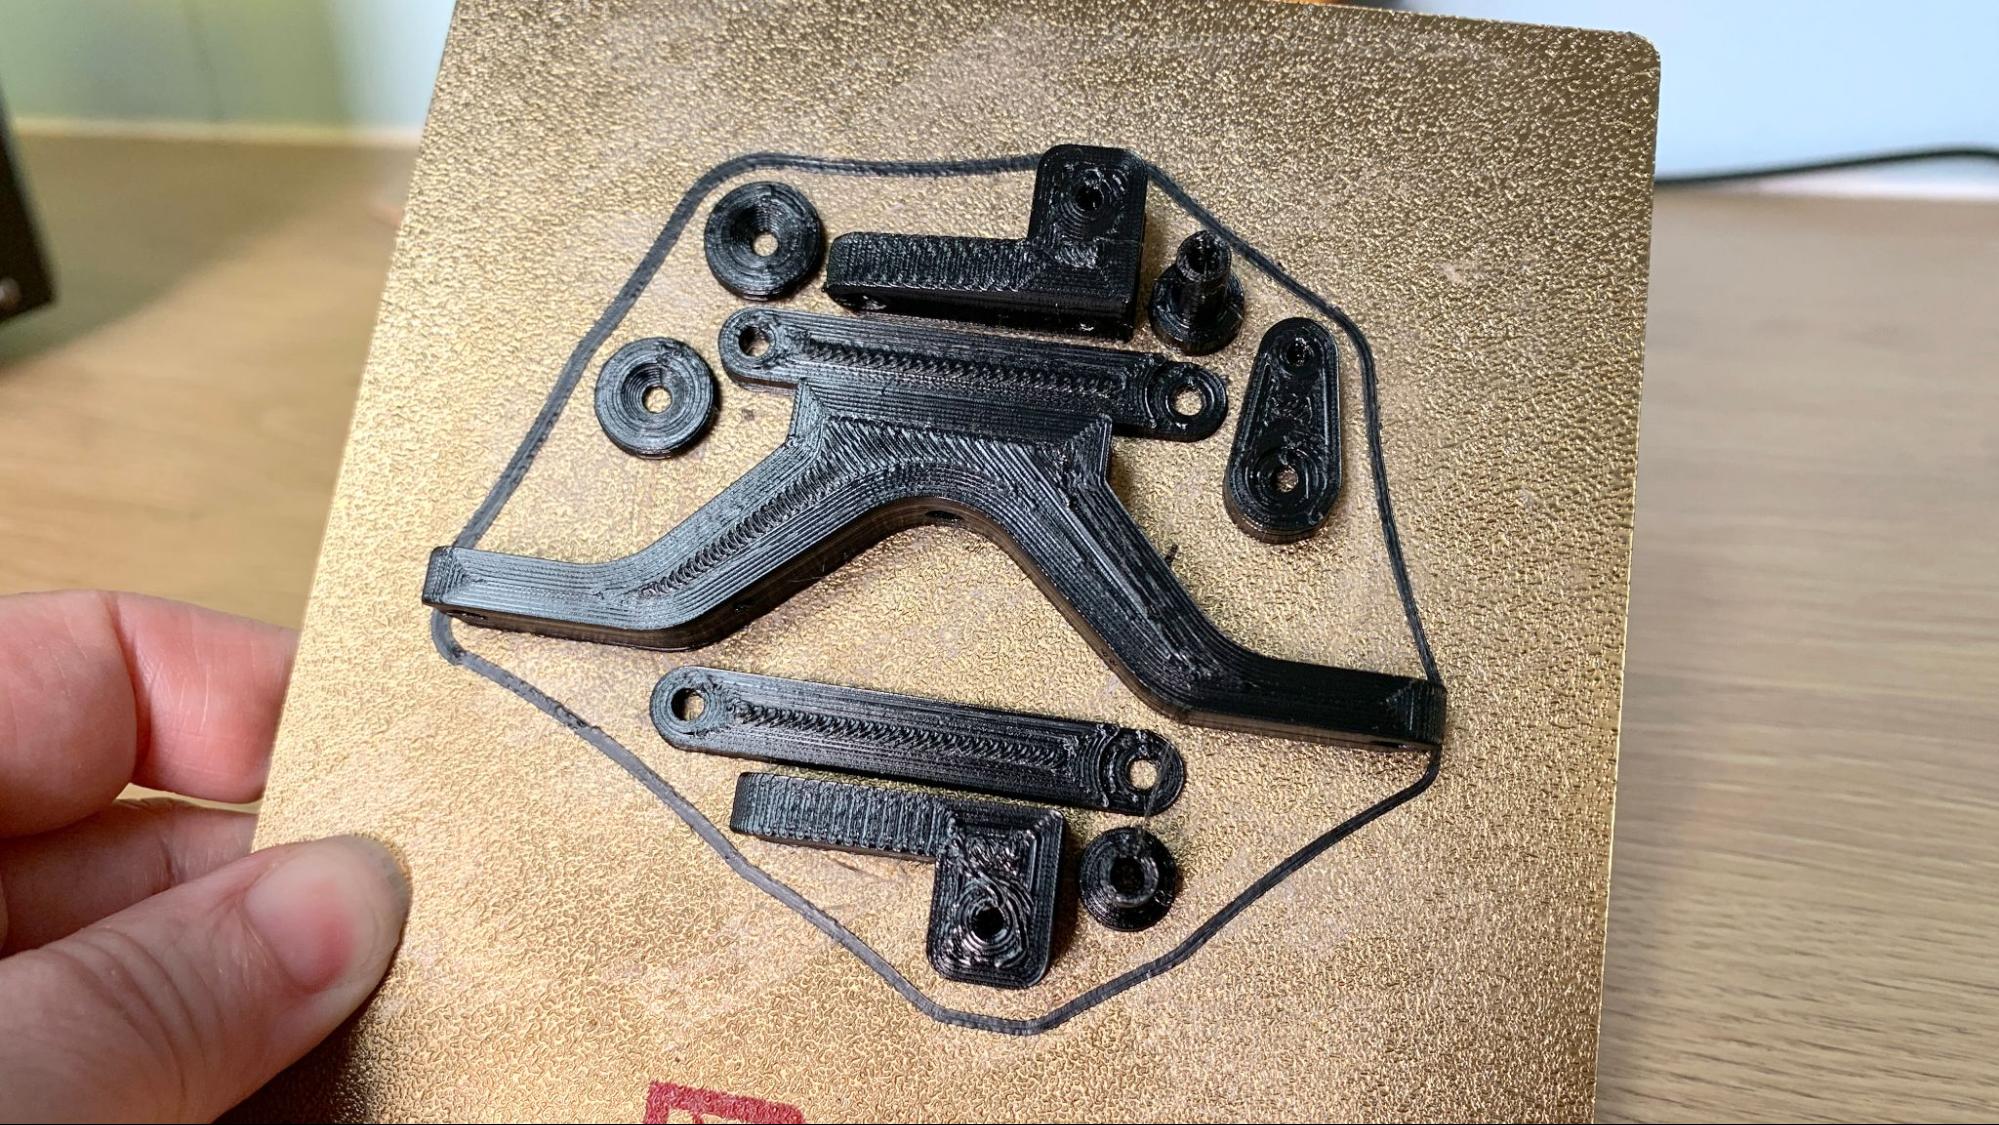
We printed a lot of practical parts on the Voron for an RC drag racer we’re taking to the Rocky Mountain RepRap Festival. These were printed in Overture Easy Nylon, using a .2mm layer height, with a beefy 4 walls and 20% infill. The parts are strong and light, and only took 1 hour and 9 minutes to print at 150mm/s.
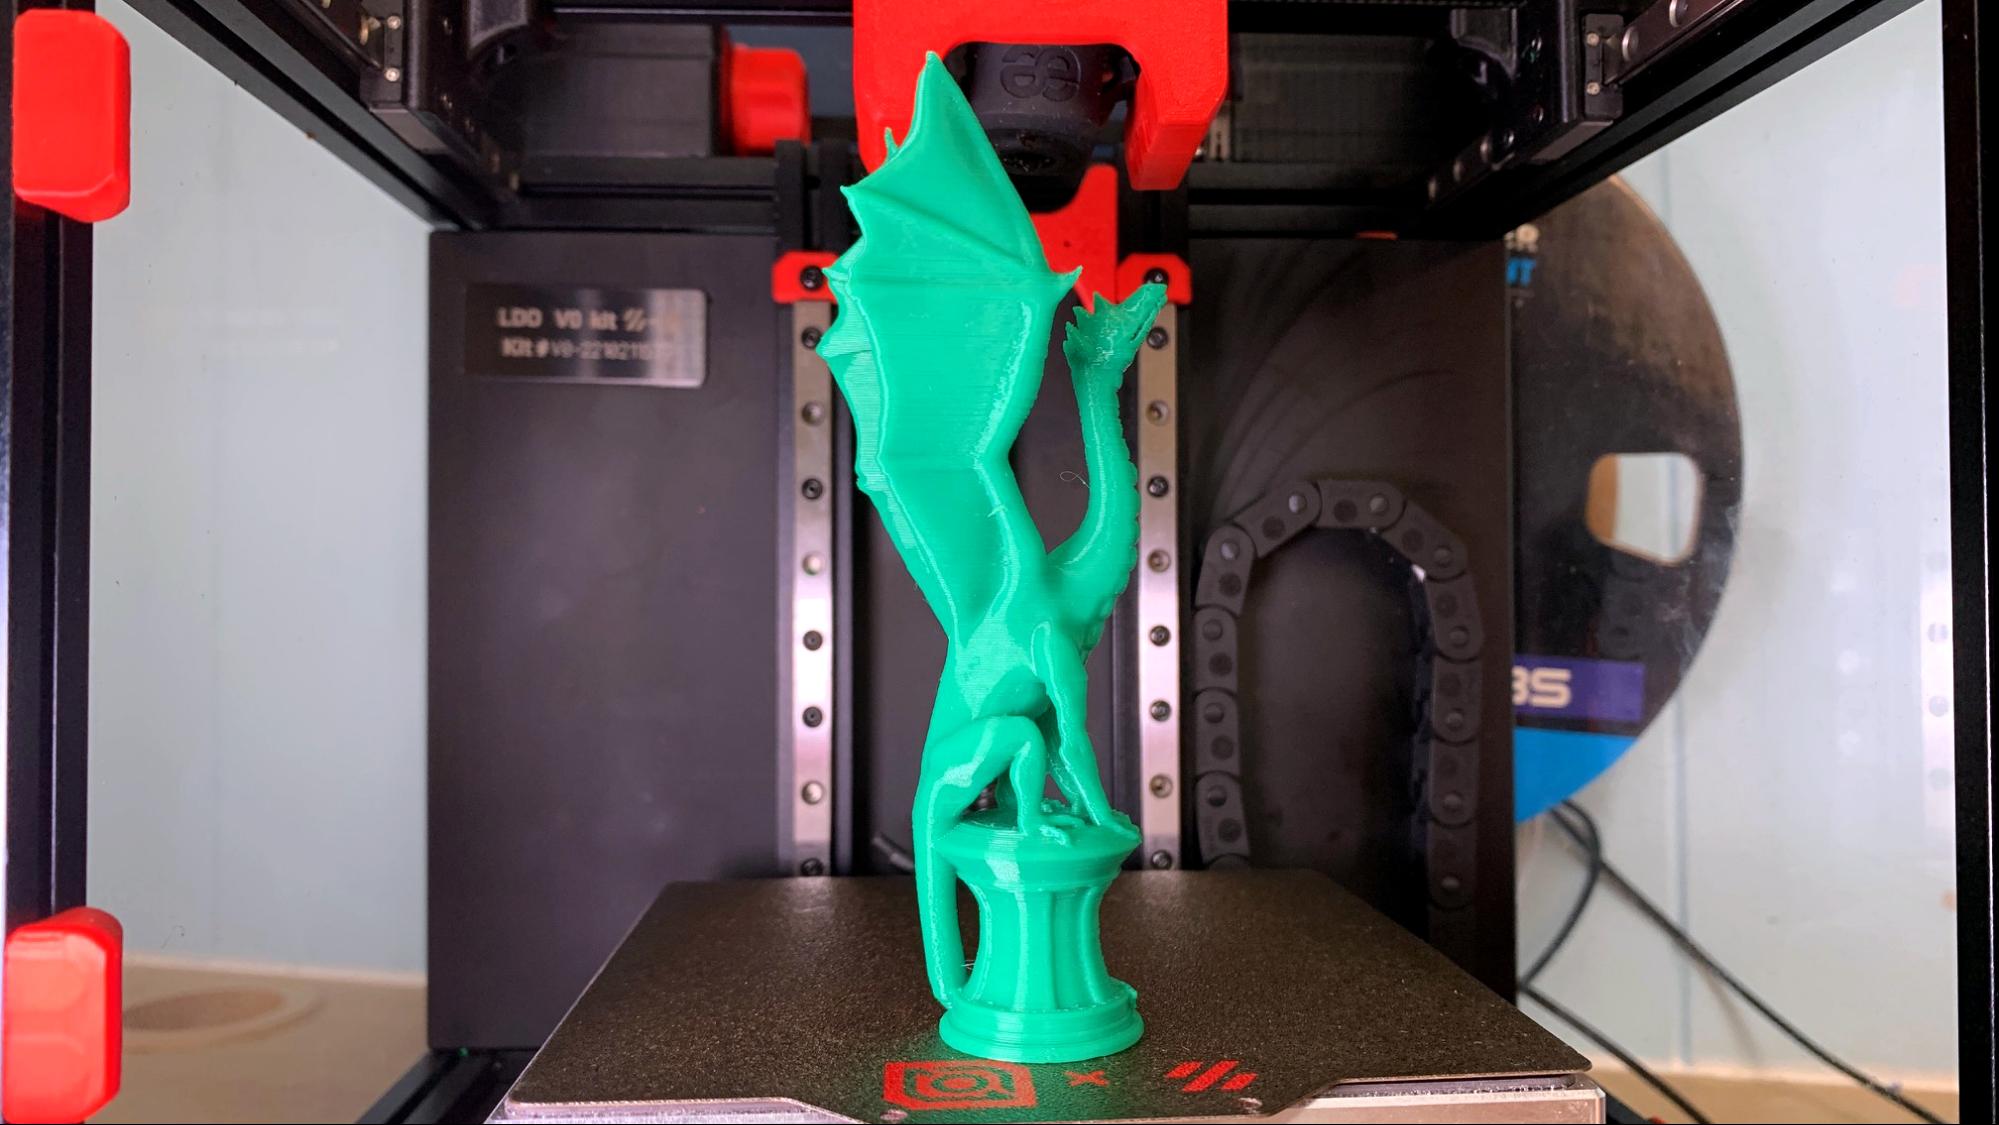
For PETG, I printed Aria’s Dragon, which was actually too tall at 100%. This version is shrunk down to 88%, making it the full 115mm build height. There’s a couple little zits on the neck and very little stringing. The detail in the claws look great. This took two hours and 28 minutes with a .2 layer line and a conservative 65 mm/s and uses MicroCenter’s Inland Green PETG.
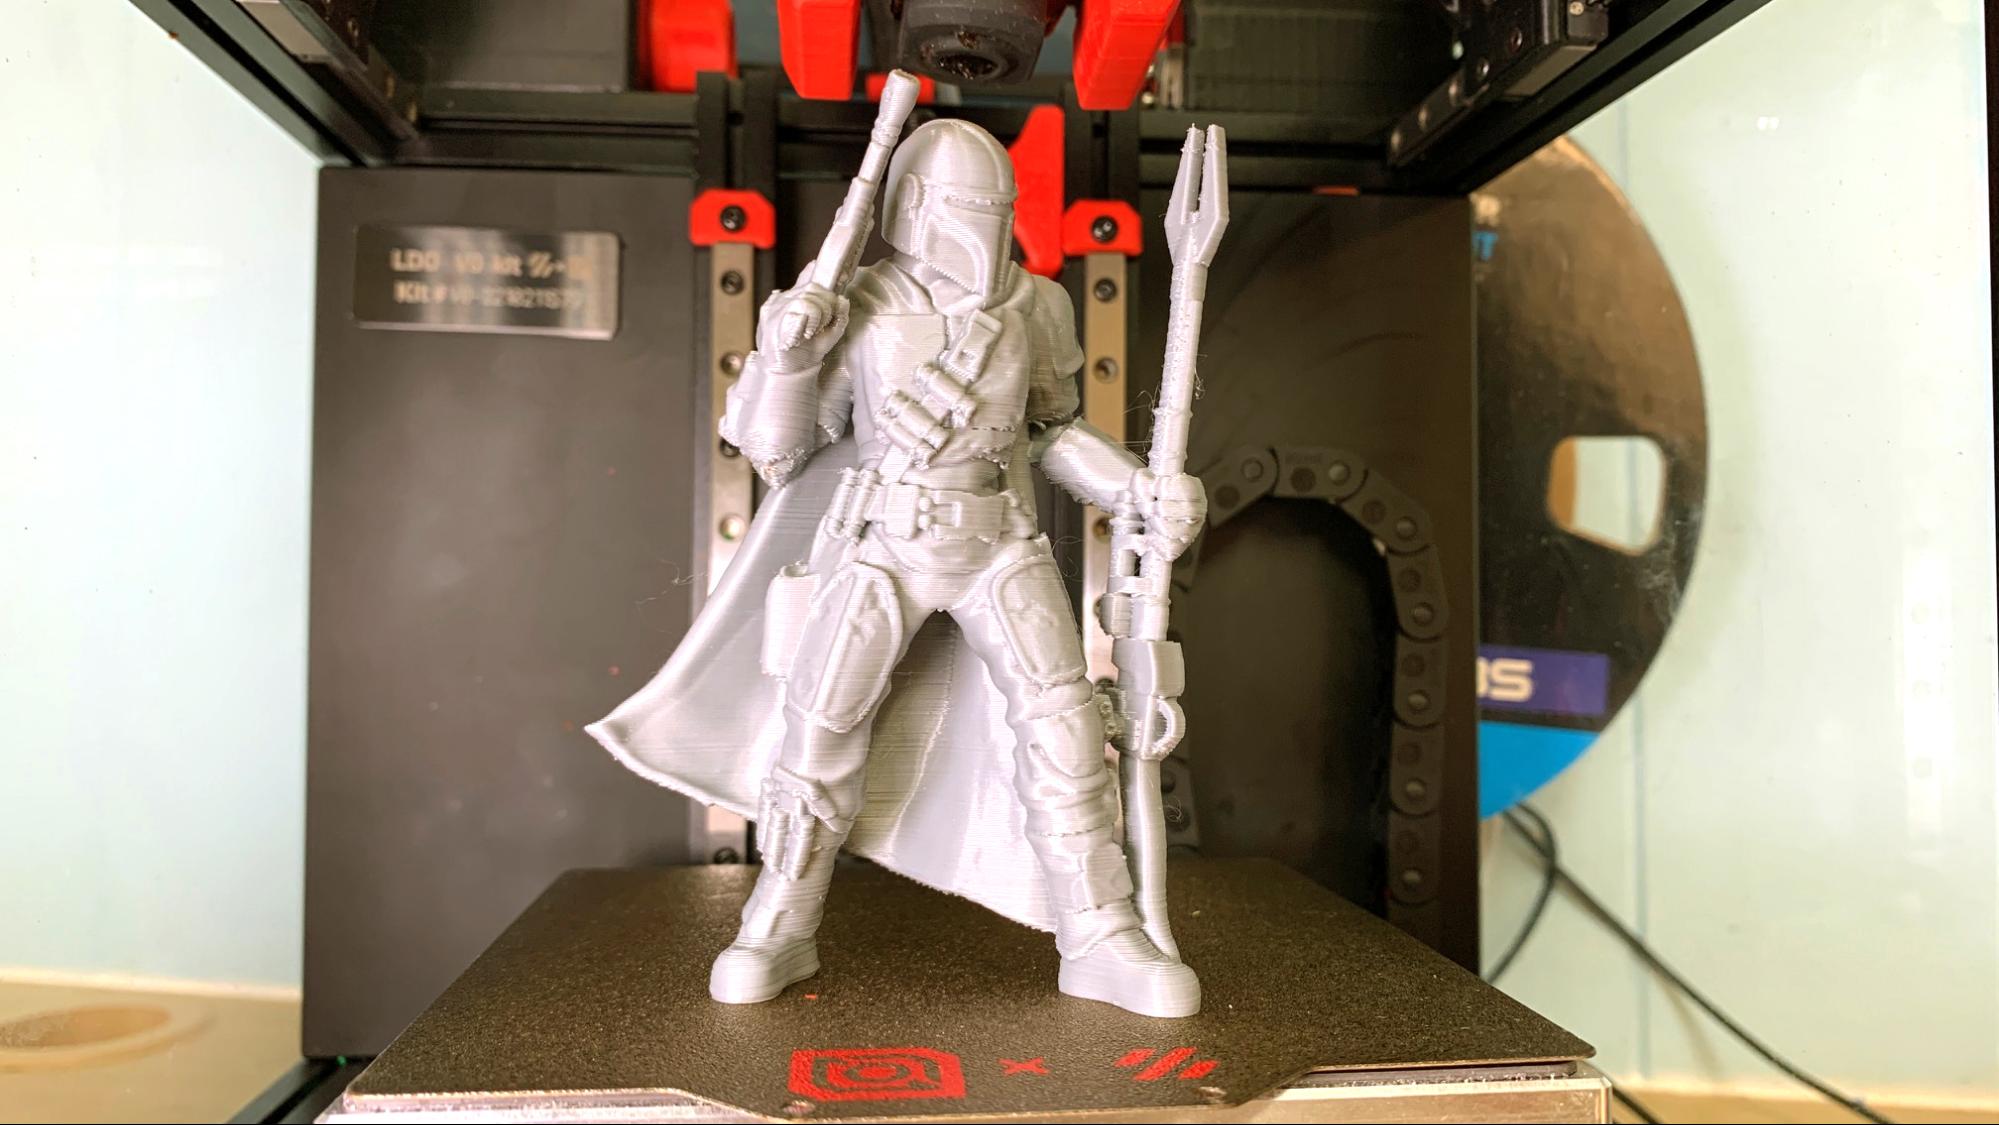
For a PLA print, I picked my favorite bounty hunter, Mando. This is a support free print that can look a little rough if the cooling isn’t perfect. This is a very good print that’s only 4 inch tall with crisp details, and few droops. The camera really picks up the layer lines, which is a shame, because it looks much smoother in person. It printed in 3 hours and 9 minutes with a .16mm layer height and 120mm/s. This used MicroCenter’s Inland Silver PLA.
TPU didn’t work out on this printer. Its direct drive should have worked, but I wasn’t able to get it to feed. This may be a problem with the build, and a hazard of hand building your own extruders.
Bottom Line
The Voron 0.1 is a great little machine once you’ve gotten over the trials and tribulations of building it. As our first Voron build – and first project using kilos of ABS – it was quite the challenge. It was a great teaching experience and now I know a bit more about practical prints, electronics and Klipper. The prints are fantastic and I can keep it loaded up with ABS to print strong practical prints while my Ender sticks to silly dragons.
The LDO Motors Voron 0.1 Kit brings the goods when it comes to quality, but really lacks in quality of life features, like a display screen and place to plug in your stl files. We were able to fix the screen by purchasing one from another source, but we’re still left without a way to load new files when we take it on the road to festivals.
If you’re not building this printer for the knowledge and bragging rights, a Voron is no longer the most affordable option for a quality machine. With a retail price of $629 ($805 with filament for parts, a screen and a cheap Raspberry Pi) you might want look at the pre-built Bambu Lab P1P for $699. Another option for a similar price would be adding a Creality Sonic Pad to an Ender 3 S1 Pro, one of the best 3D printers.
MORE: Best 3D Printers
MORE: Best Resin 3D Printers
MORE: Best Filaments for 3D Printing

Denise Bertacchi is a Contributing Writer for Tom’s Hardware US, covering 3D printing. Denise has been crafting with PCs since she discovered Print Shop had clip art on her Apple IIe. She loves reviewing 3D printers because she can mix all her passions: printing, photography, and writing.
-
durahl First of all, if you want to compare a Voron to a Bambo Lab Printer then you'd have to either use the V2.4 or Trident as their specs are more comparable ( concerning the Build Volume ).Reply
Second the LDO Kit is expensive AF with Alternatives being available at almost half the price of that. -
Cheveuxroux I am in process of assembling a Voron 0.1 kit.Reply
My two primary complaints are:
First: the very poor quality .PDF instructions as supplied by the manufacturer.
The English language comments are unnecessarily sparce as each page has plenty of room for comments and arrows pointing to part locations.
The author(s) should have used instructions included with many of the plastic model kits currently available as inspiration... The manufacturer has no excuse for such poor quality instructions.
Second: the requirement that the buyer furnish a Raspberry Pi in order to complete the kit may have made sense prior to the two-year COVID lockdowns.
However, I have yet to see a Raspberry Pi board in stock at any authorized supplier website...
I cannot recommend buying the kit for those two reasons.
