LG 34UC79G 34-inch Ultra-Wide FreeSync Monitor Review
Why you can trust Tom's Hardware
OSD Setup & Calibration
Accessing the OSD begins with a press of the tiny joystick. That will bring up a quick menu where you can power the monitor off, change inputs, or access the game-specific options. A right click brings up the full menu.
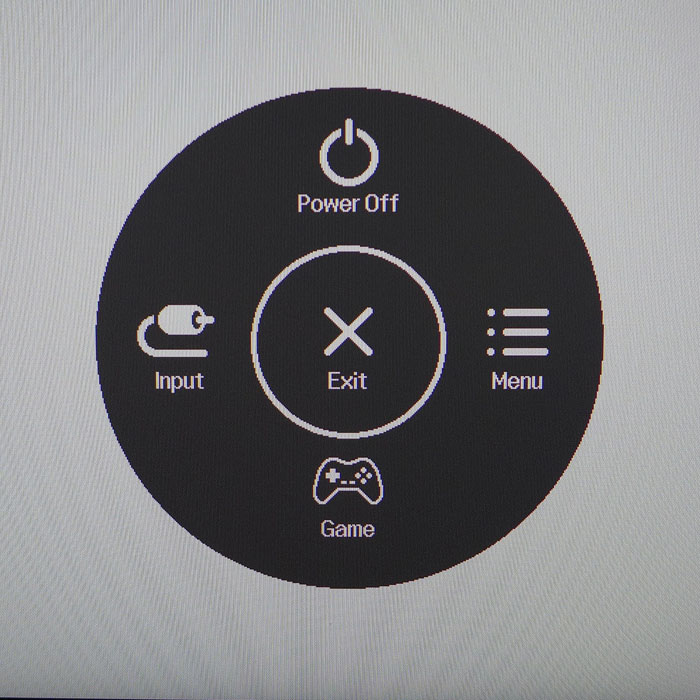
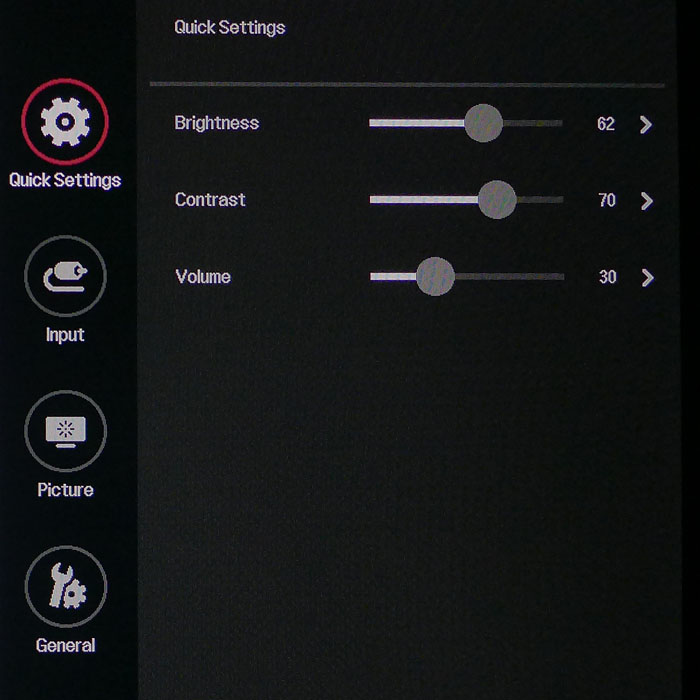
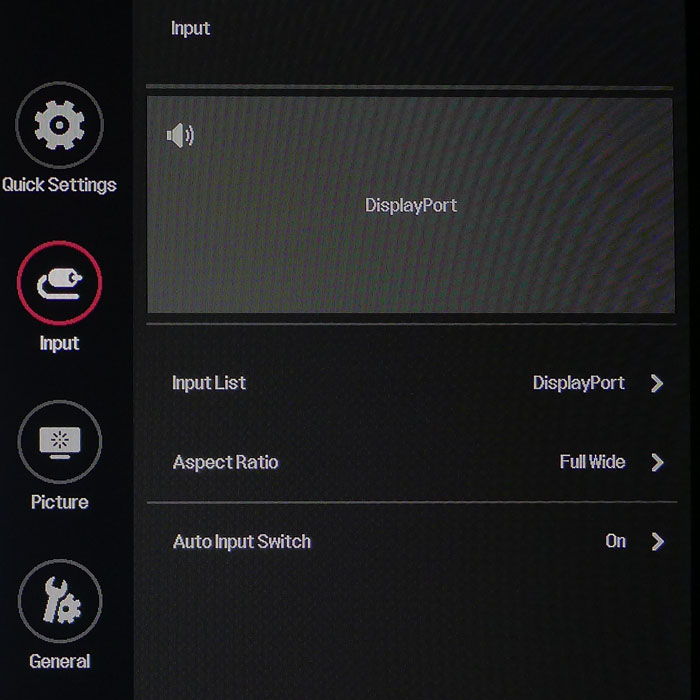
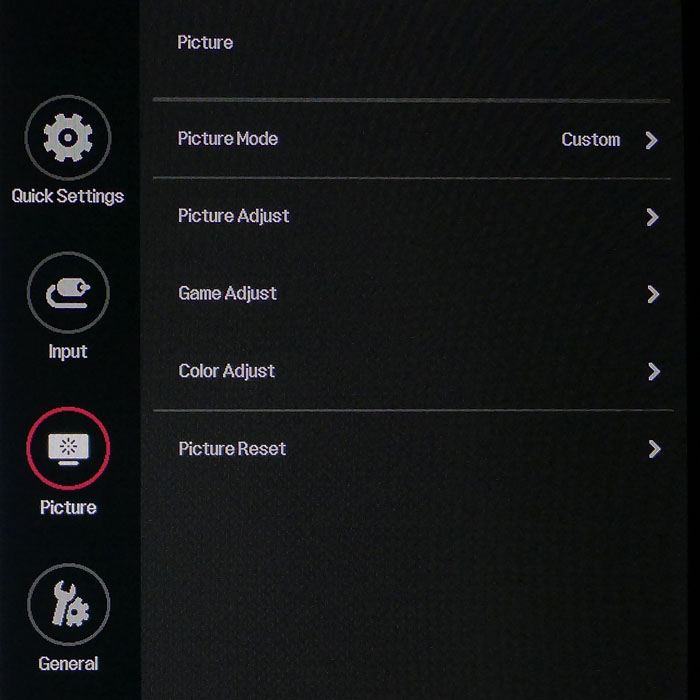
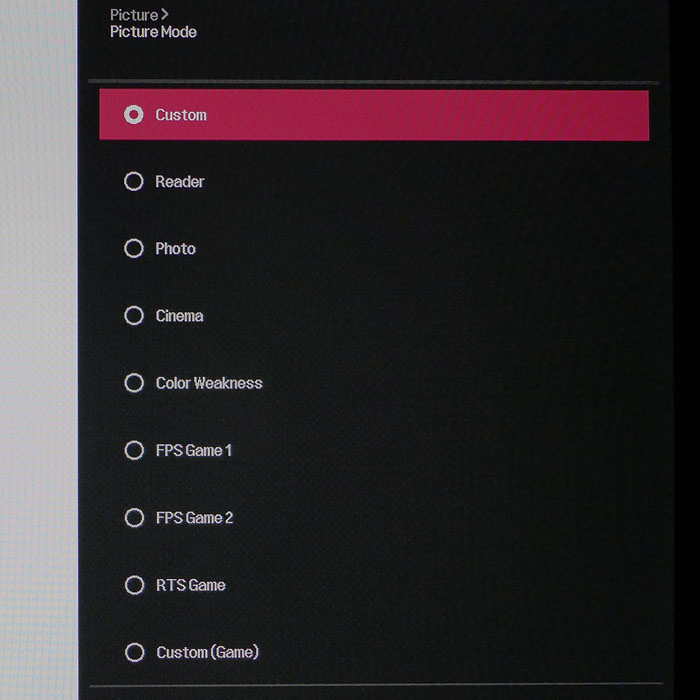
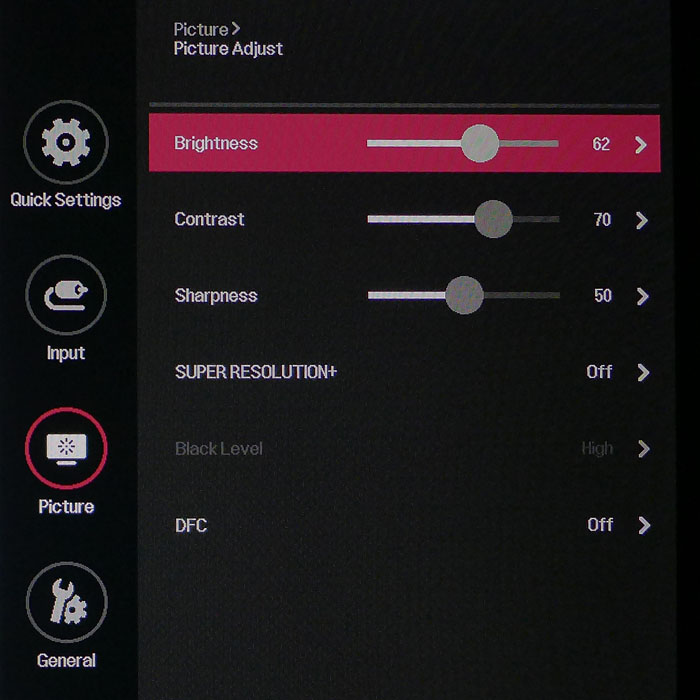
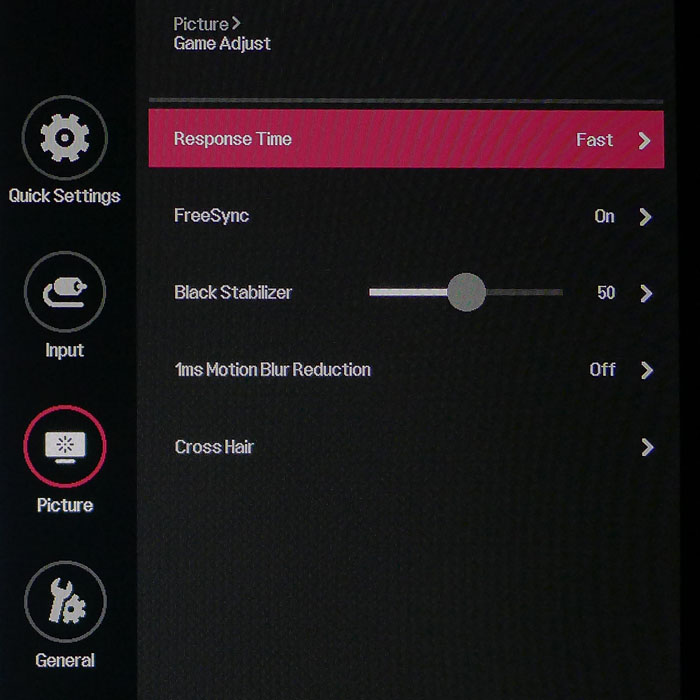
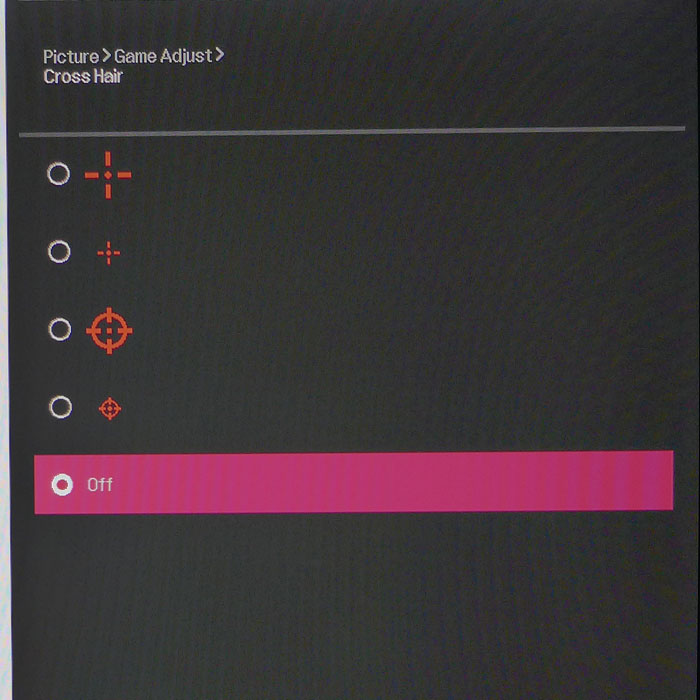

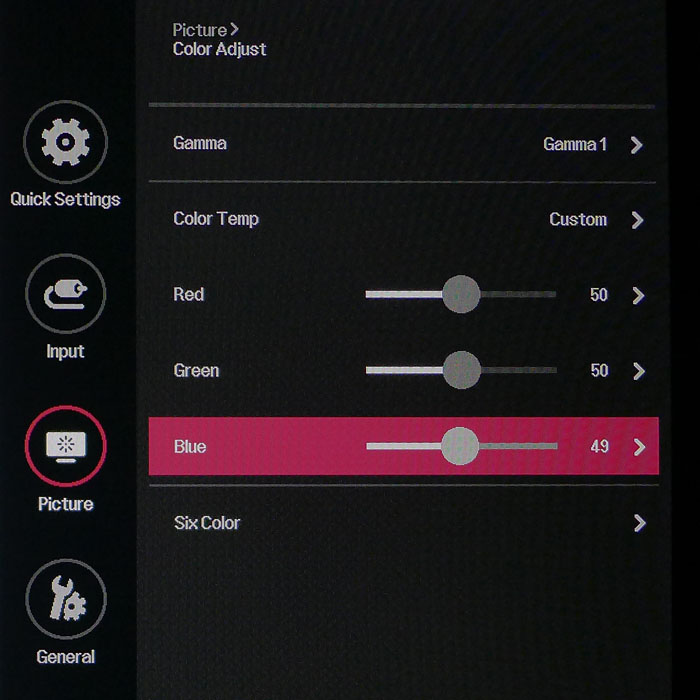
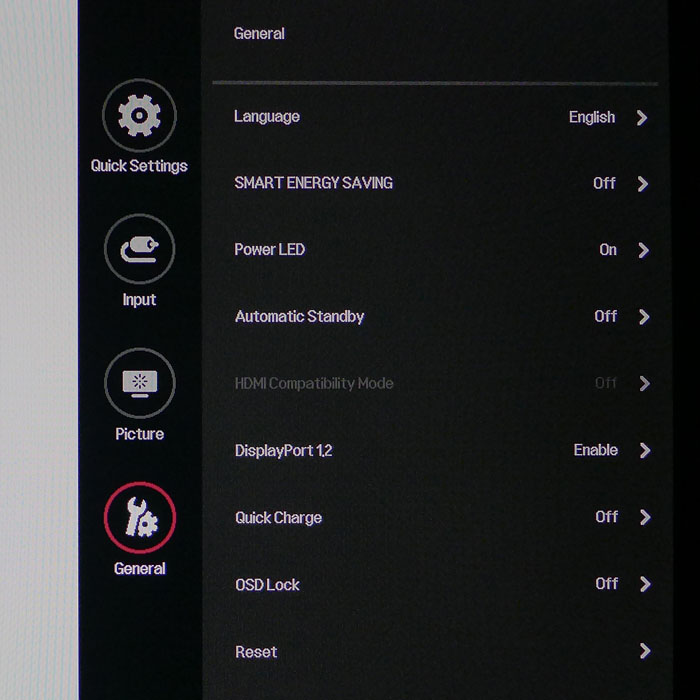
The OSD occupies the entire right side of the screen, but it avoids the center zone which is handy for those calibrating their monitors. Options are divided into four sub-menus: Quick Settings, Input, Picture, and General.
The Quick Settings menu offers only brightness, contrast, and volume sliders. The luminance controls are repeated in the Picture menu.
Input has the expected selector along with aspect ratio controls. If you’re watching a movie in the 2.35 or 2.40:1 ratio, choose Cinema 1 mode to remove the black bars from top and bottom. Otherwise, leave it in the Full mode for gaming or general computing.
The Picture menu starts off with nine picture presets. Custom is the default and does not require calibration. Its grayscale and gamma are spot-on, and color accuracy, while not quite at the pro level, is more than adequate for gaming and entertainment. If you want to tweak, there are three gamma presets plus a user color temp with RGB sliders and a six-axis color management system. Enhancements include dynamic contrast, black level, sharpness, and super resolution. The latter two will add ringing to high contrast transitions, so use them sparingly.
Game Adjust is where you’ll find FreeSync and motion-blur reduction options. In custom mode FreeSync is off by default, so you’ll need to turn it on before AMD Catalyst will recognize the presence of a compatible monitor. If you’d rather have blur reduction, the feature works up to 144Hz which is a first for us. ULMB maxes out at 120Hz and most other FreeSync screens don’t even offer it. It also reduces output and contrast, though in the 34UC79G’s case, its impact is far less than that of the competition. We’ll detail those test results on the next page. Also here is the overdrive control, called Response Time. The Medium setting provides the best compensation without ghosting.
LG also provides an on-screen aiming aid similar to Asus’ GamePlus feature. There are four reticles available. They look somewhat pixelated. We’d rather see something more visually precise.
Get Tom's Hardware's best news and in-depth reviews, straight to your inbox.
The final menu, General, has language options, HDMI & DisplayPort compatibility, and a full reset function. There's also Smart Energy Saving, which is turned on Low by default. You’ll want to shut this off for maximum control of light output. Otherwise, brightness will be limited and contrast is reduced.
Calibration
After our initial measurements, we weren’t sure if a calibration would make any improvement. Grayscale tracking has an average error level under 1dE by default, and gamma rides the 2.2 line almost perfectly. Our only observation was a slight hue error in the magenta secondary, so we turned to the CMS to fix it. That was successful, and the end result was pro-level results in almost all our color tests. Only slight issues with green and blue held the 34UC79G back from perfection. To replicate our adjustments, give our settings a try. Unlisted controls should be left at their default values.
| LG 34UC79G Calibration Settings | |
|---|---|
| Picture Mode | Custom |
| Brightness 200cd/m2 | 62 |
| Brightness 120cd/m2 | 15 |
| Brightness 100cd/m2 | 4 |
| Color Temp Custom | Red 50, Green 50, Blue 49 |
| Magenta Hue | 57 |

Christian Eberle is a Contributing Editor for Tom's Hardware US. He's a veteran reviewer of A/V equipment, specializing in monitors. Christian began his obsession with tech when he built his first PC in 1991, a 286 running DOS 3.0 at a blazing 12MHz. In 2006, he undertook training from the Imaging Science Foundation in video calibration and testing and thus started a passion for precise imaging that persists to this day. He is also a professional musician with a degree from the New England Conservatory as a classical bassoonist which he used to good effect as a performer with the West Point Army Band from 1987 to 2013. He enjoys watching movies and listening to high-end audio in his custom-built home theater and can be seen riding trails near his home on a race-ready ICE VTX recumbent trike. Christian enjoys the endless summer in Florida where he lives with his wife and Chihuahua and plays with orchestras around the state.
-
wh3resmycar looks promising. i don't care even if it's 1080p. i mean if you're going to bash an ultrawide 144hz 1080p monitor, make sure you have an SLi gtx1080 first.Reply -
JakeWearingKhakis This just might be the perfect monitor for my current setup. Single R9 290X overclocked to 1100core mhz 1400 memory mhz. Great for 1080p gaming, and I have been looking for an ultra-wide freesync 144hz IPS like this. Tasty price too.Reply
Until I build a Vega system I'm not even going to go for 4k or even 1440p ultrawide monitors. I know my card could probably handle a 1440p 144hz 27inch monitor very well, but I'm really into the Ultra-Wide curve thing. -
DocBones Really happy with the Omen 32 that I got for 275. I can live without the 144 hz for $400Reply -
hidaamoro If you guys would actually look at the specs you would see that it is NOT 1080p but 2560x1080, ultrawide.Reply -
Xajel No thanks, still waiting for the next patch of HDR displays... looking forward for something like 34" Ultrawide 1440p with FreeSync2/G-Sync HDR... 120-144HzReply