NEC PA243W 24" Wide-Gamut Professional Monitor Review: Out-of-the-Box Excellence
Why you can trust Tom's Hardware
OSD Setup & Calibration
The PA243W’s on-screen display (OSD) is controlled by a well-designed system of buttons and rocker switches, accompanied by on-screen labels. Menu navigation is quick and intuitive--as good as any joystick system we’ve encountered. There is a vast array of features and adjustments, many of which you’ll likely never need.
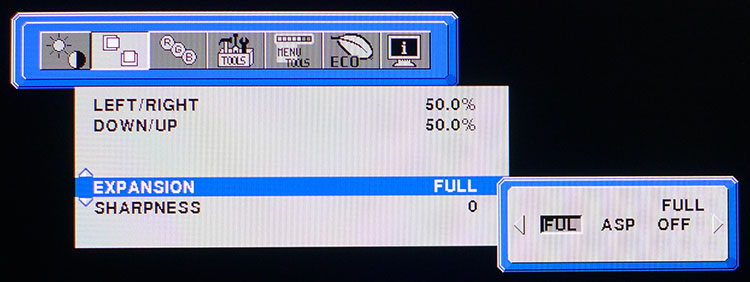

Brightness is adjusted in cd/m2 and our testing shows the labels come fairly close to reality; we measured anywhere from 3-6 nits difference. Eco mode simply limits output to save energy and Black adjusts the lower threshold for different signal formats.
By default, a 1920x1080 image is shown with bars on the top and bottom. The gray level of the bars is adjustable in the advanced menu. By selecting Full, the picture will stretch to fill the screen. Sharpness adds visible ringing to the picture and should be avoided.
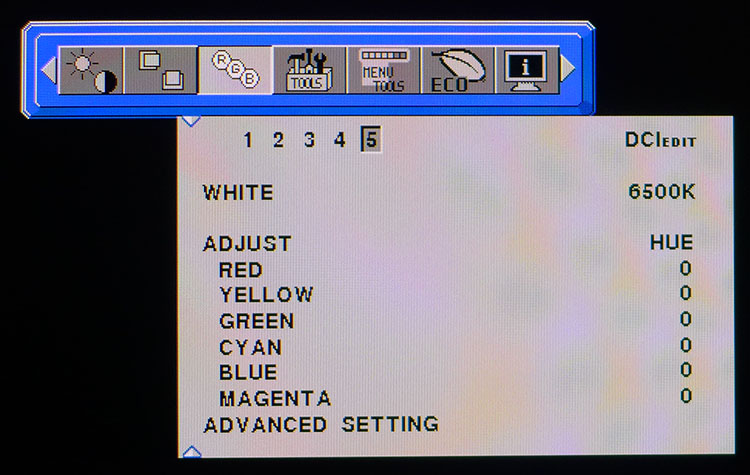
The RGB menu has five picture presets: sRGB, Adobe RGB, DCI, Full, and High Bright. The first three nail their standards perfectly--or nearly. There's one caveat which we’ll explain in a moment. For each mode, you can adjust the white point by temperature and tweak hue, saturation, and gain (luminance) for all six colors. The real fun happens when you scroll down to Advanced Setting and press the Select button.
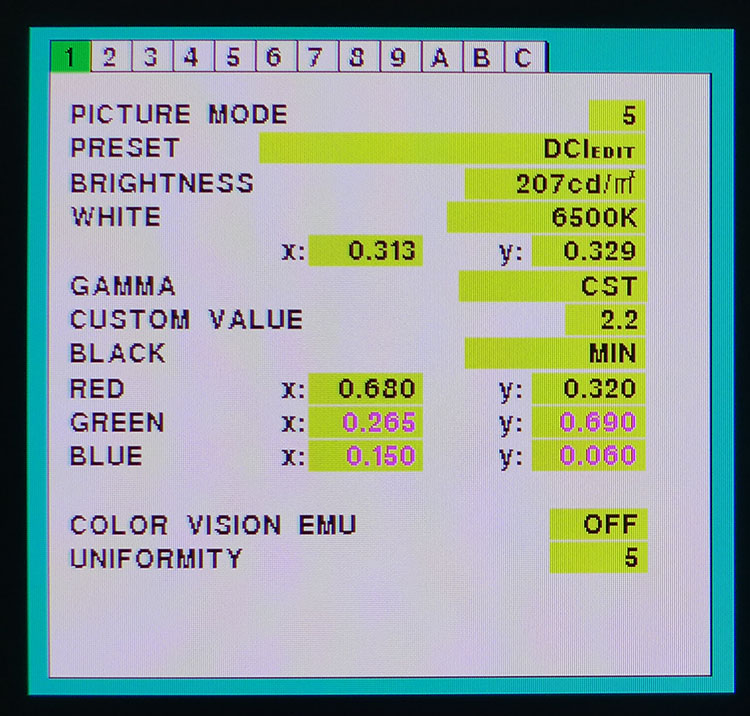
The Advanced menu has 12 screens that mostly repeat what’s found in the main OSD, but adds extensive color management features. You can alter settings independently for each of the five picture modes. The best part is you can adjust all color points, including white, using x and y coordinates. This is an incredibly easy and precise way to calibrate, and we wish all display manufacturers did it this way. The only thing we couldn’t easily alter was color luminance (more on that below).
Gamma is adjustable in increments from .5 to 4.0. The only thing missing is a BT.1886 gamma option. For that, you’ll have to fire up NEC's SpectraView software. Uniformity compensation comes in five levels, or you can turn it off. Our tests revealed it to be the first and only truly usable such system we’ve encountered so far. It reduces contrast just slightly, even at its strongest. Our review sample posted impressive numbers both with and without it.
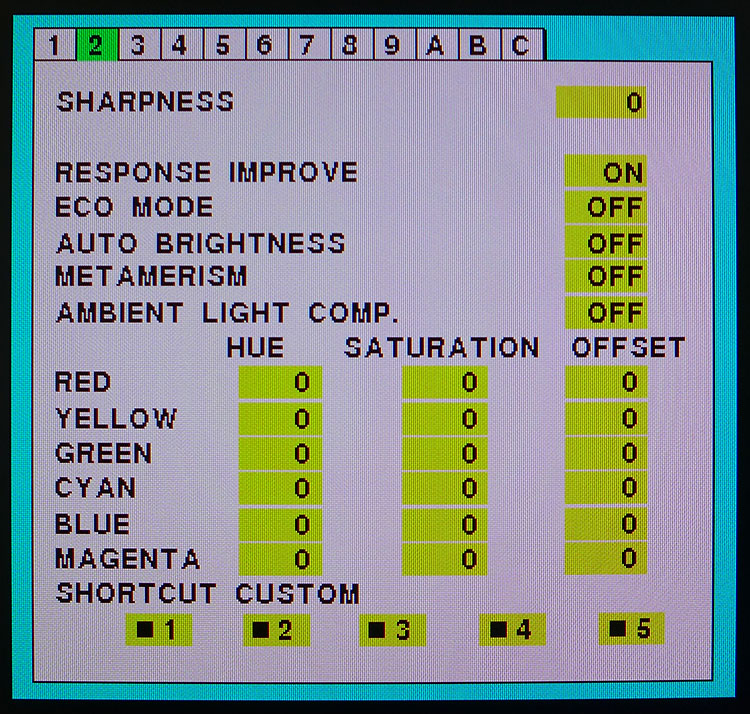
The second screen in the Advanced menu has a couple of important options. First is one called Metamerism. It’s meant to compensate for a particular type of color perception. For some reason, it’s turned on by default. This will significantly alter the blue primary, to the point where one might think there is something wrong with the monitor. If you’re verifying calibration with a meter, turn it off. Also here is the ambient light sensor control. When turned on, it alters color temperature according to room lighting.
Get Tom's Hardware's best news and in-depth reviews, straight to your inbox.
The Tools menu lets you adjust speaker volume, activate the picture-in-picture (PIP)/picture-by-picture (PBP) function for two sources, control the USB ports, automatically detect video signals to change inputs, and set an off timer. Menu Tools offer multiple languages, menu position, lockout, color, and transparency; control of resolution messages onscreen; and a full reset which returns the PA243W back to its factory settings.
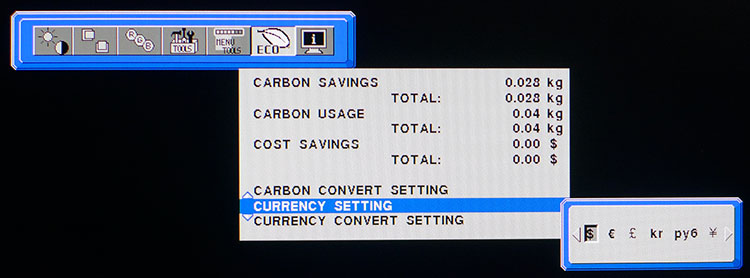
NEC’s famous carbon footprint meter is also included, which can show you exactly how much you’re spending to run your PA243W. You can even change the currency unit--yet another interesting feature you won’t likely find anywhere else.
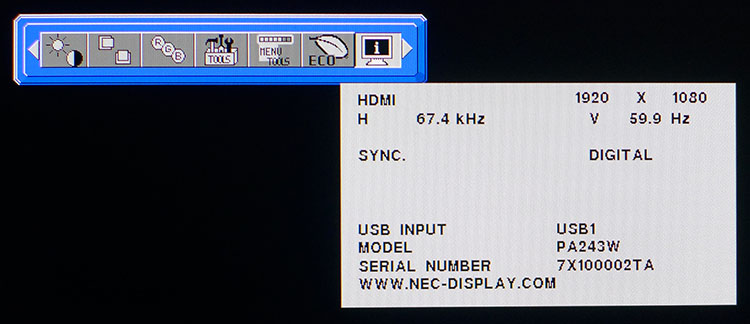
The Signal Info setting reports input resolution and refresh rate, along with sync type: analog or digital. You can also check KVM status to learn which PC is currently being shown on the screen. The display's serial number is here too, in case you need it for warranty service.
Calibration
You’ve probably realized by now that the PA243W doesn’t need calibration in its sRGB, Adobe RGB, or DCI-P3 modes. Still, you'll want to make sure you turn off Metamerism in the Advanced menu, as well as the ambient light sensor if you want to match the factory data sheet as we did. To equalize our test results, we adjusted each mode to an indicated 207cd/m2, which measured 200cd/m2 using our C6 meter. Gamma presets can be set to any value from .5 to 4.0 and they match perfectly as well. To tweak color, use the coordinate system in the first screen of the Advanced menu rather than the traditional CMS controls found on screen 2. The color luminance controls, called Gain, interact with each other to the point where they are difficult to use and are probably best left alone. Luckily, their adjustment is unnecessary.
Here are the brightness settings for commonly used output levels.
- 200cd/m2 – 207
- 120cd/m2 – 124
- 100cd/m2 – 103
- 80cd/m2 – 83
- 50cd/m2 - 52
MORE: Best Gaming Monitors
MORE: Best Professional Monitors
MORE: How We Test Monitors
MORE: How To Choose A Monitor
MORE: All Monitor Content
Current page: OSD Setup & Calibration
Prev Page Features & Specifications Next Page Brightness & Contrast
Christian Eberle is a Contributing Editor for Tom's Hardware US. He's a veteran reviewer of A/V equipment, specializing in monitors. Christian began his obsession with tech when he built his first PC in 1991, a 286 running DOS 3.0 at a blazing 12MHz. In 2006, he undertook training from the Imaging Science Foundation in video calibration and testing and thus started a passion for precise imaging that persists to this day. He is also a professional musician with a degree from the New England Conservatory as a classical bassoonist which he used to good effect as a performer with the West Point Army Band from 1987 to 2013. He enjoys watching movies and listening to high-end audio in his custom-built home theater and can be seen riding trails near his home on a race-ready ICE VTX recumbent trike. Christian enjoys the endless summer in Florida where he lives with his wife and Chihuahua and plays with orchestras around the state.