How To: Optimizing Your Graphics Card's Cooling
Even with summer gone, cooling remains a hot topic. How can the cooling performance of a graphics card be improved without replacing the cooler, or switching to liquid cooling? We'll cover some causes of poor cooling performance.
Optimizing Graphics Cooling
We're not limiting ourselves to a comparison of various thermal pastes in this piece. Instead, we want to explain why the cooling of some graphics cards simply can't be improved, and why it is necessary to look at cooling solutions (including fans) in their entirety to prevent buyer's remorse once you get that new board installed. We'll also go after the urban legend that the thermal pastes applied by OEMs are cheaper or of lower-quality, and then check to see if there are other explanations for drastically lower temperatures post-modding.
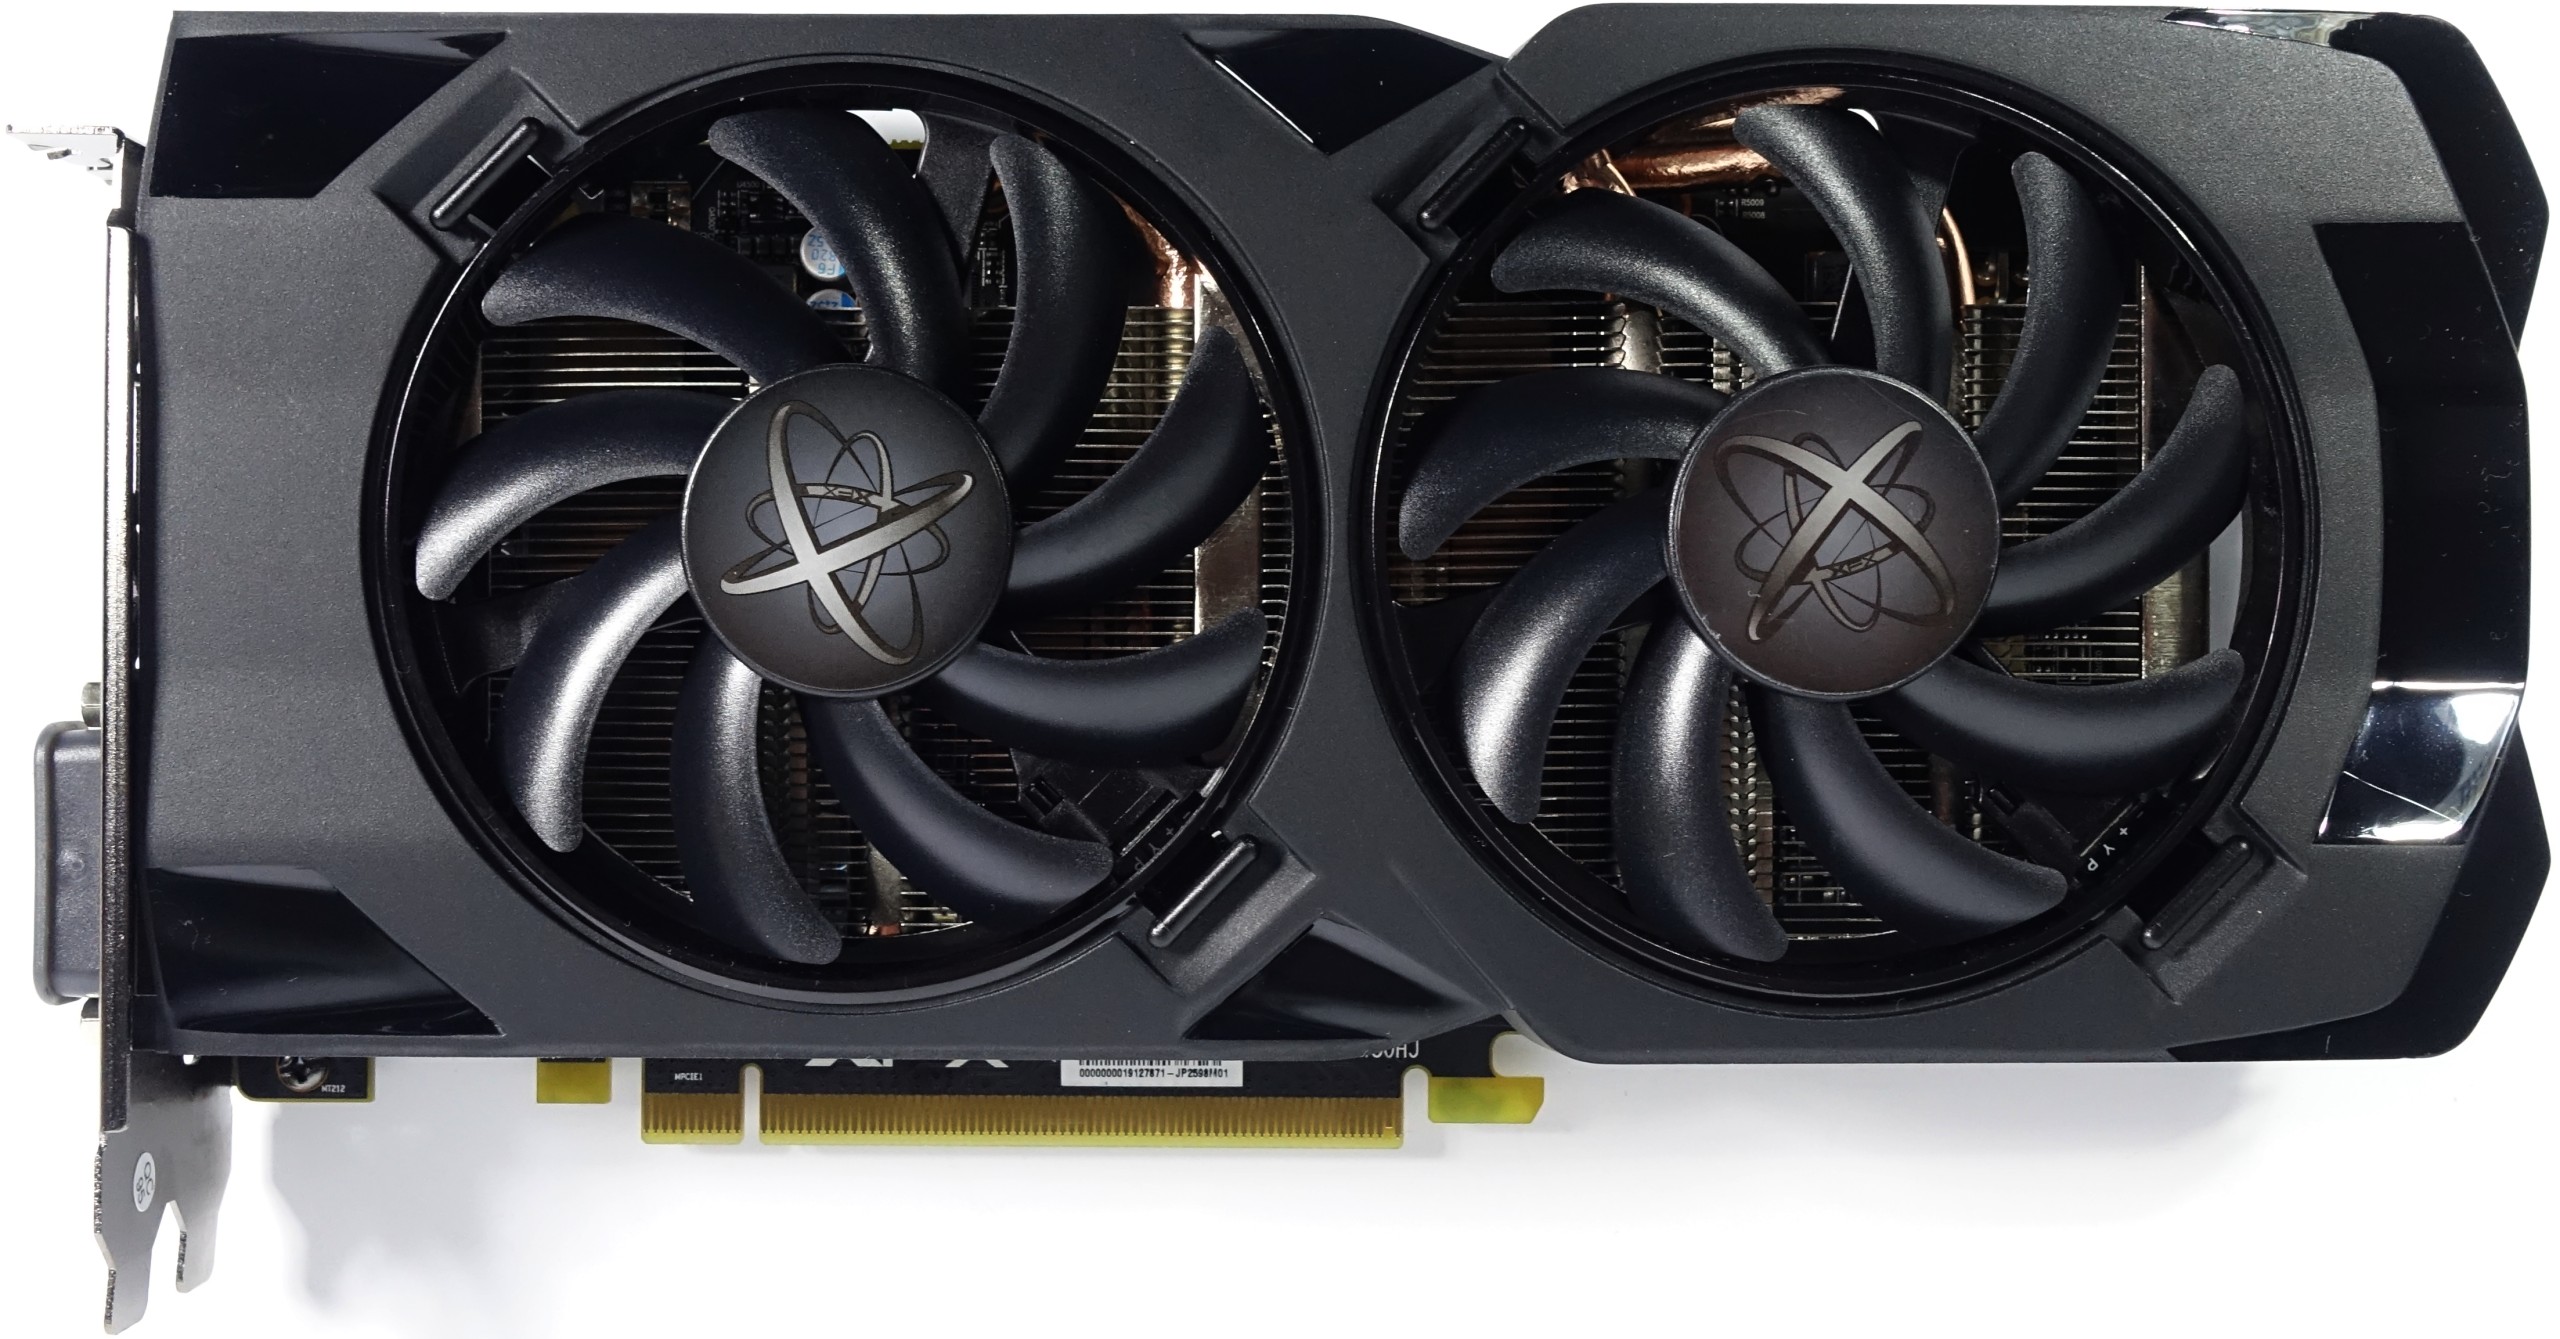
For the tests in this article, we're using XFX's Radeon RX 470 4GB. It's a card that'll take a wide range of modifications and benefits from each alteration to various degrees. It's also a good example of what could go wrong, even unintentionally. Where necessary, we'll include other products as well to cover aspects not necessarily applicable to the RX 470.
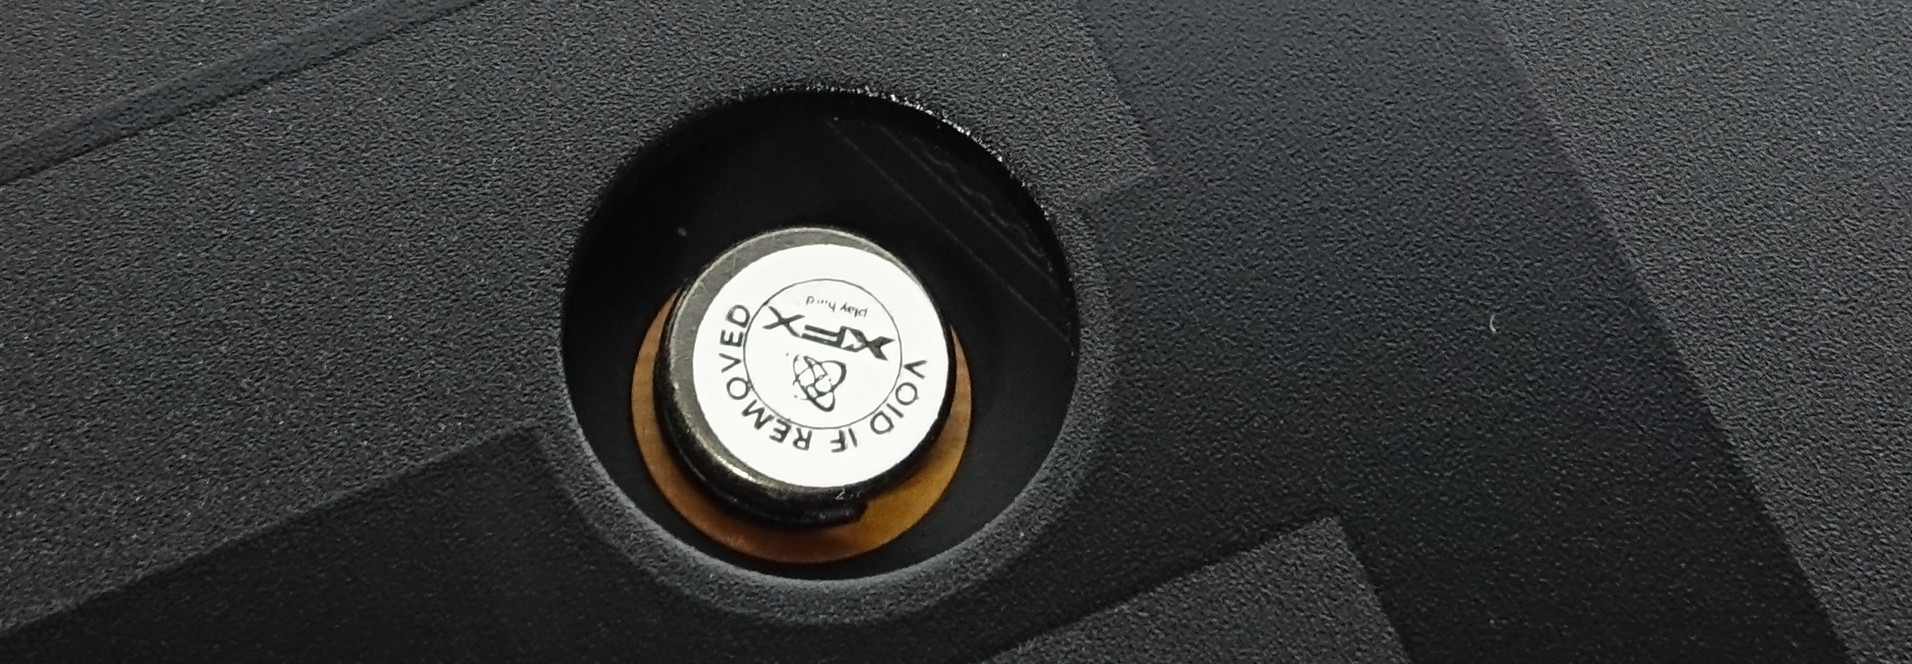
Remember to read your manufacturer's warranty agreement prior to making any modifications. A loss of coverage might easily outweigh a small gain in cooling performance! If even one of the screws that need to be loosened during disassembly is covered by a manufacturer's seal, as shown in the image below, then you shouldn't proceed unless you're fully aware of the consequences. A broken seal cannot be replaced. Some manufacturers like EVGA expressly allow modifications, while other companies (including XFX) explicitly forbid them.
Companies like MSI meet the customer half way. It doesn't explicitly disallow modification, but if you do end up with a warranty case, the support department may insist that the installation of a new cooler must have been done according to industry standards, and that any damage to the card must not have been a direct or indirect result of your modifications. Or—and this is a gray zone—some manufacturers neither install seals nor explicitly mention modifying the cooler.
Note #1: Check the manufacturer's warranty conditions and/or goodwill, ideally before your purchase. Inquire about them if necessary.
Proper Tools and Careful Handling
There is nothing worse than screwing up a screw, whether it's due to the classic "one twist too many," the thread losing its grip, or a damaged screw head. Therefore, only the best tools should be good enough for you. Discount mechanic sets from your local dollar store may look like a bargain at first, but more often than not they turn out to be low-quality, good-for-nothing scrap with soft bits that fall apart on you.
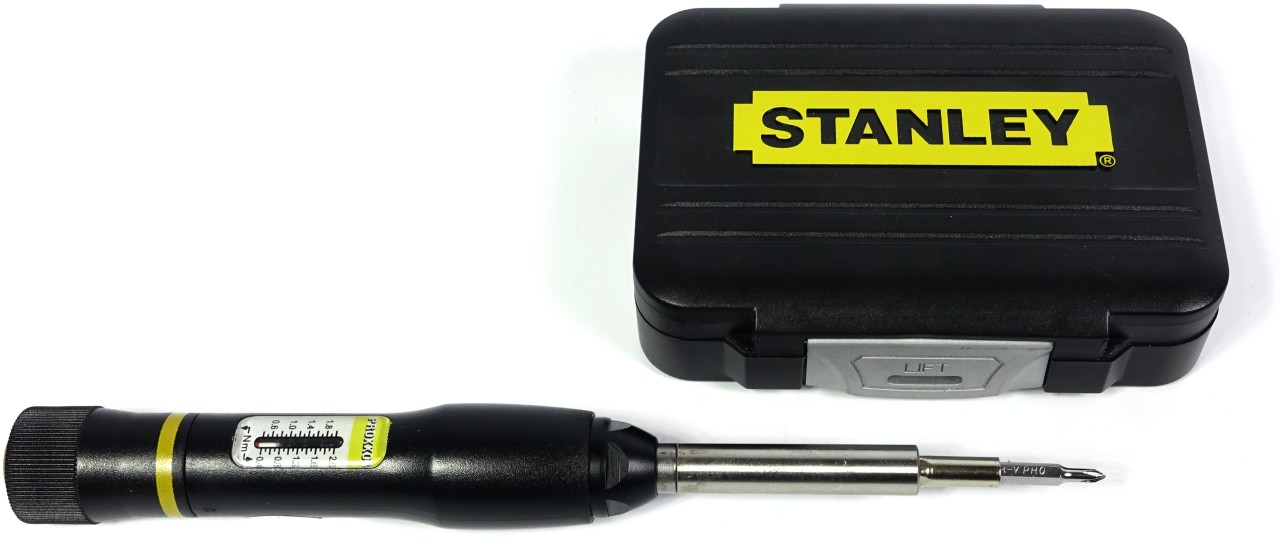
Consider investing in a good limiting torque screwdriver that also protects against involuntary damage (and, in a similar fashion, is also used by many manufacturers). Generally speaking, brute force should always be avoided since many components are small and fragile, and need to be handled with great care.
Get Tom's Hardware's best news and in-depth reviews, straight to your inbox.
Good mini-bits are often preferable to their bigger brothers, but require an adapter for quarter-inch hexagon limiting torque screwdrivers. These screwdrivers start around $50, and should be standard equipment for any ambitious PC modder. The job requires models that are specified with 0.2 to 0.4 Nm as their lower limit. For our purposes, we rarely ever need significantly higher values.
Next we need to talk about the correct and proper use of dynamometric screwdrivers. The subject of our test is actually a great example of the fact that in many production lines, sloppiness is a frequent issue.
Got a Screw Loose?
Before we set off on our adventure, it's worth checking all of the relevant screws first. It's possible that we can spare ourselves a lot of disassembly effort by simply double-checking the precision (or lack thereof) of XFX's assembly process. This card should compel us to think about torque more often. How much should the screws be tightened?
| Header Cell - Column 0 | XFX Radeon RX 470 4GB | Optimal |
|---|---|---|
| GPU Spring Screws | 0.2/0.3 Nm | ~0.4 Nm |
| Backplate | 0.3 Nm | ~0.2 Nm |
| Slot-Panel | 0.3 Nm | ~0.3 Nm |
XFX didn't use enough force to properly tighten the four screws around the GPU package. By simply using a dynamometric screwdriver to tighten those four screws, we measured an immediate improvement, resulting in slightly lower fan speeds. The GPU temperature did not drop, though.
Note #2: In order to not damage any screws, it is important to always have the right tool at hand; one that the screw heads perfectly. A suitable dynamometric screwdriver from 0.2 to 0.4 Nm may not be a "must-have," but it will almost always come in useful during modding projects. Mini-bits may often provide a better fit, but they usually require an adapter.
Thermal Paste: Overrated or Necessary?
Let's revisit the topic of thermal paste. The difference in quality between cheap pastes and the stuff most OEMs use is smaller than most people might think. It is not uncommon to find that the careful reassembly of components and proper tightening of screws yields a leap in performance, which many enthusiasts then credit to the pricier thermal paste. In just a moment, we'll see how much of a difference can be achieved without spending more money on the interface between GPU and heat sink.
There are only a few real manufacturers of thermal paste and the materials they are made of. Mostly, the formula is individualized marginally to create "new" products based on little more than differences in consistency and color. The rest is marketing, and (very often) just wishful thinking. In the end, many pastes are almost identical, but vary significantly in price. The simple fact: physics and chemistry just can't be cheated.
Armed with this knowledge, it makes little sense to spend big on mid-range products since their cost often exceeds any potential benefit. Instead, you'll want to pick an exceedingly outstanding paste if you want to see measurable and recognizable results. Cheap silicone pastes like Arctic's MX-2 may be easy to apply, but they're no longer state-of-the-art. Rather, silicone pastes are more likely to make matters worse.
Liquid metal shouldn't be your weapon of choice, either. First, the application process is rather difficult to master; you'll want a lot of experience with it. Second, you increase your risk of a voided warranty in case a problem does crop up. These "pastes" can hardly ever be removed without leaving behind some residue or trace of the product.
To prove our claims, we'll compare newly-applied OEM paste to reasonably-priced, good, and very good thermal pastes. As you might expect, the latter also occupies the top position in respect to pricing.
Note #3: In projects like this, settle for no less than the best to achieve at least the same quality as the manufacturer of your graphics card. Often enough, poor results may be attributable to production issues, but there's almost never the full result of an industrial thermal paste.
MORE: Best Graphics Cards
Current page: Optimizing Graphics Cooling
Next Page Taking Apart And Re-Assembling Your Graphics Card
Igor Wallossek wrote a wide variety of hardware articles for Tom's Hardware, with a strong focus on technical analysis and in-depth reviews. His contributions have spanned a broad spectrum of PC components, including GPUs, CPUs, workstations, and PC builds. His insightful articles provide readers with detailed knowledge to make informed decisions in the ever-evolving tech landscape
-
crisan_tiberiu For me, changing the thermal paste on a Sapphire R9 280x resulted in a 8 to 10 degrees celsius lower temps while @ gaming/load. The card went from "very audible" to silent... The thermal paste was so poorly applied, it was on only half of the chip...Reply -
Shankovich I think if you've had your card for about 2 years, it's time for a reseat. Did mine with Noctua NT-H1 (best imo, no burn in needed), delta-T was around 9 Celsius at load :)Reply -
FormatC Especially with higher temps, like on a GPU, the thermal grease will dry out over the time. As cheaper, as faster. So it makes sense to change it periodically.Reply -
enterprise24 Use locking pliers to remove screw with warranty void on it. I try this method on MSI R9-290X Lightning without damage to sticker and can still RMA.Reply -
murzar In 2015, my AMD 6770 would reach temperatures around 100 degrees Celsius! Summers are savage in my city.Reply
But it wasn't cleaned for ages, just cleaning the fan assembly resulted in a temperature drop to around 80 degrees Celsius.
Got a cheap but branded 4 usd Arctic Thermal Paste.
Temperature was around 65s! -
AndrewJacksonZA Reply
After about five years I became concerned that my single fan HIS 6670 was heating up to 66C in Furmark runs even after cleaning the fan and heatsink on the card. I replaced it's factory TIM with Thermal Grizzly Hydronaut which I had bought for my new CPU and it dropped to 54C. I added lots of sound absorbing material in my case blocking some airflow exit holes near the card, and it's still only sitting at 62C during Furmark runs.19165507 said:In 2015, my AMD 6770 would reach temperatures around 100 degrees Celsius...Temperature was around 65s!
It was DEFINITELY worth it for me to replace the TIM on my card.
Edit: typo. -
Olle P There are more ways to improve the cooling:Reply
1. Clean the heatsink fins.
2. Clean the fan blades.
3. Optimise the airflow around the graphics card. Try to prevent the heated air from being drawn back into the fans on the cooler.
4. Polish the heatsink's contact surface to get rid of any milling grooves. You want as much direct contact surface between heatsink and GPU as possible.
Thermal pastes:
* As long as you avoid the really cheap purely silicone based thermal paste the difference between pastes should be marginal. Only with milling grooves to fill will there be a notable difference.
* Burn-in time differ between pastes though. Some reach optimum in an hour, other will need weeks of use to reach their final state.
* Thermal paste will not "dry out" and need a replacement unless the heatsink is relocated relative to the GPU.
Cleaning:
"... a thorough clean-up is advisable. ... because mixing different pastes can be extremely counterproductive. ..."
A small amount of mixing shouldn't make any difference at all, especially given (as stated on page one) that the pastes differ very little in chemical composition in the first place.
"... cleaning the GPU package. Avoid scraping or scratching. Even forceful rubbing with a soft cloth can damage the fragile hardware..."
Since rubbing *will* create static electricity that can fry the GPU I'd stick to cleaning the top surface of the GPU only. Trying to remove old thermal paste around the GPU is more likely going to cause damage than improve the thermal result. -
jonny27 Ok hold on a second, I was reading it all until I saw the thermal paste on top of the pads.Reply
I've been hearing unanimously for years that doing this actually decreases thermal performance, as you're adding an extra layer of heat transfer material, and the compression alone should make the thermal transfer "as good as it can be" (or at least as good as a thermal pad can handle anyway). Not only that, but some pastes could actually degrade/corrode the pad's material.
But to my surprise, I'm seeing improved results on paste+pads. Can someone shed some light onto this? -
cats_Paw Interesting article.Reply
I personally think it would have been a smarter choice to use a laptop gpu (inside a laptop) for this test.
Laptops are more prone to temperature problems, so it should be a better example of worst case scenario.
Another thing is that I have found that my laptop GPU and CPU tend to drop temps of almost 15 C when the thermal paste is reapplied, but in 2 days it goes back up to what it usually gets stable.
This did not happen when the laptop was new, but it seems the thermal paste gets too high temperature, partially making it more liquid and then pushing it out of the heatsink. I have no idea why that is. -
vaughn2k Toms/Igor, just an observation.Reply
You also need to add that compounds should avoid touching the SMD components, and smearing at the side of the substrates/PCB.
Som compounds consist of silver, and if this happens, it will cause shorts and/or degradation of the GPU..
The picture where a new compound is applied, has some remnants of the old paste, present at the SMDs.. this is a No NO..


